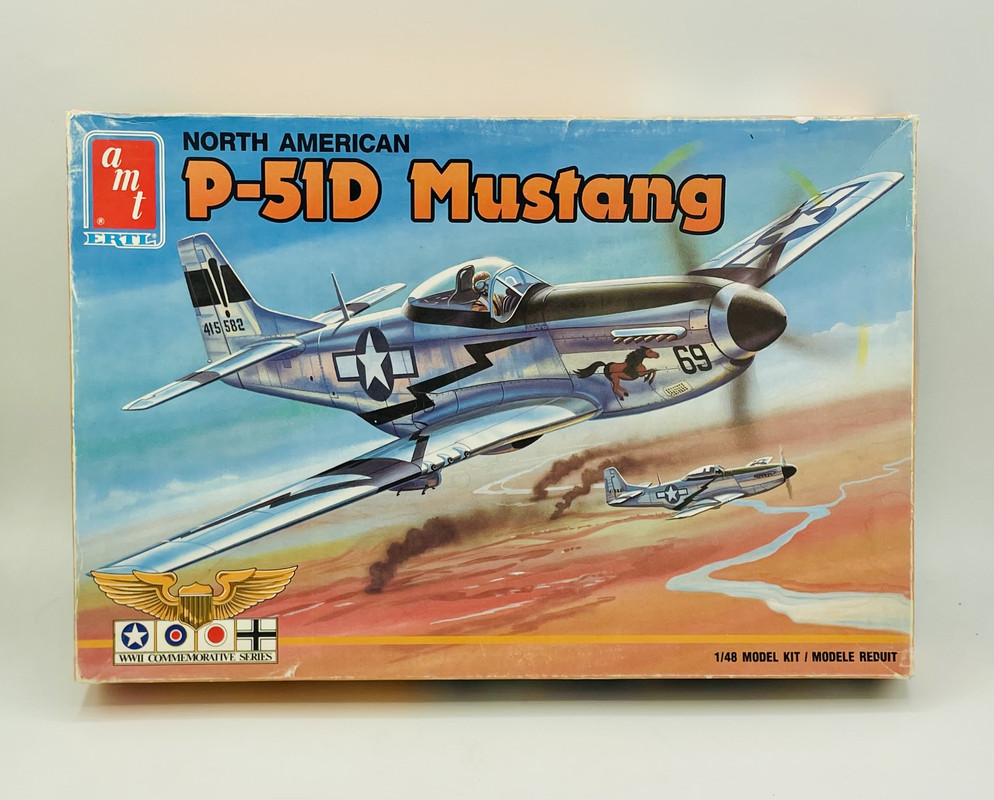
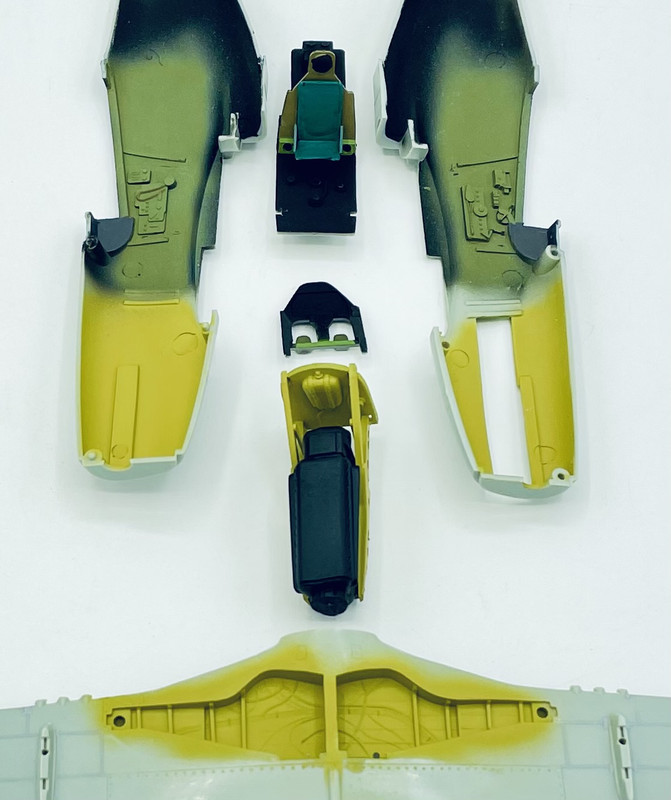
This is my next project, AMT’s boxing of the 70’s vintage 1/48 P-51D Otaki/Arii kit.
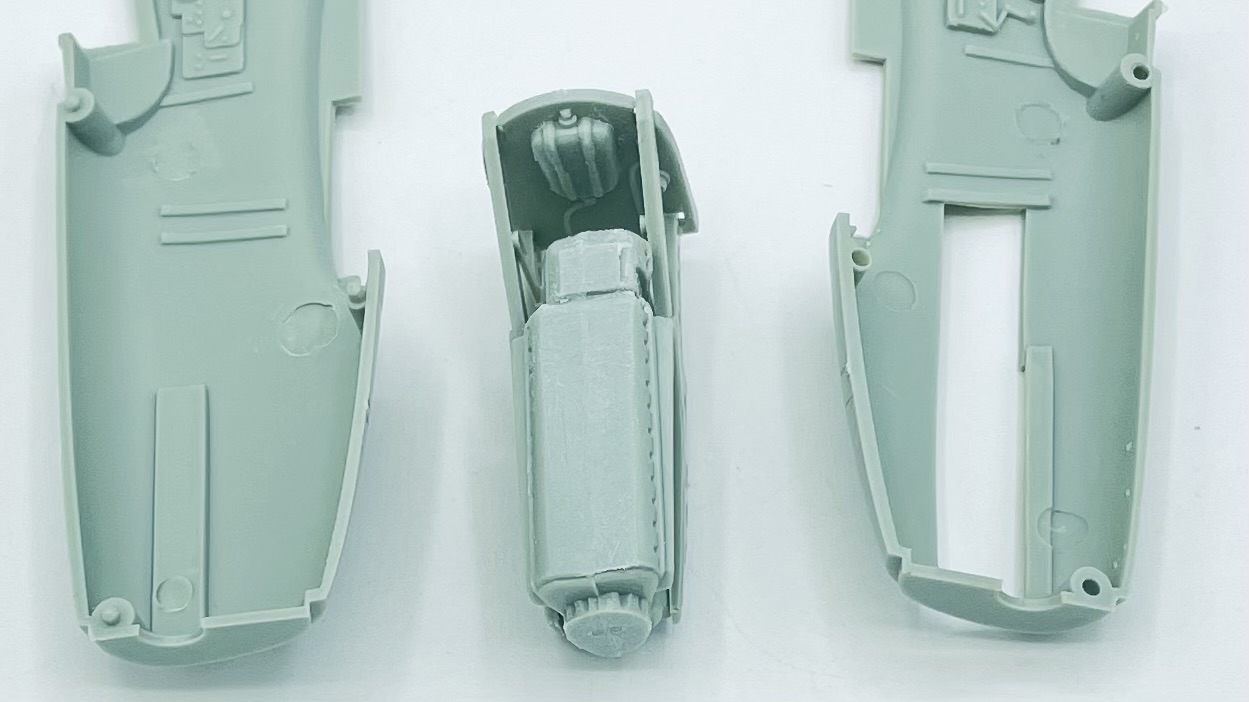
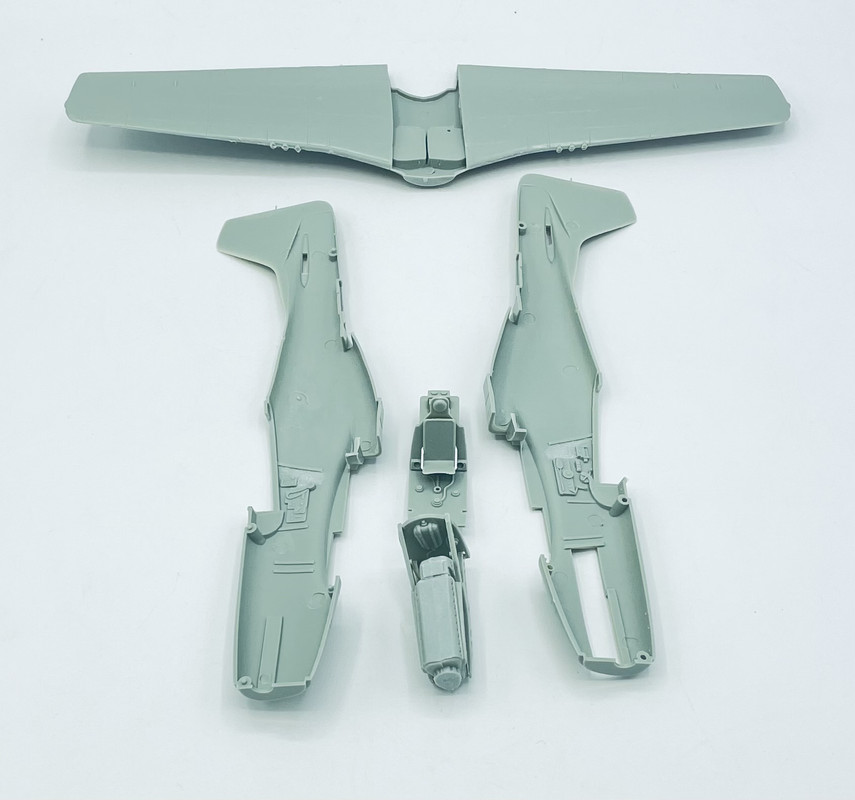
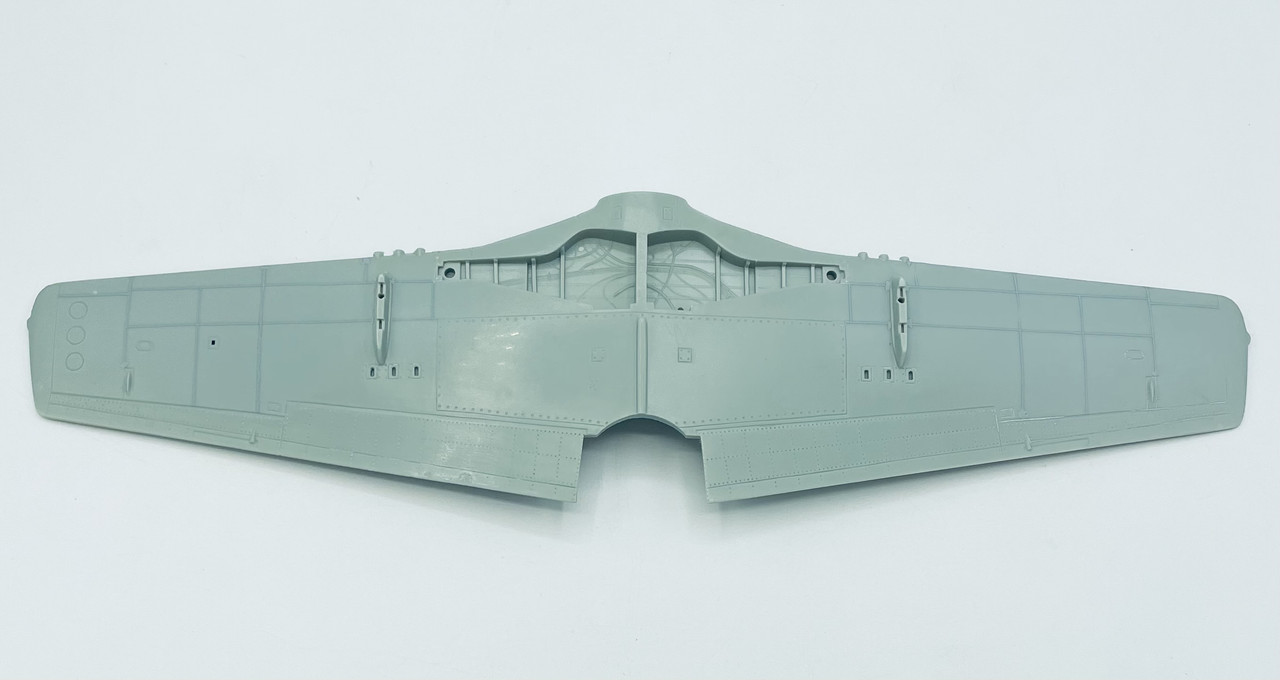
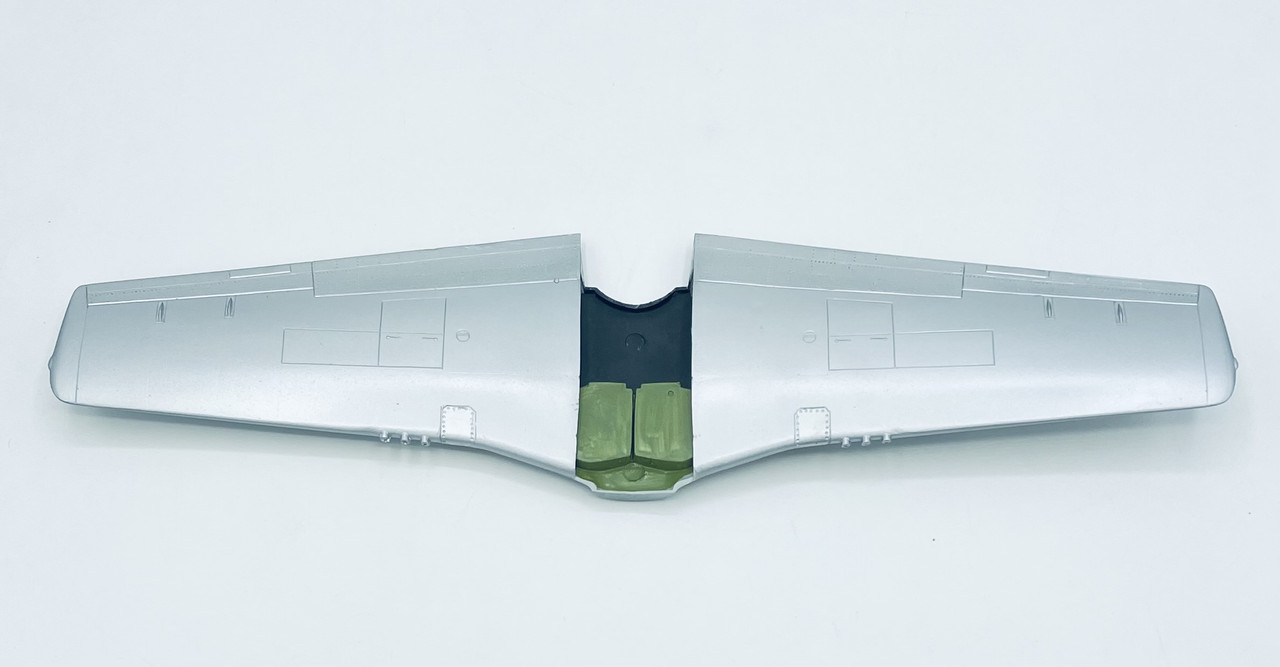
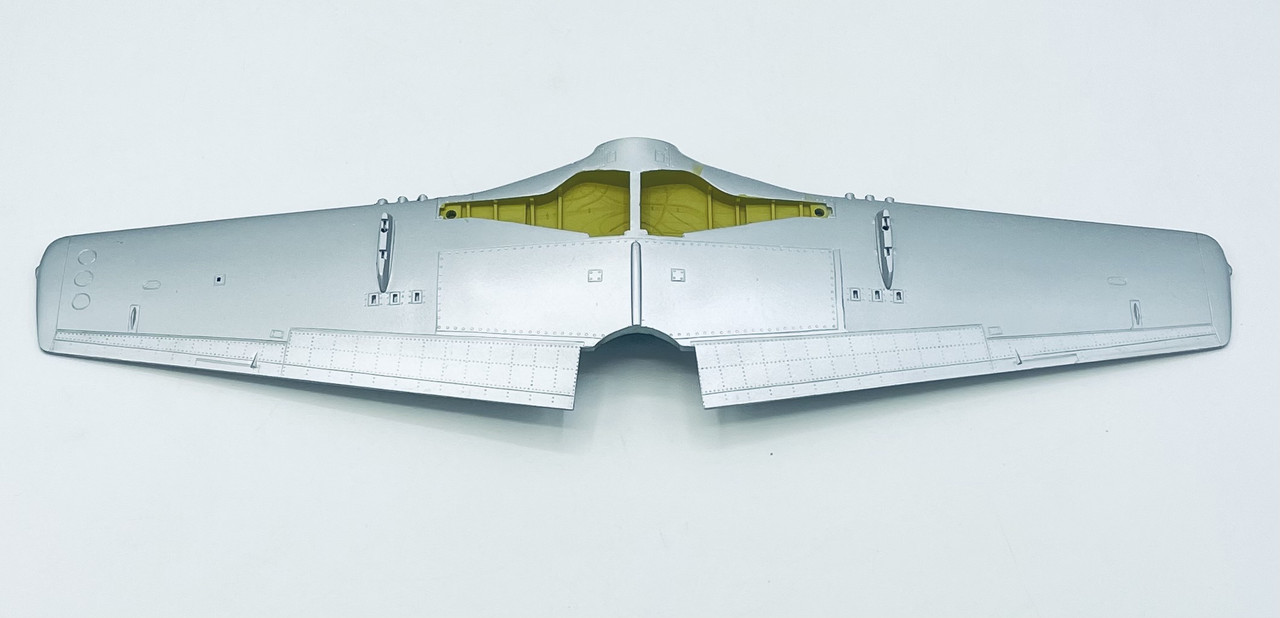
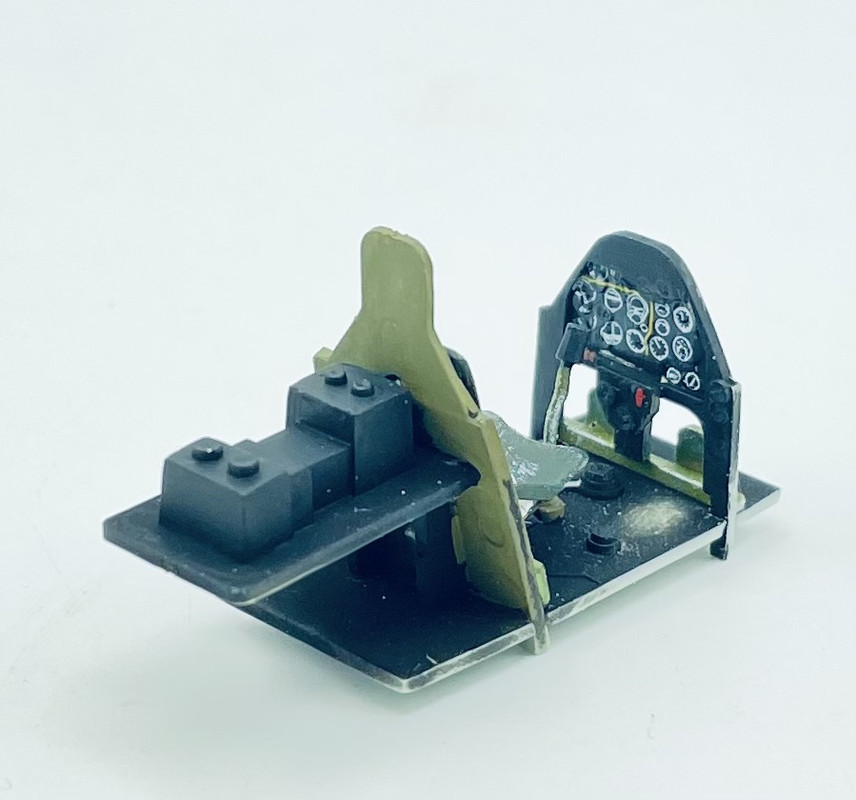
It’s a pretty nice kit of this vintage… decent cockpit, most of the Packard Merlin engine, recessed exterior panel line & rivet detail. I made quick progress on the engine & cockpit, plus the wings
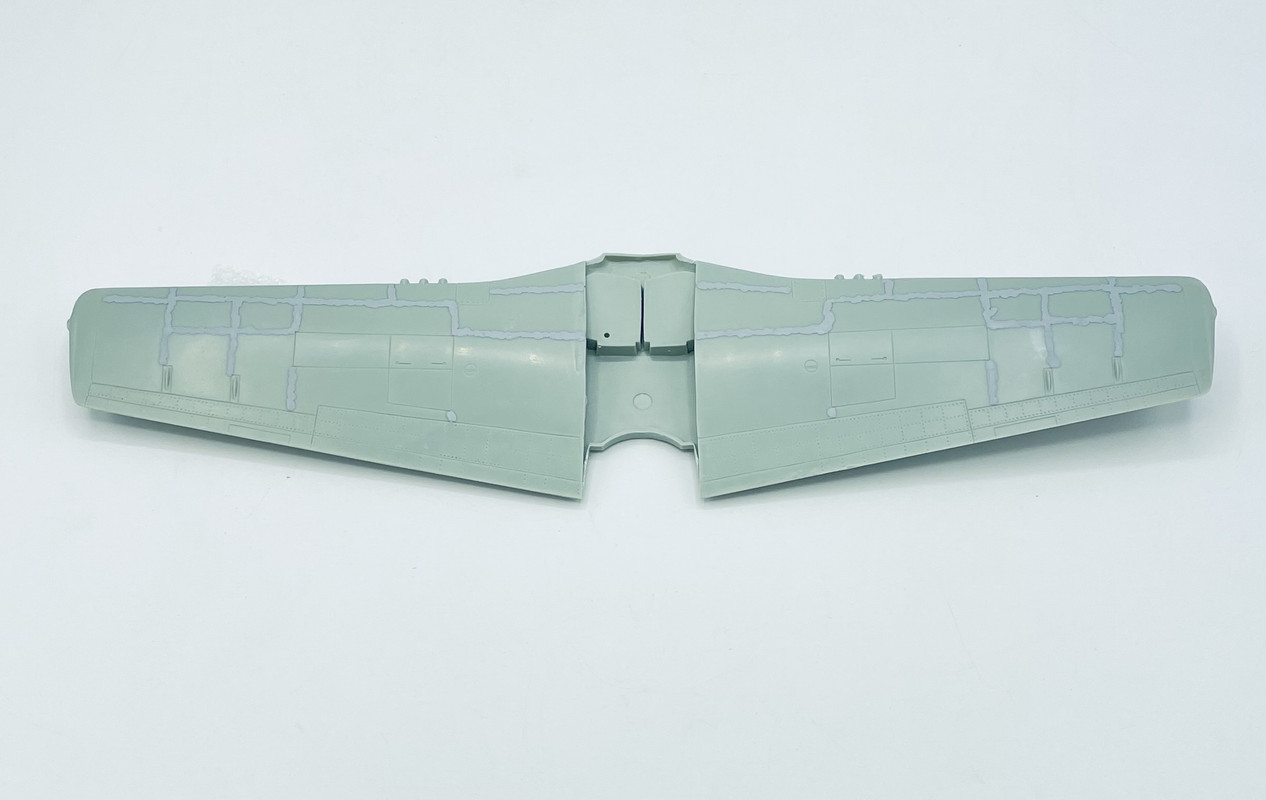
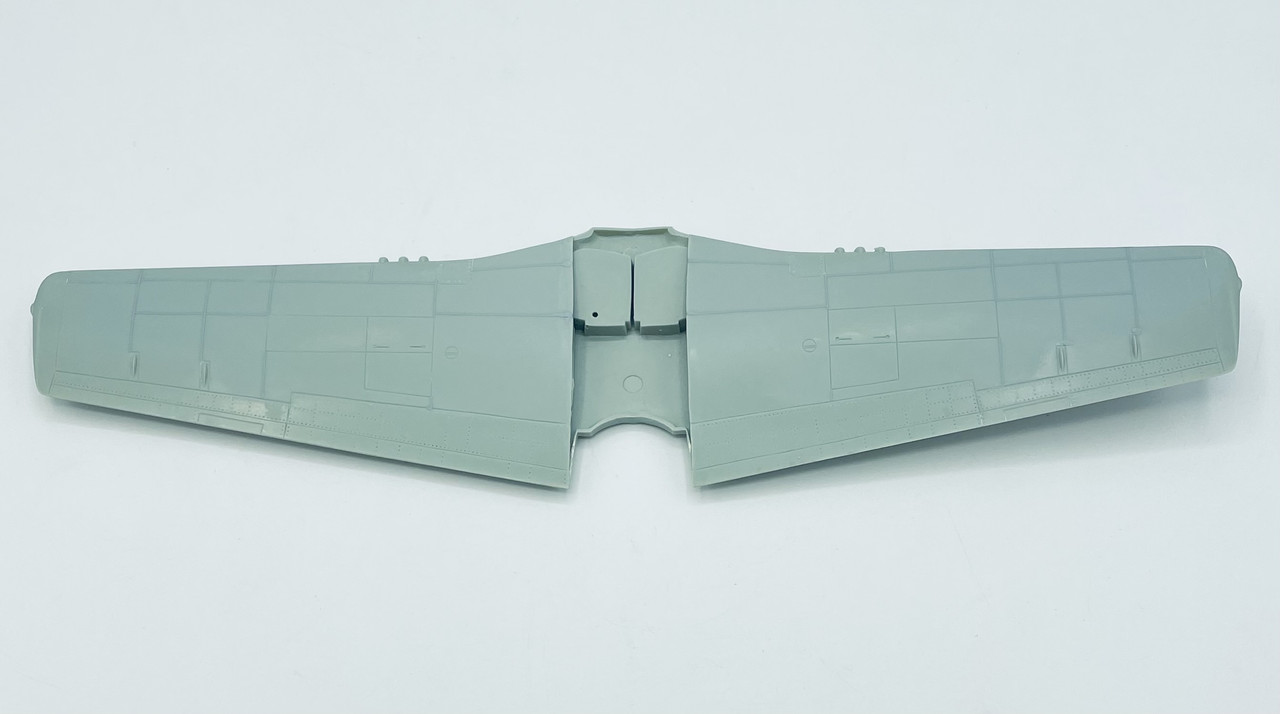
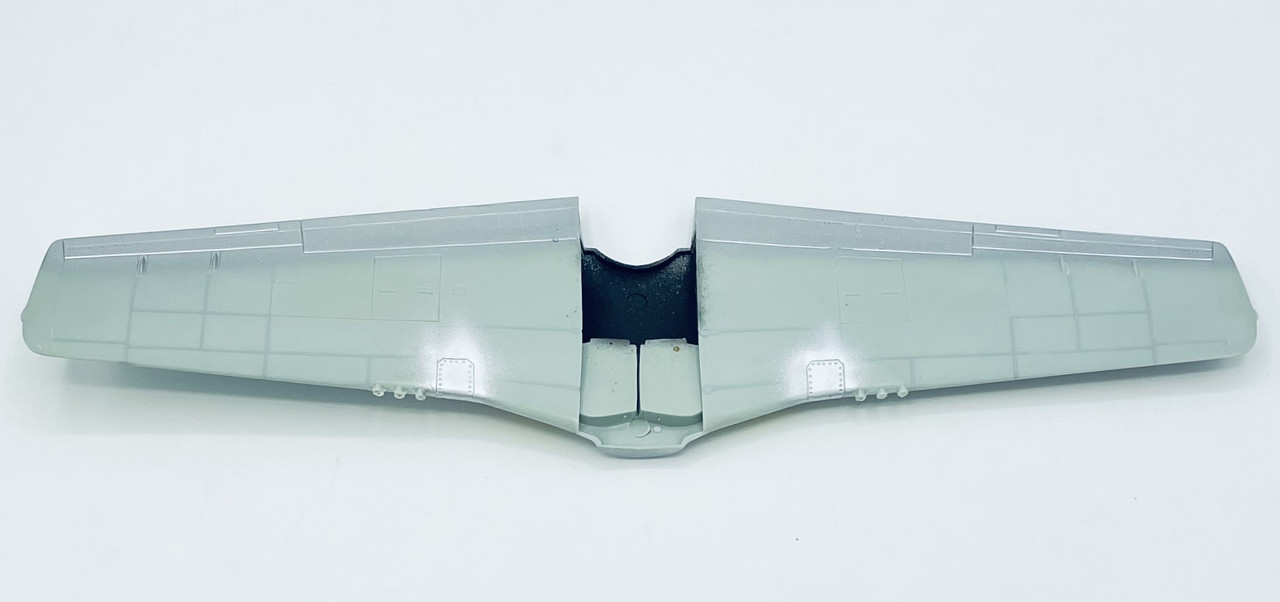
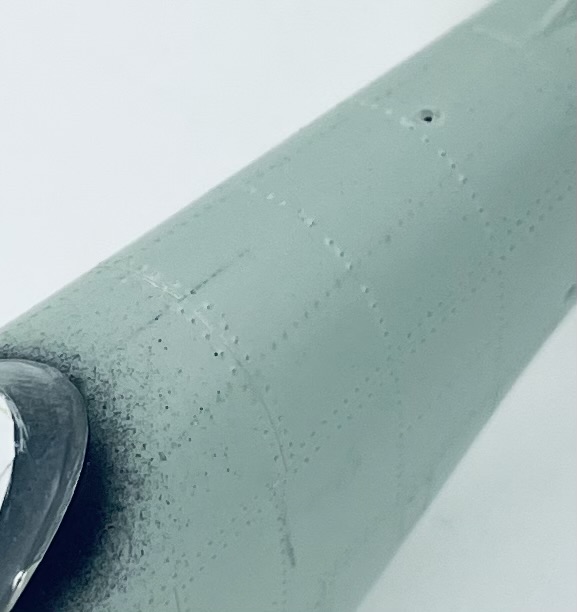
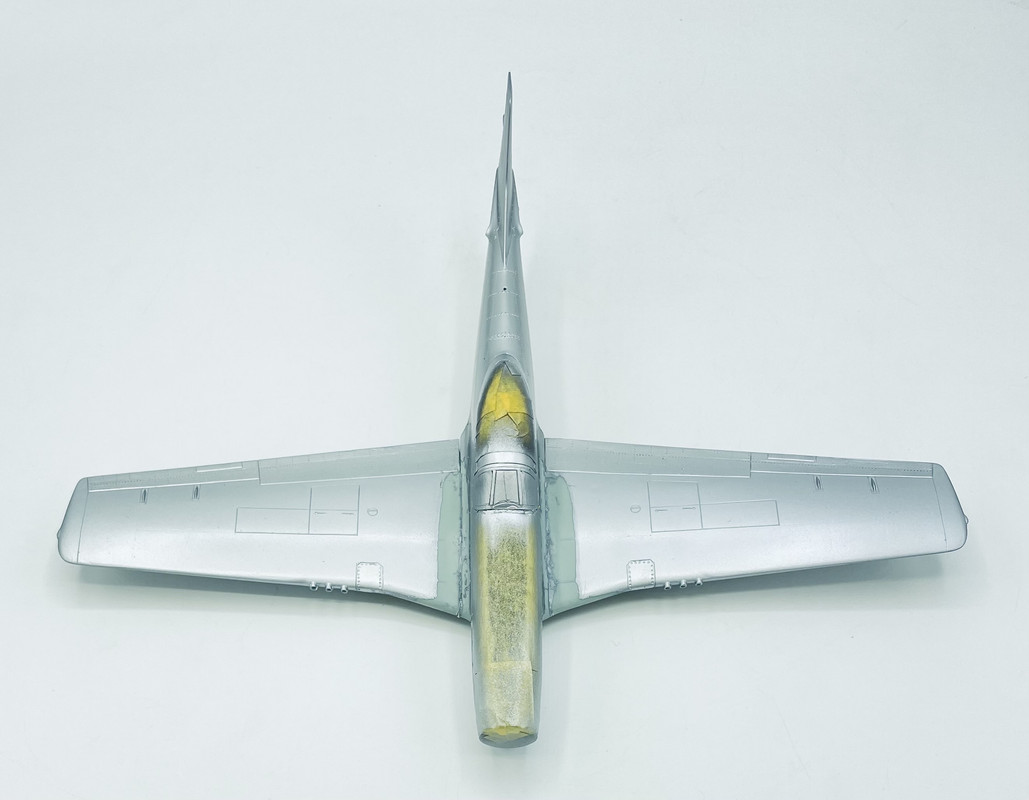
next up I need to fill in many of the wing panel lines as WWII NMF P-51s had the panel joints puttied, sanded and sealed to maintain the laminar flow wing. Hello Mr Surfacer…
Todays update- between yesterday and today, I was able to get the panel lines that I had filled with Mr Surfacer 500 sanded smooth by wet sanding using sanding sticks starting at 180 grit and working up to 1000 grit
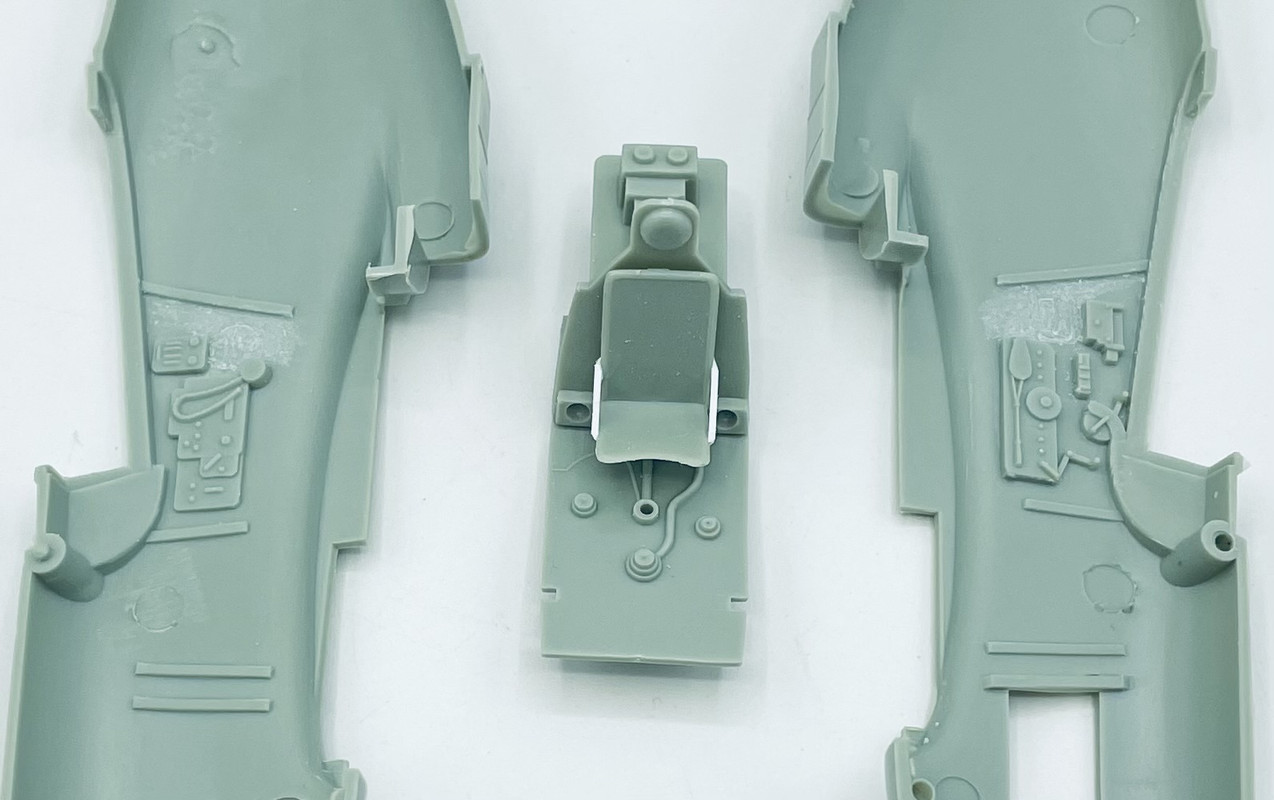
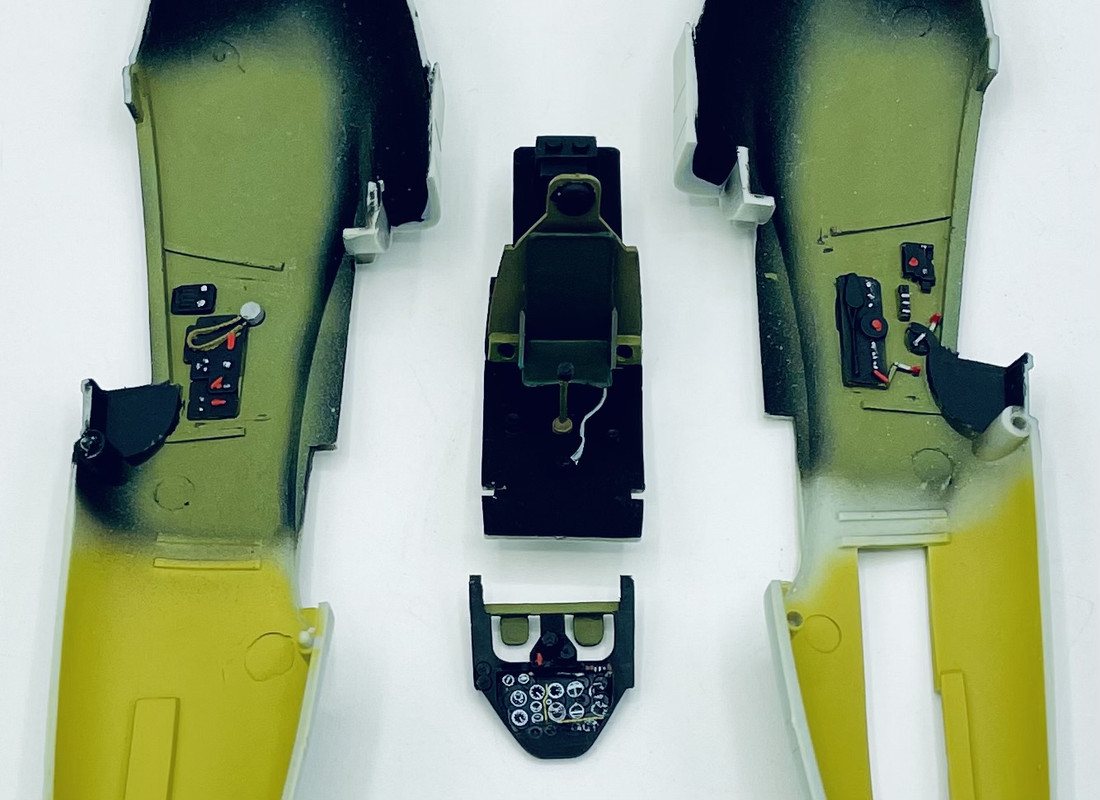
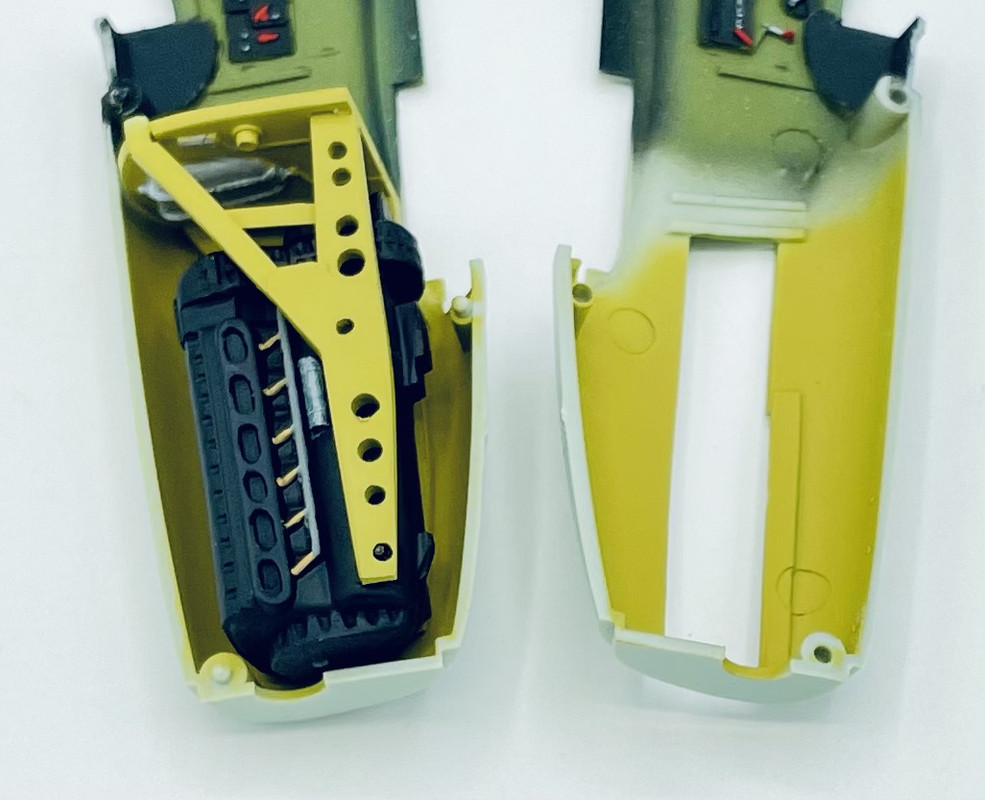
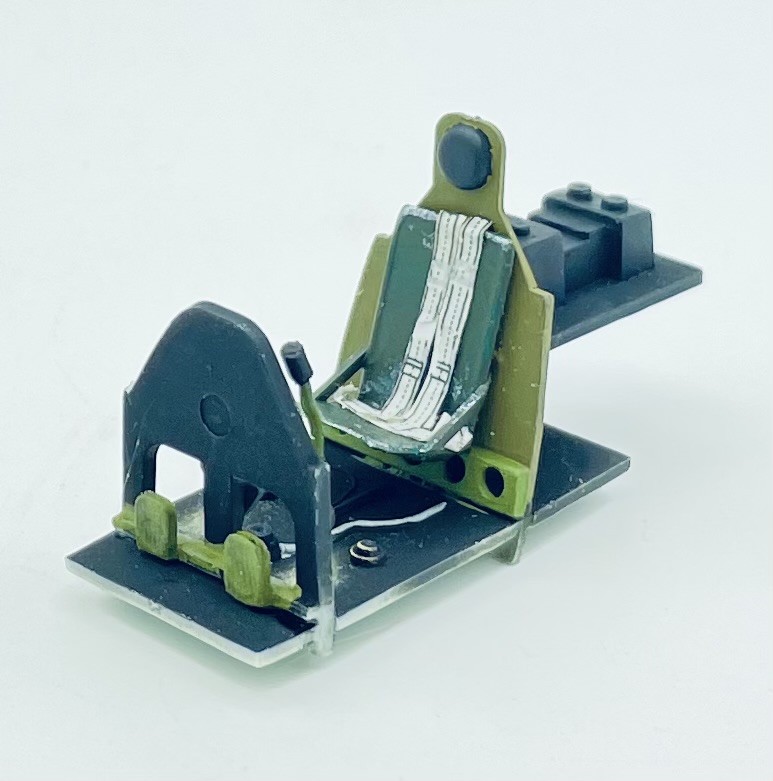
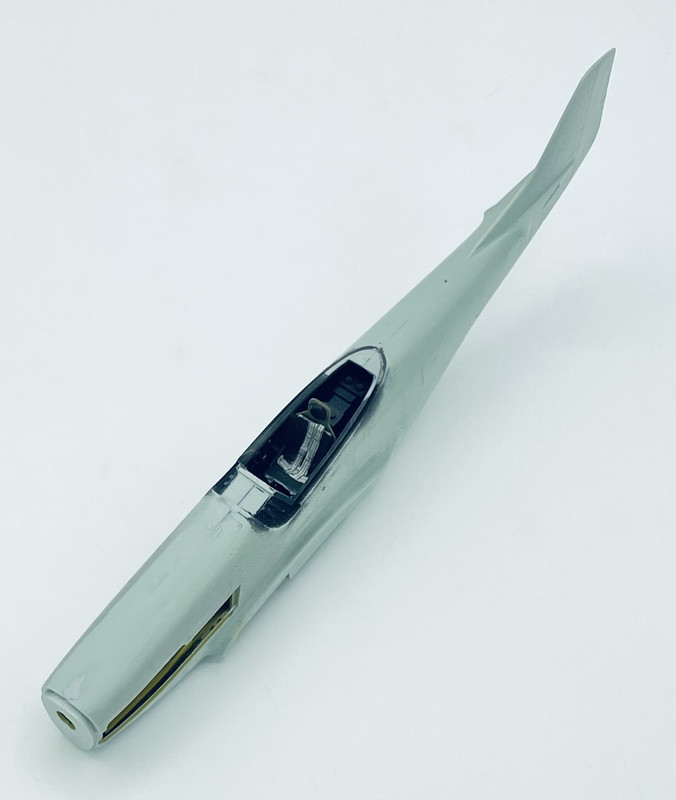
I did the detail painting in the cockpit and engine, then installed the engine
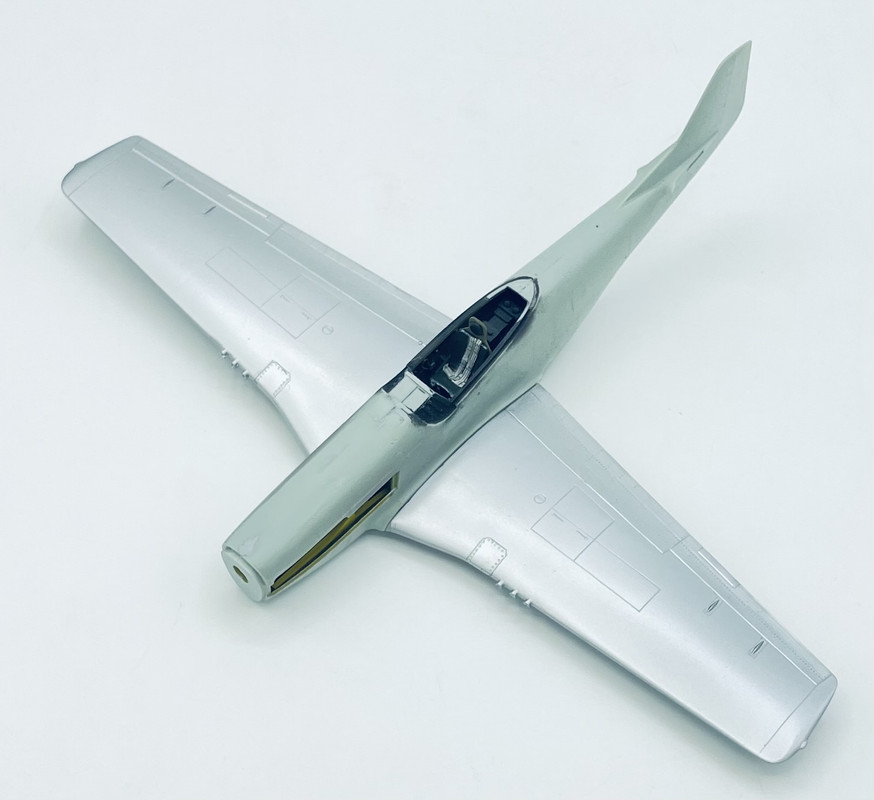
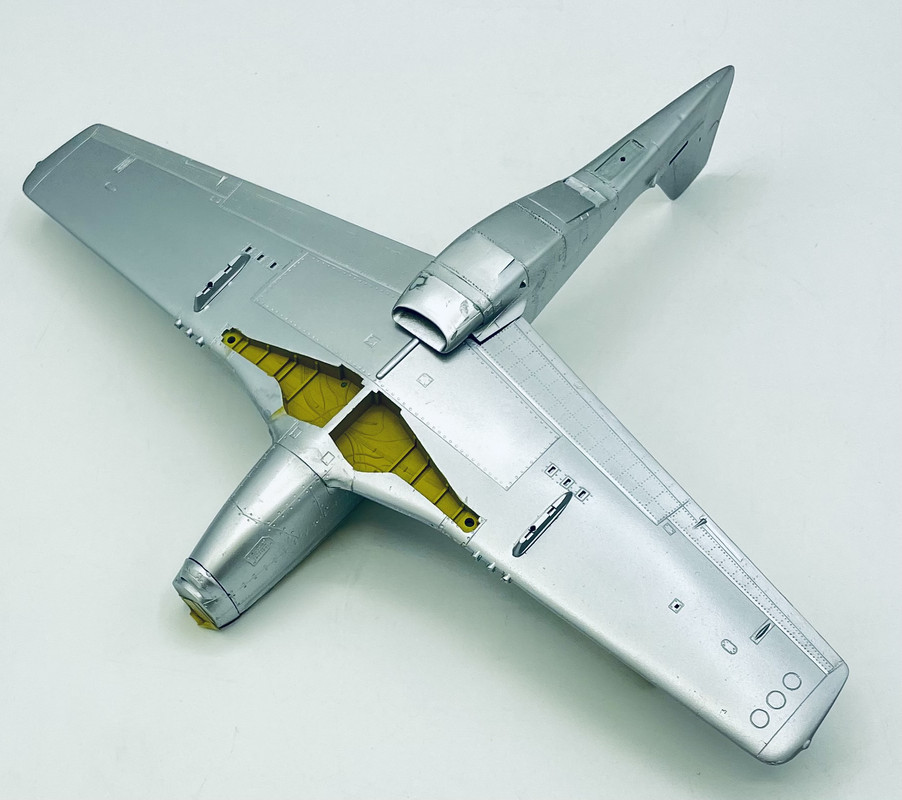
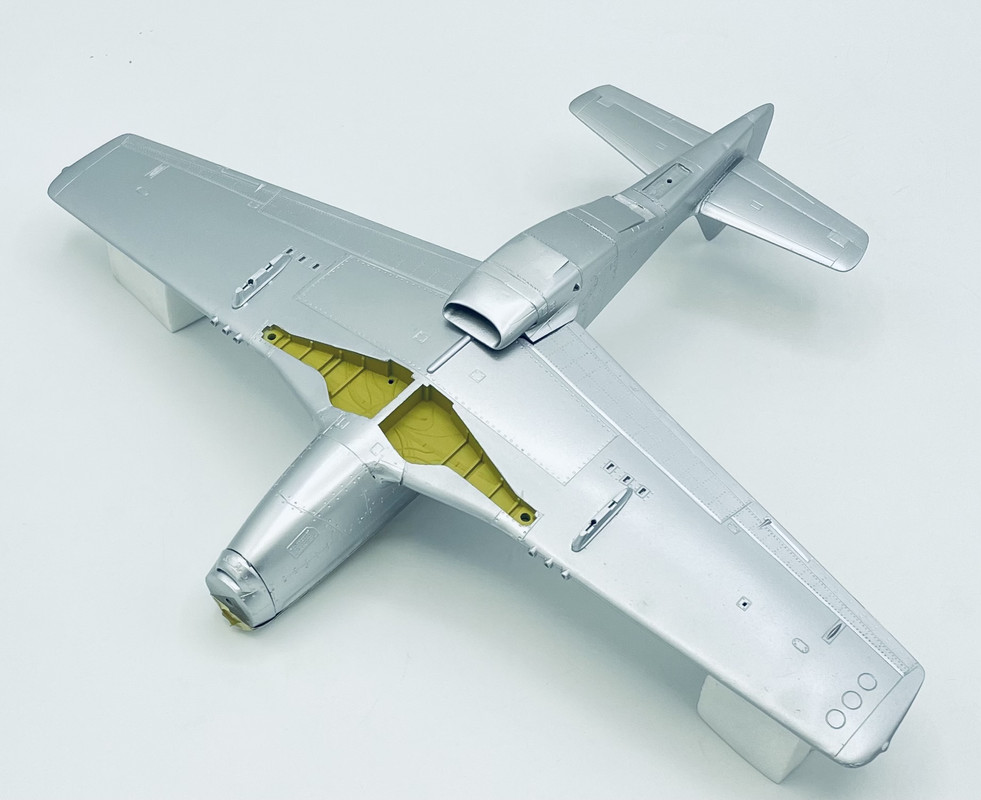
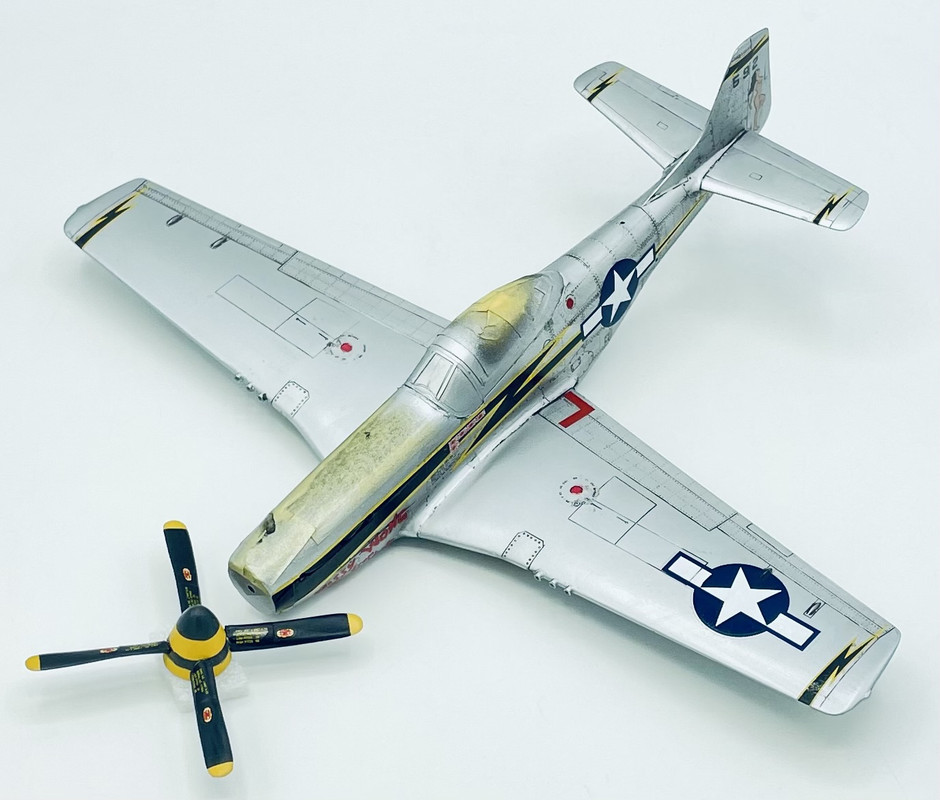
I still need to add a seat harness… once that is done, I’ll install the cockpit and get the fuselage closed up. I also airbrushed on the aluminum for the bare metal areas of the wing using AK Real Color Aluminum
Tomorrow I’ll get those areas masked off, then paint the sealed lacquered areas of the wing using Tamiya LP Gloss Aluminum
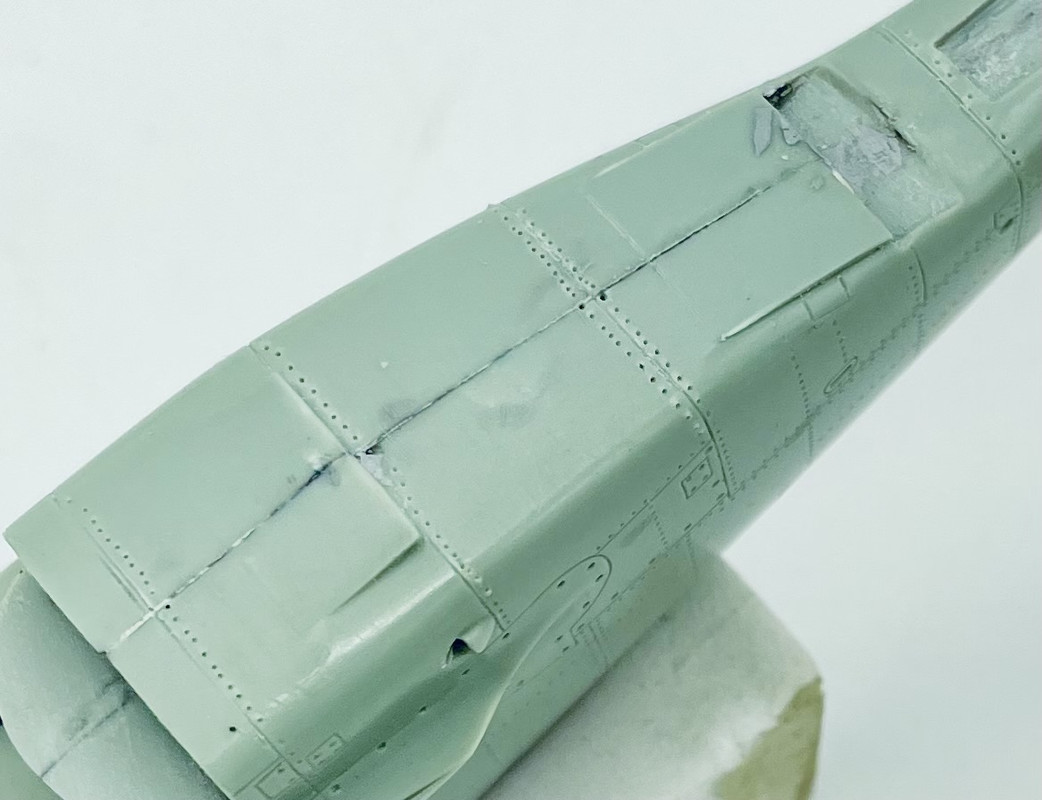
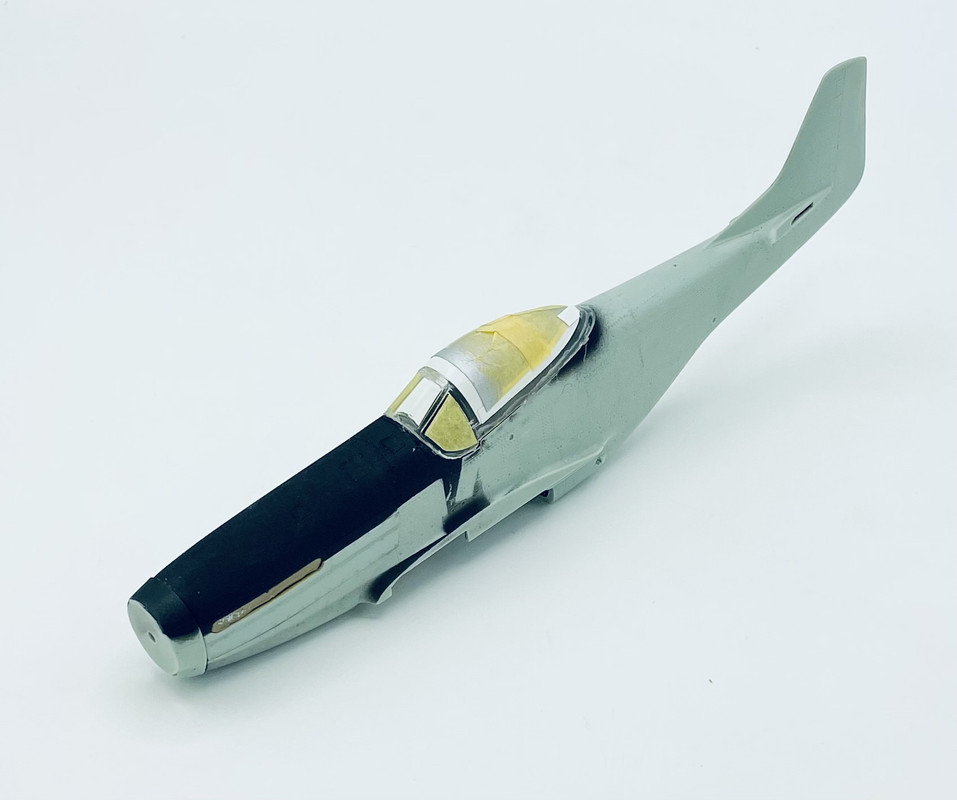
Today I finished polishing up the canopy, which had been seriously scuffed up in the box over the years. I then gave it a dip in Future to keep the shine going. It’s currently drying in a container to keep any dust off. I spent the rest of the day doing seam clean up and filling on the fuselage. Most of it was good except for in the oil cooler/radiator area where I had to do some filler work, amd a couple of sink areas on the upper & lower engine cowling…
of course afterwards I had to do a test fit of the fuselage to the wings. It’s a pretty snug fit but I can see where some filler will be needed at the joining points
Next up I need to rescribe the detail lost in seam clean up, which really isn’t that much… stay tuned until the weekend for the next update.
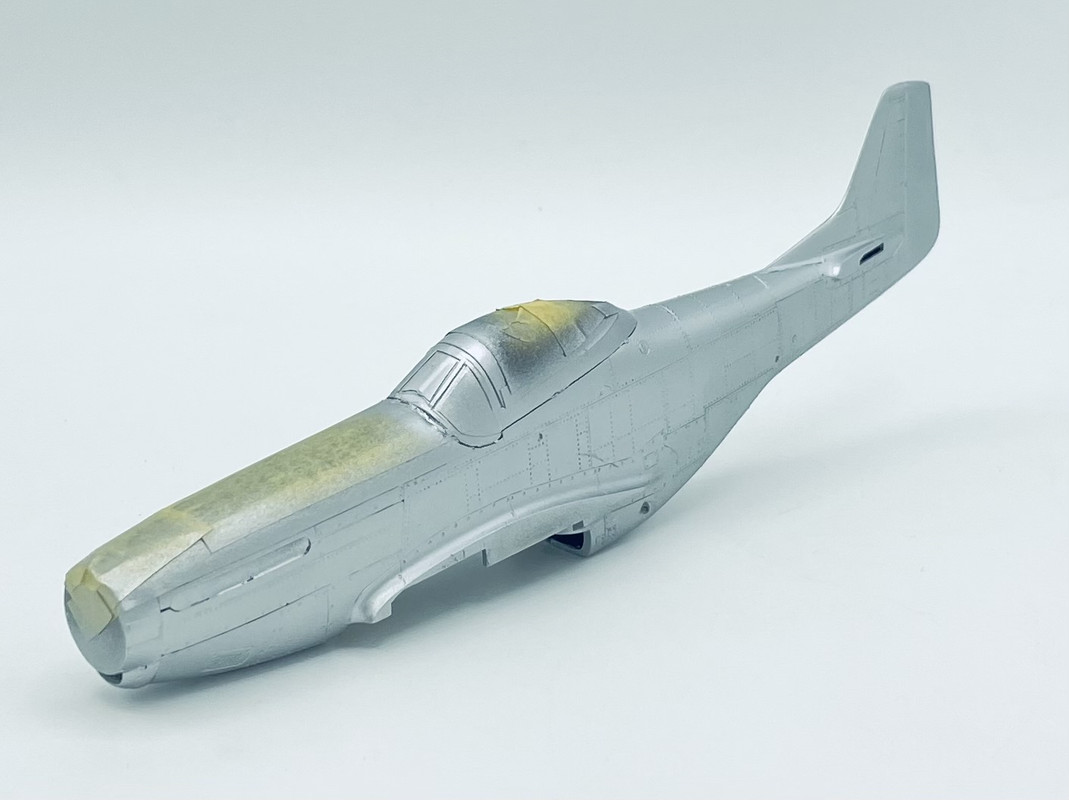
Since it has roughly been a week since I posted my last photo update, I figured that I better get back on it. Over the past week I scribed in lost panel line and rivet detail that was removed during seam filling/clean up
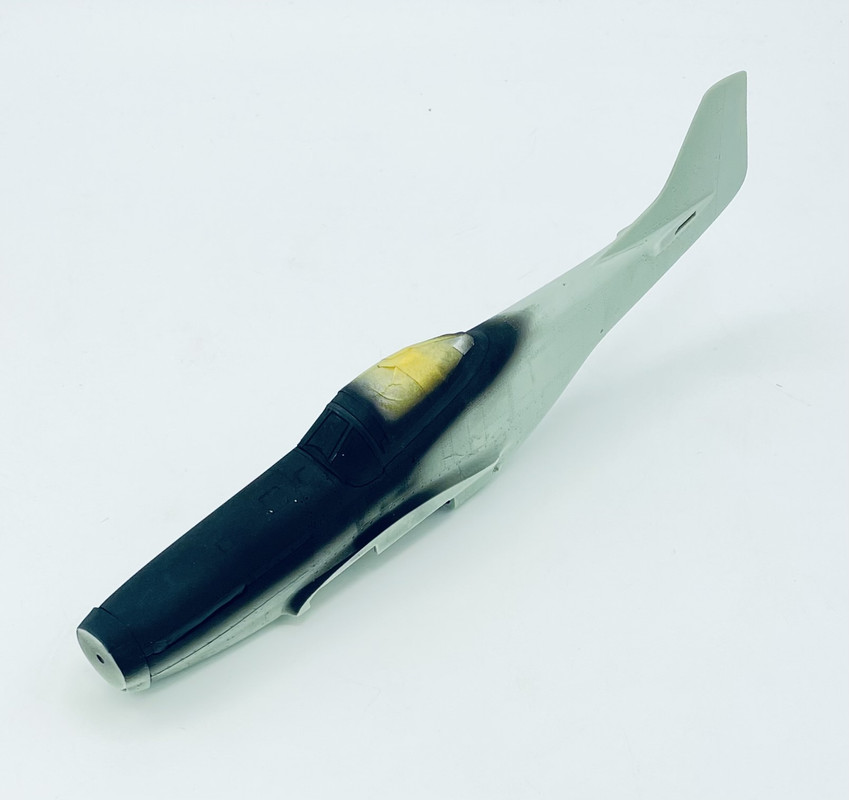
then I masked off the canopy and glued it on place prior to airbrushing black onto the framework prior to the NMF exterior, so black will show from the inside. I also added the gunsight into its’ proper location, but I forgot to get a photo of that before I installed the canopy
Next up is masking off the anti glare strip, then painting the fuselage BMF areas with AK Real Colors Aluminum…
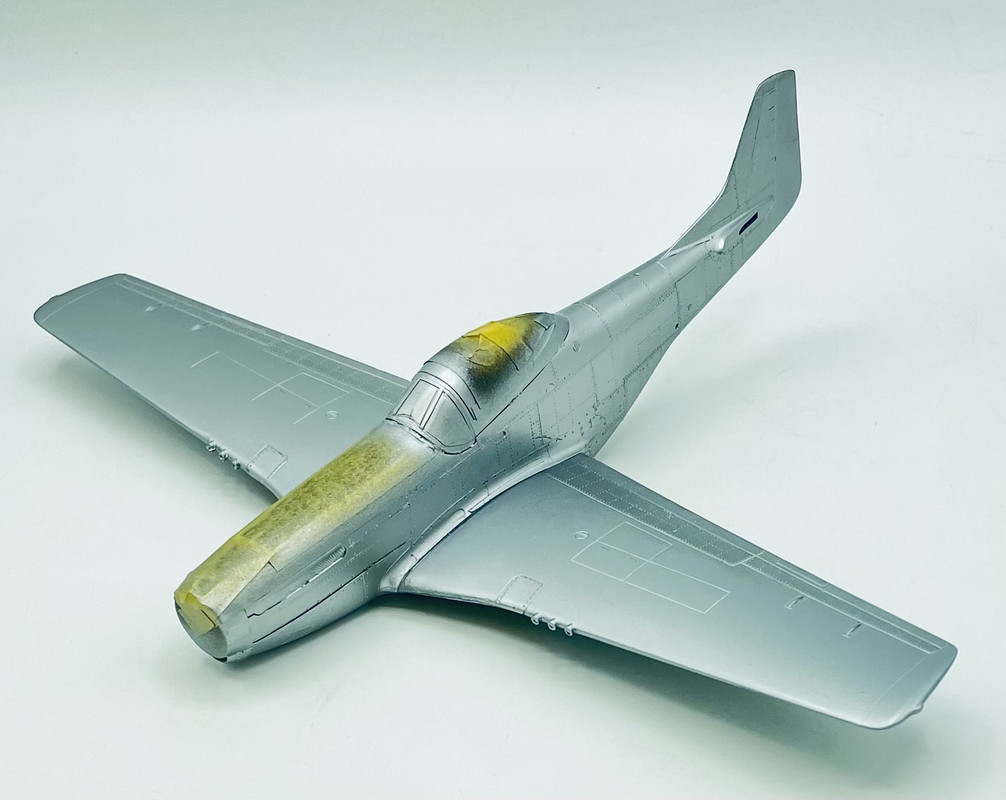
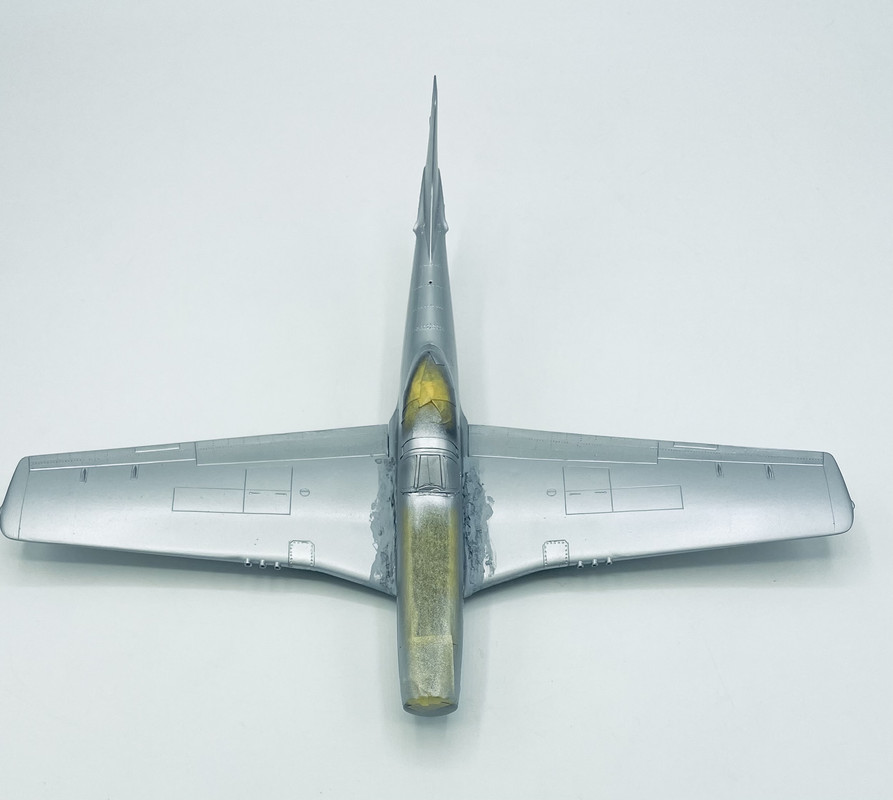
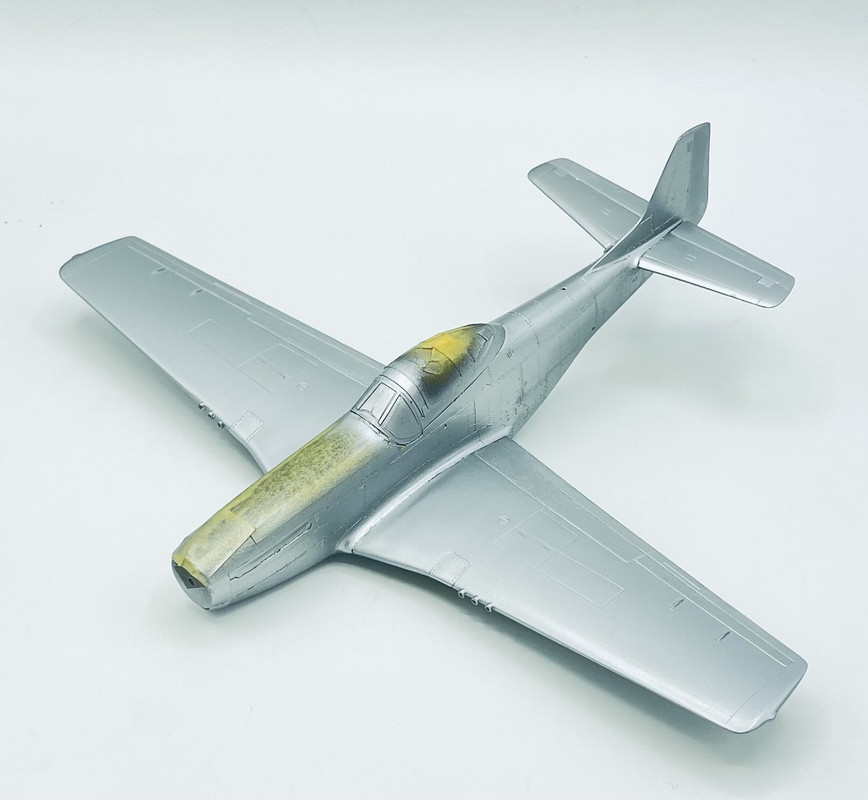
So yesterday morning I airbrushed on a coat of AK Real Colors Aluminum onto the fuselage
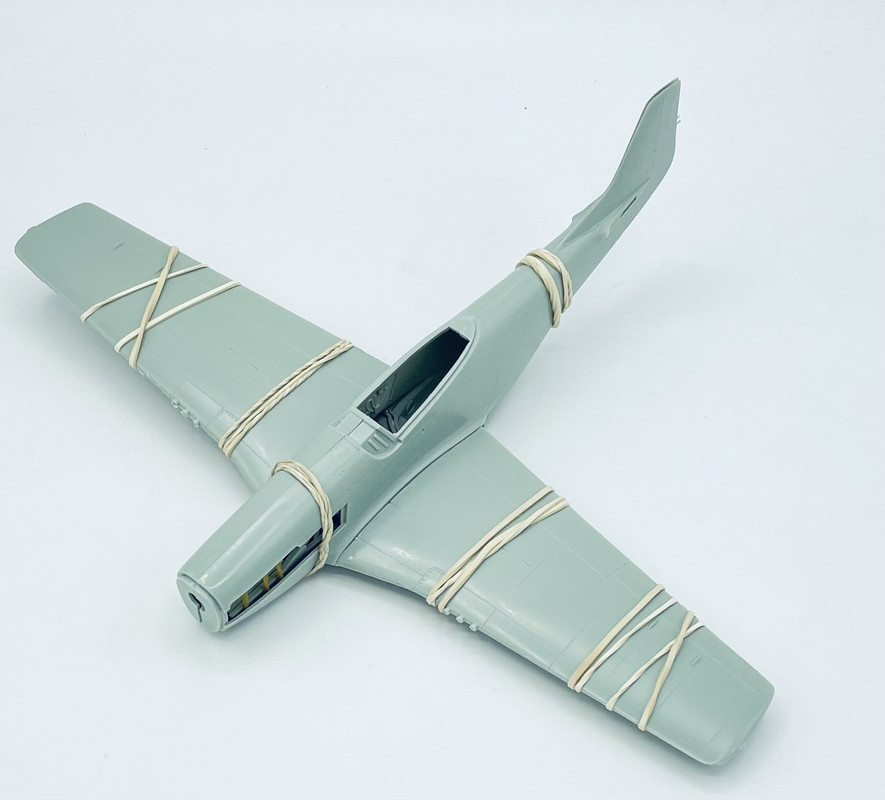
then in the evening I glued the wings in place and the radiator intake scoop on the belly
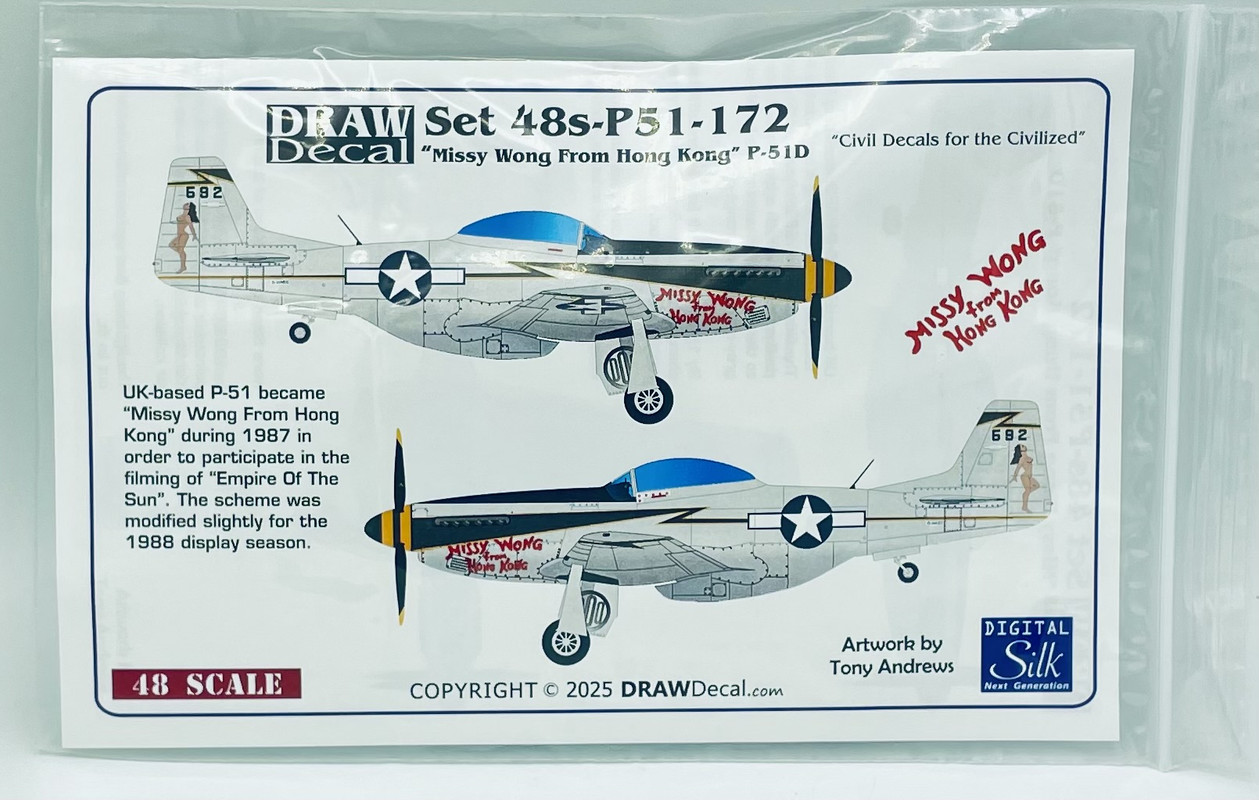
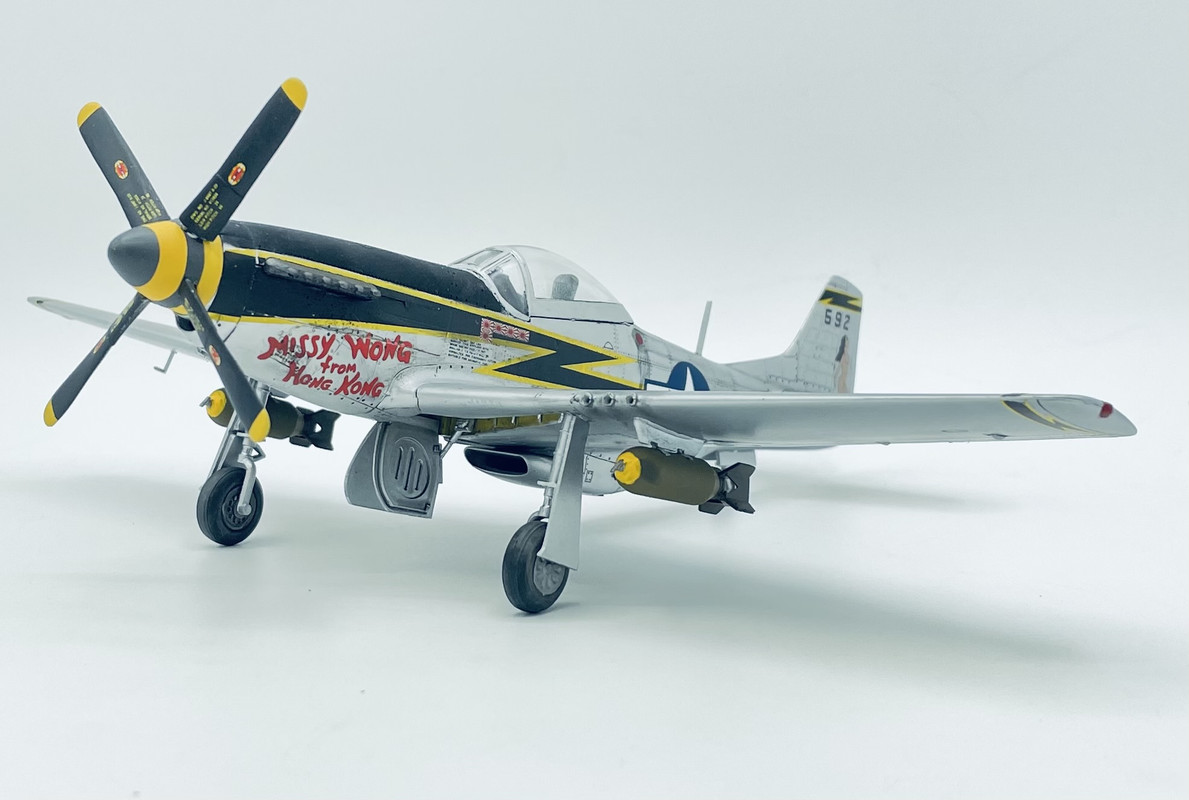
Thanks to a good rubber band during the gluing process, there is not much gap at the wing root compared to the test fittings, so gap filling and seam clean up should go quickly. And then today, my decals came in the mail. I chose these markings from one of the P-51s flown in the movie Empire of the Sun, “Missy Wong from Hong Kong”
So I have been working on this over the past couple of weeks since my last update…
first up I did the seam filling and then sanding at the wing roots
the touch up painting on those areas got screwed up a couple of times due to my rushing of things… so over the past couple of days I fixed that up… after also adding the horizontal stabilizers and paint the fabric control surfaces in a different shade of aluminum.
I’ve also completed some other sub assemblies such as the landing gear, propeller, etc, but will get those in the next photos with the airframe. For now its pretty much ready for decals…
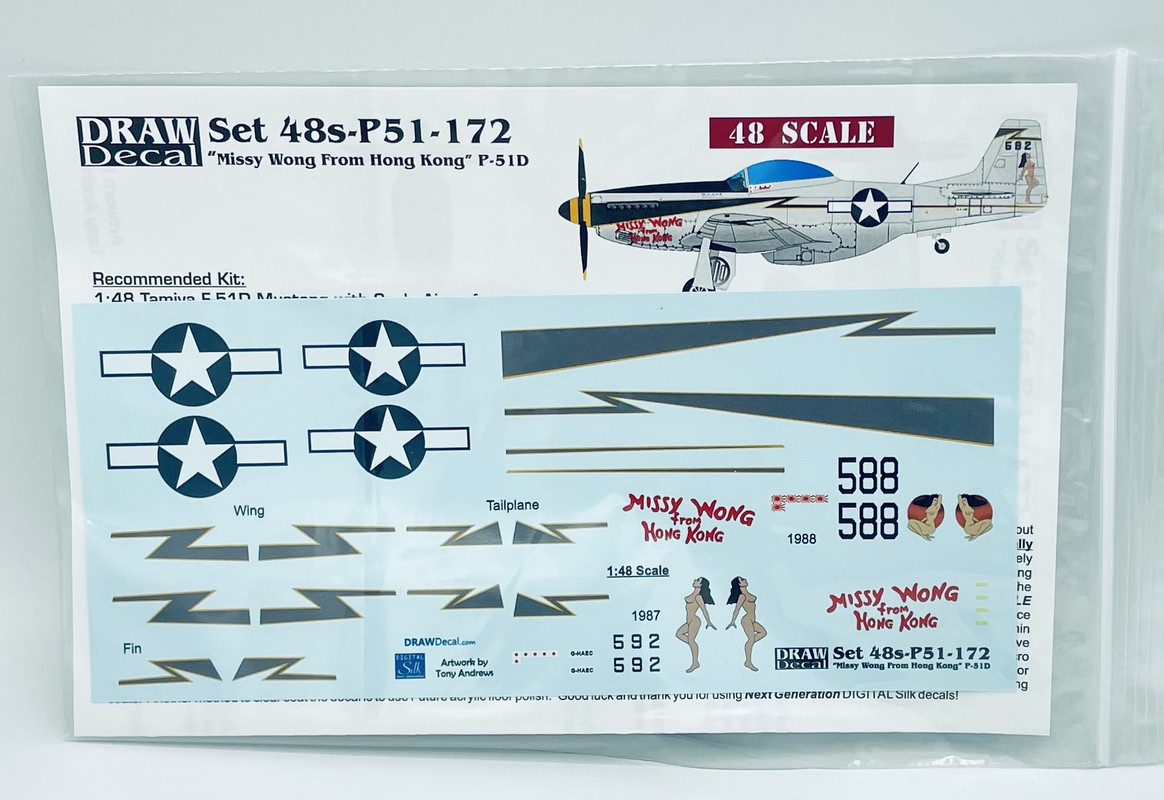
I started applying the decals today and hit a major snag with the Draw Decals. One of the fuselage side lightning bolt marking “cigarette rolled” on itself as I was sliding it off of the backing paper onto the model…
Anyways, due to the long lightning bolt markings for decal having a major malfunction that I could not undo…
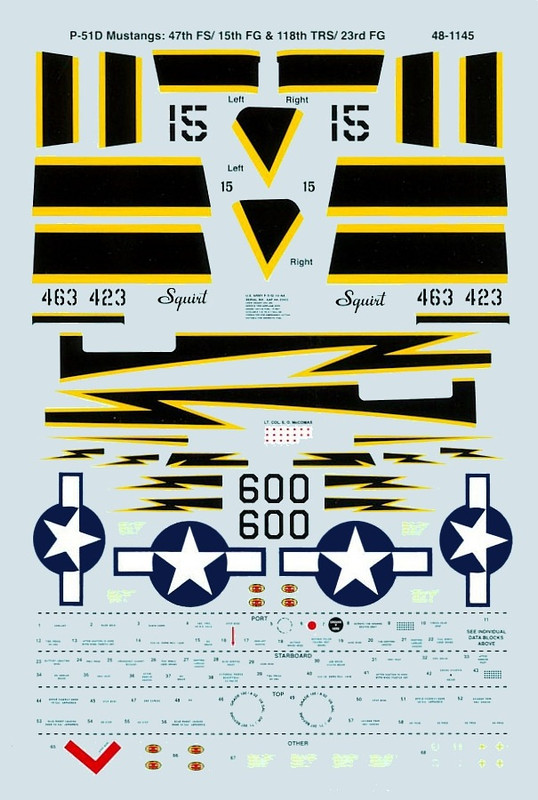
I substituted the markings from this SuperScale sheet… and the national insignia as well
I was able to use the tail art, numbers, and aircraft name from the Draw Decals sheet, so here is what it’s starting to look like as of this evening
Several of the other Draw Decals tried to roll up on me as well during the application, but I was able to fix and save those… needless to say, I will not be using this companies decals again.
I’ll finish up the underside and stenciling tomorrow hopefully…
Fred & Spitfire, thank you for your kind words on this build. It may not be the latest and greatest 1/48 P-51 kit out there, but it will look the part when finished.
Today I added a home made sludge wash into the recessed details then cleaned it up, and also added the prop stenciling decals
Almost ready for final assembly, top coat, and weathering…