This story starts over a beer with two friend’s of mine, we can call them Rickard and Jonas. Rickard owns far more original Trimaster kits than can be considered healthy (at least two of each they ever released, complemented with Dragon kits of the ones that Trimaster started but never released before going bancrupt in 1991…). He has never built a Trimaster kit (or a Dragon copy) and we realised that most other modellers probably hasn’t either, I have seen very few of them finished in real life at least even if quite a number can be found on the Internet. Jonas did a 262 a few years ago, resulting in a nice-looking 262 and the sale of the rest of his unbuilt Trimaster collection ![]() .
.
So how bad can it be? As you all know I don’t do 1/48 but this was a challenge I couldn’t say no to even if I do have other things that I really ought to prioritize!
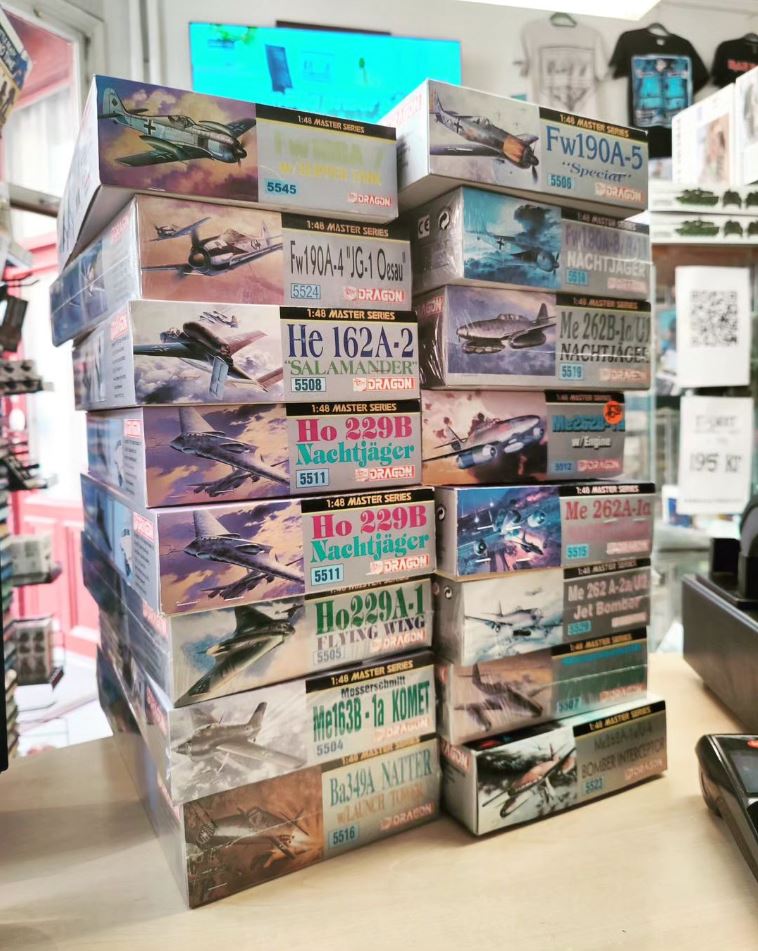
This is the usual way those kits are found. Unbuilt, and a whole load of them in one go. Sadly some are from people who have passed, I’m not sure of the background in this case though. Someone has paid quite a lot of money (in today’s money they cost far north of 100 USD/Euros when new in the early 1990s), put them in the stash and never got around to building them. Today they are positively cheap, I paid about 25 USD/Euros for mine (it’s the actual kit in the right column, third from the bottom ![]() ) Thanks to HP and Marco at Hobbybokhandeln here in Stockholm for letting me use the pic, they also promised not to tell anyone that I’m building in 1/48 scale so I expect that the Aeroscale community can keep that secret too…
) Thanks to HP and Marco at Hobbybokhandeln here in Stockholm for letting me use the pic, they also promised not to tell anyone that I’m building in 1/48 scale so I expect that the Aeroscale community can keep that secret too…
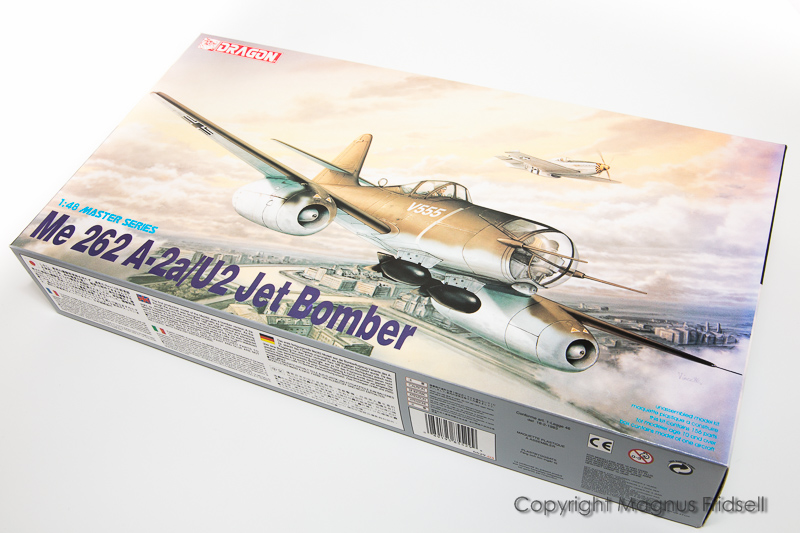
There is certainly nothing wrong with the boxart, this one positively screams “build me”!

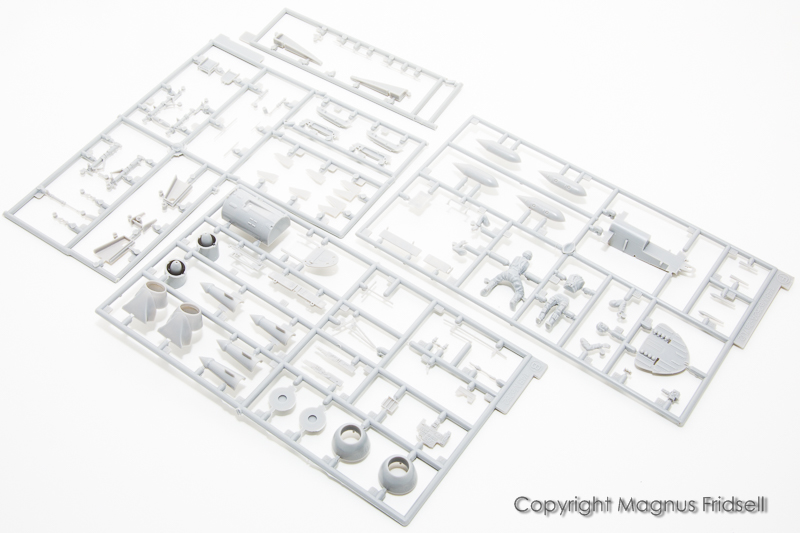
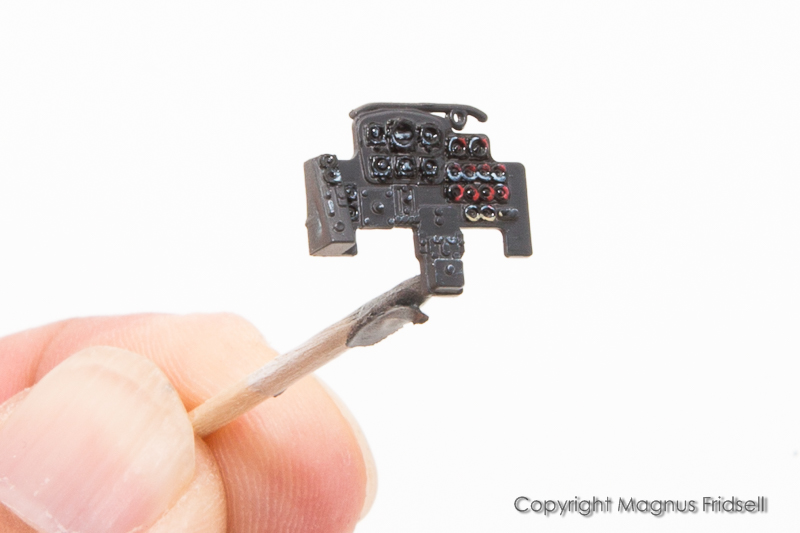
Lots of tiny pieces!
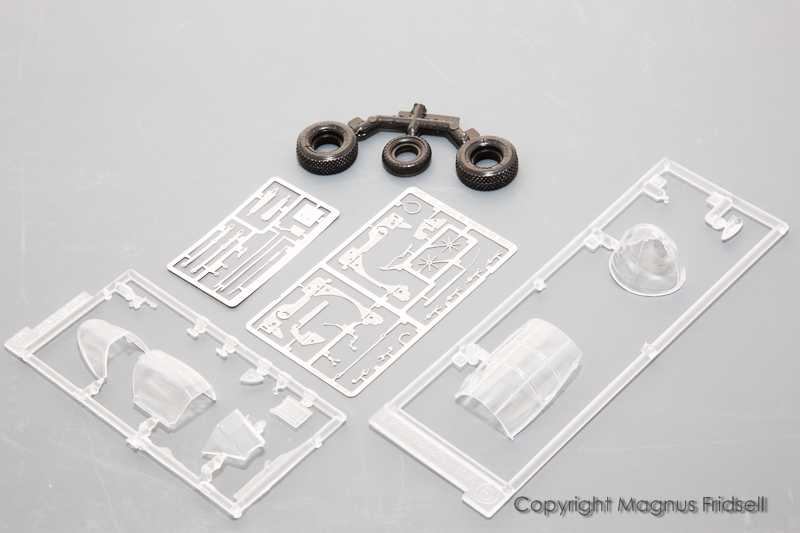
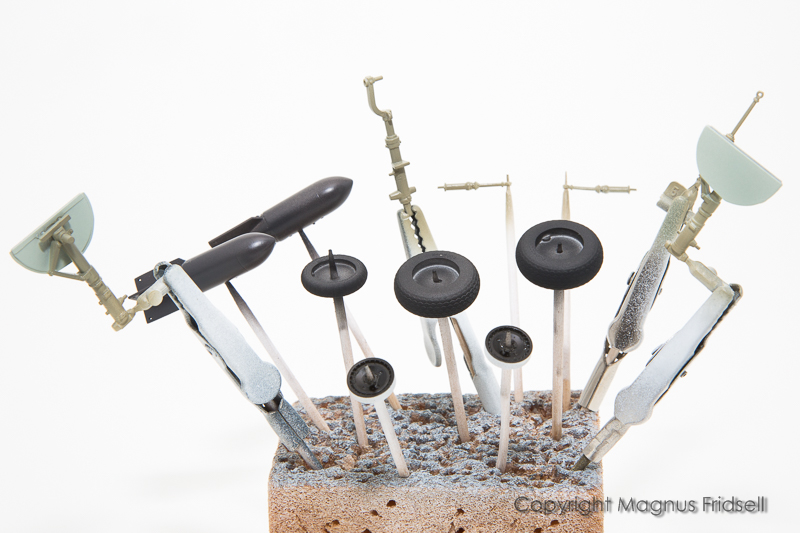
Steel photoetch that’s as stiff as (not unexepected) steel. Very good for structural parts like the main gear wells, pure horror for the seat belts. And also a set of the universally hated rubber tires, I bought myself a set of Eduard resin wheels and realise that I could have gotten myself some easier to handle seat belts in the same order if I had been a slight bit more clever…
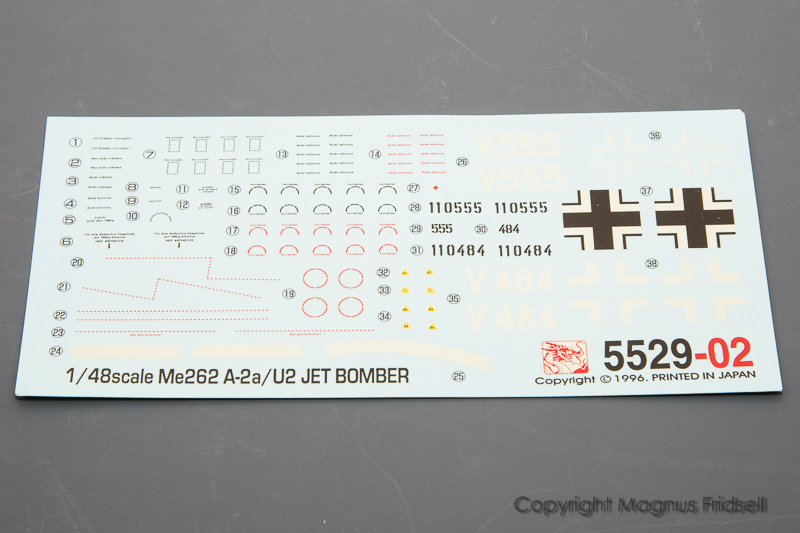
Decals. From 1996. I was 24 then, now I’m 51… Let’s see if they are still OK! I’ll cut masks for the big motifs so they aren’t make-it-or-break-it…
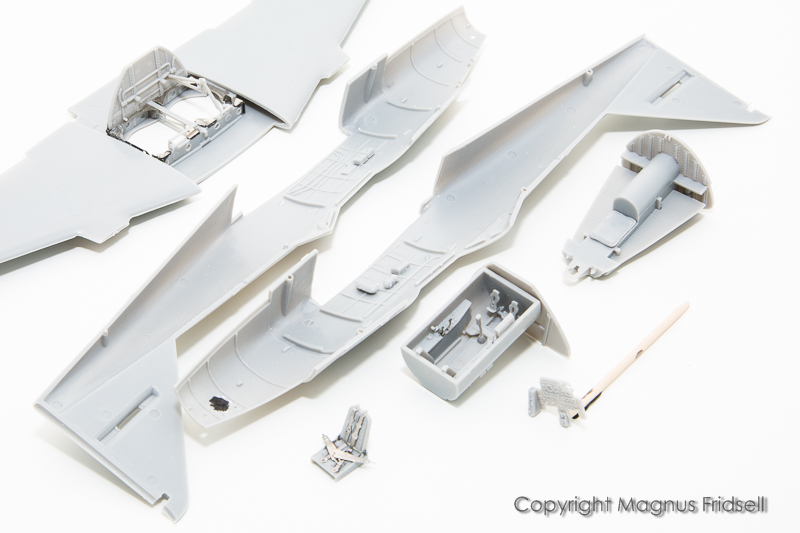
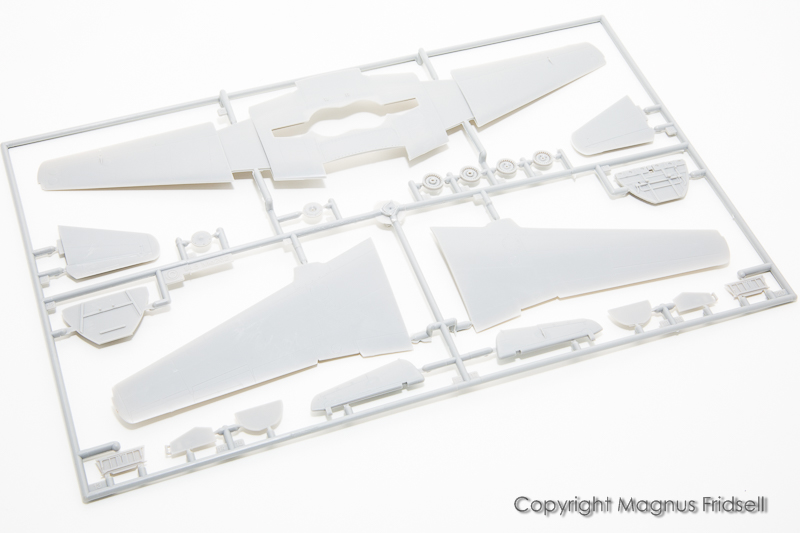
Most of the tiny pieces went into the interior, there’s more parts here (of which very little will be seen…) than in one of my usual 1/72 kits. And the sprues look fairly empty before we have even reached the outside where stuff can actually be seen. I think this is a 1990’s thing, there were two important goals then: accuracy (please shoot me) and detail (as in cockpit and landing gear detail).
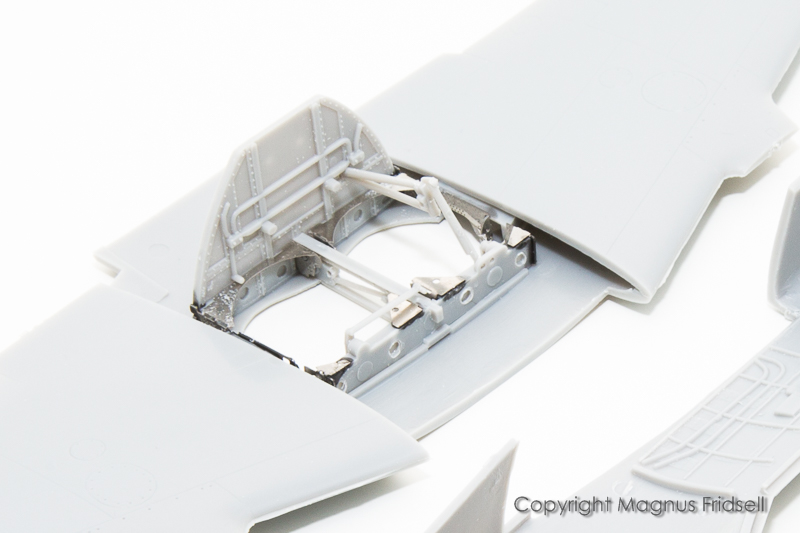
A close-up of the mixed construction gear wells. There are no alternative plastic parts here, you have to use the PE. Which fits well, is easy to fold and strong but it certainly doesn’t make this a beginner’s kit!
Let’s see if I manage to pull this one through.
For inspiration, and a more detailed look at the box contents, @AussieReg did a beautiful build of this exact kit on the old site, be sure to check it out! Also, the campaign thread for the 262 campaign is well worth a visit!
What’s Rickard building then? Of course nothing from that well-guarded original stash, he found himself a second-hand boxing where everything already has been cut from the sprues. You cannot touch that sacred Trimaster stash…
![]()
Magnus