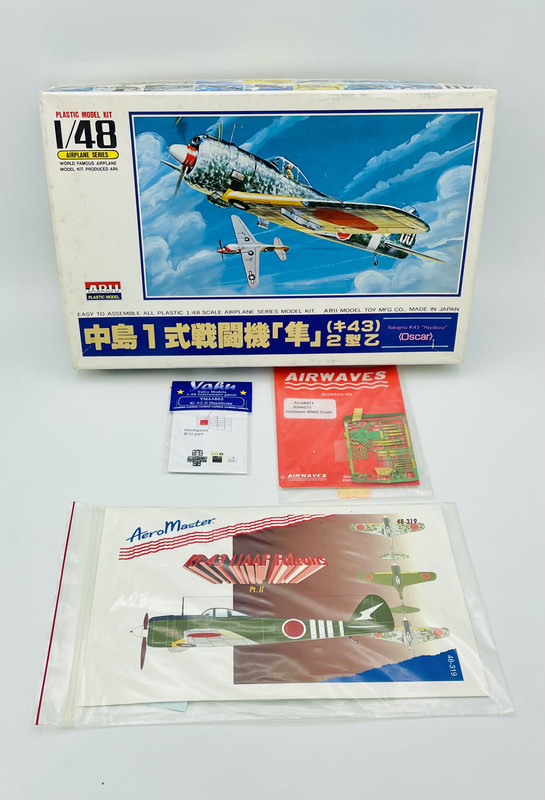
A new month, a new week, and a new project. I’m starting my long planned Otaki/Arii Ki-43 II, with a set of Aeromaster Decals, Yahu instrument Panel, and possibly some PE bits from this generic Japanese PE detailing set.
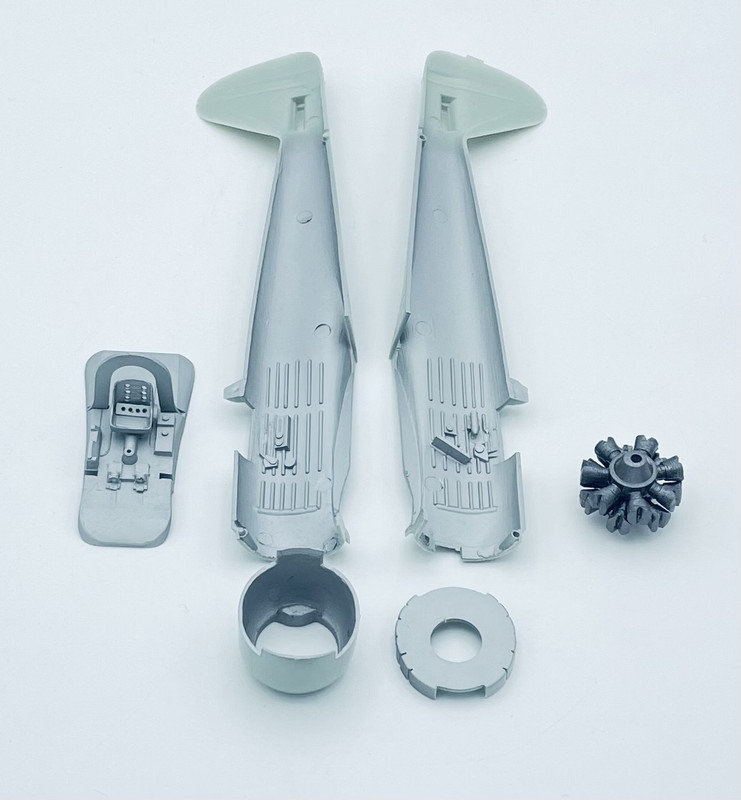
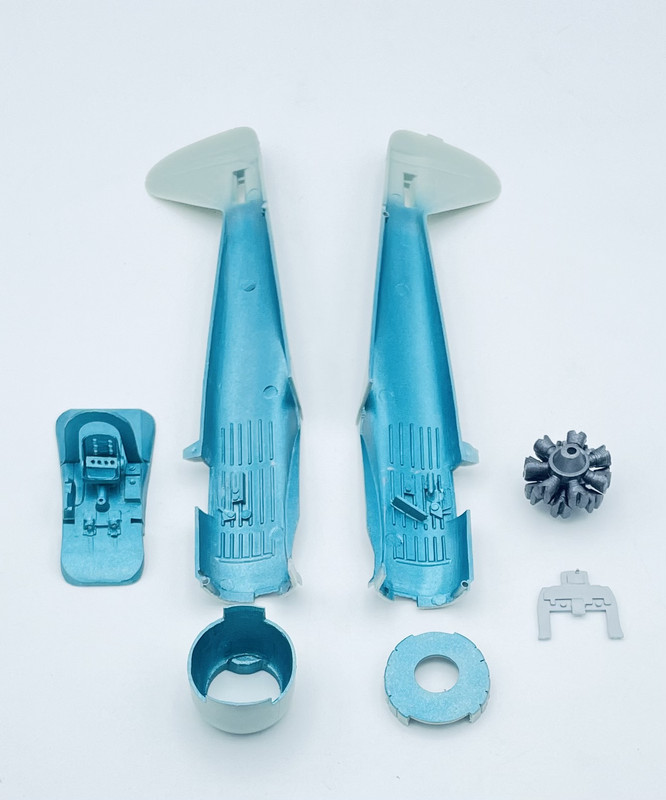
this is what comes in the box
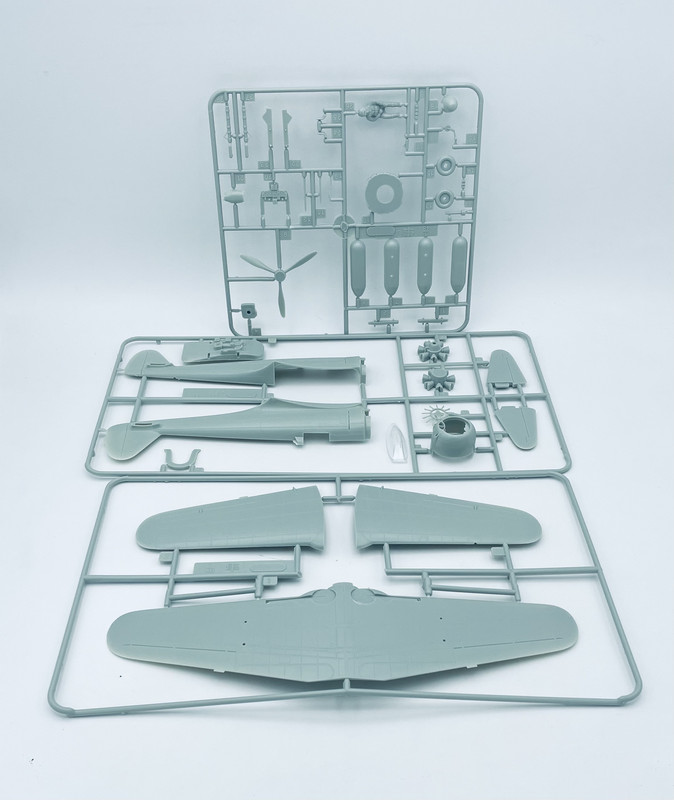
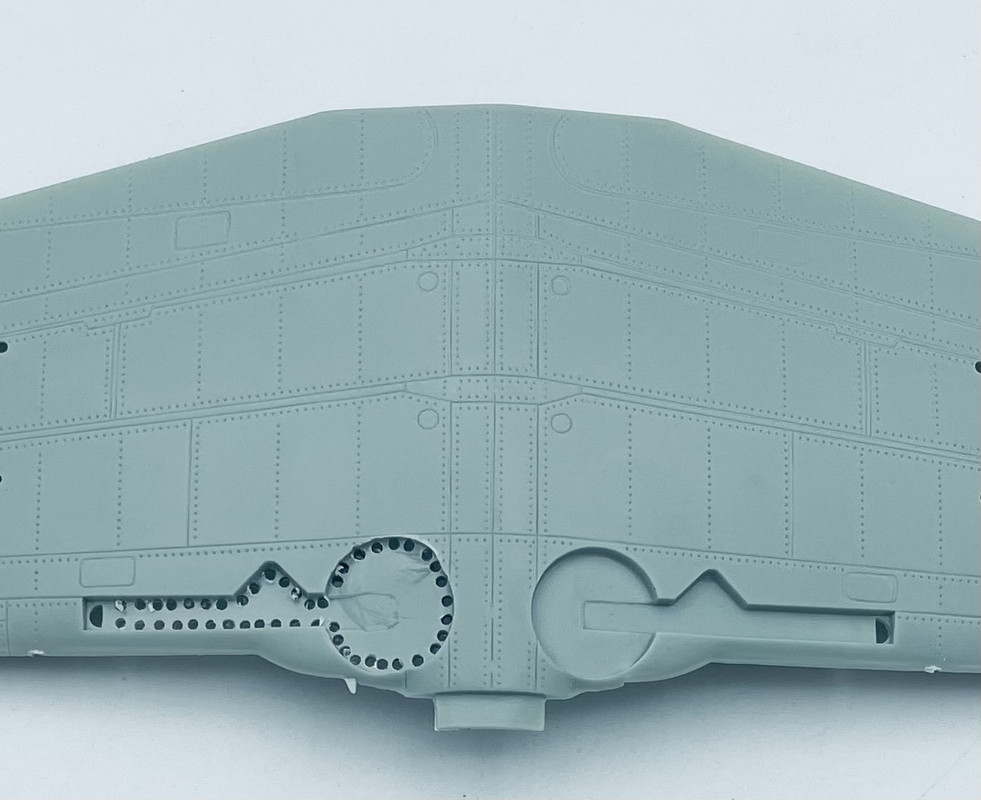
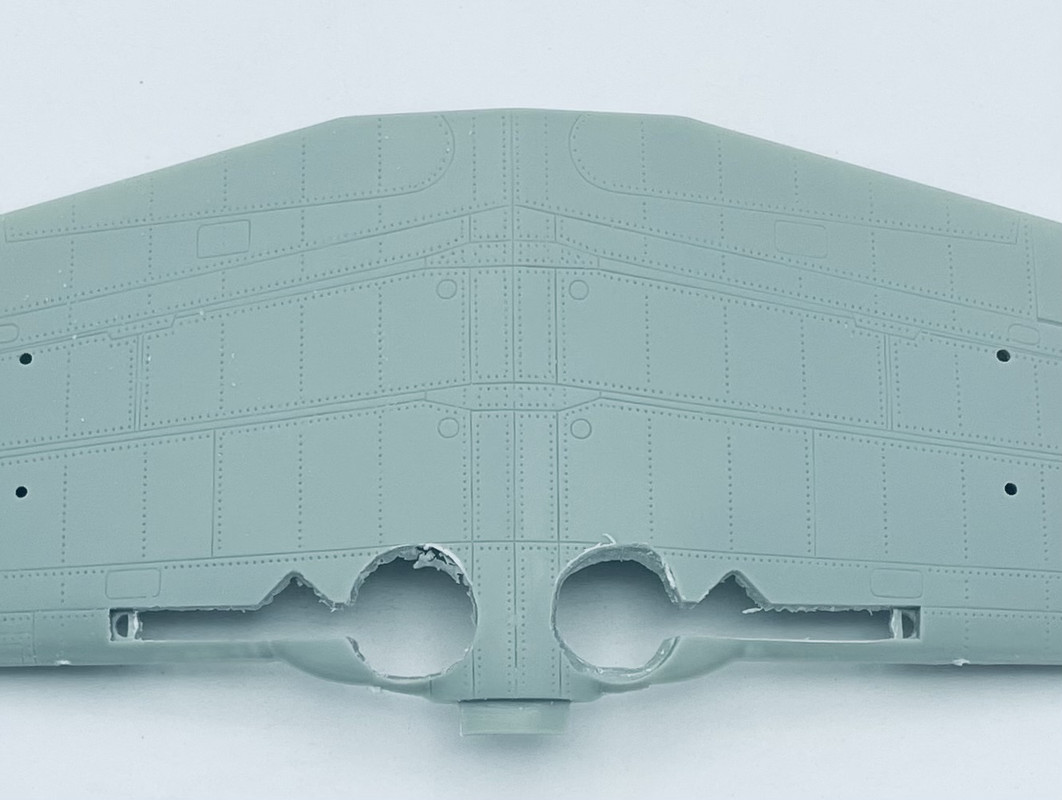
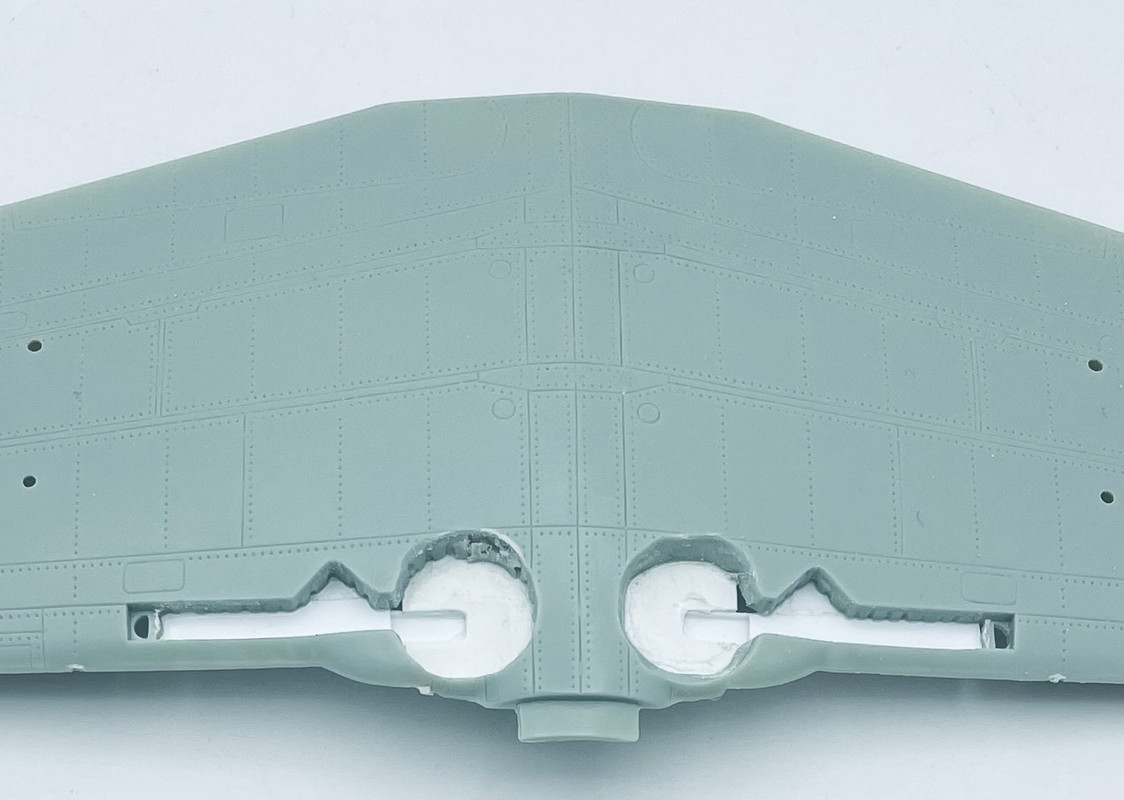
Externally, as a typical Otaki/Arii kit, the detailing and shape is nice, but the cockpit needs help, and the wheel wells are barely there
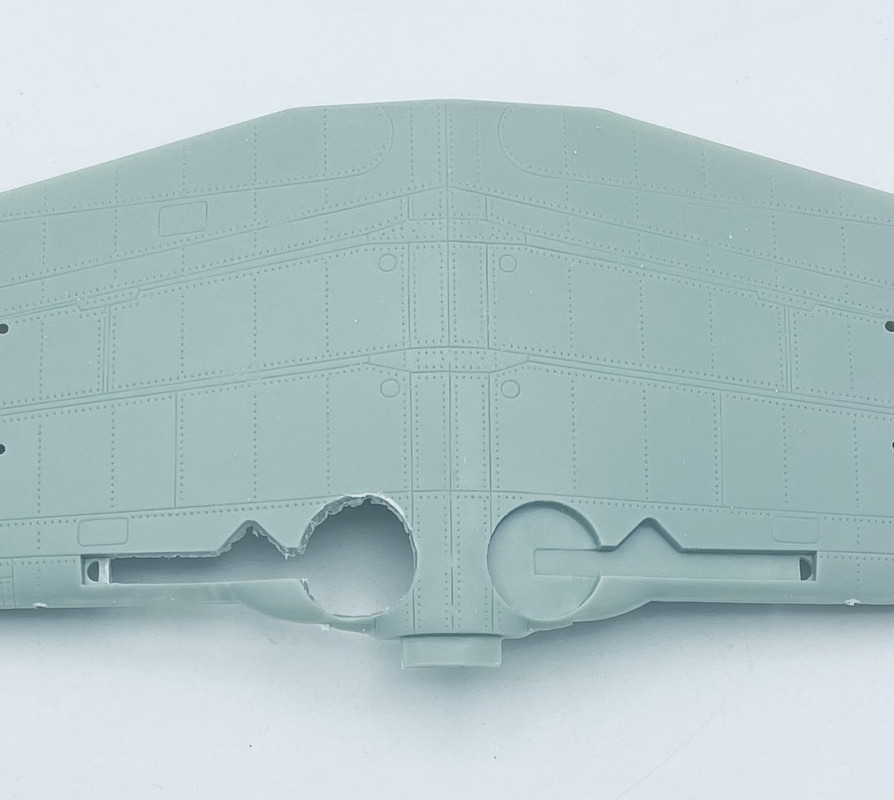
So I started by drilling, grinding, and removing the too shallow wheel well ceilings… I’ll build new ones of a more appropriate depth
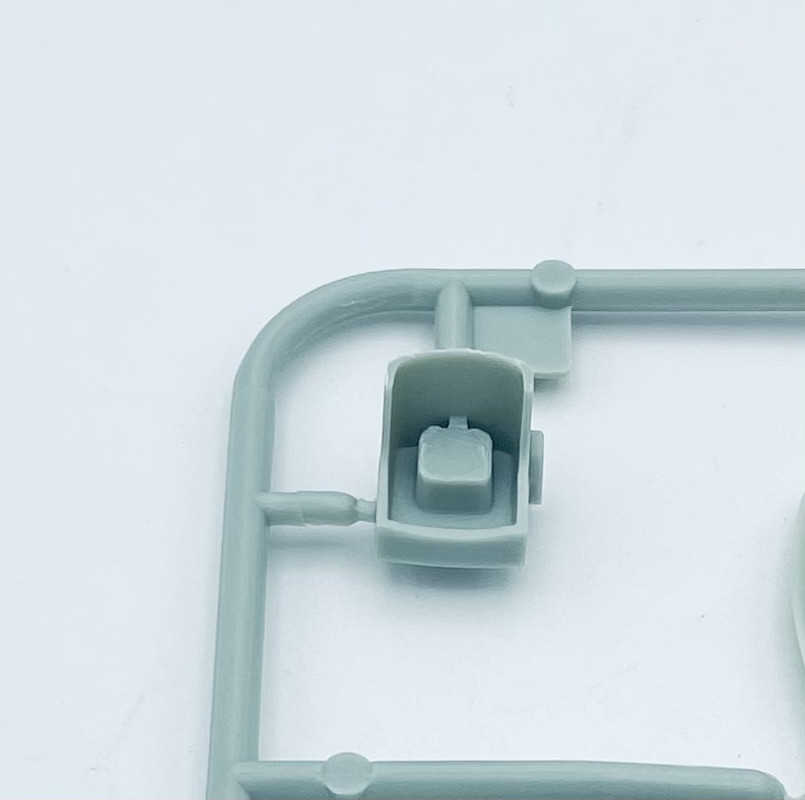
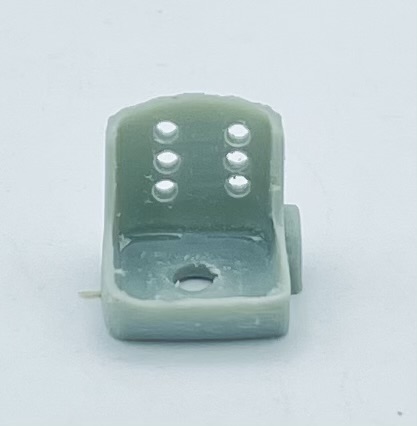
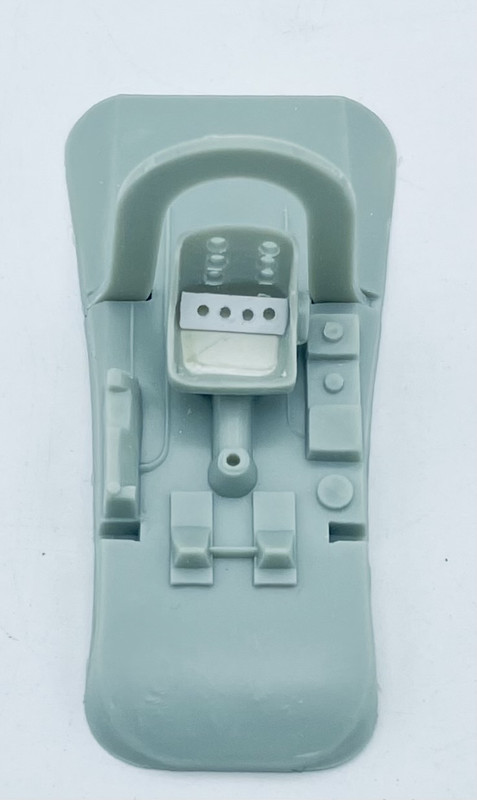
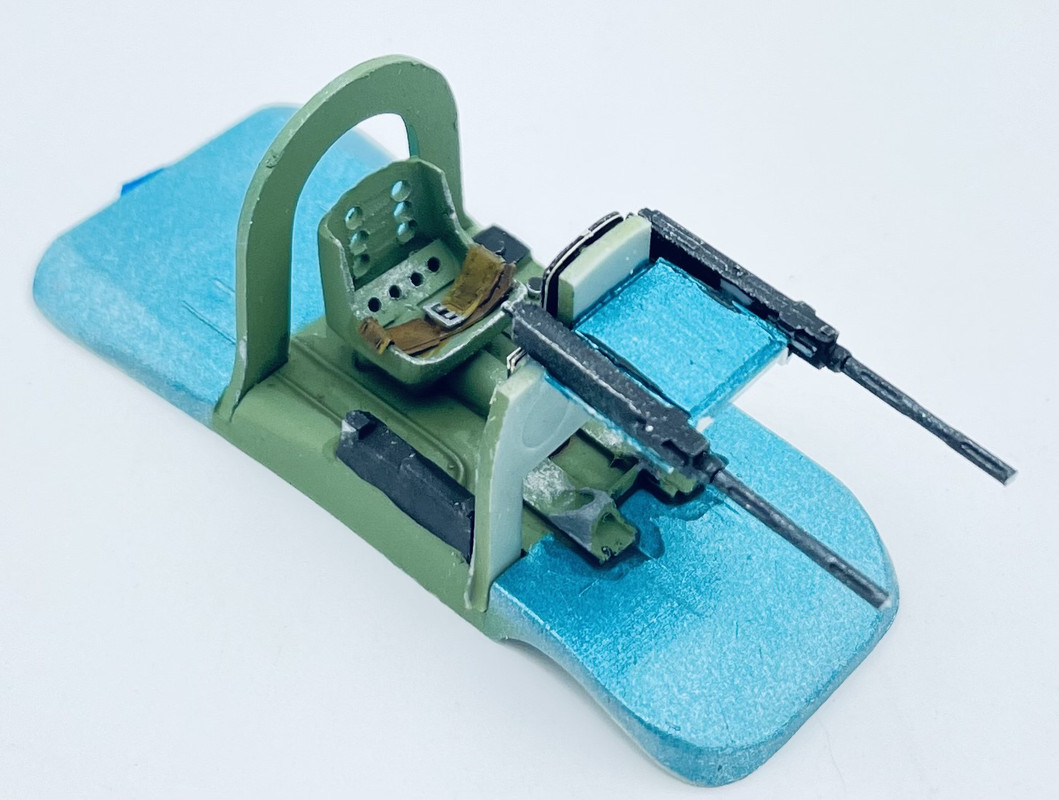
Then I addressed the pilot seat which has a block looking like a stack of phone books in the seat pan. Since the kit pilot figure is terrible, I won’t be using him, and I began cleaning up the seat, removing the block and drill8ng some lightening holes in the seat back.
I’ll address the hole in the seat bottom, then add a bit more detailing to the seat. There is a resin replacement seat available, but it’s’ cost and shipping is more than I paid for this kit, so no thanks…
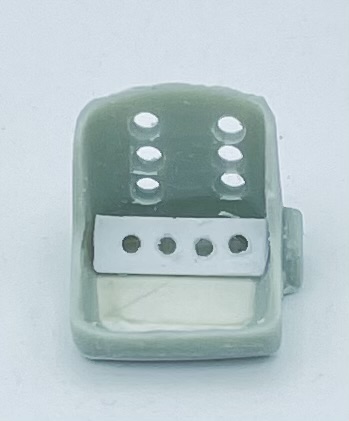
Last night I finished up the seat, sanding off the seat pan bottom and replacing that with some sheet styrene, plus adding a low back support beam
then I glued that in place on the cockpit floor
and this morning I’ve been working on adding the tops of the now depend wheel wells
My next step is modifying fuselage areas at the forward portion of the wing roots affected by the deepened wheel wells. And I’ll be able to start painting the cockpit soon too.
Well I finally have some updates worth posting… painting has begun… at least for the interior
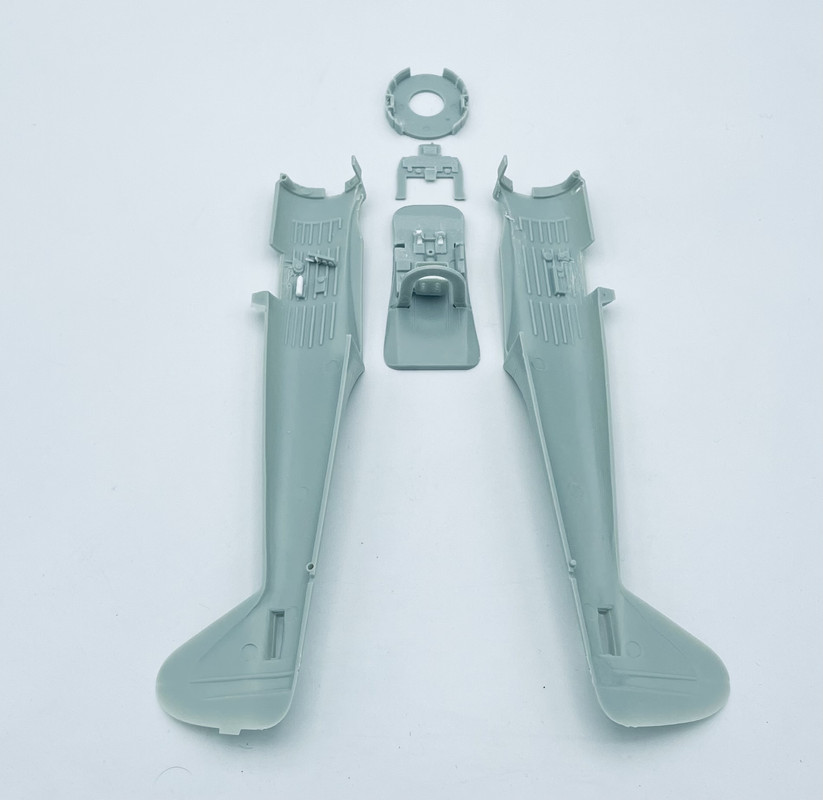
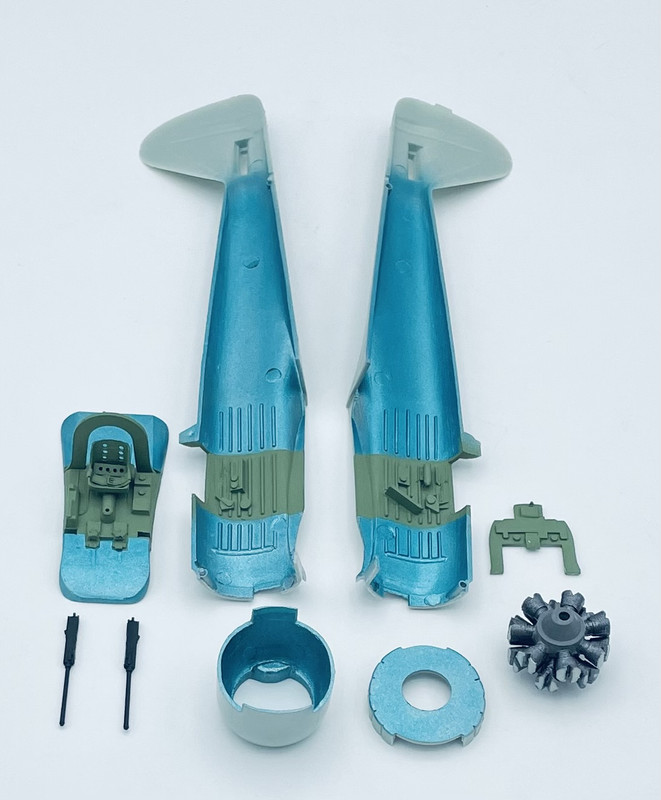
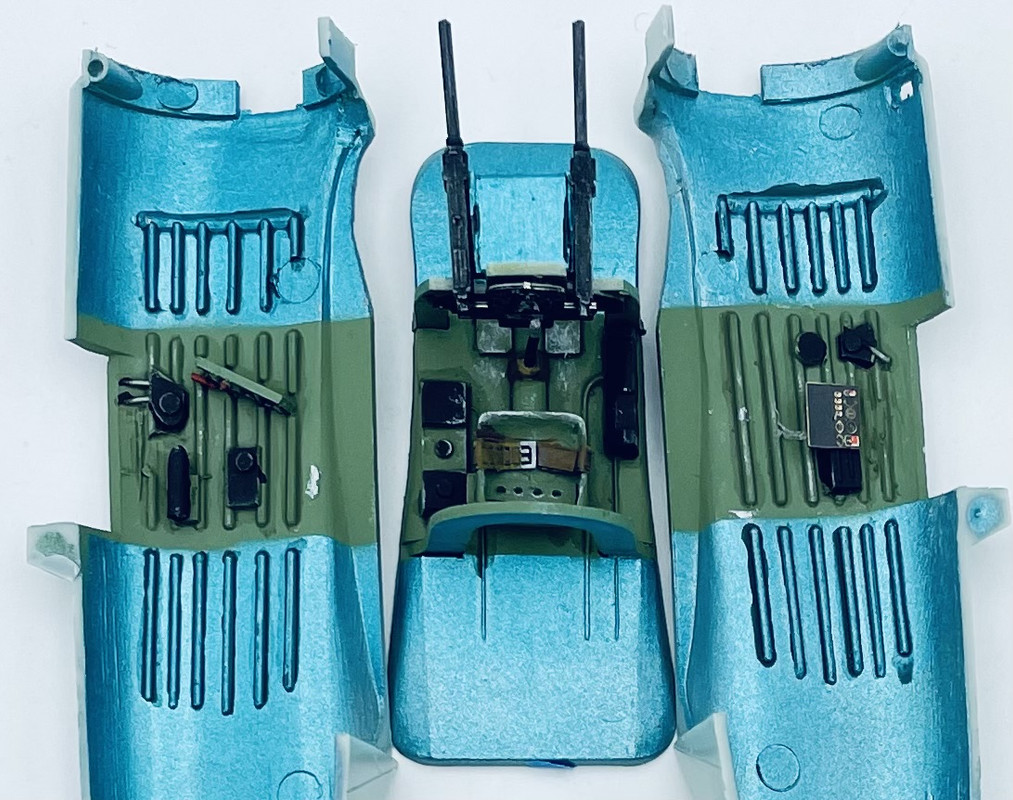
Basic parts ready for paint…
then last night I laid down a base of Tamiya Lacquer Flat Aluminum on all the interior areas, plus Tamiya Lacquer Light Gun Metal on the engine
I let that dry overnight, then this morning I airbrushed on a coat of Gunze Aqueous Aotake over the Aluminum areas
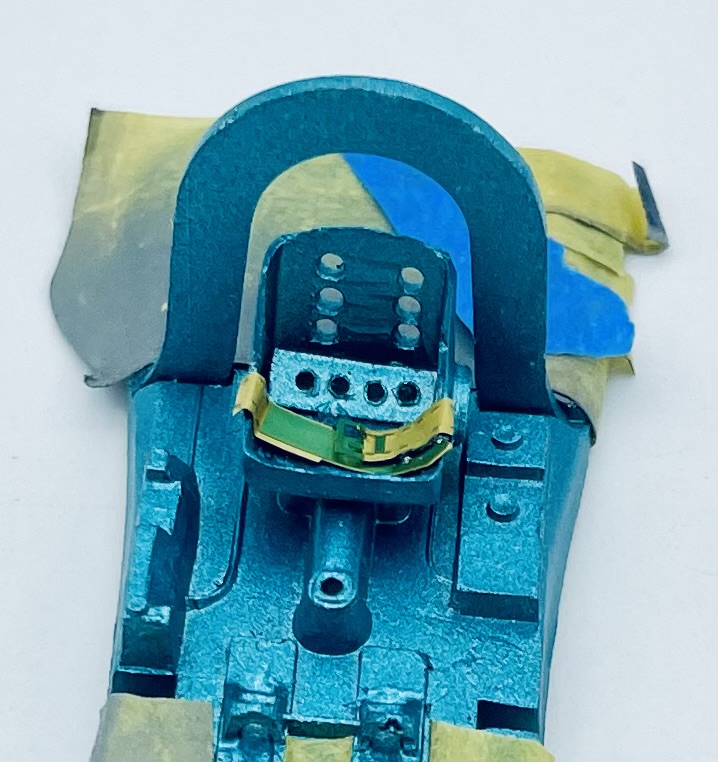
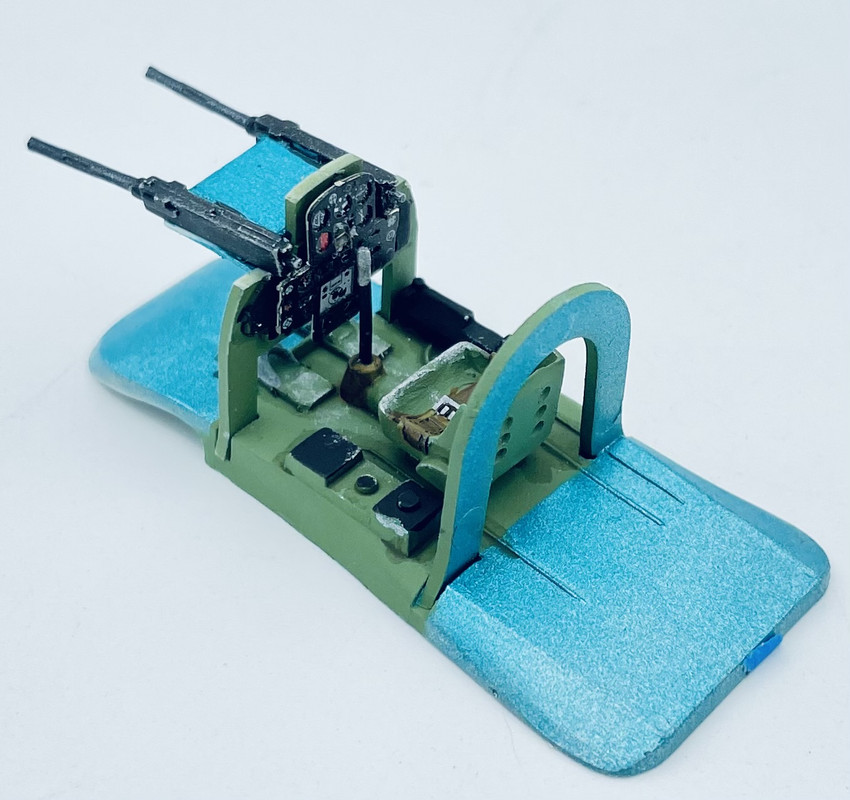
after I let that dry I masked off the cockpit areas for the next color, and also added a PE seat belt
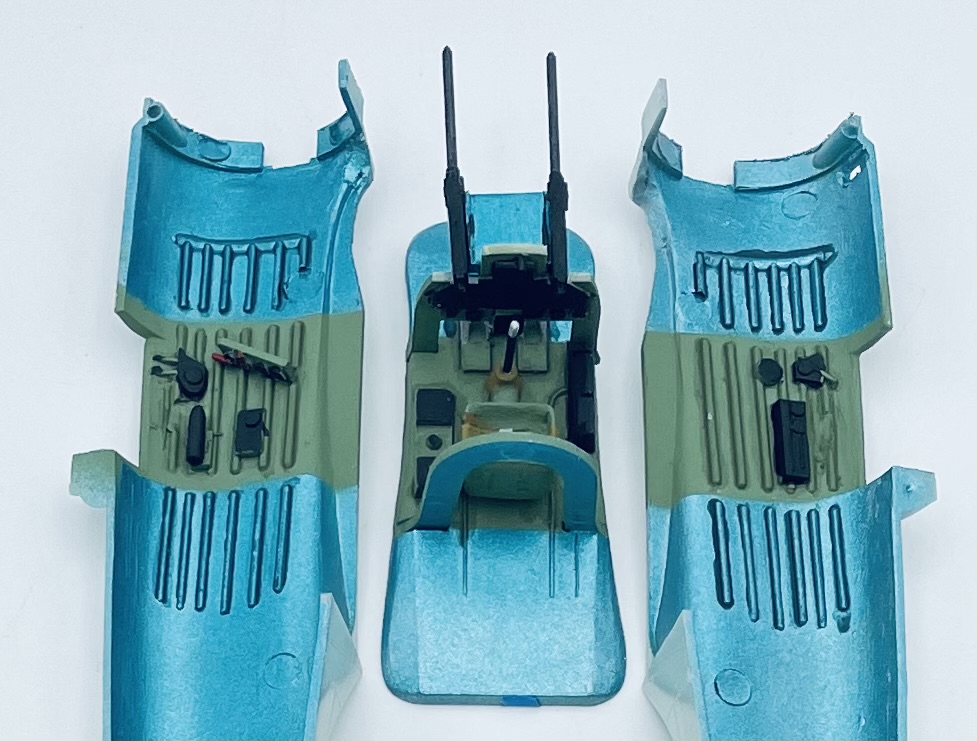
Then a short while ago I airbrushed a coat of Tamiya Cockpit Green in the cockpit area. I also painted the engine crankcase in Vallejo Game Color Cool Gray, and painted up a pair of machine guns from my spare bin that I will be adding, as their butts should be visible to the sides of the instrument panel top, like on a P-40B/C, or Zero.
@JPTRR, thank you Fred. I do enjoy these old Otaki kits, even of they have been superseded by newer & better kits. They are a great canvas for improving modeling skills with.
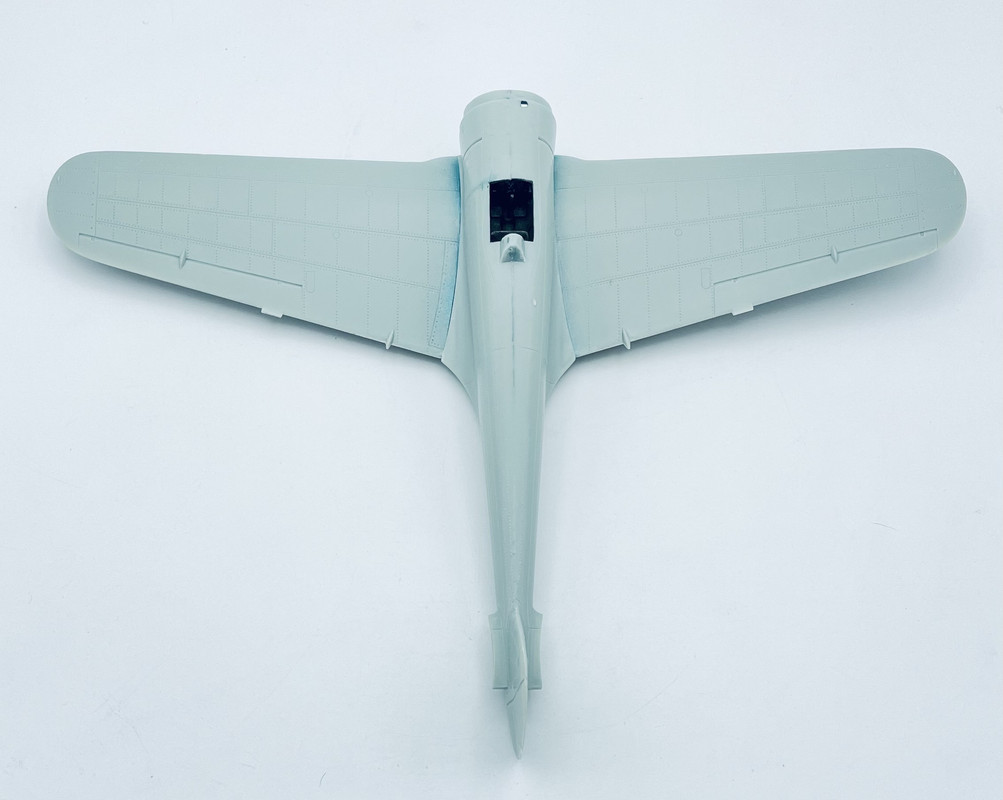
Well, yesterday after my last update, I had a little free time left in the afternoon, so I glued the wings on to the fuselage
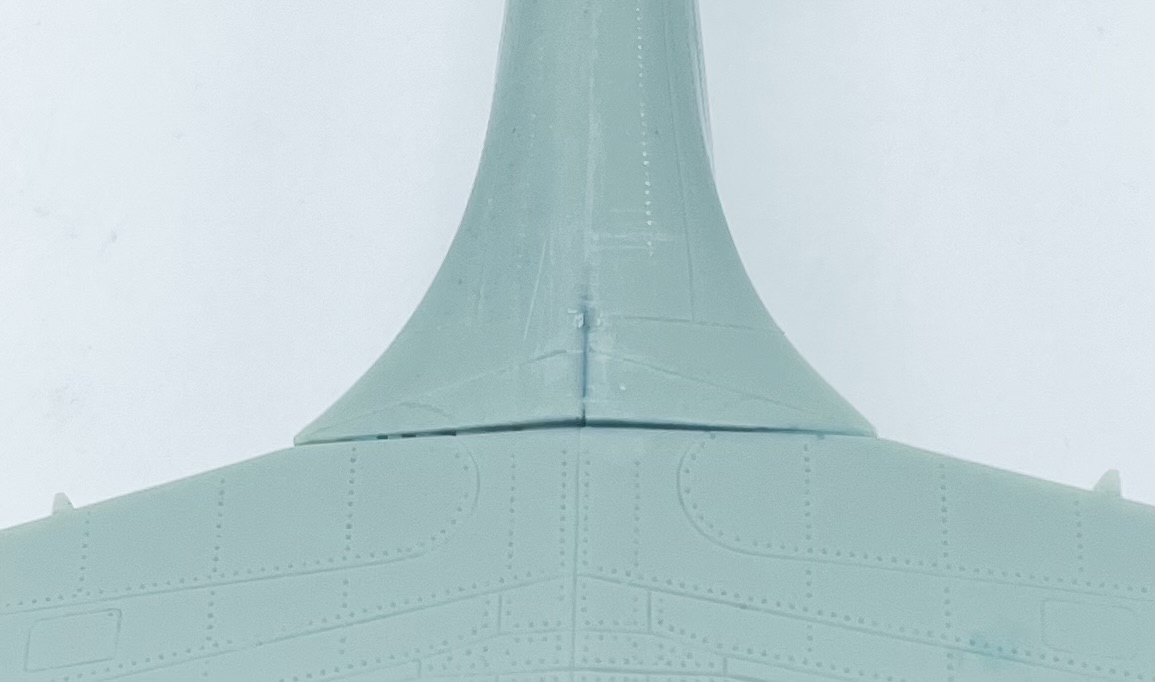
Not too bad a fit, but on the bottom there is a pronounced step and gap
I will have to deal with the step & gap next week when I resume work on this next week…
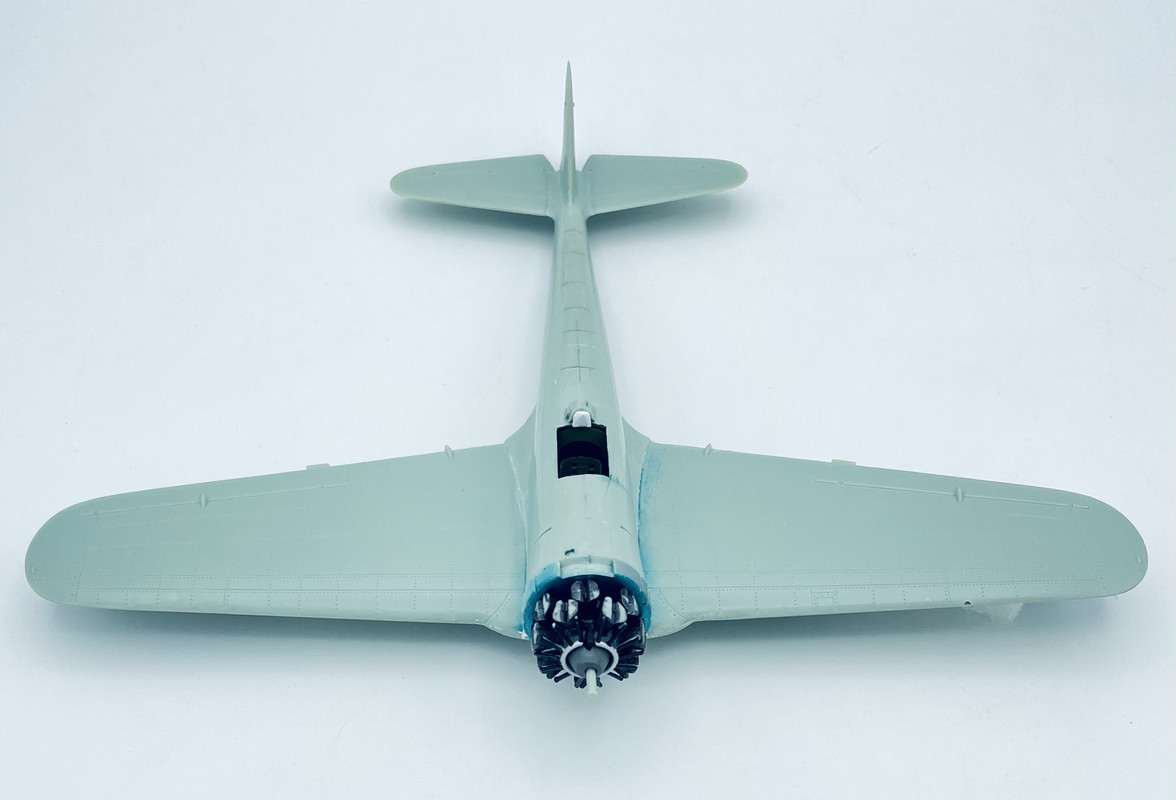
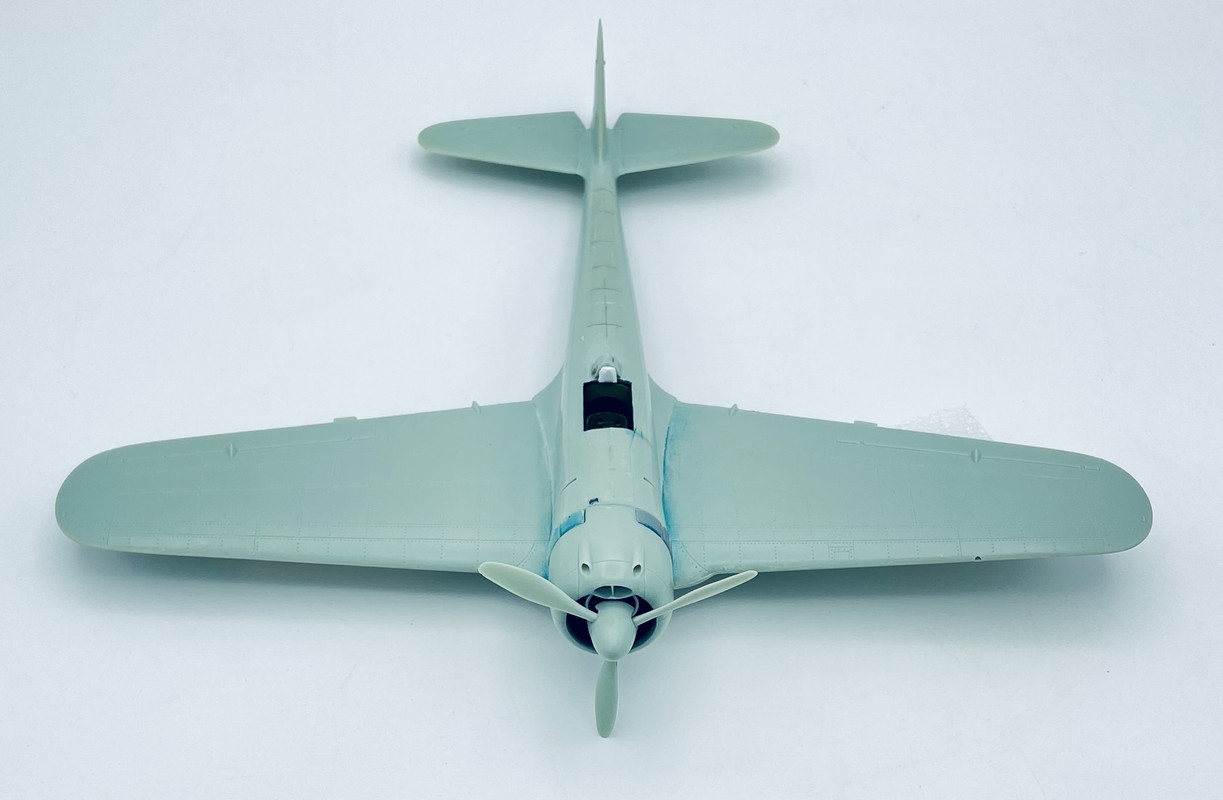
Today I finally made enough progress worth taking update photos. After seam clean up and gap filling, then rescribing lost detail, I added the horizontal stabilizers and engine to the airframe
I also assembled the propeller then test fitted it and the cowling for a photo
Now it looks like a Hayabusa! Just a few more items to add then I can start painting!!!
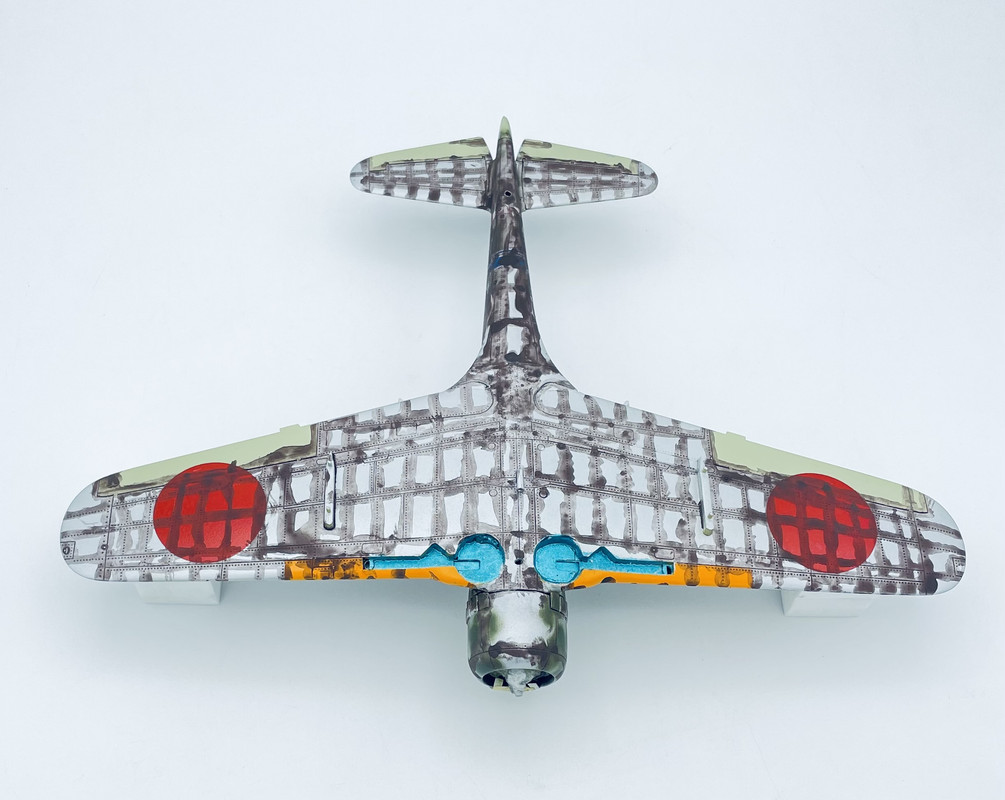
So the past few days have been airbrushing sessions to get this build wrapped up…
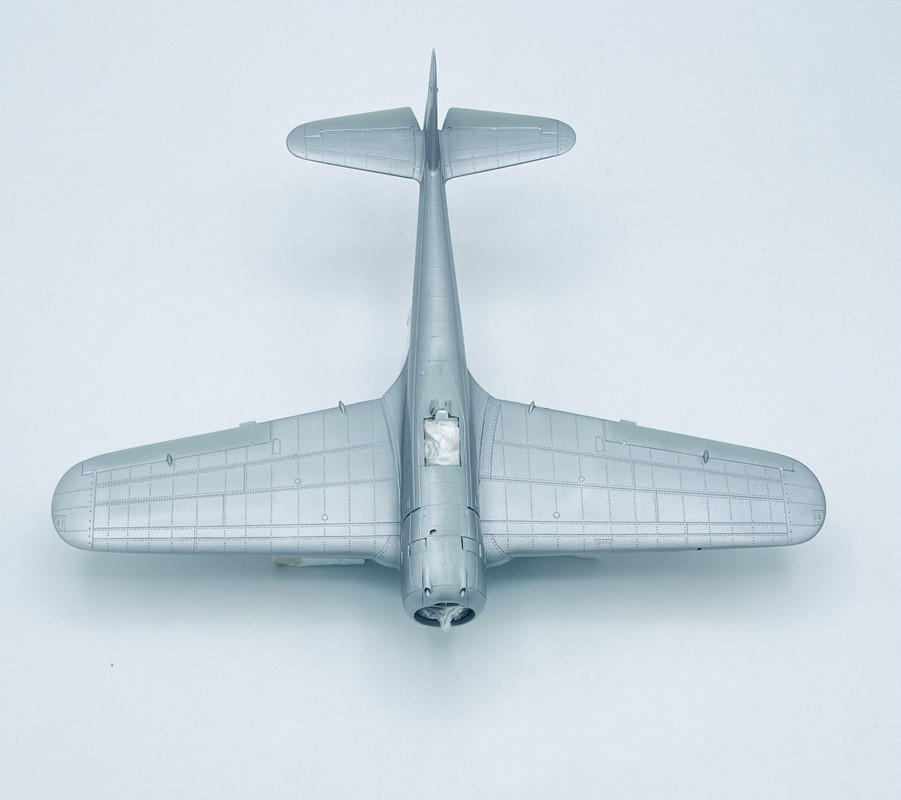
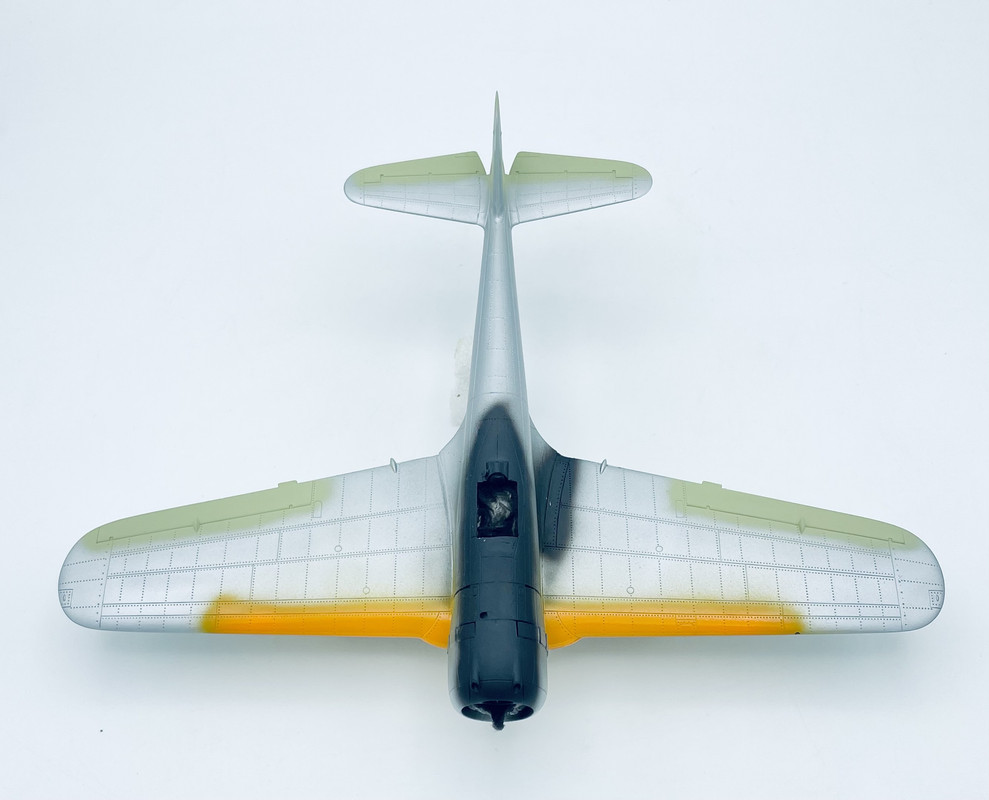
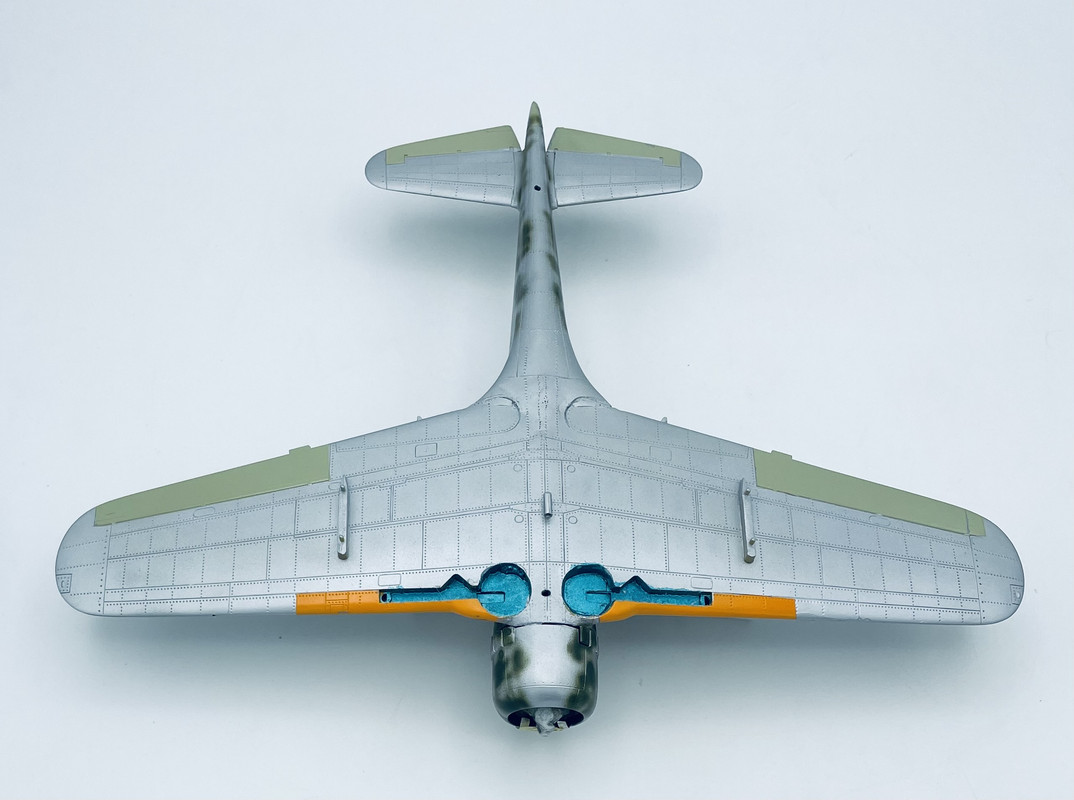
First up was a base coat using Tamiya Lacquer Gloss Aluminum
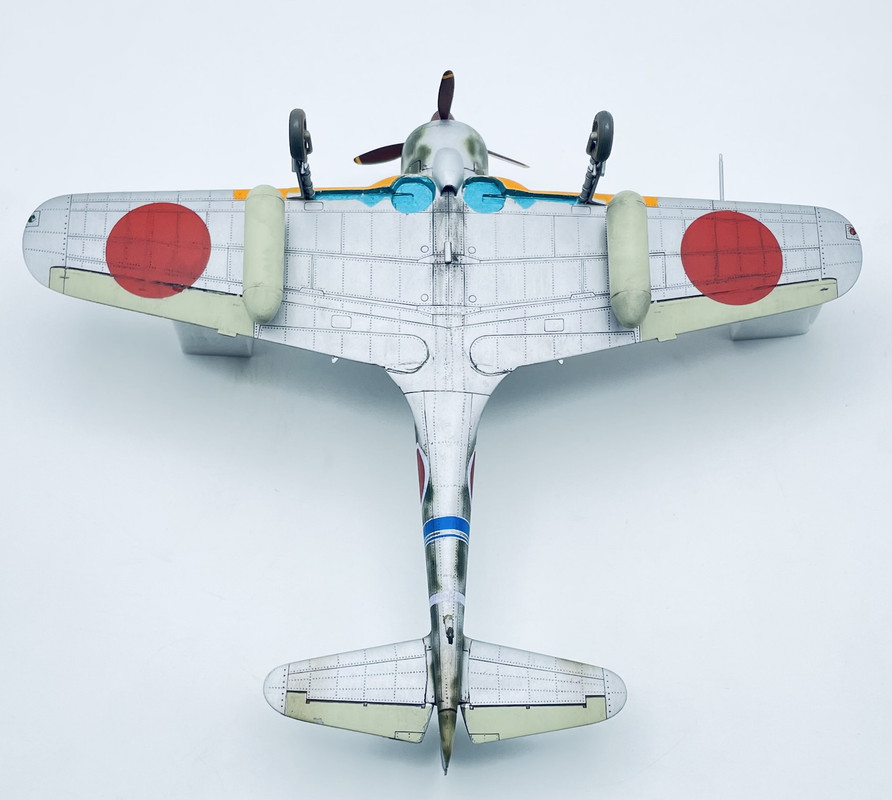
After that I airbrushed on Tamiya IJA Gray onto the fabric flight conrol surfaces, Tamiya Lacquer Flat Black for the walkway and Anti glare area, amd Gunze Aqueous Deep Yellow on the wing leading edge IFF area
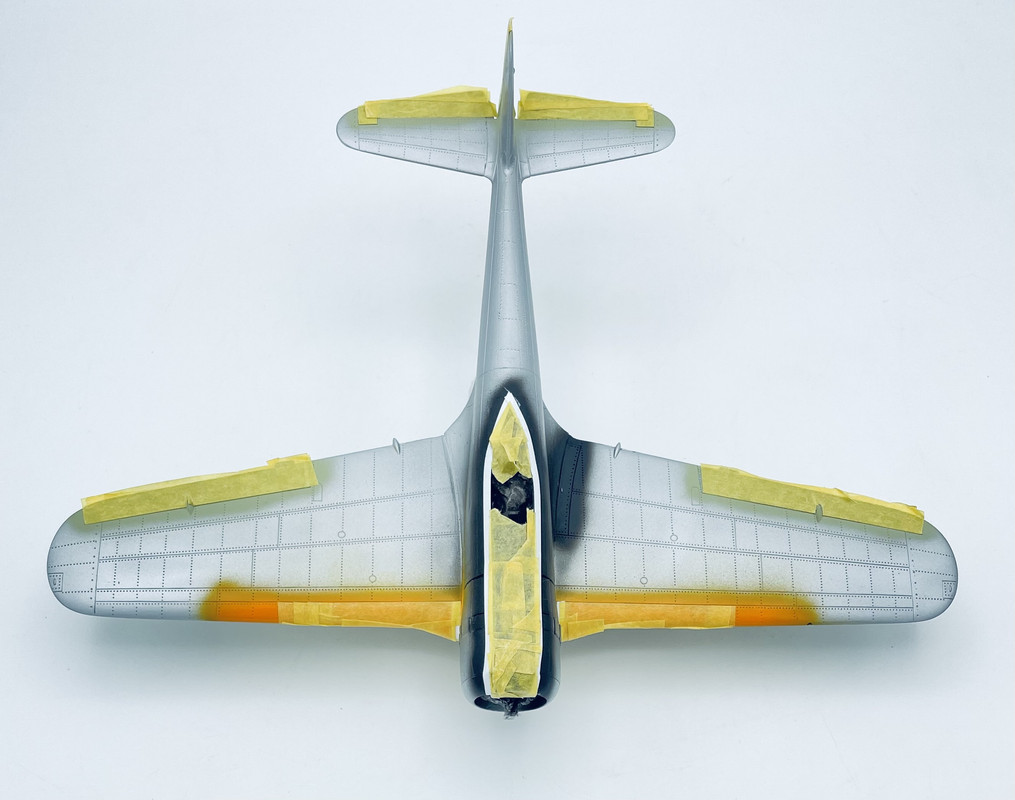
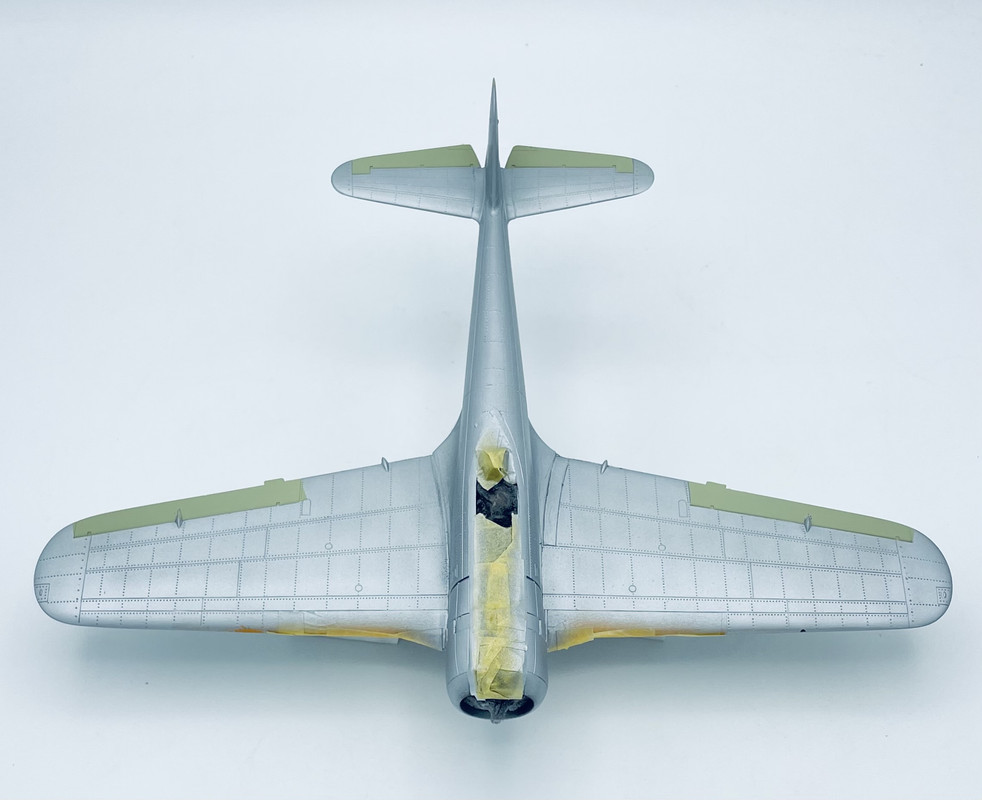
Then I masked it off and DoD touch up in aluminum on the overspray areas
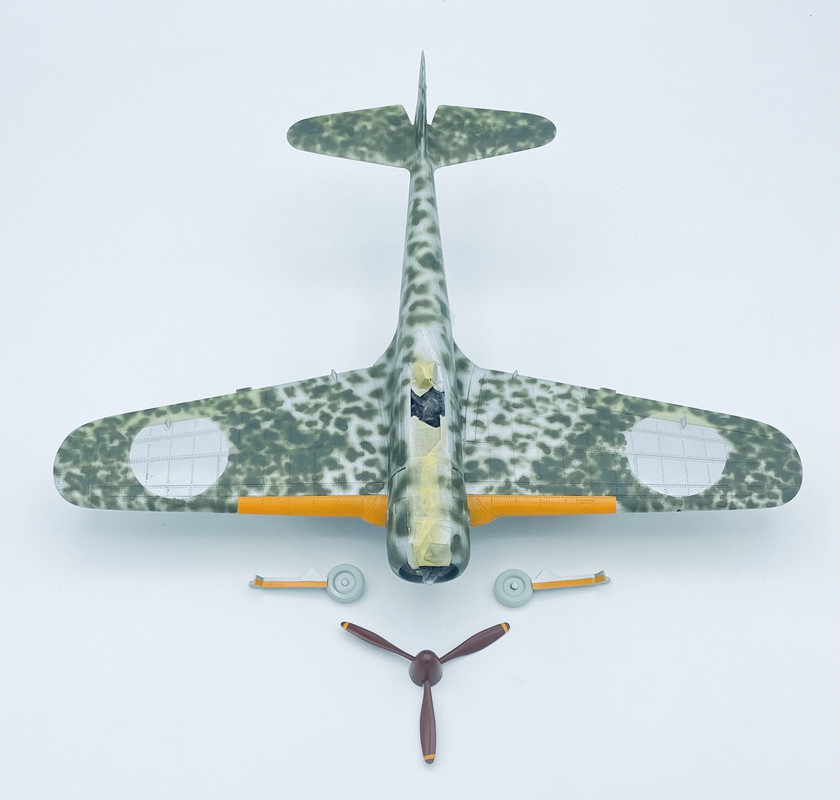
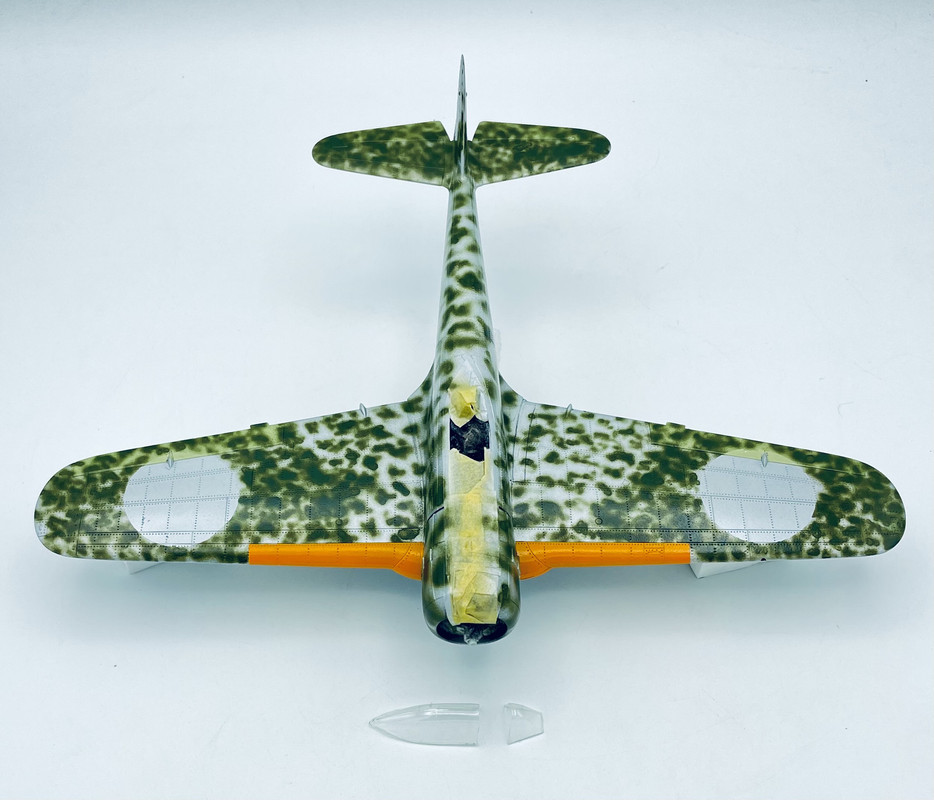
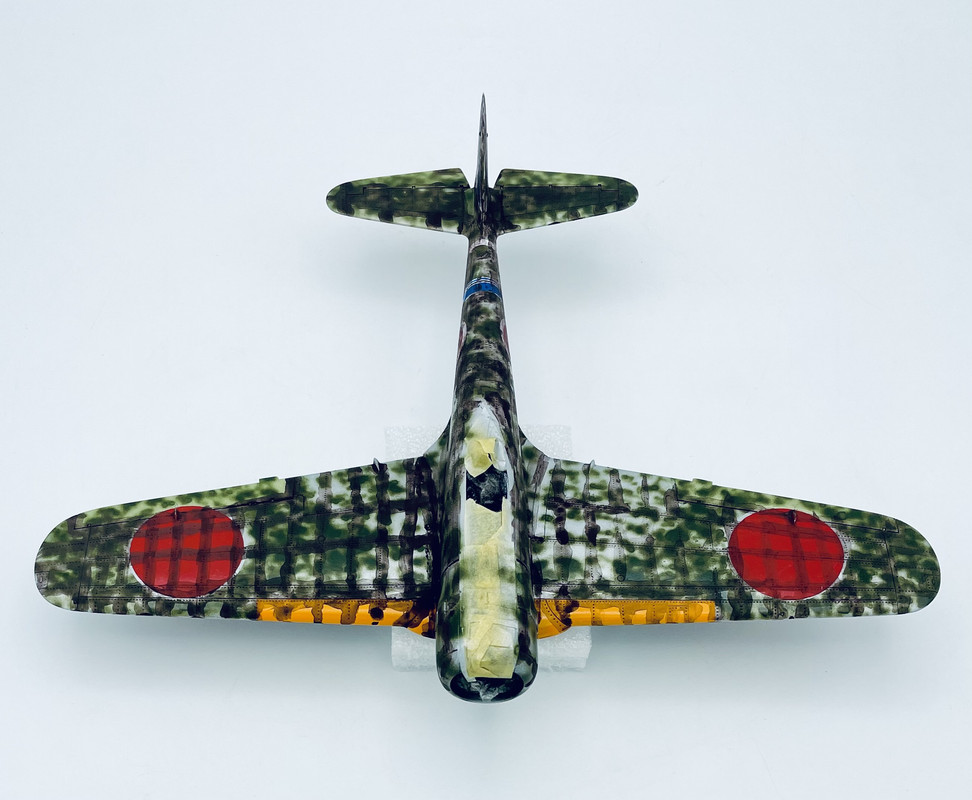
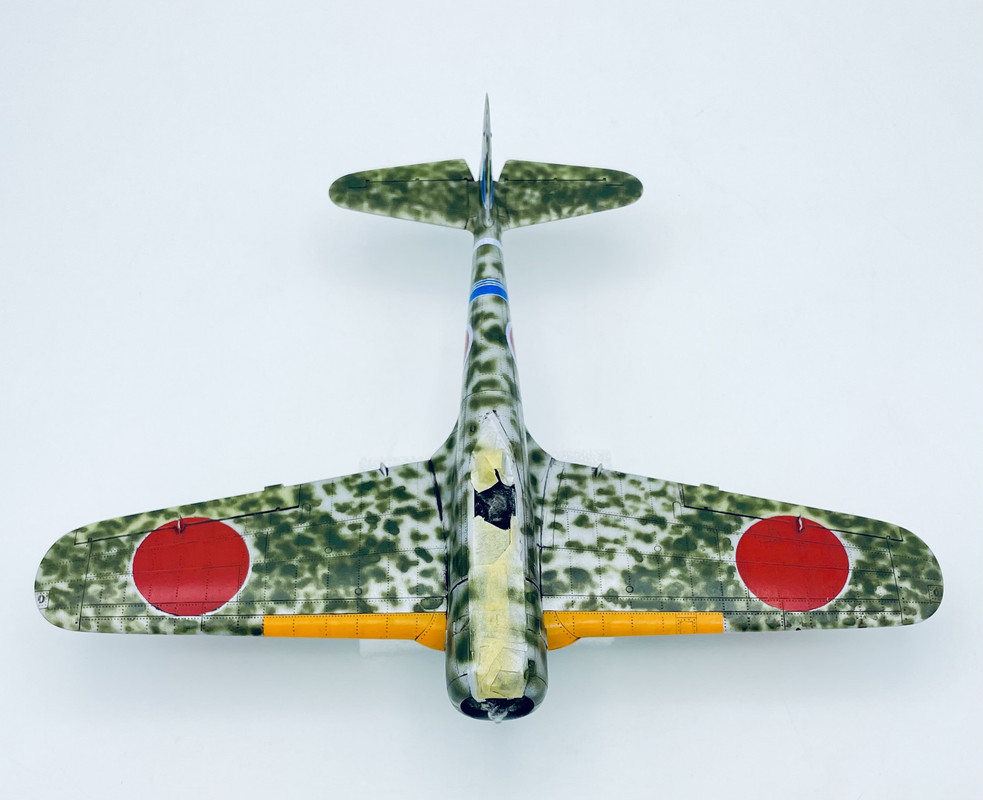
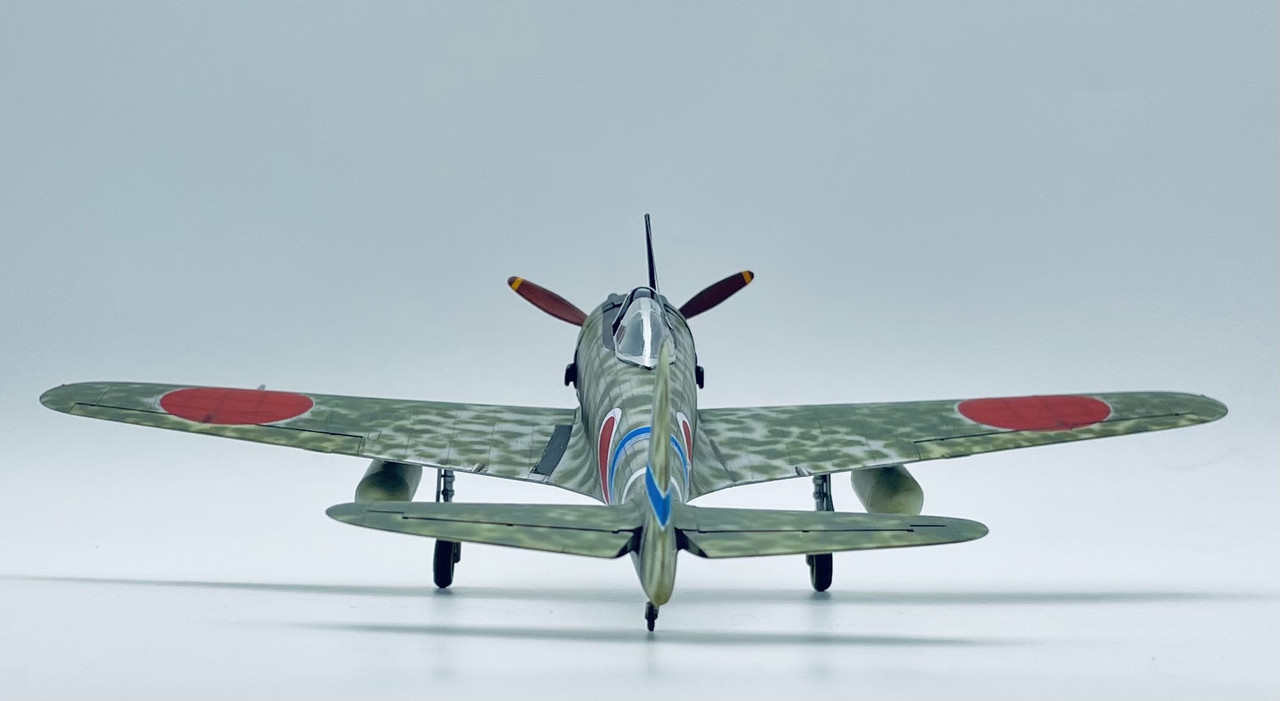
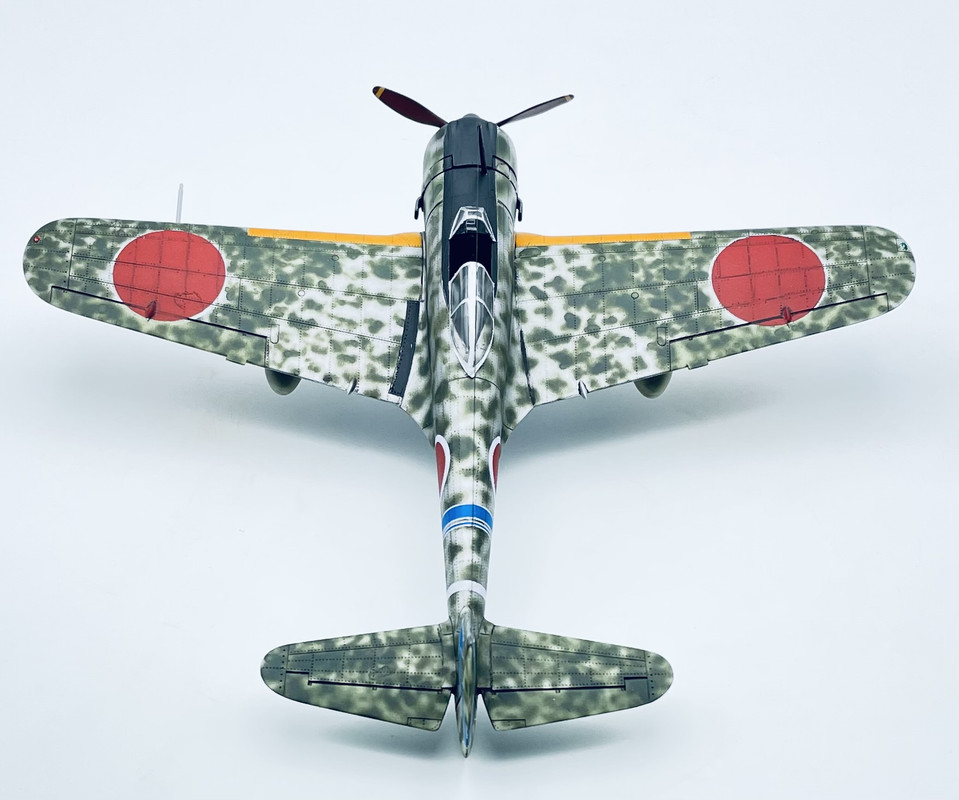
Lastly I did the mottle camouflage using Gunze Aqueous IJA Green and the kit Hinomaru decals as masks on the upper wings
Yesterday I airbrushed on a gloss coat in preparation for decals using Tamiya Gloss Clear… I also dipped the vacuform canopy in Future… everything was allowed to dry overnite
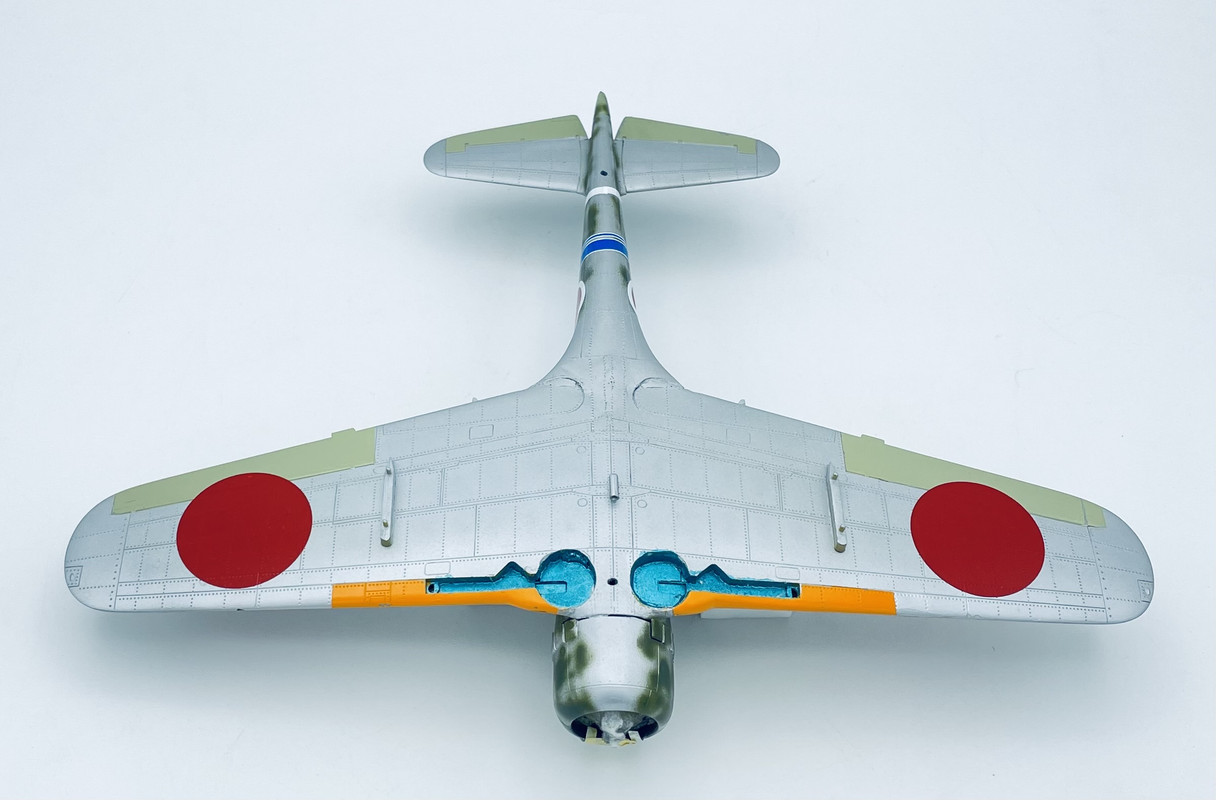
Then today I applied the decals
I still need to mask up and paint the canopy framing… Now its just about ready for weathering, flat coat, and final assembly…
Since my last update, I hit the un cooperative upper left wing Hinomaru that was pointed out to me earlier, with a couple doses of Micro Set and got it to snuggle down properly
Then this afternoon I made up a homemade sludge wash and applied it on the upper and lower surfaces
After giving the wash a few hours to completely dry, I went back and cleaned it up
I will say this about the homemade sludge wash… it takes a bit longer to mix up than mixing up a wash with oils, but it dries quicker and cleans up even more quickly… I am sold!
Well, I am at the 99.9% done point now… I still need to add an antenna wire tomorrow once the antenna mast is fully dry in place, and some dirt on the wheels.
after I add those things, I’ll get the usual multi angle photos posted here…
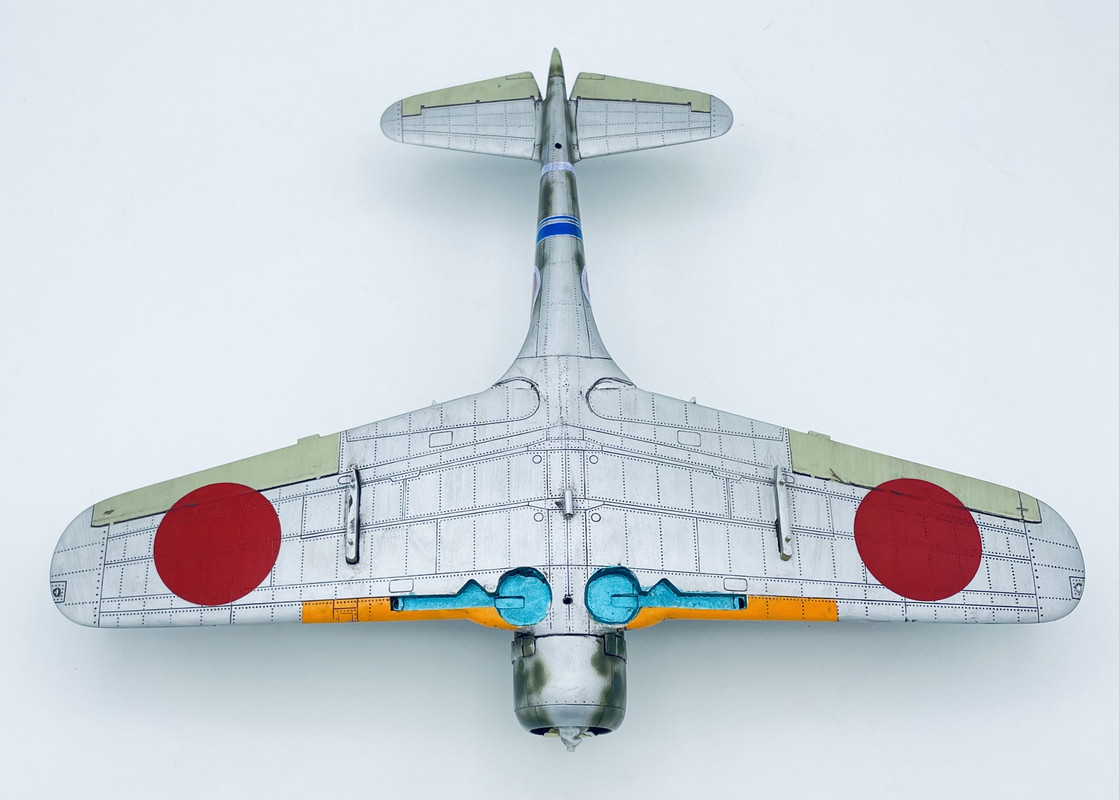
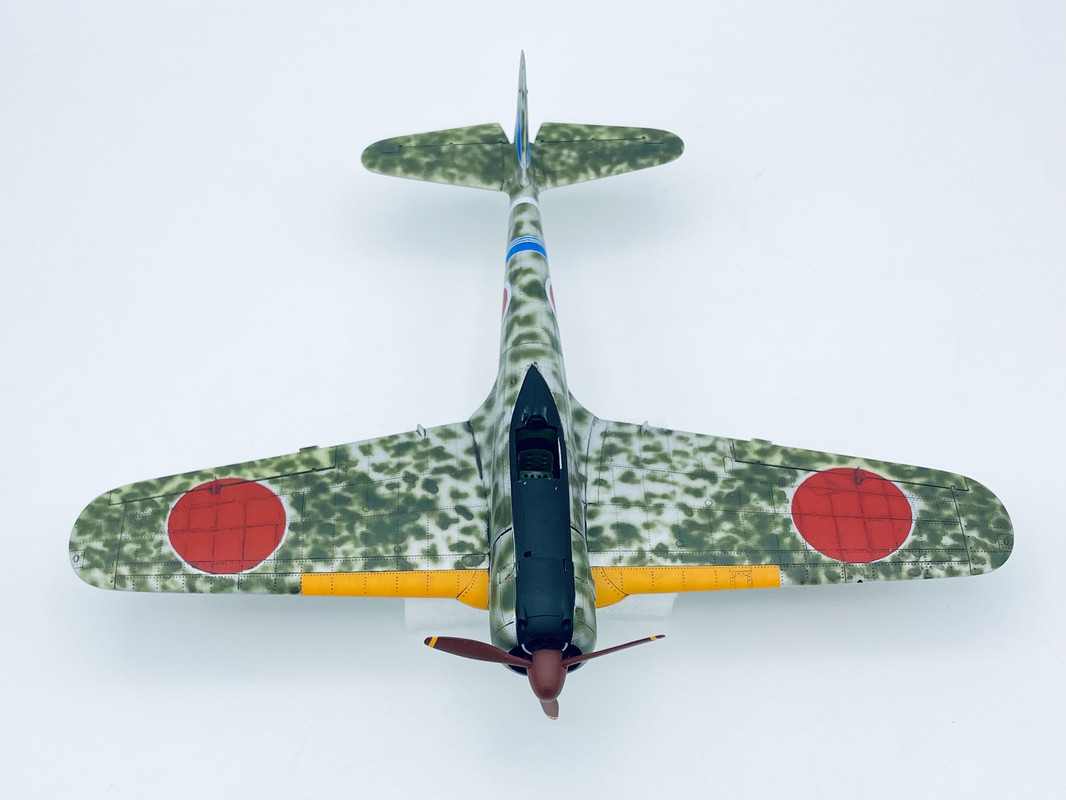
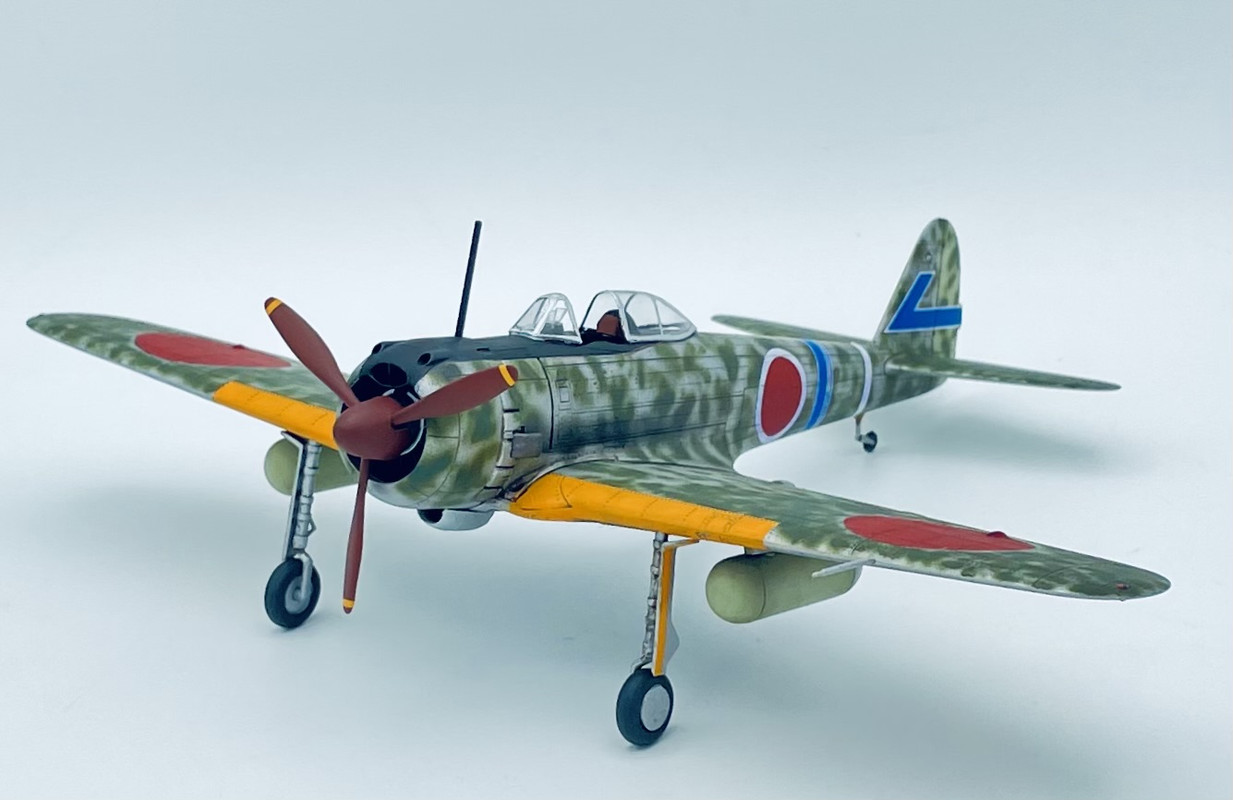
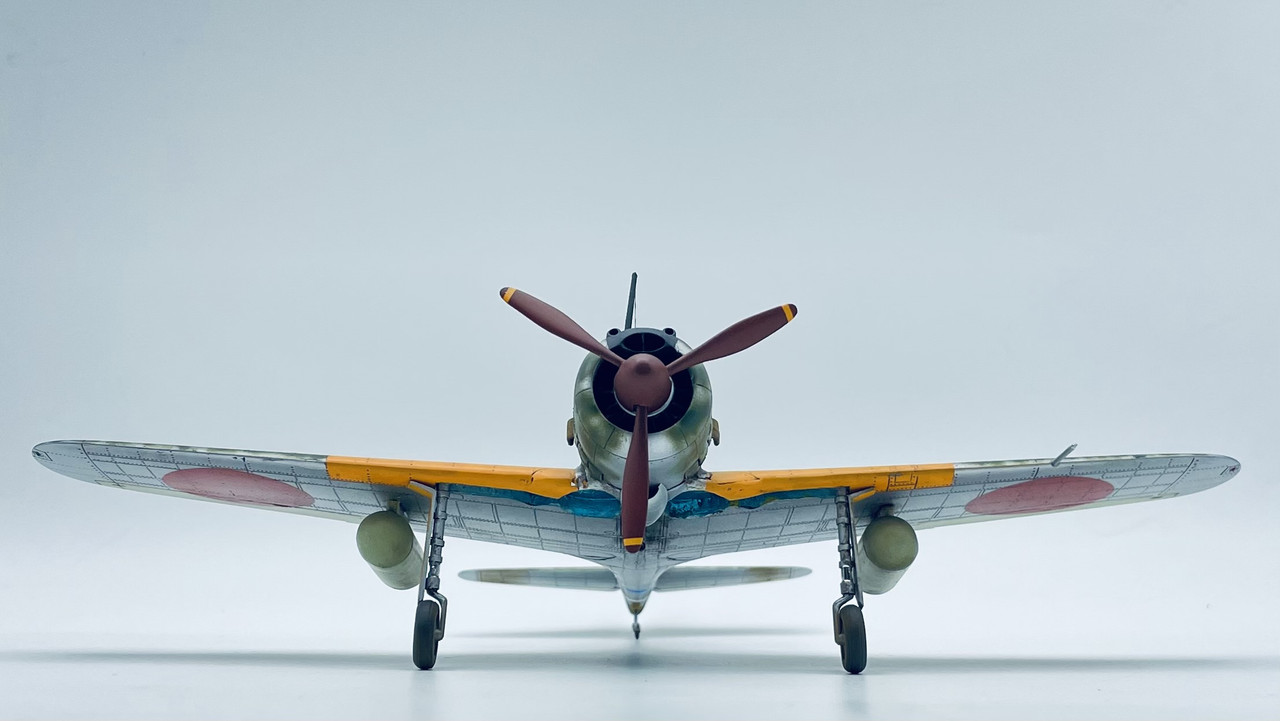
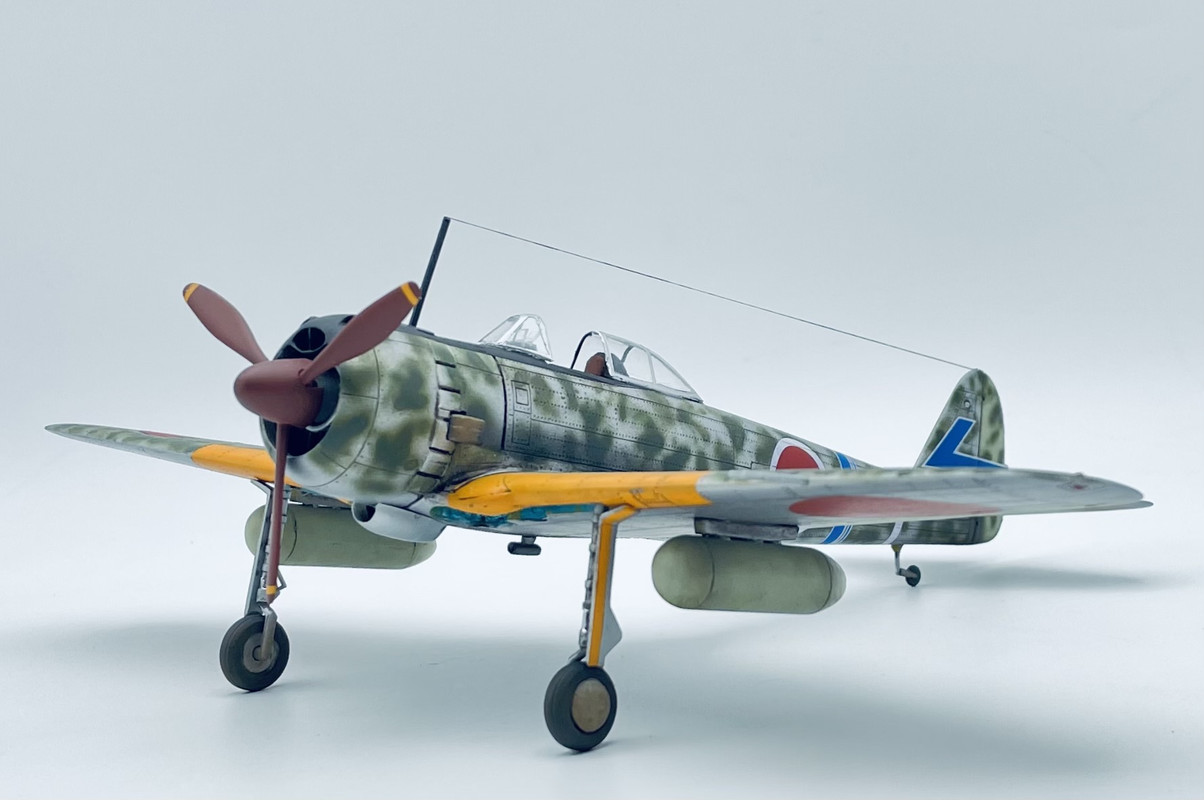
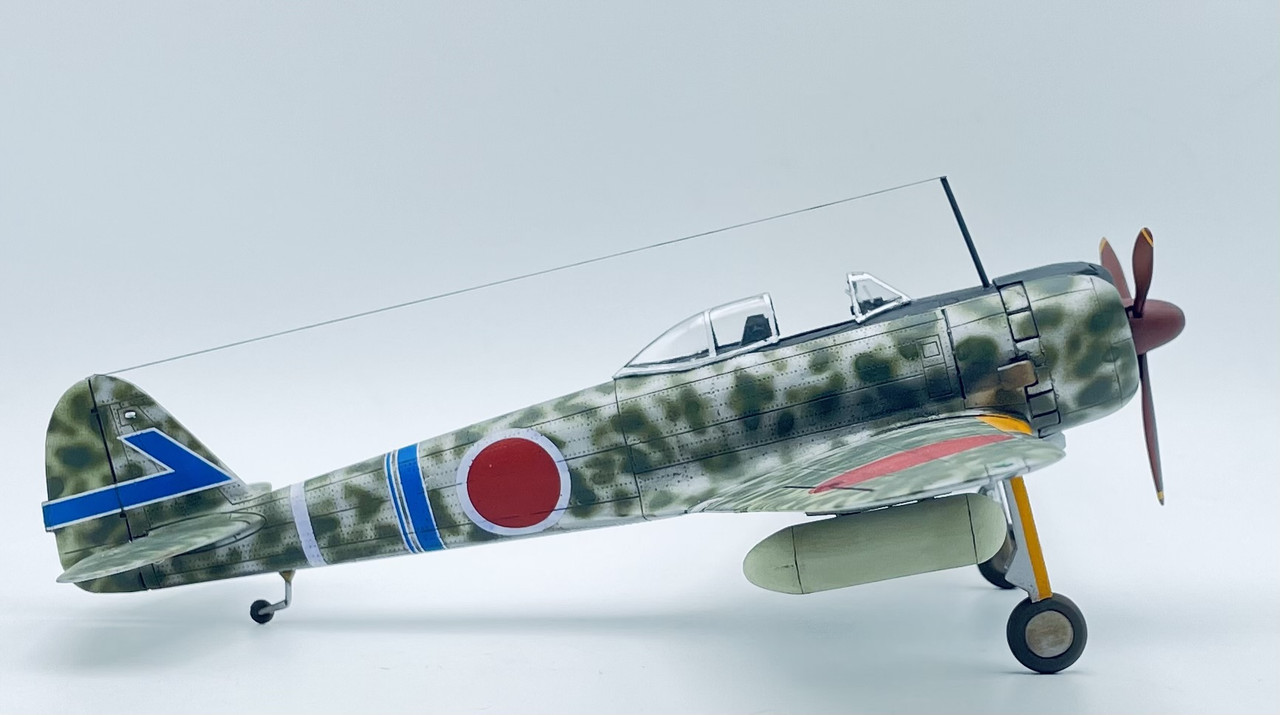
So here is my completed Otaki Arii 1/48 Ki-43 Hayabusa, first released in 1972. I added details into the cockpit, main wheels, wheel wells, and oil cooler, as well as replacing the single piece kit canopy with a vacuform canopy by Falcon. Paints are Tamiya lacquer and Gunze Aqueous. Decals are from Aeromaster for a Ki-43 II of the 77th Hiko Sentai, 2nd Chutai in Hollandia New Guinea, January-April 1944 flown by a Capt. Matsuo. Externally the kit is pretty nice, but all the areas that I mentioned above need help.
Thanks for looking, comments & critiques are welcome
It’s superb! It’s not everyday you see a plane that looks like that. The weathering is subtle, but you can see that it’s not right from the factory. The shading is also awesome!
Seeing as I’m not an aircraft modeler, I can’t find anything wrong with it!
Thank you CK! You are far too kind. There are several small flaws that I know of. This won’t win or place in any contests, but it looks good enough from 1-2 feet away… and it fills a major gap in my 1/48 IJAAF collection.