My first post on the new forum…we’ll see if I can manage this.
I am starting the 1/48 Zvezda Mi-24V/VP Hind. I plan on doing the Hind in Czech Republic livery.
I have acquired about every upgrade set I can think of for this. This is the first time I have worked with ResKit and I have to say…WOW. The level of detail is amazing. Definetly need to test fit the parts together as most need a little sanding/opening to fit together but still, the level of detail is bar none. I typically build armor and use Legend resin on about every build I can. To me, this ResKit resin puts the Legend’s stuff to shame. It is actually a joy to put together.
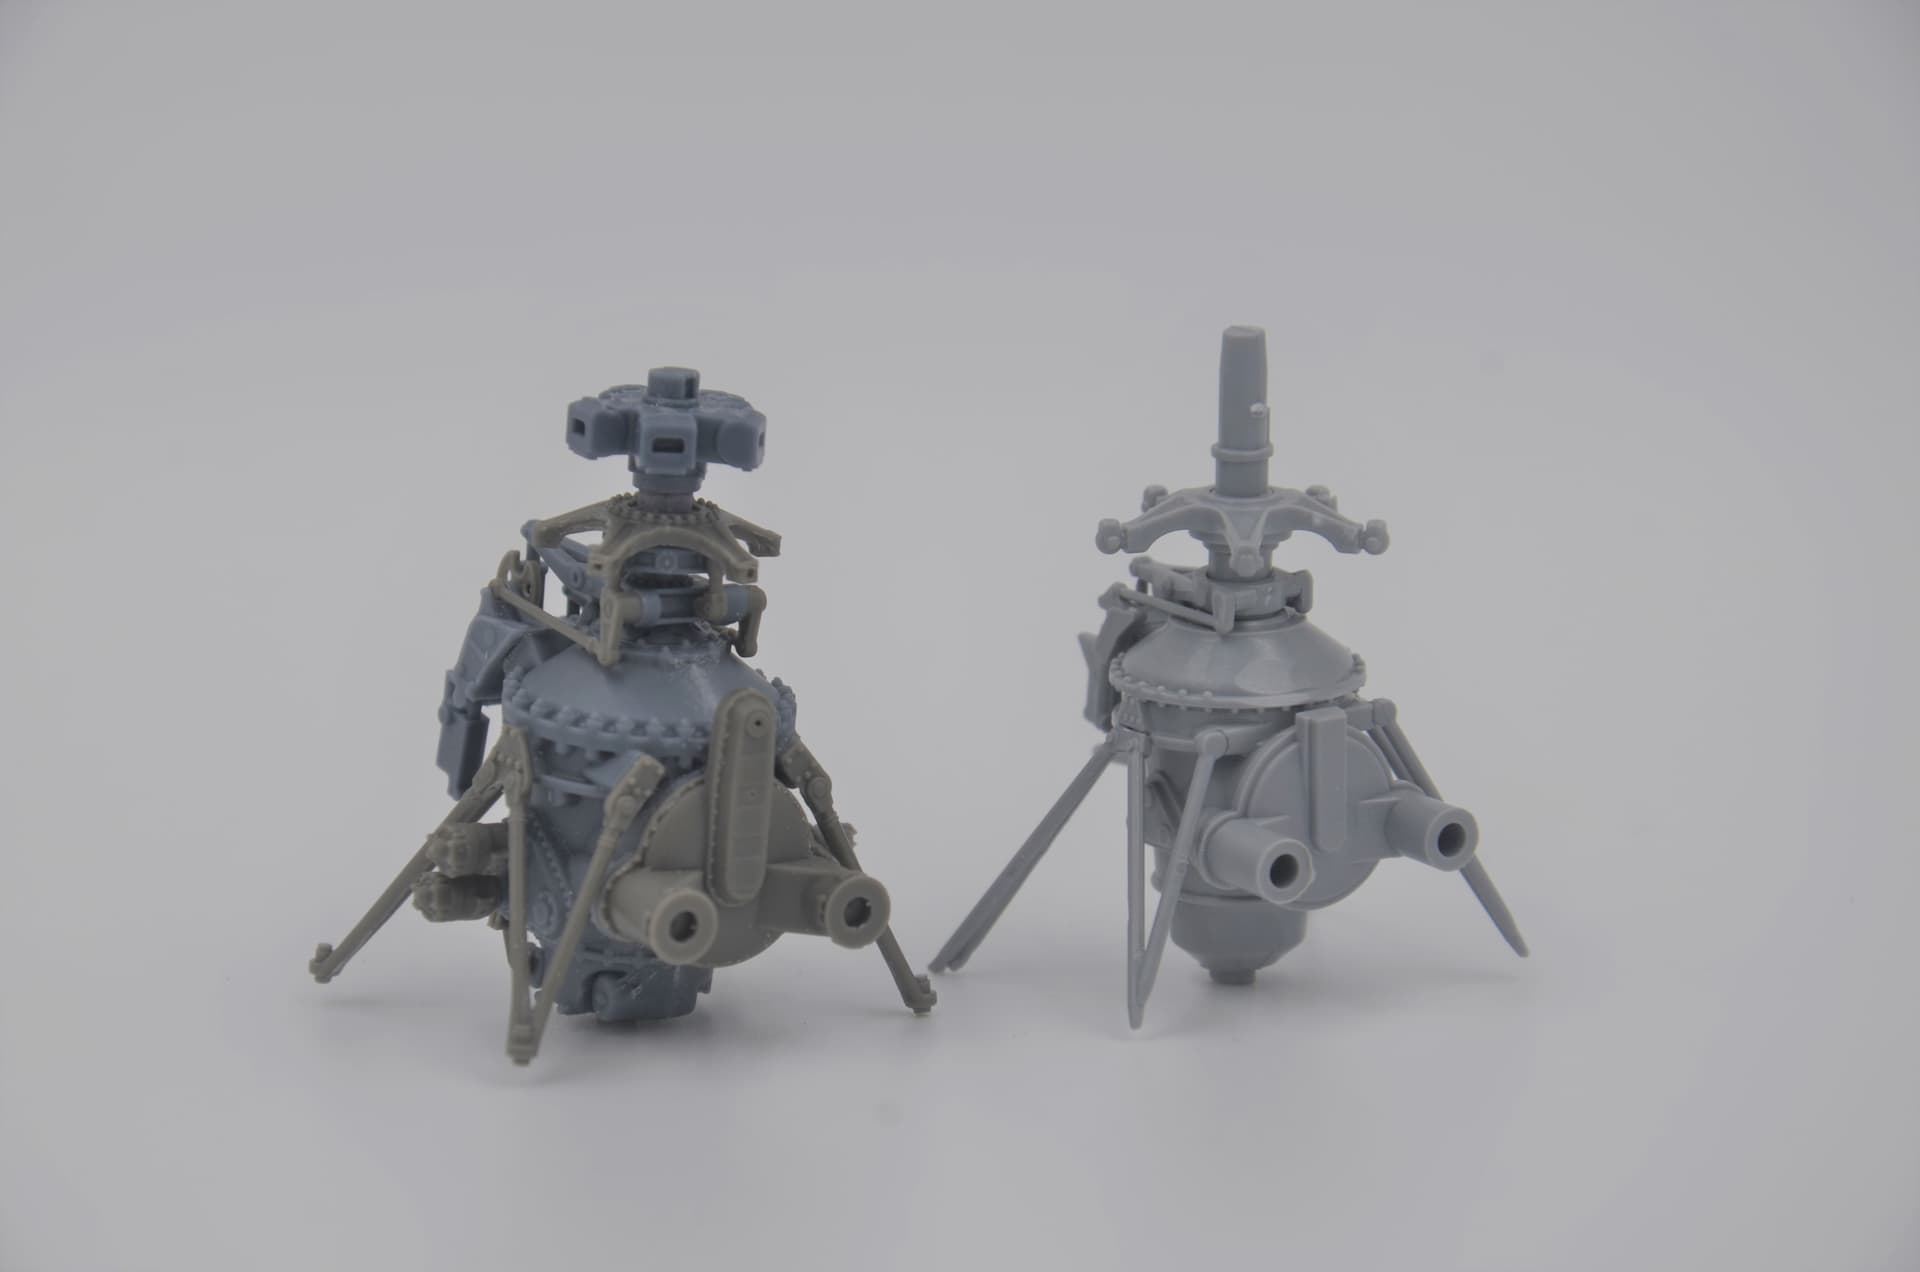
This is the Main Rotor Head set with the affiliated kit parts.
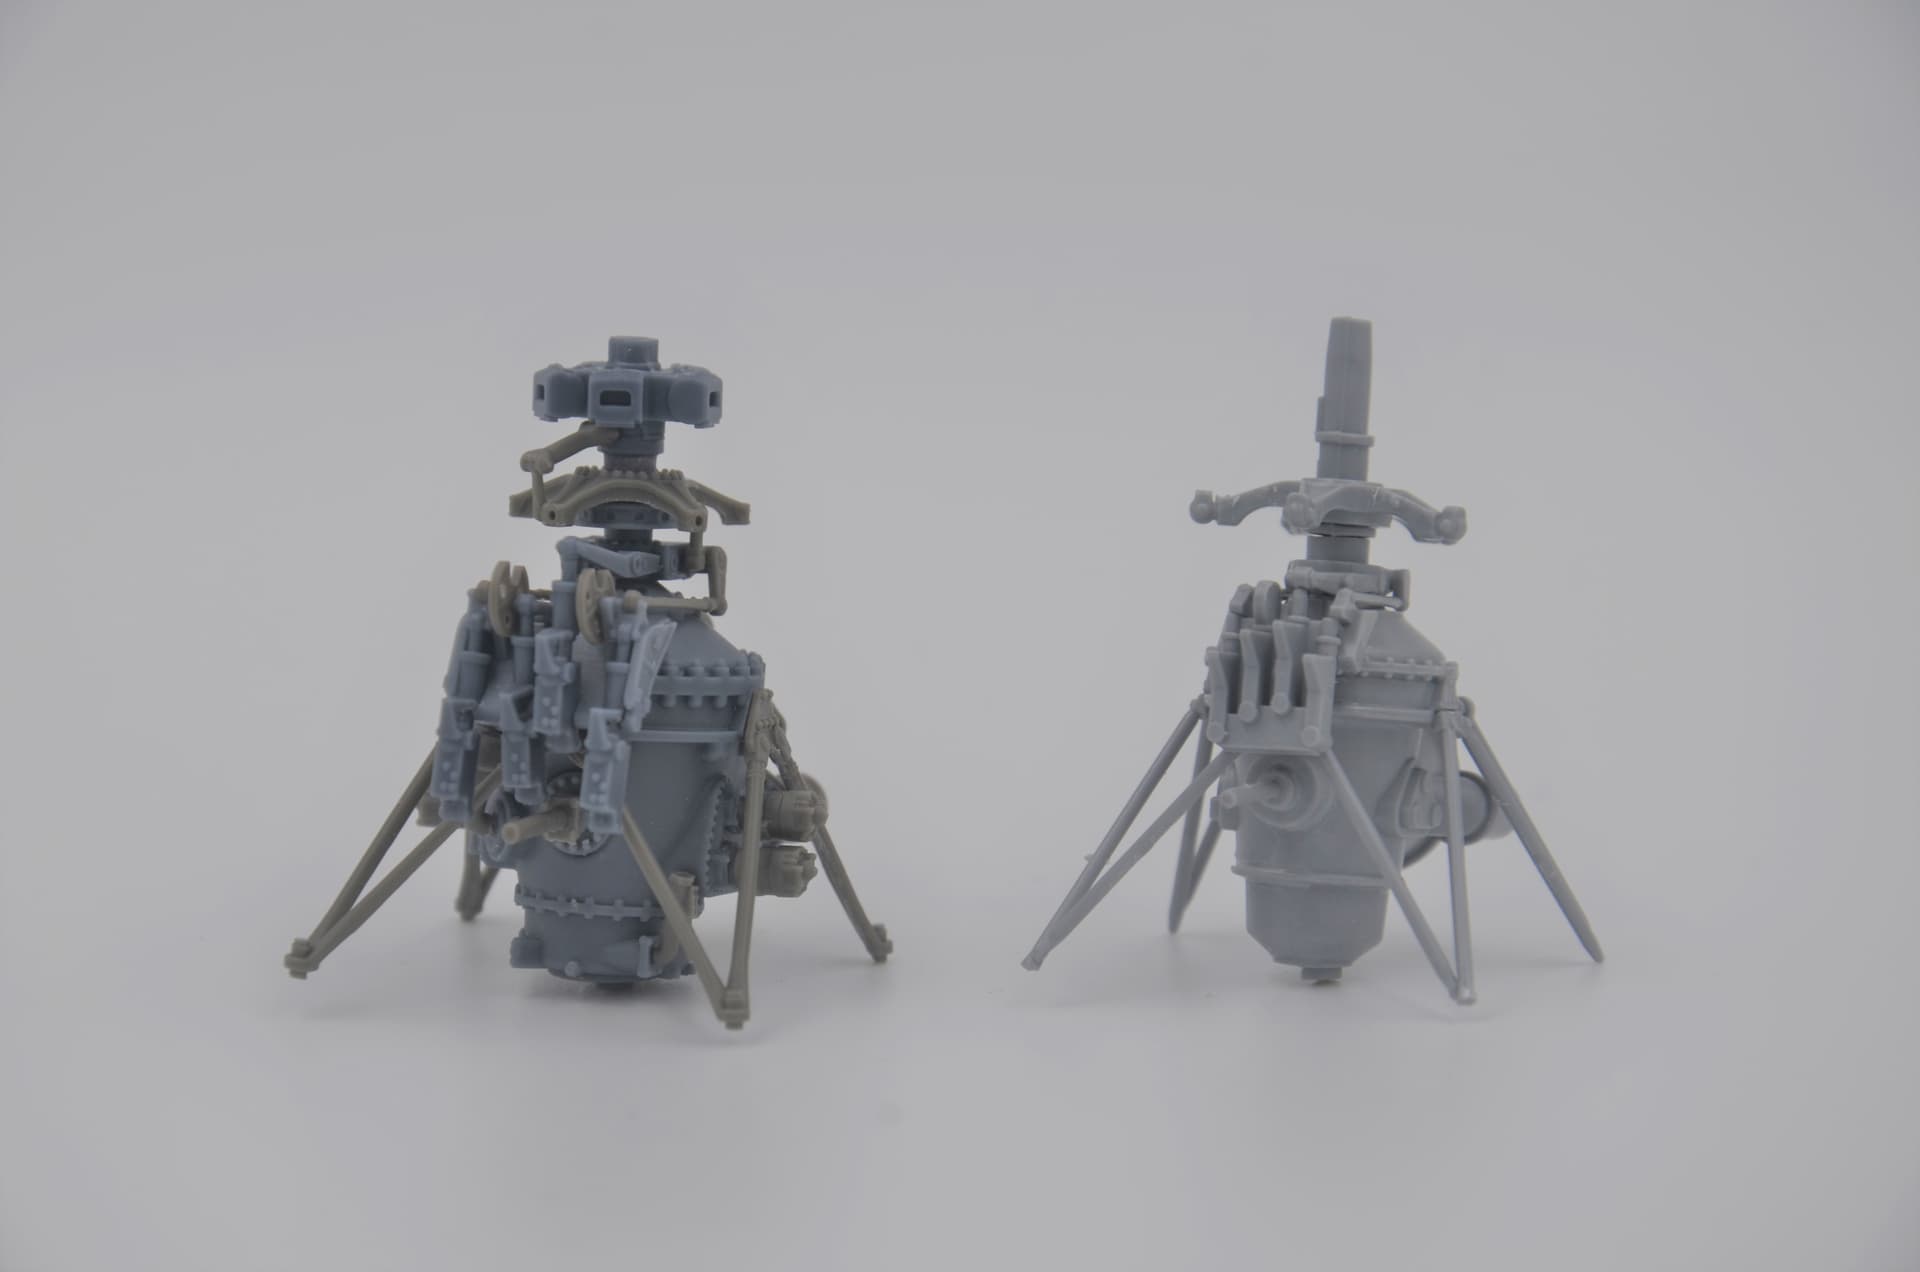
Another comparison
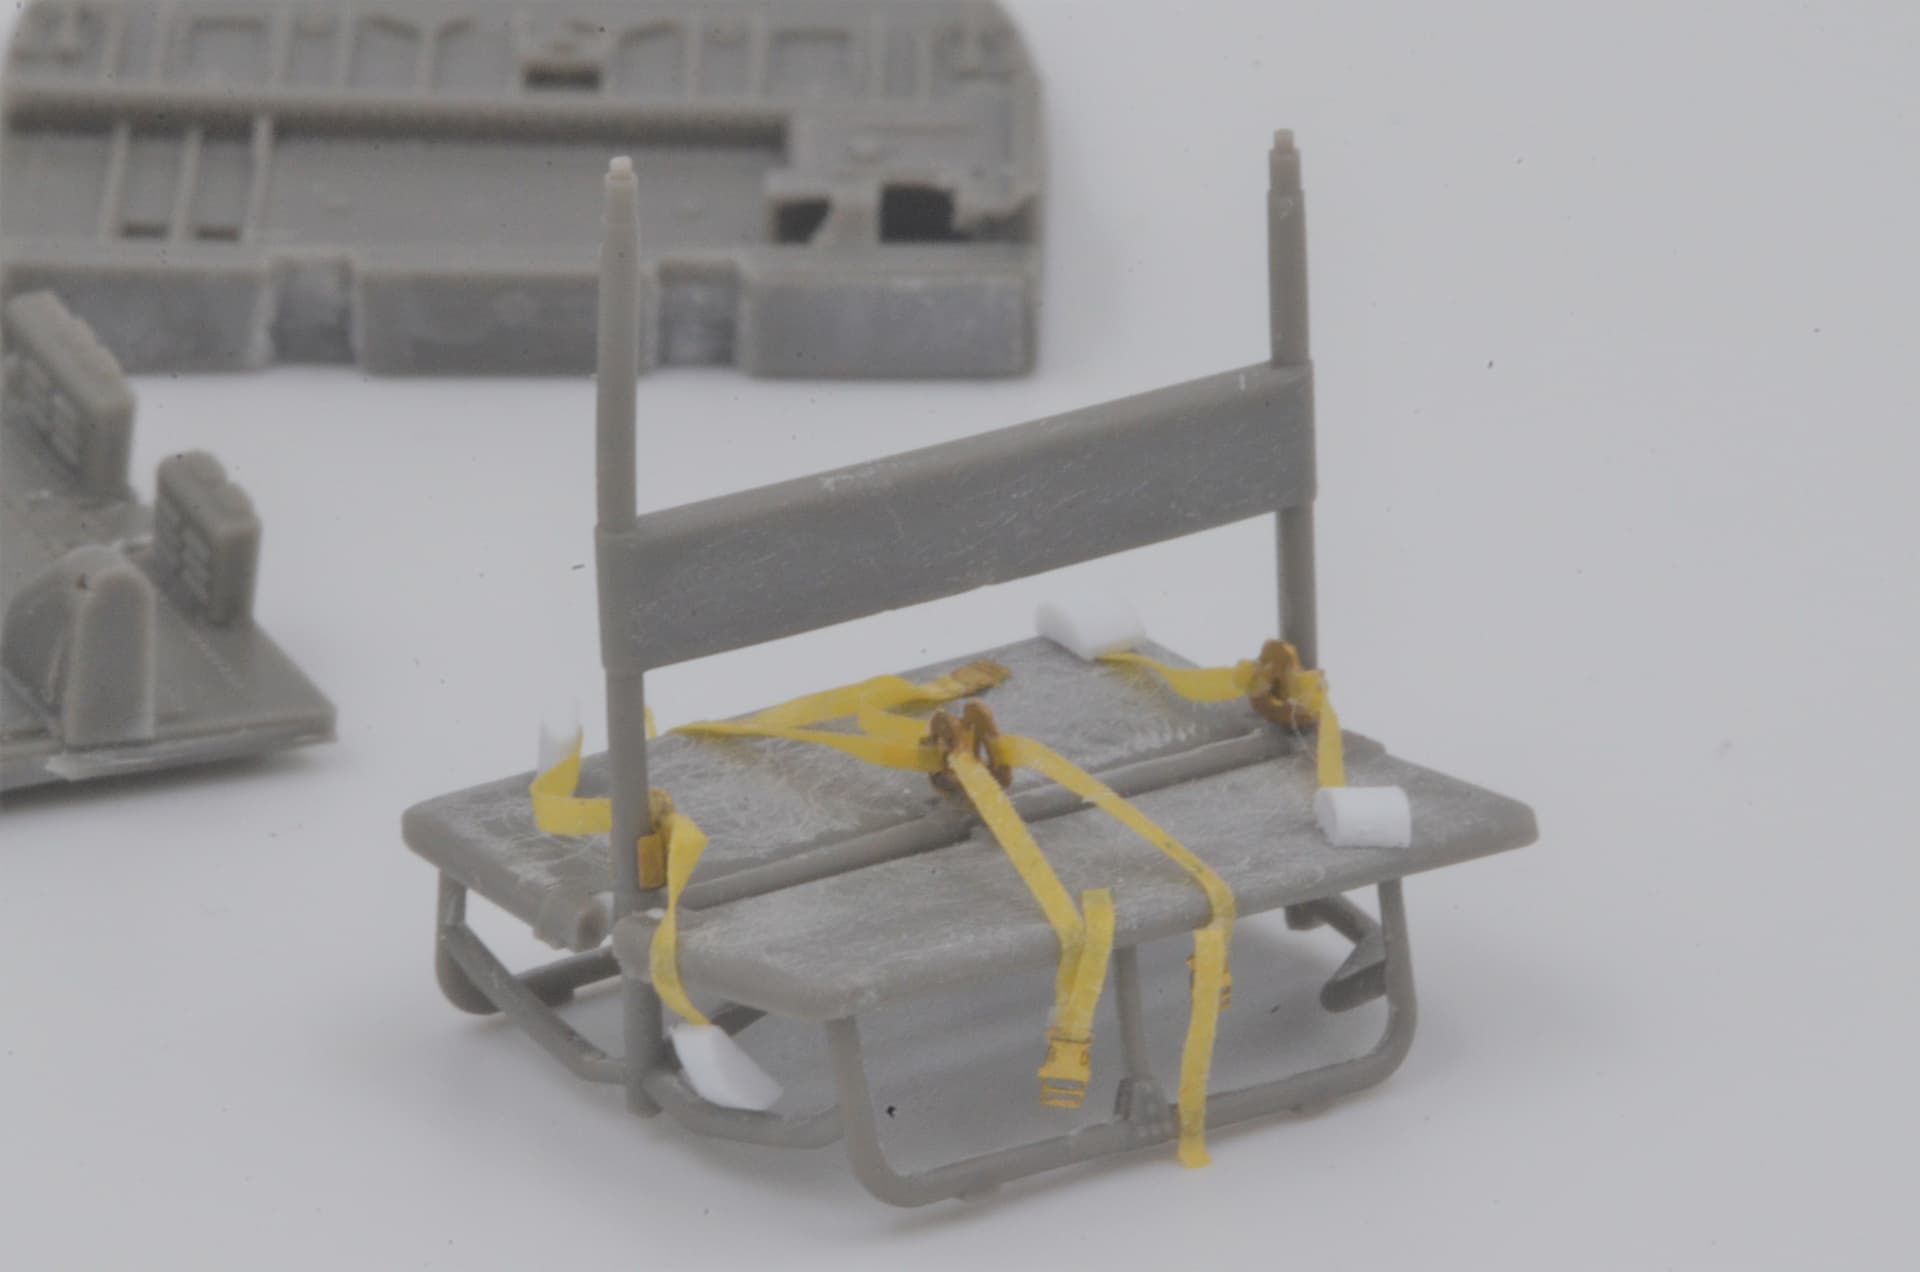
My only complaint would be the photo etch. It is a little thick for my liking and hard to shape, even after annealing. On the included seatbelts, I ended up just cutting the belts themselves off and added tape.
Tape belts to replace etch belts.
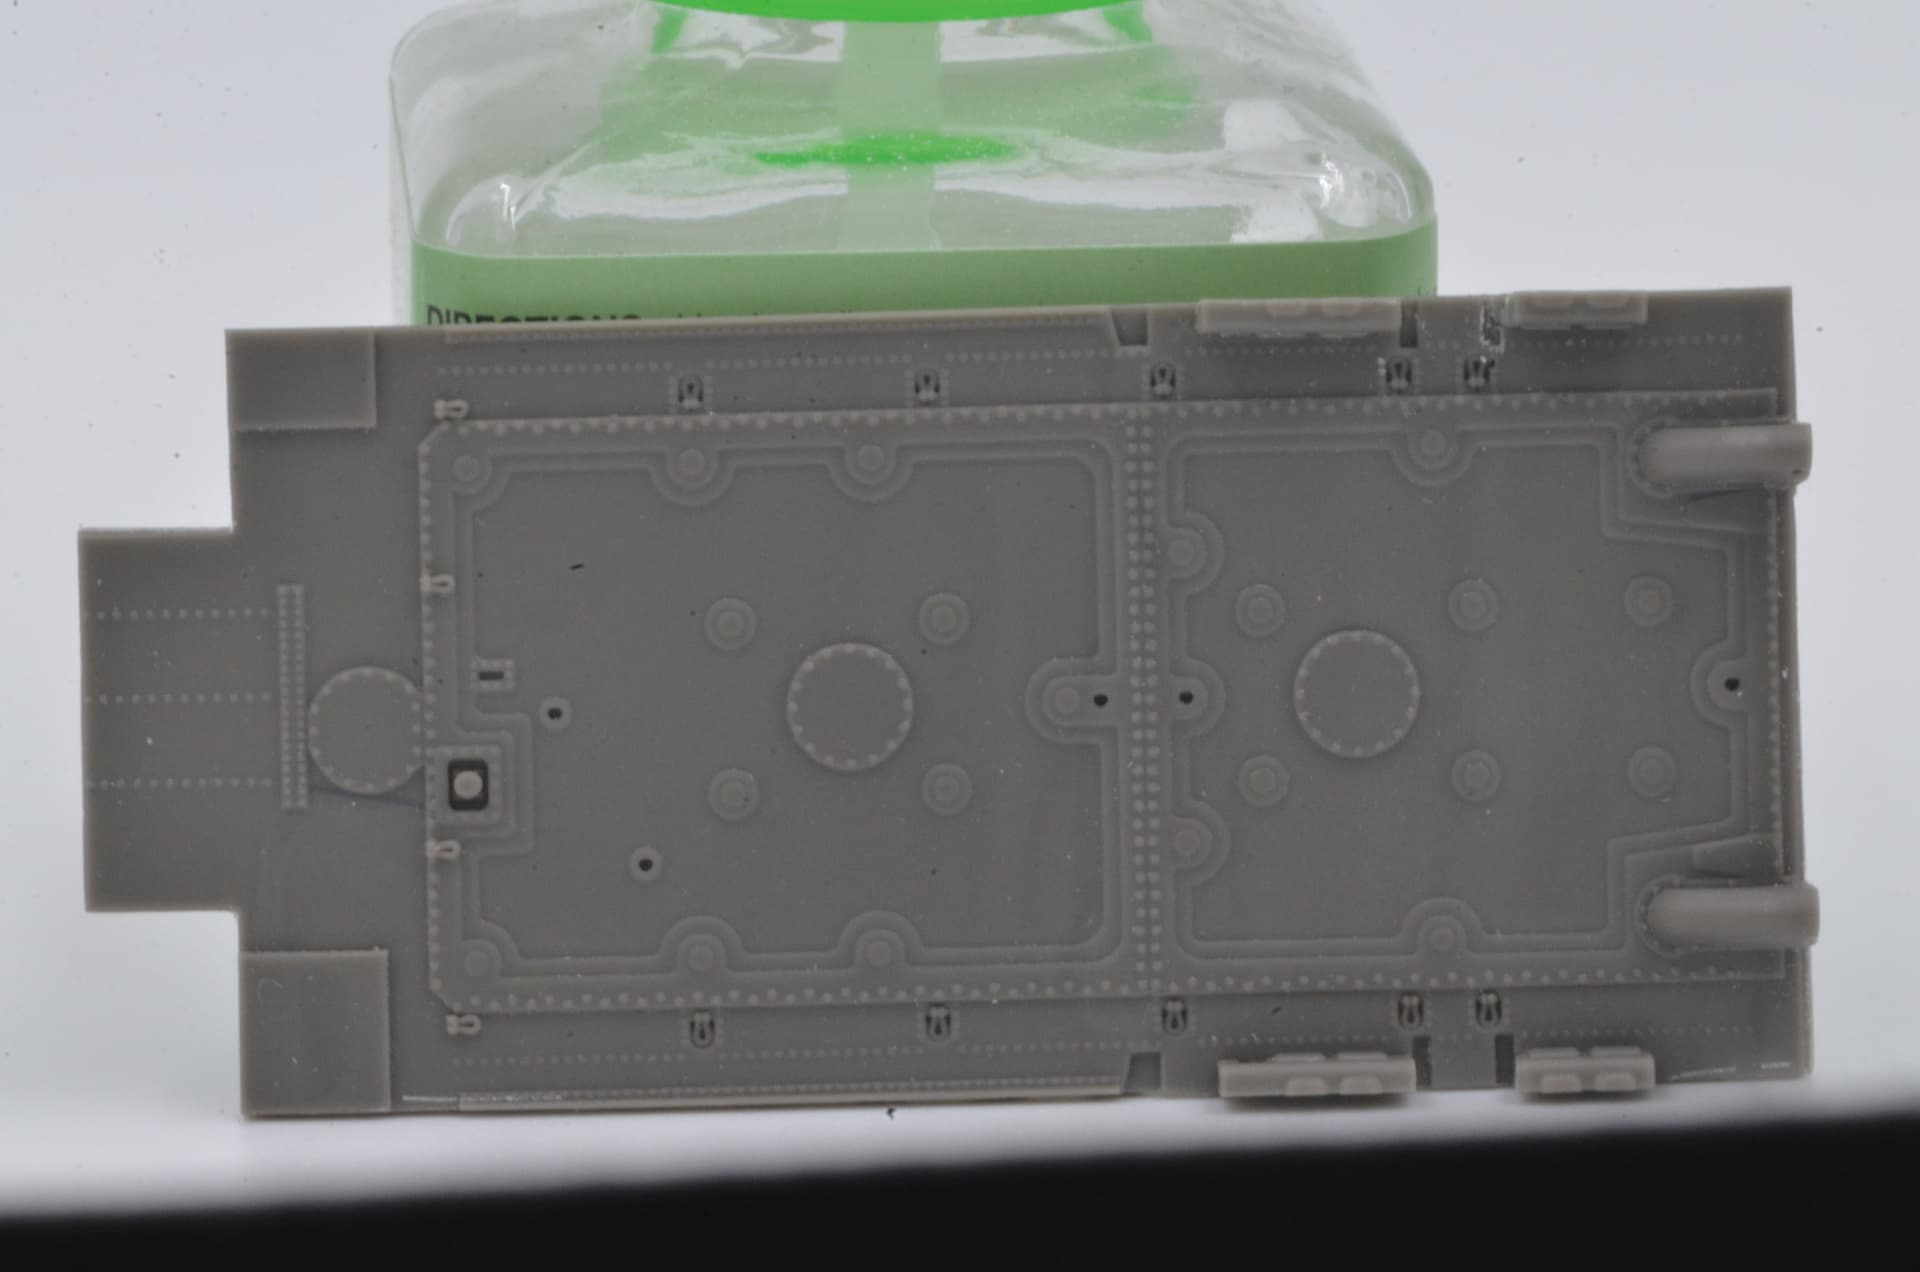
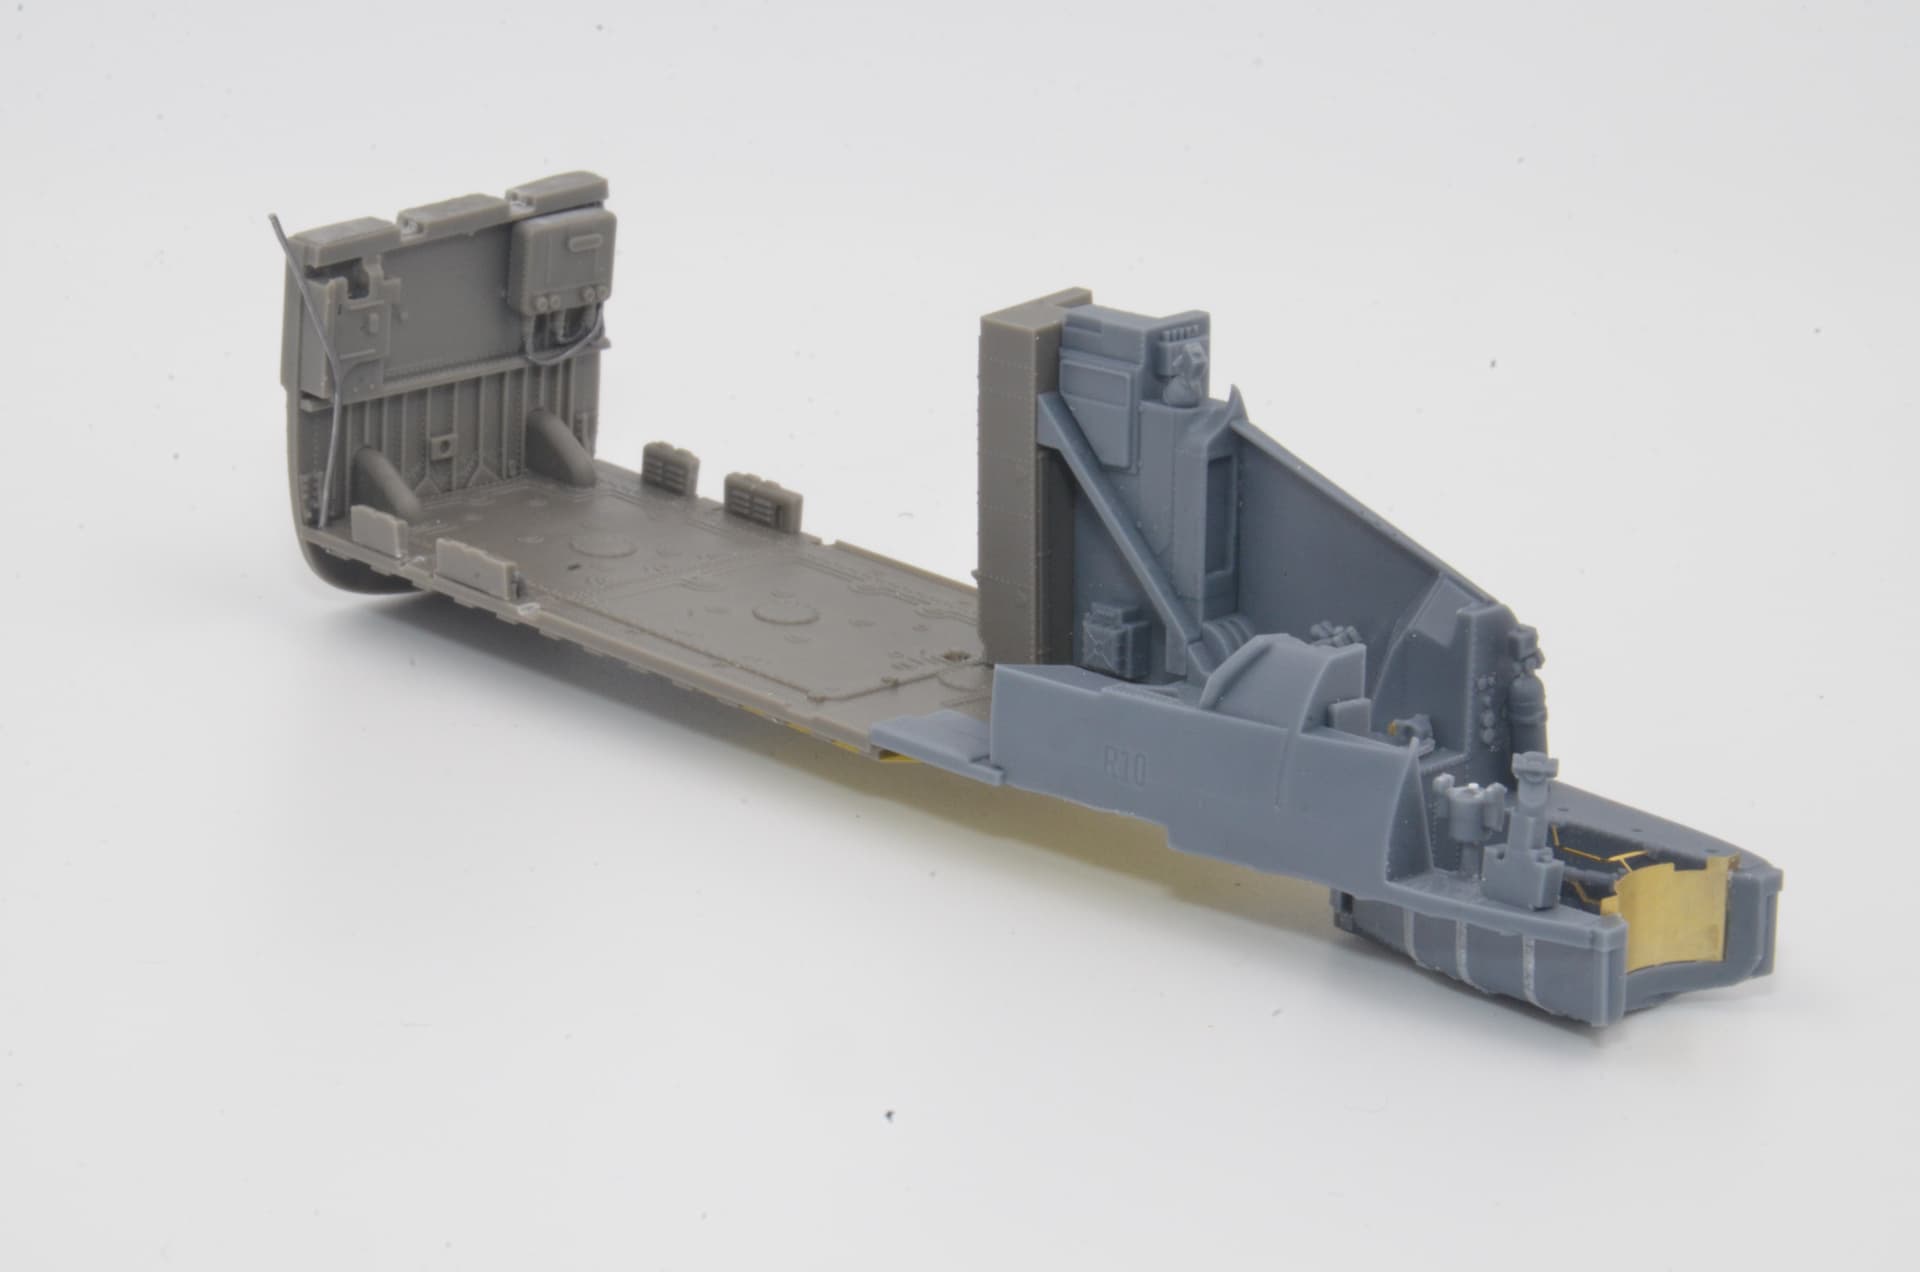
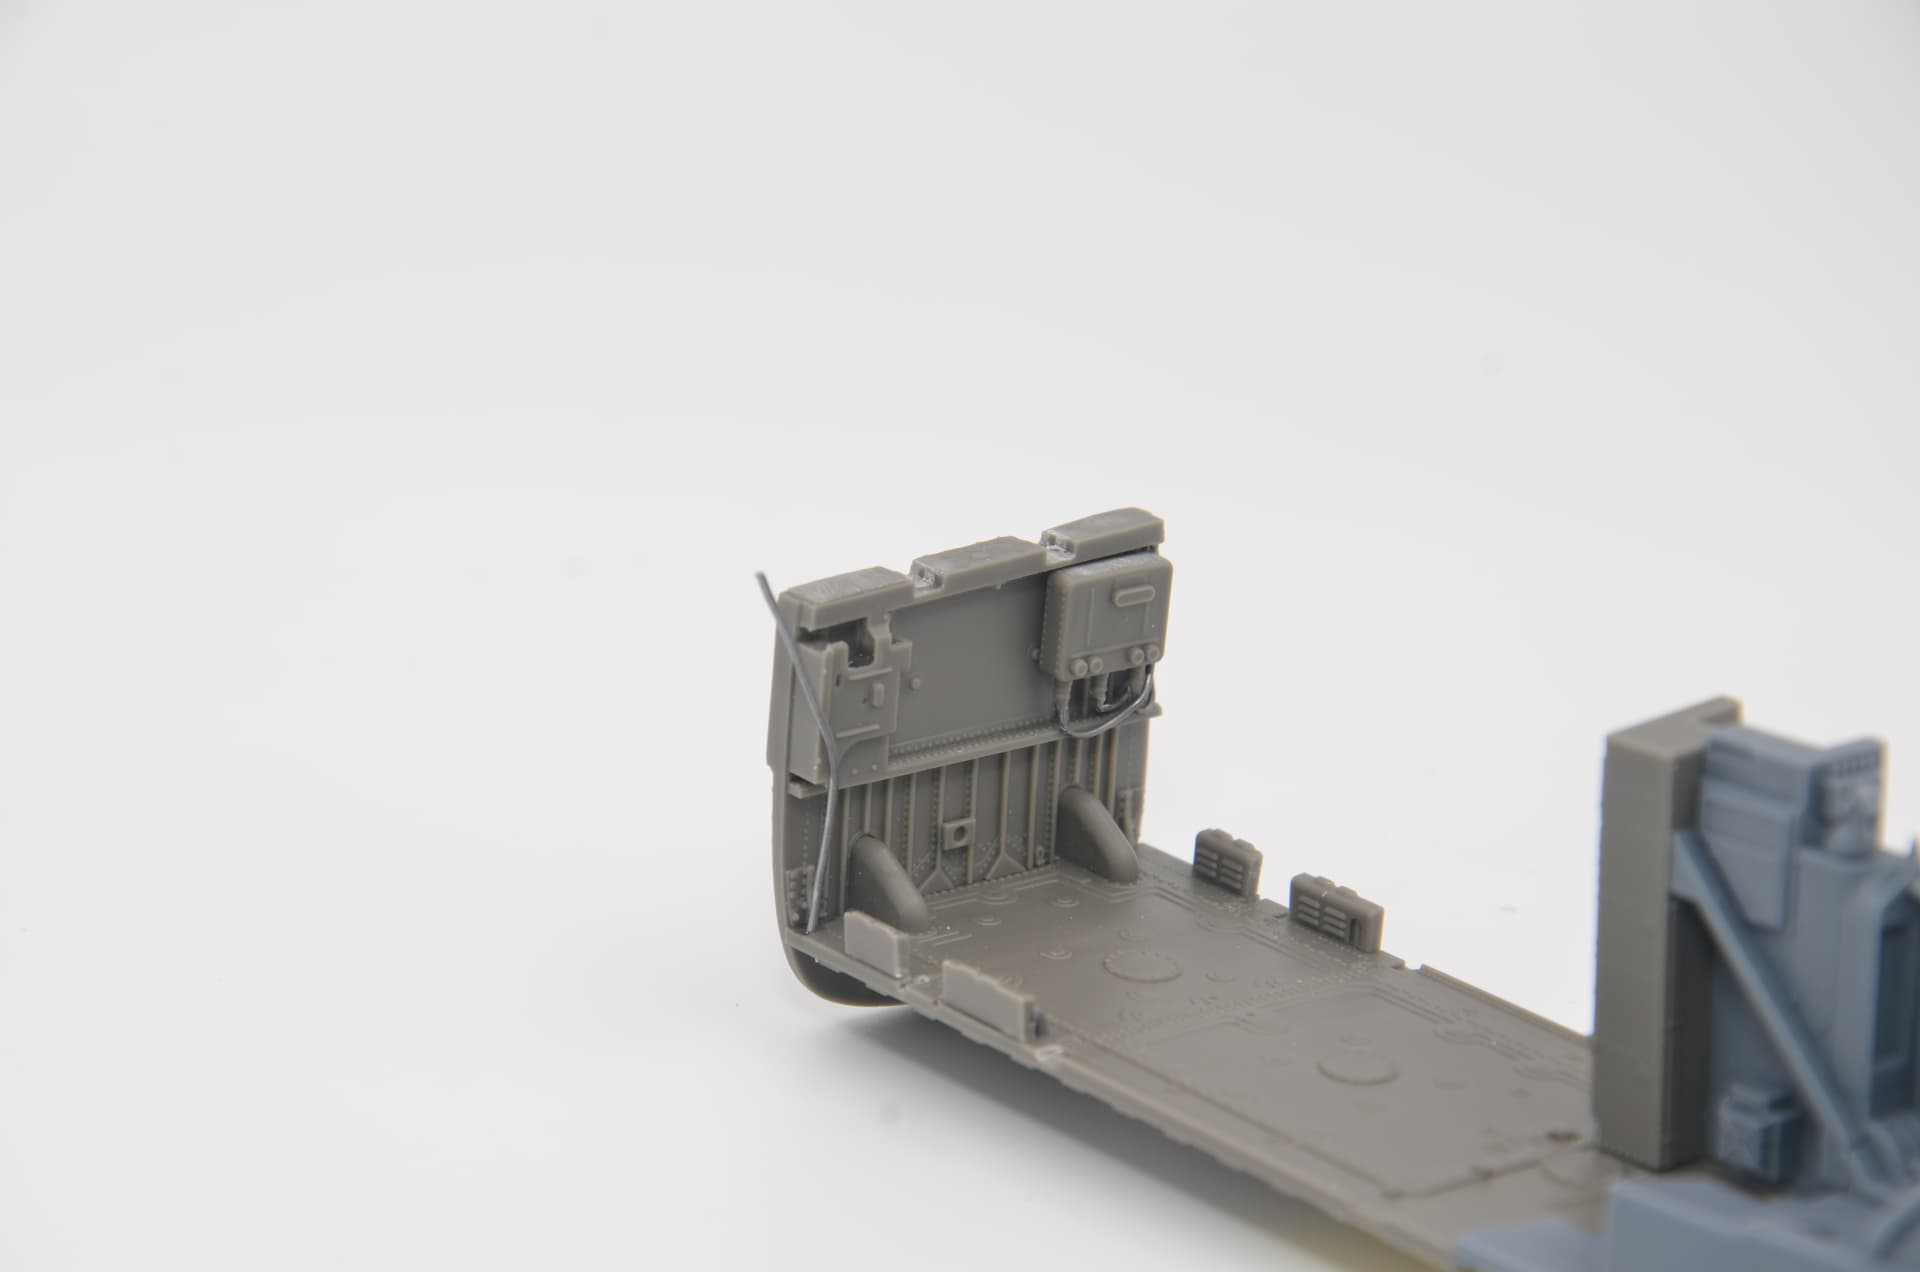
Rear floor section
Starboard side of tunnel to cockpit.
I am very excited to be working on this and since I was diagnosed with COVID four days ago, I have all the rest of this week in quarantine to work on this.
My intent is to actually finish this project. That is saying a lot from me as my last build took over 8 years to finish!
8 Likes
And yes, I have the rivet decal set from Arma Models to give this kit its much needed external detail.
I have all the ResKit sets for the Hind, an Eduard exterior set, Eduard Czech stencils, masks and pitot tubes and a Master Model upgrade set.
Very nice. I’m looking forward to seeing how this turns out.
A small update.
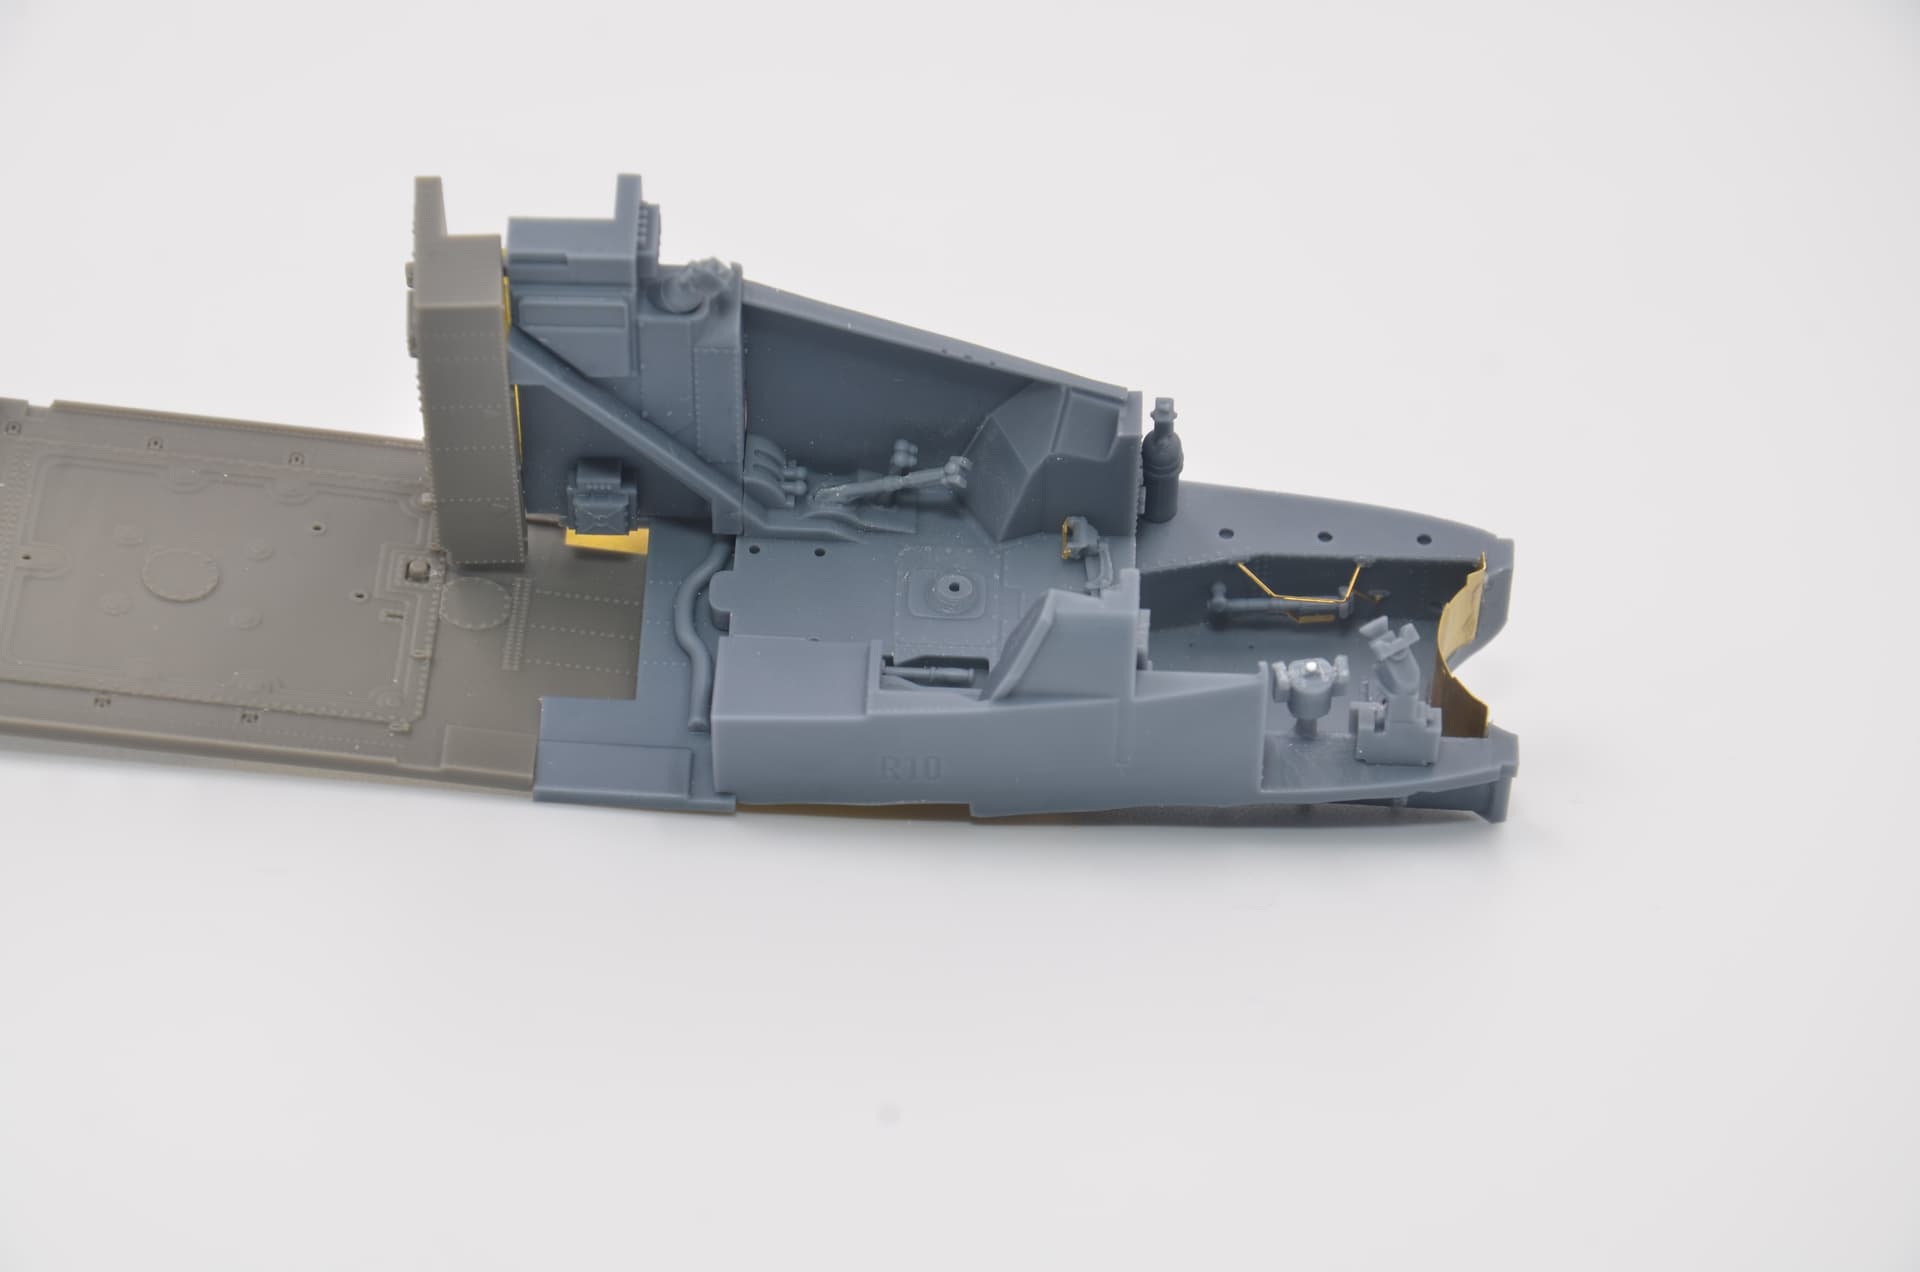
Rear section and cockpit area.
The main gear box and rear area are ready for paint. I am finishing the cockpit section so I can prime them all together. The cockpit is I think ready for paint, just need to go over everything again to make sure I am not missing anything.
Rear wall detail
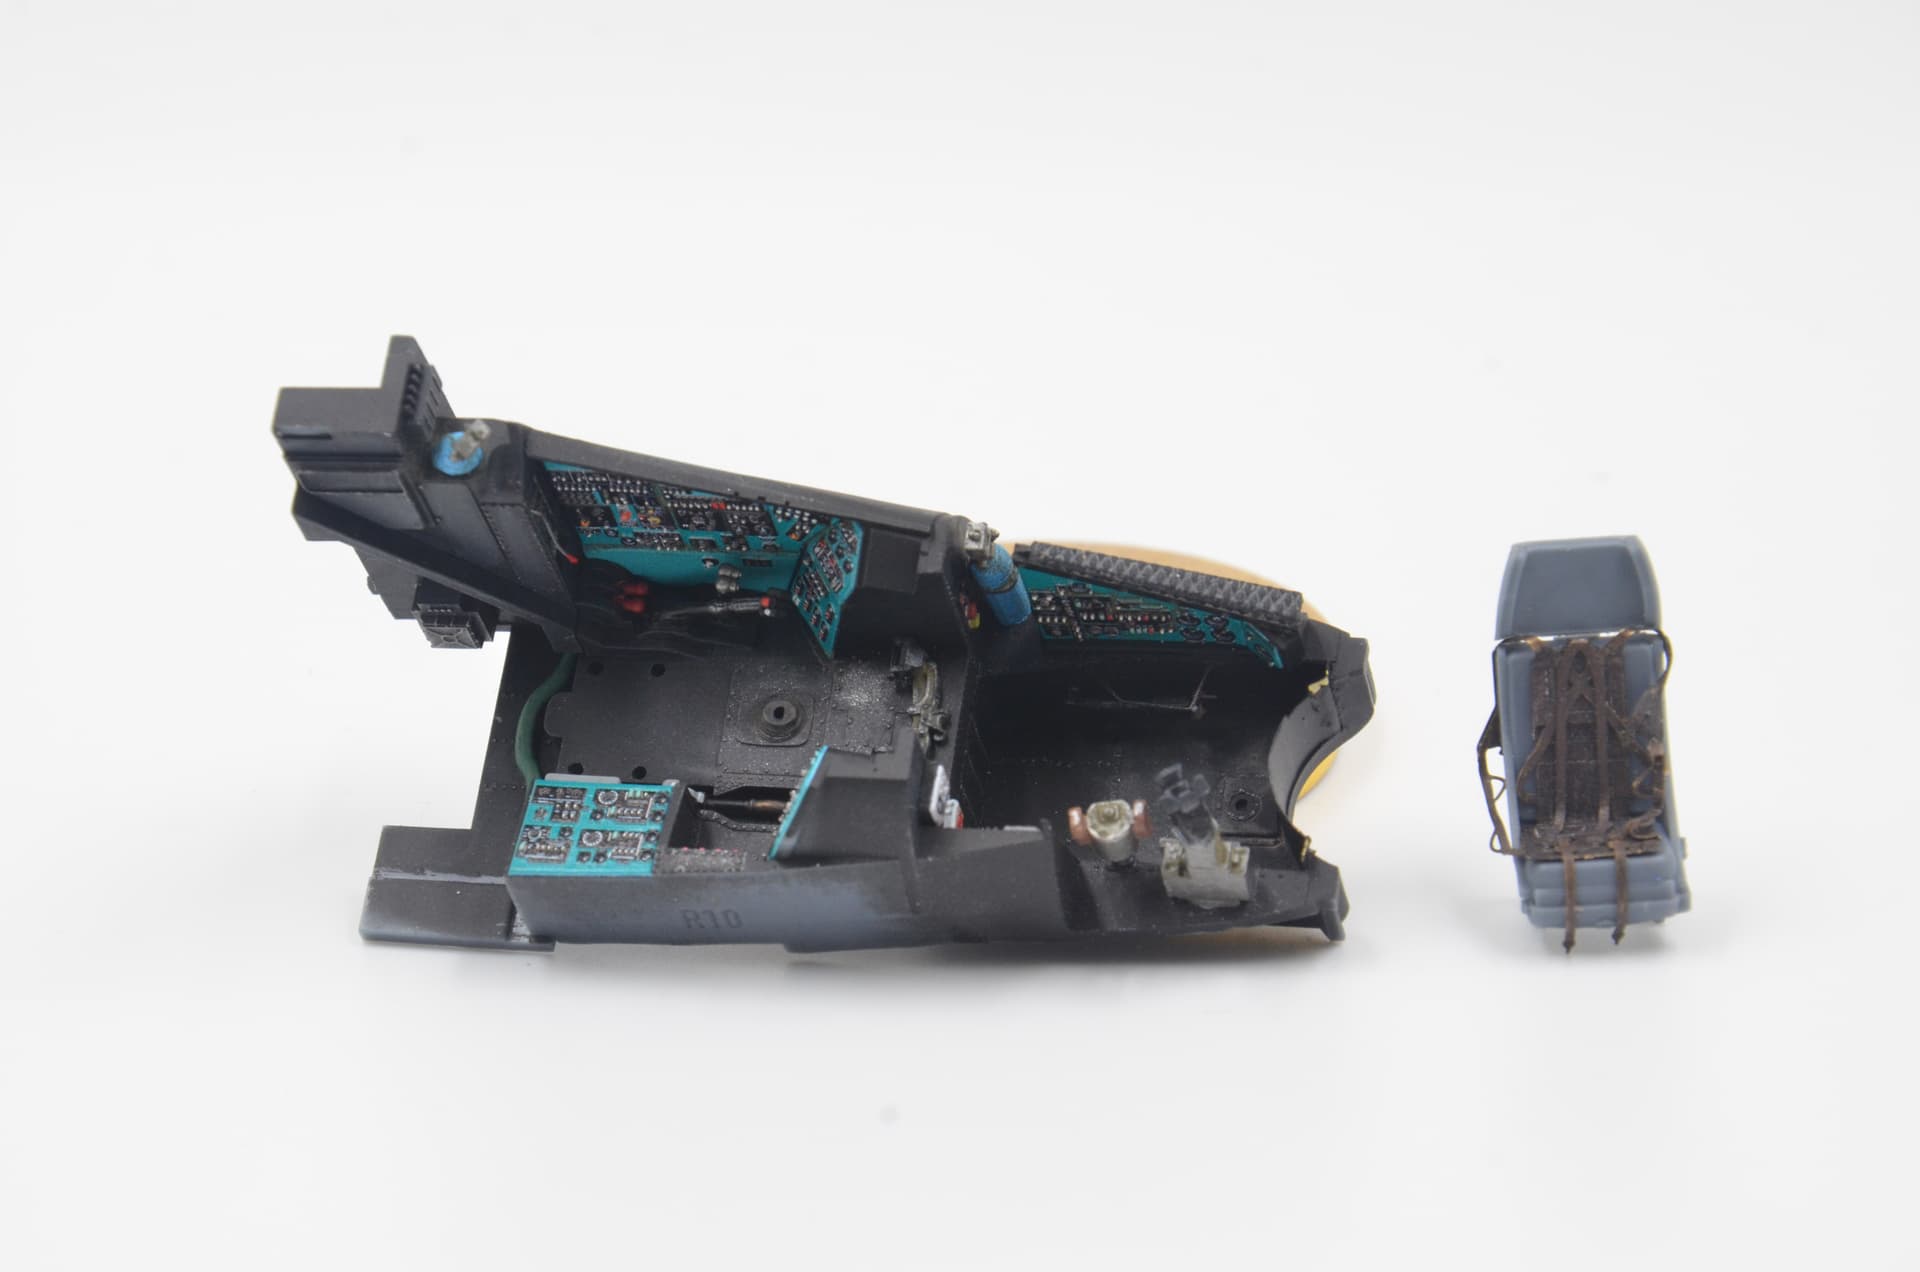
Cockpit before primer
Rear area in body of kit
7 Likes
Hey everyone. I just wanted to update, this is still moving forward. I will have some photos up soon. I changed jobs recently and I am still trying to get everything straightened out.
1 Like
Looks forward to the updates.
Hope the new job works out in your favor.
Here are the promised photos.
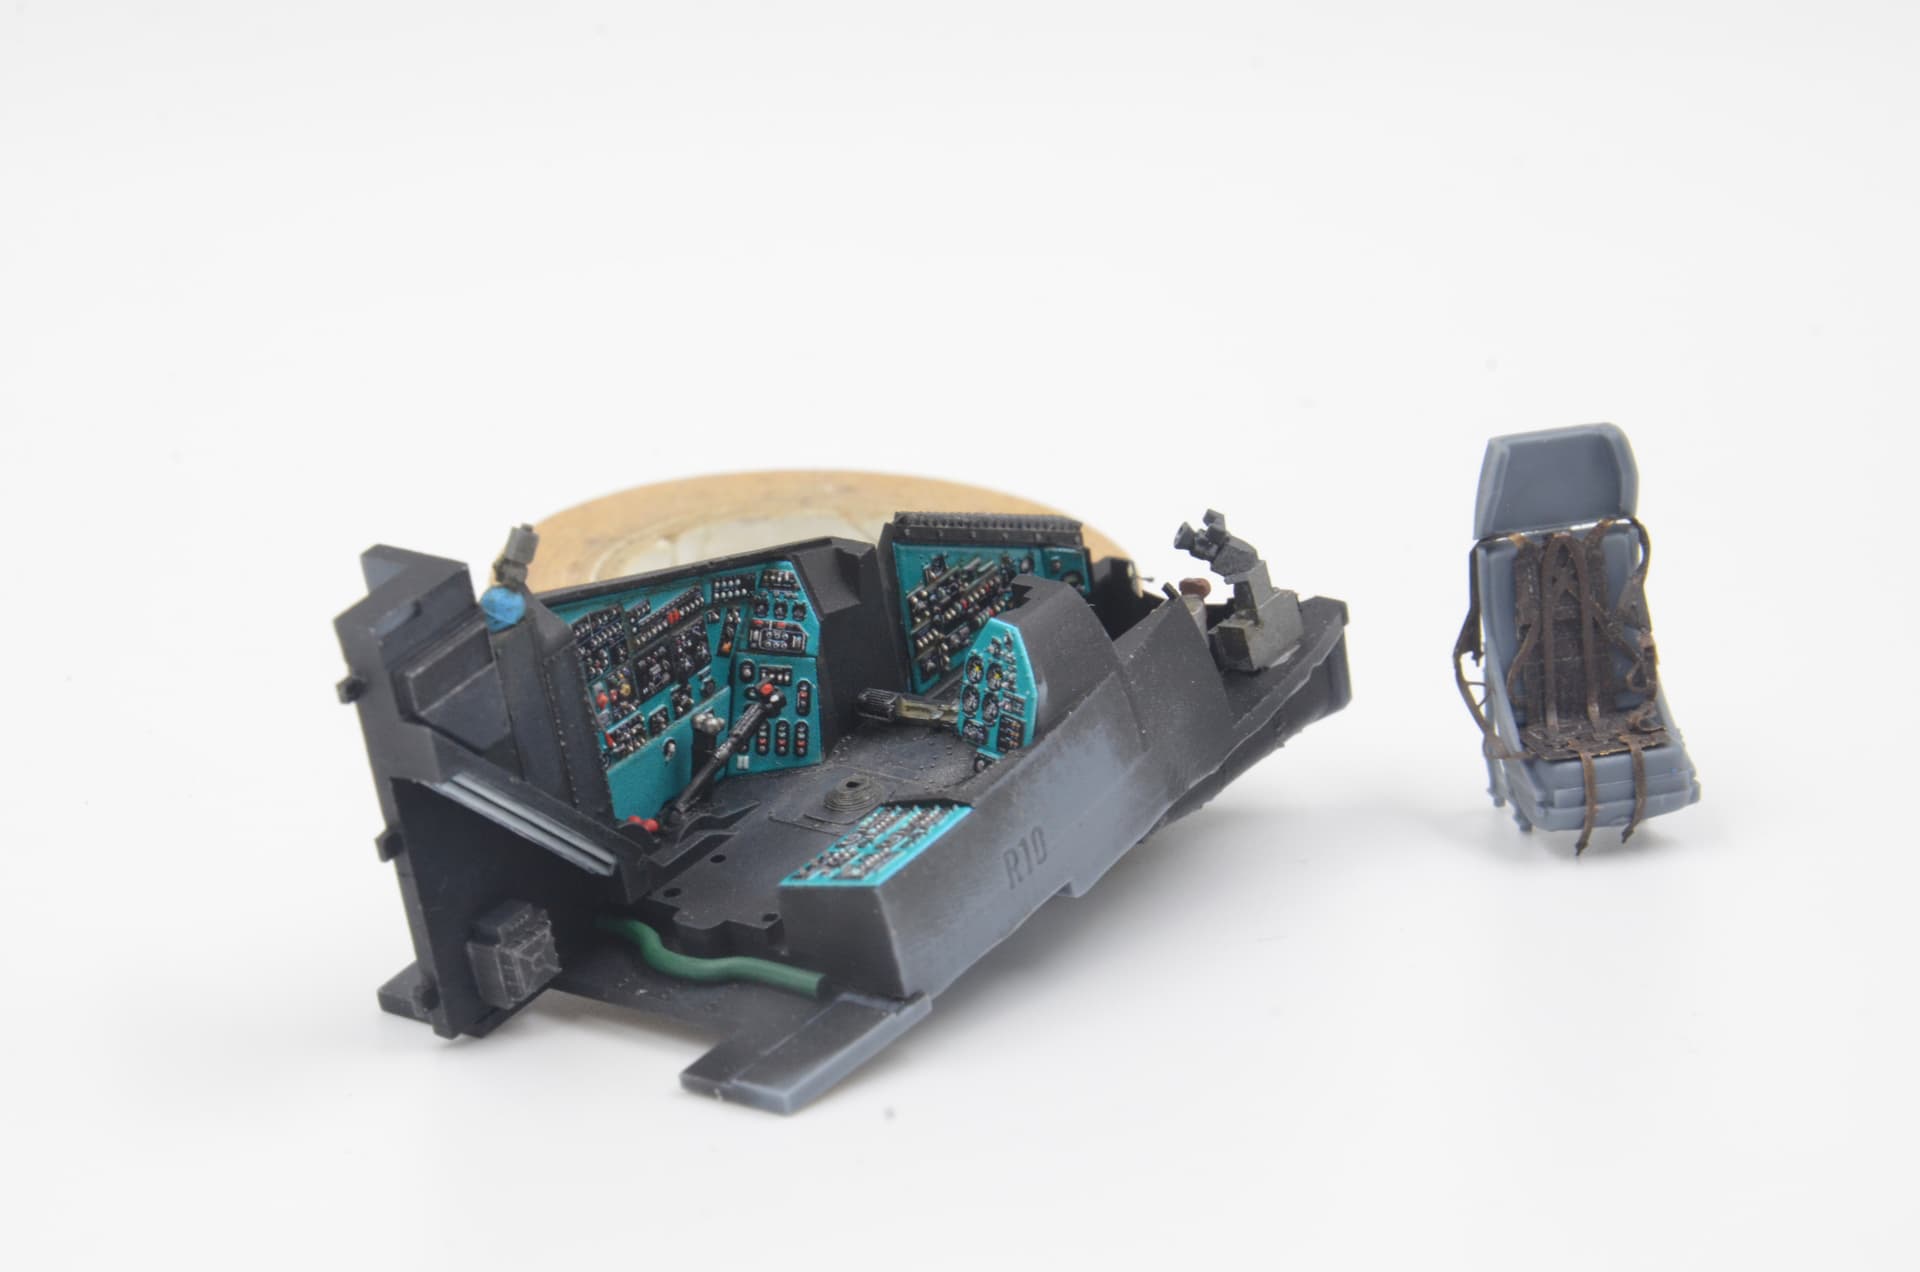
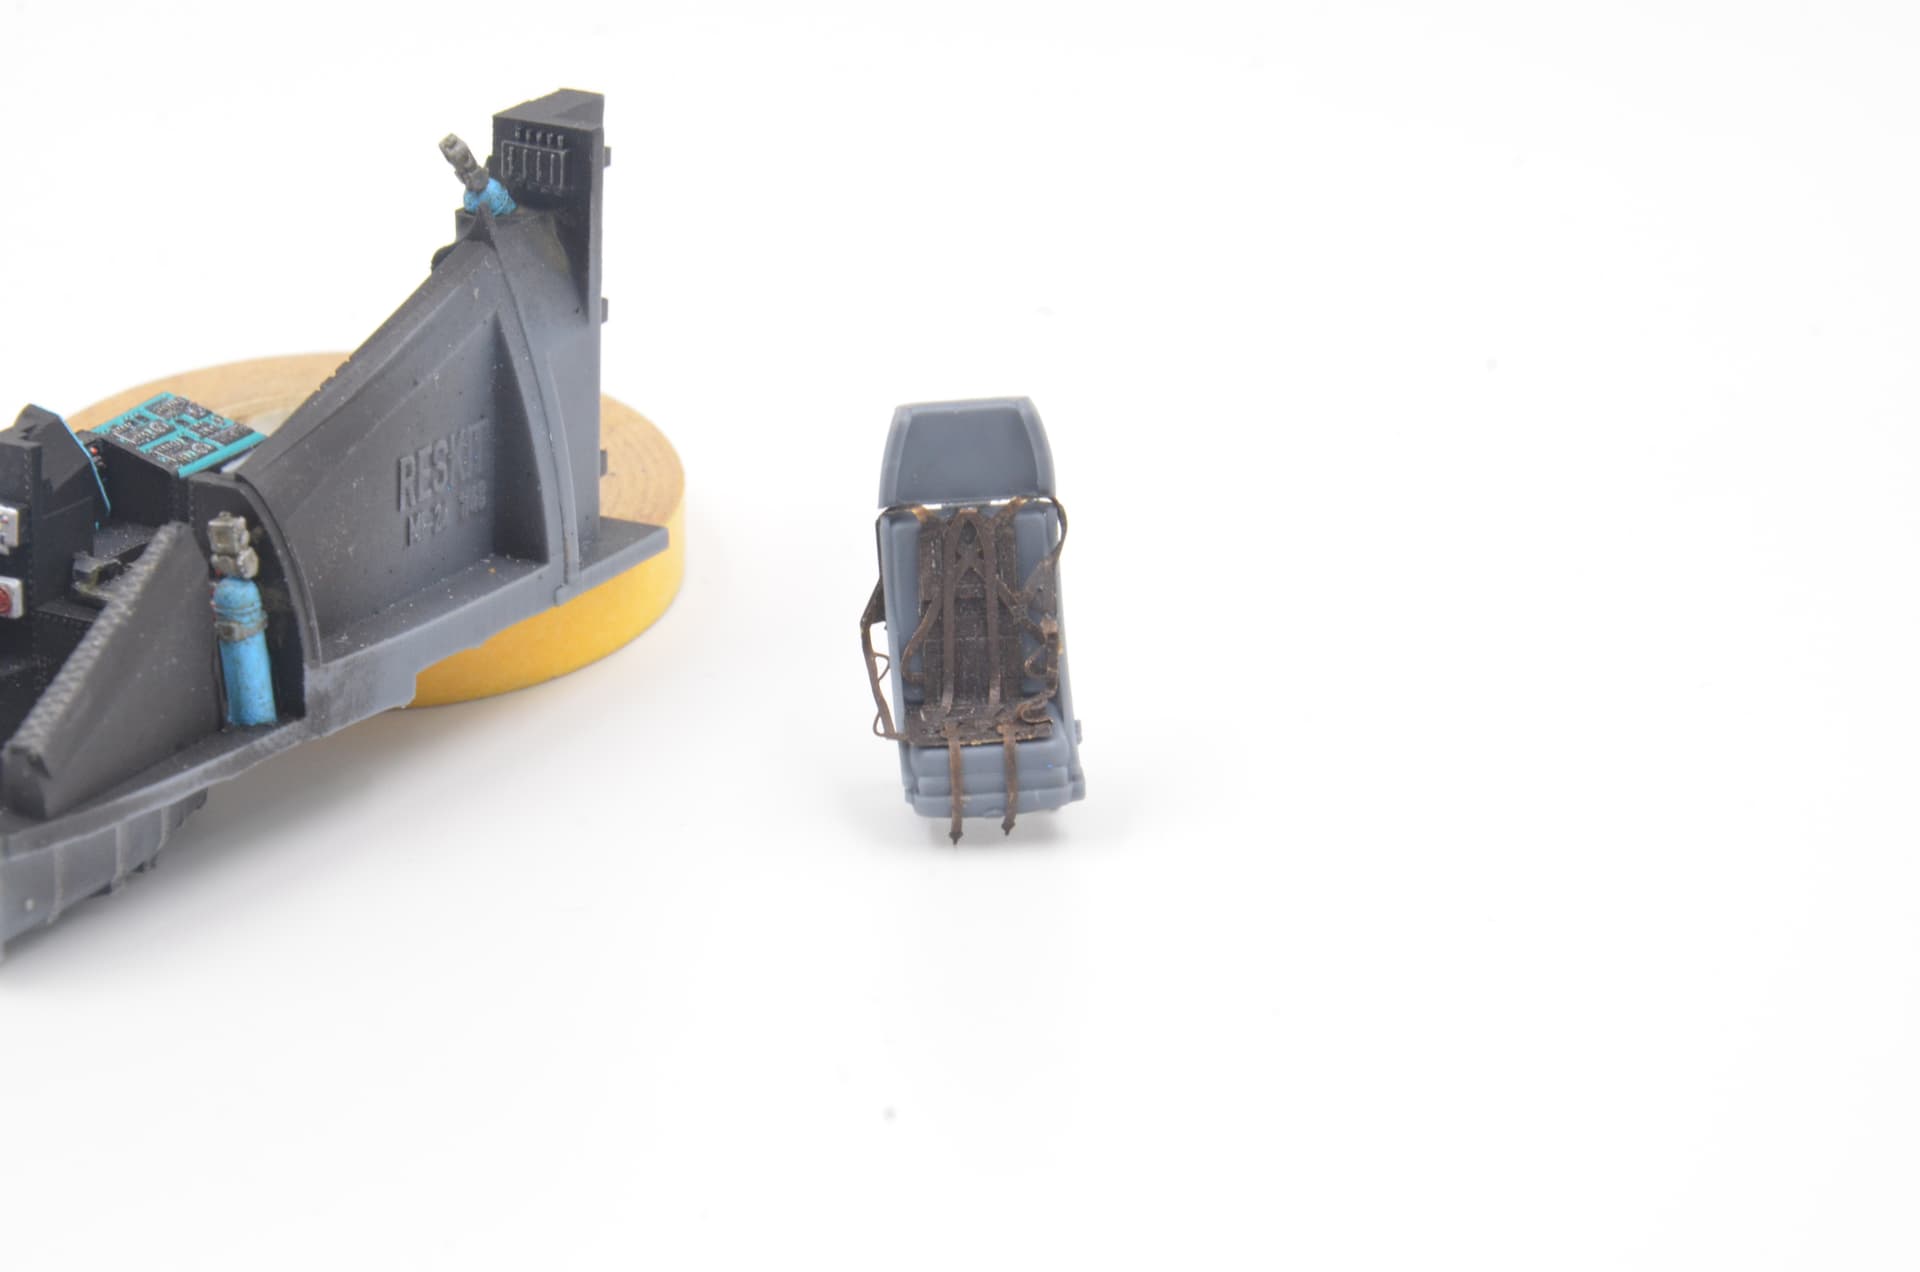
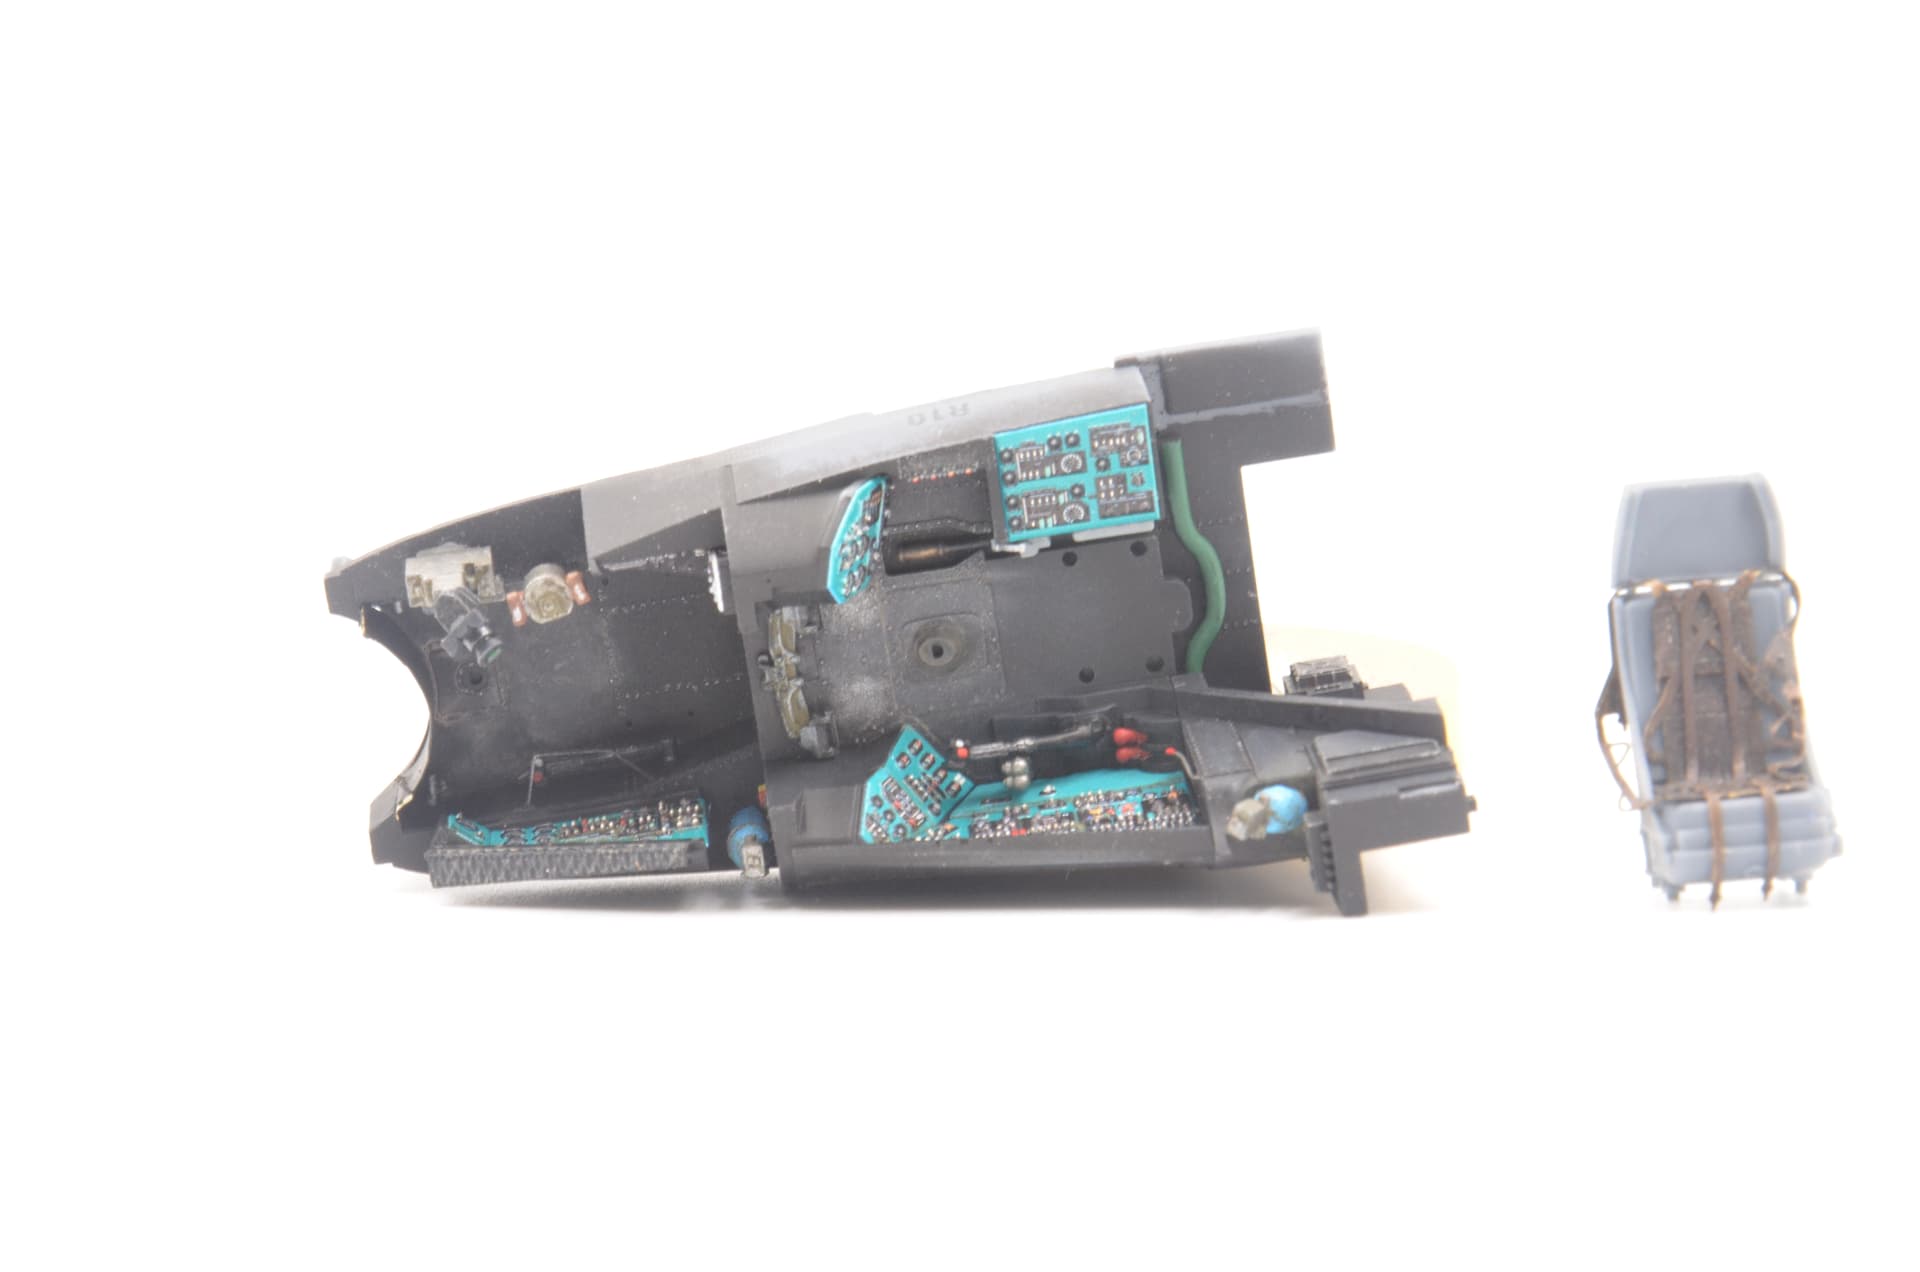
All the work so far has been on the cockpit. This Reskit set came with the Quinta Studios 3D decals for the cockpit. Love these products. They really do make the cockpits look the part!
Overall view of cockpit with unpainted pilot seat.
Good view of Quinta Studios details.
View of pilot’s left wall
Unpainted pilot’s seat. Like I mentioned earlier, the photo-etch is thick and very uncooperative to work with. It has been annealed to try and make it easier to flex, but it just doesn’t want to do it. The annealing actually made parts of this photo-etch piece very brittle and it has had to be reinforced in two areas. I think it is hidden pretty well, so no big worries.
Overhead view of the cockpit details
More to come, thanks for looking!
1 Like
Really looking great! Cant wait for more updates!