While I wait for the weather to improve so I can airbrush a few projects waiting for some paint (I have to do all my spraying outside), I thought I would crack open a recent purchase and get building. That time between Christmas and New Year tends to drag and I need something to occupy myself.
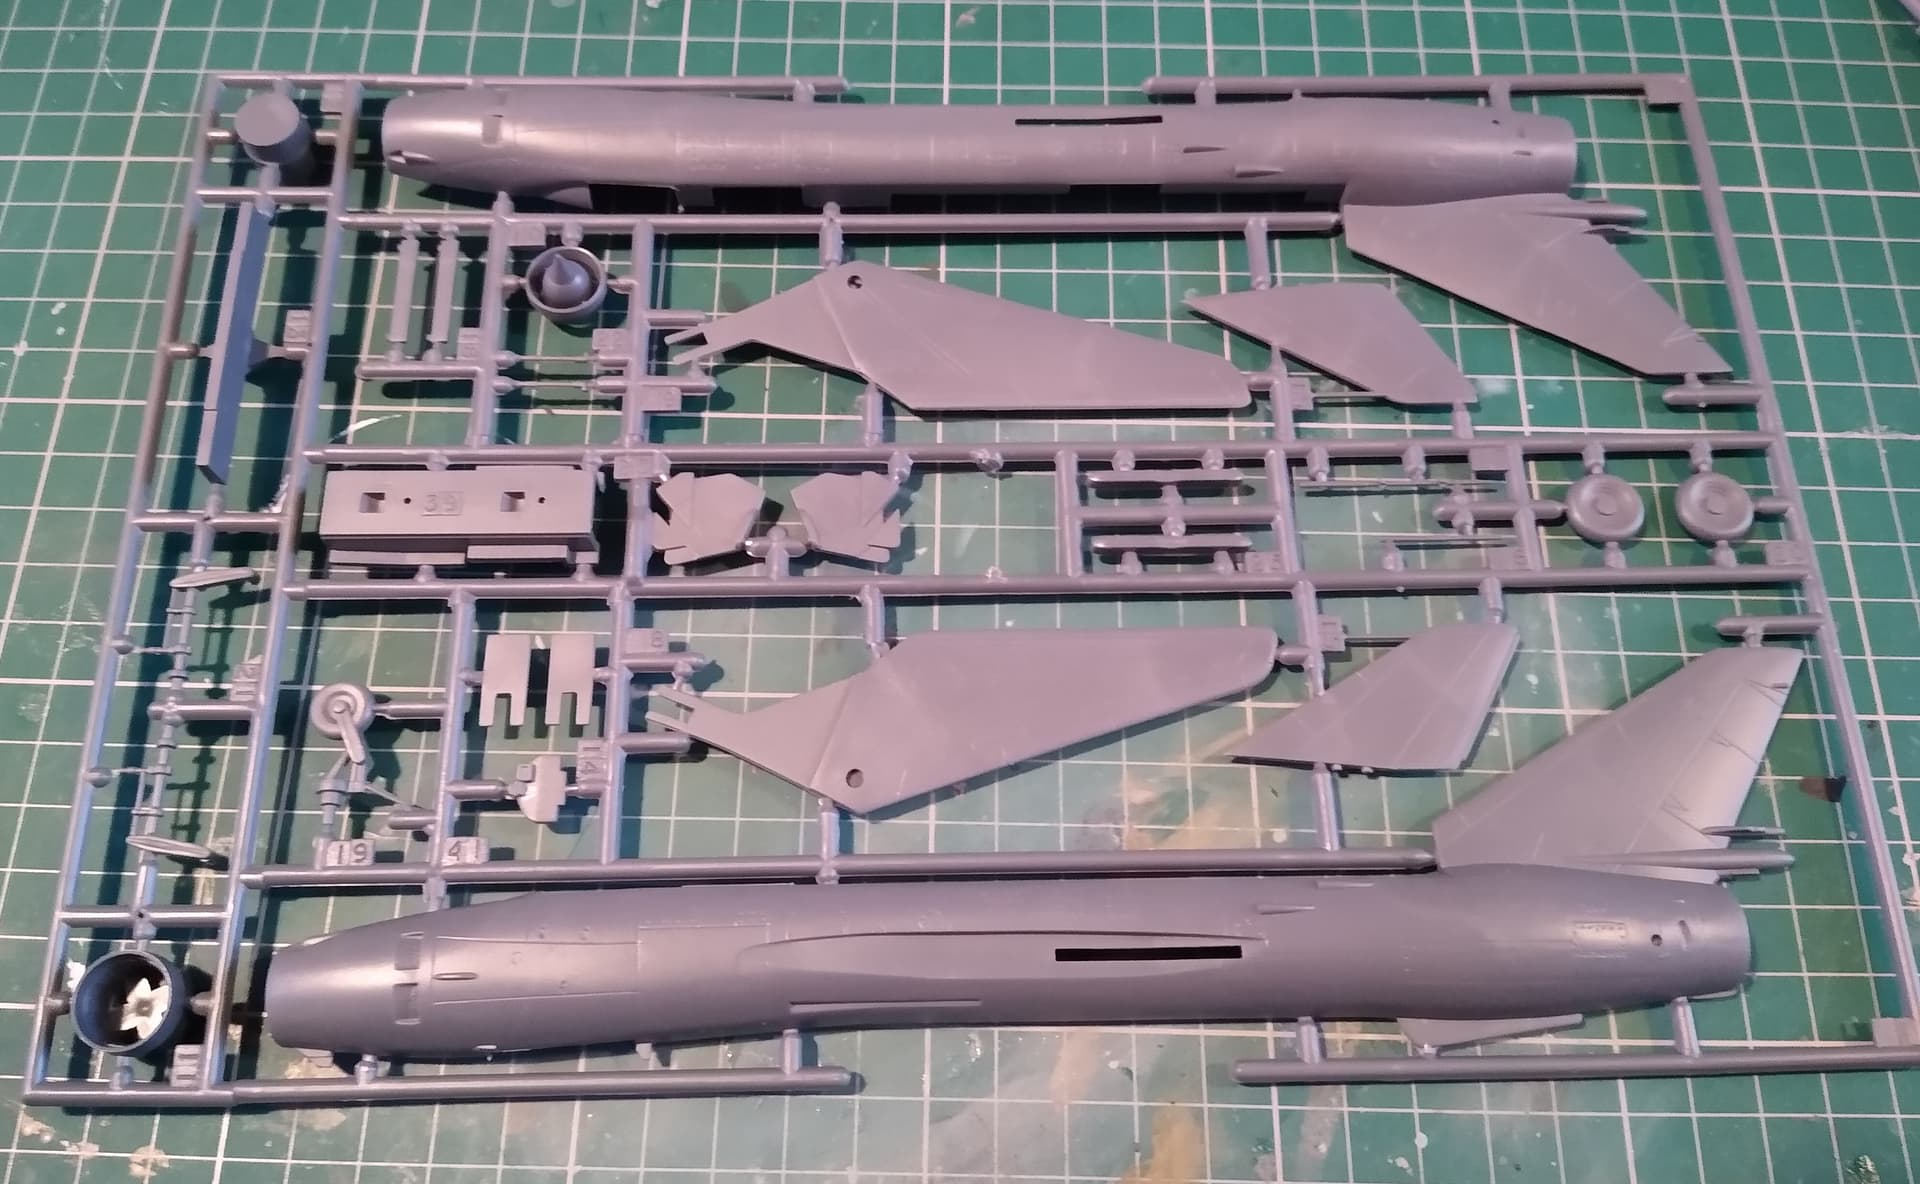
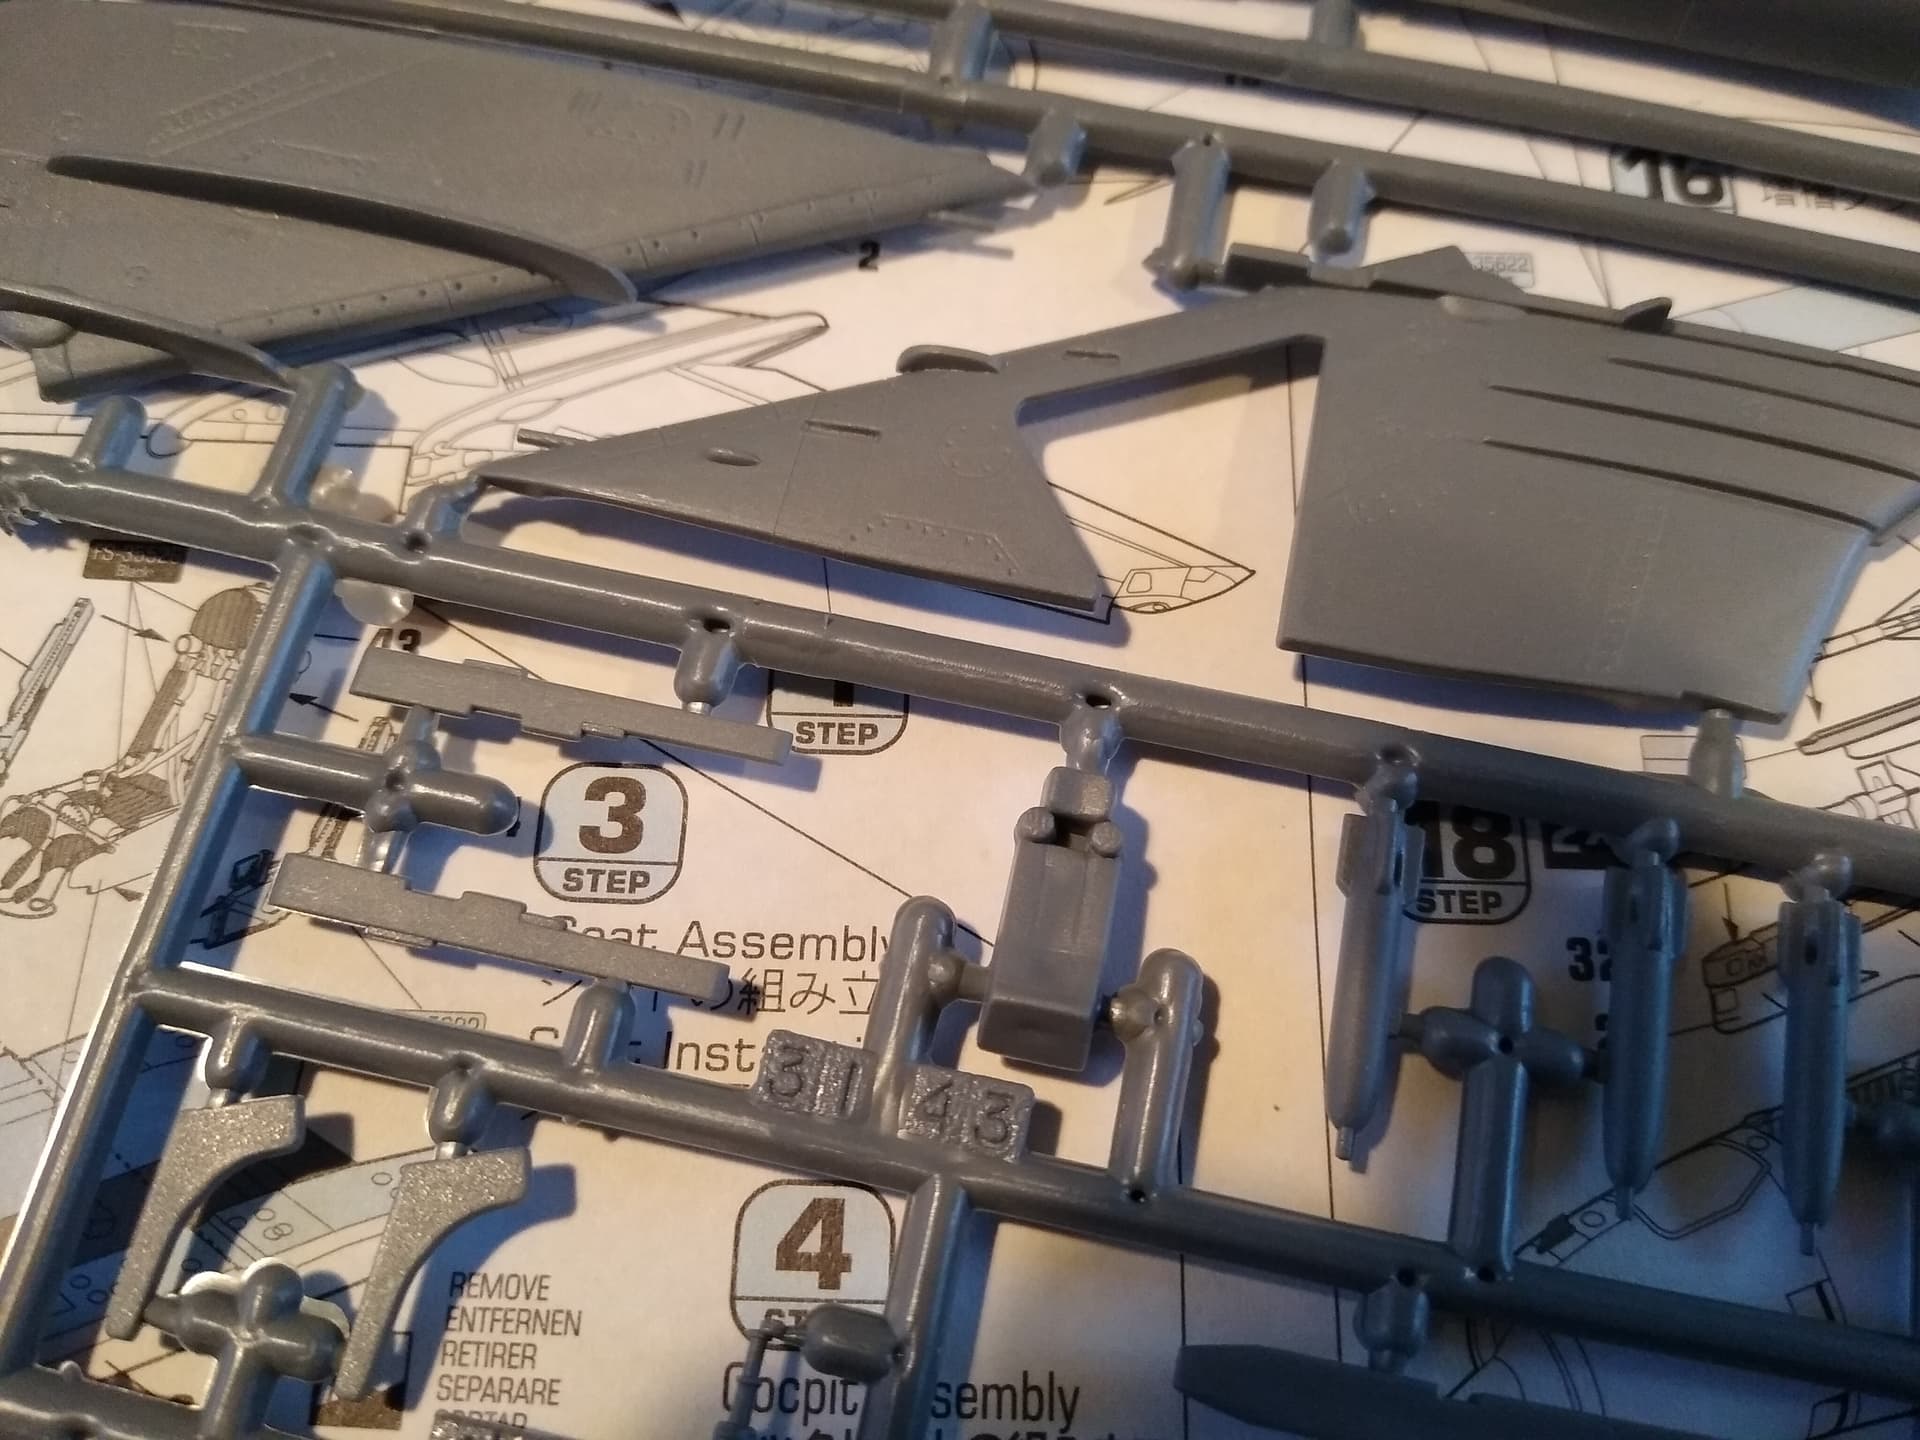
First impressions of the sprues are good. A few little imperfections that should sand out and some simplified details (typical of what I would expect really), but panel lines are engraved and look ok. I believe the kit was originally done by Pantera?
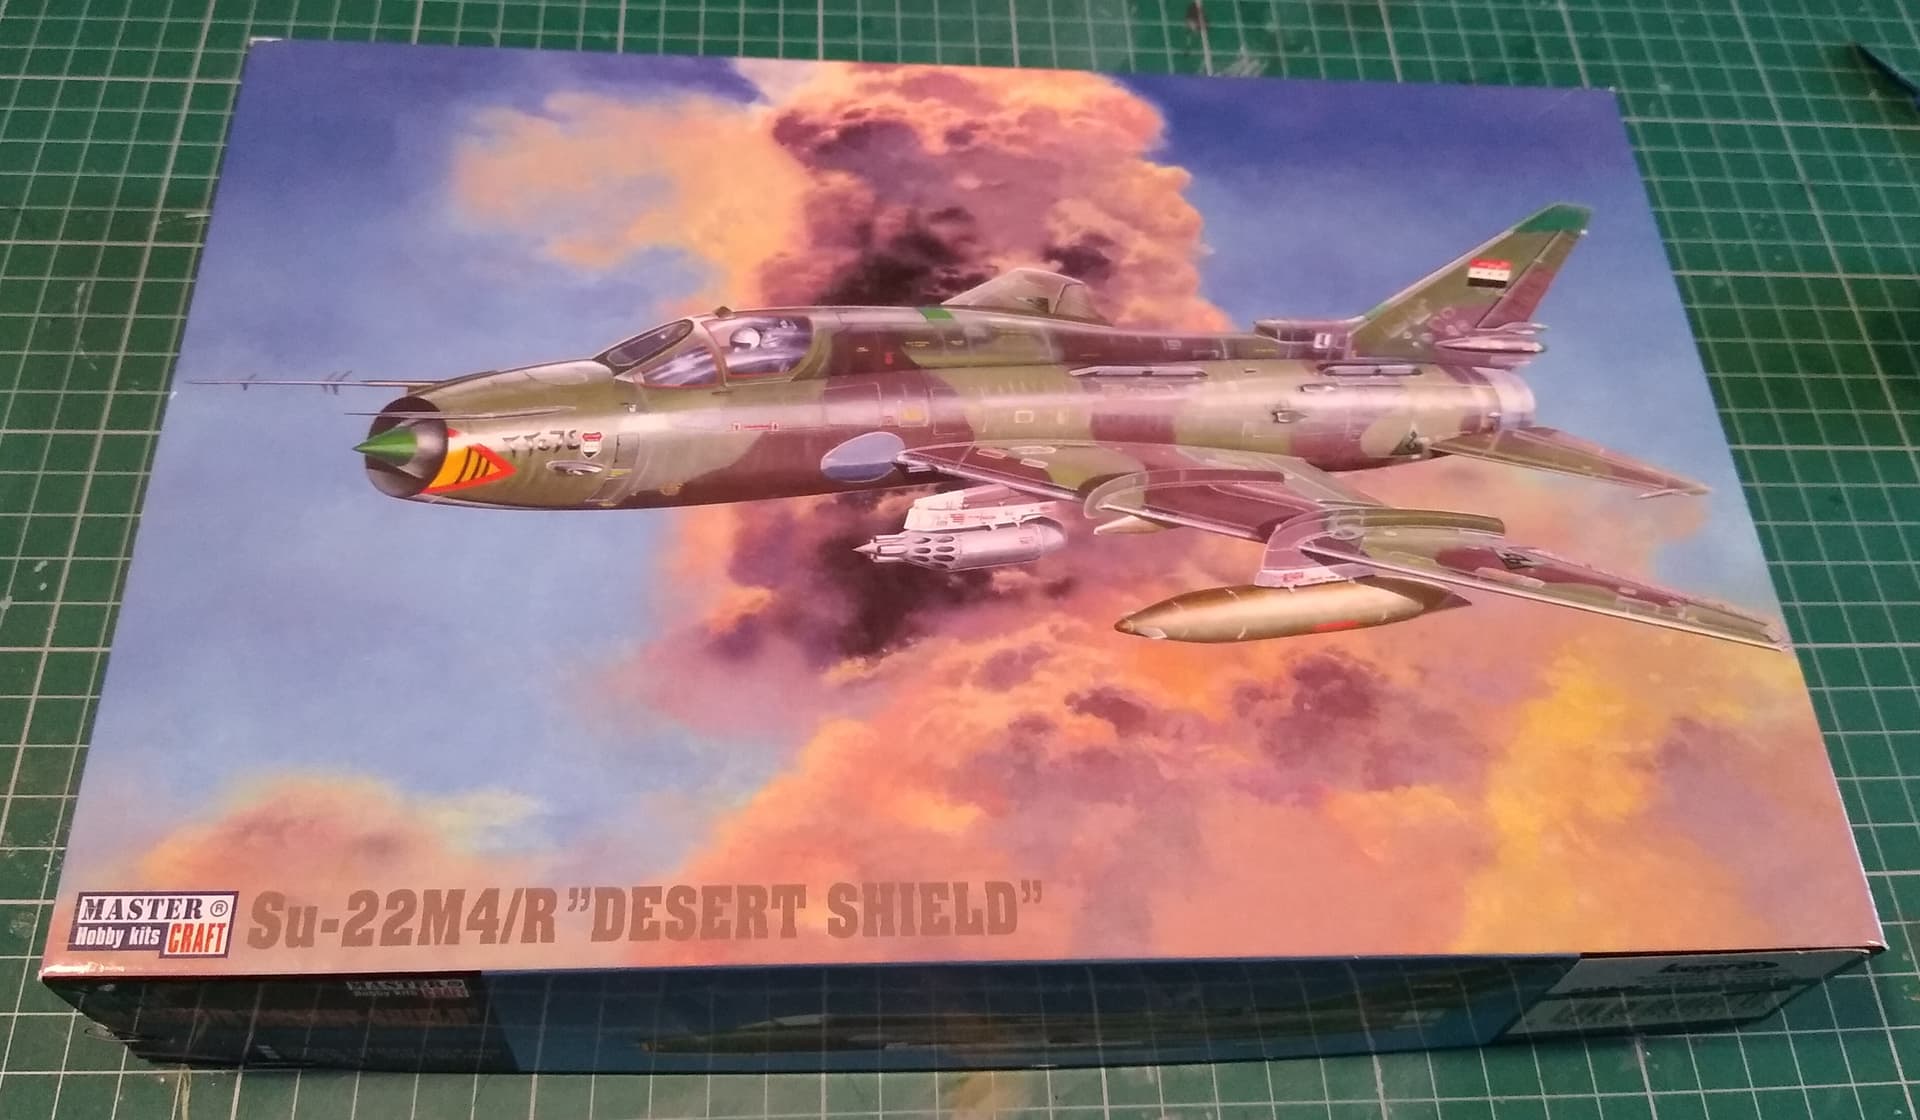
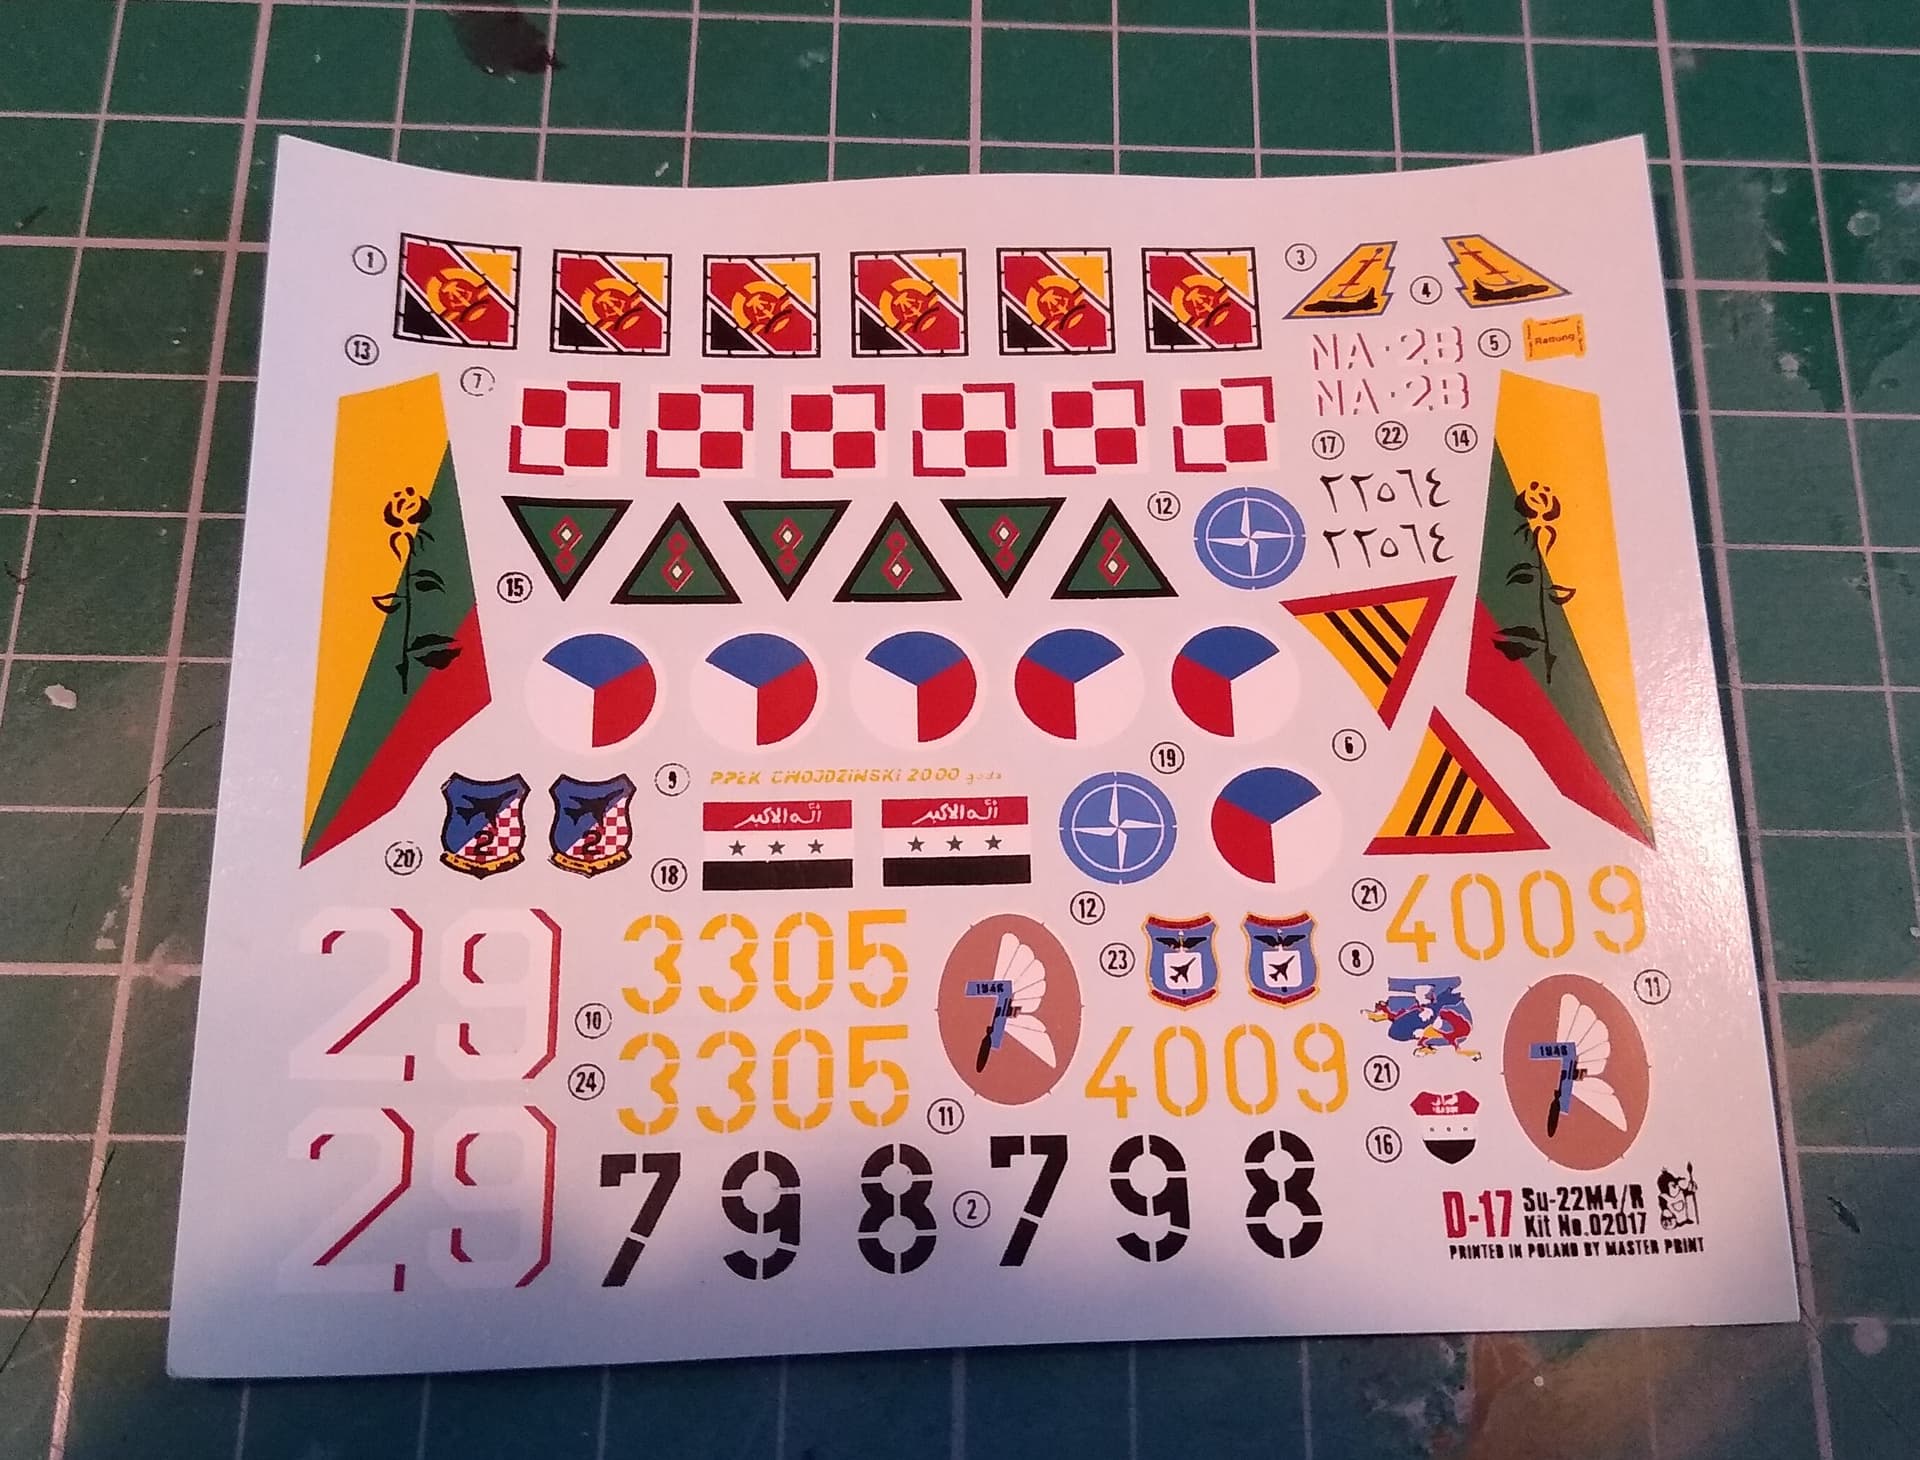
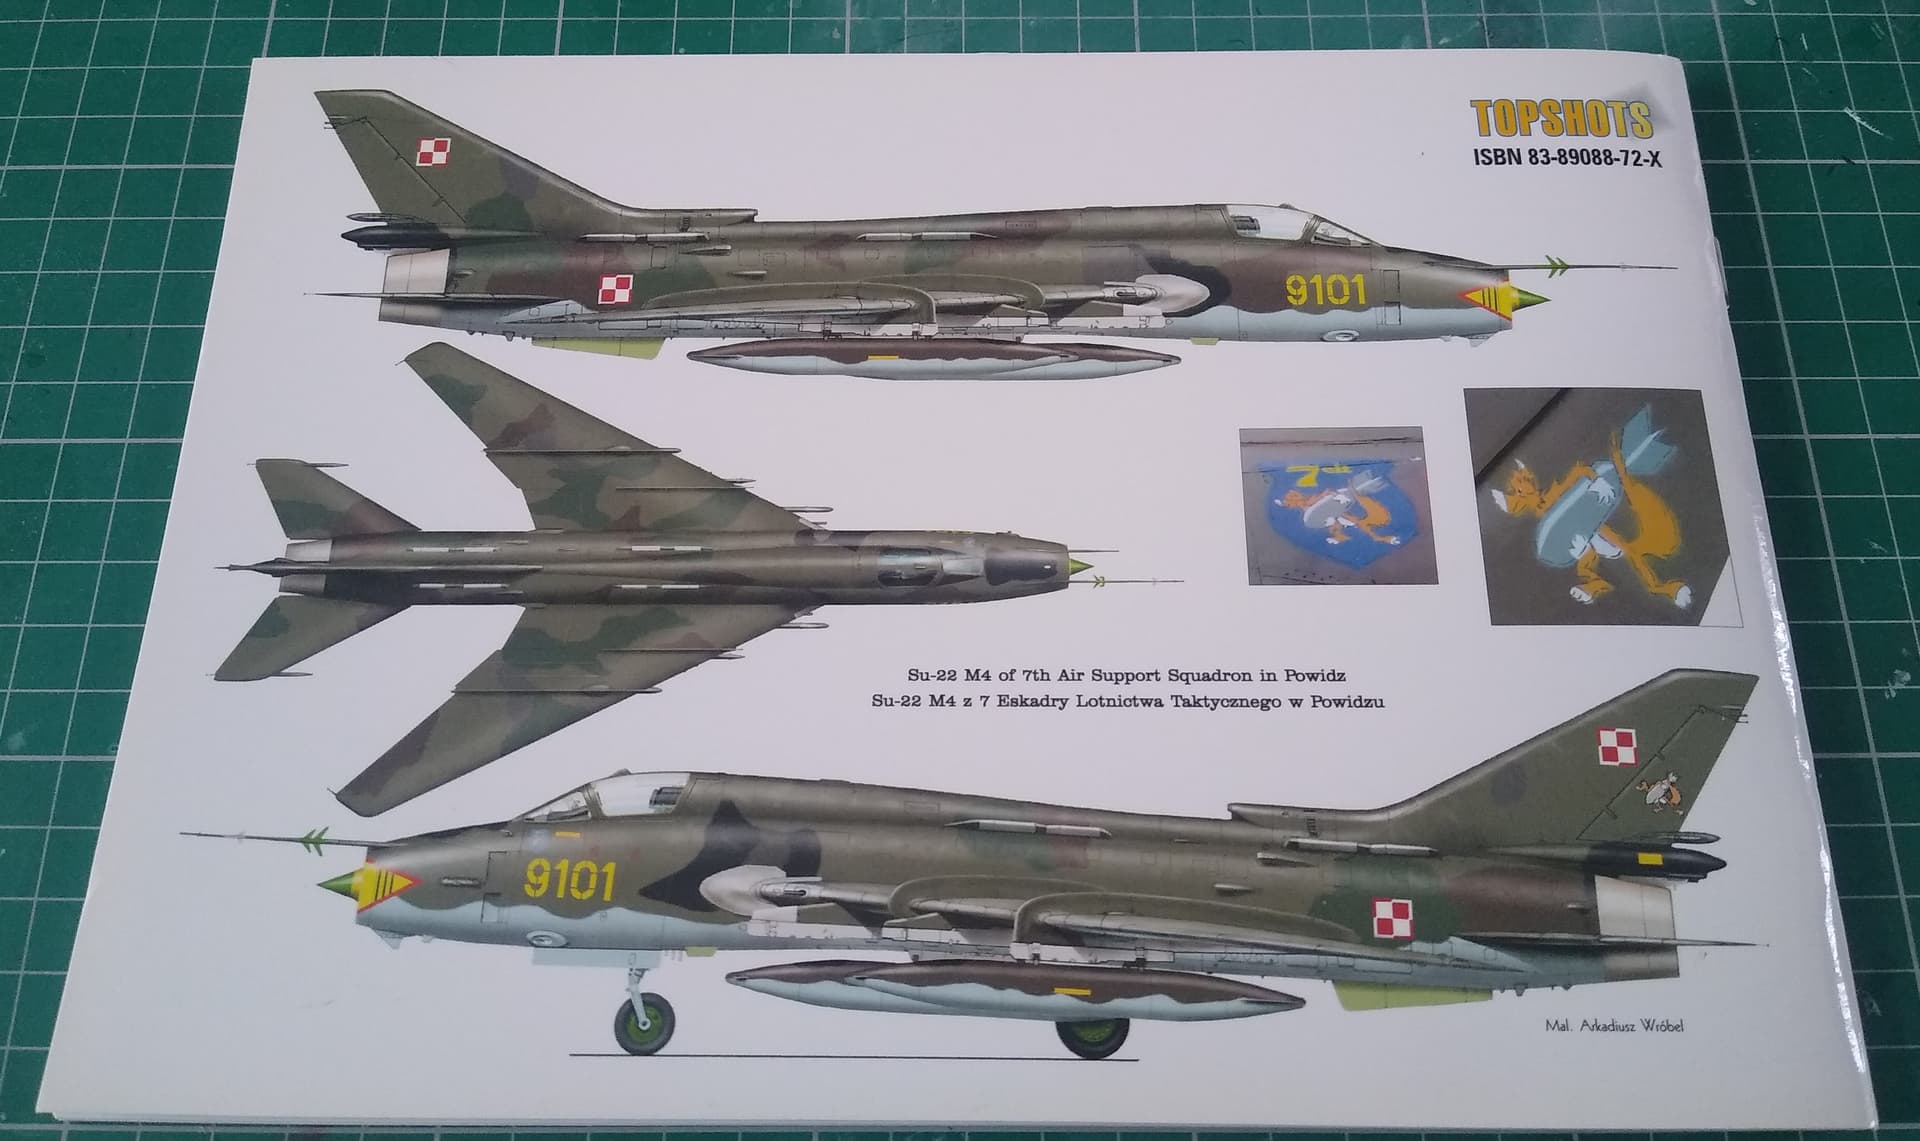
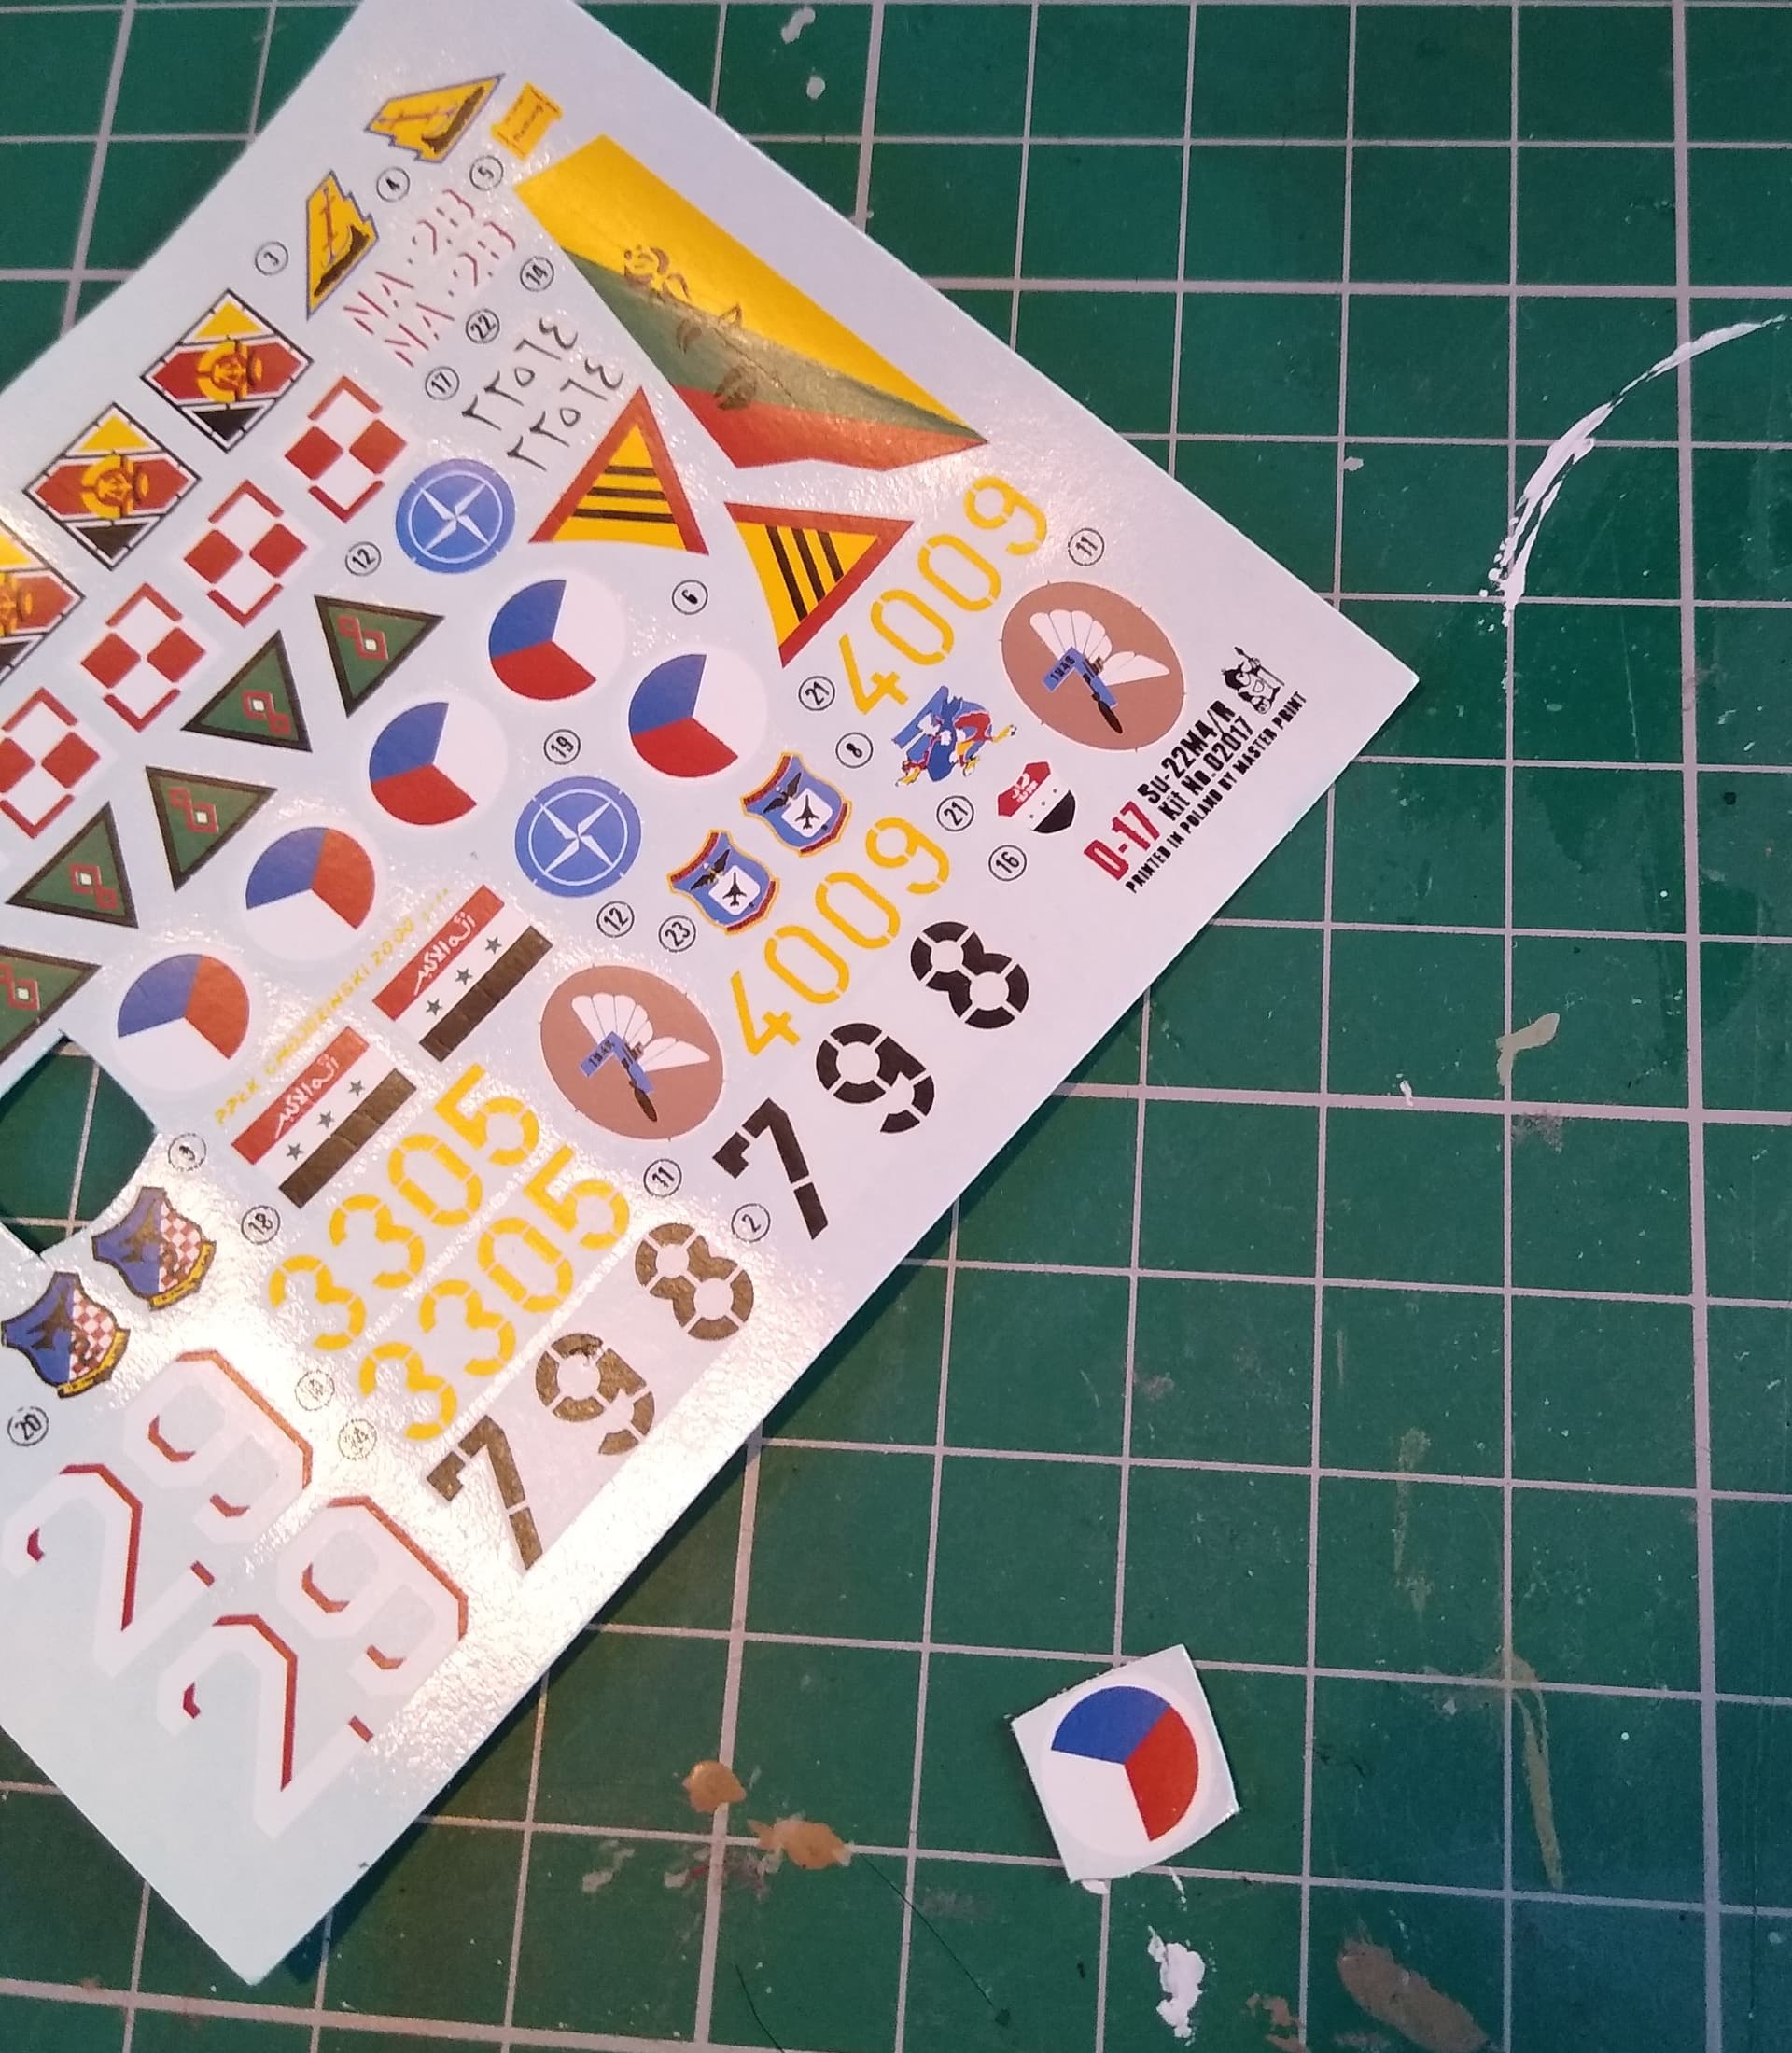
Decals look useable. You get options for East German, Polish, Czech and Iraqi aircraft. Might go with the Iraqi colours and display it with the Mig-23 I was doing in another thread.
I’m fully expecting a few fit problems to deal with, but should be fun. This is just going to be a straight OOB build, warts and all. The intention is just to add the big Sukhoi to the collection rather than win awards.
If anyone’s tackled one of these before and has some advice, I’d be interested to hear.
Stephen, it’s standard in Mastercraft/Mistercraft instructions. And You are right - this is Poznan Pantera kit repack. Check decals - usually they are useless.
Thanks Andy.
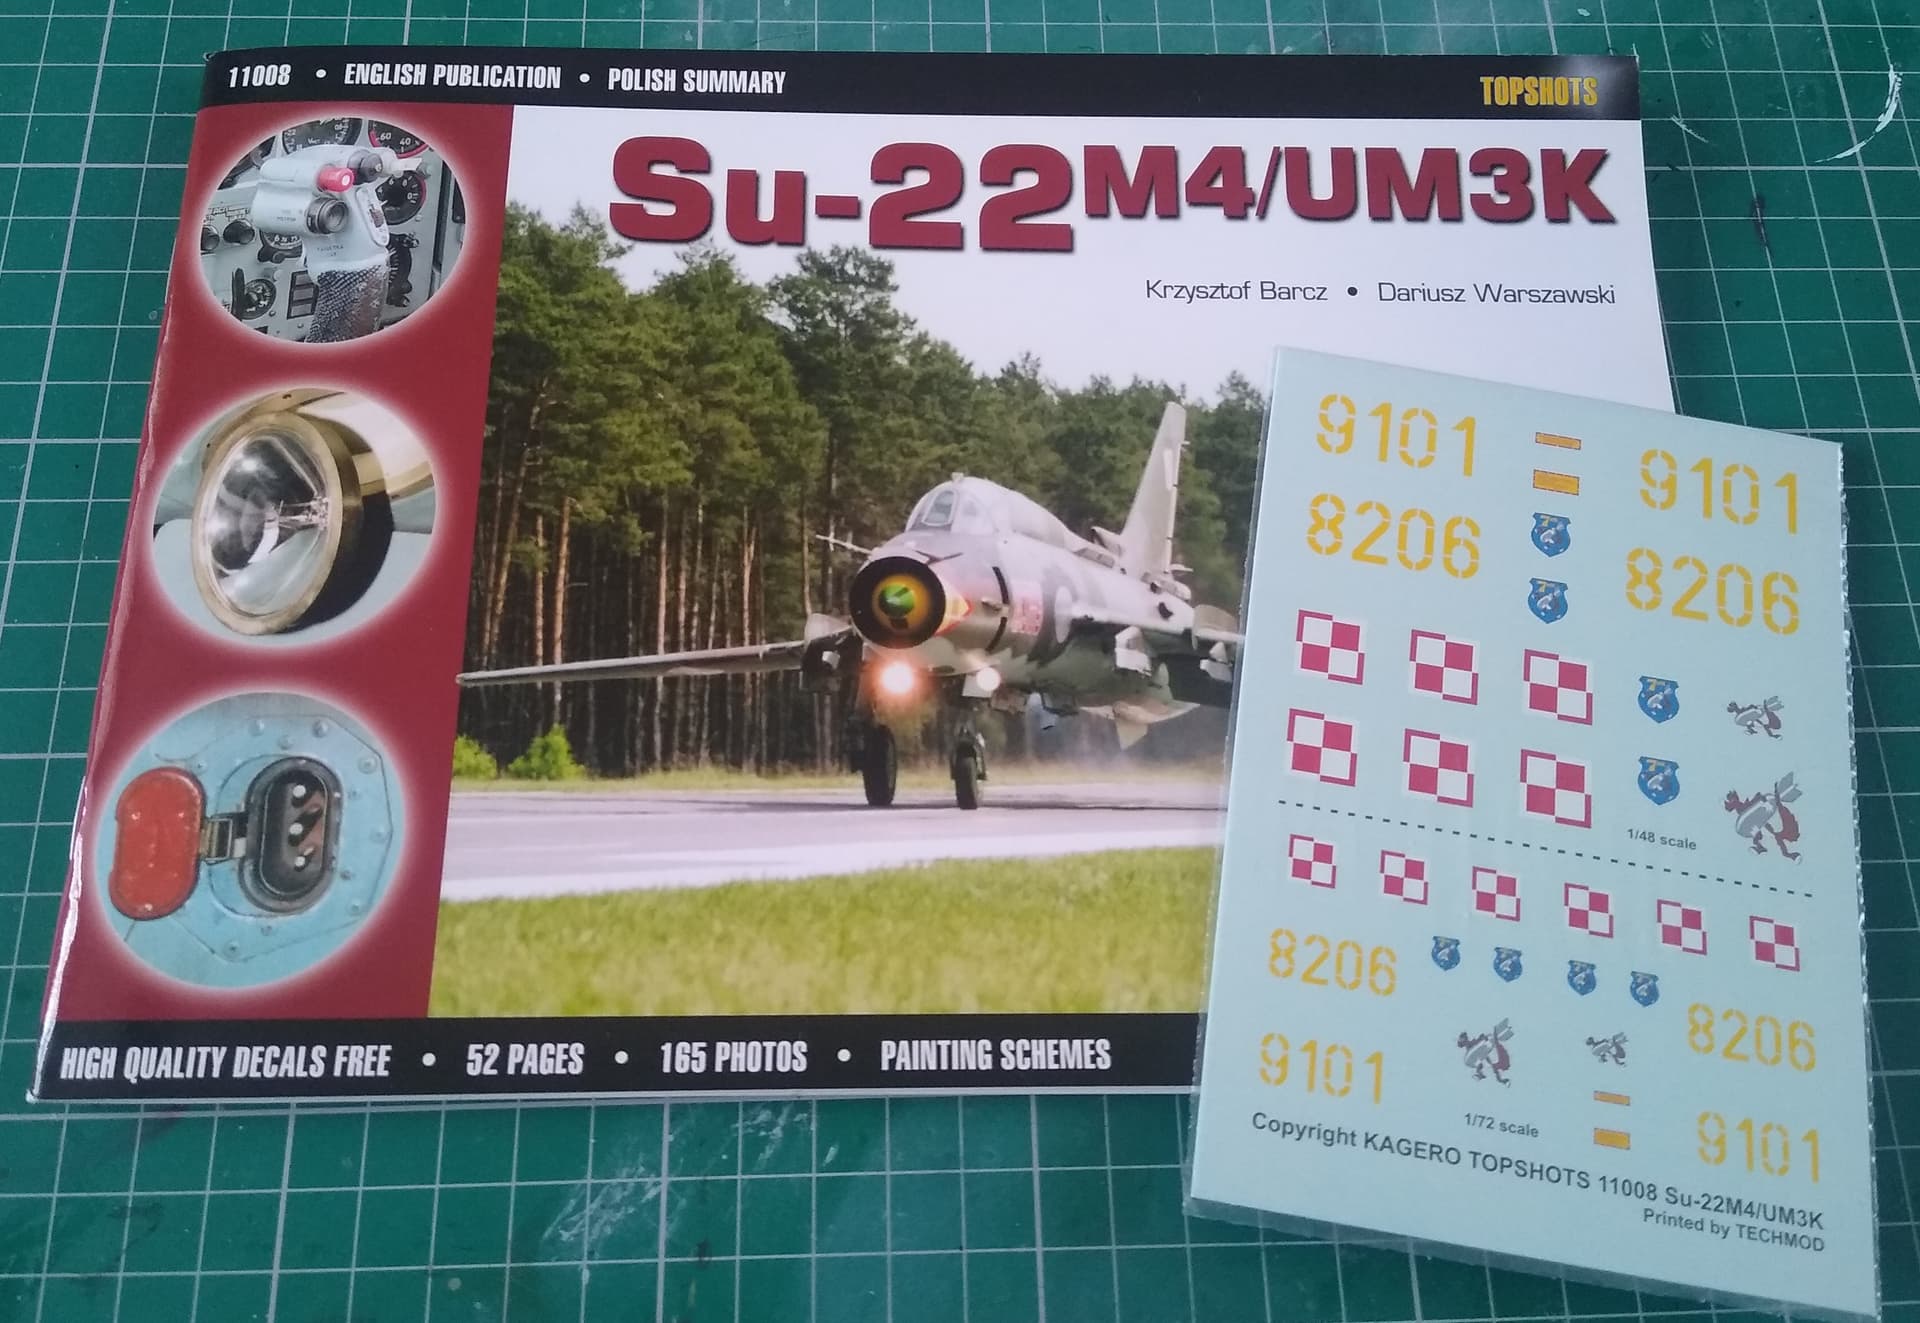
I’ll test one of the ones I won’t use and see how they work. If they don’t work, I do have a Plan B. I got a walk around book for the Su-22 a few years ago that had a set free decals for a Polish aircraft.
I’ve probably set myself a challenge with this one. I did pick up their Su-25 cheap a couple of months back and it’s very rough compared to this. I guess their quality is all over the place!
That’s put aside for a try out of Ukrainian digital cammo, so it’s little more than a guinea pig kit.
There’s a lot of good photos in it. If I were doing a better kit and a bigger scale, I could really do a lot of detailing.
If I have any questions I’m sure you could answer them for me.
I originally bought the book to use the decals on Italeri’s kit, which is somewhere in a box. I think that’s a rebox of the Bilek? From what I remember it is a lot better. Will have to try and find it.
Thanks, I was wondering about the KP ones actually. I might have a look. From what I remember of old reviews of the Bilek, the 2-seater has a load of ordnance options.
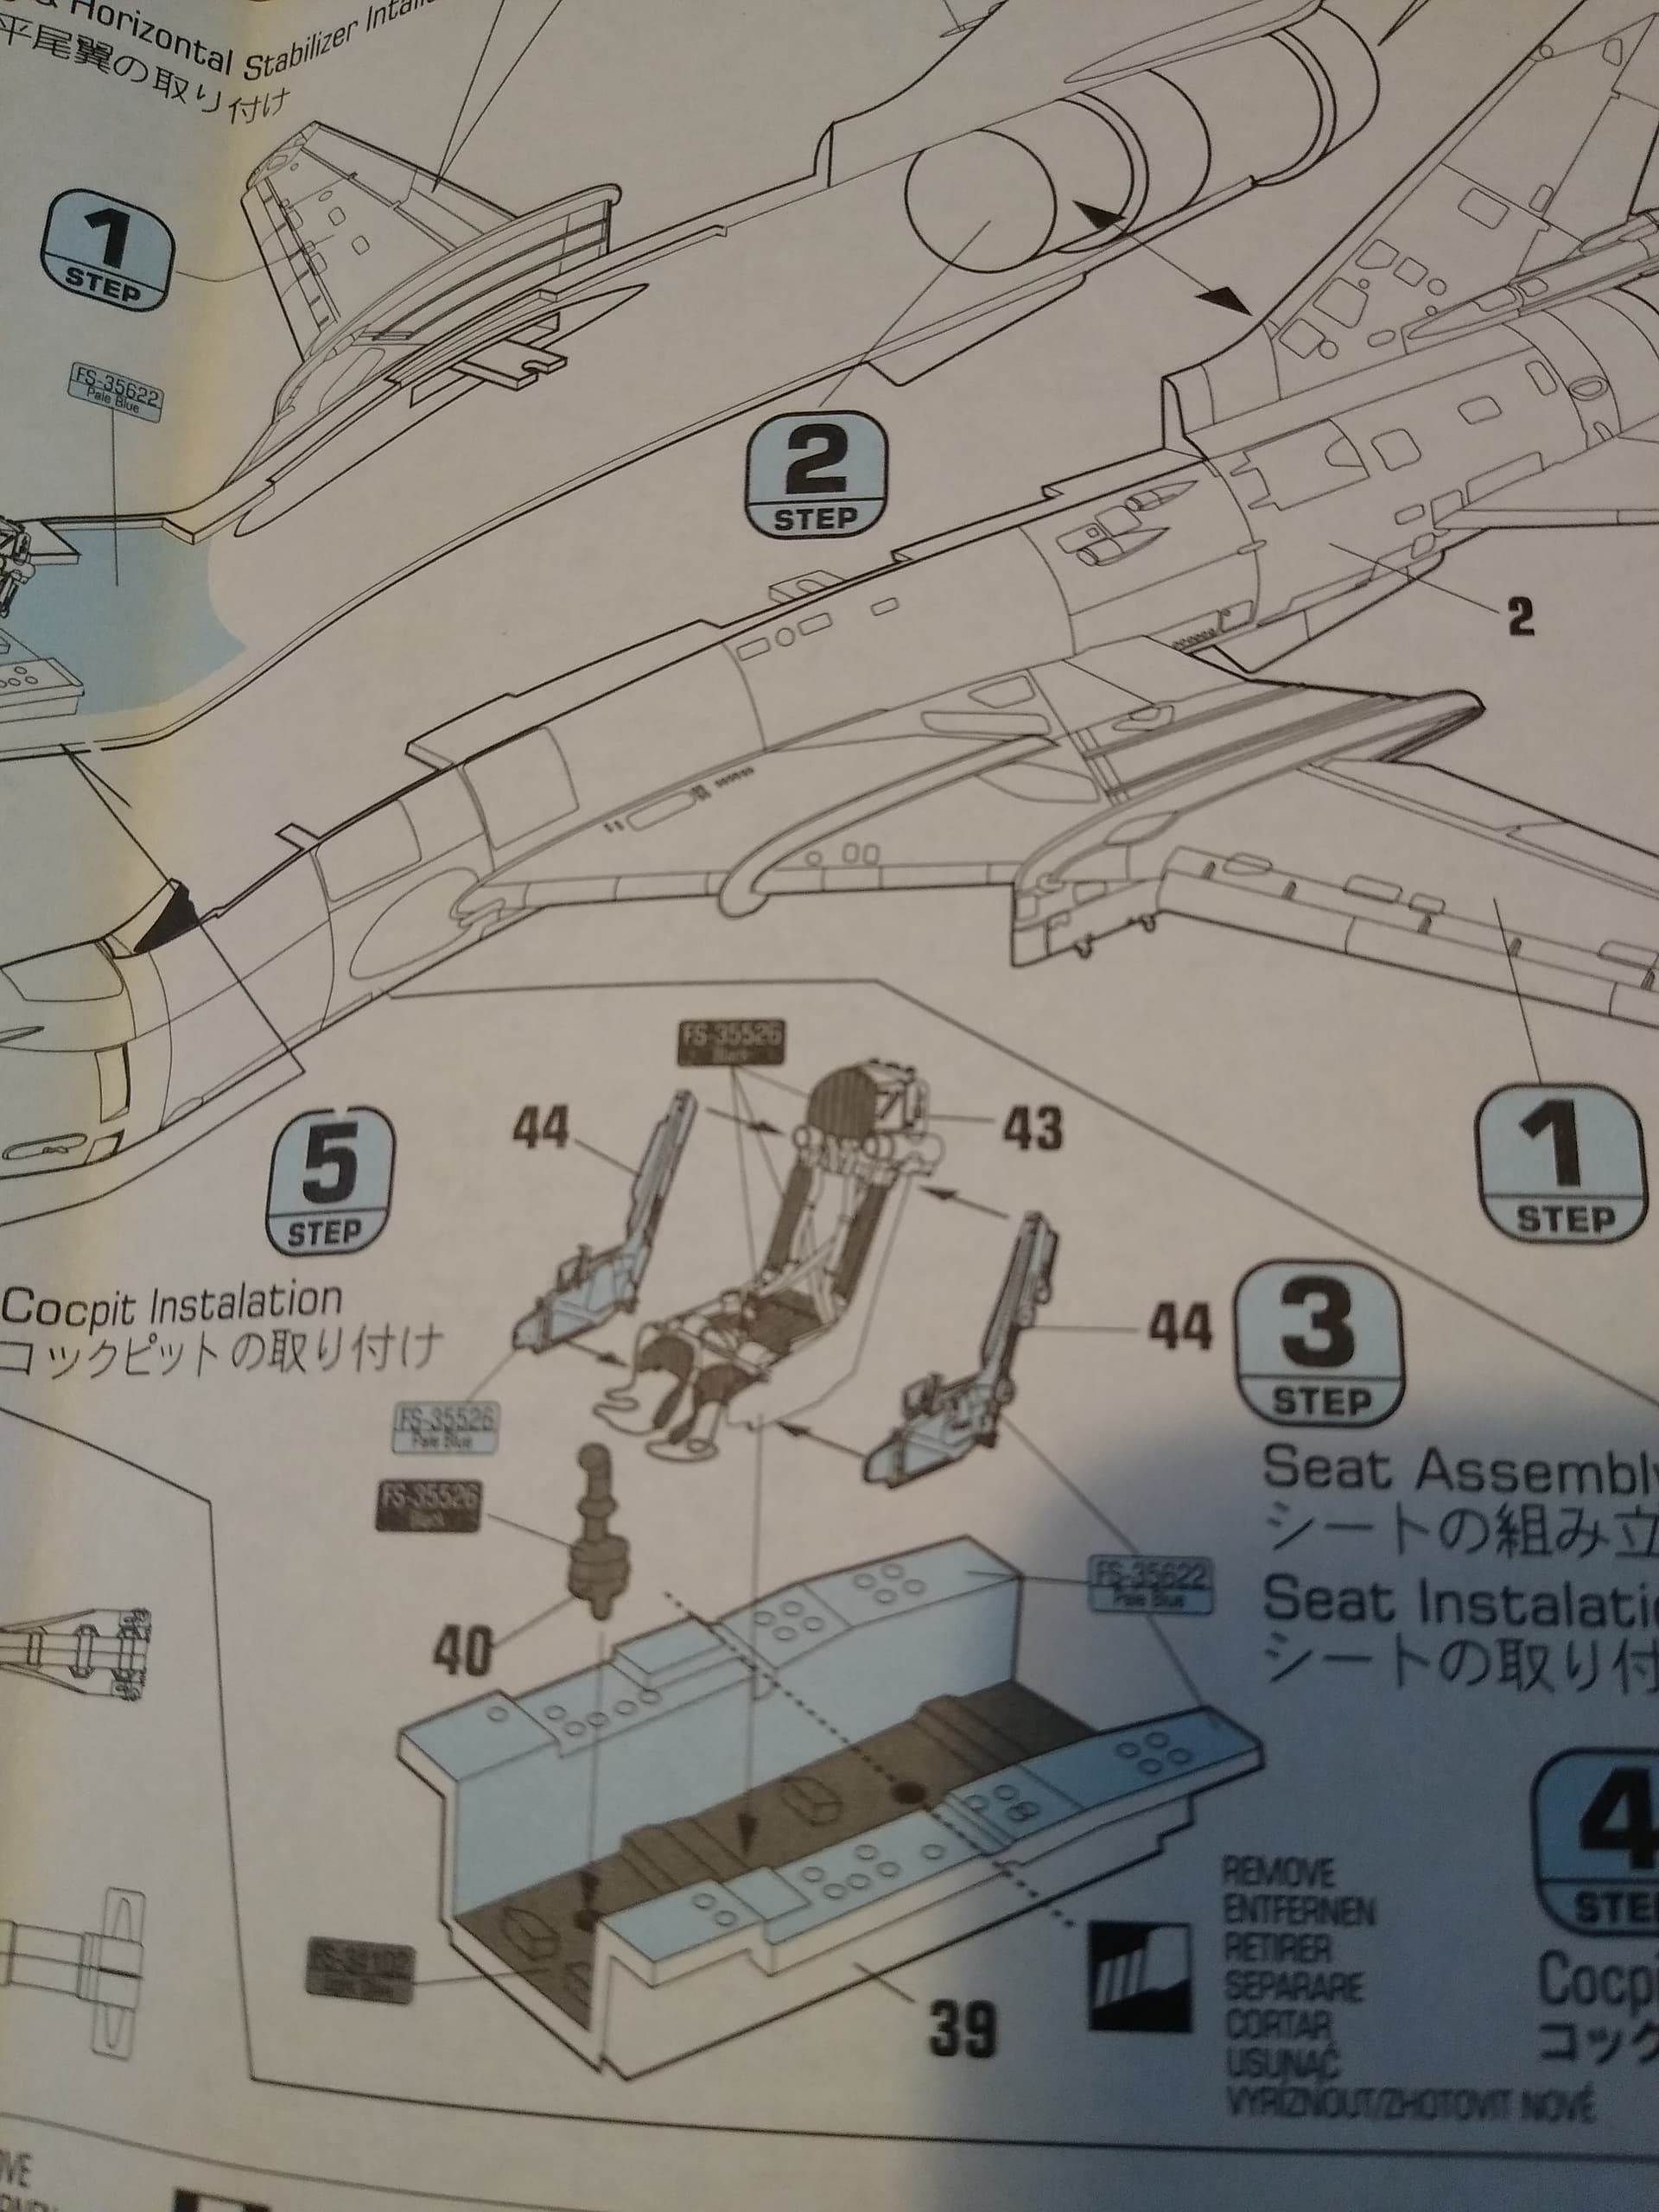
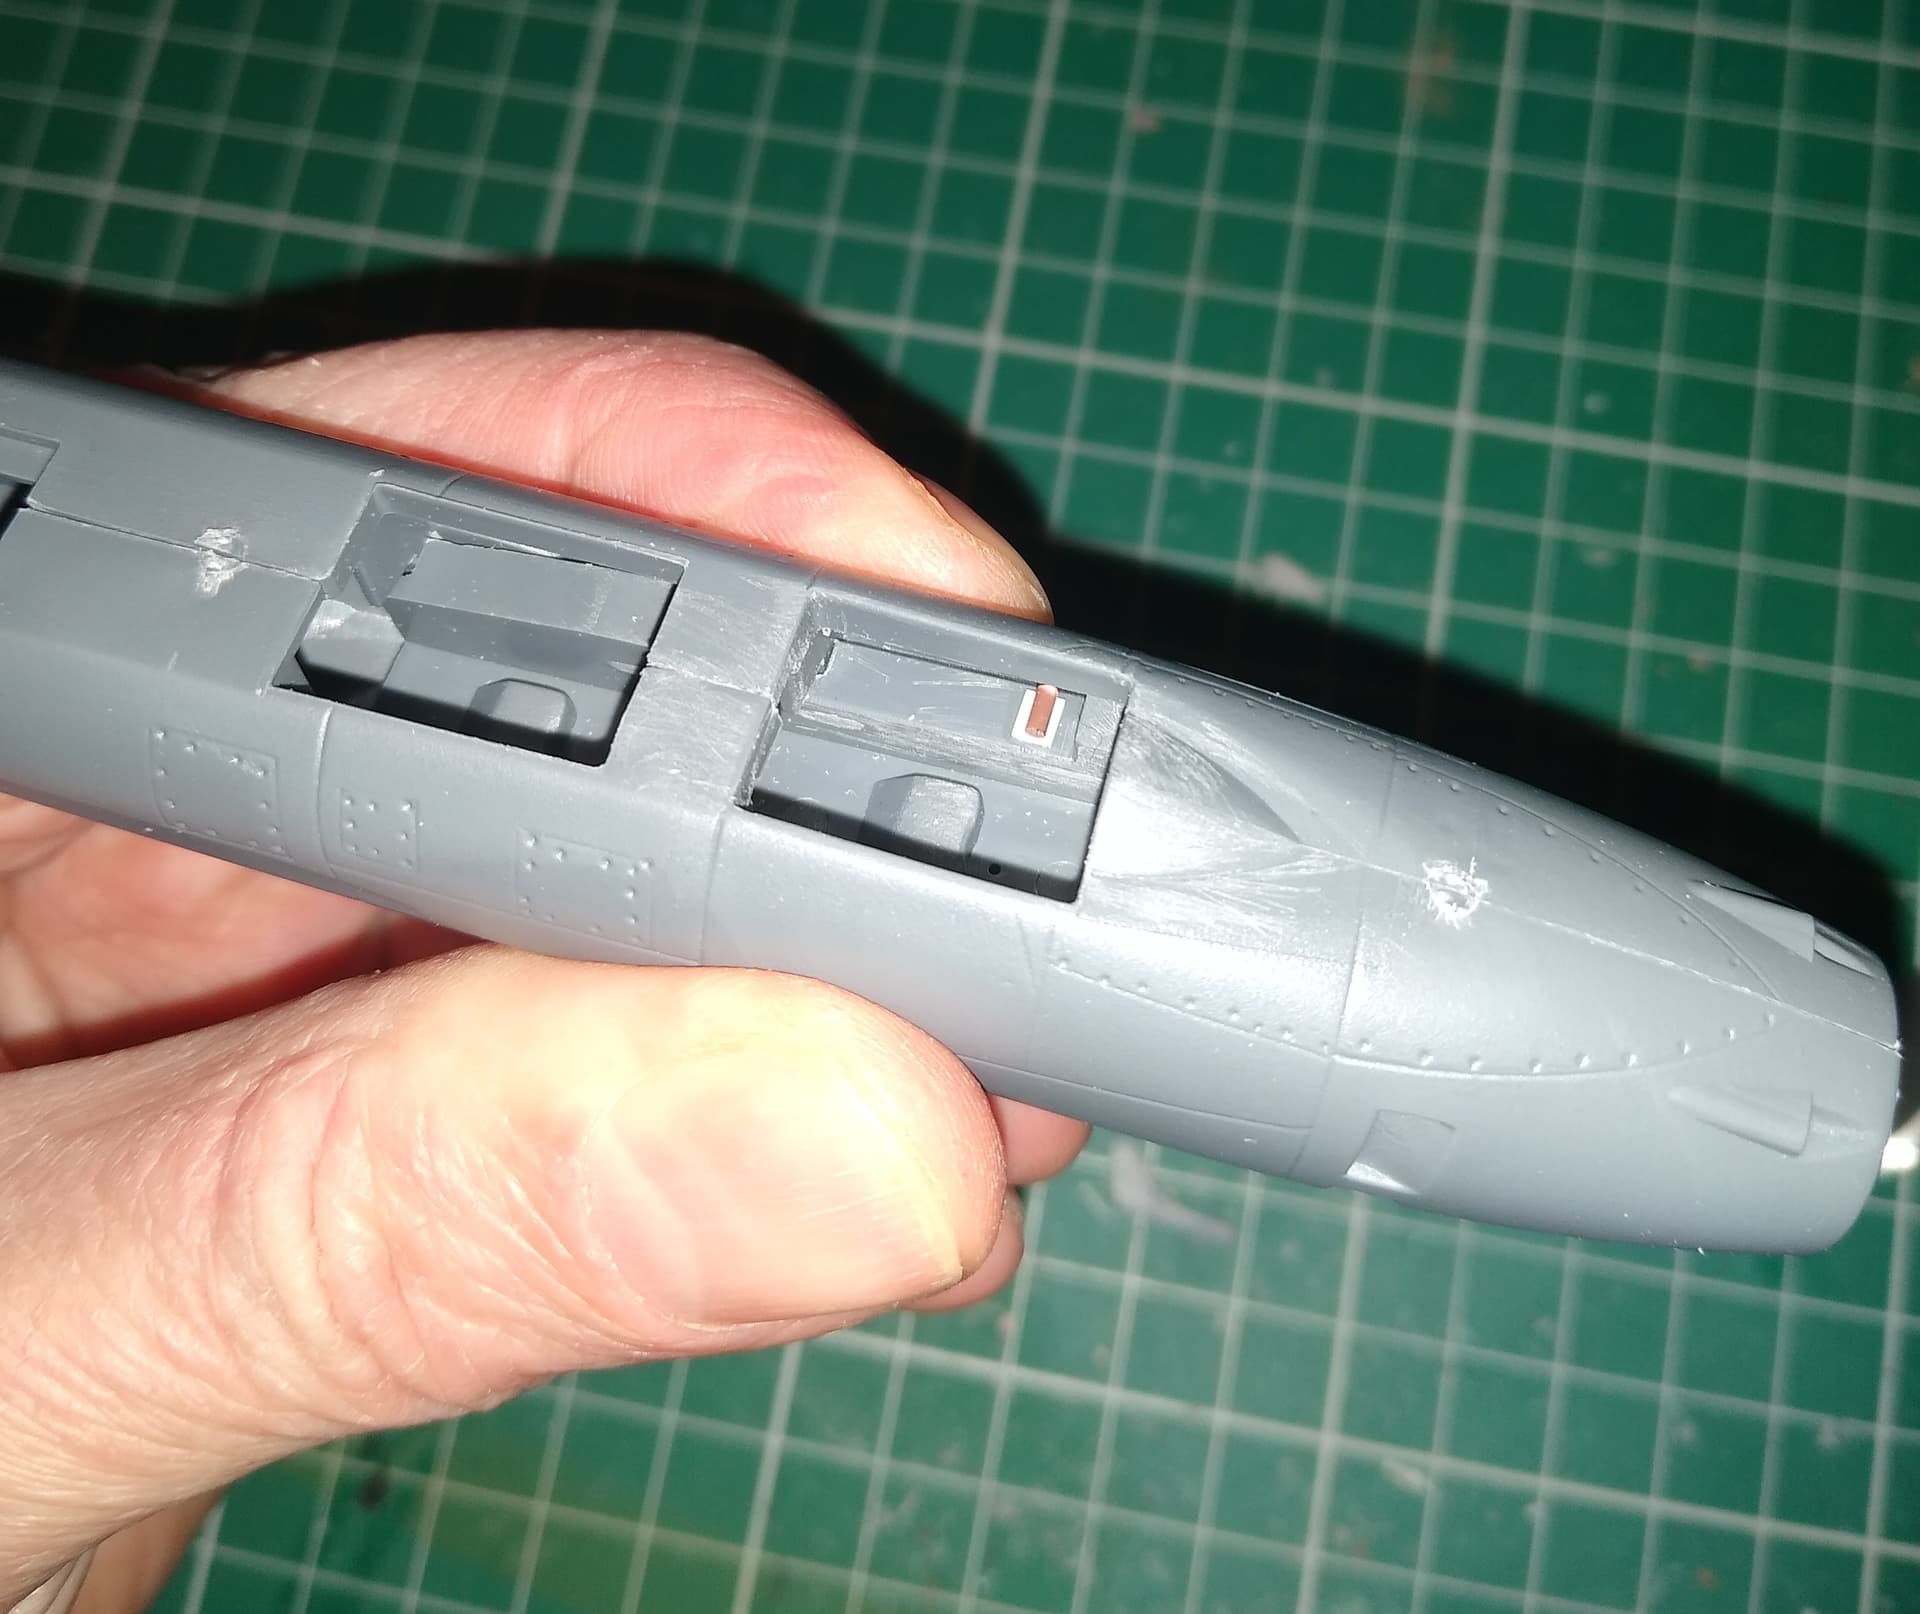
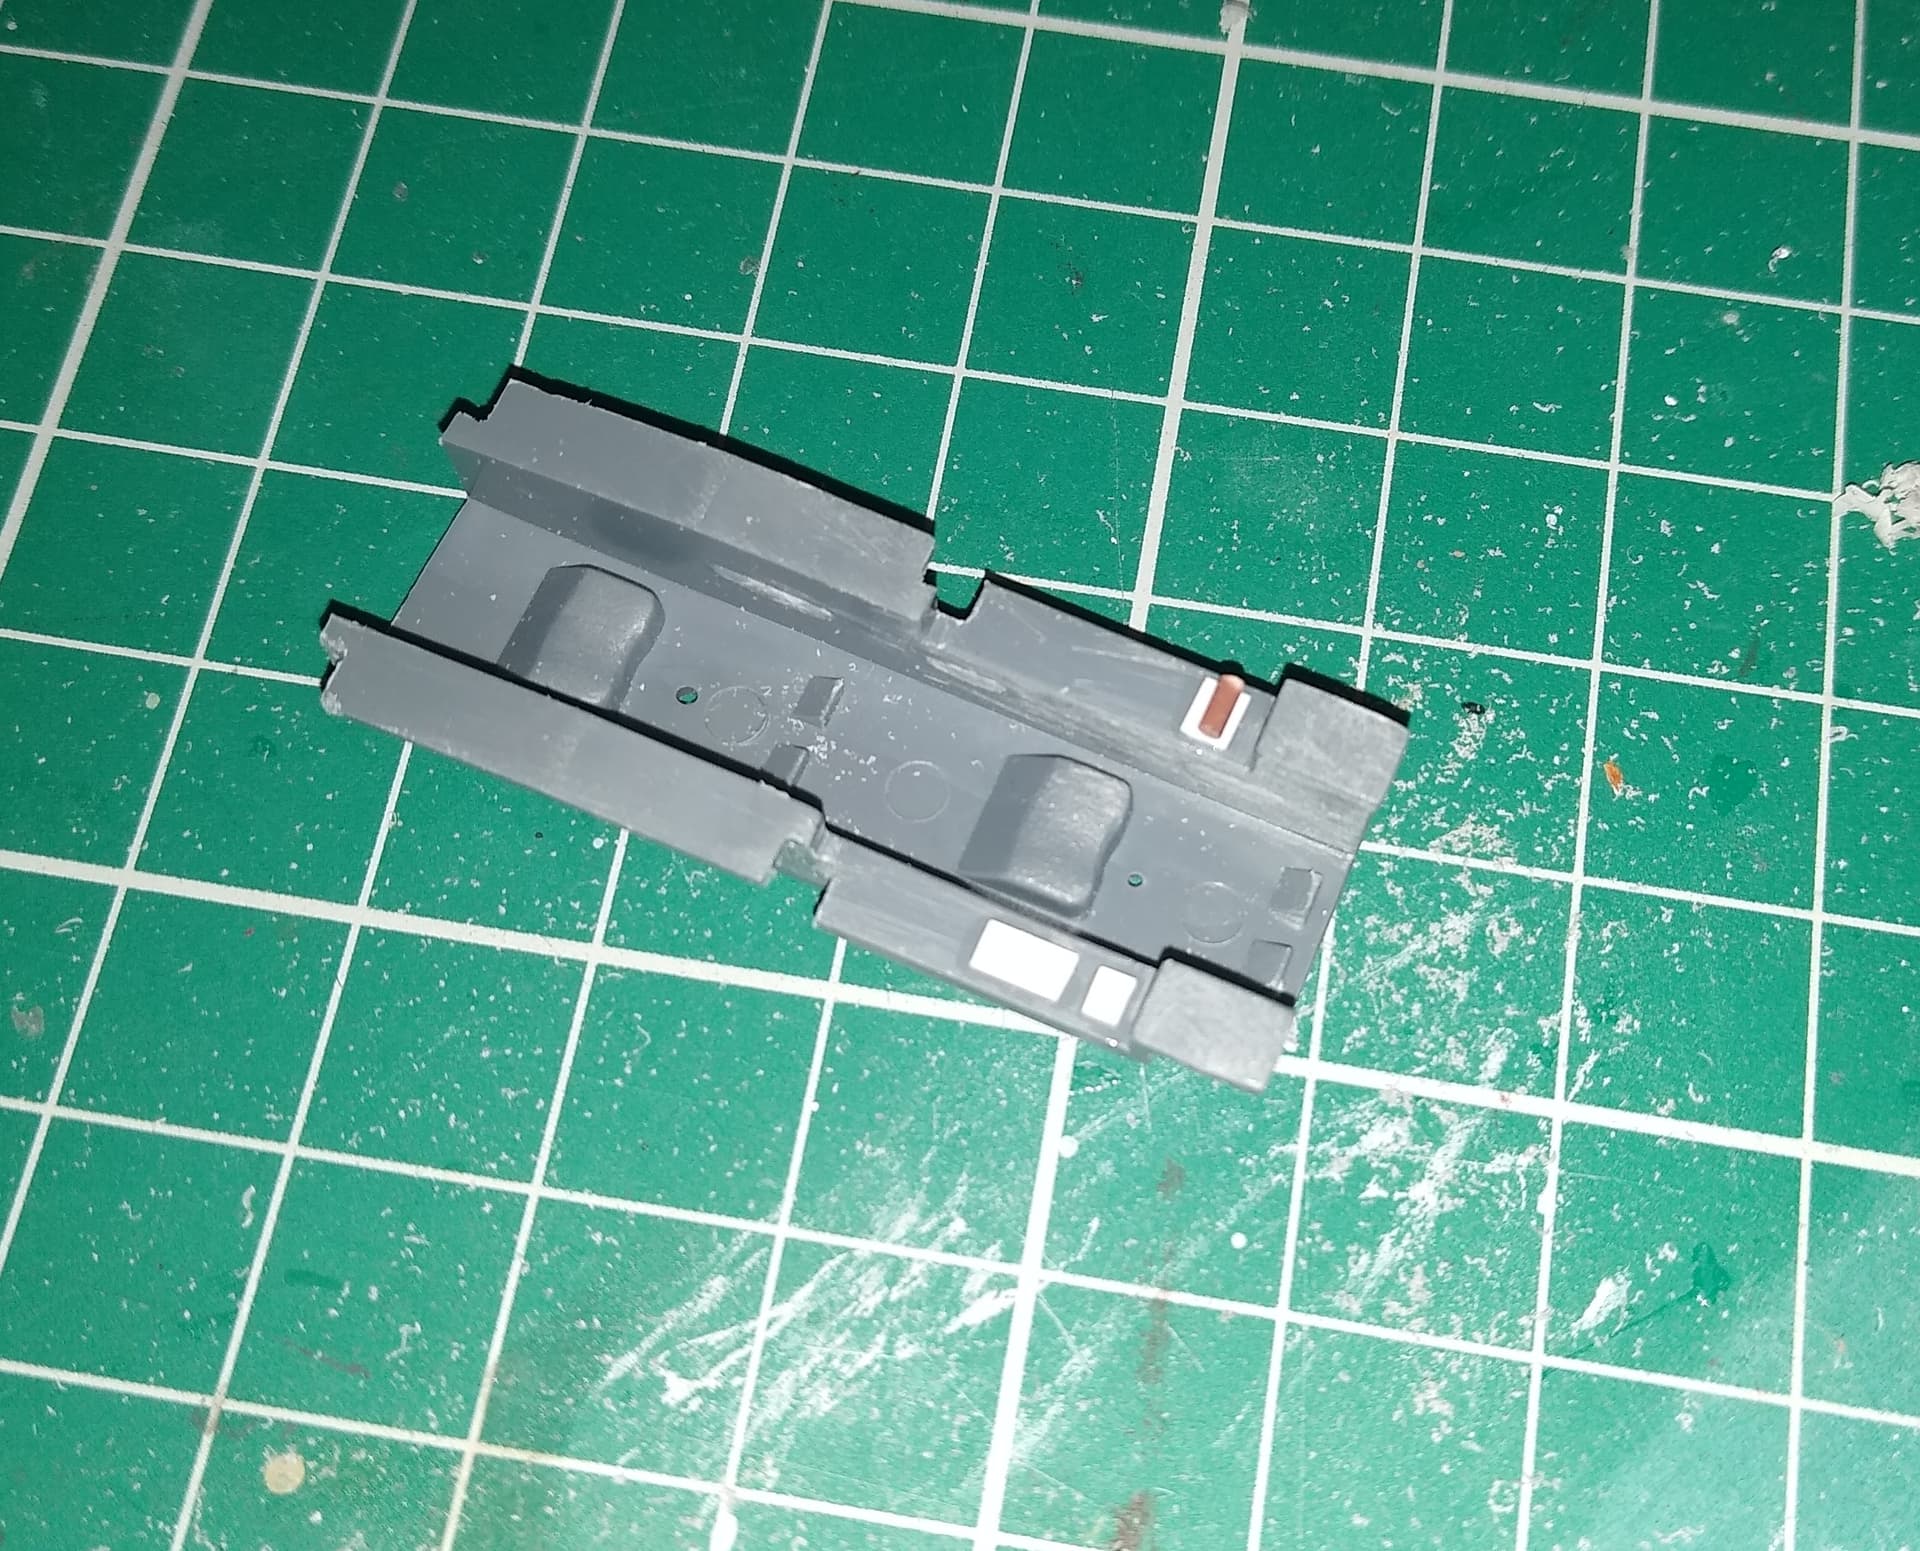
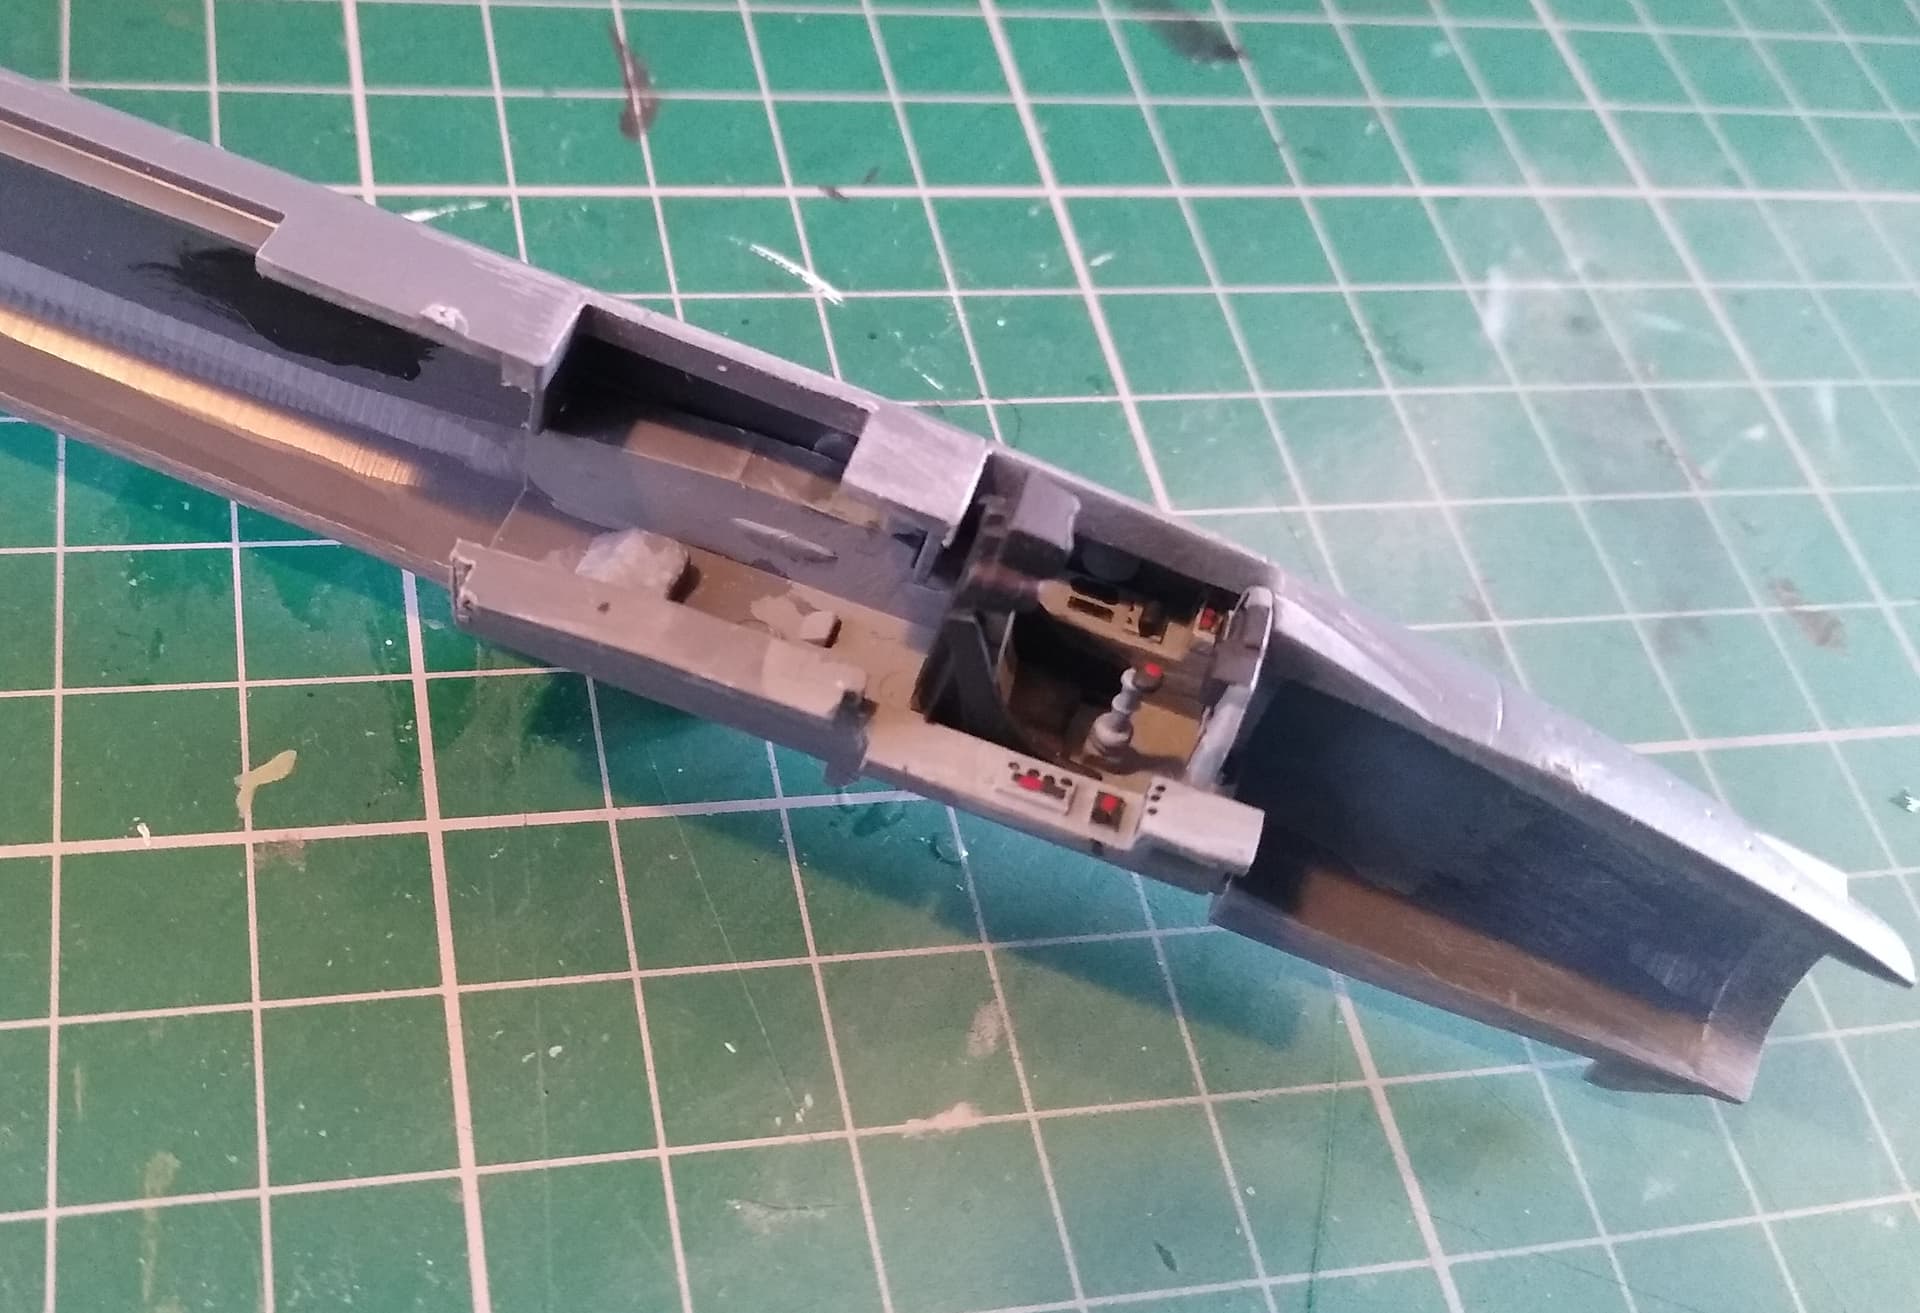
Added some colour to the cockpit this afternoon, just used the first light grey to hand. I added some plastic strip and squares to stop it all looking so flat. A little bit of colour and it will come to life at the end.
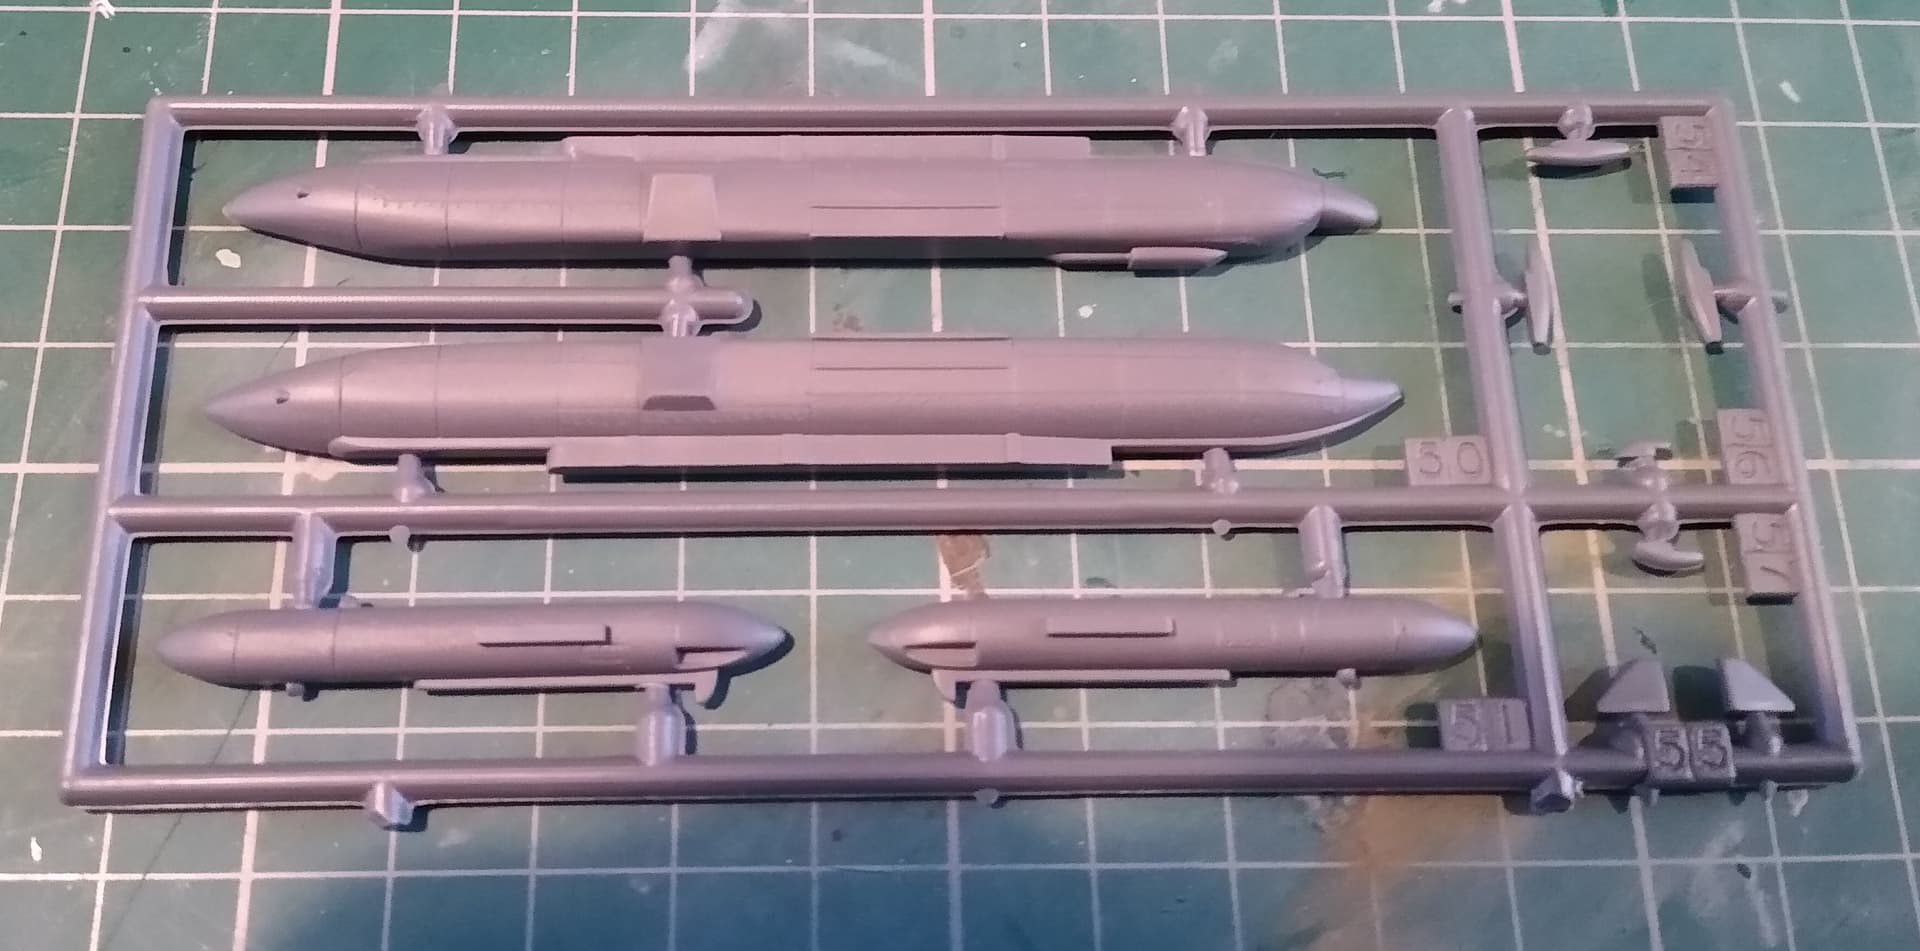
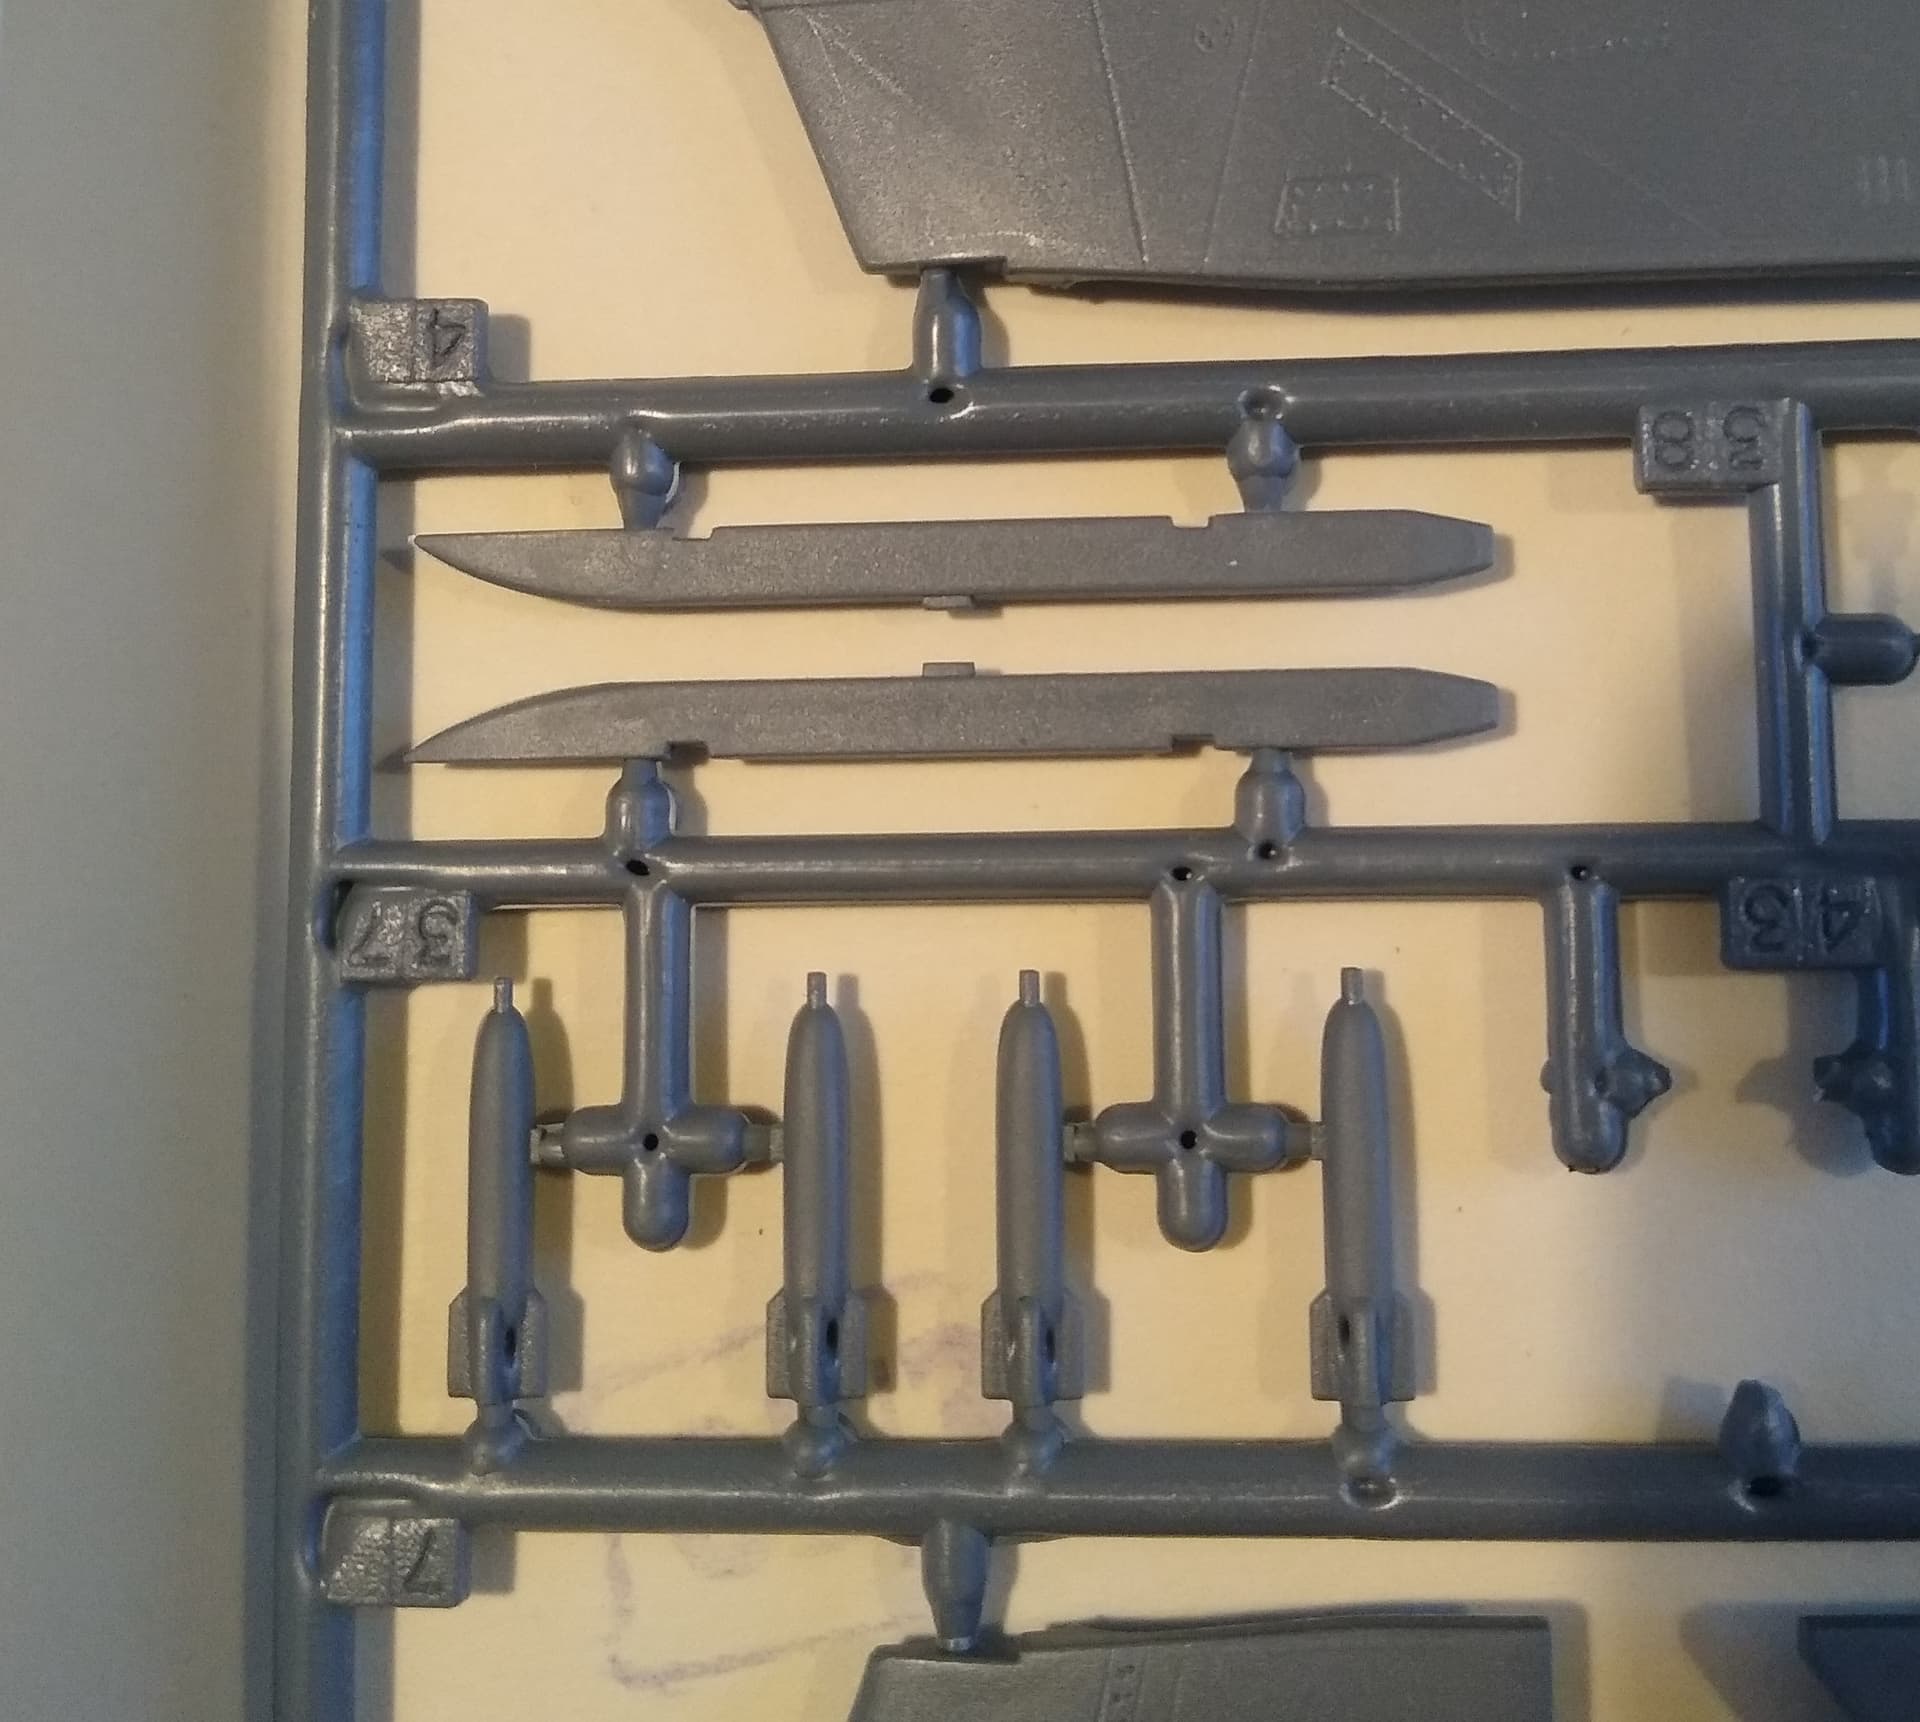
I’m no expert in Soviet aircraft weapons, so I have no idea if the parts are accurate or overly simplistic. The bombs certainly do look that way to me. Somewhere I have got Yefim Gordon’s book on Soviet ordnance, think it might be worth me searching for it.
Got the cockpit painted. It’s basic and sure won’t win awards, but it will do for what will be seen through the canopy at this scale. This might be lazy, but I’m not wasting time on a poor kit.
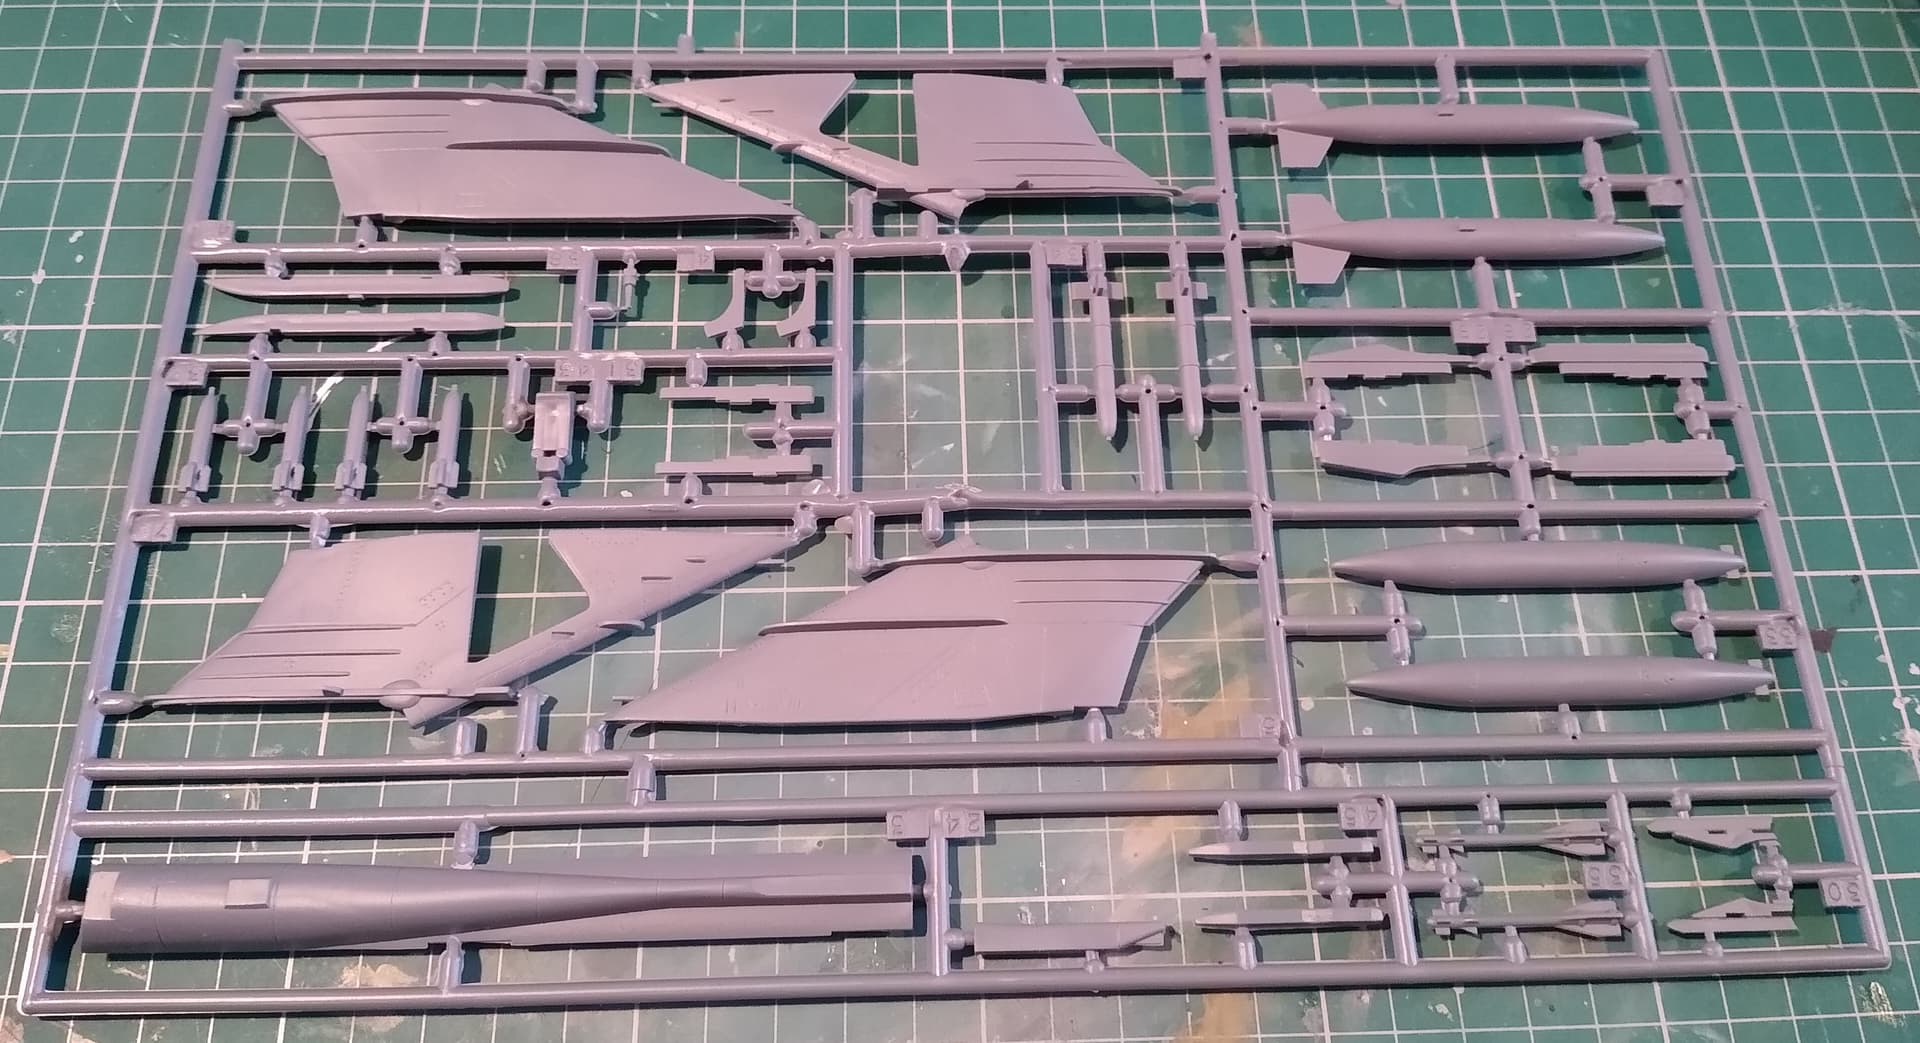
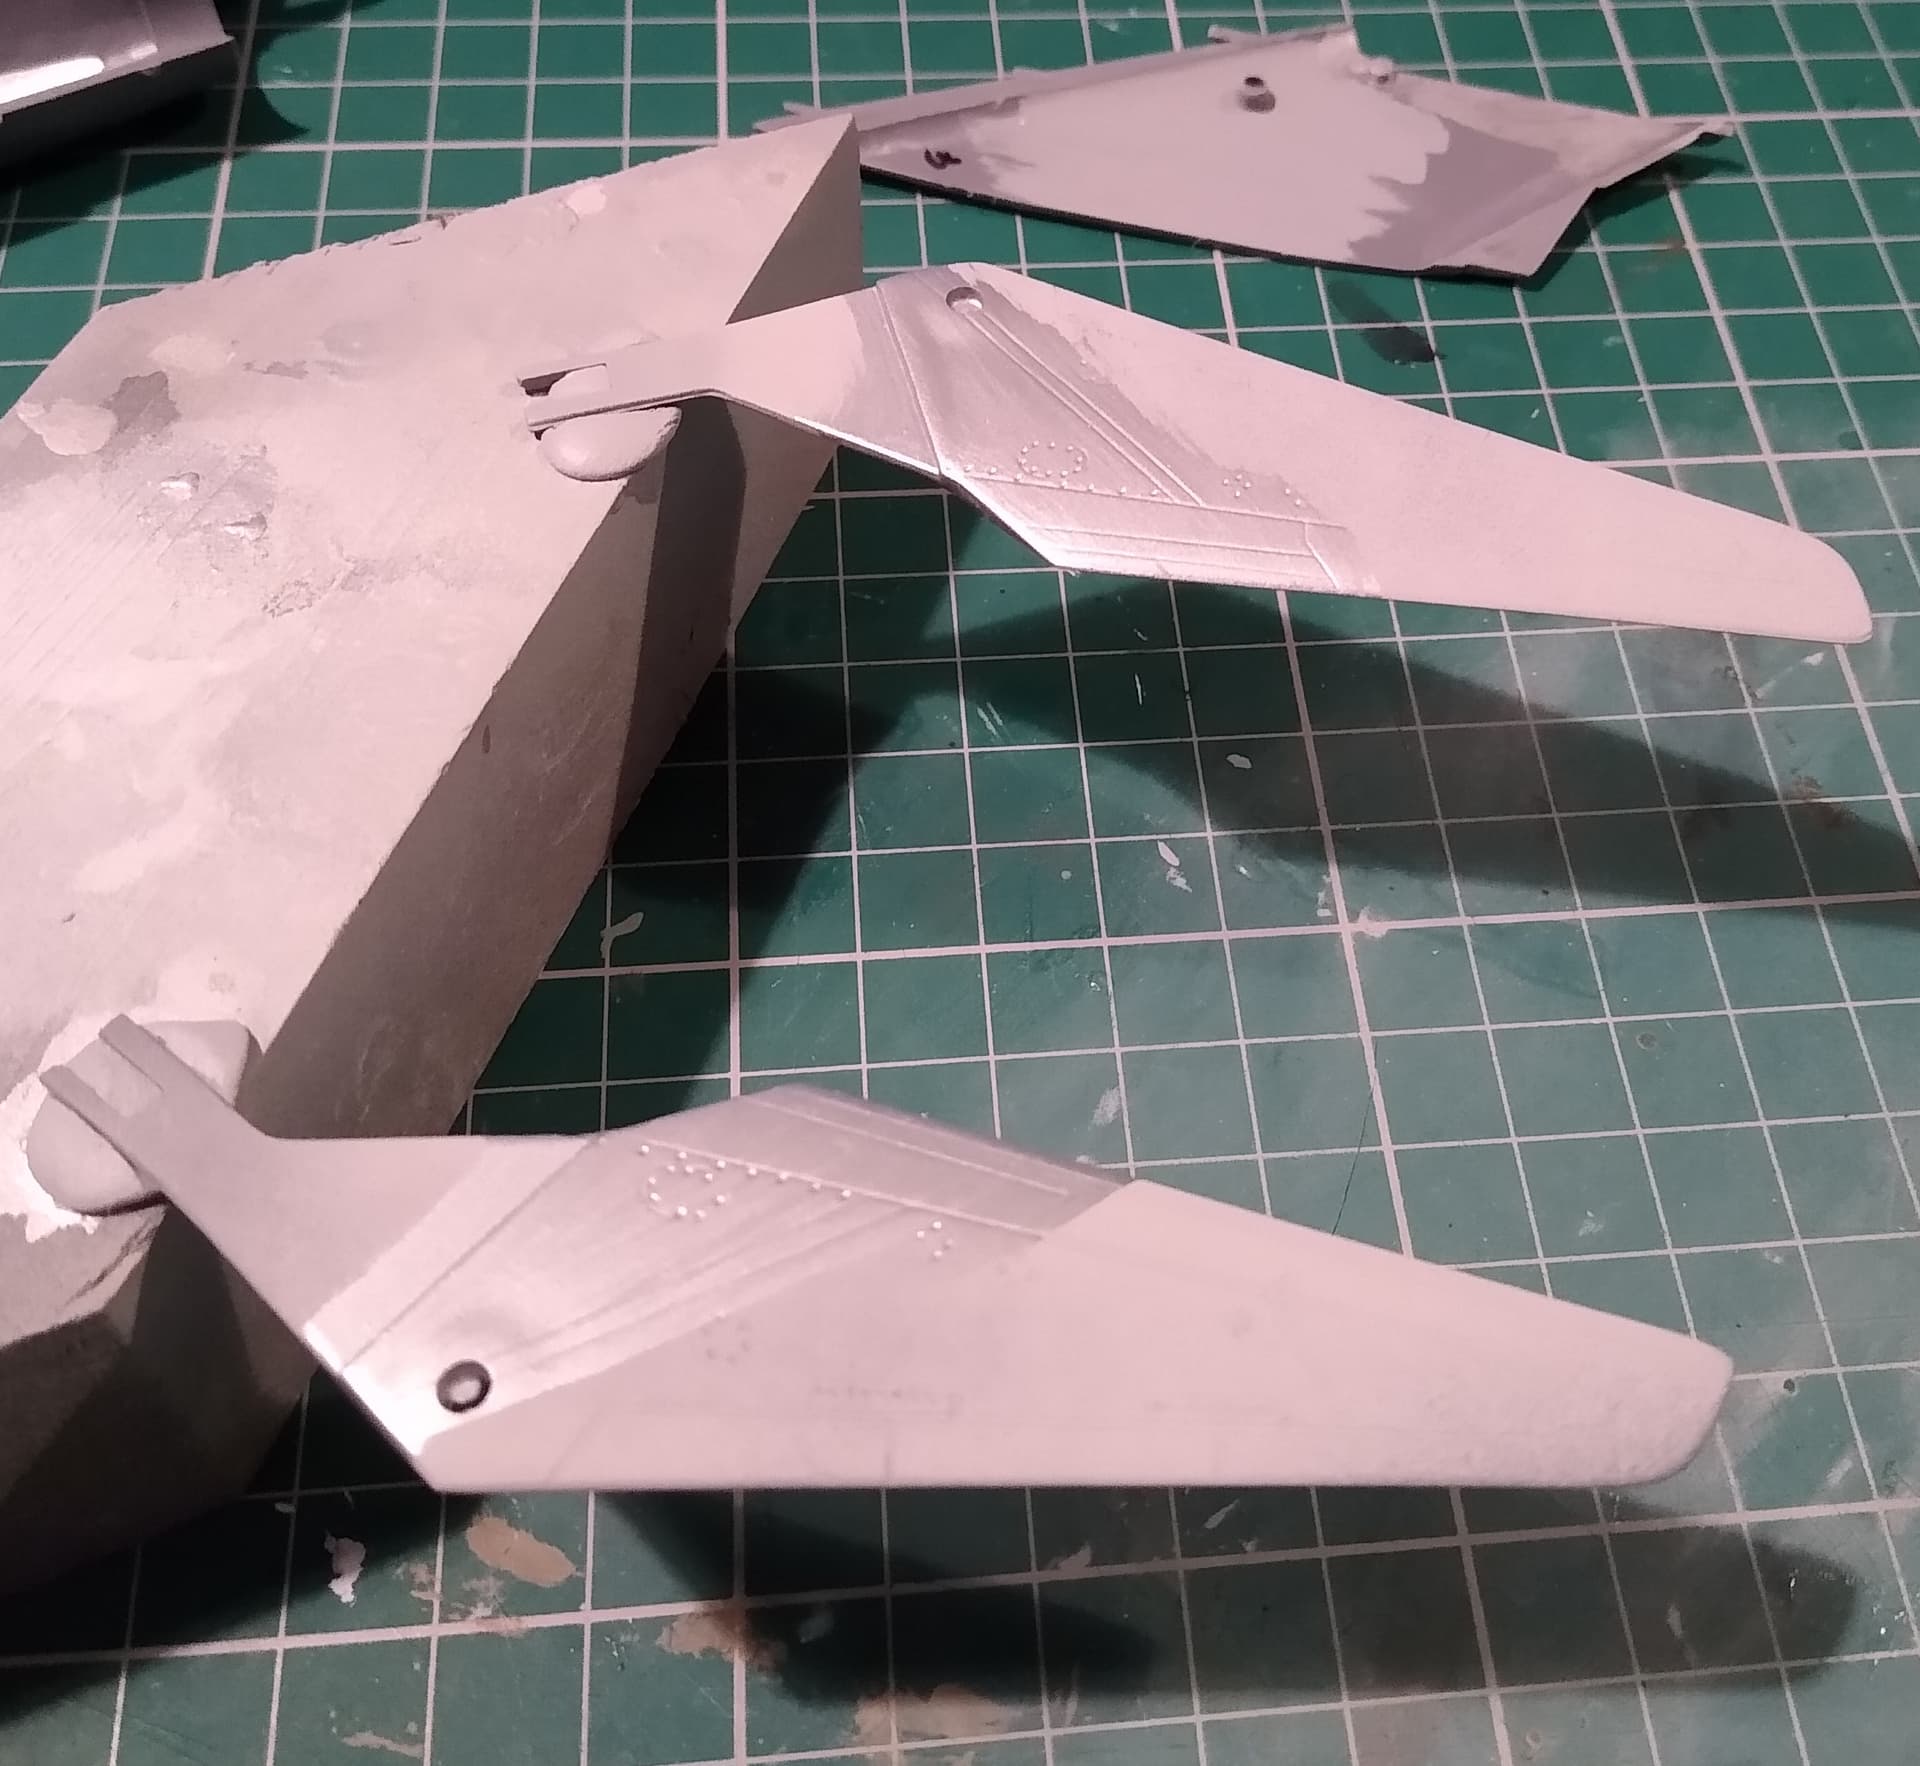
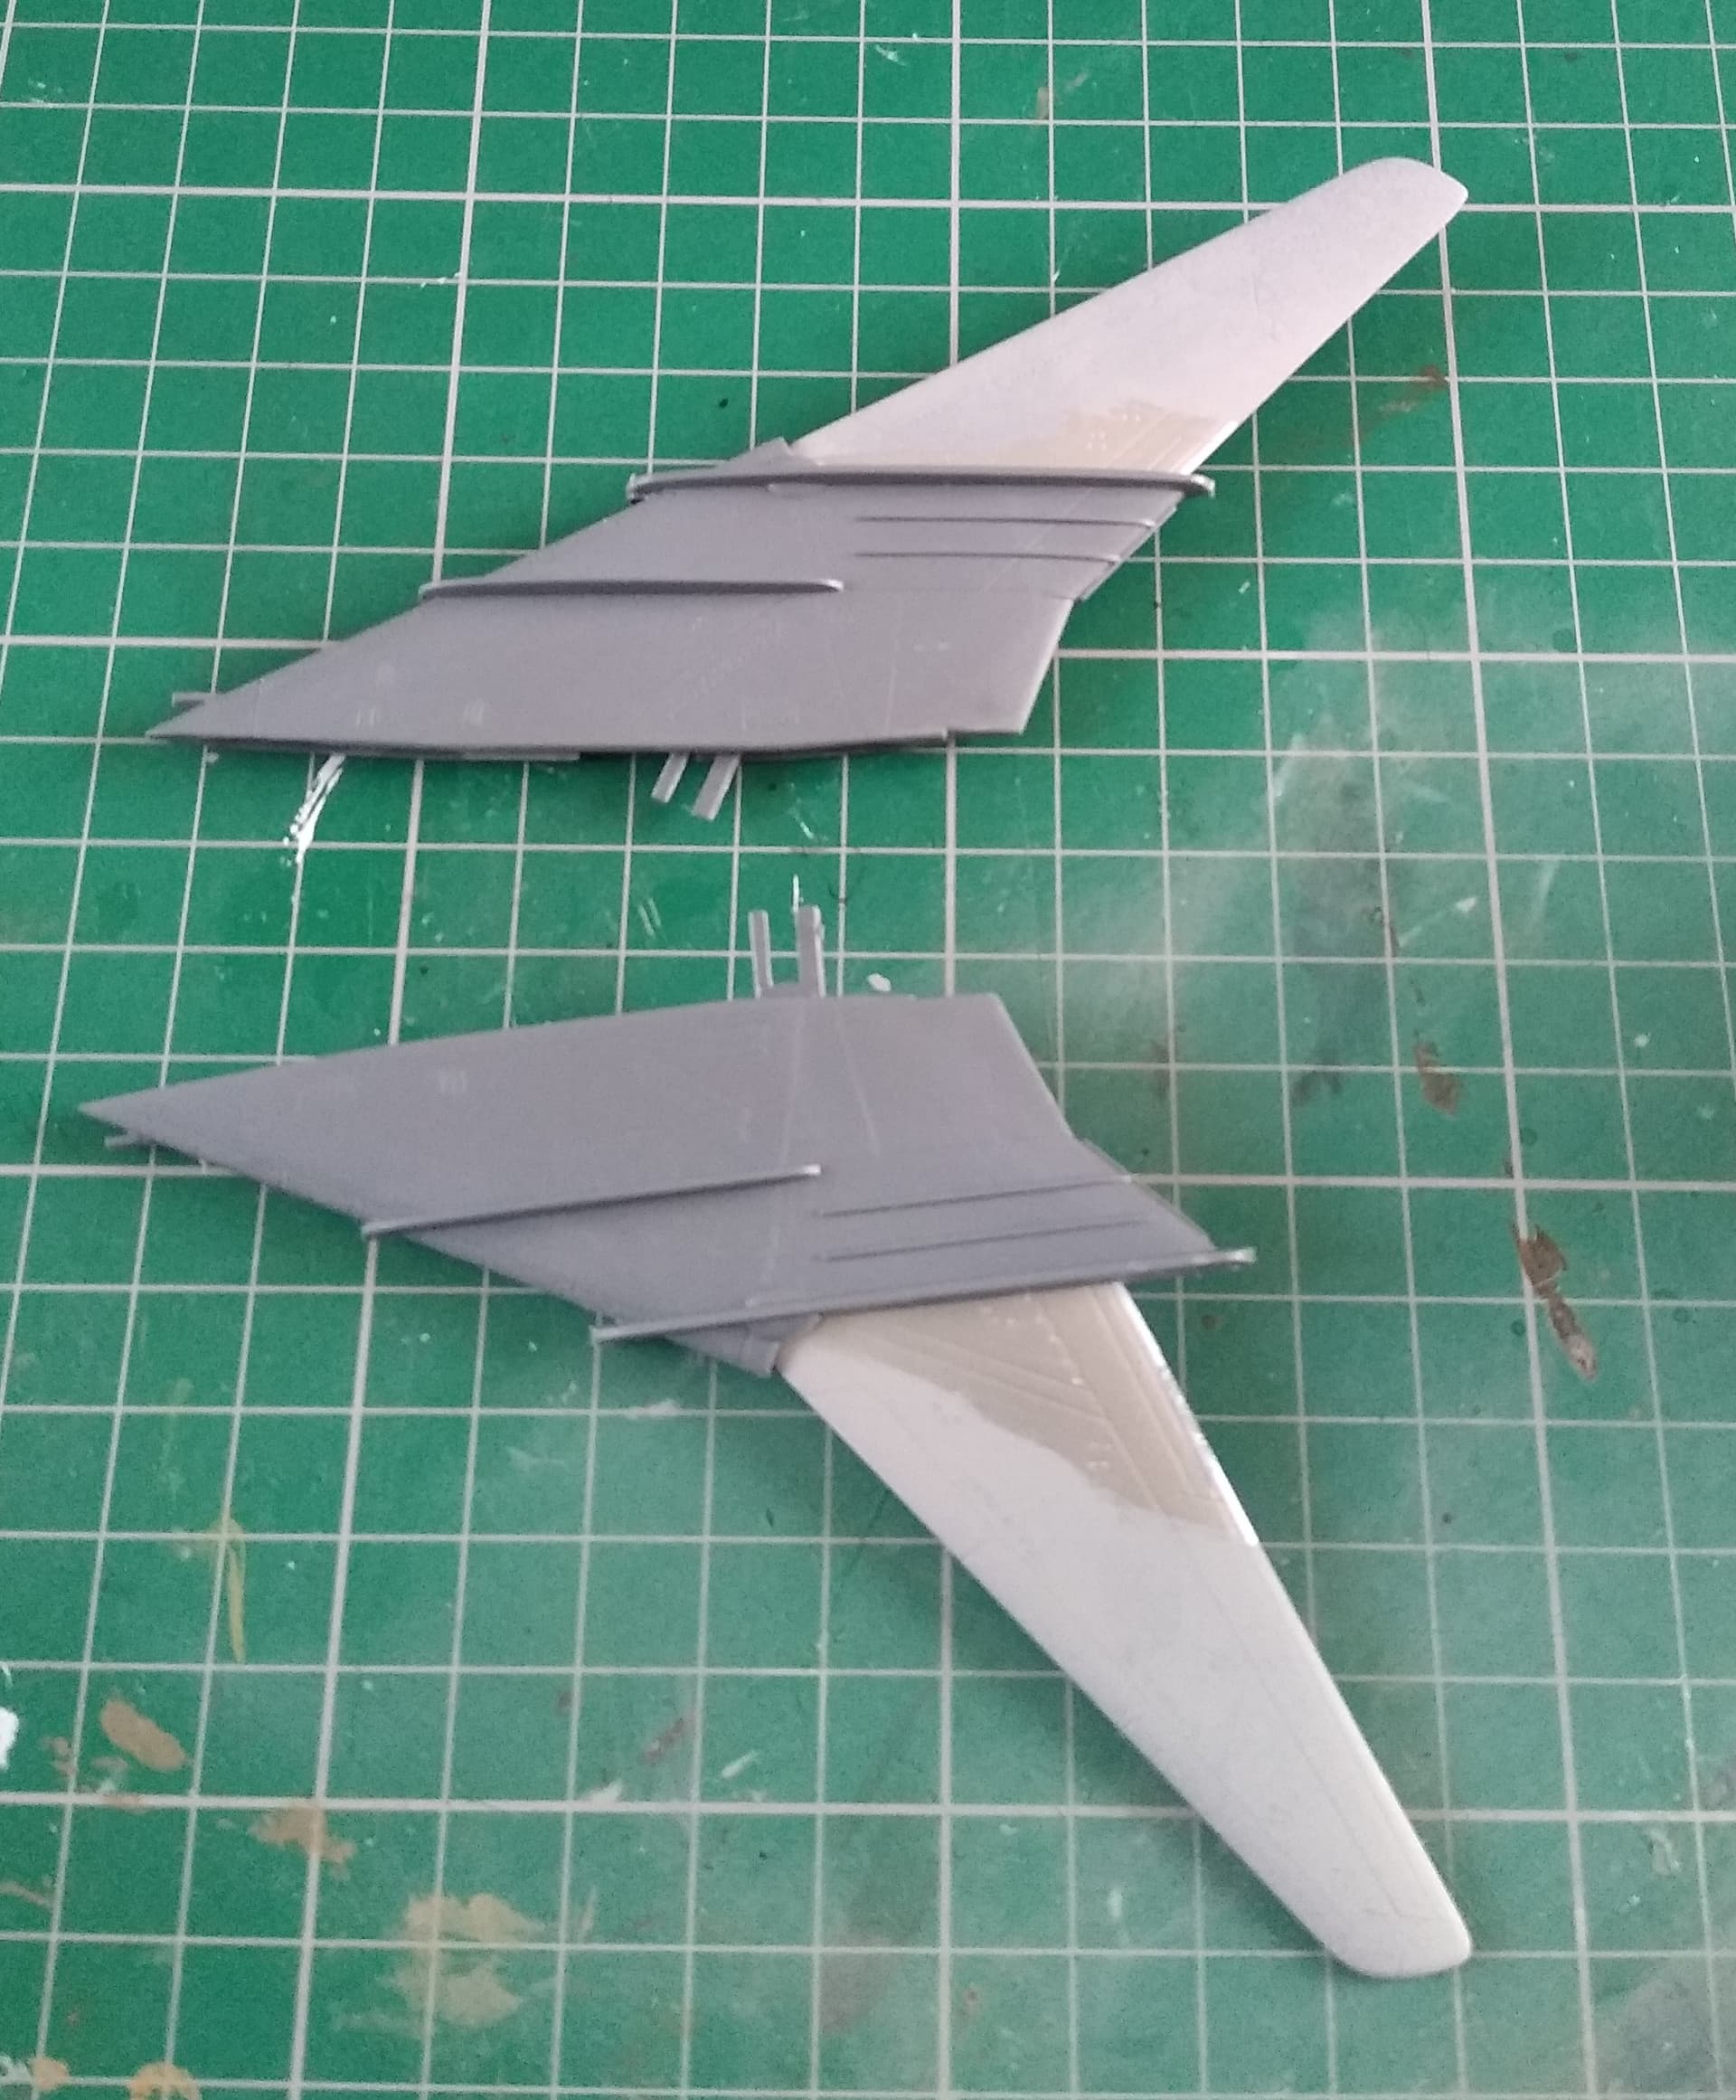
Also got the parts for the wings cleaned up and ready to assemble. Lots of flash and horrible sprue attachment points to trim on these
To help with painting, I gave the outer wings a coat of Tamiya primer and painted the inner section with some Vallejo Modelair Steel. I’ll be able to mask this before the final colours go on at the end.
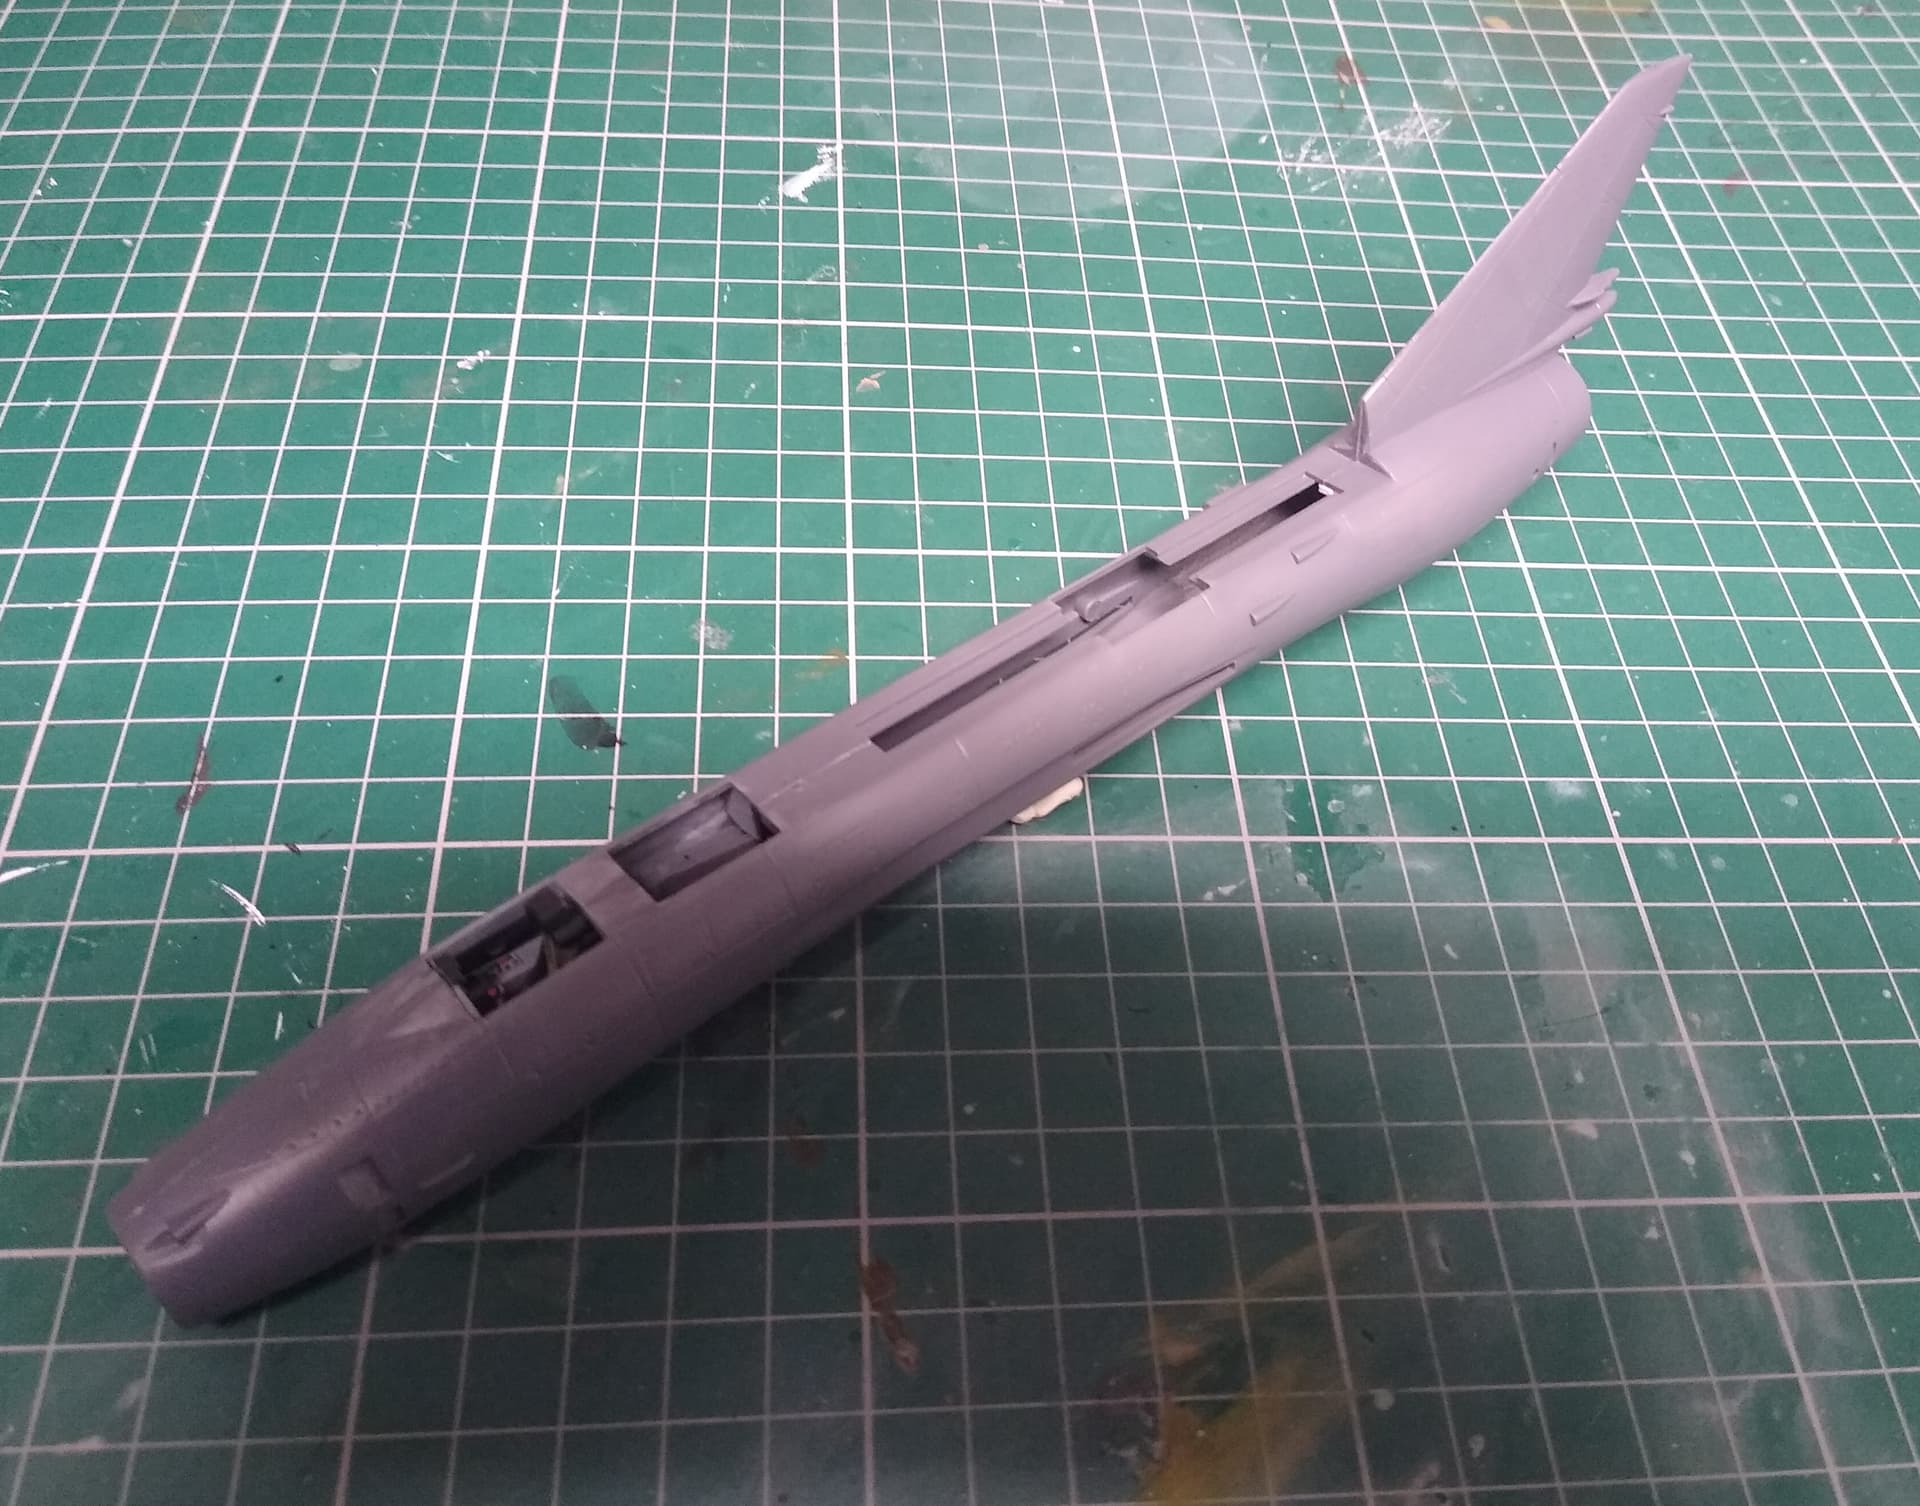
Fitted the cockpit tub into the fuselage and an old lead fishing weight underneath. I suspect this will be a bit tail heavy, so made sure to use a heavy one.
I’ve also added some scraps of plastic strip at points along the fuselage to help align both halves. The original manufacturer clearly didn’t believe in location pins.
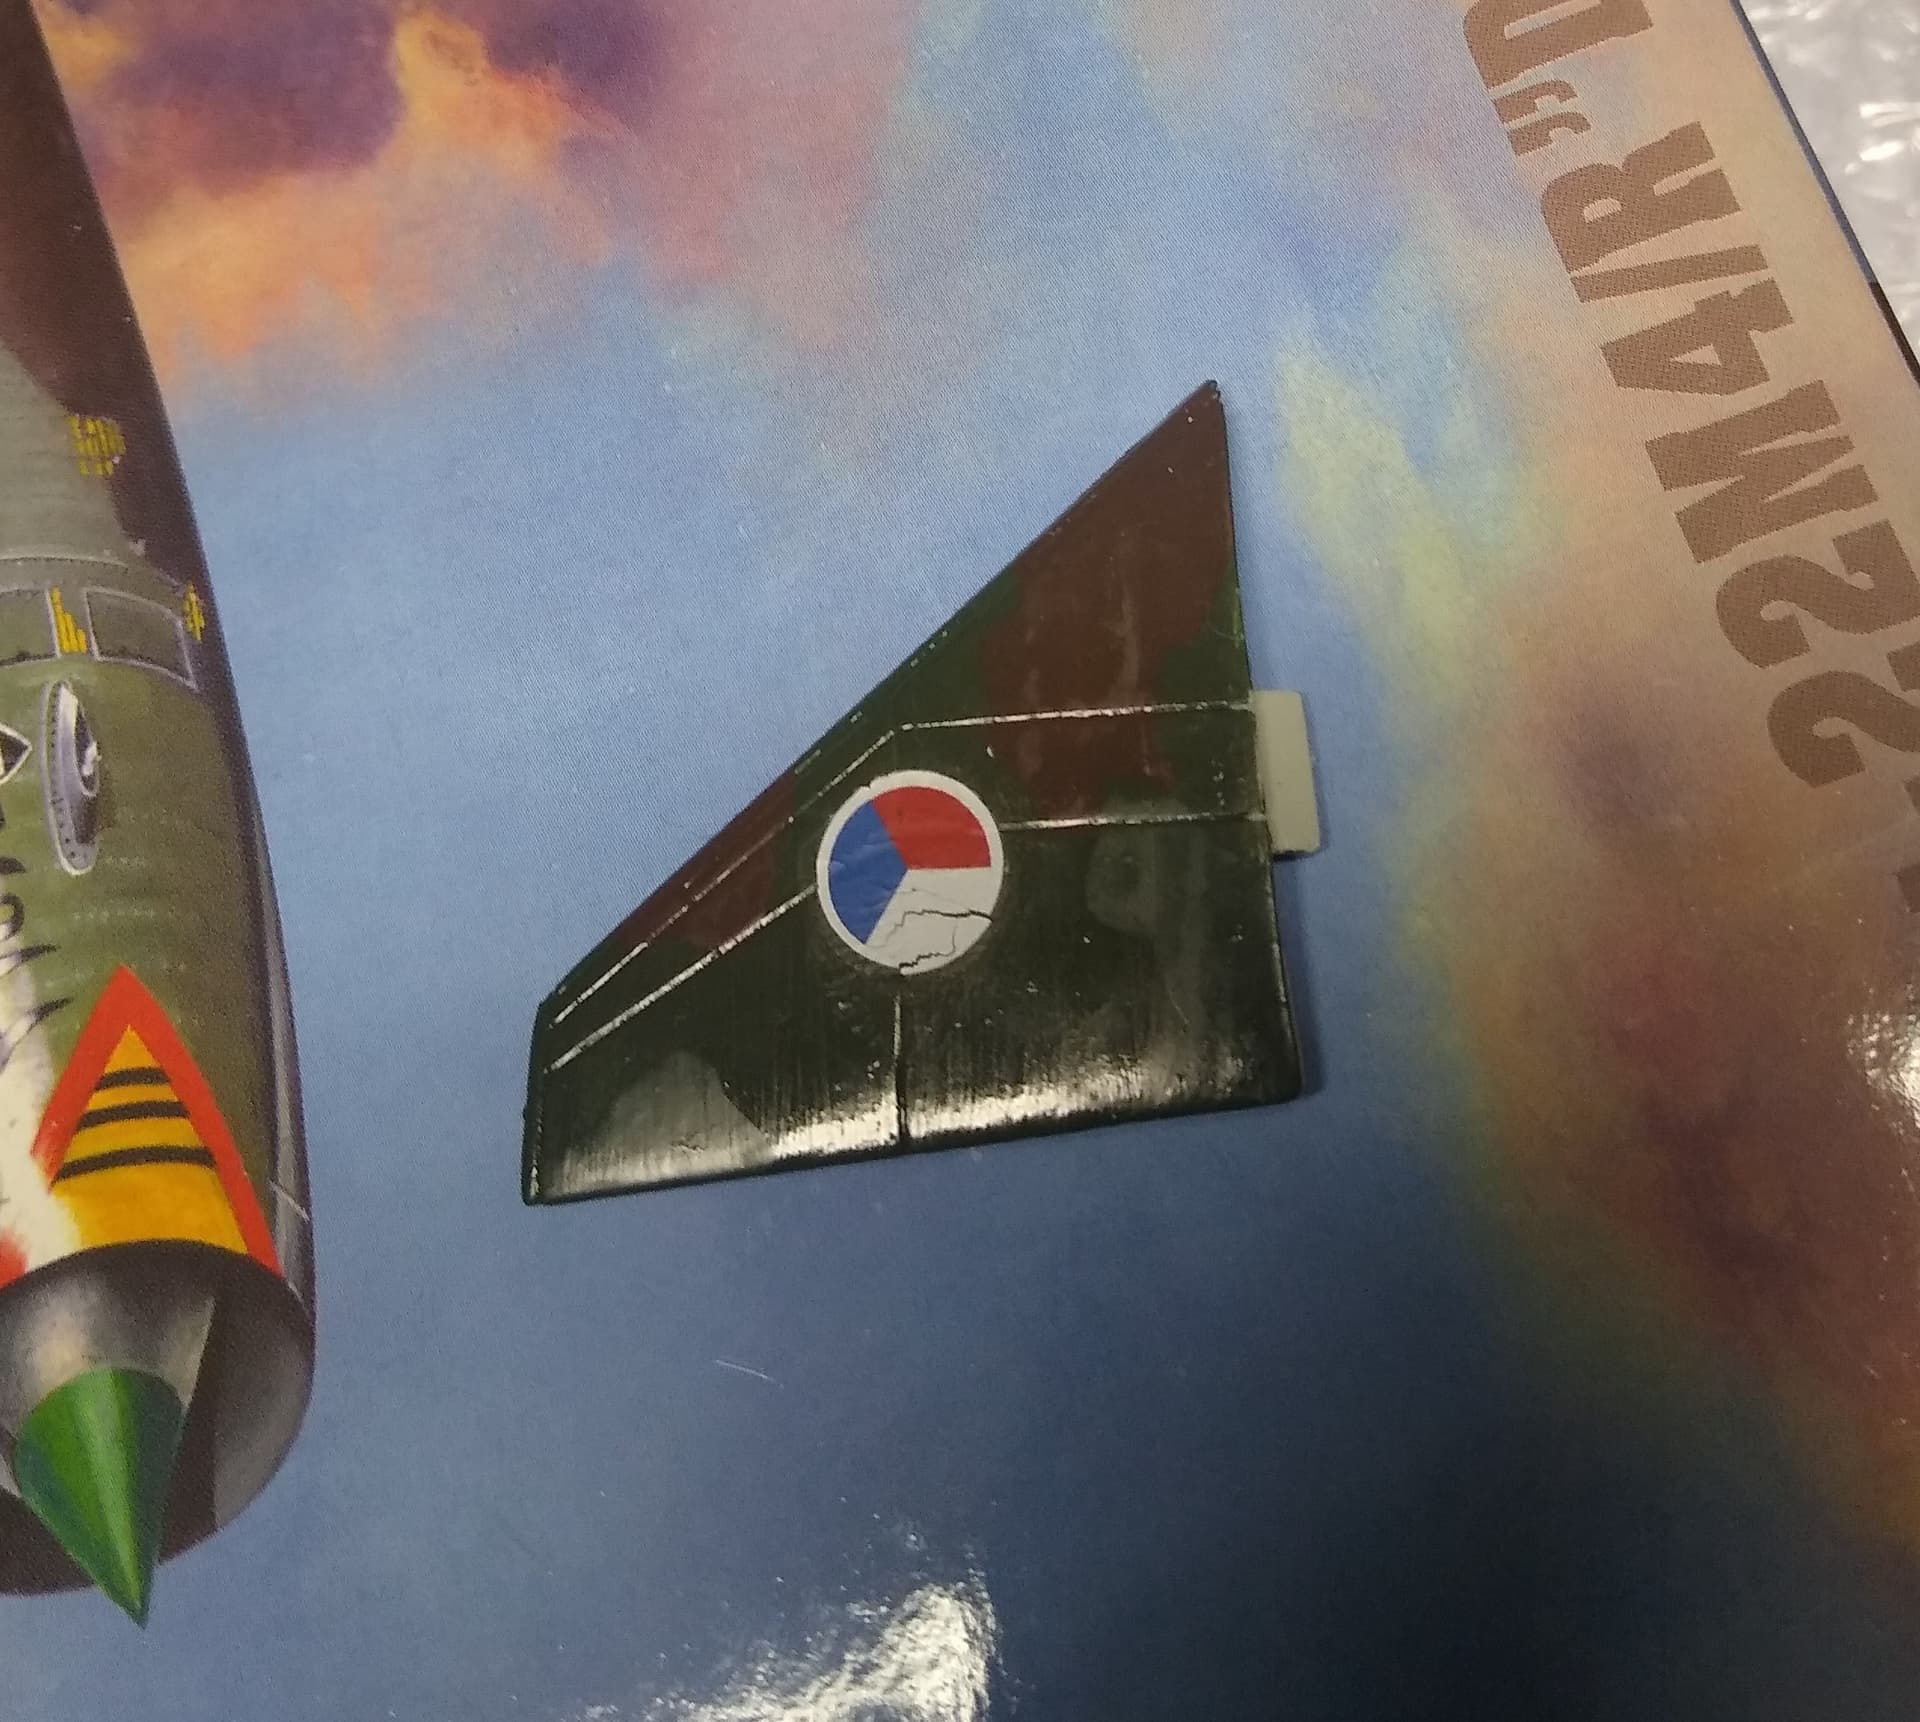
I’m also doing a test of the decals. I have a few Czech roundels in my spares, so can sacrifice one of those from the sheet.
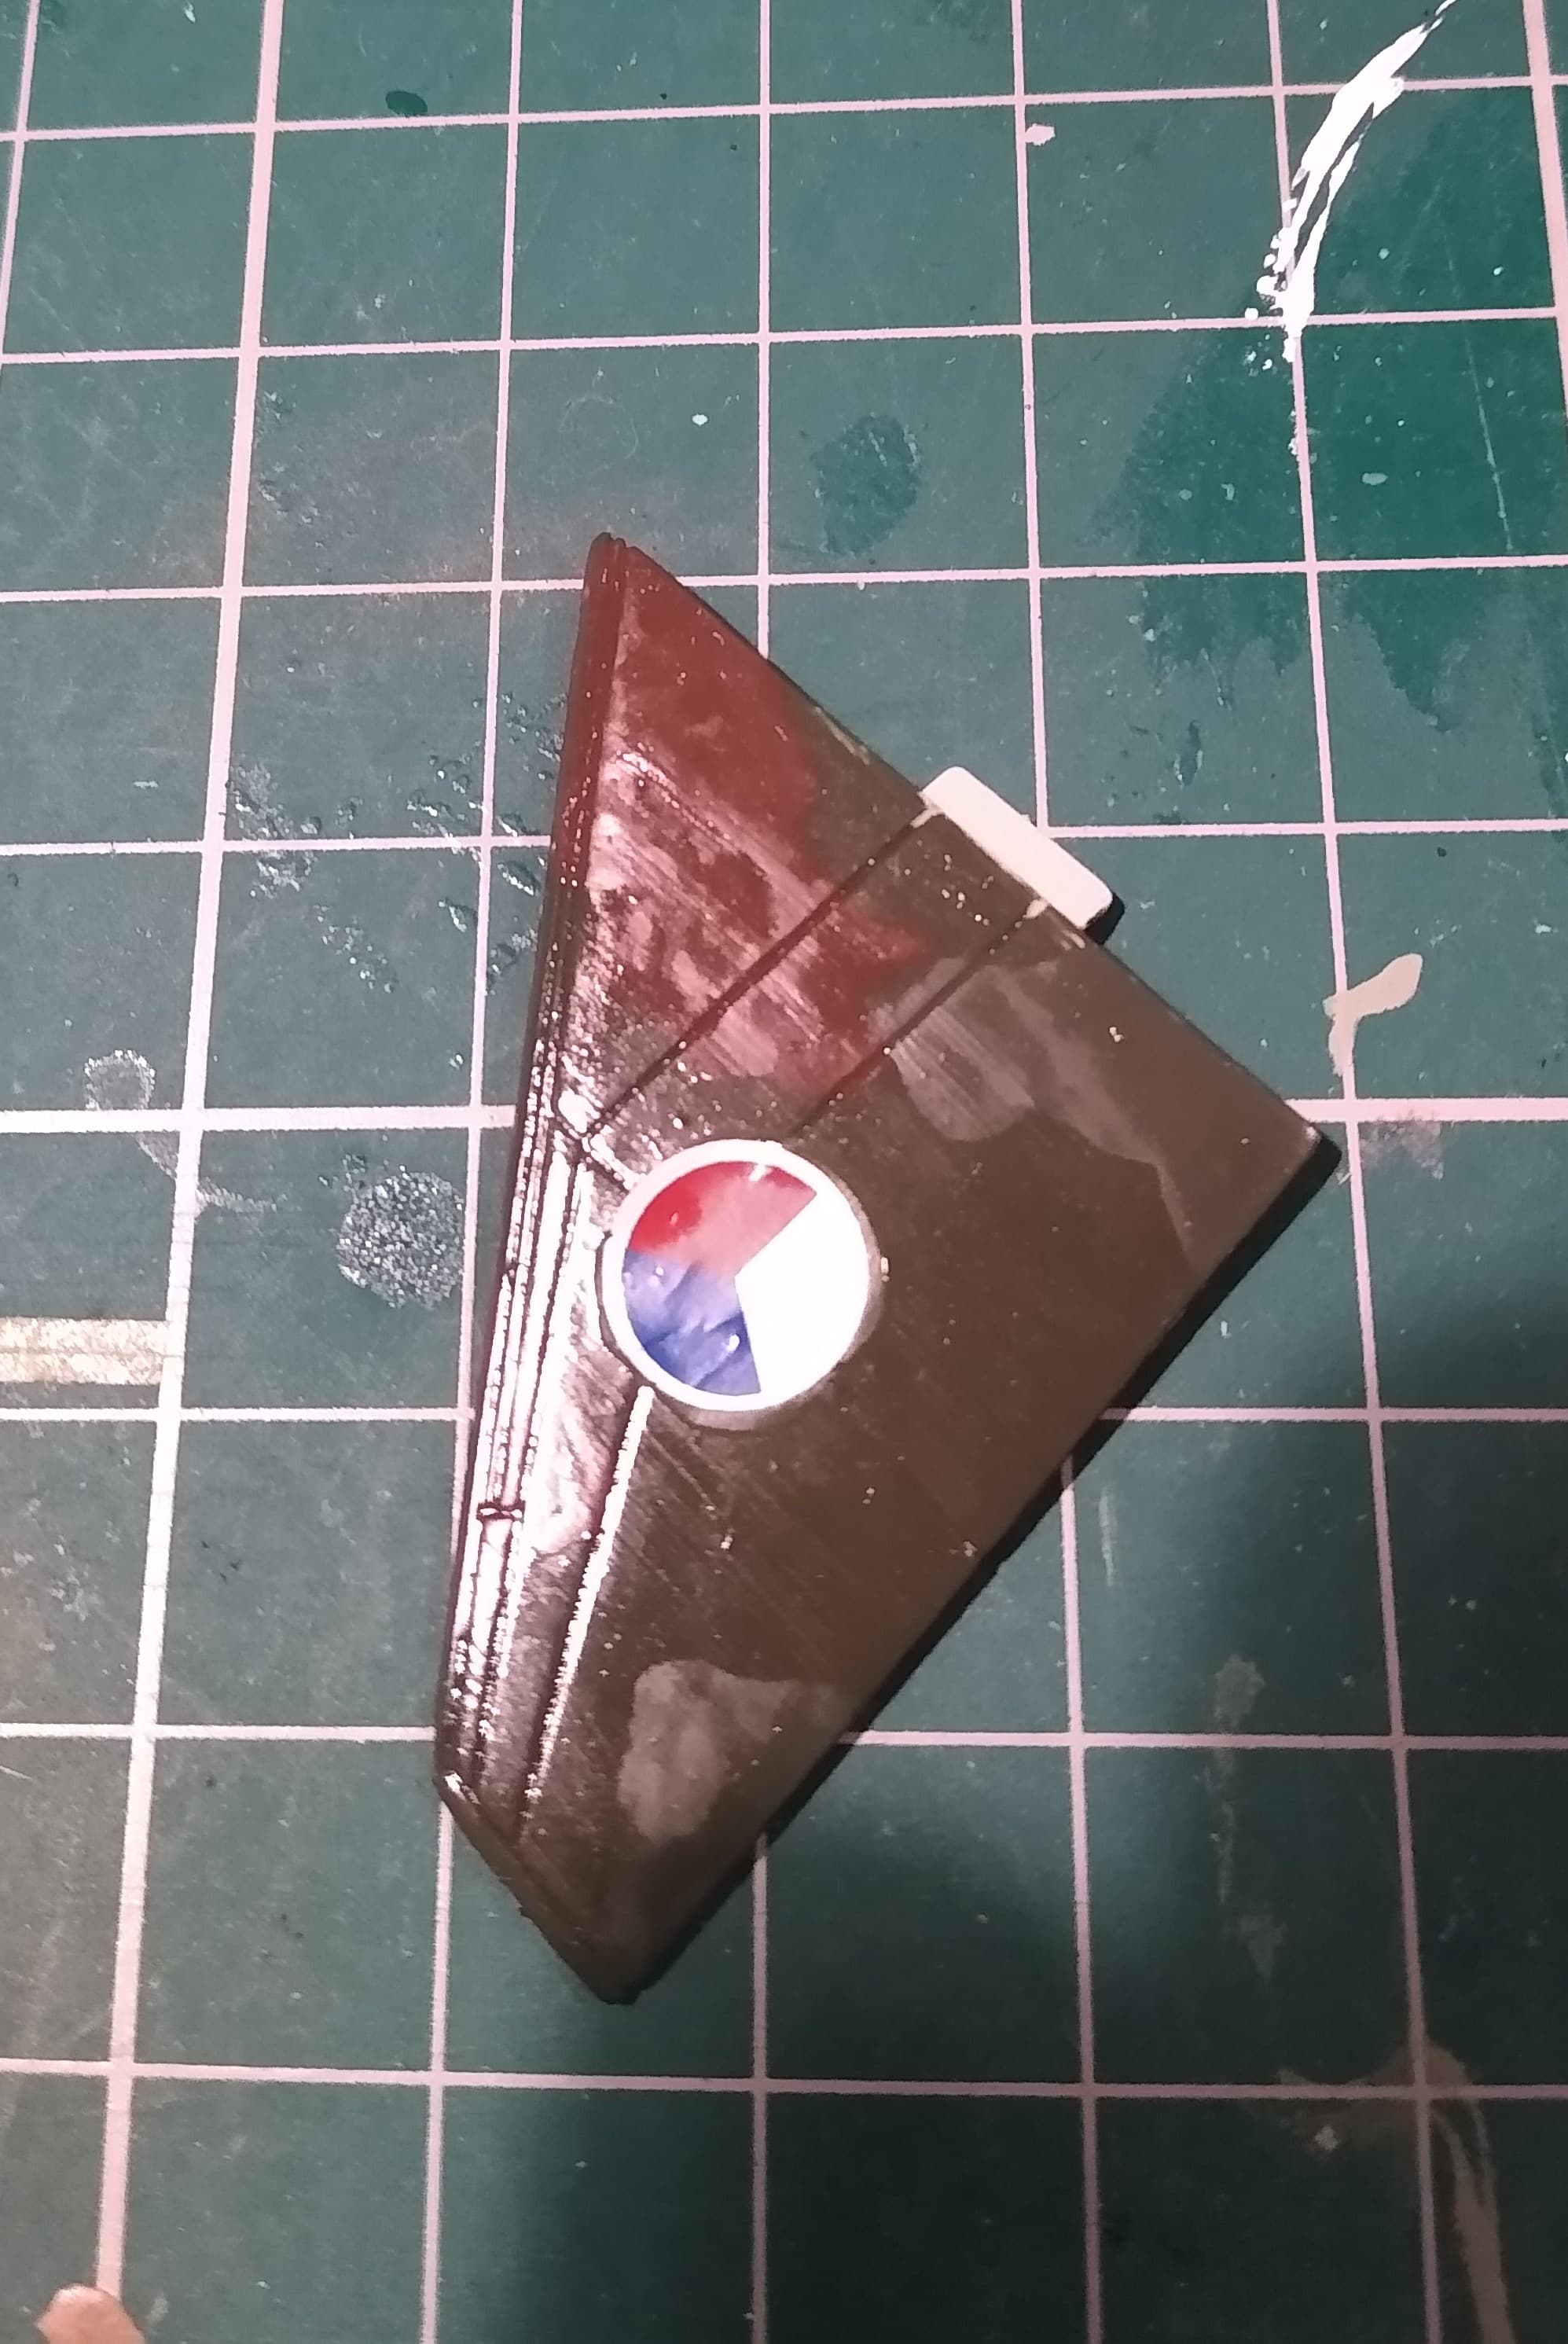
Took a little longer than usual to soak off the backing paper. Went down ok with some Microset underneath it. They are a little thin and fragile and did notice a few hairline cracks appearing. I put a drop of Microsol over the top to help it settle down. We’ll see how it looks when it’s dry.
Got to be honest, the fit was pretty good. It all lined up and there don’t seem to be any major gaps. I think the tabs I fitted yesterday definitely helped. We’ll see how it looks after a sand of the seams in the next couple of days, but I’m happy that something has gone right after those decals!
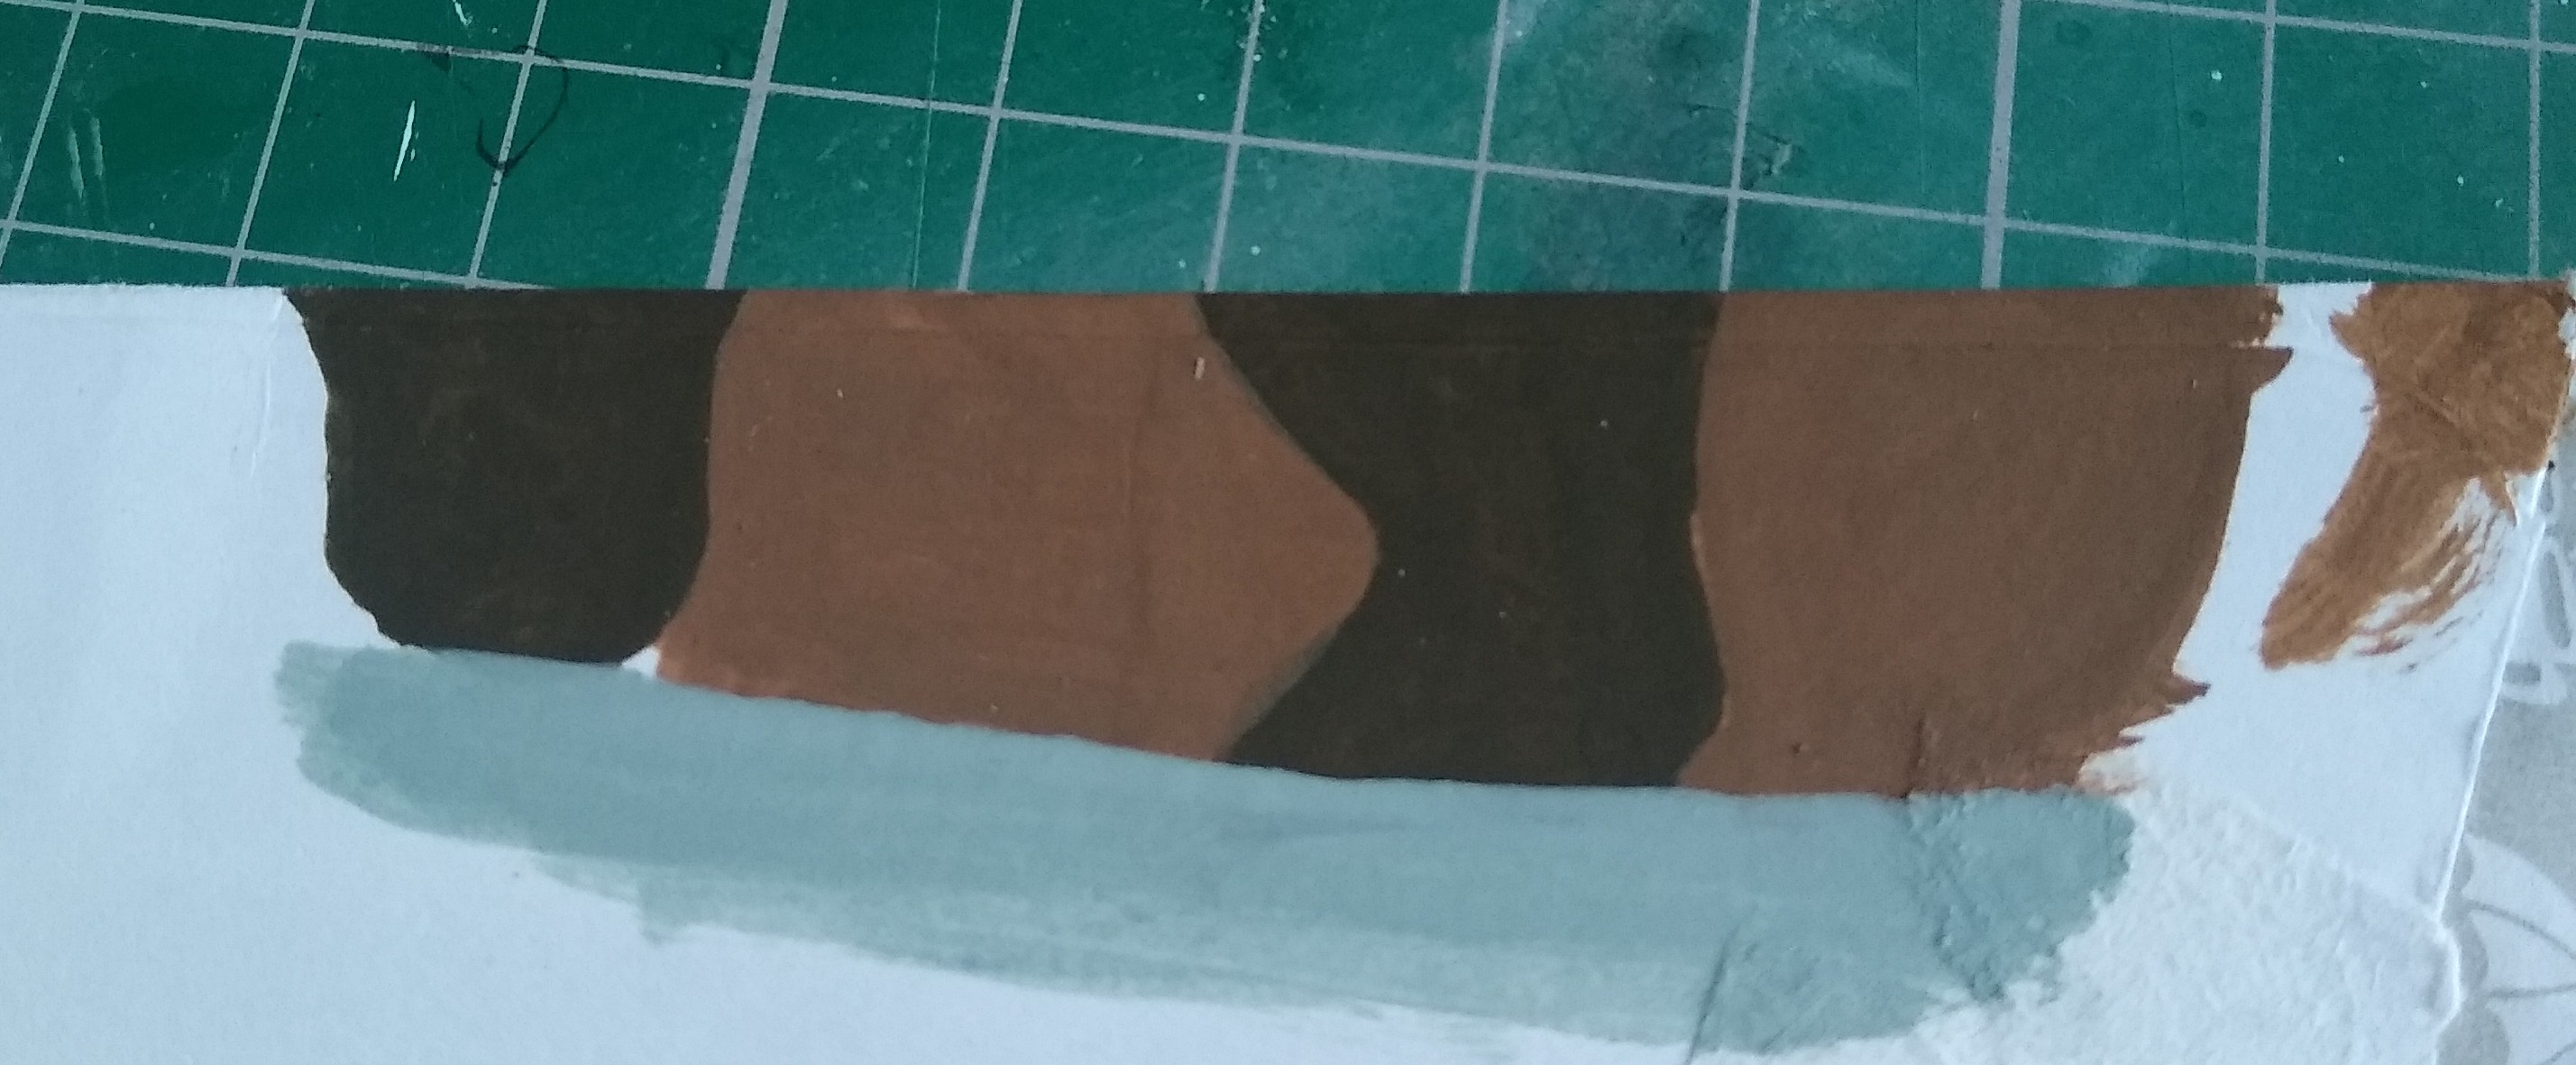
I’m also doing a bit of testing of some paints to find something that looks right for the Iraqi cammo. Unfortunately, most photos I’m finding are either grainy and blurred or Post-Gulf War wrecks.