1/72 MENG M142 HIMARS Kit #72-004

Nominal progress but I’ve postponed painting to do a few more separate assemblies prior. The parts employed in these assemblies were from Steps 7, 8 and 10.


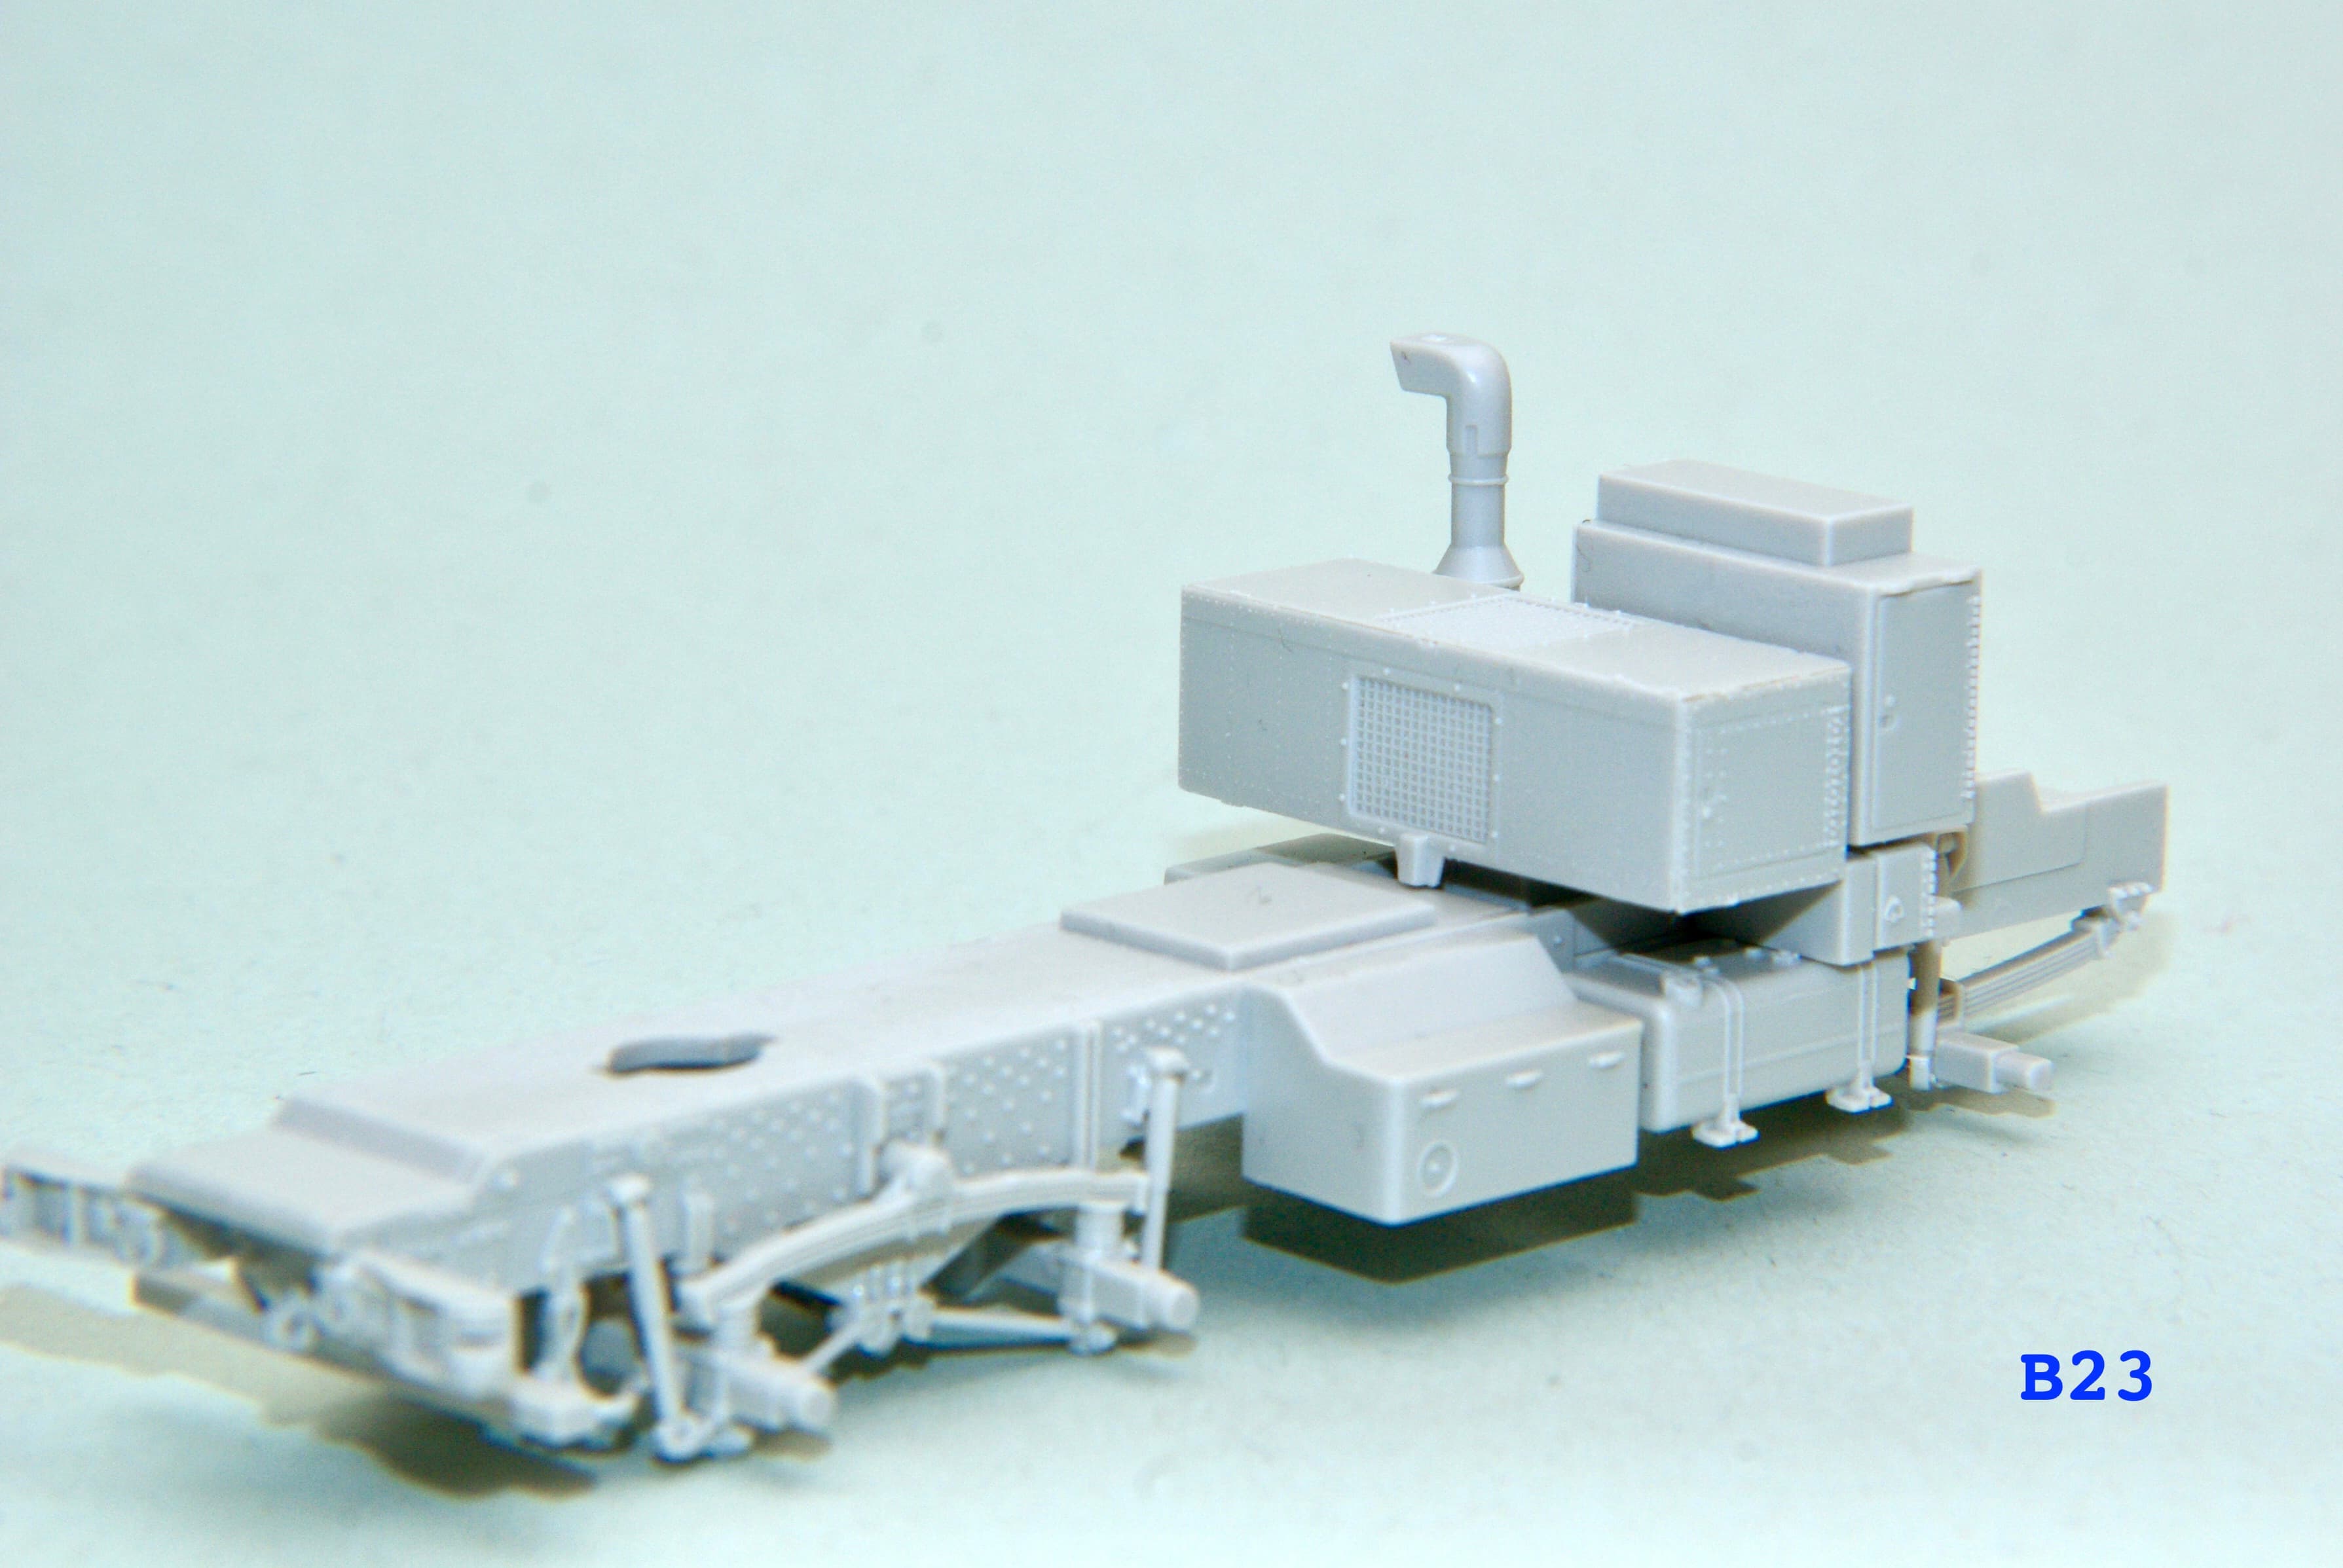
The large group of objects behind where the crew cab will be is not glued down so therefore removable for painting. From the looks of things the rocket pod assembly may also have to be assembled in pieces with parts painted separately. The actual rocket pack has to be assembled, painted and decaled before it can be loaded onto/into the pod carrier. For what originally looked like near to a simple quick build is definitely showing a surprise or two. :wink:

Cheers,
Jan :beers:

2 Likes

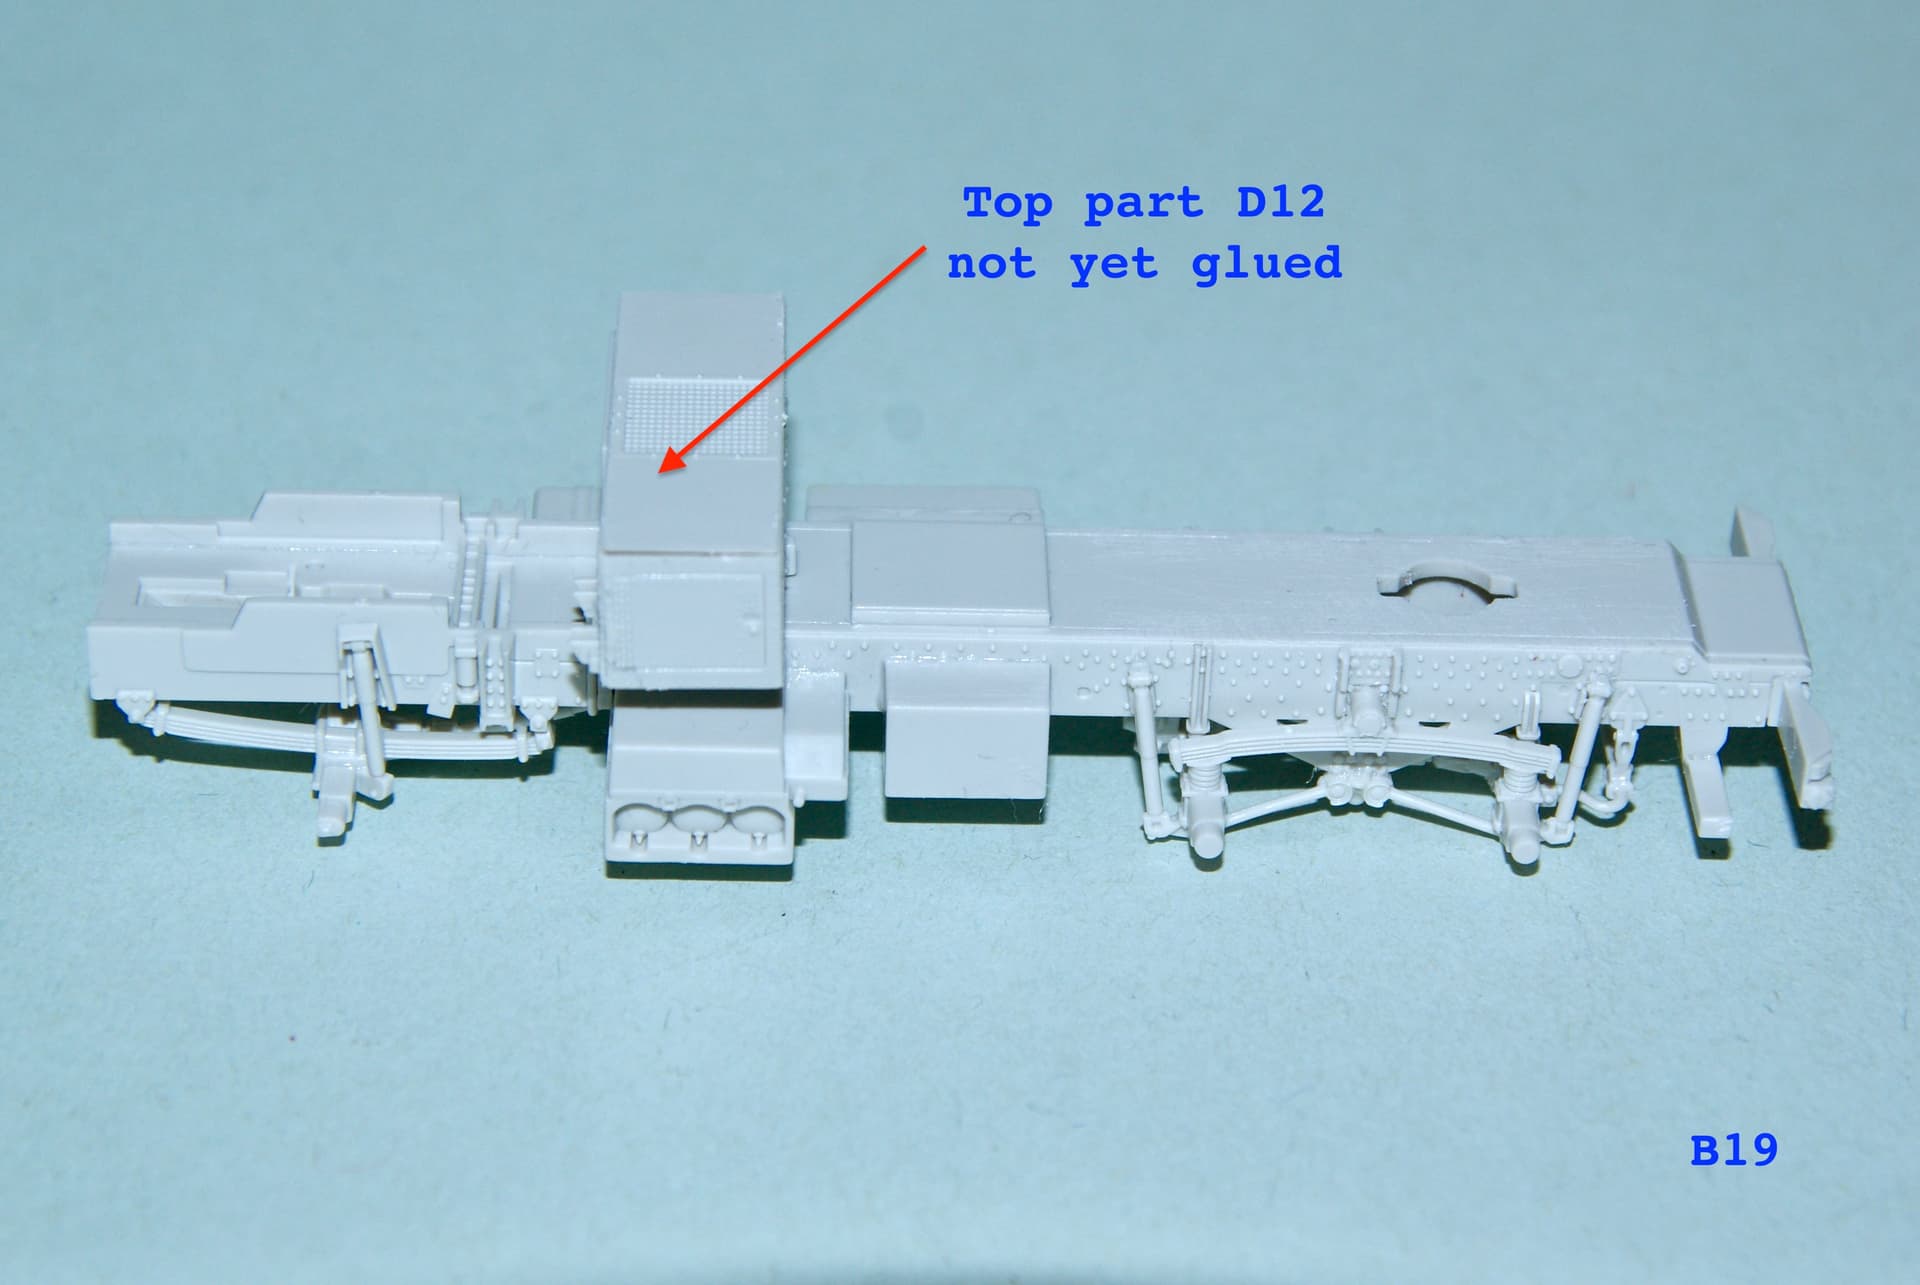
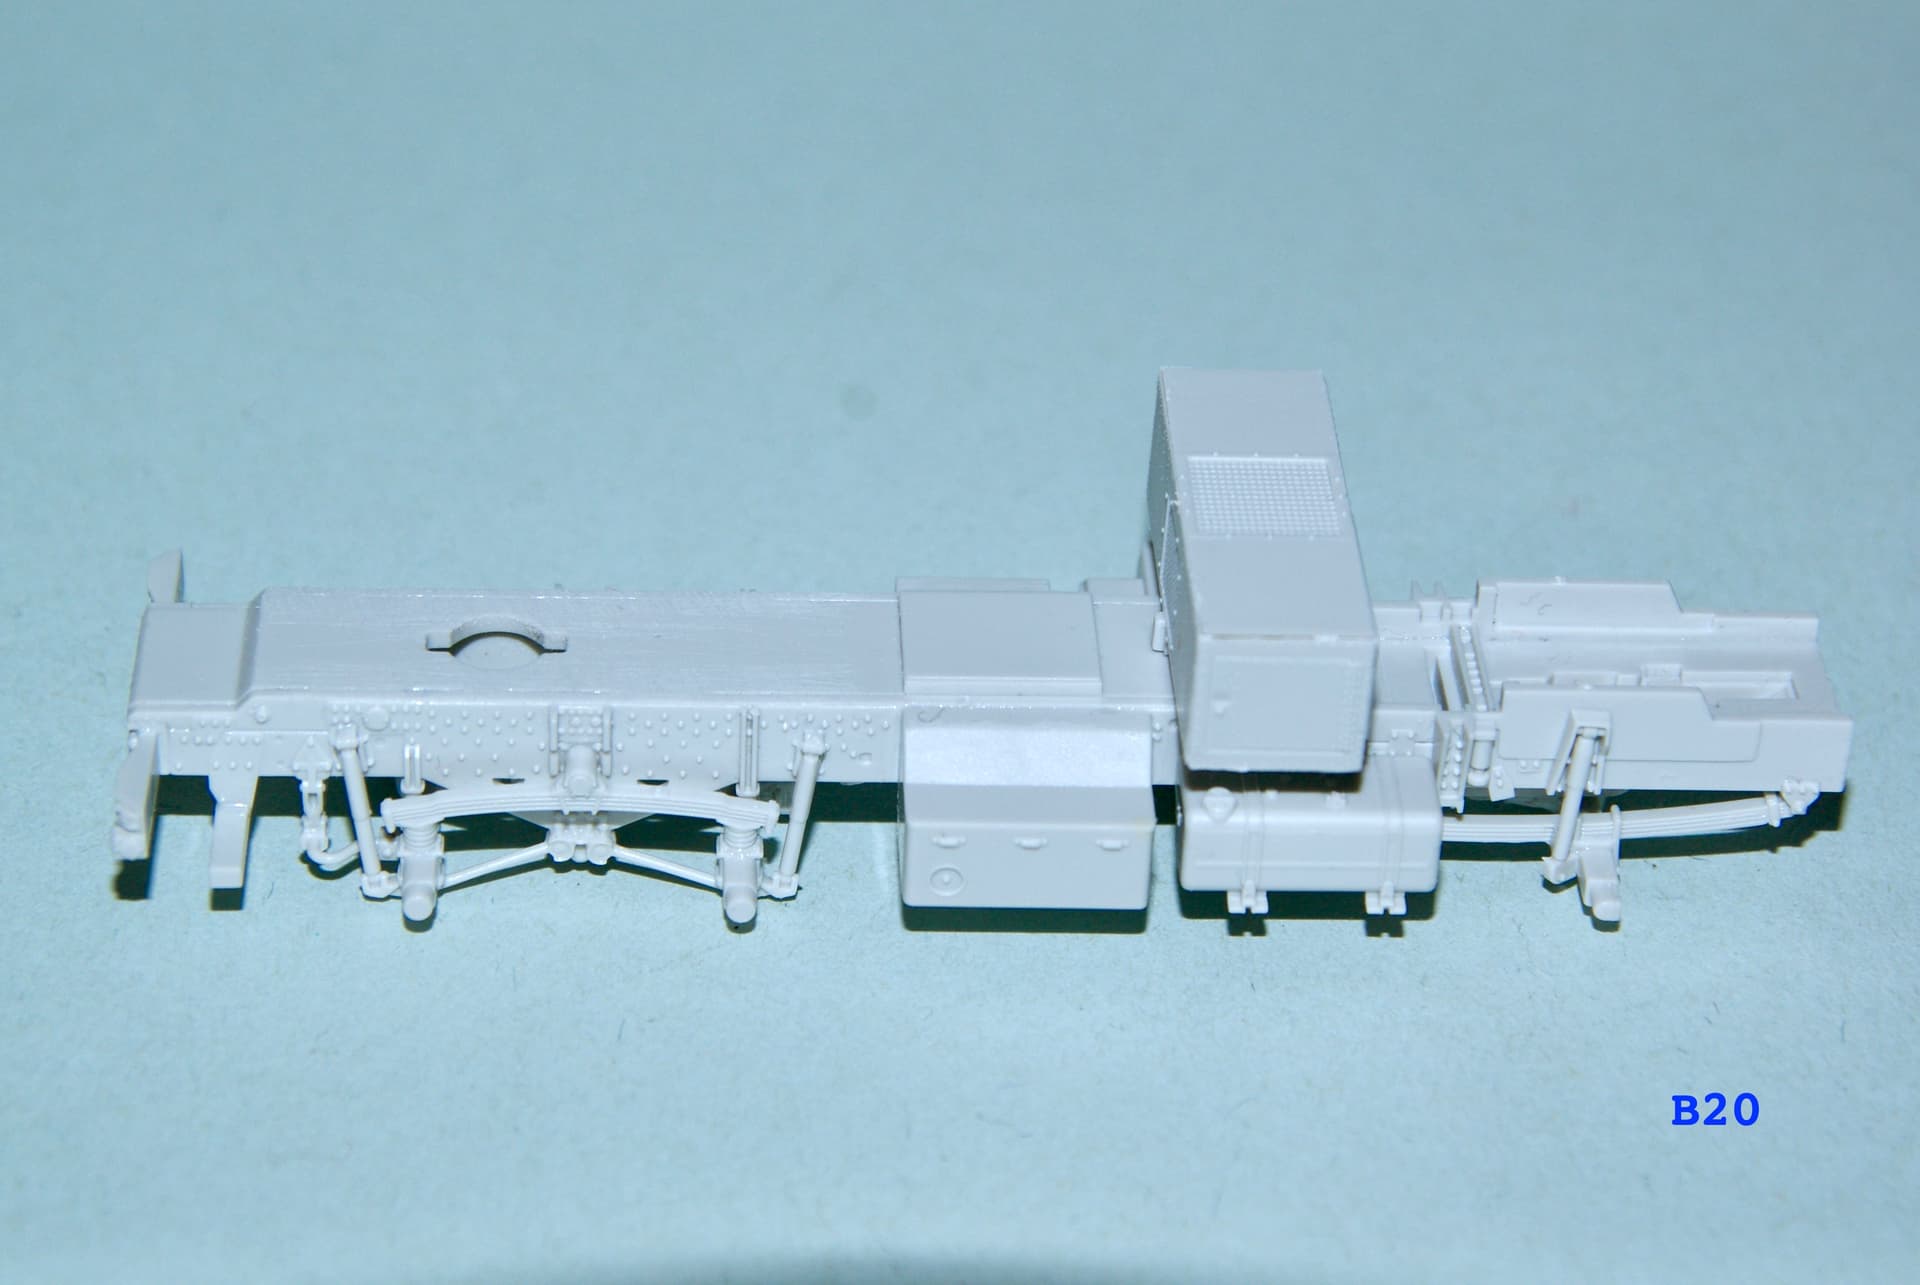
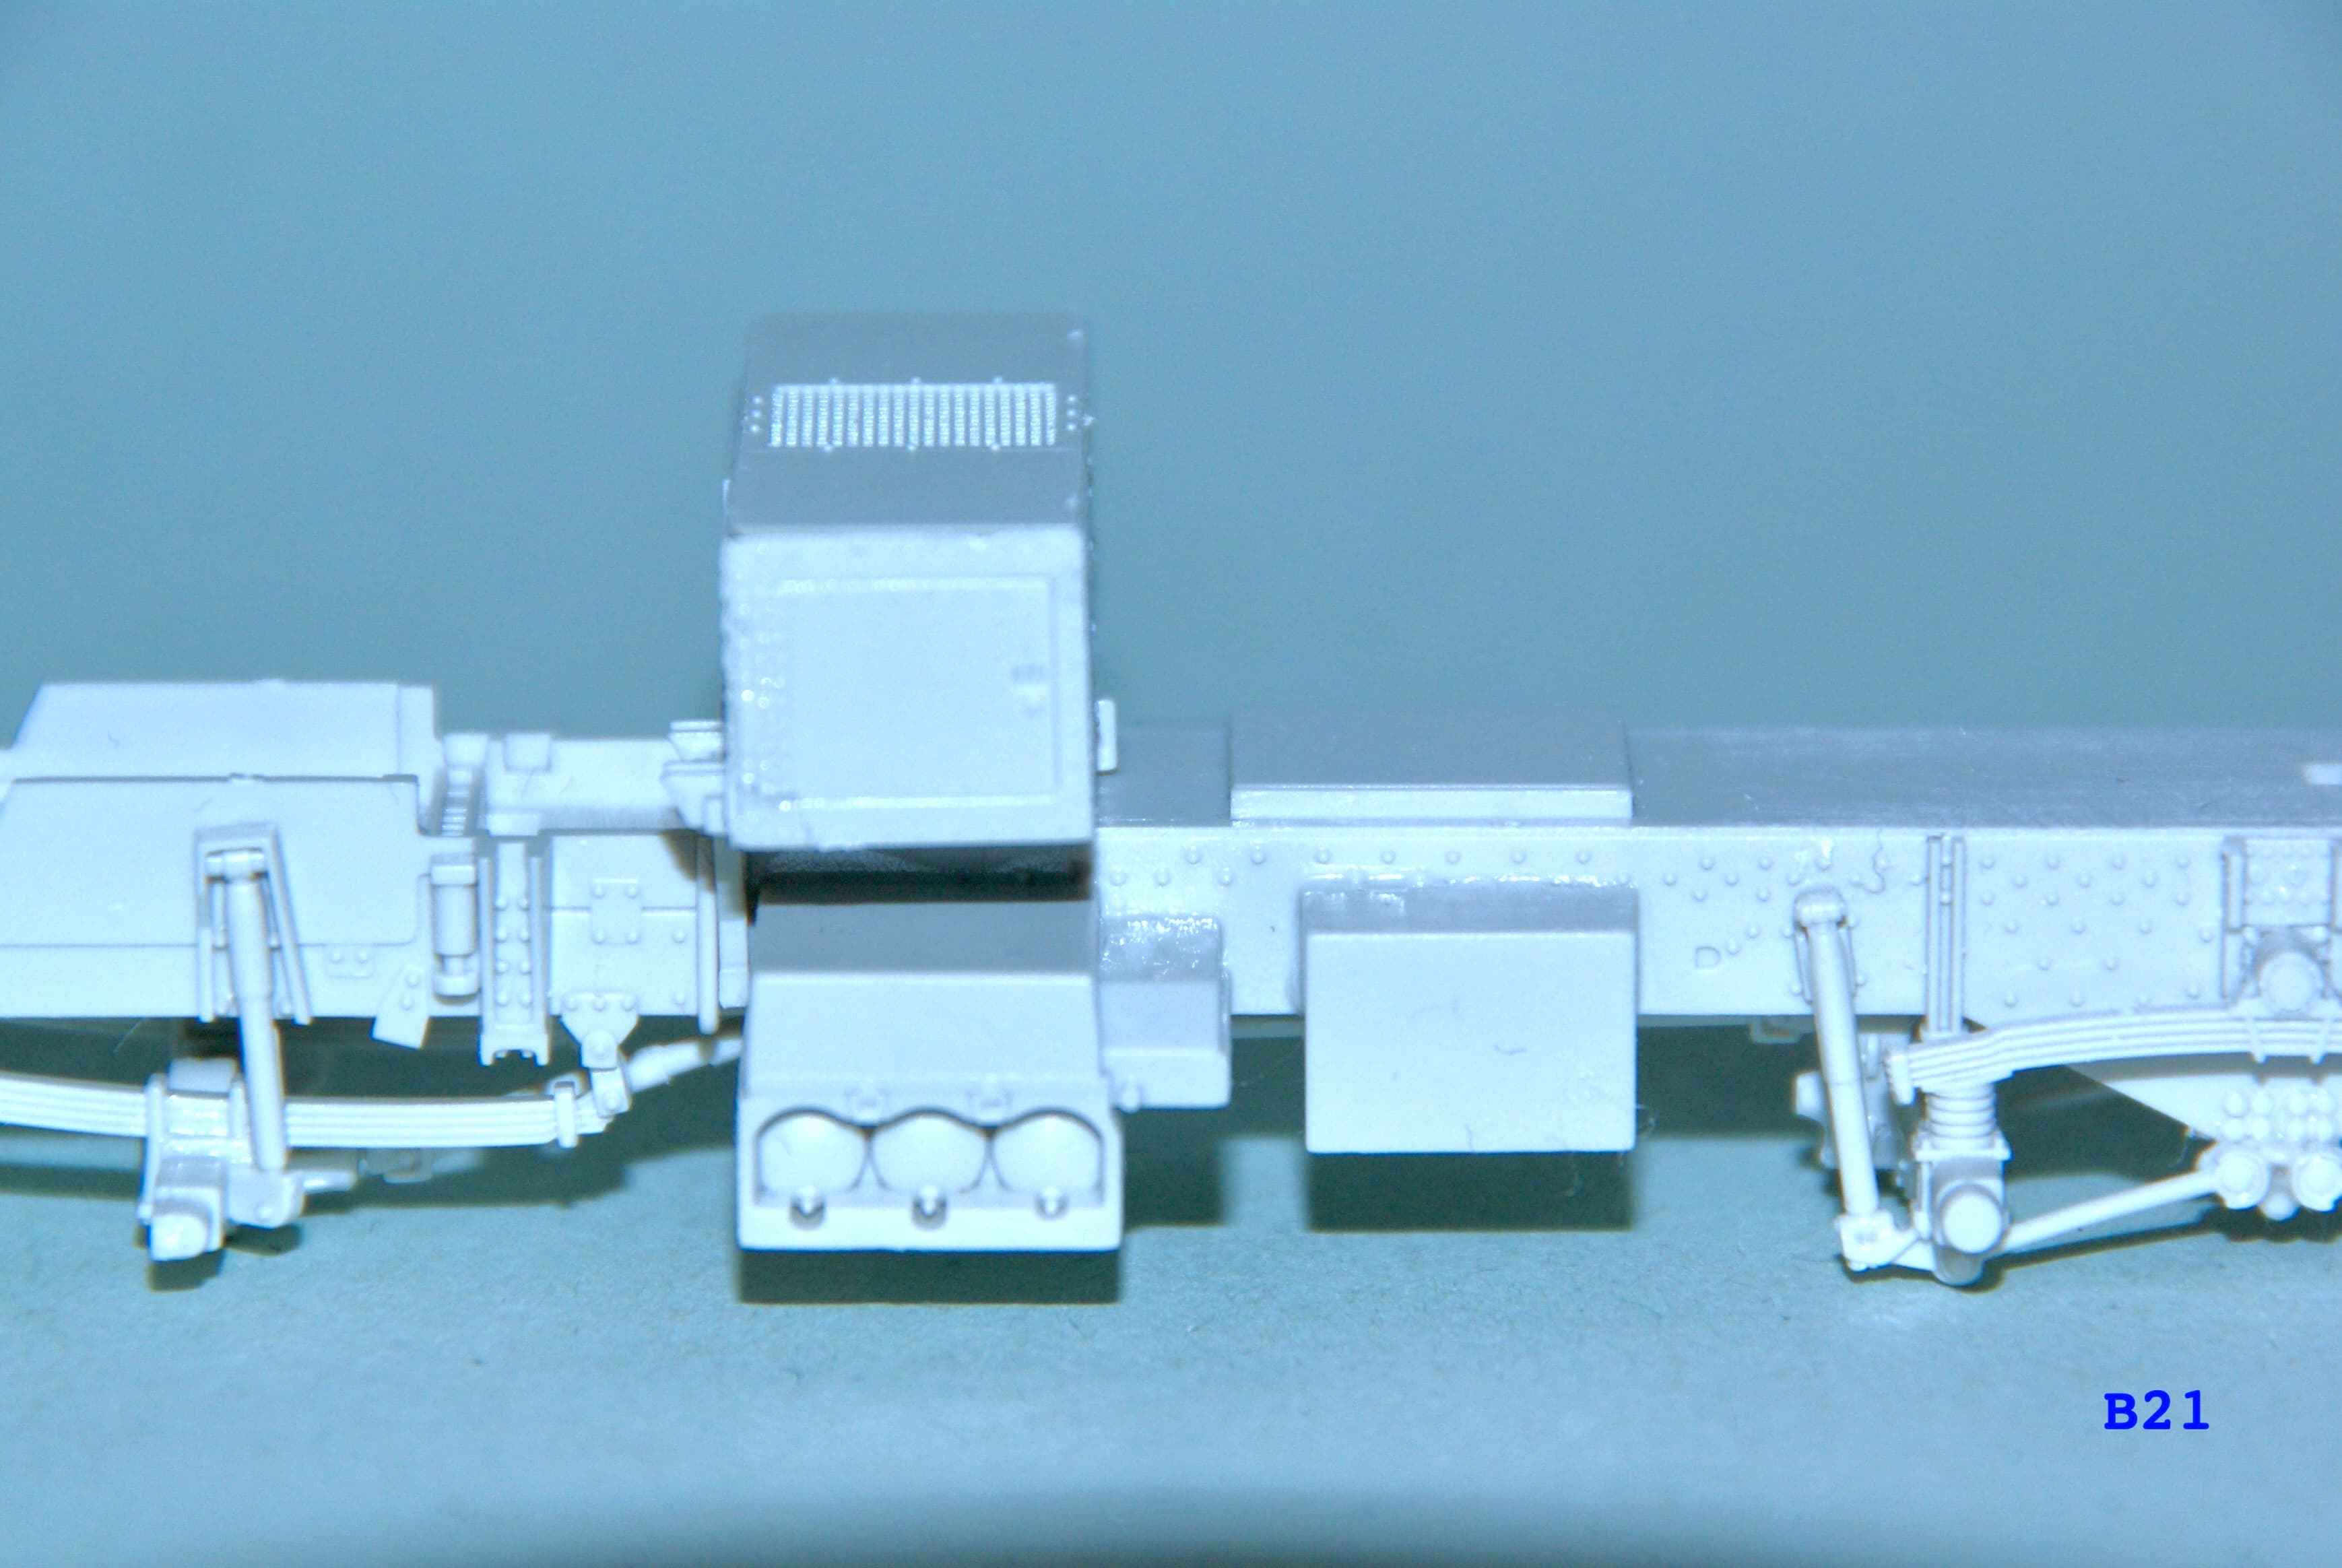
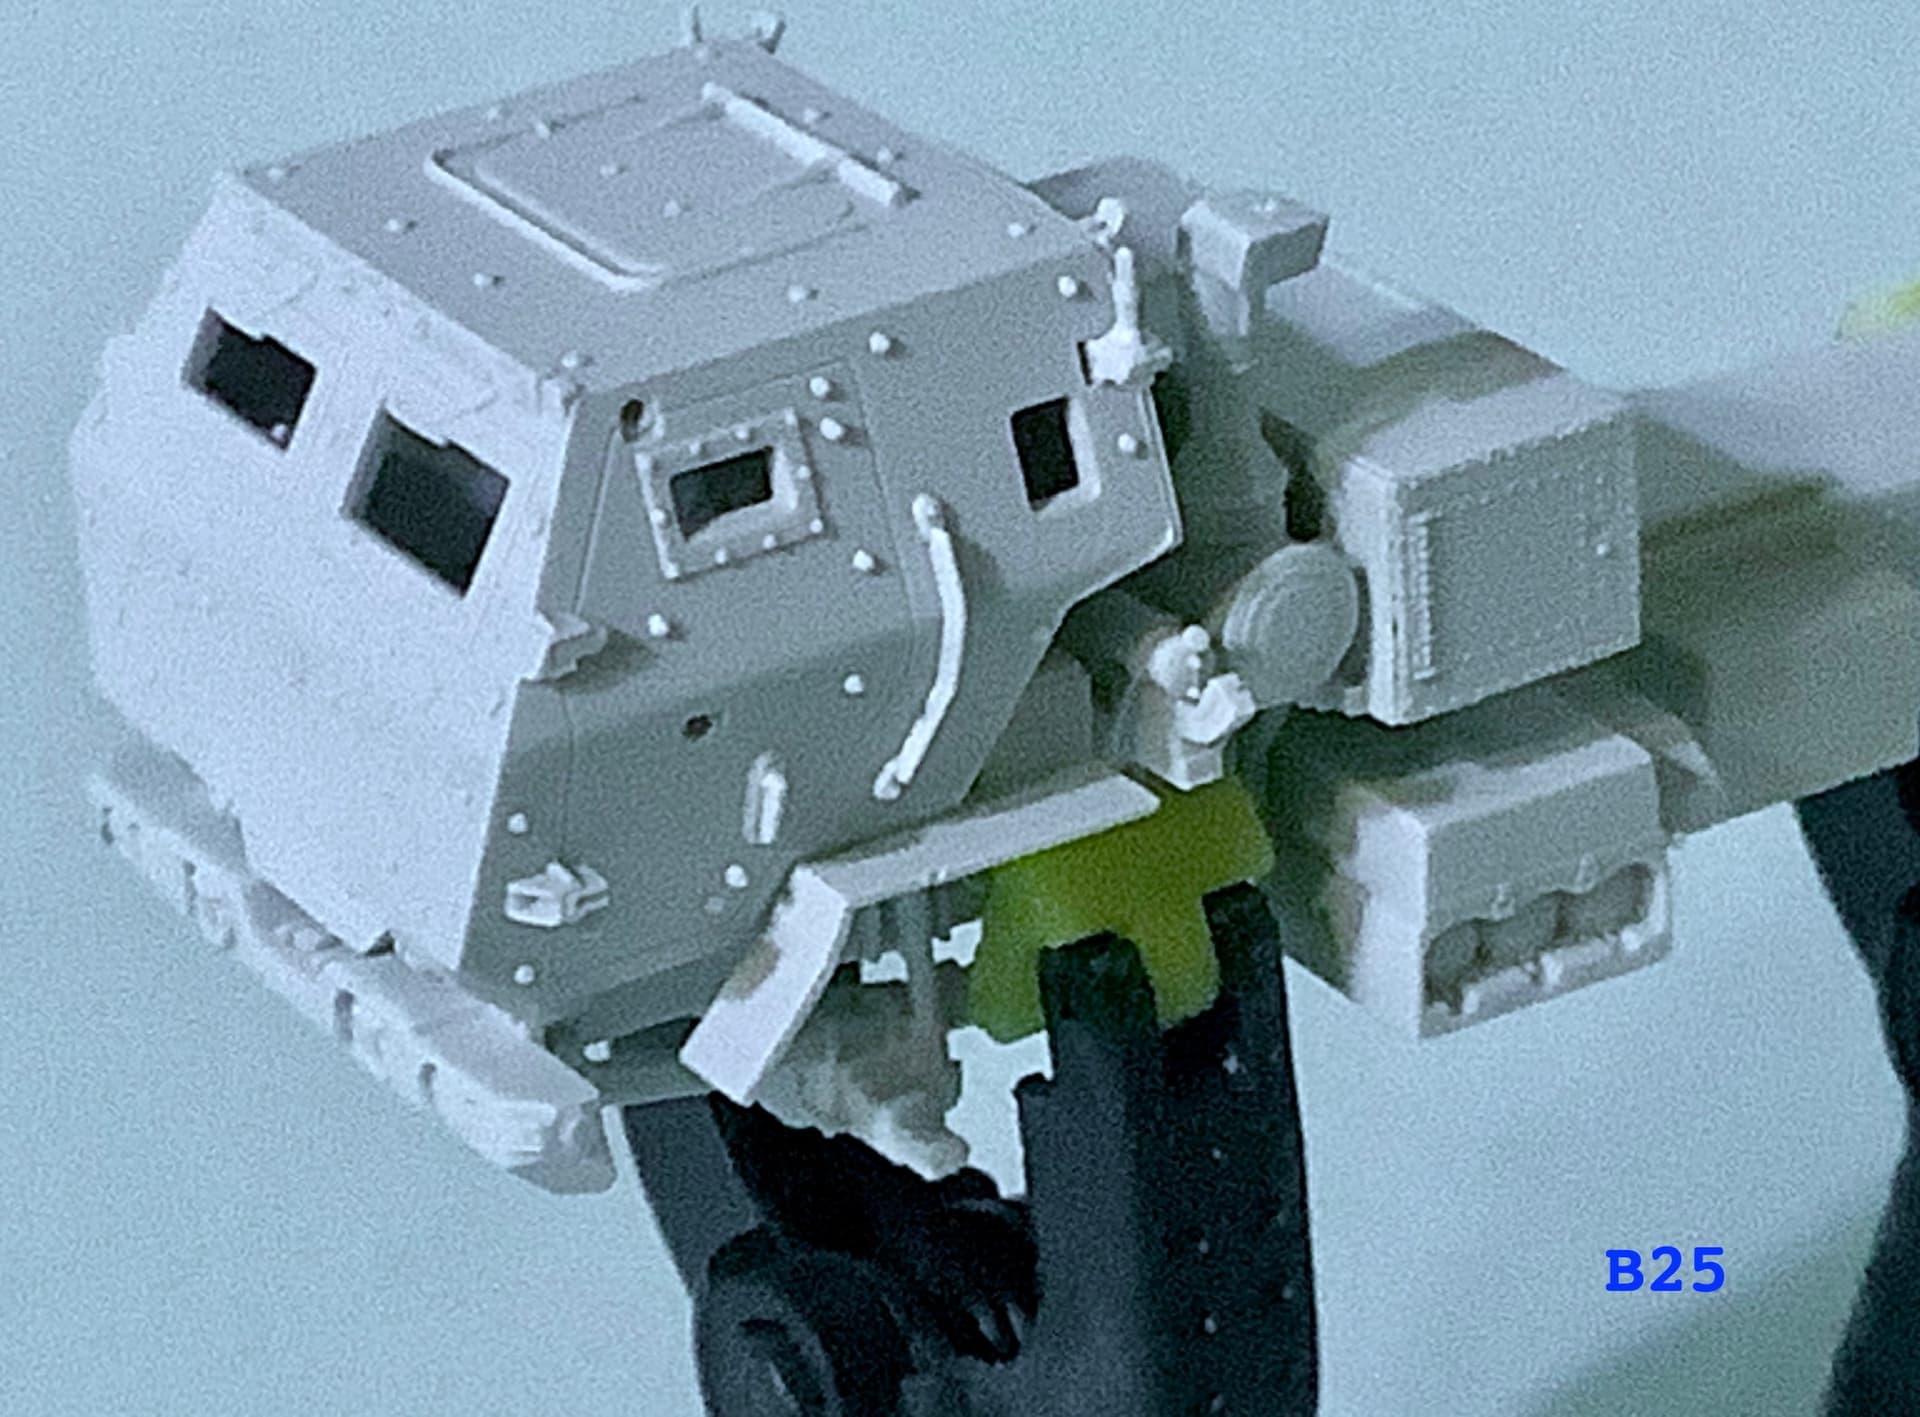
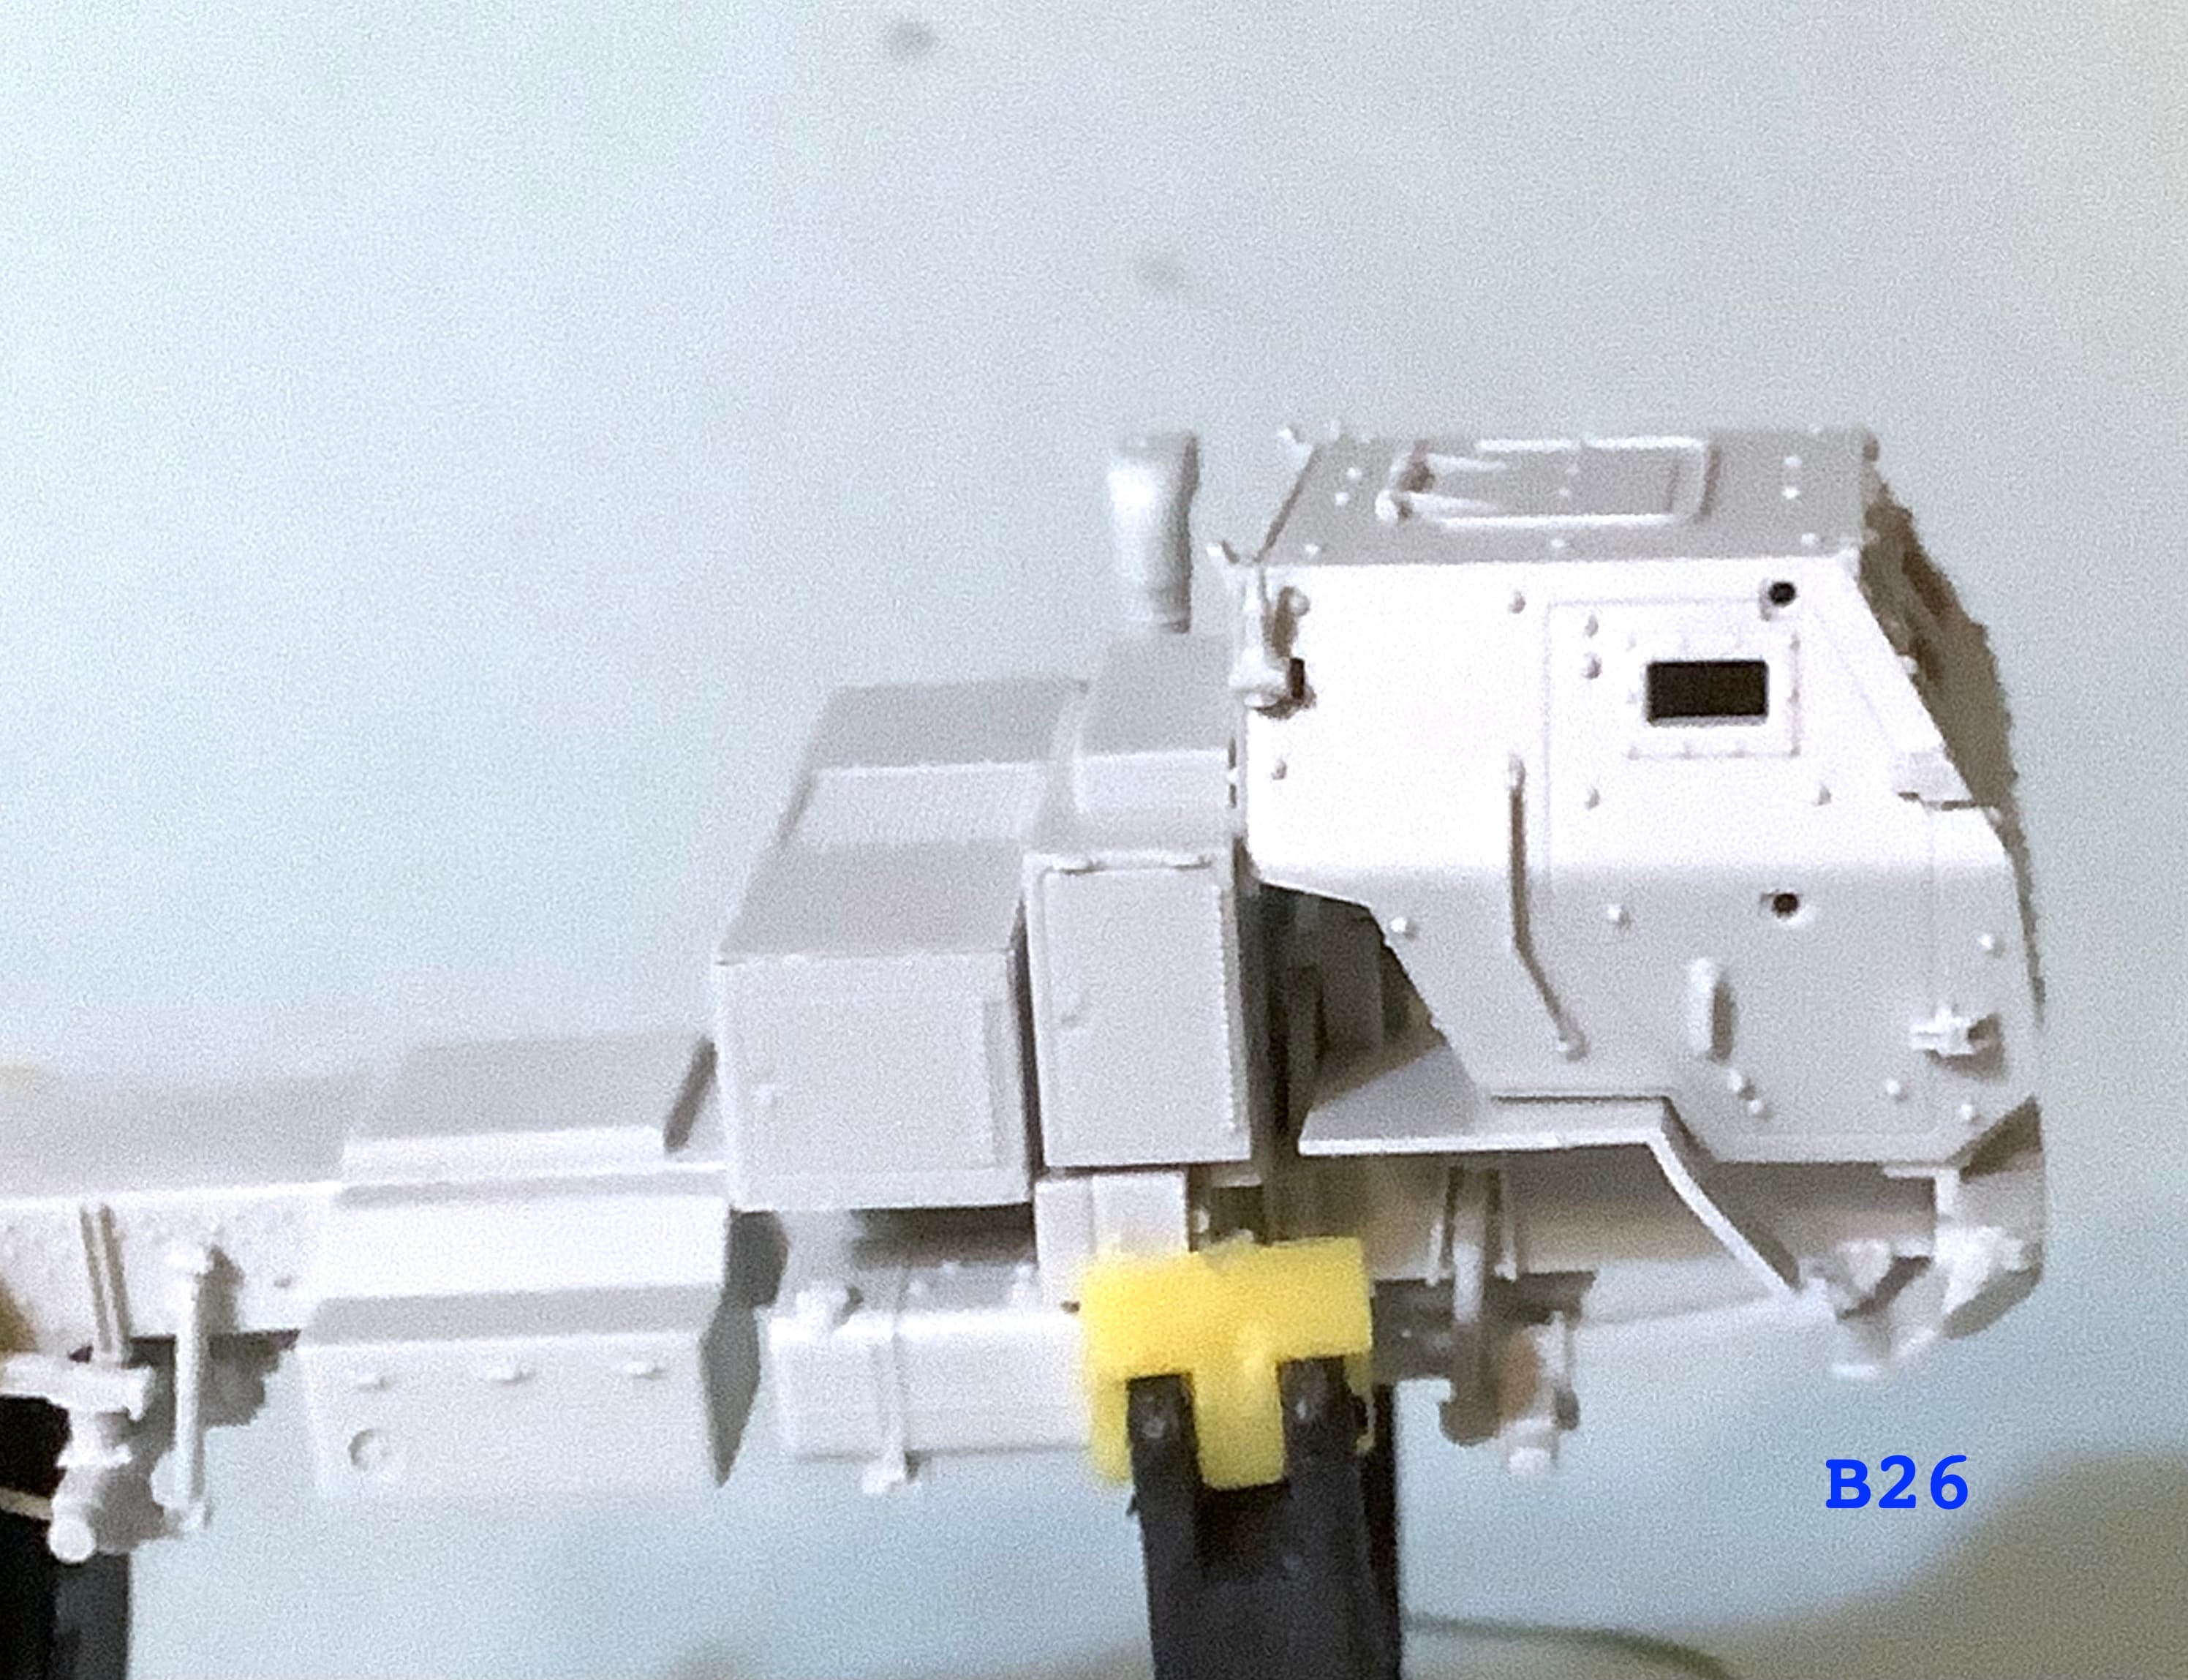
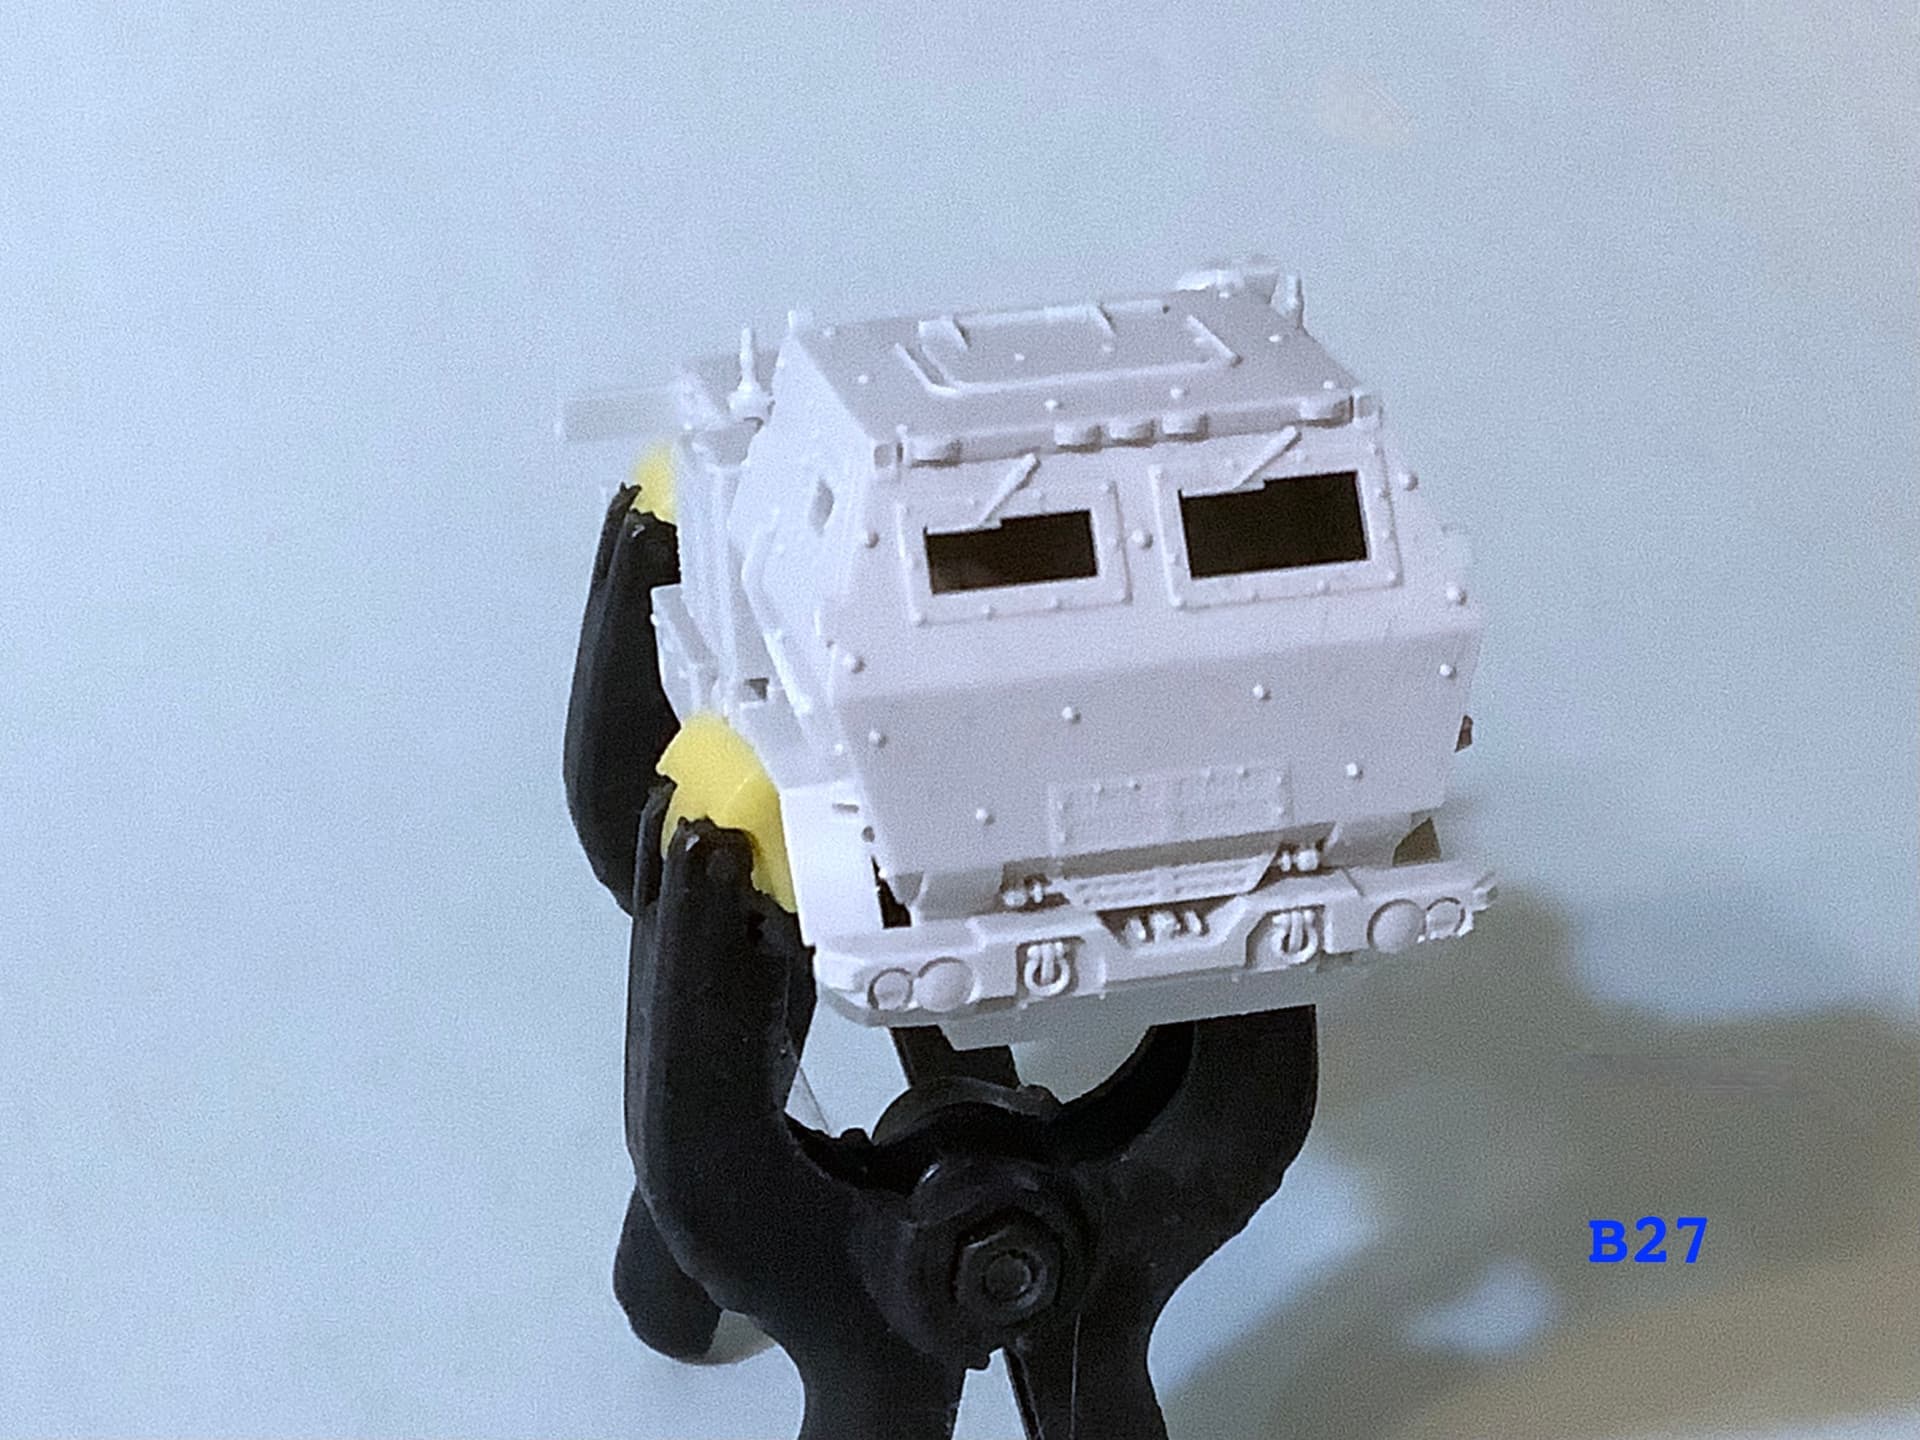
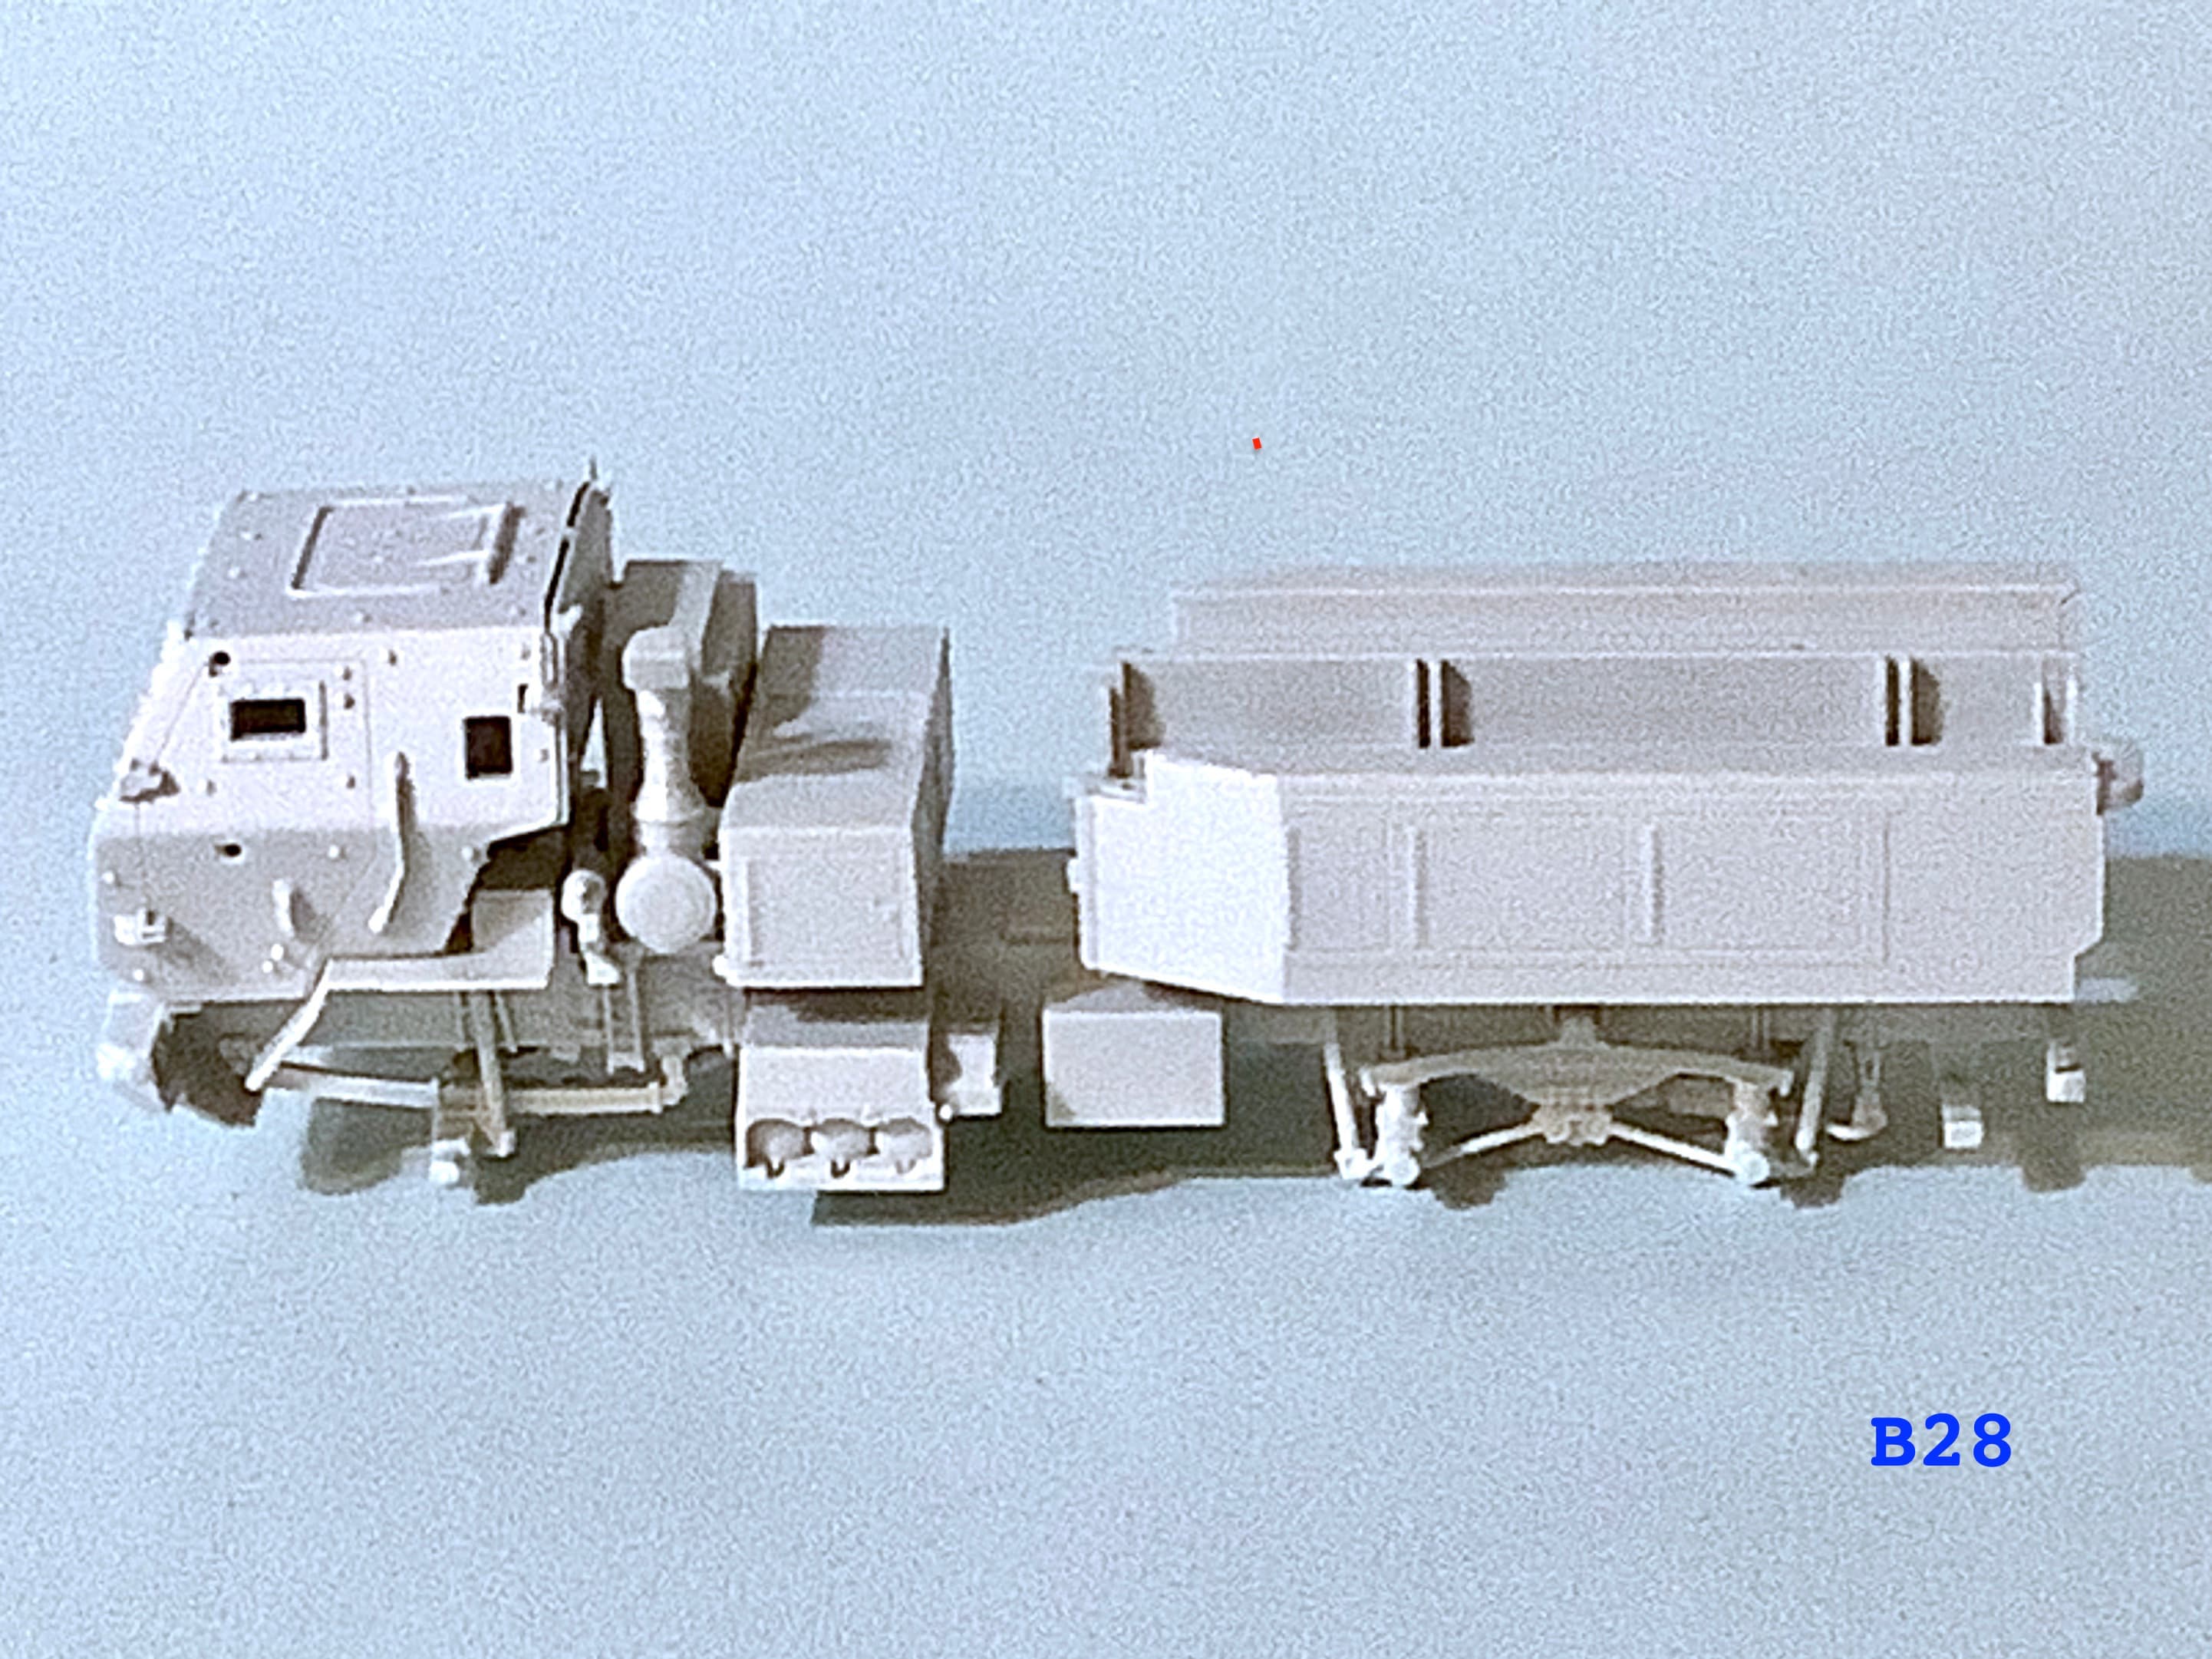
Still no painting done but subassembly construction has continued. My logic is to build each “segment” so that these can have necessary areas painted prior to further larger assembly. Some of these sections would prove almost impossible to totally paint properly if totally assembled. There’s just too many nooks and crannies that would be mostly unreachable for proper painting.

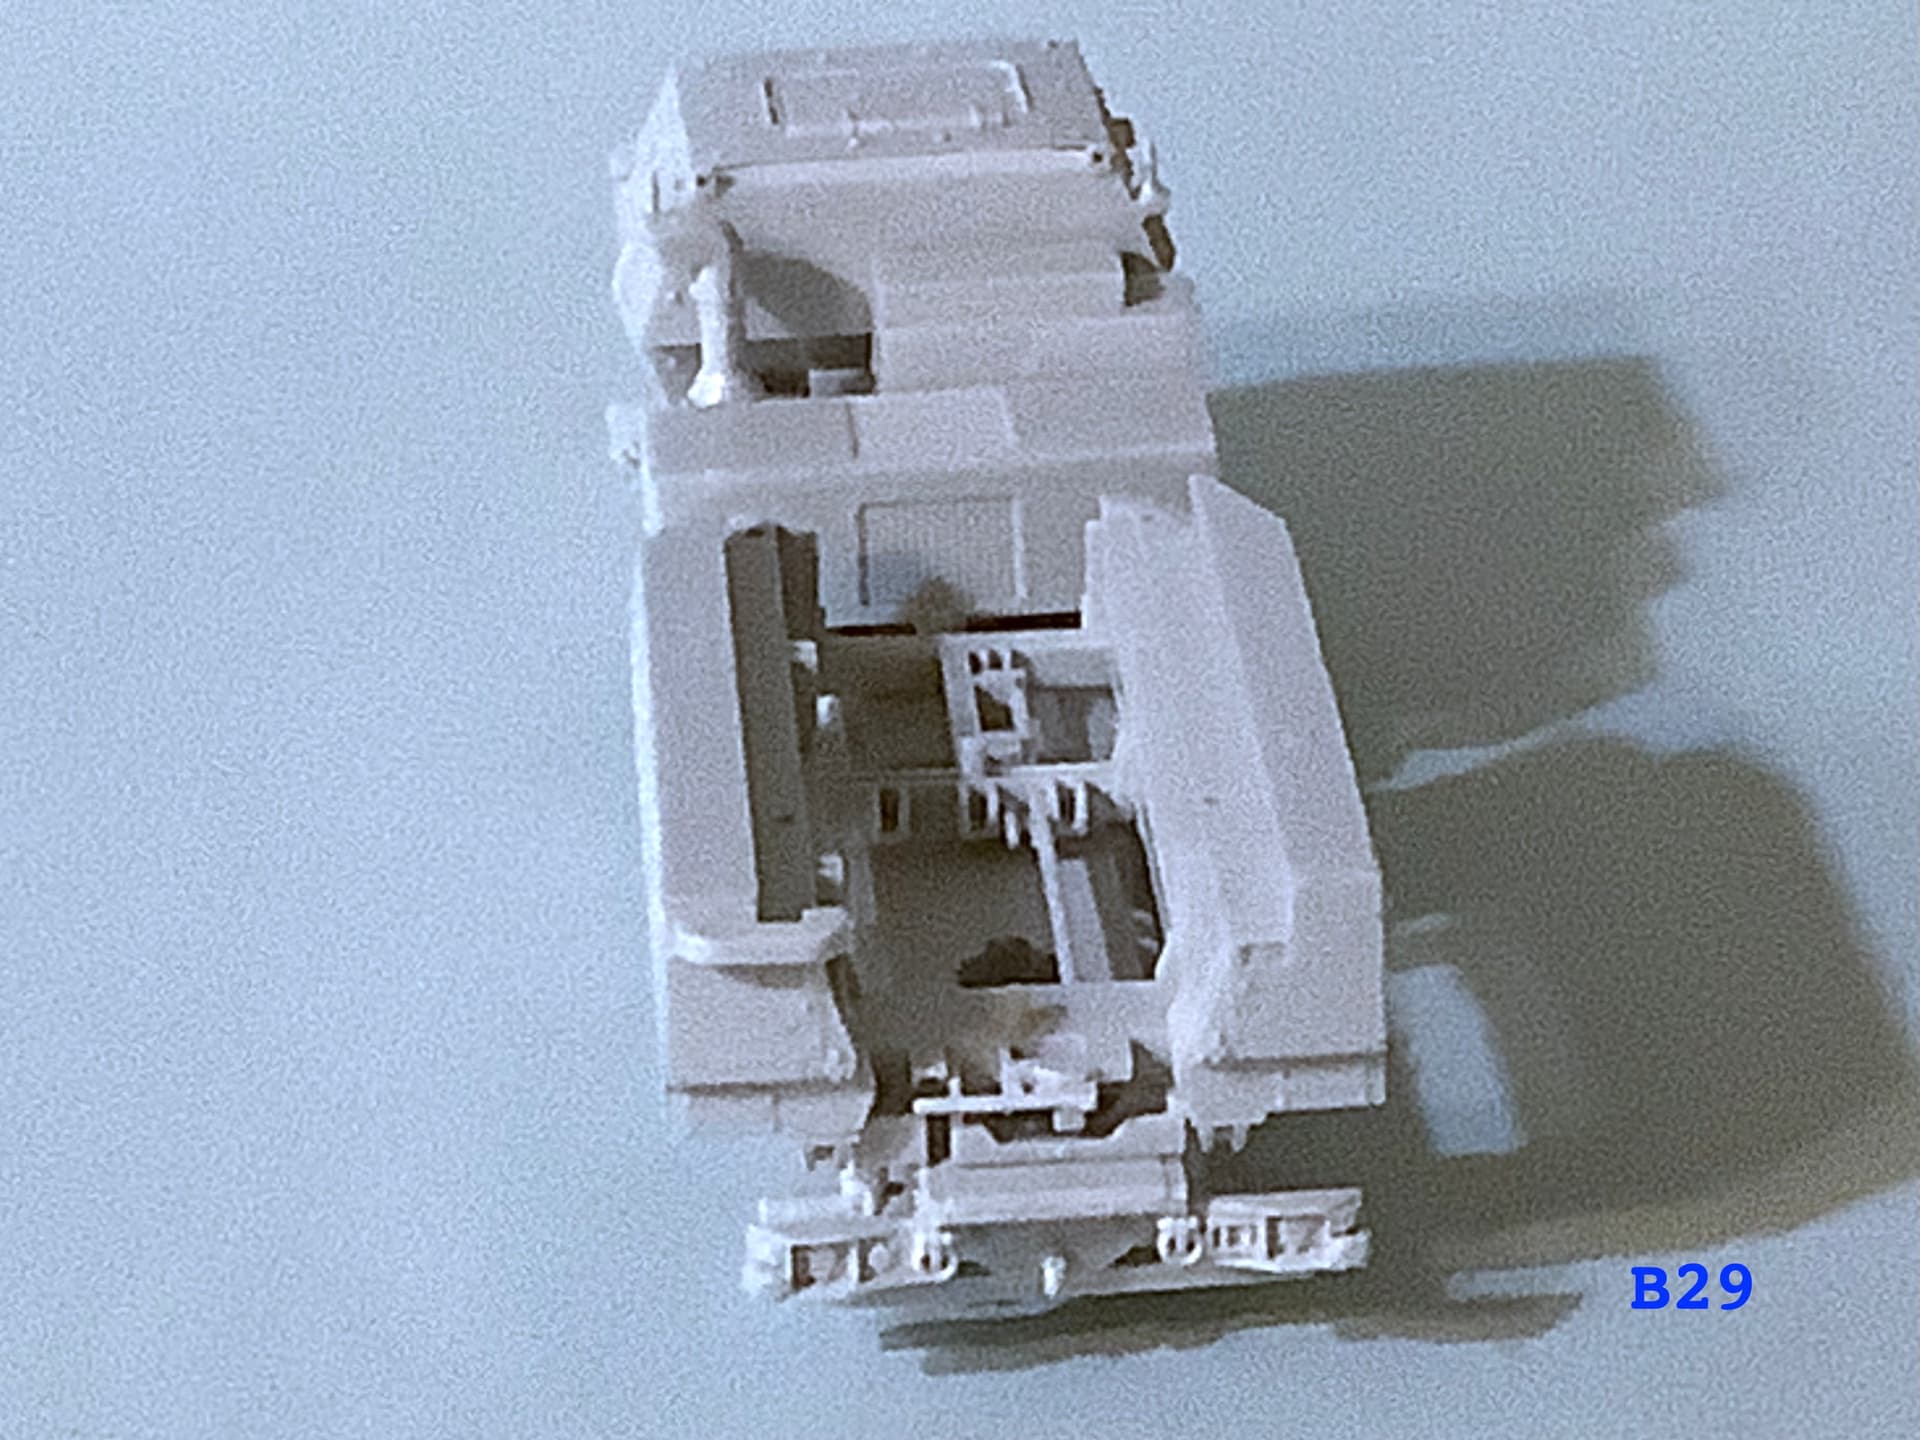
That said I have dry fit the control cab and placed in on the chassis so one can get an idea of where it will reside. Similarly I assembled the lower part of the rocket pod mount and placed in at its approximate location. I’ve yet to decide whether to paint the rocket pod parts on the sprue before assembling or after. The centre mechanical segment is press fit into its mounting point but will be painted unmounted. Here’s a few images of things was they stand:

That’s about all for now! :slightly_smiling_face:

Cheers,
Jan :beers:

3 Likes

@Jan,

You are far more motivated than I am and the build is coming along nicely. Each of the parts has a lot of detail included so it will look interesting when finished in its paint scheme. Keep it coming Jan.

~ Eddy :tophat:

1 Like

@Braille - Eddy,

As the saying goes “the journey of 1000 miles begins with the first step”. Transfer that logic to building a model and it also applies? :wink: Haven’t built anything in a while, look at step one of the instructions, follow same and your model build has begun. :upside_down_face:

Firstly seasons greetings to all and due to an unforeseen circumstance I fear that this HIMAR build will definitely be put on hold for a few weeks. Due fate intervening on December 19th an unexpected fall caused my left side to make unfortunate contact with the concrete covered earth. Unfortunately in this gravity assisted collision a bone in my left wrist was fractured necessitating my exposure to the local emergency medical institution. As such I find myself handicapped for at least the next four weeks with my left arm immobile in the following fibreglass apparel:


And asked what colour cast material would I prefer I asked for NATO Green but the above was all they had. :unamused:

Although I a primarily right handed it’s surprising how much we utilize the non principle limb. On top of everything I am restricted to lifting anything heavier than a pen while the cast is in place. And that’s the way it is this Boxing Day 2025.

–Jan

3 Likes

See, that right there is why I voted for Velcro over gravity. You could put some double sided tape on the cast and get some parts painting done while you heal!

1 Like

I’m sorry to see your injury Jan, I hope you heal fast and well. I was in the exact same situation two years back. It seems the modeling urge is strongest when you are incapacitated!

Looking good. Braille scale has come a long way.
Good luck with your injury. I was down for the count for well over a month myself after having rotator cuff and bicep tendon surgery. You’re right, being left handed, I realized very quickly how much I need my right hand.

1 Like

@Jan,

Been out sick for the past month with a knarly head cold. I feel better now. Sorry about your accident hope your doing much better. Your build log is coming along nicely, the kit sure has a lot of nice surface detail. I’m impressed with all of the rivit / bolt detail on the chassis, nice. The suspension and axials are well rendered. Good idea to keep things seperated for painting. Looking forward to your next installment, just don’t rush.

~ Eddy :tophat:

1 Like

@Lee, if you saw the texture of the fibreglass cast material you’d immediately notice how uneven/lumpy it gets when dry. :thinking: I fear the double-sided tape would also end up lumpy and uneven and not fix well to the material. Also we are talking about 1/72 scale parts that also might not end up with a firm gripping surface due to their small size.

Although the velcro option was offered, the orthopaedic surgeon felt that with my fracture the solid cast was better and would lead to a faster and proper healing. 9 days handicapped and 20 more to go! :roll_eyes:

Thanks for your interest and commenting.

Cheers,
Jan :beers:

@Matthew, you sure got that right about the modelling urges. I keep trying to think up ways and means around the limitations the incapacitation inhibits me with no luck. :frowning_face: Thanks for your well wishes and for leaving your thoughts.

Take care and CHEERS,
Jan :beers:

1 Like

@18Bravo, thank you for your comments and thoughts. It sure is astounding how many things become challenging at best when you have an inhibited supporting limb. :wink:

Cheers,
Jan :beer: :beer:

1 Like

@Eddy, thanks for your wishes and comments. Yes indeed the finesse of detail on this kit is quite something. I originally thought it might be more of a “quick build” but I am happy to say that to an extent I was wrong. Granted it is not in the same league as the ForeArt M142 but it is quite an equitable offering in its own right. :wink:

One nice thing about MENG’s offering is that it has several subassemblies that will lend themselves to prepainting. With all the detail in this vehicle I could see there would be several areas of nooks and crannies that might be difficult to get paint into if one waited to paint after the kit was totally assembled. :wink:

As I mentioned above, 20 more days until the cast should come off and still trying to come up with ways to progress on this build. :thinking:

Cheers,
… Jan :beers:

1 Like

Greetings everyone, FIRST and foremost the fibreglass cast was removed and X-rays taken and the bone(s) were heeling quite nicely according to my Orthopaedic Surgeon. :grinning: I now must suffer with a brace on the injured wrist for six weeks.


NOW, I am permitted, even encouraged to take the brace off for bathing, washing and for limited periods relaxing (hobby time?). As time goes by and I take physiotherapy, brace-less periods can increase. :joy:

So I spent some time prepping my painting area and airbrushing equipment. I also mixed up some base-coating paint by mixing Tamiya XF-67 NATO Green and XF-57 Buff. I further pushed my unbraced time by spraying the following.

PLUS…

That’s it for the moment!
Cheers,
Jan :beers:

3 Likes

Been a few days since my last post and an update seemed reasonable. :wink: I started by assembling the six wheel sets for the M142. Be forewarned that there are differences between the two front and four rear wheels. Parts fit was excellent and “rubber” fit over the first tire rim is somewhat tight but very secure and requires no gluing.

I assembled the rocket pod or pack and placed it on its carrier and then dry fit the subassemblies. Here are images of where things stand at the moment. Note: a series of “touchup” air brushing will be required before and after gluing together the various components.

Cheers,
Jan :beers:

4 Likes

It’s looking great.

Sorry to hear of your accident. Hoping you will have an excellent recovery.

1 Like

@mech Thanks Ralph, Happy you found this build interesting enough to leave a comment. :wink: As for my accident, as of my last checkup the doc said the bone has reattached nicely but it’ll take a few more weeks before it’s back to almost new.

Thanks and Cheers,
– Jan :beers: :+1:

1 Like

Greetings fellow styrene manipulators, a minor update on the MENG HIMARS. I’ve been somewhat distracted by regular physiotherapy for my damaged wrist and still handicapped by the need to wear a brace so still not back to 100% functionality yet. However I did managed do touchup painting on parts of the M142 plus installing the cab windows and final internal cab parts.

The side windows were challenging to emplace due mainly to their small size and the extreme compactness (small size for human fingers). Using a “jewel picker” wasn’t too helpful as the windows had very tight tolerances and needed to be “press-fit” into their openings. It took a full half hour to get all three clears parts mounted and glued.

Here are a few pictures of the end results. I haven’t decided on mounting the antennae nor doing final touchups on the cab yet. :wink:

Cheers,
. Jan :beers:

4 Likes