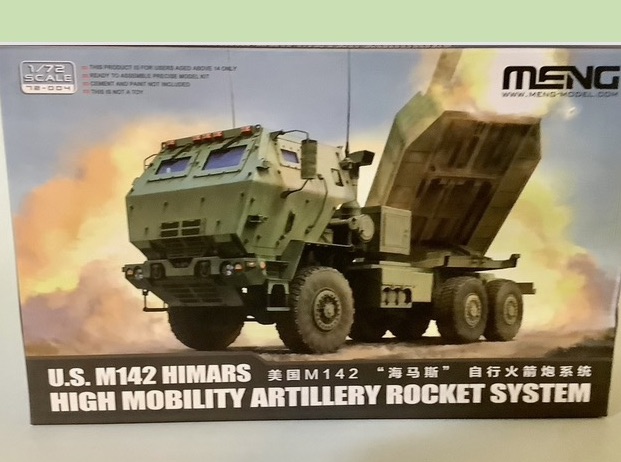
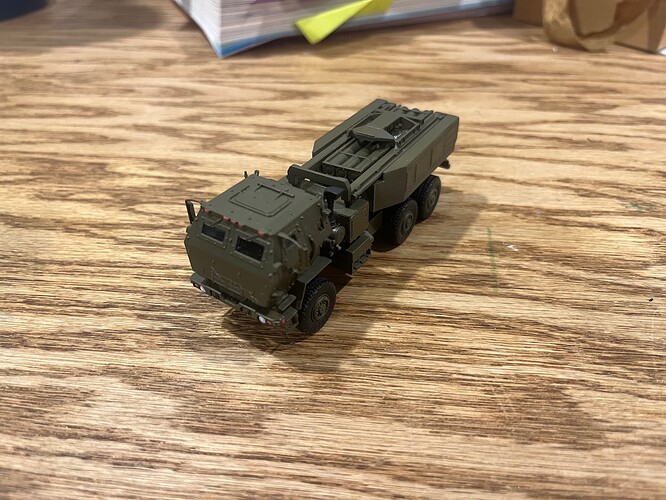
Greetings all! This is my first “review” type post in some time so please bear with me if at times I fumble along.  As the subject of this post states it’s the “newer” MENG 1/72 M142 kit.
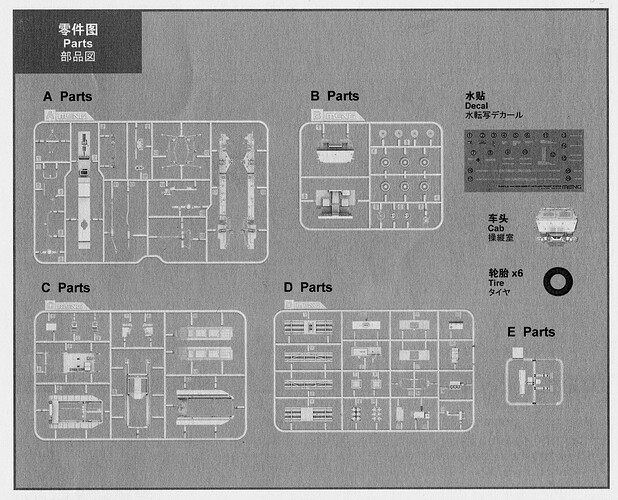
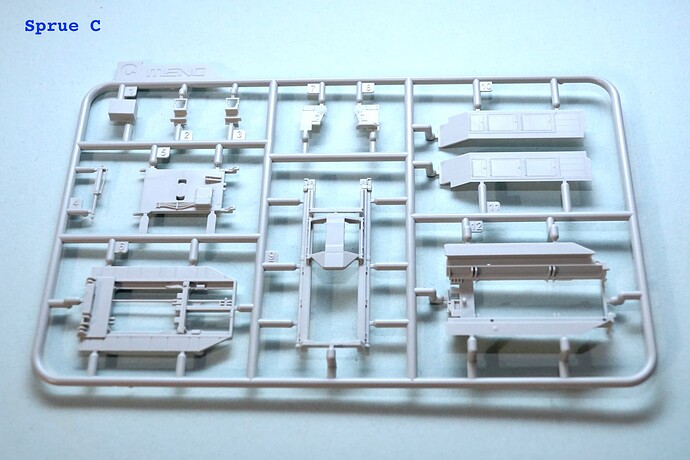
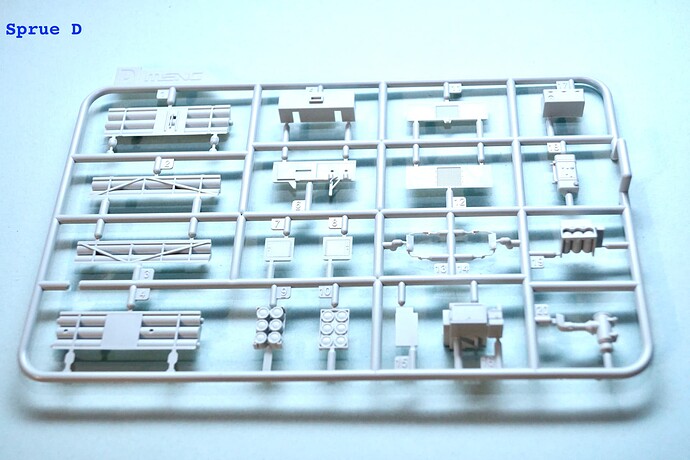
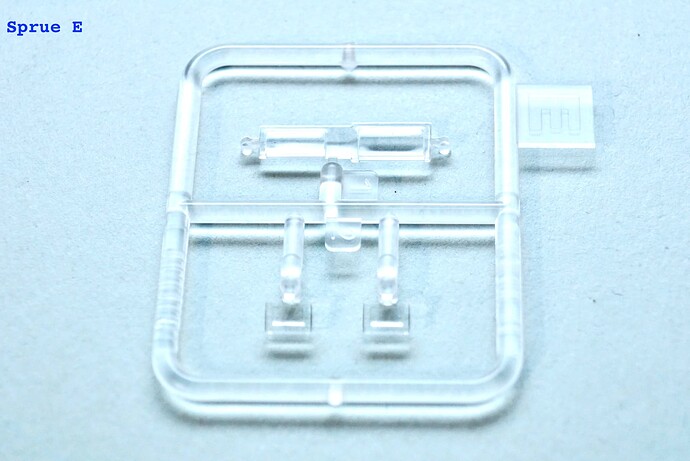
It’s nowhere quite as detailed as the similar scale ForeArt kit and comprises three large light grey sprues, one medium sized grey sprue and a forward cab roof, sides and front piece. Also included is a small clear sprue and six vinyl/rubber type tires. A sheet with 19 individual water-slide decals is also provided. Painting instructions are minimal and refer to colours in the MENG MC colour range. Overall colour is an olive green with some details in black, silver and orange.
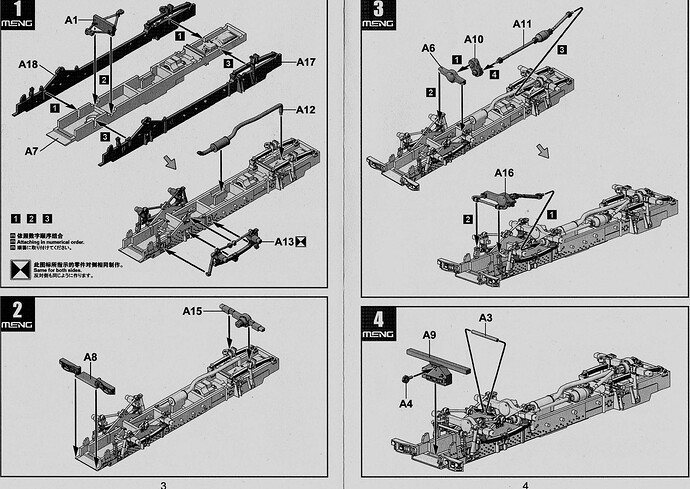
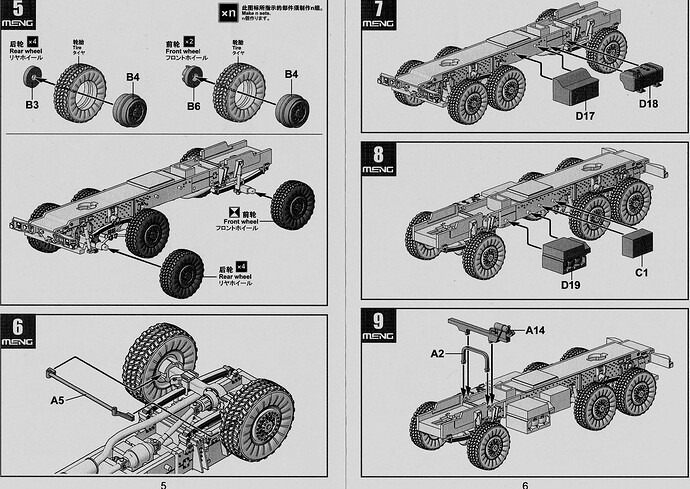
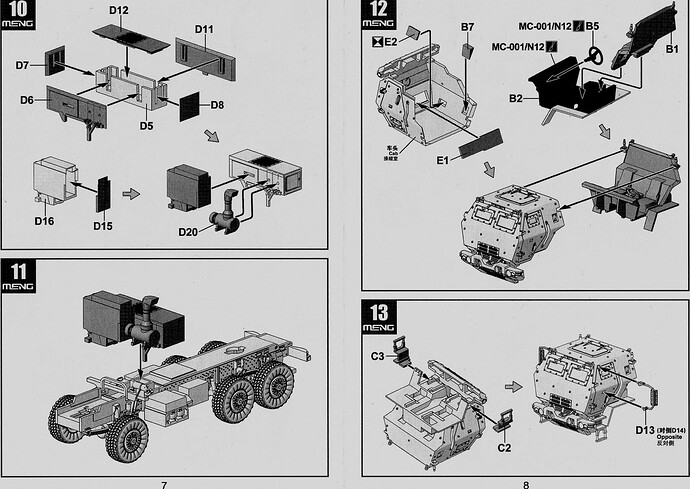
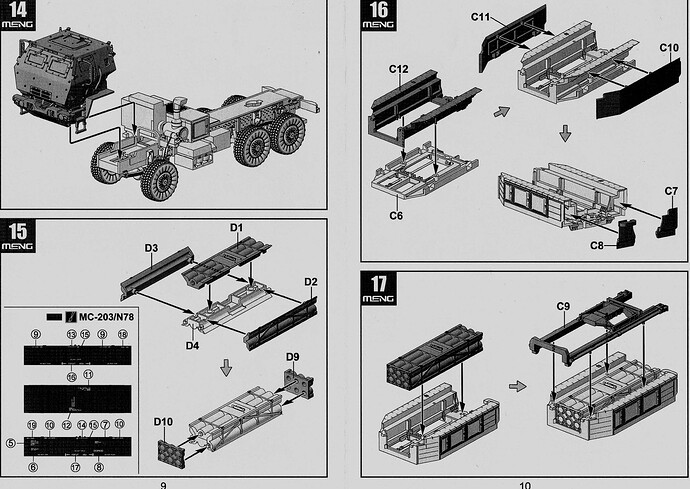
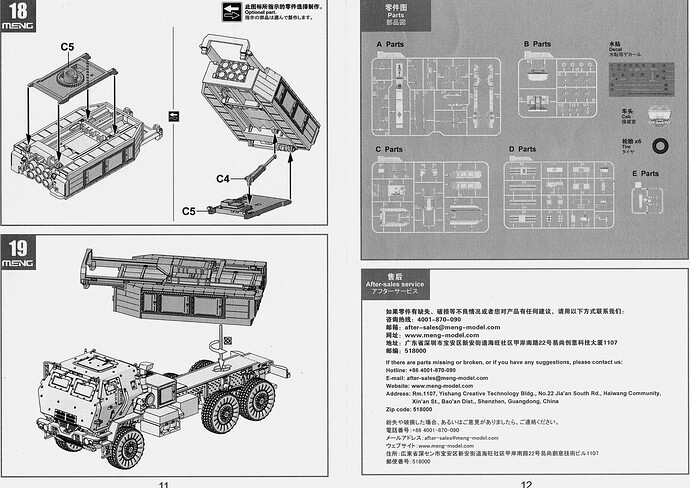
While the kit is not as parts intensive as the ForeArt kit, it is by no means a quick build. Its moulding at first glance looks very fine and detailed. Some parts are extremely fine and will require very careful detachment from their equally fine attachment points. Below you’ll find scans of the kit instructions for your viewing pleasure. 
I hope this gives interested parties at least a better idea of what they will find with this kit. As the situation permits I hope to add some actual sprue/parts photos along with further observations and commentary. I also hope to do an out of the box build to see how this kit assembles. Thanks for having a look.
Cheers,
Jan 
7 Likes
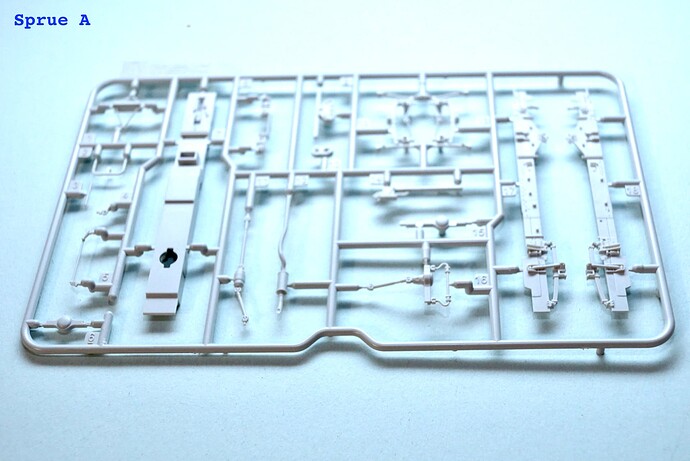
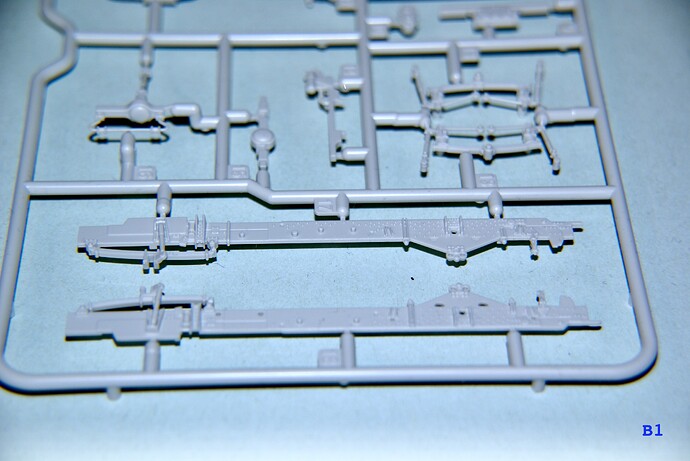
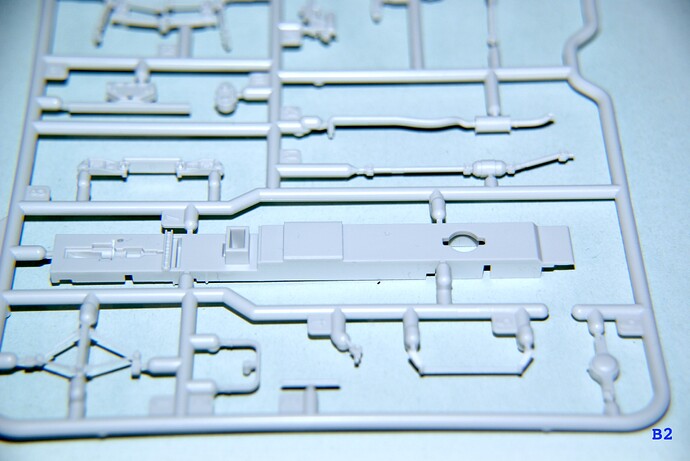
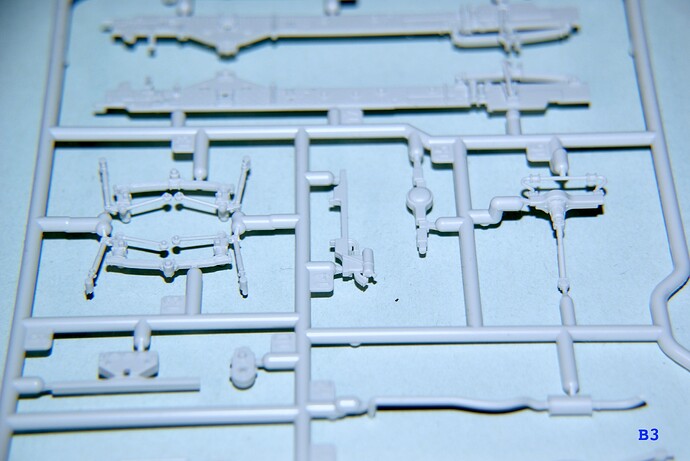
Finally some sprue shots. Trying to use our latest camera and flashes so not the most ideal images.
I have some more closeup images but I haven’t prepared(edited) them yet but hope to have that done shortly.
Cheers,
Jan 
3 Likes
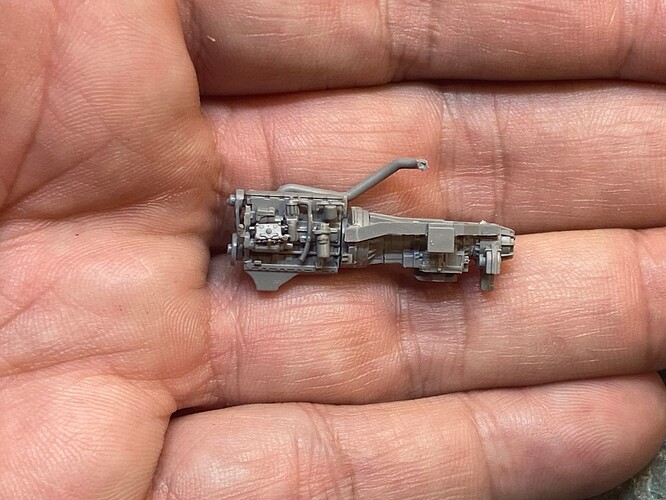
Wow! the Foreart kit looks much more detailed. It comes with a complete engine.
1 Like
Ian, as I state at the beginning of this thread about the Meng offering:
The reason I stated that was because I also have the ForeArt kit.  I originally thought about calling the Meng a “Quick Build” but the parts count and moulding quality sort of ruled that out. Aside from parts count and quality, the one thing the Meng kit does have over the ForeArt is its purchase price. I often get my kits from HobbyEasy out of Hong Kong and the Meng was less than half the cost of the ForeArt.
When I originally saw that there were these two M142’s I thought it might be advantageous to this community to do a sort of comparison review of these kits. Unfortunately I’m a slower builder and have space/opportunity limitations so a double build/review was unrealistic. Therefore I figured one at a time is better than nothing? 
Anyway, thanks for dropping by and leaving a comment. I hope to add a few general zoomed in images of parts to better show the parts detail of this offering and then start the build of the kit.
Cheers,
Jan 
1 Like
Oops, must have missed that detail, my bad! Not sure that Meng costs half of the Foreart, mine cost me $29 CAD. Is the molding bad on the Meng? If you’re unsure about the Foreart jump over to Track-Link, I have a build blog on there. I found it to be a fairly quick and enjoyable build.
1 Like
Ian, at HobbyEasy the MENG HIMARS was released in mid July and currently is listed at CDN$11.34. The ForeArt kit currently is CDN$24.08, so quite a difference but then again each of the three large ForeArt parts sprues seem almost twice as large as any two MENG ones. Plus the ForeArt clear sprue is bigger than the MENG and there’s PE and printed tires too! 
Just by initial visual observation I believe the two kits look like they are comparable moulding detail wise although the ForeArt has a somewhat more detailed interior. Then again the MENG does not have separate roof hatch nor positionable doors.
I had a look at your ForeArt BLOG at the Track-Link site and you did quite a nice job on its layout and assembly.  The build seemed to progress well and I was fascinated to see that they give three options for the rocket pod elevation. With the MENG version they give you only two choses, either in travel position or elevated. I guess we’ll just have to wait and see how these two kits compare visually after I gat this one done.
Cheers,
Jan 

1 Like
Don’t forget Dragon has also done a HIMARS

1 Like
I completed mine today. It’s a nice easy build.
4 Likes
I just checked Hobbyeasy, $12 that is a great deal( but shipping kinda gets ya.) the company I bought my Foreart has the Meng for $34 but shipping is free. Anyways good luck with your build. I too will be interested in how they compare.
1 Like
Littorio, thanks for dropping in and leaving a comment.  I didn’t forget about the Dragon offering but didn’t hold out much hope for their recent 1/72 scale additions as they have more in common with quick-builds than the detail in the old kits. However, I have found a review/build on Brittmodeller.com that gives one a good idea of what you get. Anyone interested can find it at Dragon M142 Build. Be forewarned, among other things the model has NO clear windows or interior plus metal axles for the wheels.
Cheers,
Jan 
1 Like
Defladermaus- Thanks for leaving a note and the picture of from what we can assume is a MENG kit? With this message appearing directly after the note about the Dragon kit one could mistakenly presume it is that kit. I assume it is the MENG due to what in enlargement shows clear windows with interior and due to certain details I see that compare with my kit.
Cheers,
Jan 
1 Like
Ian, I can vouch that any shipping costs by air from overseas are definitely eye-openers, however I usually purchase two or three kits at a time. This is based on shipping weight and usually causes me to “juggle” what I order around to find the “sweet spot”. In my case the total cost of the MENG M142 worked out to around CDN$22.00. 
Cheers,
Jan 

1 Like
It is indeed the Meng kit.
1 Like
Jan,
Nice comprehensive review of this kit with good clear instructions on how this kit goes together. Glad you included the sprue shots too! I’m asuming that the tires are made of rubber? Will you be posting a build log on this kit?
~ Eddy 
1 Like
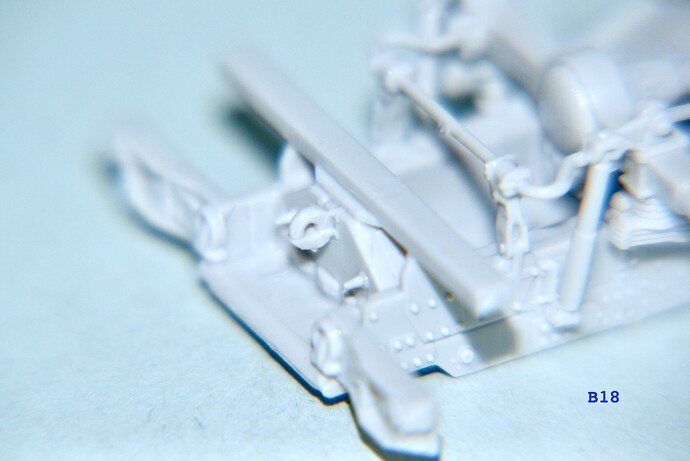
As was promised a few closeups of the ‘A’ sprue that’s mostly used for the first step in the build instructions. These first three images are of that earlier mentioned sprue:
(Please refer to the kit instructions earlier in this thread.)
Now for the first few parts glued.
So far parts fit has been absolutely excellent and the sprue gates to the finest parts are wonderfully minimal. There has been no flash or ejector pin marks so far but it’s still early and hopefully the rest looks just as nice. The rest of this step will hopefully continue tomorrow.
Cheers,
Jan 
4 Likes
I’d like to begin by apologizing for the quality of some of the pictures in this thread. I obviously haven’t been taking pictures much lately and have become quite "
rusty" with the proper use of our DSLR’s. I’m gradually relearning many of the concepts and principles of the proper use of the cameras. 
Anyway, the completion of Step 1 and Step 2 of this build.
Step 3 is proving to be a ROYAL NIGHTMARE as it is the driveshaft from the front differential to its rear counterpart (A11 from A15 to A10). Up until now all parts have fit beautifully and easily in their locations. I’m sure I’ll eventually get it together but until then ''l leave things here. 
Cheers,
Jan 
1 Like
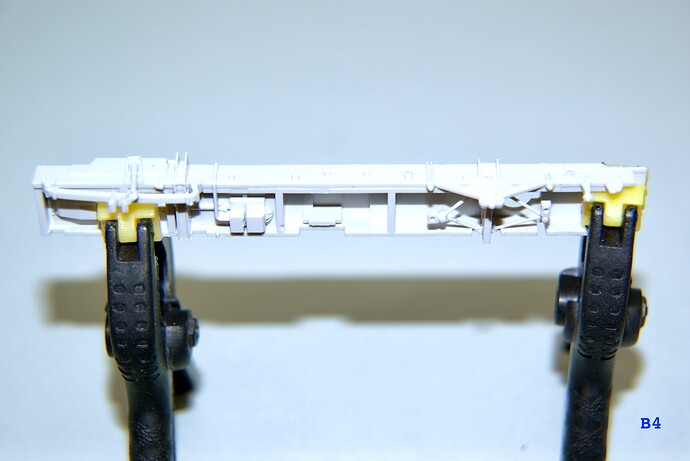
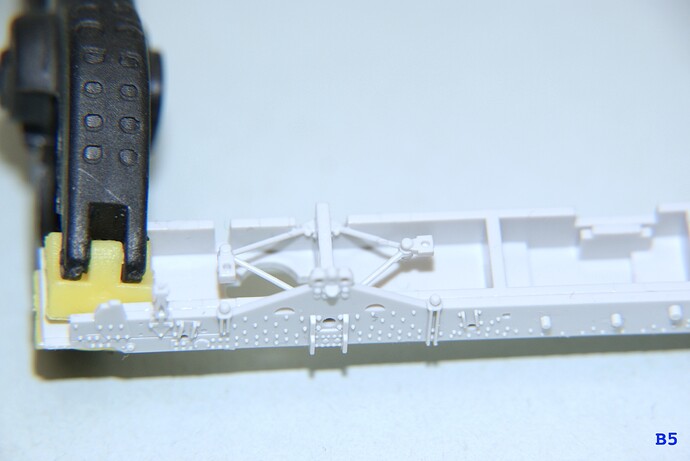
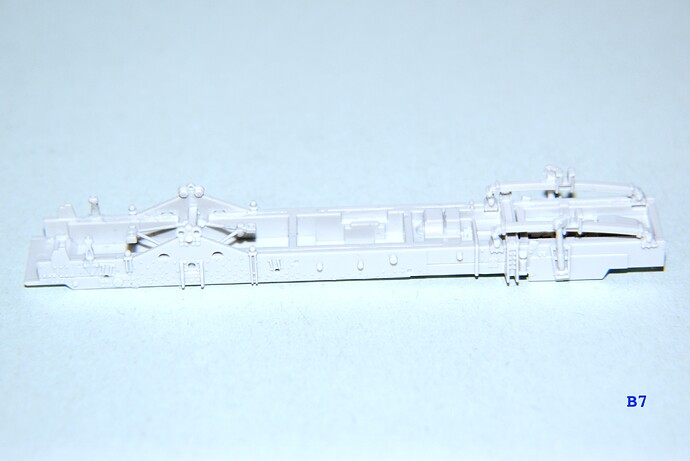
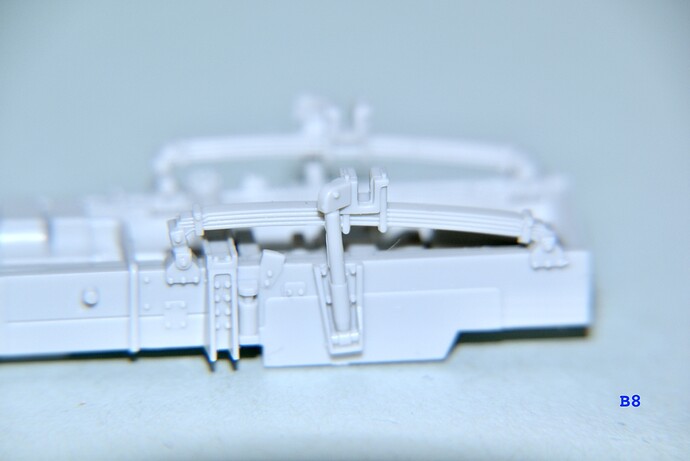
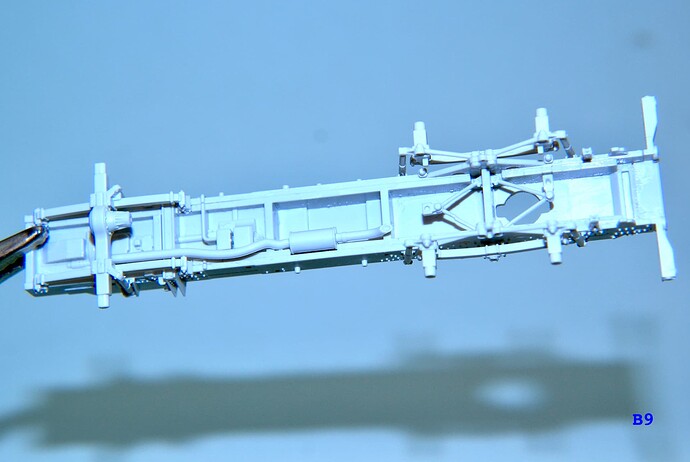
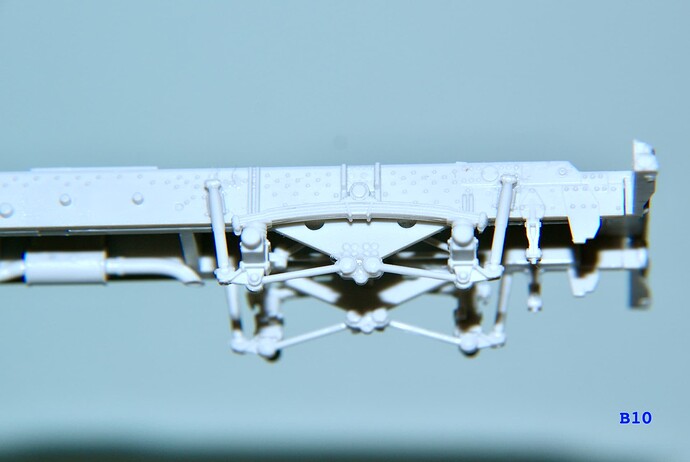
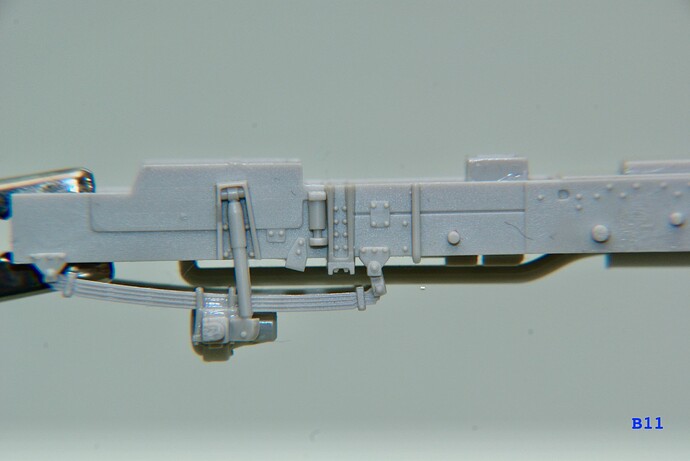
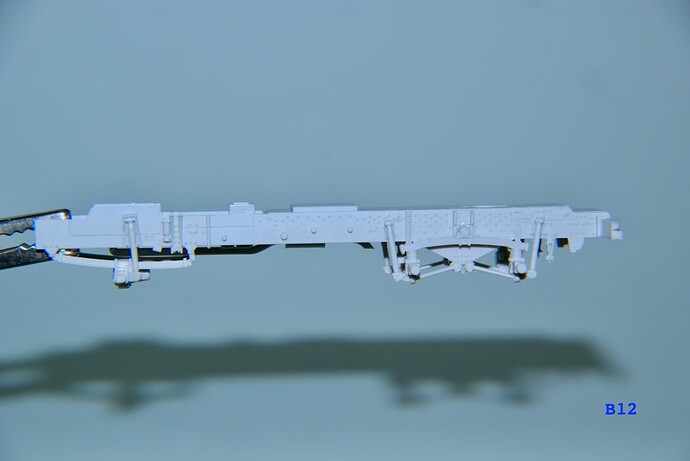
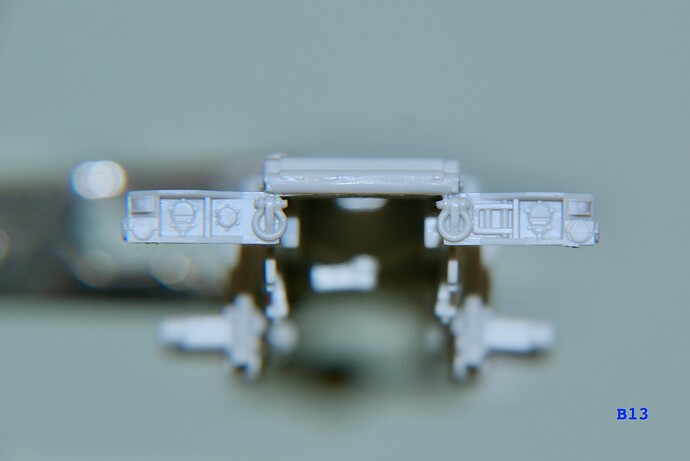
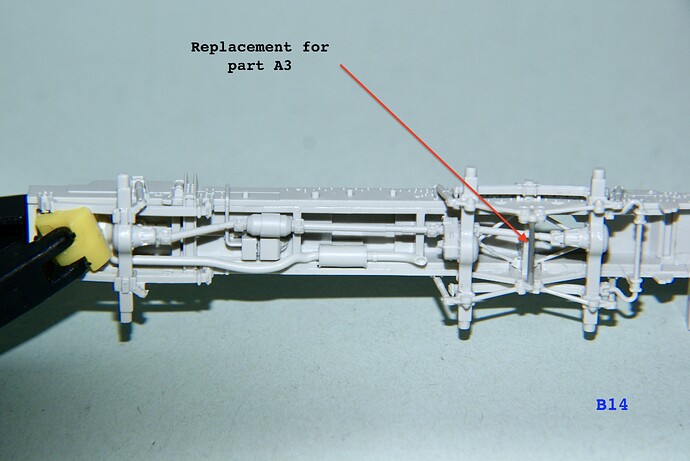
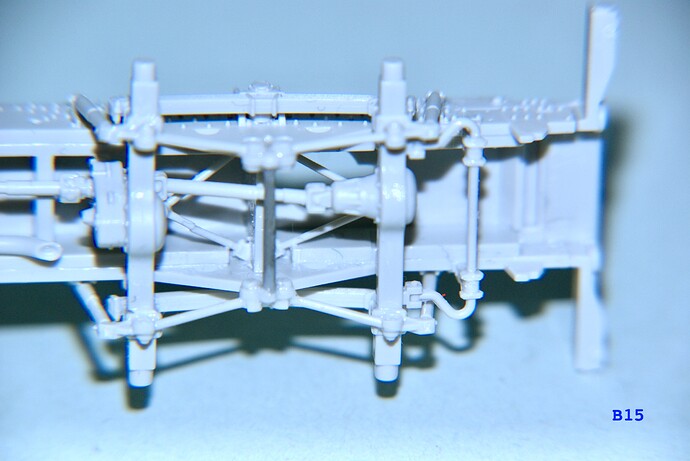
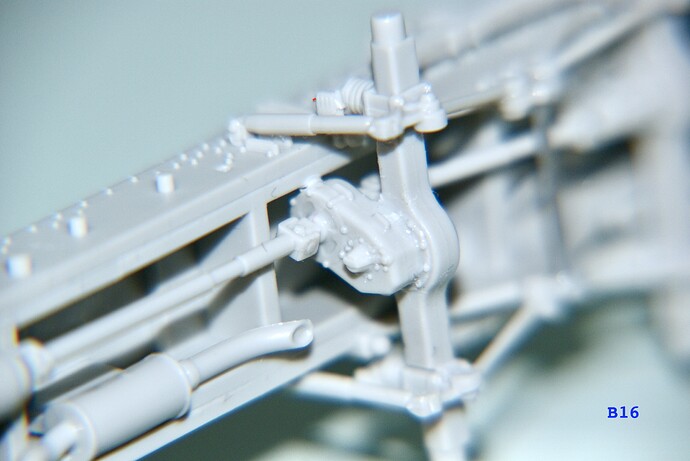
*STEPS 3 + 4 are now completed and was not the simplest task. For anyone who has experience assembling either the 1!72nd Revell Luchs or Fuchs suspension will know. This in particular applies to Step 3 parts. In fact MENG even has suggestions as to the order in which section of the suspension/undercarriage should be assembled. Despite the manufacturers instructions, I might suggest one takes there time and considers the best way for them to complete these construction tasks.
The bulk of Step 3:
And finally the rather light, STEP 4.
Next steps involve assembly of the wheels so perhaps prior to that some prepainting and maybe other subassemblies would be advisable?
Cheers,
Jan 
2 Likes
I added my wheels last to make painting the chassis so much easier.
1 Like
Kyle,
That’s why I wrote about doing pre-painting and/or concentrating on other assembling and painting. As an example painting the cab interior before installing the windows or depending on the material that the wheels are made of. painting their hub/rim pieces before assembly. Believe me, pre-thinking things before model construction can save a lot of frustration or anguish. Many modellers have learned that ione the hard way? 
Cheers,
Jan 

1 Like
![]() As the subject of this post states it’s the “newer” MENG 1/72 M142 kit.
As the subject of this post states it’s the “newer” MENG 1/72 M142 kit.![]()
![]()
