Ooooh…lovely stuff. This is next in my build queue! Finished the Yamato turret earlier this year and loved it apart from the railings and some of the PE bits.
Can I ask where you got the metal barrels and also what marking scheme are you going for?
Thank you for the link, will come in very handy! Though I have to say that even though the Yamato barrels came in two parts the fit was pretty good and didn’t require much sanding to get rid of the join.
I did snap a pic of it once I’d finished but never posted, until now!
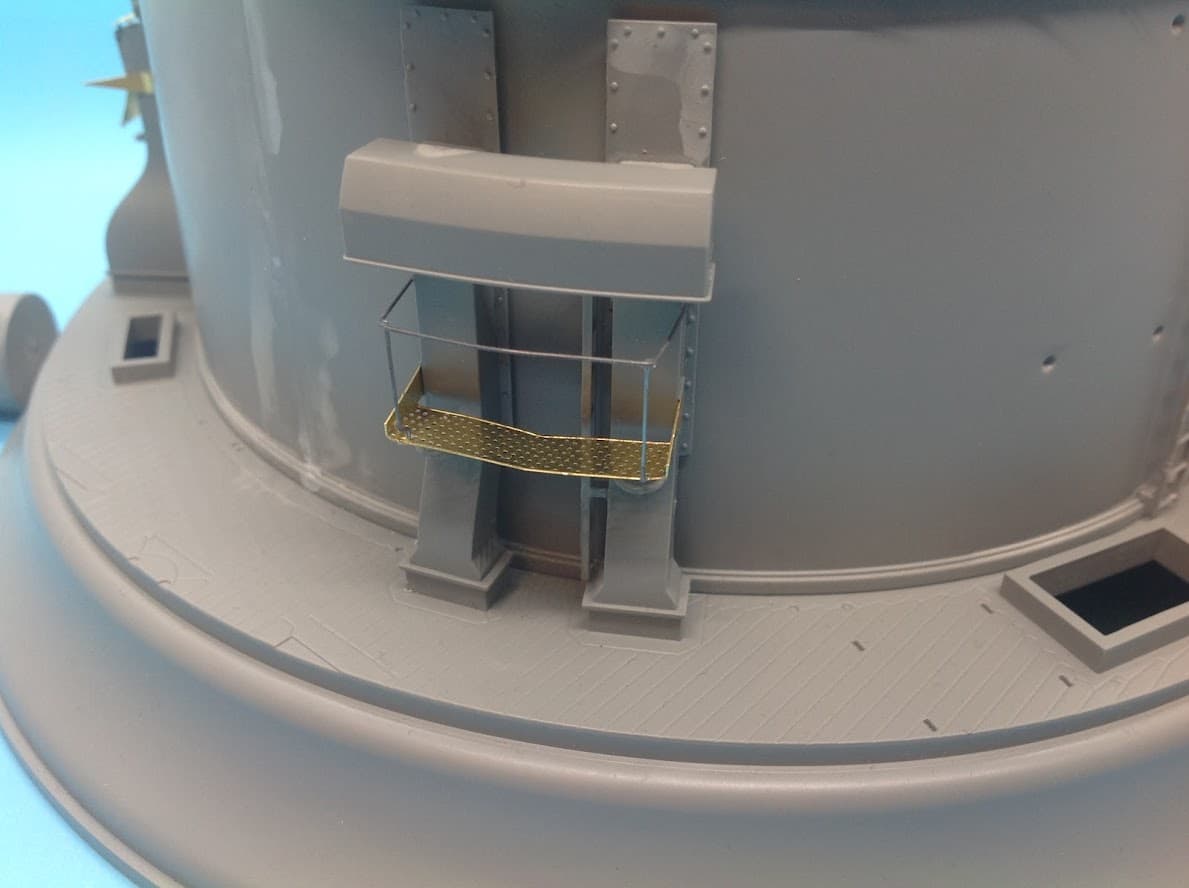
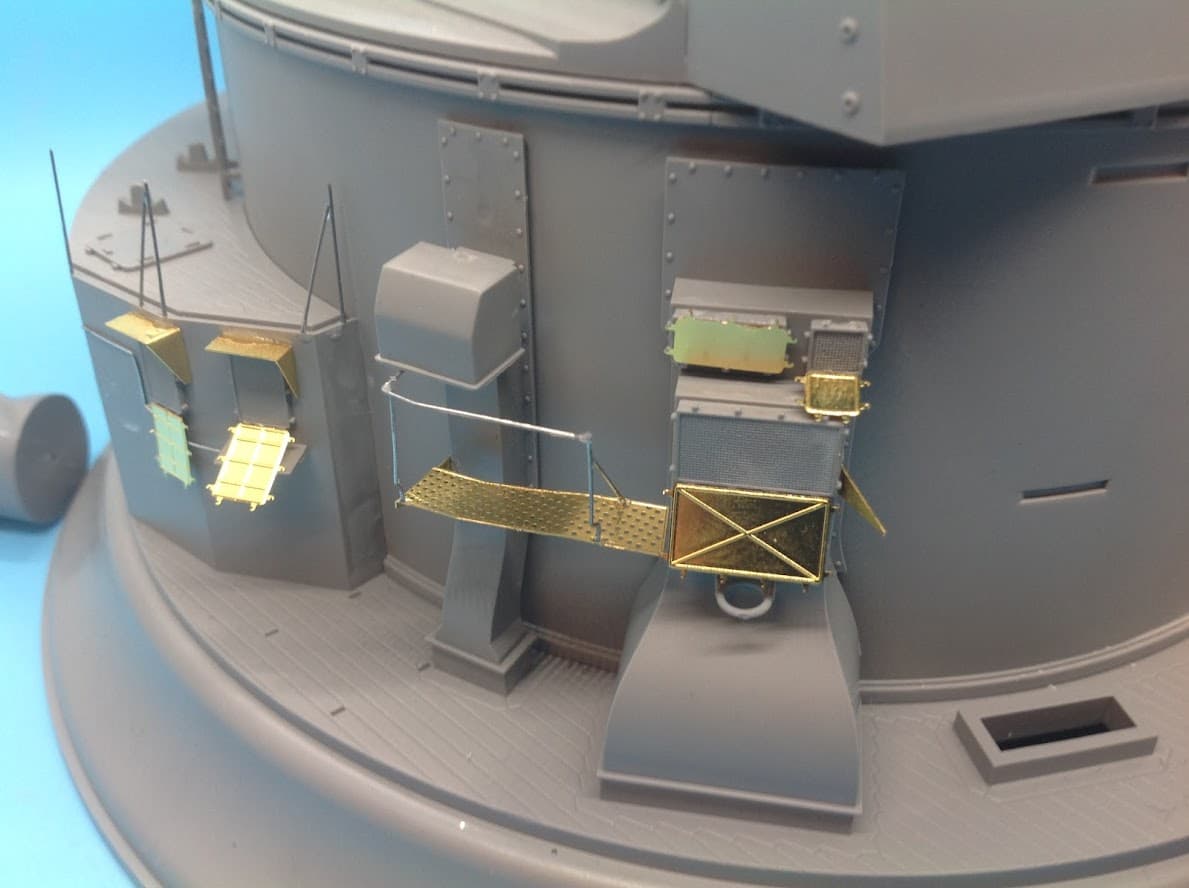
The sheer size makes it difficult to photo, as you will find out with Bruno! Only bit I was unhappy with was the railing wire which wanted to curve as it was threaded in. Probably should have replaced it but I think I was out of the size of wire I would have needed. I also replaced the near useless PE parts with plastic for the low down guard rail- I believe the kit parts were the wrong shape anyhow.
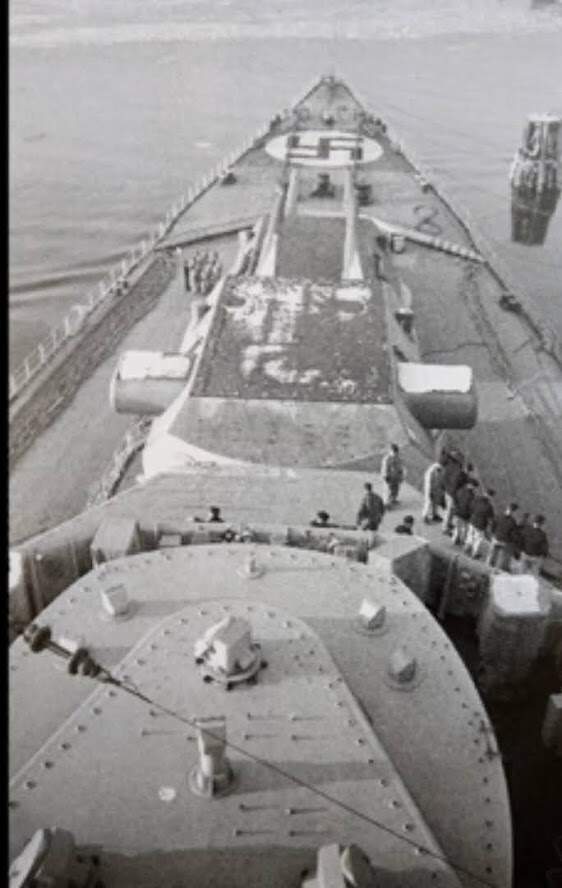
The caption (Chinese) for the image reads like this when mangled by Google Translate:
"In the spring of 1940, a photograph of the foredeck taken from the bridge of the USS Bismarck, the bow deck was painted with anti-air identification markings, and a row of naval sailors stood in front of the superstructure. "
That looks really good! The streaking and wood effects especially are really nice.
Im defiantly gonna build the Yamato and Iowa turret in the near future.
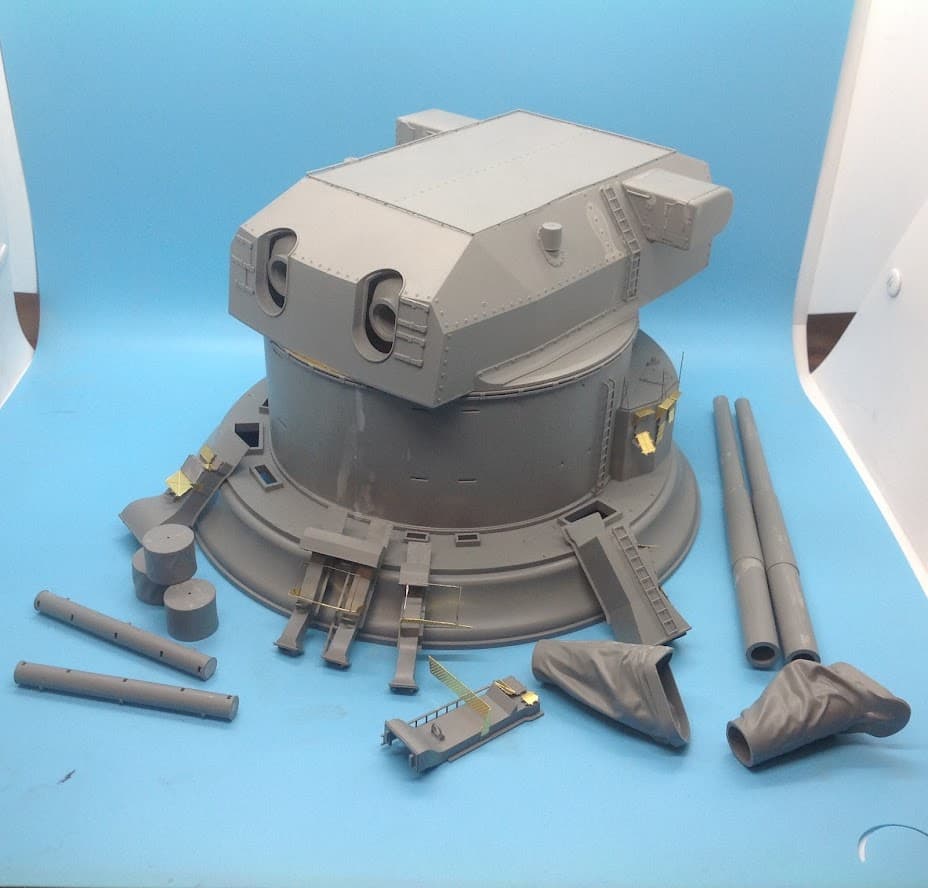
These barrels on Bruno were 2 part but I agree the fit was really nice.
Yea those railing wire looks a little funny but it isnt super noticeable!
@Johnnych01 your welcome! I know what you mean about the color scheme.
I actually will be trying something ingenuitive for the yellow, (as it would have been painted quickly and prolly had sea water splashing all over it making it all runny) I will be painting the yellow 100% with oil paint.
I will be doing it like a dot filter, covering it in dots then blending and once thats dry repeat the process till its how I like.
In the spring of 1940, a photograph of the foredeck taken from the bridge of the USS Bismarck, the bow deck was painted with anti-air identification markings,
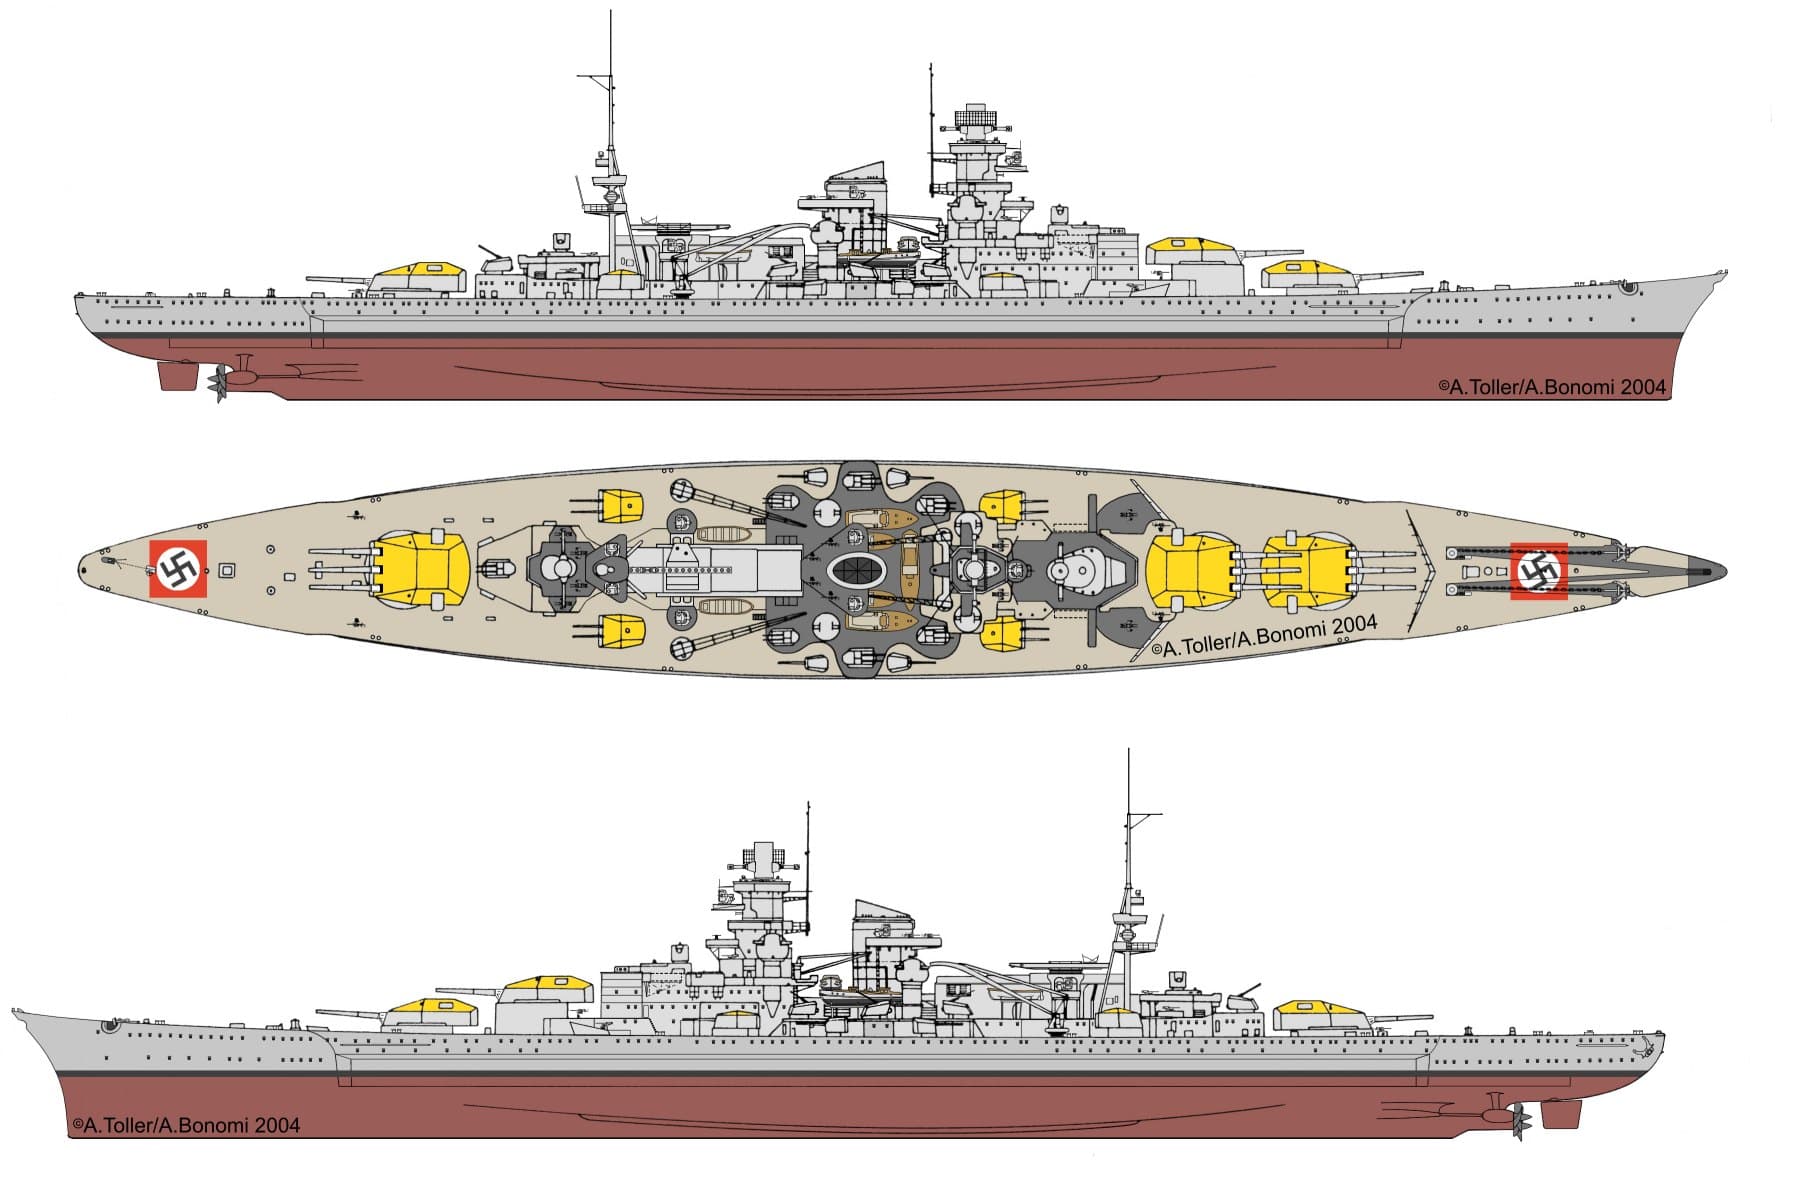
@Uncle-Heavy do you think this could be the long debated red turret tops from the Baltic sea training?
Spring 1940 is before the commissioning in August so training, testing and evaluation in the Baltic seems reasonable.
Red usually shows up as a very dark colour in B&W photos from that period.
Bismarck seen from the Rendsburger bridge (bridge over the Kiel canal) on the 8th of March 1941
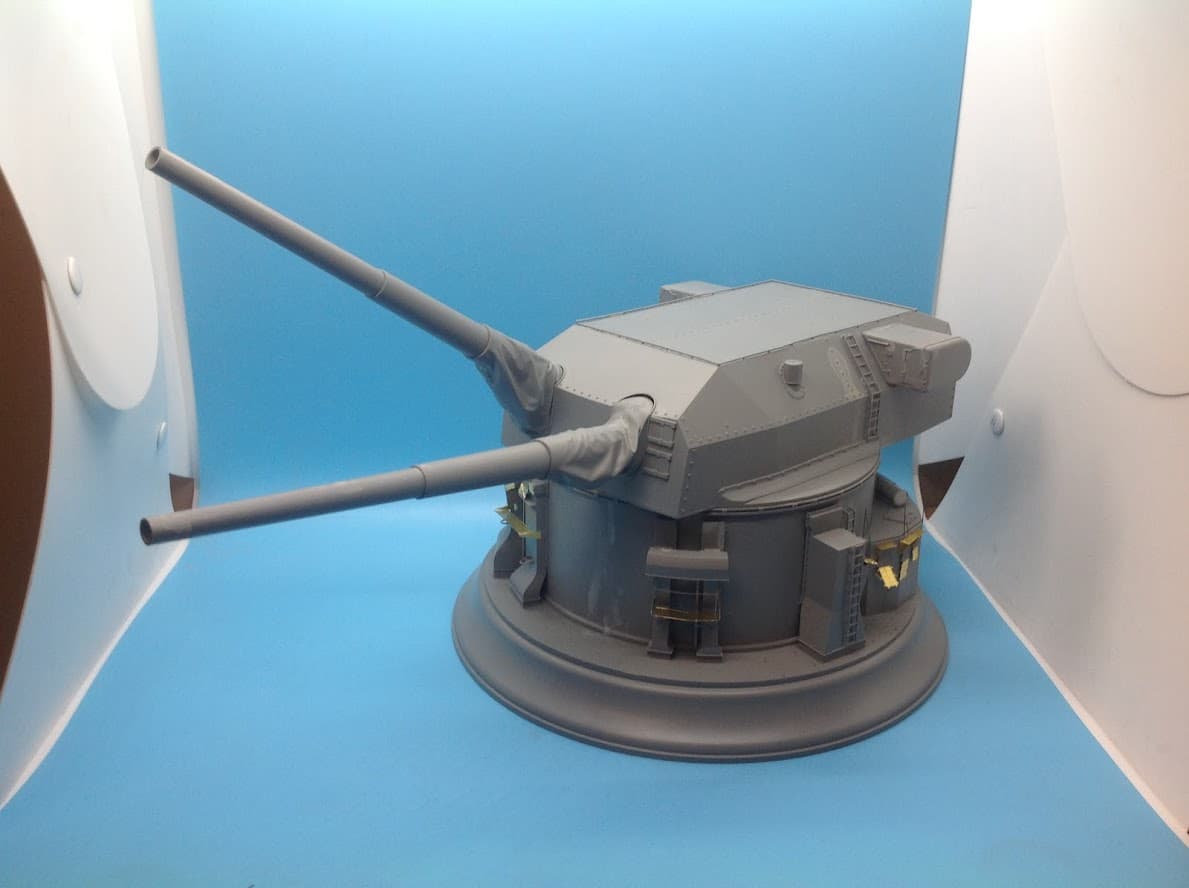
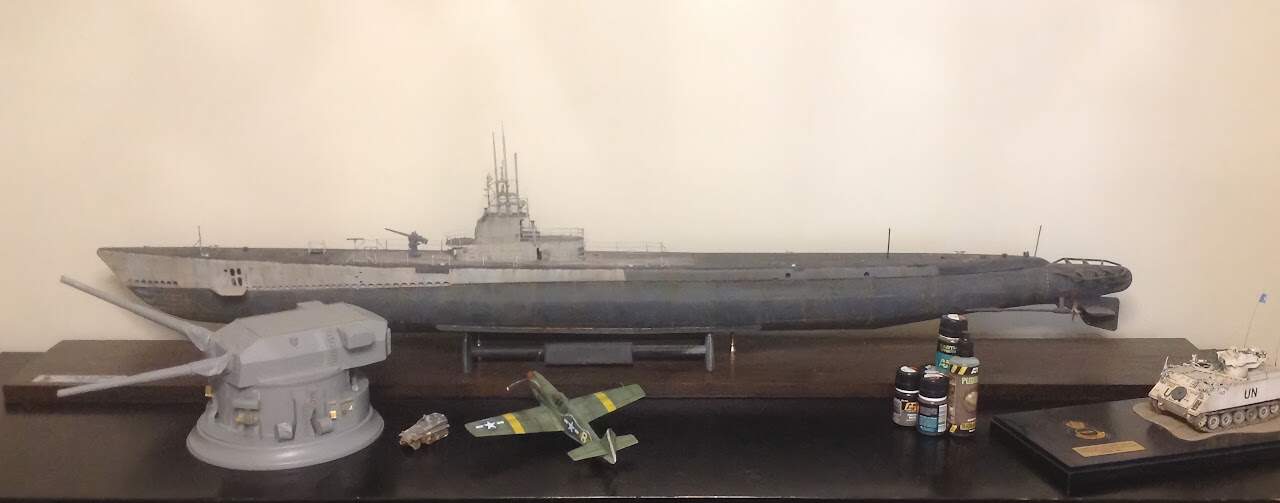
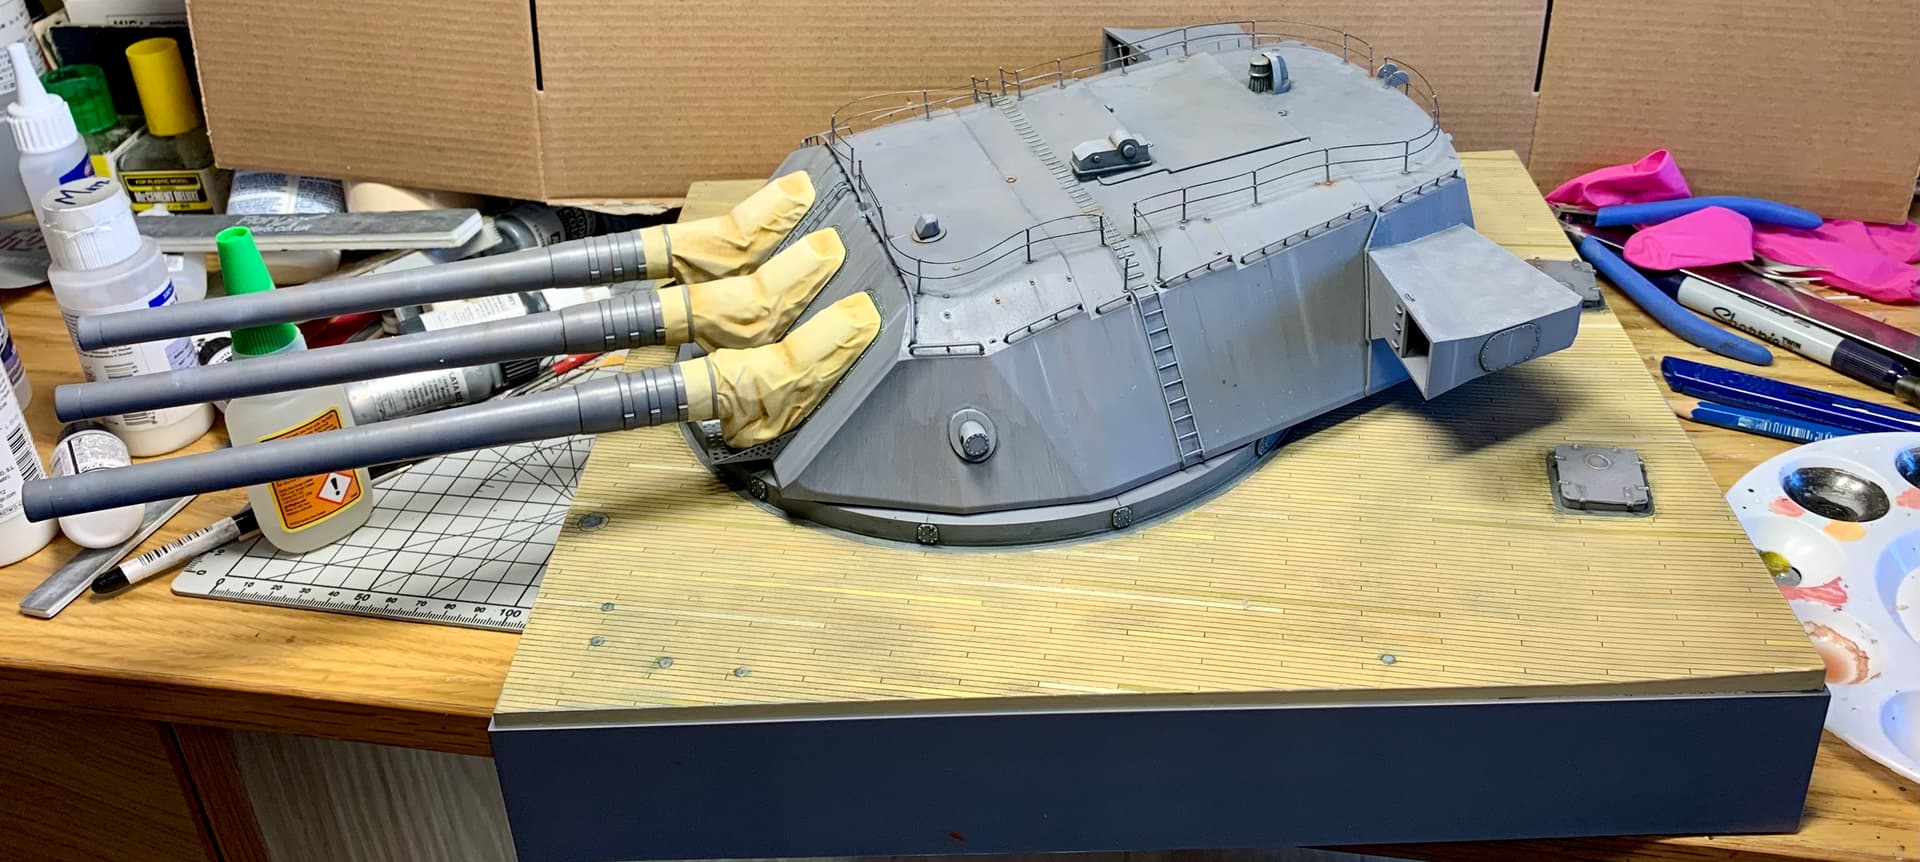
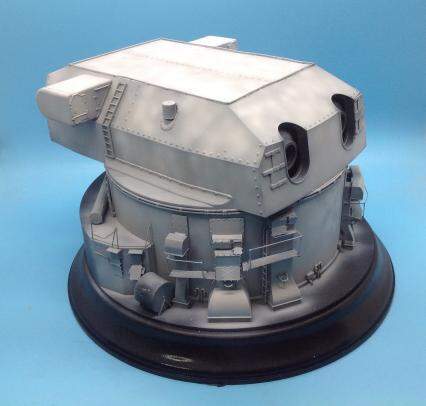
Well, I managed to finish the grey on the turret and mount. I think it looks pretty sweet. Tonight I wanna paint the barrels. I plan on adding the yellow after the weathering was done as It was applied just before she sank.
A question for you ship gurus like @JJ1973@Uncle-Heavy@Russelle@d6mst0@RollTide, when the crew touched up rusted areas of the turret with new paint would they do it by hand or with a spray gun?
Also would the the yellow have been by hand or sprayed?