101st AIRBORNE AT CARENTAN, JUNE 1944

Freddie’s Upper Torso

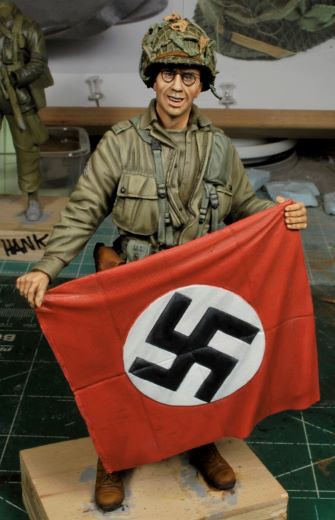
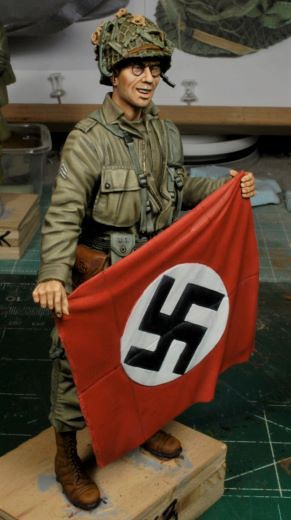
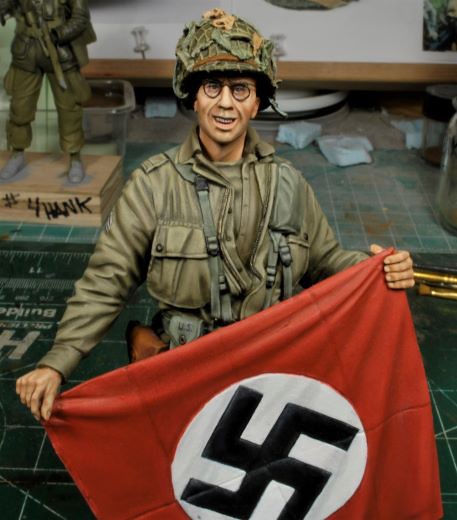
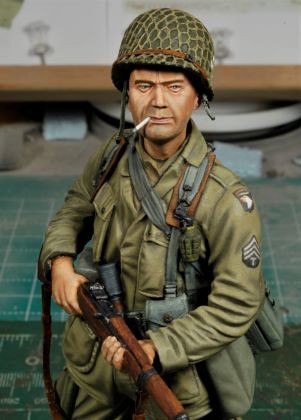
With the heads set aside to dry thoroughly it’s time to start on the figures themselves. I started with Freddie and will work through the rest of the team and finish off with “Bob”, the German figure. Yes, he’s now “Bob”, because he’s such a close resemblance to Bob Hope I couldn’t pass it up, HA! You’ll see that more closely later on.

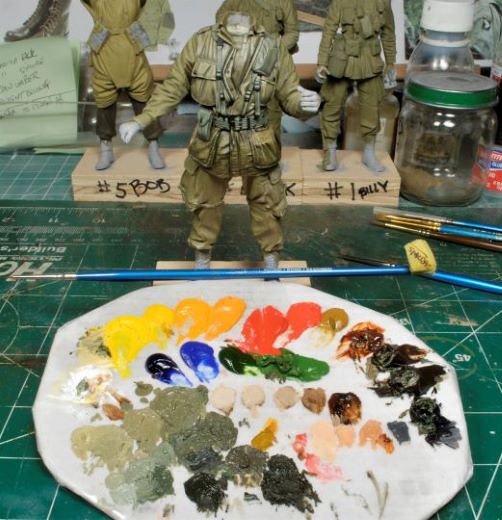
The palette is primed and ready to go. I started on the front pockets, shoulders, and lastly the gear. Always working from top to bottom and inside to outside I am finishing everything that can be done on the first pass. This avoids any unnecessary handling of any portion that would have already been painted. If I had to go back to the buttons and zippers after painting the legs the chances of “rubbing off” paint from the legs is a high probability. This is not much of an issue with 1/35th scale or 54mm, but in 1/16th or 120mm and larger, it is, or at least for me it always had been. So, top to bottom, inside to outside, works every time.

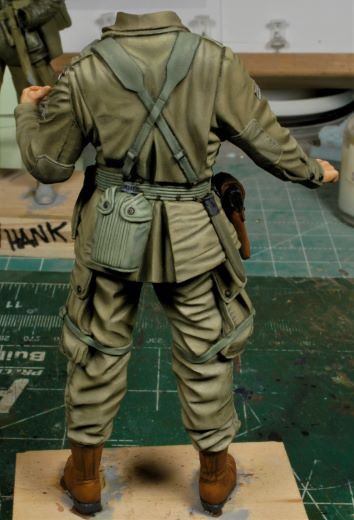
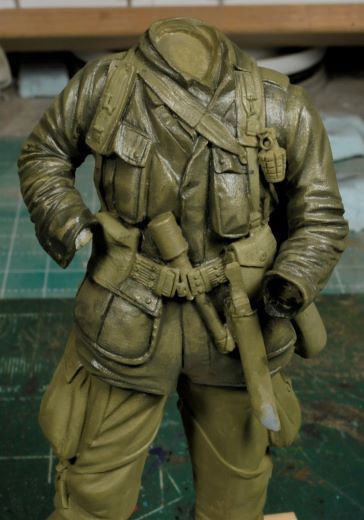
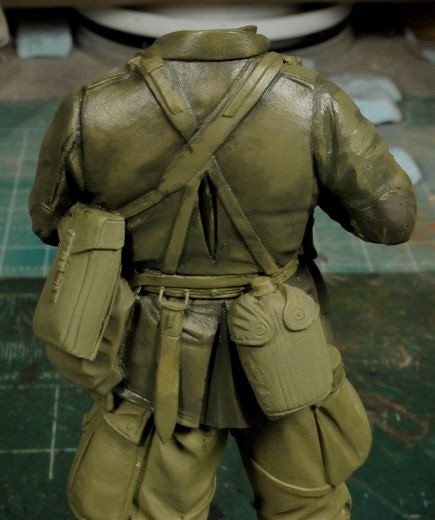
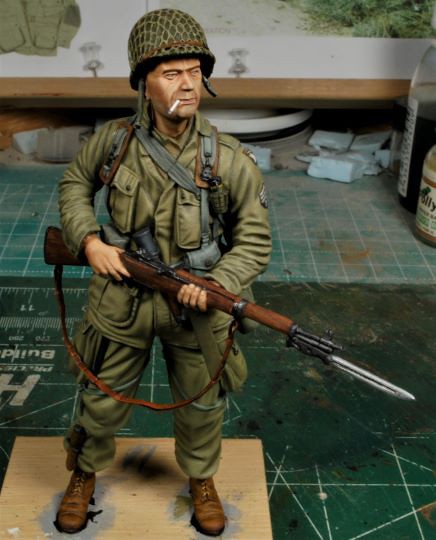
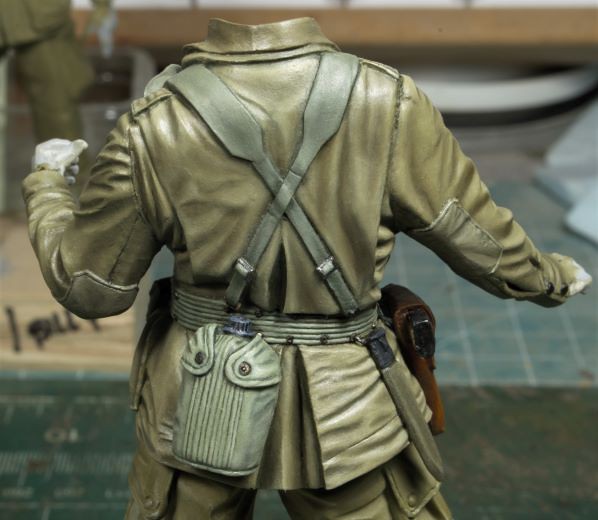
The upper half of the torso section has the basic tones in place, so now it’s time to work the gear, buckles, straps, etc.

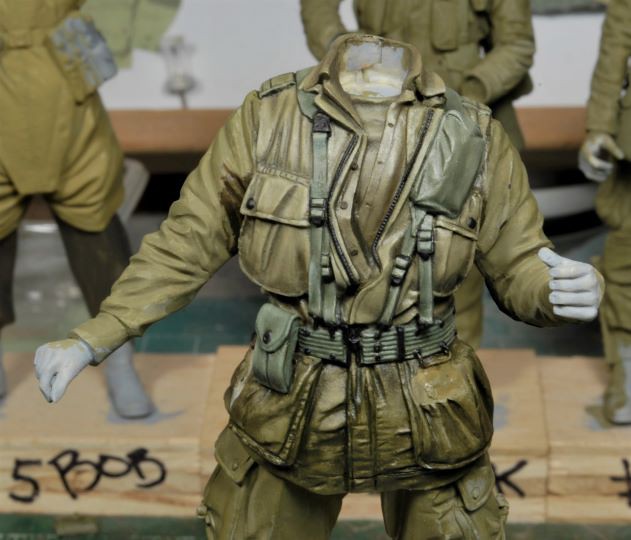
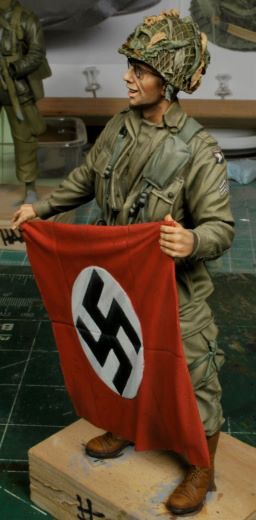
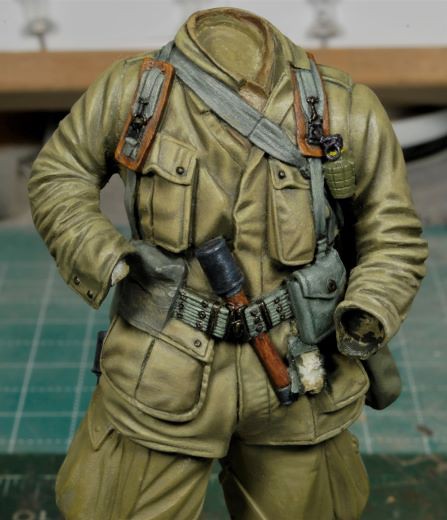
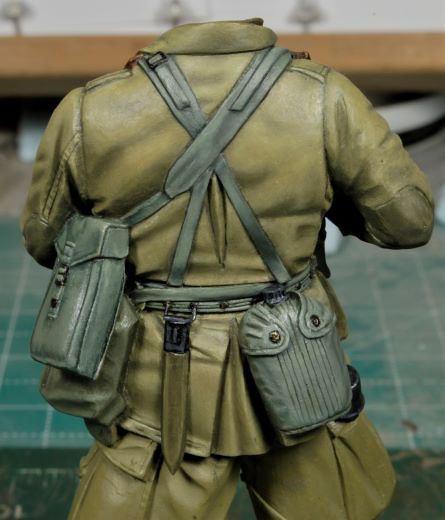
After the lower portion of the blouse has had its initial tone applied, I worked the rest of the gear. Also, I painted the rubbed brass on the buttons, zipper, added worn metal effect on the clips and buckles, and gave all these points a slight Ivory Black oil pin wash. This tones down the brass color and blends in the effect more realistically so the colors won’t appear overly exaggerated.

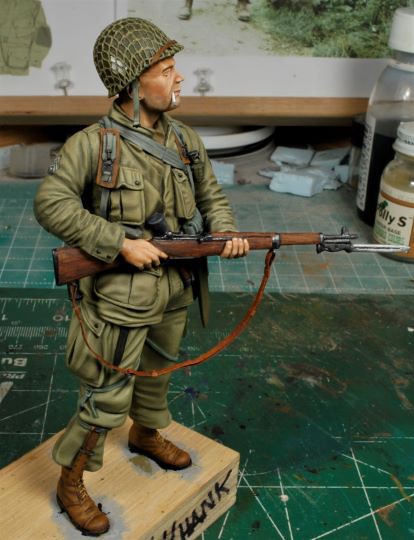
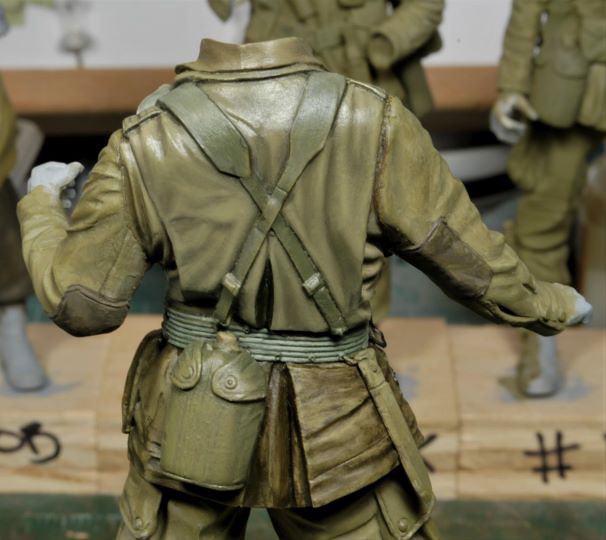
Now it’s time to work outward on the upper half of the torso and finish off each arm. I will wait to paint the hands until the end. I’m finding once again that I’m having to mix the color tones almost every third day and getting those tones exact from the prior session can be challenging. A slight variation can and will be noticeable, at least I can see it, and its rather time consuming to remix oils, so the point is to get all the similar tonal portions painted in sequence and save the flesh work for later.

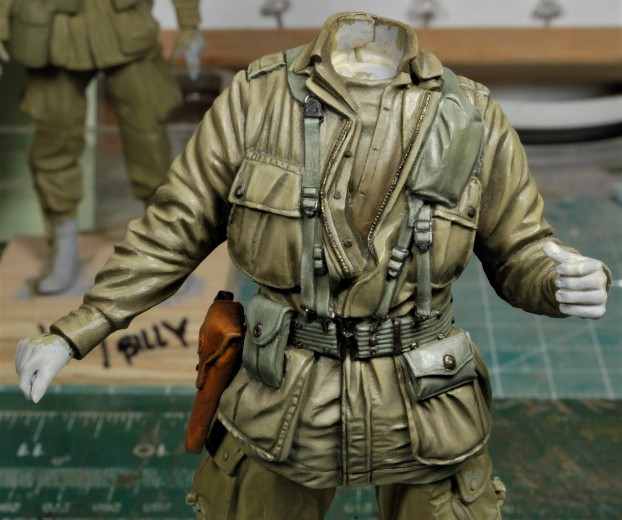
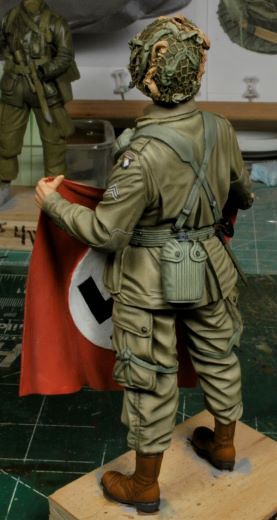
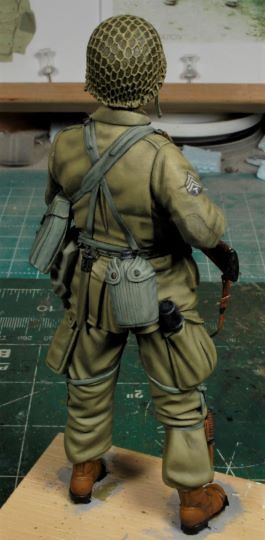
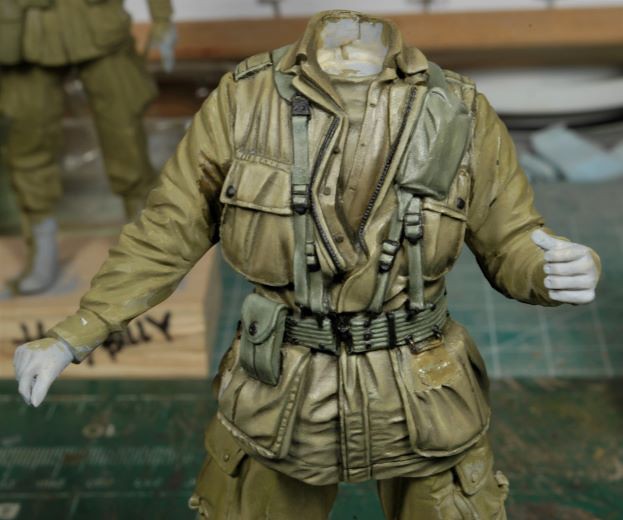
Funny how some things can be elusive when you’re painting only to slap you in the face when you scrutinize the photos, like the Colt .45 ammo pouch which has a blaring gap between the back side and the blouse pocket. That will be handled shortly.

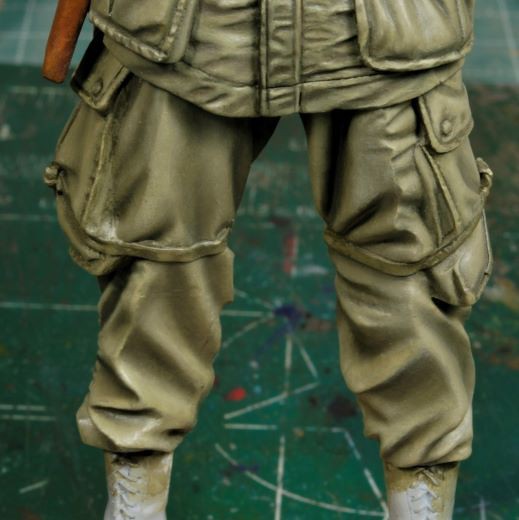
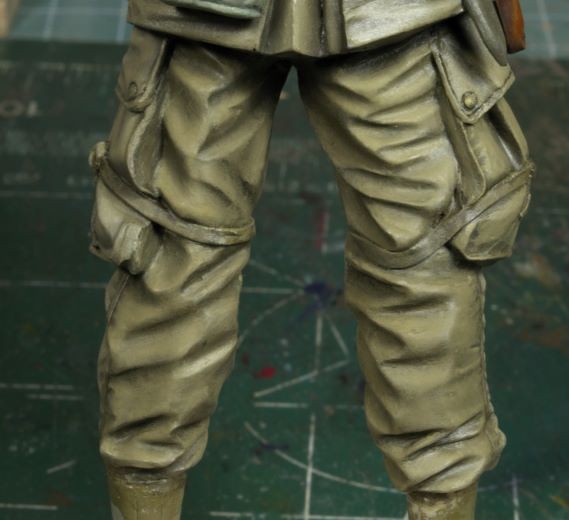
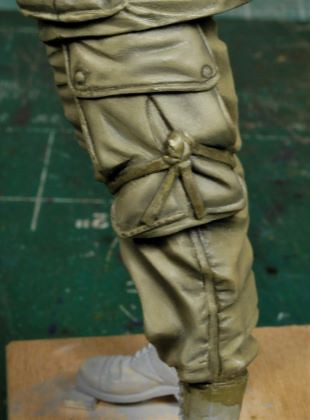
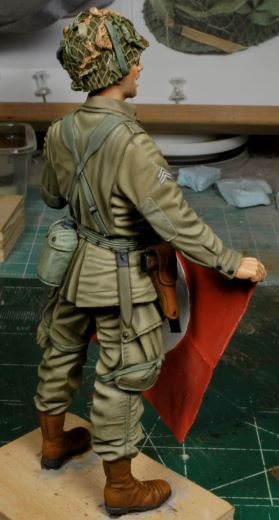
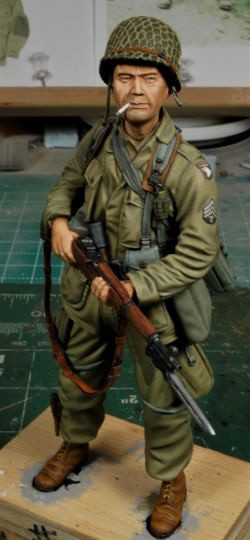
Ok, time to work the legs before I have to make another color mix, lol. Thanks for watching.

Cheers, Ski.

9 Likes

Steve, you are a magician with a paint brush and oils. I bow to your Jedi figure painting skills and hope that someday I can achieve 1/10 your success. Kudos. sir.

3 Likes

Lol, Jedi I’m not, but “paint sniffer” I am, HA! You are way too kind, Matt, thanks, Buddy!

1 Like

Ski, a wow is incoming lol… Seriously to many things to mention so I will stick with 2 for me… The zipper … That is amazing detailing there, and the small rivets and buckles on the belt, it just looks stunning :+1::tumbler_glass:

Beautiful tones on that uniform Steve- you’ve really brought out the folds and creases and the whole thing just looks authentic like a well worn piece of kit should.

1 Like

Fantastic work on that figure! Nice subtle blending and great color.

1 Like

Tanks for the encouraging words Gents! More comin up mue pronto :wink:

1 Like

Gran trabajo mi amigo, ahora apúrate con las otras figuras. :+1::+1:

Eres tan agresivo, así que tal vez me tome mi tiempo… HA! :crazy_face:

Nacho, I need some back-up, Buddy. Help a brother out, wouldja?

1 Like

Leg Workout

Now that the work area is larger, and less complicated without so many folds in the pants, this portion moves along much faster. Pre-shading can be seen on the front, back, and sides.

The end results with the boots, leg straps, and hands painted. Freddie’s head is ready to take possession of his body. The patches are printed on standard printer paper and glued on using Elmer’s Carpenter glue.

With the flag mounted and Freddie completed he will be placed in the curio cabinet awaiting the finish of the rest of the crew.

Hank is on the plate, “Batter Up!” I would ponder to guess this historical photo was the inspiration for Hank. Hank has been sculpted pretty close to this original, IMHO.

Pre-shading has been worked into the entire upper torso and blending of the tones begins.

More to follow soon and thanks for watching. Cheers, Ski.

12 Likes

Outstanding outcome on Freddie, Ski! Beautiful work!

1 Like

This is beautiful work, indeed. You’re really “capturing” the moment. :camera_flash:

—mike

1 Like

Freddie is sure lookin’ sharp!

1 Like

Seriously lost for words…even real jackets and trousers don’t look that good !!! Superb…

2 Likes

Tanks, Matt!!

Thanks, Mike. You too, Karl. Thanks, Johnny.

1 Like

Keeps getting better and better

1 Like

Thanks, Tony!

1 Like

Outstanding job Ski! The colors look spot on and shading is excellent.

Muchas Gracious, Amigo!

Hank Reporting for Duty

Hank is ready and in the mood to get busy with this scenario. I’m calling him done minus a slight touch up at the base of his neck and a slight darkening of his bayonet.

Here’s a few in-progress photos before his legs were worked, but the process has been the same as Freddie. The Khaki tone is slightly more towards the tannish tone range compared with Freddie. Billy will be right next to Freddie when I mix the palette for him. Since these two will be right next to each other I don’t want any noticeable tonal variations.

Hank will now be set aside in the cabinet to await his fellow jumpers. I really don’t feel like playing with a broken bayonet, so he won’t be staying in the model bunker.

Thanks for watching and holler if you see anything I may have missed.

Cheers, Ski.

10 Likes