I too have this kit on the shelf so I’ll be watching to see how yours comes out.
Paul
I too have this kit on the shelf so I’ll be watching to see how yours comes out.
Paul
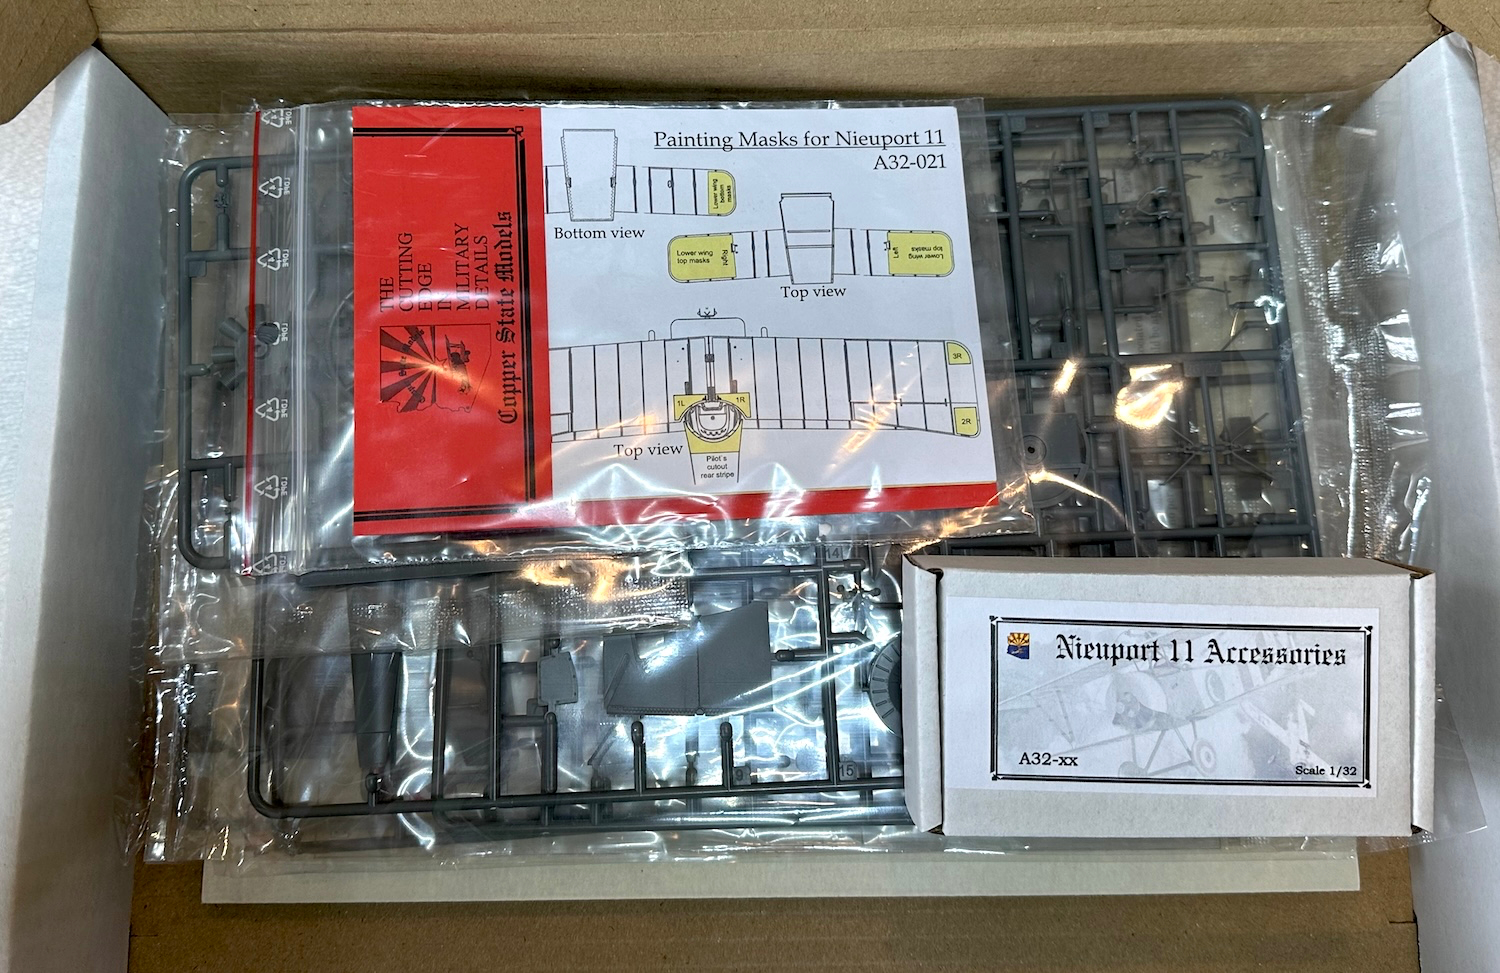
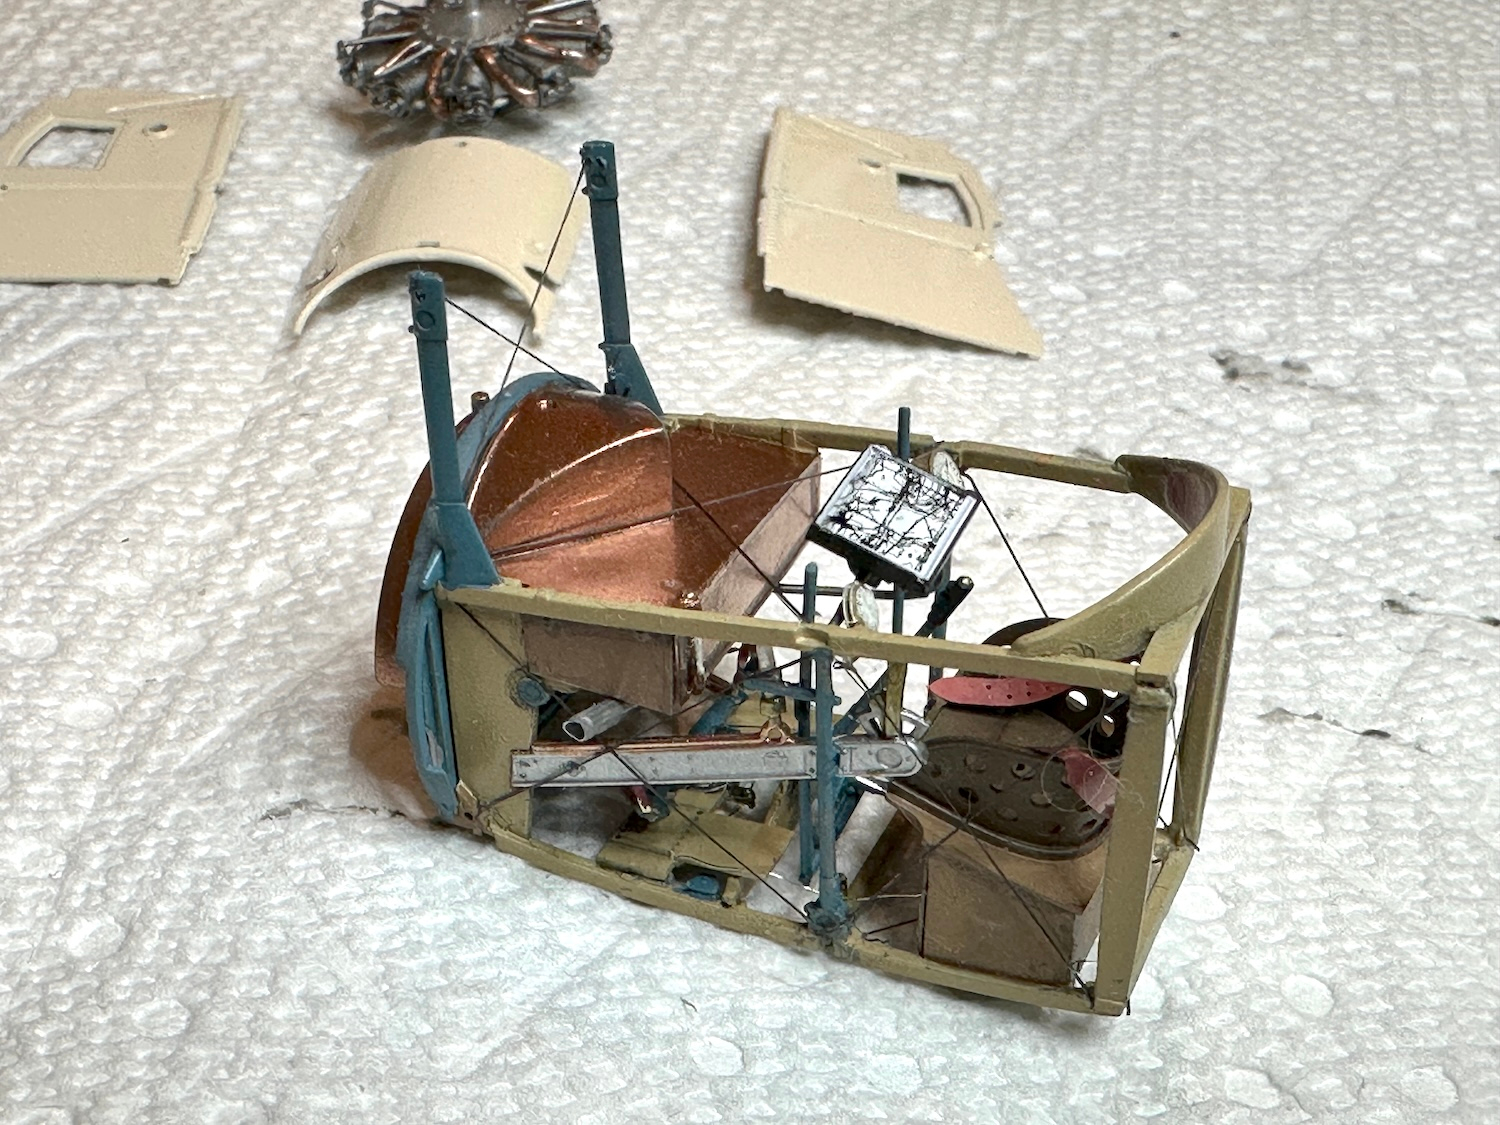
I got a start on the Nieuport 11 Bébé from Copper State Models in 1/32 scale. It’s a great kit and is for me a challenge to build. it seems almost like building a real aircraft. The instructions are very good also but do sometimes take some puzzling out to figure out how to proceed. Most of my time so far has been spent trying to figure out a build sequence that makes sense with my modest skills. Last year I learned how to rig with EZ Line and had intended to rig this kit with that material. EZ Line does not come in silver and I found doing a Hase P-26 a few months ago that it is hard to paint. The paint flakes off when the line stretches. I have ordered some wire and will see how it goes. There is a lot of rigging to do, much of it in the cockpit.
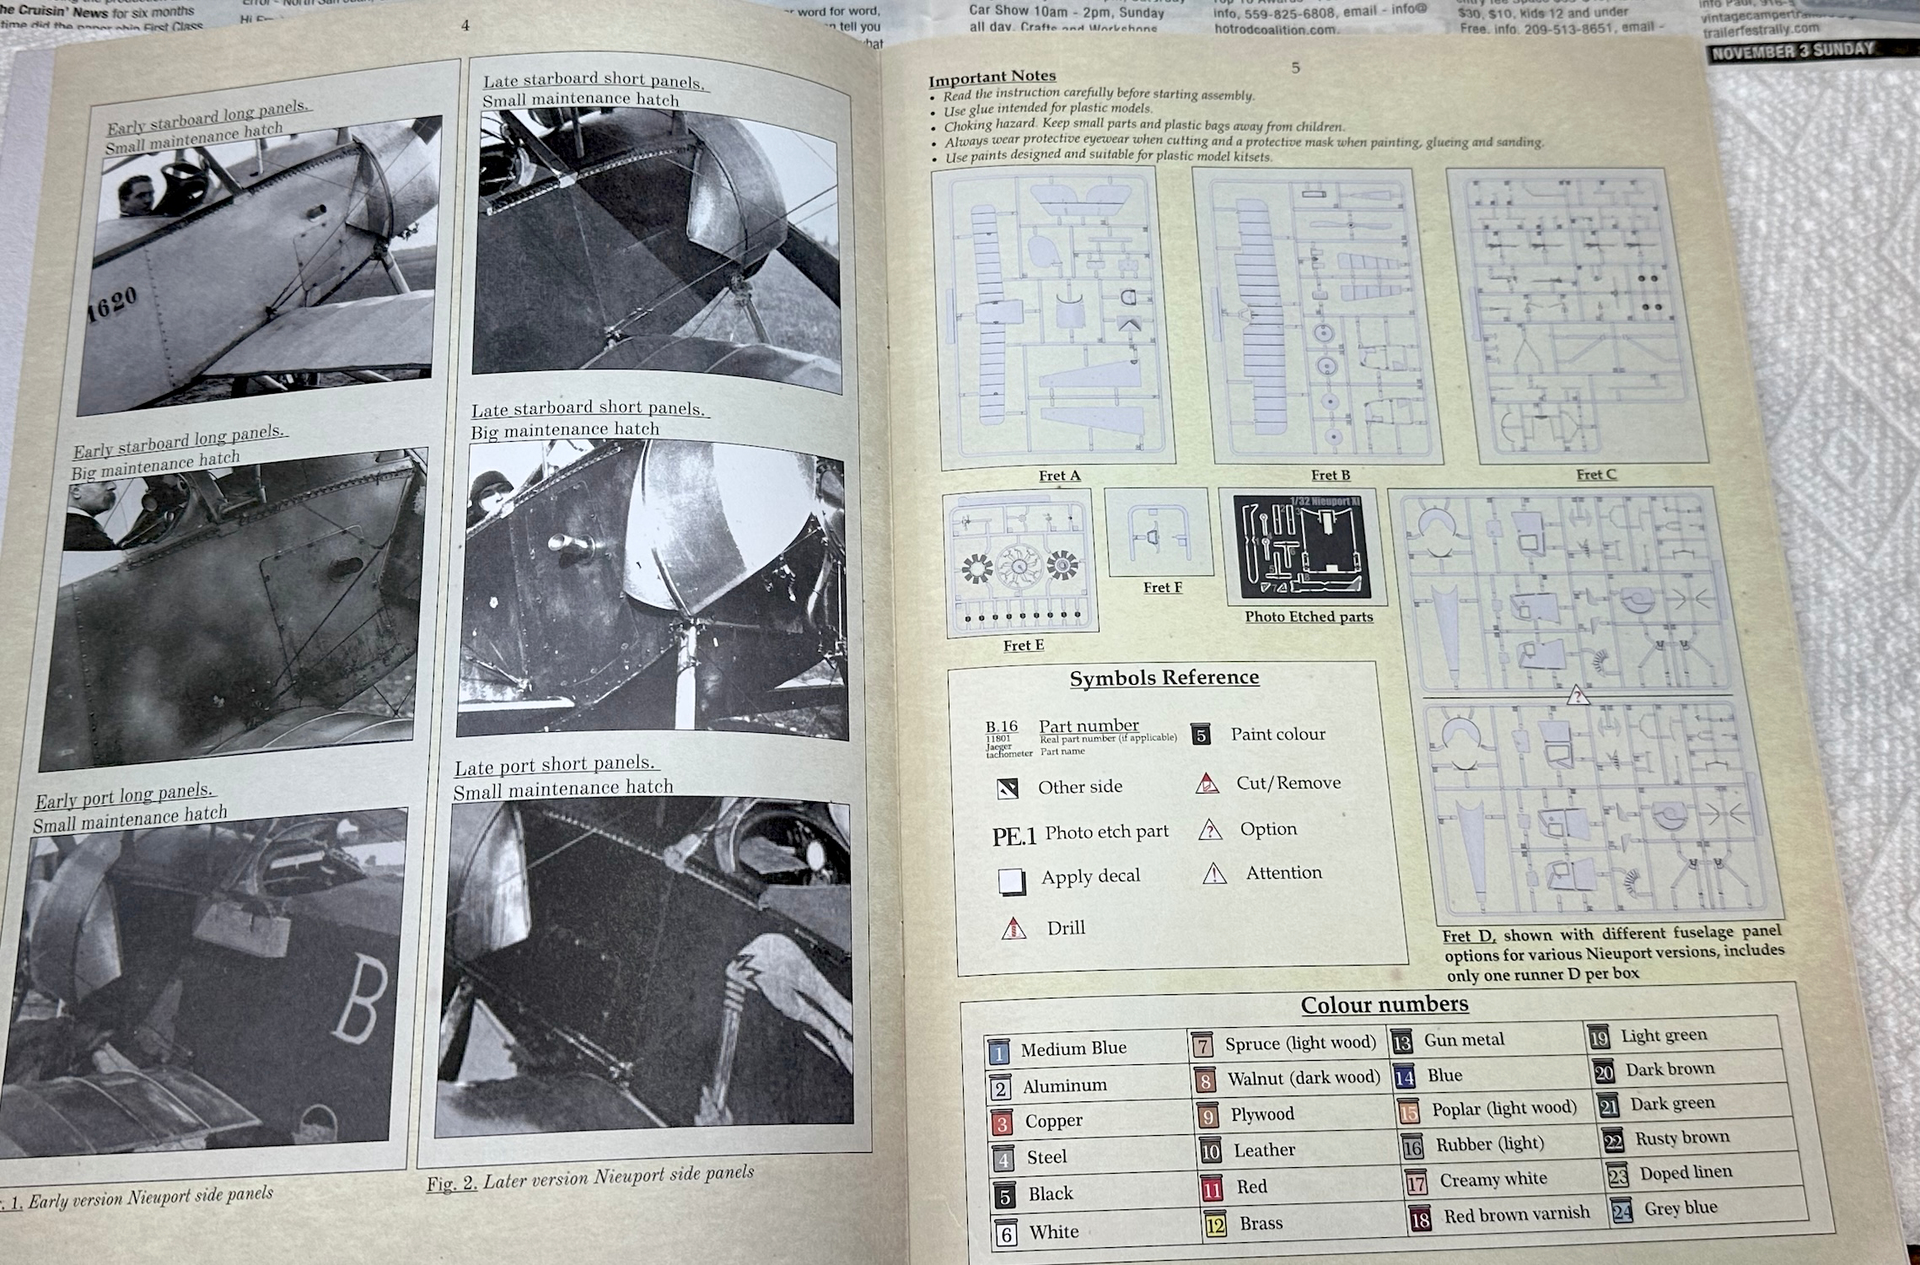
BTW, these instructions have the best building references I have found, at least in my own library.
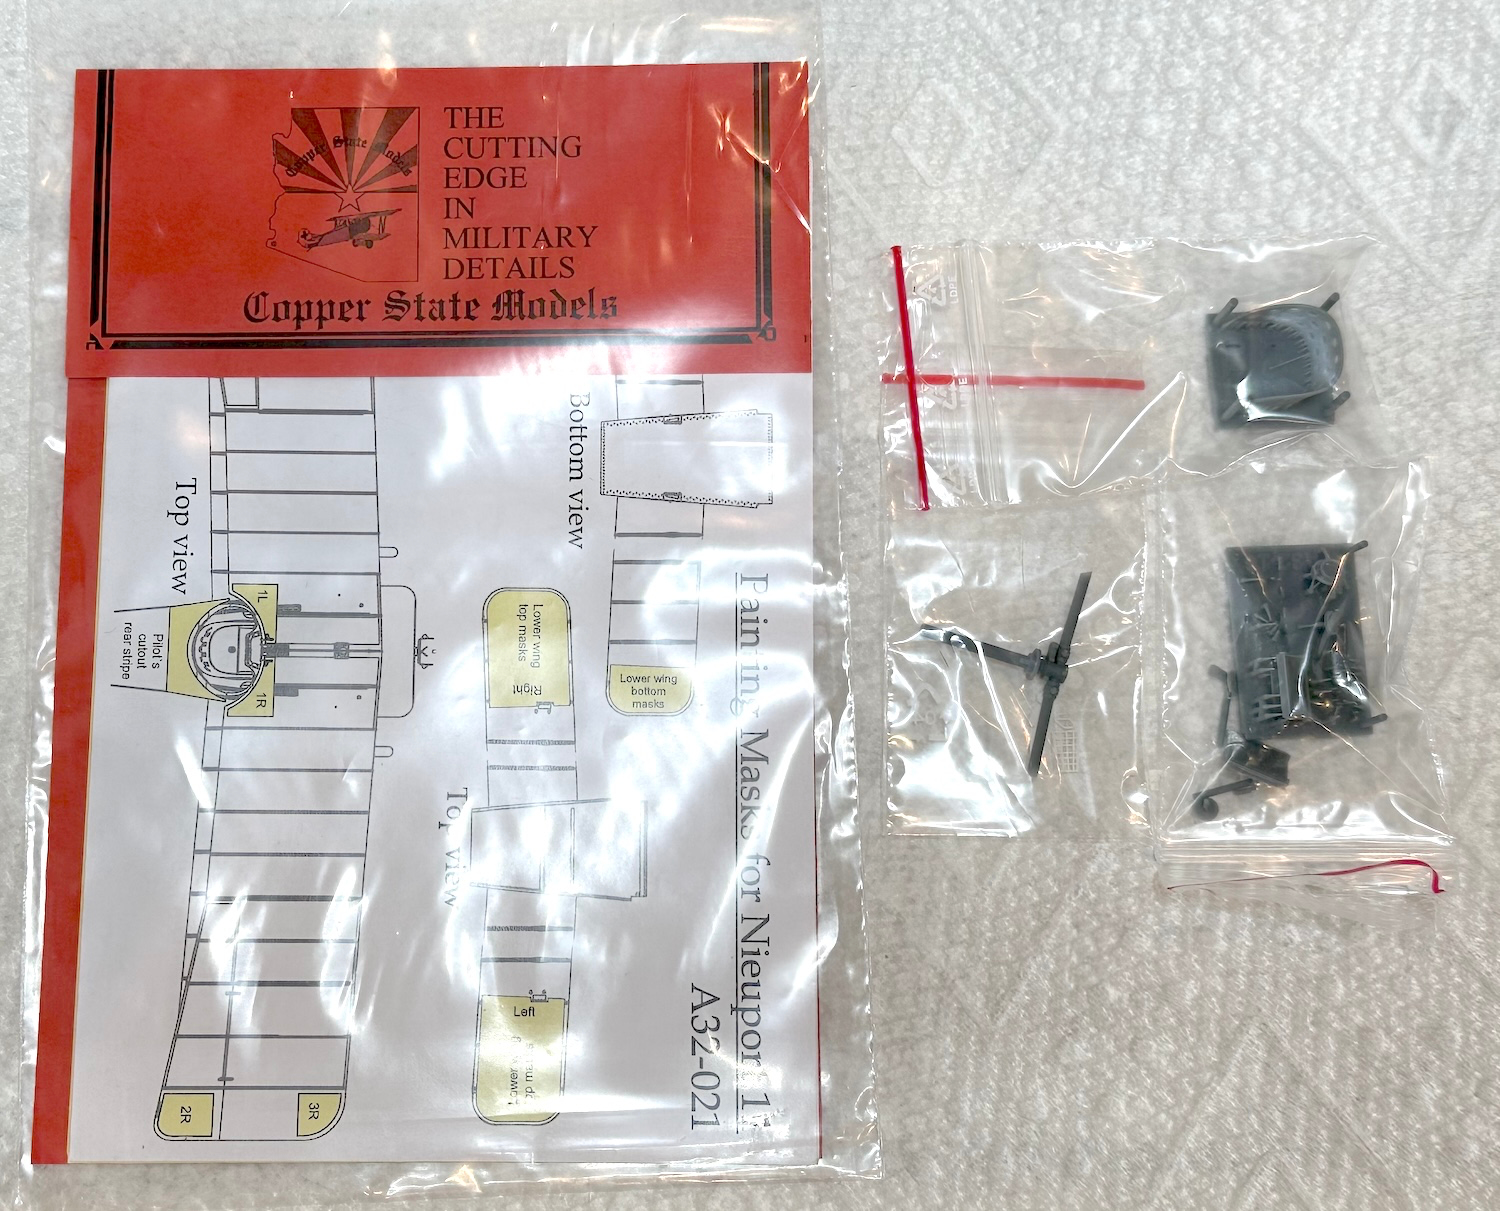
Here are a few pics of the start.
Paul
awesome!
Thanks Phil, it is indeed an awesome kit and has been a joy to work on. The building hours fly by.
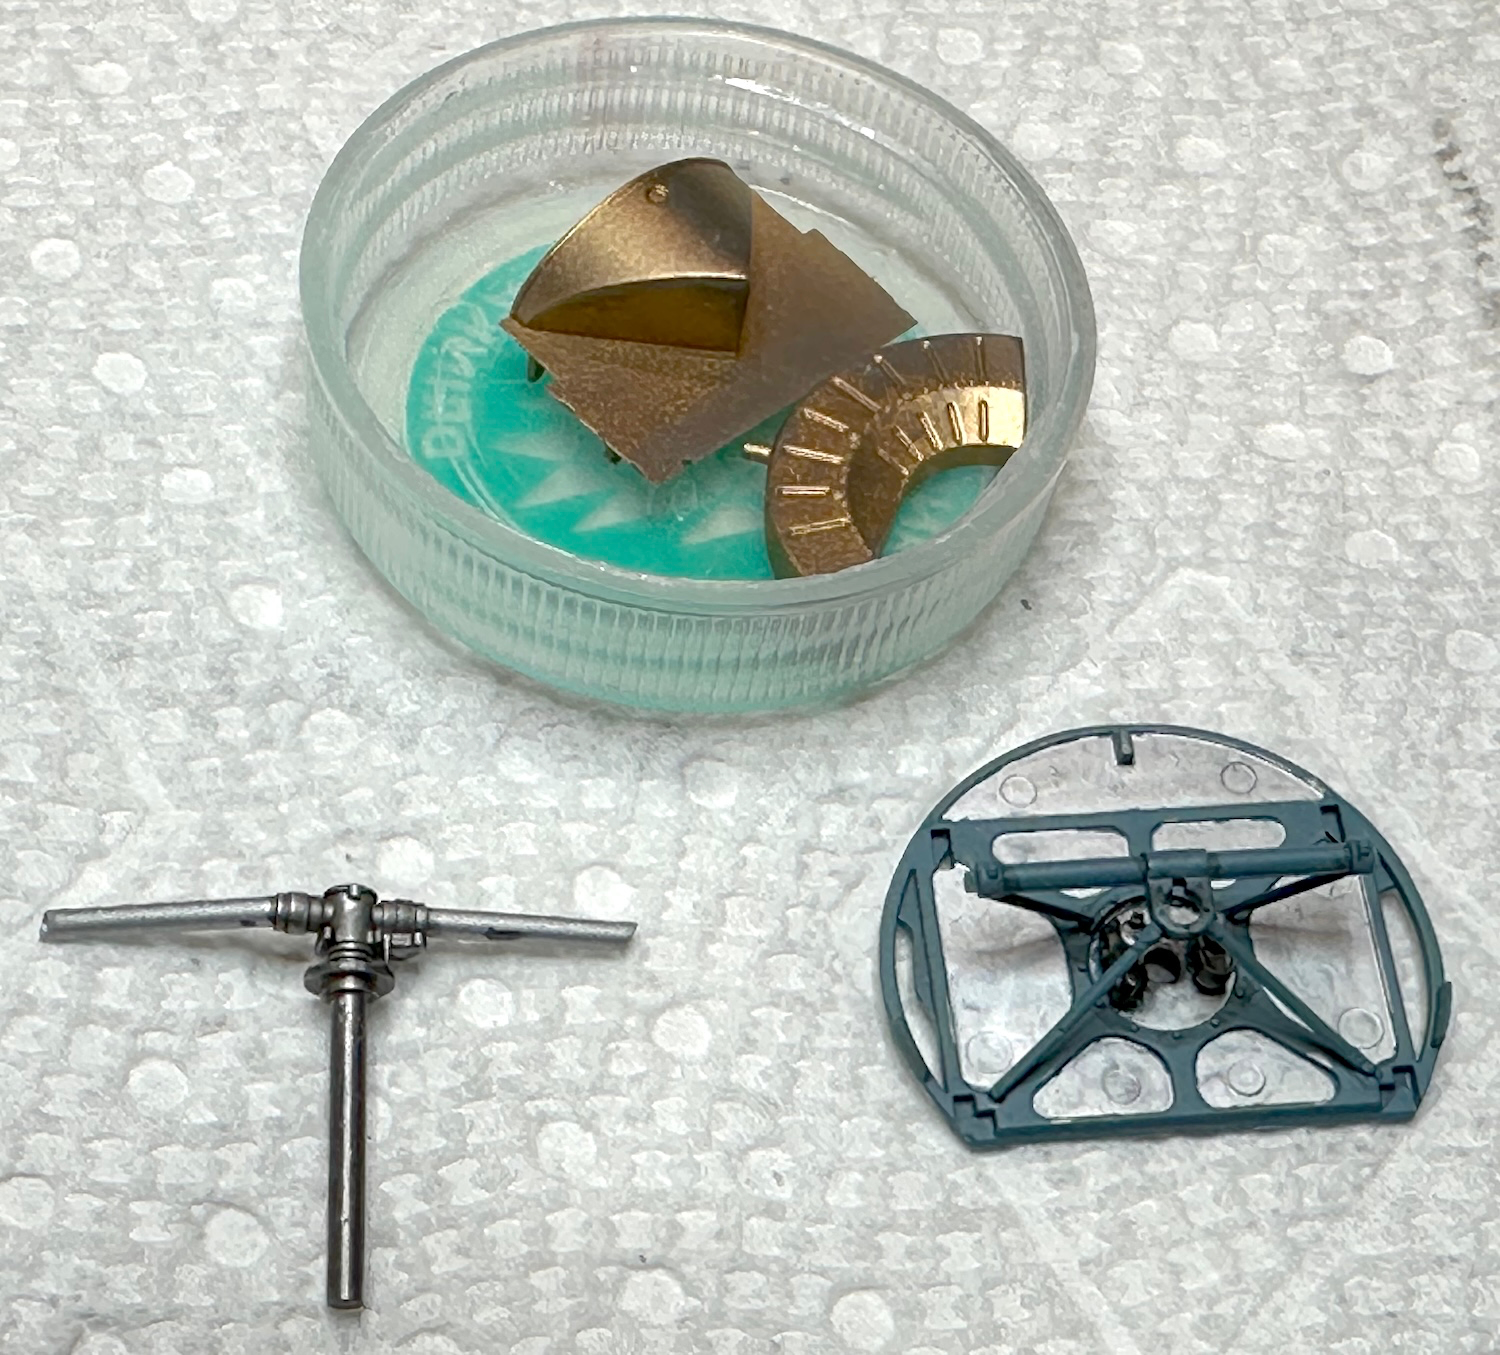
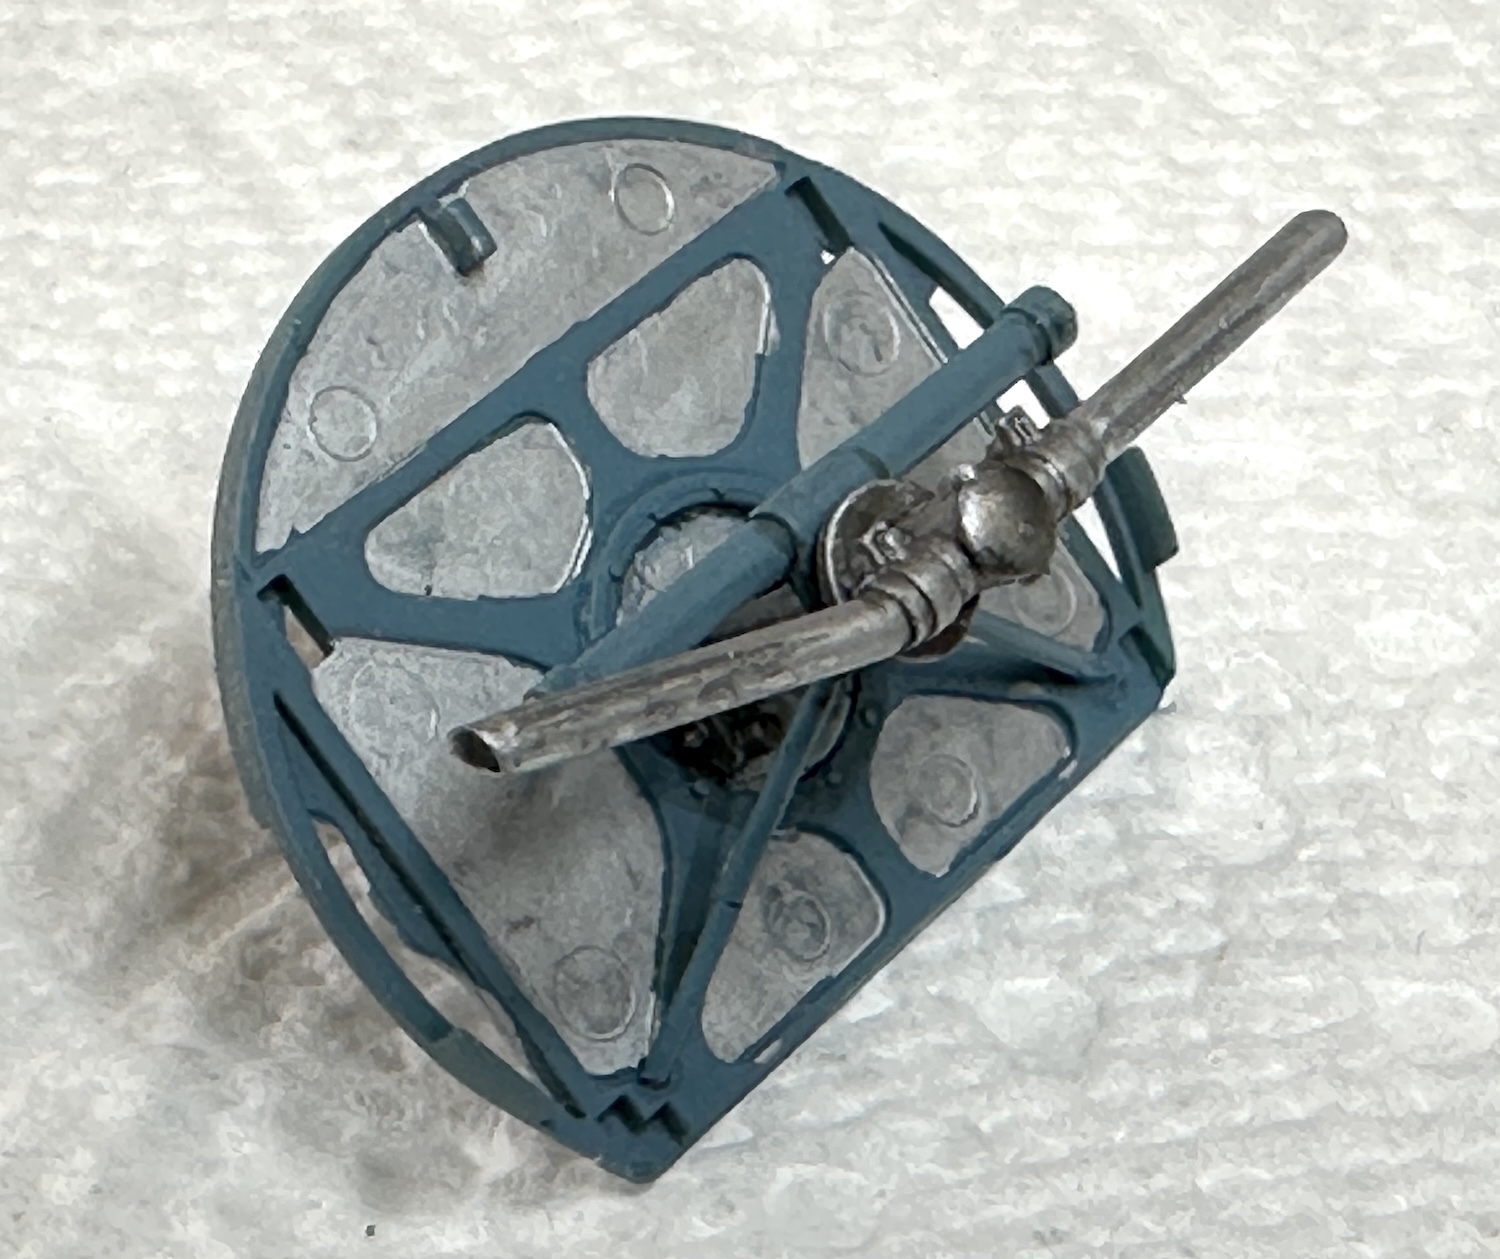
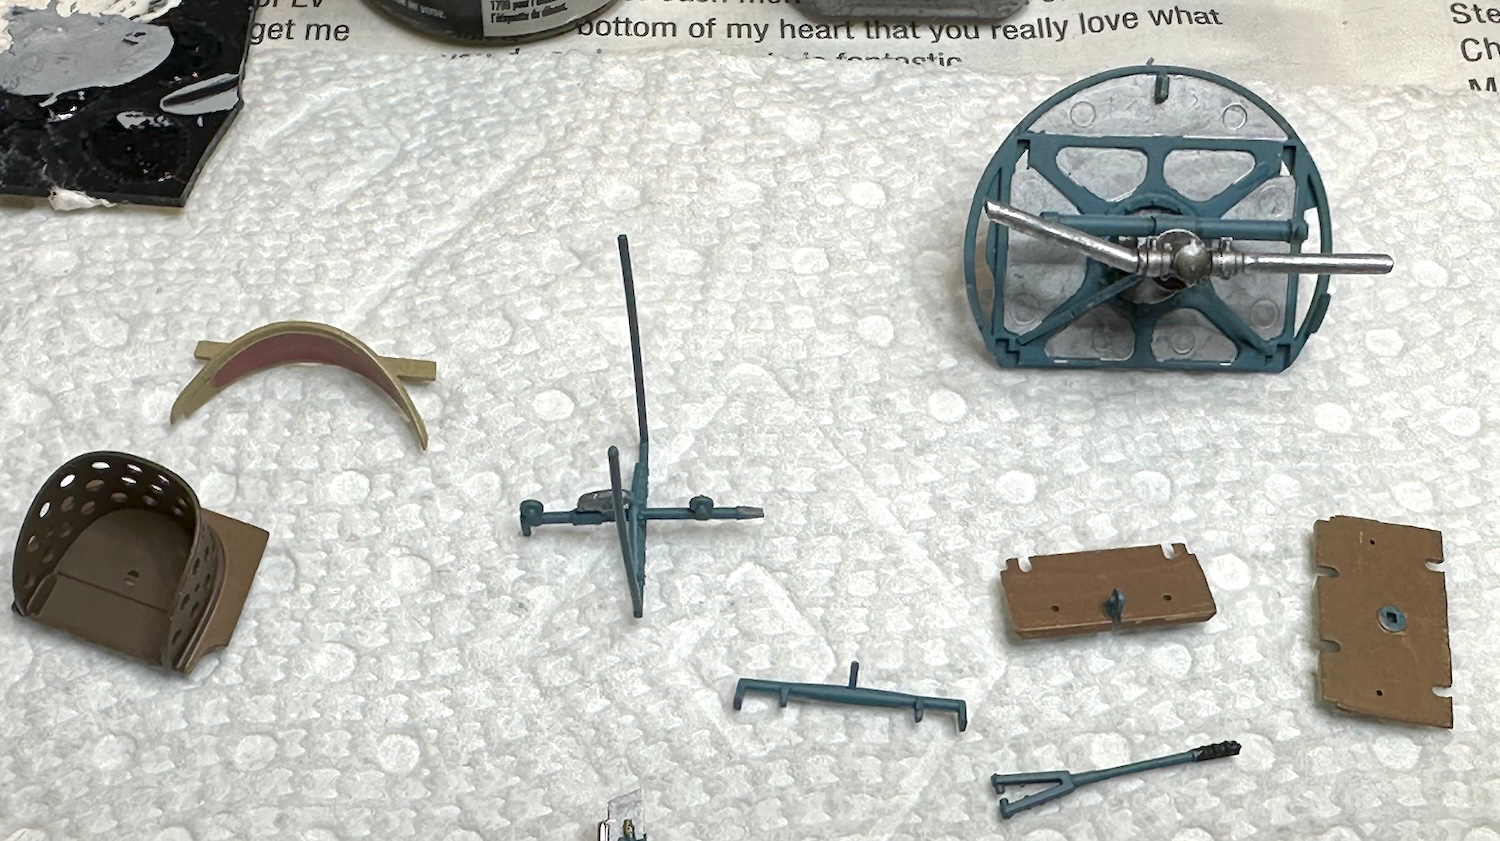
Here is the firewall and the truss that holds the crankshaft riged despite the best efforts of the spinning engine & propeller to bust loose.
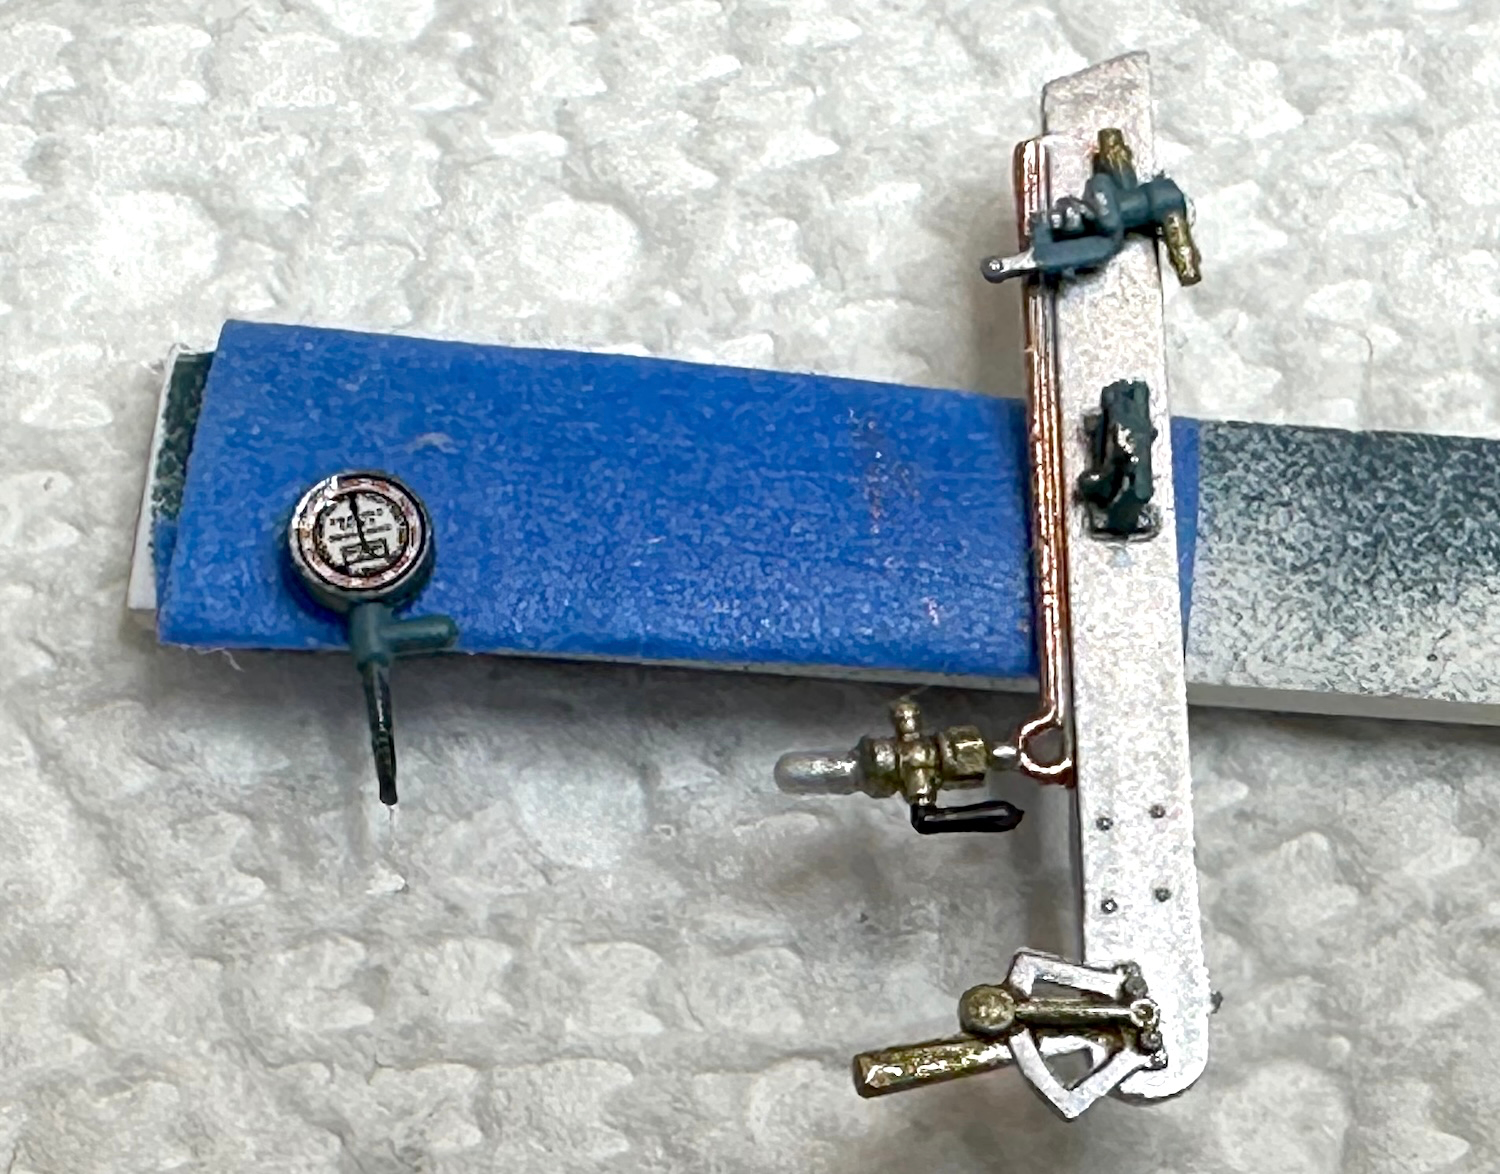
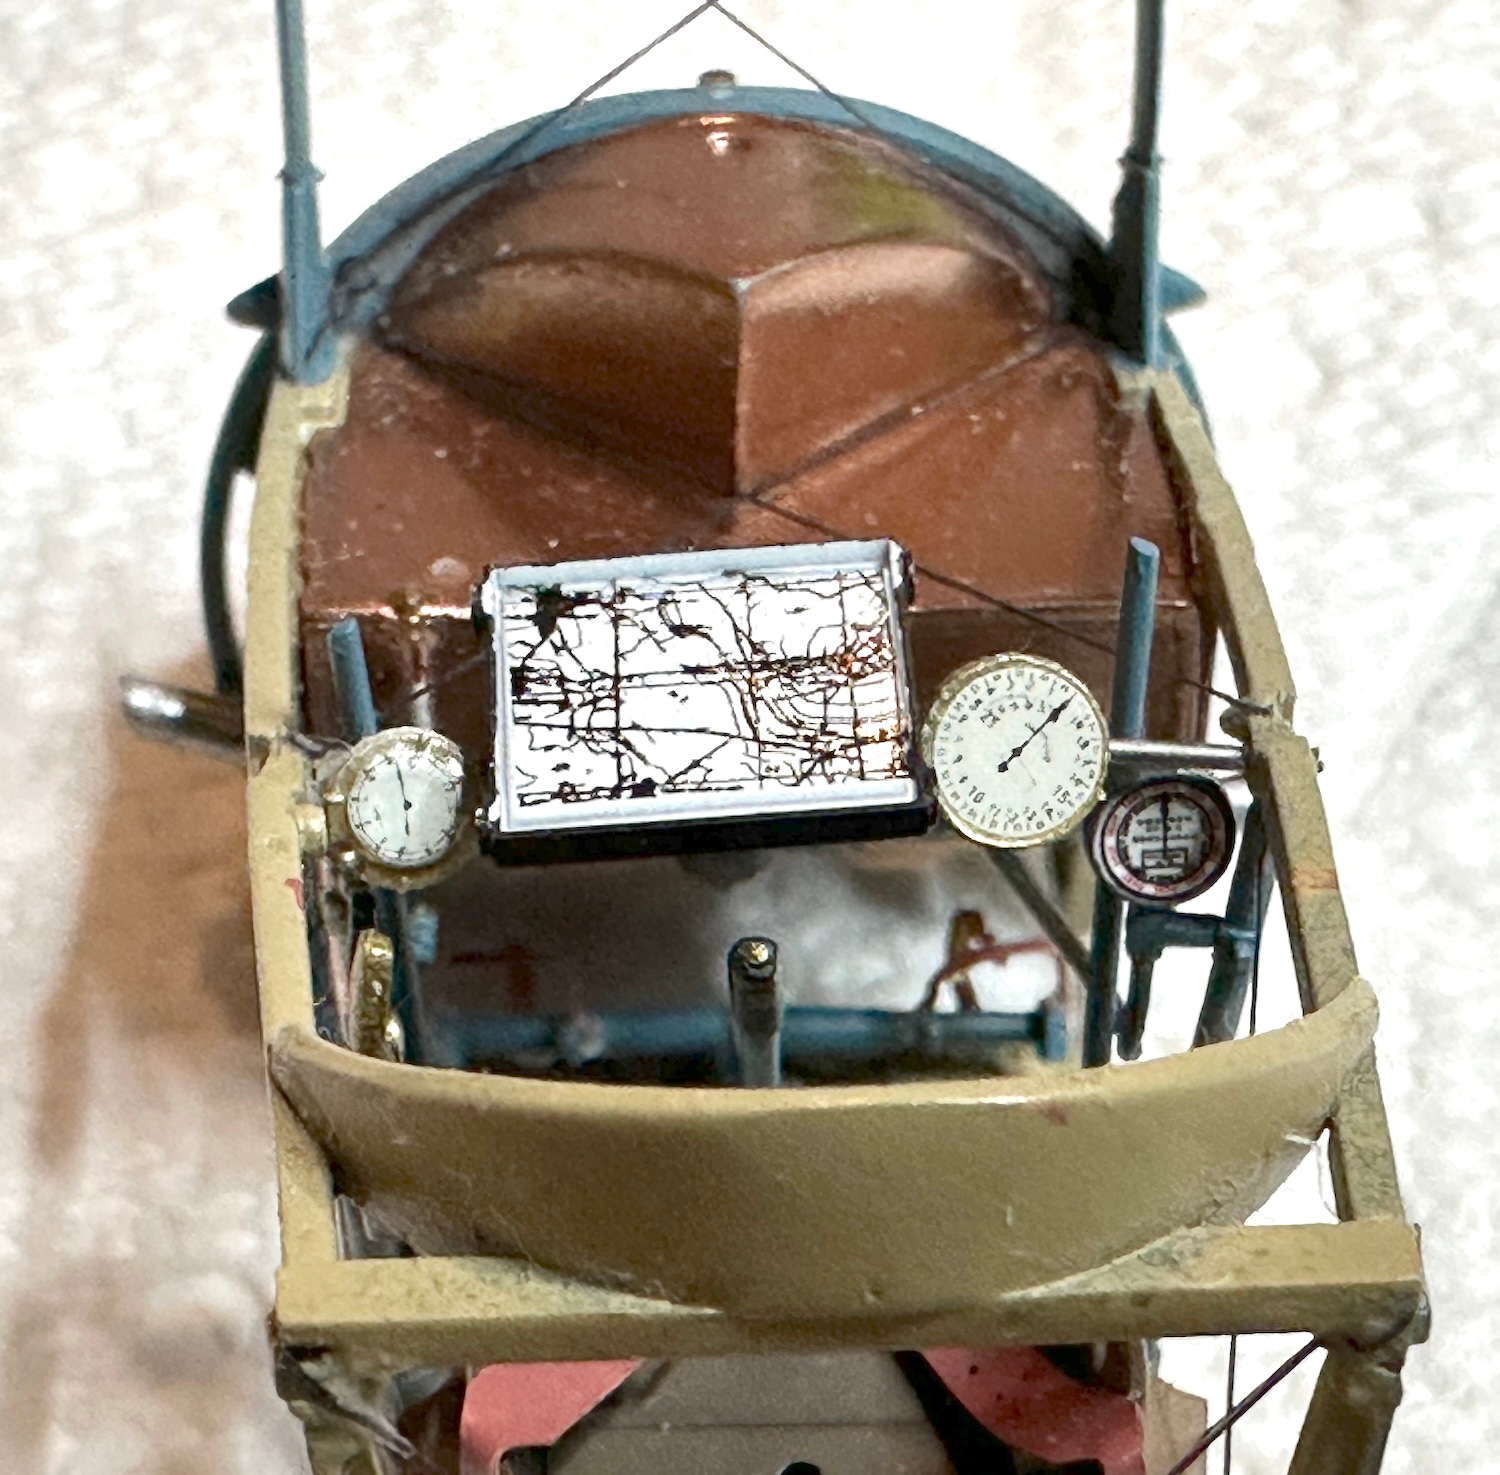
Here are engine & fuel controls complete with a clear glass bowl. That tachometer has four different paint colors, a decal & Future lens.
Paul
It looks great Paul. The instructions look like the WnW ones from days gone past. I have a CSM Nieuport in the stash so will be following this to see how it goes together.
cheers Michael
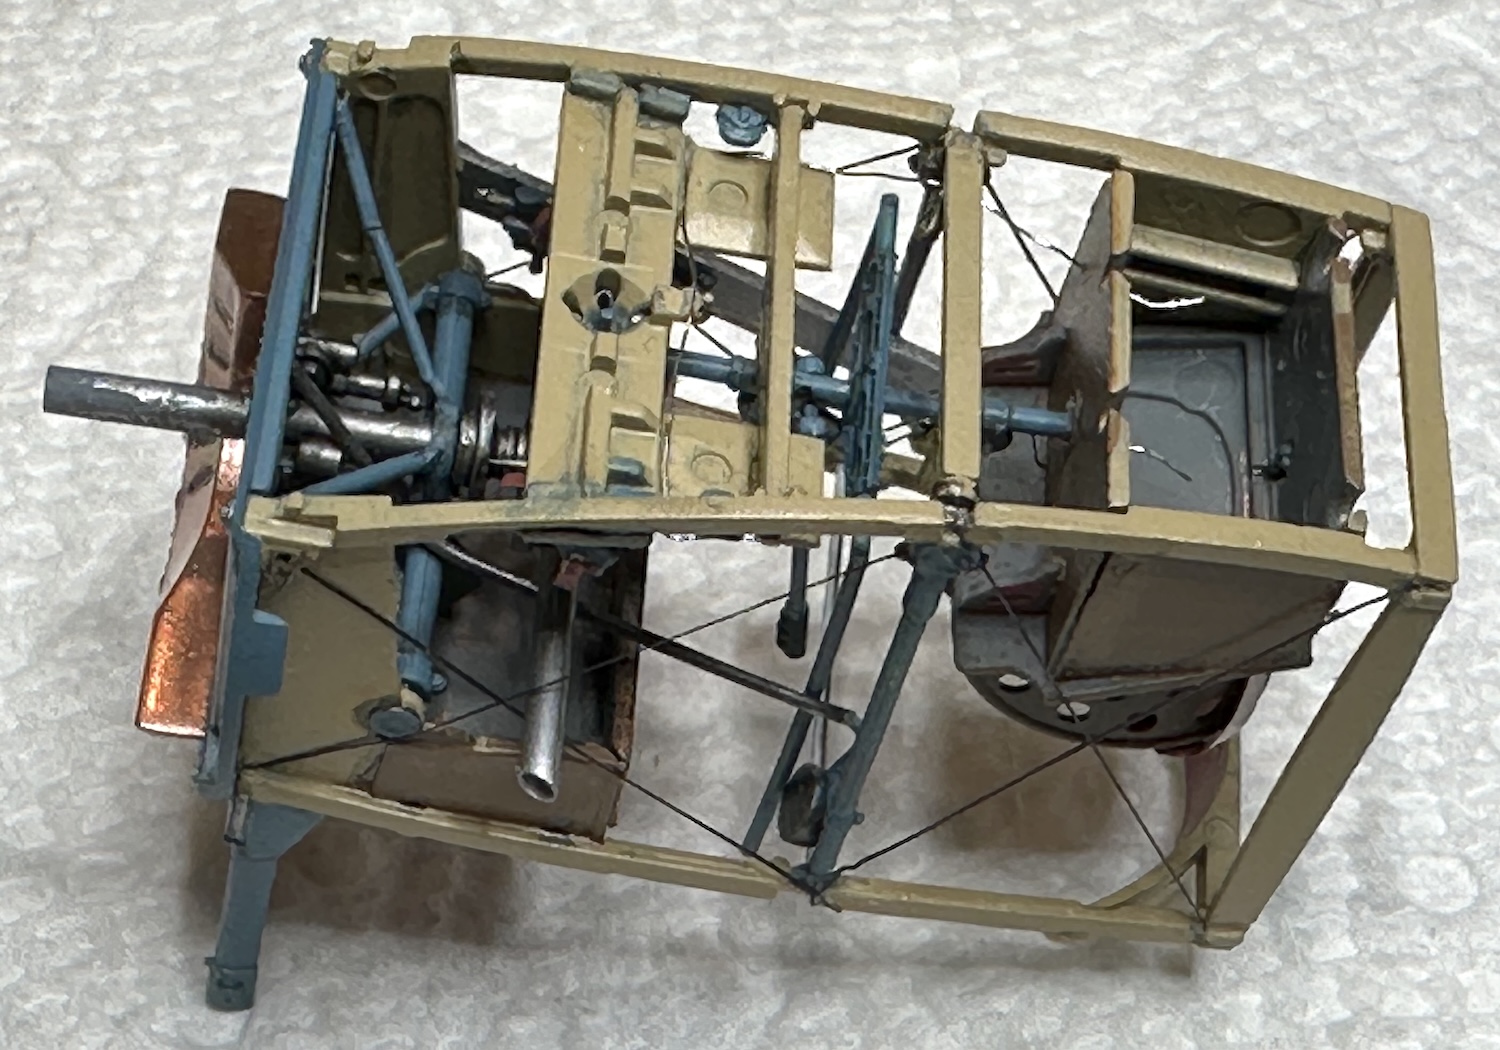
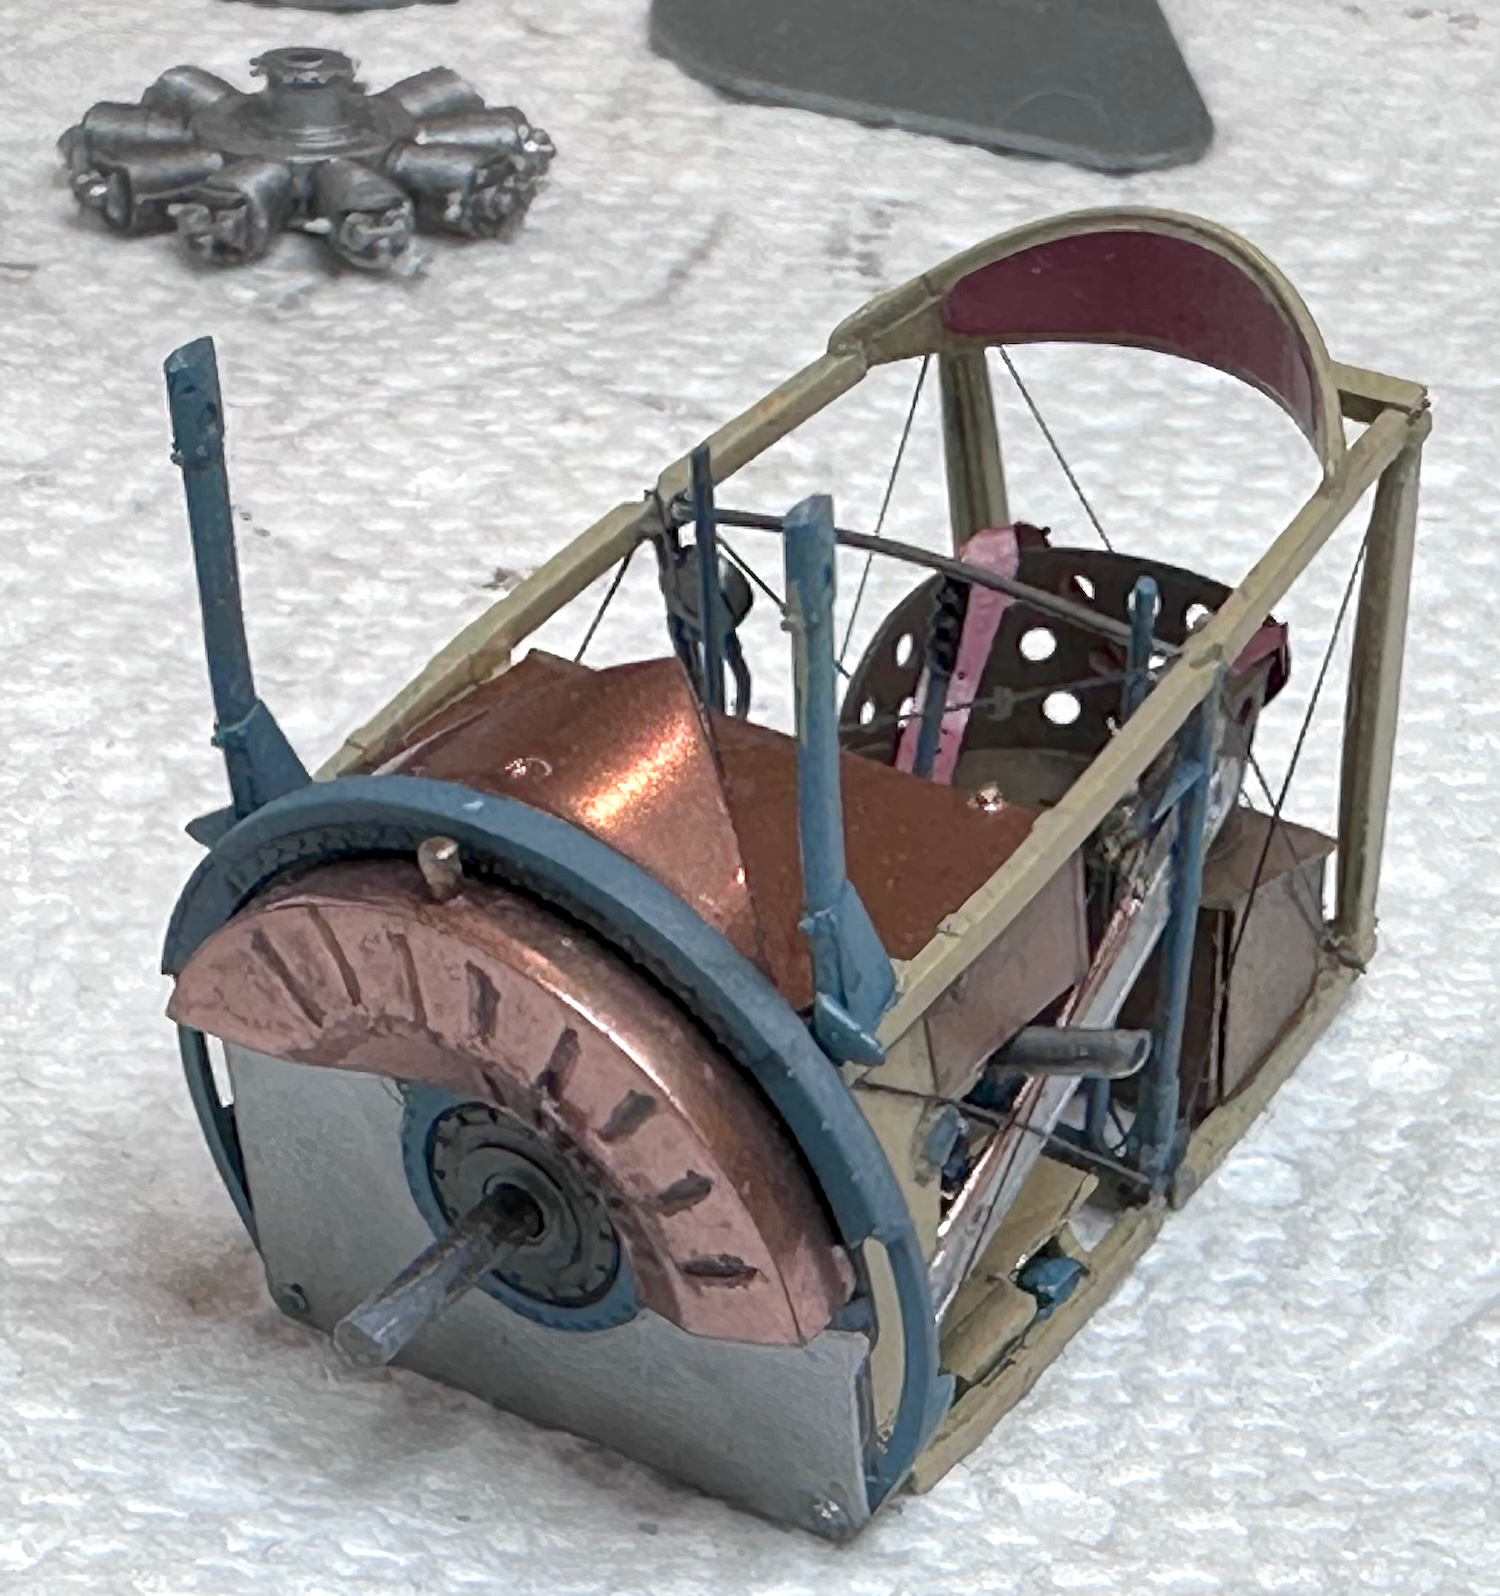
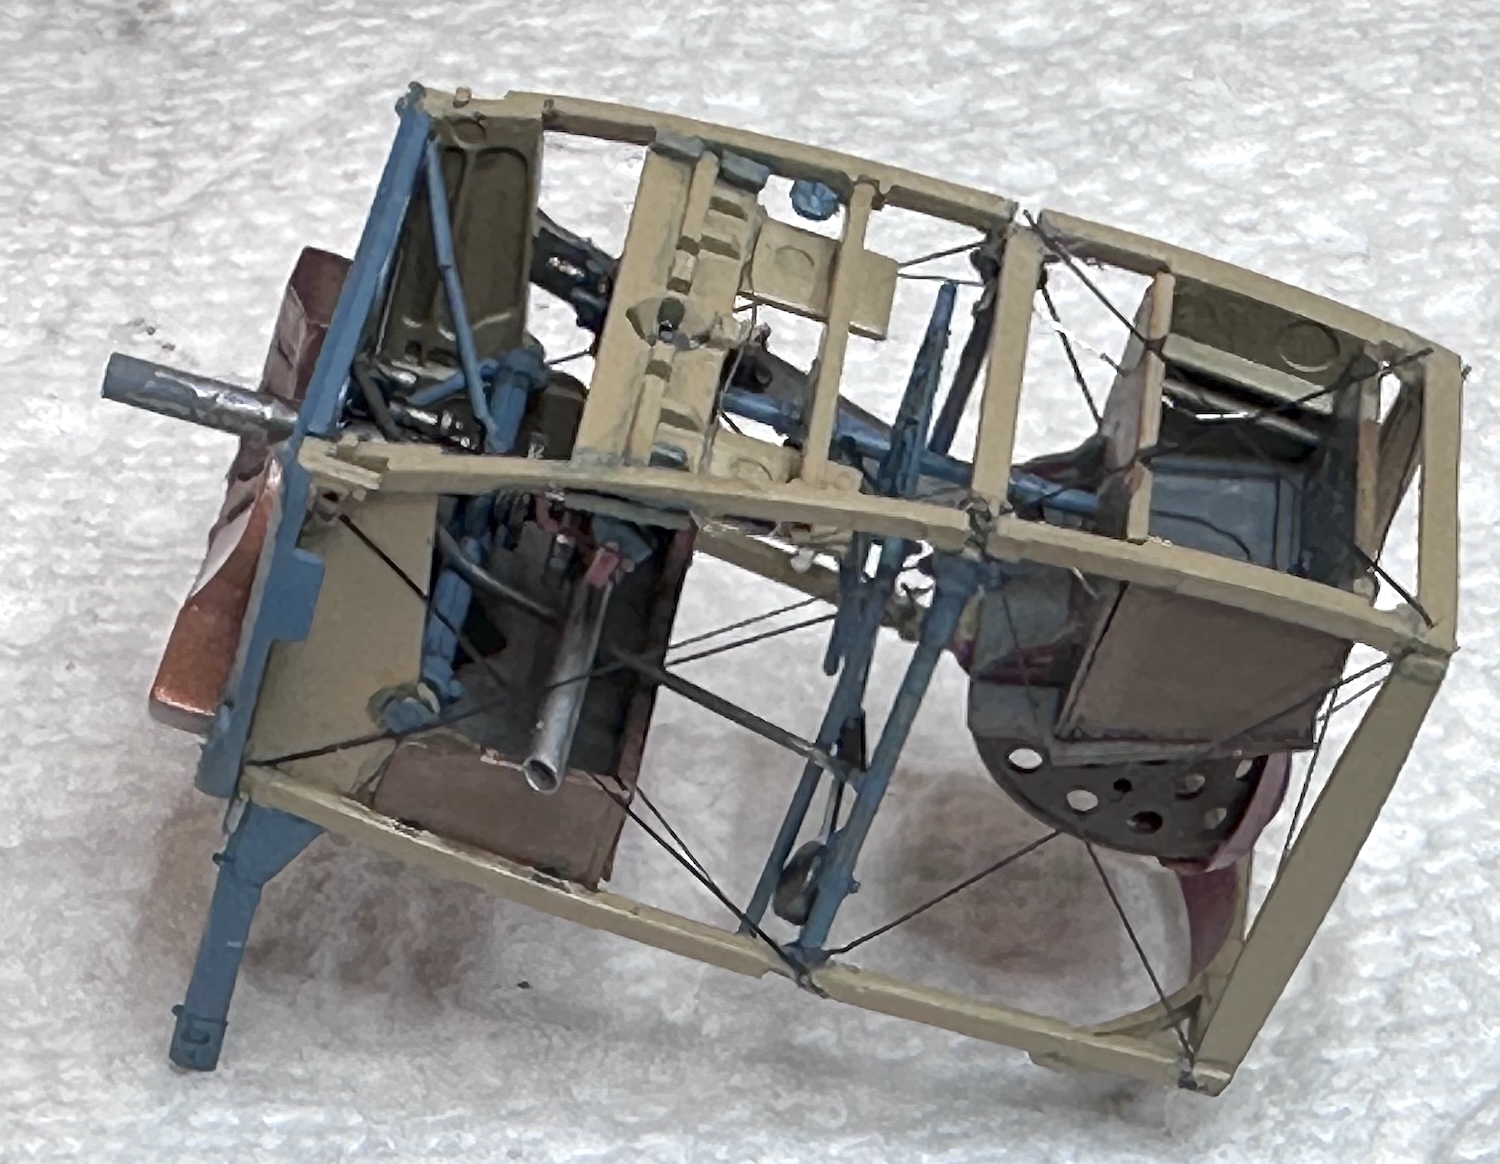
More work done on the Nieuport 11 Bébé from Copper State Models in 1/32 scale. First, I have to say that I love what CSM has done in plastic here. Many other model makers would have cheaper out and used a lot of PE parts making the modeler’s task much more difficult. The down side of these intricate moldings is that they can be extremely fragile which causes its own problems.
You need to be in a patient mood and take your time with this kit. Even with this attitude, I found plenty of opportunity to polish up on my profanity! My hands & fingers are just too big to be happy with this type of work. Just the same, I pressed on and did the best I could.
First, I had to give up using real metal wire. I bought a roll of .1mm and found there was just no way I could get it taunt. To do that, the CA glue would need to have gripped the anchor end solidly enough to pull the other end into position. It just wasn’t happening! Perhaps metal rod of the correct size might have worked but not this roll wire.
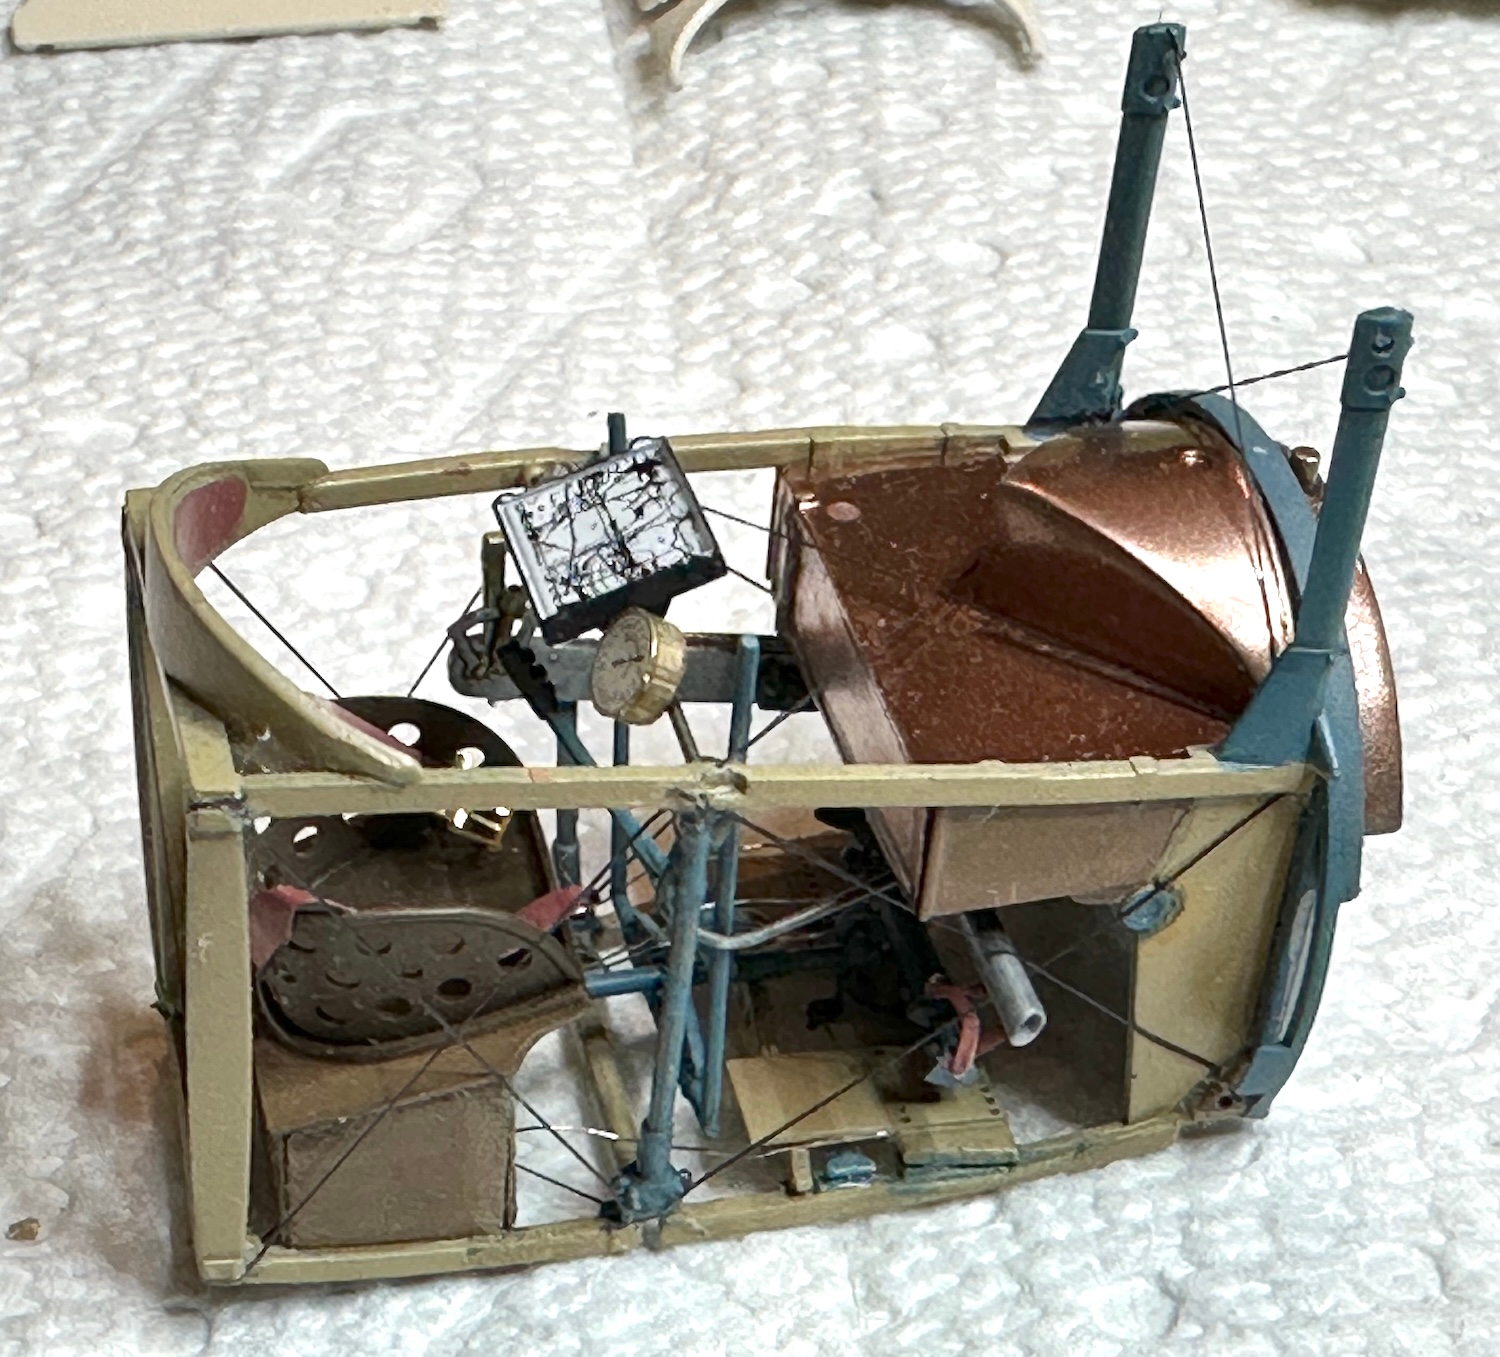
EZ Line Fine worked but it too was trying. In the end, I was able to rig the cockpit truss. It’s black rather than silver but looks OK to my eye.
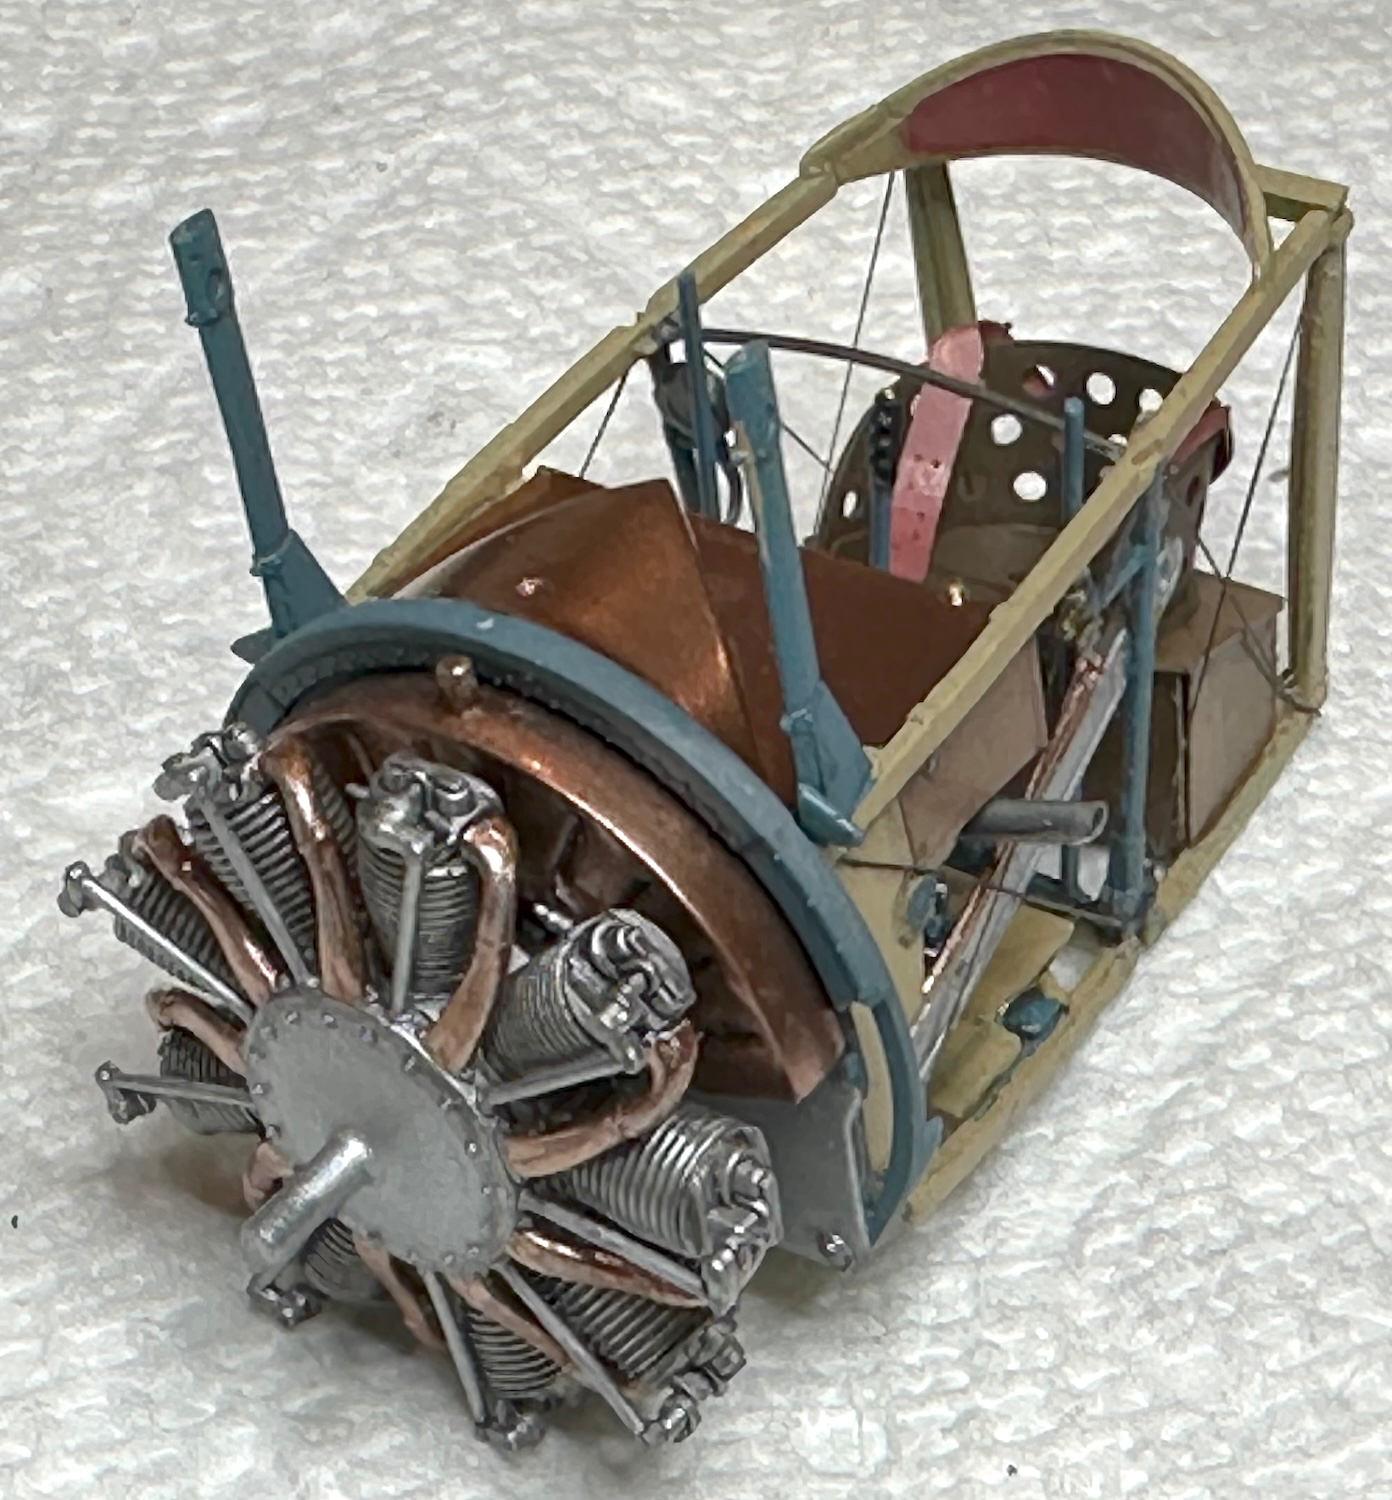
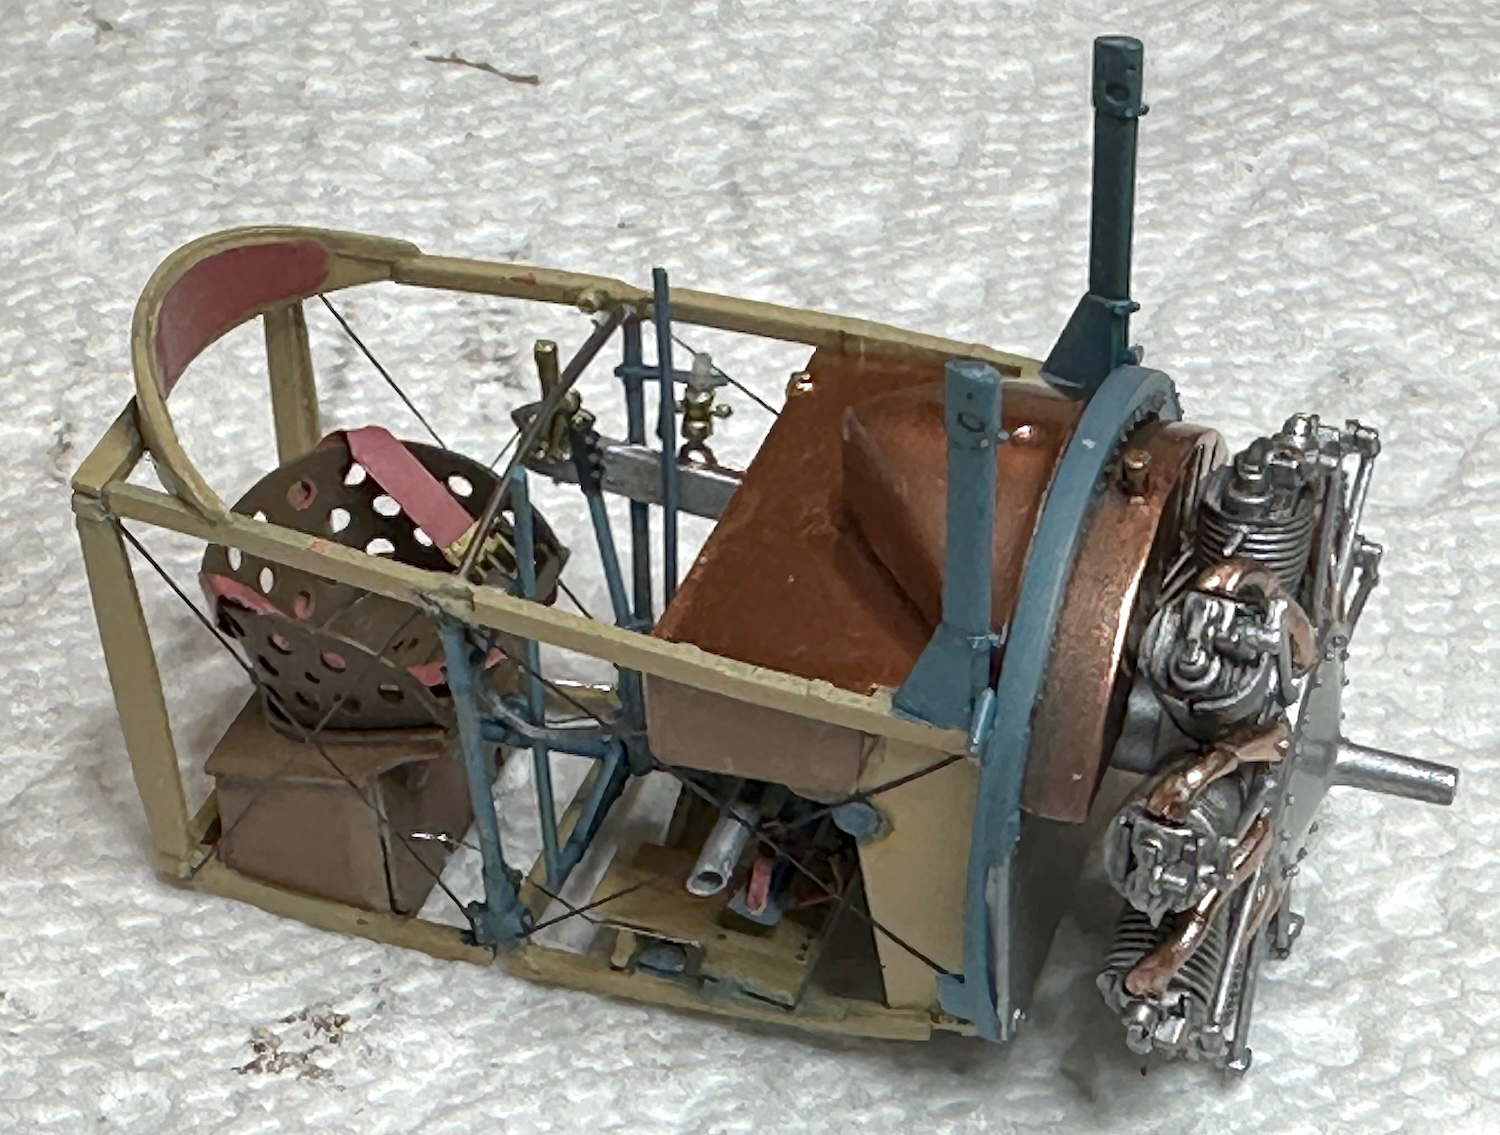
I tried several ways to simulate the copper. Testors bottle copper did a good job of the detail work. AK copper wax did a poor job on the fuel & oil tanks. It was too streaky to look very convincing so it was sanded off and Rustoleum copper from the Home Depot did an wonderful job. Sadly, little of these tanks will be visible once the model is assembled. I’ll always have the memories . . .
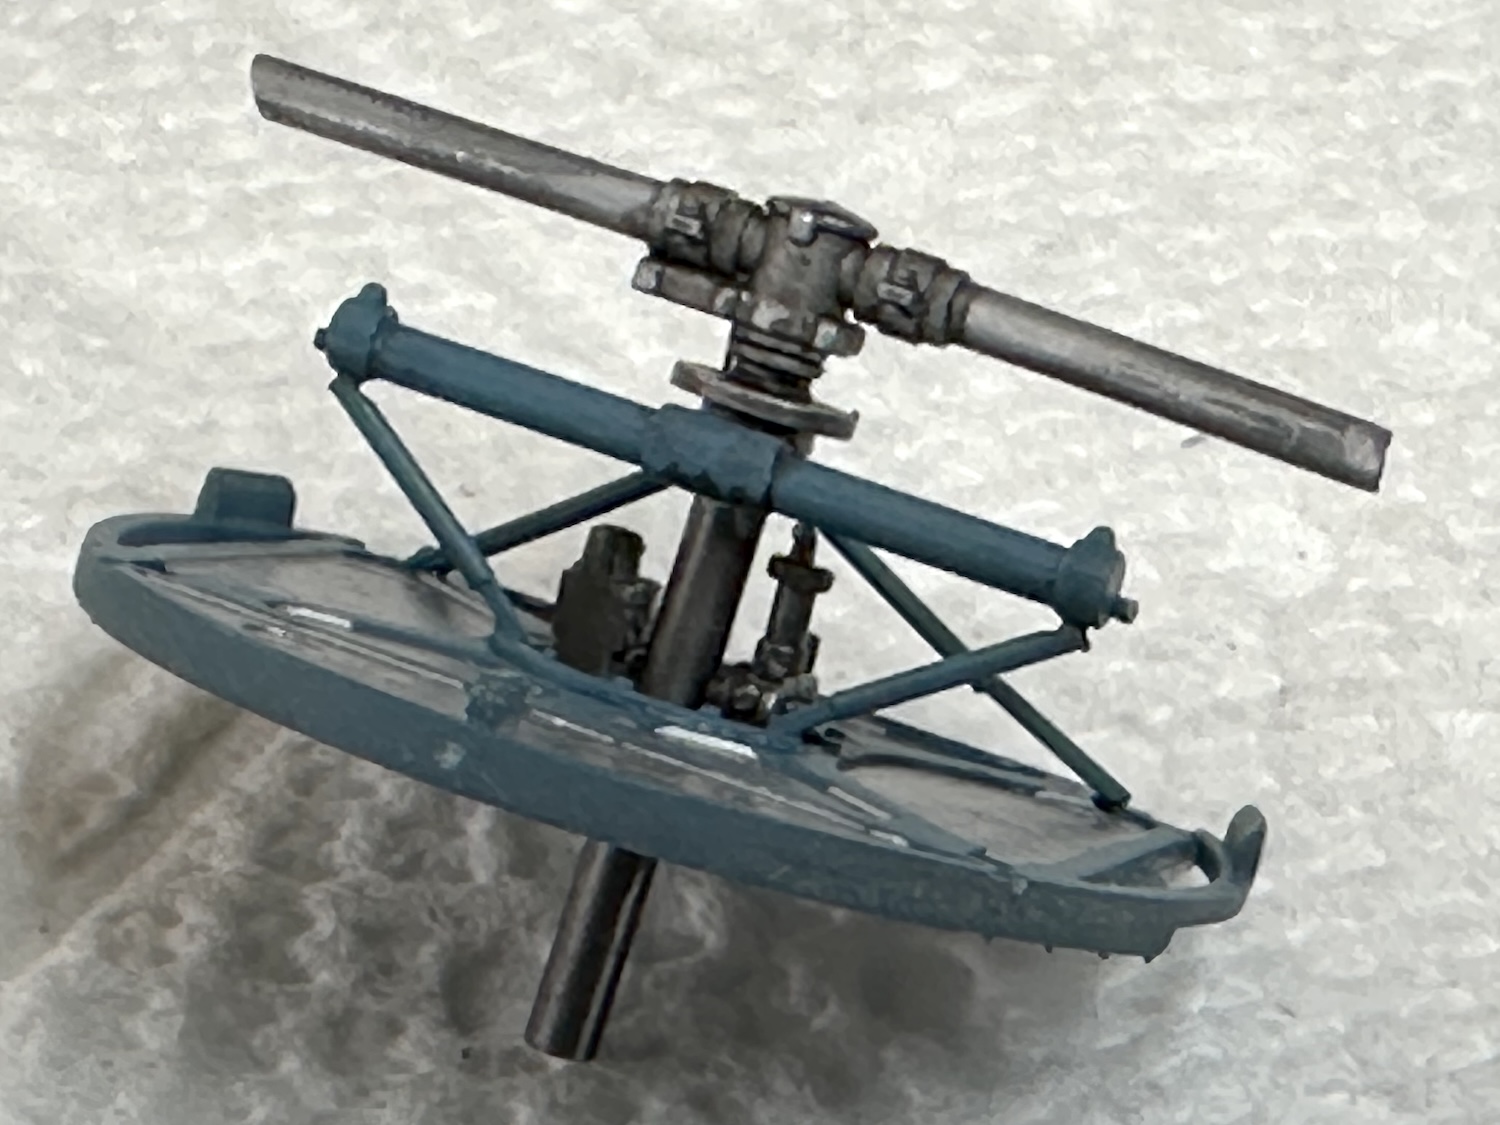
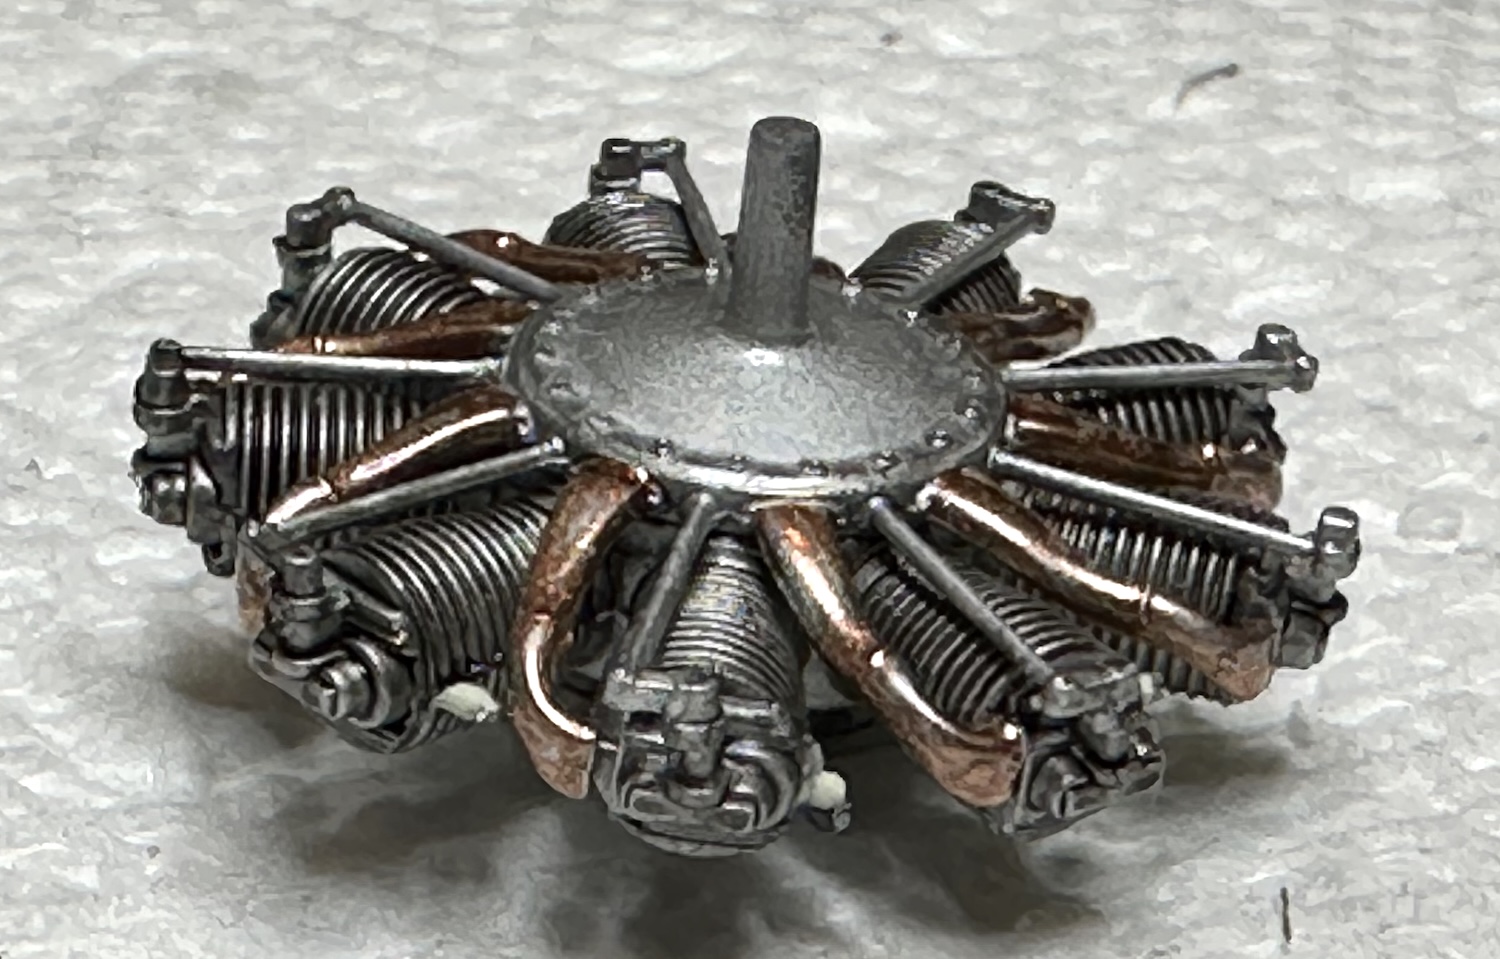
The LeRhone 80 hp engine is a little jewel. The Testors copper did well on the intake manifold. Tamiya Bare Metal from a rattle can did the silver parts. For the ignition harness a little jig was made to hold the motor in place when the EZ Line was fitted. More on this next time.
Paul
Wow - the pilot really sat with the fuel tank in his lap? Brave but suicidal. But great modelling work there!
A holed fuel tank would have given the pilot a bath.
These planes were amazingly light, only 705 lbs, an ultralight today. If there hadn’t been a war on, it would have been a ball to fly.
Paul
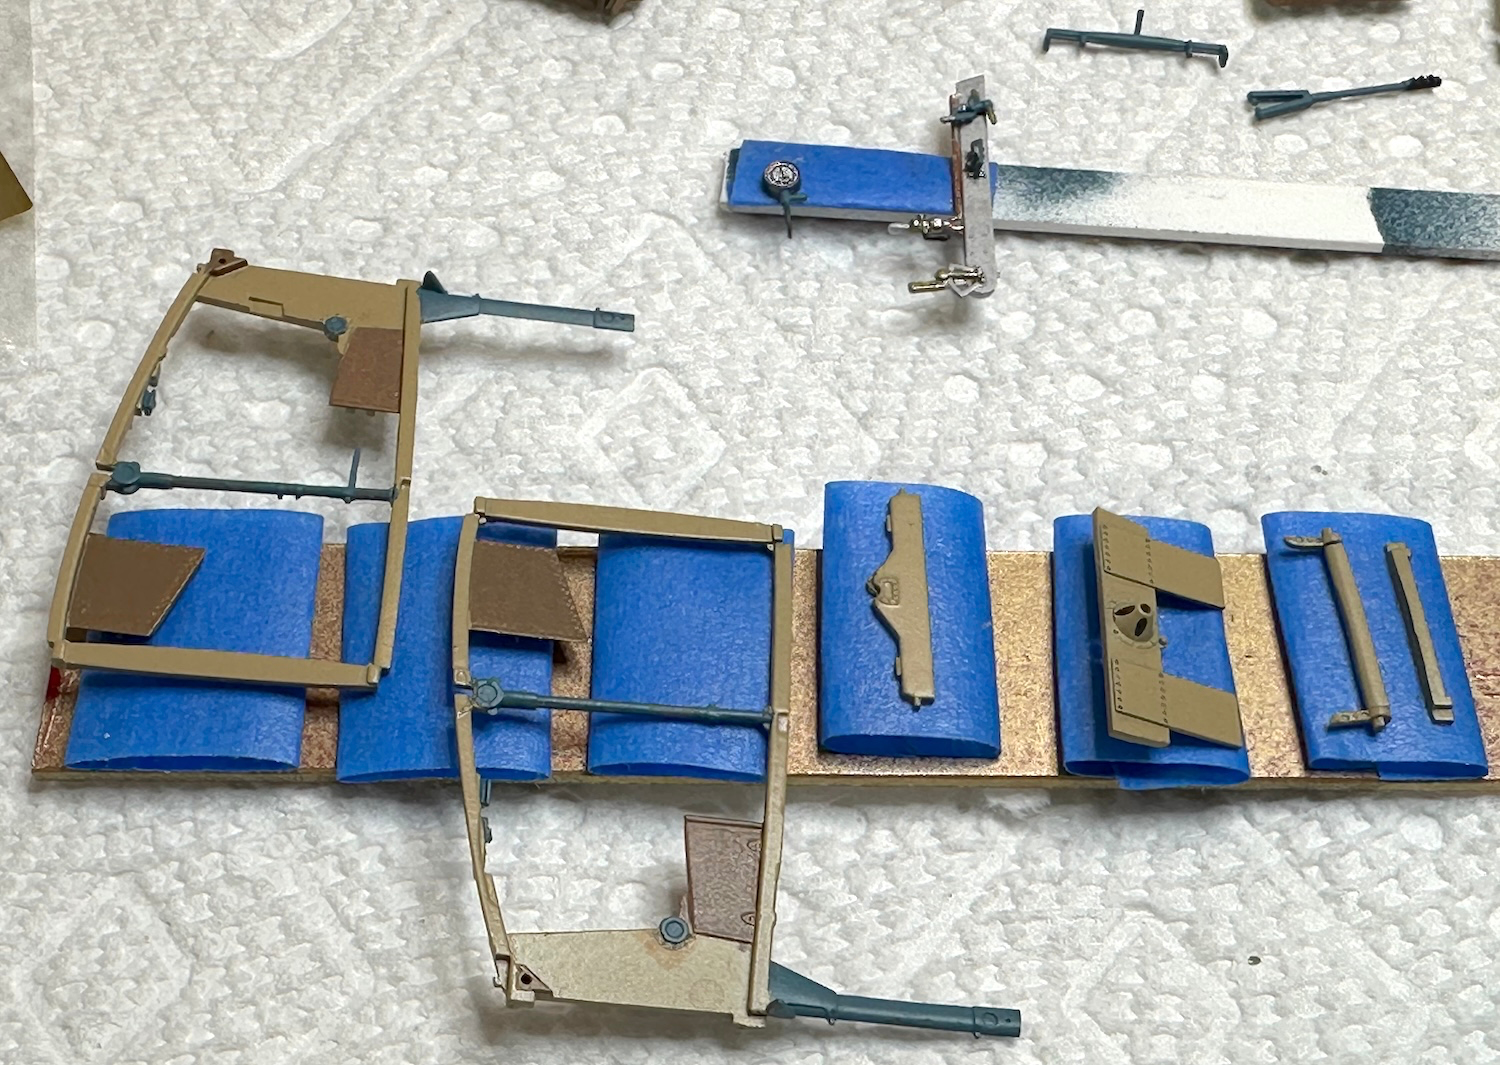
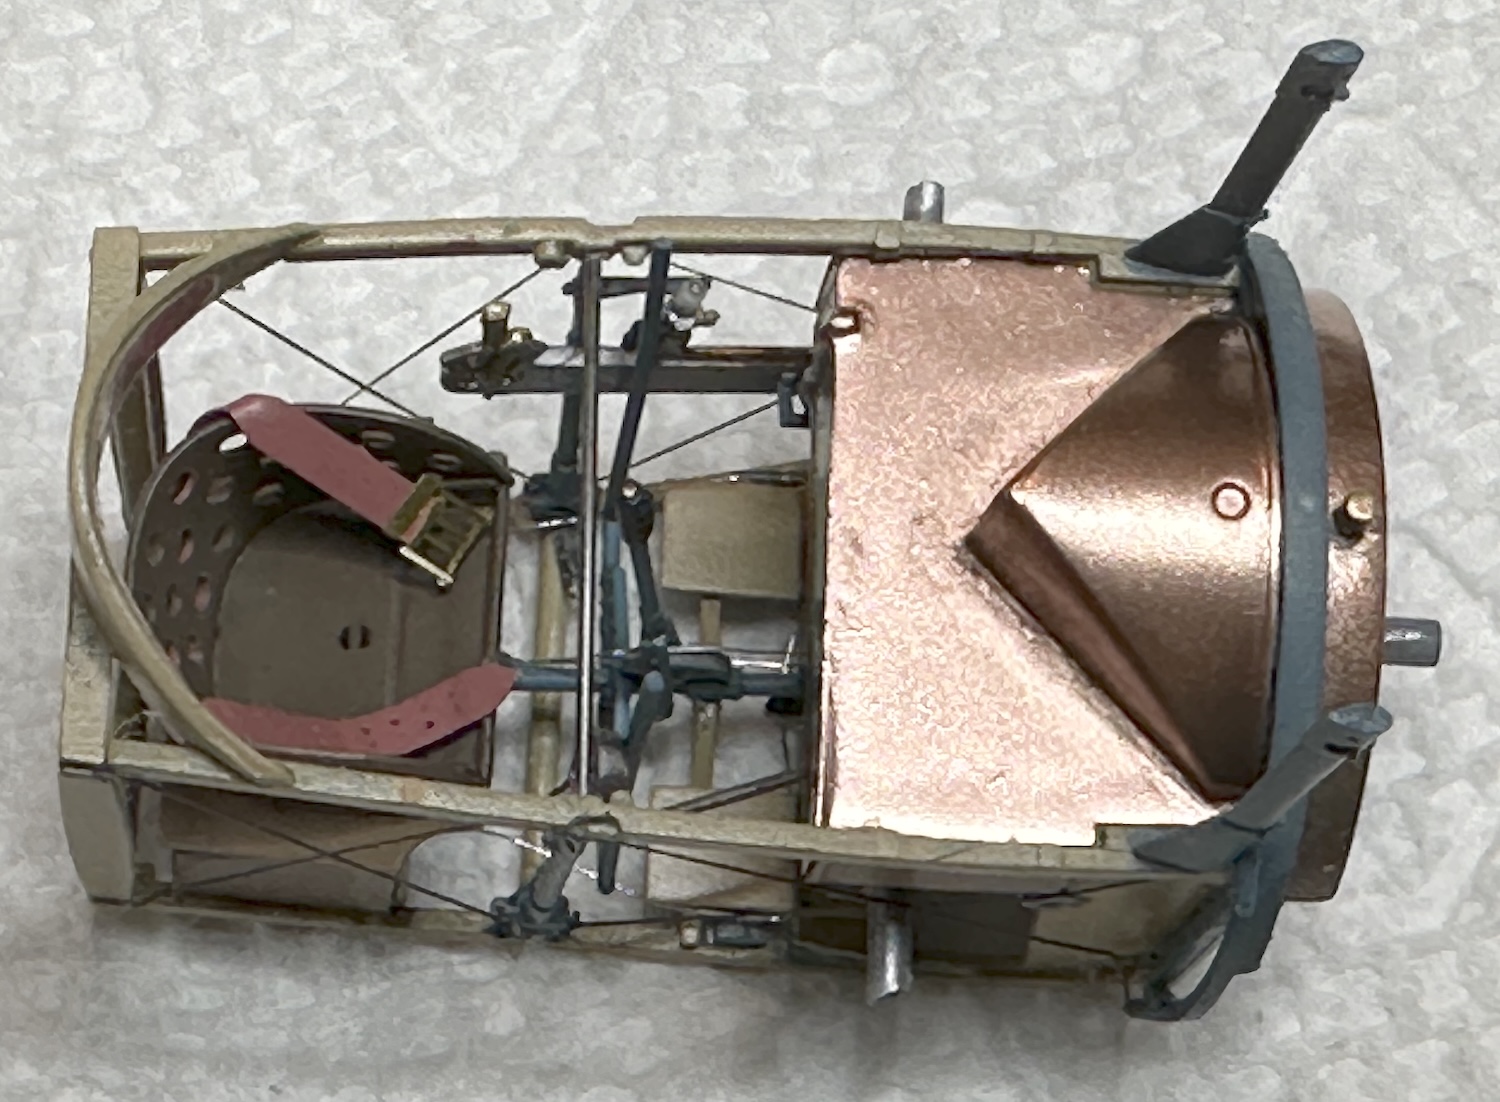
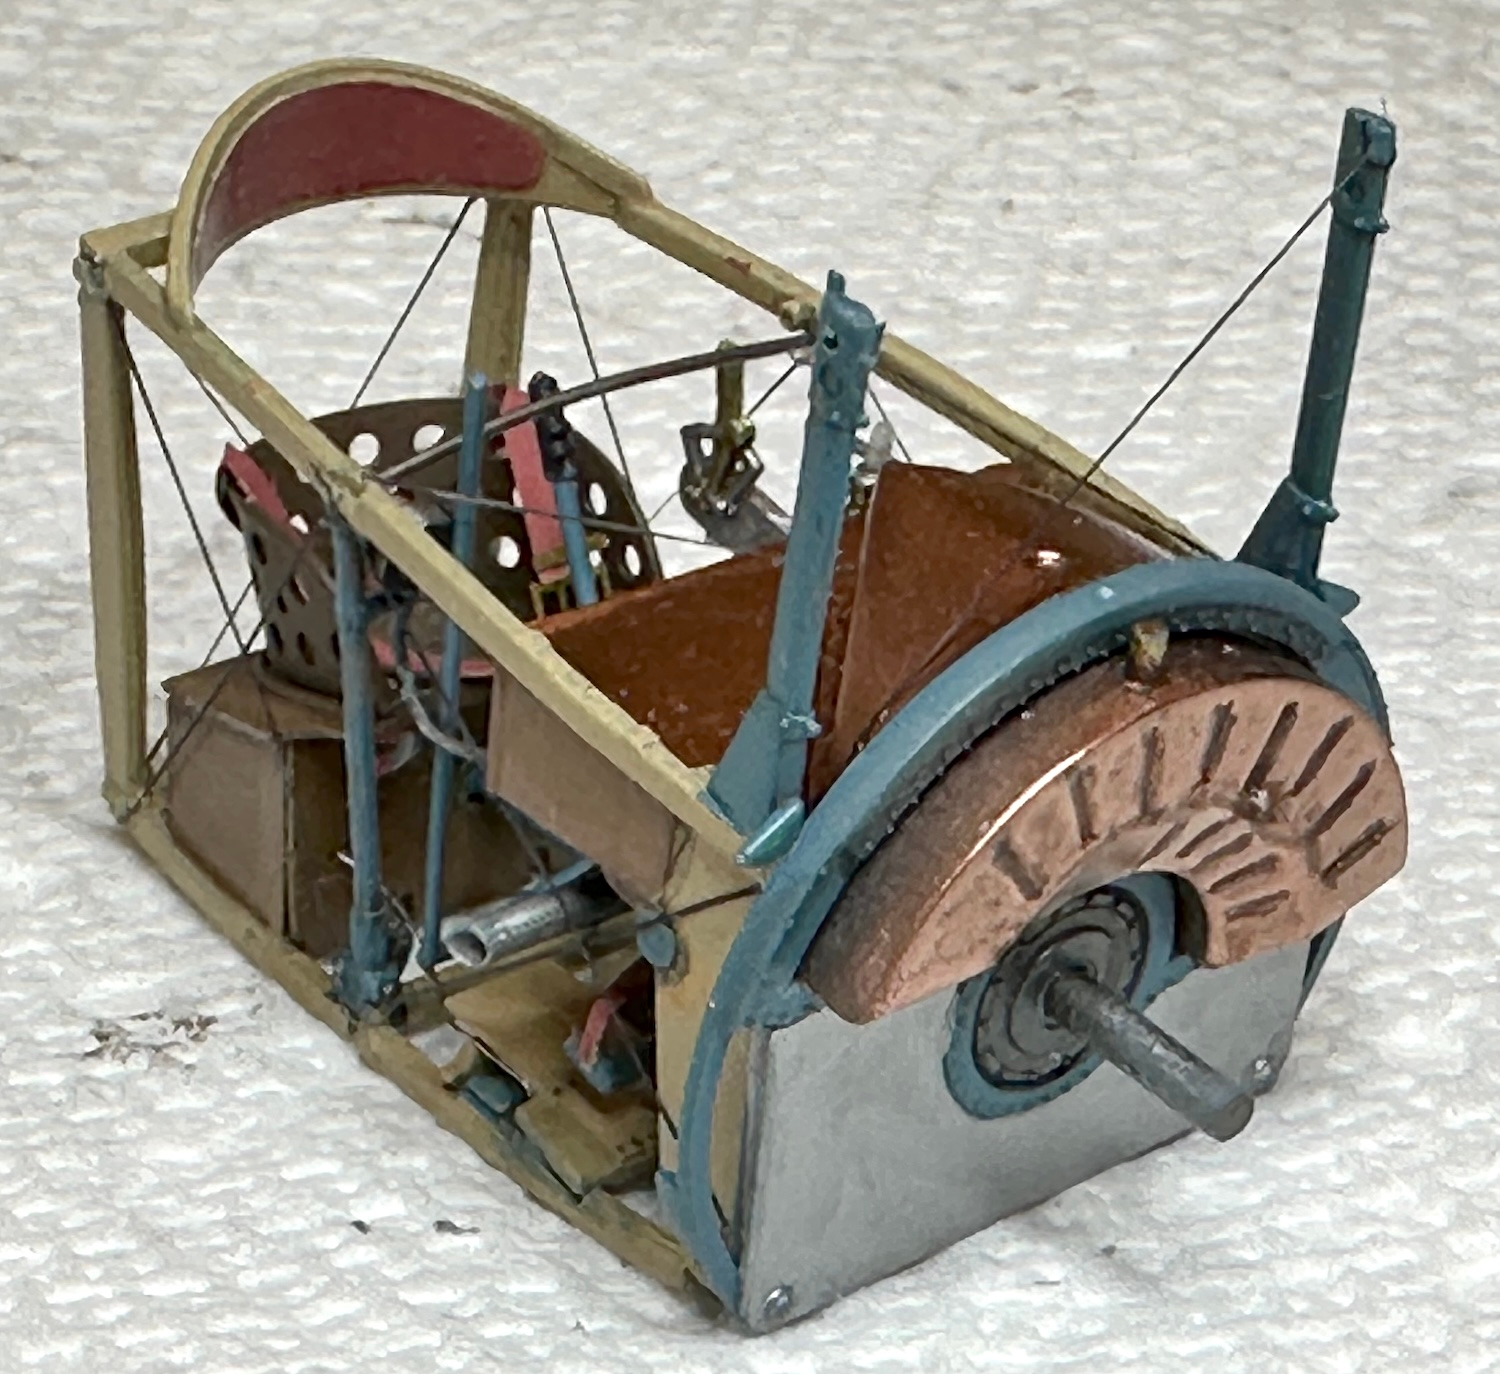
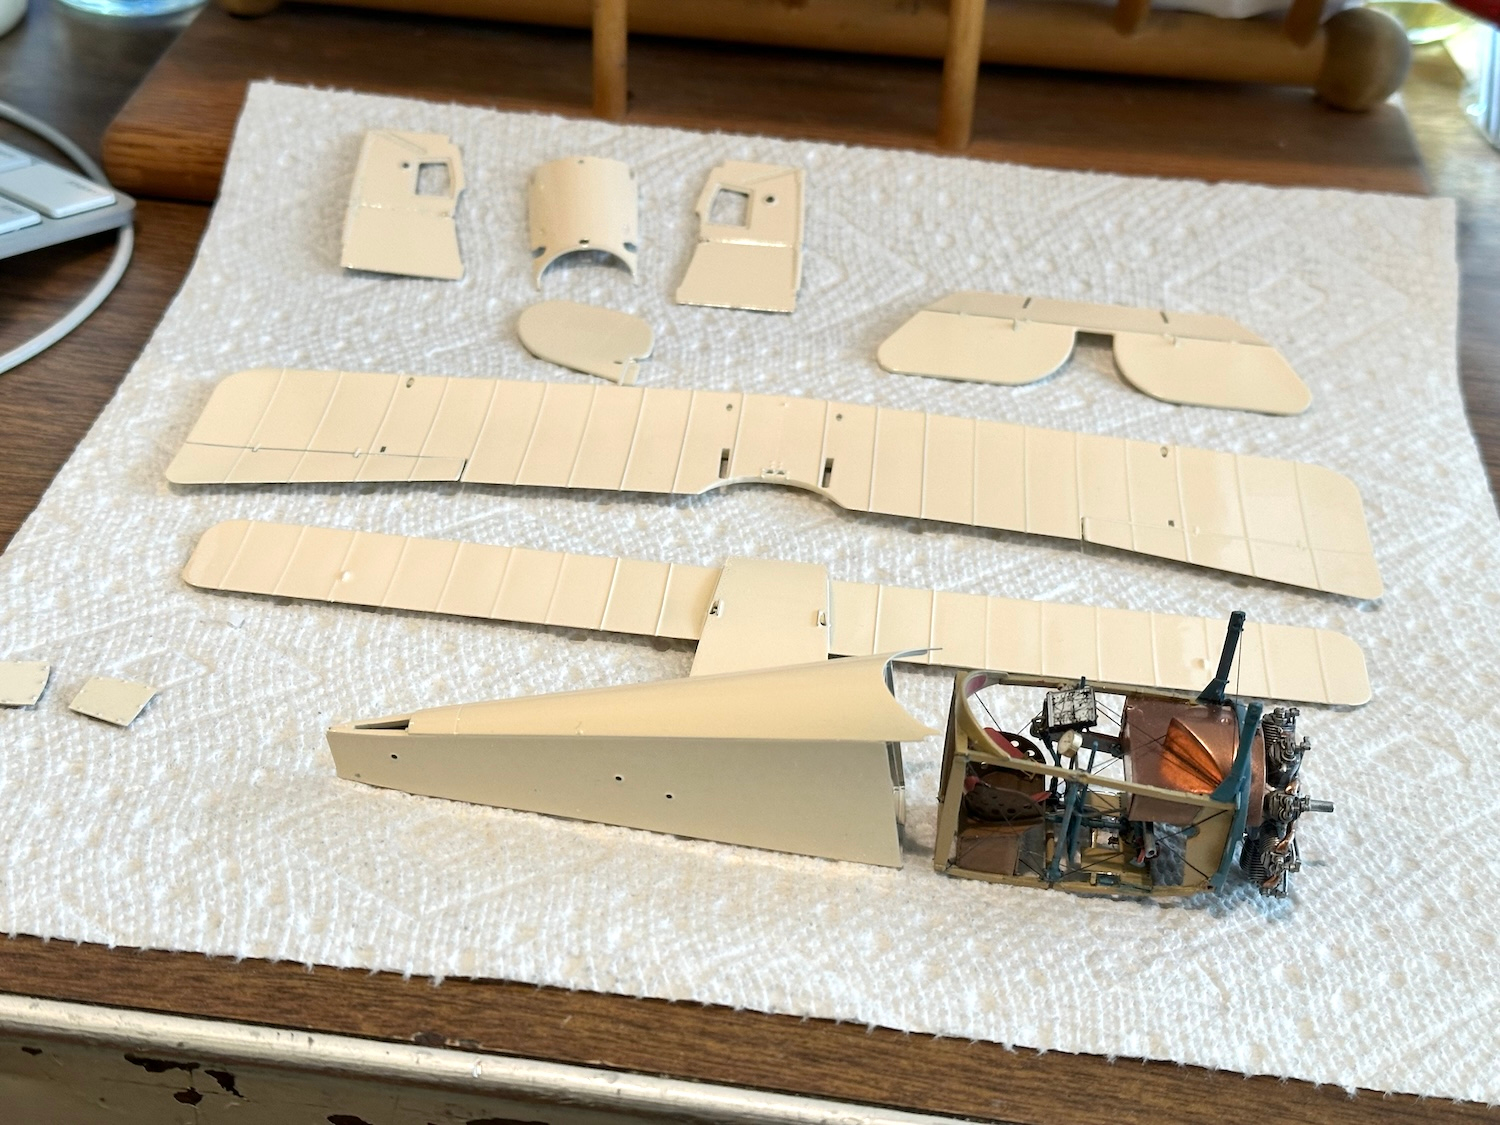
More progress on the Bébé. The motor is finished and the cockpit section has been fully rigged. I have made up a couple of more instruments and these will be installed shortly. The last picture shows the exterior color, an almond from the hardware store. More on this paint next time. These panels are just on for a trial fit to make sure everything will go together smoothly, or as smoothly as possible. The gimbaled compass can be seen attached to the right side panel.
Paul
Looks great Paul, I hope to start my entry next week for this campaign.
The metal finish on that engine is stunning!
That is phenomenal!
Besides from the wiring is that all original kit parts?
I’ve got a few of their 1/35 armoured car kits and I really must give one of their aircraft a try one day.
Thanks guys, yes it is all kit parts or resin sold by Cooper State Models for the kit. If I had it to do over again, I would have odered the seat cushion as well. I am planning on using the kit decals. The fit has been terrific and the only issue is that many of the plastic parts are close to scale and can be fragile.
The motor was painted with Tamiya AS-12 aluminum and testors copper brush paint.
Right now ‘m going to have top find another medium blue compatible with the almond hardware store paint on the exterior services. Last night I masked off a test strip that had been painted weeks ago and the Tamiya rattlecan paint crazed the almond. I’ll be looking for another paint today and then need to run more test strips once it arrives.
This was never going to be a quick build which is no worry for me as there are other projects going on at the same time.
Last night I added the extra instruments to the cockpit and that finishes that portion of the build. Pics later!
Paul
A bit more progress on the Bébé. The instruments & map have been installed and the cockpit is finished. The flying surfaces are painted with the ivory color and a blue paint compatible (I hope) with it has been ordered.
Paul
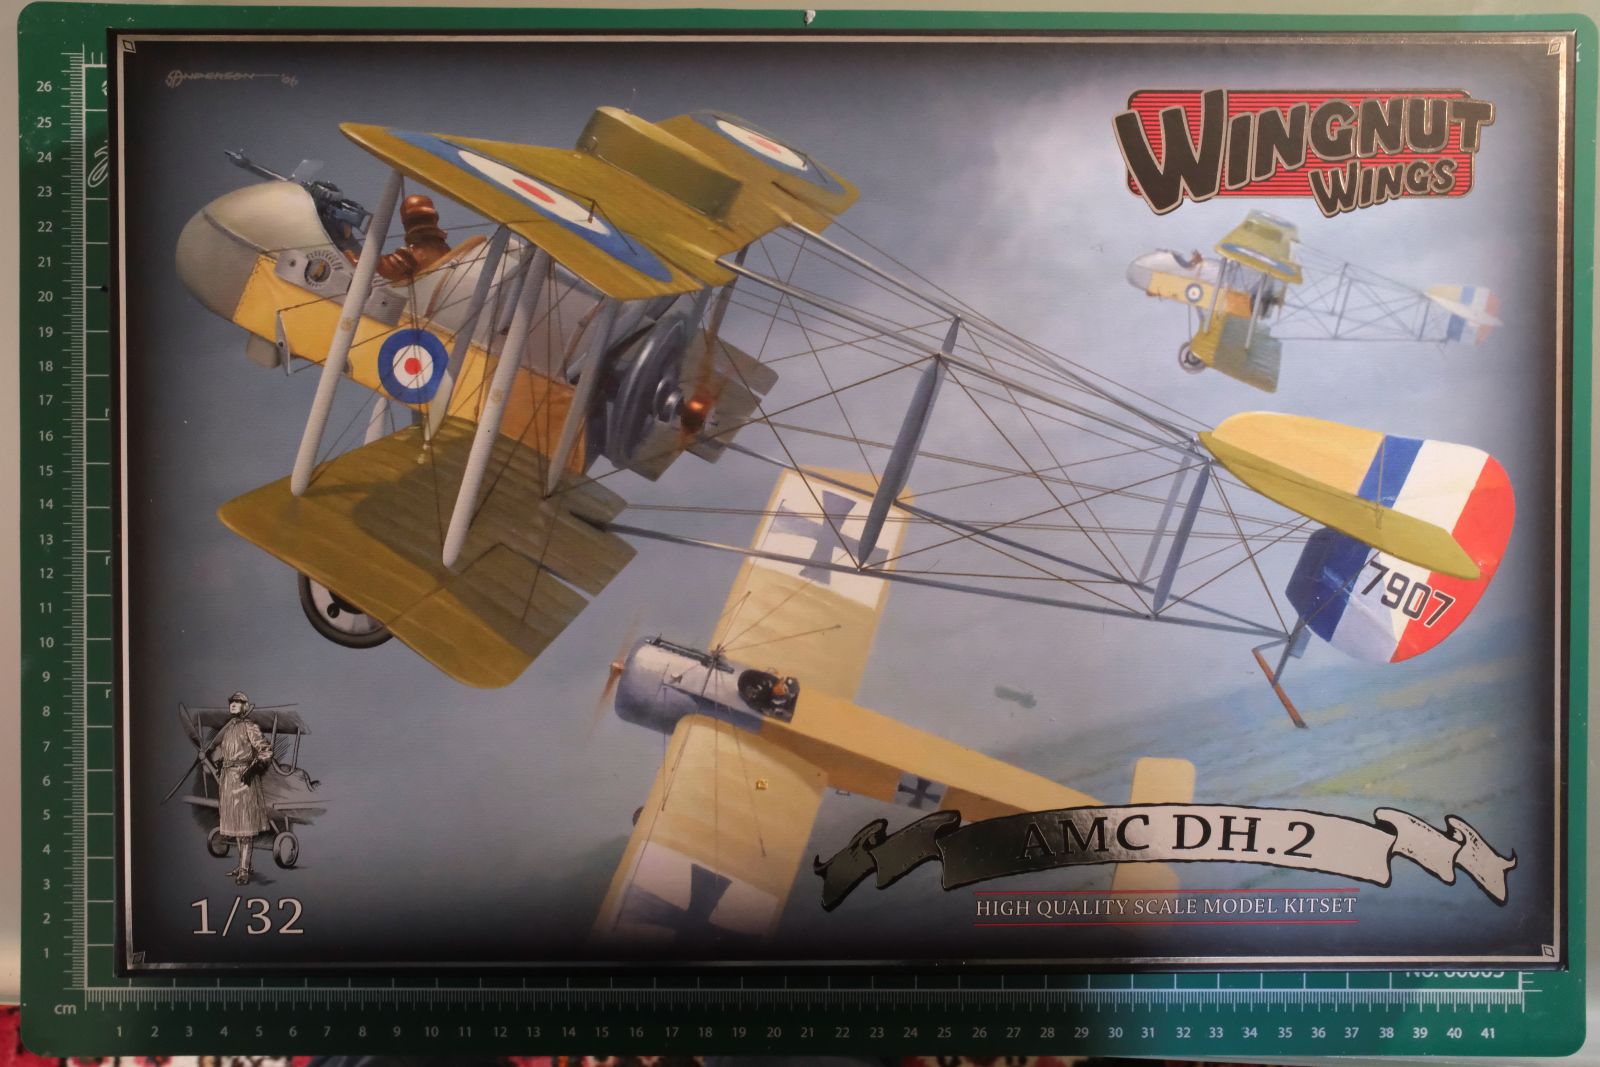
Finished with the Tamiya campaign so on to the next. I am in with a WnW kit, The AMC DH.2, famous for ending the Fokker scourge of the previous year, this ‘pusher’ aircraft cleaned up the Eindeckers during 1916. While British had not yet solved the syncro required for forward firing machine guns through the propeller, the DH.2 was a much more maneuverable aircraft and with the propeller behind the pilot, the problem of the gun firing was resolved.
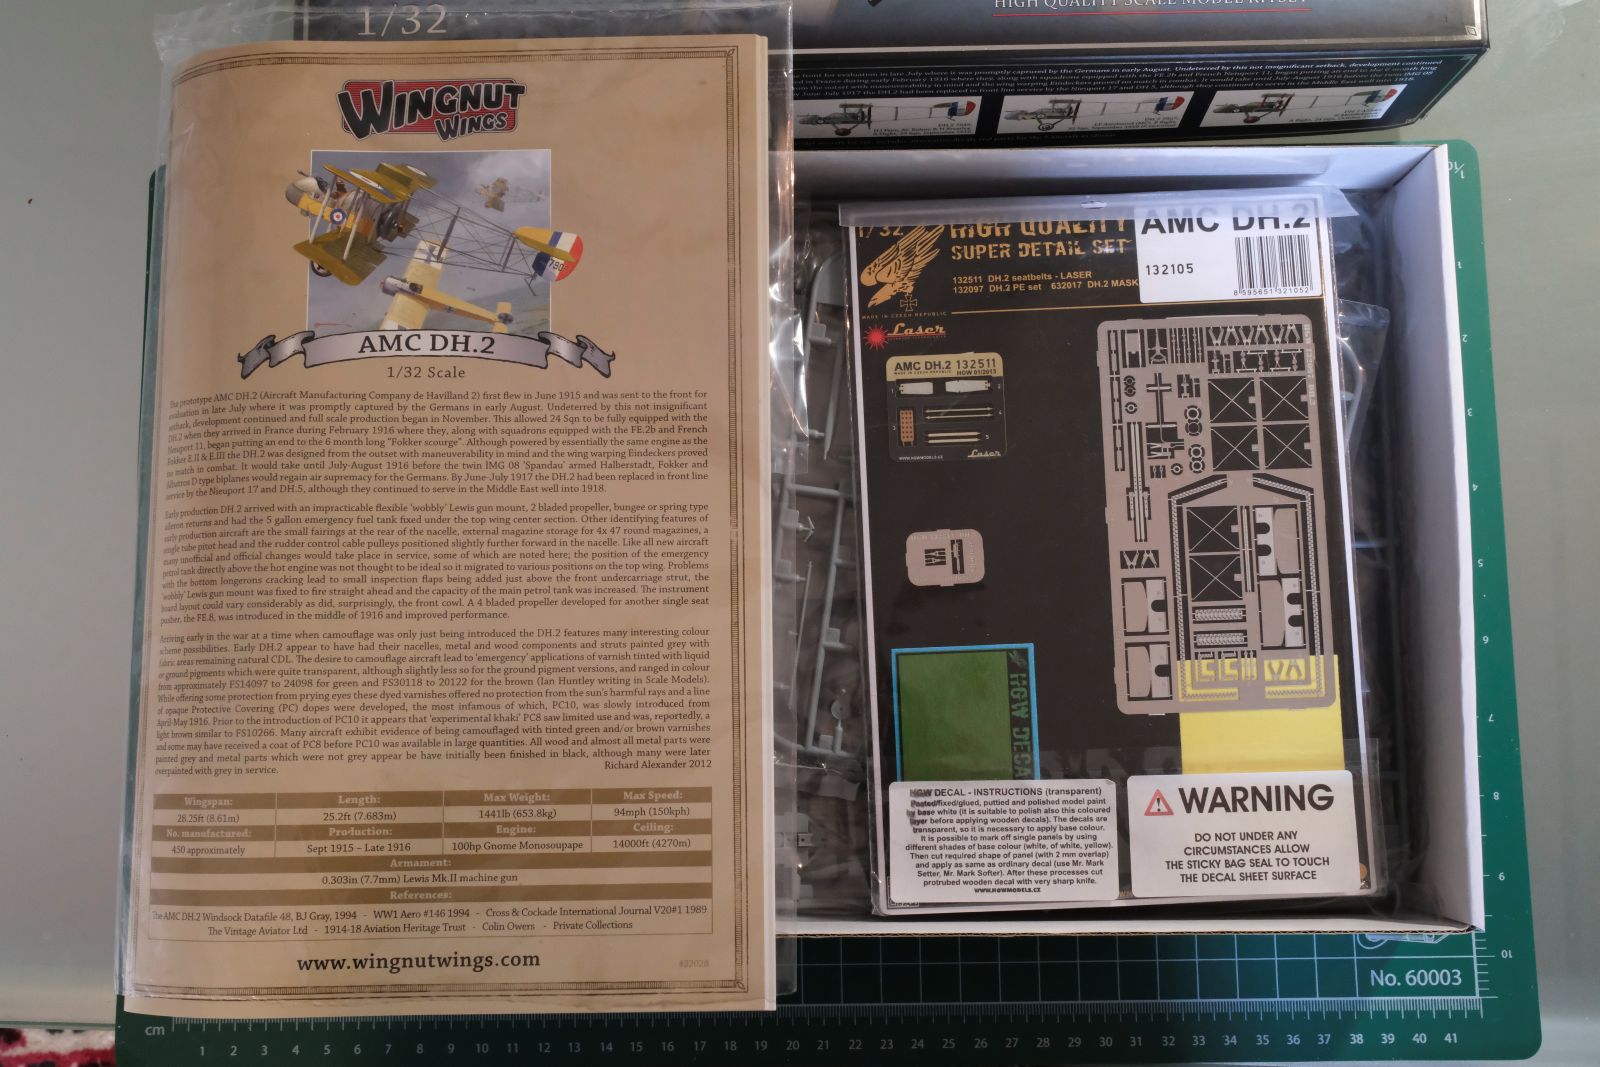
The box and parts. I have some PE for it, but I am not sure how much I will use of it.
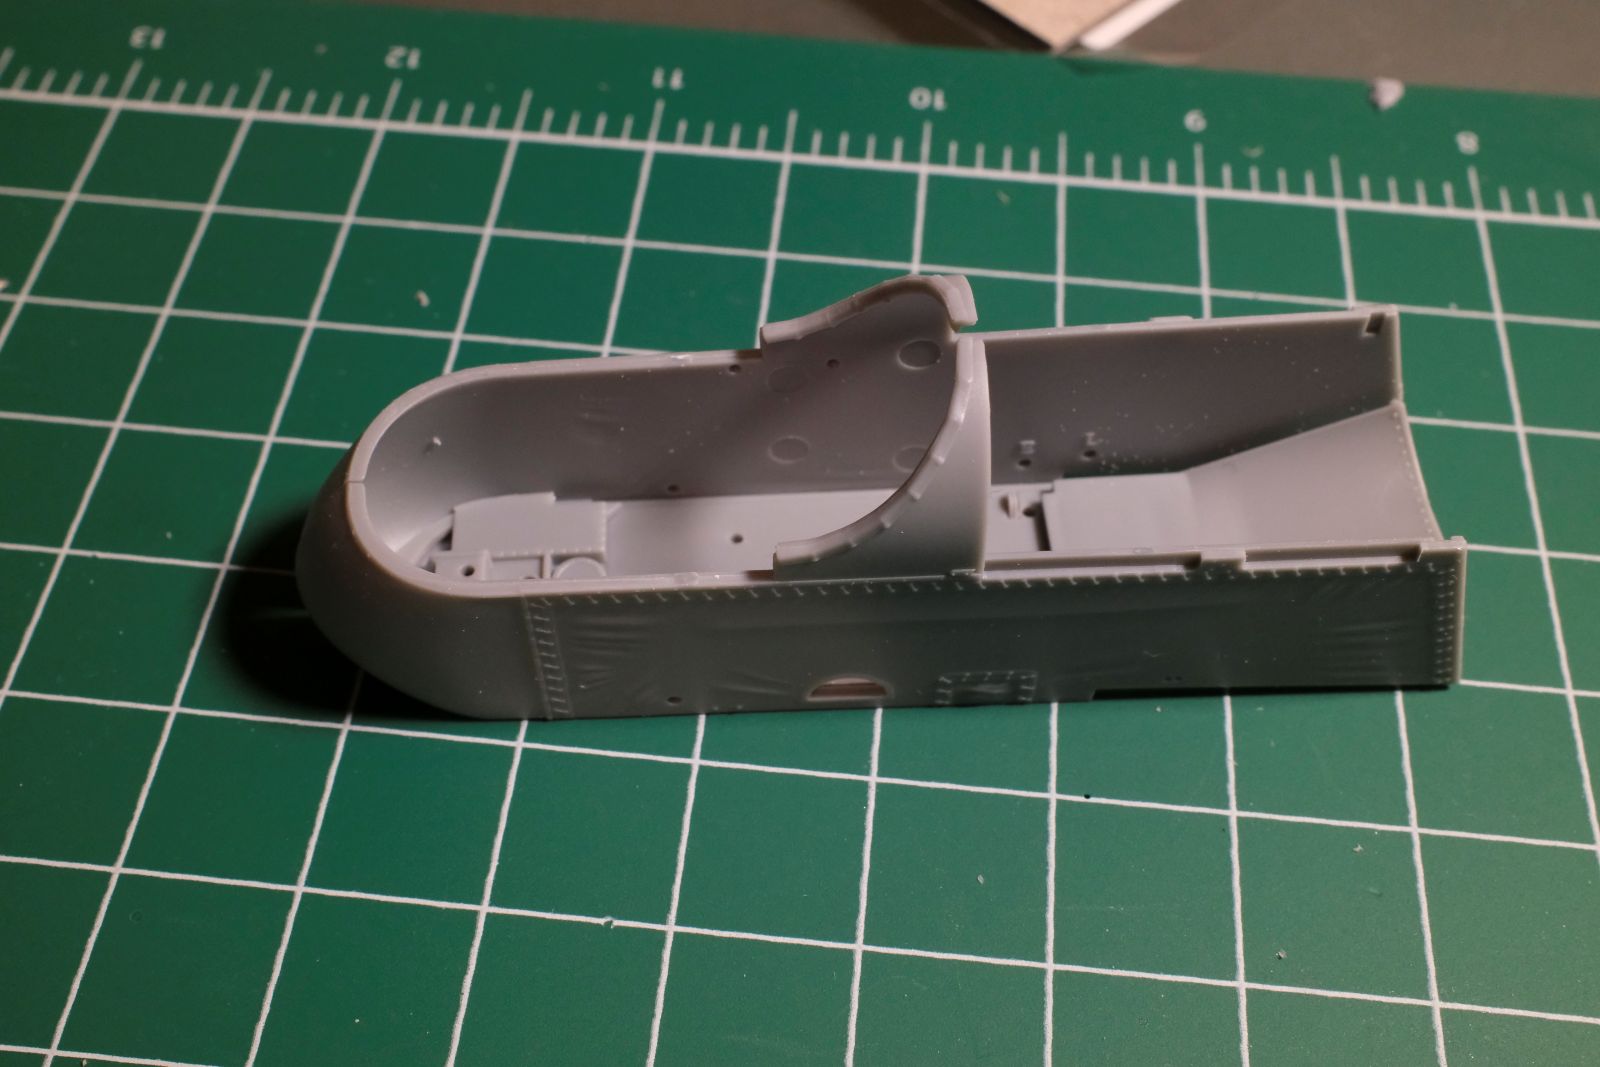
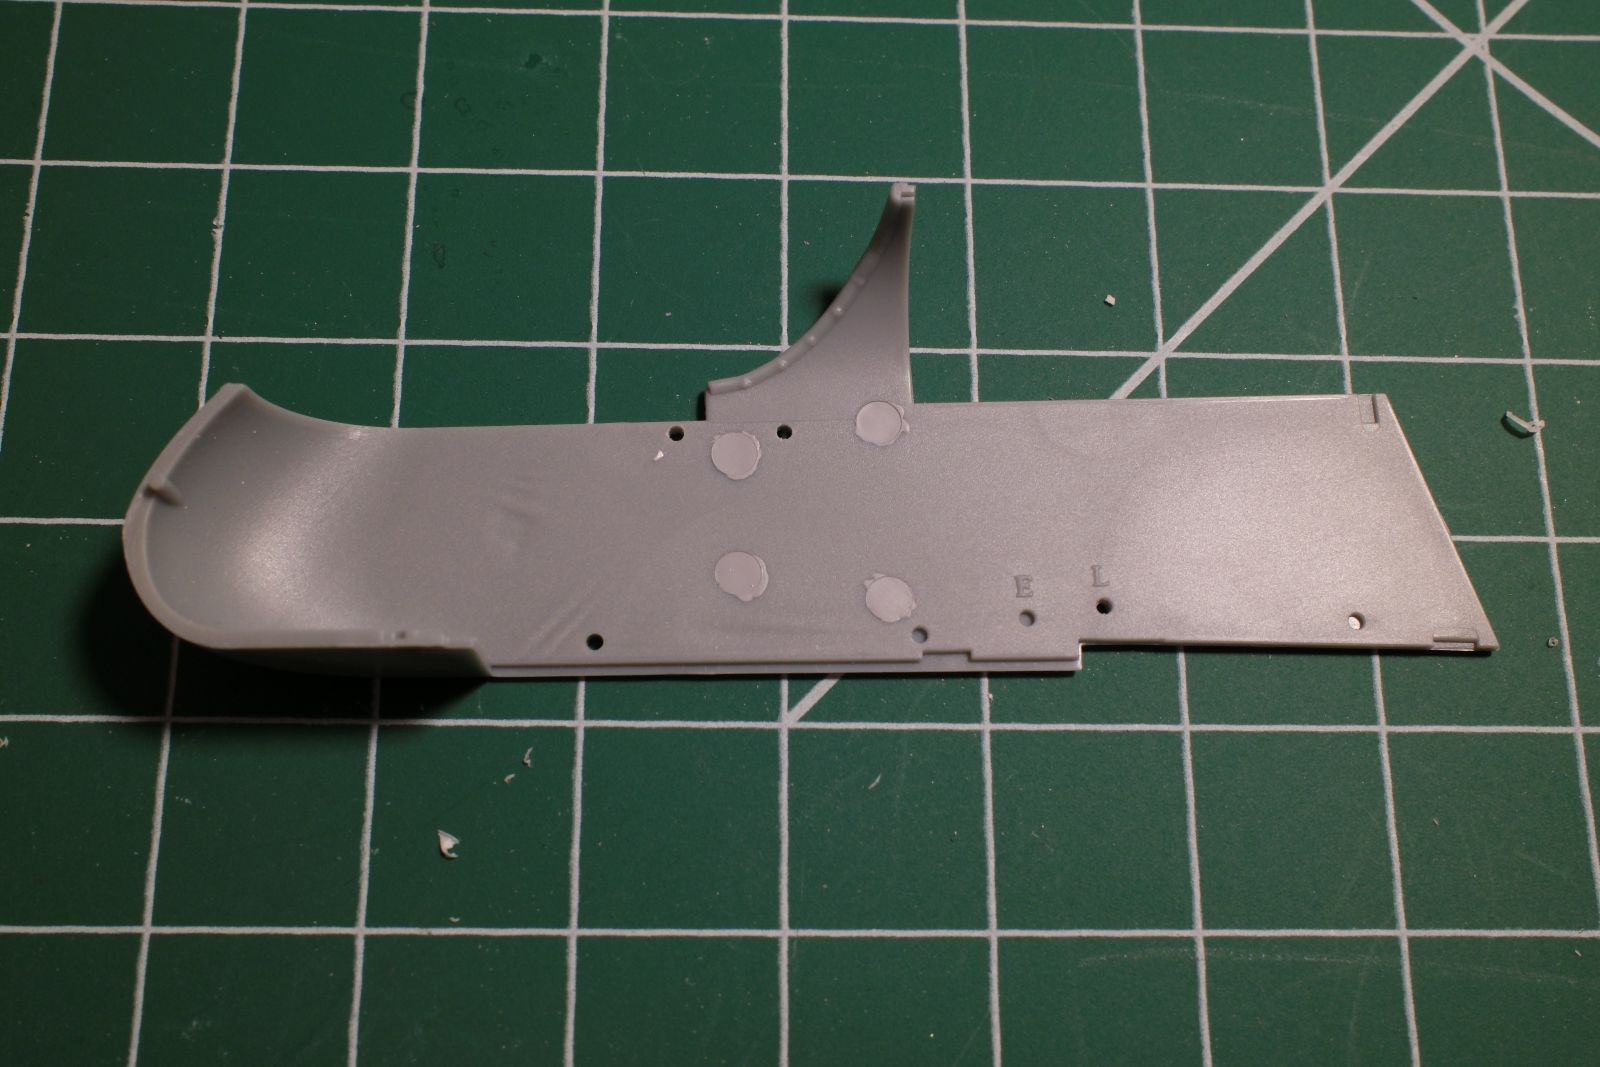
And some plastic cut, a dry fit of the fuselage
Not many parts to this as they were pretty simple aircraft, but a lot of rigging holding it together.
cheers Michael
Those planes give the name “fly by wire” a different perspective ![]()
I’d love to build a WnW kit once, but they are so very expensive!!!
What a great project! Your DH-2 will need plenty of rigging. How will you do that?
Paul
Thanks Paul. The answer is patiently ![]() I use EZ line for rigging, not sure whether I will use turnbuckles but as I get to that stage I will see what needs to be done. WnW suggest rigging in two parts. Build the nacelle and wings then rig, Build the tail boom, rig that, join together and complete the final rigging. It should be interesting.
I use EZ line for rigging, not sure whether I will use turnbuckles but as I get to that stage I will see what needs to be done. WnW suggest rigging in two parts. Build the nacelle and wings then rig, Build the tail boom, rig that, join together and complete the final rigging. It should be interesting.
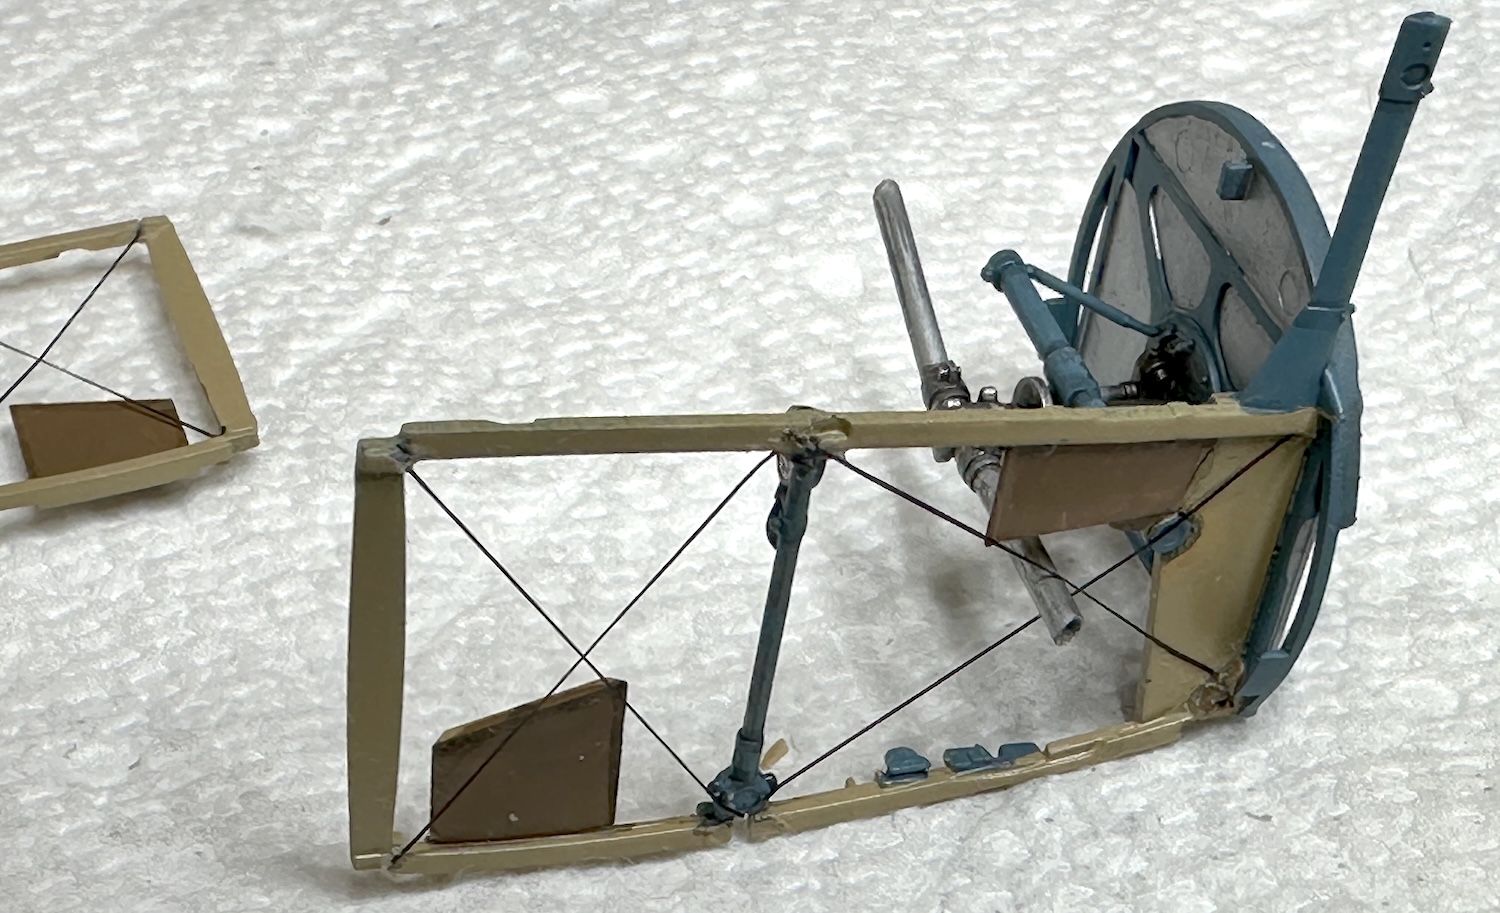
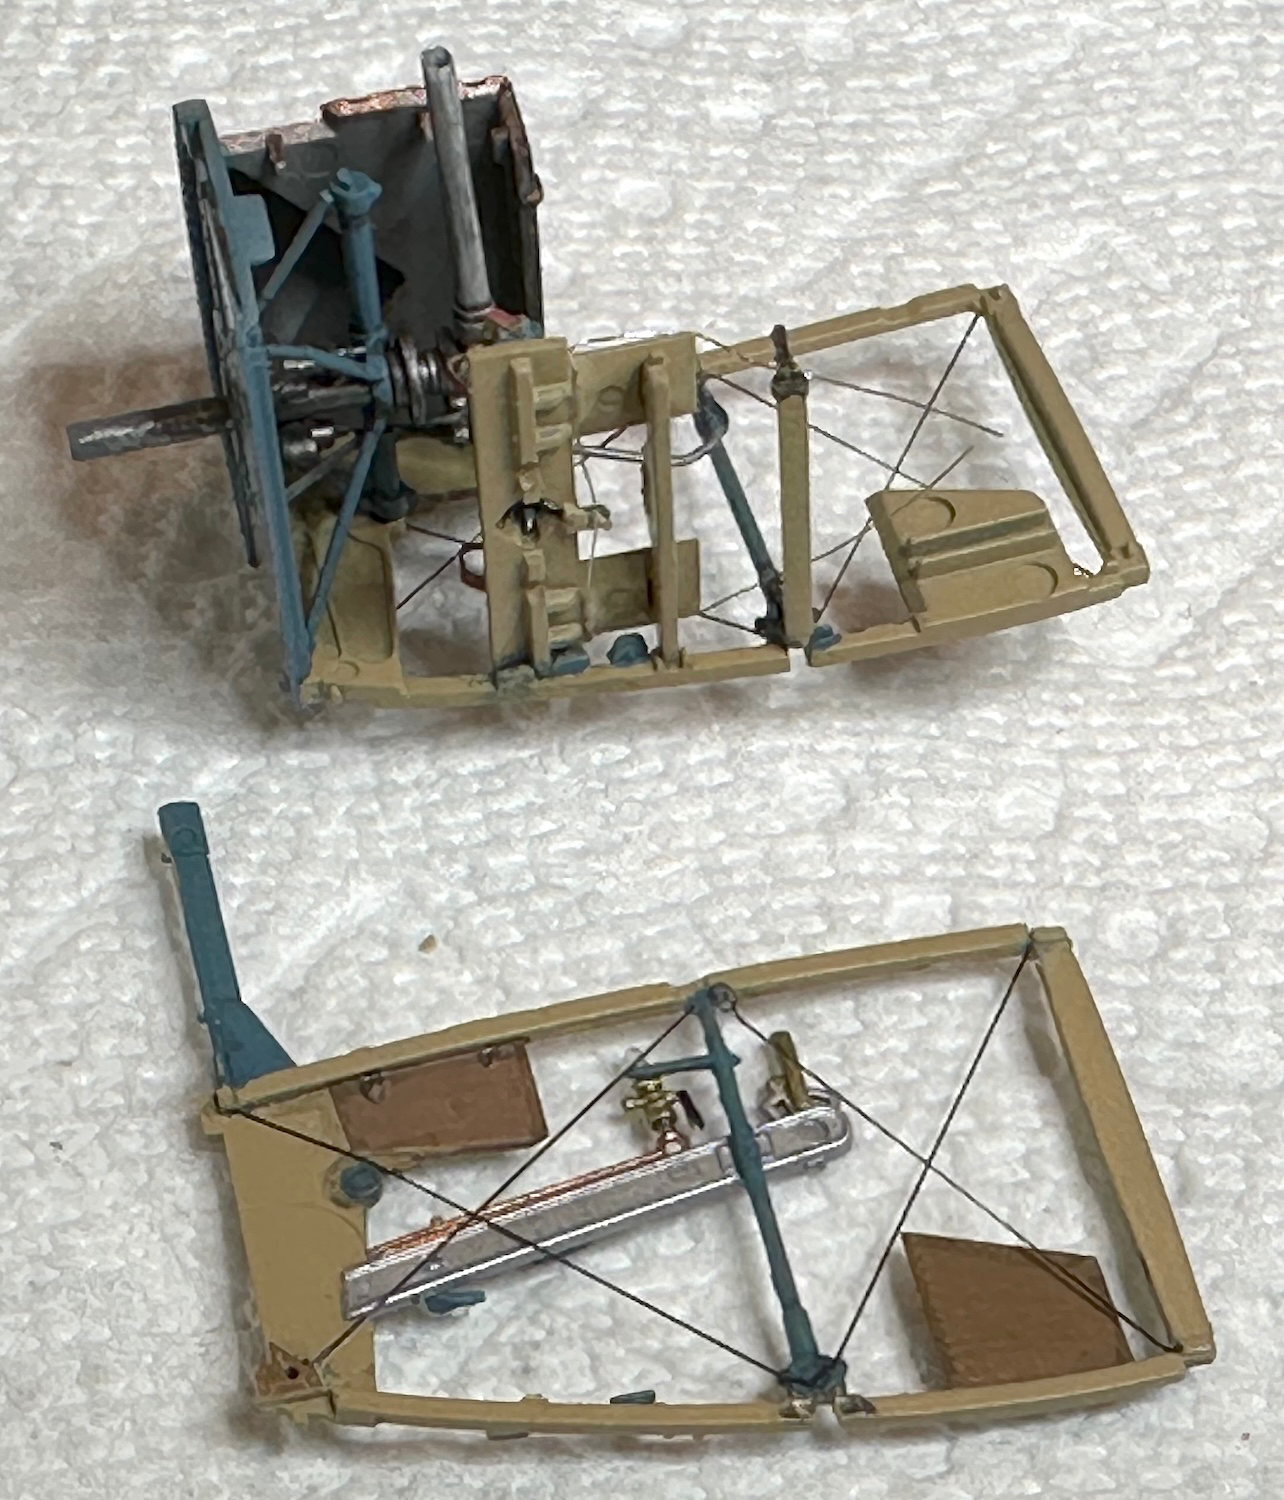
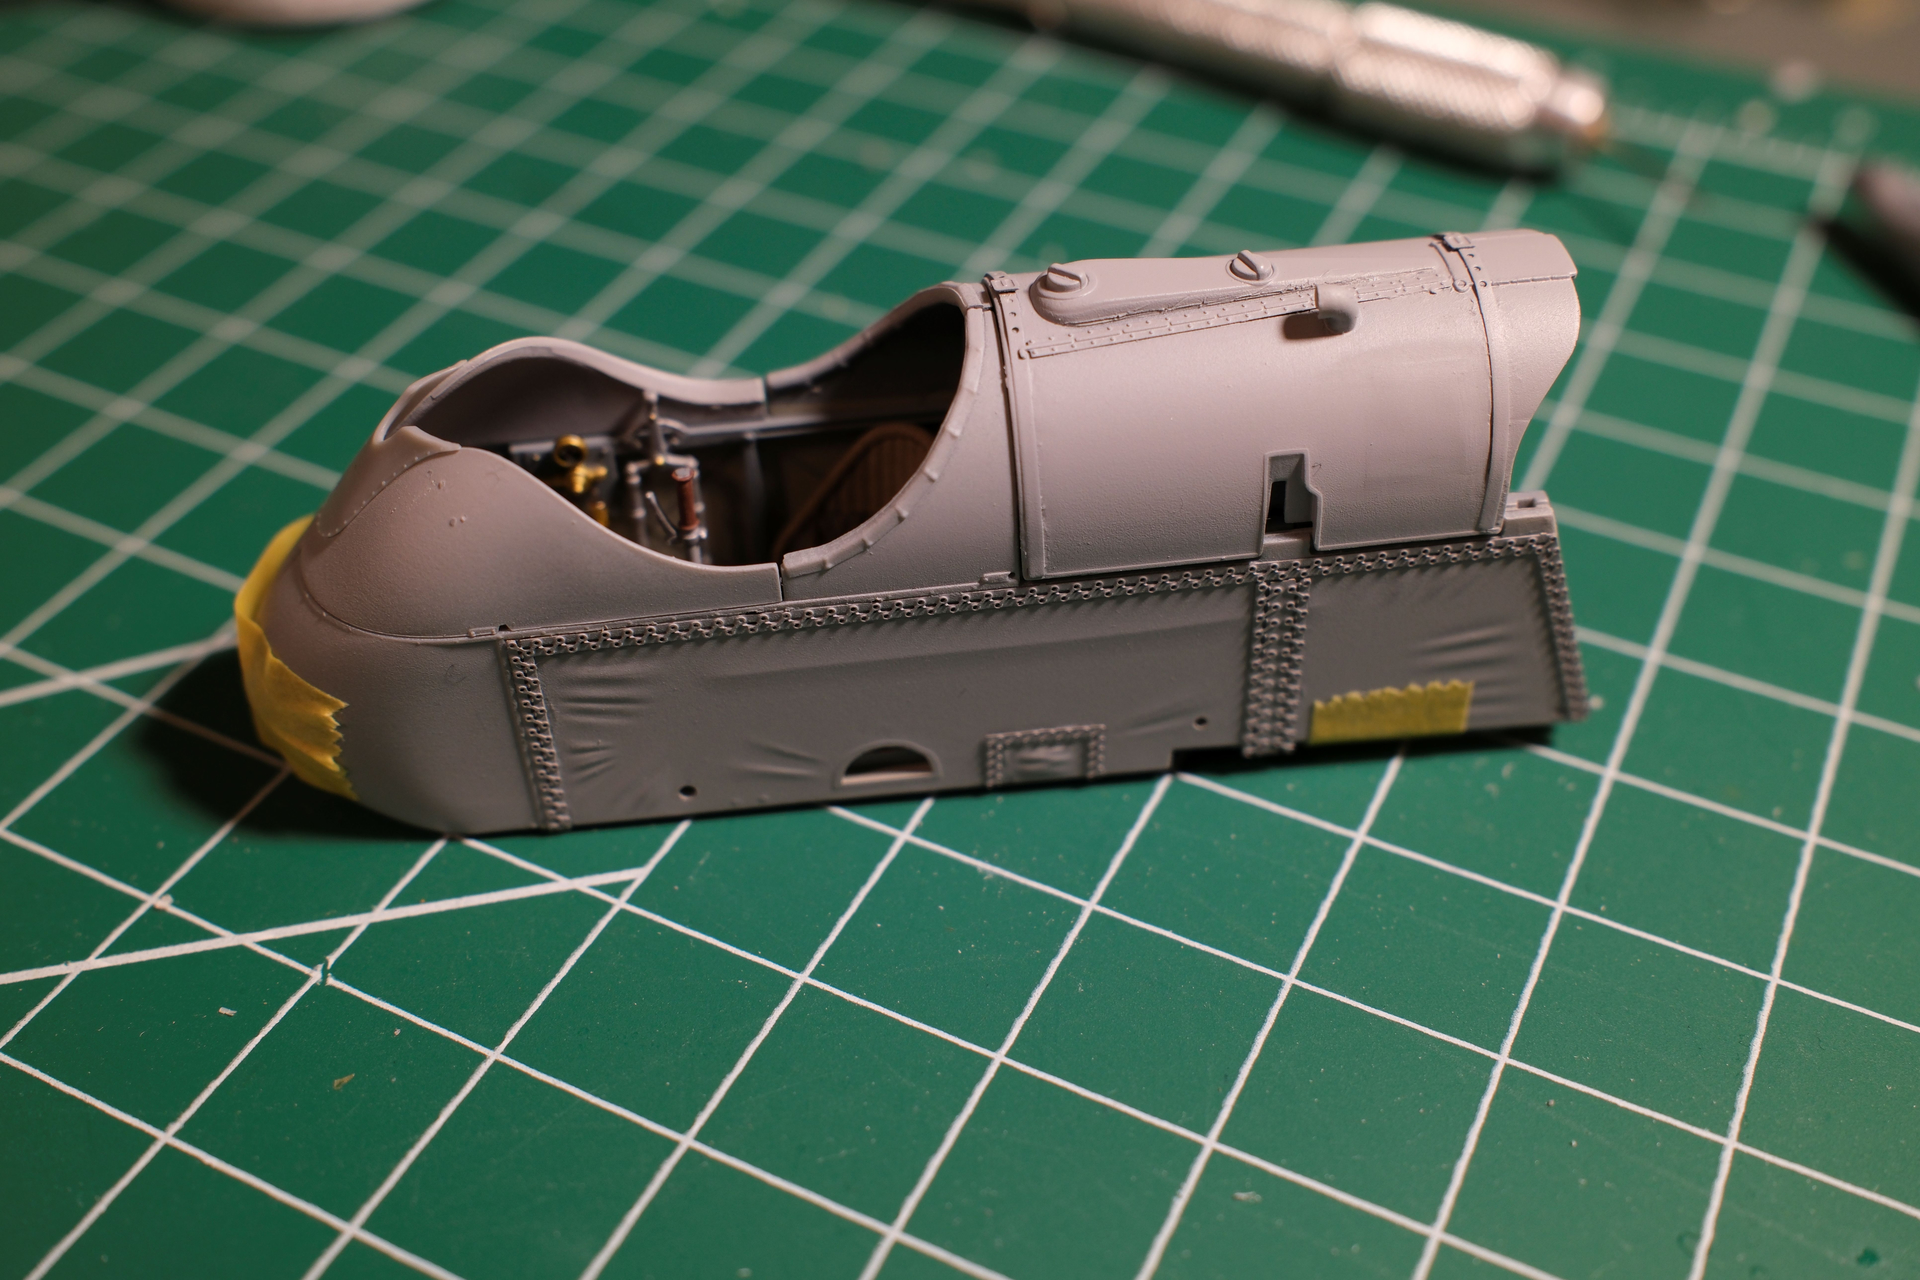
Work has begun on the DH2. Small part count has certainly helped here as I built out the cockpit in the nacelle.
There were a few marks to fill but otherwise very clean moulding
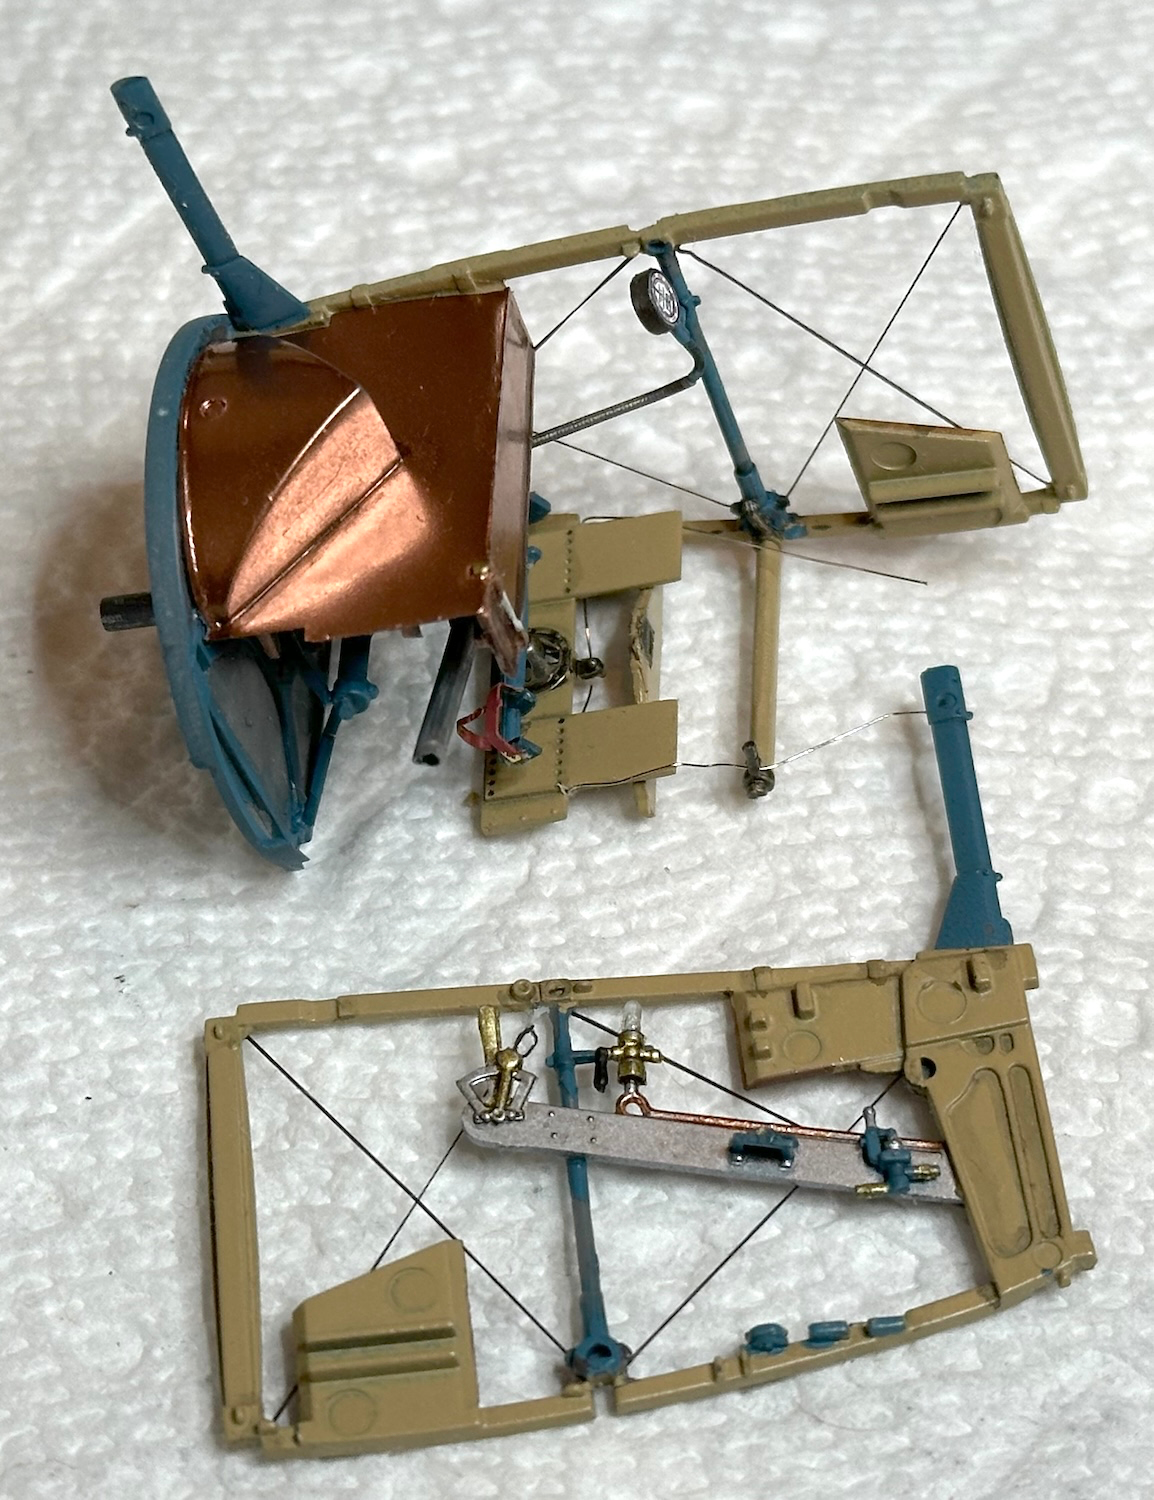
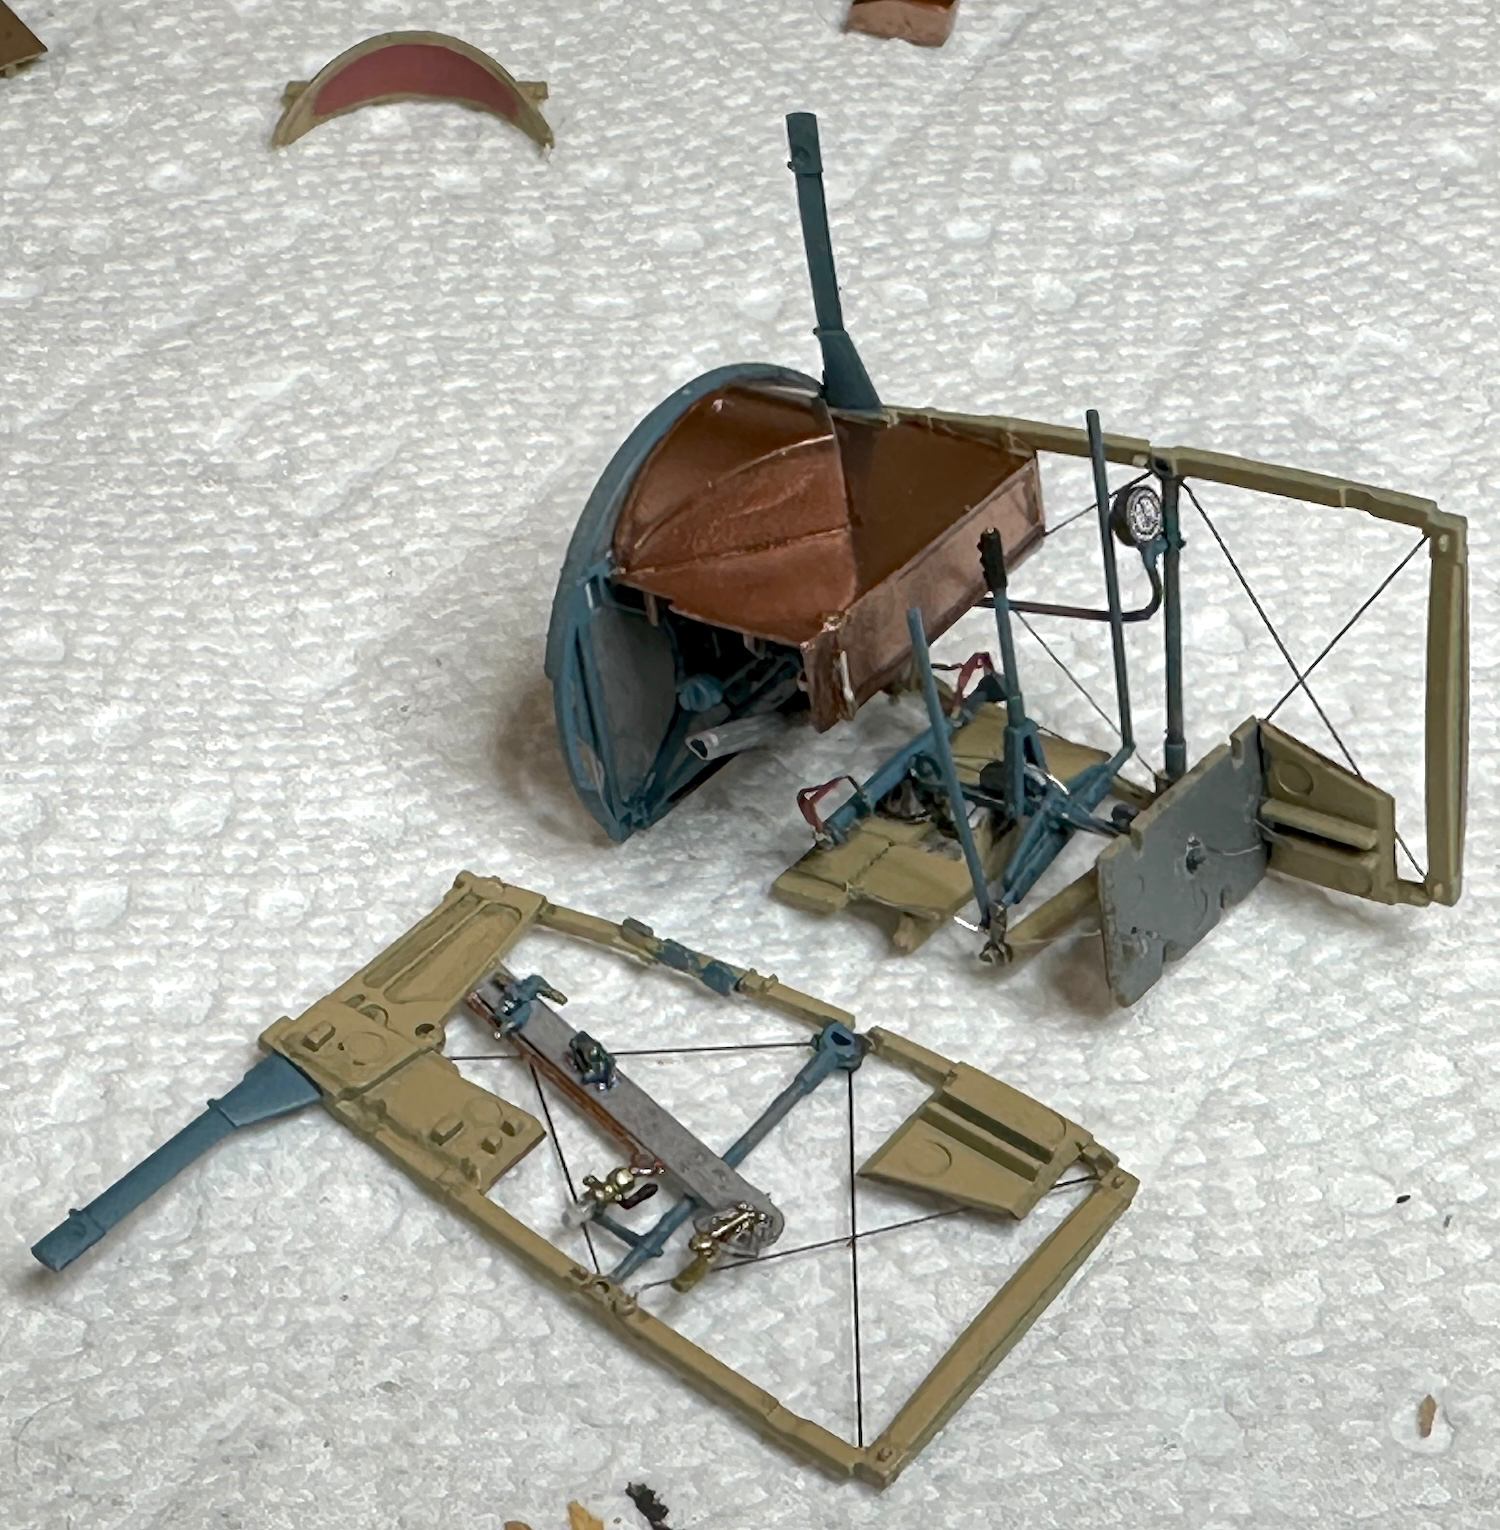
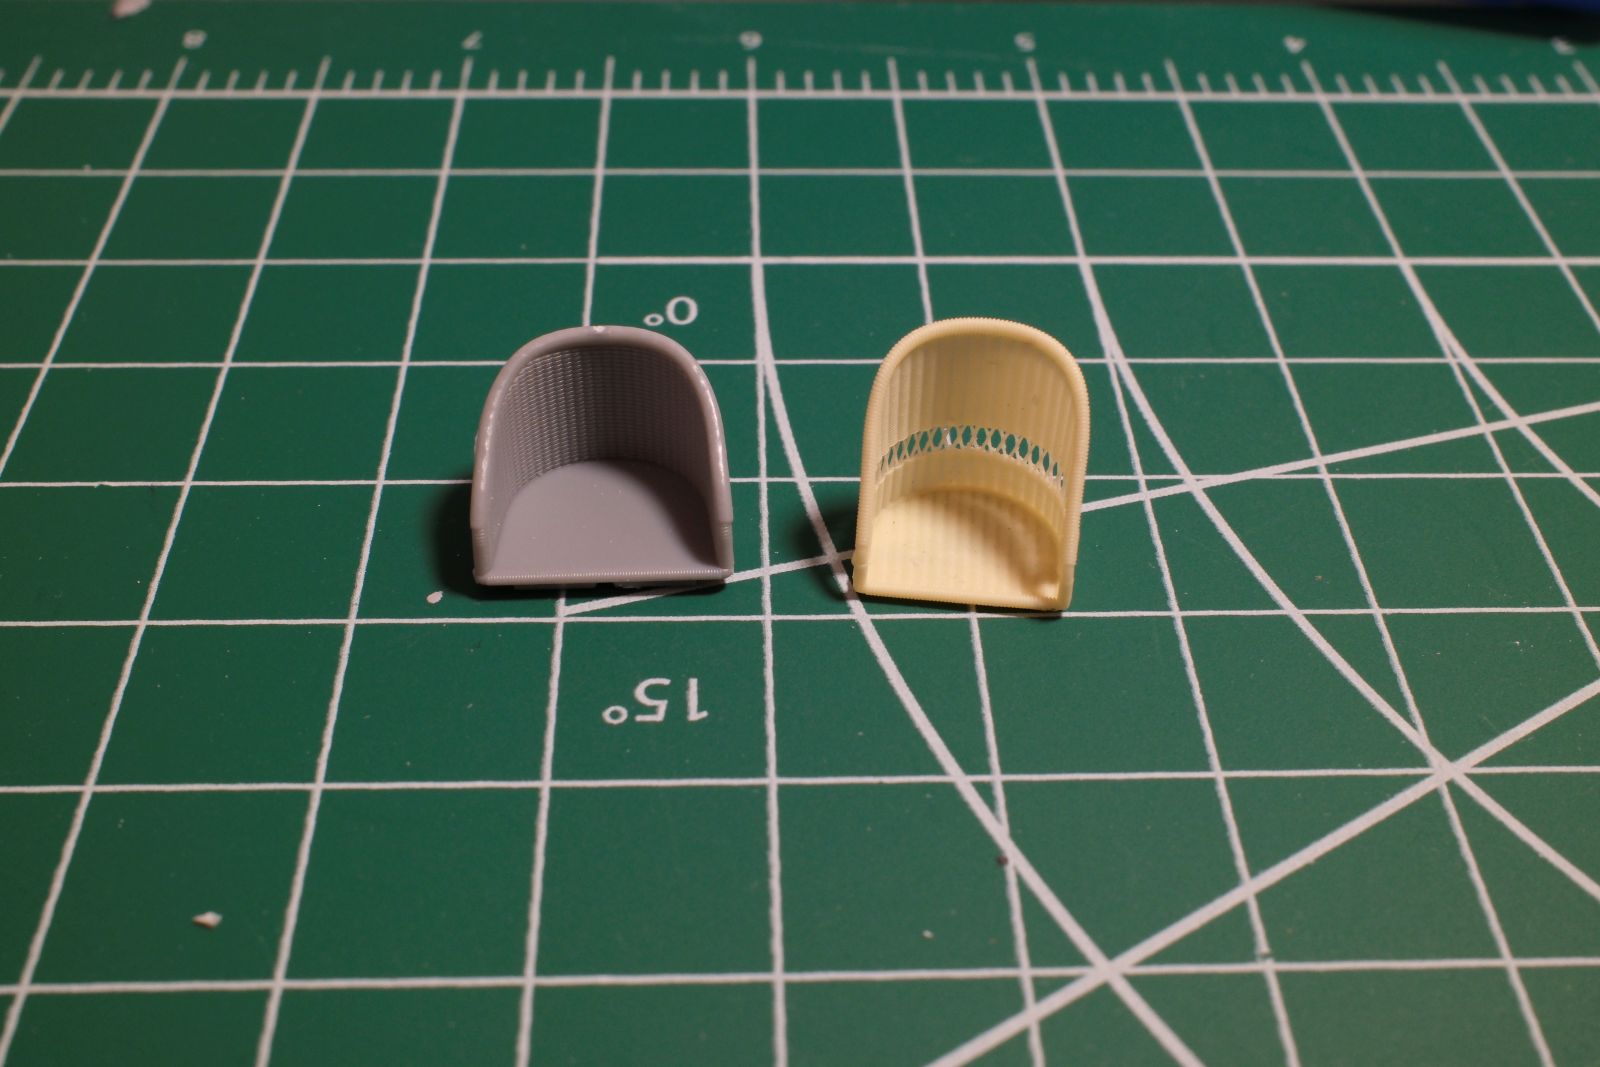
A few years a go I bought some resin wicker seats from Barracuda, they look much better
Simple set of gauges, compass is set in the floor
internal bracing of what would have been doped linen walls
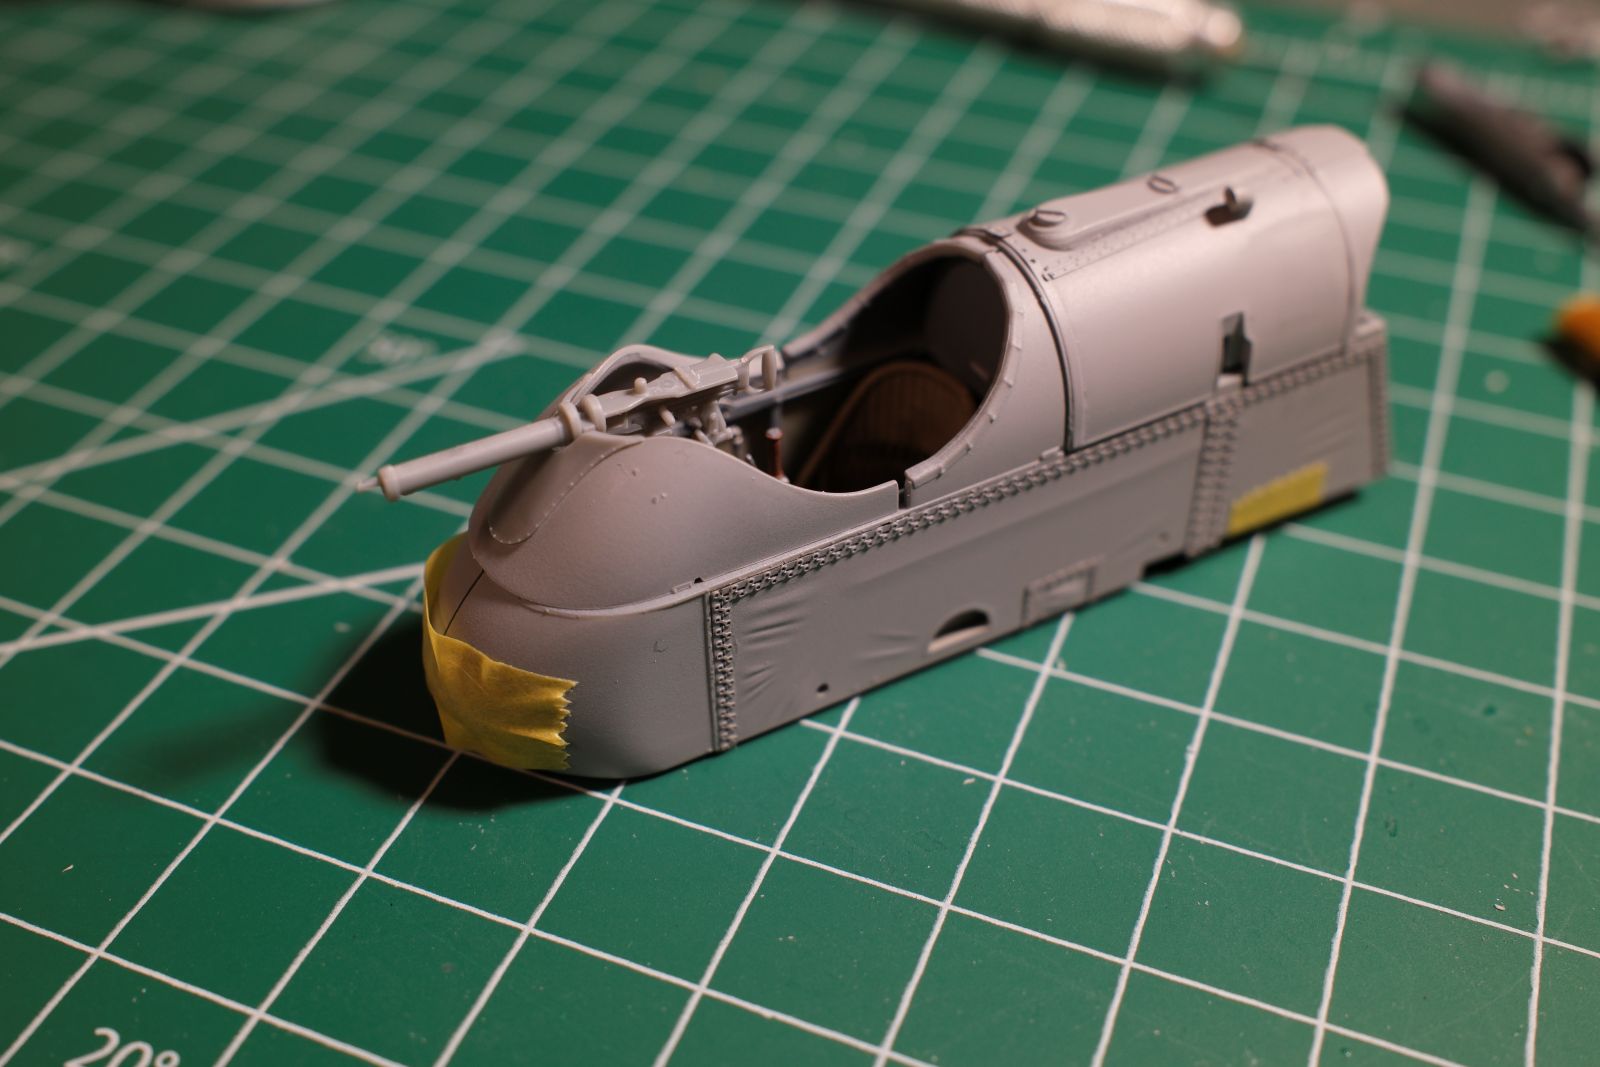
and some dry fit photos to show where we are heading with this - complete nacelle
and Lewis gun
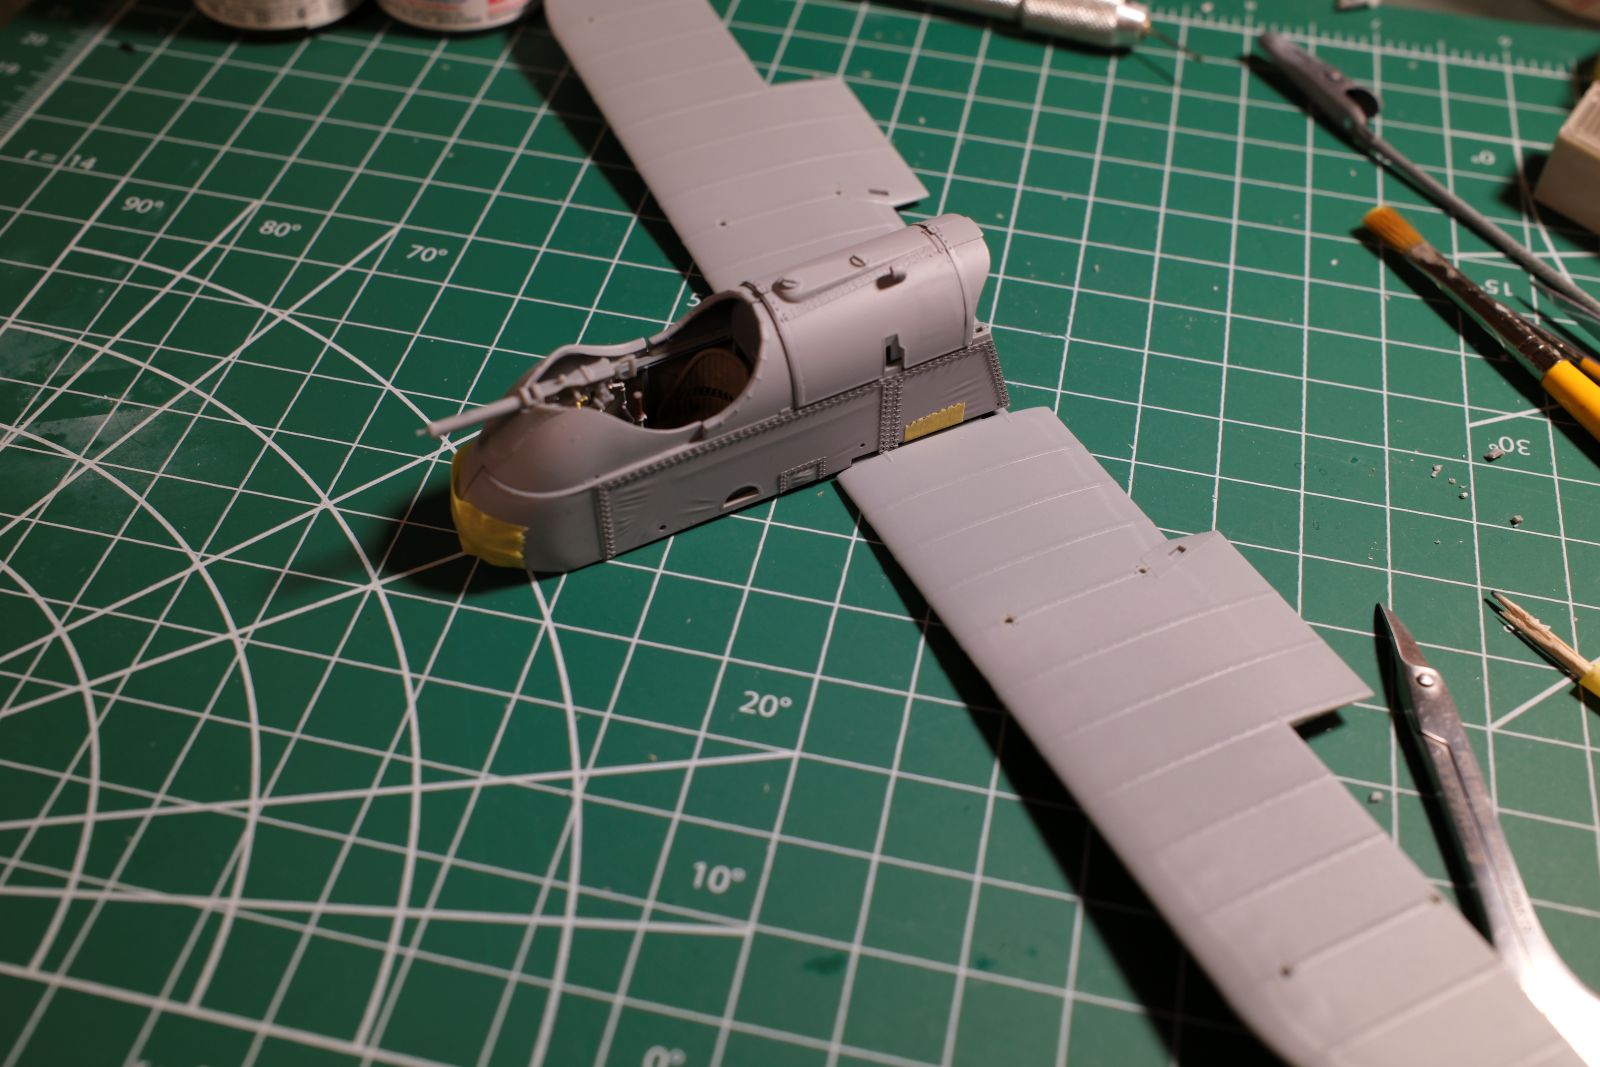
and seated on the lower wing
before I complete this I have to build and install the 100hp Gnome engine
cheers
Michael
This looks absolutely breathtaking. The seat is crazily realistic! Should the plane had no rigging in between the wings, I would definitely buy it.
Congrats for the works you did so far!