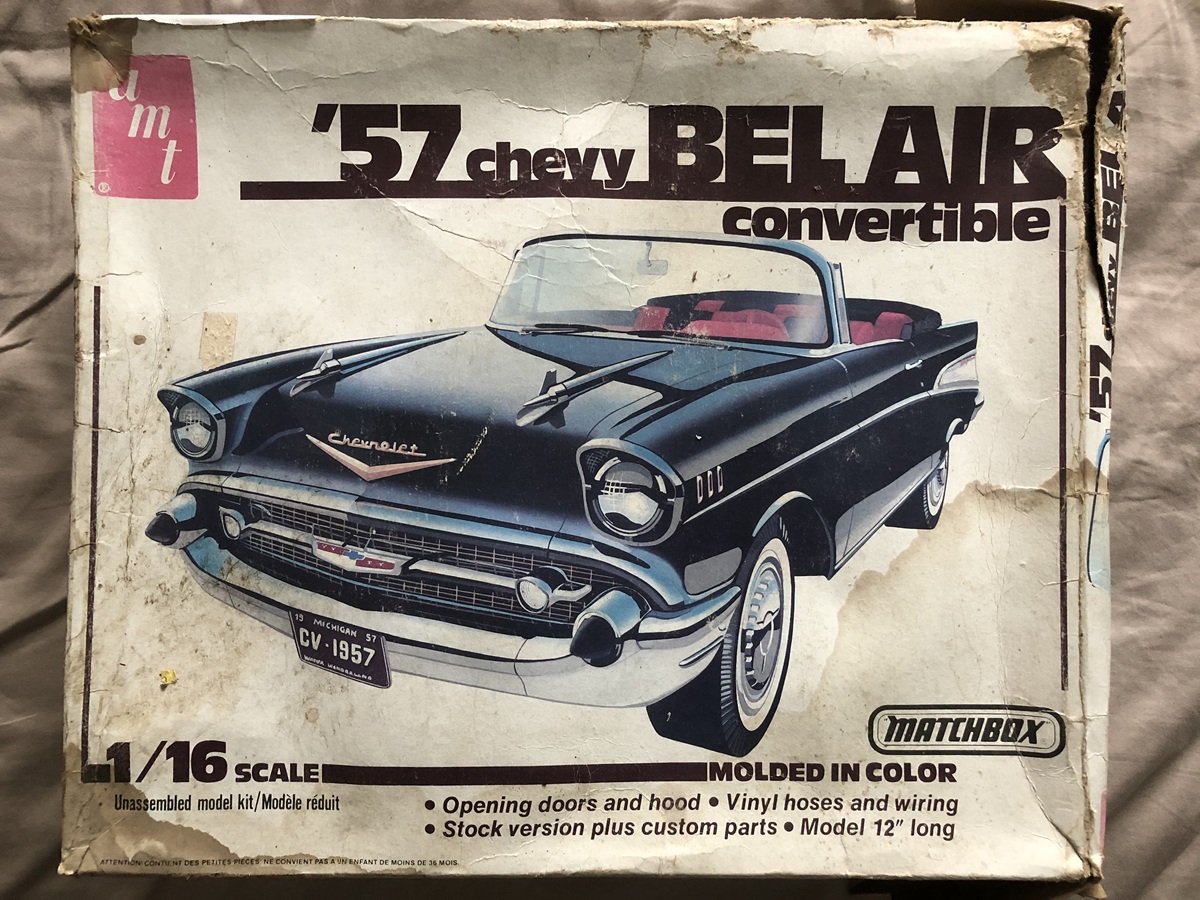
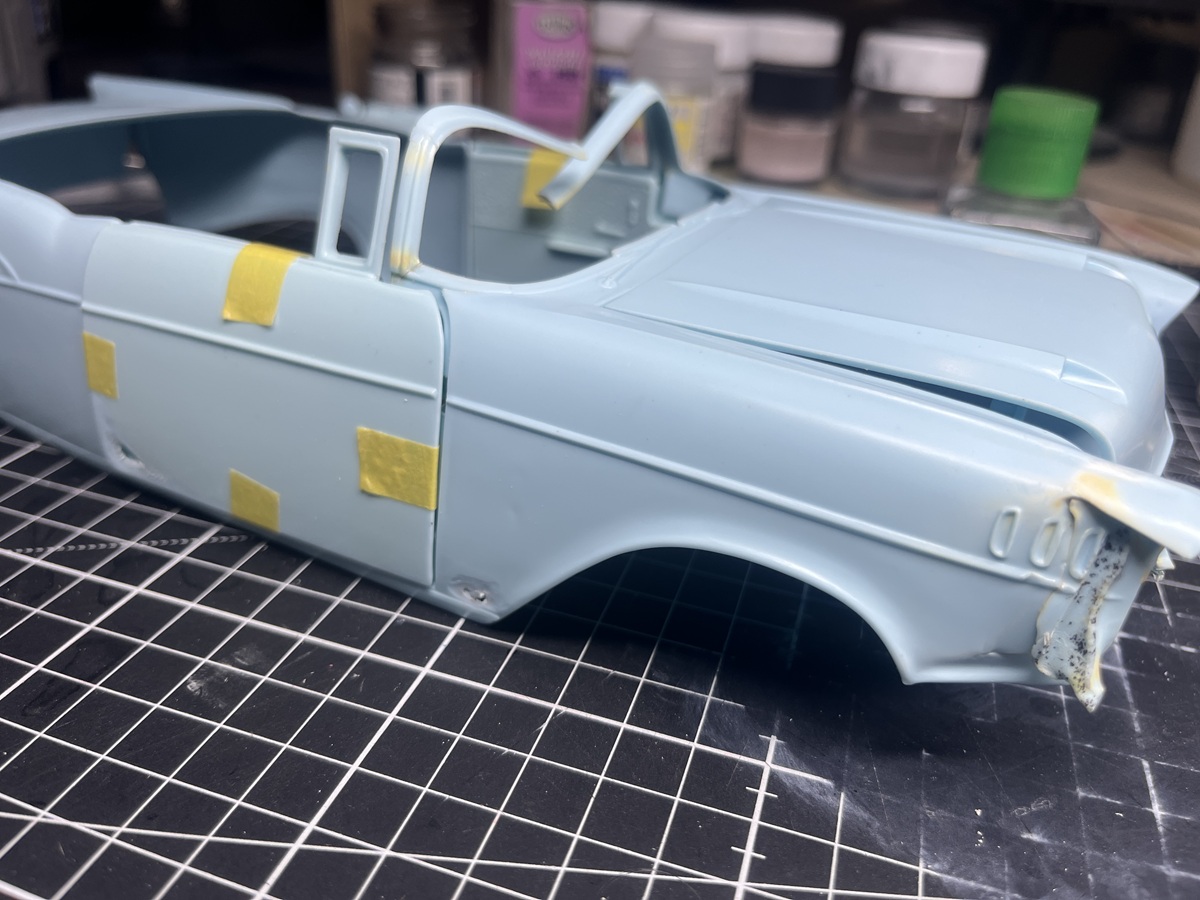
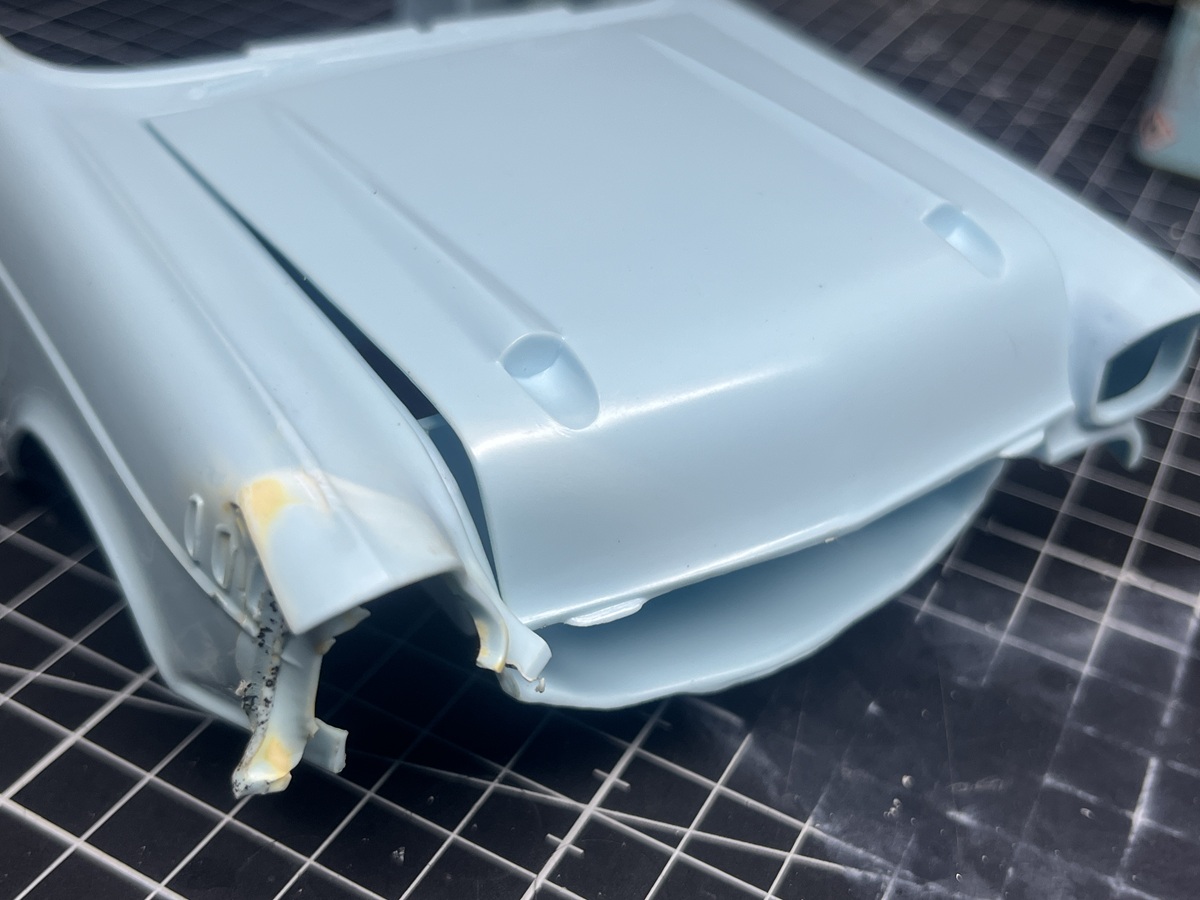
Hi folks. I picked up this decidedly second-hand kit from a swap meet quite a few years back for next to nothing. The box and instructions water damaged, and some sort of heat damage to the body (front right quarter panel and windscreen frame). The decals and one of the chrome rocker covers missing altogether.
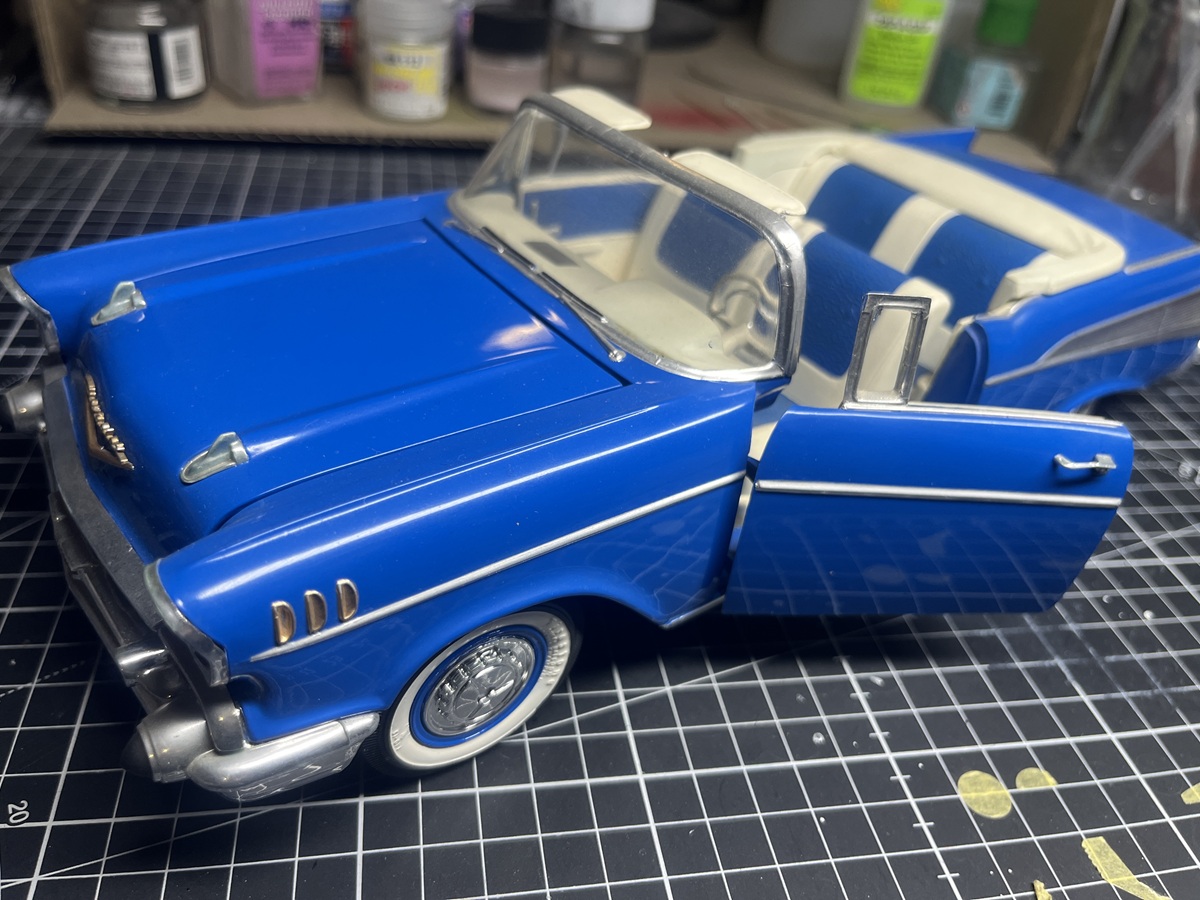
One of our club members passed away after a long battle with illness, and through the club we sold off his stash and built up models to raise funds for the family. I bought his ’57 Bel Air convertible, built a few years back from the AMT boxing. Harry was a great guy and an awesome modeller, and I’m very proud to have one of his builds in my display cabinet. My plan is to build this kit as a neglected rusty wreck waiting for some TLC as a counterpoint to Harry’s beatuiful build.
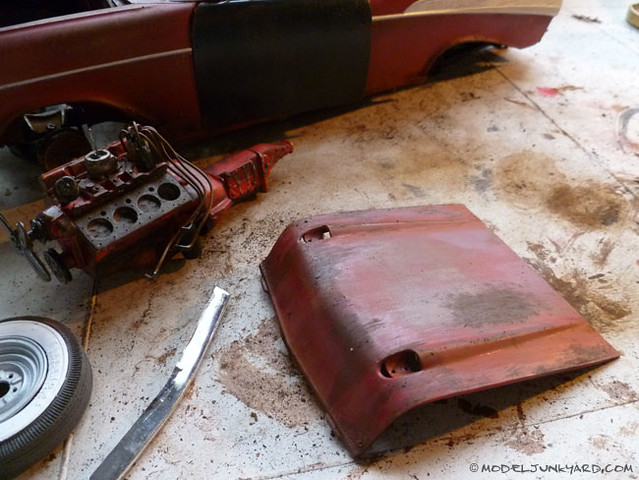
I will need to carefully heat up the front RH corner of the hood and shape it to fit in with the quarter panel damage. I have already started on sub assemblies, and thinning out a couple of spots with the Dremel to make some rust holes. Hopefully some more progress reports soon.
Cheers, D
5 Likes
Condolences on losing a talented modeler to your club and props for trying to help out the family.
2 Likes
Yes, D, that’s the way we all have to go one day. I’ve also lost fellow modellers along the way already. From one of our former presidents we still give away his unbuild kits on our shows. That will last us still a few years … Some of his thousands (!) kits already went down the drain. Nobody wants them.
Well, of course I will follow what you can make out of this damaged kit.
2 Likes
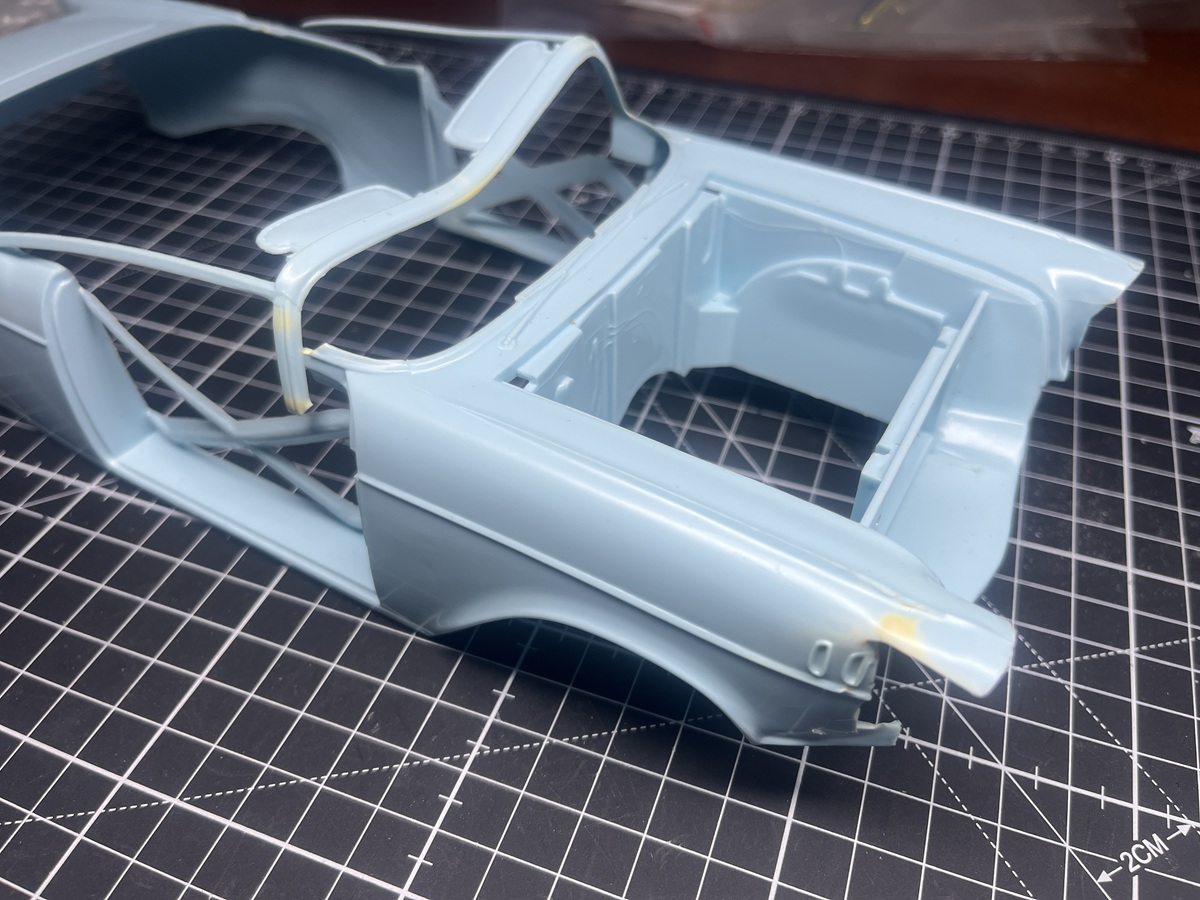
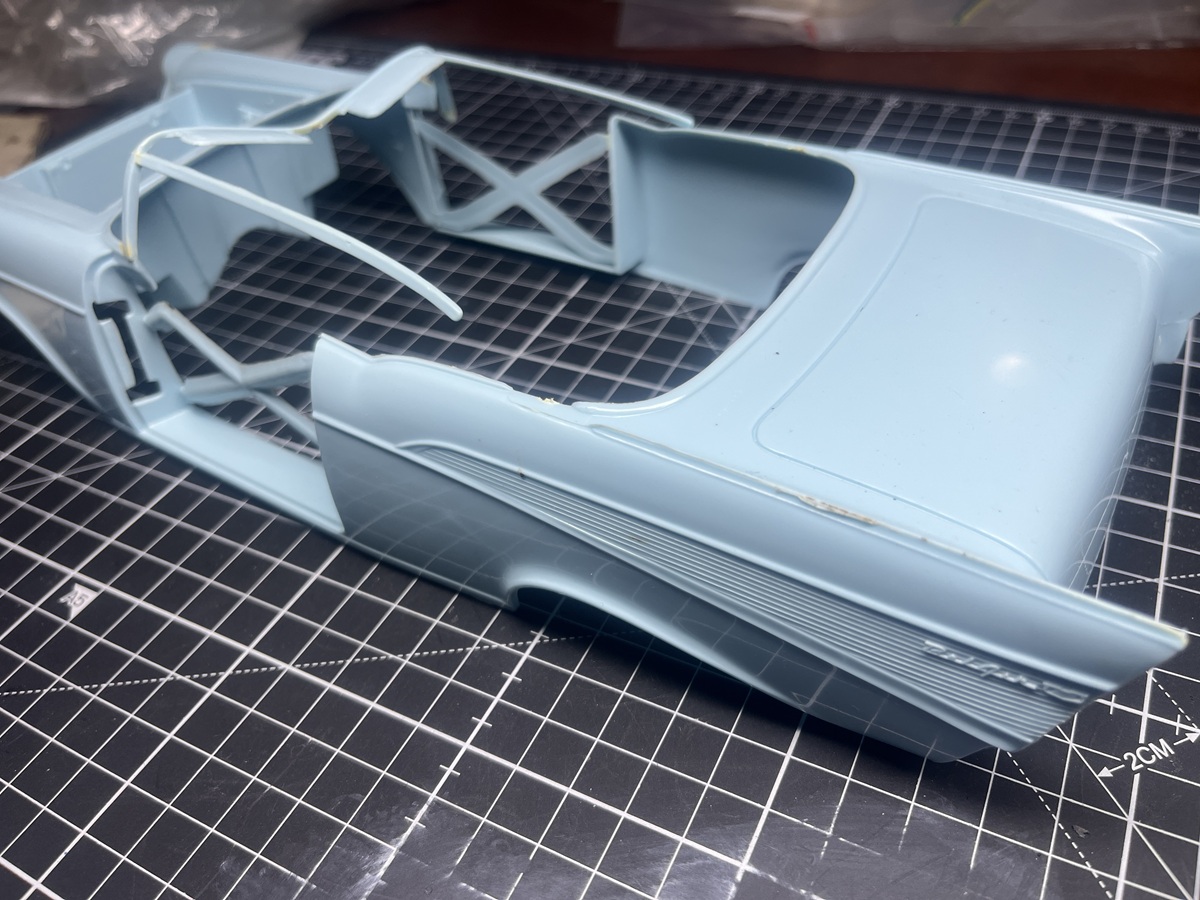
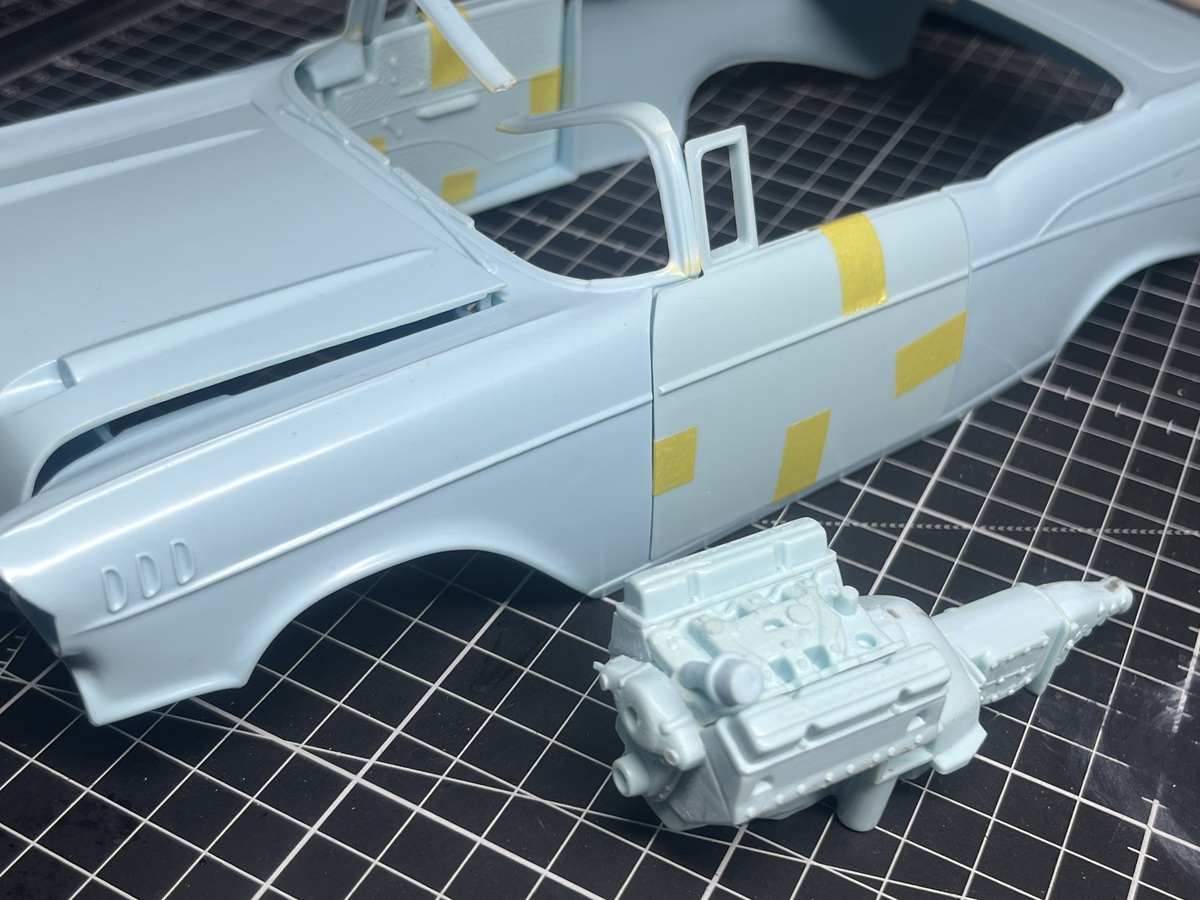
I’ve been in build mode rather than paint mode over the last couple of nights, so I started putting some sub-assemblies together and repositioning some broken parts. I put the missing pieces of the windscreen frame and quarter panel back in place. It looks like the damage may have been caused by a soldering iron resting against the quarter panel.
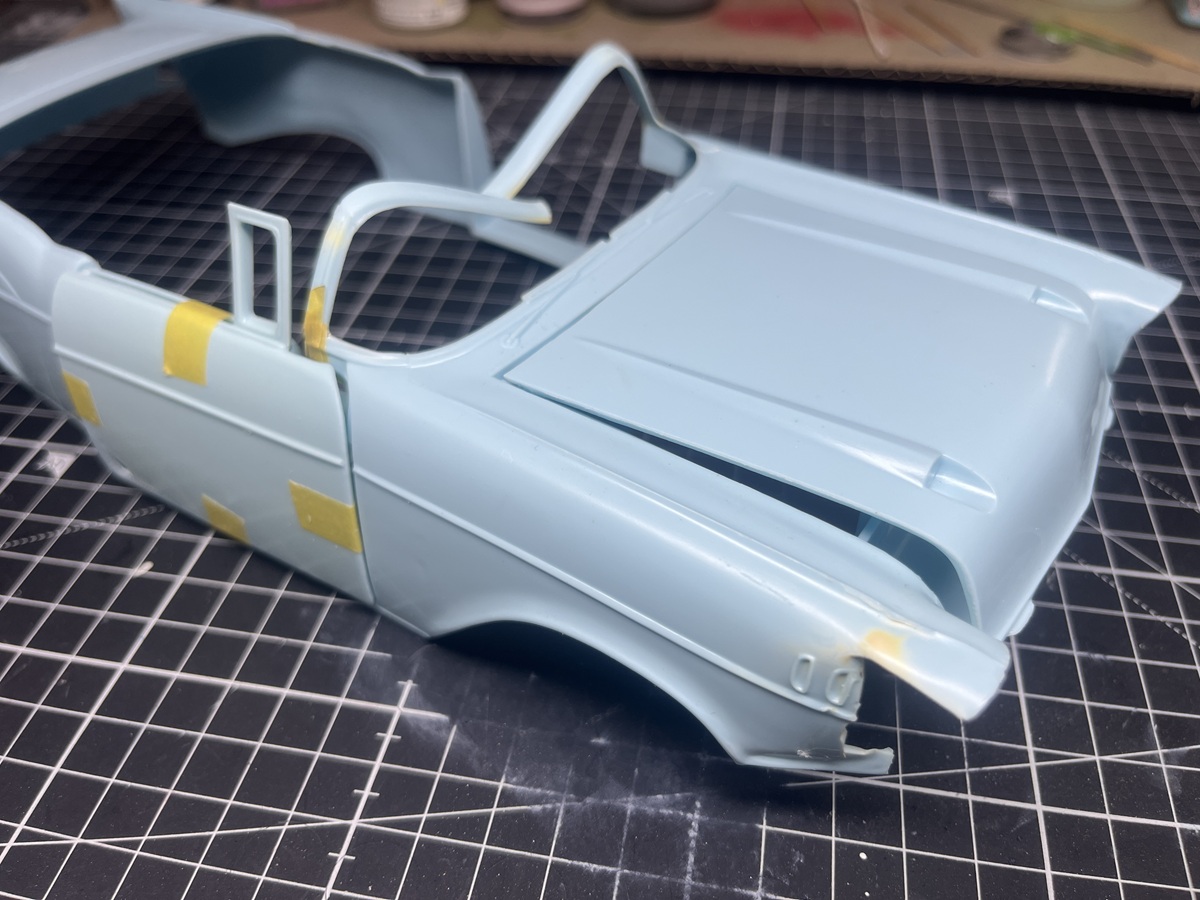
I used boiling water to heat up the front RH corner of the hood and gently bent it inwards to show that it had been impacted by the quarter panel.
I assembled the engine and front suspension, then did a quick test fit to see how it all looks.
Time to start thinking about how badly I want to tear up the interior, and maybe prime to exterior and underside.
Cheers, D
5 Likes
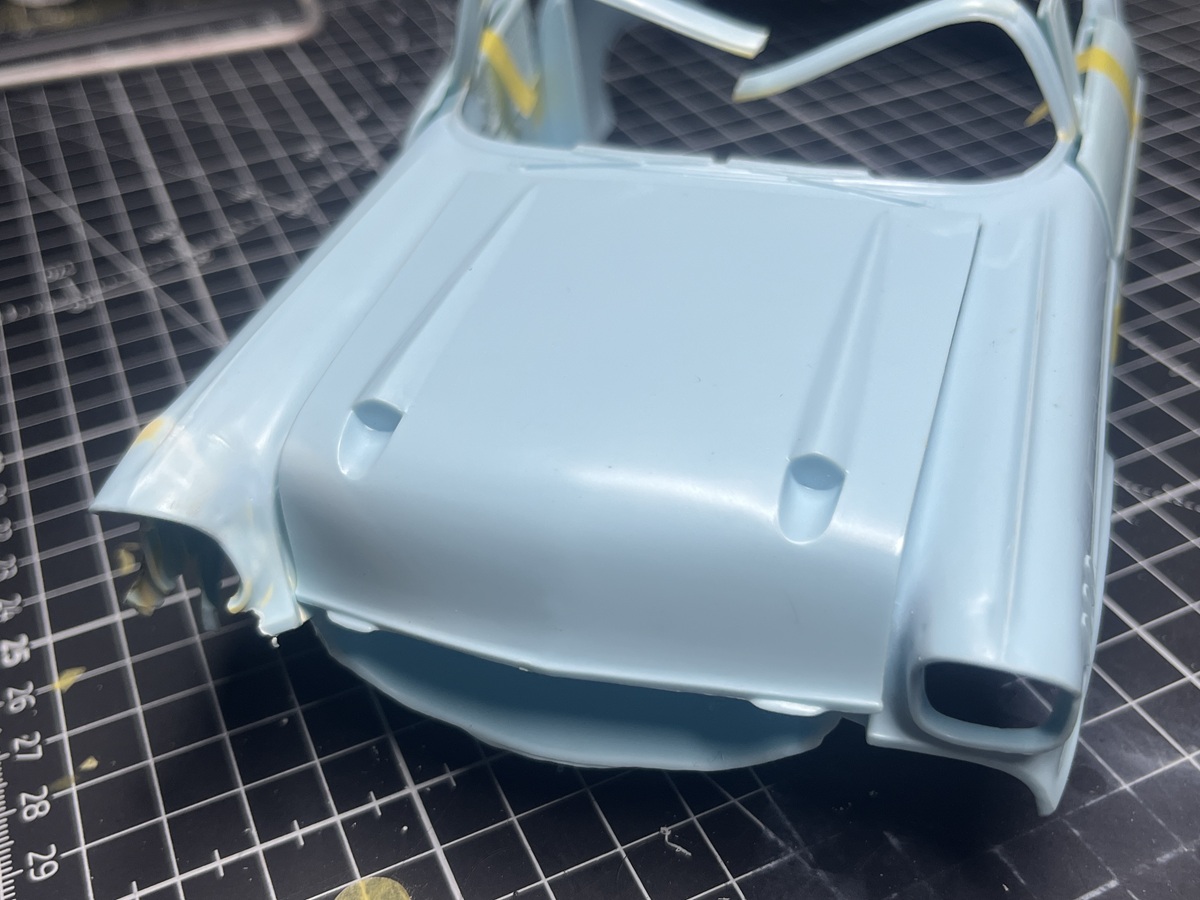
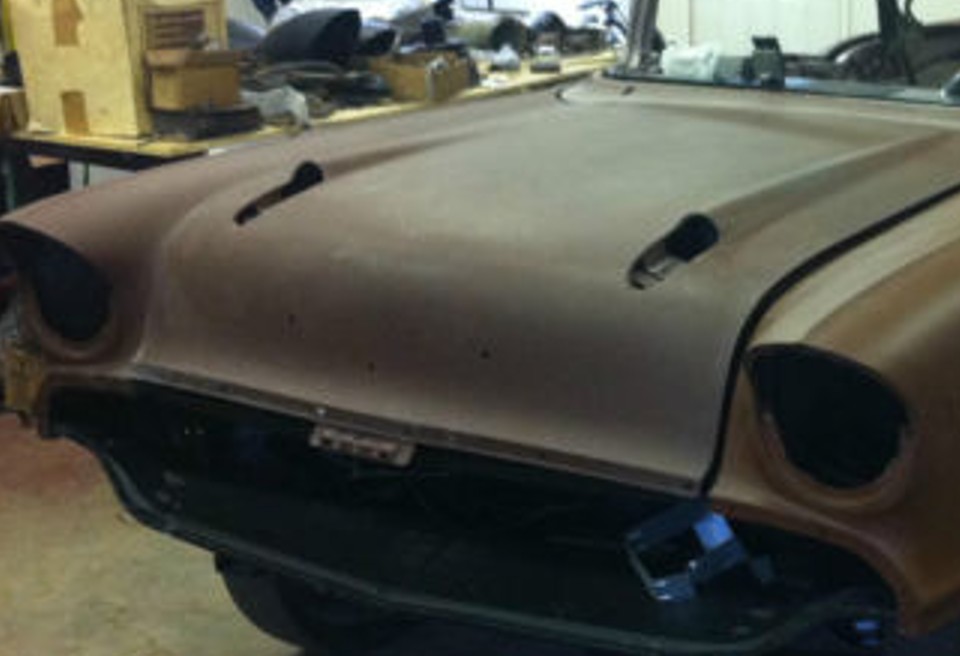
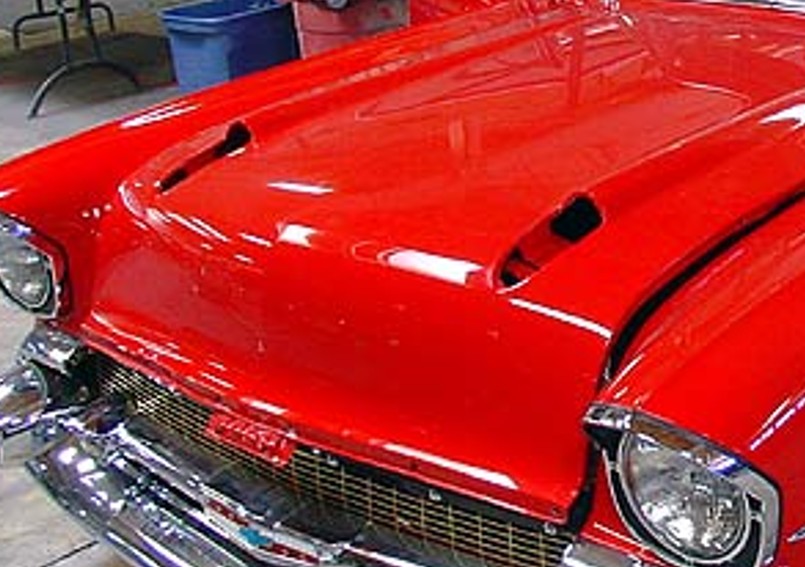
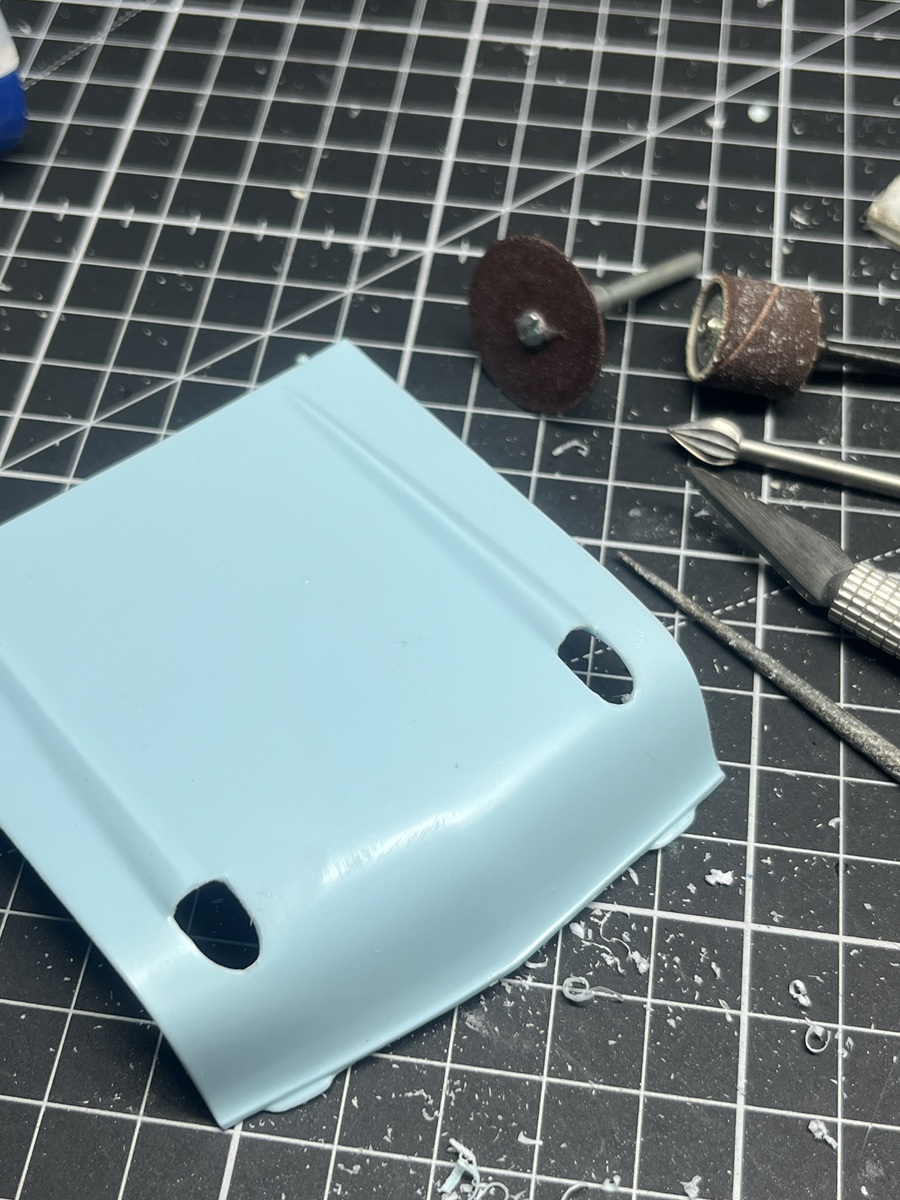
I’m thinking I might do some work on the hood to represent that it has been stripped of the chrome trims, as per these reference images. It will mean some carving of the “bullet” mount points and adding supports beneath, and drilling some mounting holes for the bottom trim and badge points.
Cheers, D
3 Likes
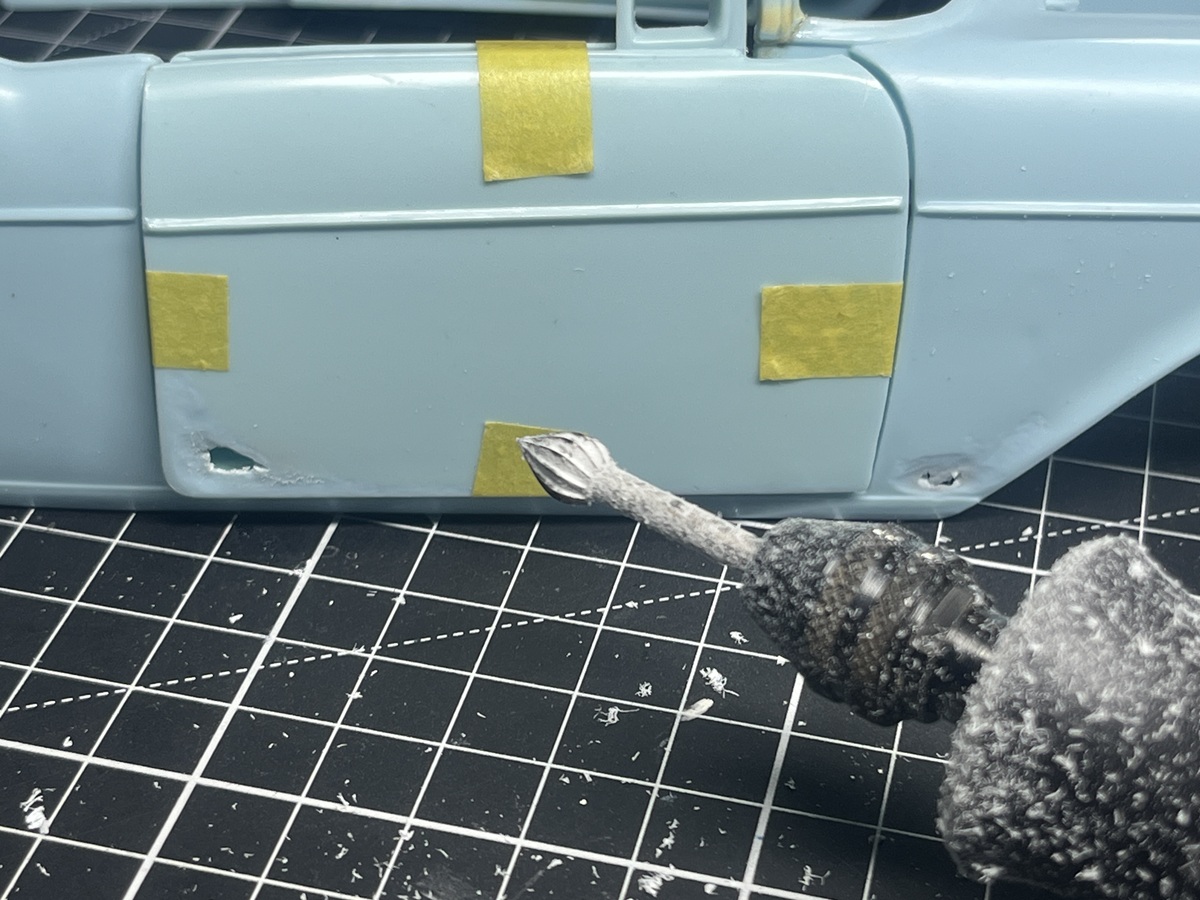
Hi folks, time to report on a little more progress. I’ve made some more mess with the Dremel and carbide burr.
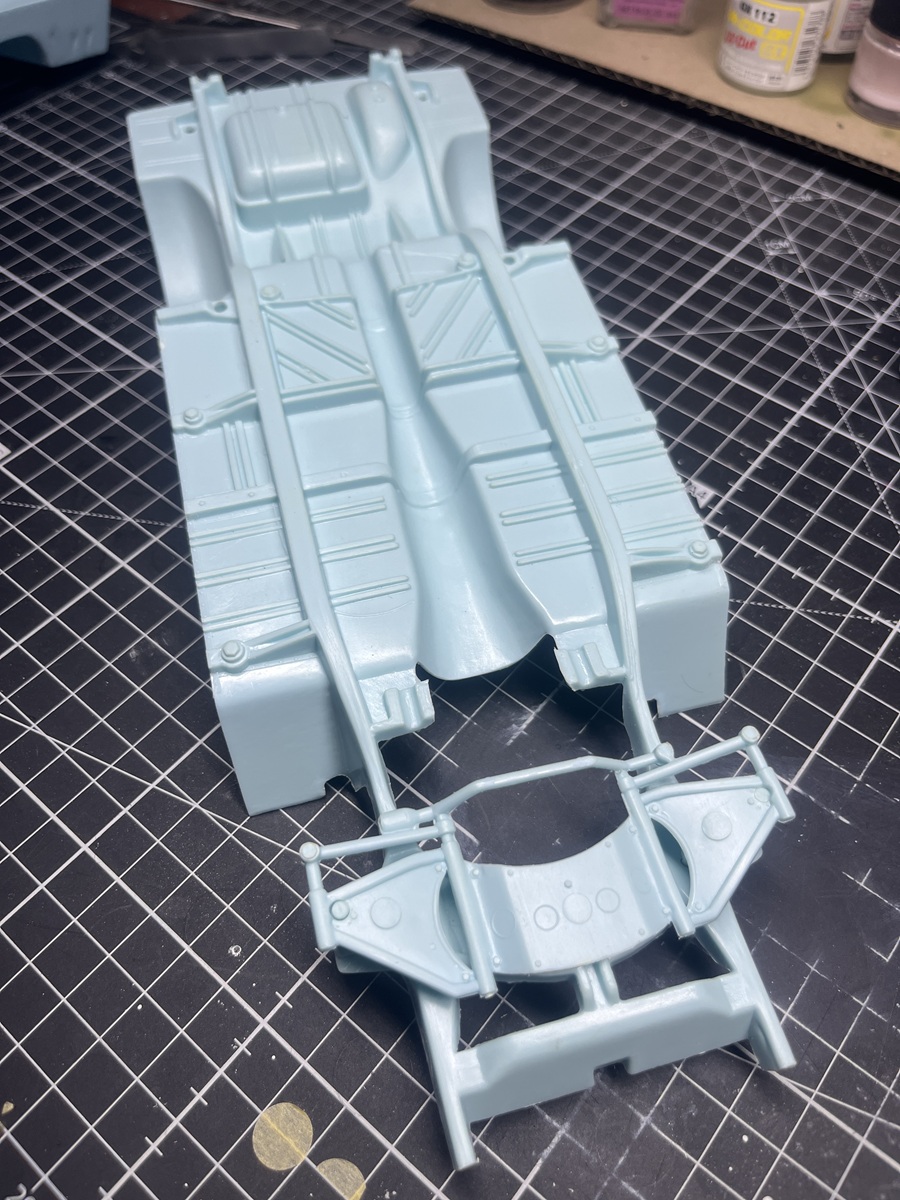
I primed the underside with MS1000 Mahogany to use as a rust base for some hairspray chipping.
Rabbit-hole time. Doing some Googling to sort out the underside paint, I found some great images of a restored ‘57 and found that they were delivered from factory with the underside in a Red Oxide primer and frame rails painted black. Some had the underside painted black at the dealer.
Now I need to start playing with some paint colours to come up with a close match. The Red Oxide I have is way too brown. I might start with a dark red and add some red oxide and see how that goes.
Cheers, D
6 Likes
Working on the hood, found some good reference shots for what it looks like without the chrome trims.
So I took to mine with drill and Dremel!
A lot of work to do on the underside to scratch up the mechanisms.
Cheers, D
6 Likes
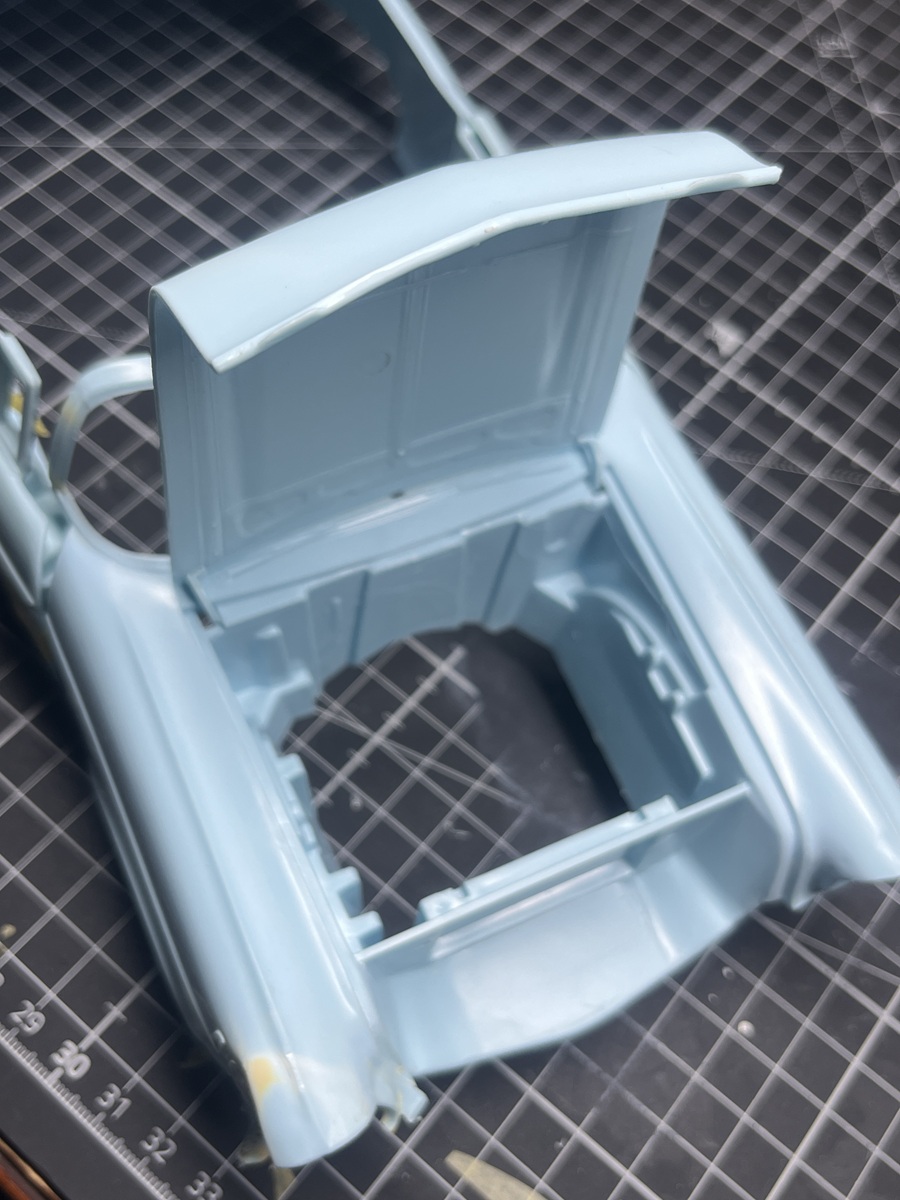
Another conundrum. The dashboard is cemented to the shroud at the bottom of the windscreen clear part, then this whole assemble is fitted to the body.
Since a tree fell on this car, there will be no windscreen, so once again time to get my Dremel into action and get my Chop-Chop on! I held the clear part in place and scribed a cut line, then free-handed slowly along the line.
Result was not too bad, just need a little bit of tweaking to line it up with the frame on the body.
Test fitting the dashboard showed large gaps at each end.
This will need some work to fill. I also decided to drill out the knobs and dials to represent some scavenging of parts while this car sat sadly dormant over the years.
I cemented some sprue on each end of the dashboard to be carved in to shape to fill the gaps.
This won’t need to be perfect as I’m planning to build up some debris on the dashboard.
Cheers, D
6 Likes
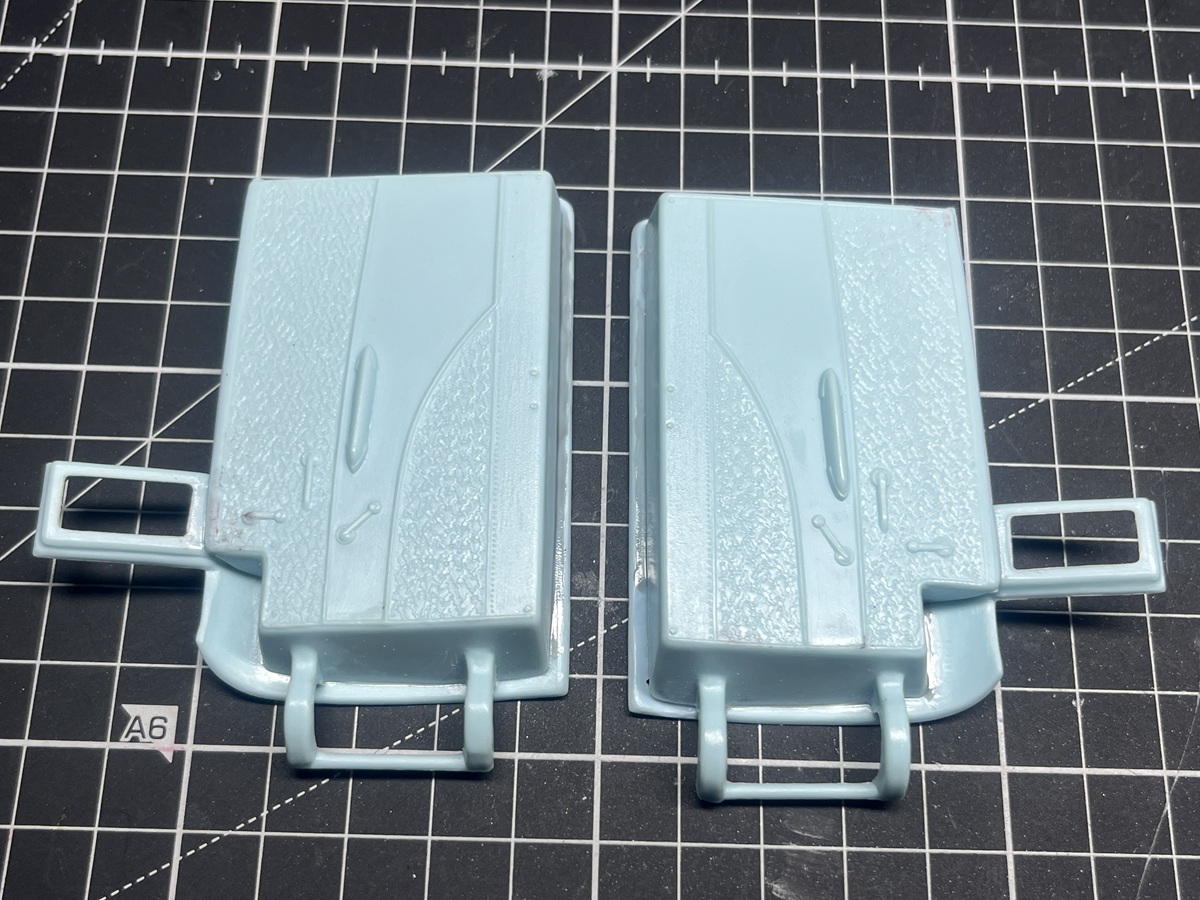
Door assembly, needed some reshaping and a touch of “stay put you &$#*&%!” 
Thinking about covering some of the door fabric with old tea-bag material and tearing it up a bit, like I did on the 1/24 Jeep I built a while back.
Cheers, D
7 Likes
Nice work on the details, D.
1 Like
Yes, that torn up tea bag paper effect looks great on that seat. What is the interior door trim material on a 1/1? If vinyl, maybe aluminum foil from the kitchen would work.
2 Likes
Watching with interest D…
I built this kit way back when I was around 15 years old… one of the first kits I built that I decided to take the painting of very seriously and used aerosol paints on… still adorns my display cabinet to this day….
3 Likes
Wow D, this is quite a build! Very nice indeed. If you’re interested, check out DD Speedshop on Youtube - he has done several tri-five builds - and if you watch enough of them, I’m sure you can find any detail (frame, body, and on and on) you could possibly need - the videos are ripe for model building reference screenshots! 
Looking forward to seeing more
Nick 
2 Likes