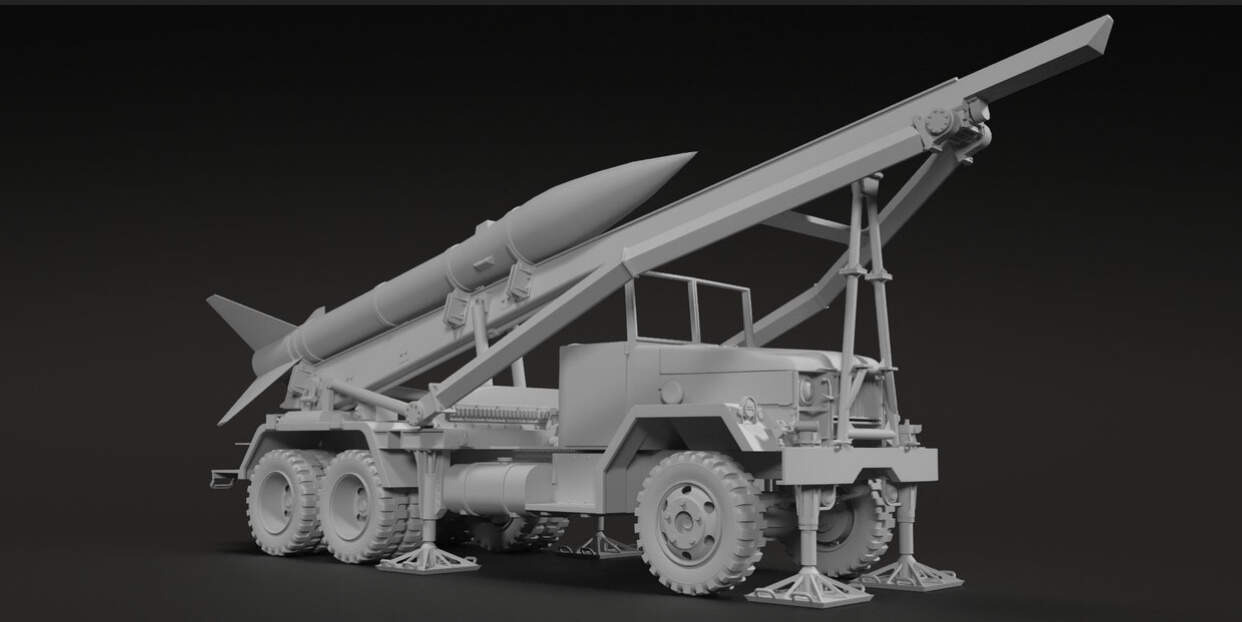
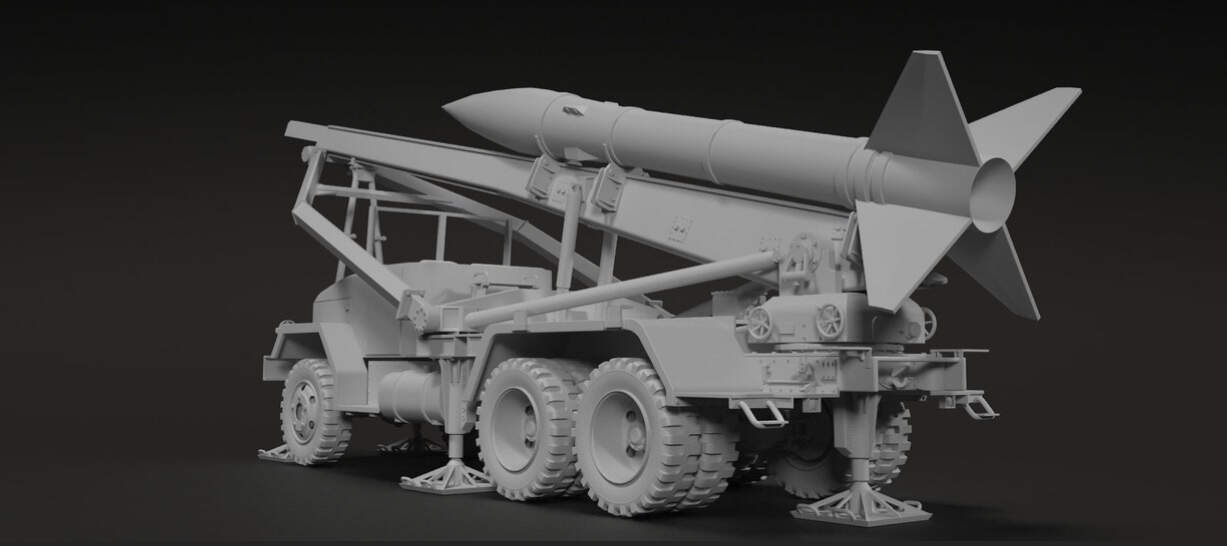
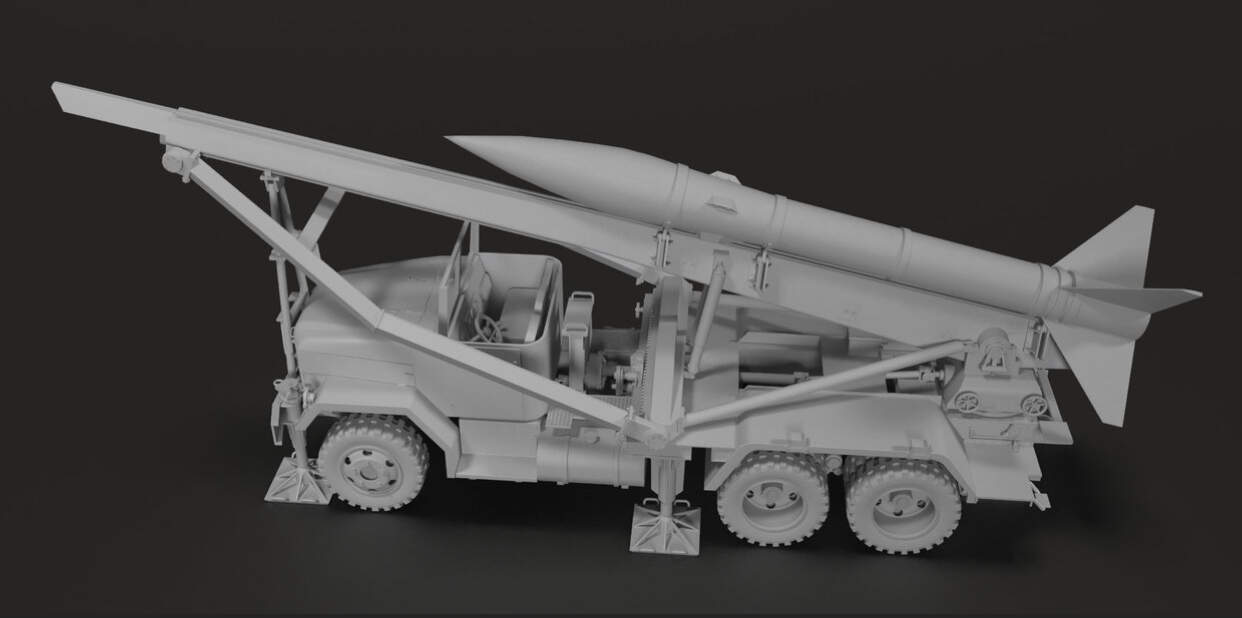
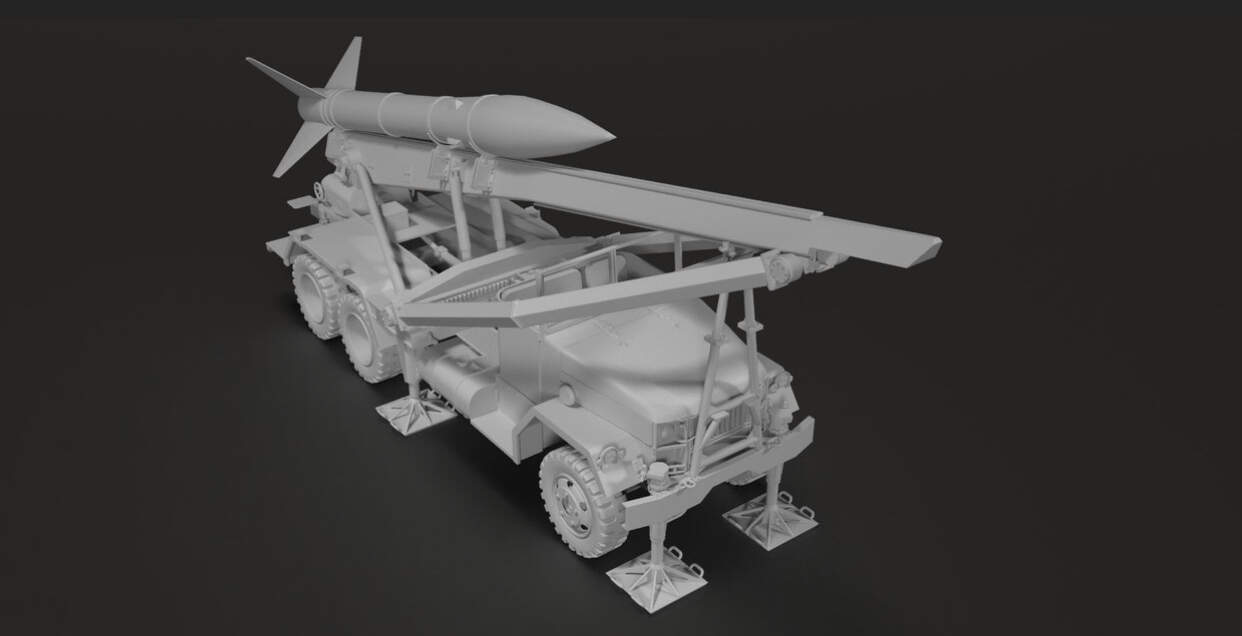
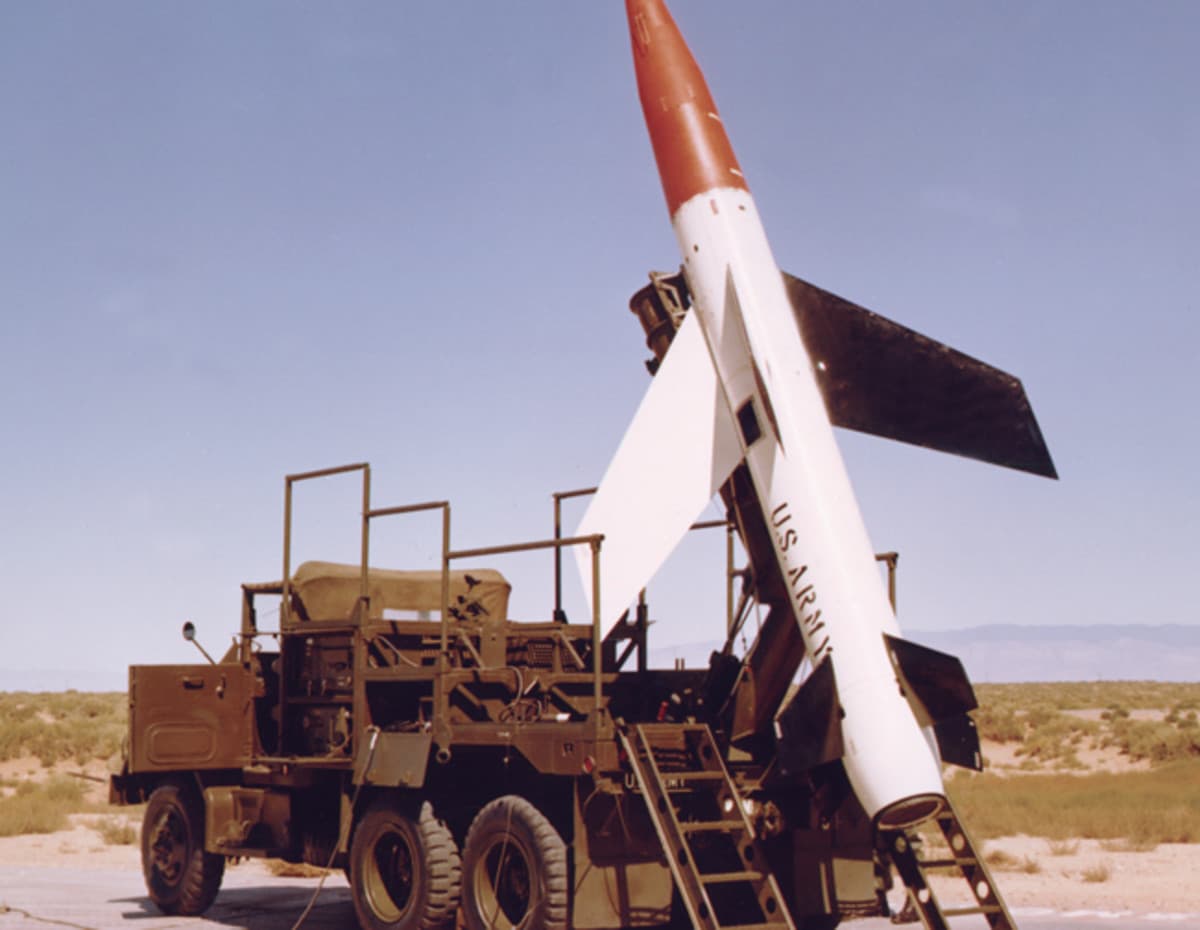
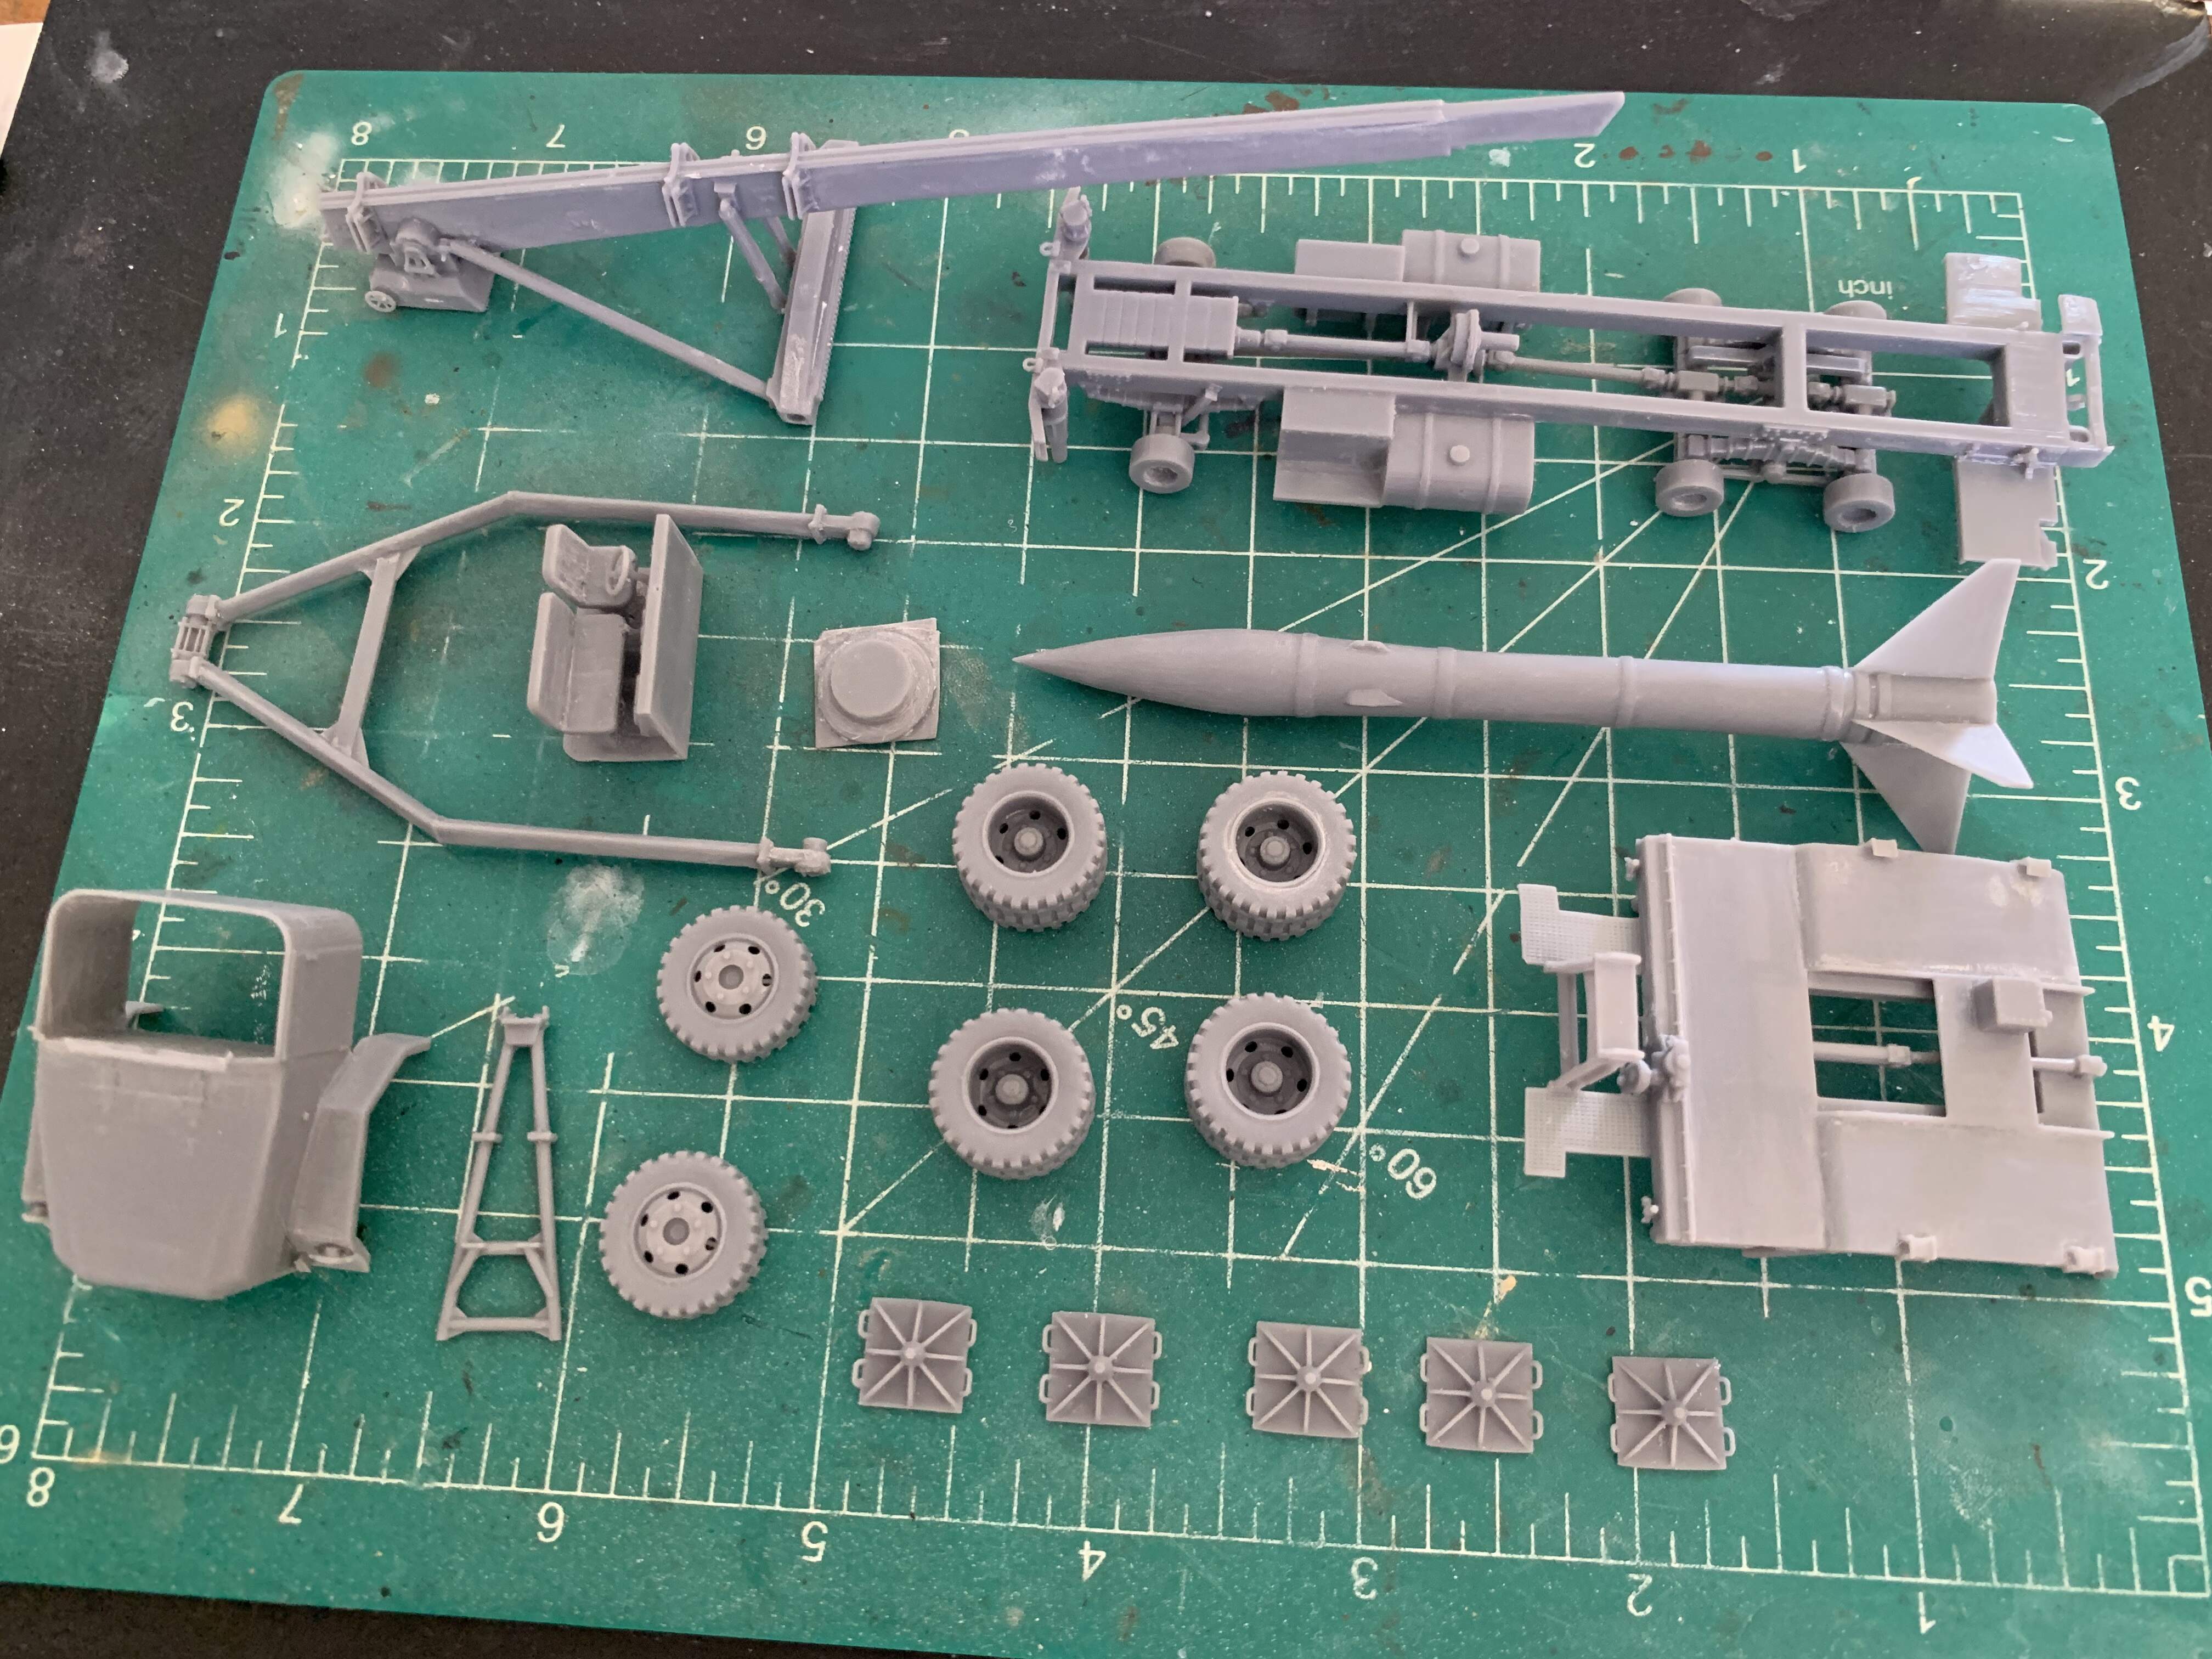
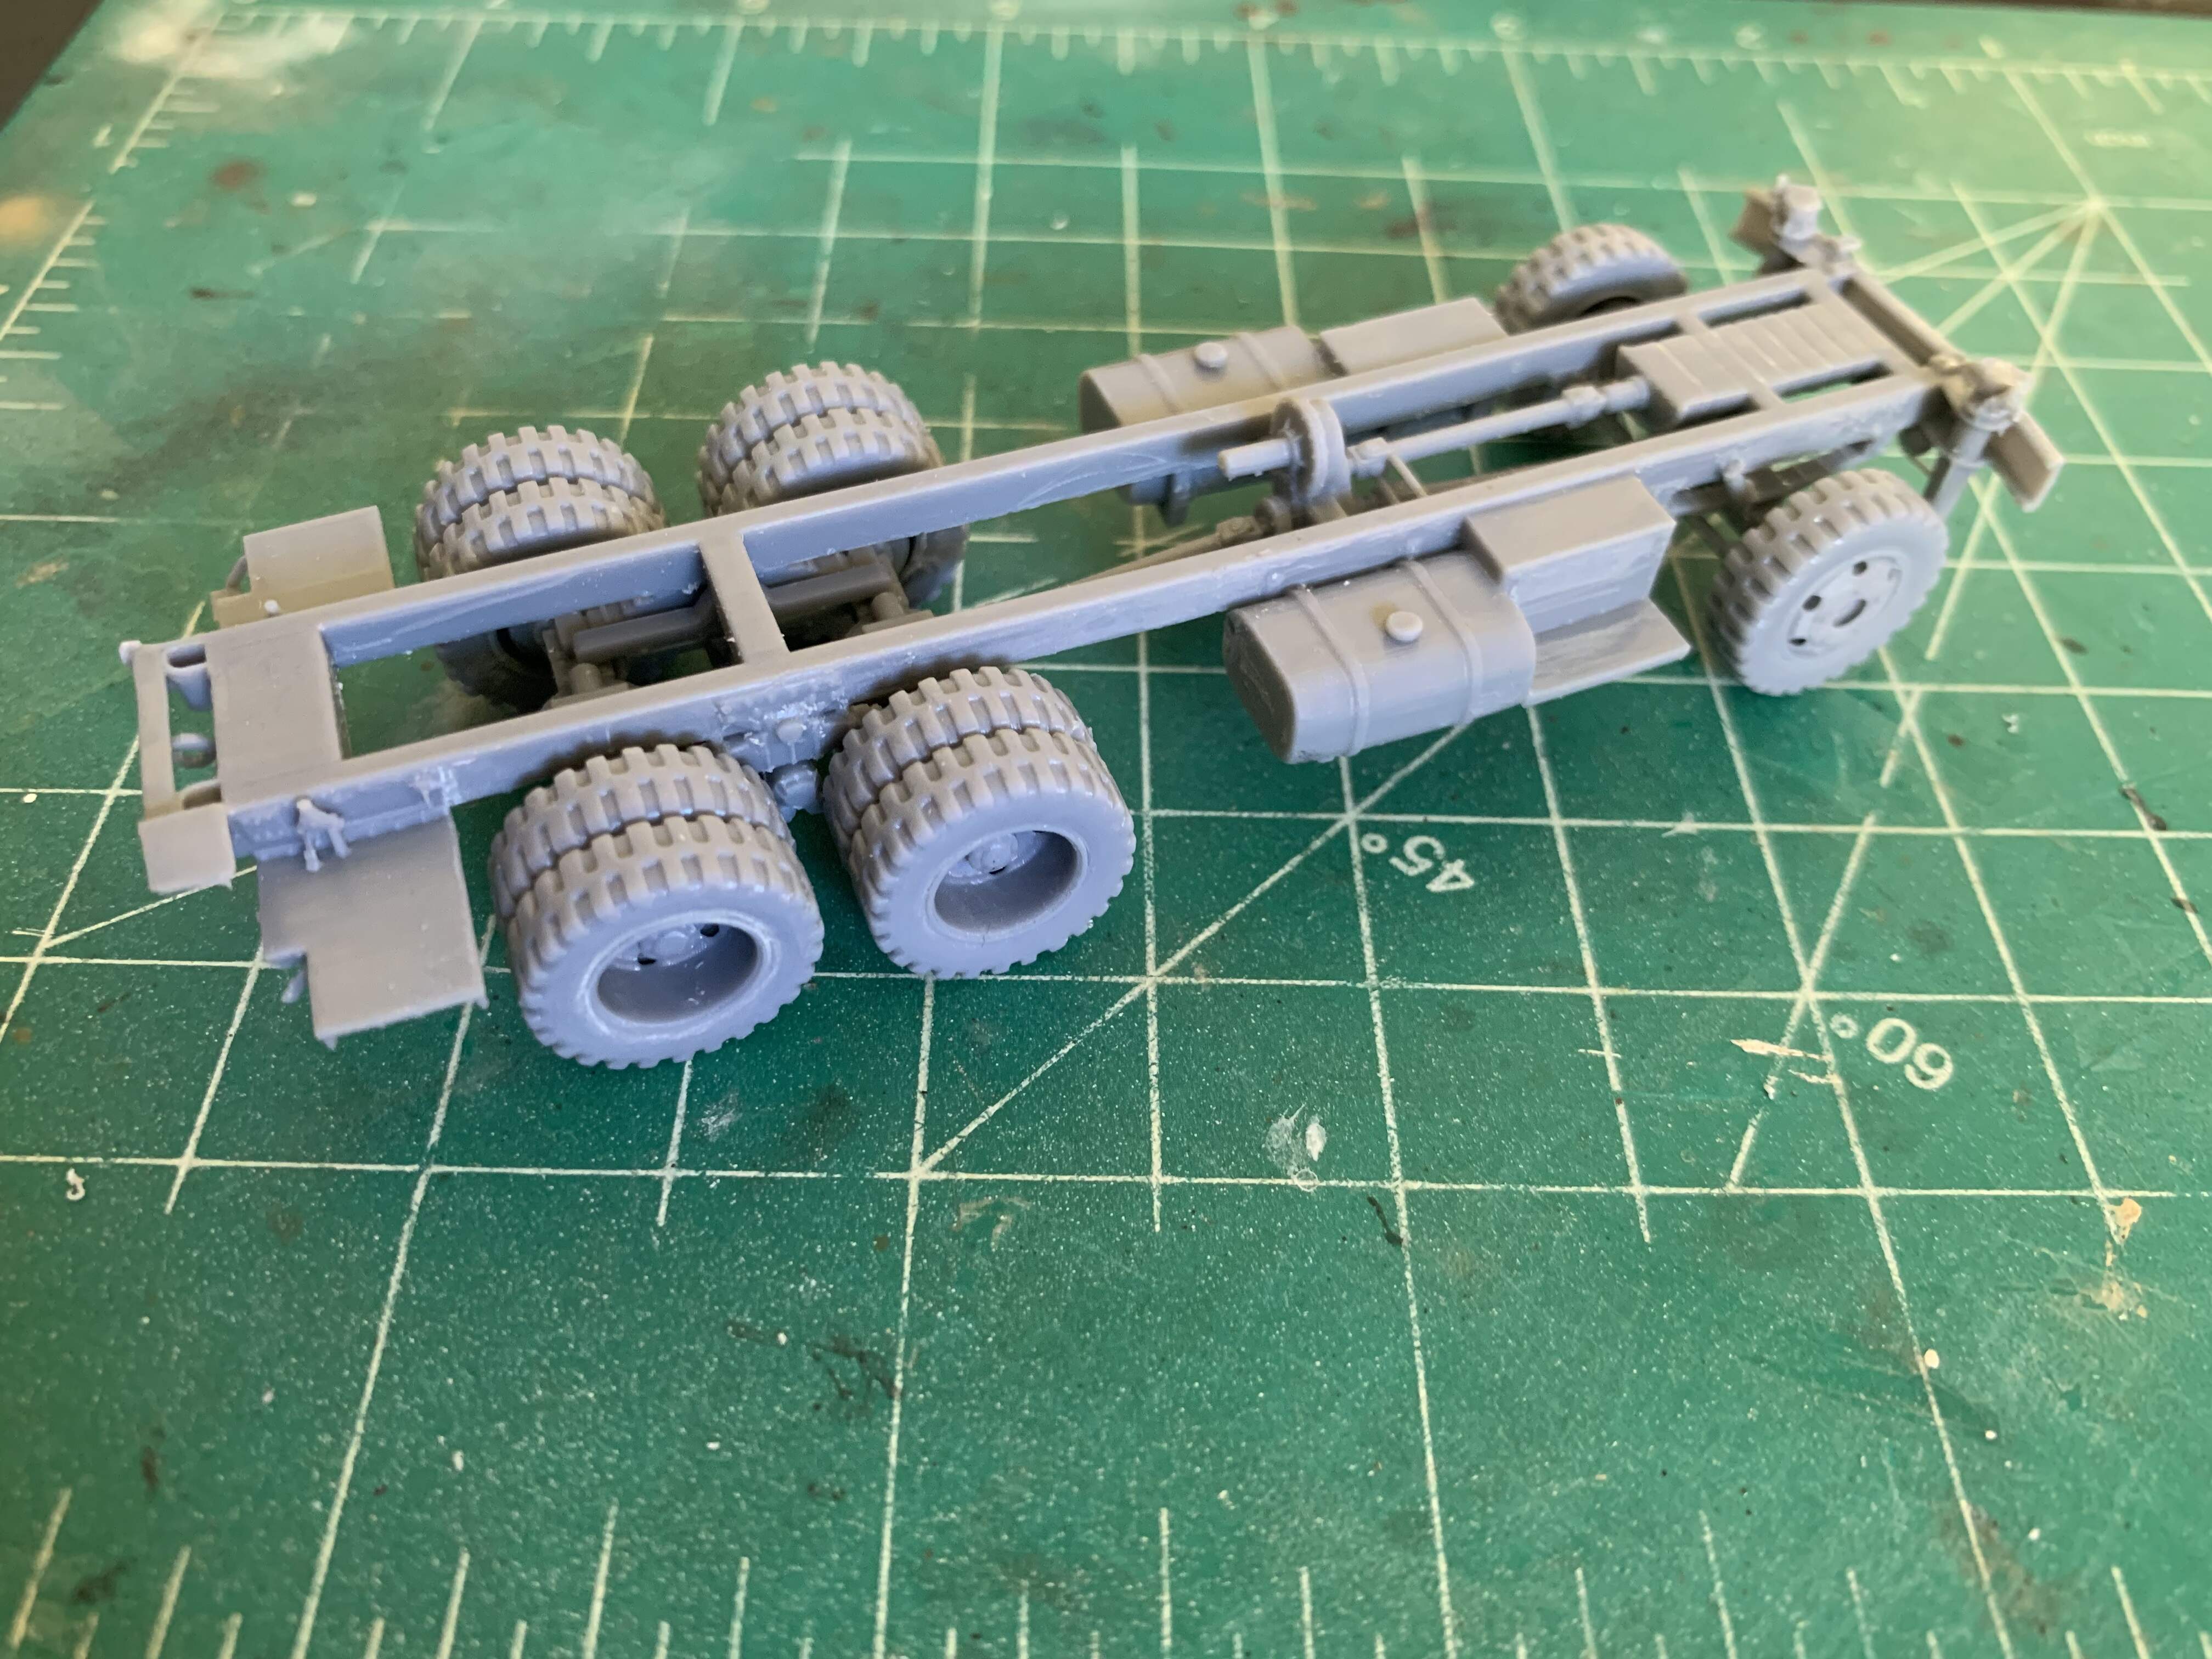
I have been intrigued at how far 3D printing has gone and the availability of subjects out there. I don’t have any plans of buying any 3D printers (that’s going to be a big rabbit hole of expense in both money and time). I decided to buy several models. Ones that I had often wished to be produced in plastic. I will highlight an Etsy vendor, PlayMoreIt3D. This vendor is based in Poland and has a very extensive listing of vehicles. A lot of which are not available in plastic pr resin. After much thinking, cost evaluation and personal desire of the subject, I ordered the M139D Honest John. I live in Los Angeles USA and the kit arrived from Poland in less than two weeks. Here are the parts:
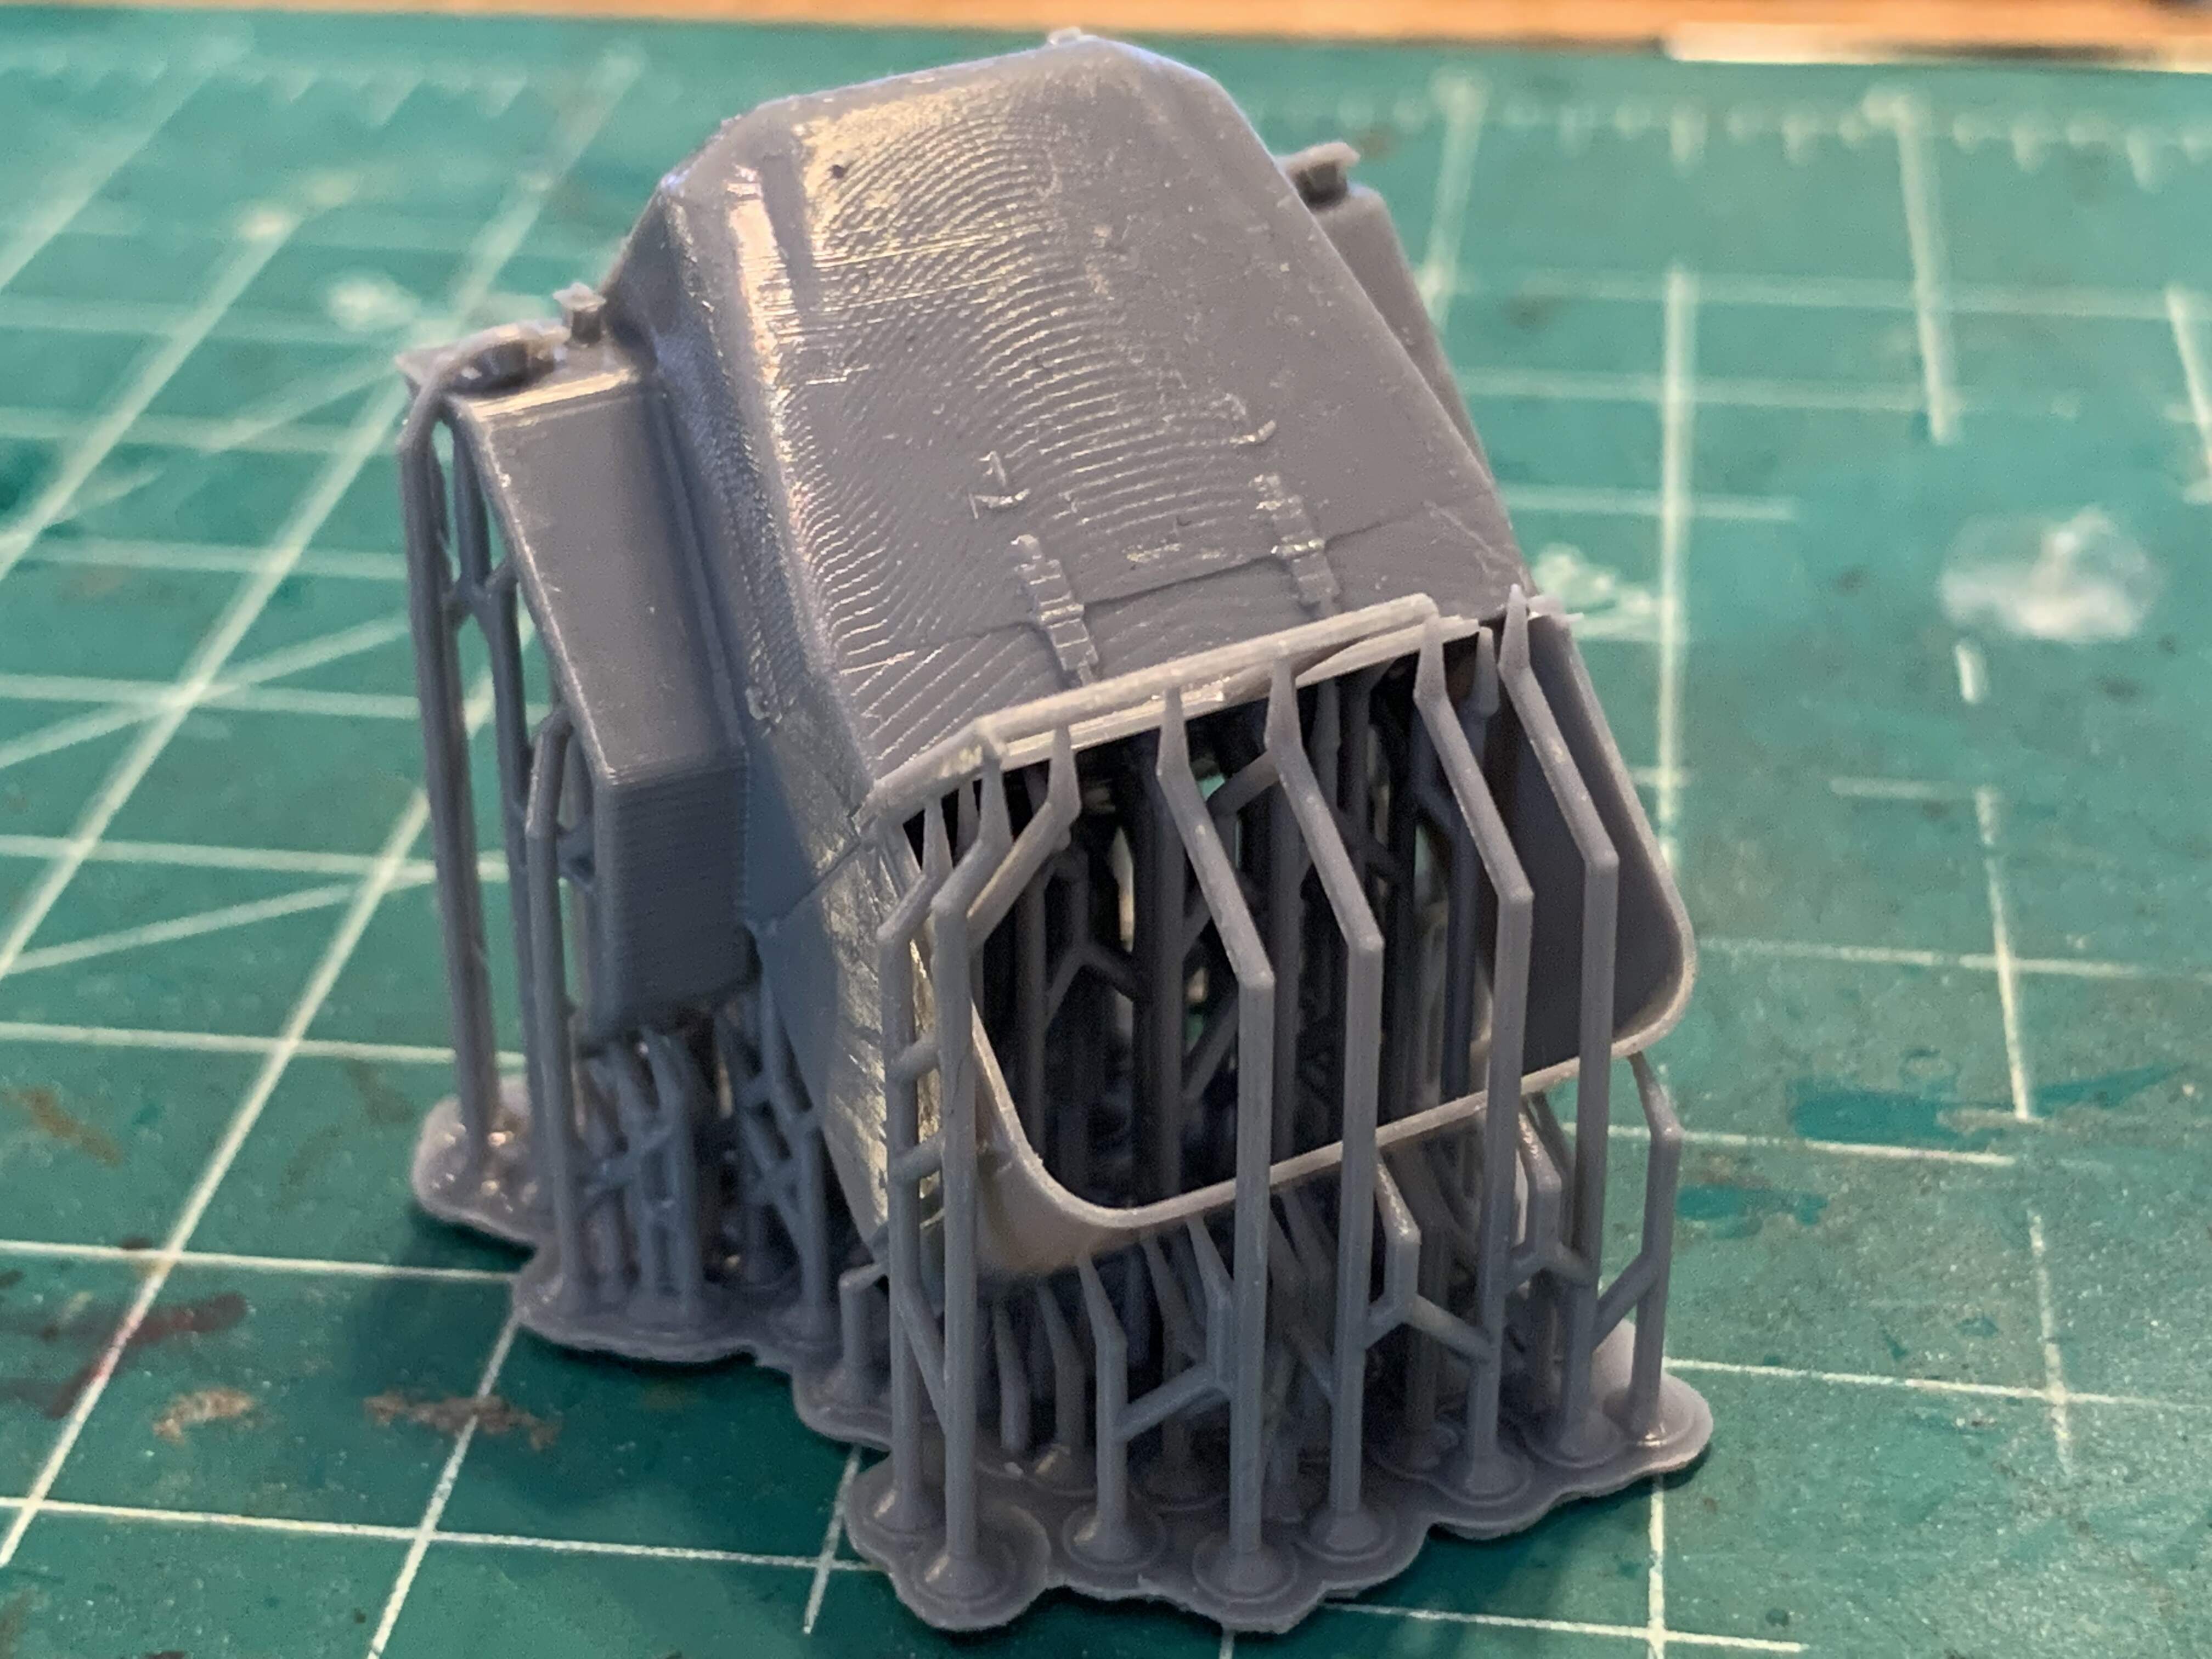
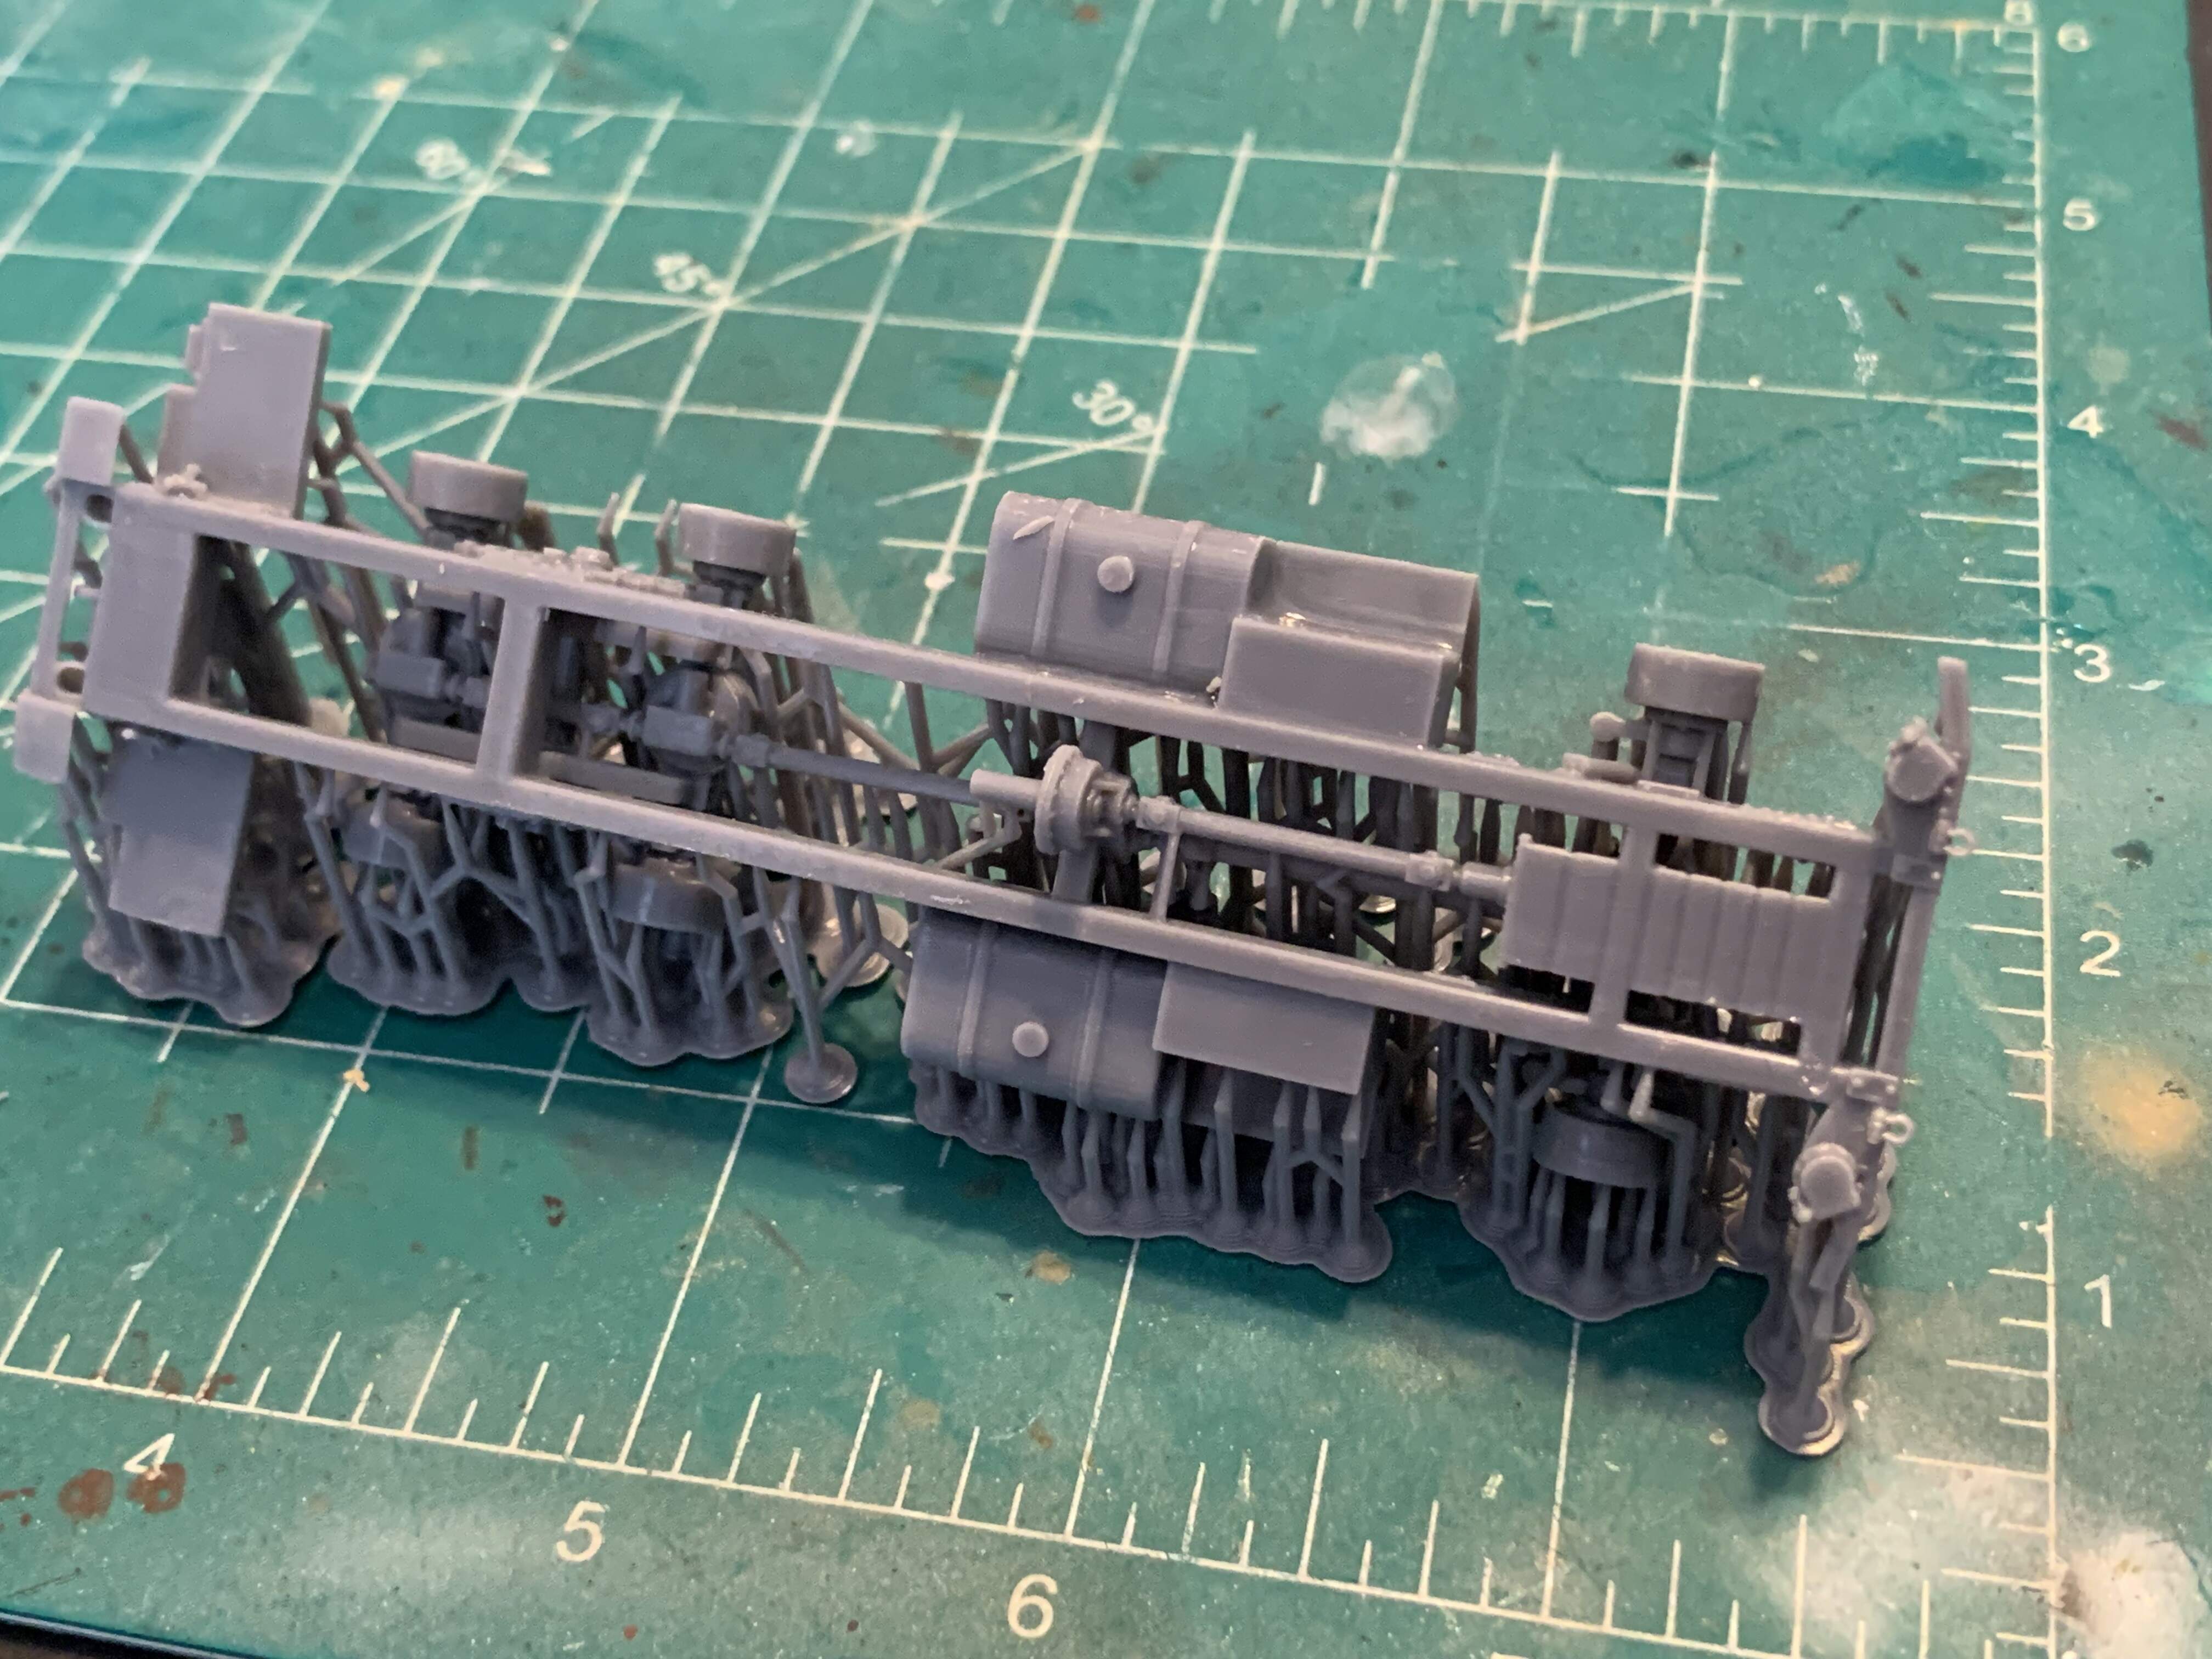
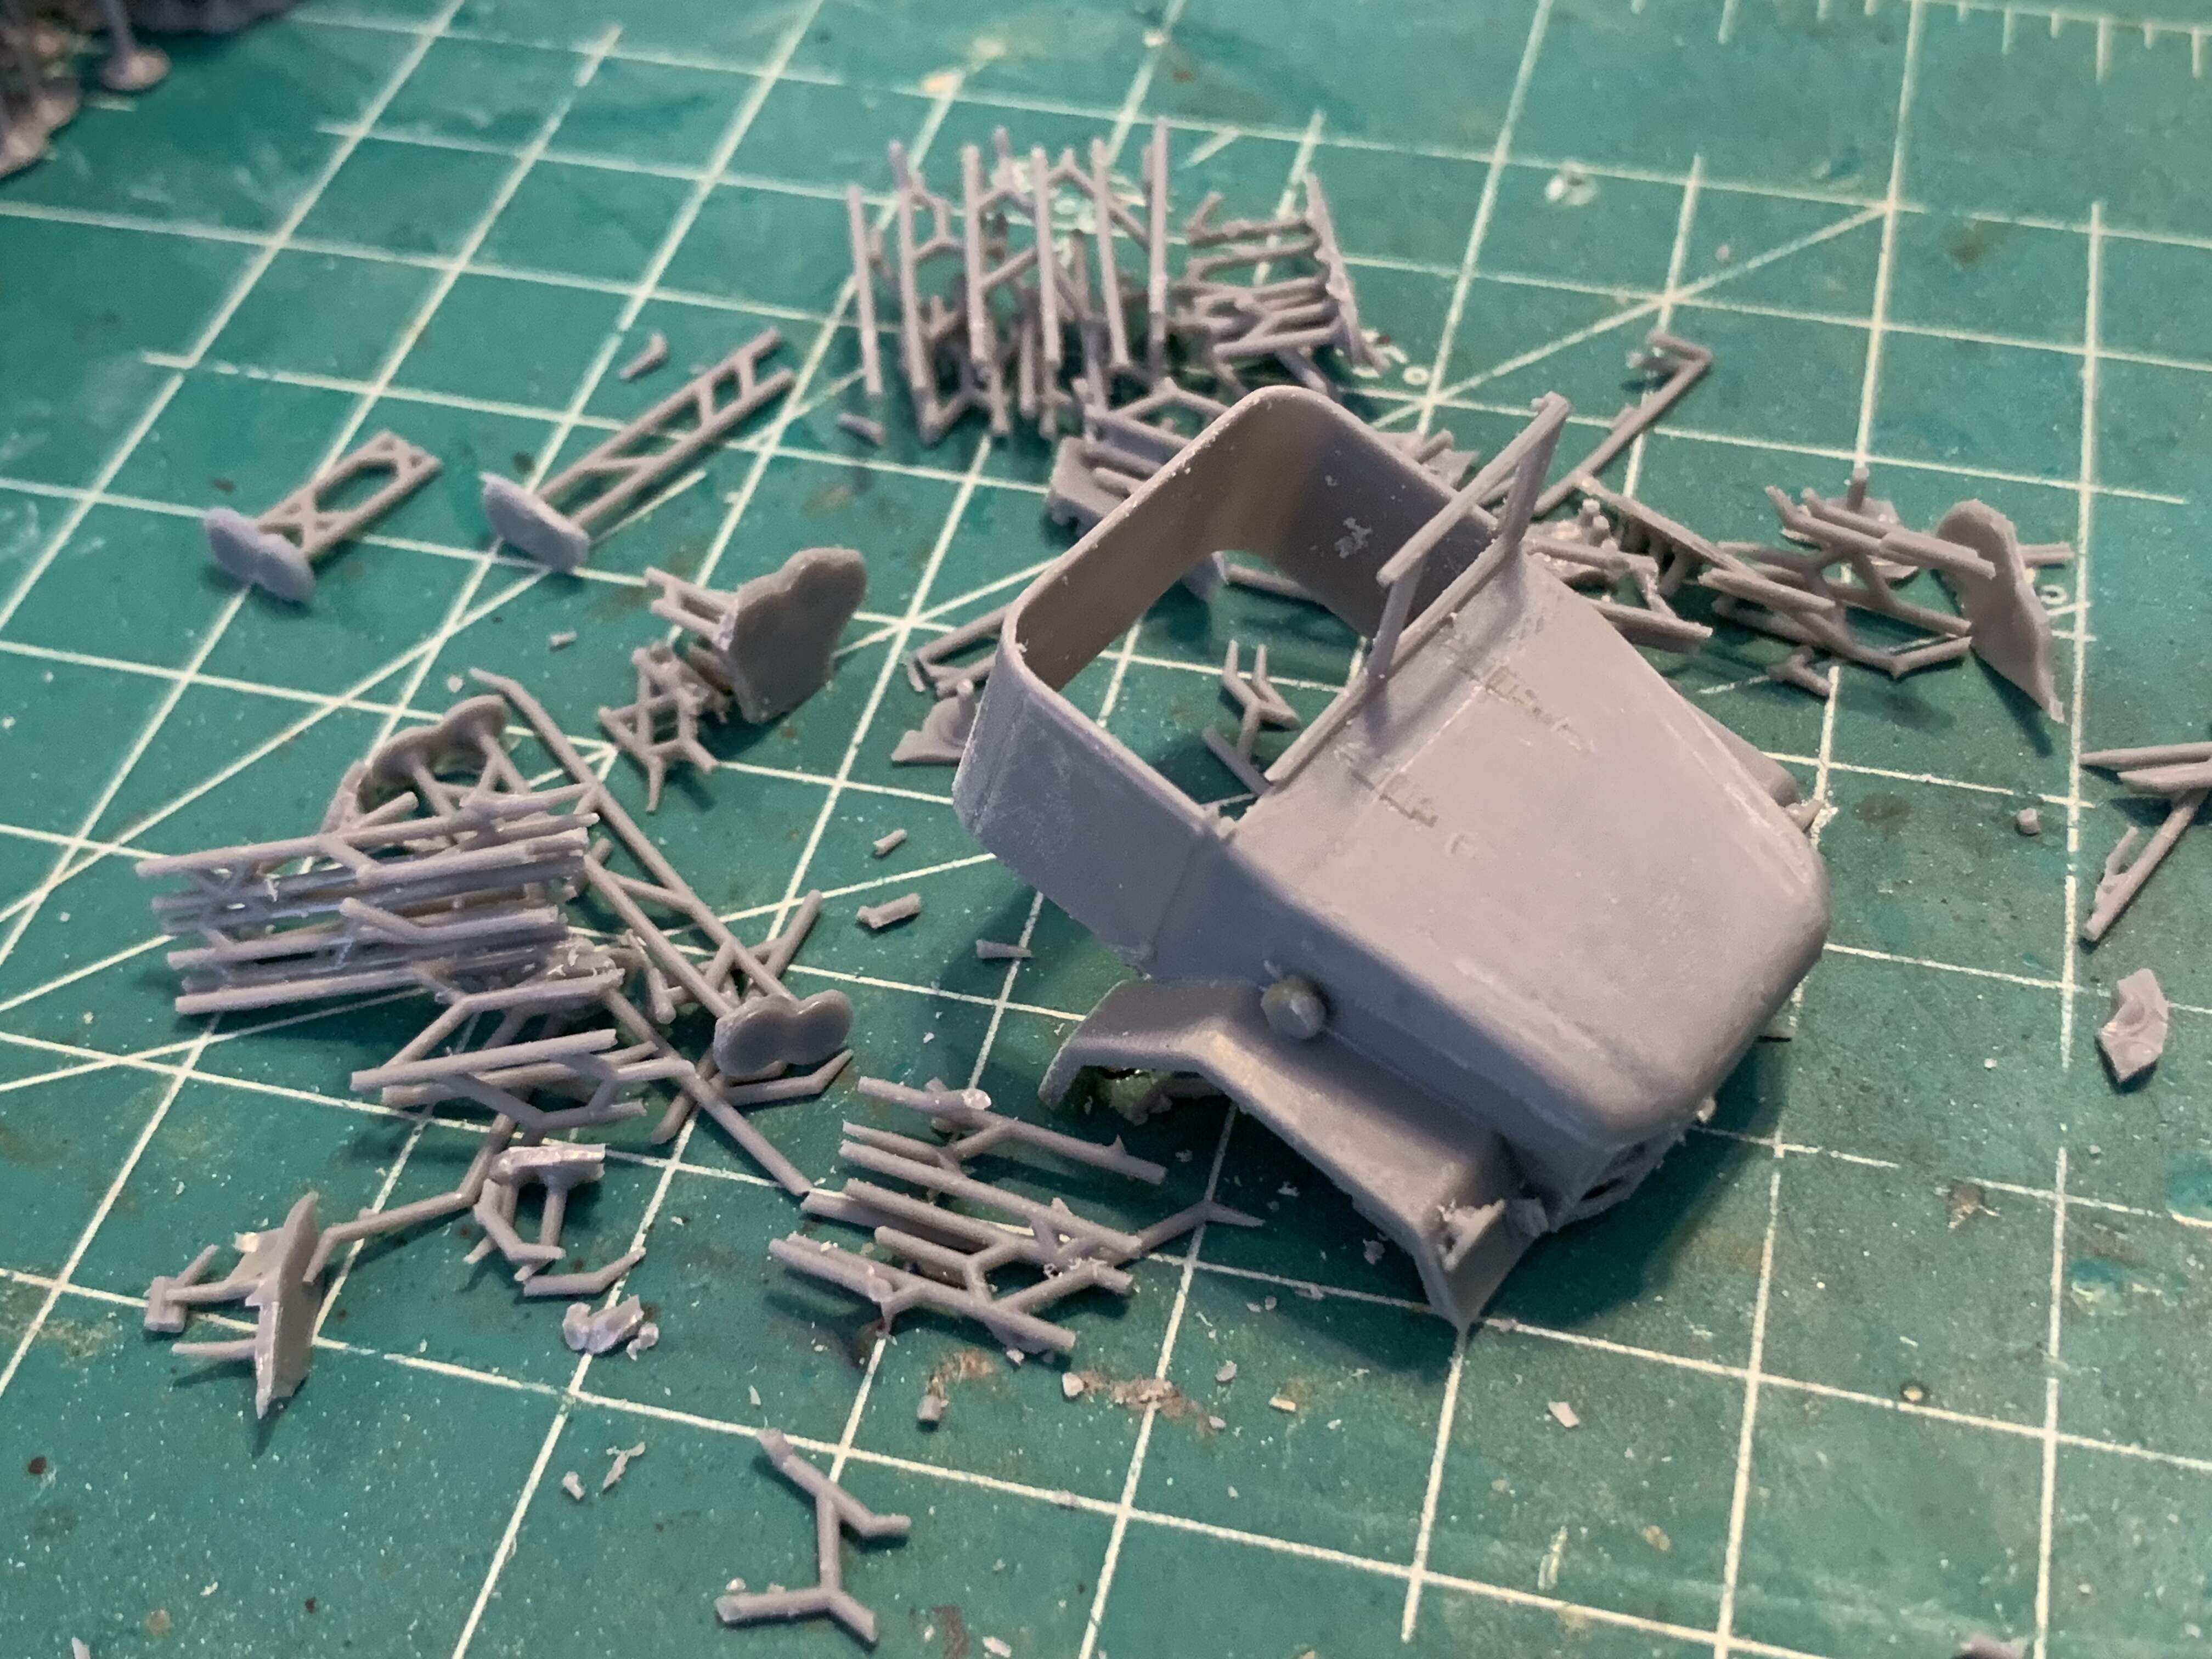
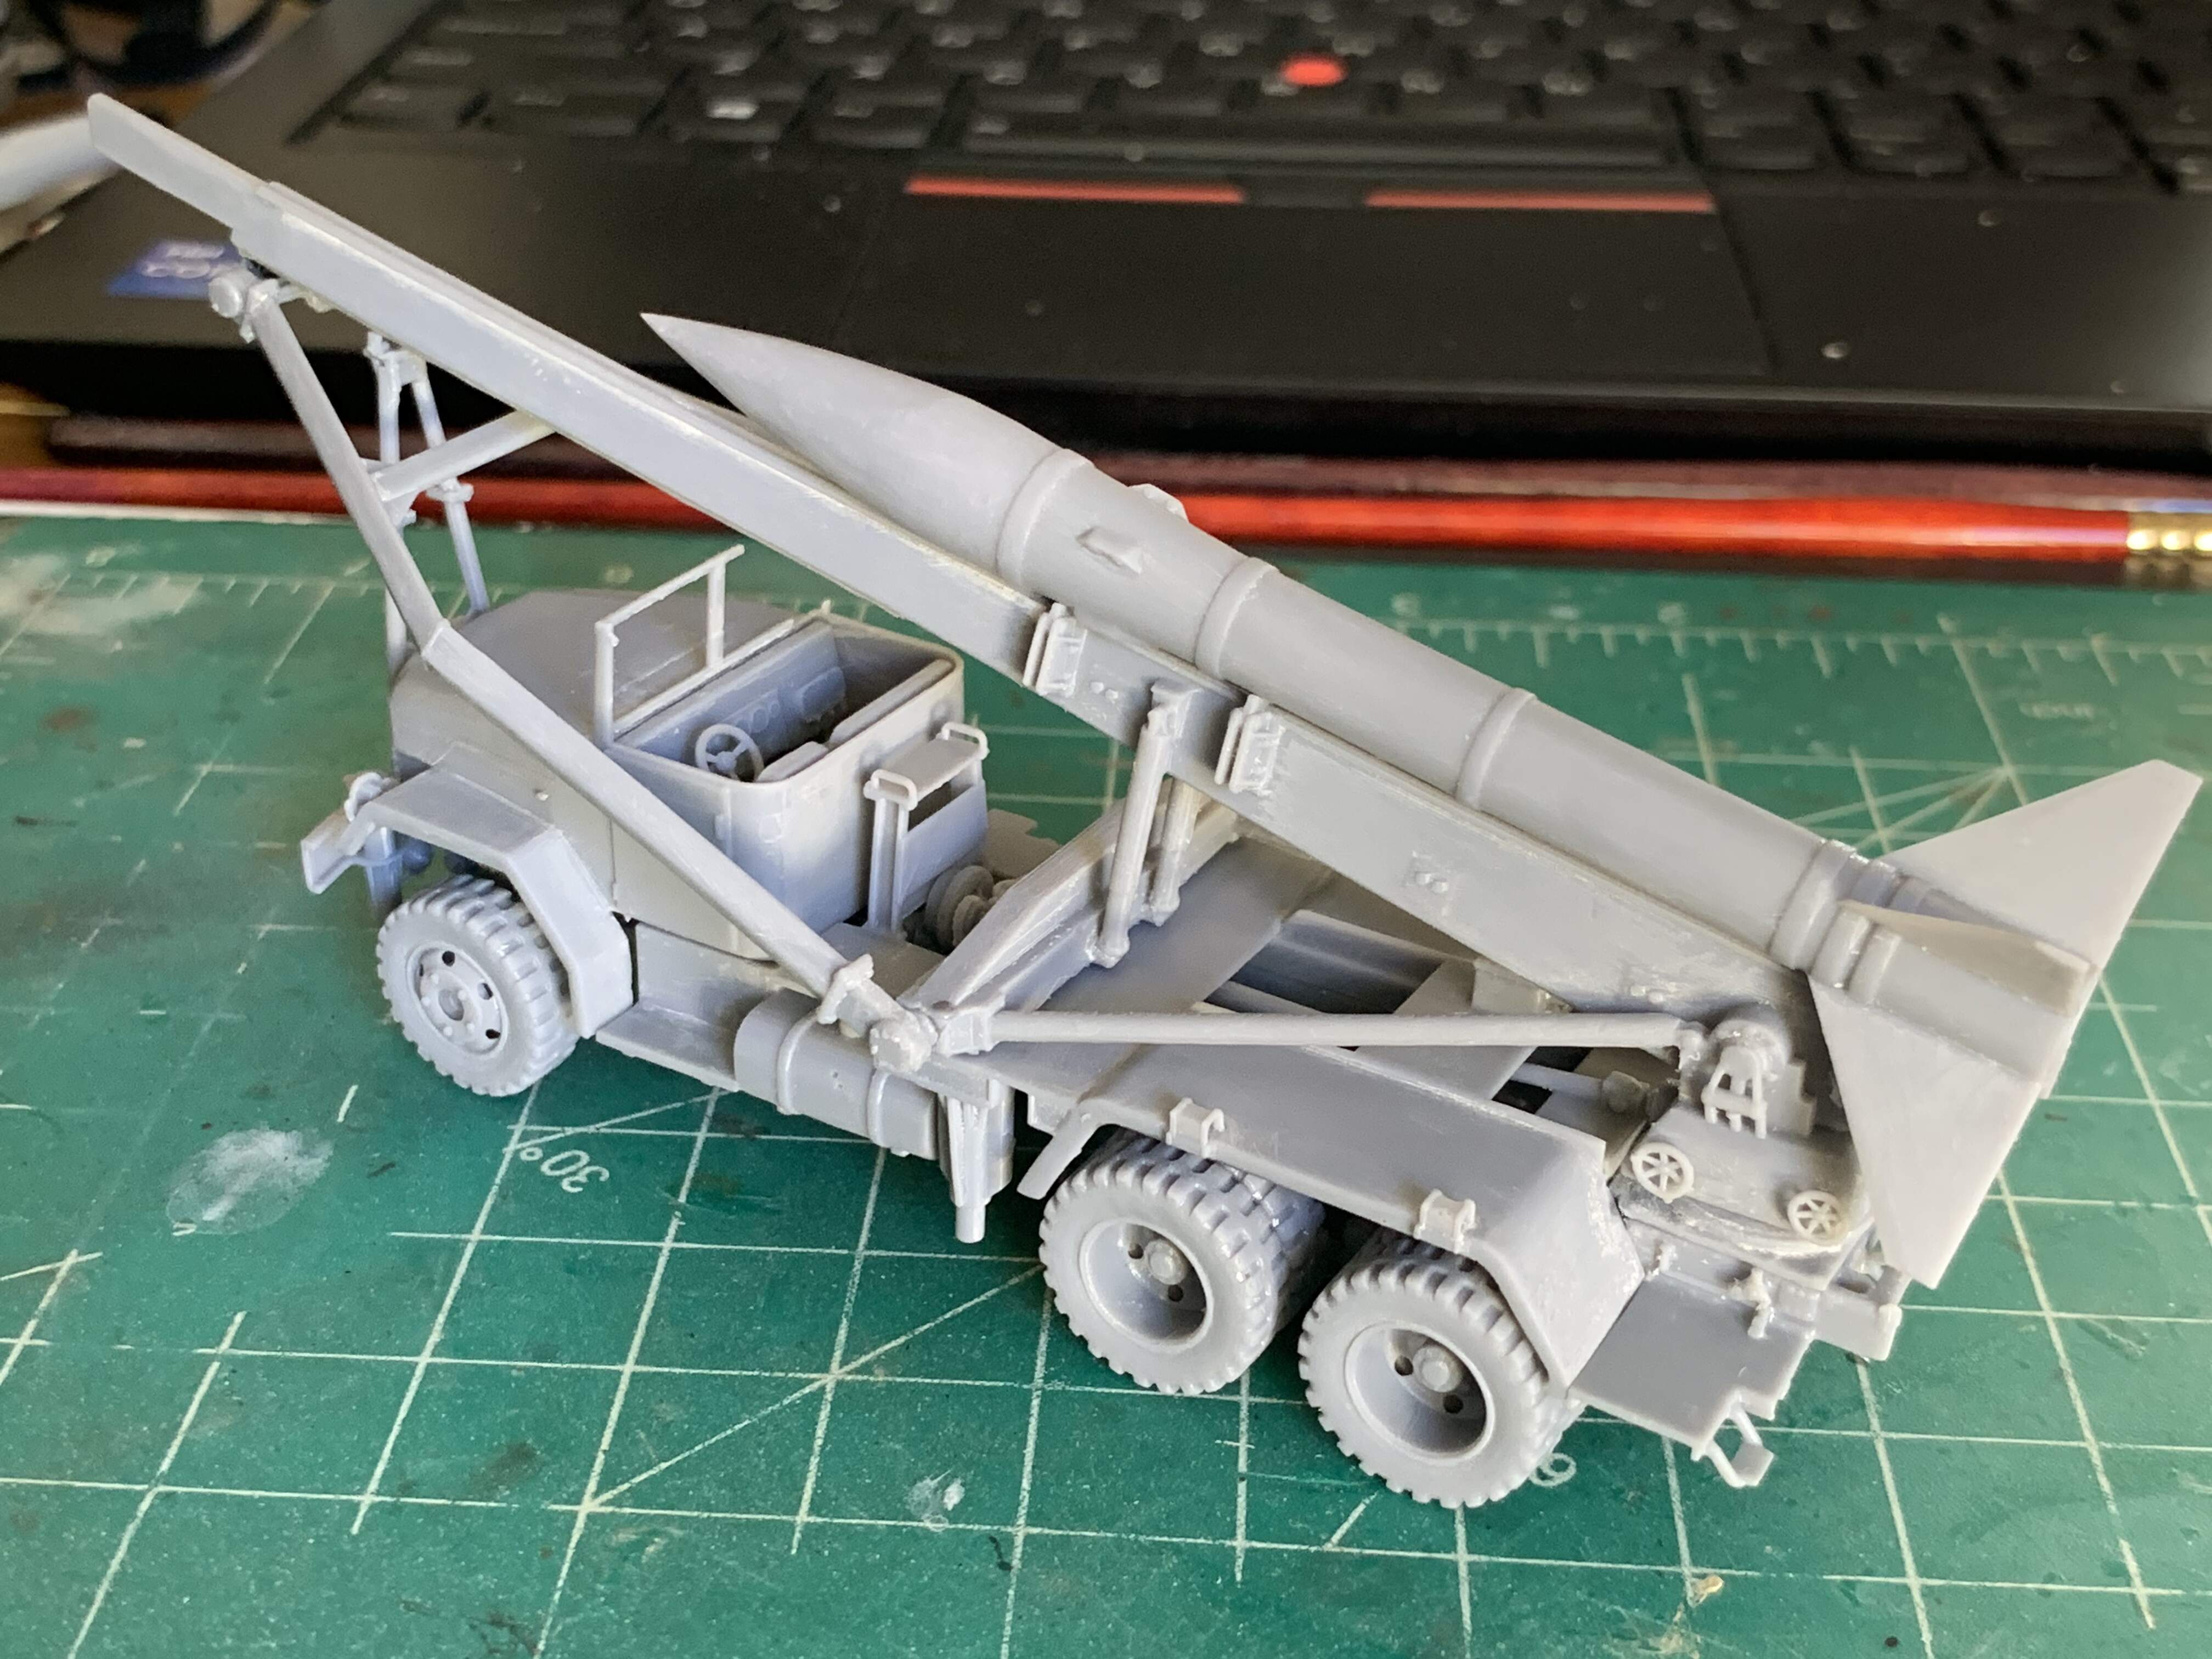
I was excited about the low part count of less than 20. Looks like this is going to be a quick build!
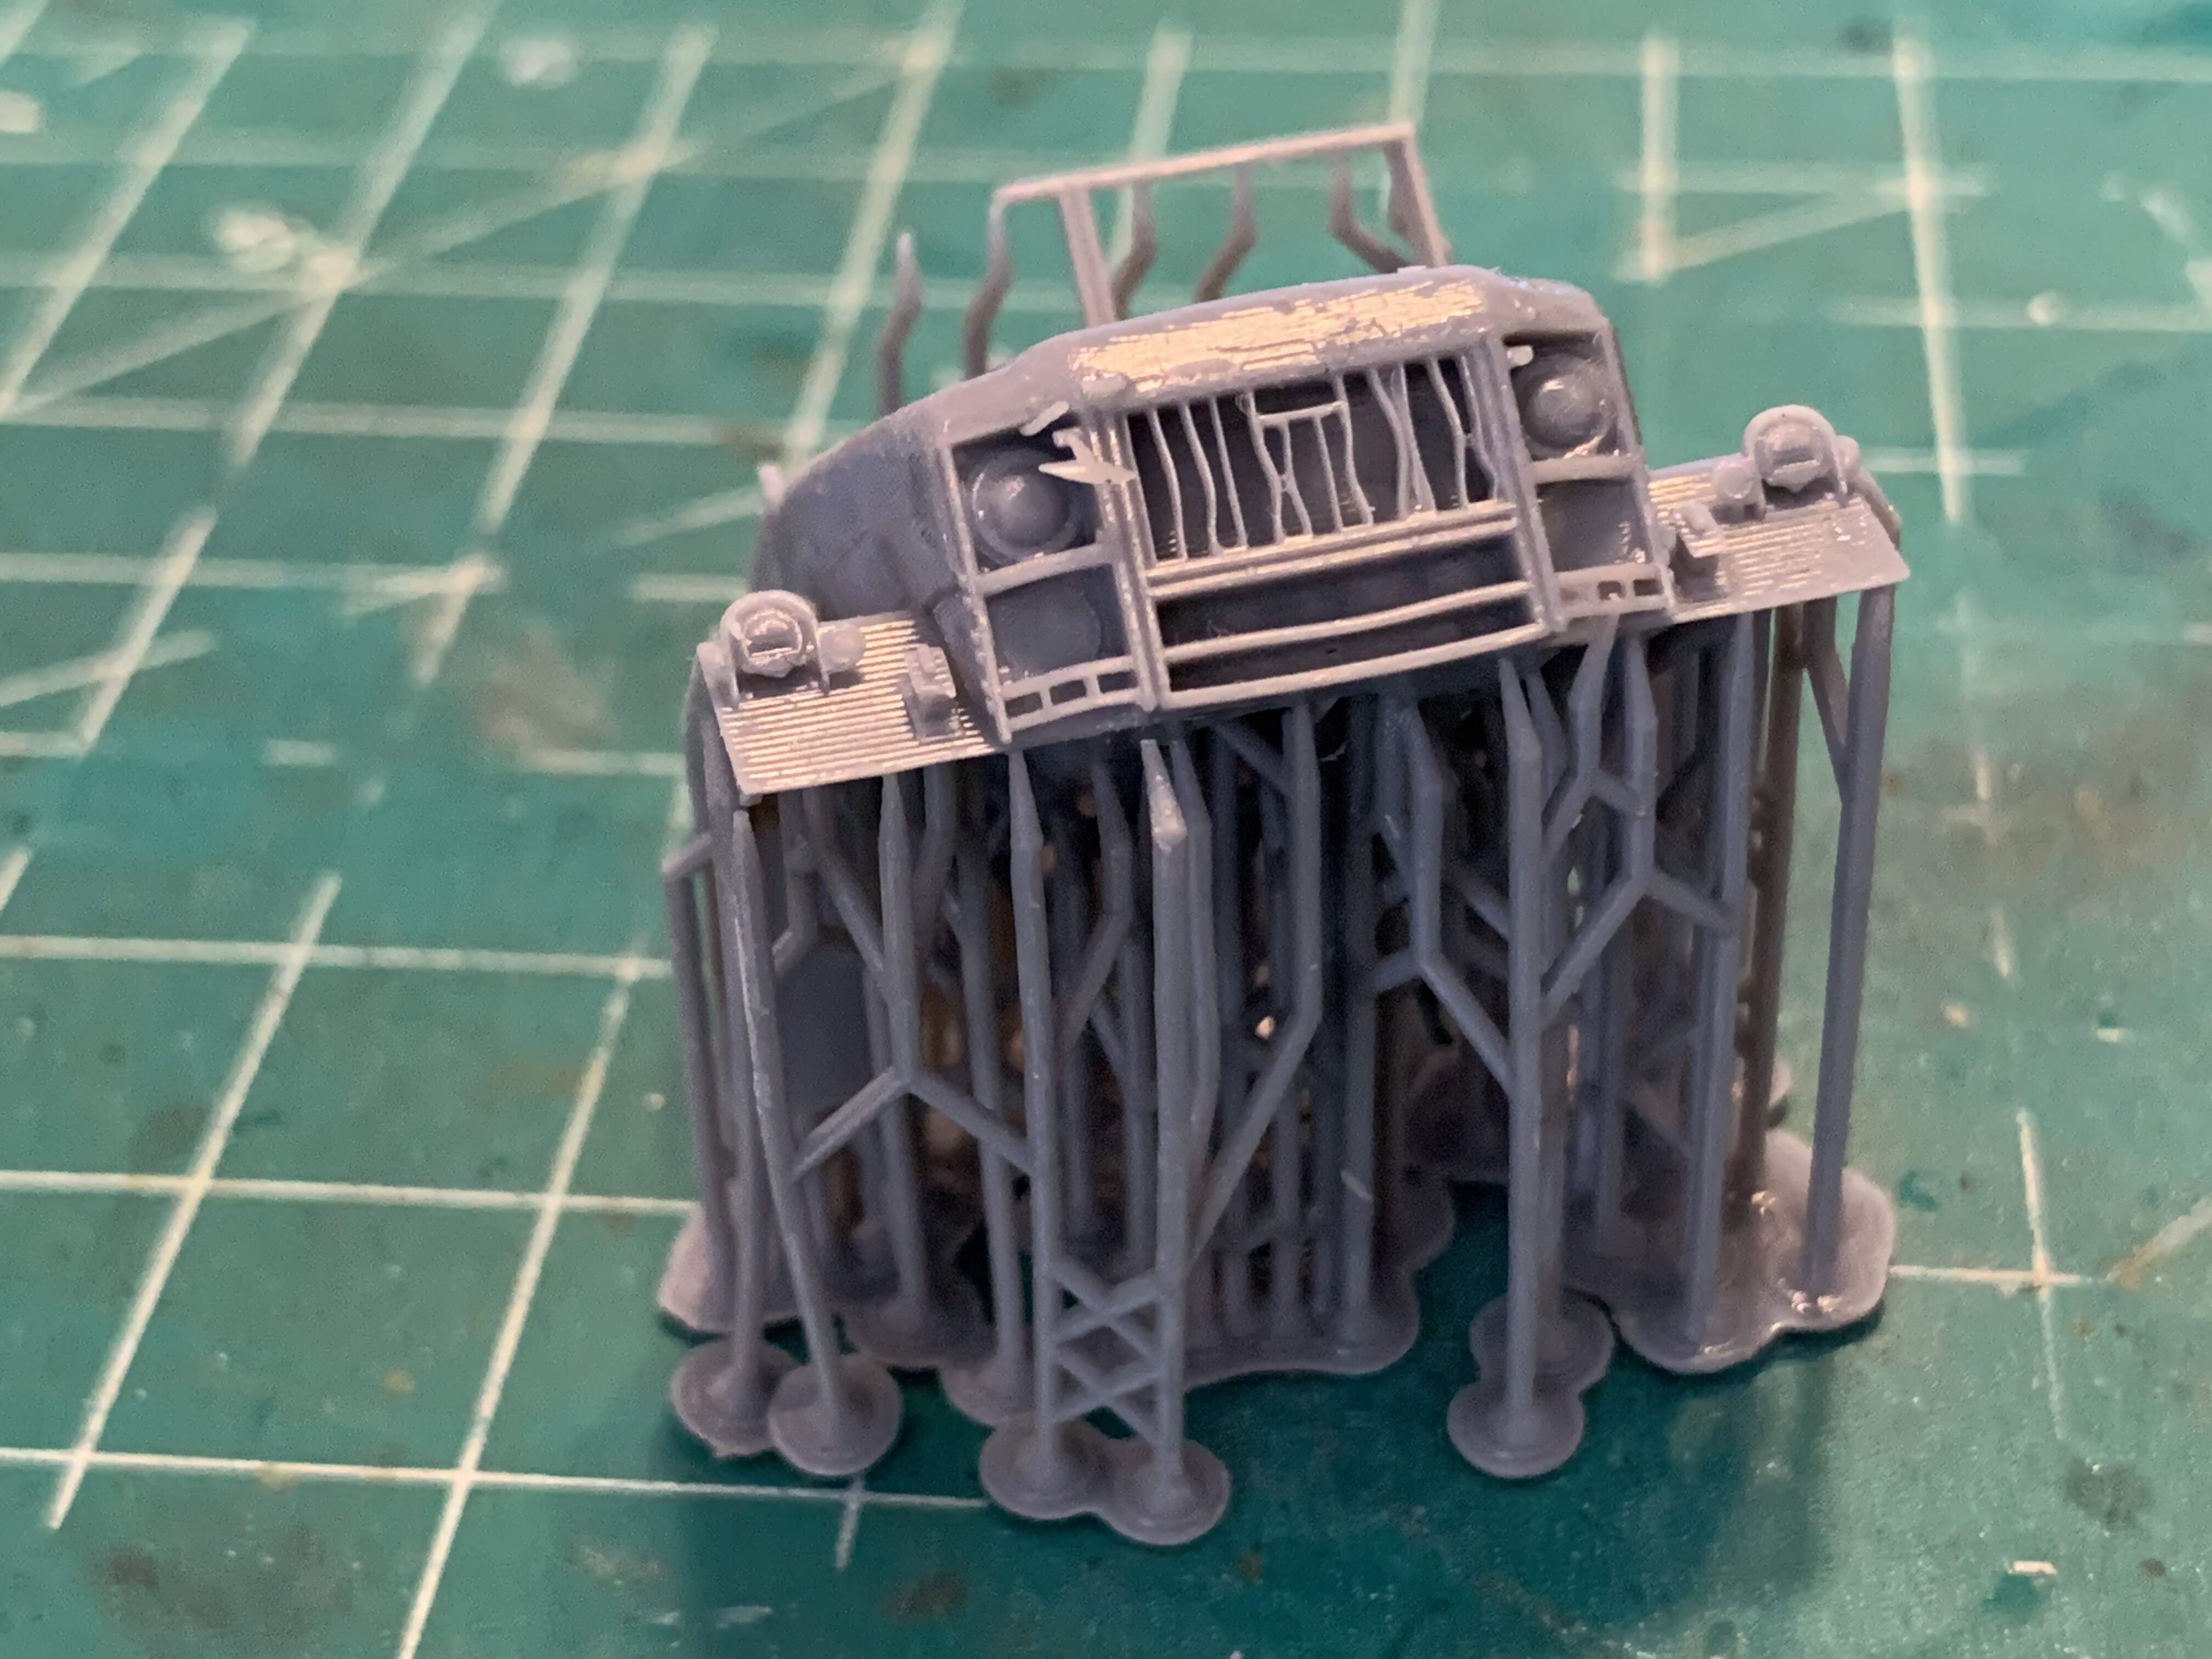
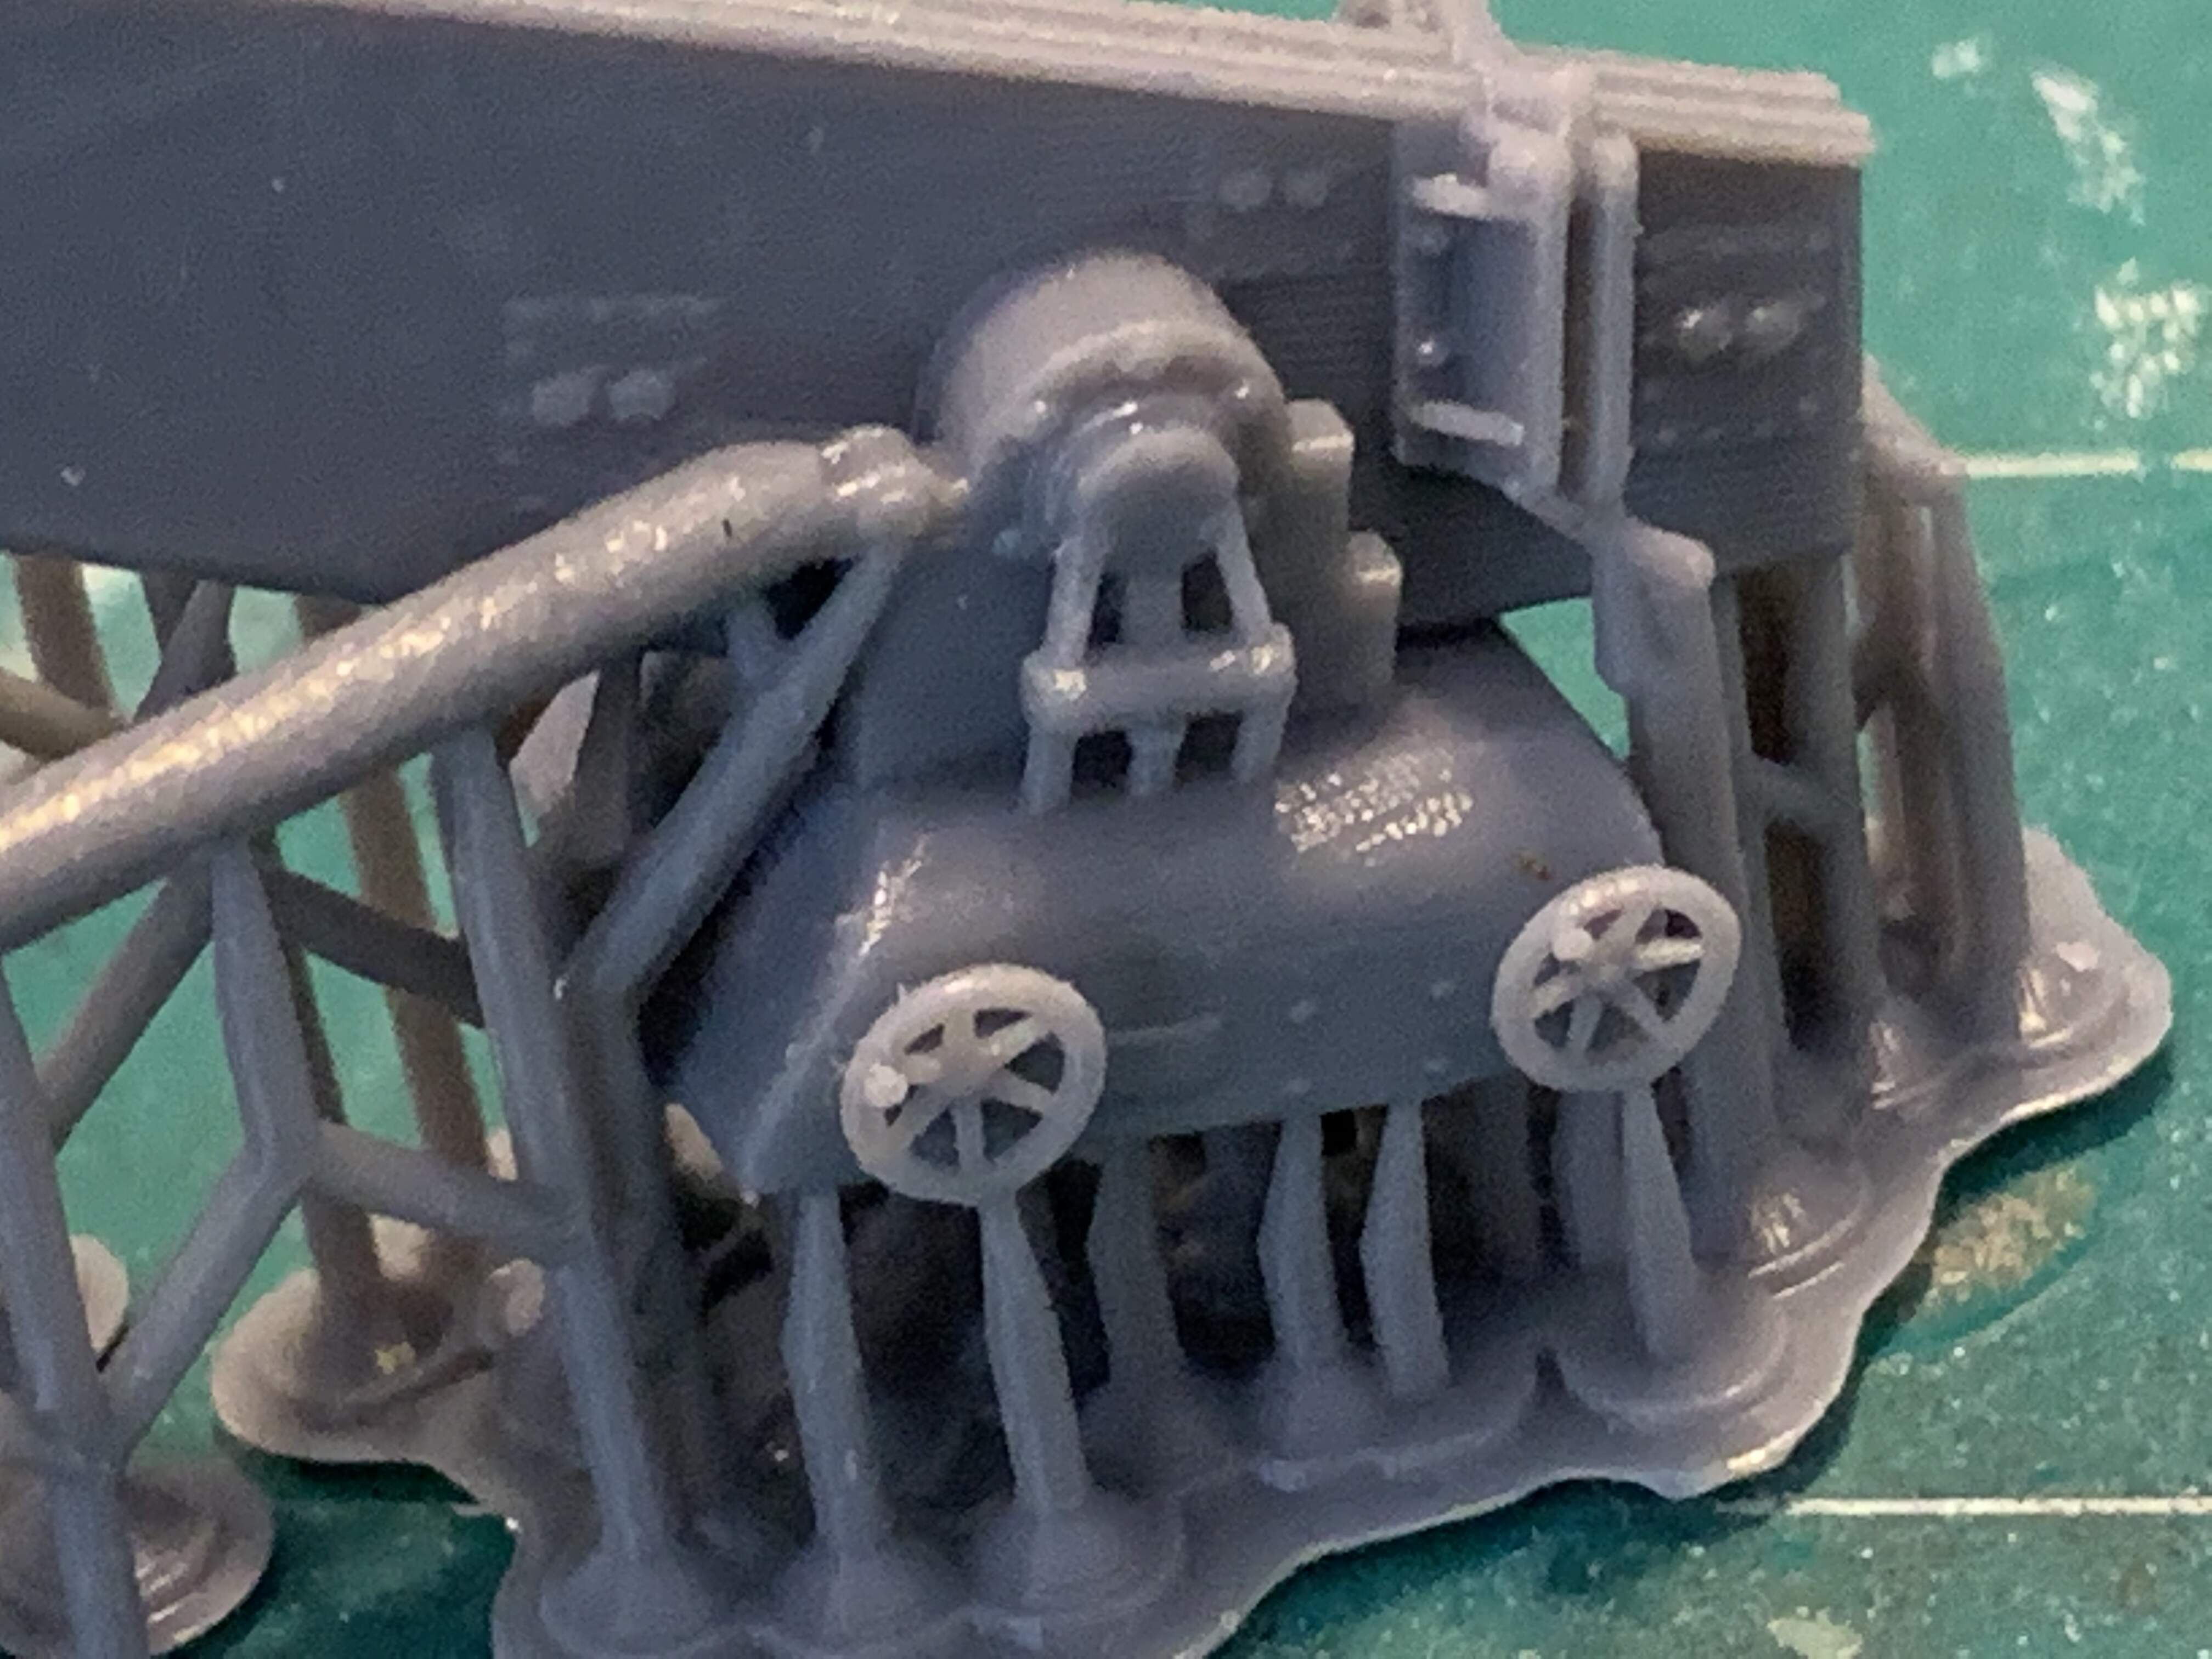
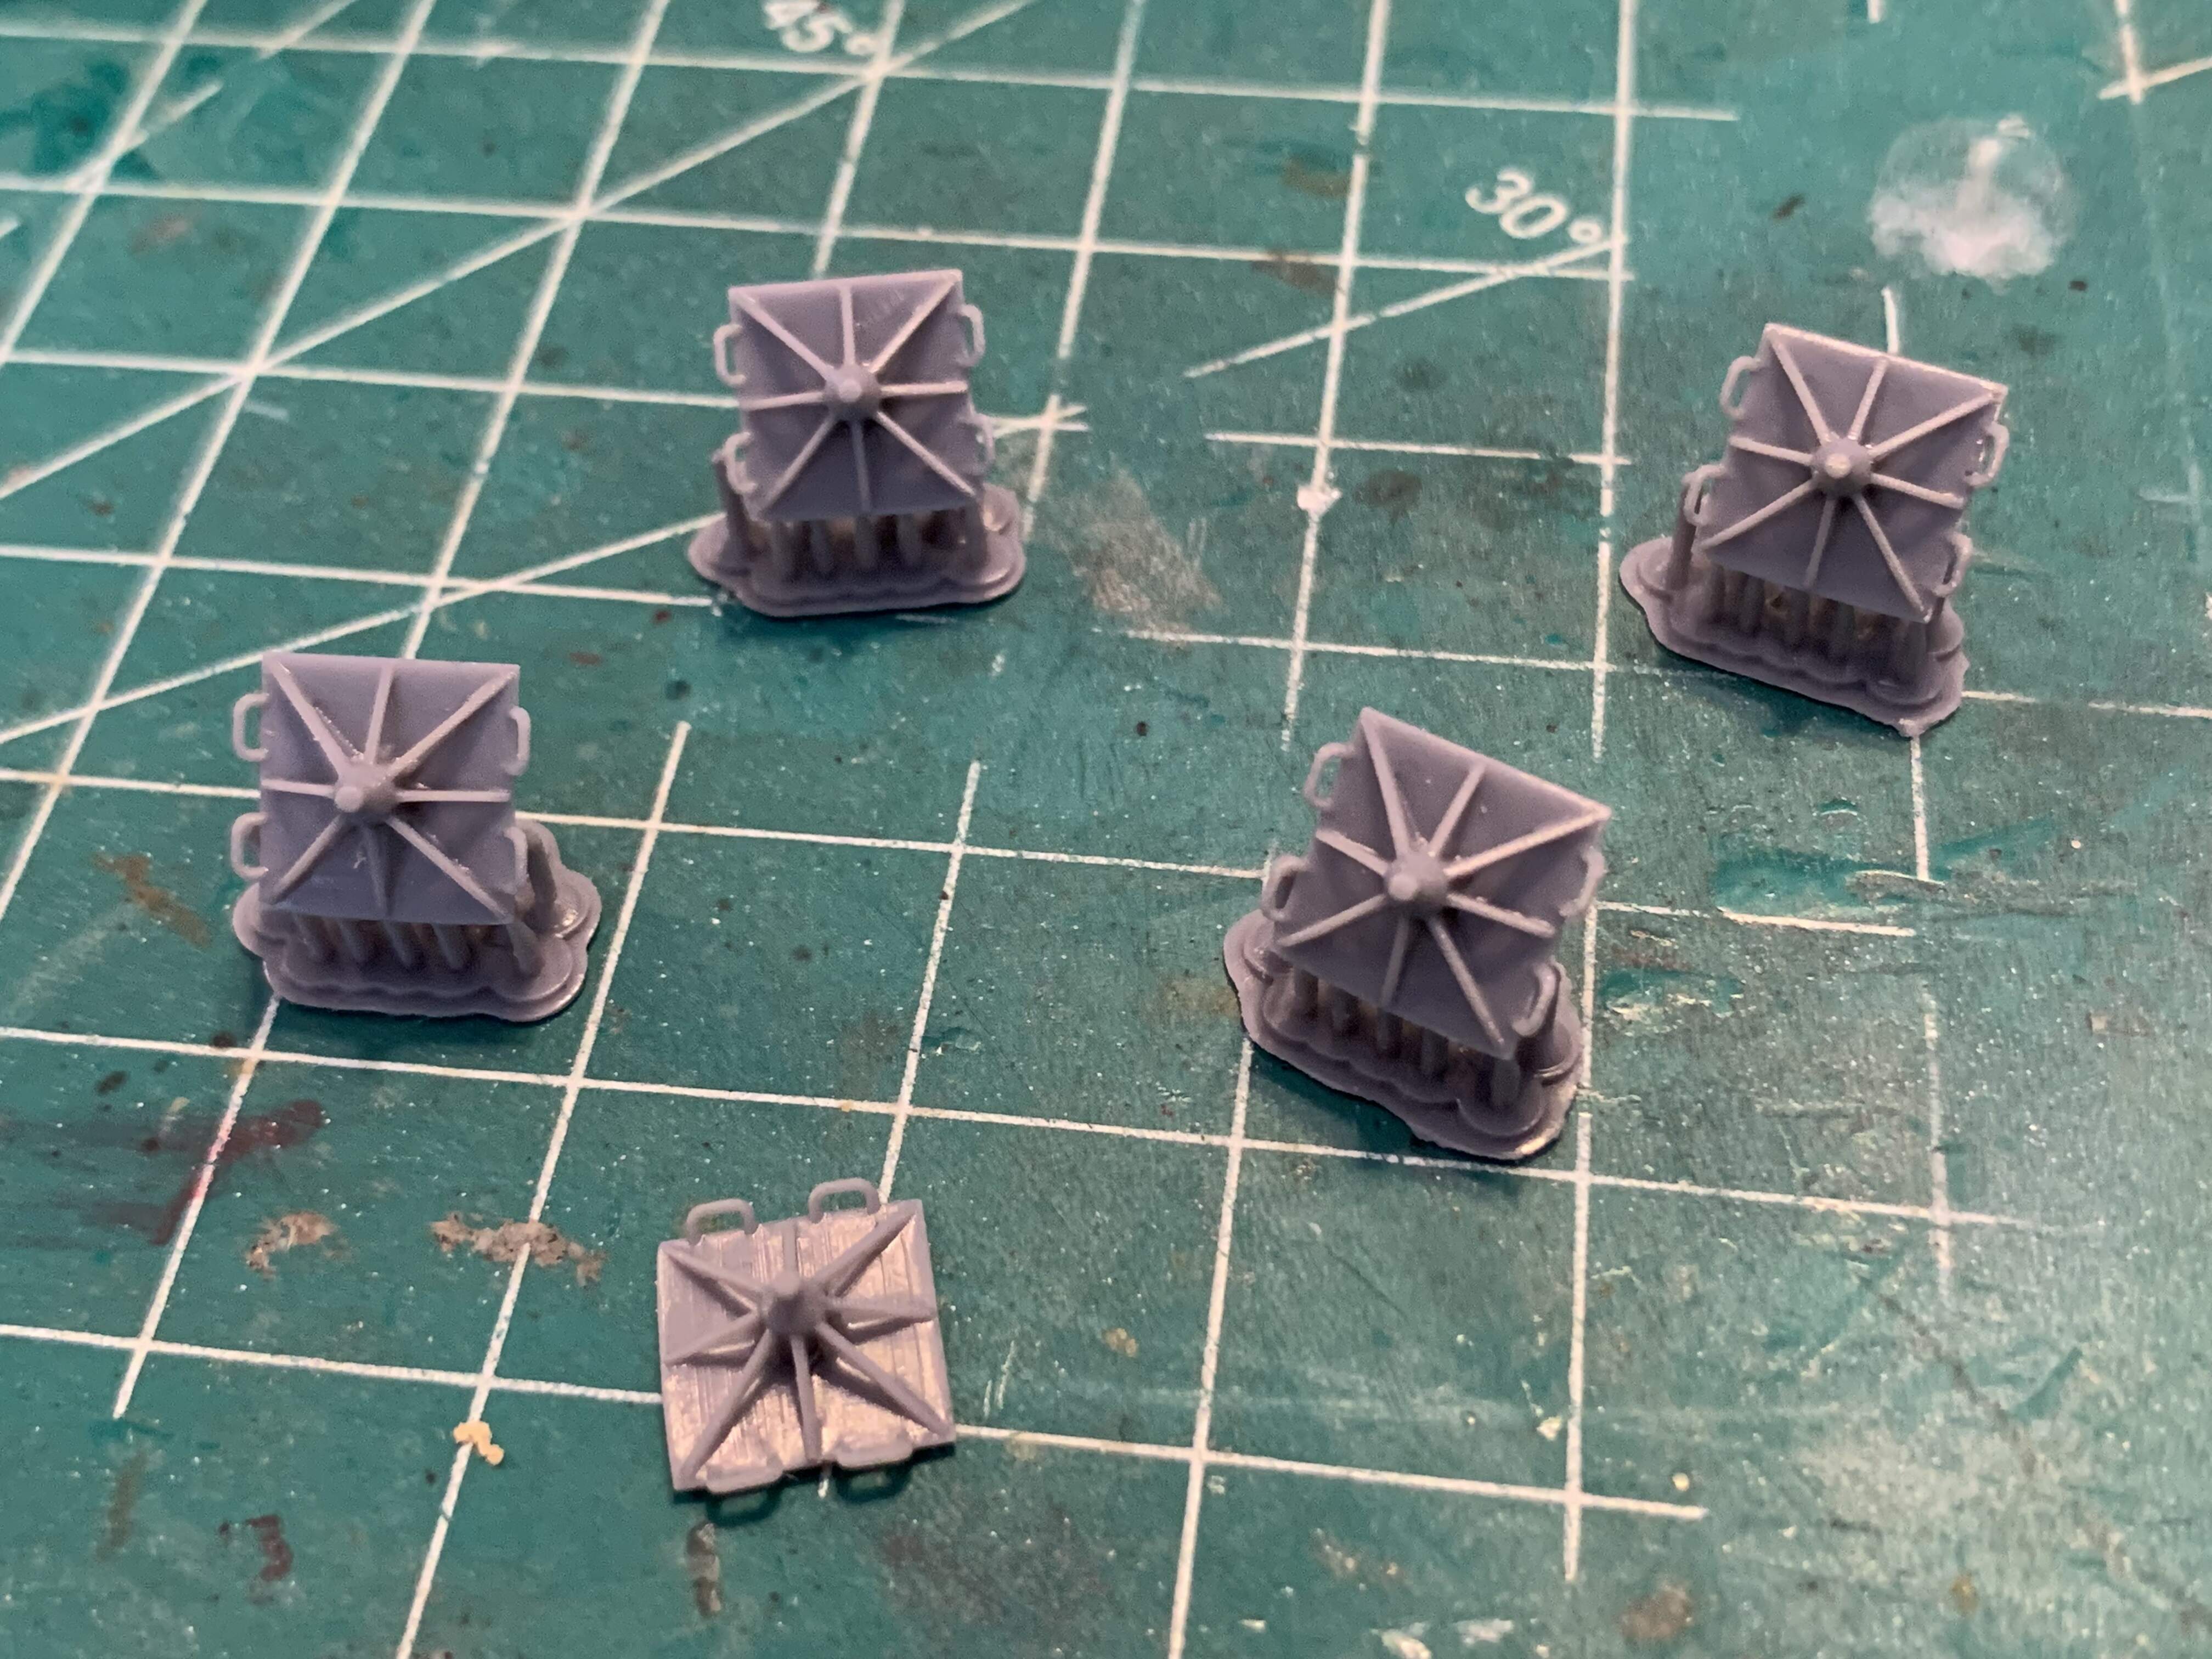
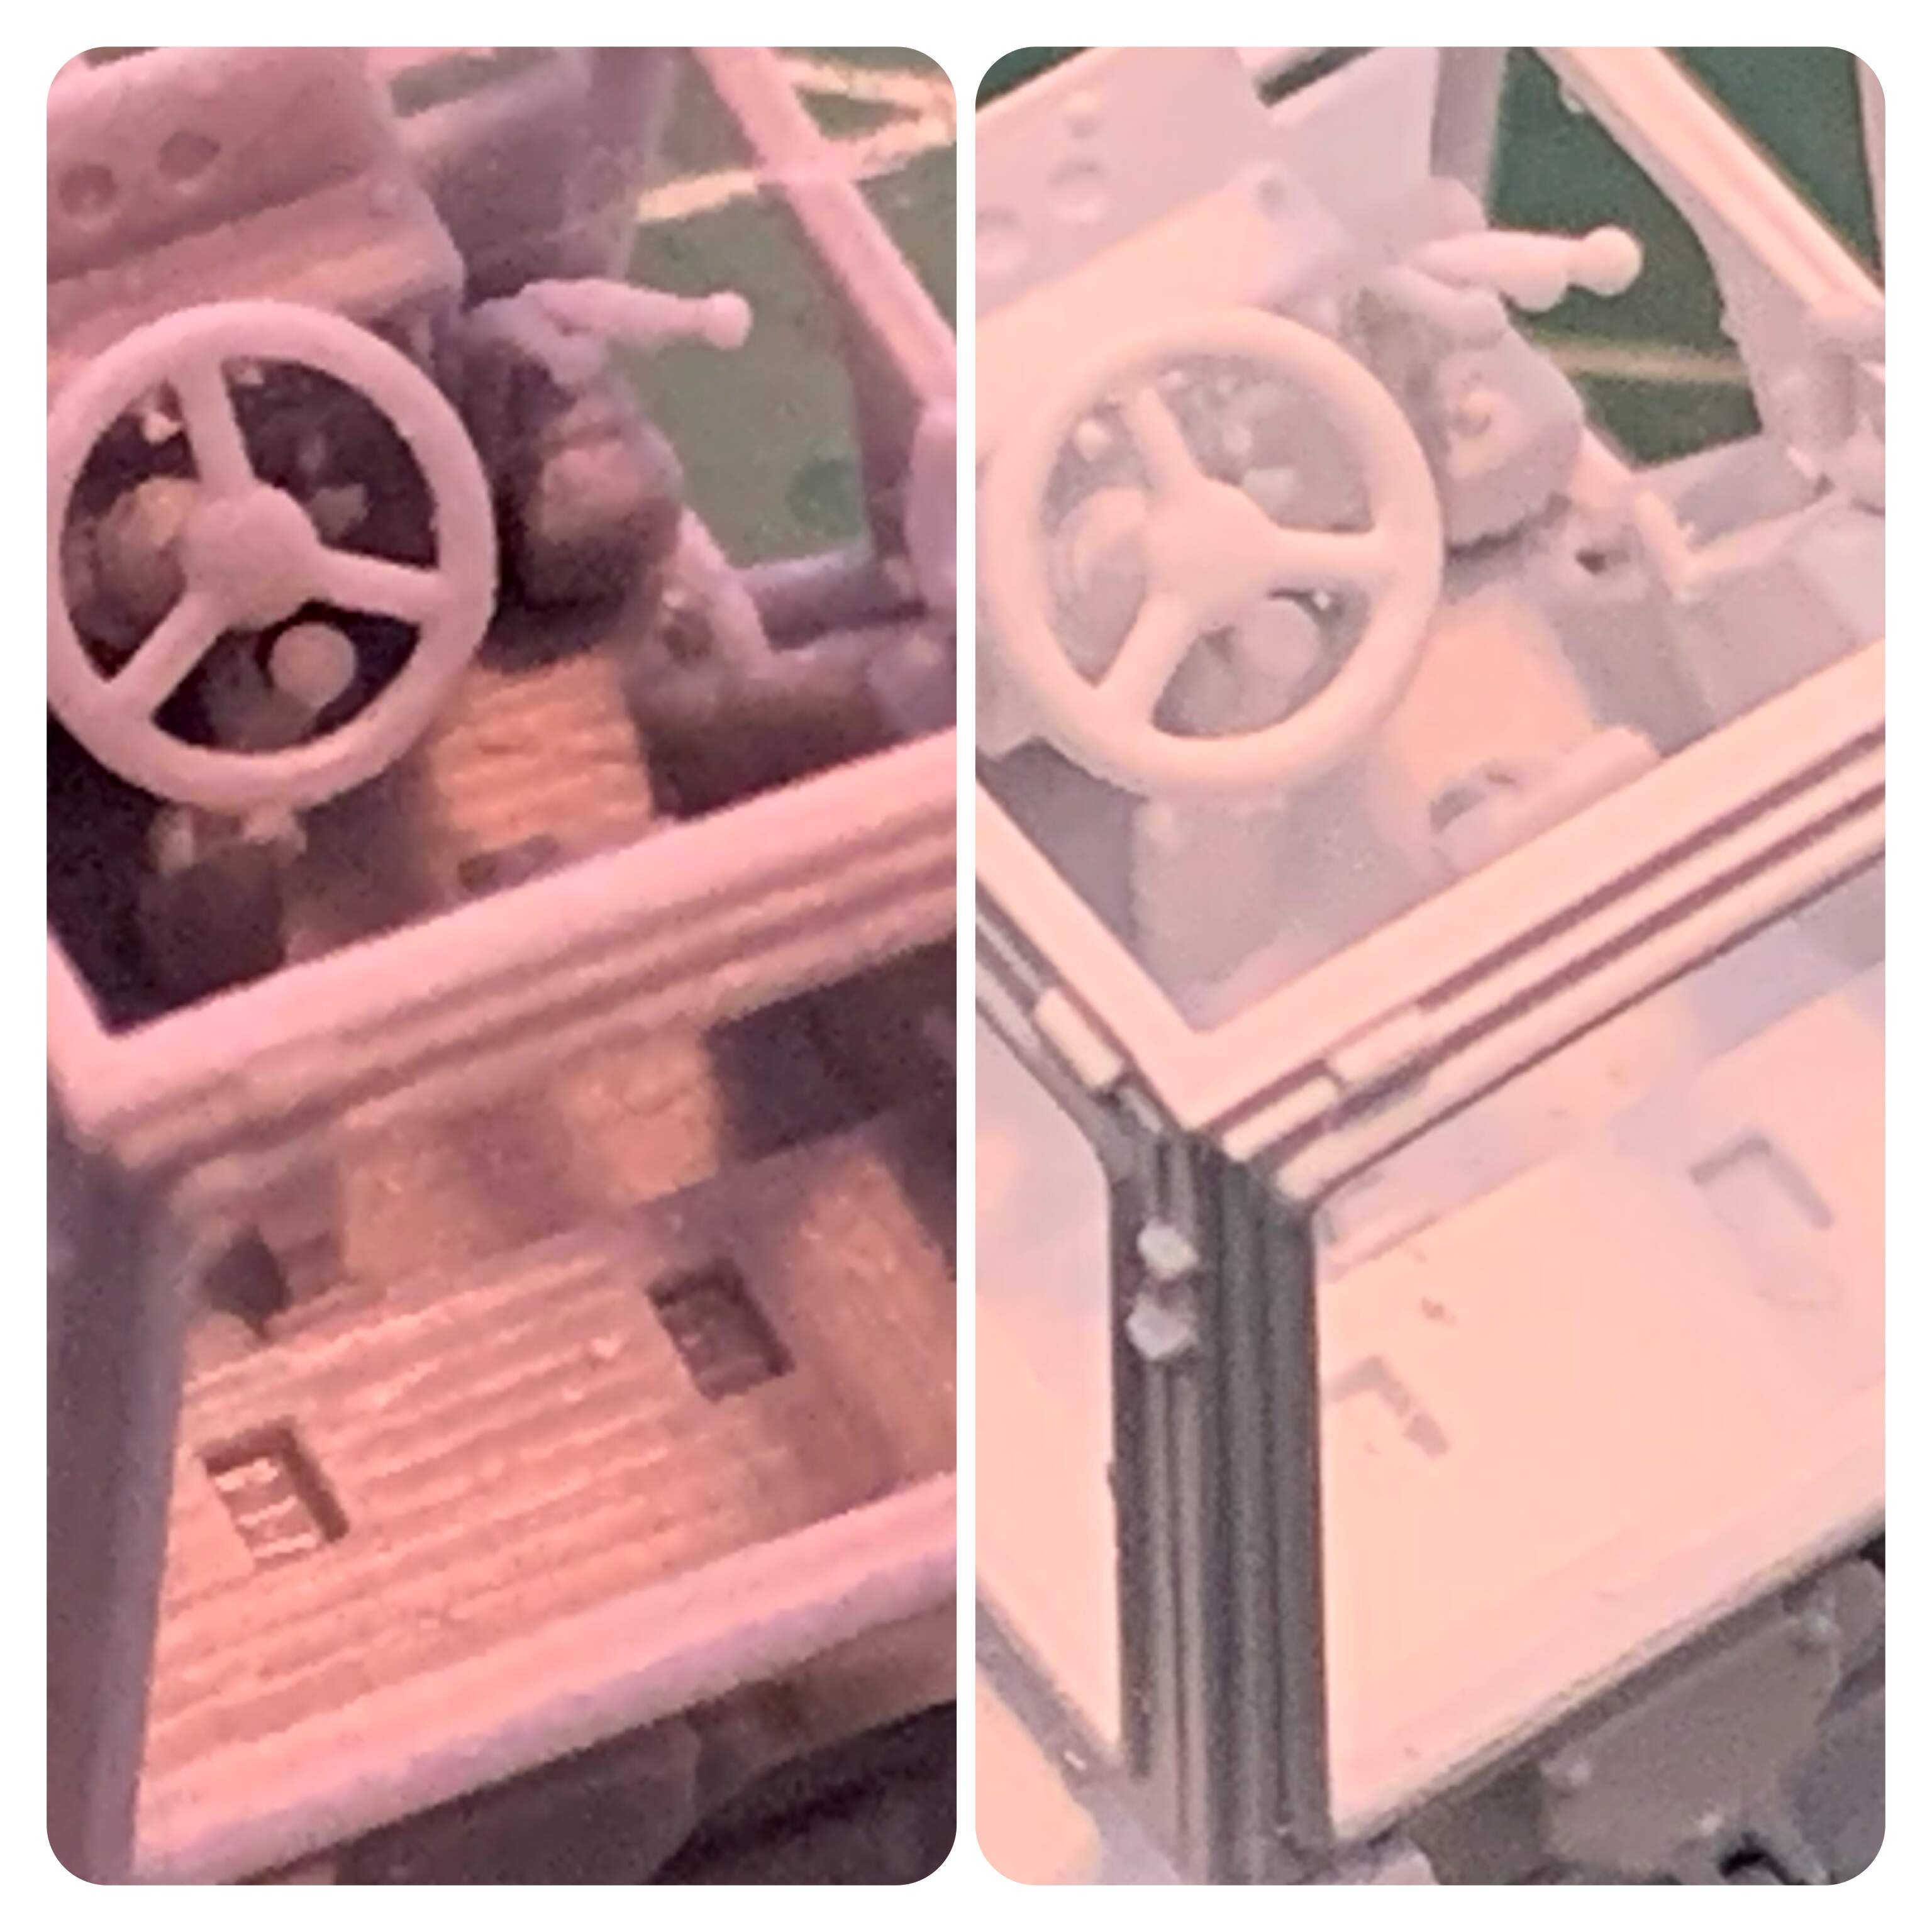
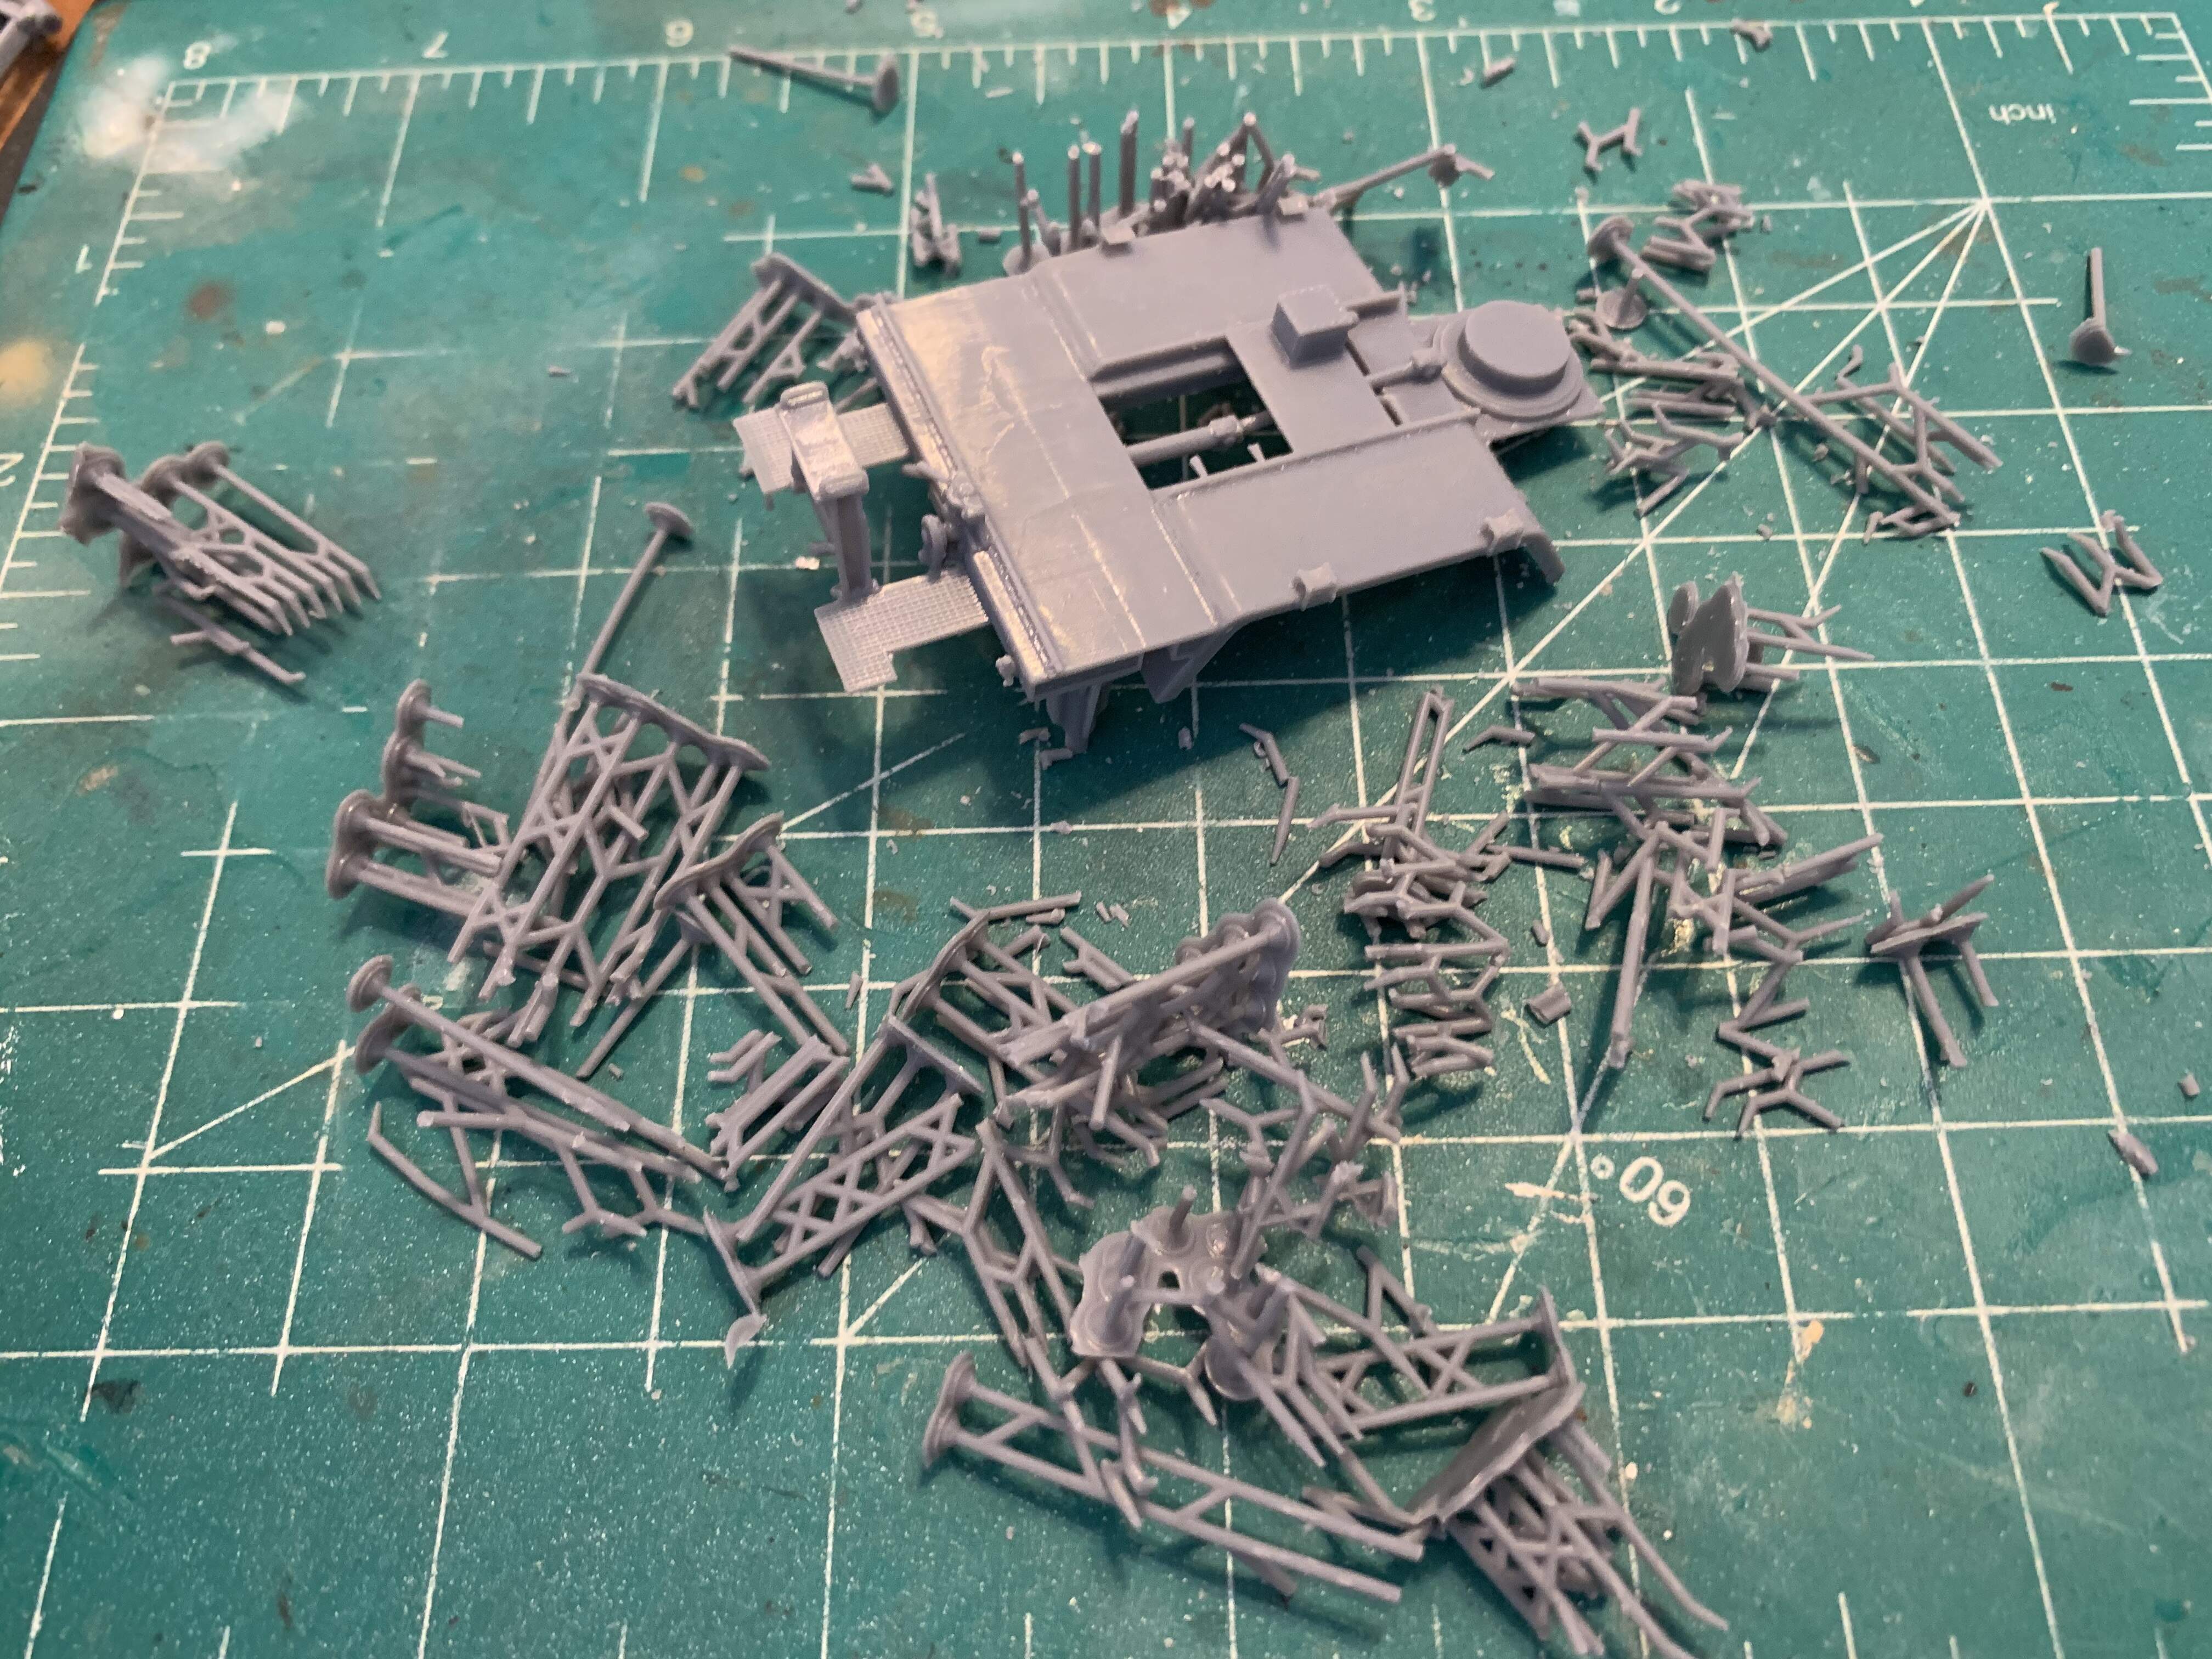
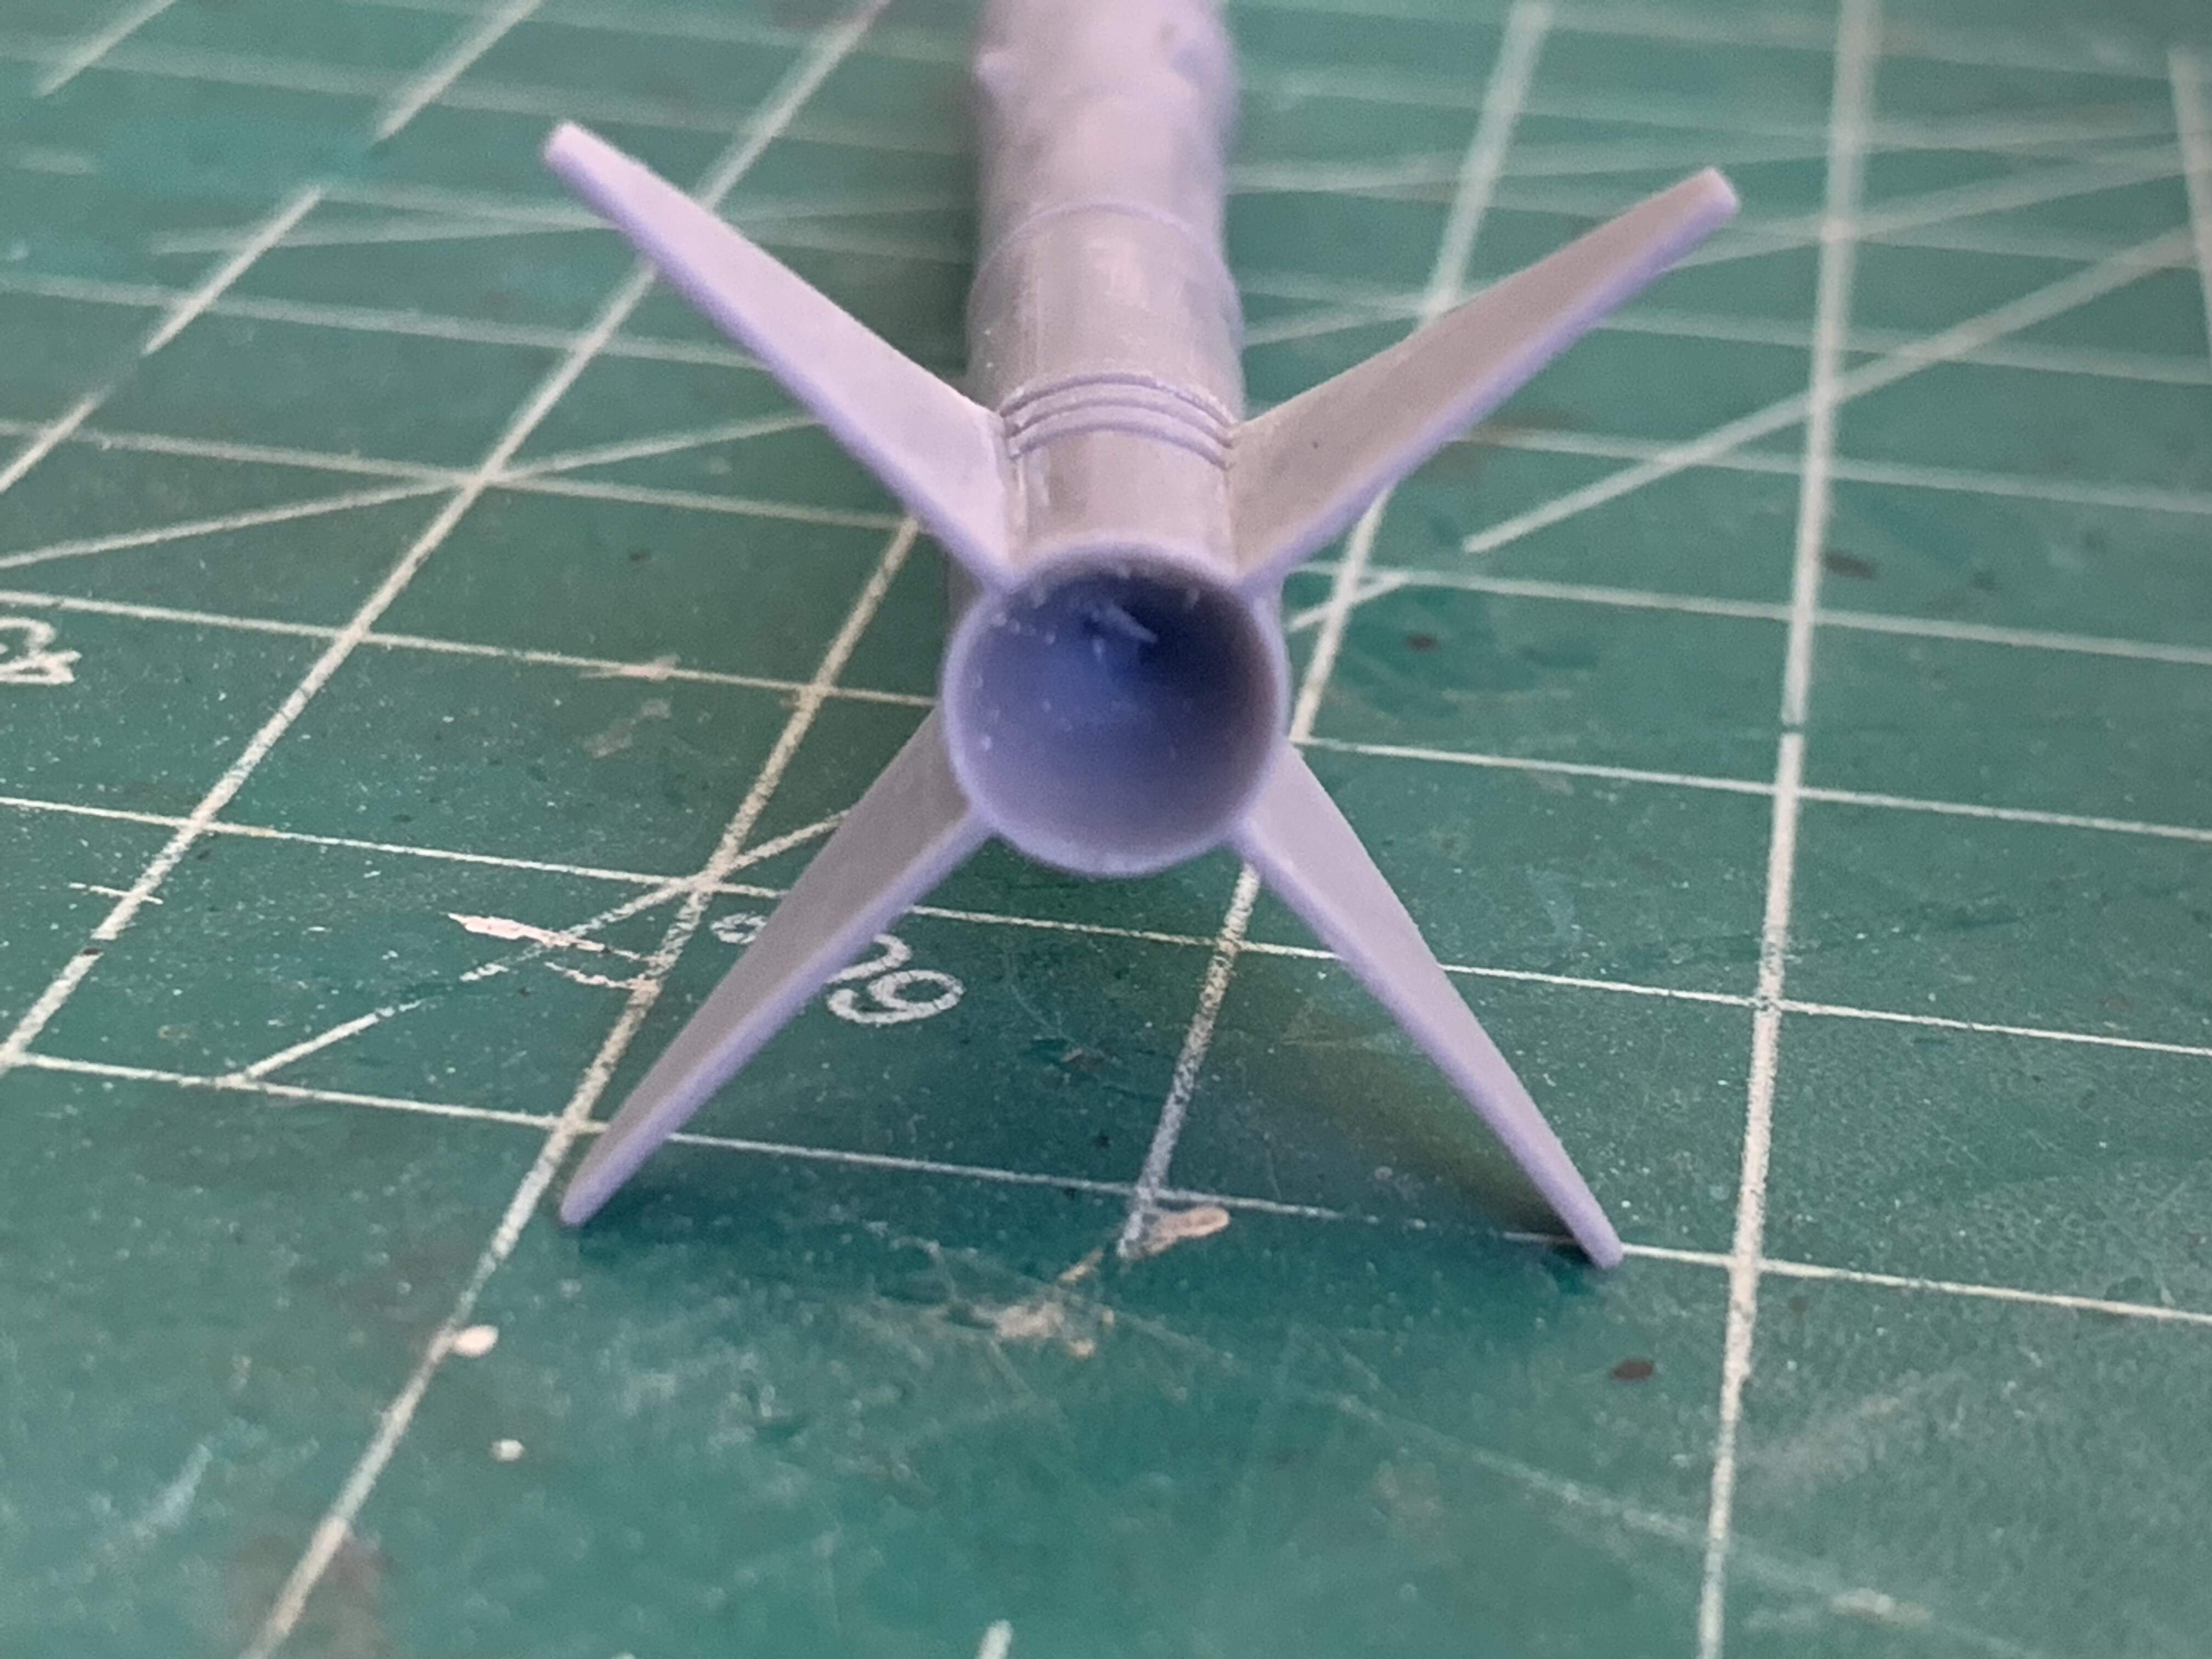
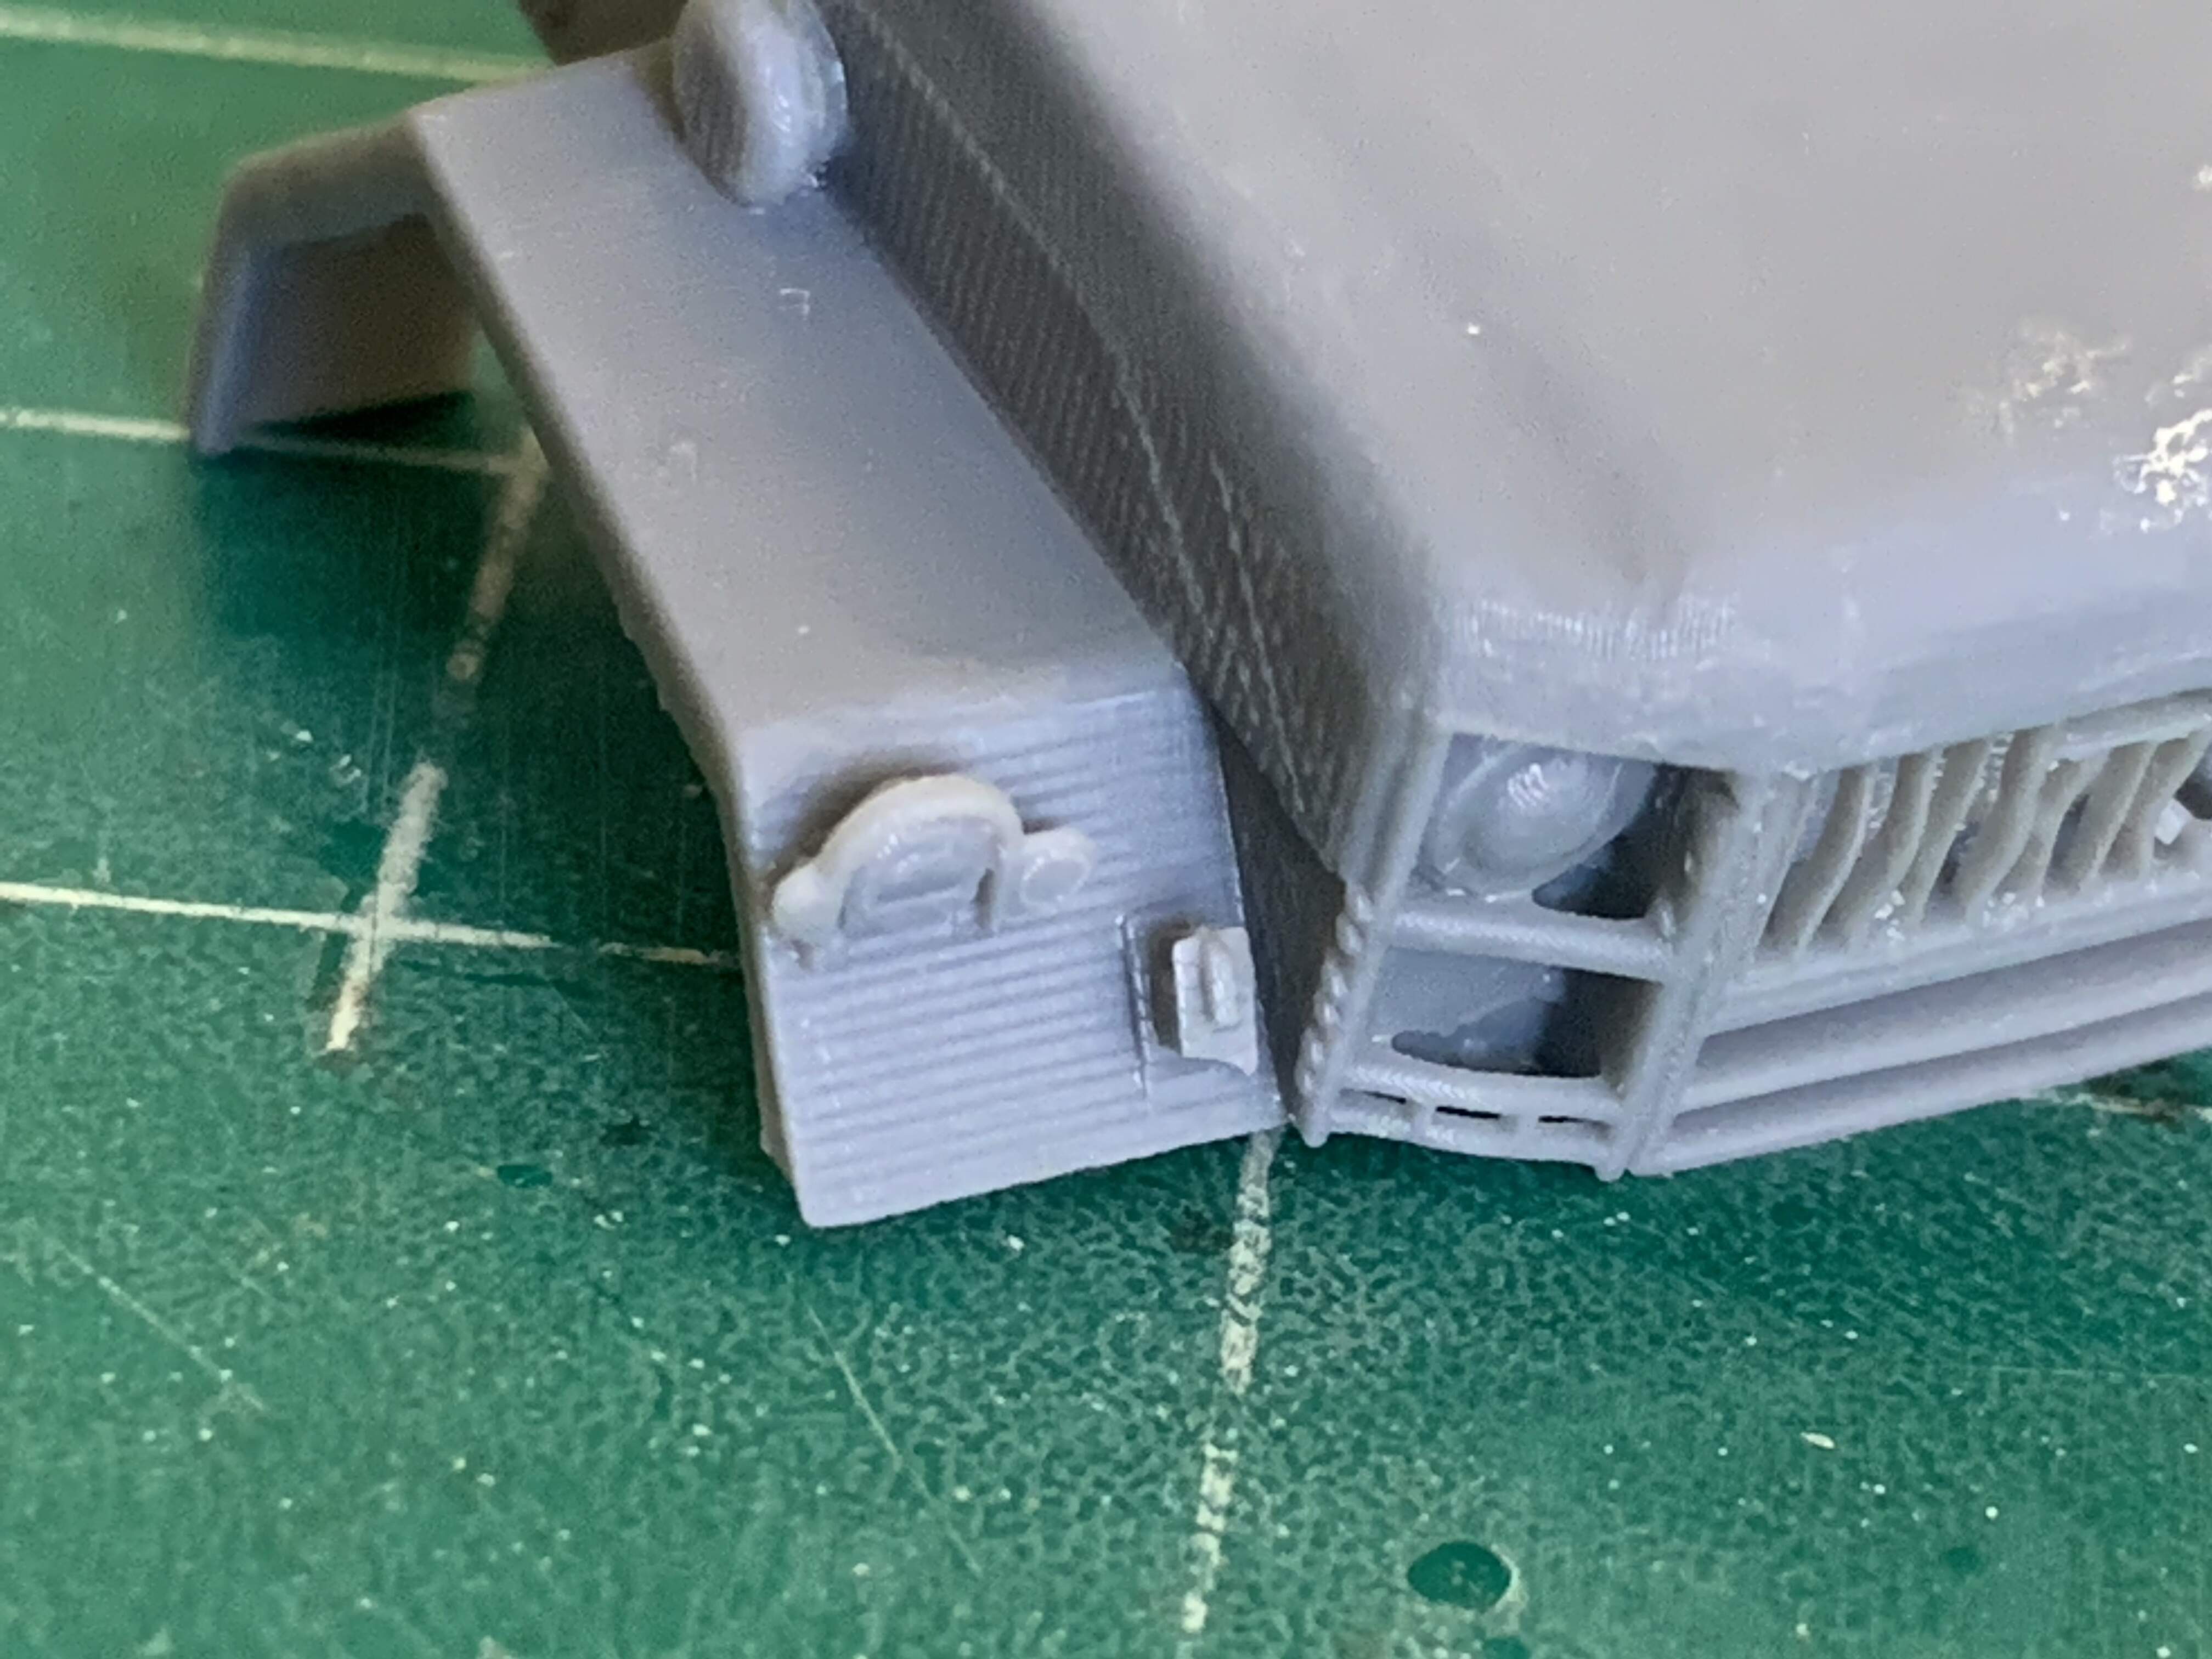
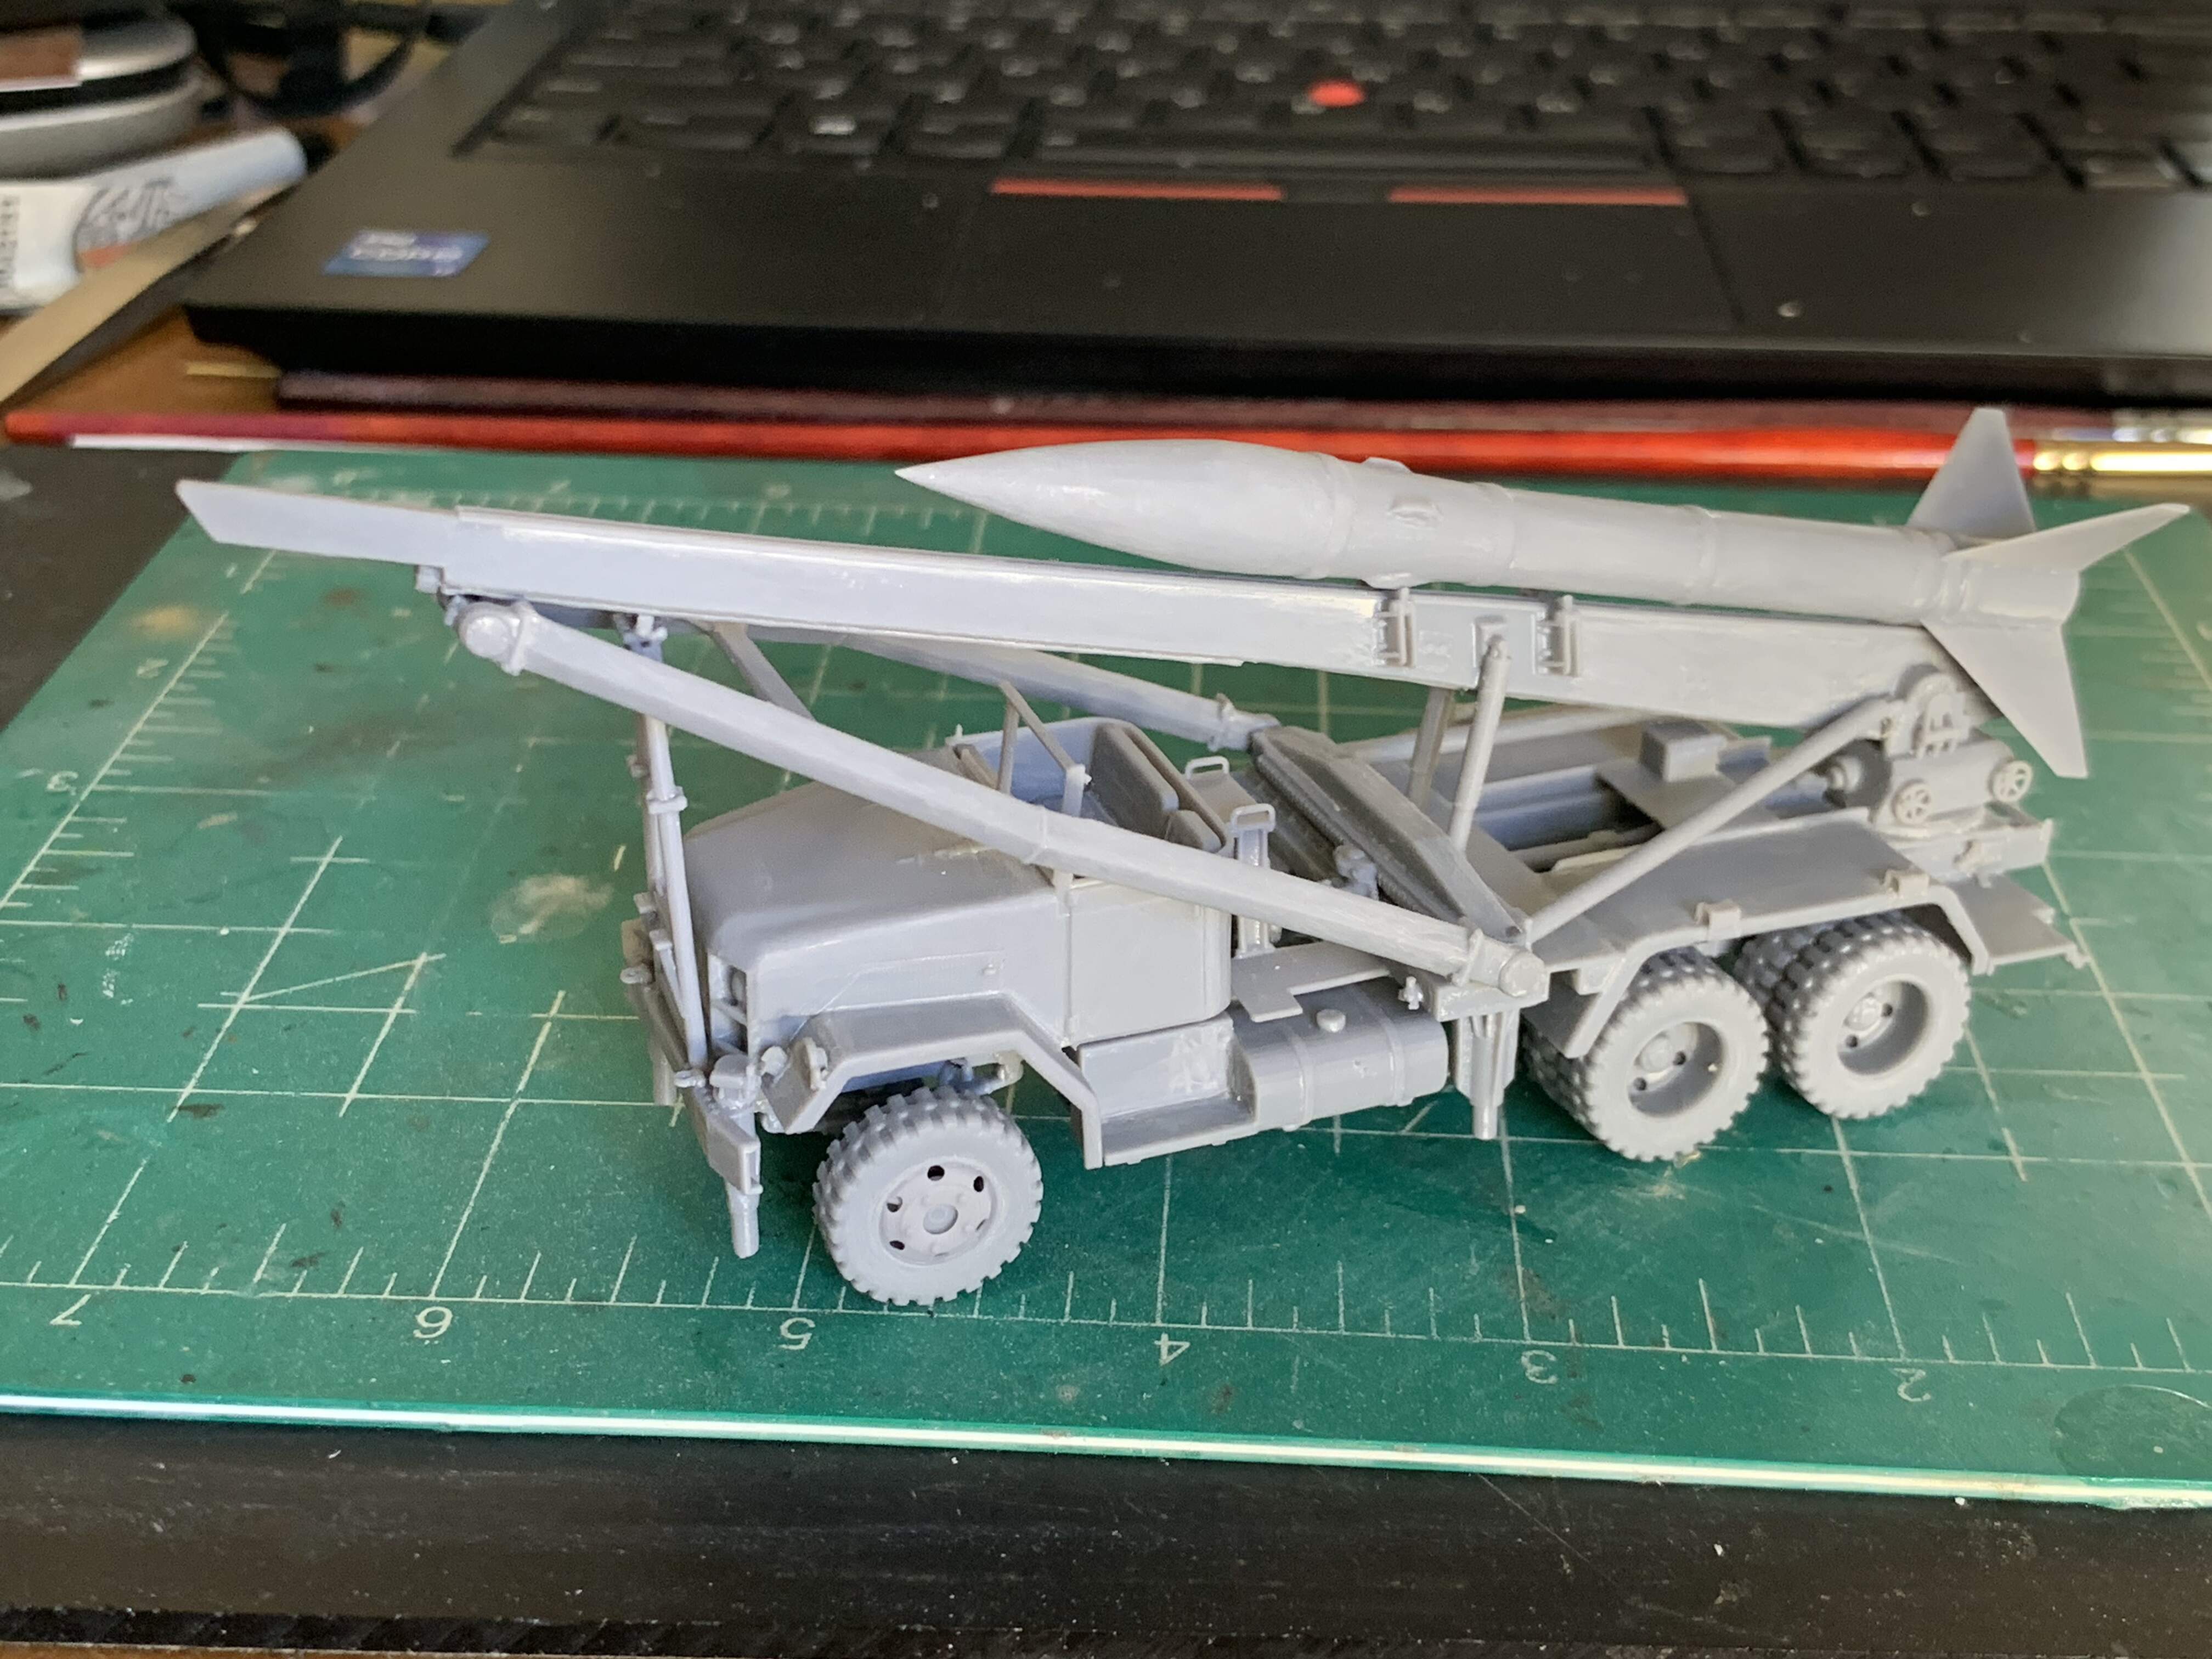
Unfortunately, though there are less sprue to deal with, 3D printed models come with a heck of a whole lot of supports!! Oh well. Regarding the kit itself, there are still printing ridges, less prominent than earlier 3D models but still noticeable. I will experiment in getting rid of those. Here are a couple of detail shots of the cabin.
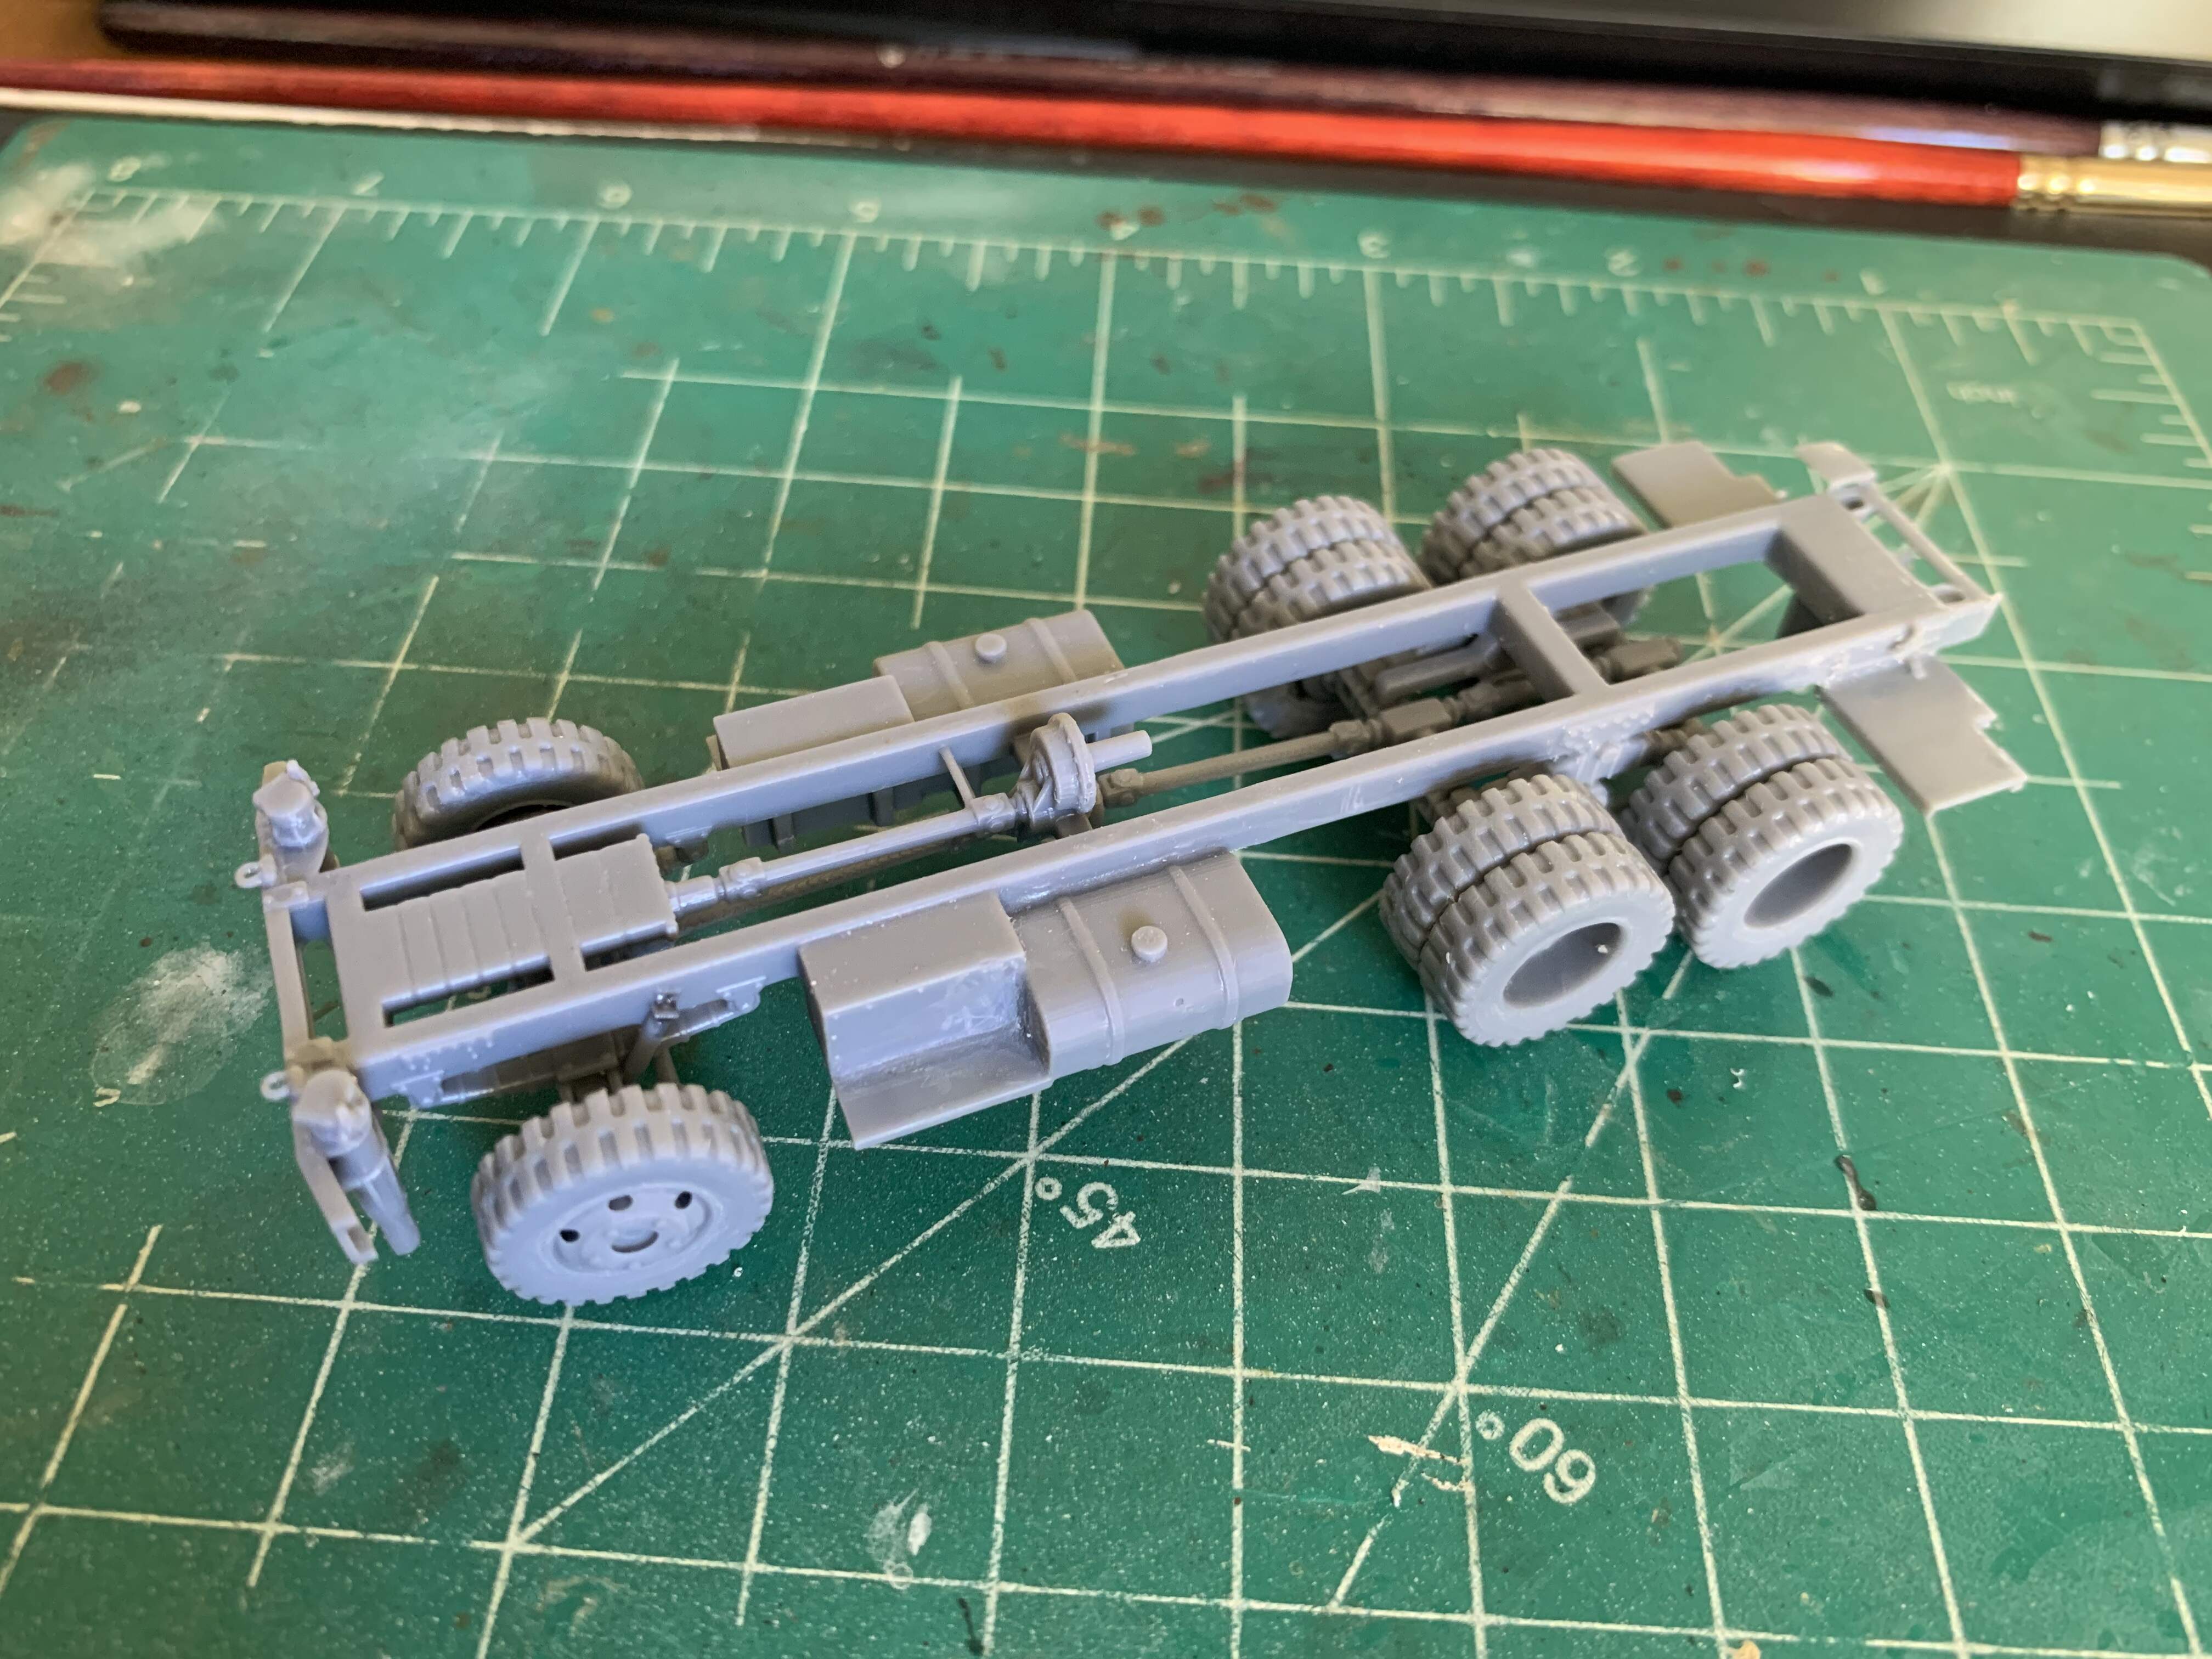
That one-piece chassis is awesome. I recently completed a 1:35 #d printed resin truck, and has similar printing lines across the hood and both cab doors. In the 1:35 scale, fixing was a matter of sanding, filler and more sanding. For your 1:72 scale hood, I’ll say a prayer for you.
Regarding the grille, I’ll guess that after printing, insufficient time was allowed for the resin to fully set.
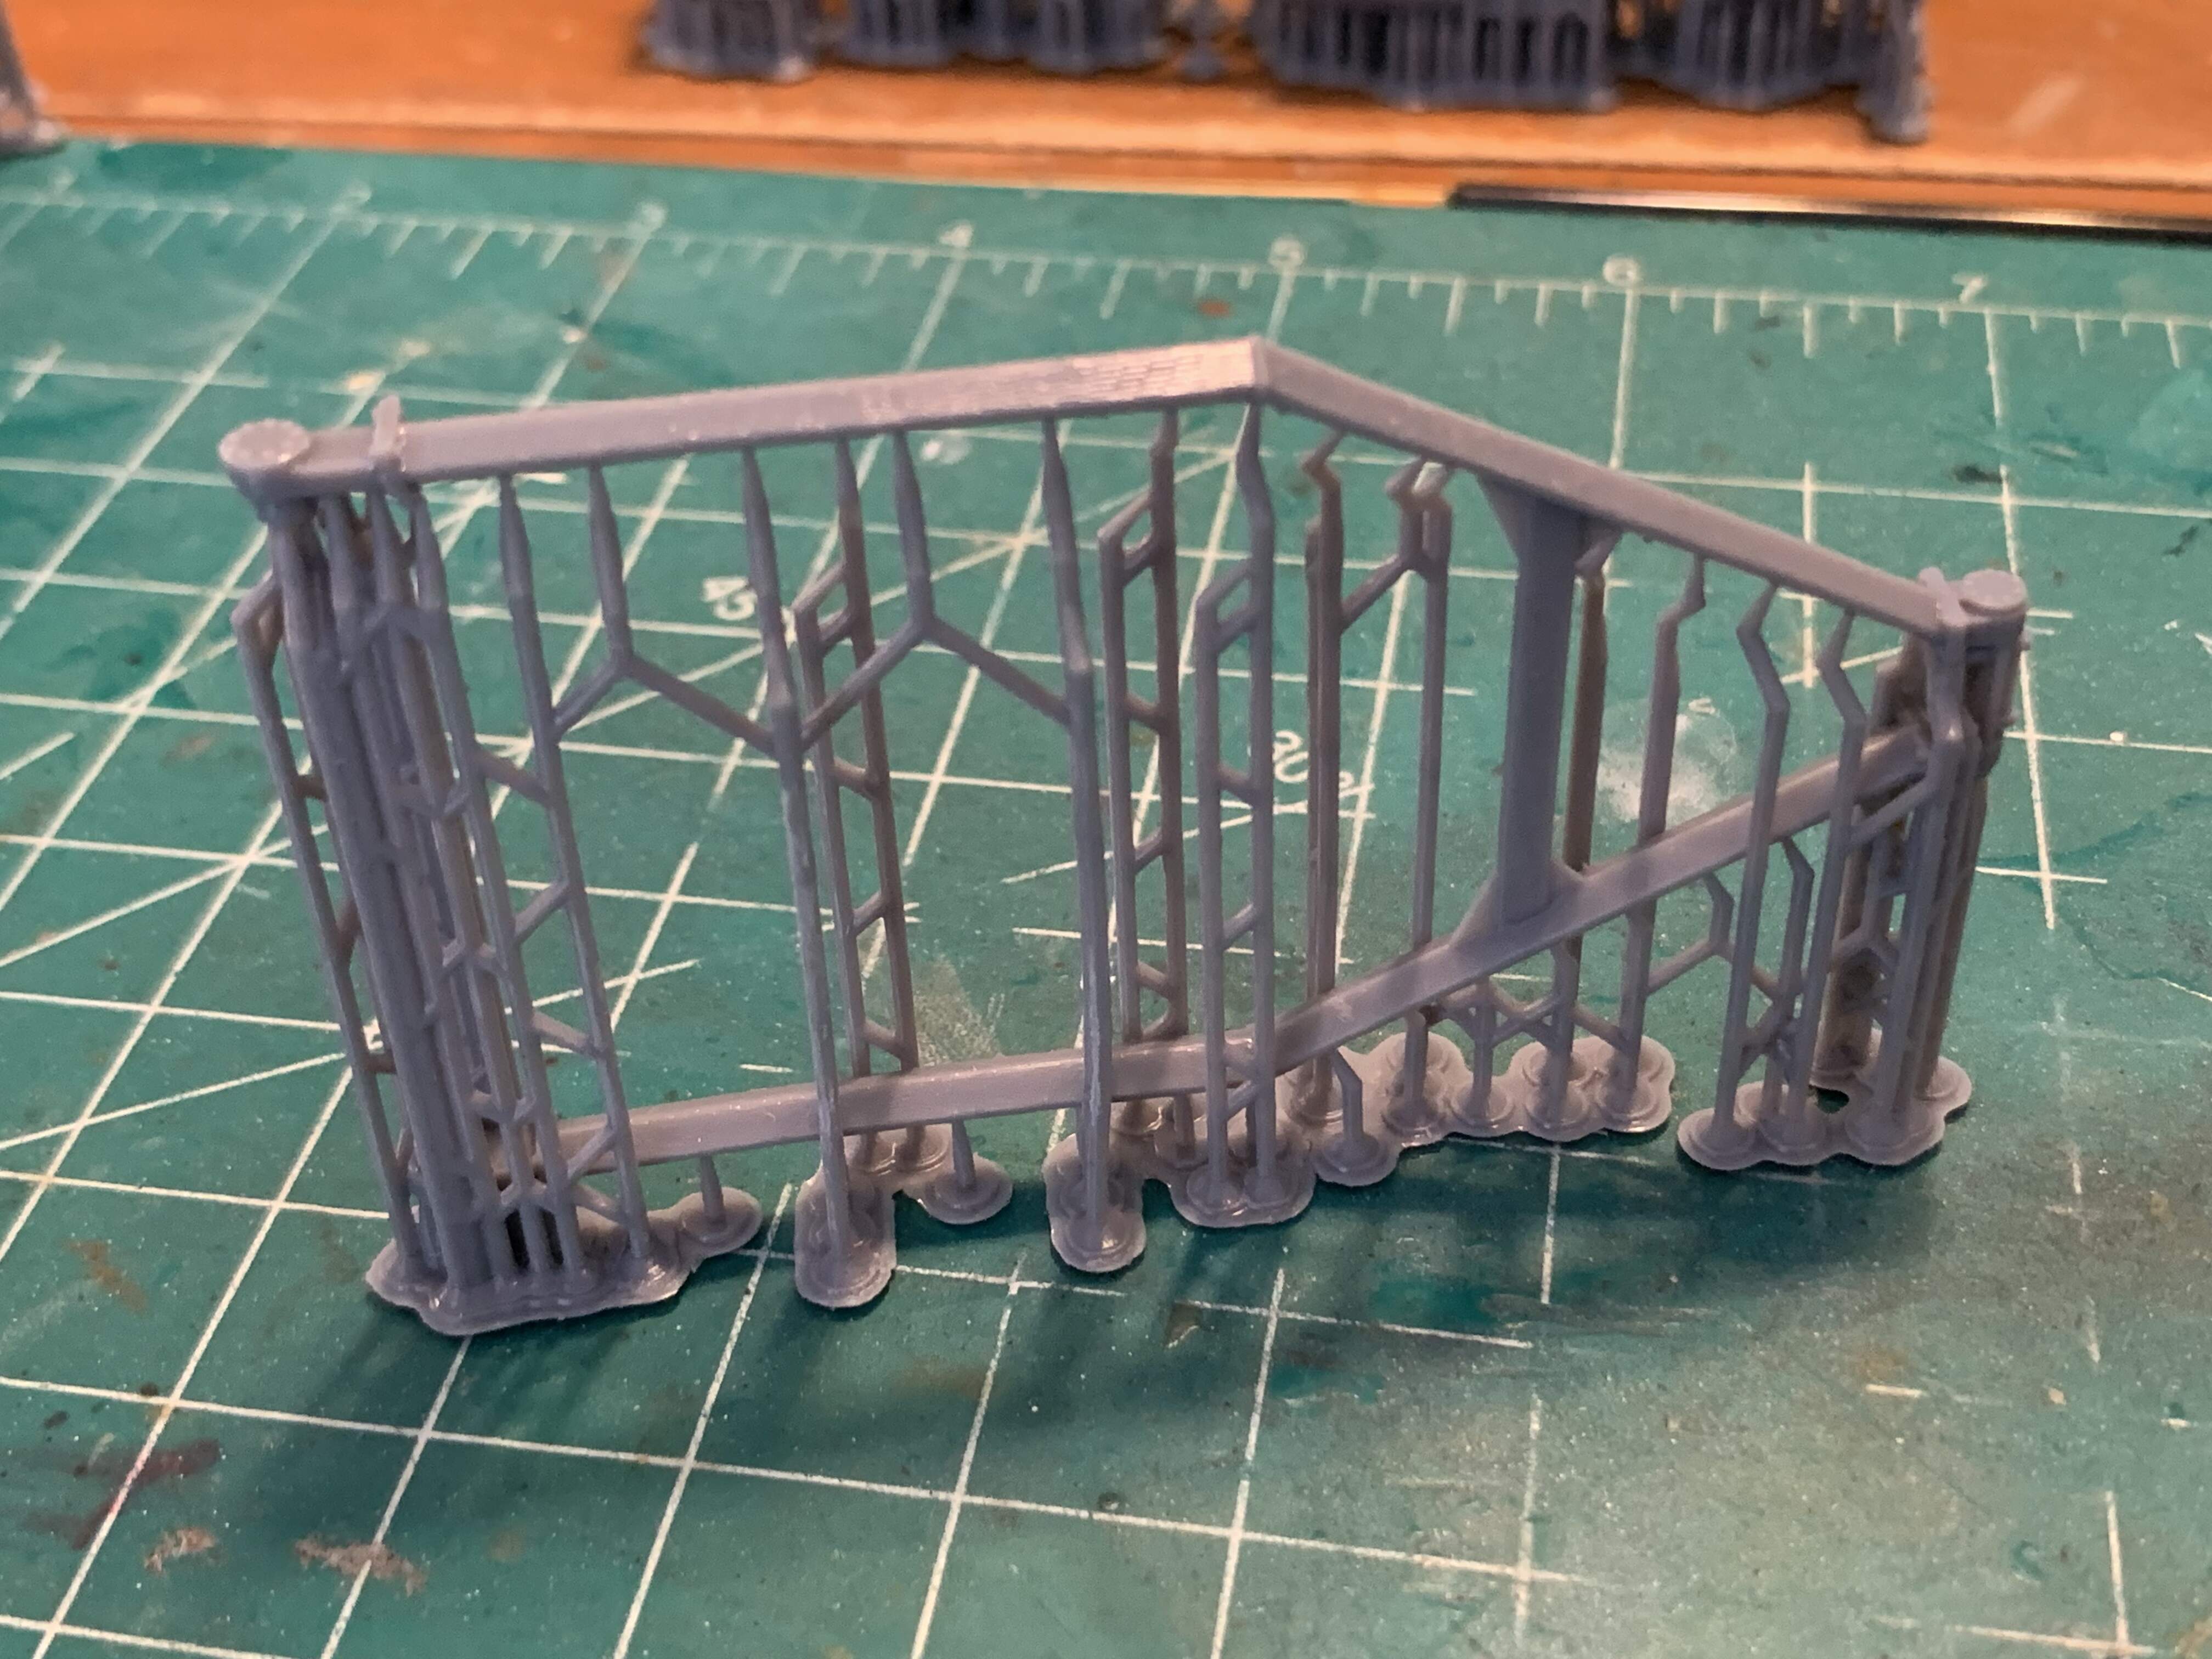
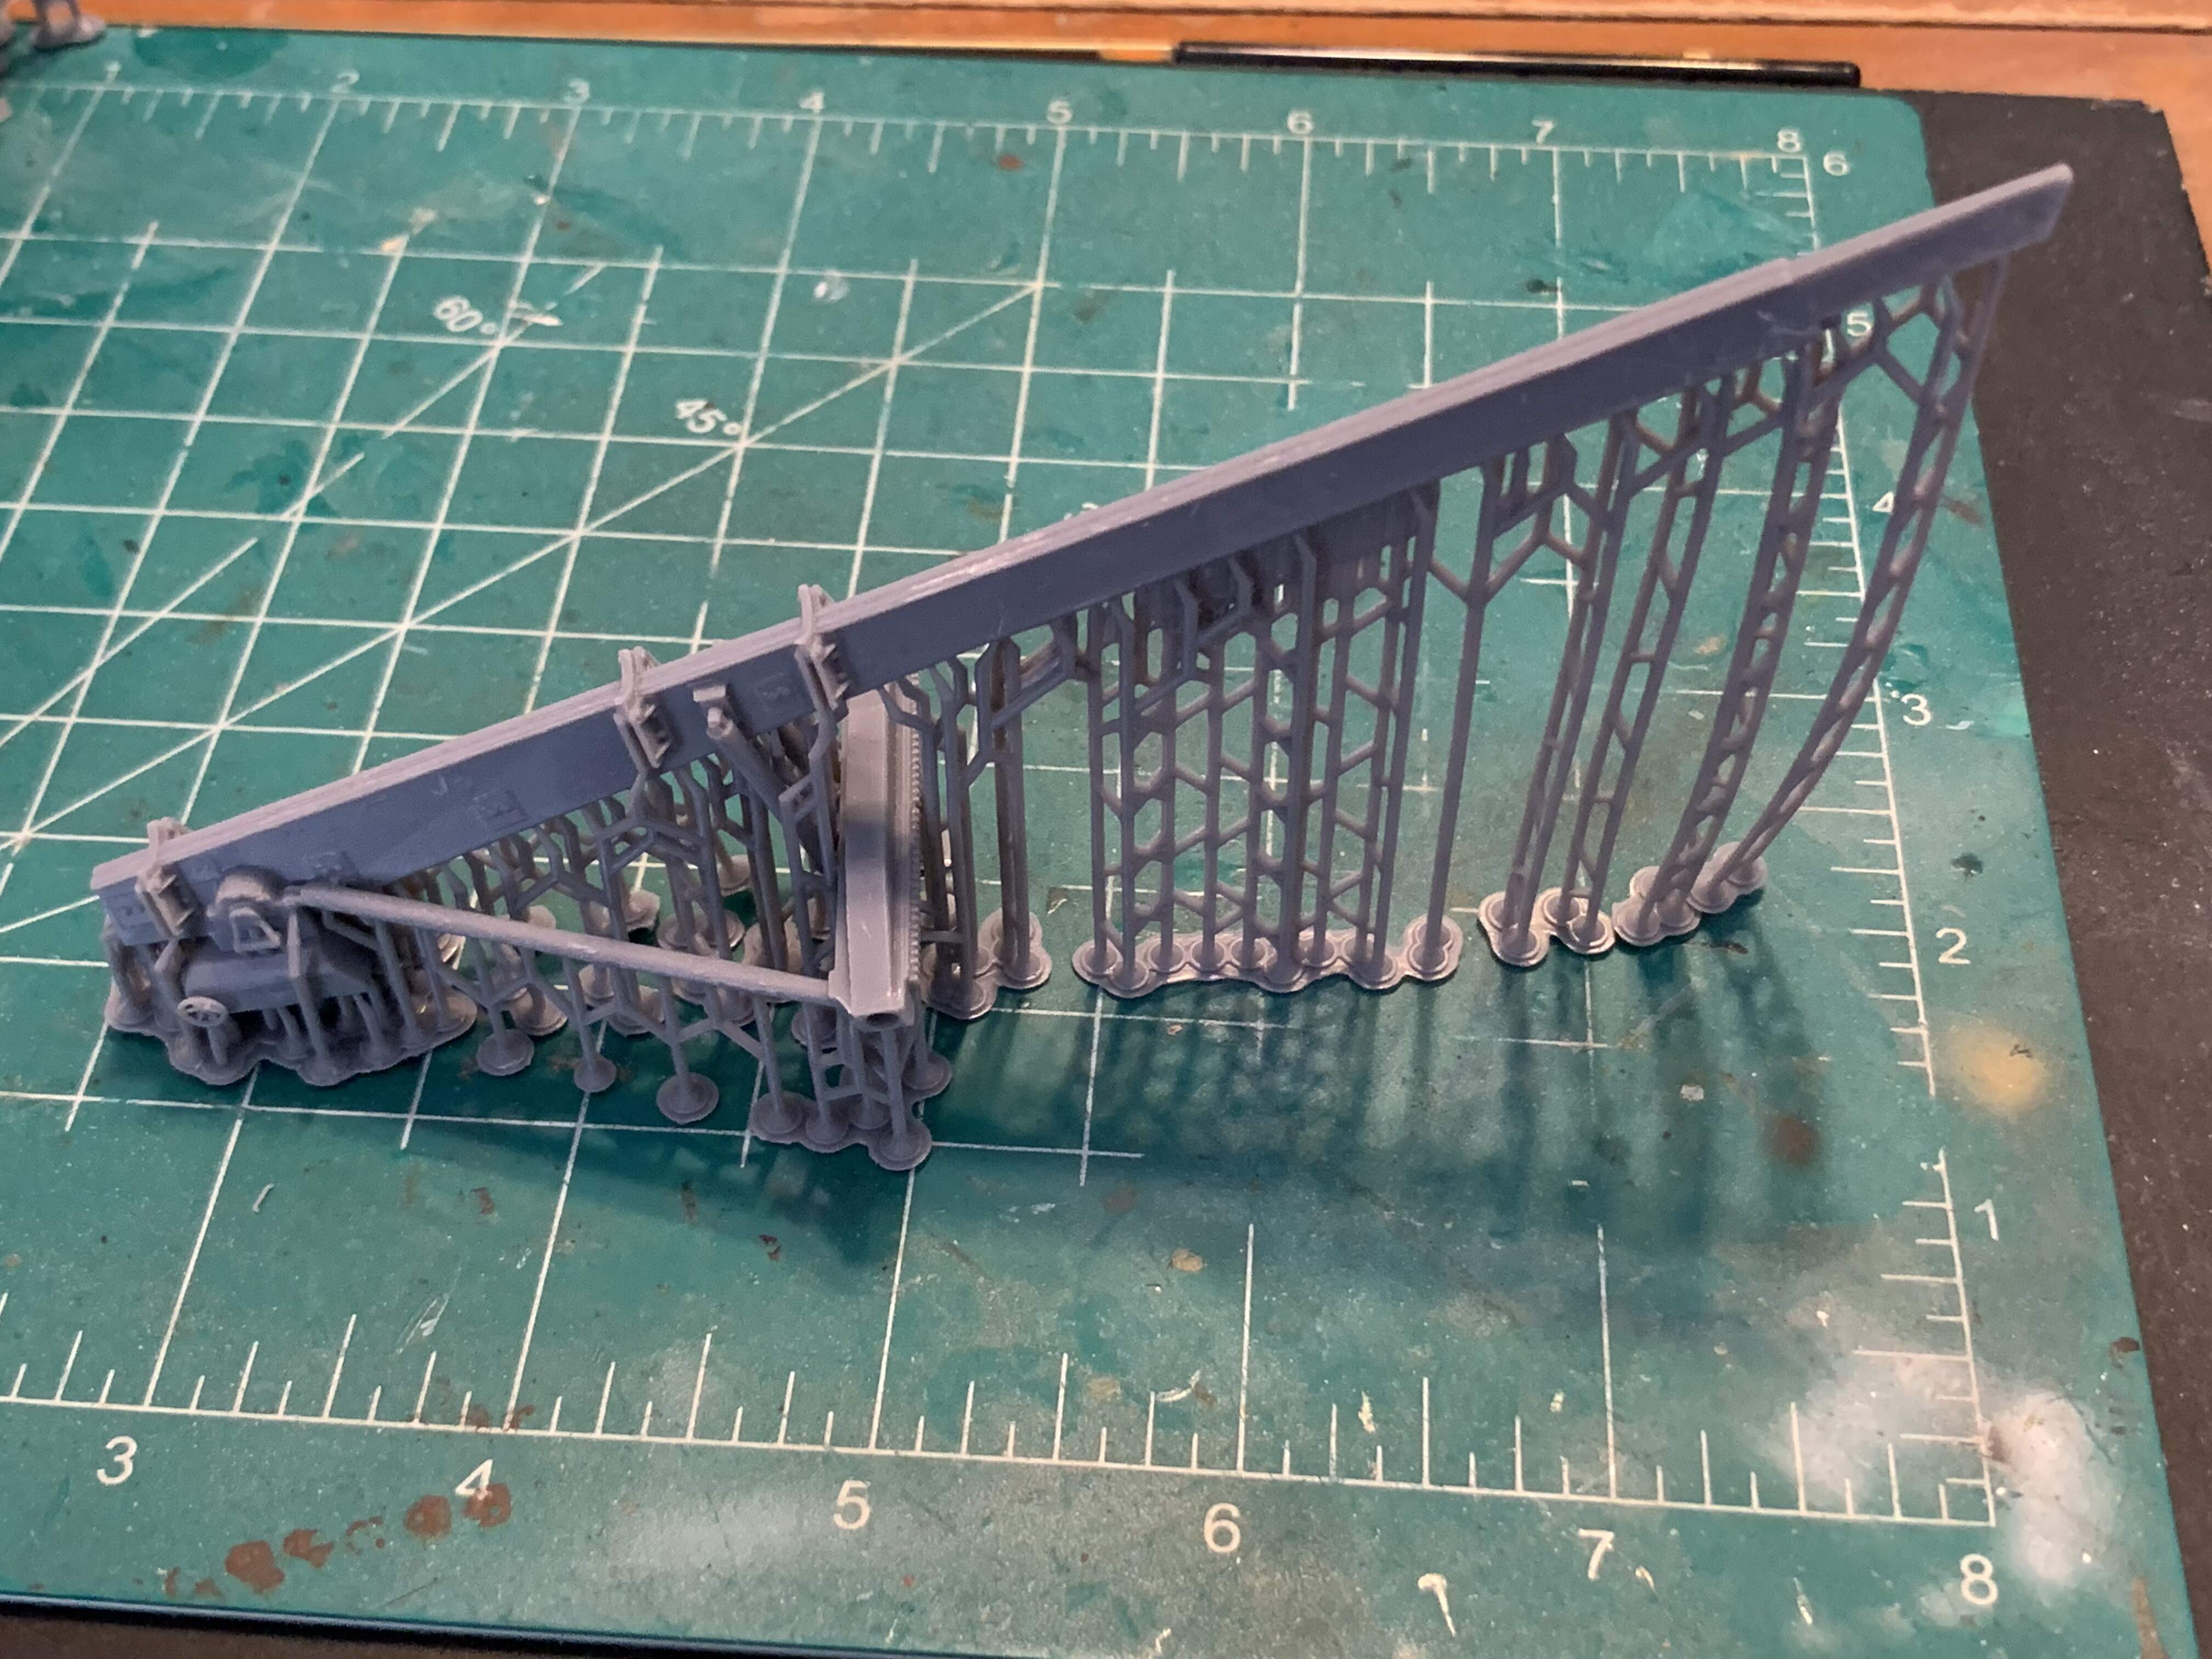
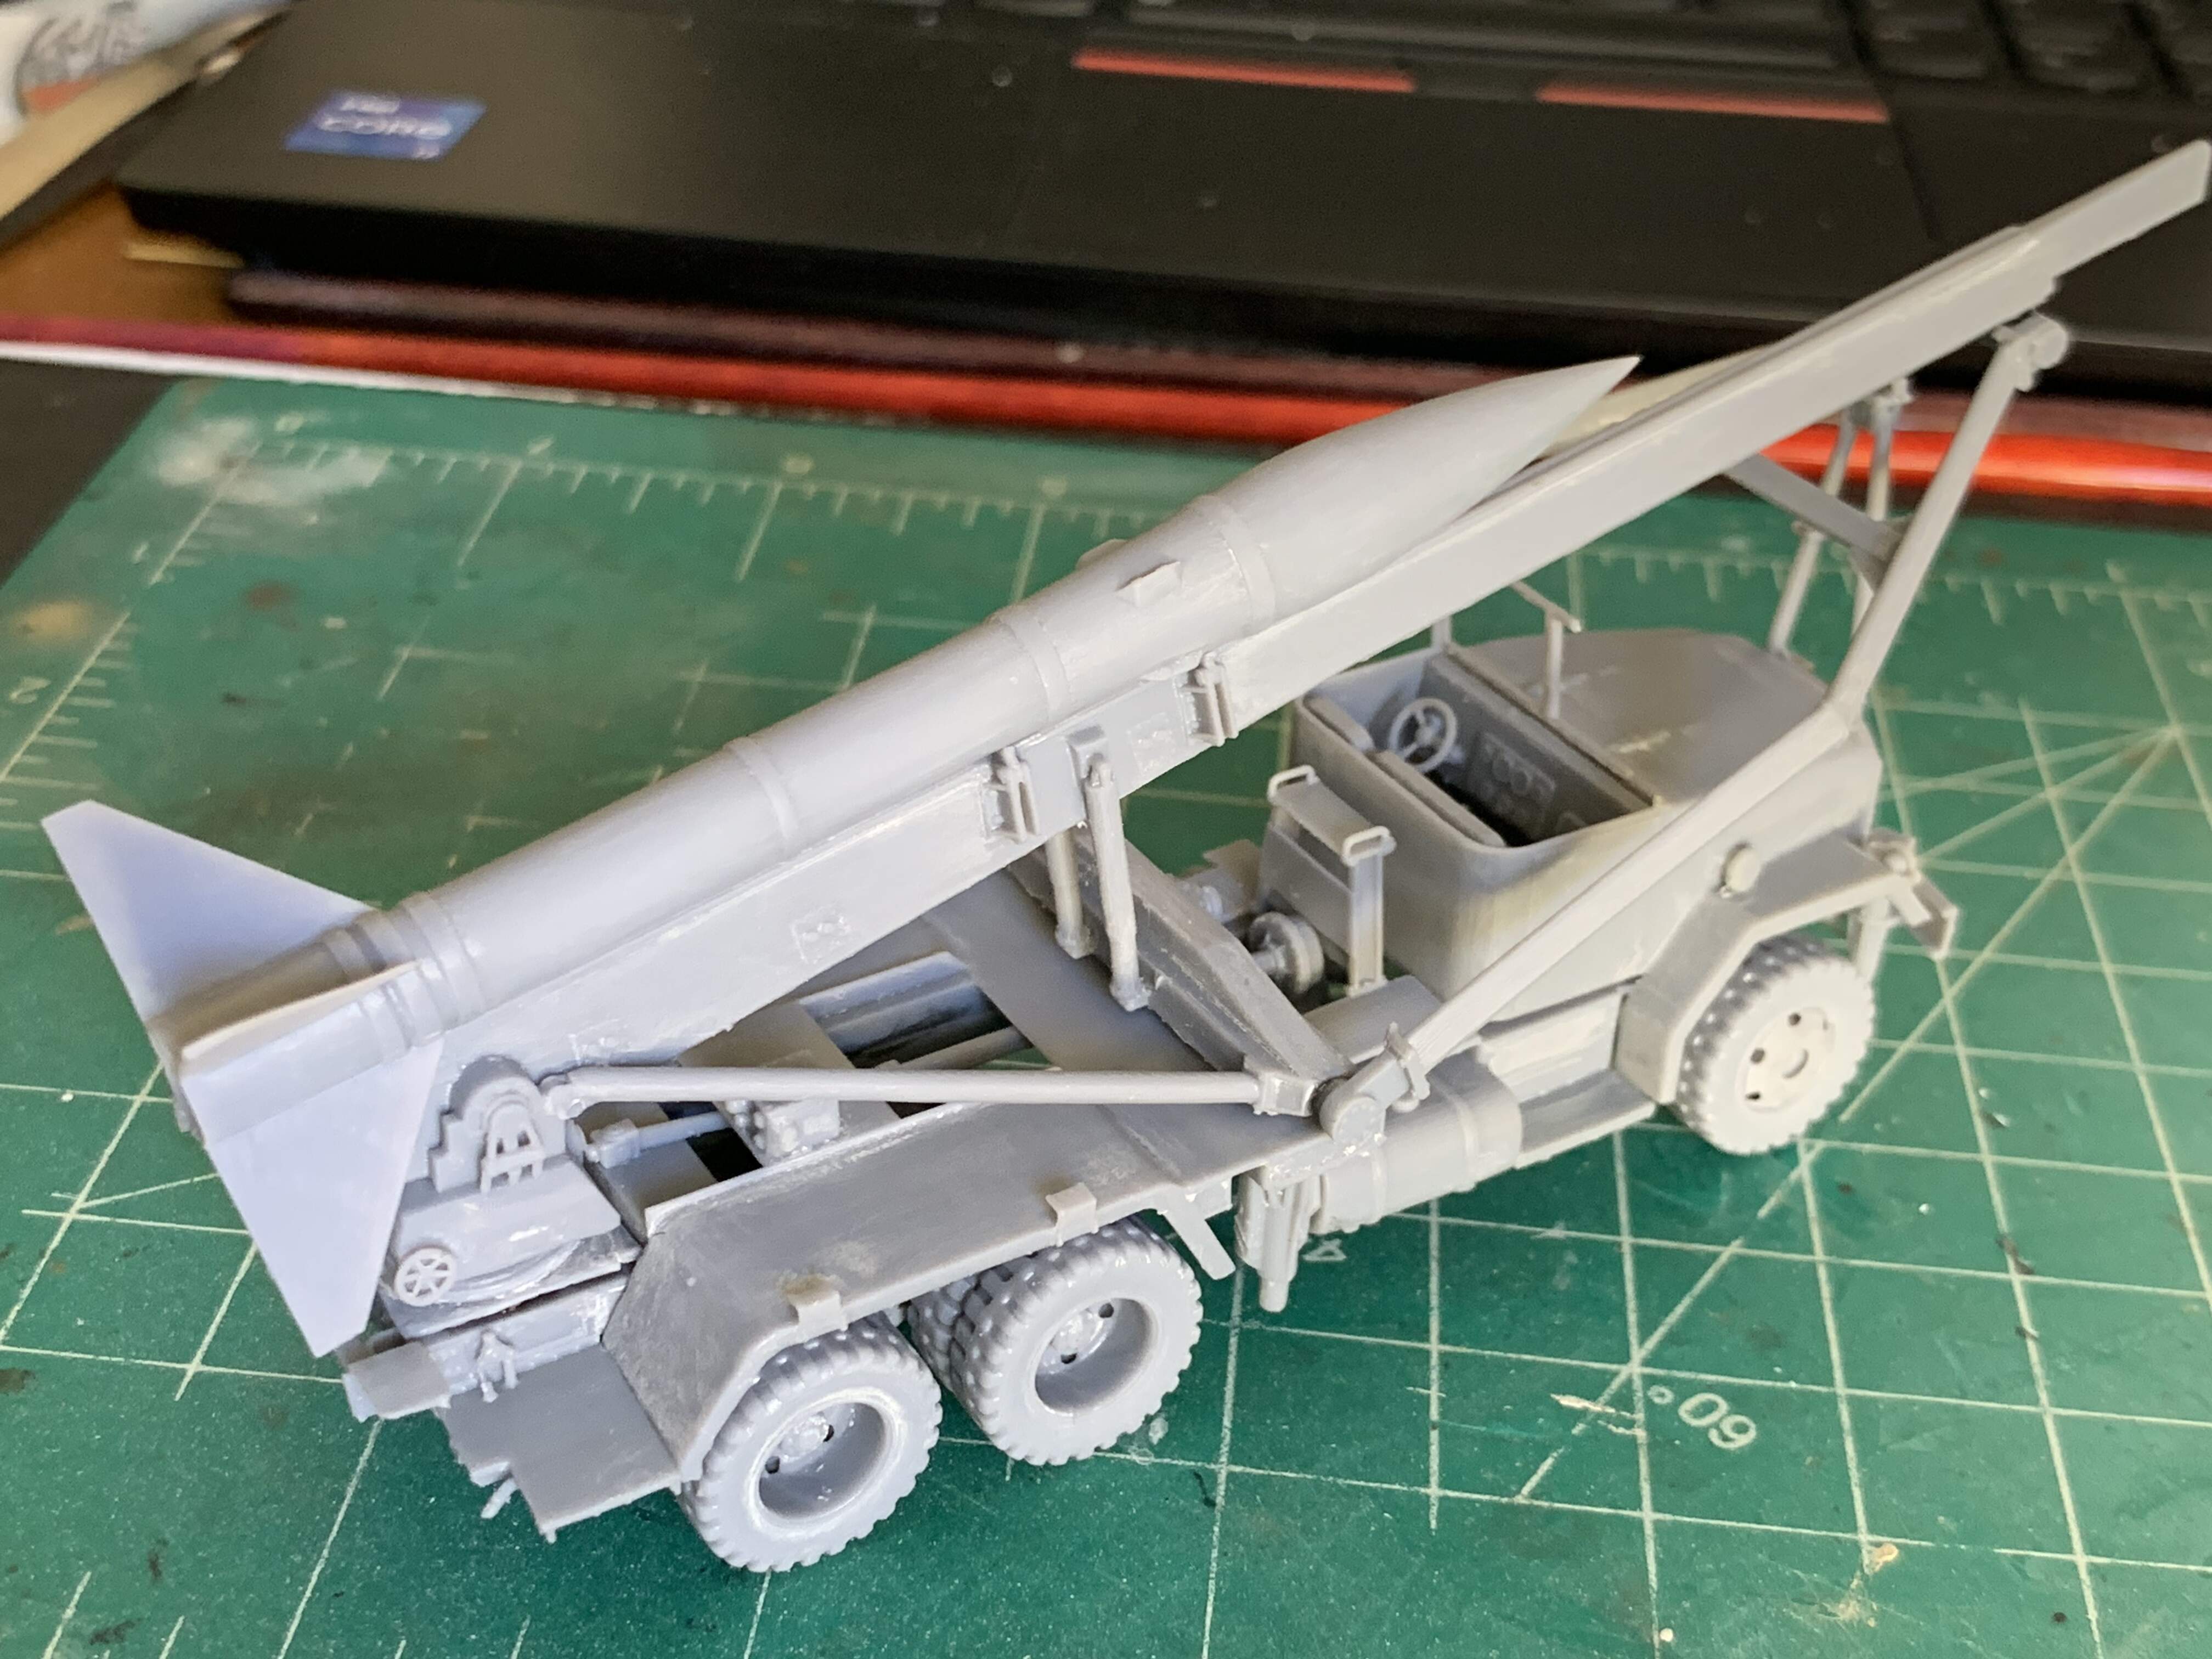
And yes, be careful when removing the supports. My truck has the “west coast” mirror frames, and each was buried in the forest of supports. It worked out OK, as nothing broke during surgery.
Joseph, as I’m a fan of WW1 and interwar subjects, I’ve built a bunch of 3D printed kits in 1:35 scale. Your striations are worse than I’m seeing on recently released kits. Mr. Surfacer 1000 rattle can is your new best friend. It is self-leveling and filling. It will make most of the minor striations disappear. Given how bad the striations are on this kit, I’d first sand them out of easily accessible surfaces, then prime the unassembled parts with Mr. Surfacer 1000 and sand the remaining striations. On some kits, I’ve had to use two coats of rattle can Mr. Surfacer 1000 with sanding between coats. Enjoy!
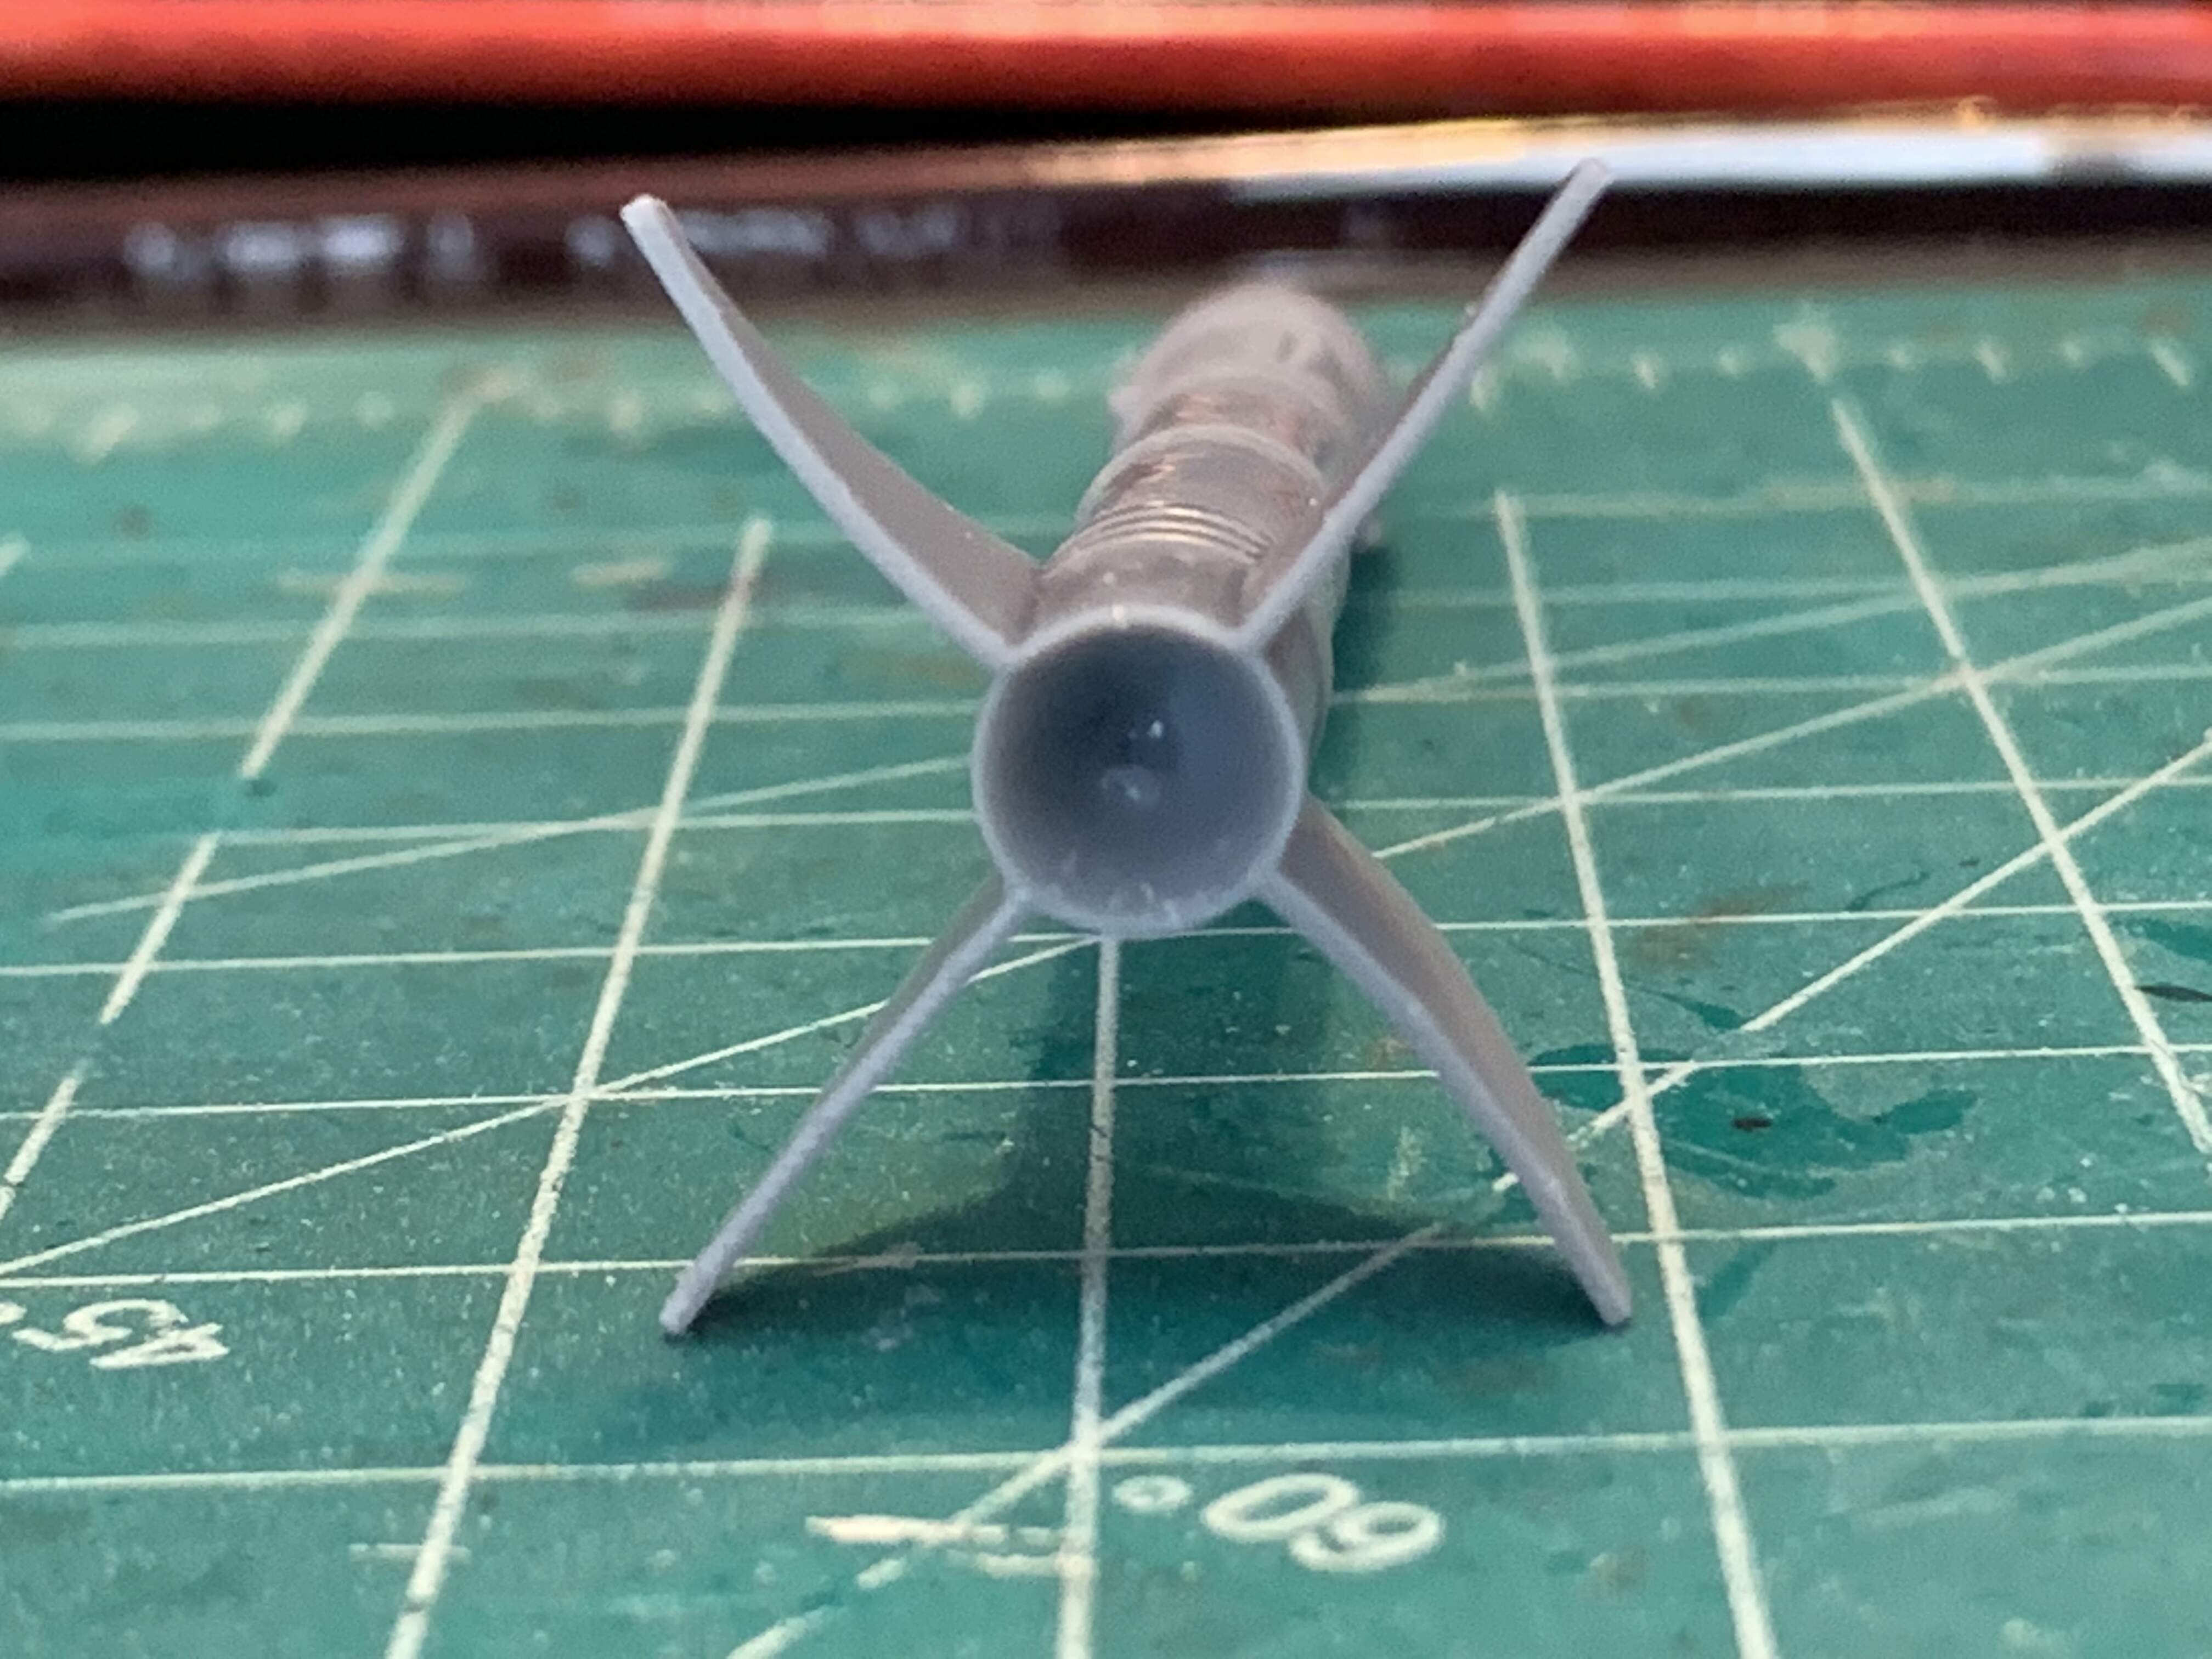
m75, thanks for the prayer! Regarding the grille, I might just leave it as is. Looks like it will be partially hidden by the launcher support. I will see if I can work out a good way of removing the supports AND smoothing out the printing ridges.
I am actually working on another 3D printed model. I could not reach inside the interior to sand the ridges. I figured, I’ll just spray Mr.Finishing Surfacer 1500 on it and won’t worry about it since it is not viewable. To my surprise, the ridges are gone! The interior was smooth! Very impressive stuff!
Not sure actually. I did google images of the Honest John and did not find any railings. But then again, I don’t claim to be an expert on this subject.
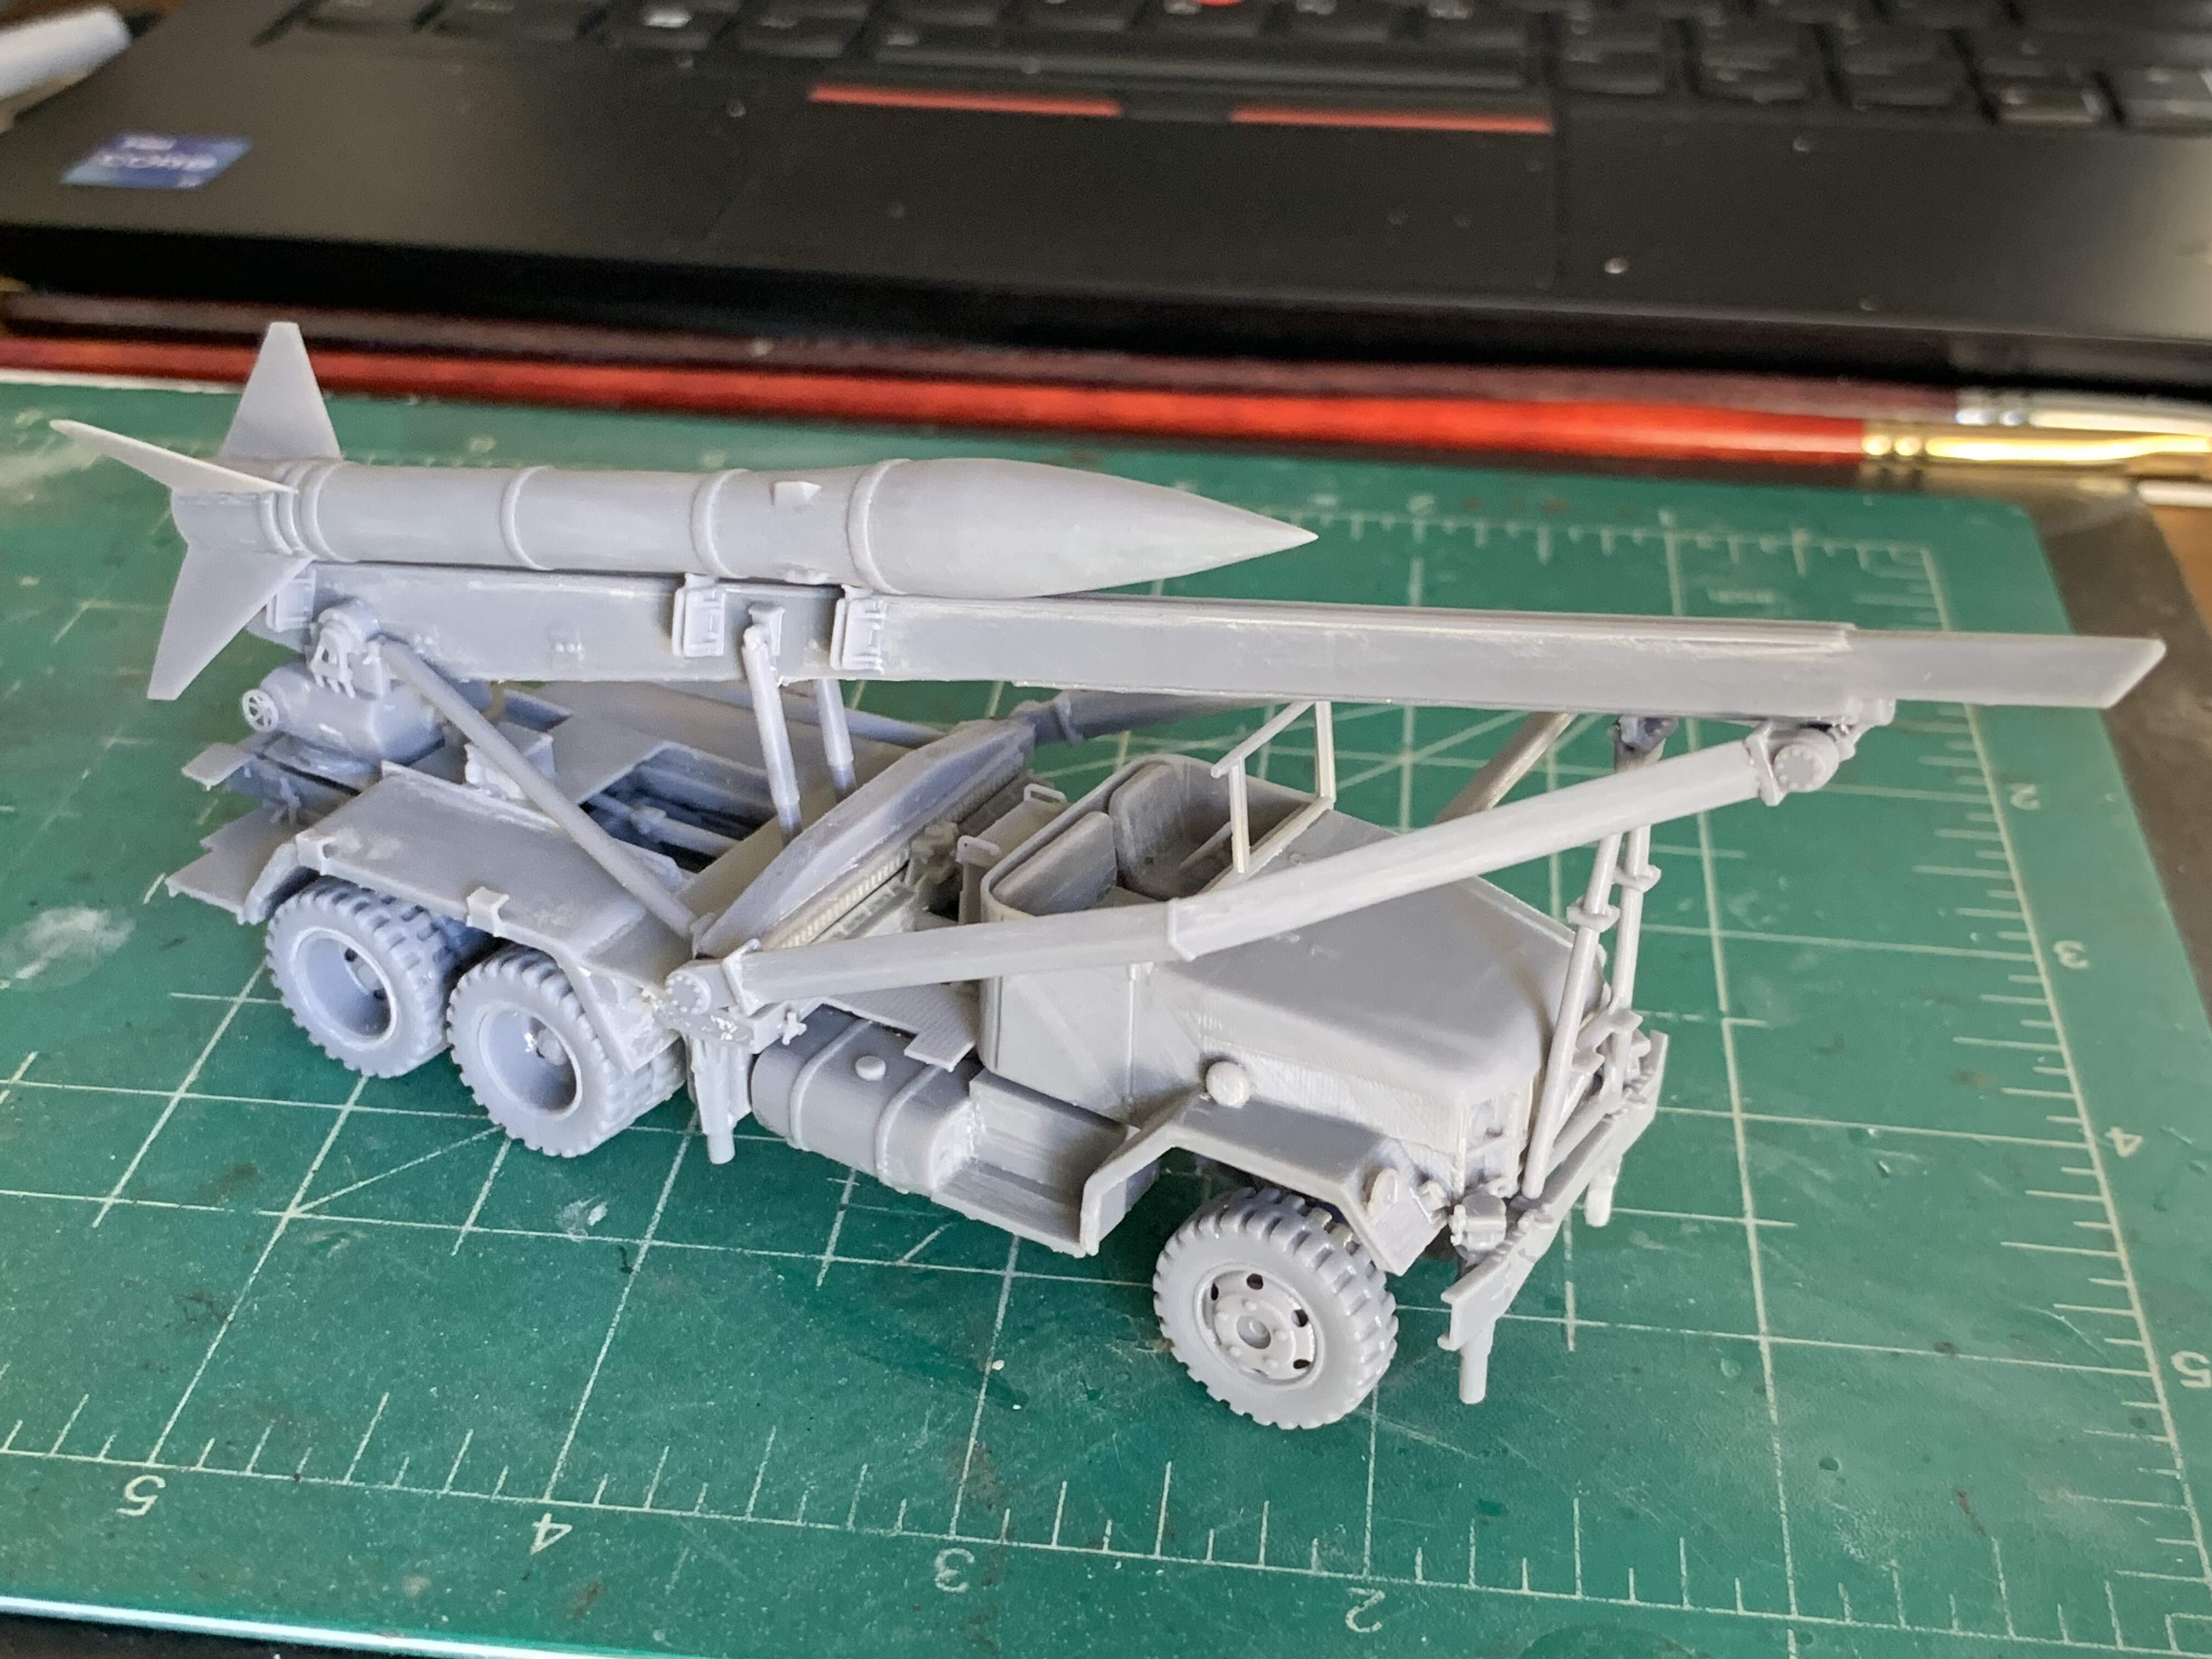
Lots of hard work there. Your removal of the printing striations shows! keep at it; what you’re showing as current work really displays the amount of detail for 1 1:72 scale model.