Hi all
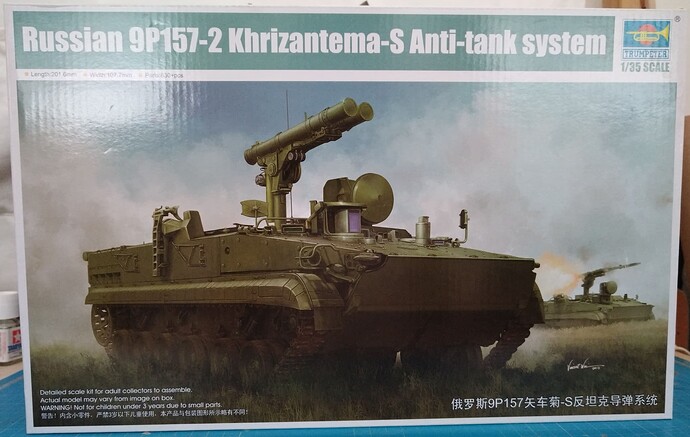
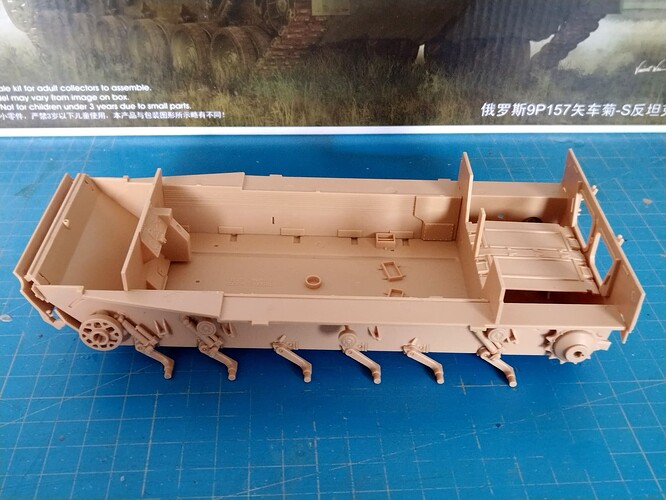
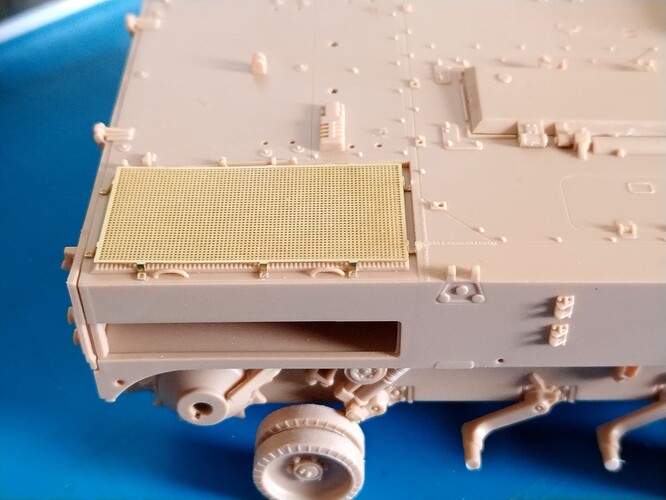
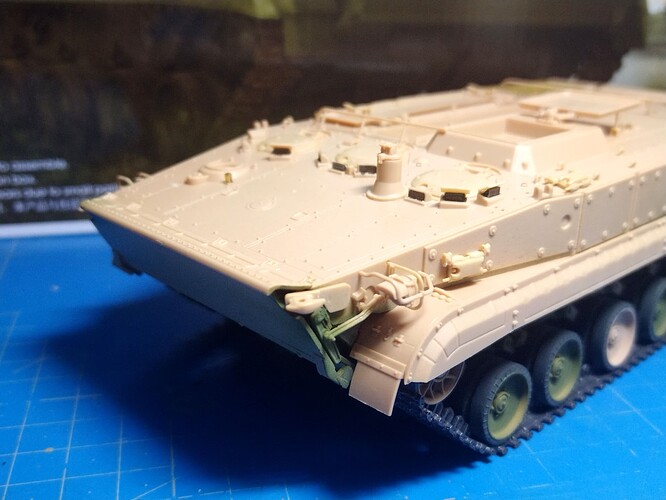
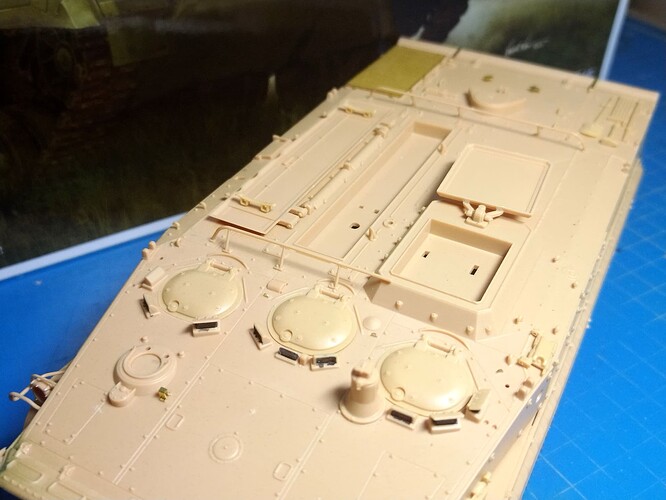
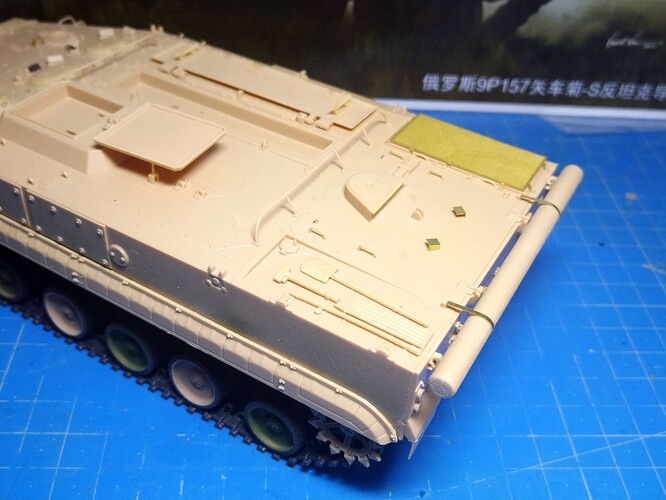
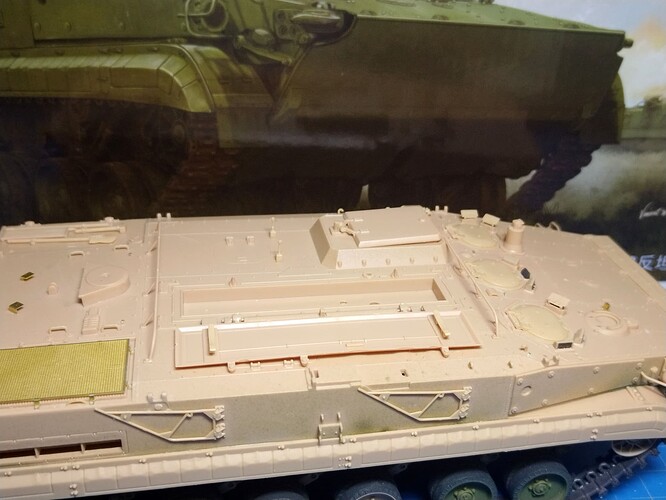
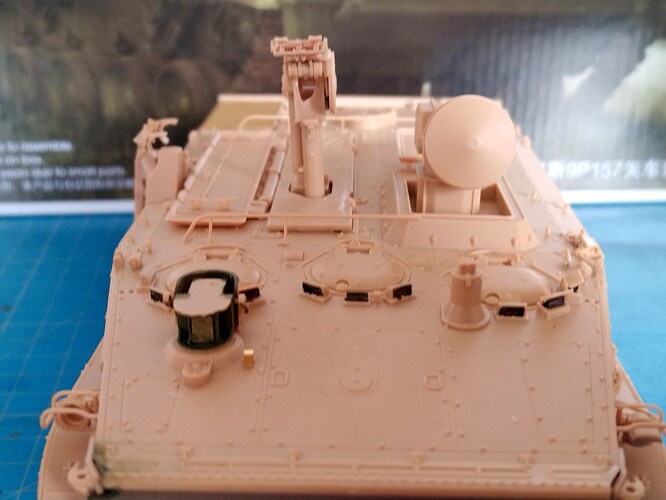
I’ve just started this AT vehicle based on a BMP-3 hull. It comes with a number of IFV BMP-3 sprues, 2 specific sprues, 1 new upper hull and 1 new PE plate.
Tracks are indy links type with separate guide teeth to glue. The quality is standard of recent Trumpeter releases (2019).
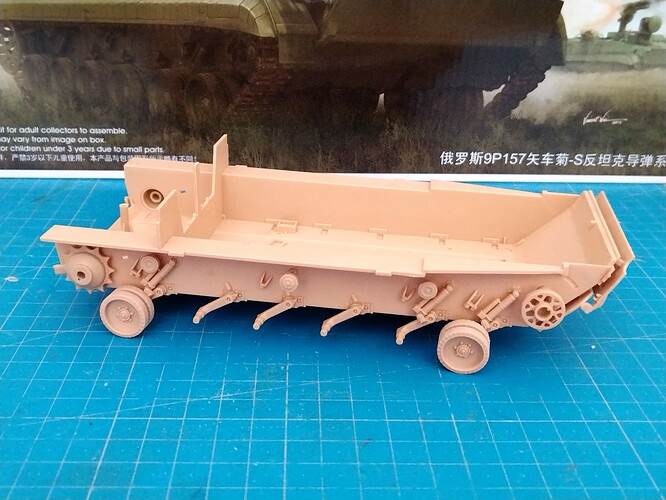
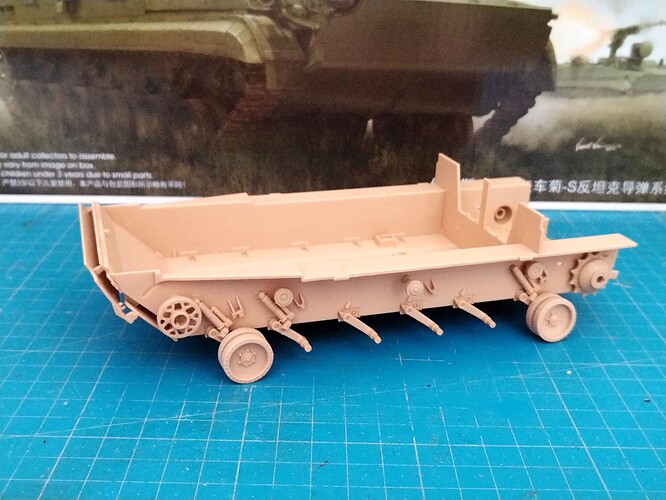
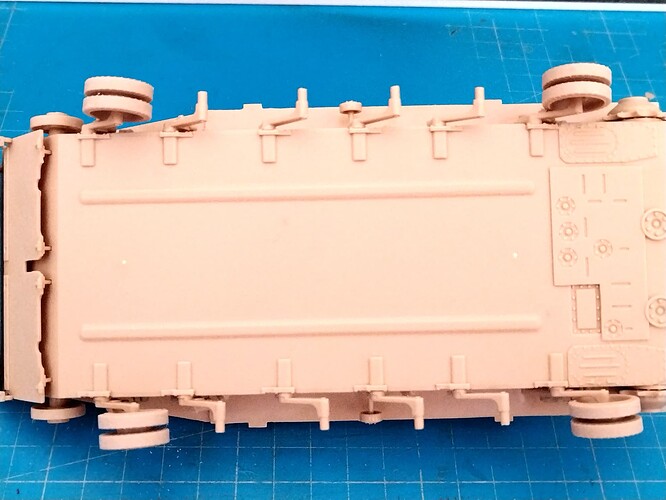
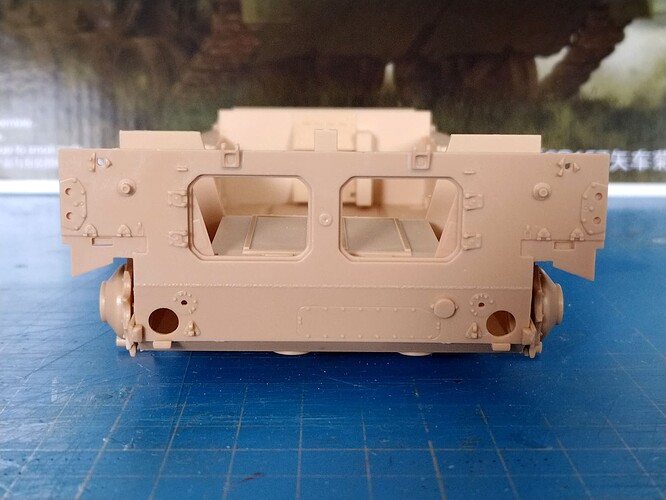
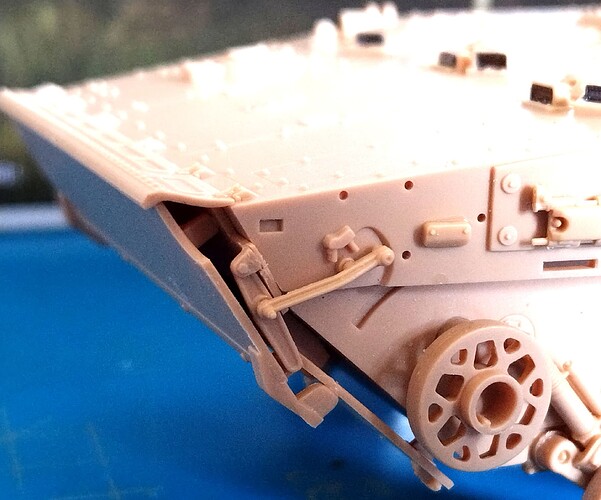
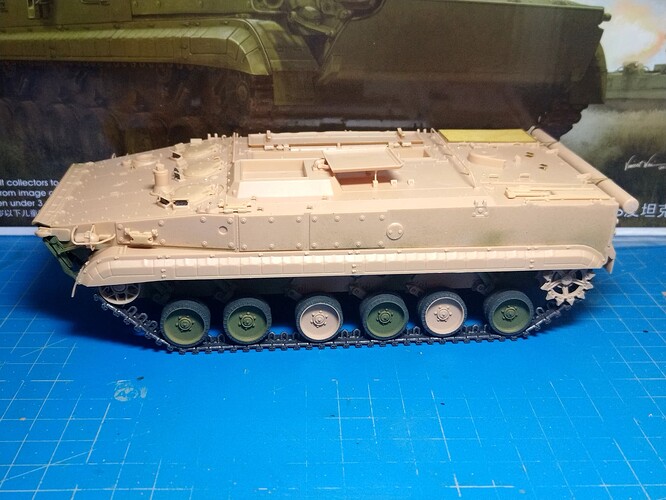
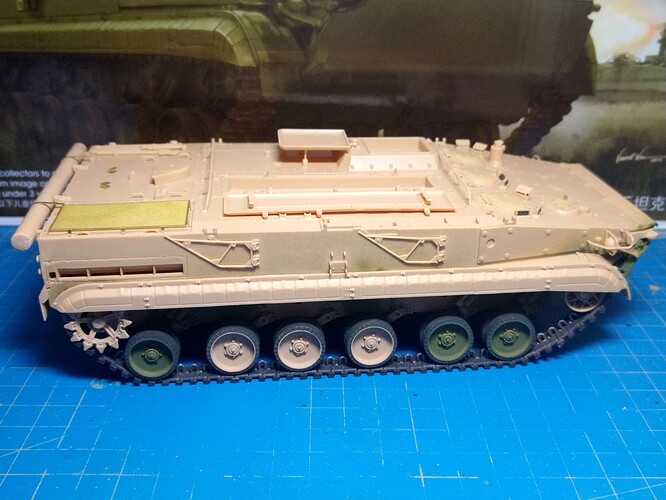
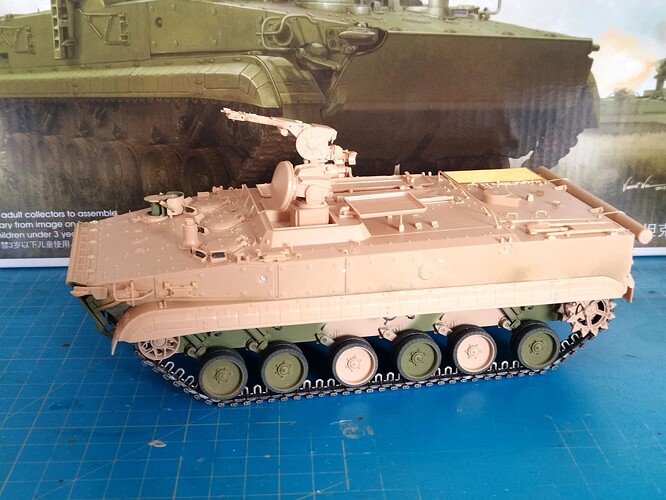
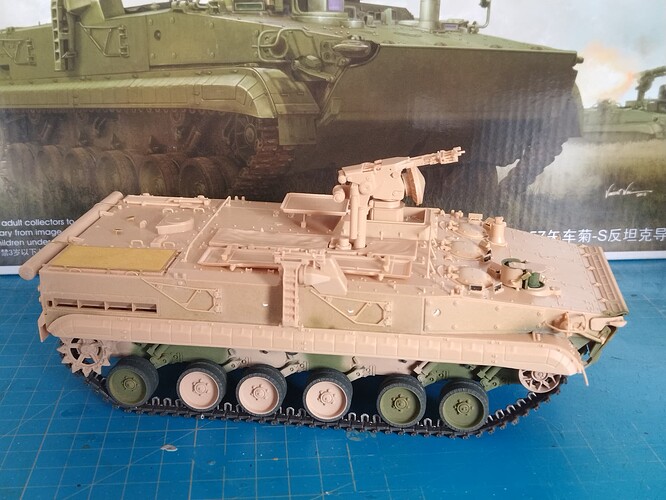
I’ve assembled most of the lower hull and the running gear. Only the inner wheels are glued so I can assemble and glue the tracks, paint them and add them back before gluing the outer wheels a la Zvezda.
Obviously I have an issue with the roadwheels alignment. Hopefully this will be easily fixed later.
Olivier
8 Likes
The lower hull got some interior parts to improve its stiffeness. Most of the interior parts will be discarded as I don’t intend to show the interior.
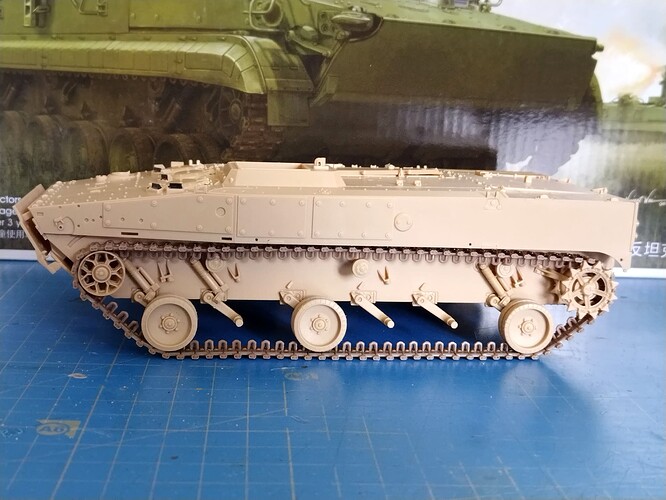
I’m currently assembling the tracks. 85 links per side to which you have to glue the guide teeth. I’ve tried to make some links mobile to help around the sprockets and idlers. Not sure I’ll continue this way.
Olivier
3 Likes
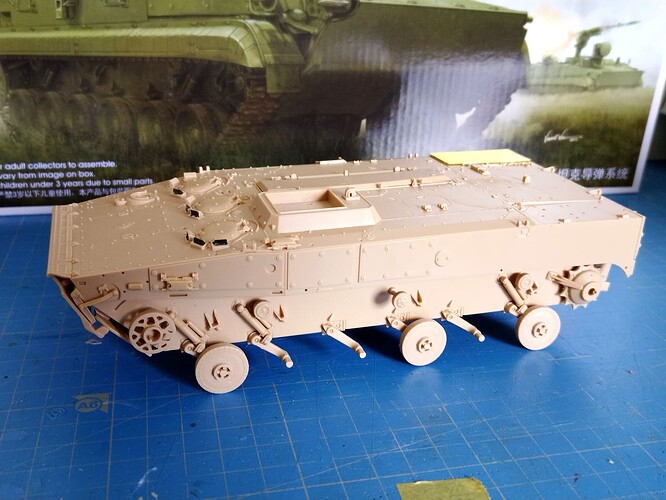
One track is complete. Making it mobile was not a great idea. My 0.5mm drill being smaller than Evergreen 0.5mm rods I had to use some 0.4mm rods which did not react well with Tamiya liquid cement. Some rods broke so I definitely glued the whole track.
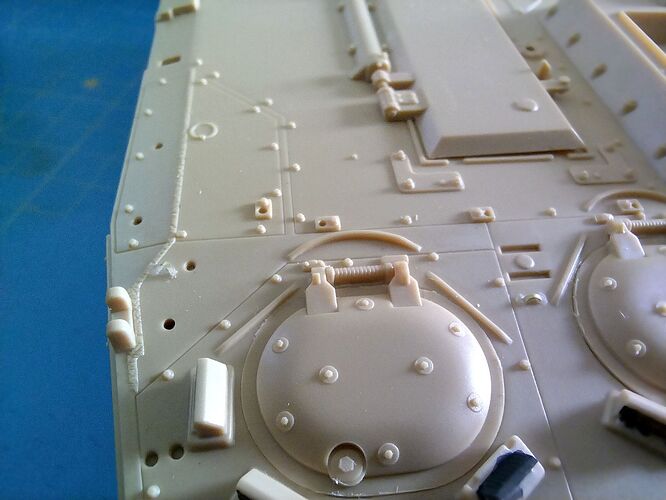
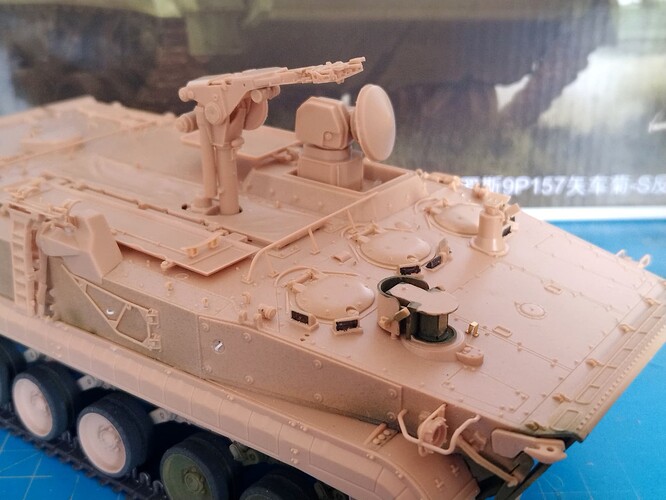
I managed to get the track in place. While the glue cured, I added some details on the hull. The tiny inverted U shaped PE parts were a pain to glue as my tweezers are as large as the parts. I glued 6 parts and have 6 more to glue on the sides of the hull.
Olivier
6 Likes
Nice job so far on a very interesting vehicle Olivier.
1 Like
Thank you.
The vehicle is interesting. If you close all the hatches it looks like a BTR-D on steroids 
I’d love to see Trumpeter release a BRM-3 the recon variant of the BMP-3.
I made some progress on the Khrizantema. The running gear is painted and ready to run.
The hull has got a number of details some of which being very fragile to handle. No broken parts so far.
The radar bay is void so I still haven’t decided whether or not I show the radar.
Olivier
7 Likes
Looking great Olivier. Can’t wait to it painted.
2 Likes
The painting session is close.
The assembly is 95% done. The whole weapon system is not glued yet to facilitate the painting of it and of the hatches too. Without any pictural evidence I decided to paint the interior of the radar and missile launcher bays plain green as well as the inner face of the hatches.
The rearview mirrors and the antenna will be painted apart and glued at the very end as I don’t want to break them during handling.
As you can notice I decided to replace the tiny PE parts on the sides of the hull by styrene strip bits which were easier to manipulate and glue.
Olivier
9 Likes
Love the build so far…and I too will replace tiny pe with styrene at times, its so much easier to deal with. What color did you paint the tracks?
2 Likes
Thanks for the comments. The tracks are painted XF-84 Dark Iron and drybrushed with XF-56 Metallic Grey. Weathering will come later on.
Olivier
4 Likes
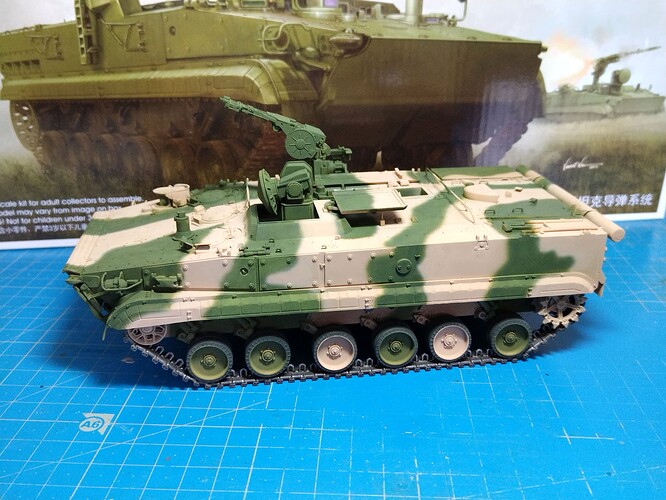
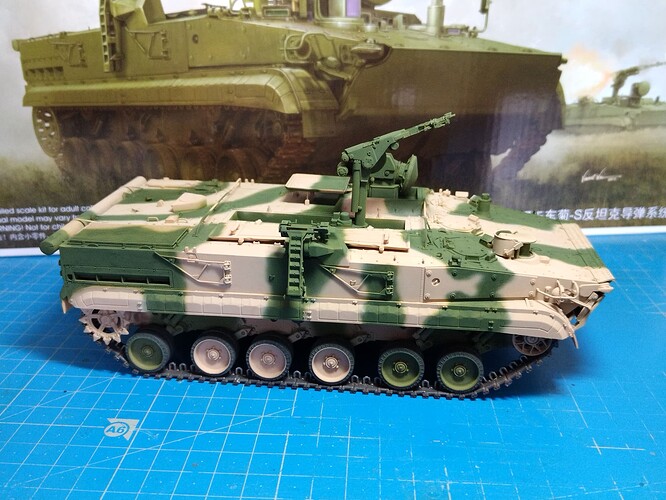
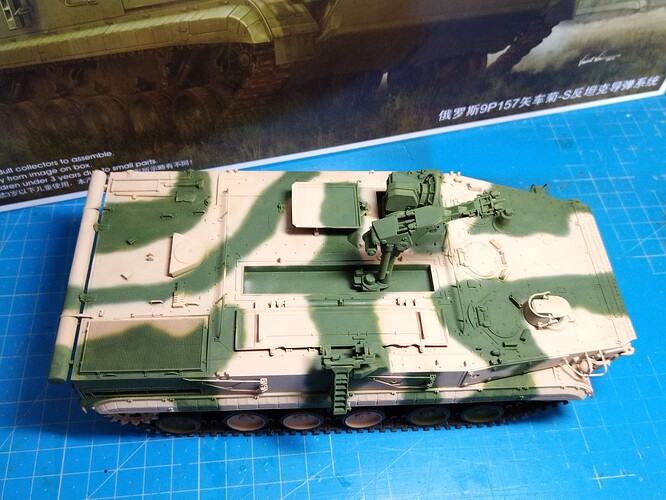
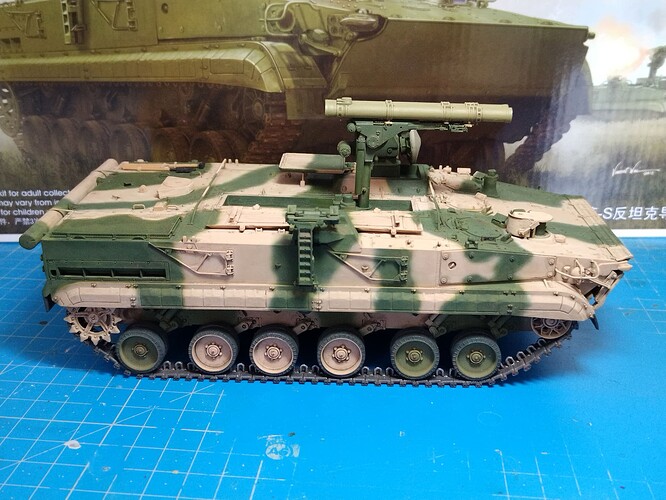
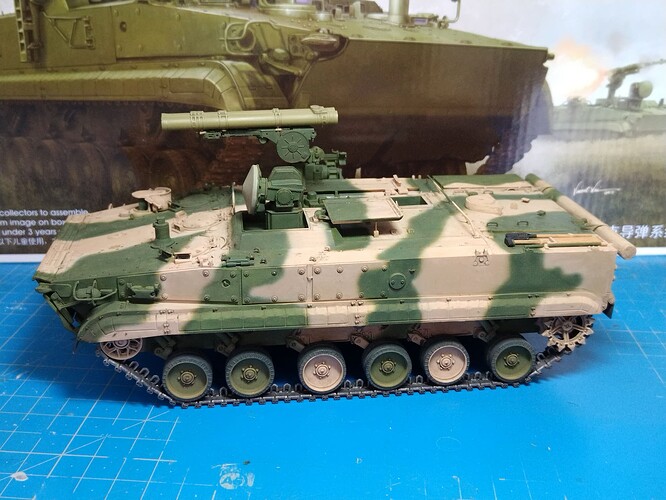
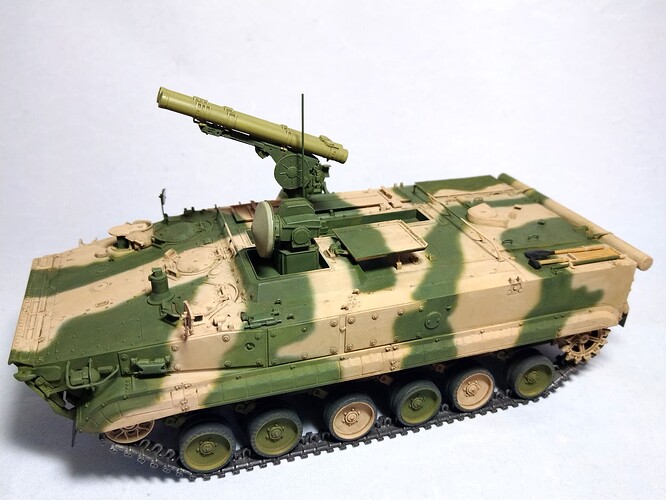
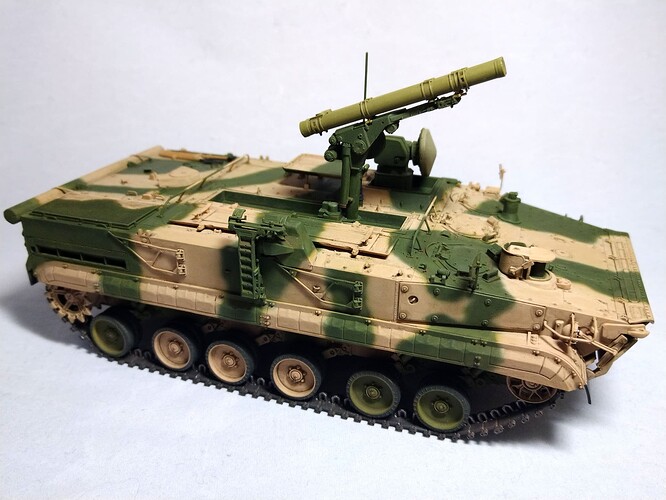
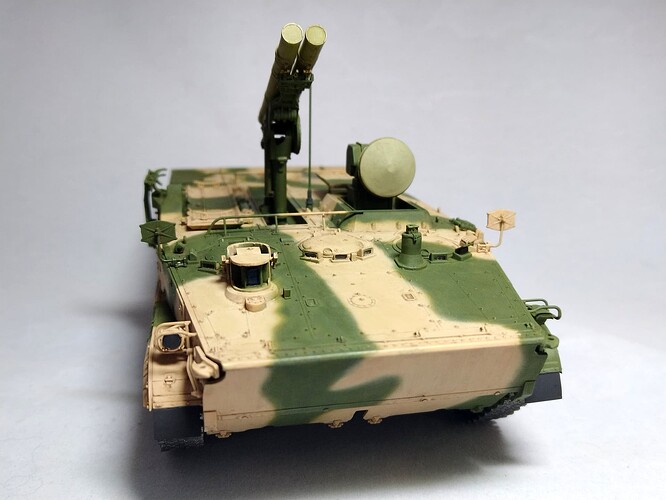
The base camo scheme is painted with XF-67 NATO Green and XF-78 Wooden Deck Tan. It is airbrushed freehand. I’ve got some trouble with some details and patches shapes but the overall result is not too bad.
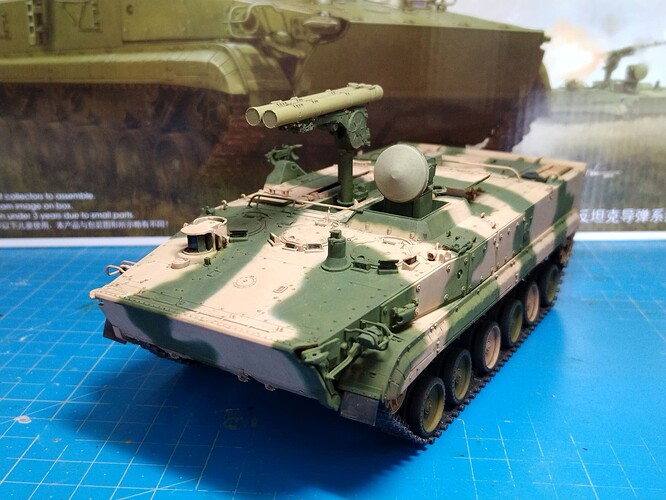
I have to definitely glue the weapon system hatches and paint the various details. The missile launcher will be added. The launcher bay is quite empty and Trumpeter gives you a kind of fabric cover to hide it. The only top view I have came across does not show any kind of cover. I guess Trumpeter just did not have access to the real thing open and did not want to offer a wrong interior. As the fabric cover has a weird fit I’ll not use it.
Olivier
10 Likes
Just out of curiosity what airbrush did you use? Im looking to upgrade from my badger 155.
The cammo looks awesome btw
2 Likes
Thank you.
My airbrush is the basic single action Tamiya Spray-Work. It comes with one needle and a 0.3mm nozzle fi I remember well. Originally it was sold with two nozzles (0.5 and 0.3mm) and the same needle.
Olivier
2 Likes
This is looking great Olivier. And the free hand airbrushing has worked really well. Very nice pattern and a perfect balance between the colours. Lovely work. 
2 Likes
Nicely done Olivier. Your airbrush work is great. Looking forward to seeing it when you finish!
2 Likes
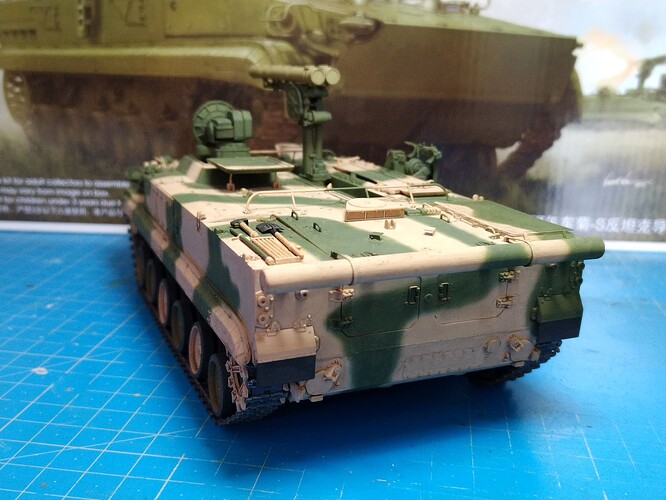
Here are the latest pics of the vehicle with a brown wash applied all over. The missiles have been painted with a mix of XF-62 OD, XF-3 Yellow and XF-60 Dark Yellow (or maybe XF-59).
I’ll add a pinwash and probably a drybrush over the dark areas. No wear and no dust are planned.
Olivier
5 Likes
Without the preshading/postshading, filters, tonal variations, chipping, scratches, rust, dust, dirt, light mud, heavy mud, water/rain effects, streaks, fuel and oil stains how will you sleep at night? …just kidding!!! I love keeping it basic with a wash and drybrush.
3 Likes
Looking as good as it does Olivier… It really doesn’t need anything other than a basic wash … Colours came out brilliantly and well done with the missile tube colour as well 
2 Likes
The paint job came excellent Olivier, love the camo color you sprayed on.
1 Like
Darren, I know I’m a heretic and I deserve burning on a bonfire 
Thank you all for the comments. As this 2 tone camo was only seen on arms exhibitions, I didn’t want any heavy weathering.
And sometimes keep it simple is good says the lazy part of me. 
Olivier
3 Likes
Drybrush done but it is barely noticeable. I guess I need another one.
The antenna and the rearview mirrors are finally glued.
Olivier
6 Likes
