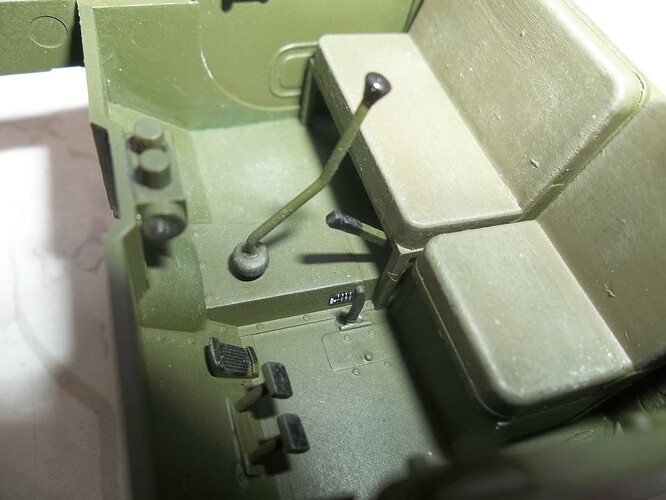
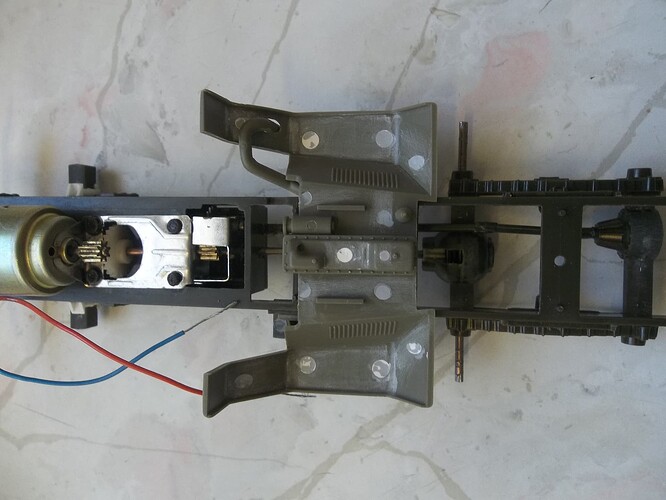
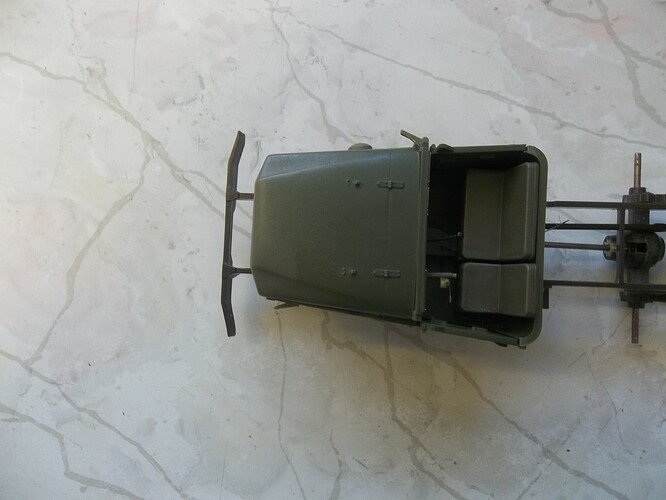
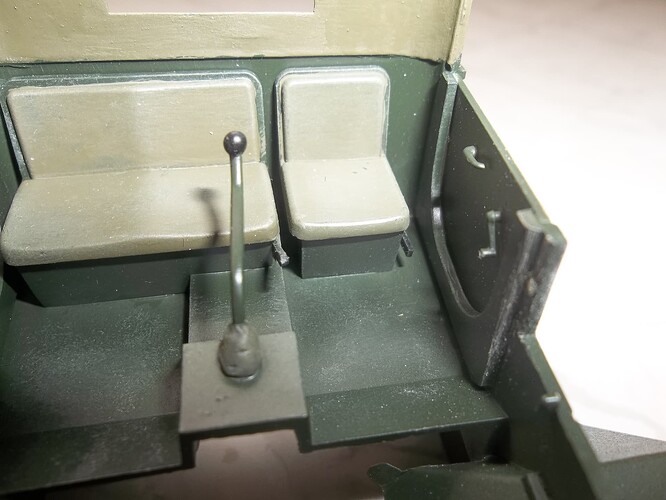
The Quinta 3D decals include a plate for the PTO lever on the floor, to operate the winch. But the AFV kit does not include the operating lever for it. Since I am including the winch, I added the plate and found a suitable lever for it. I drilled a hole in the floor and mounted the lever in it:
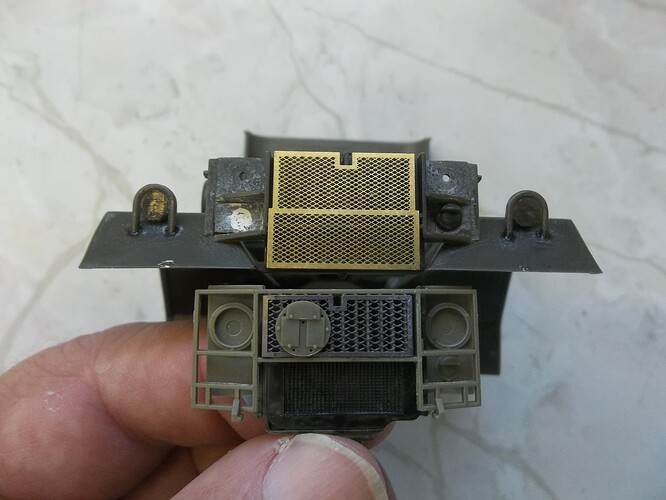
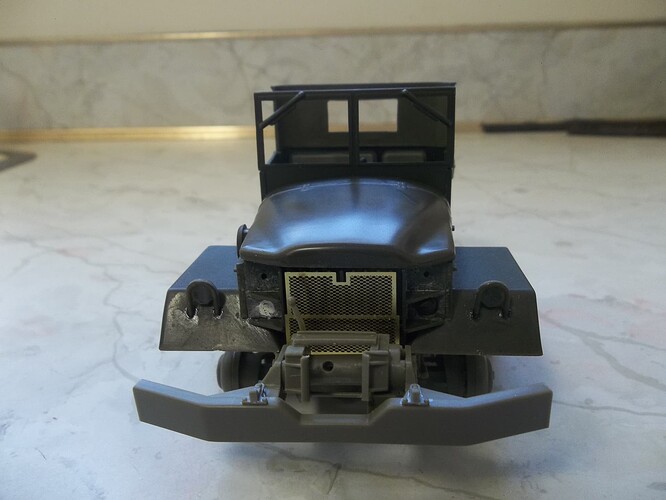
The front mesh from the Eduard set is nicer than what AFV includes in the kit, and is already cut down to fit the winch. So I used that, and then put the AFV mesh on the Bandai kit to improve it’s looks:
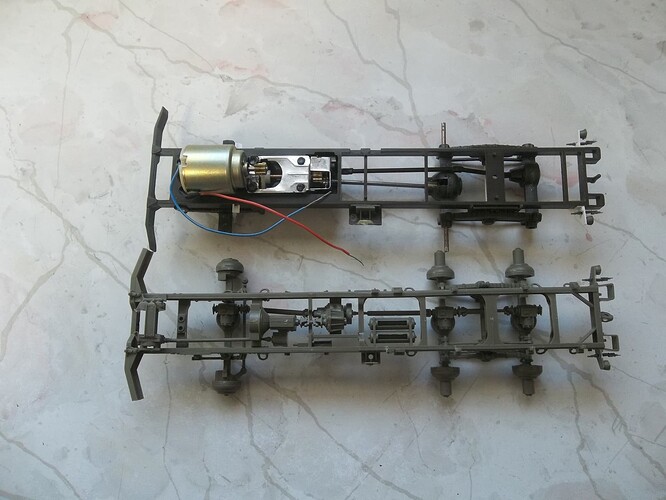
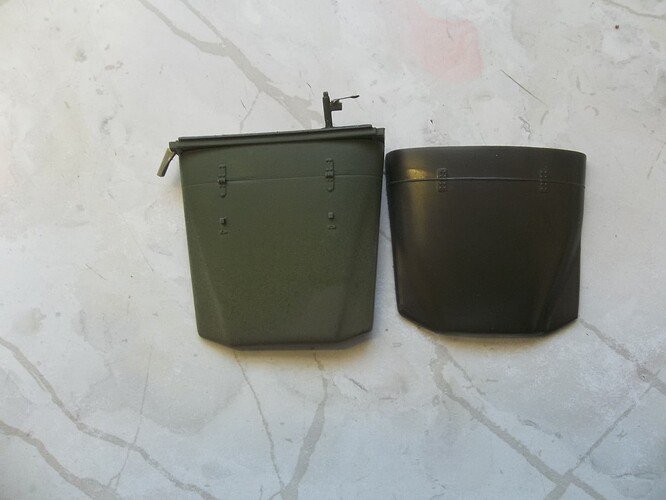
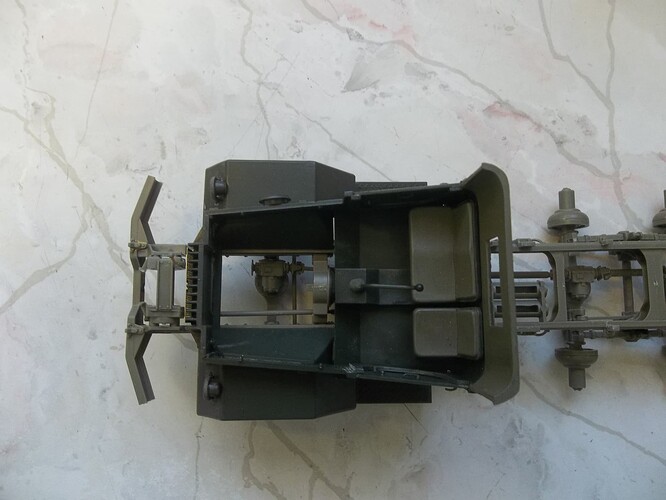
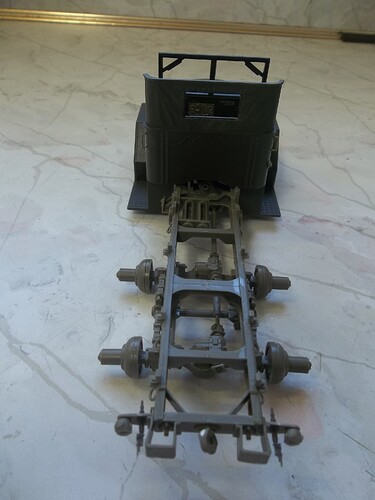
While I had the camera out, I went ahead and took some photos showing how the two kits compare to each other:
The AFV cab parts set on the Bandai chassis:
The Bandai cab on the AFV chassis:
The Bandai kit is certainly not 1/30 scale. It really matches up pretty well to the AFV kit.
Ken
5 Likes
Looking good. Lots of effort to bring the old Bandai kit even close to current standards. Good job so far.
1 Like
Thanks! I won’t get these done up to your standards, but I am using some of your truck builds as inspiration.
Unfortunately, I have run into a problem. Houston, we have a problem. I am building these up in subassemblies, which means I have several different things on my bench at one time. And then I dropped one. I dropped one of the cab assemblies onto the bench, sending parts flying. I quickly located everything (undamaged) except for the steering wheel/column for the Bandai kit. I had built this and was using it to get the arms positioned correctly for the driver figure.
I started searching, and quickly located the steering column on the floor. It was intact, but the steering wheel was missing. After continuing to search for several hours, spread out over two days, I found it; in a spot that had been searched at least three times before. It was smashed, and no longer looked like a steering wheel, or any kind of wheel for that matter. But it was still in one piece, with no breaks or cracks.
After a lot of gentle bending and massaging, I was able to make it look something like a steering wheel. Its shape is still a bit off, and it’s not really a circle, but it’s as close as I can get it without breaking it. Hopefully, putting it in the driver’s hands will hide its shape enough to be OK.
Sorry, no photos of this.
Ken
2 Likes
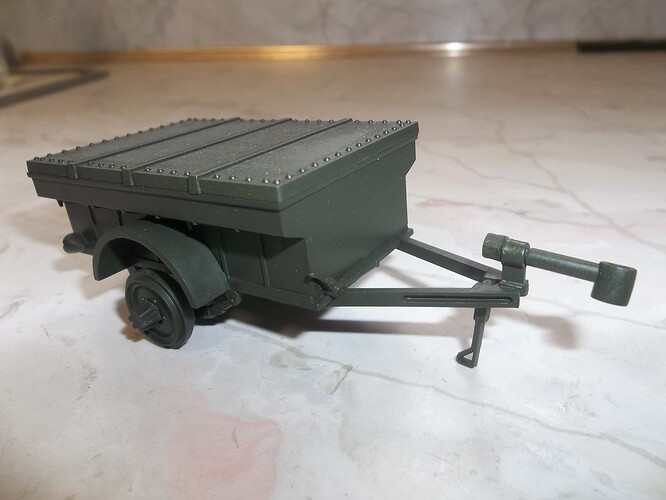
A little more work: I have some paint on the trailer:
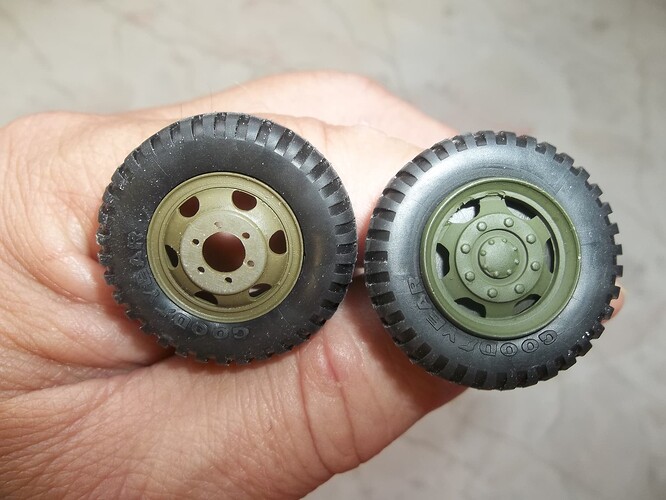
And some work on the tires for the Bandai kit:
The one on the left is the AFV tire and rim, I will be using that for the spare, the Bandai kit just used one of the wheels off the truck, with the hub and mounting bolts molded in place.
Ken
3 Likes
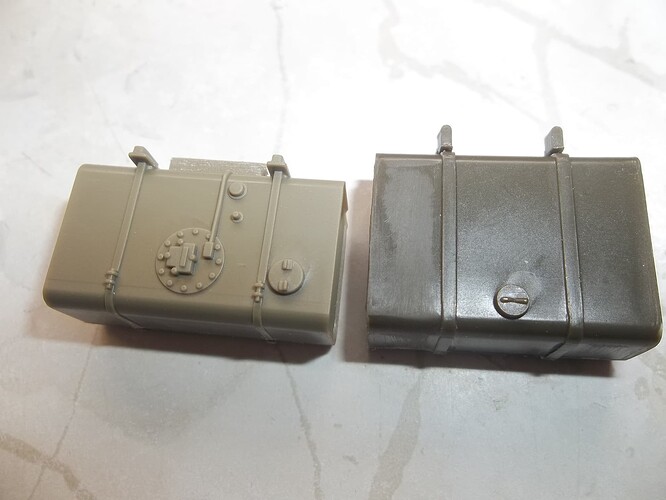
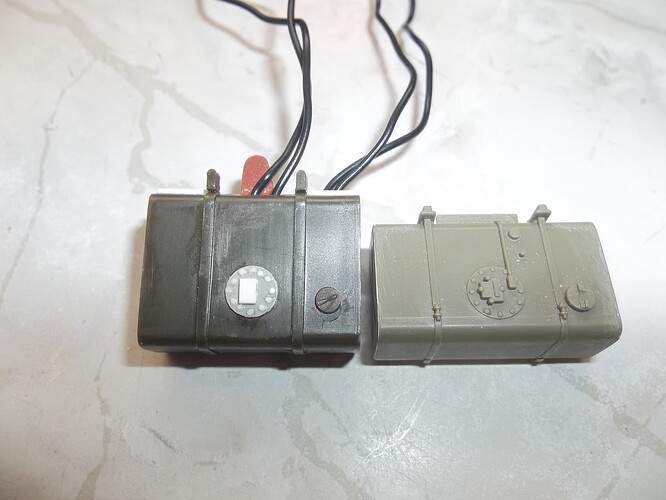
Some upgrades for the Bandai kit. The unmodified Bandai fuel tank (dark) next to the AFV one:
And the improved version:
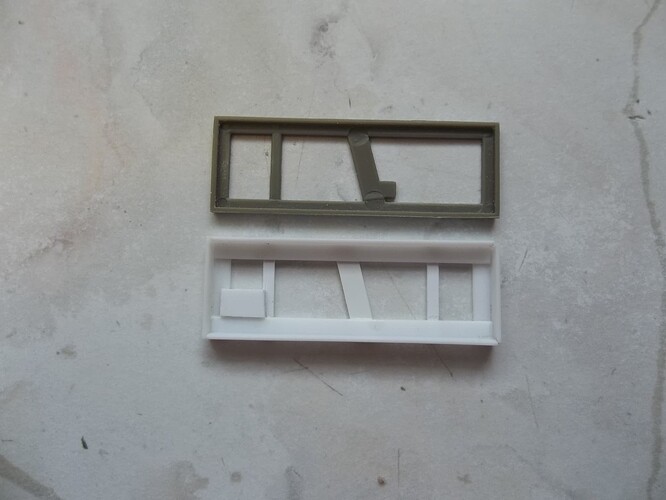
The Bandai kit did not have a tool rack, so I used the AFV kit tool rack as a guide to build one:
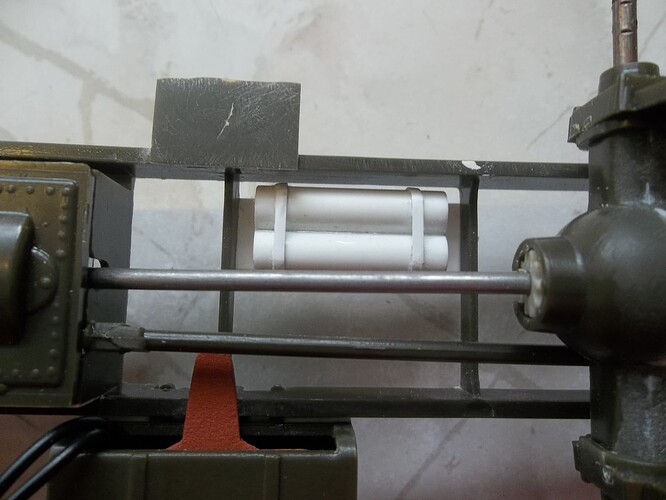
I made it out of Evergreen angle iron and strip styrene. I made a set of air tanks from some evergreen tubing and strip:
Ken
2 Likes
Life has been getting in the way of model building, so things have been slow. Oh well.
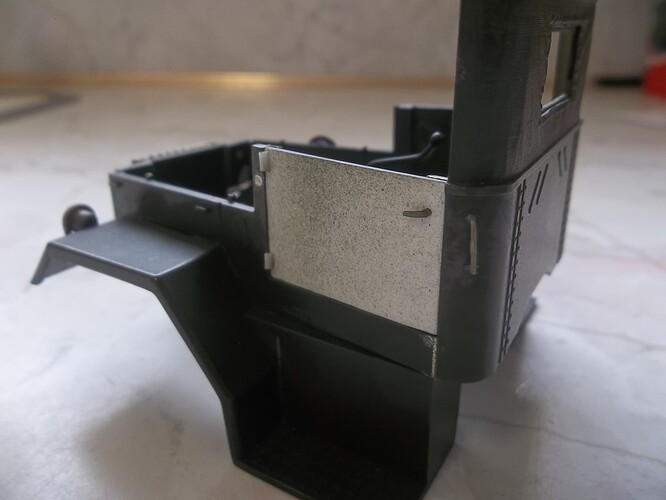
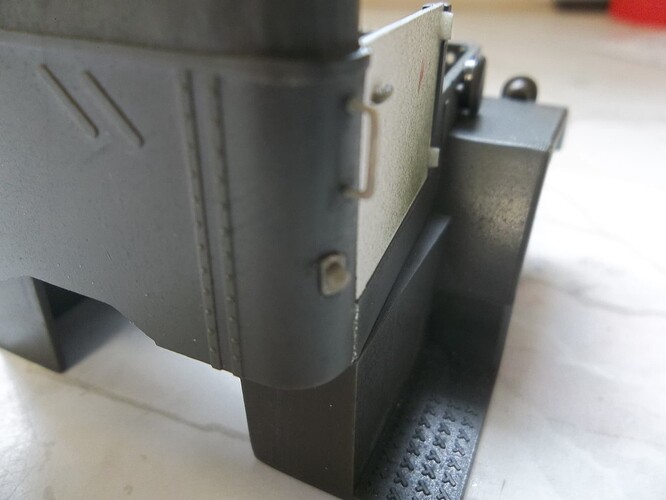
I have got some work done on this. I got some paint added to the interior of the Bandai cab, and the doors fitted:
I added door hinges from Evergreen rod and some handles from the spares box:
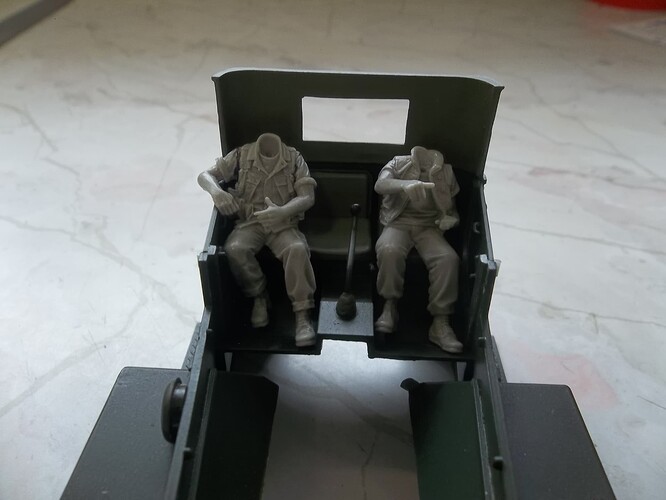
Here are the crew figures test fitted into the cab of the Bandai kit:
I’ve been adding detail bits to the cargo bed of the Bandai kit, but it is slow going. I have also been working on the shop box and interior fittings for the AFV kit. I’ll get some photos up soon.
Ken
3 Likes
