A Dandy Duo of Deuces

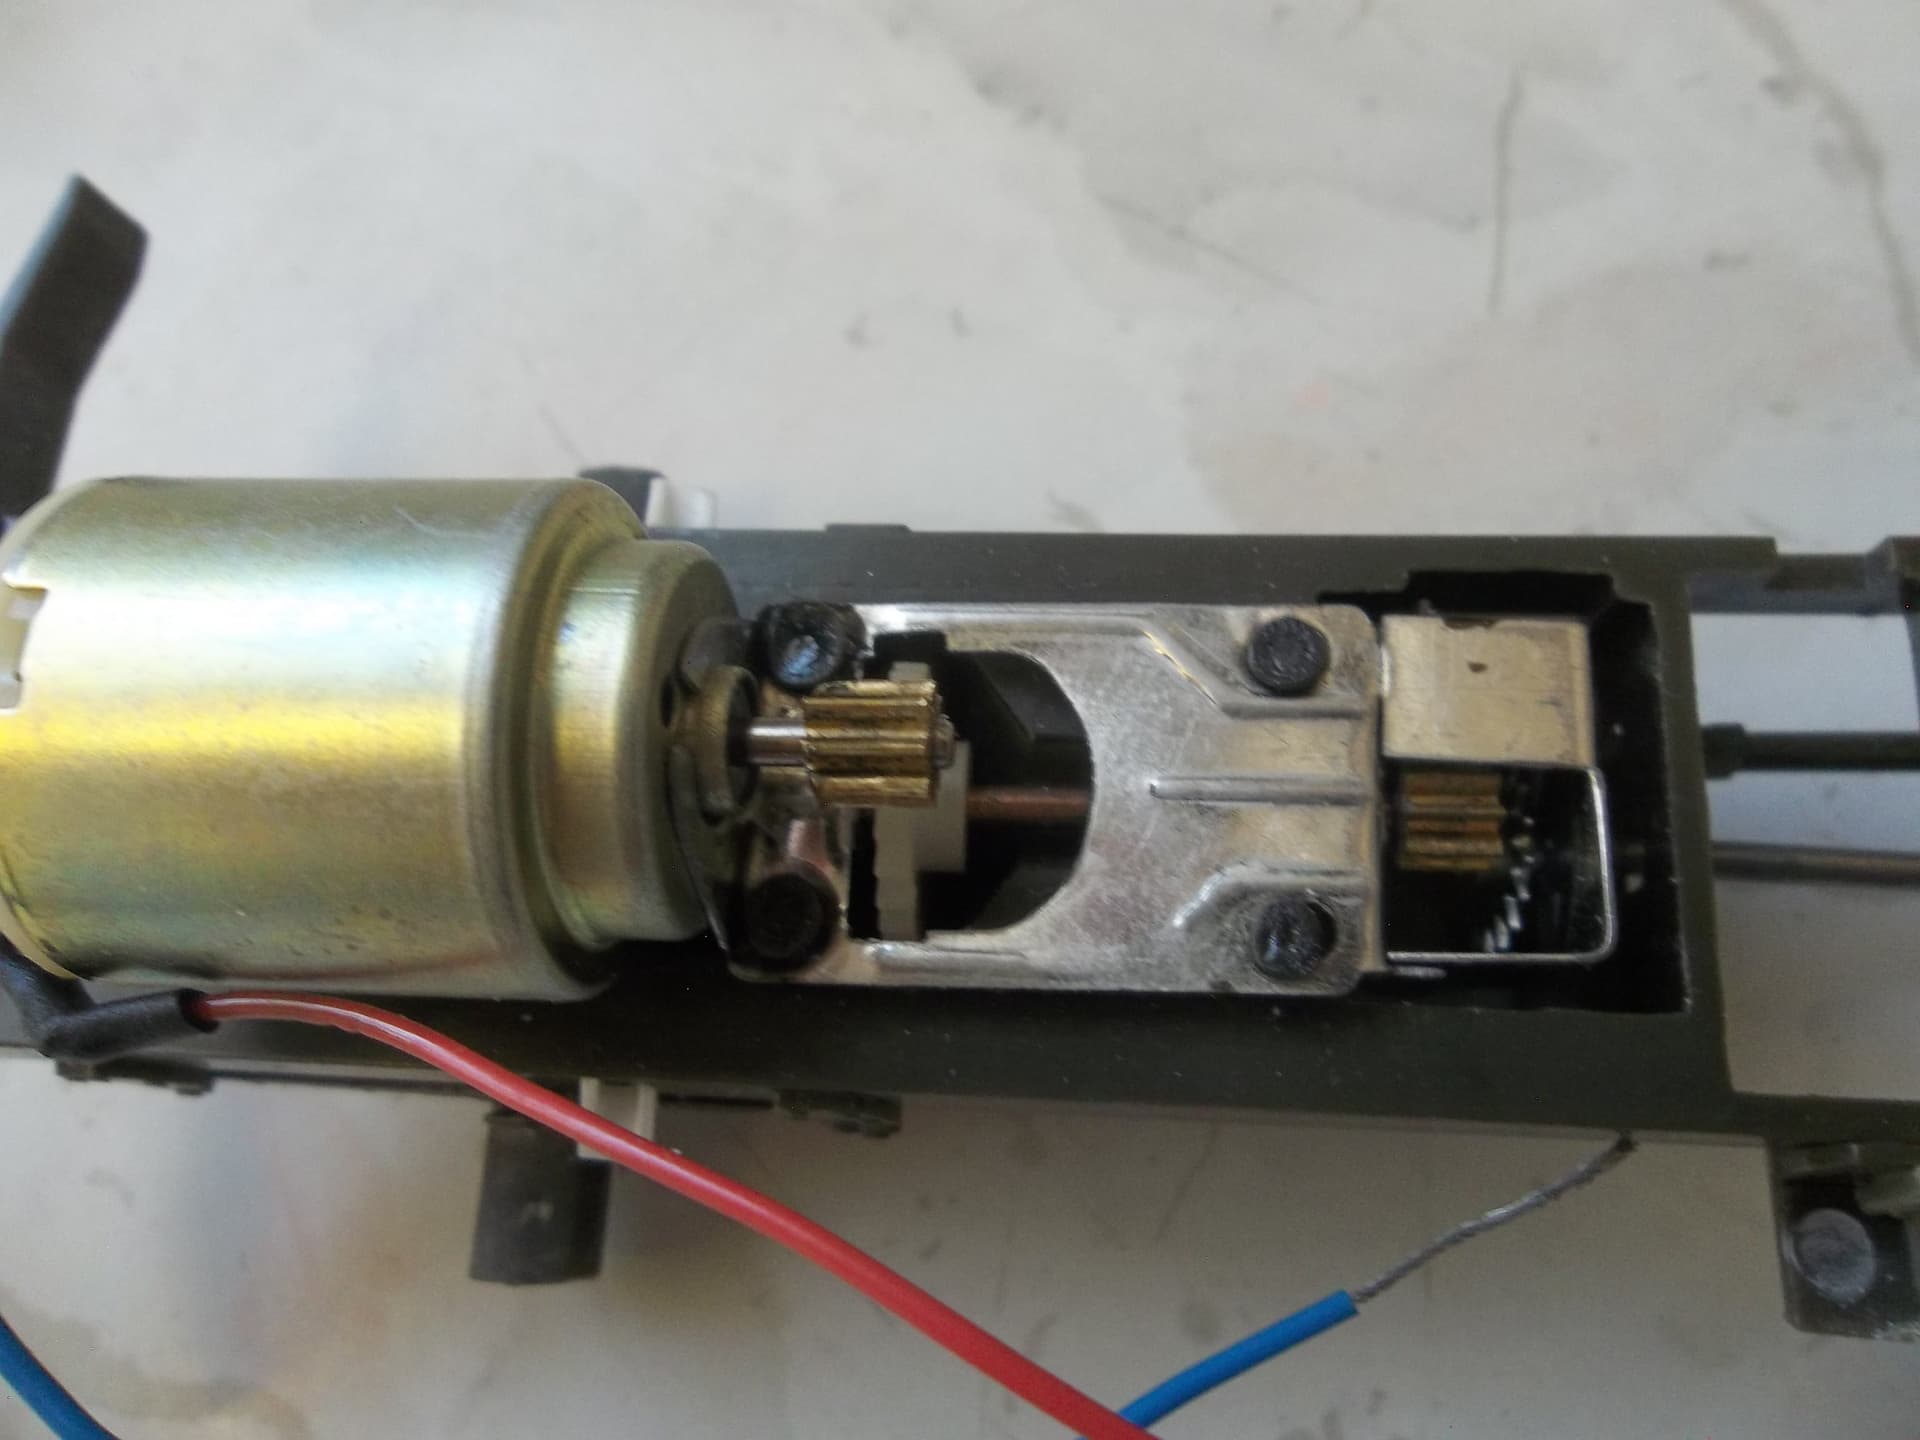
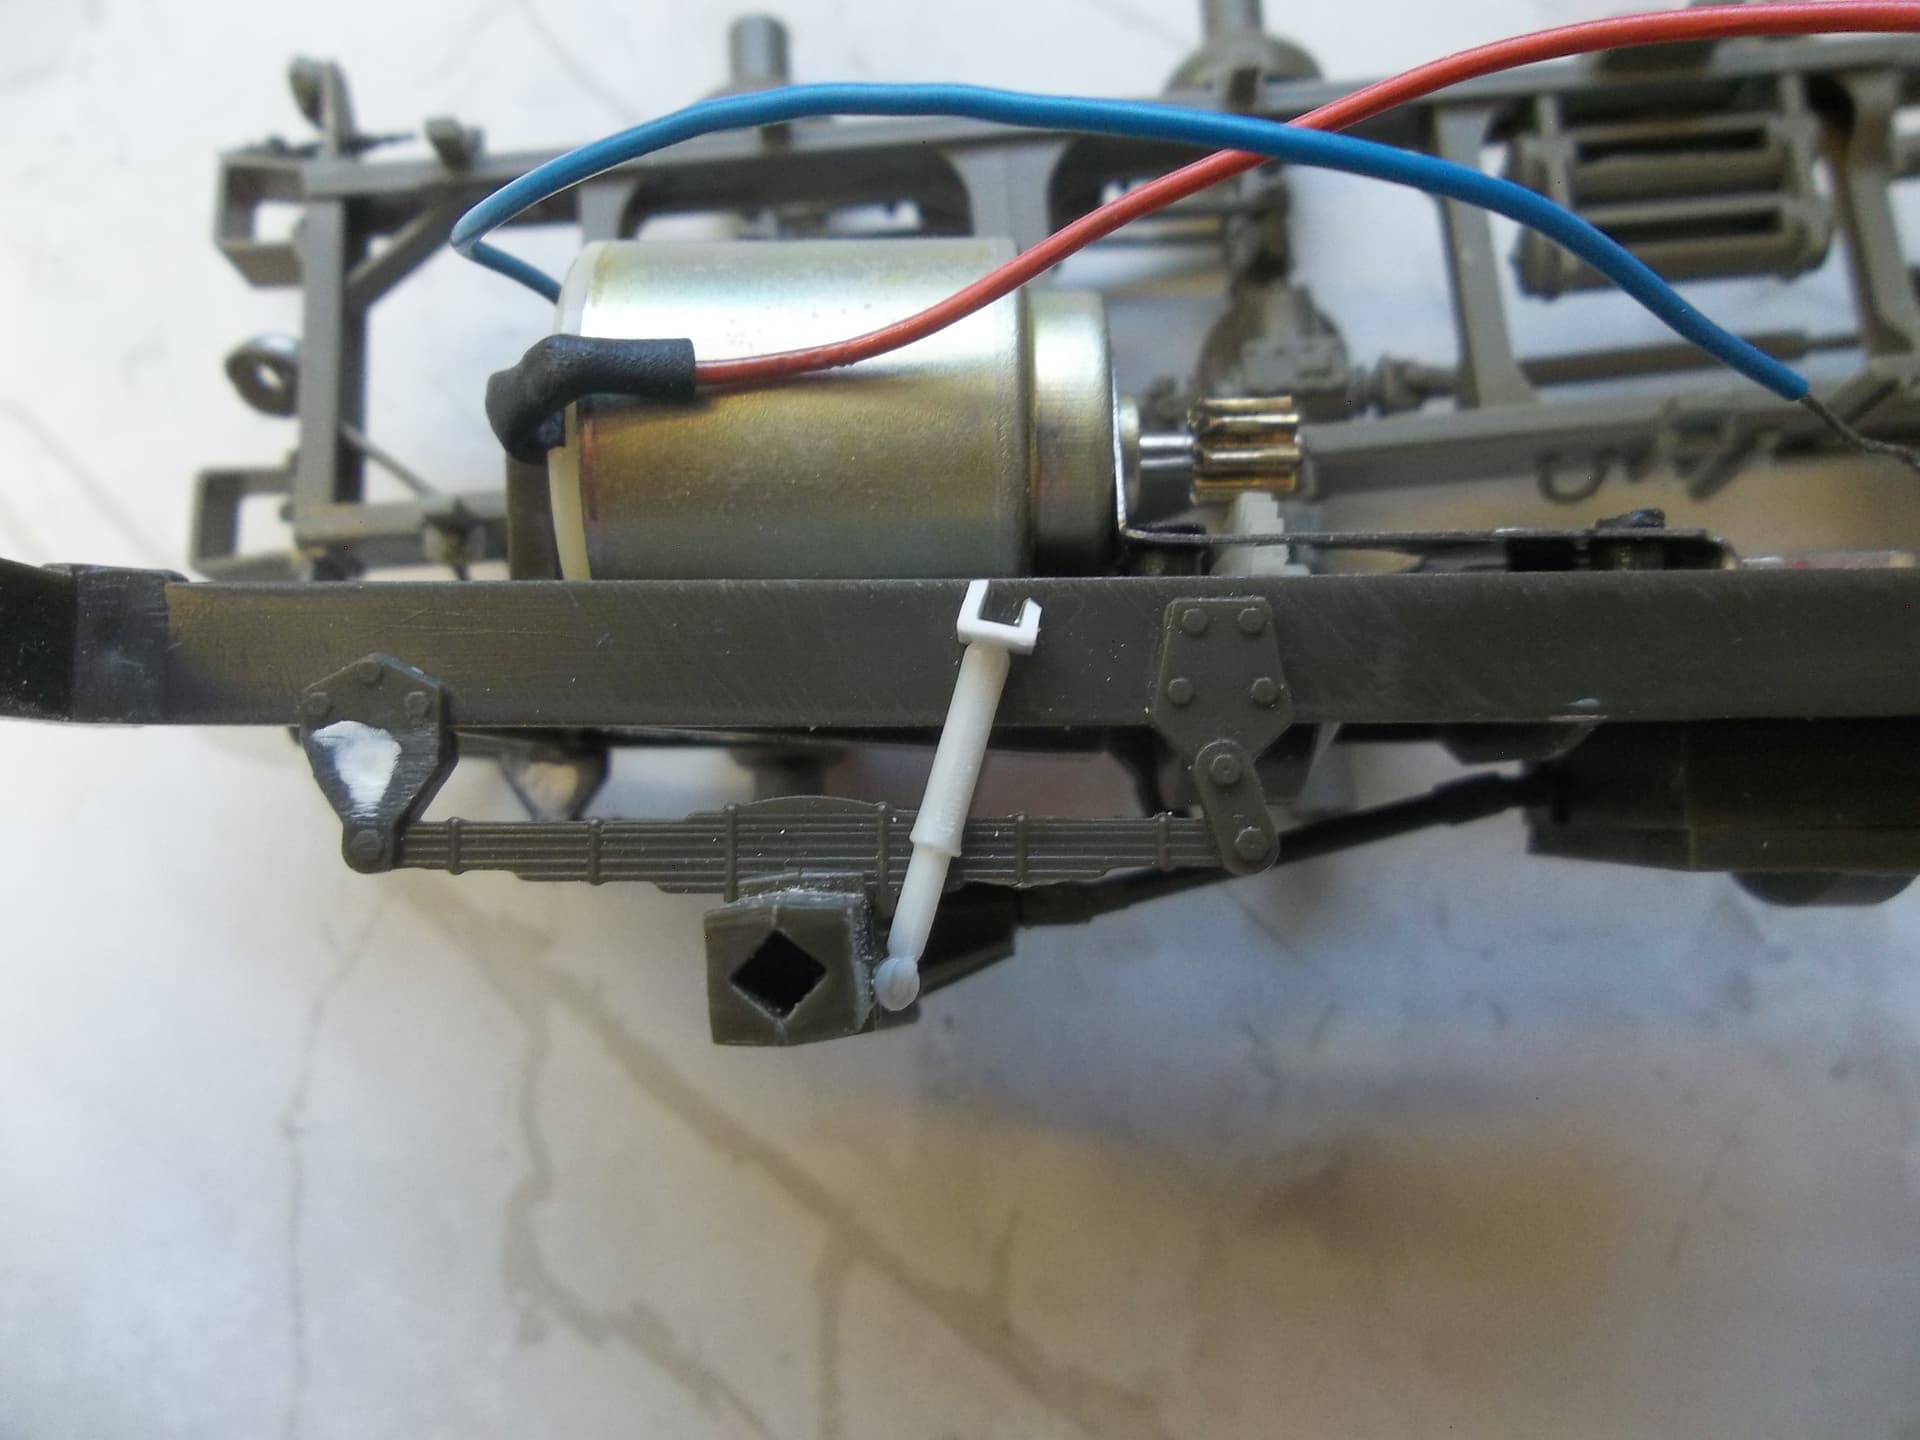
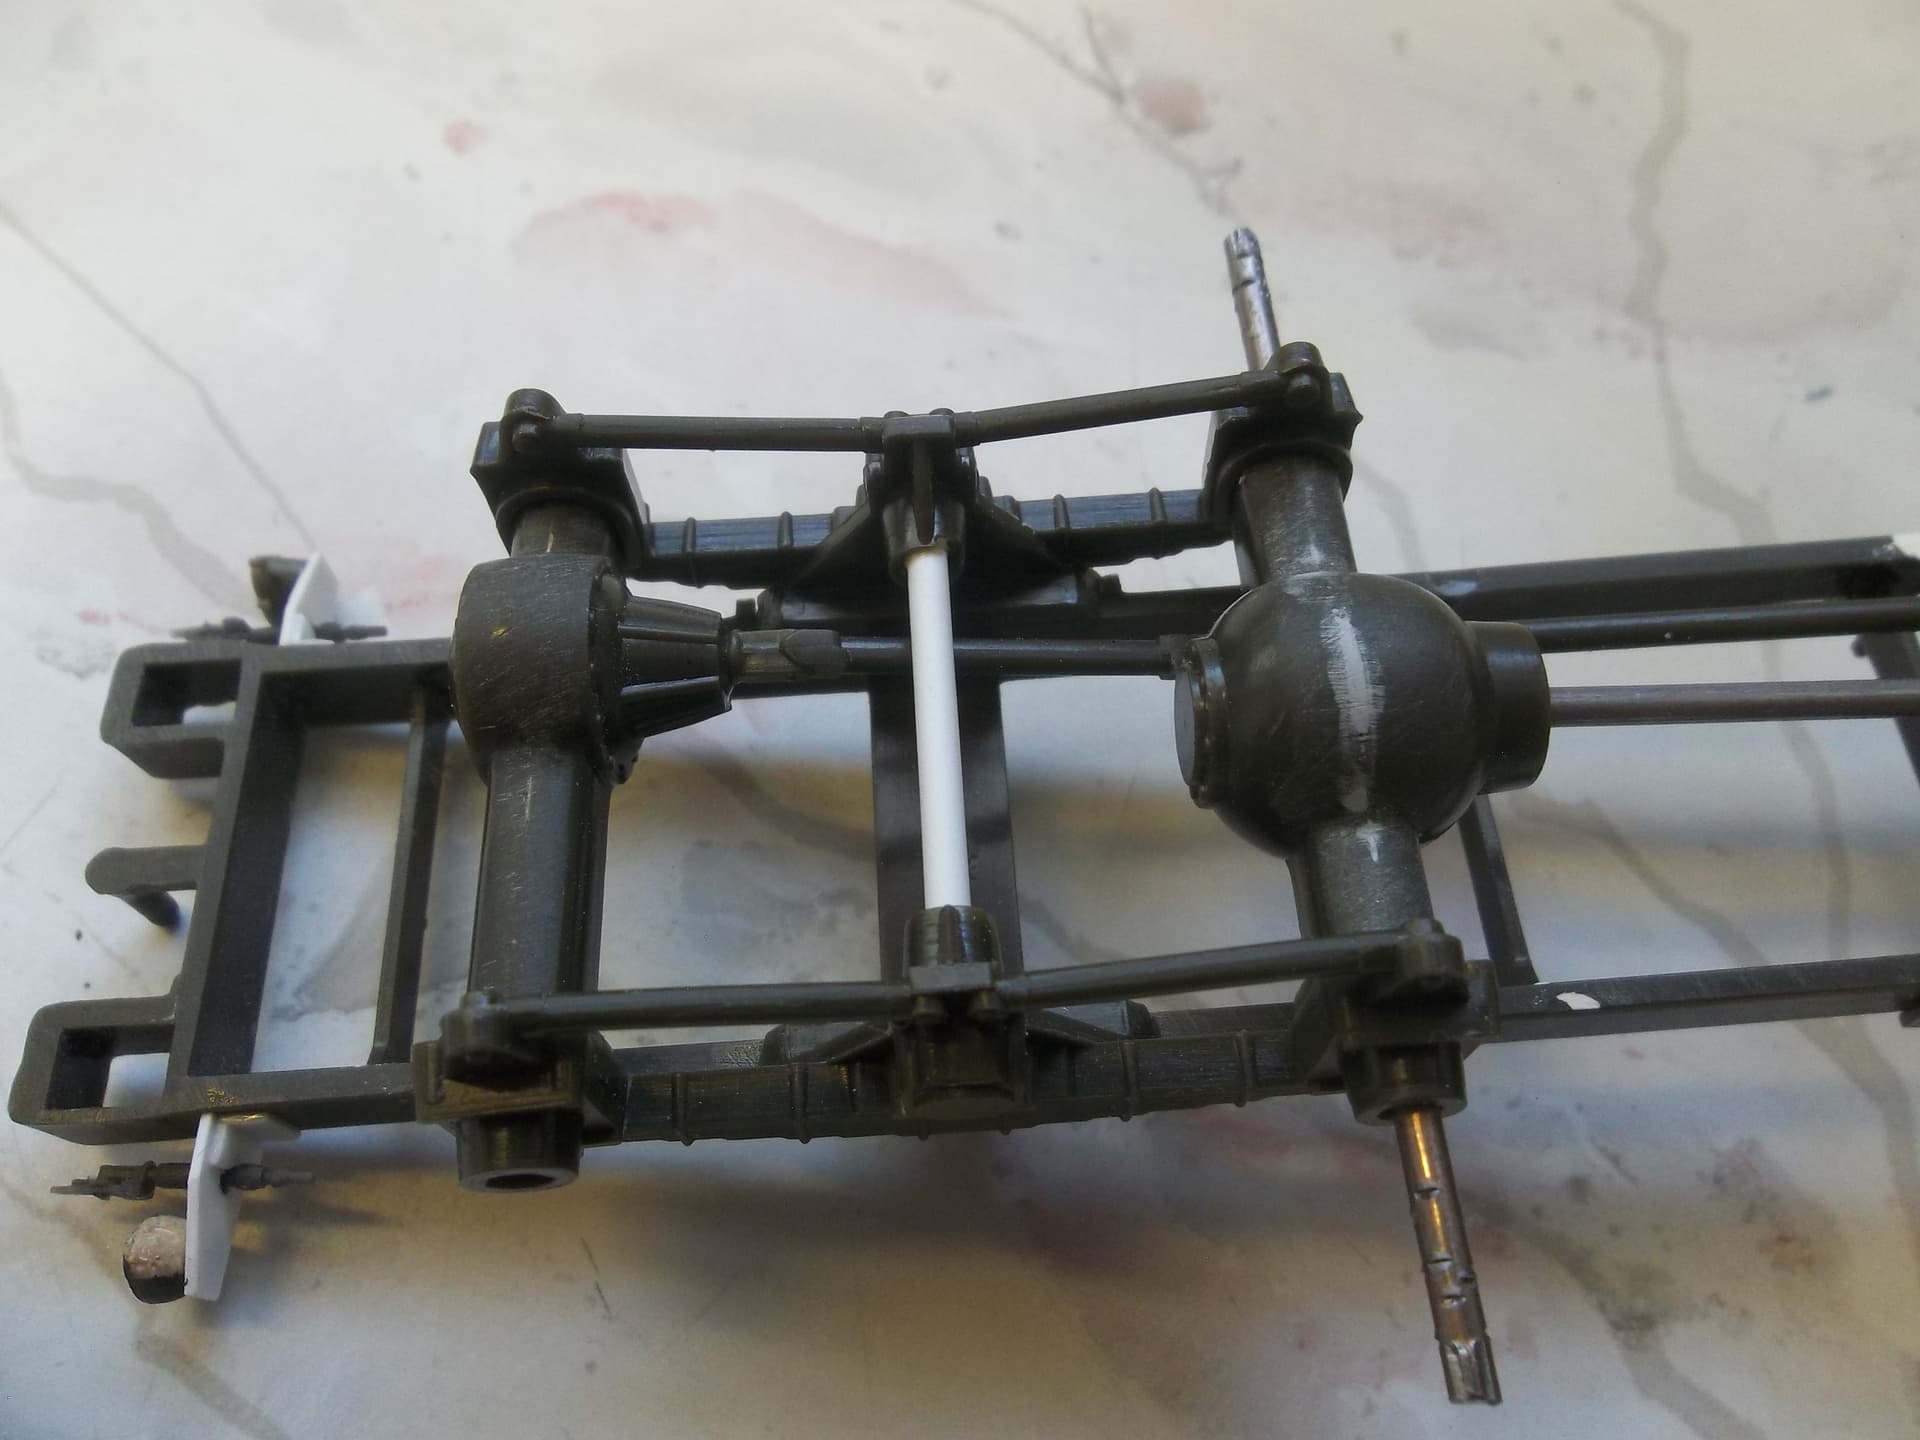
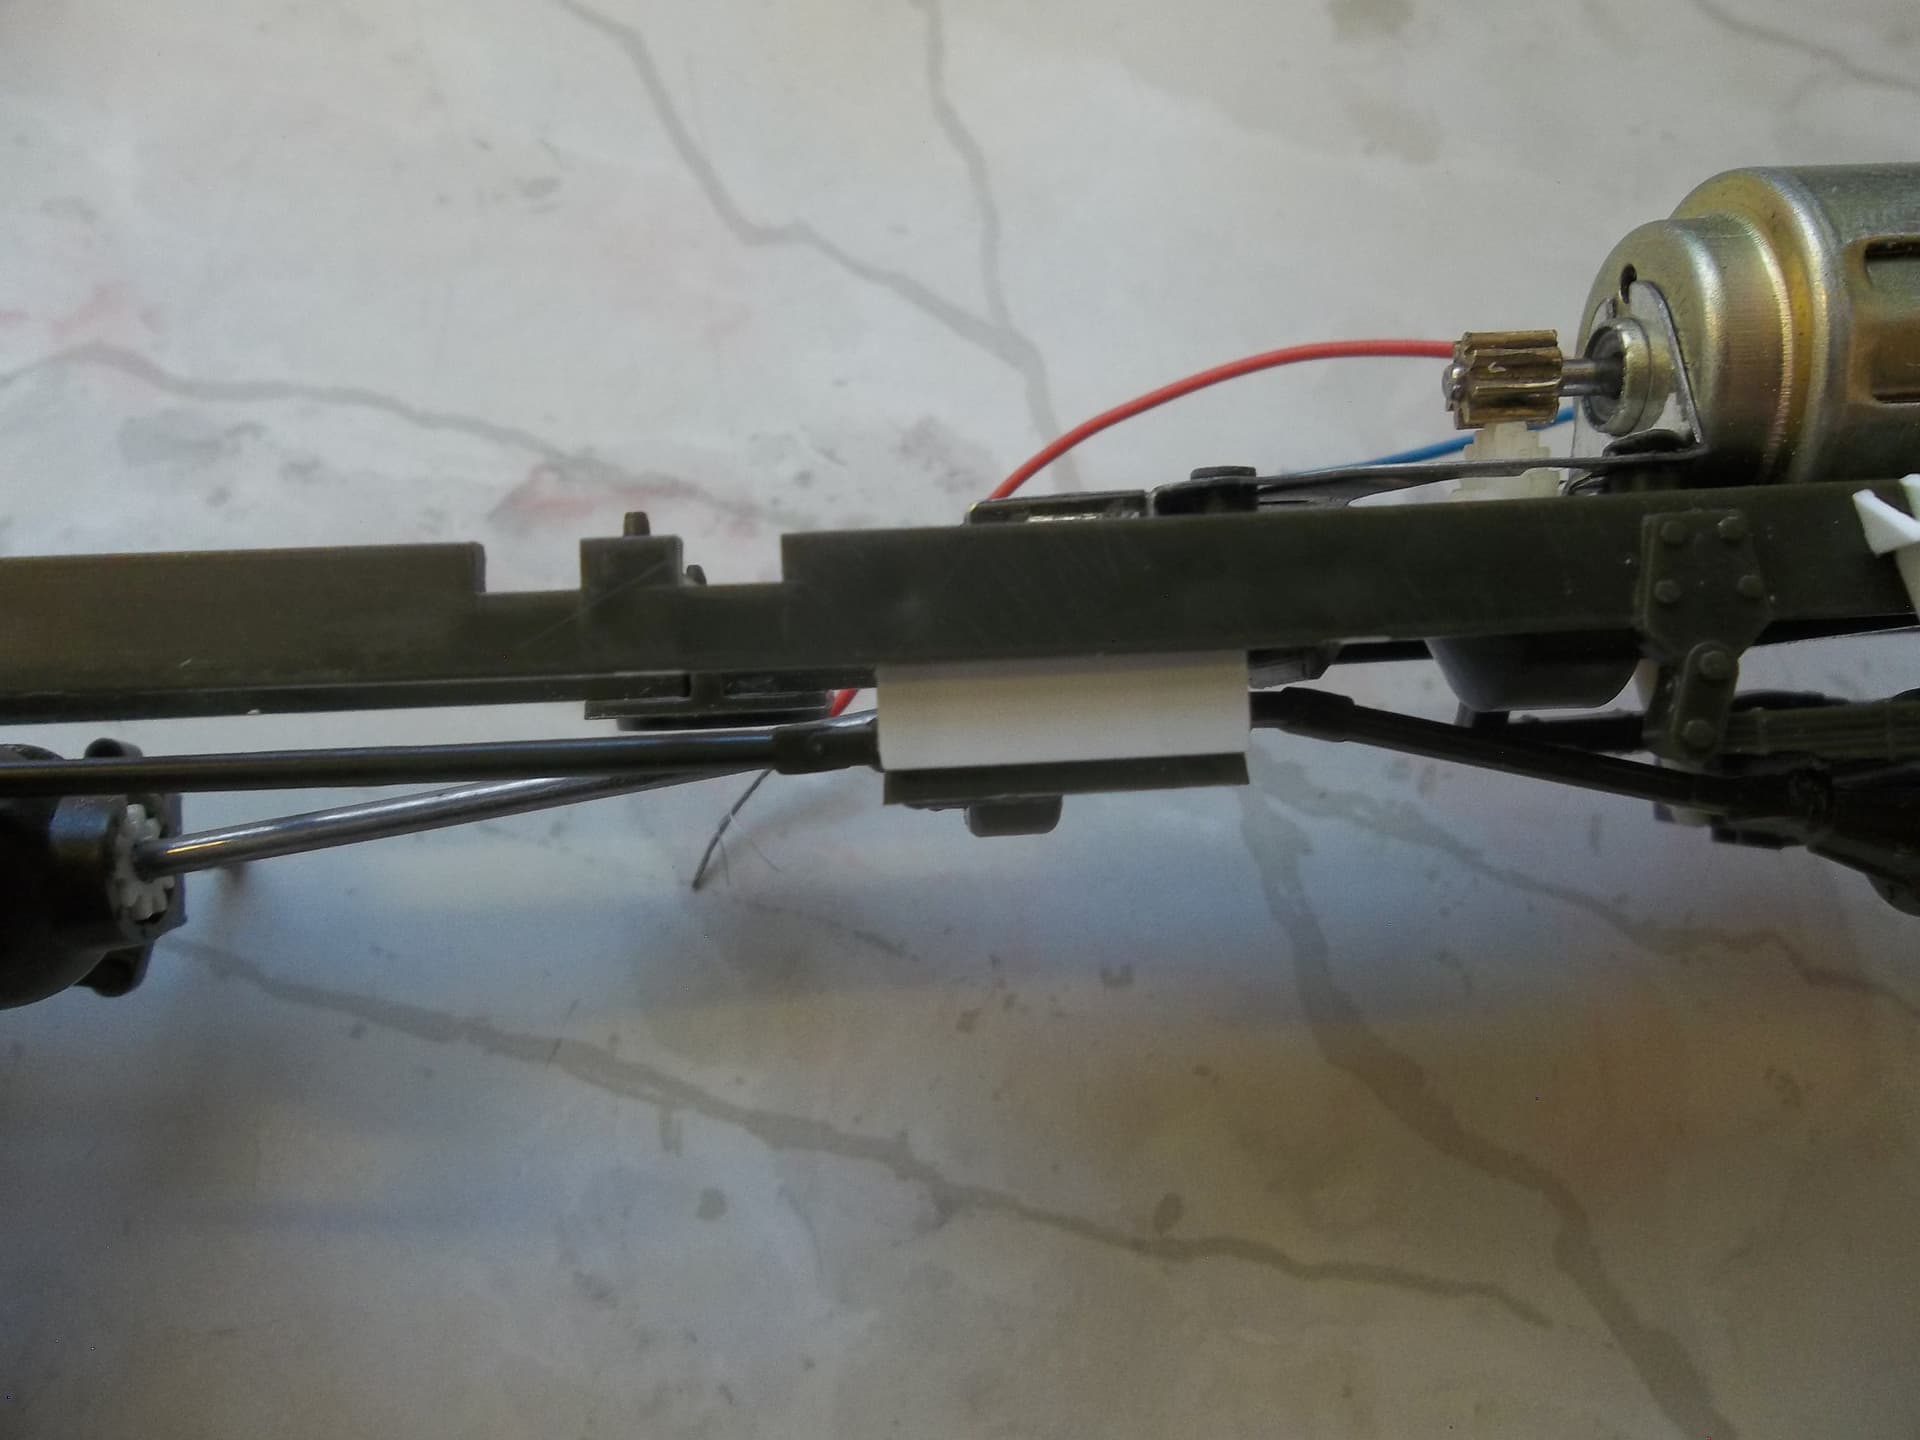
Yes, I am actually building a wheelie-thingy. Two of them. But, keeping with my pattern of doing wierd stuff, I am building the AFV Cub M109 Shop Van and the old Bandai 1/30 Diamond M36 truck.

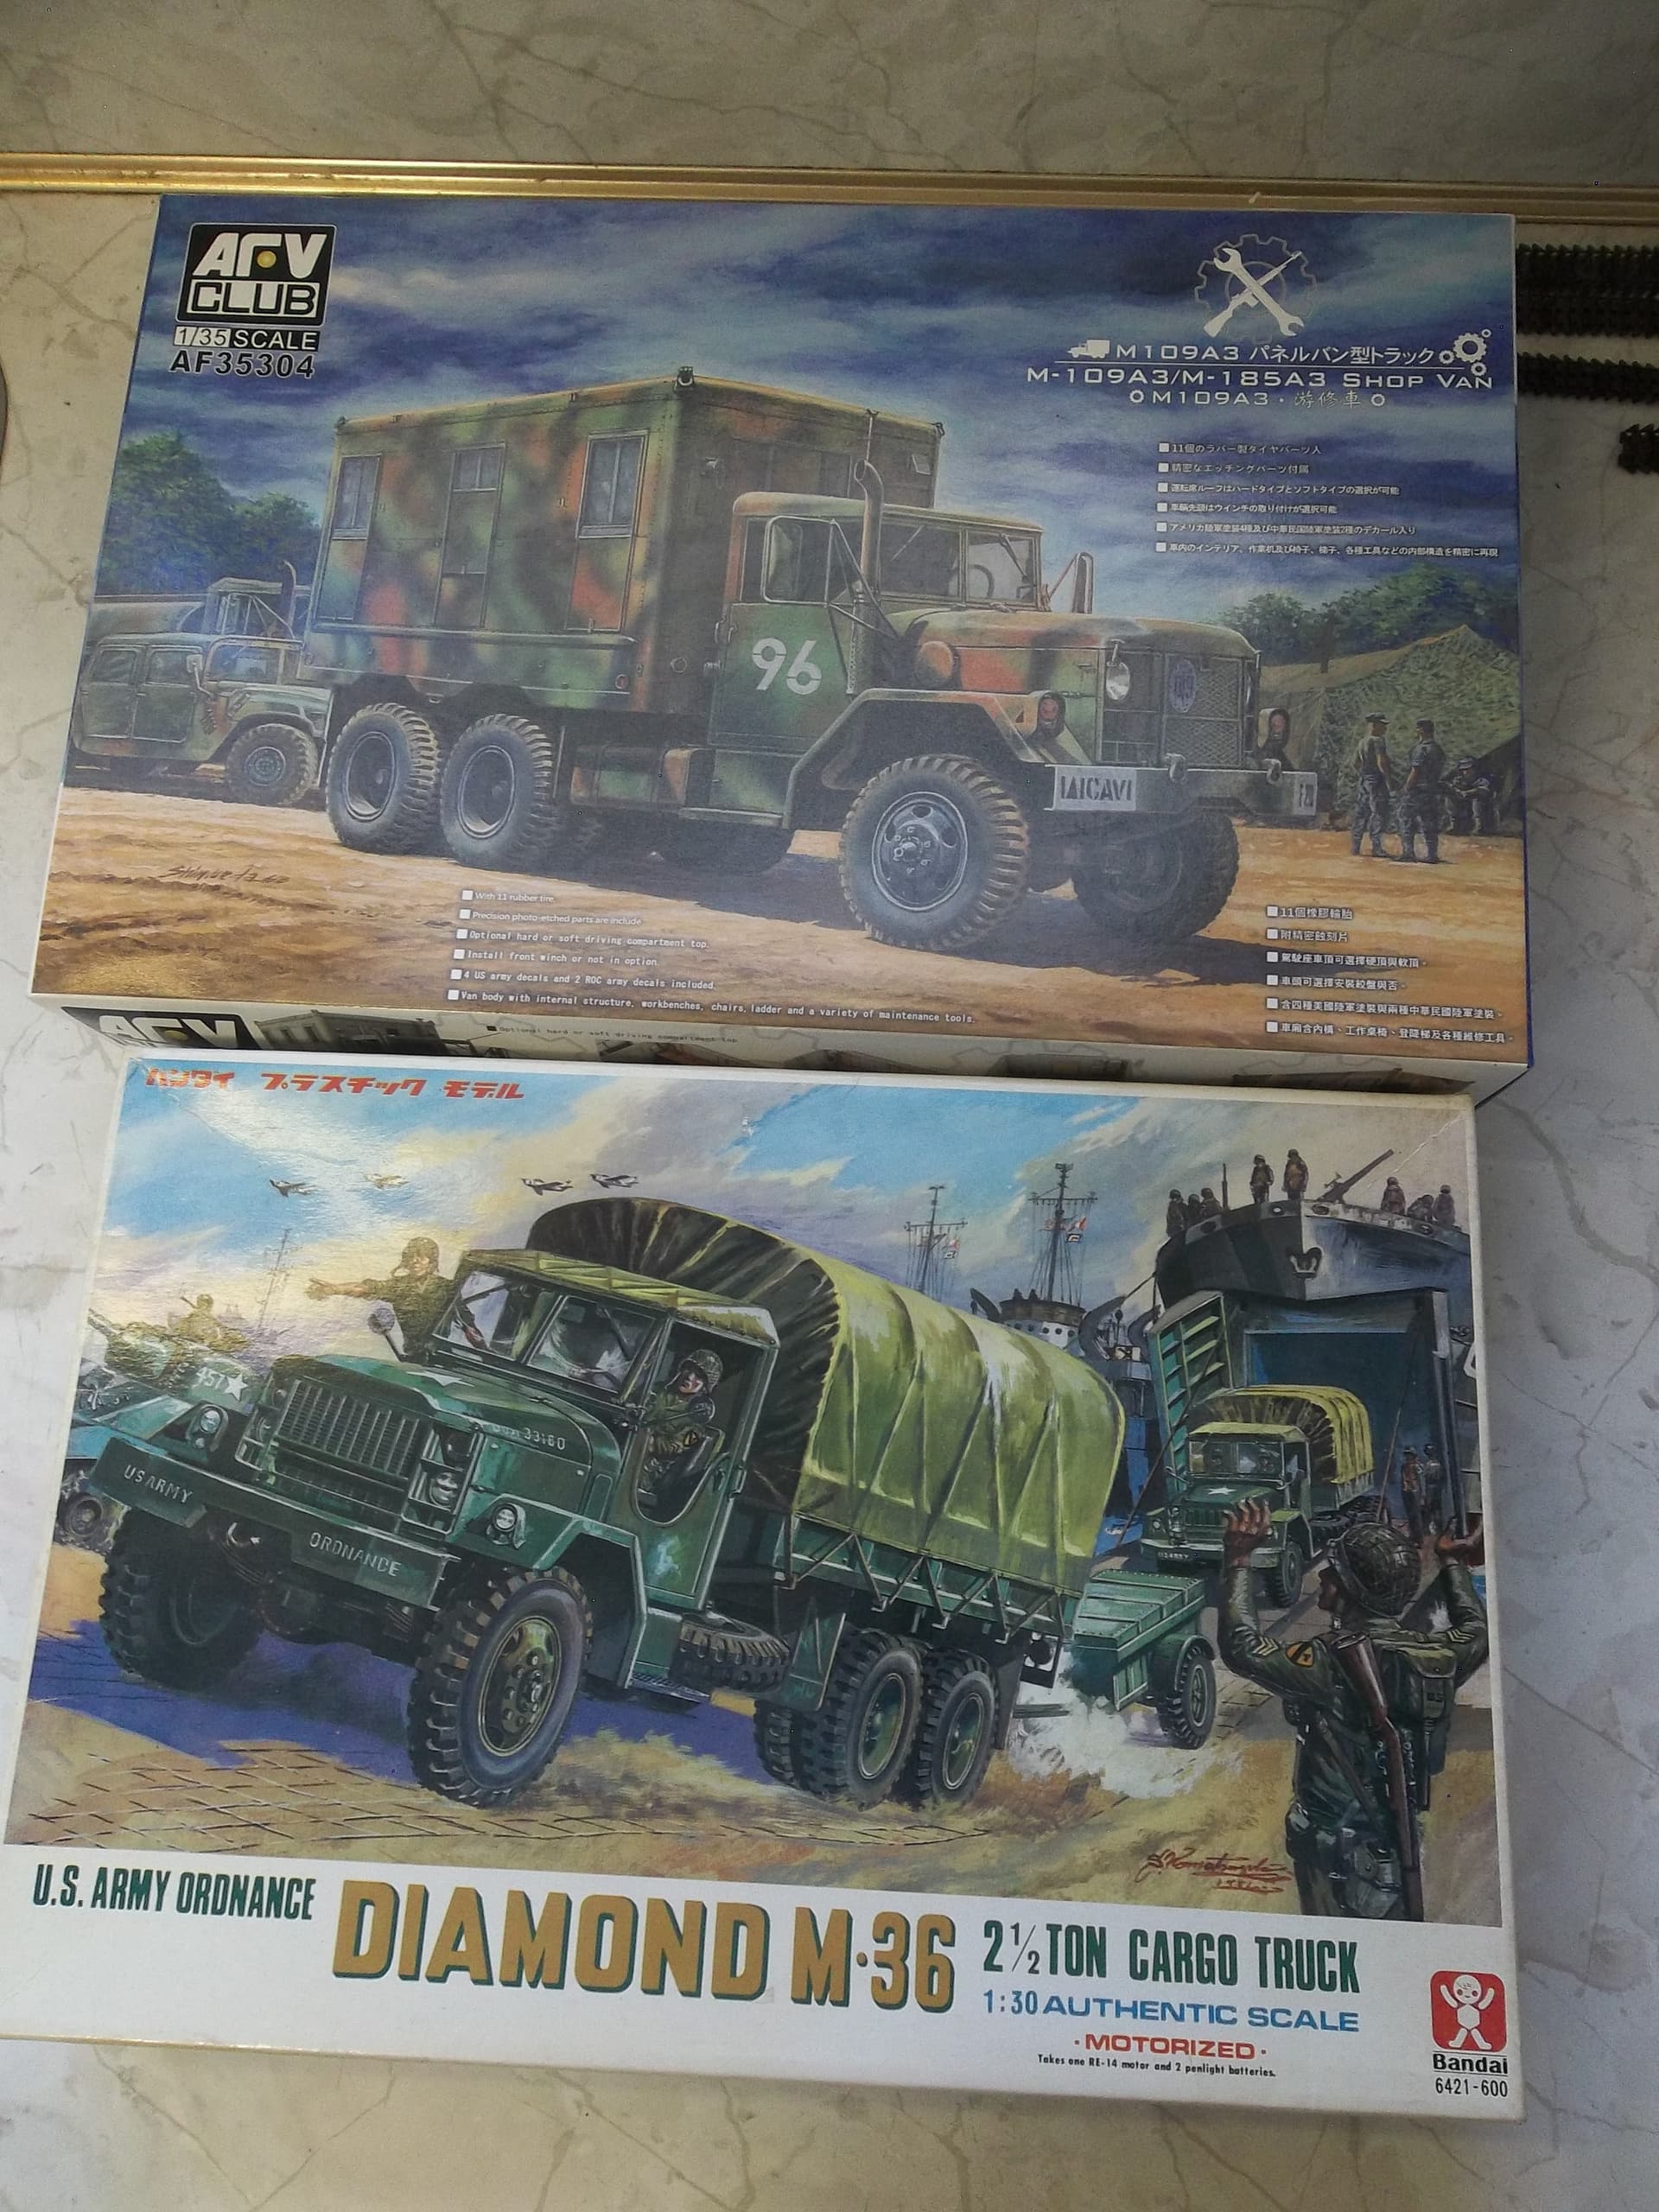
Both of these kits have their issues for me to deal with, but should come out well in the end.
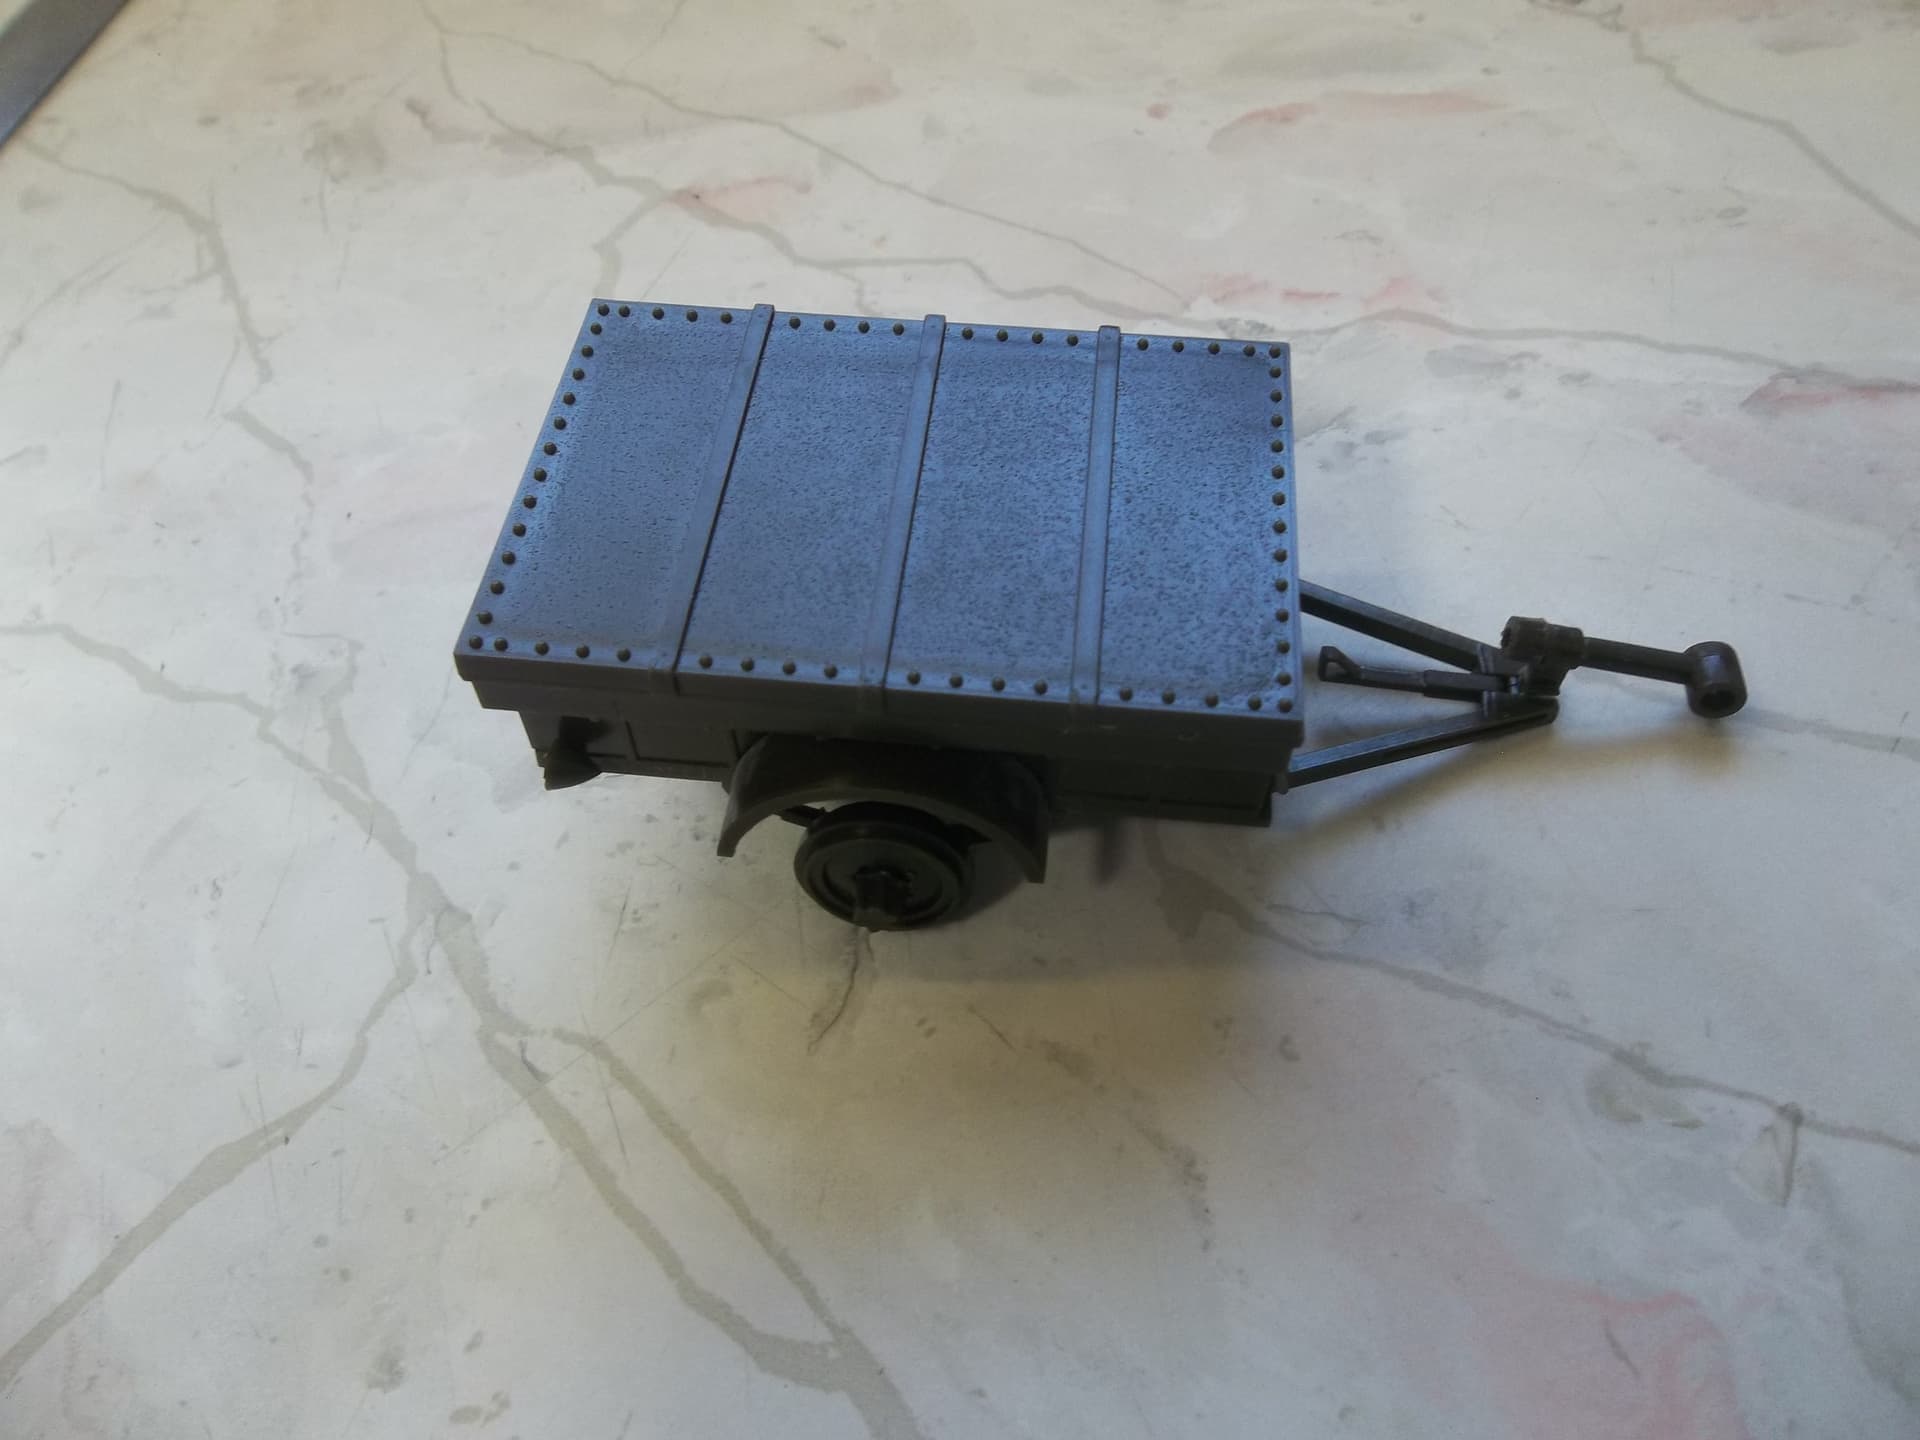
First off, the Bandai M36. It’s not 1/30 scale, and it’s not an M36. From my research, the M36 is a long bed, long wheelbase vehicle, with the bed sides divided up into 6 segments:
5185338189_36a638955c_z

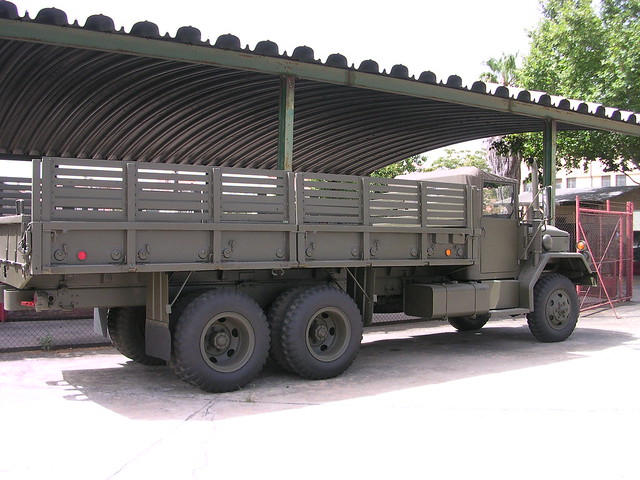
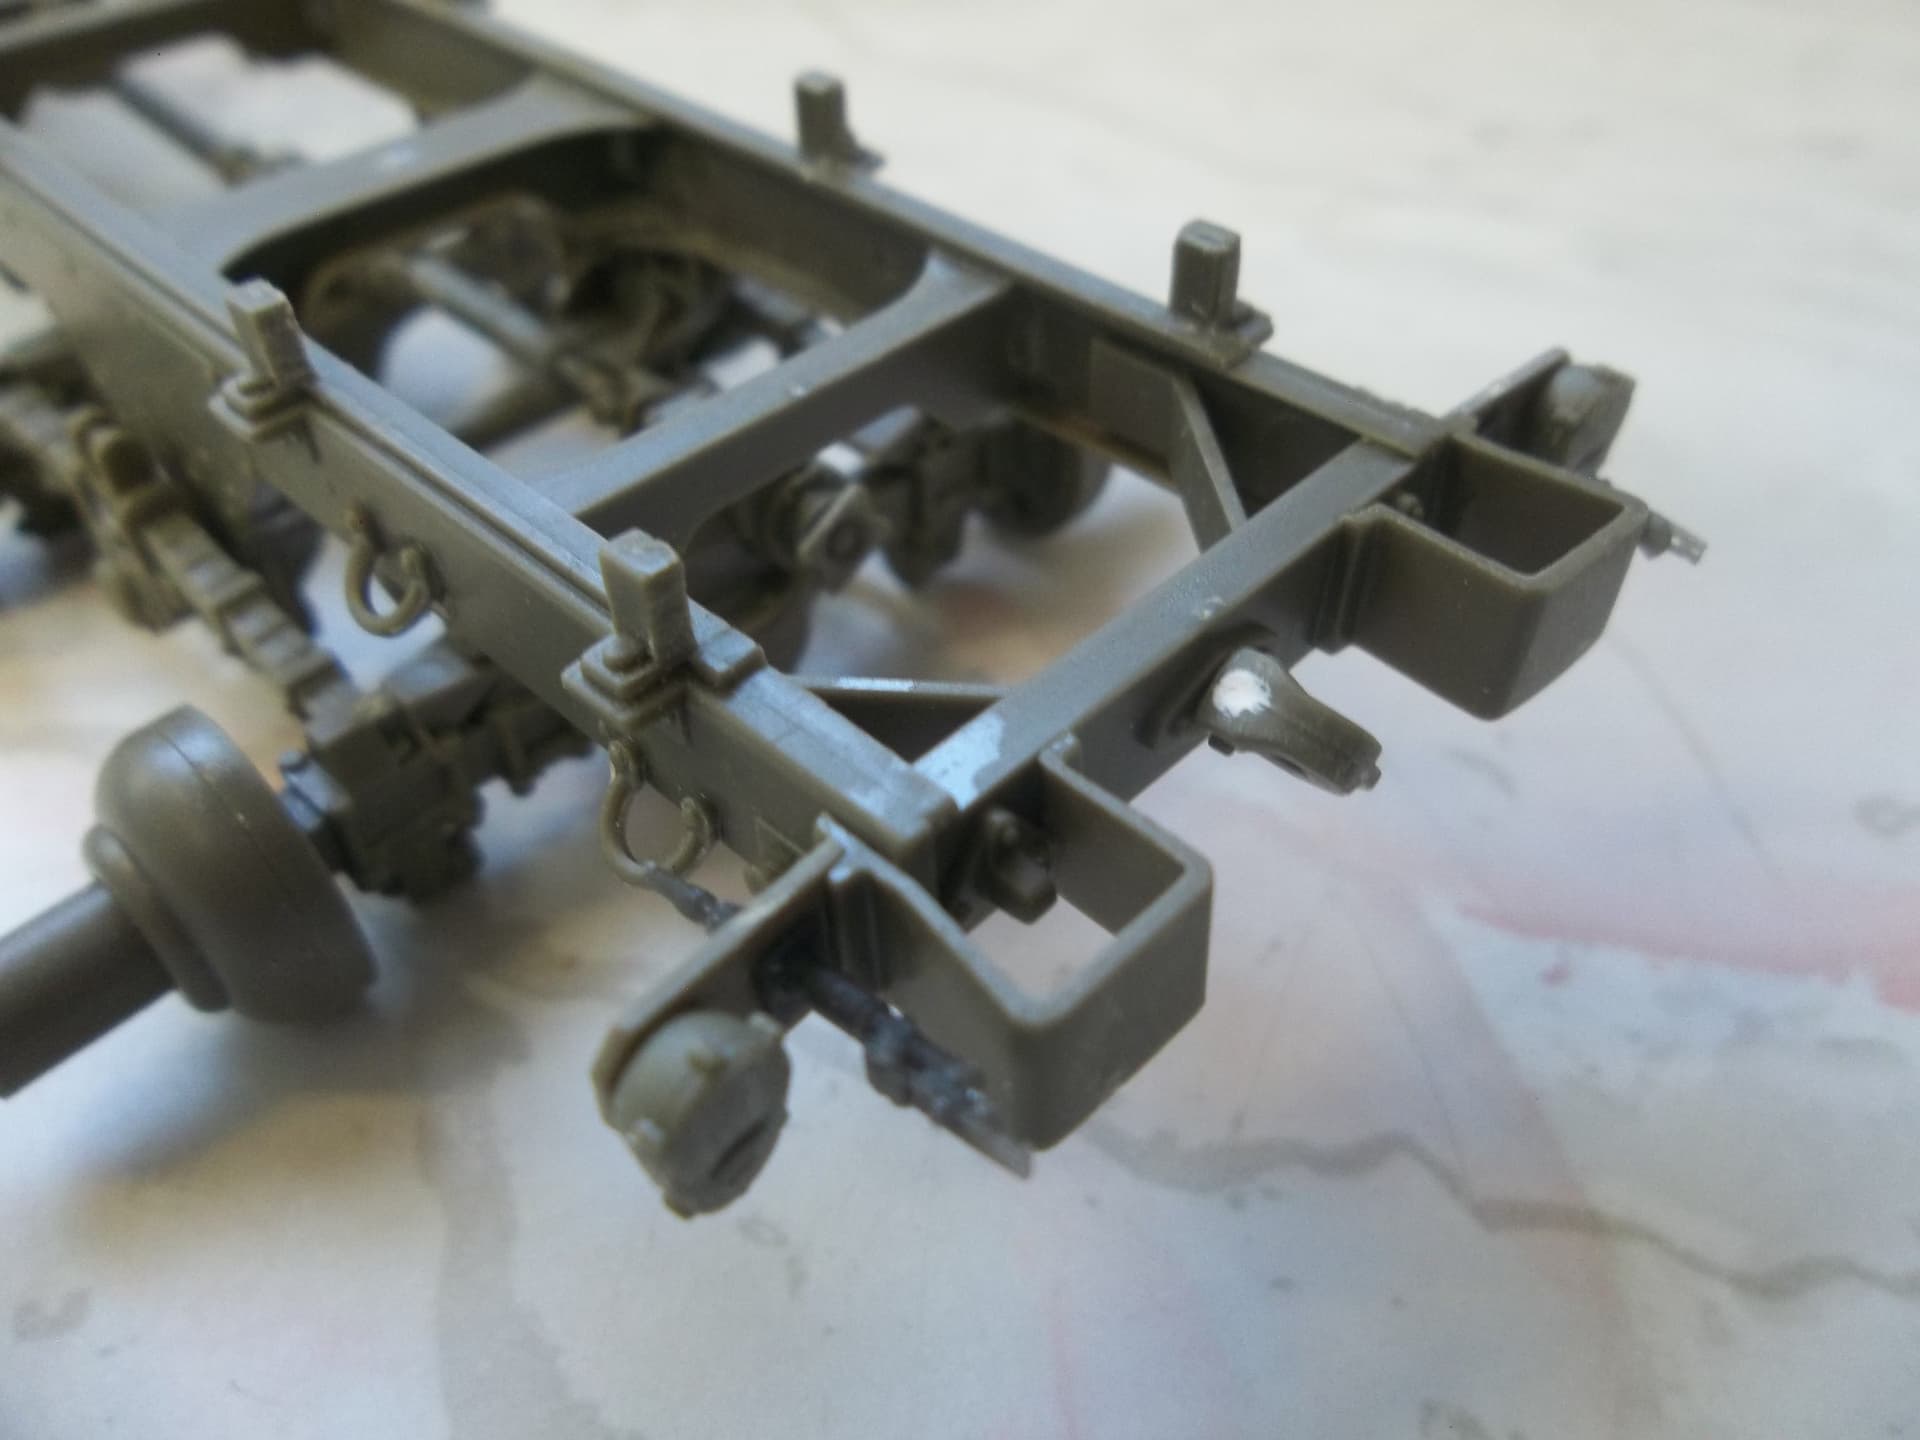
The Bandai kit is a standard bed/wheelbase cargo truck with the bed sides divided into 4 sections, in other words an M35 truck like this:

So Bandai got the model of this truck totally wrong. This indicates that their research was off. This is something of a disappointment, as I wanted to build an M36. Switch to plan B, build an M35 cargo truck.
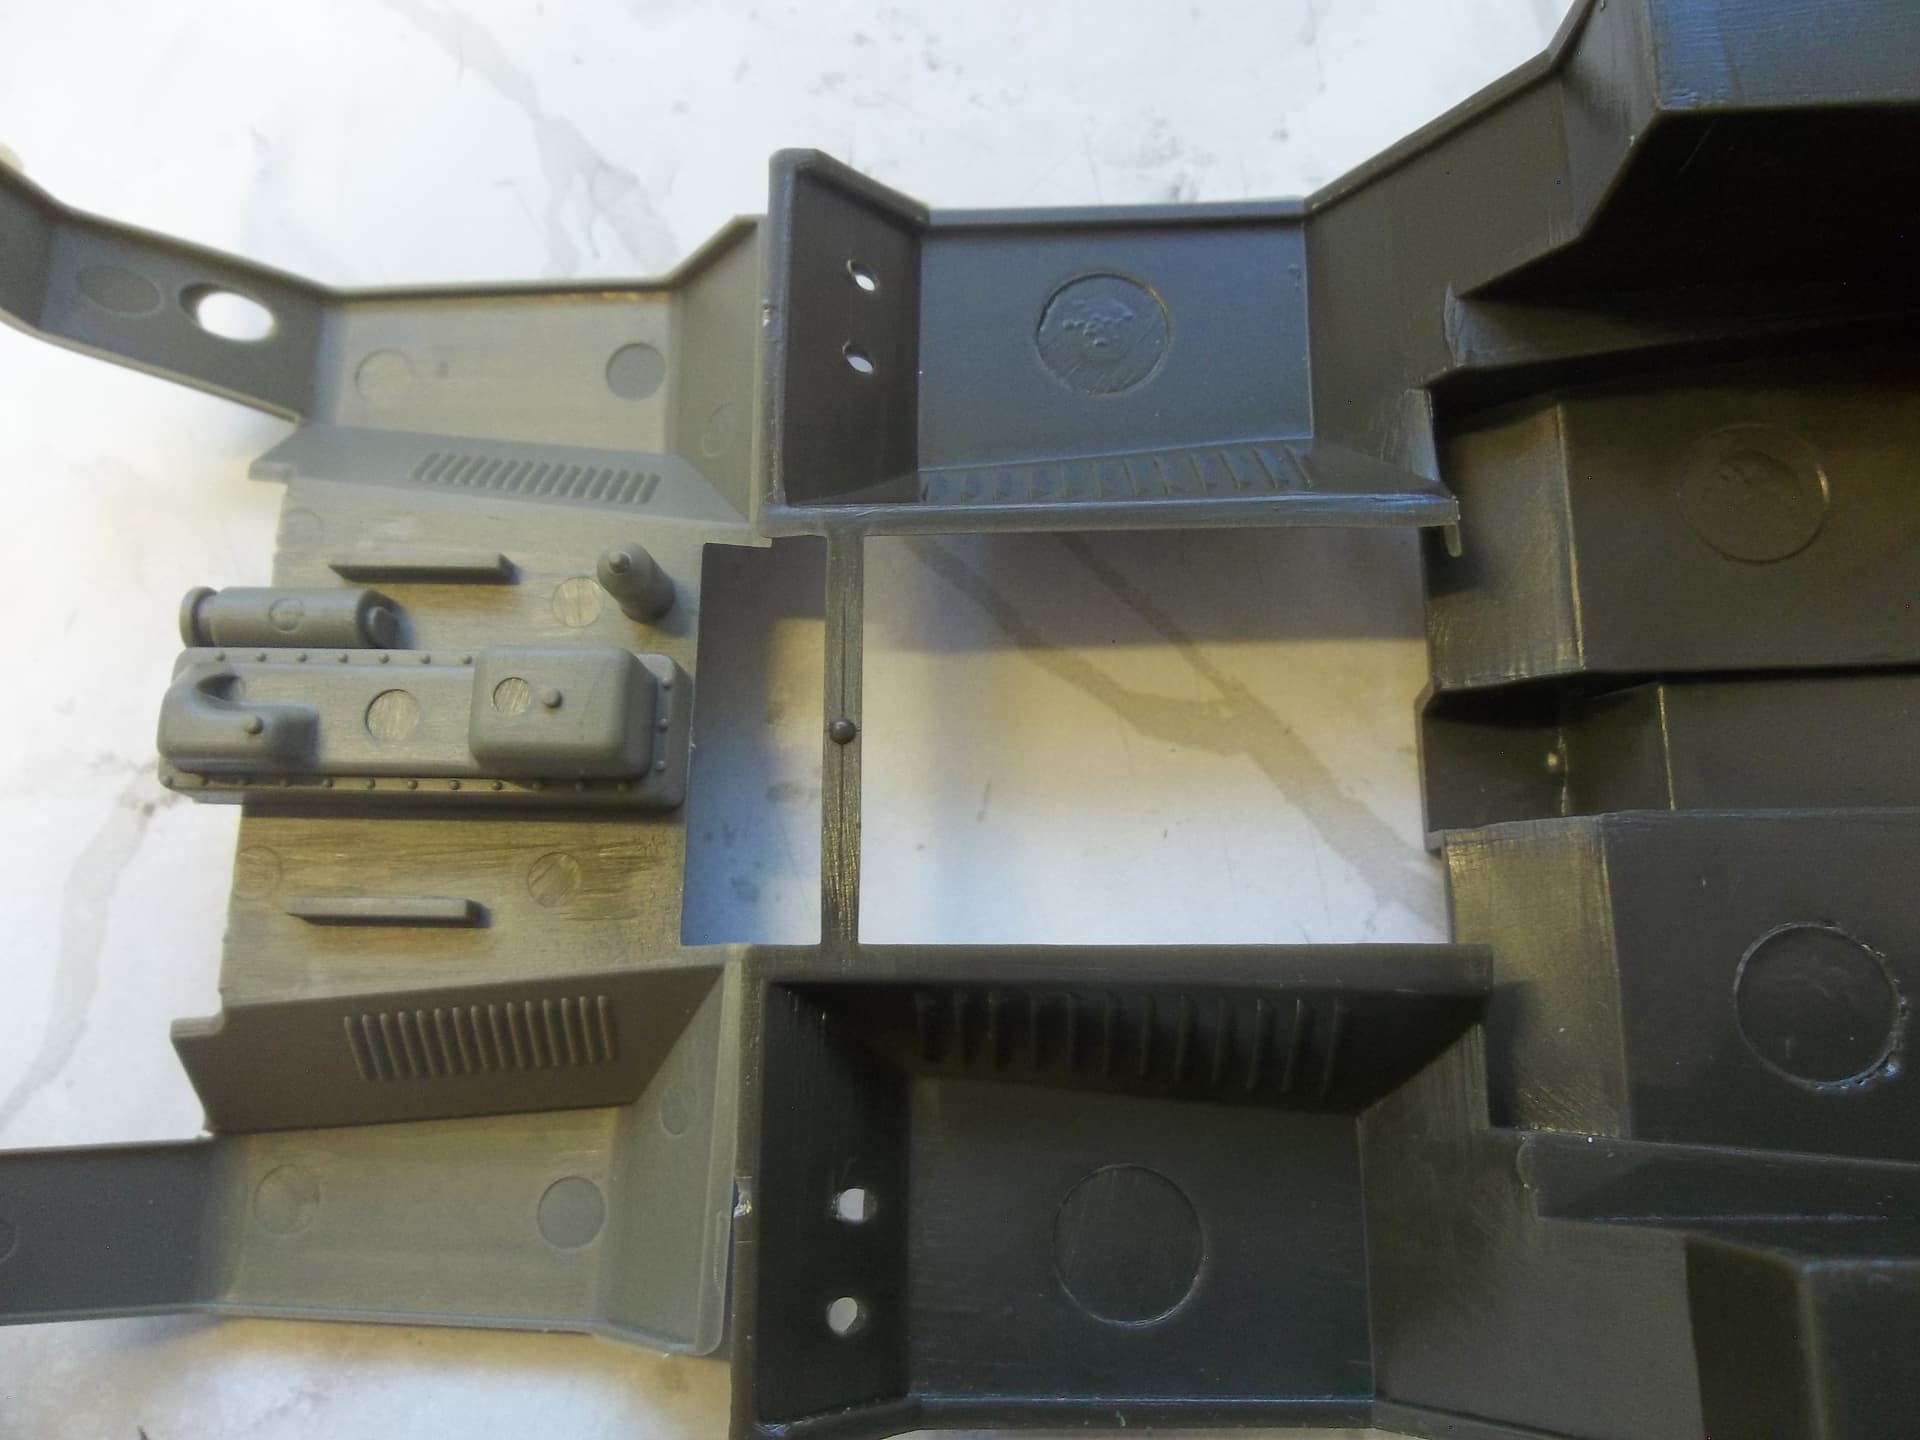
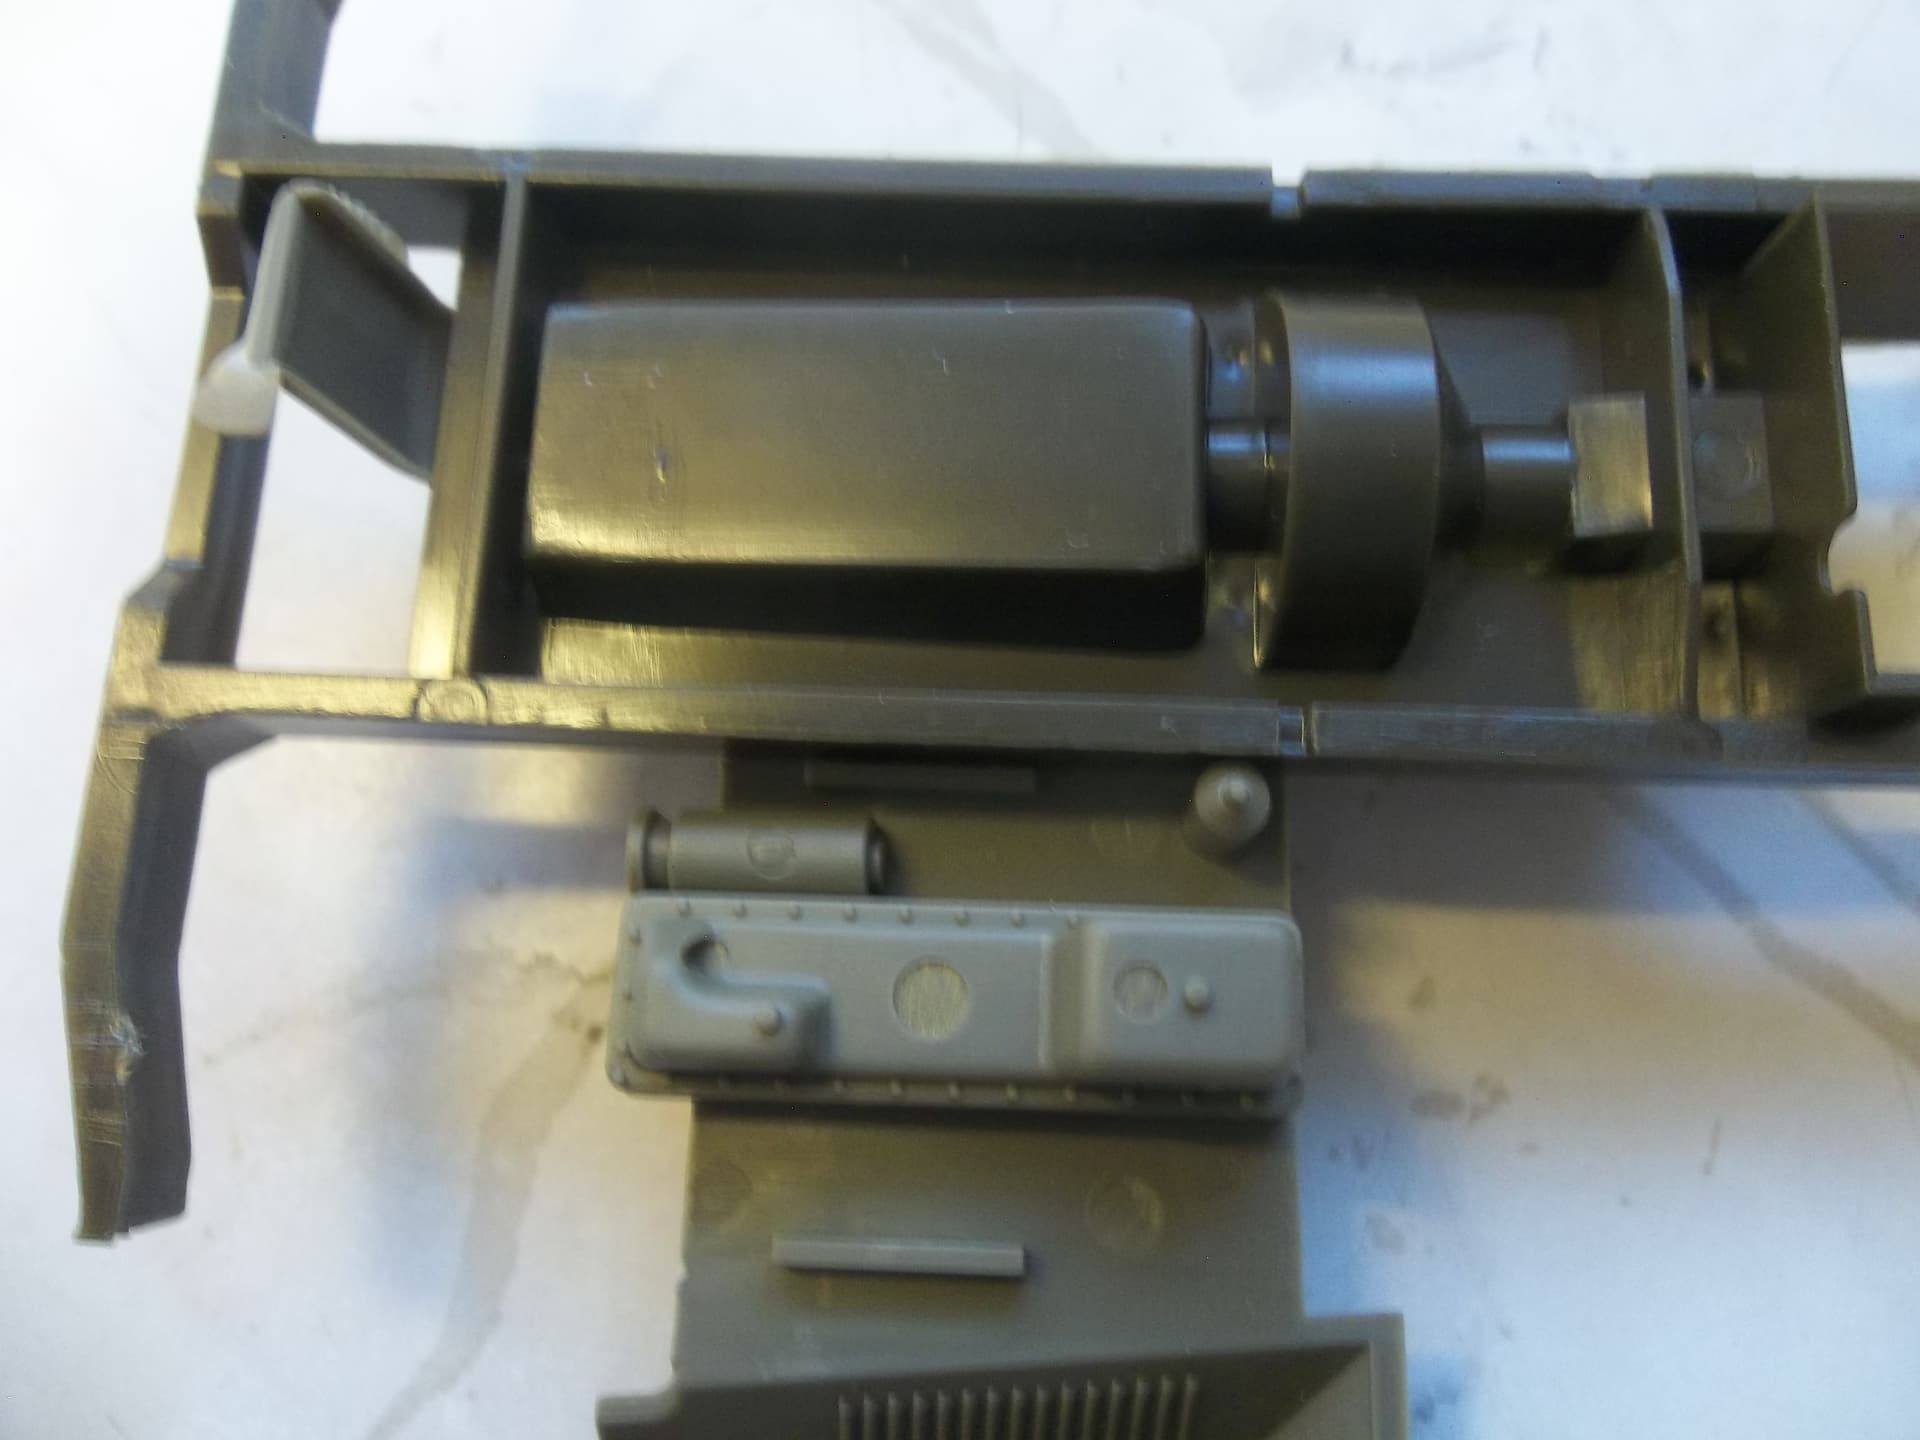
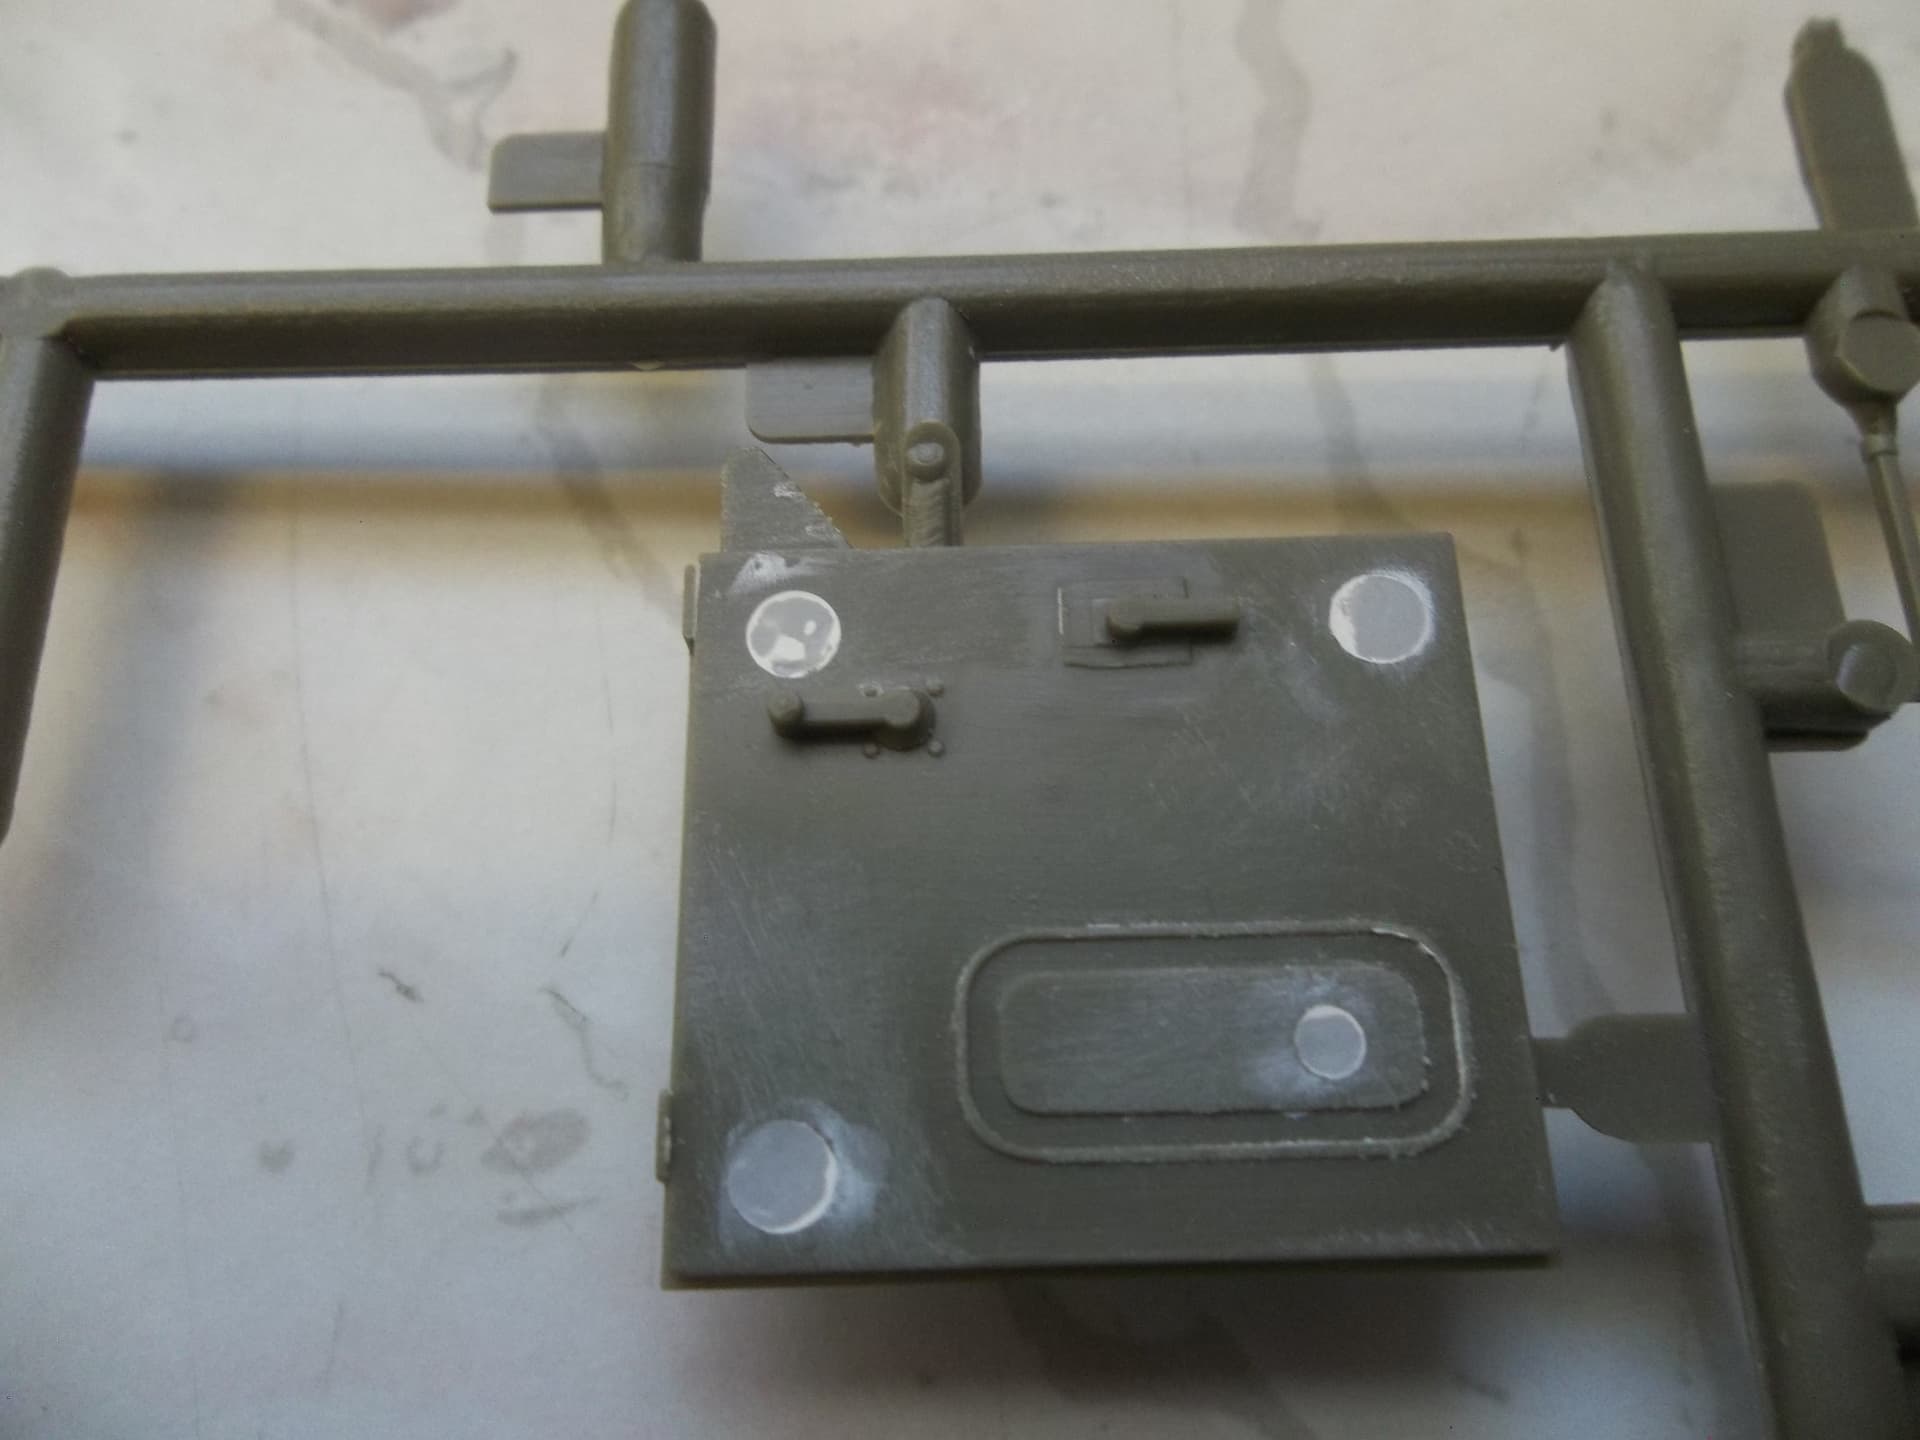
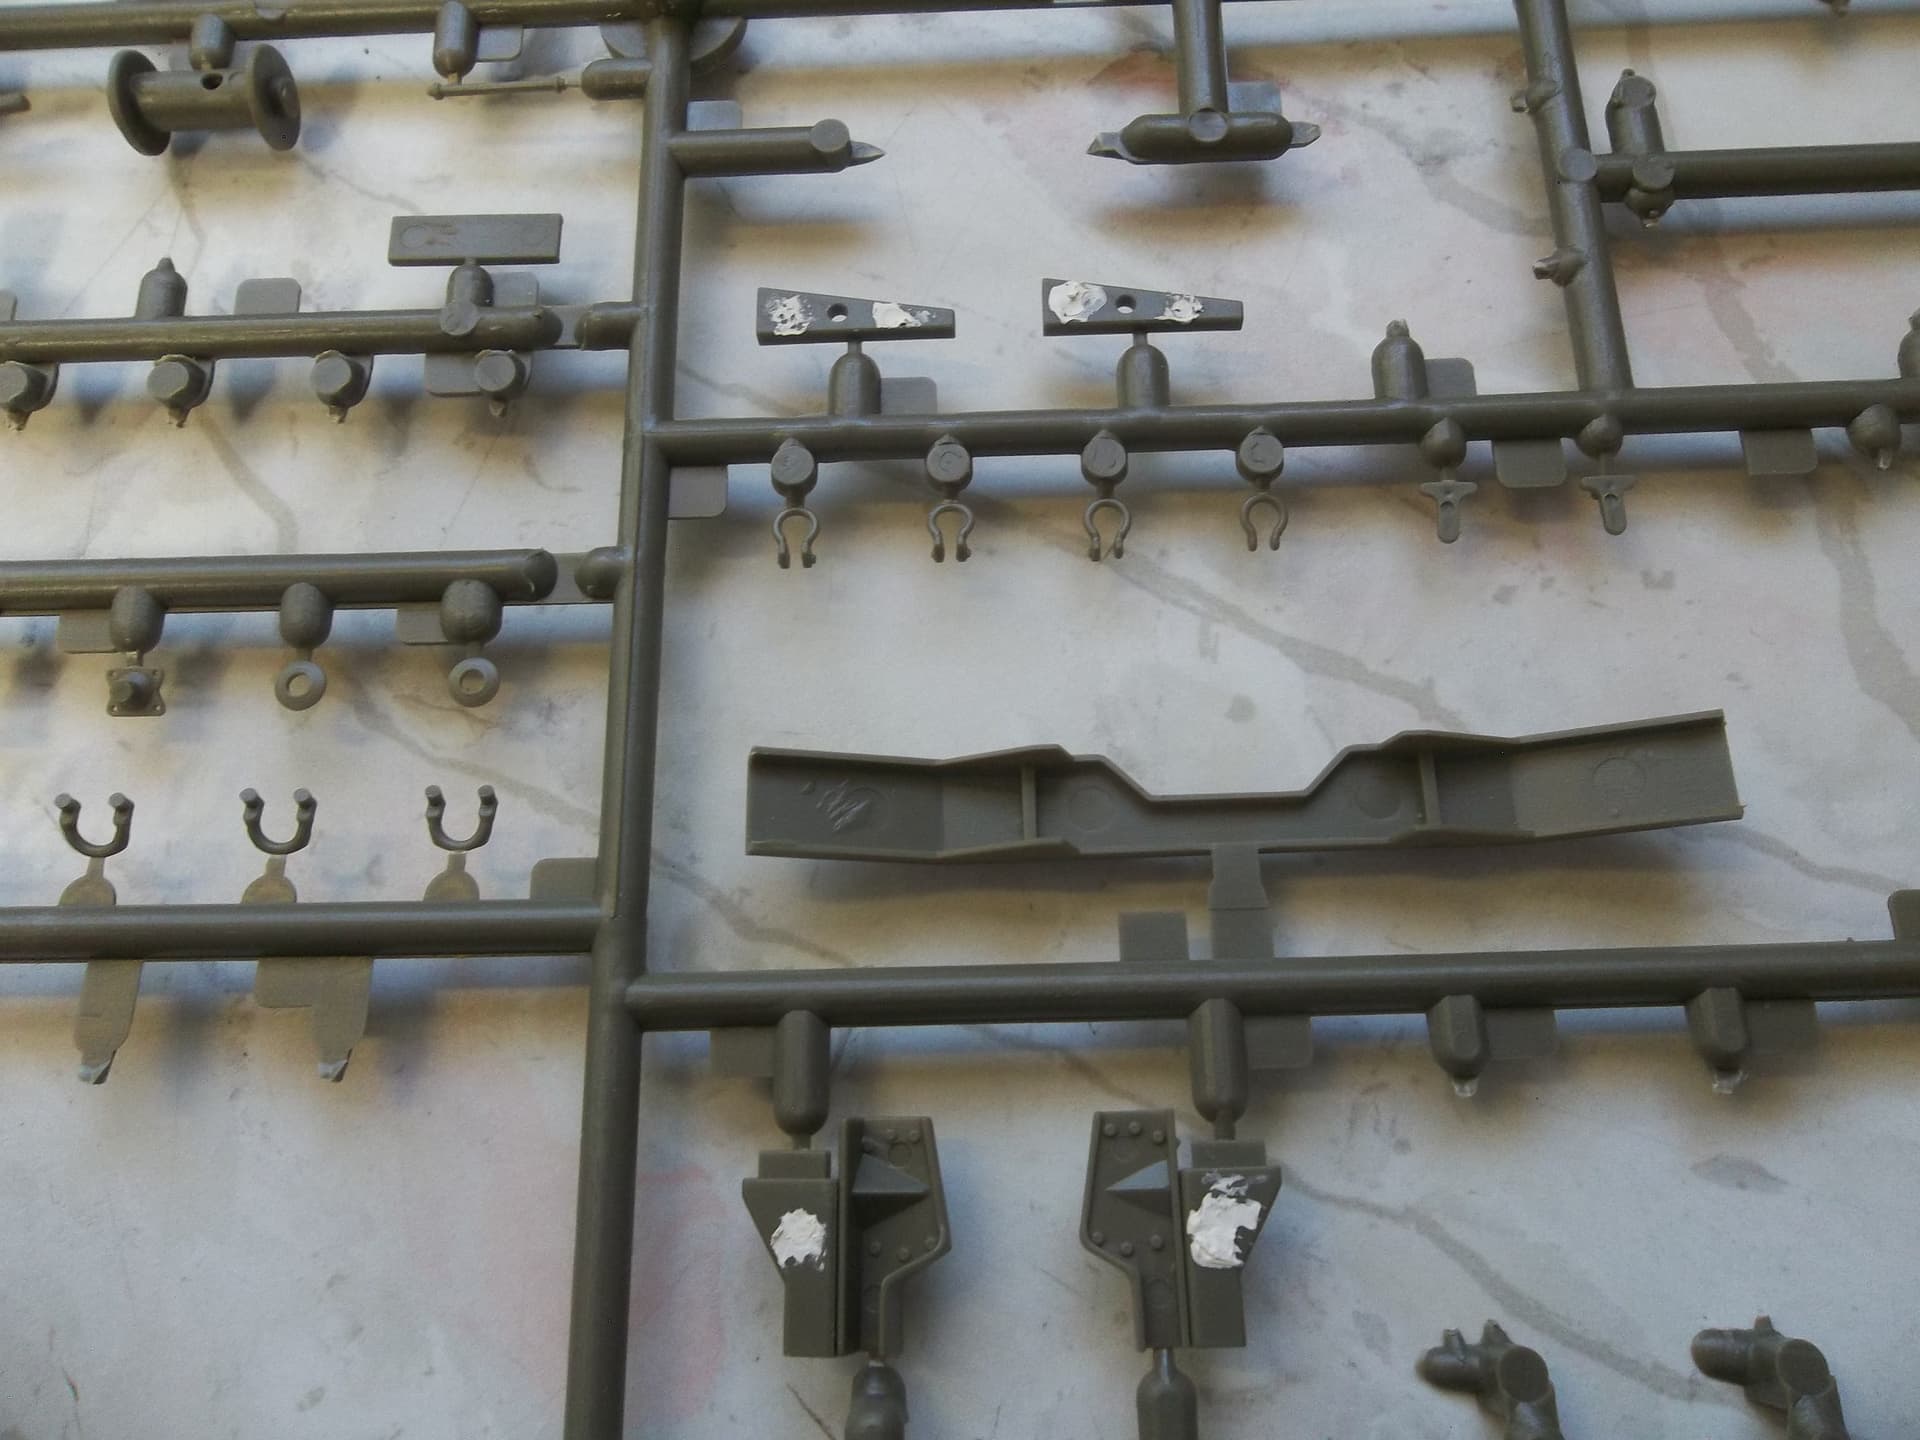
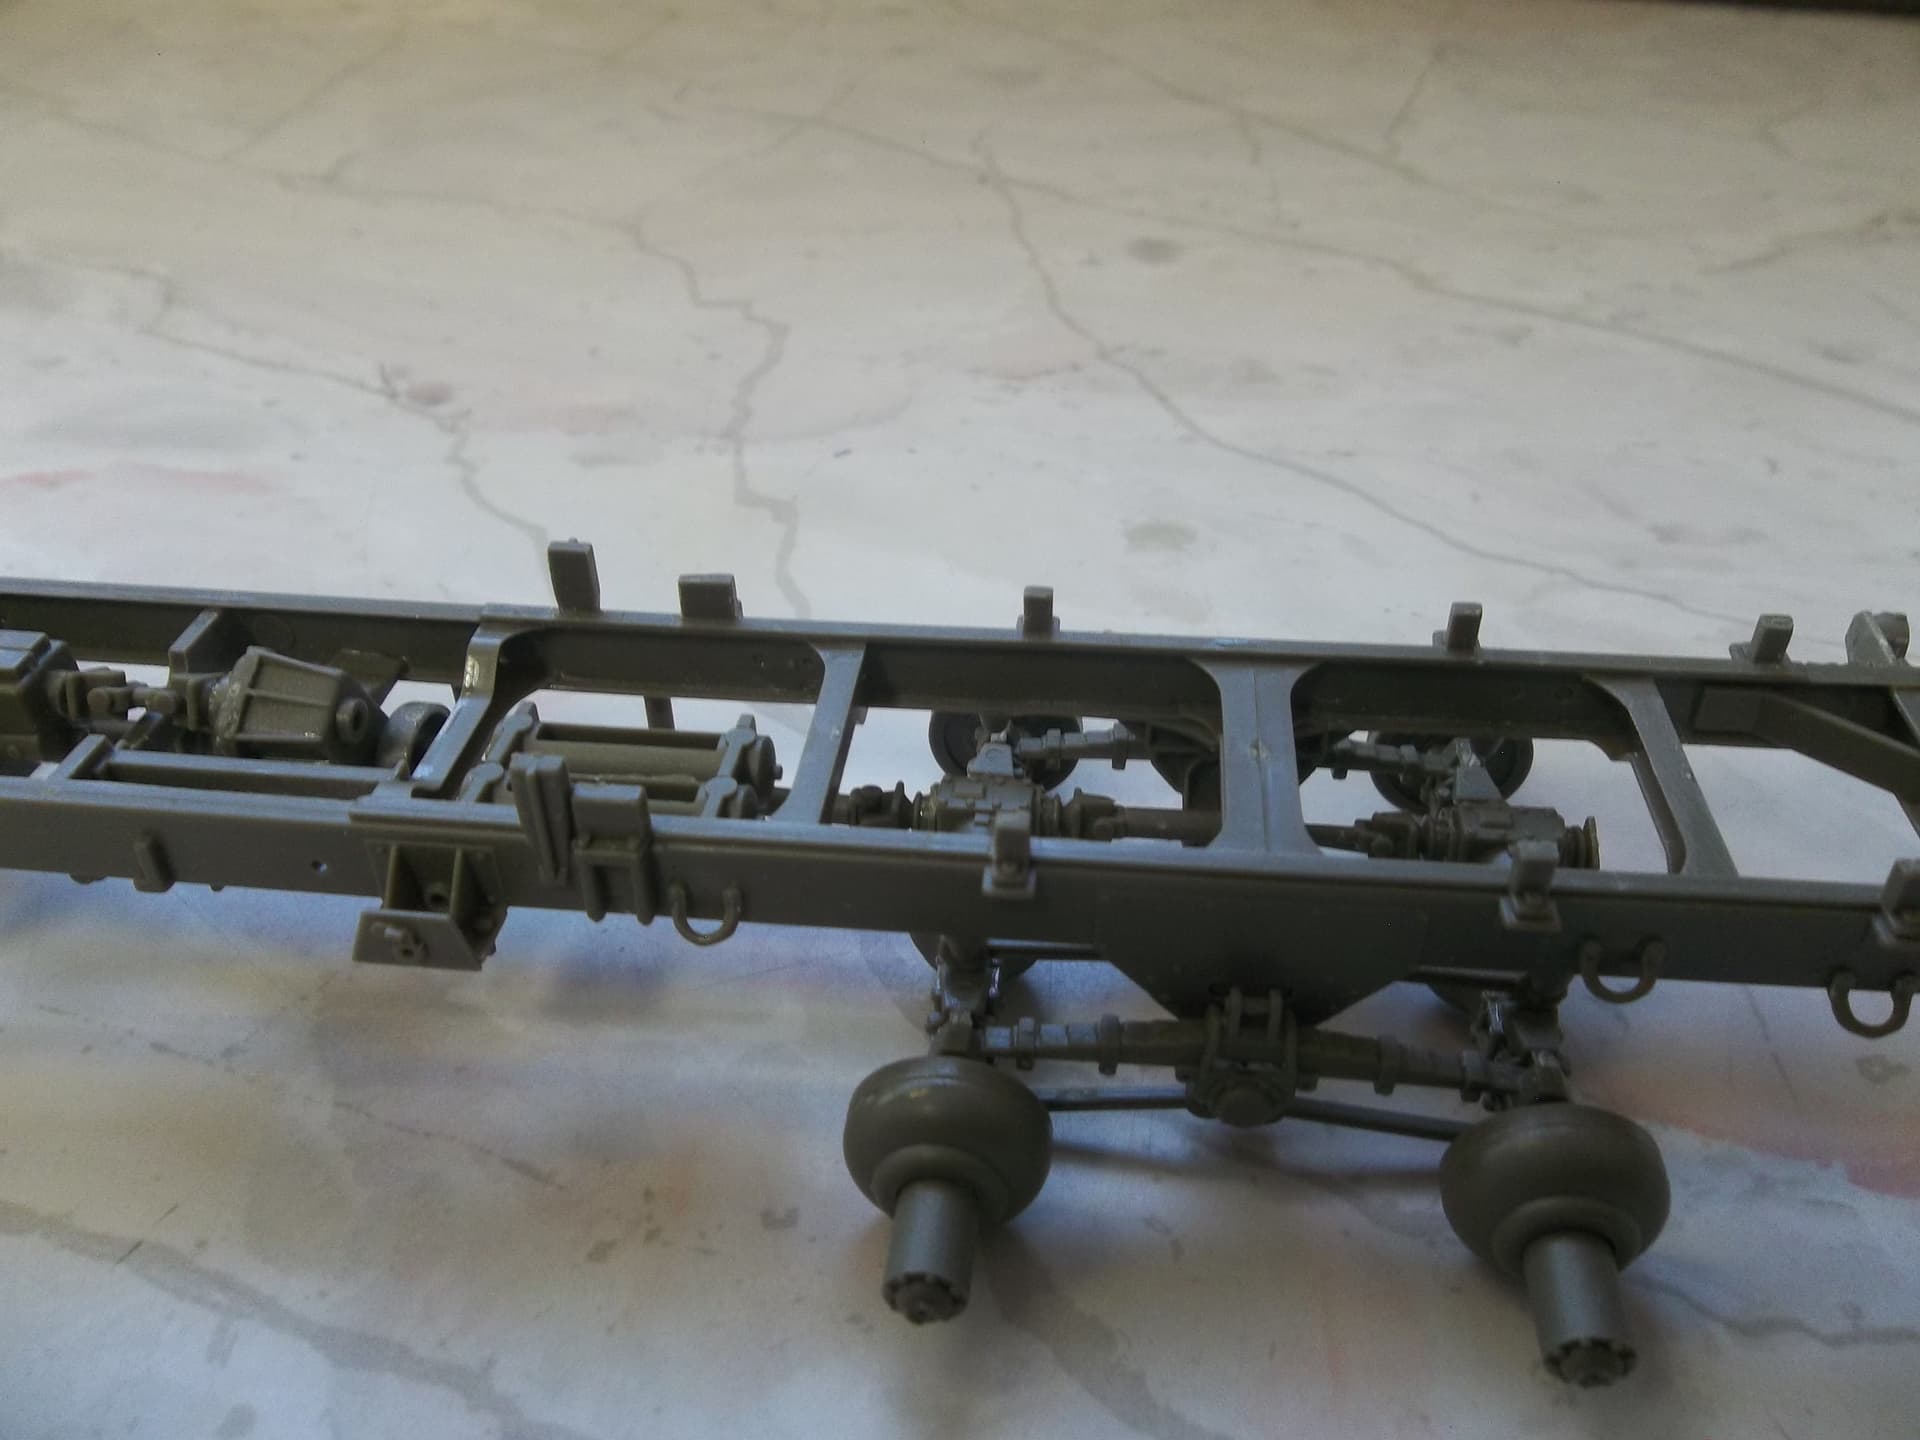
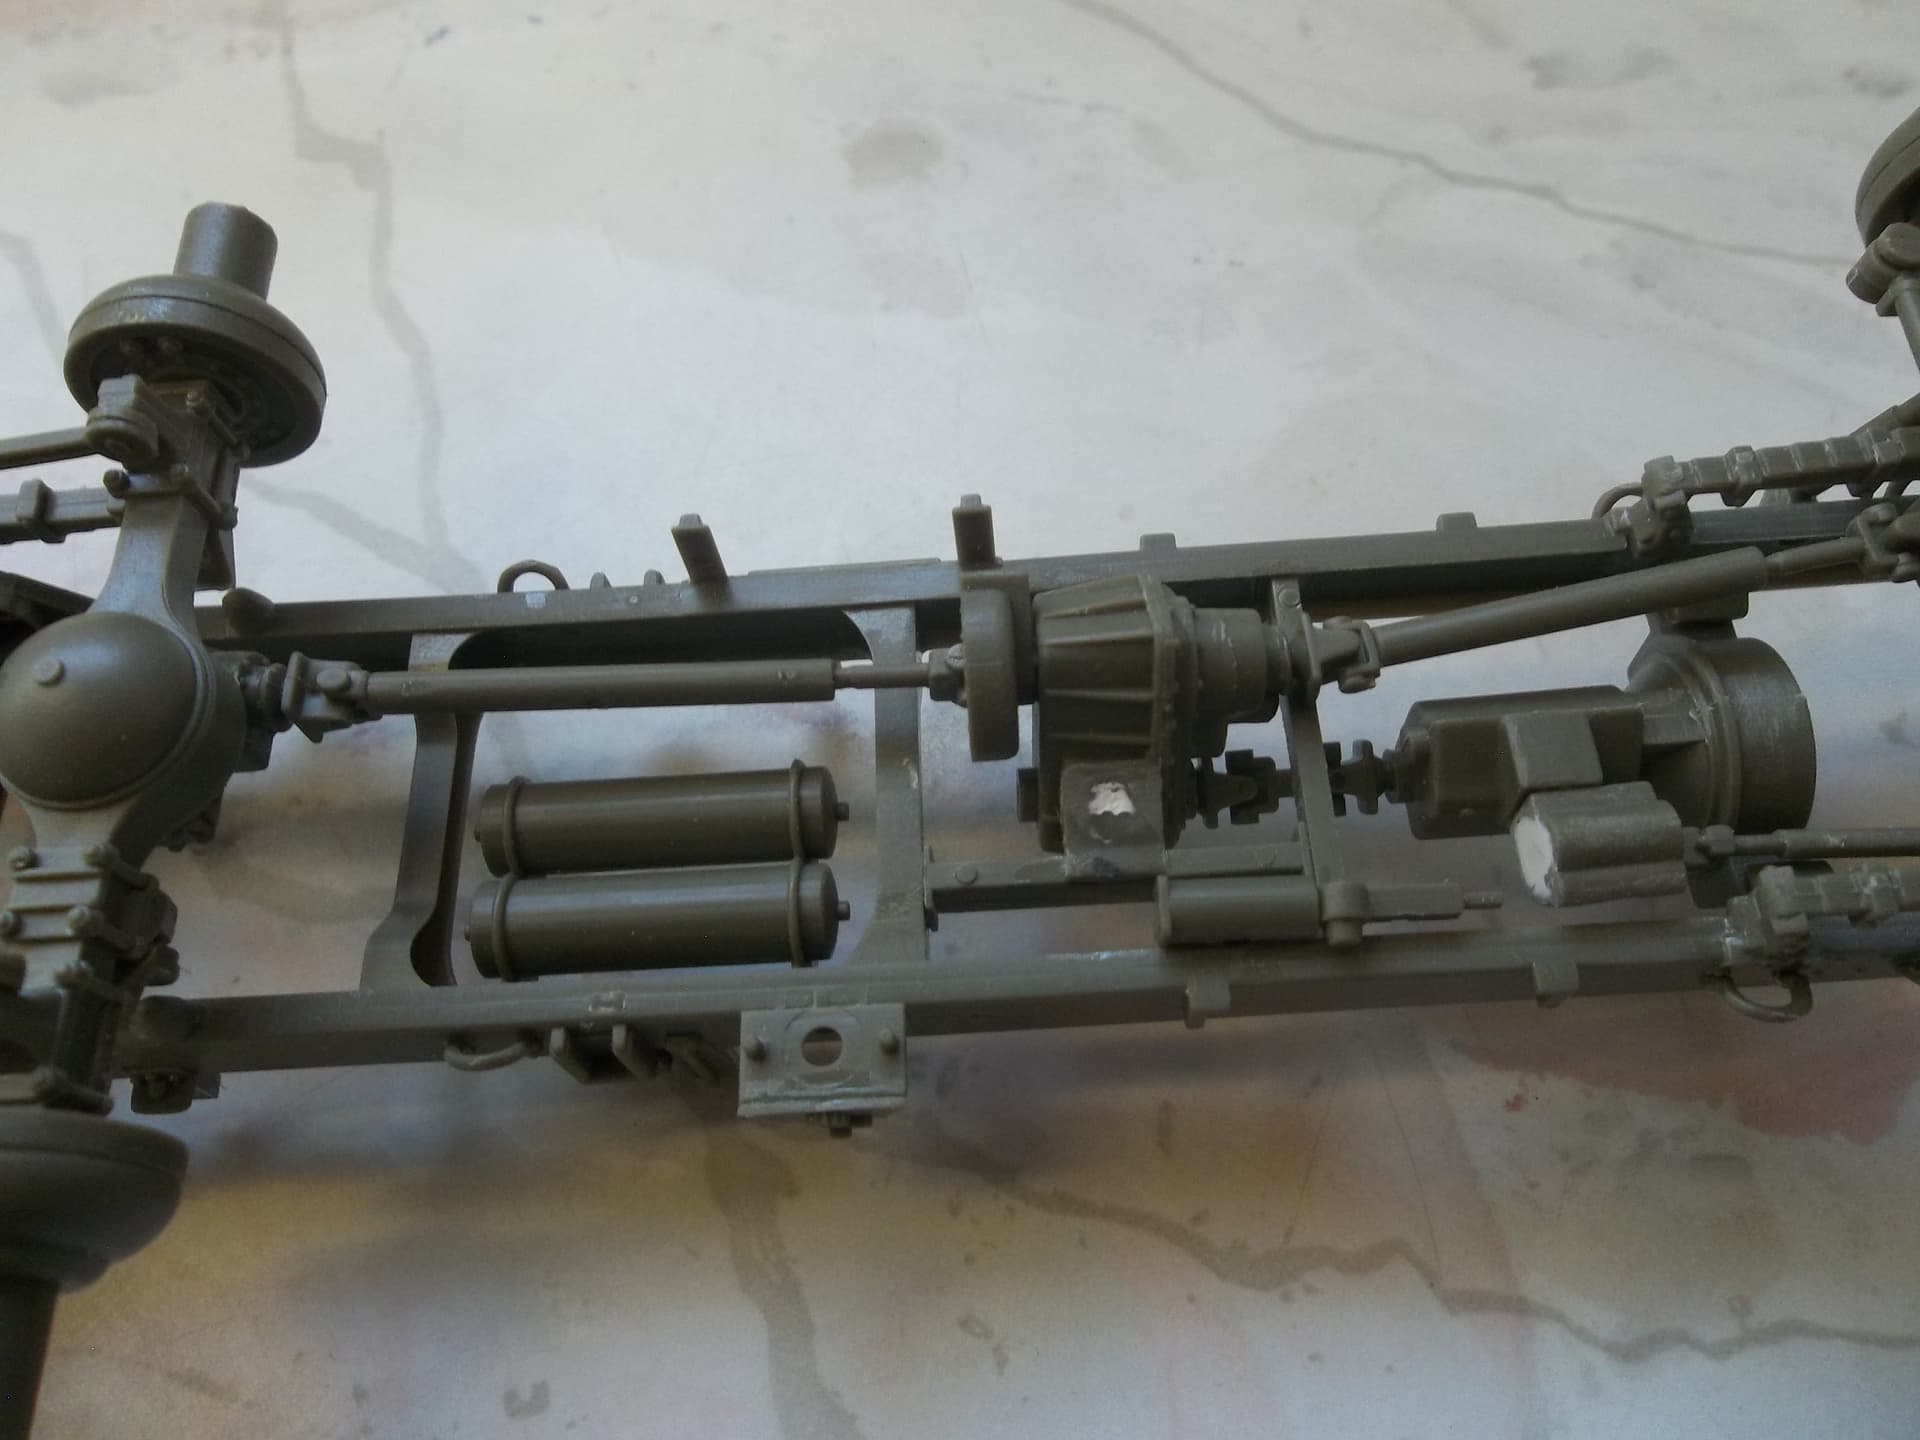
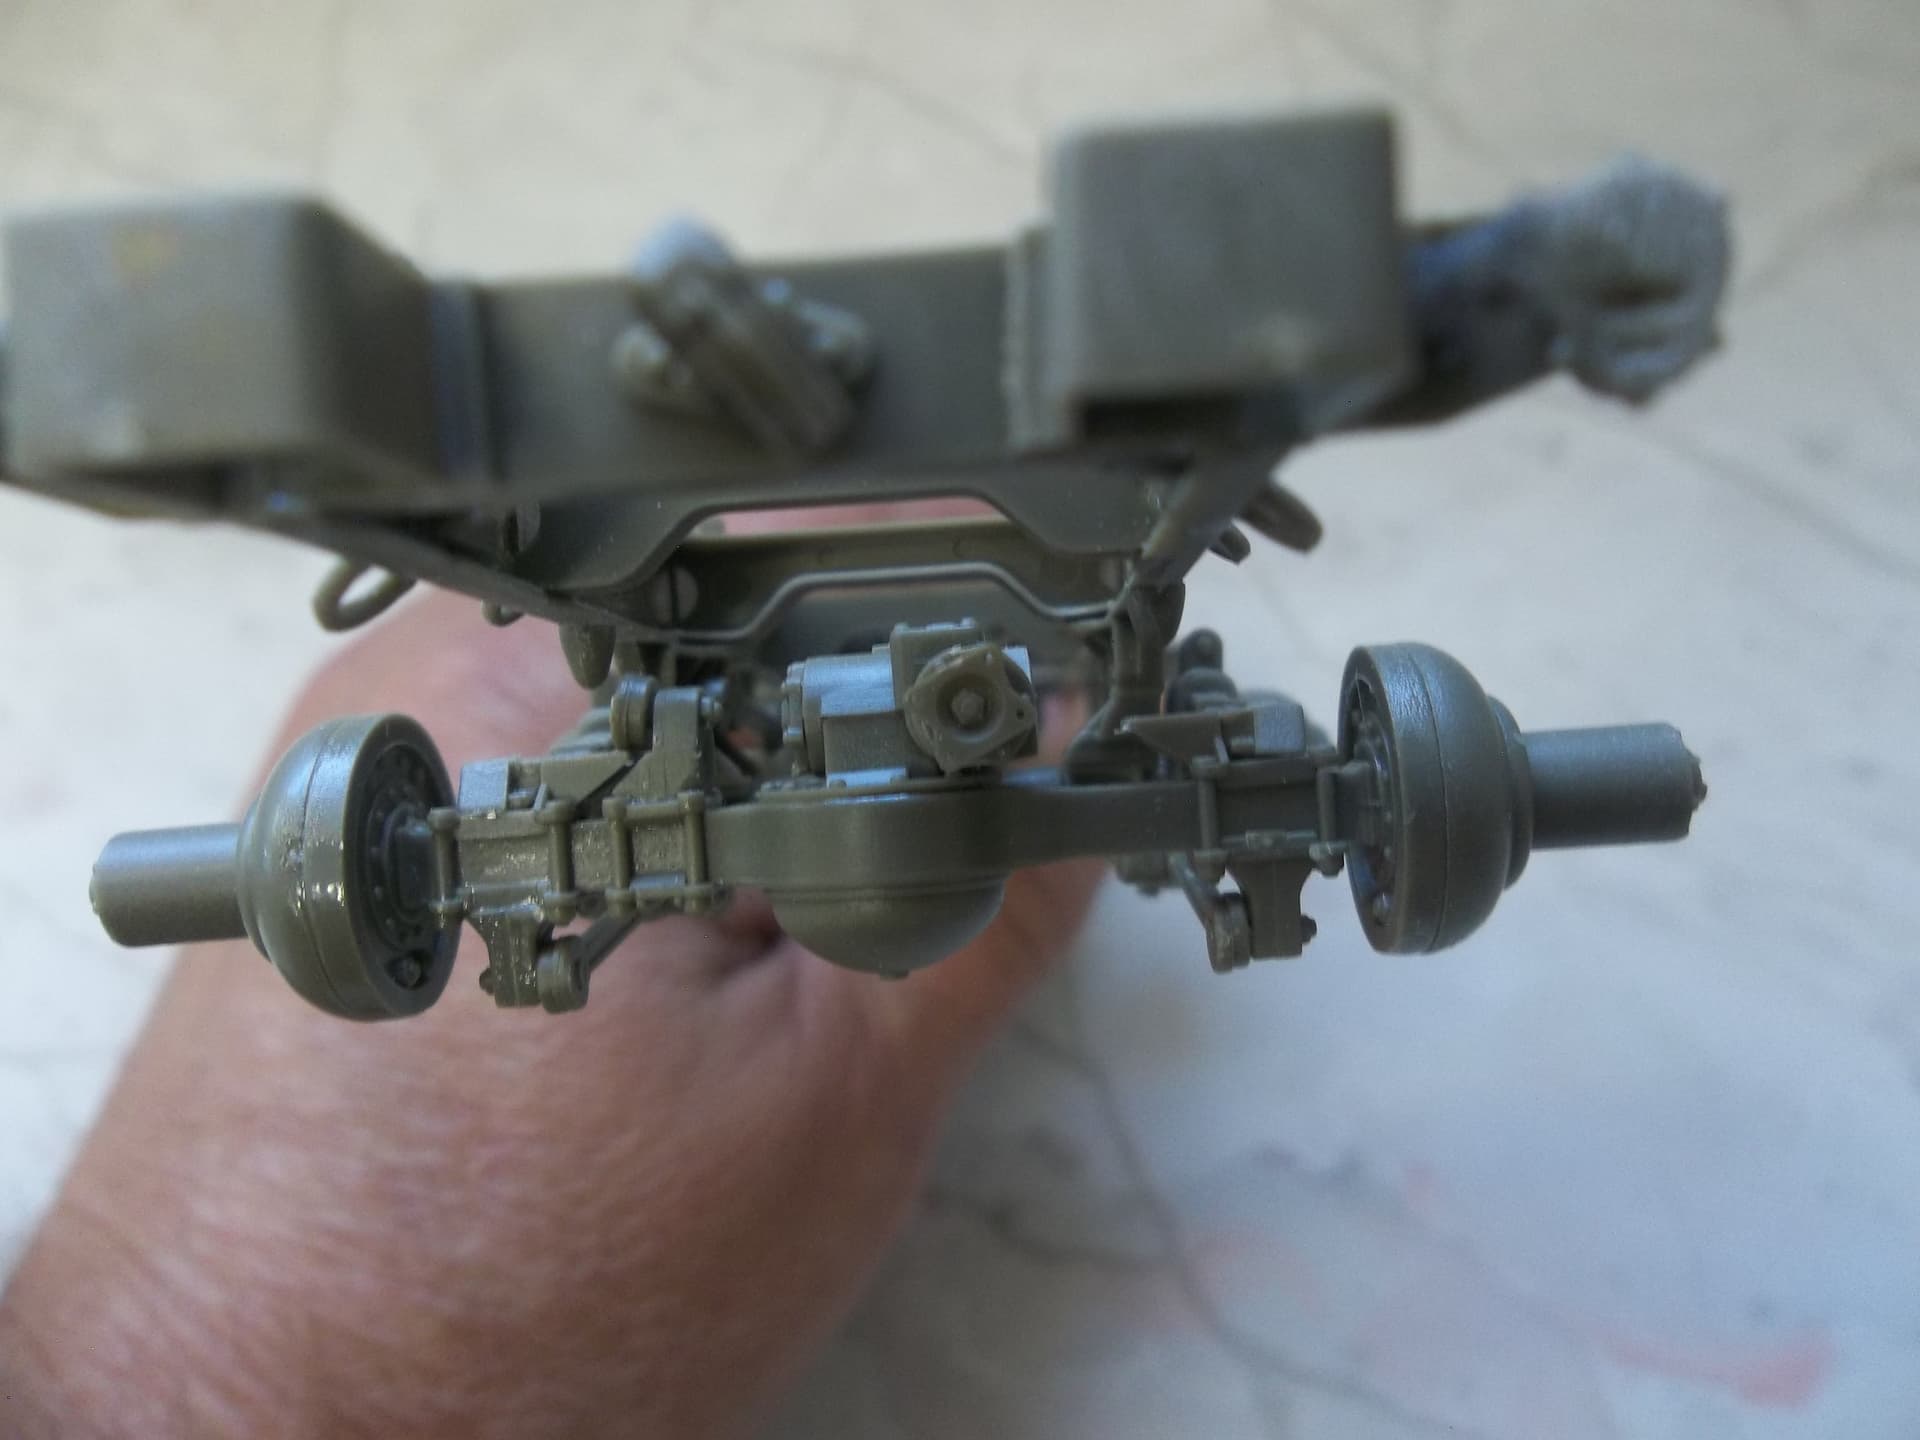
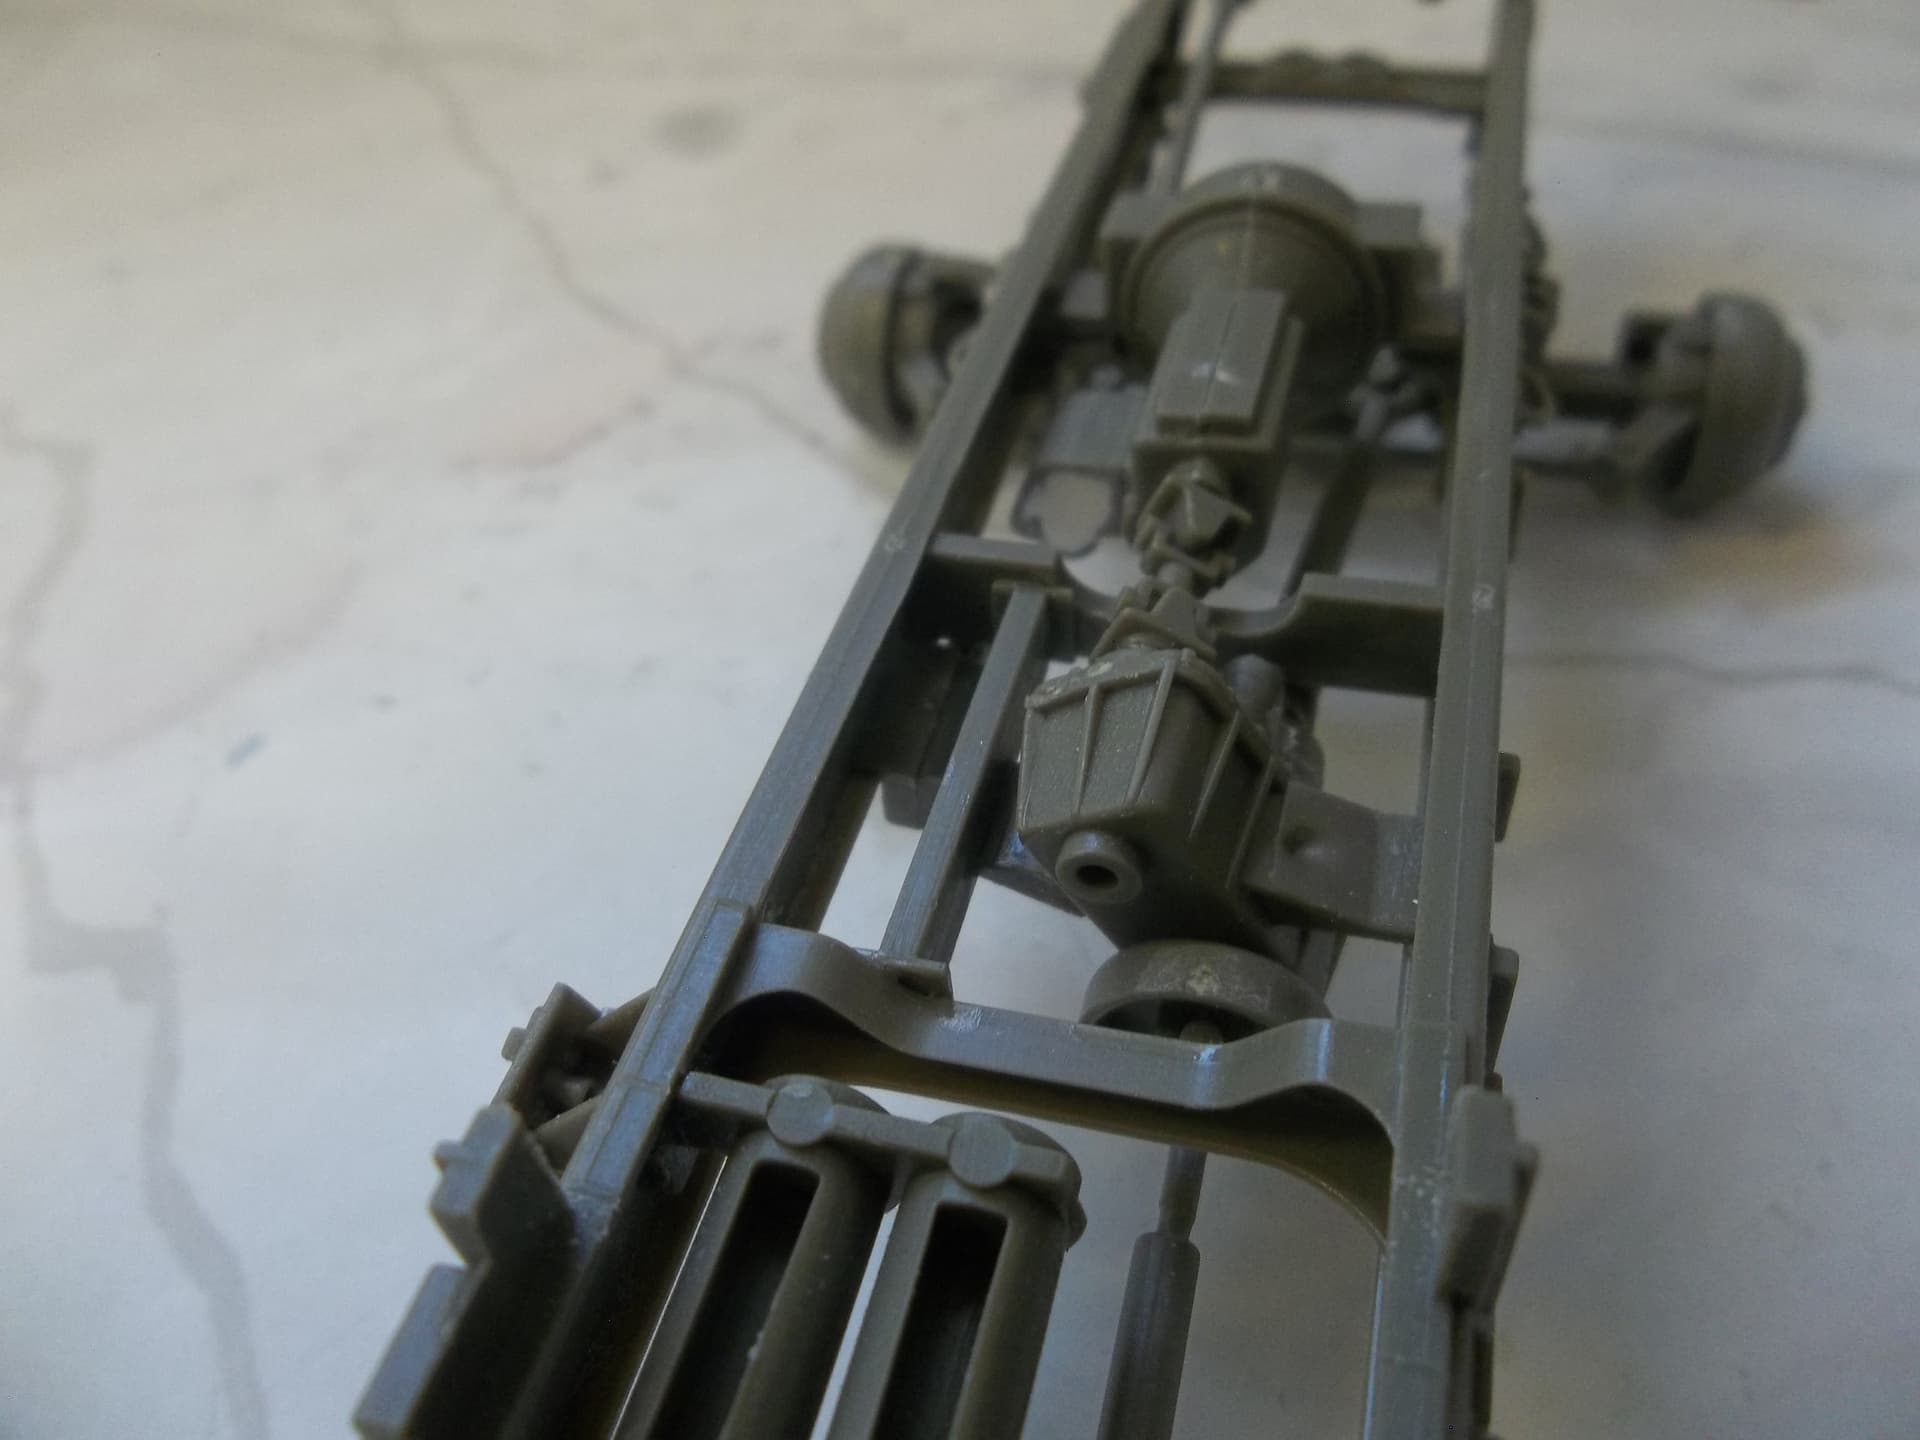
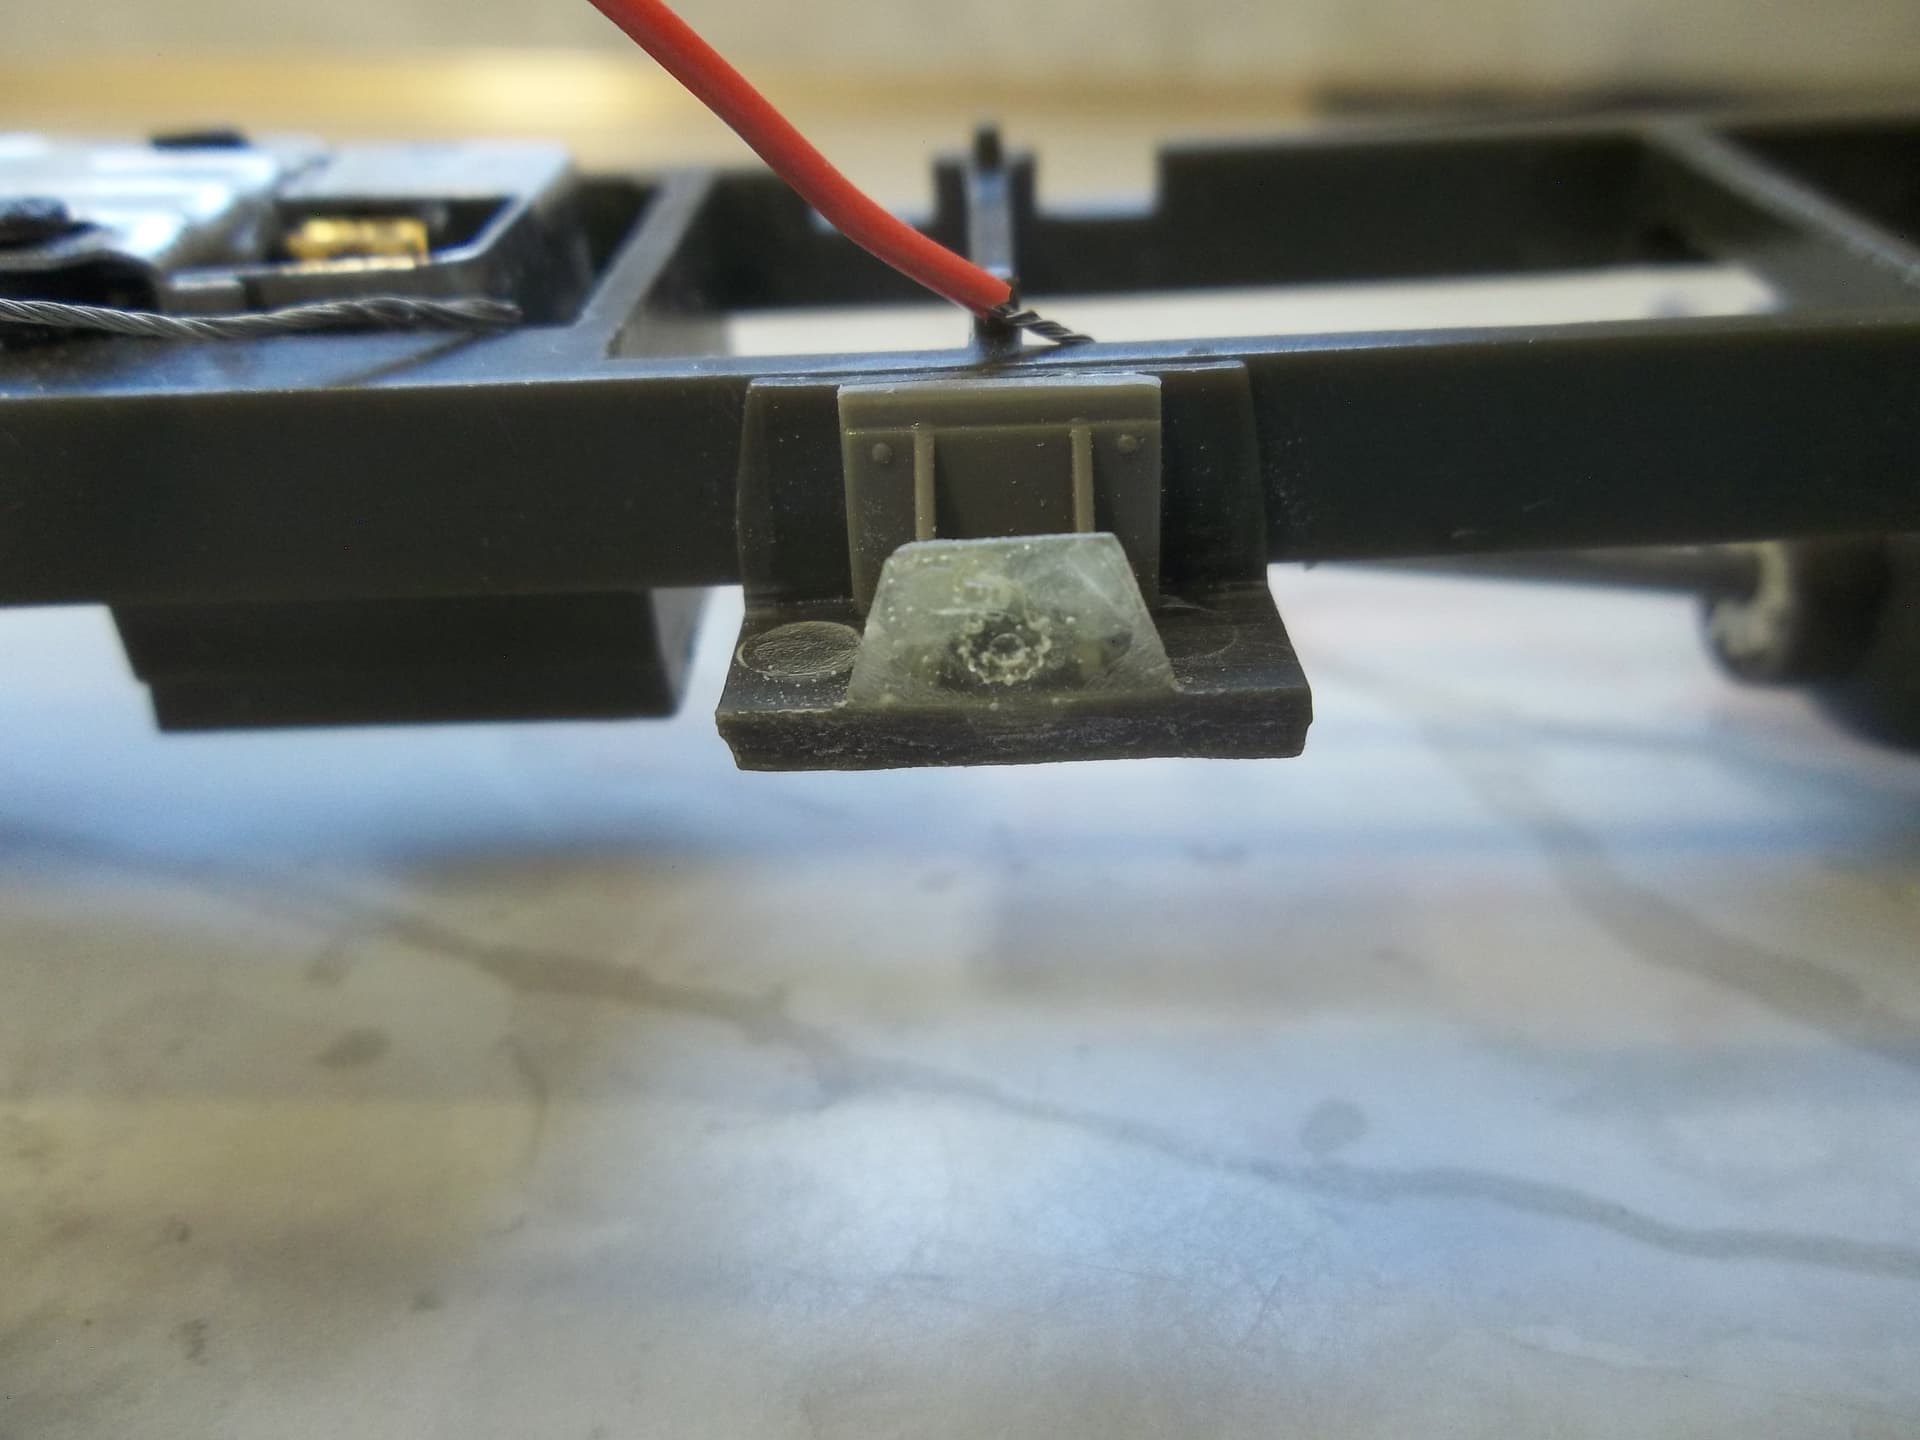
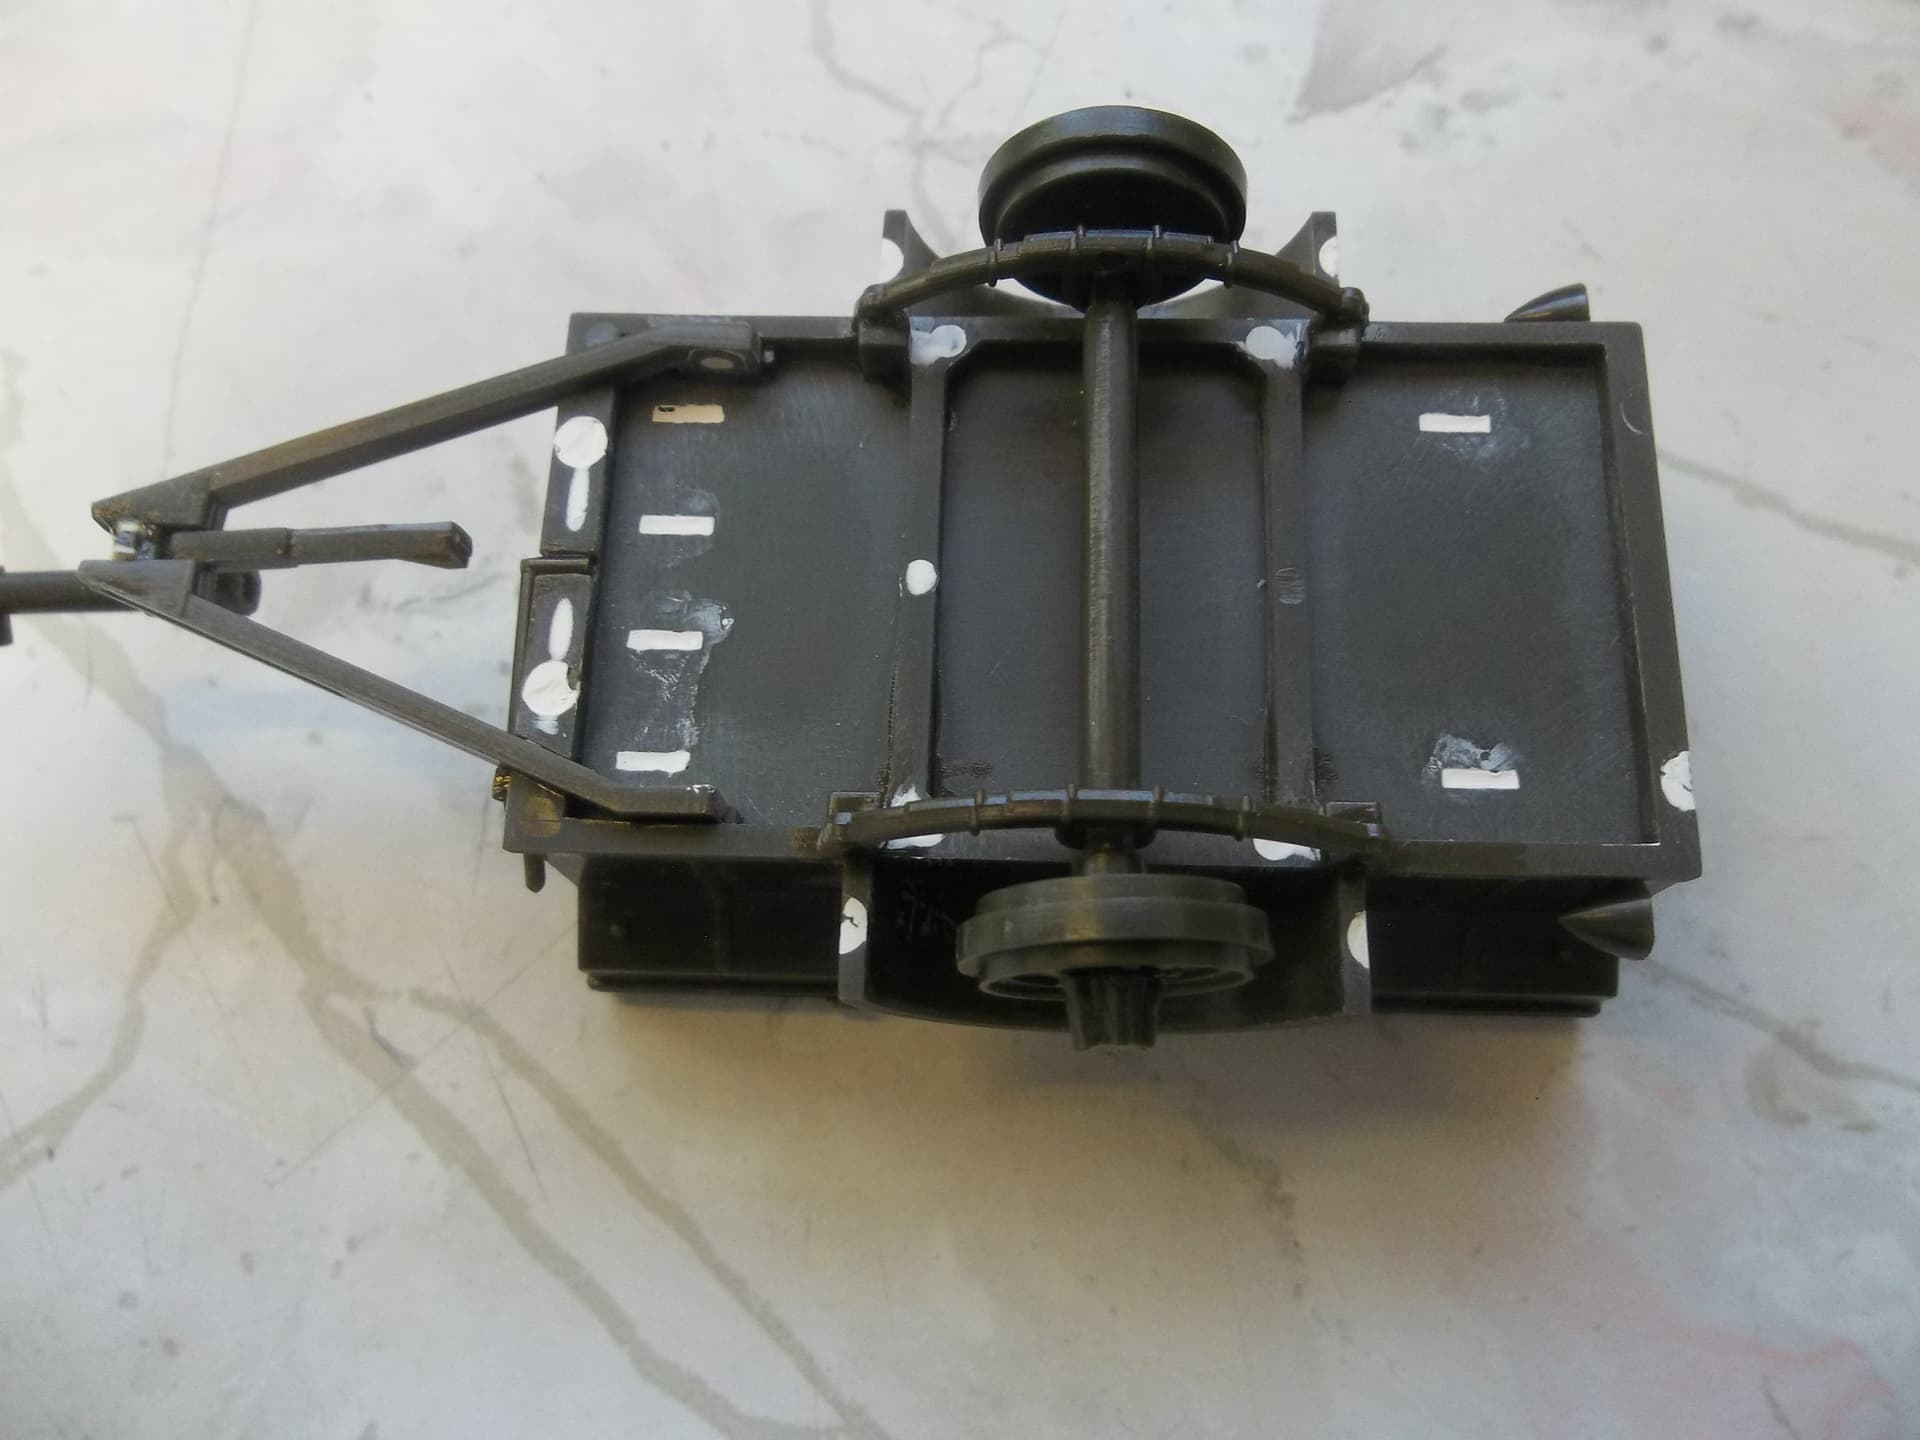
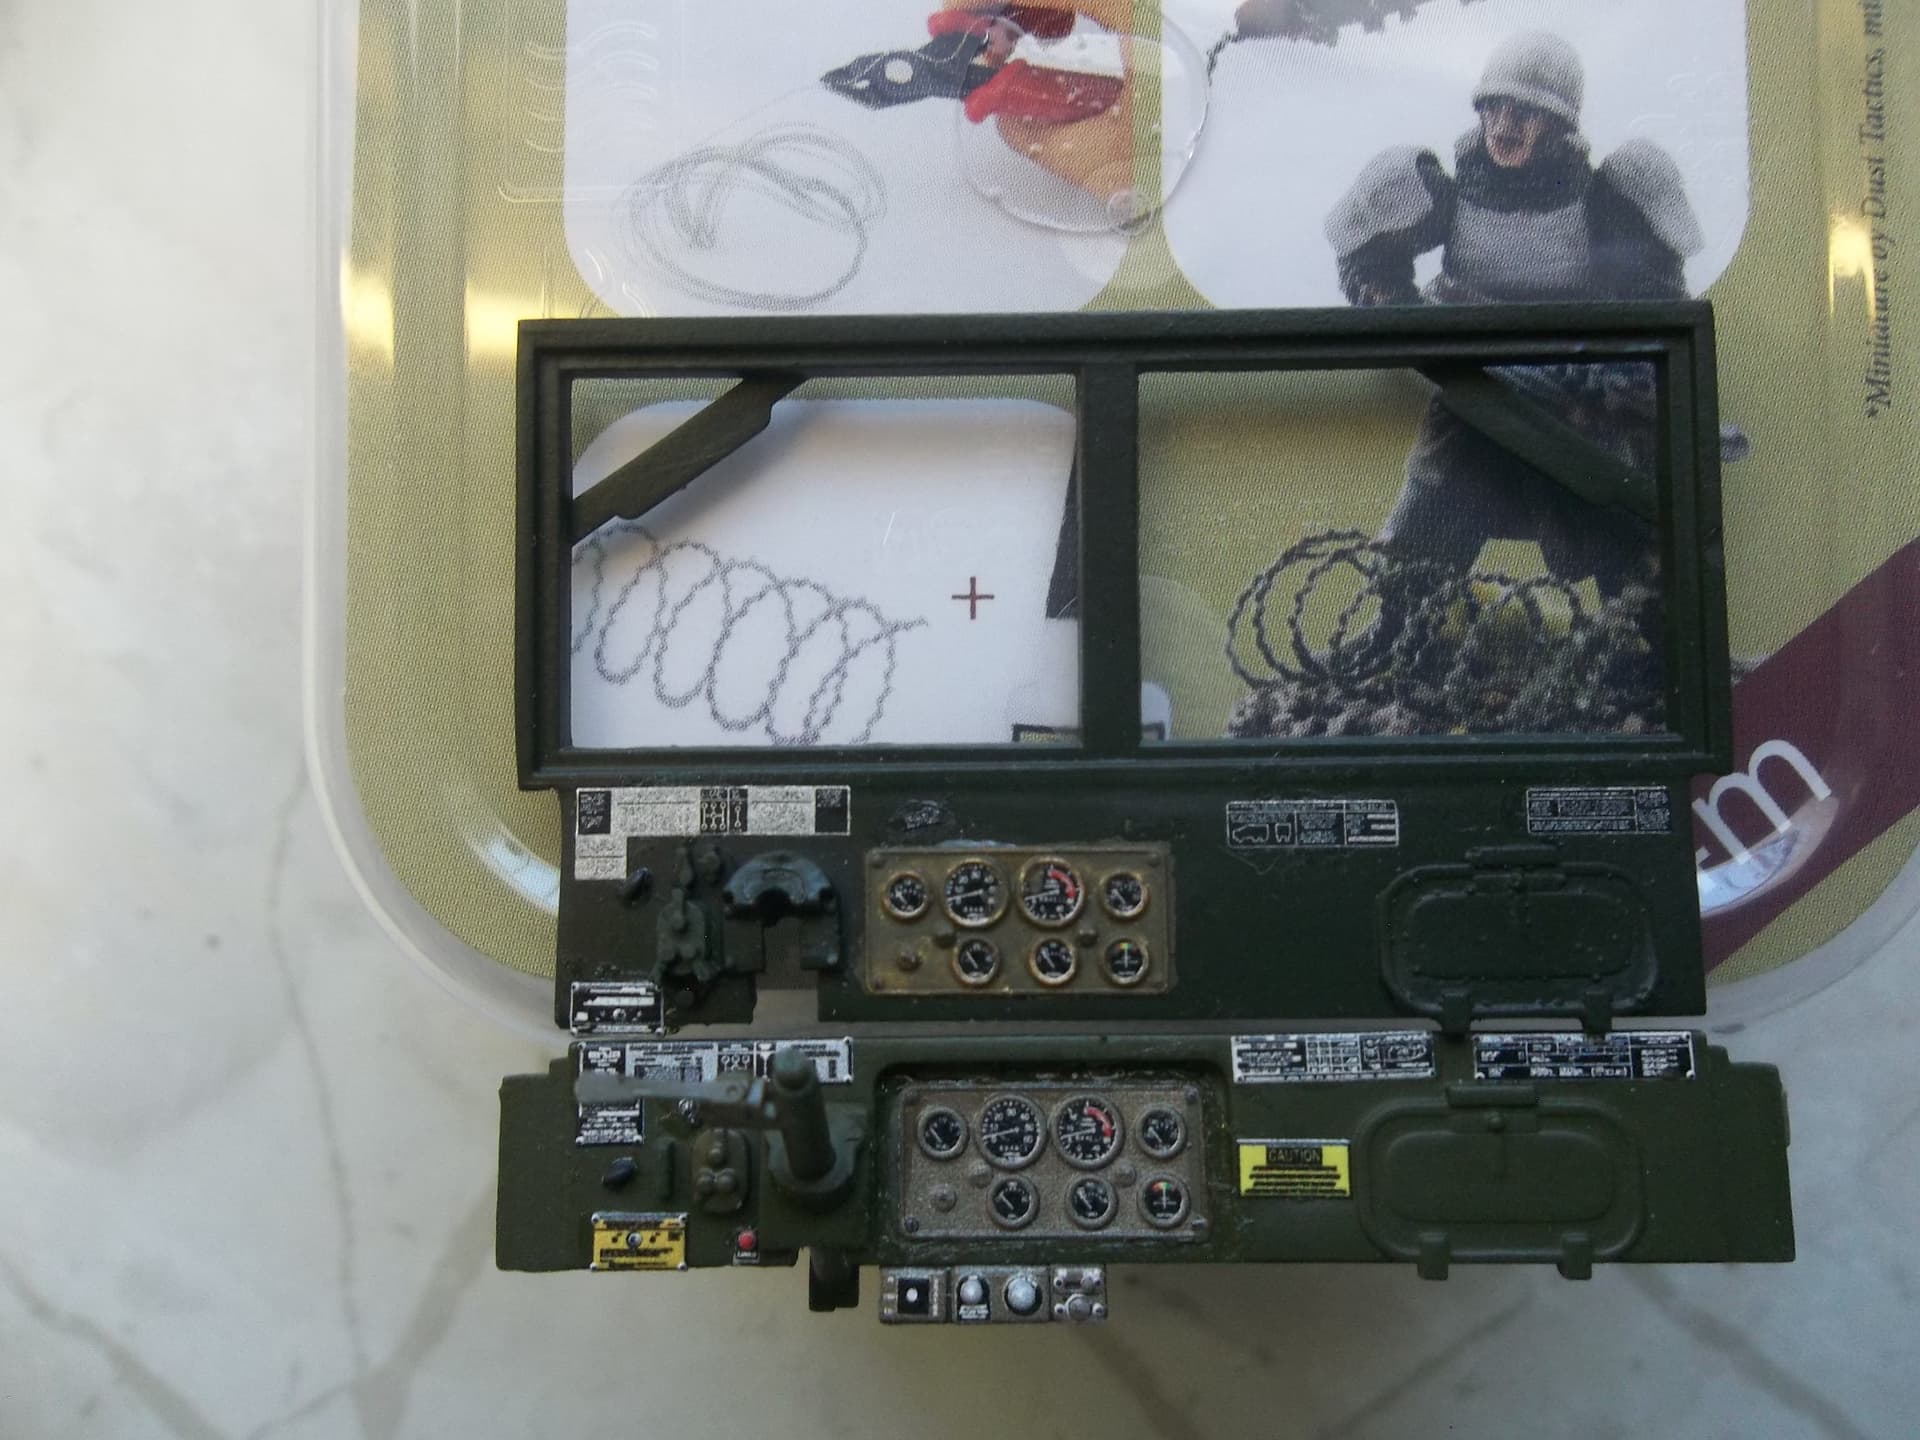
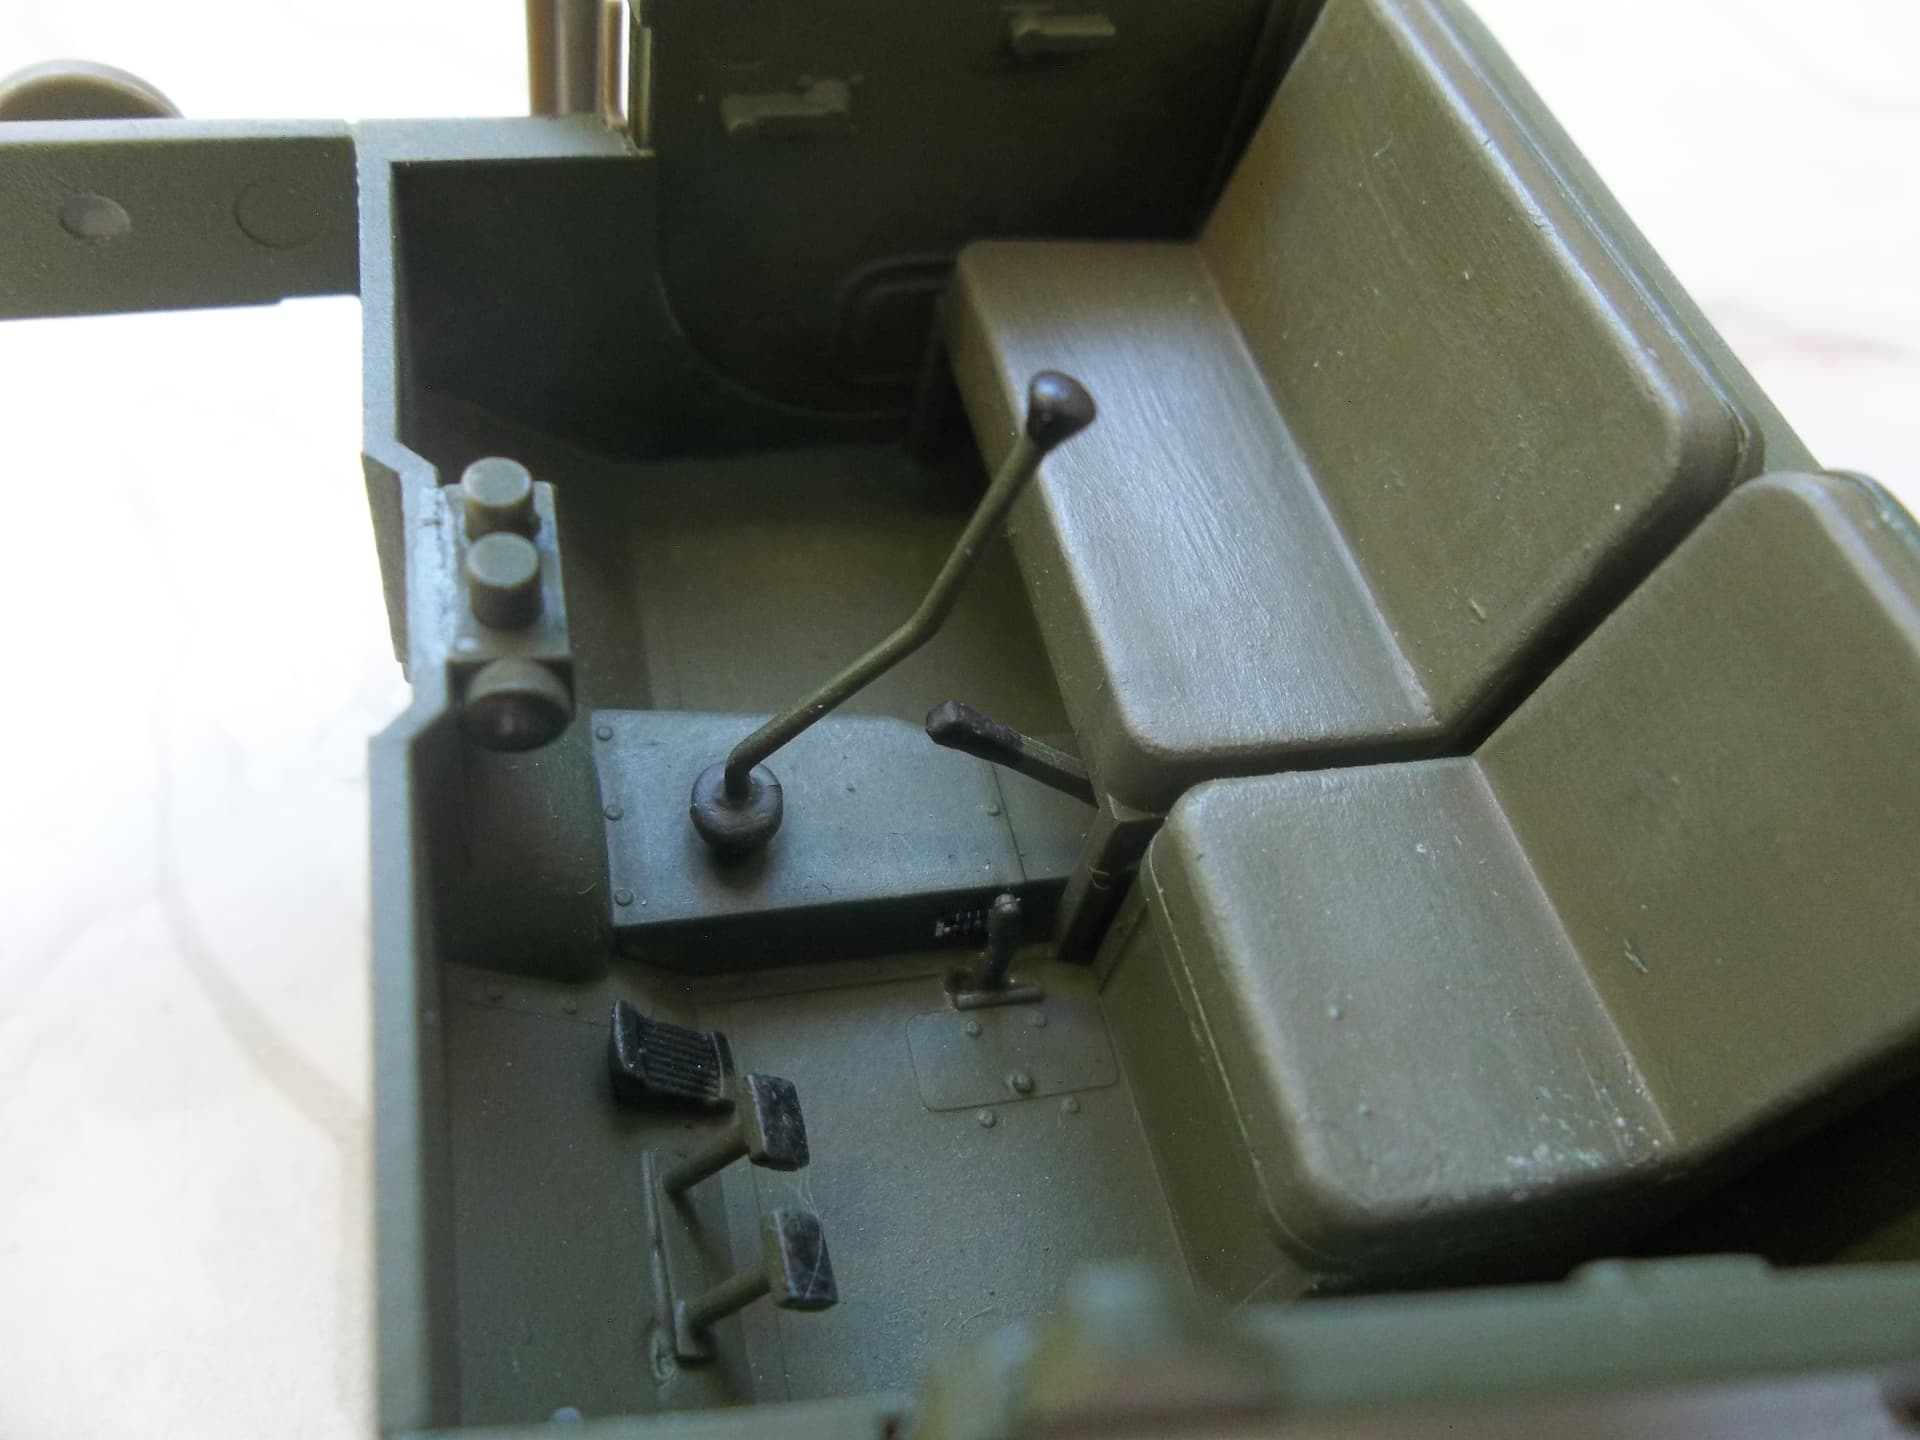
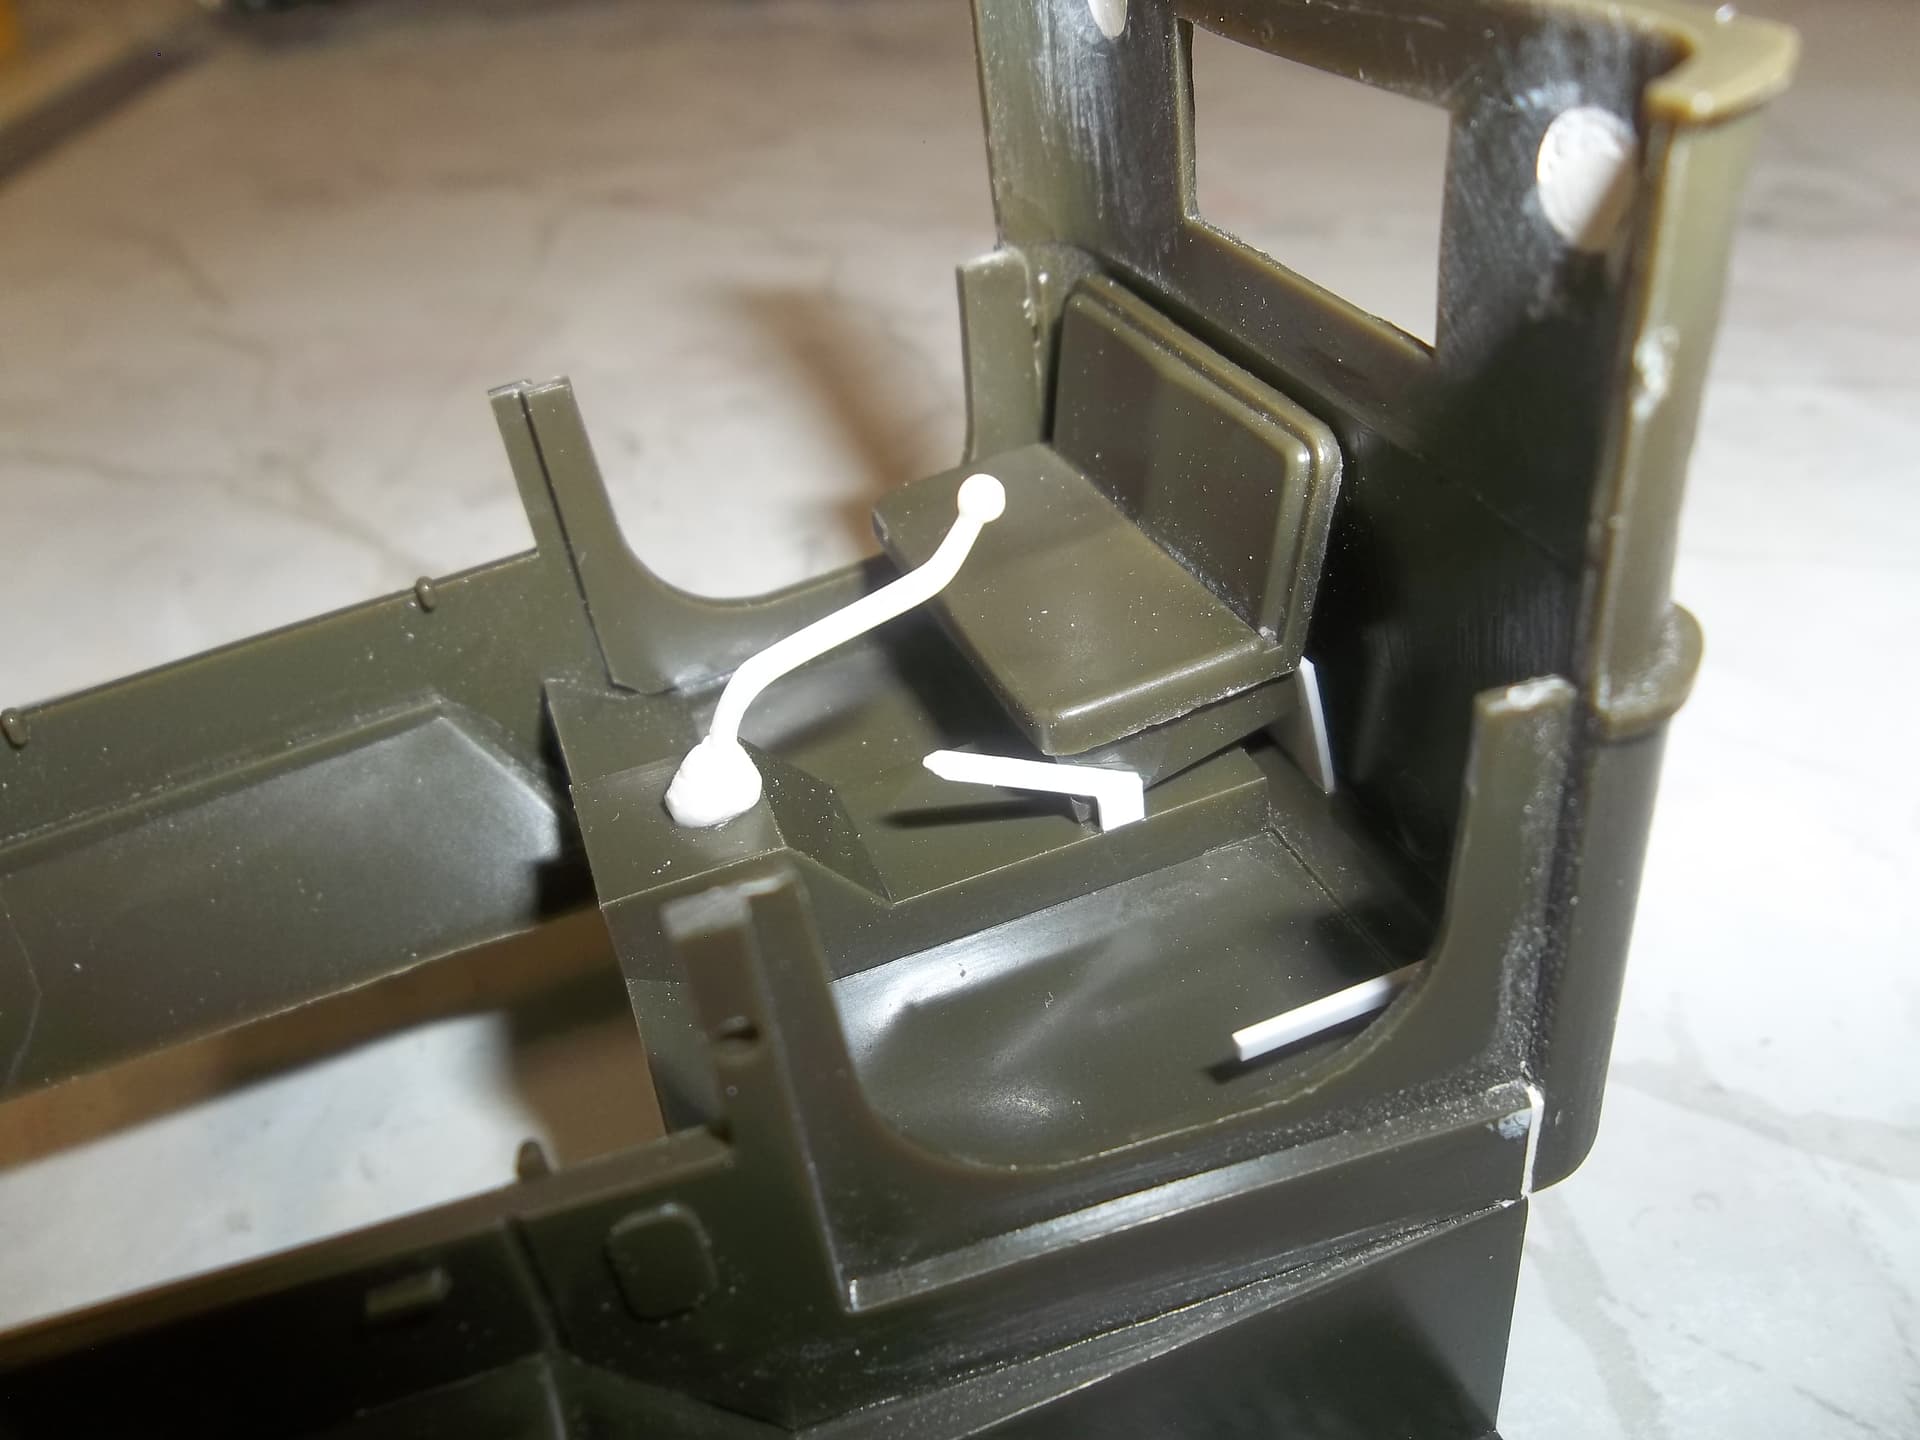
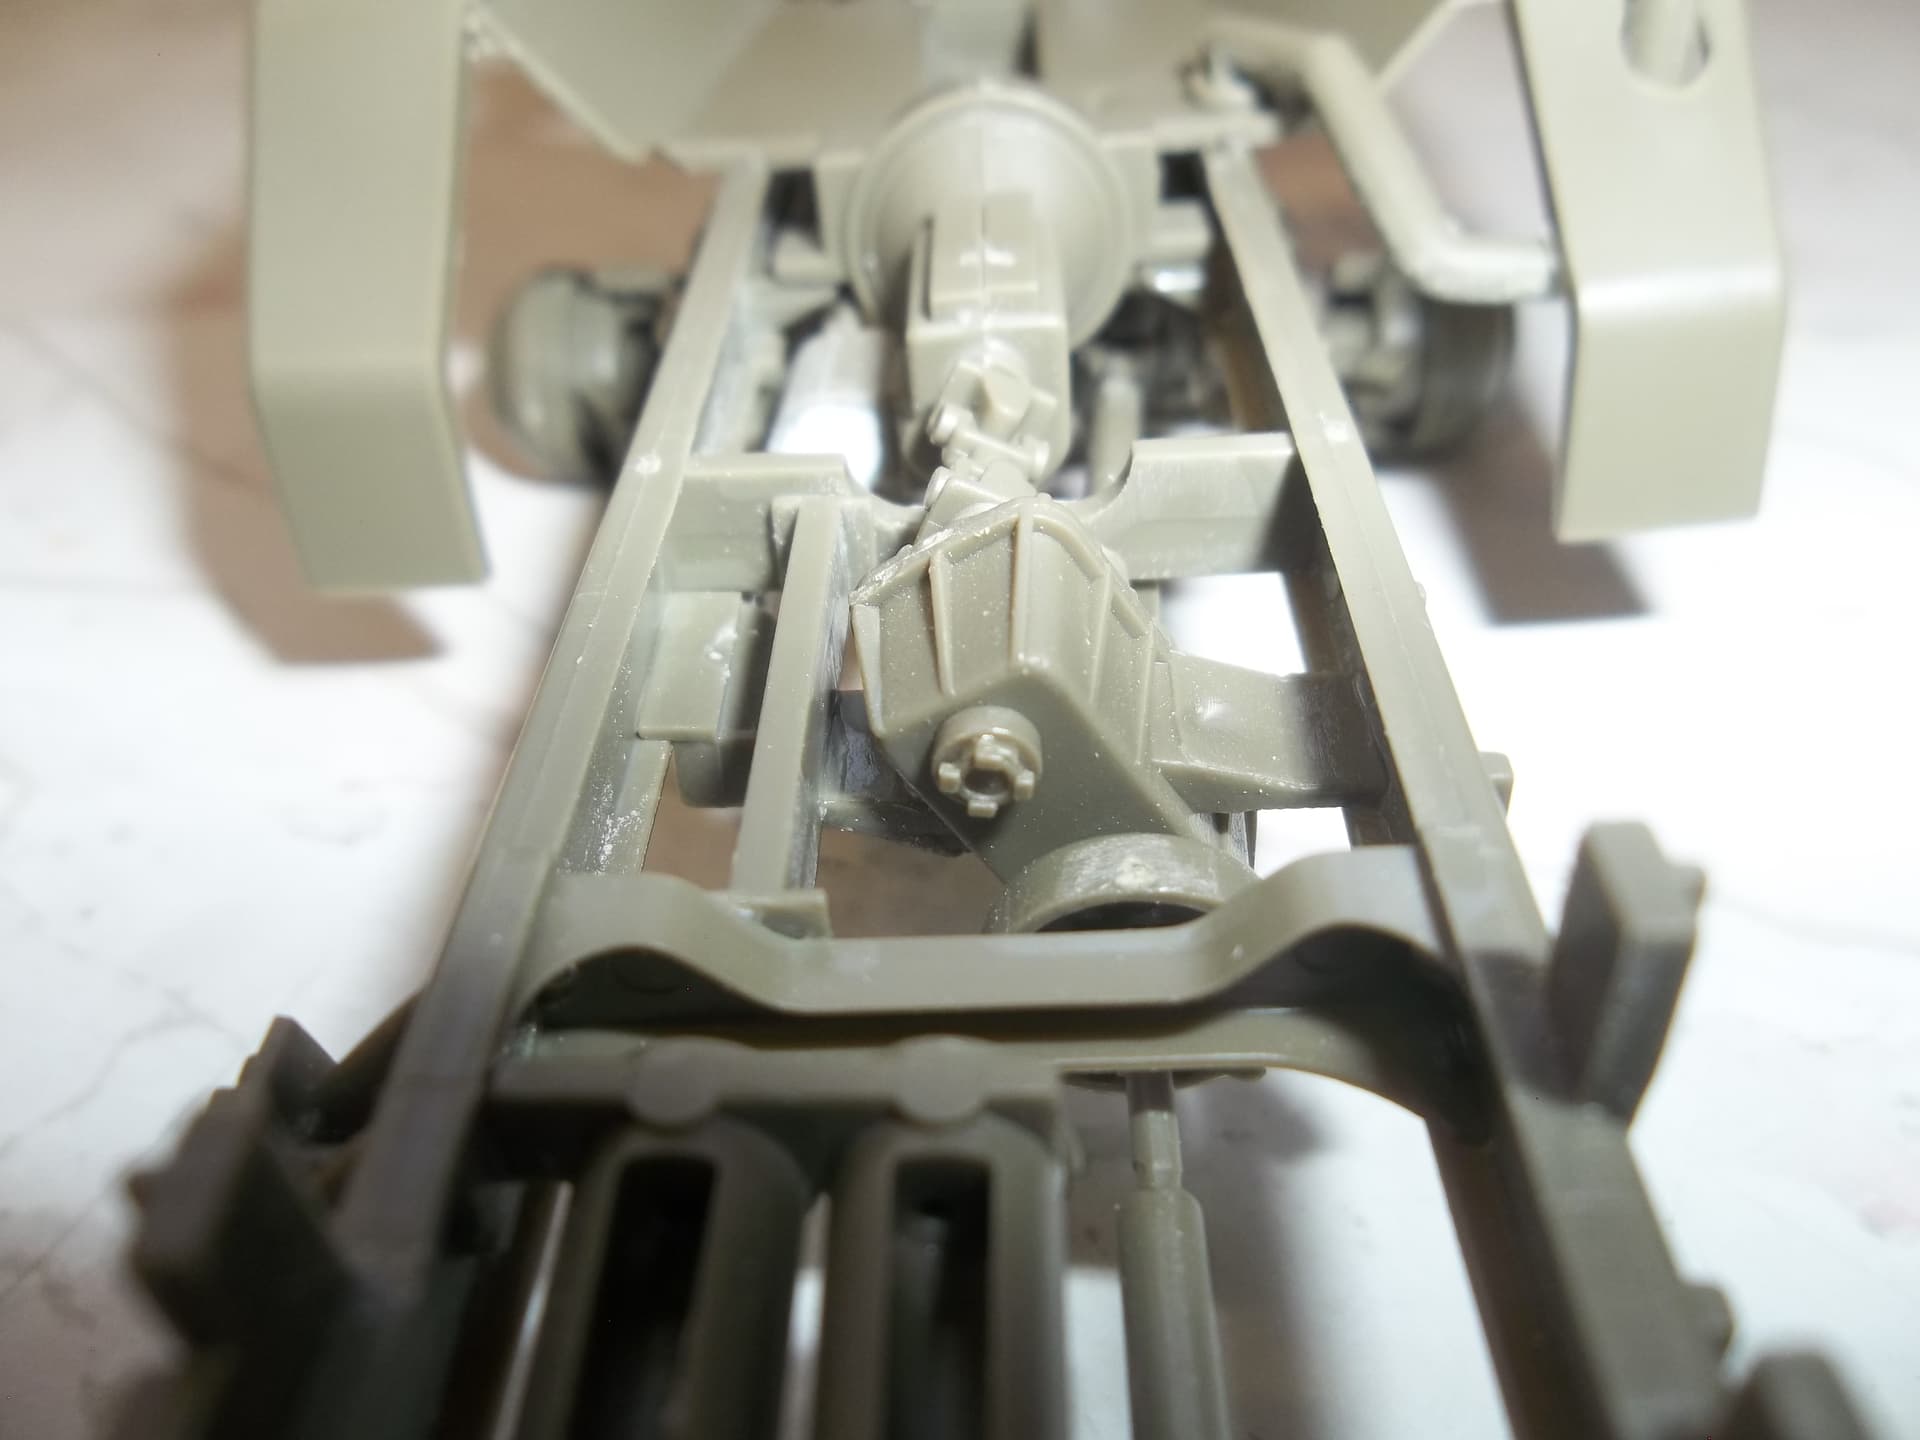
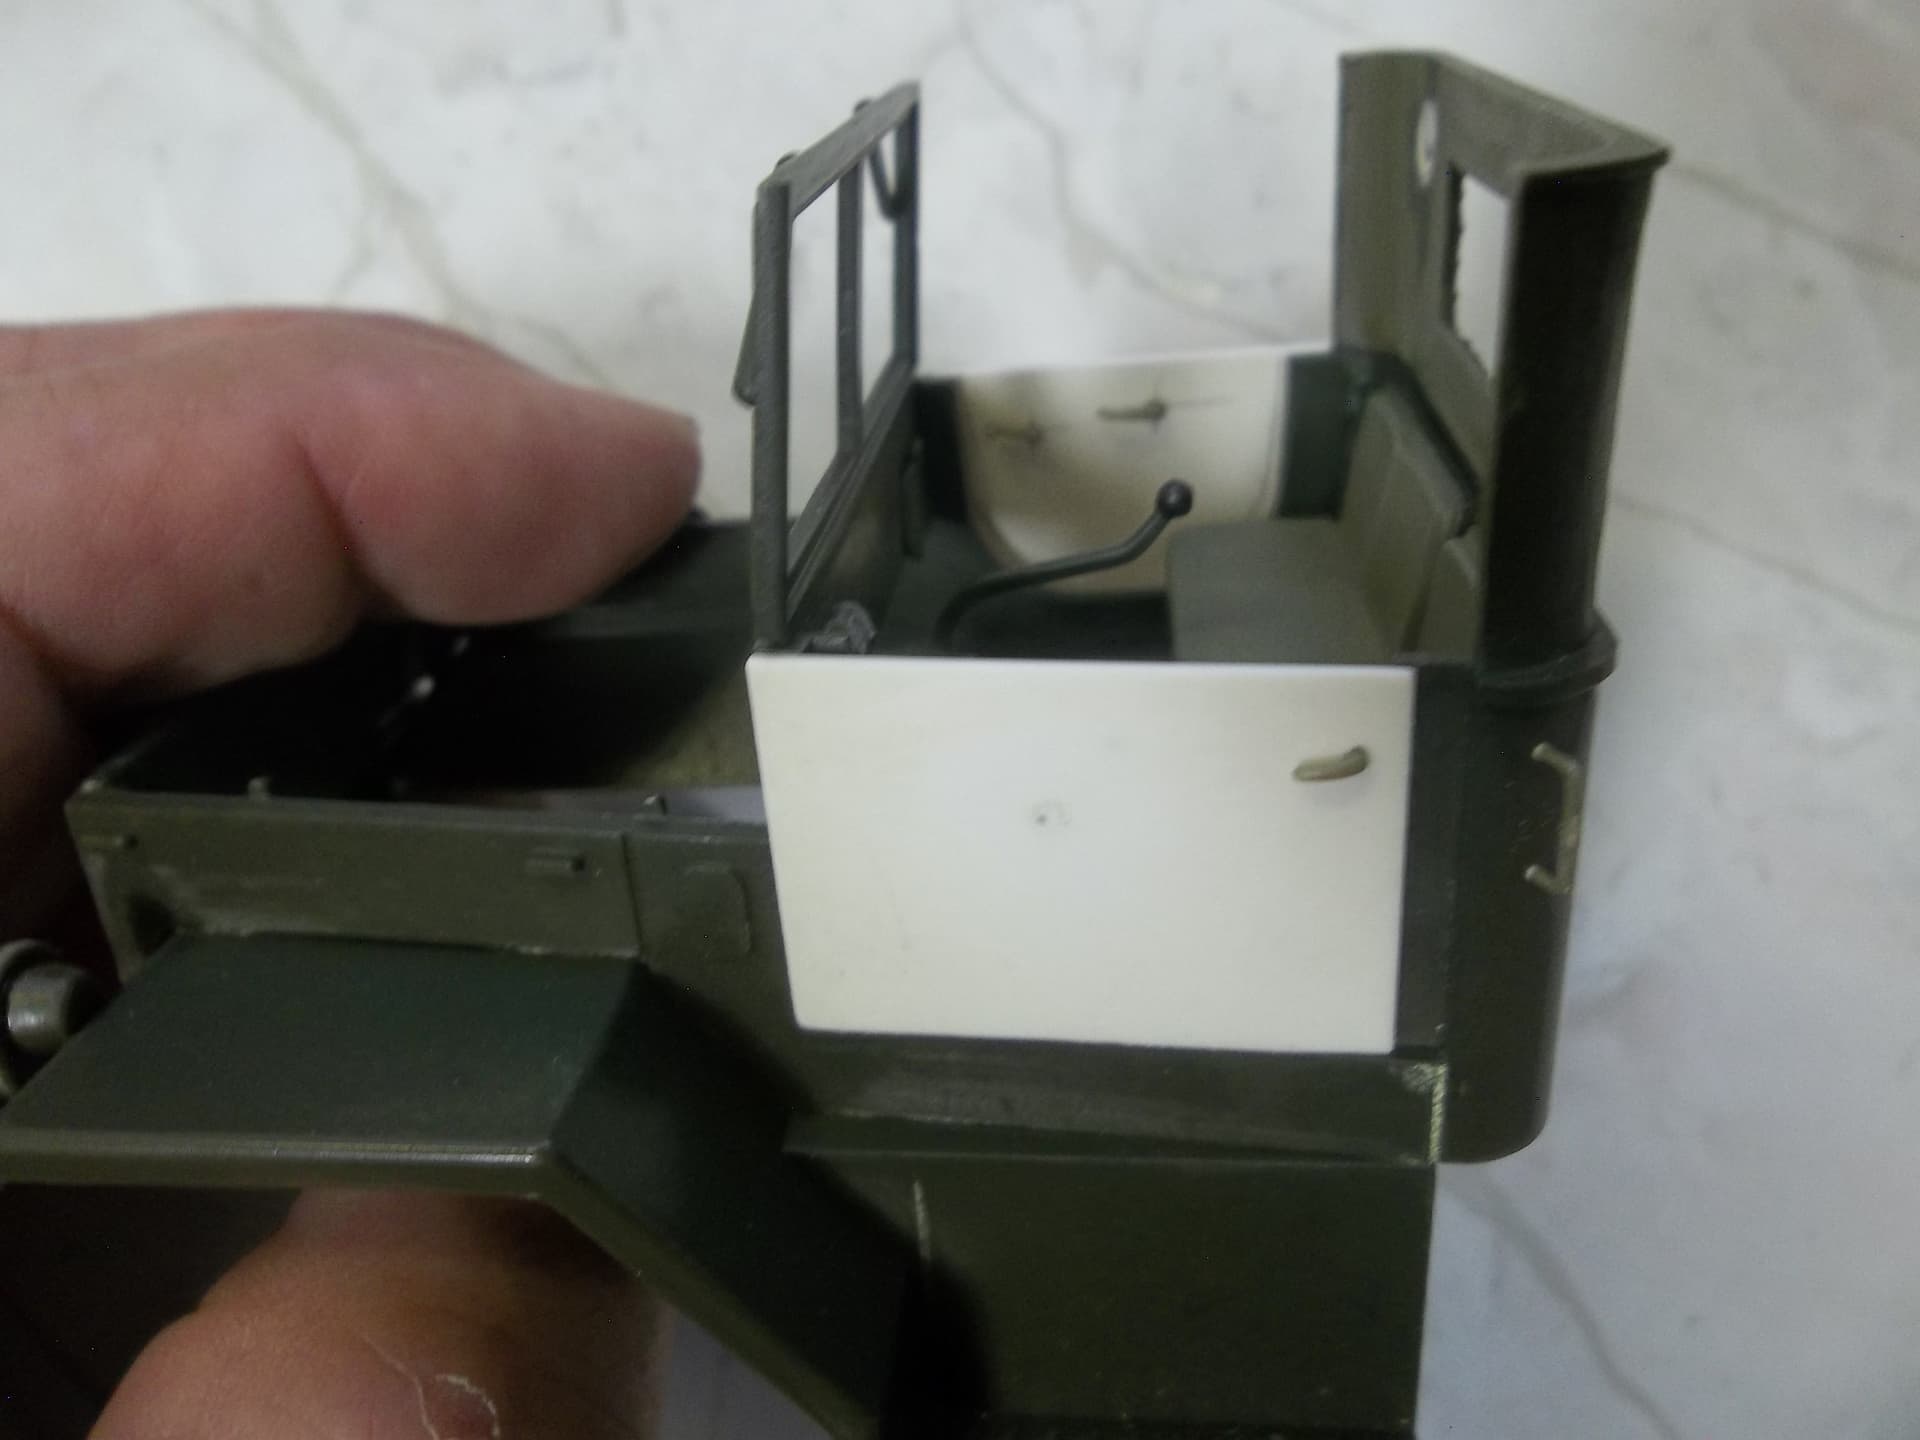
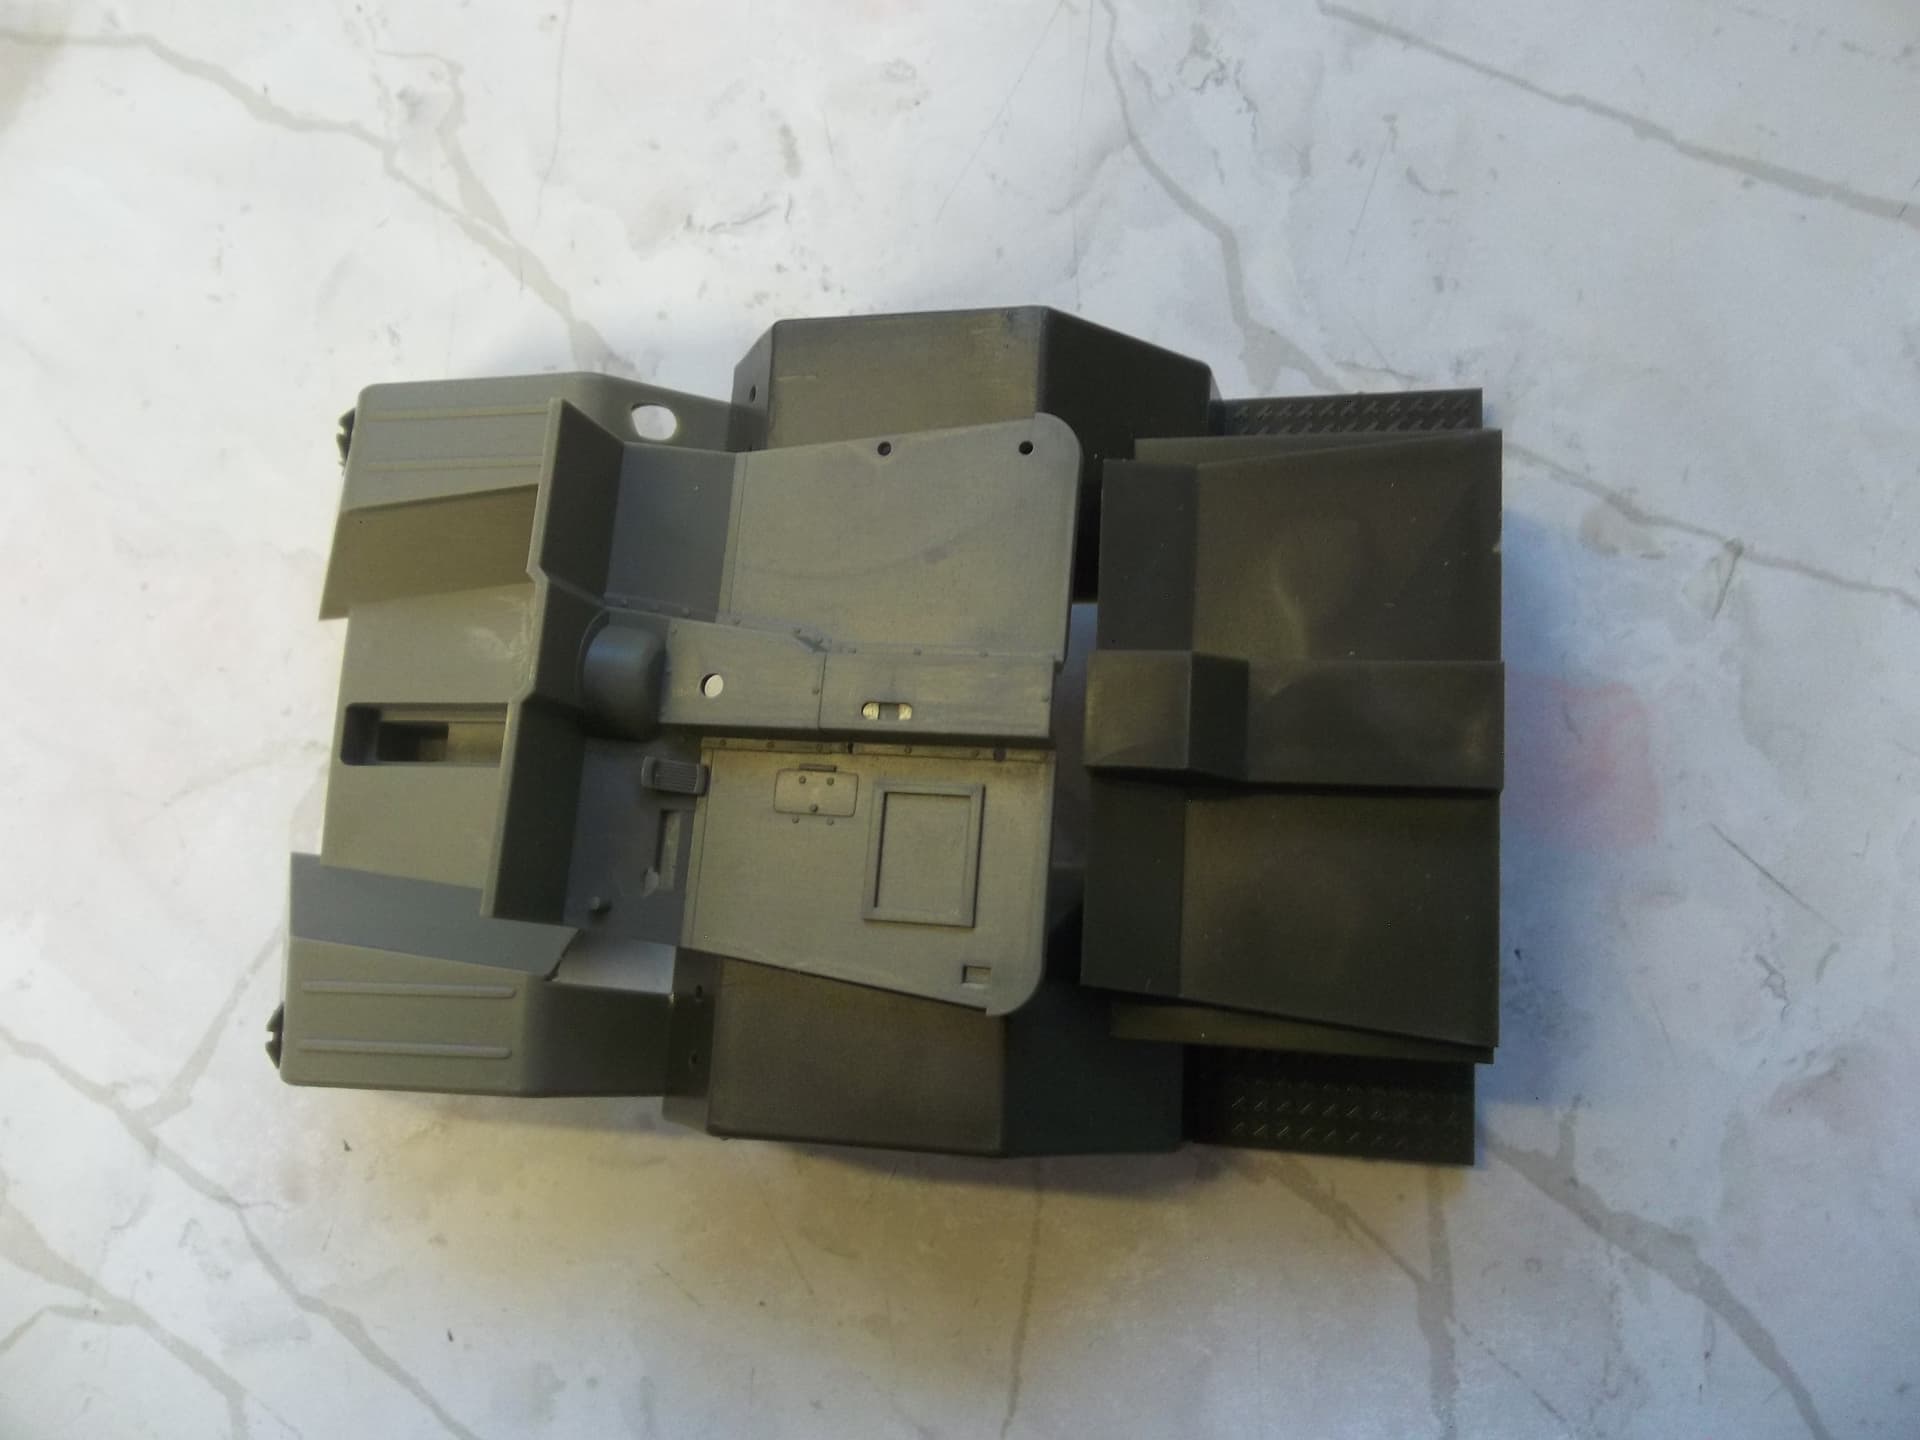
It is not 1/30 scale. Not even close. Again, their research was totally off. After measuring the kit parts; and comparing them to the stated dimensions of the real truck, as well as the AFV kit, it appears to be roughly 1/35 scale-ish. Maybe. The scale length of the frame is only slight off from the real truck, and almost exactly the same as the frame of the AFV kit. But the size and dimensions of various parts and assemblies are all over the place. Test fitting the cab assemblies I found that I could, if I wanted too, swap cabs as both would fit onto either frame with very little work. But the various parts are not interchangeable. The instrument panels are different, but basically the same size. but the door openings for the Bandai are bigger and a different shape that the AFV. On the other hand, the seats in the Bandai are smaller than the AFV. The front fenders of the Bandai are bigger.


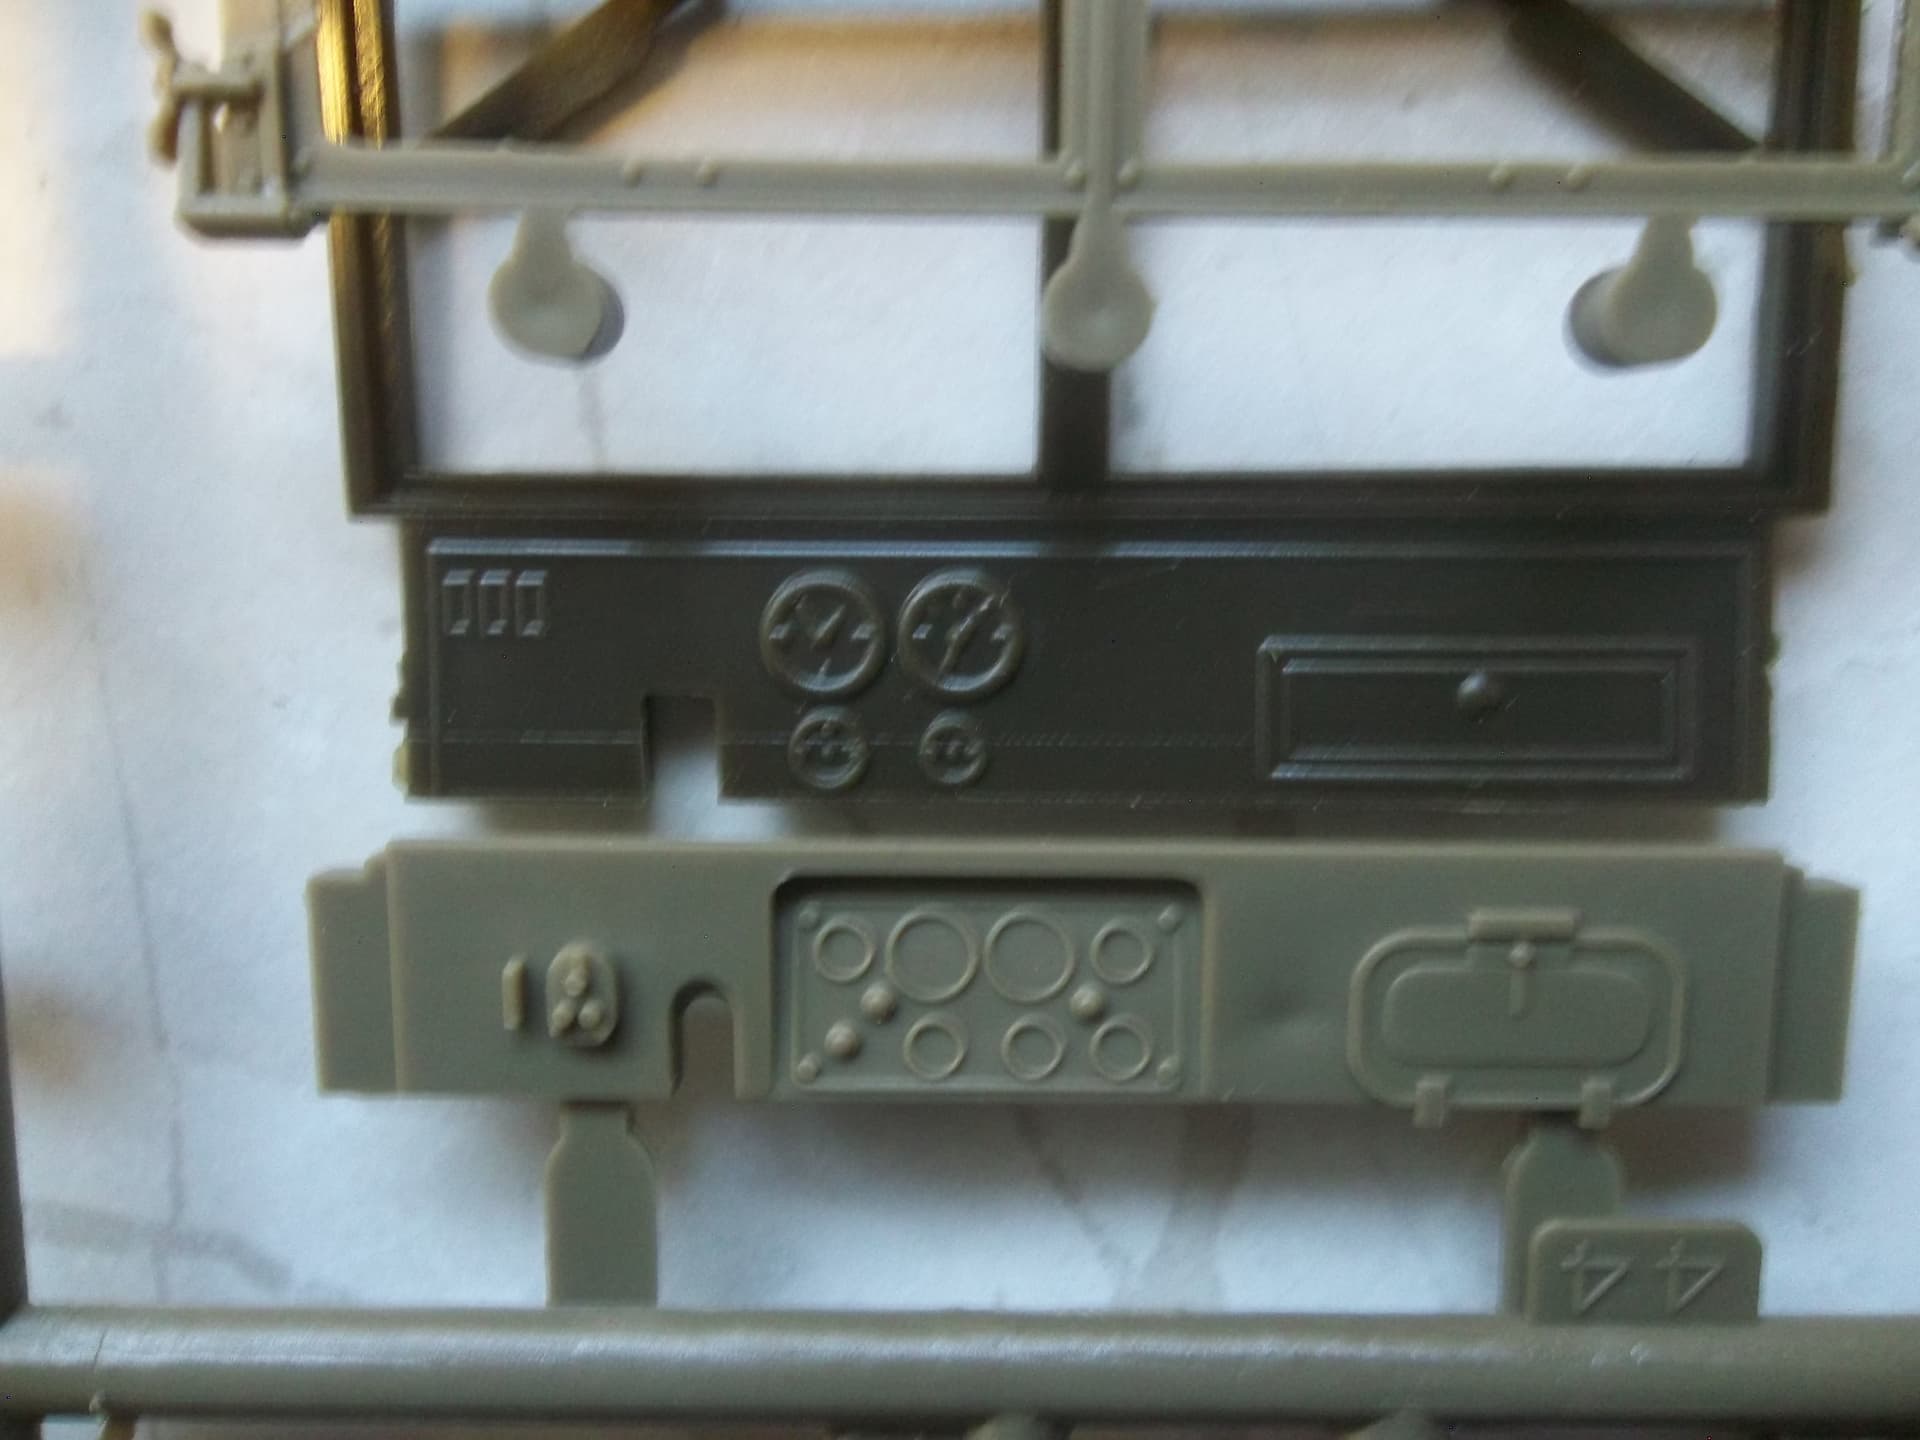
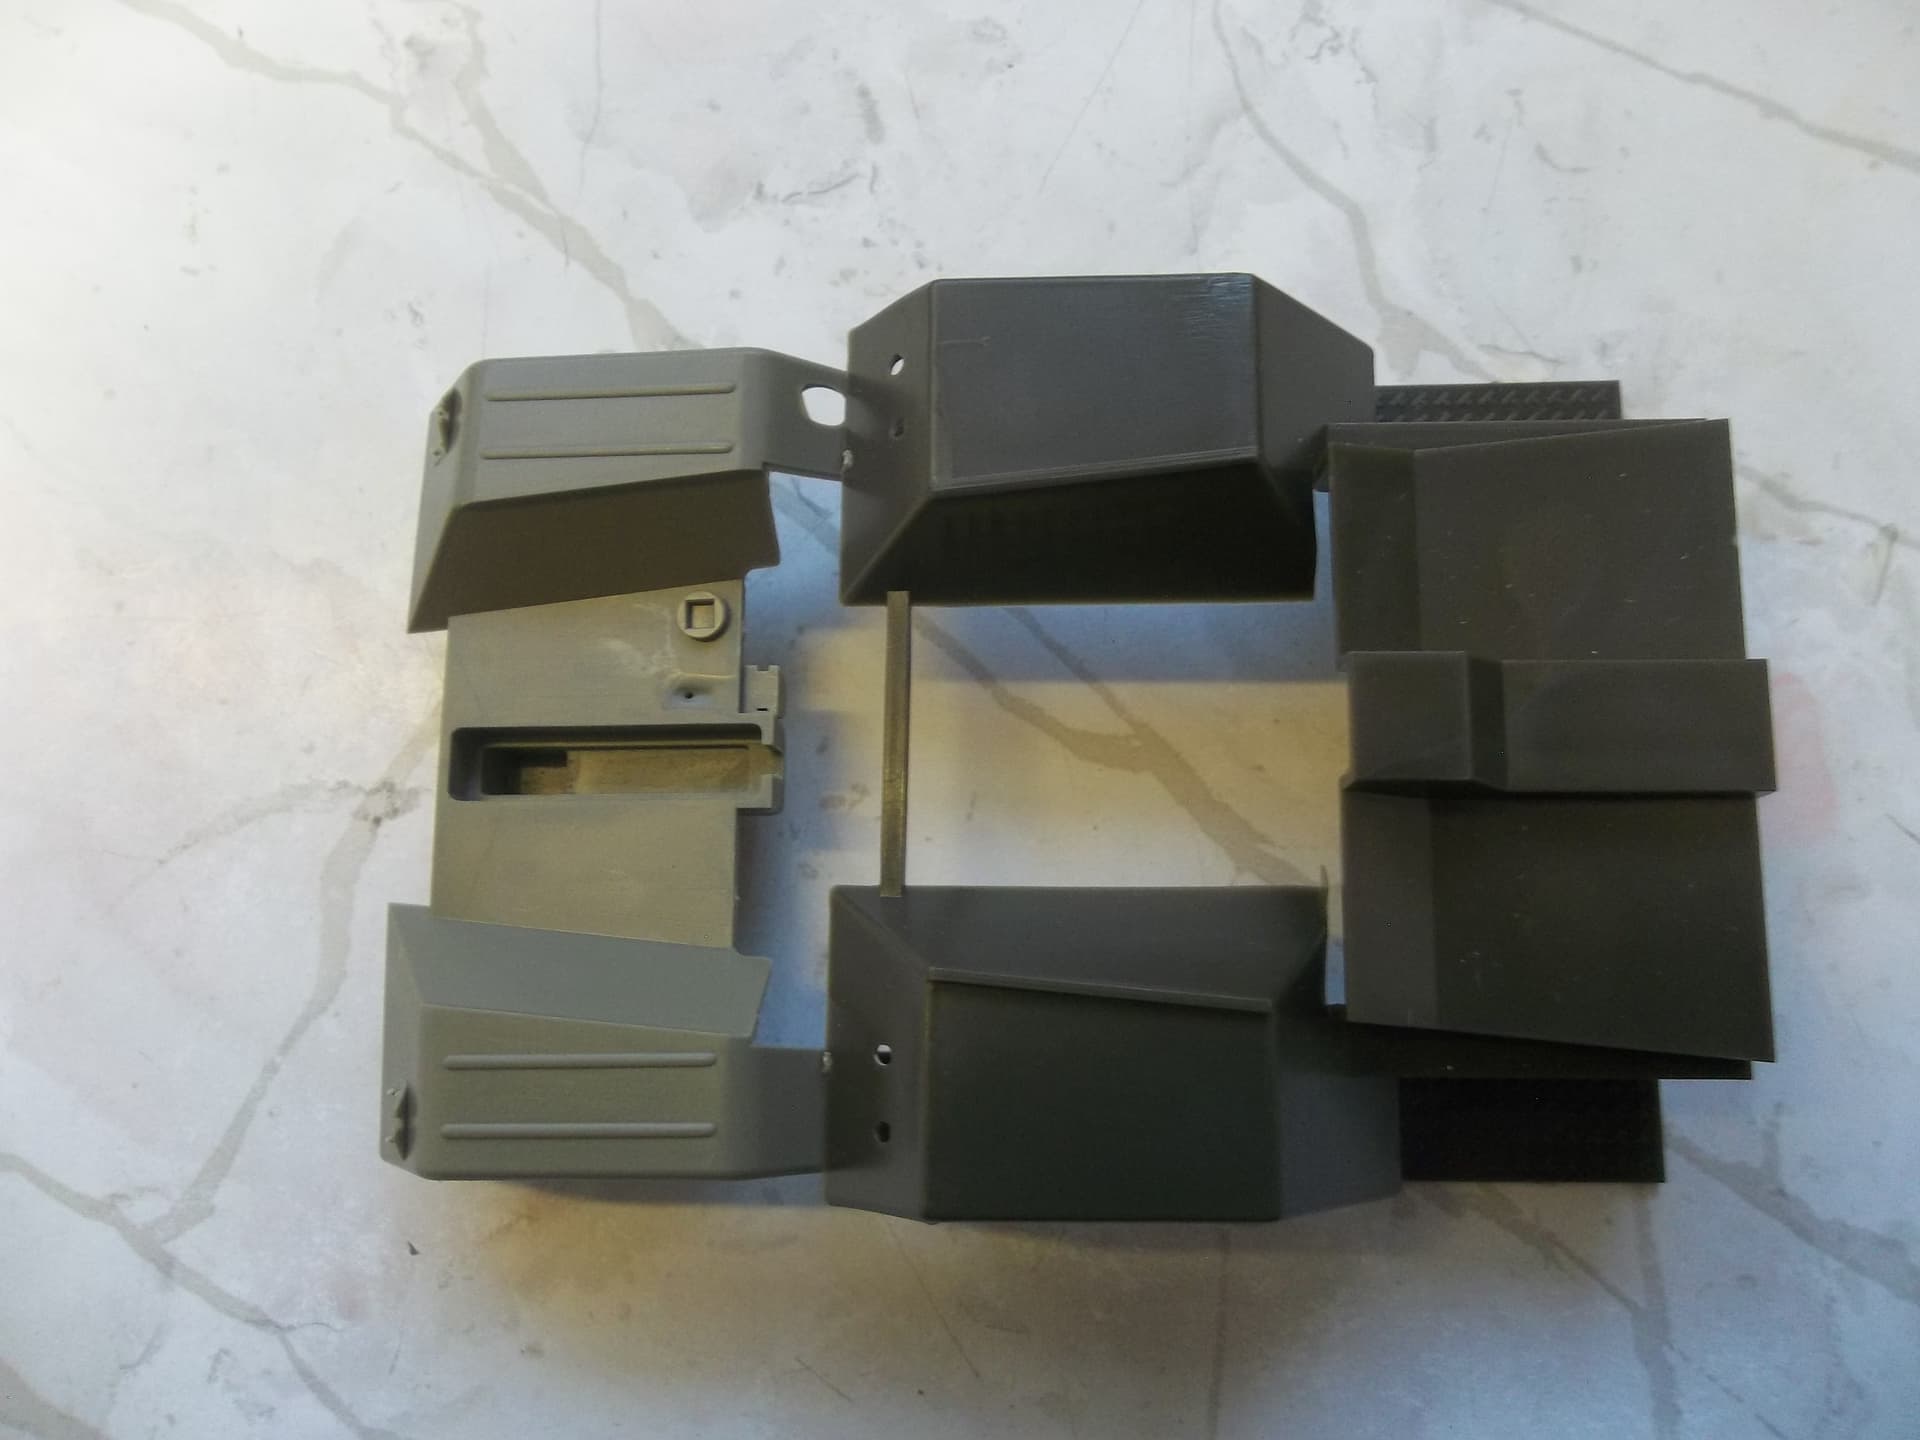
The rear wall of the cabs are nearly the same:

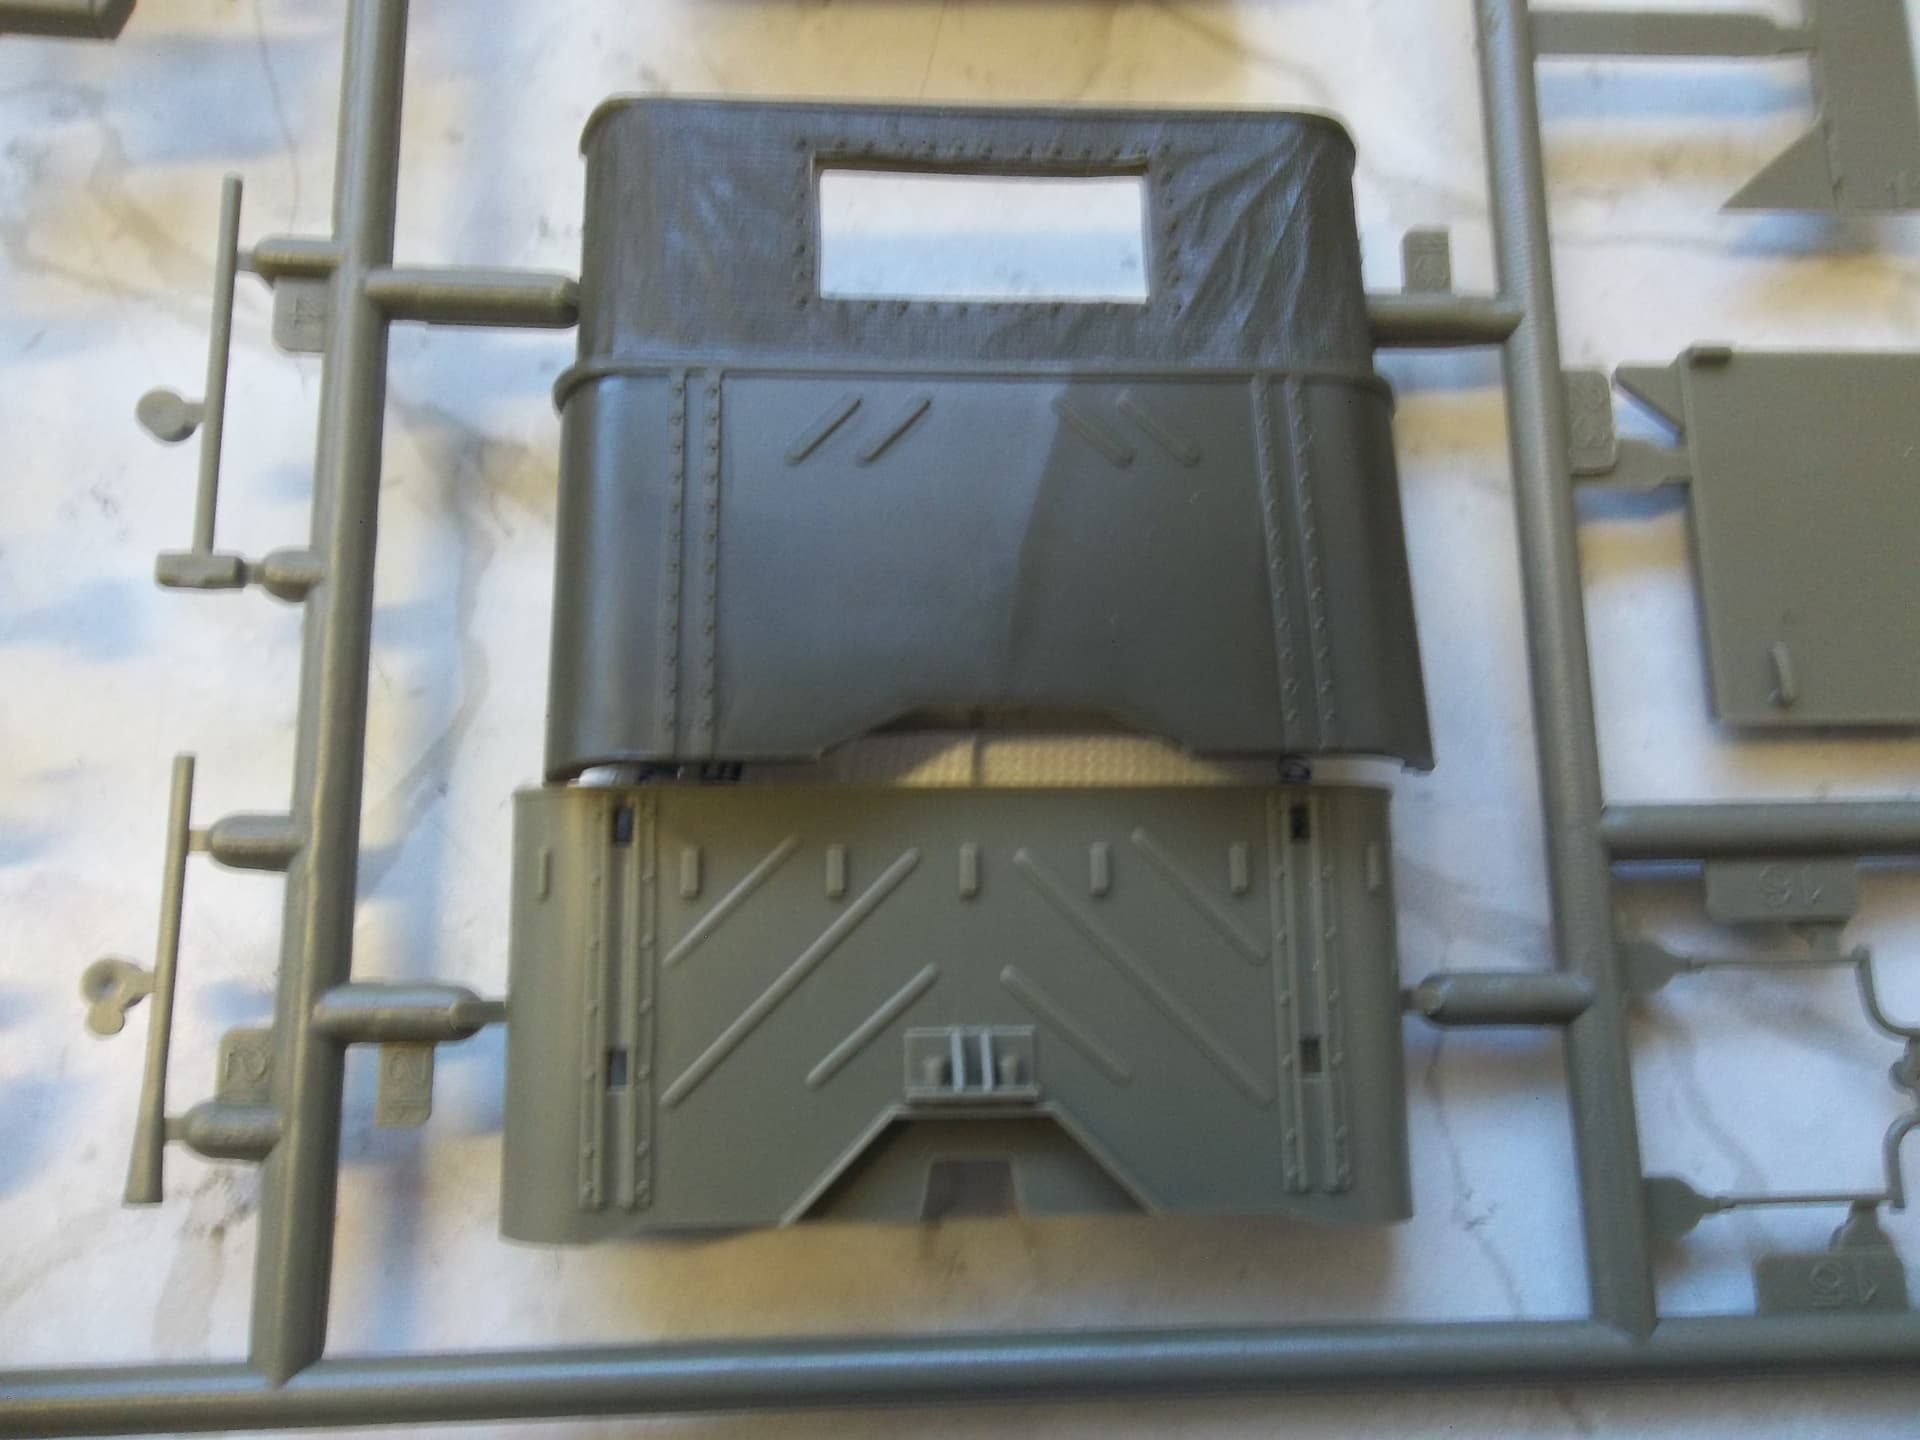
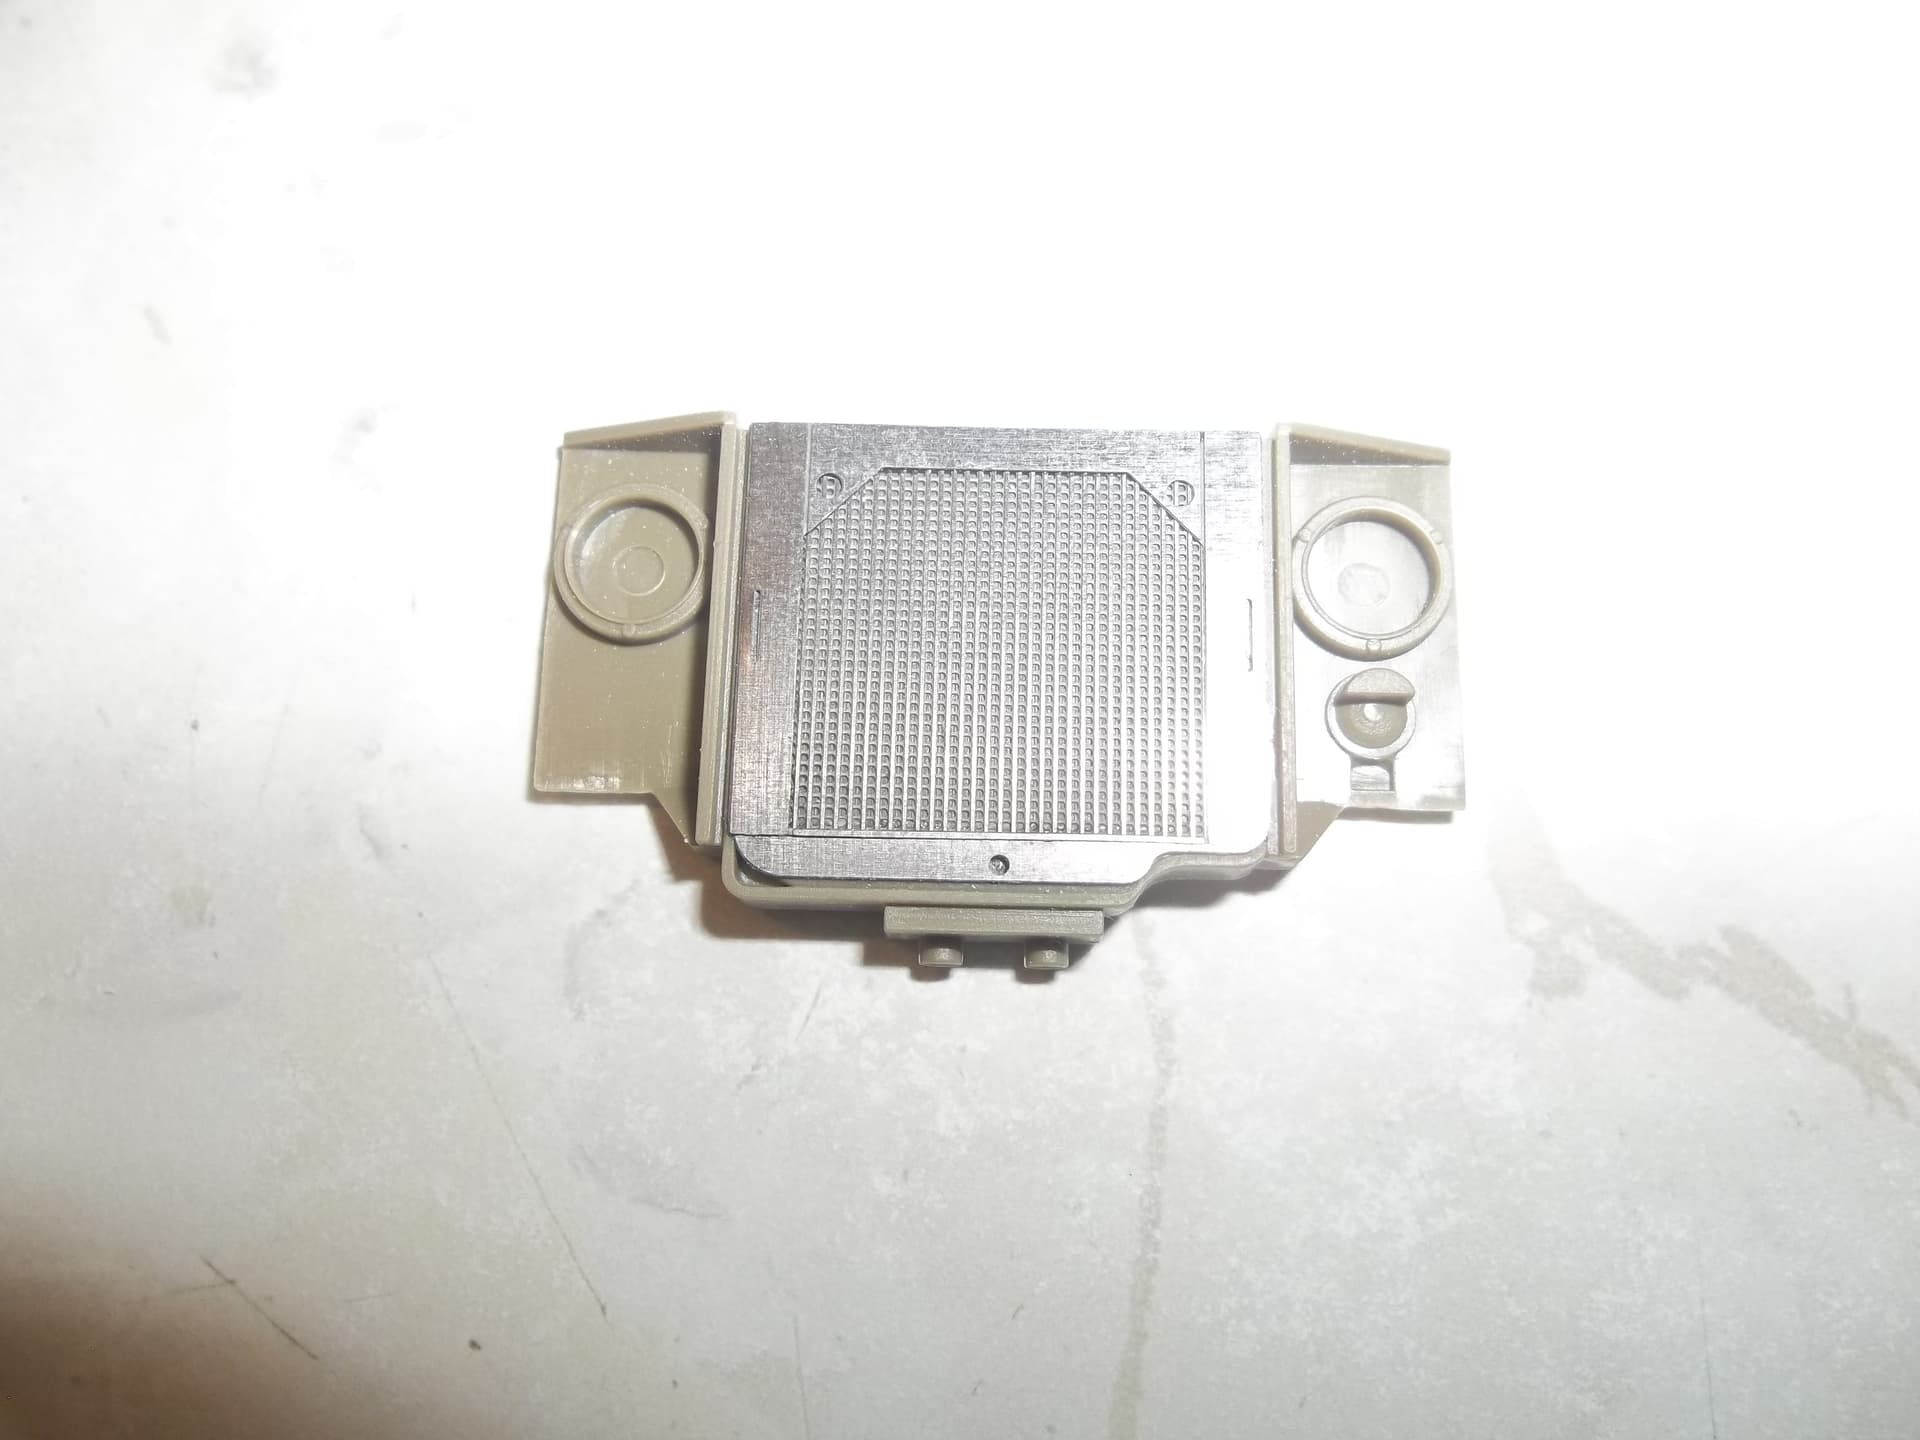
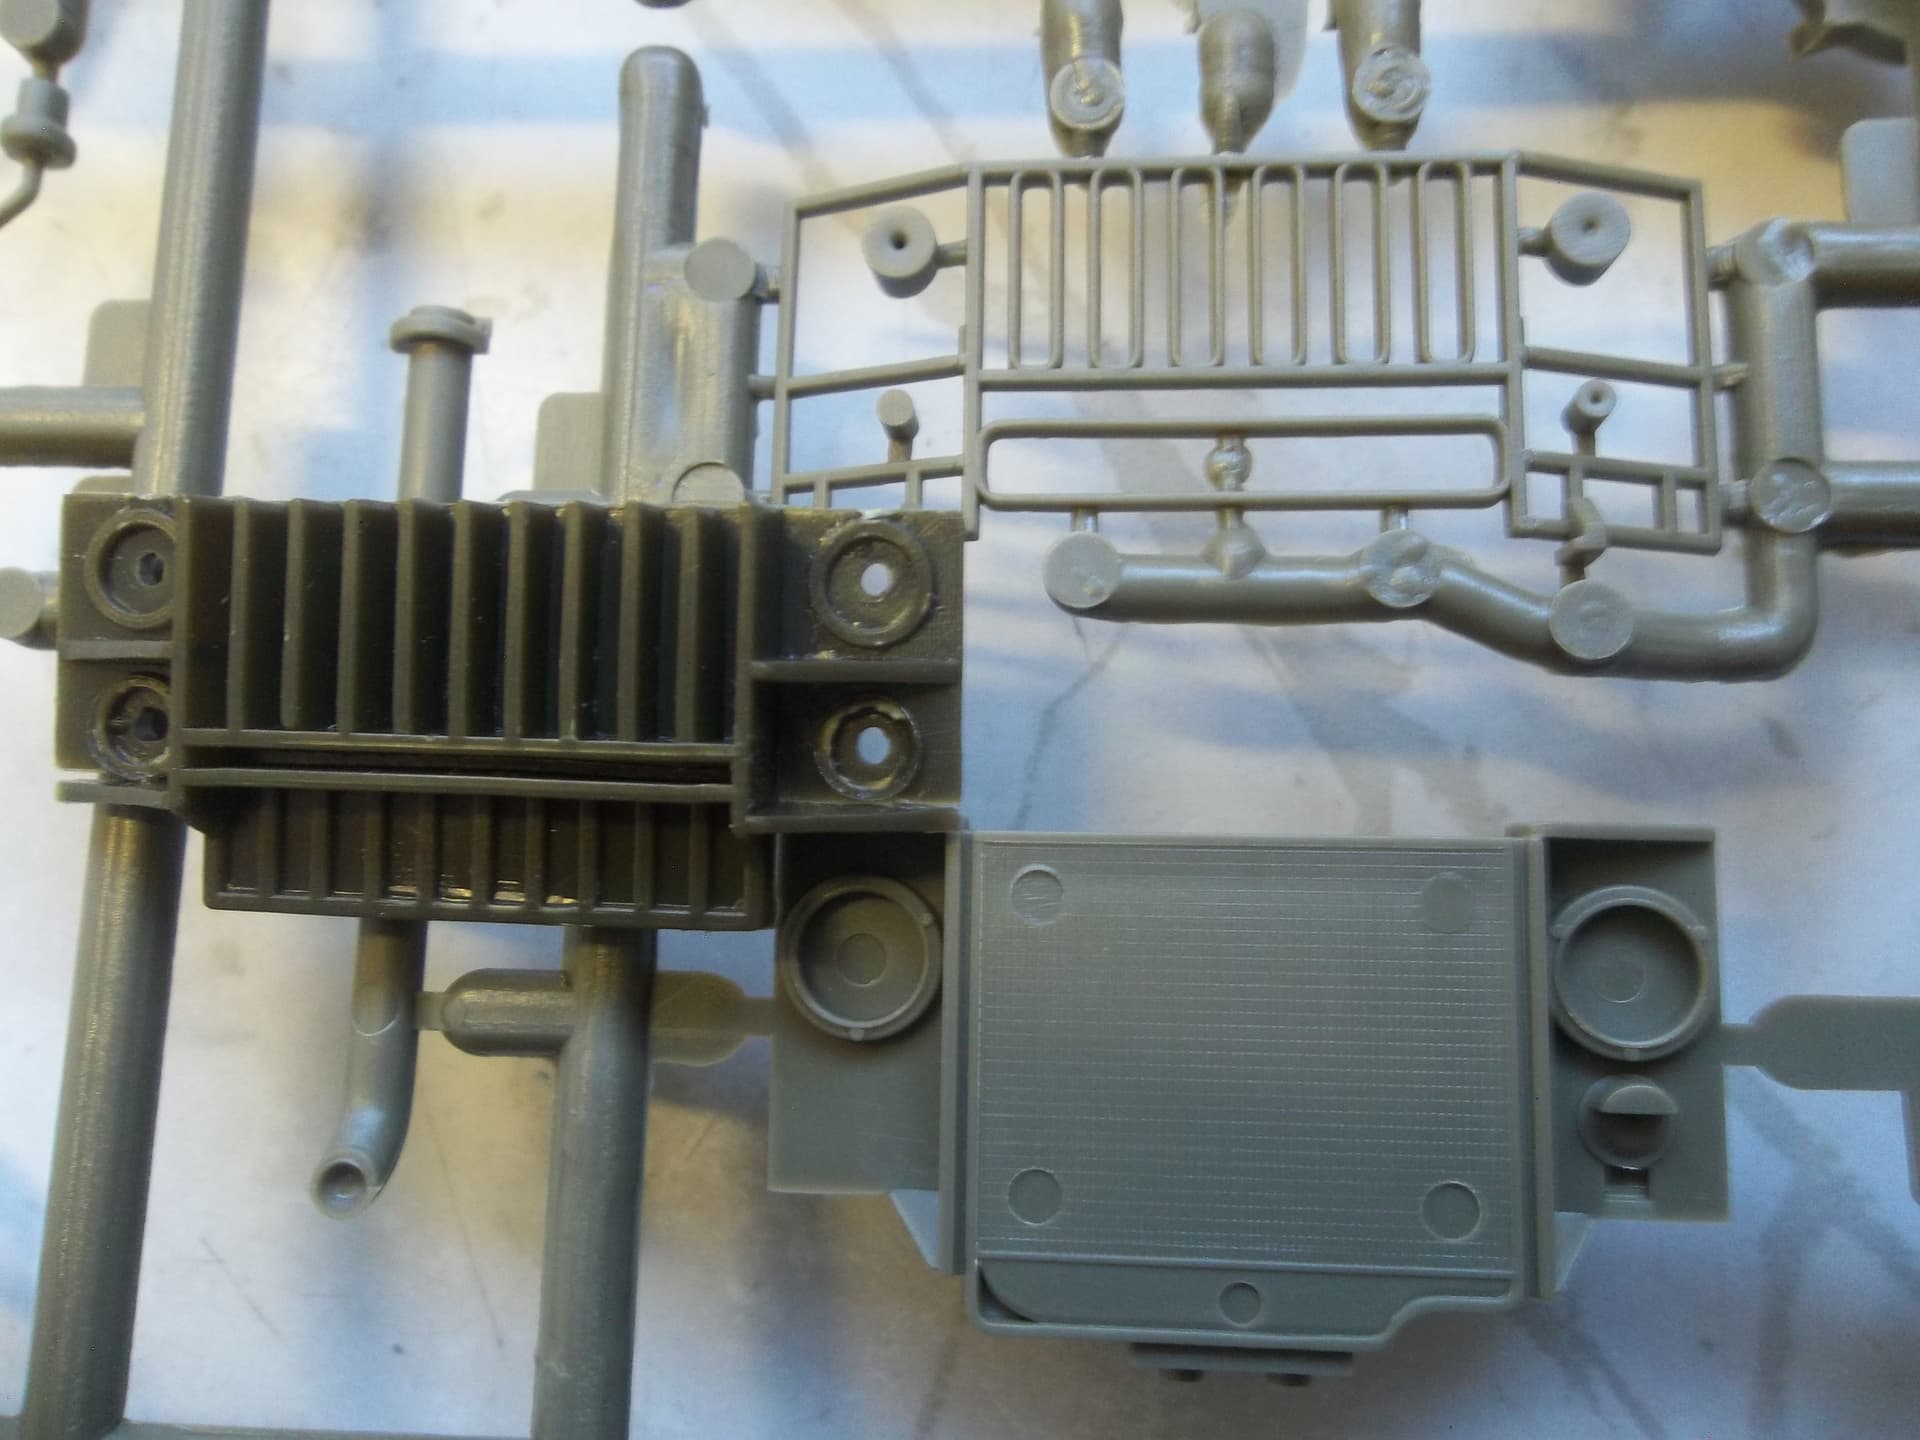
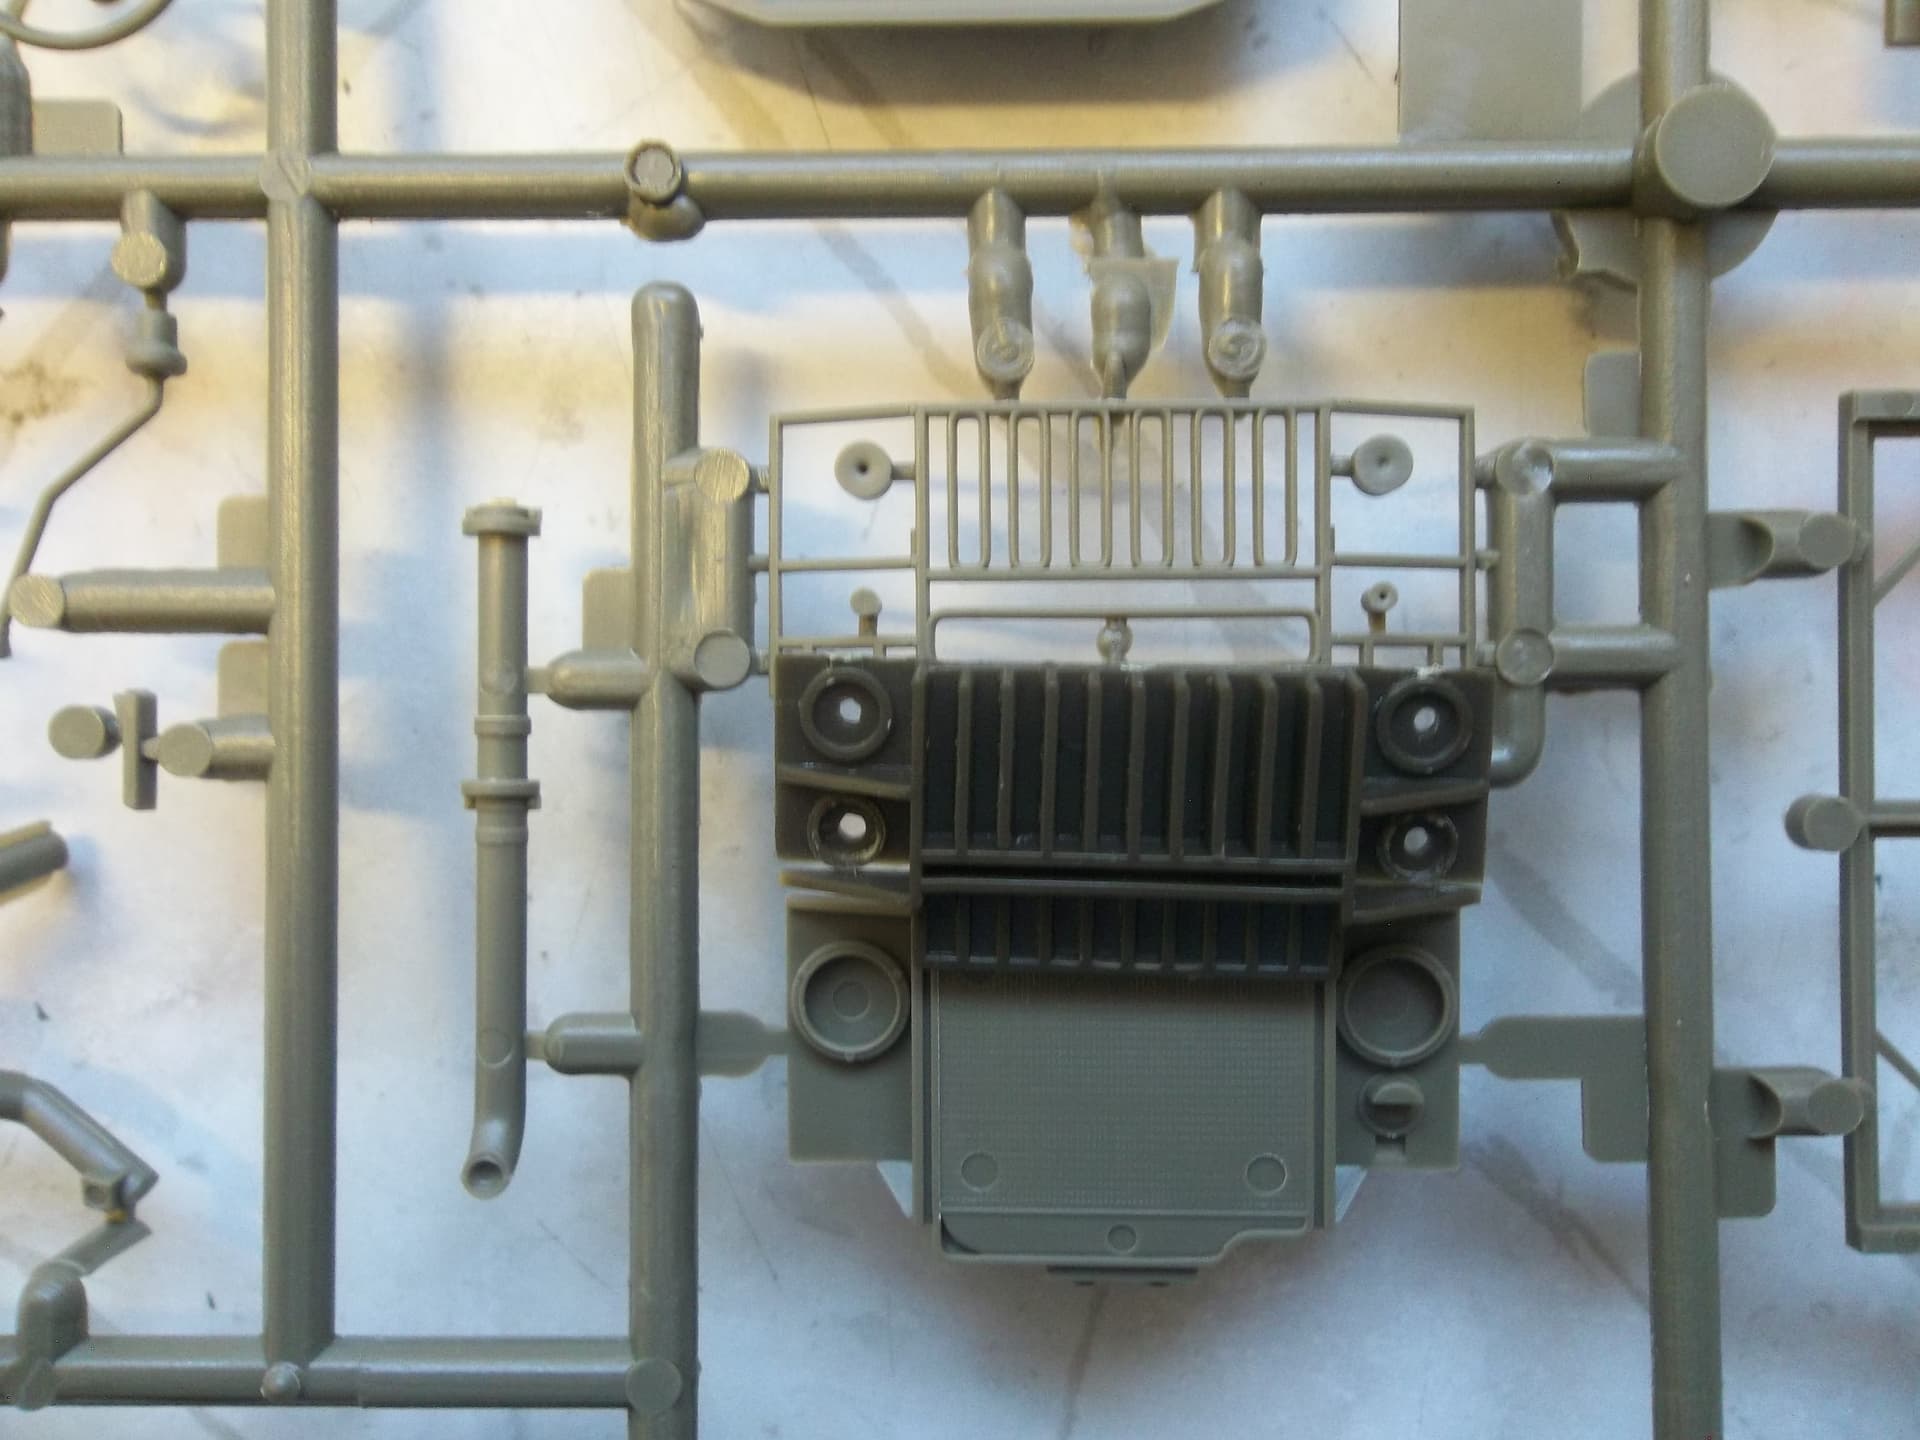
But the front grill of the Bandai is slightly wider and shorter than the AFV:


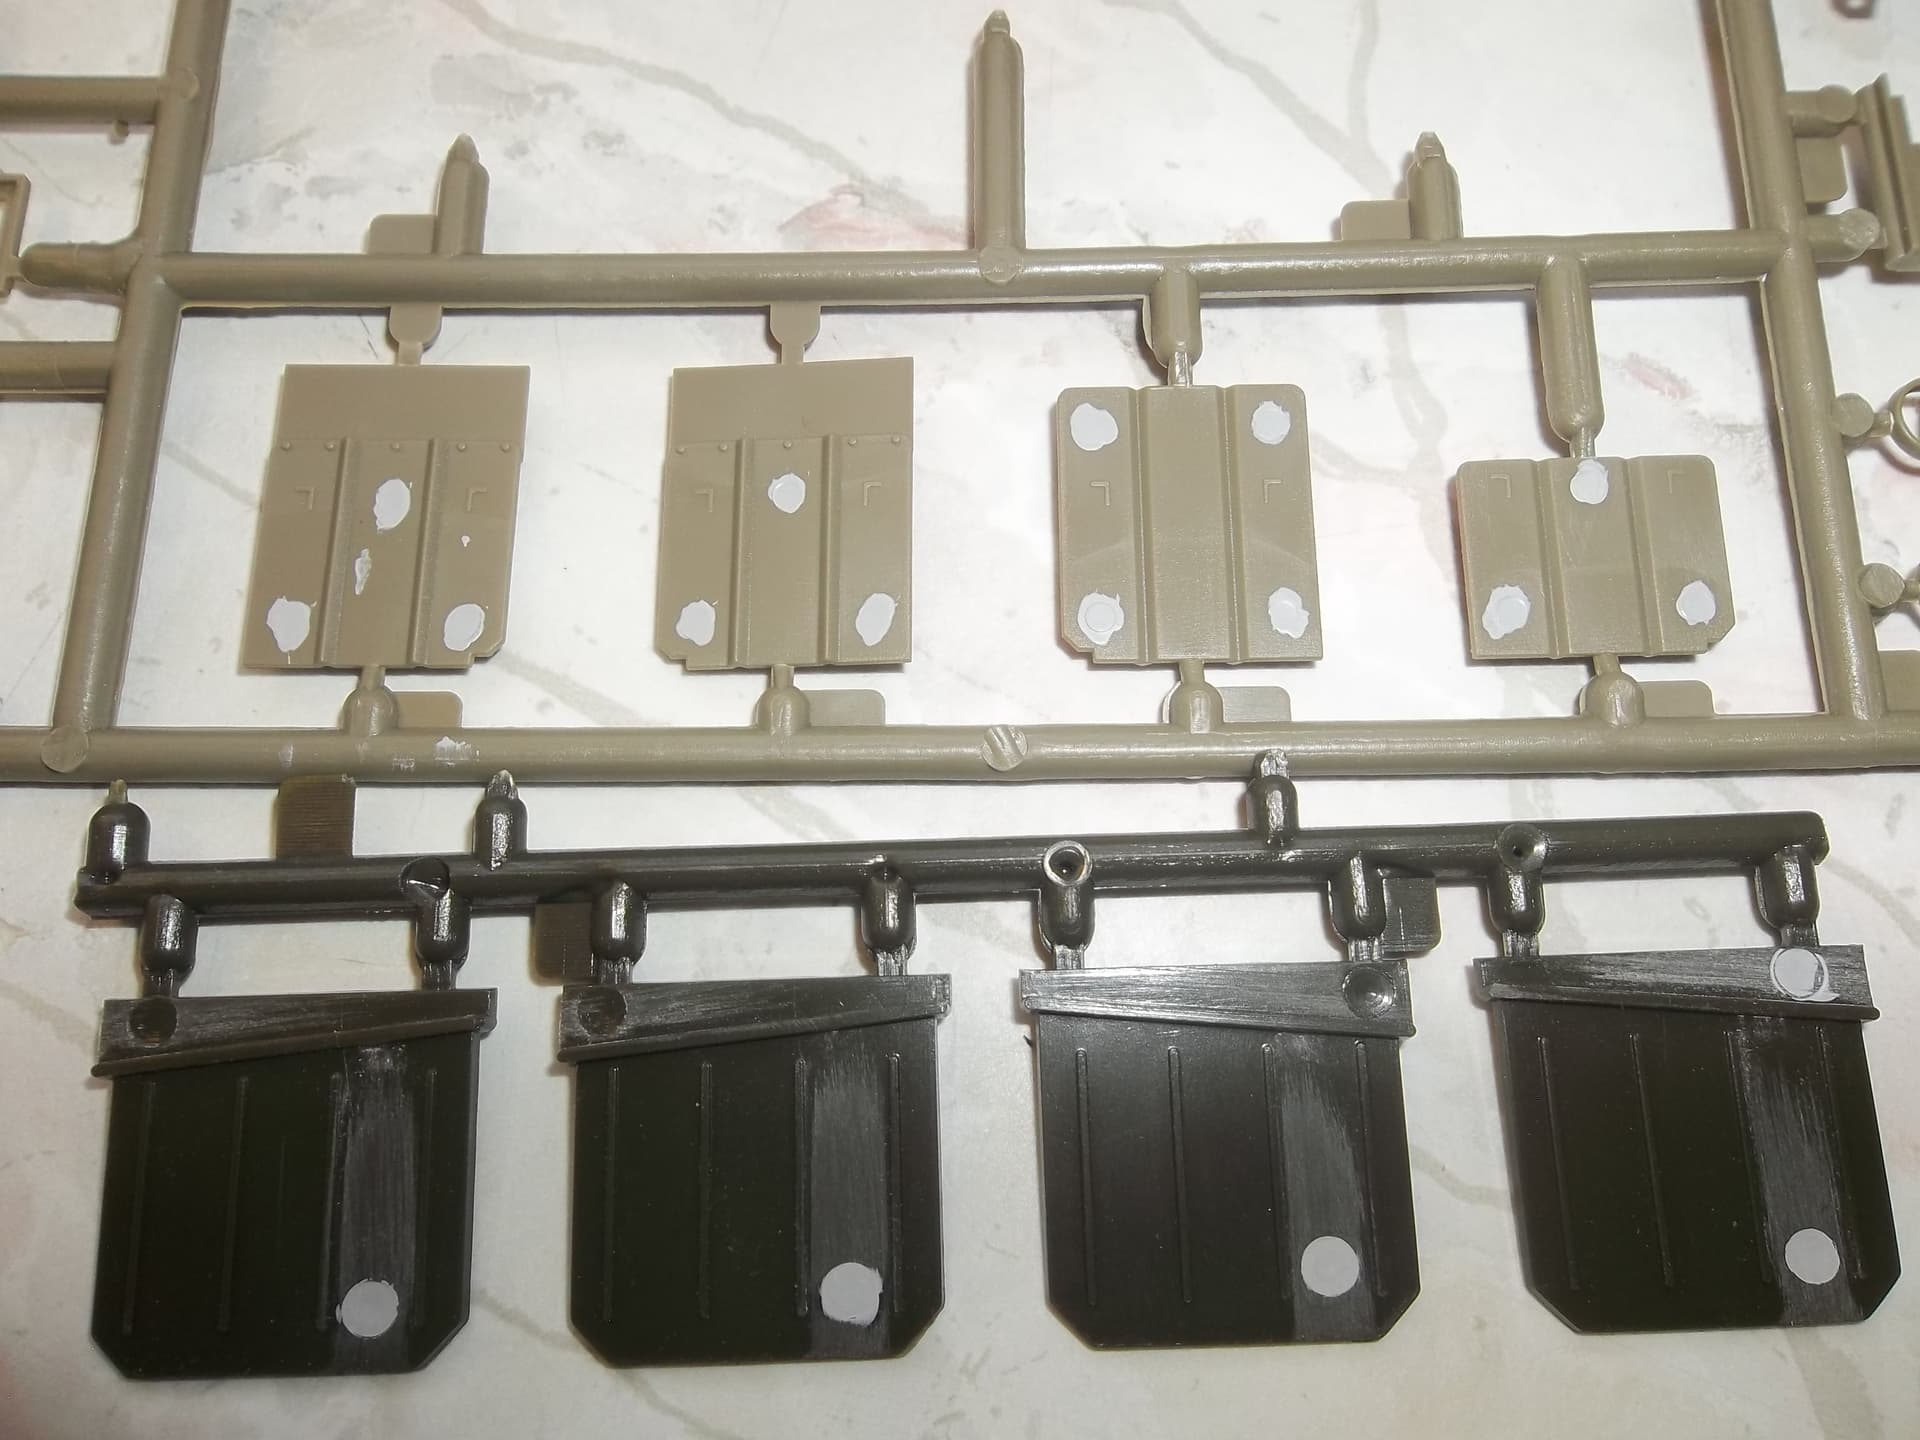
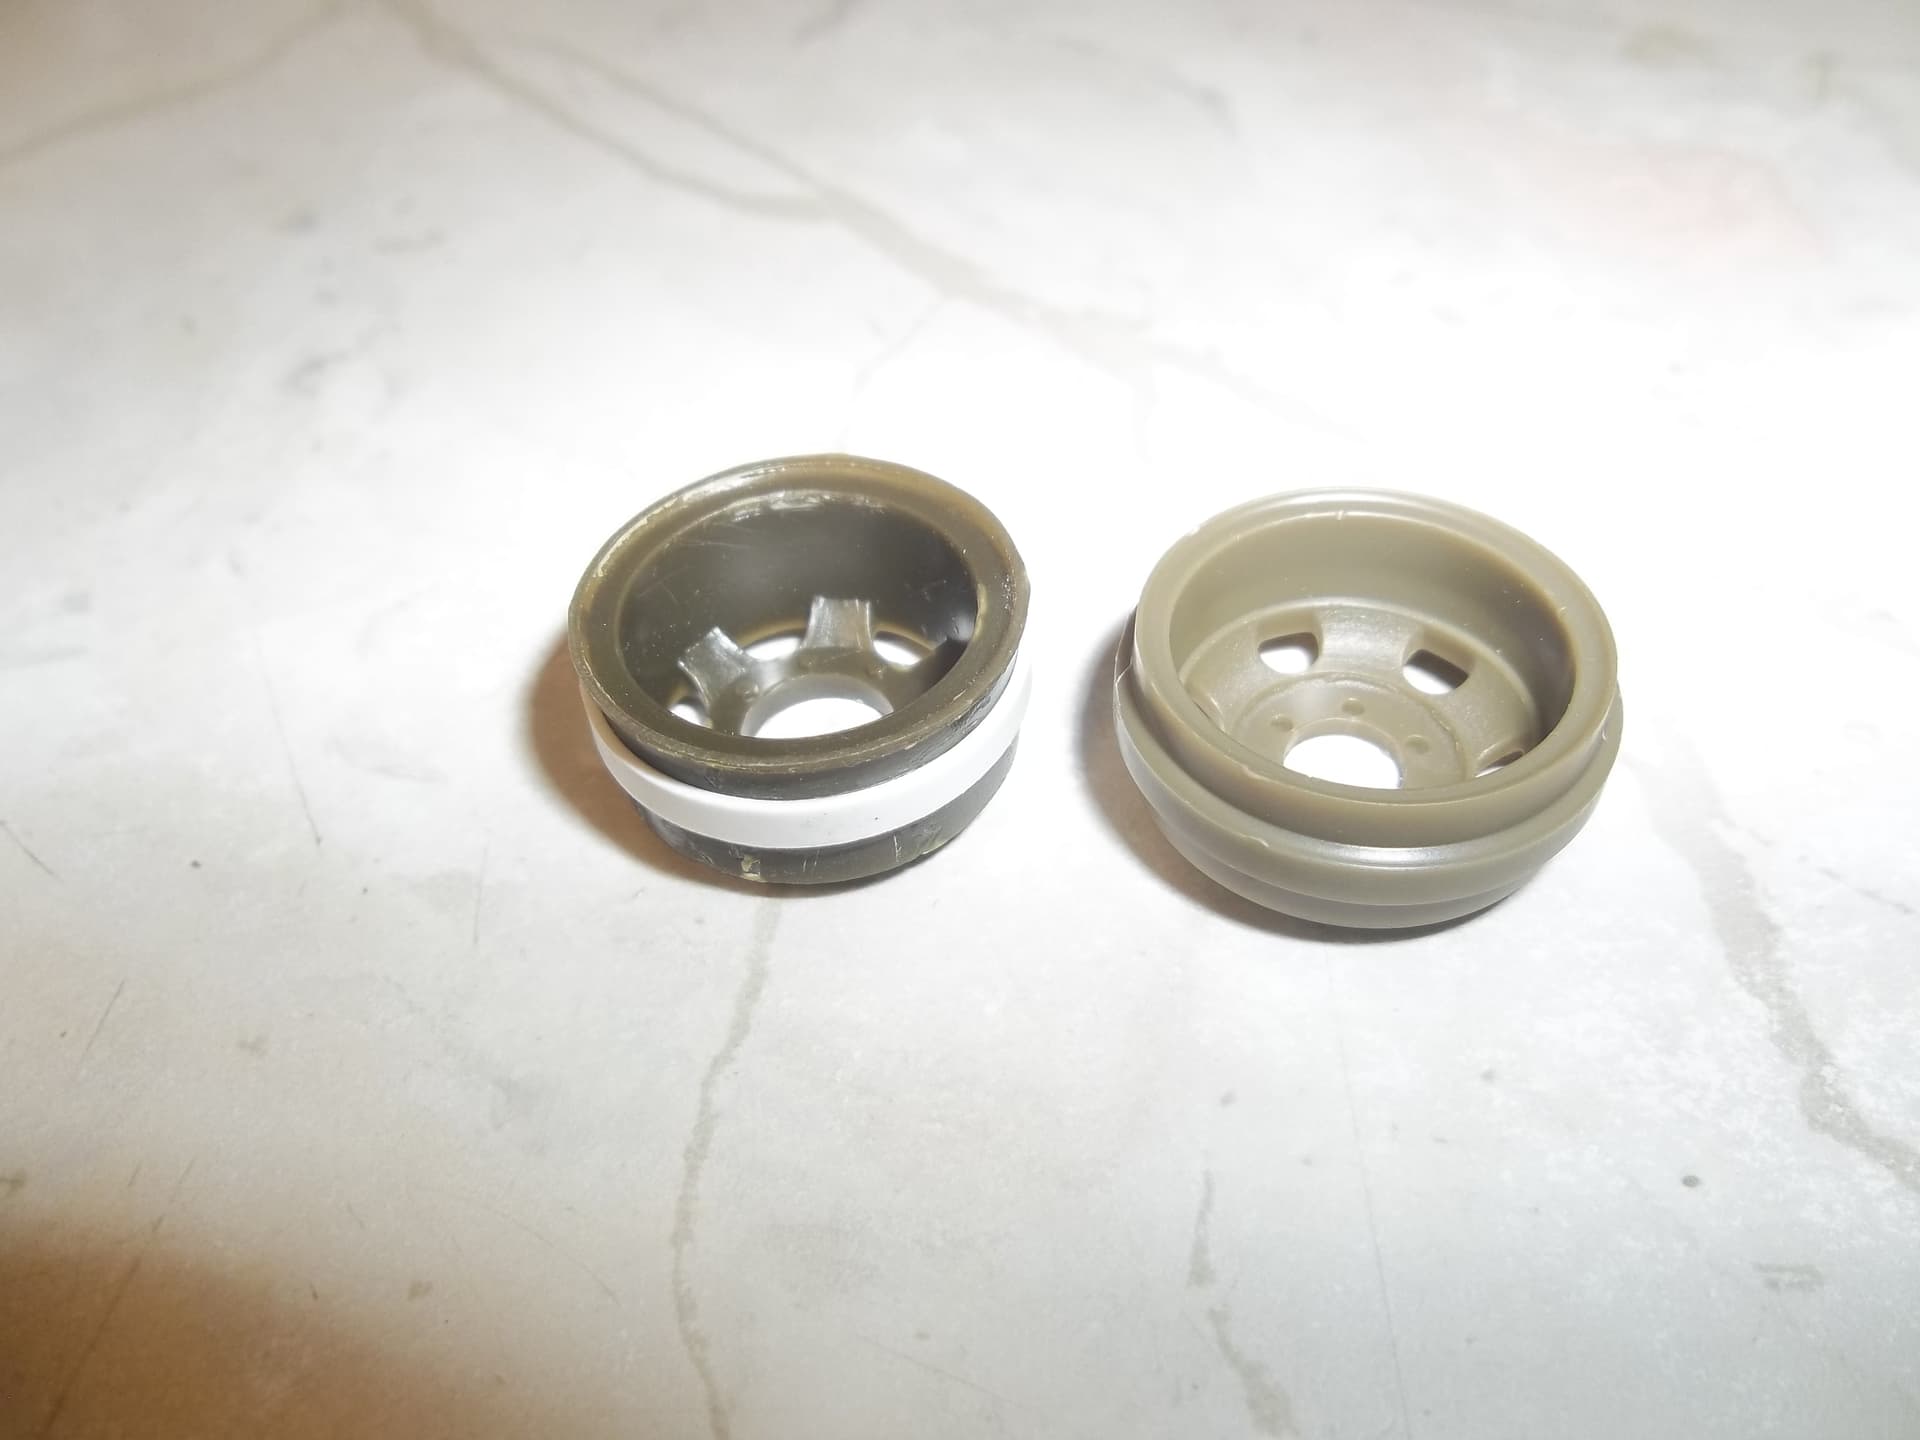
The wheels are the same diameter, but the tires are different:

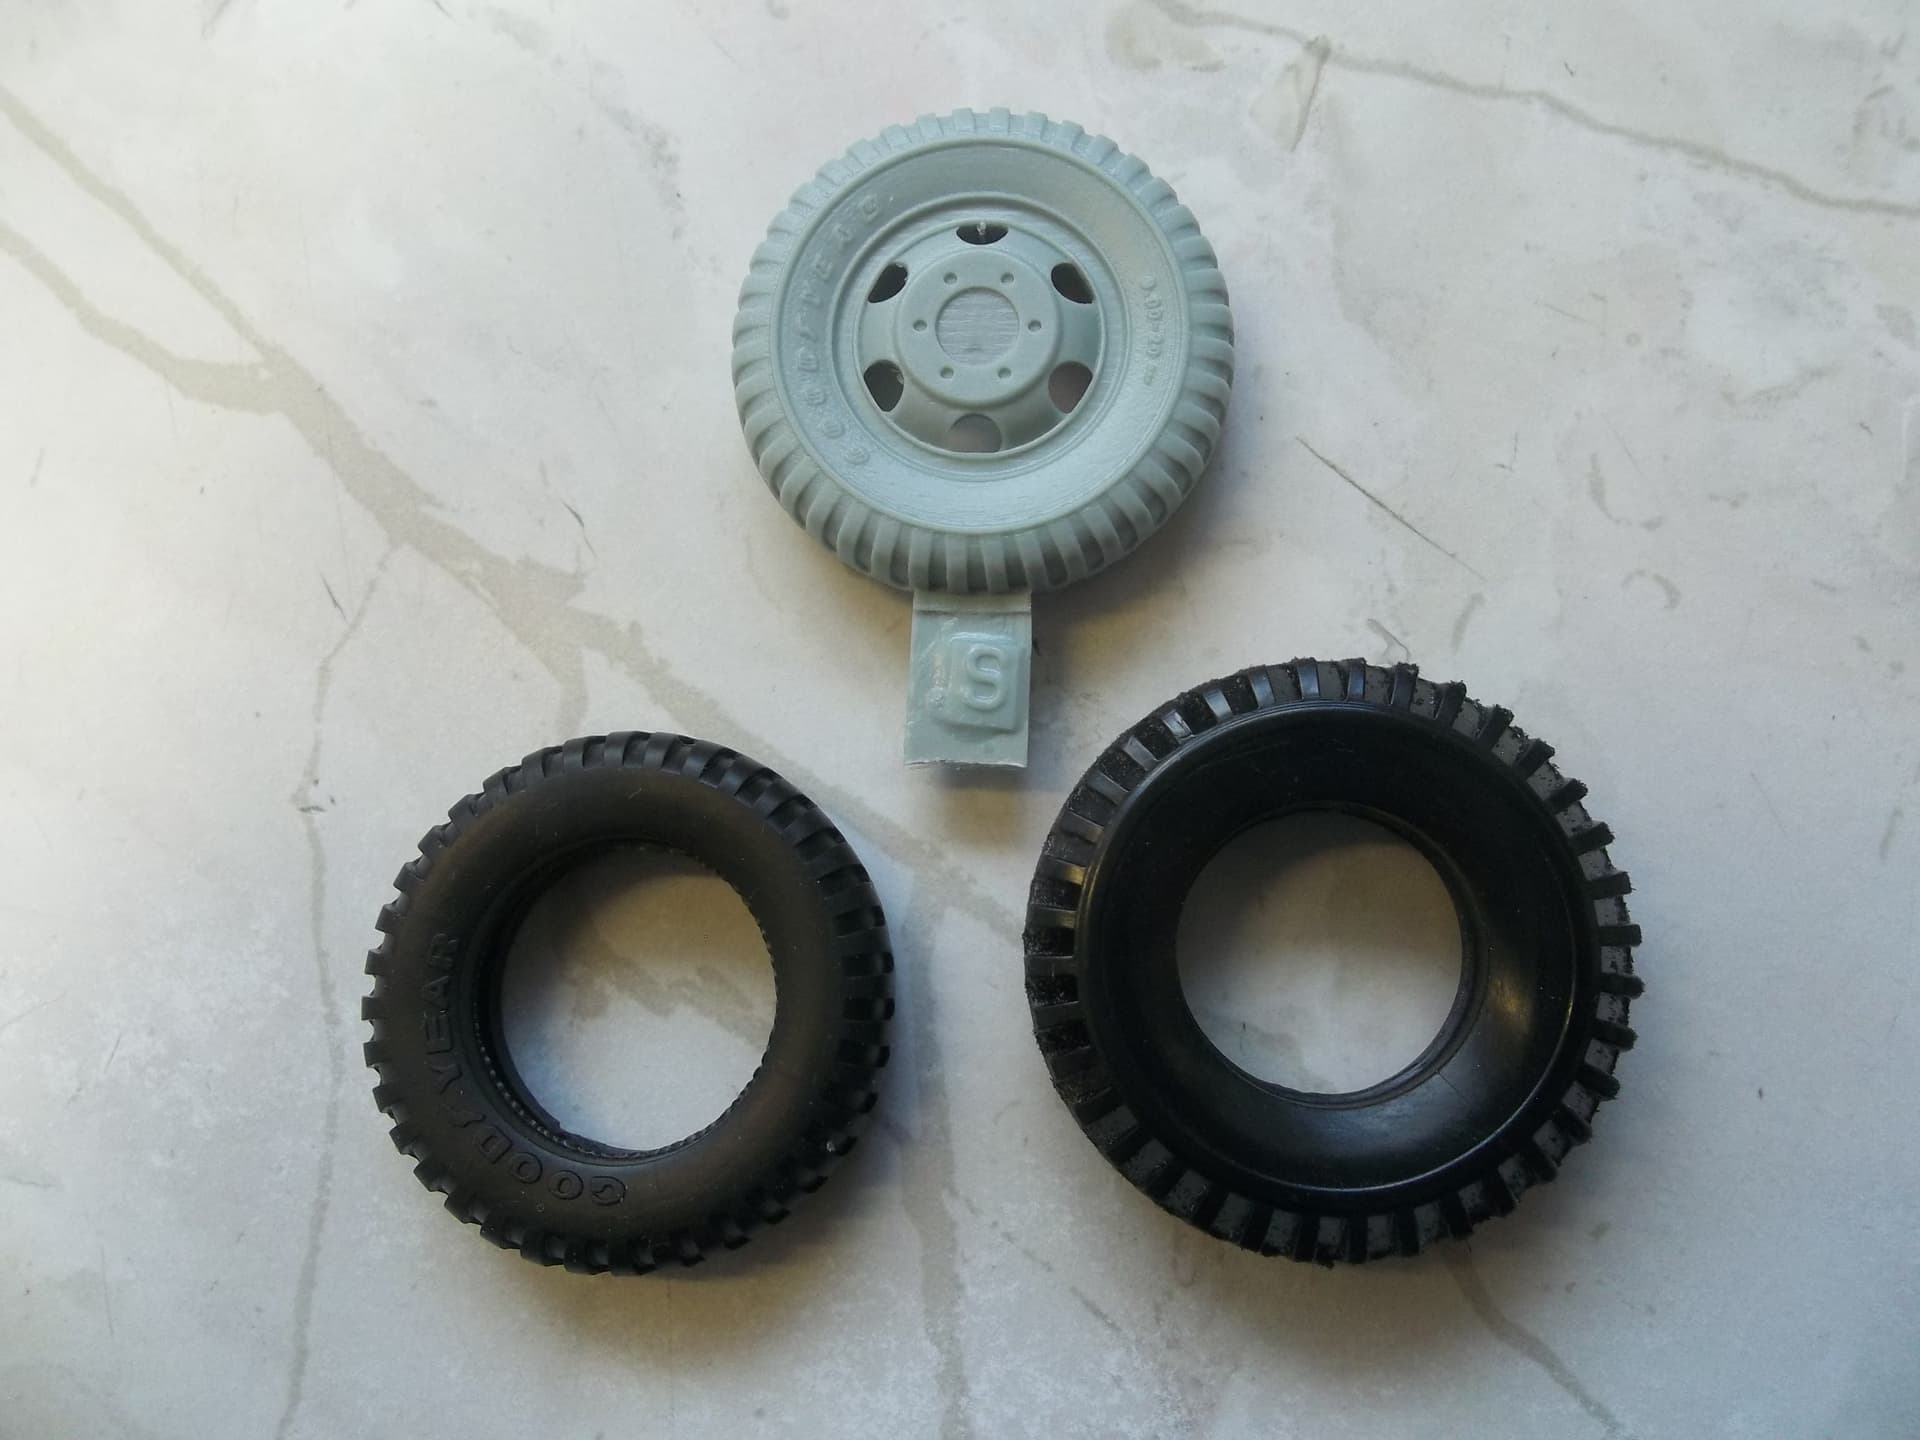
In this photo, AFV is on the left, Bandai on the right, and DEF on top for comparison.
I could go on, but you get the idea. So I am calling it 1/35 ish and building them together.
Ken

5 Likes

Ah the joys of what is essentially “box scale”! Post a start pic and a few in-progress shots along with a link to this thread over in the Convoy! 2 campaign and a badge could be in the offing…

1 Like

I may just do that!
Ken

1 Like

The AFV Club M109. When AFV produced the M109 Shop Van I just had to get it. I remember seeing these in Germany and thought they were cool as-sed trucks, with everything you need in them. This kit is part of their M35 series of trucks, and includes a full workshop and set of tools. This is the gold standard of 2 1/2-ton trucks. It’s the only plastic kit of a post WWII 2 1/2-ton truck, so it’s not like there is any other real option here. It is a very well detailed kit, and the parts do fit together well, when you can figure out how to do it. Unfortunately, the quality of the kit sucks, including the instructions.
The Bandai kit was released back in the 1970s, so it is a given that it would be a challenge to build, with fit issues, large seams, ejector pin marks, sink holes, flash, etc. but I was horrified to discover that the AFV kit is even worse. First off, there are ejector pin/push pin marks everywhere. And I do mean everywhere. Every single damn part. Some are recessed, some stick out, some do both at the same time, especially on parts with an angled surface! And lots of them. Way more than the Bandai kit. For example, the underside of the AFV kit front fenders/engine has 15 punch marks, the corresponding area on the Bandai kit has 5.


The doors have 4 each:

The mud flaps on the AFV kit have 3 to 4 each, all very visible, the Bandai kit has 2 each, only one of which will be visible:

They are all over the place:


Another problem is short shots. If you look at the above photo, at the tow hooks just above the front bumper, the two on the right are small and misshapen, they are short shots.
Fixing all these errors will not be fun.

The instructions on both kits are often vague and hard to figure out. Again, I expected this on the Bandai kit, not the AFV kit. I am spending lots of time checking reference photos and even other people’s builds of the AFV kit to try and figure out how to put it together.
What really pissed me off about the instructions is the fact that there is an entire sprue of plastic parts (R sprue) and a fret of PE parts specifically for M109 that are not even mentioned in the instructions. The R sprue should be included in all of the truck kits. It includes the optional hard top for the cab, plus a number of parts that go to the winch, like the operating handle, hook, and cable end piece. these parts are only in the M109 kit but are needed in the other kits for the winch. Without them you cannot complete the winch on the other kits. I found that this sprue has a much better detailed tow pintle than the one in the instructions, too late, I already installed the wrong one. It also has some optional mirrors, not found in the other kits. And low and behold, next to those mirrors is a set of glad hands. Once again, too late, I had already ordered a set of them from James @Petition2God. His are better anyways, but it’s still annoying to find out AFV Club actually made a set but didn’t tell anybody and didn’t include them in the instructions or any of the other kits. The R sprue also includes some extra marker lights not listed in the instructions, which are good for a truck in Germany in the late 80s or 90s. Then there are some parts that I honestly don’t have a clue what they are, because they are not shown anywhere in the instructions.
Same deal with the PE fret. Lots of parts and no clue what they are or where they go, they are not in the instructions.
On the other hand, the instructions have you install parts that do not exist in the kit. So far, I have found that the instructions tell you to install part L18 in two different locations. The problem is, there is only one part L18. So you can only install it in one place.
Like I said, this is a nice kit, very well detailed, but marred by major quality issues, vague instructions, and a lot of confusion. Detailed references are a must.
Ken

5 Likes

Does filing in sink holes and pushpin marks count as “started?”
Ken

3 Likes

Of course not! That’s like asking if the sound of the orchestra warming up counts as the full concert. Your kits are fine by me!

(But depending on the kit, filling the sink-holes may qualify for the Purple Heart…)

4 Likes

Absolutely!

1 Like

Oh well, I suspected as much. I have actually started work on it, but I forgot to take any photos of the first part. I have the basic chassis work done. I was concerned that the frame on the AFV kit would be difficult, but it went together surprisingly well. The parts, especially the cross beams, popped into place, and the whole thing came out straight. The suspension parts (there are a lot of them) mostly went together well, except for the wheel hubs. they were a pain. I will be using resin wheels from DEF so I don’t really care about the rolling wheel function, it would be very difficult to make it work:

The instructions were very vague about the proper location for the transfer case and the little part on the bottom of the frame:


I think I got them correct. I spent a lot of time looking at other builds of this model, plus what I could find of the real truck.
I waited until the chassis was mostly done before I added all the fiddly little detail bits, so I wouldn’t break them off. I added a set of gladhands from James, they look real good:

I have a question for the truck model experts out there; the transfer case has a hole left open on the back side of it at the top:

Is something supposed to plug into that?
Ken

3 Likes

IIRC, my M49A2C gasoline tanker’s pump drive shaft went in there.

1 Like

As posted above, it is another PTO (Power Take-Off) location used for items like the M49 tanker pump. On a standard M35 or the M109A3, it would be plated over. On the model, it is fine to leave it open as it can’t be seen once complete.

1 Like

As I said back at the beginning, I was very disappointed to find out the Bandai kit was not an M36. So plan B is to build it as an M35 cargo truck. Now I will add a lot of things to this to bring it up at least close to modern standards; but let’s face it, there is no way I can make this as good as the AFV Club kit. And there is no point to that, since AFV Club already did it. So this will be something of a nostalgia build; build an old kit using modern techniques and some after market stuff. The point that makes this kit different from other kits is the fact that it was motorized. My kit actually came with all the parts to make operable, including the motor, so that is what I will do.

Unlike the AFV kit, the frame for this one was molded as one piece. This makes it much easier to build, but with a lot less detail. After cleaning up some ejector pin marks and other flaws, I added all the suspension and drive train parts:

This kit actually does a pretty good job of hiding the motorization parts. The first rear differential is a little bigger and more globe shaped than the others. The transfer case is a bit over sized and clunky, but that’s because the real working gearbox is hidden inside of it. The motor goes inside the engine compartment, under the hood. The “transmission hump” on the cab floor is a bit oversized. The switch is hidden in the fuel tank. Most of these concessions for motorization are hidden underneath the vehicle, and can only be seen if you turn it over. So I can live with that.


Using the AFV kit as a guide, I have been adding extra details to the chassis. The shocks are from a model car kit. the brackets are cut down square tubing:

Other bits are styrene strip and rod:


The tail lights are from the parts box, the glad hands are from James Lee.
Using the AFV kit as a guide, I rebuilt the spare tire holder to be more accurate.

5 Likes

How about exchanging the Bandai “tow hook” for the pintle from AFV Club sprue R?

1 Like

That tow pintle I have already earmarked for another build. For now, I will keep the “tow hook” as is because the kit comes with a trailer for the truck to tow, which fits that tow hook. I can always swap it out later if I want.
Ken

4 Likes

OK, I have a question for the truck experts here, on this sheet of photo etch parts for the M109, what are the “P” shaped bits and the hex shaped plates for? The instructions don’t show them, even though they are included in the Kit:

Moving on: I needed to get some after market stuff for these trucks. I got the DEF resin wheels, and some 3D printed decals from Quinta Studios.


image

I also discovered that I needed some PE. This is a problem; Eduard has discontinued all of their PE sets for the M35 truck series. Worse, every online dealer I looked at was sold out. I did finally find a set on eBay, at a good price even. So I got that.
I am not a huge fan of PE; I find it can be difficult to work with and often the PE parts are no improvement over kit parts, but there are a couple places where I really needed the PE to address issues with one or the other of these kits.

Since the Bandai kit will be operable, I needed some crew members for it, so I picked up a set of these guys from Hobby Fan/AFV Club:

They are in Vietnam era gear, but I can make that work for the late 1970s to early 1980s time frame I want for the Bandai kit.
Ken

5 Likes

Once I had the two chassis’ done, I started to work on various other parts of the trucks. I decided it was best to work in subassemblies, that way I could work on one thing while another was drying, setting up, etc. The Bandai kit comes with a trailer. It’s just a WWII jeep trailer, kinda crappy, and obviously thrown in to give the truck something to pull around. It was probably included in several different kits, it has slots for something in the bottom of it, but whatever goes there was not included. So I filled in those slots, along with some ejector pin marks and sink holes, then put it together:


The trailer actually comes with some rubber/vinyl tires; they are even better than what came with the truck (another reason I think the trailer comes from another kit). I will add them once it’s painted.
Since the AFV kit will get the DEF wheels, I decided to use the AFV tires on the Bandai kit. They fit the Bandai wheels OK, but are just a little loose. The AFV wheels have a ridge around the middle of the wheel, and a groove inside the tire to provide a tight, positive fit. Using one of the AFV wheels as a guide, I added the ridge to the Bandai wheels using Evergreen strip of the correct size:

Ken

6 Likes

The instrument panel for the Bandai kit is awful, so I need to replace it:

My original plan was to use the PE panel that comes in the Eduard set. But I couldn’t find one. So I got the Quinta 3D decals instead. This set includes all of the placards and labels for the interior, two different instrument panels, and two different sets of marker lights and reflectors. These come in two colors, an olive drab color and a desert tan color. Neither of these trucks will be in the desert tan, so I used a light wash of olive drab as a filter to make the tan parts green. With two very nice instrument panels, I added one to each vehicle. I used the Quinta placards and stickers on the AFV kit (the kit decals kinda sucked), the yellow sticker covers up a nasty little sinkhole on it. For the placards and stickers on the Bandai kit, I used Archer transfers:

The Quinta set also includes some switches and knobs, I mixed these up between the two kits, along with a few other bits, to fill up the instrument panels.
Ken

4 Likes

Bouncing around a bit here. I started working on the cab section of both trucks. The instructions for both kits were a bit vague; but with some test fitting and checking my references, I figured out how it all goes. The AFV kit has a nicely done interior; with good seats, foot pedals, and operating levers:

The Bandai kit has some seats, and that’s it. I used the AFV cab as a guide to improve the Bandai one. Its seats are a little undersized and sit back at a weird angle. I added some sheet plastic to the rear “legs” to bring the seat up to a better angle, this also fixed most of the size problem:

I found a suitable gear shift lever in my parts box. It was from some hot rod model, and chromed. I stripped the chrome, cut it to fit, and redid the fabric “boot” at the bottom. The other levers are Evergreen strip:

I would like to thank those who responded to my question about the hole in the transfer case. I understand that it won’t be visible when finished, but I can still see it. In fact, it’s been bugging the crap out of me.
“Those who have seen the hole will never stop seeing it.” To badly misquote “We Were Soldiers.”
I plugged the hole with the cap for the 5gal Jerry can:

There, you see, it’s gone! It can’t hurt you anymore! It’s OK, you’re OK!

Ken

3 Likes

Hole… what hole? :hole:
:hammer_and_wrench: :grin::+1:

2 Likes

You obviously want to get the best out of both kits - here can be found a few more ideas to punish yourself:
panzer-modell.de/berichte/m49a2c/m49e.php
Happy modeling, Peter

1 Like

Wow Peter, that guy did a really nice job on that. I will not go that much into this, as it would take me forever to finish. And besides, I’m not that good.
But having said that, I will still put a lot into building these, just not that much. The Bandai kit did not include any doors for the cab. At first, I was going to just copy the doors from the AFV kit, but they did not fit the Bandai openings. I used my calipers to measure the opening, cut two pieces of Evergreen sheet to fit, and then added parts from the spare parts box:


Not a real big deal in terms of building, but really adds a lot to the model.
I added some Eduard PE to the front of the AFV kit. The radiator was unacceptable, with 5 ejector pin marks on a very lightly engraved front face. Why didn’t they just put them on the back, where they won’t be seen?
There is no way to fix these without destroying all the detail, so I covered it with the PE part:


Problem solved.
Ken

3 Likes