The photo is near the start of this documentary:
https://www.dailymotion.com/video/x3wloym
The opening sequence reminds me that Agincourt and Waterloo are in the same general region.
Belgium is sometimes called the “Cockpit of Europe” (in the old sense of a Cockpit being the arena where the “sport” of Cock Fighting was* conducted) because of the number of battles fought in the vicinity it now occupies. Alternatively, according to James May on Top Gear “Belgium: A country invented so that Britain and Germany would have a place to sort out their differences”. Actually a country created to put an end to Franco-Dutch border disputes starting more wars.
Flanders is pretty flat so any sort elevation, however slight, has been of military significance since people were hitting each other over the head with rocks. It was the blank sheet on which Vauban and Van Coehoorn practiced geometry. Human remains from WW1 are still being found and even the occasional straggler from WW2, while a mass grave found last autumn in Holland by city workers of Vianen excavating a disused moat that once surrounded Batestein Castle is now believed to be around 80 British casualties from the War of the First Coalition (1792-1797), possibly from a field hospital mentioned in a local newspaper in December 1794.
It’s not just in Europe this sort of thing happens, the recent bout of unpleasantness in Gaza is just the latest in a long list going back to antiquity, to at least the end of the 4th millennium B.C. when the Egyptians established a fortified settlement (discovered in 1993, bulldozed by the HAMAS administration in 2017). There were two battles there between British & Commonwealth forces and those of the Ottoman Empire in 1917 and Napoleon claimed to have razed the city’s fortifications in 1799. Some 20 miles south of Gaza City near the southern extremity of the Gaza Strip is Rafah, now largely devastated by the construction of a border zone through it. First recorded as Rph in 1303 B.C. it was the location of an Assyrian victory over the Egyptians in 720 B.C. while in 217 B.C. the Battle of Raphia was one of the biggest in the Hellenistic Era, with Ptolemy IV’s 75,000 Egyptians defeating Antiochus III’s 68,000 Seleucids (quite overshadowing a little backwater skirmish at a place called Cannae the next year where Hannibal’s 50,000 strong army routed 86,000 Romans). Raphia was taken by the Hasmonean Judean King Alexander Jannaeus around 100 B.C. and in 96 B.C. he took Gaza, massacring many inhabitants. Raphia was later taken by a Muslim army in 635 A.D.
In the same neighbourhood, in Egypt in 2012 archaeological excavations in the Ptolomaic temple and tomb complex of Taposiris Magna were expecting to find human remains, just not Italians and New Zealanders from the Second Battle of El Alamein in 1942… The archaeologists also found about sixty items of UXO, most of which they removed themselves (I’ve also heard of similar unofficial bomb disposal activities from a participant of a dig in the Orkneys back in the late 1970s or early ‘80s).
Regards,
M
*Or more correctly, “is”; in February this year a cockerel that had been fitted with a metal “spur” for an illegal cockfight killed its owner in southern India. The man was impaled in the groin as the fowl tried to escape and died on the way to hospital from loss of blood. I wonder what cause they put on the Death Certificate - “kicked in the nuts by a chicken”?
 !
!


 ! Thanks for the compliments bud.
 !
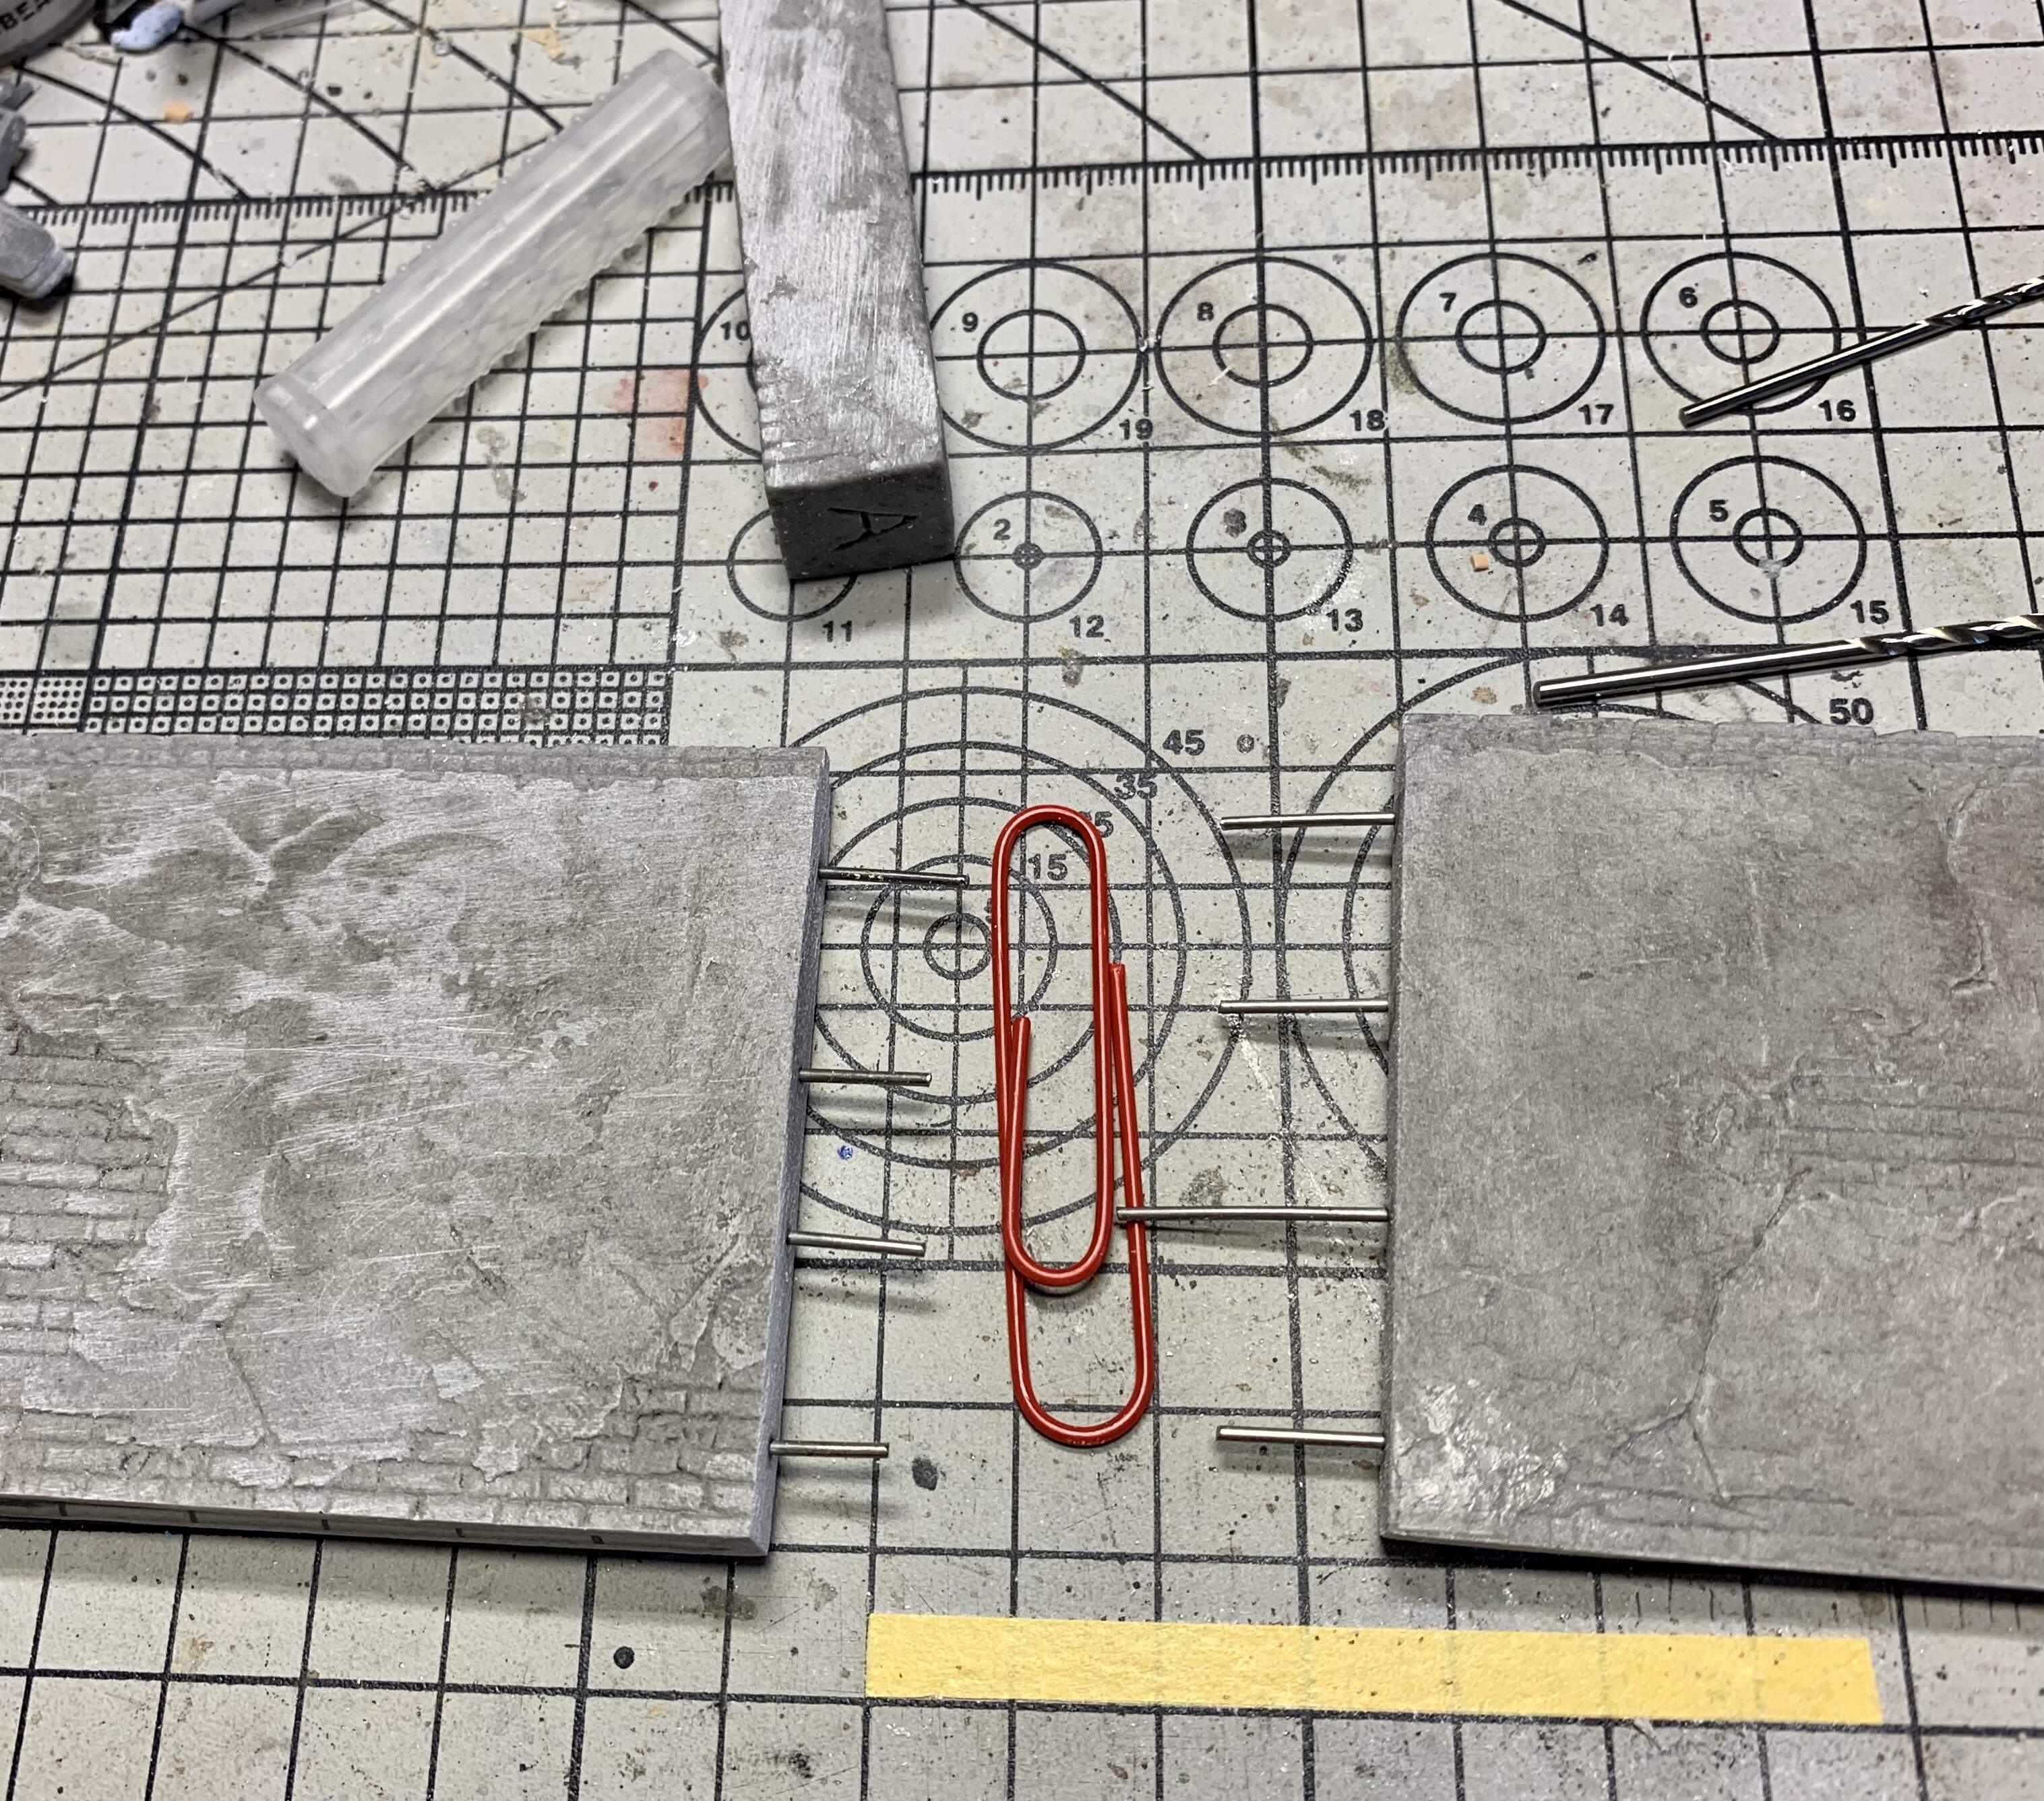
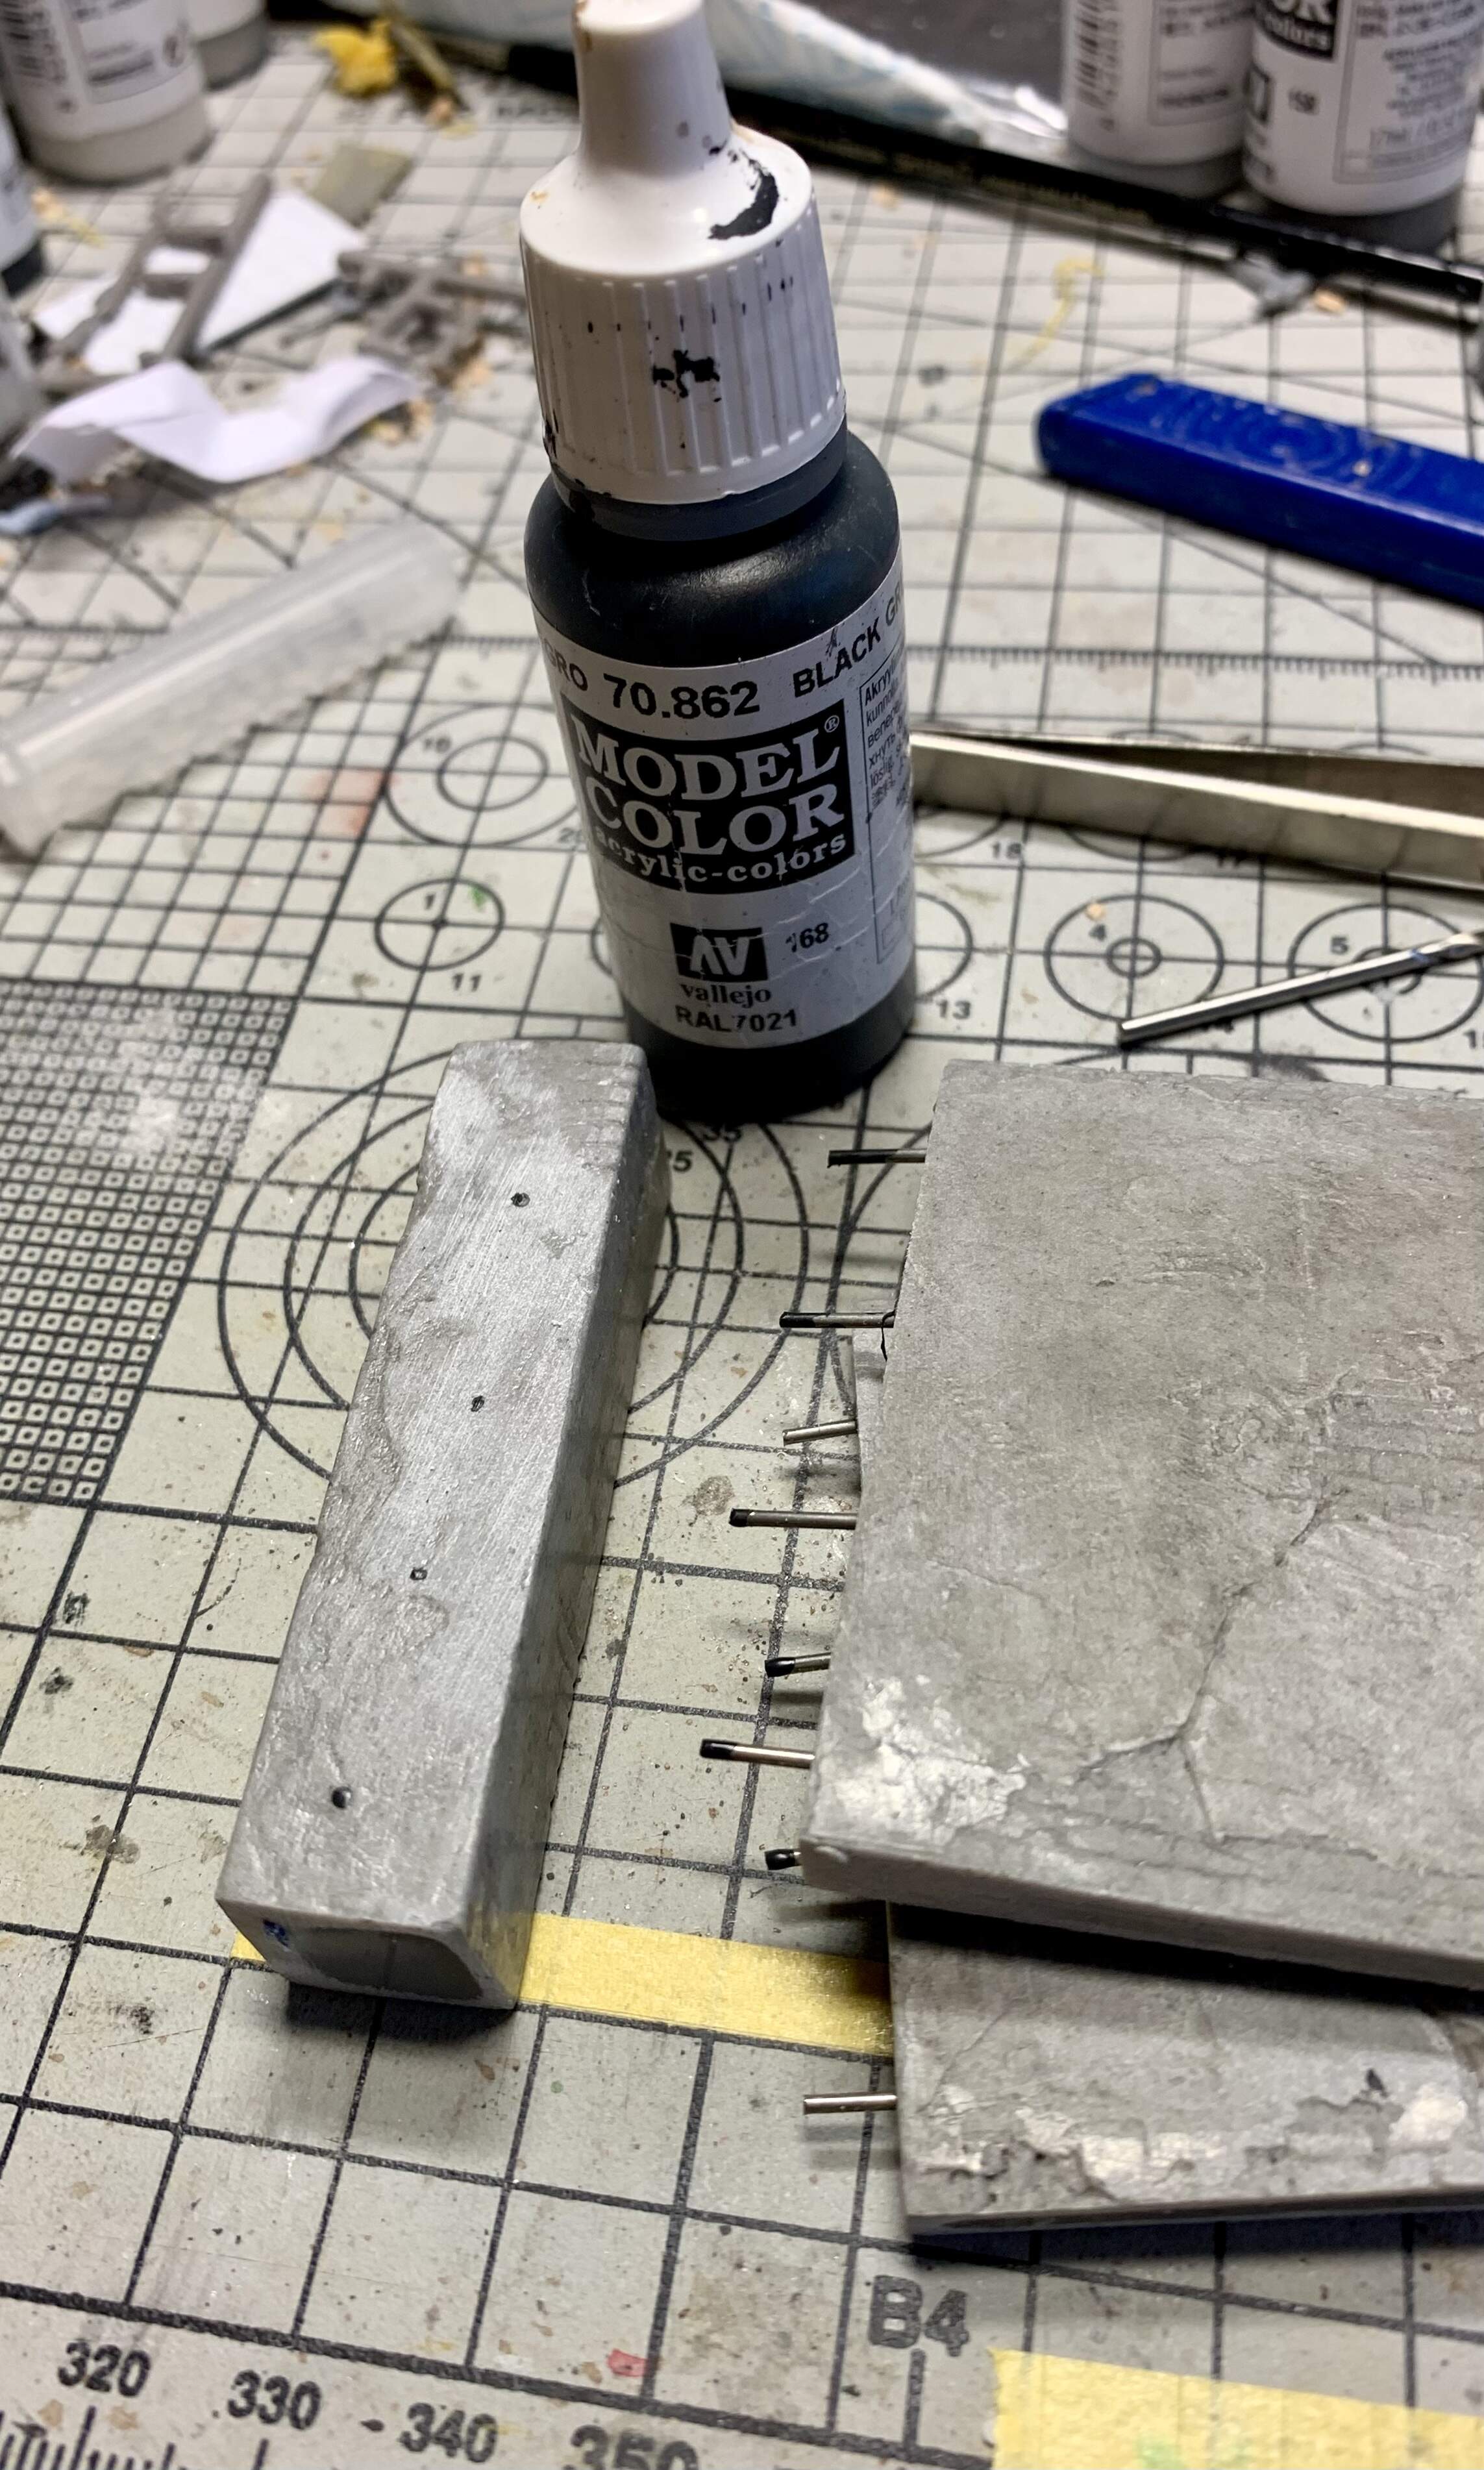
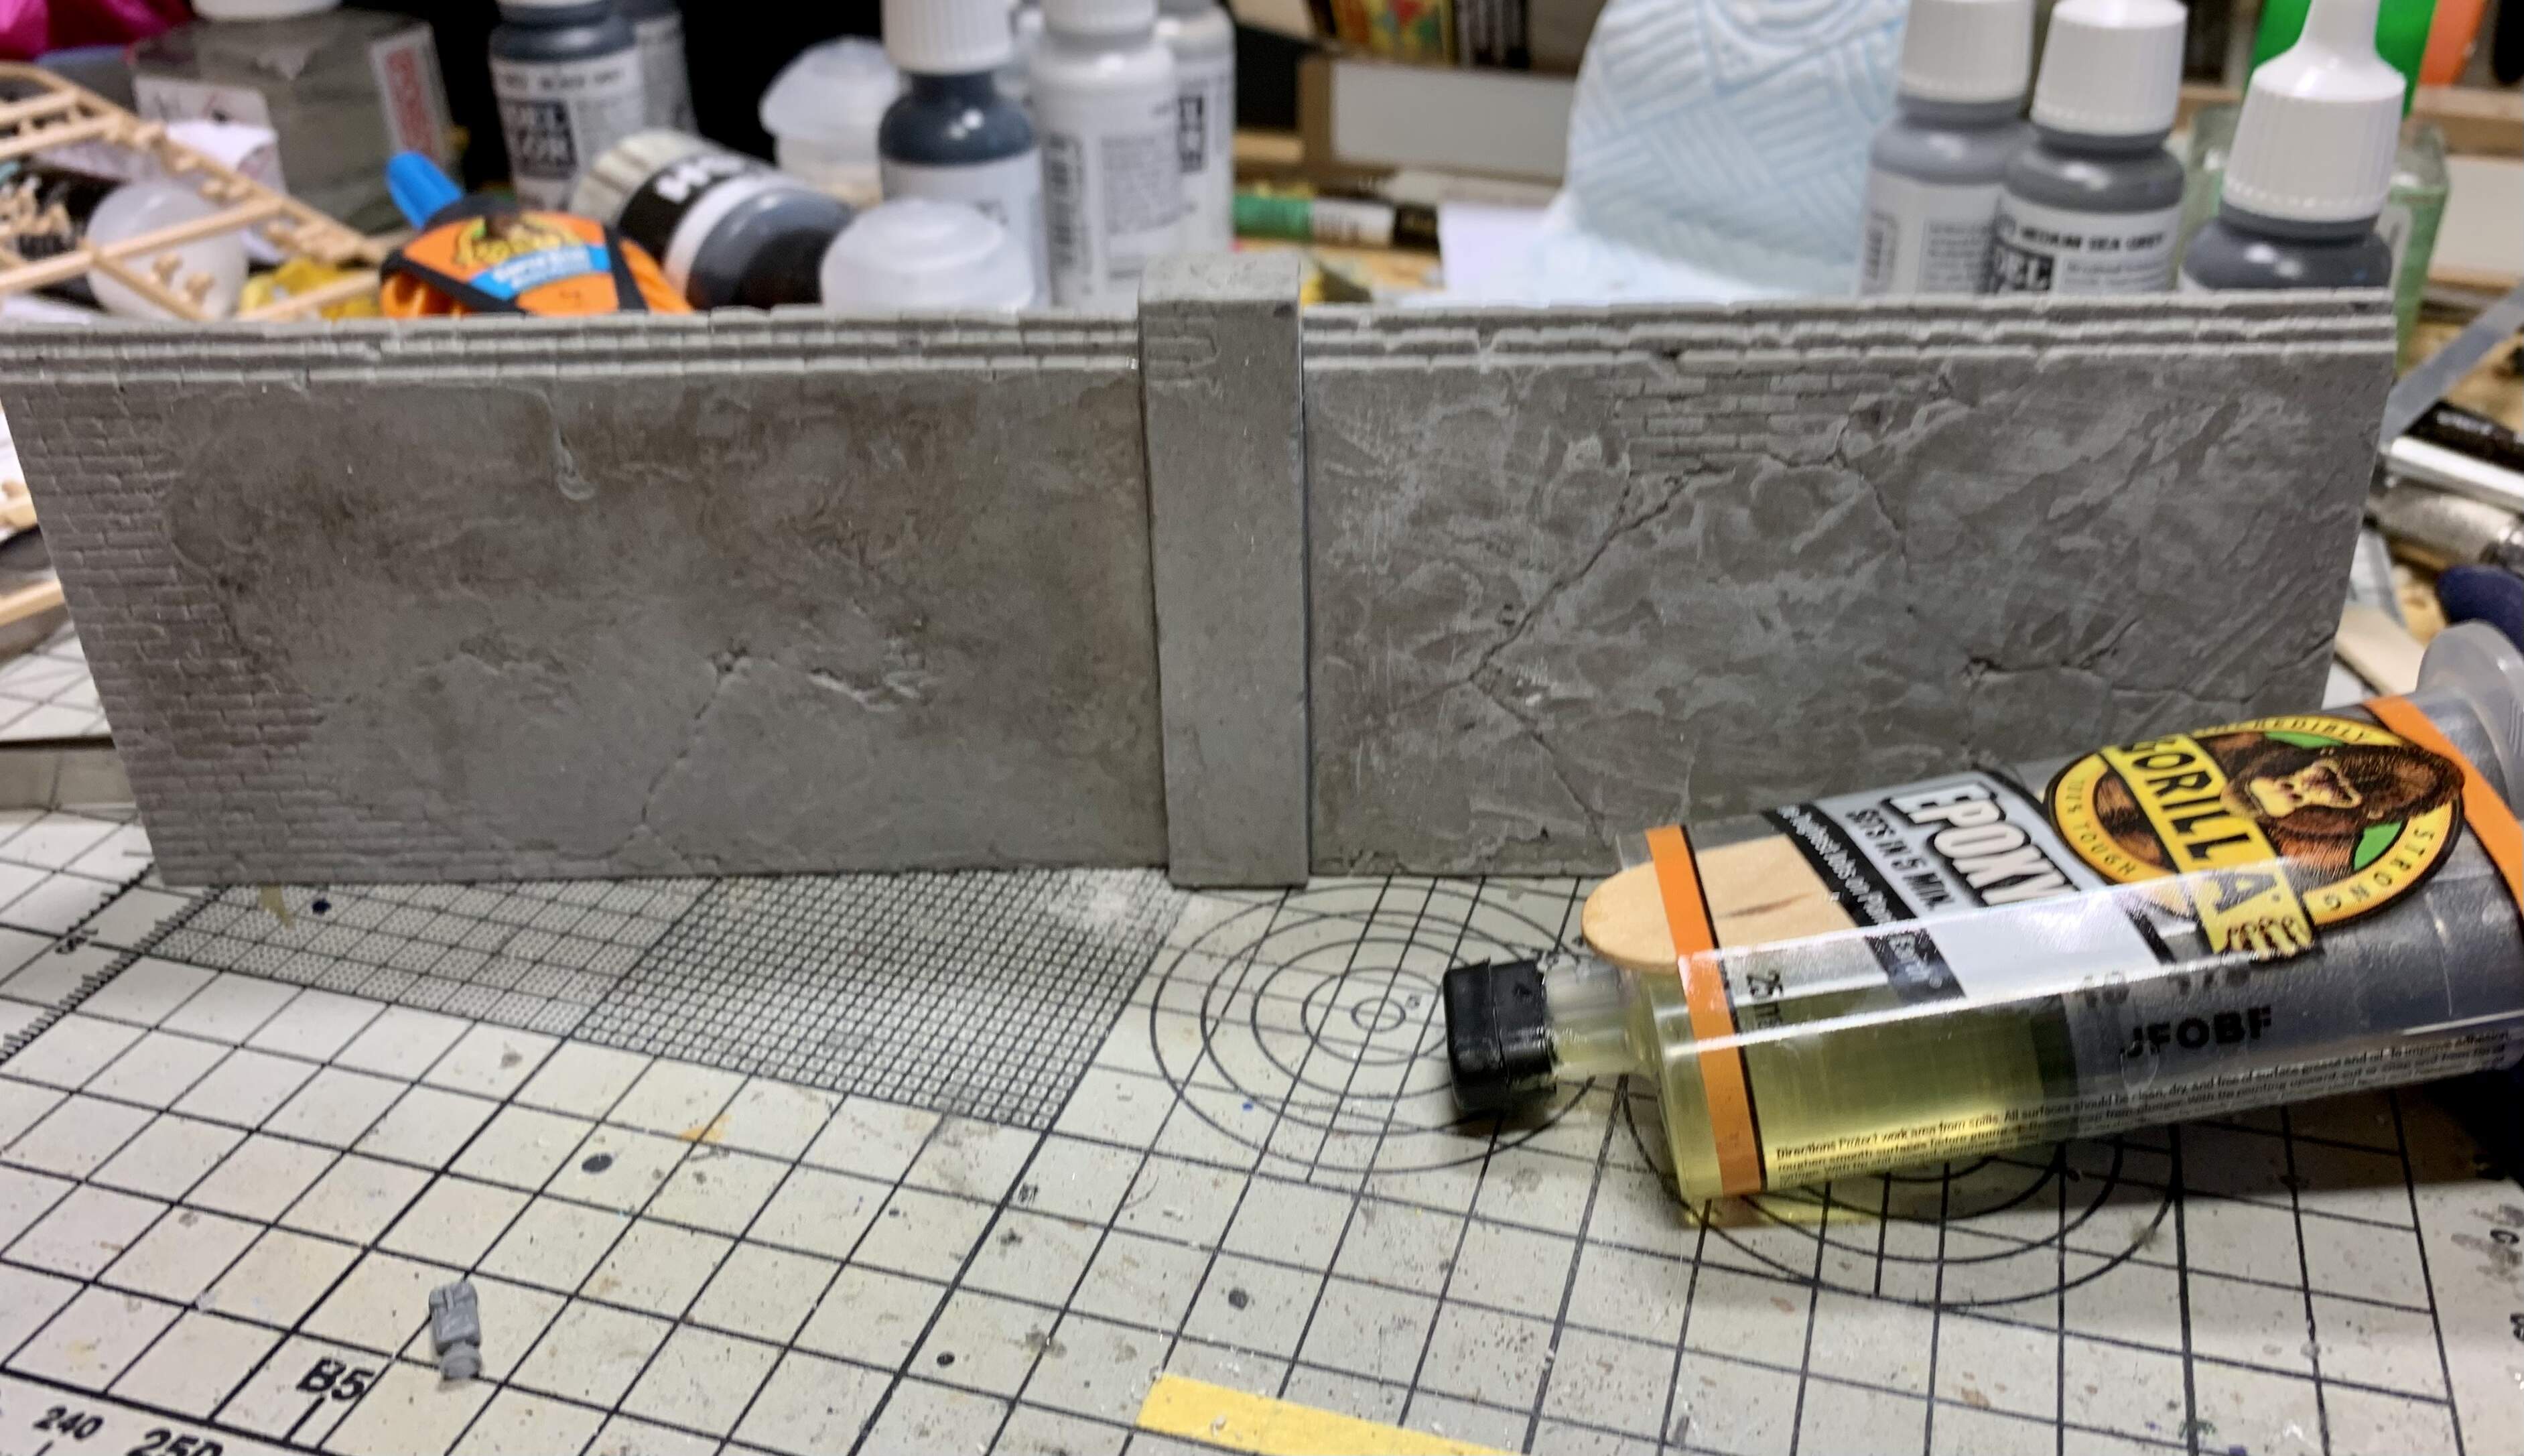
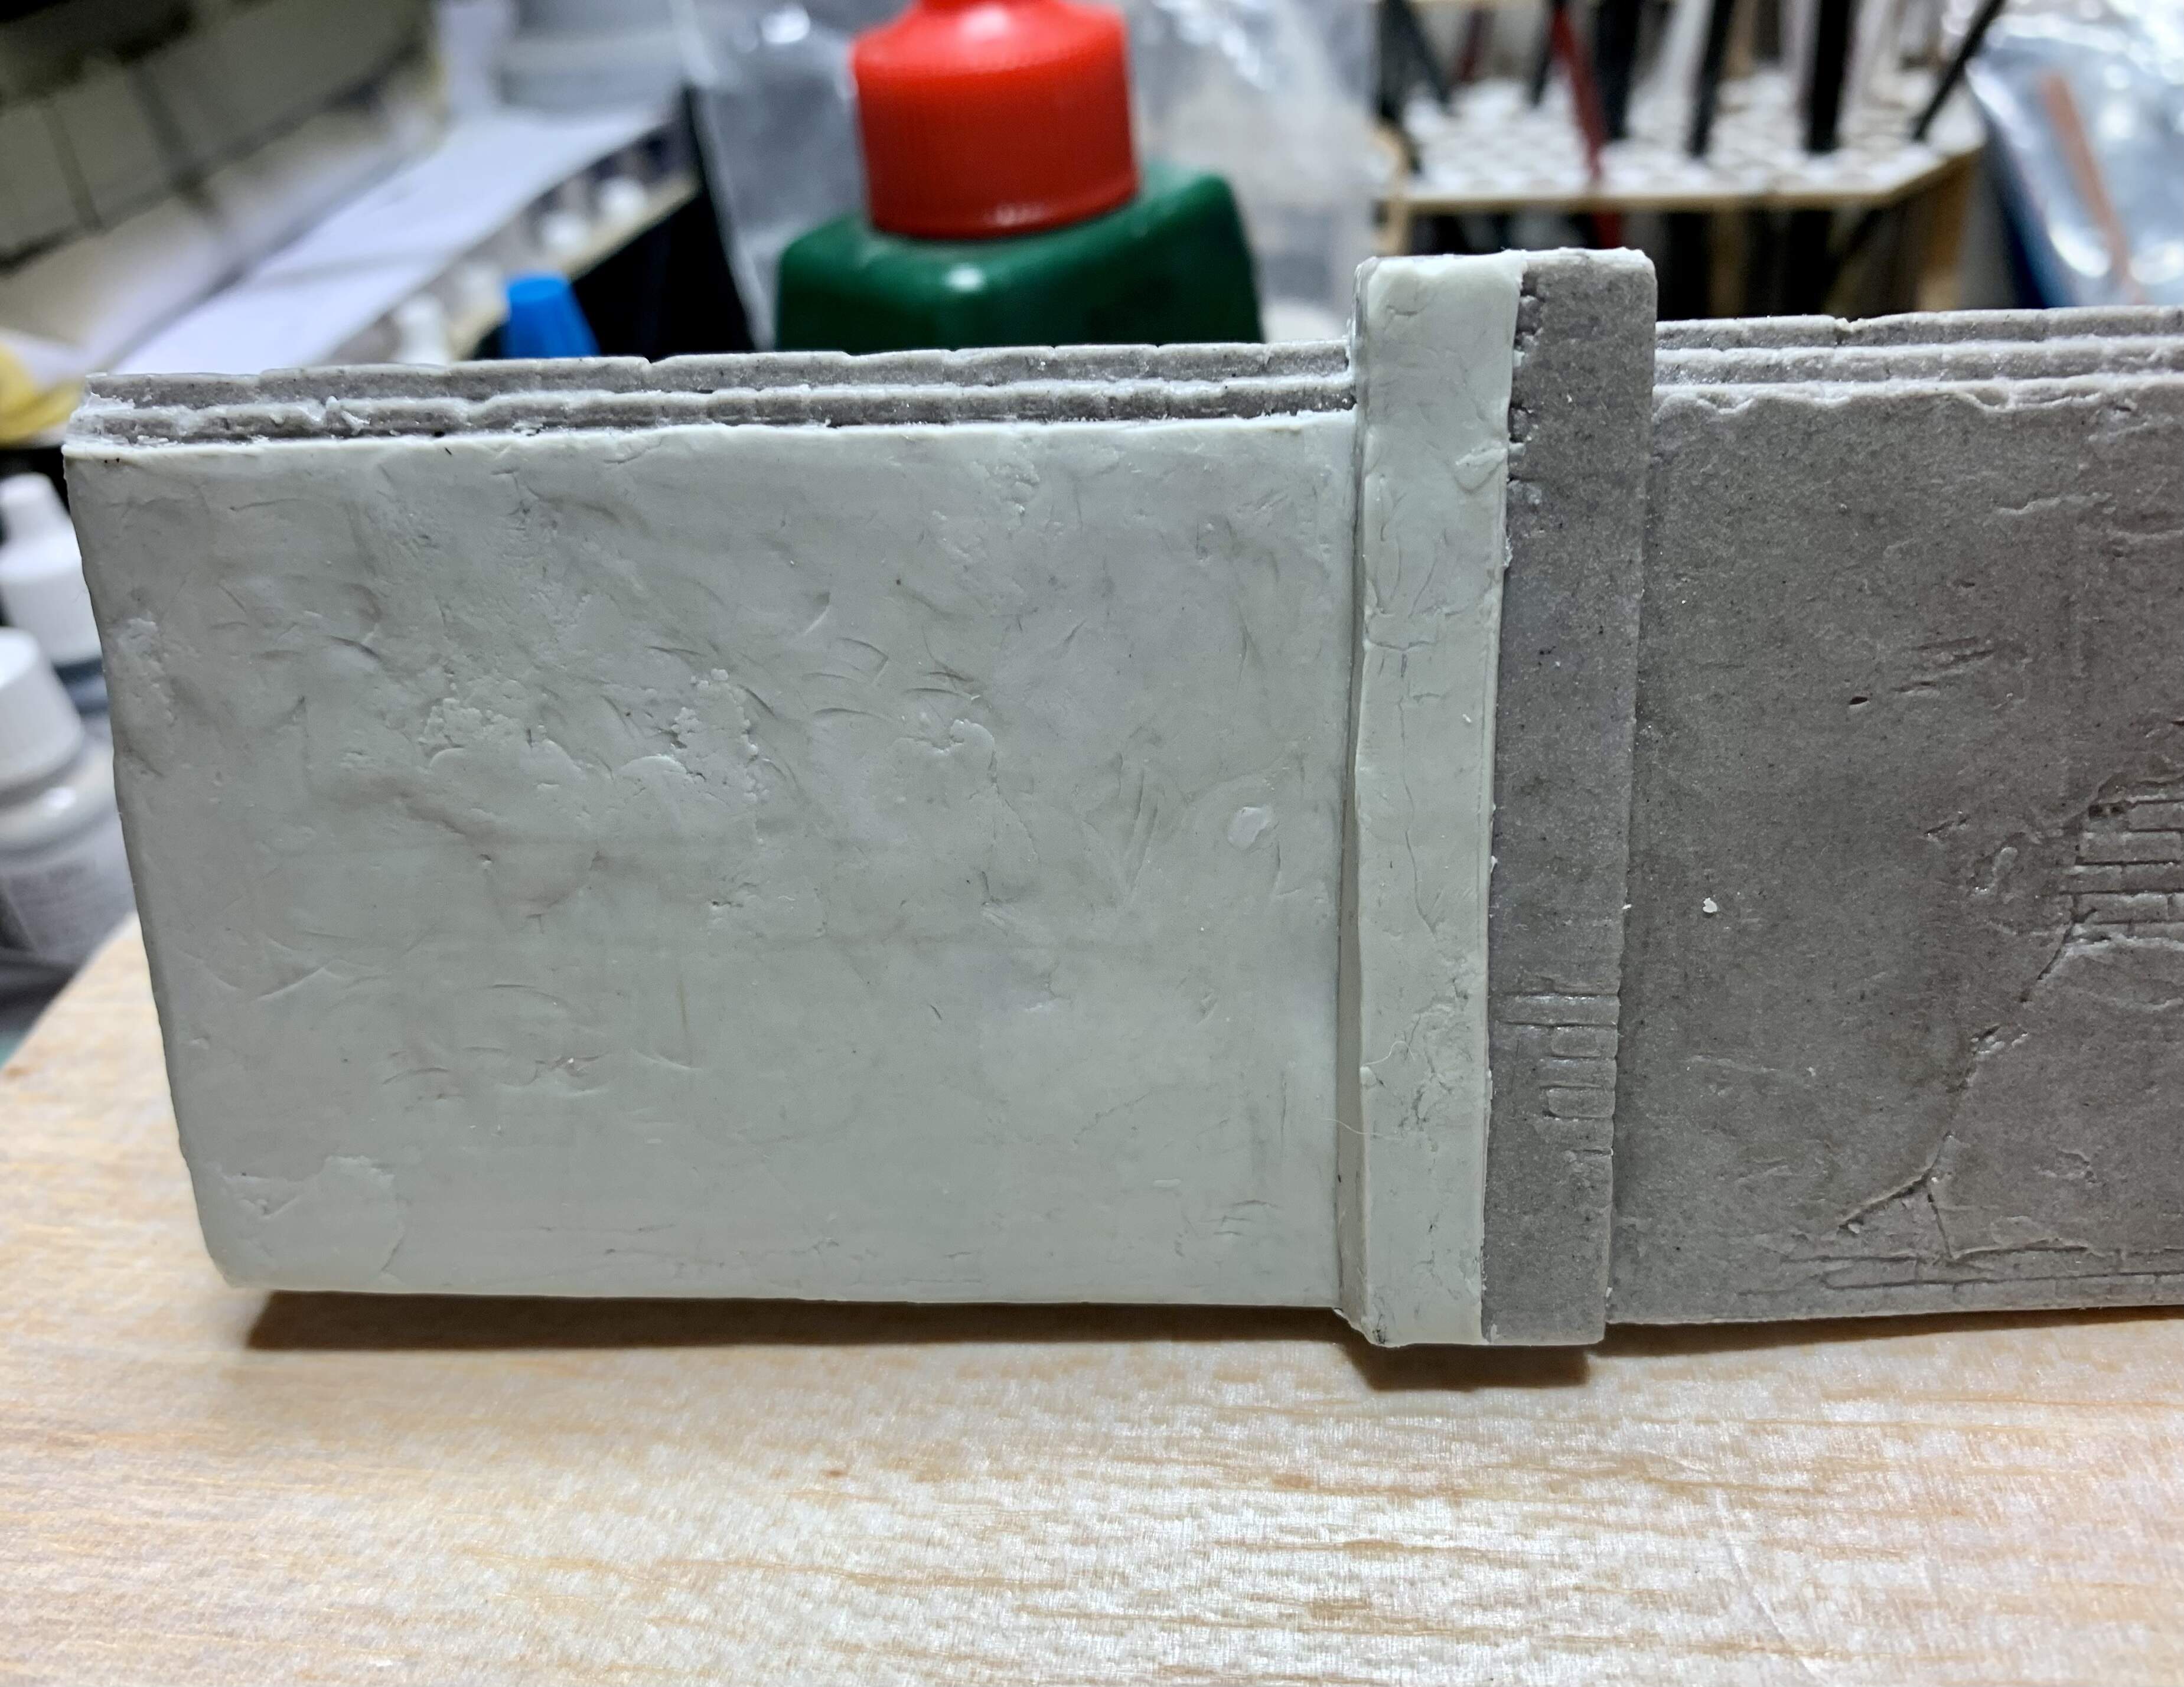
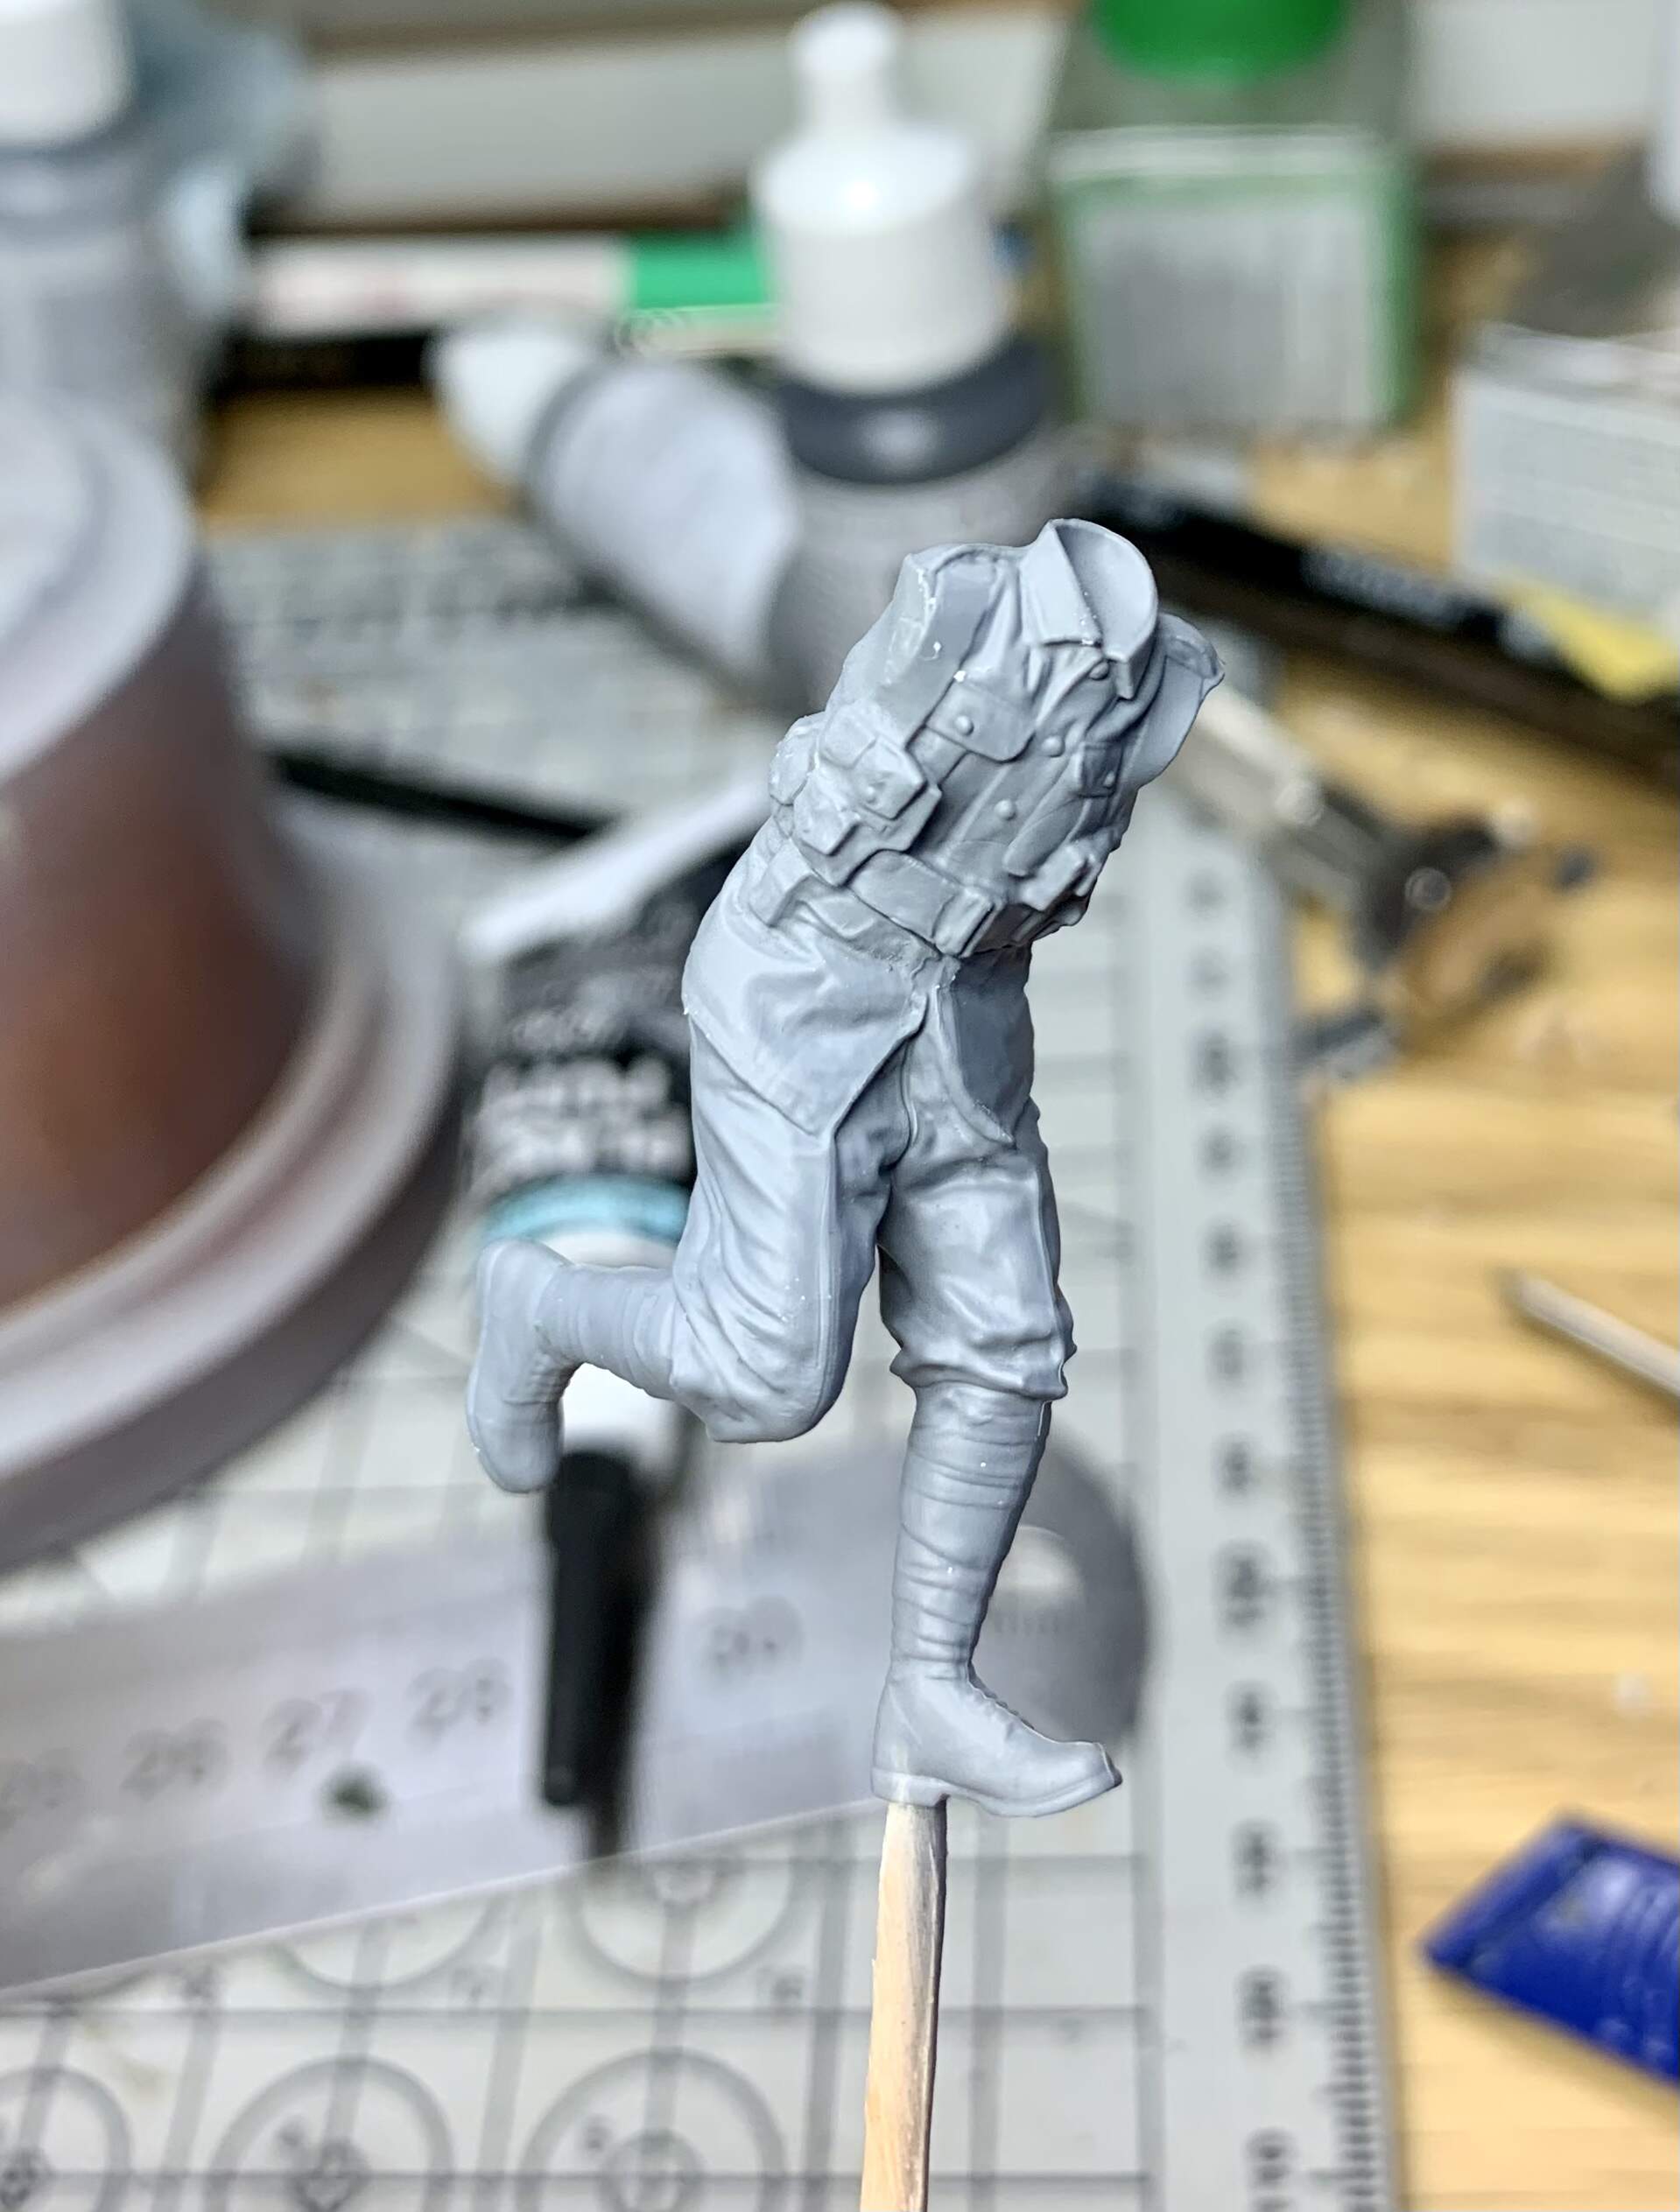
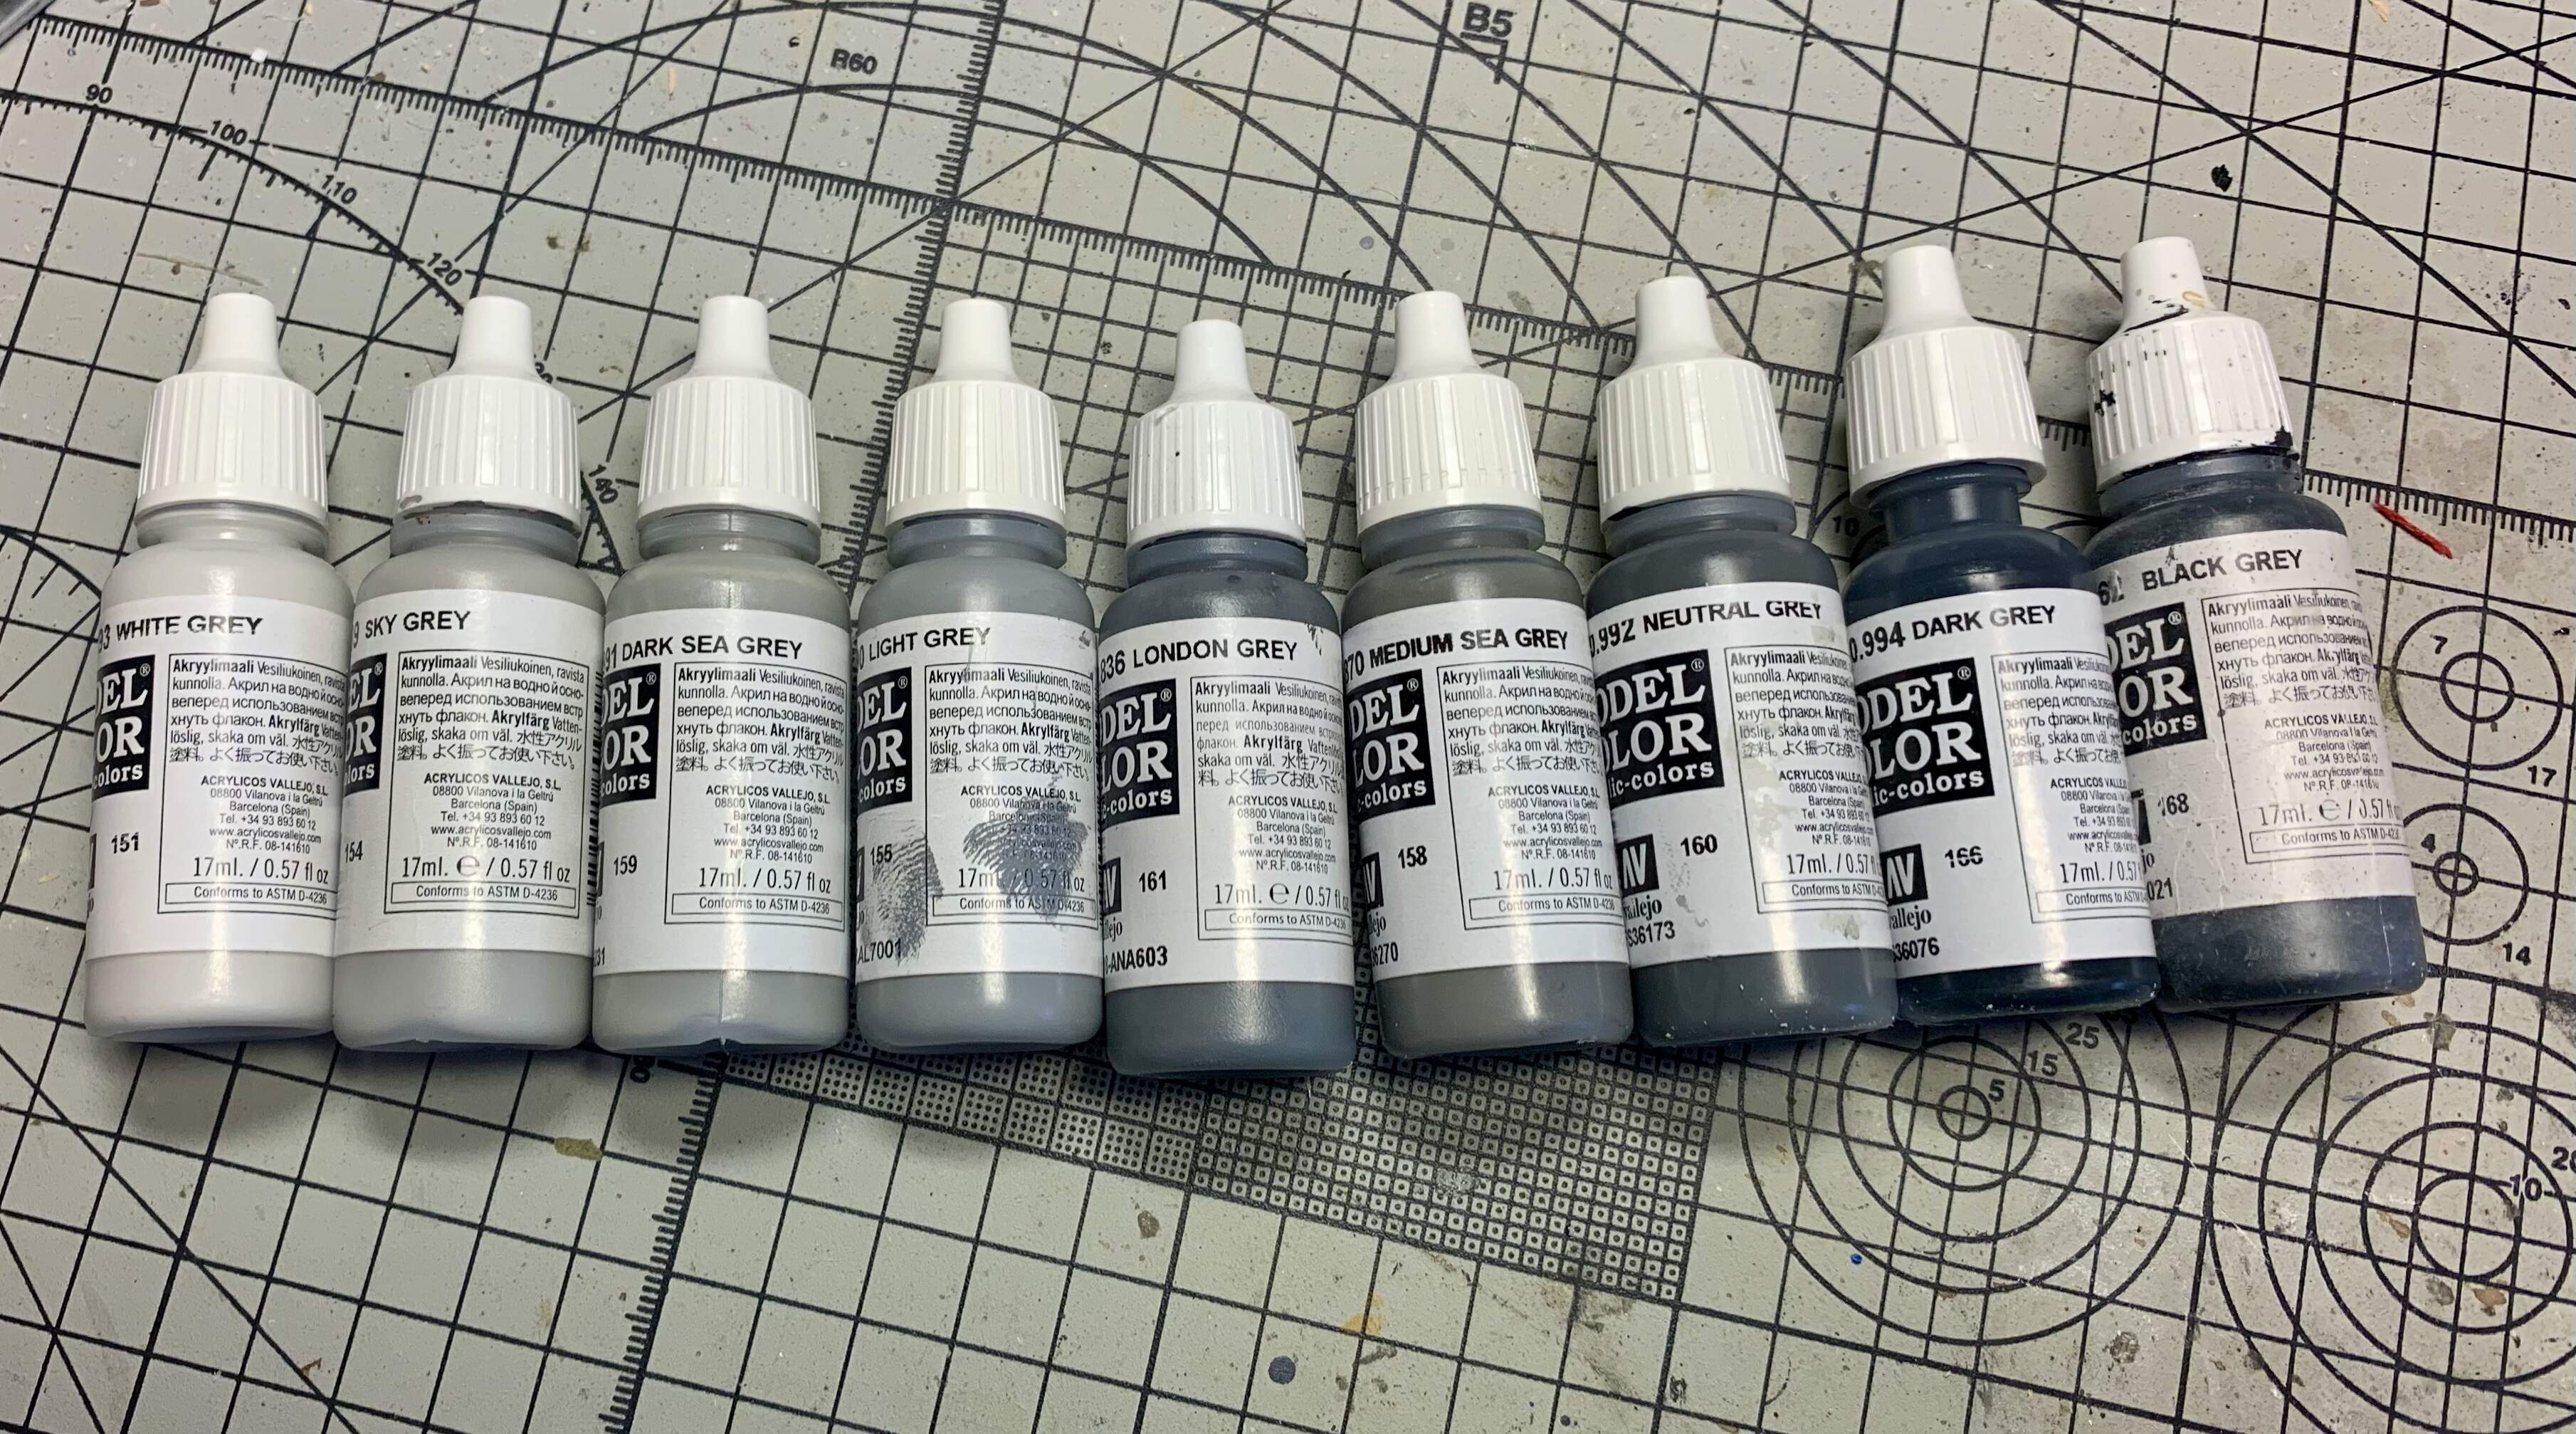
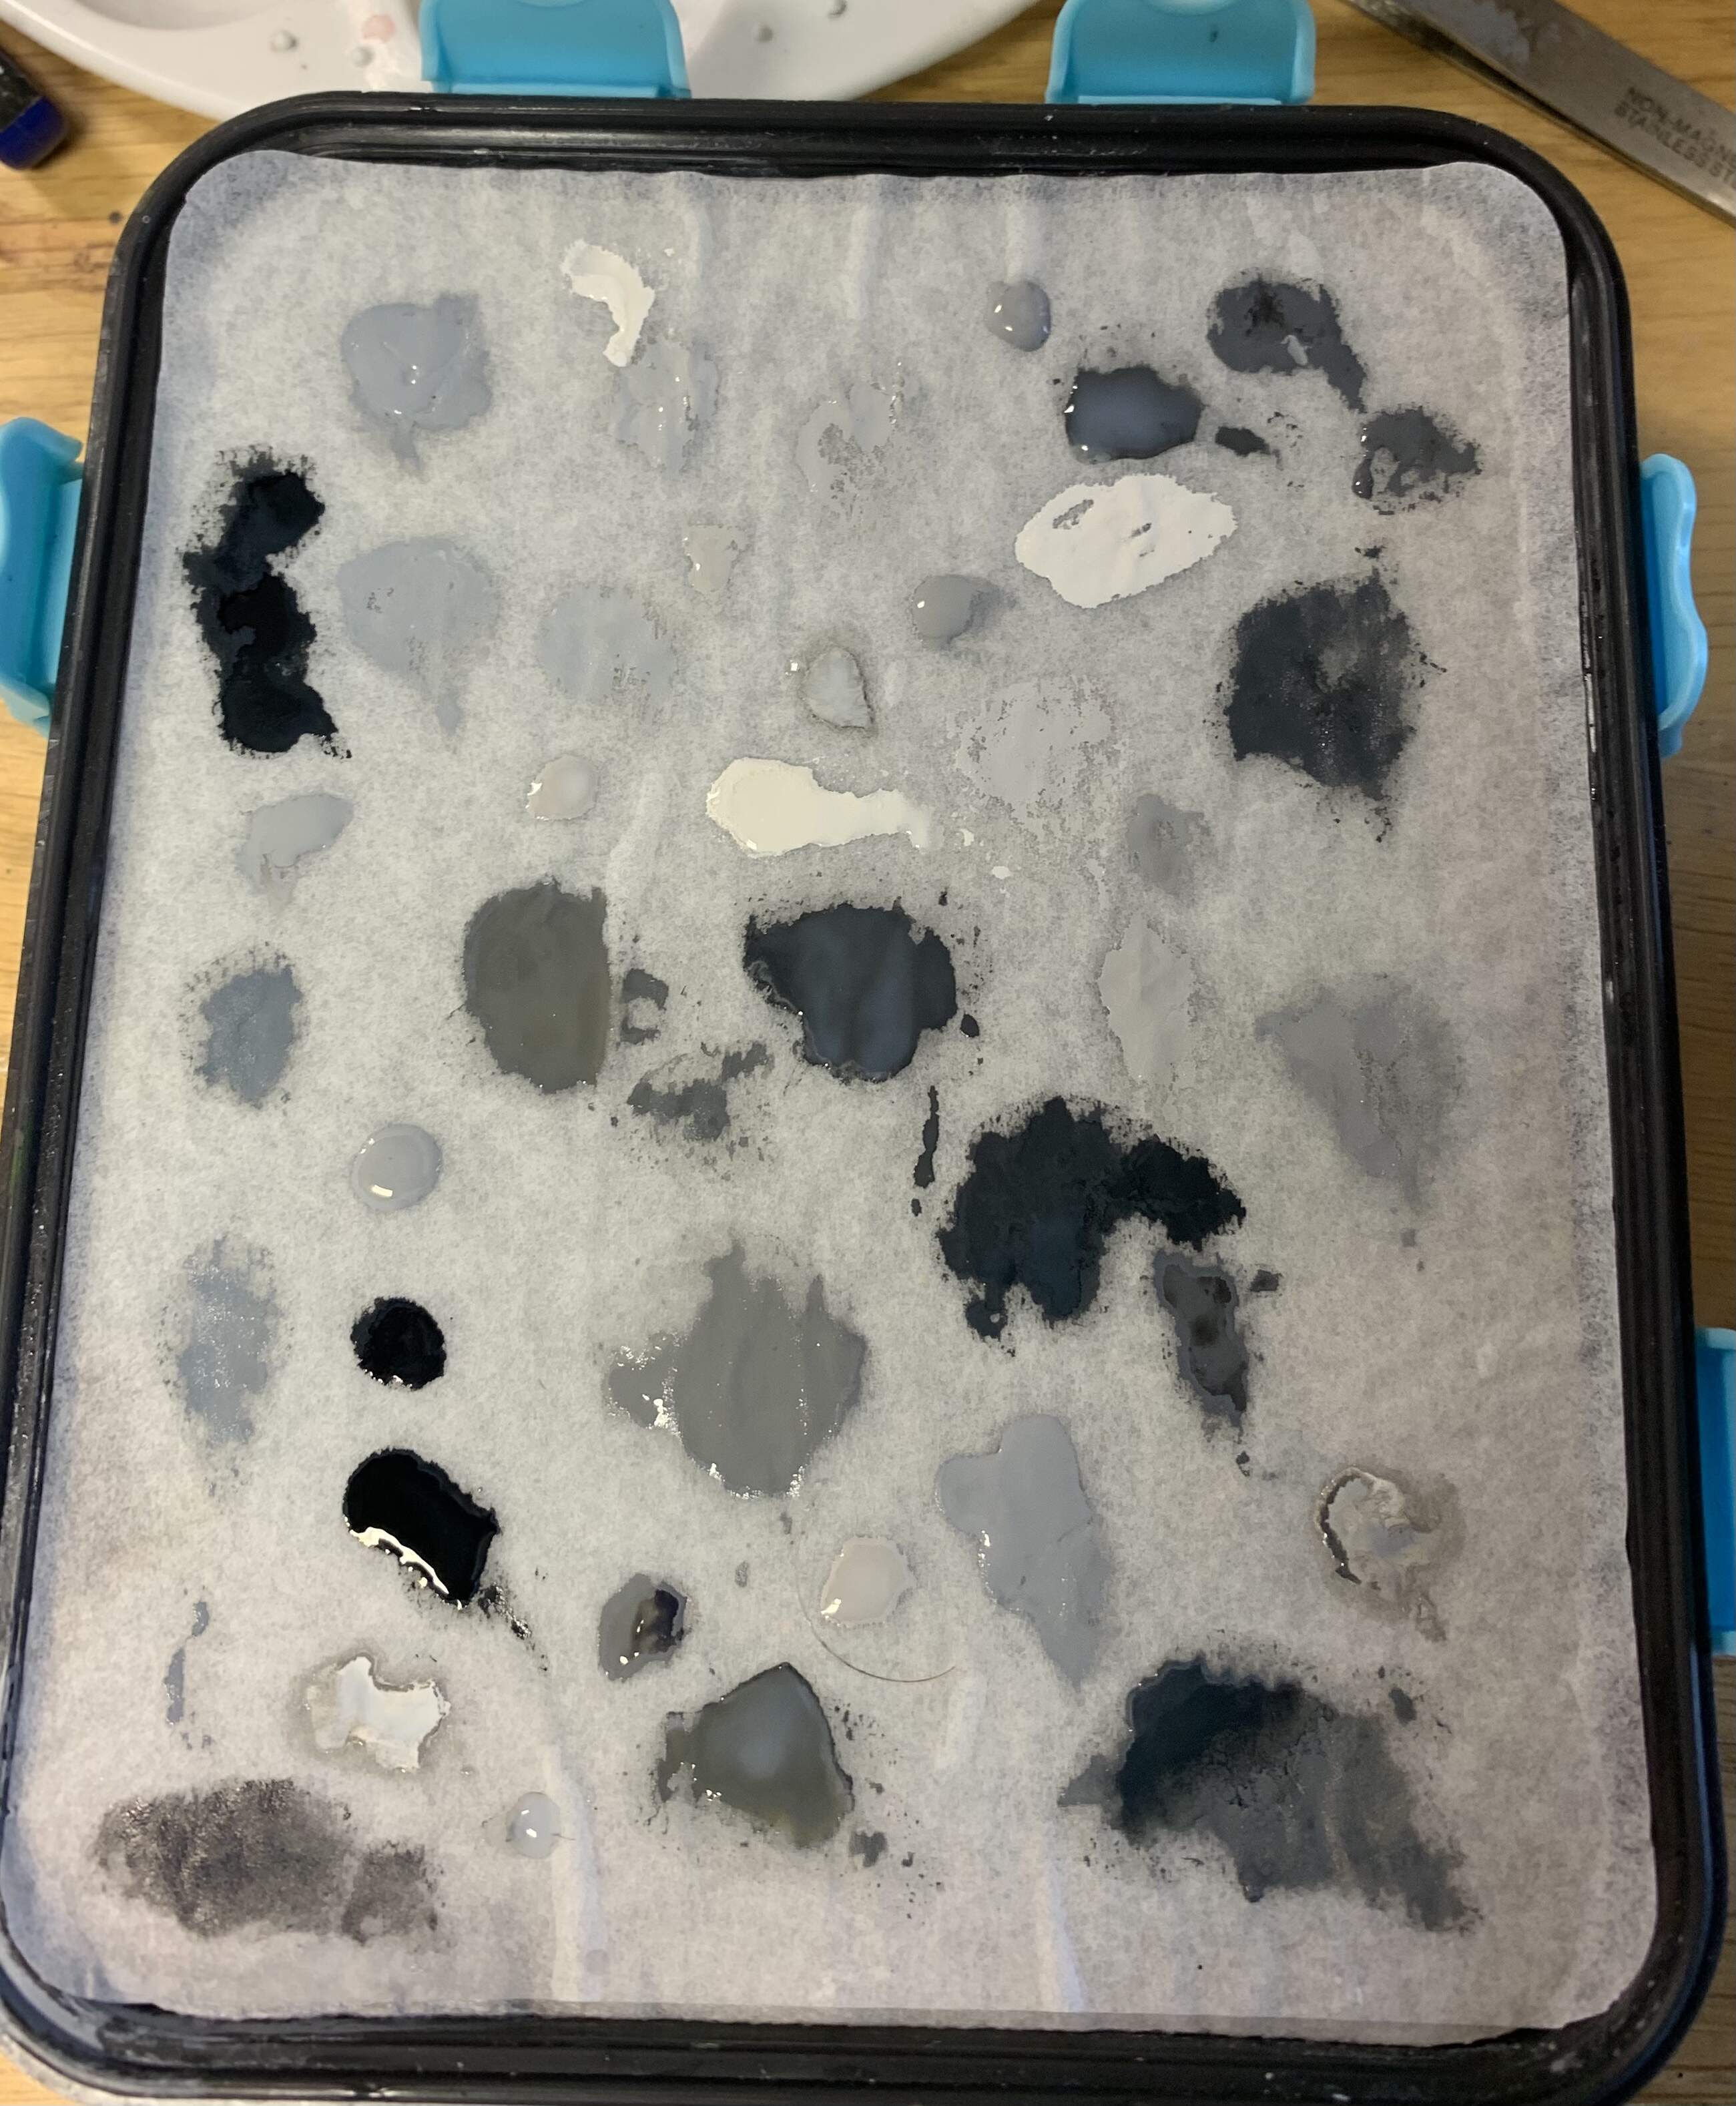
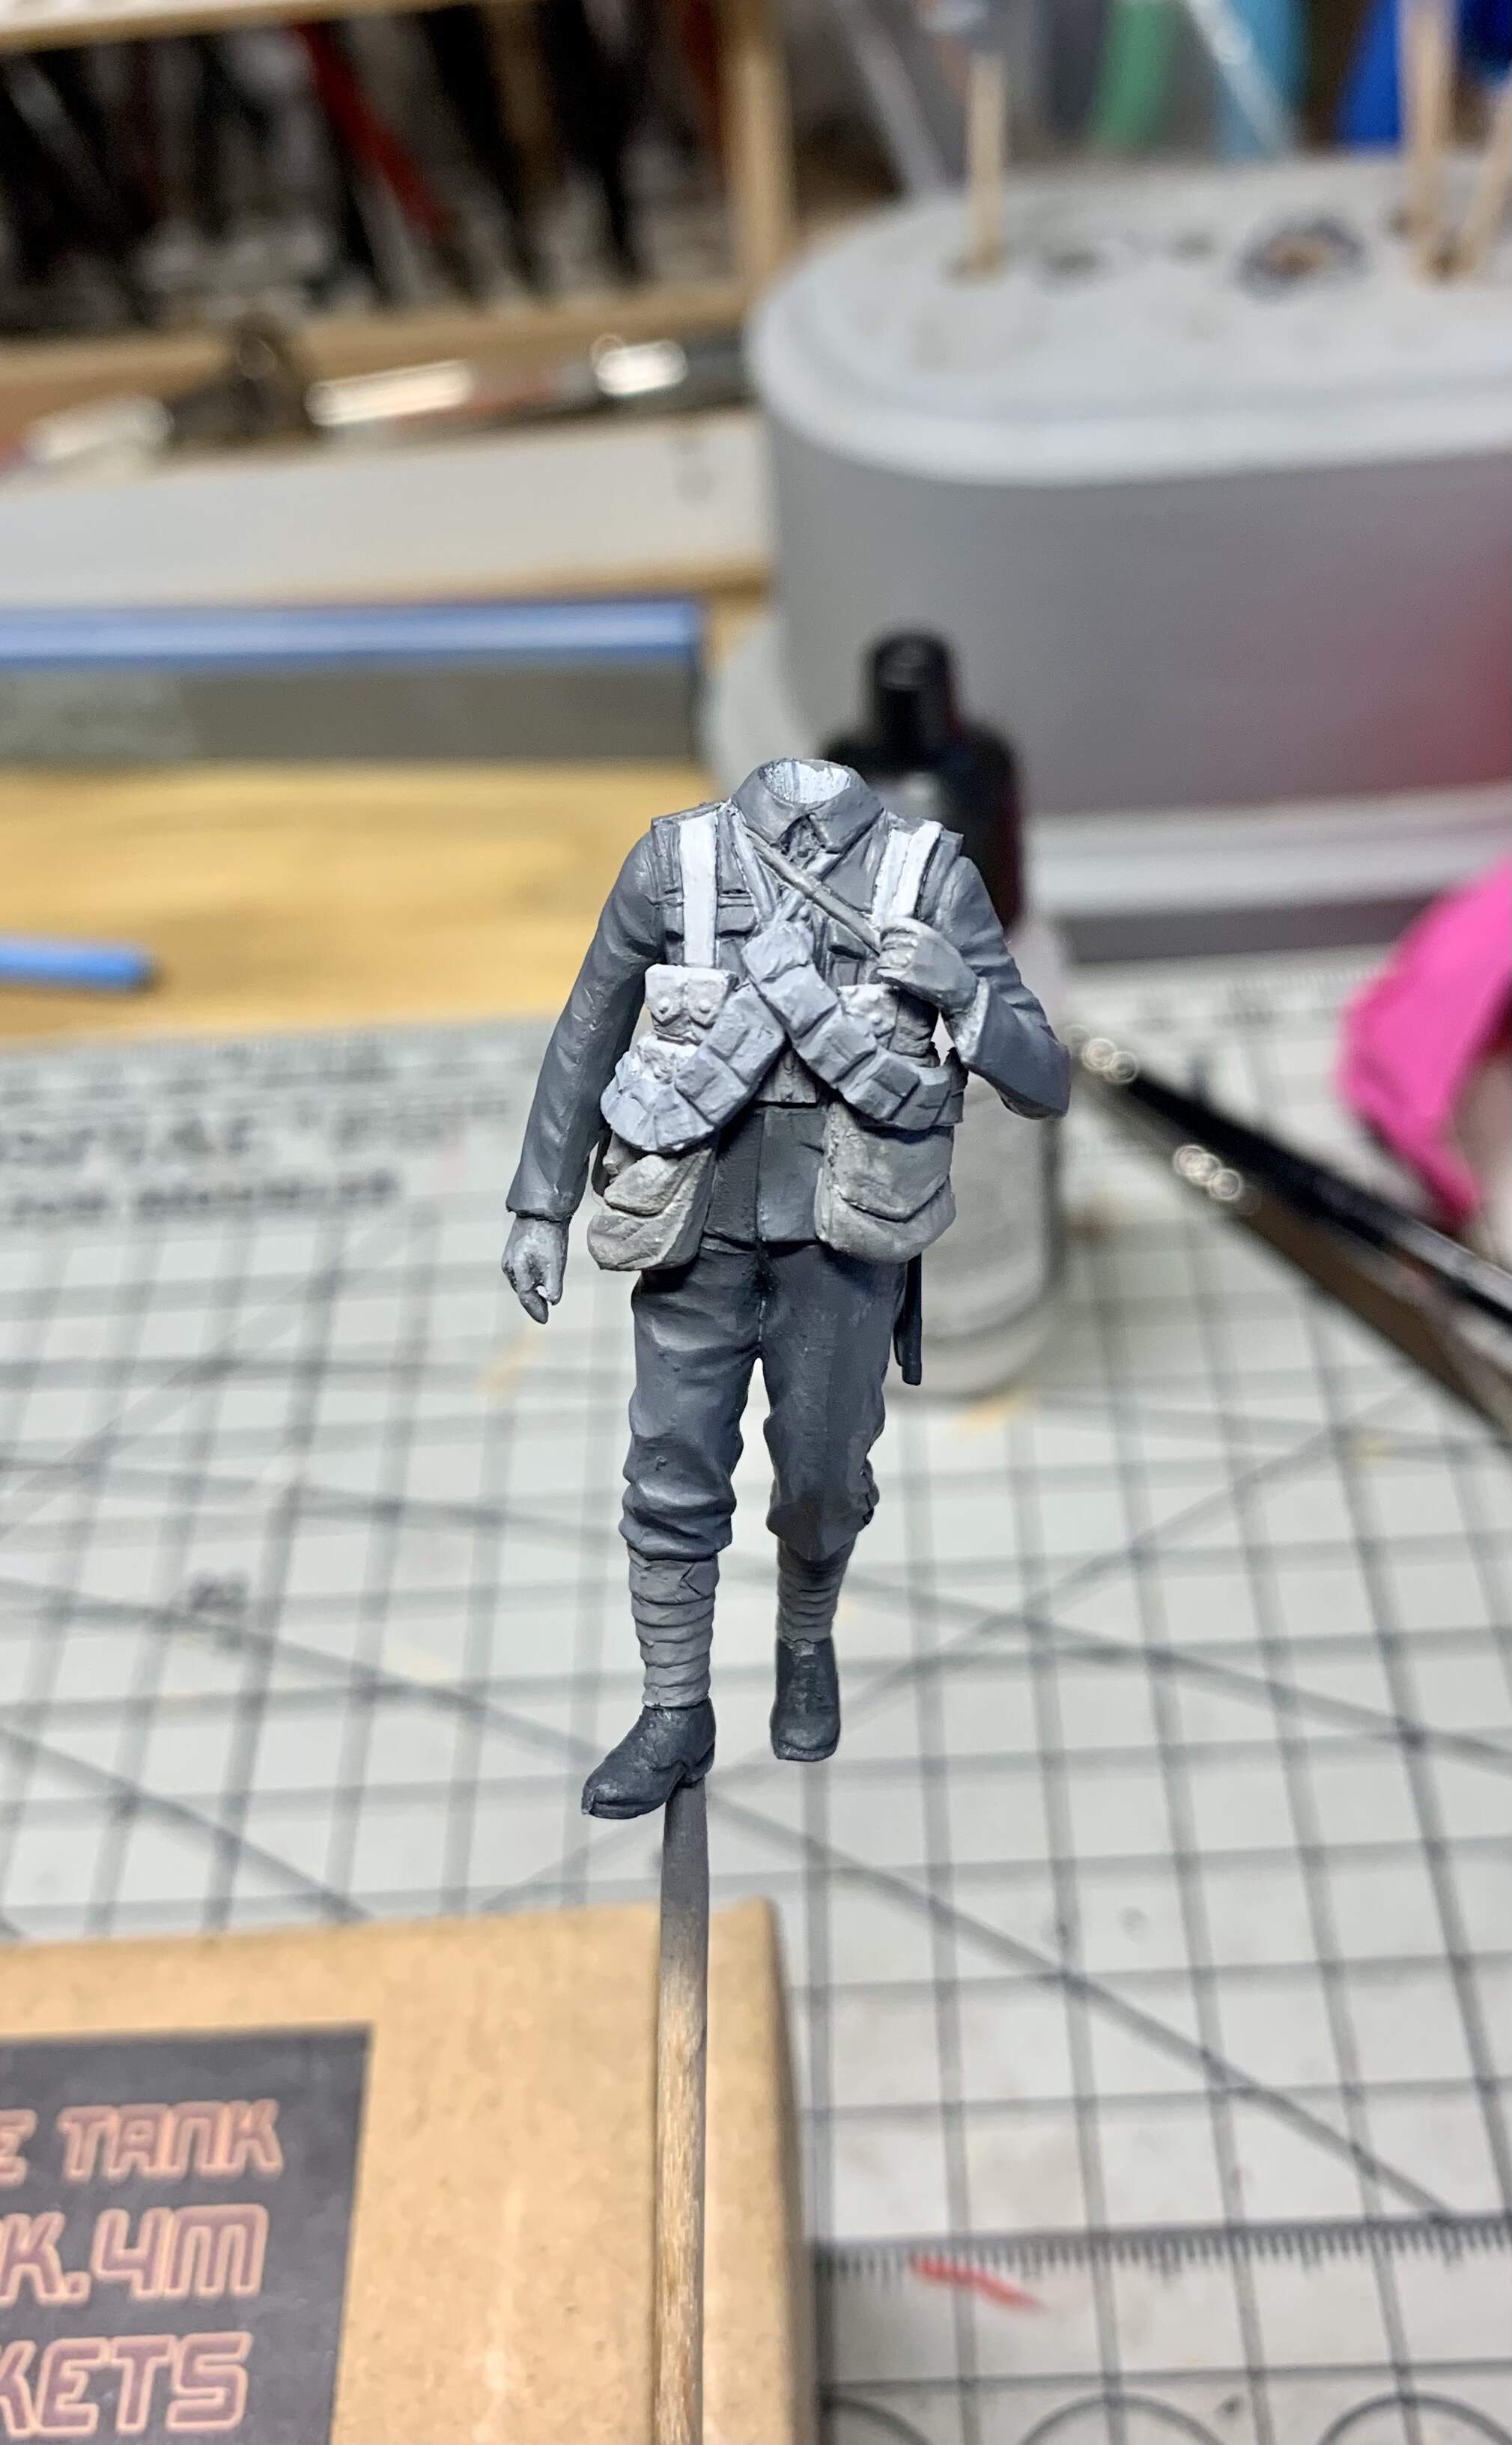
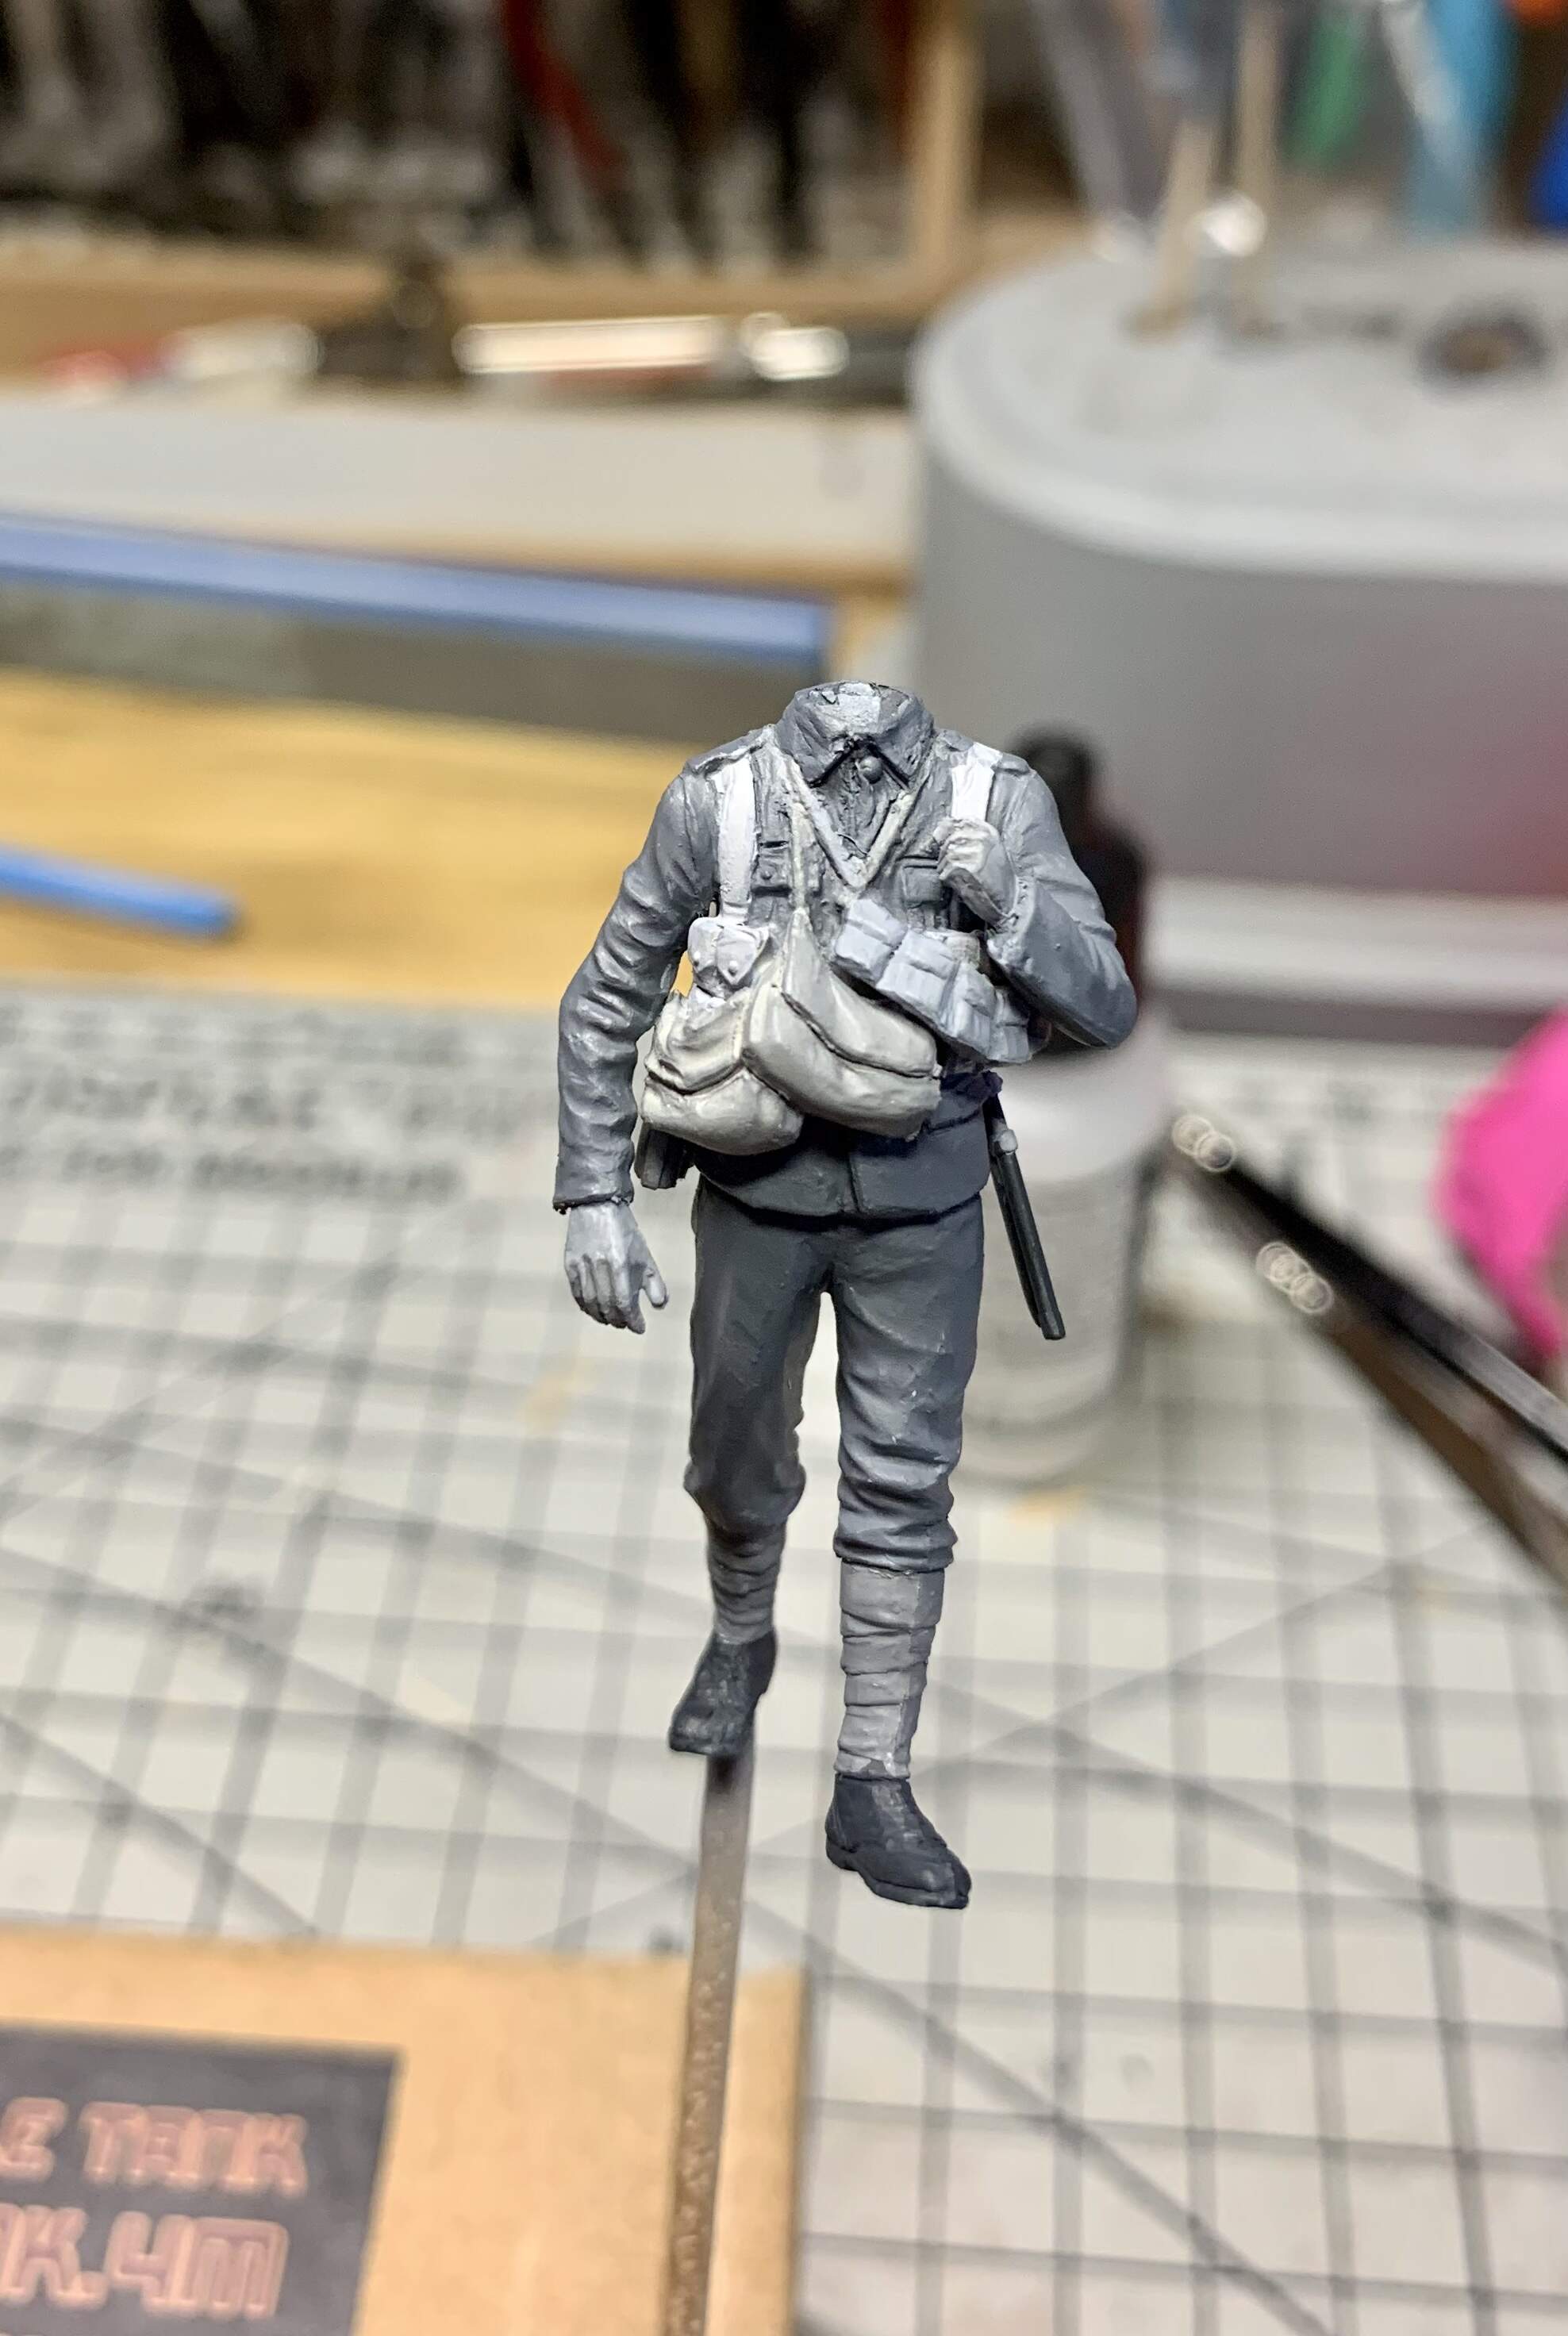
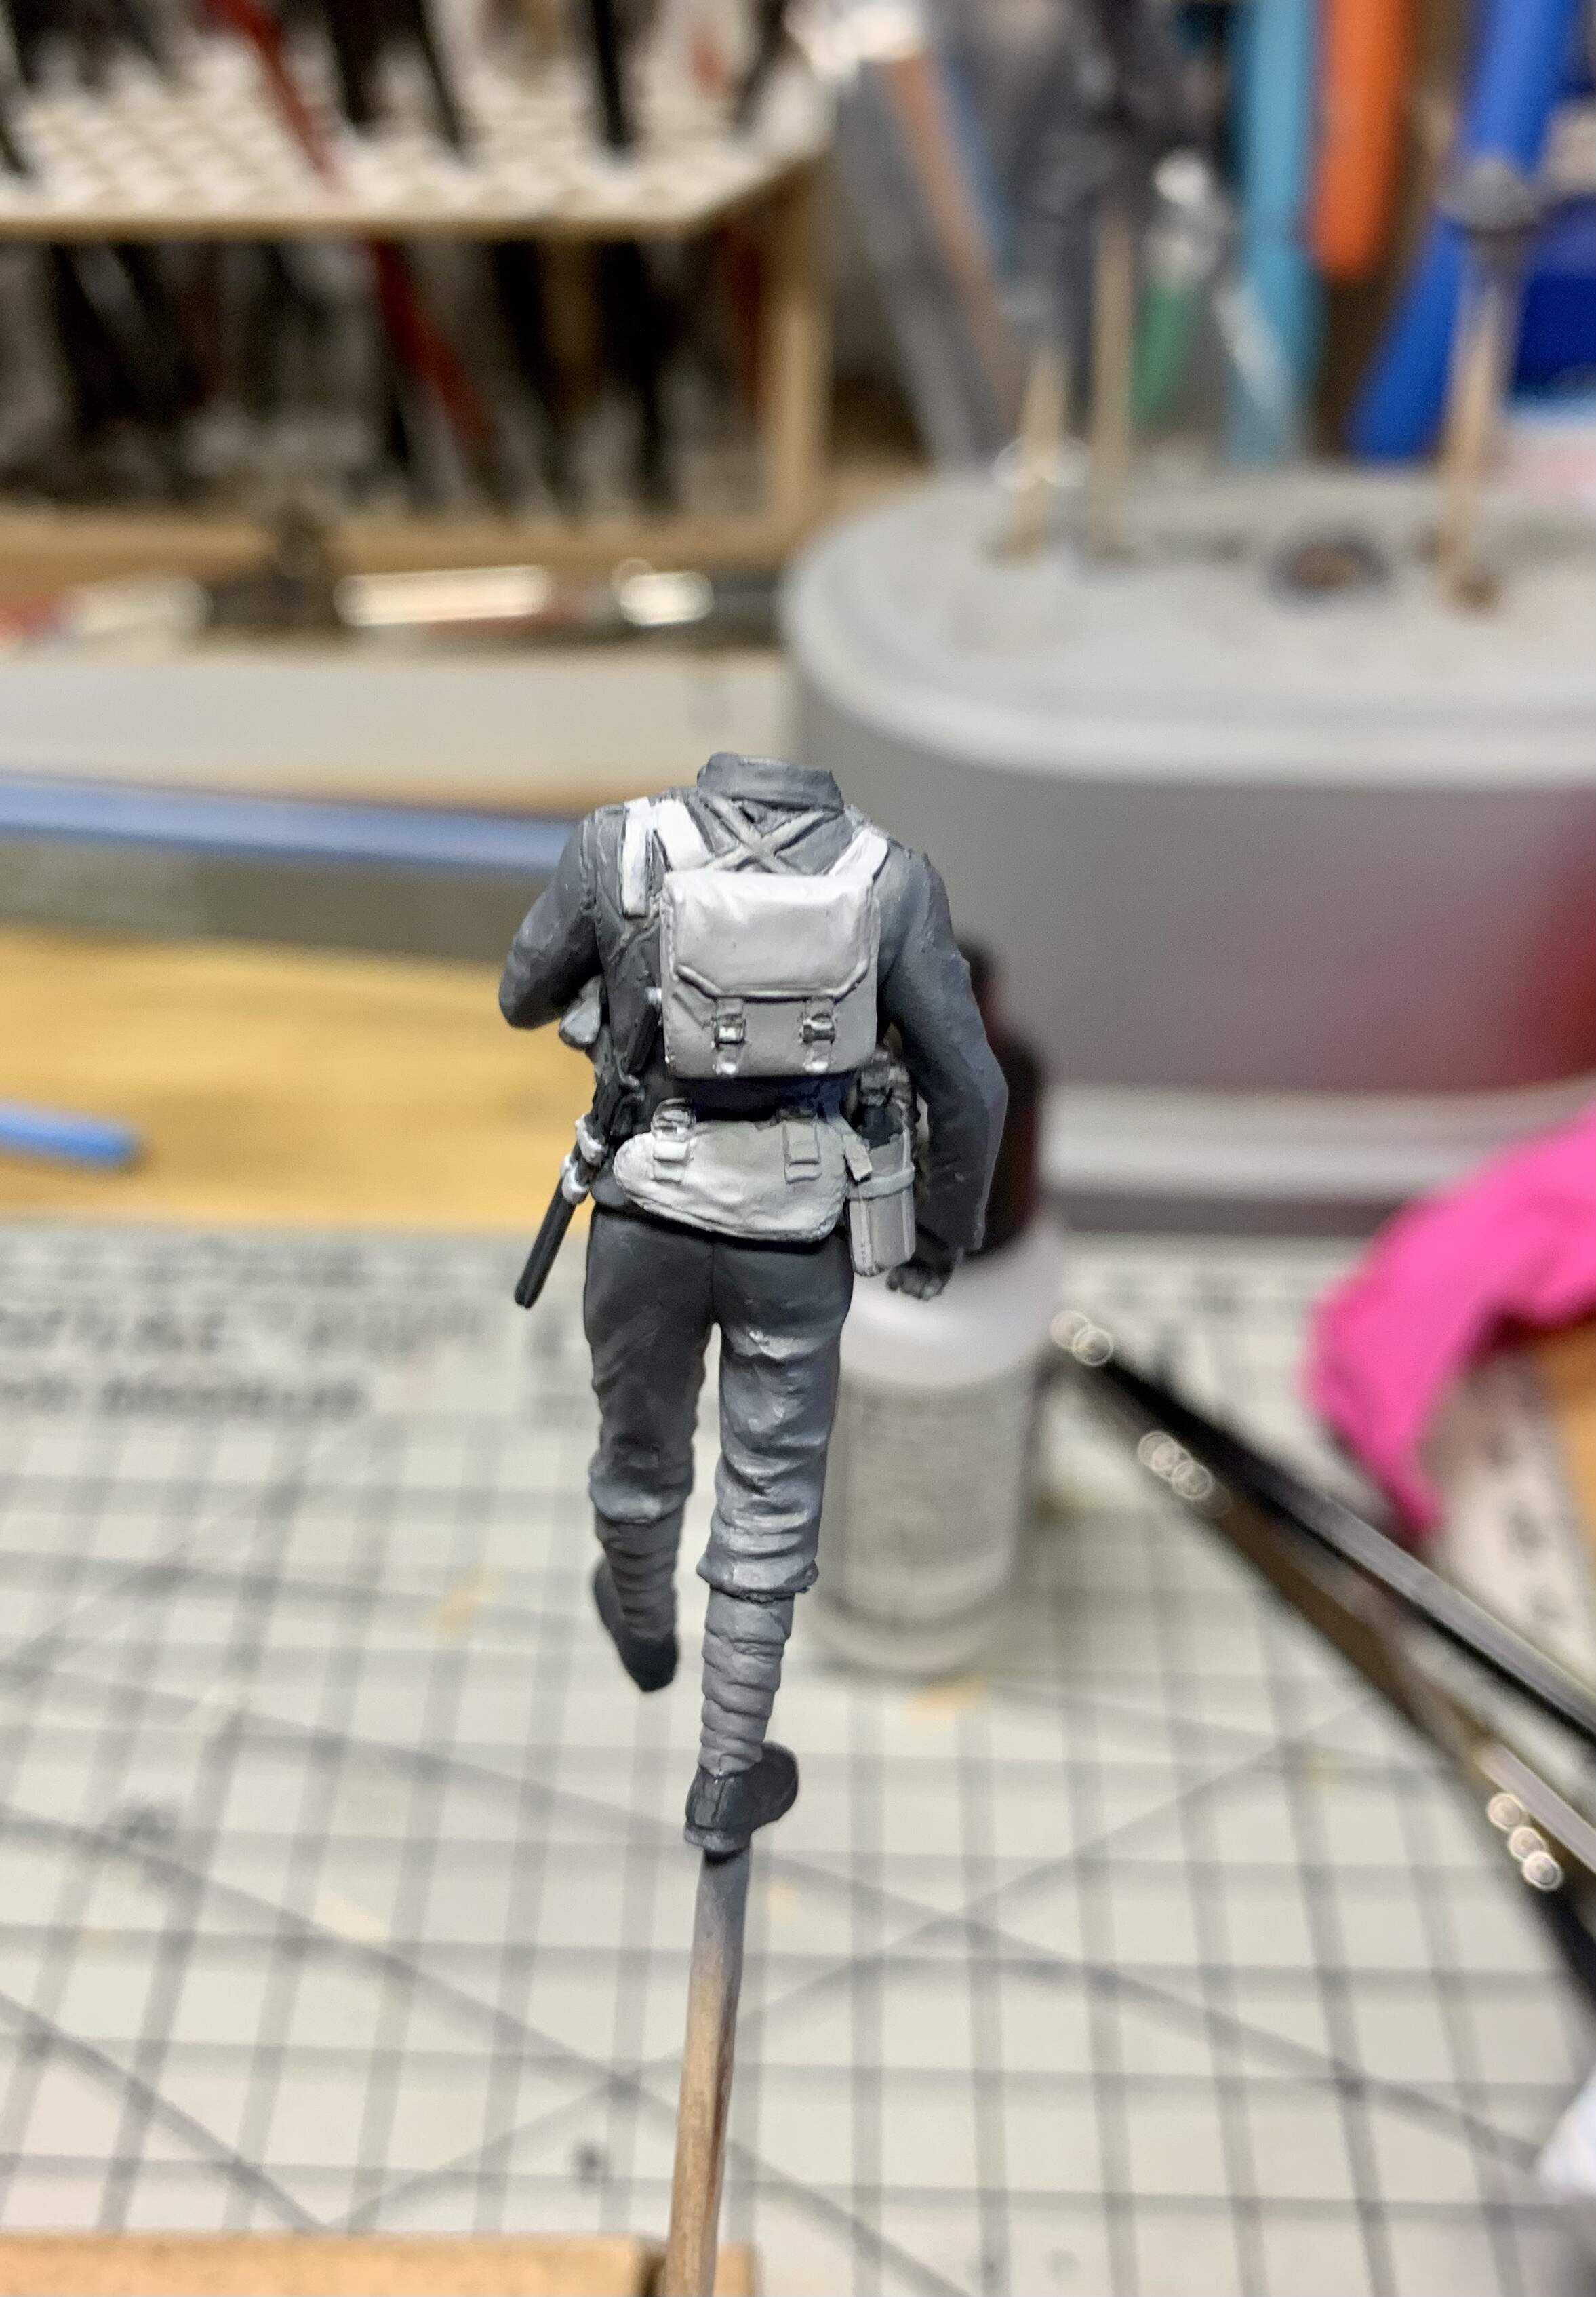
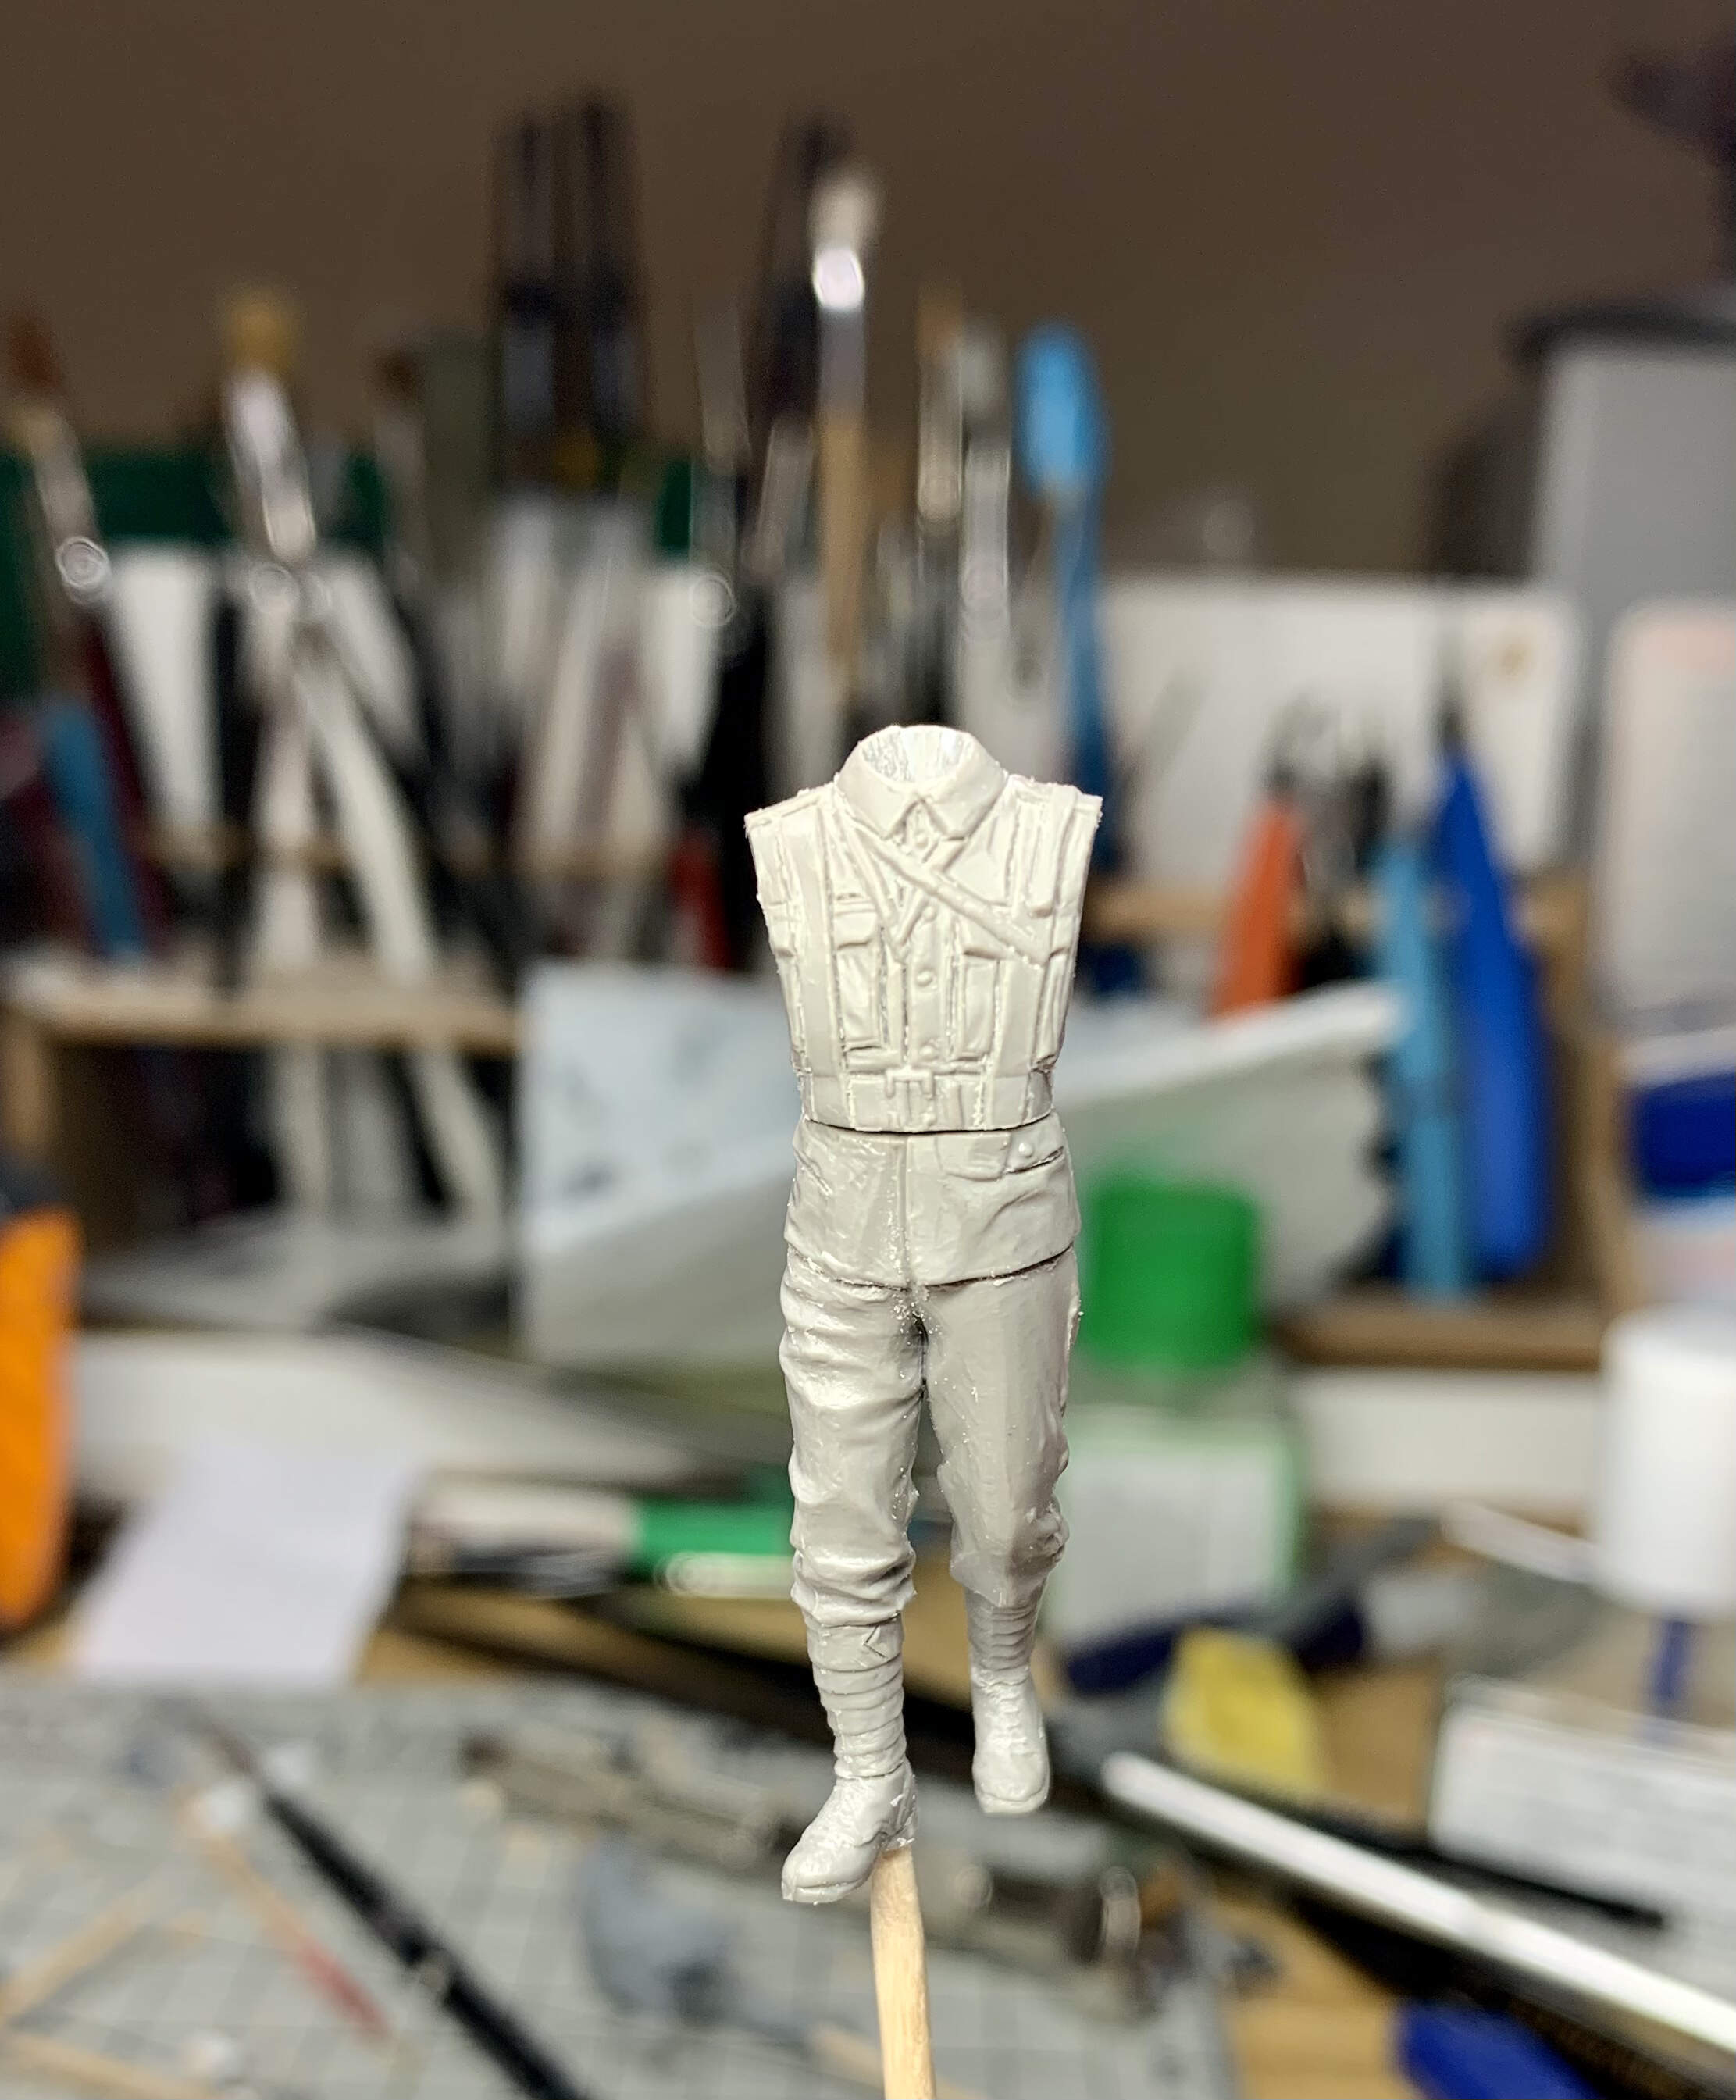
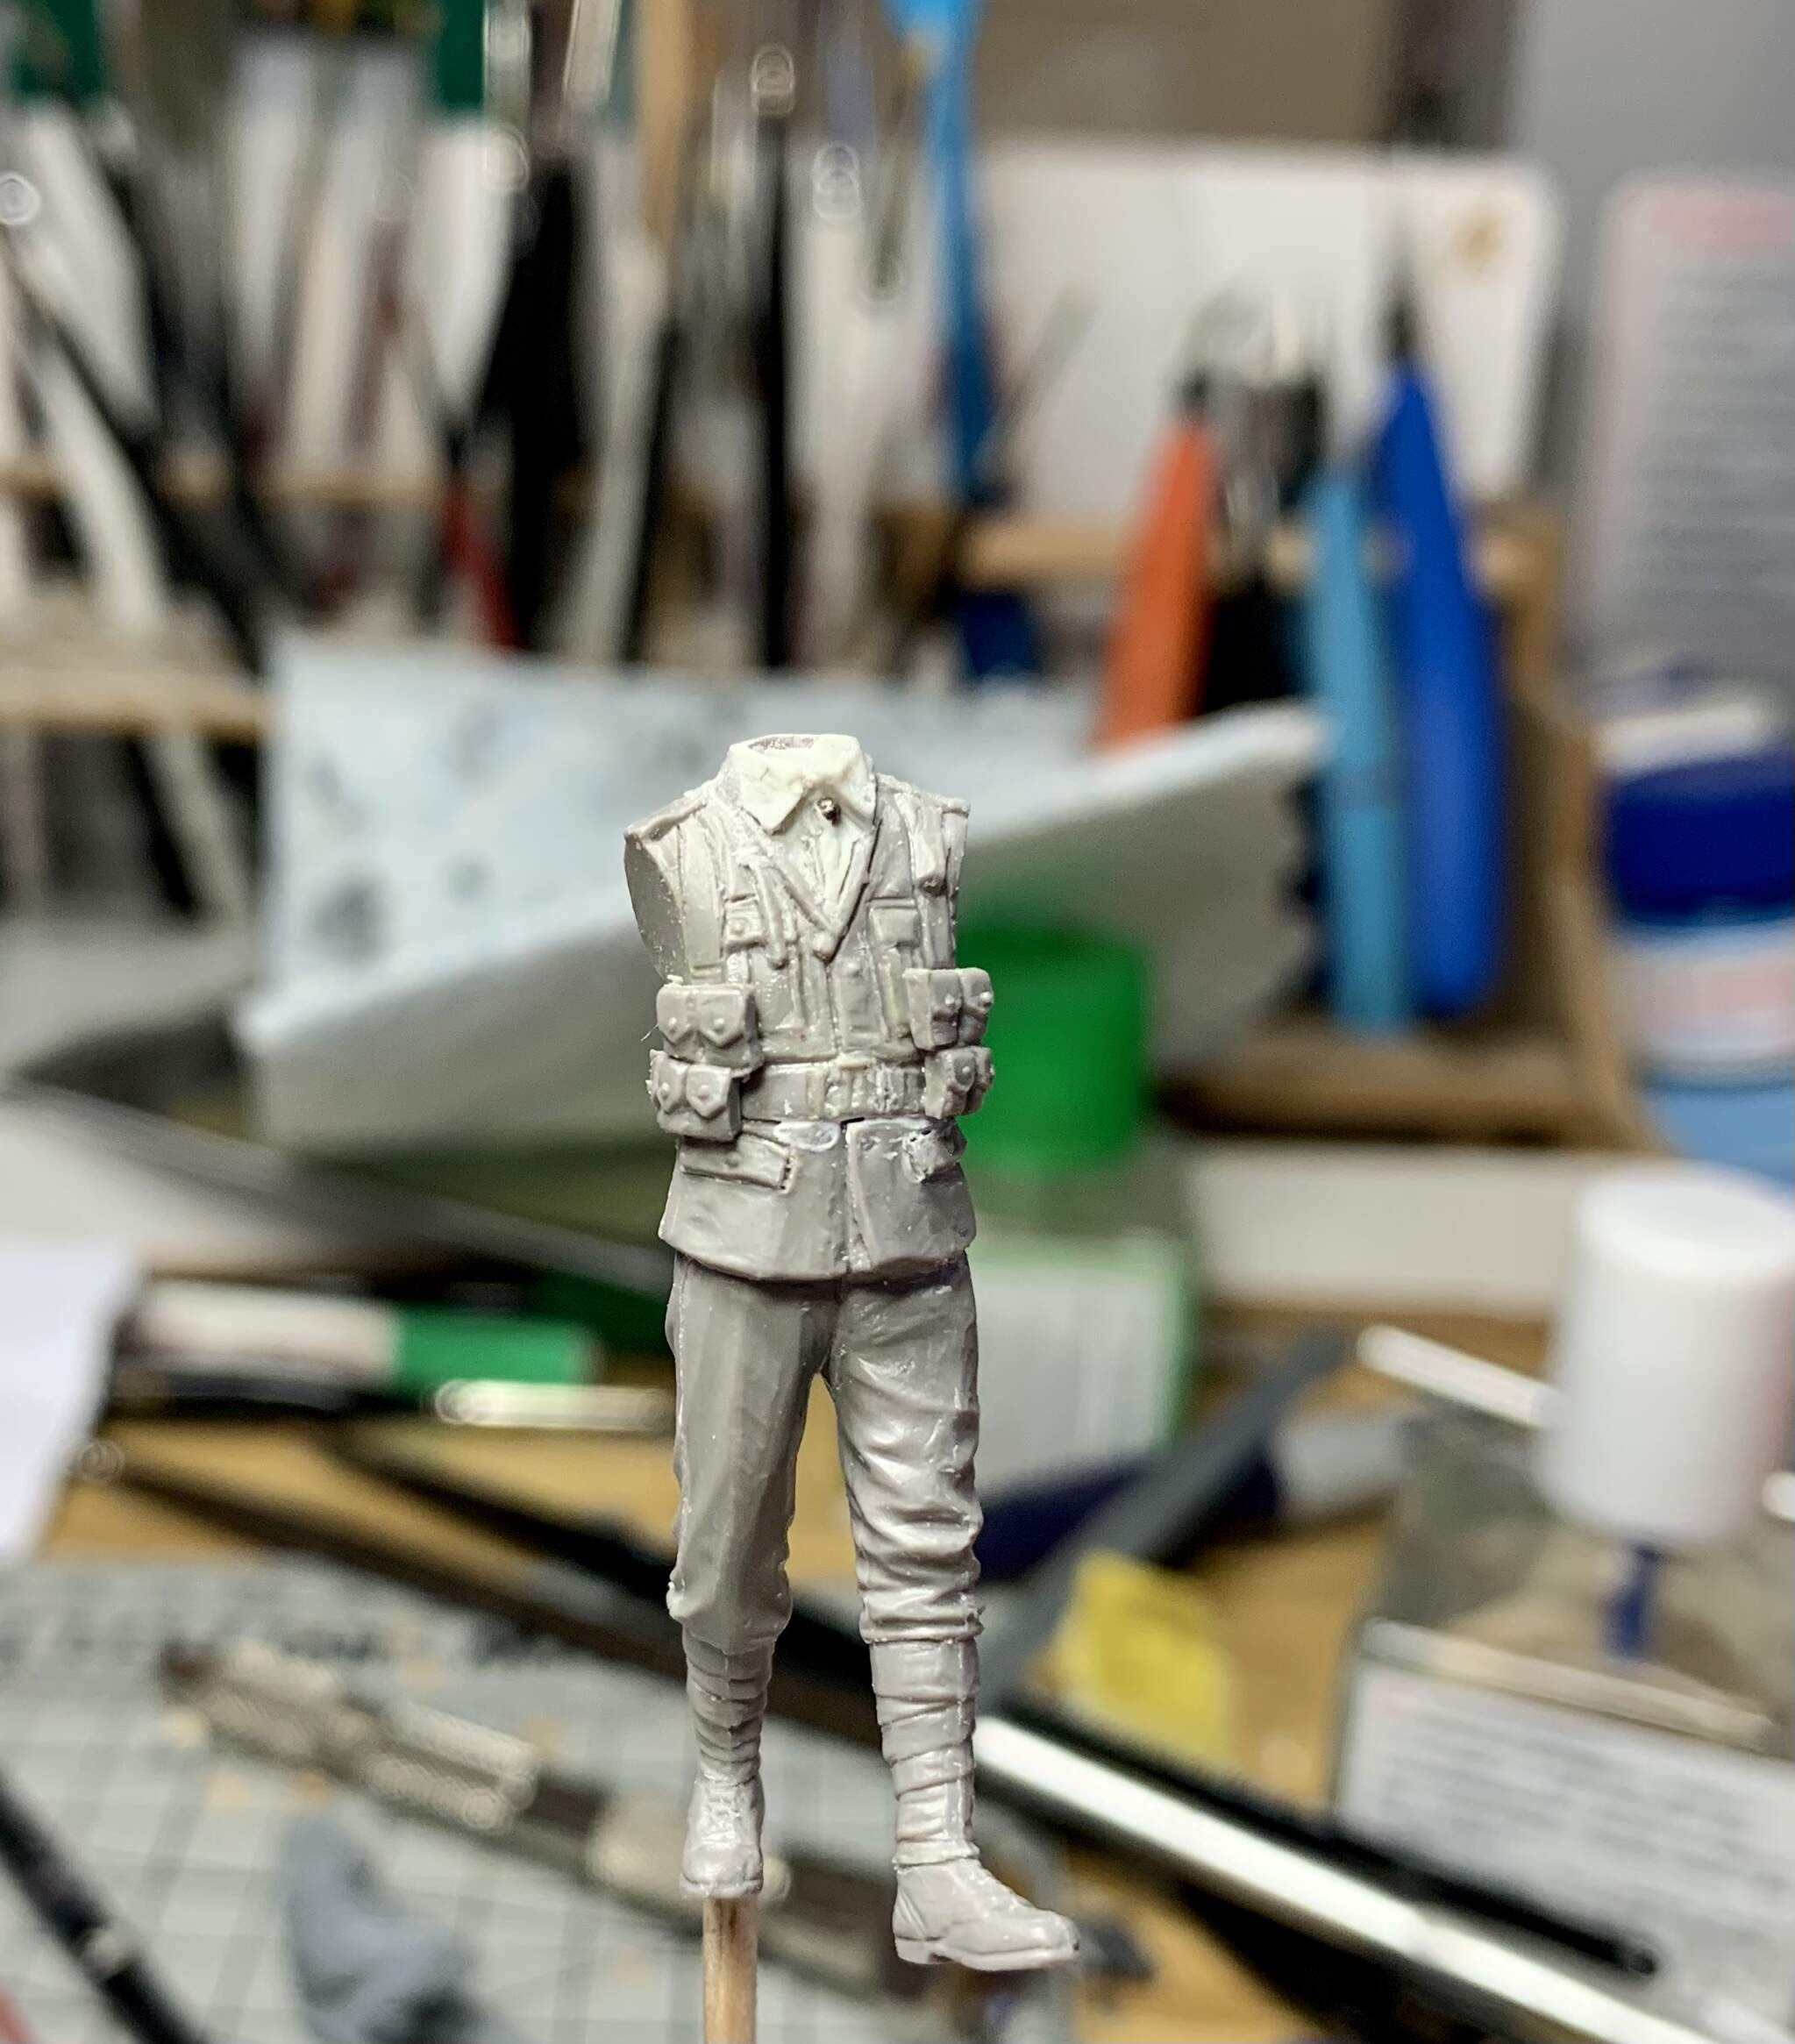
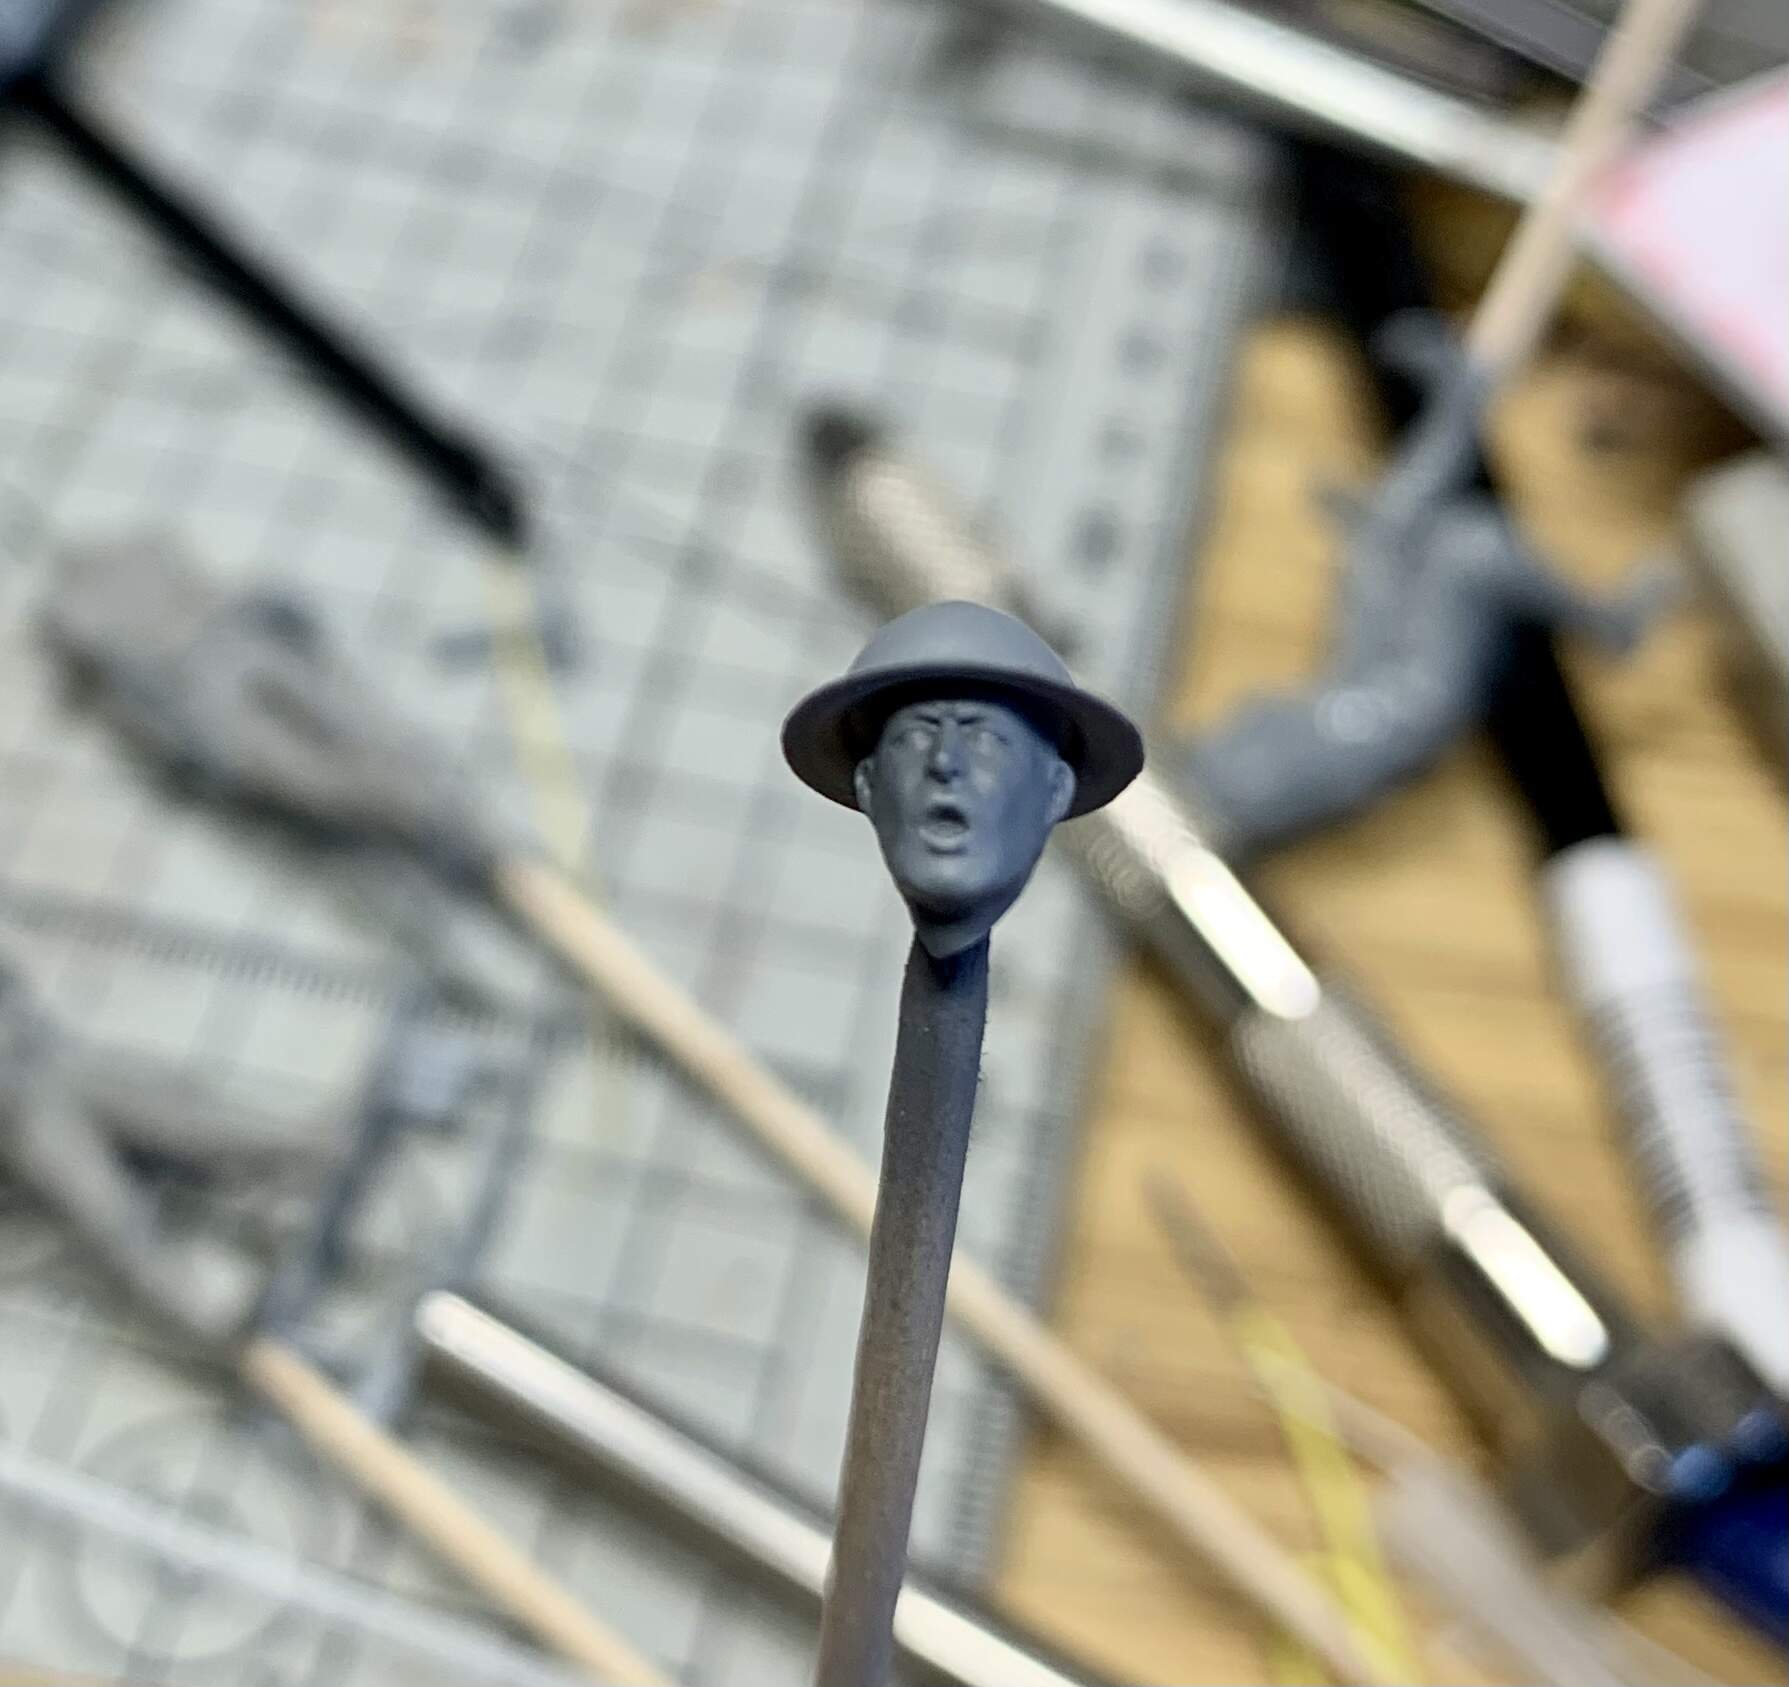
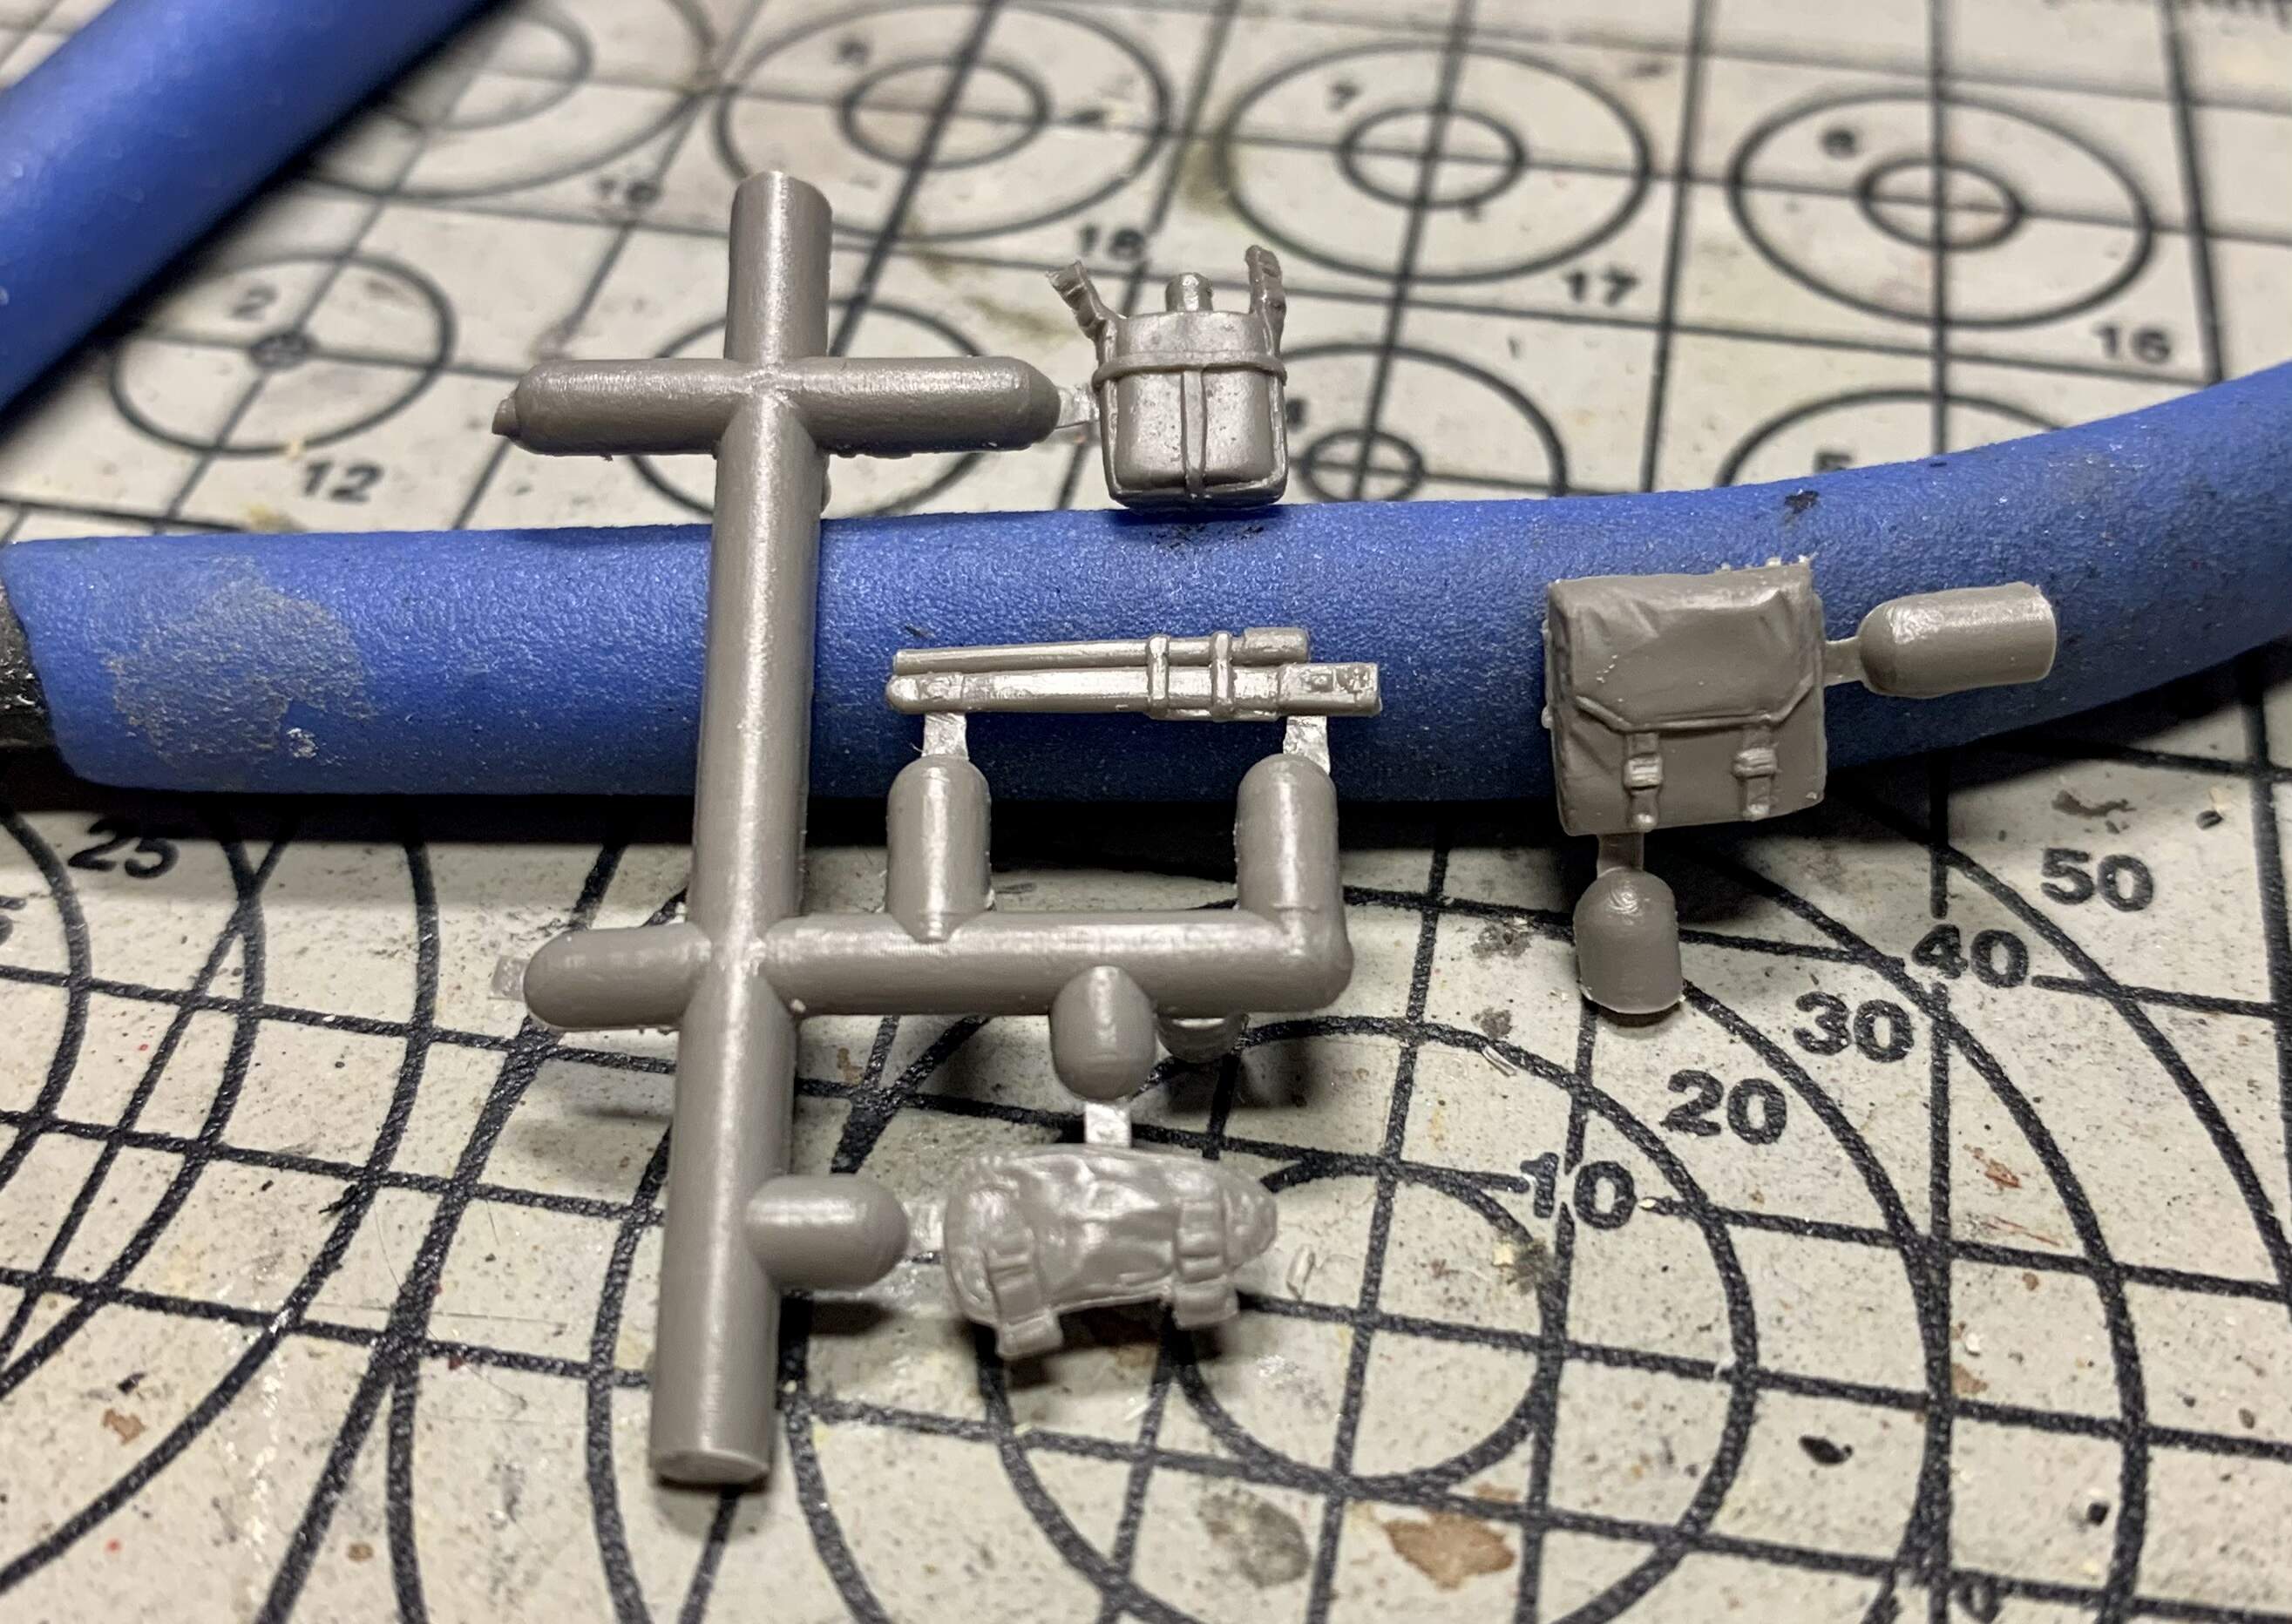
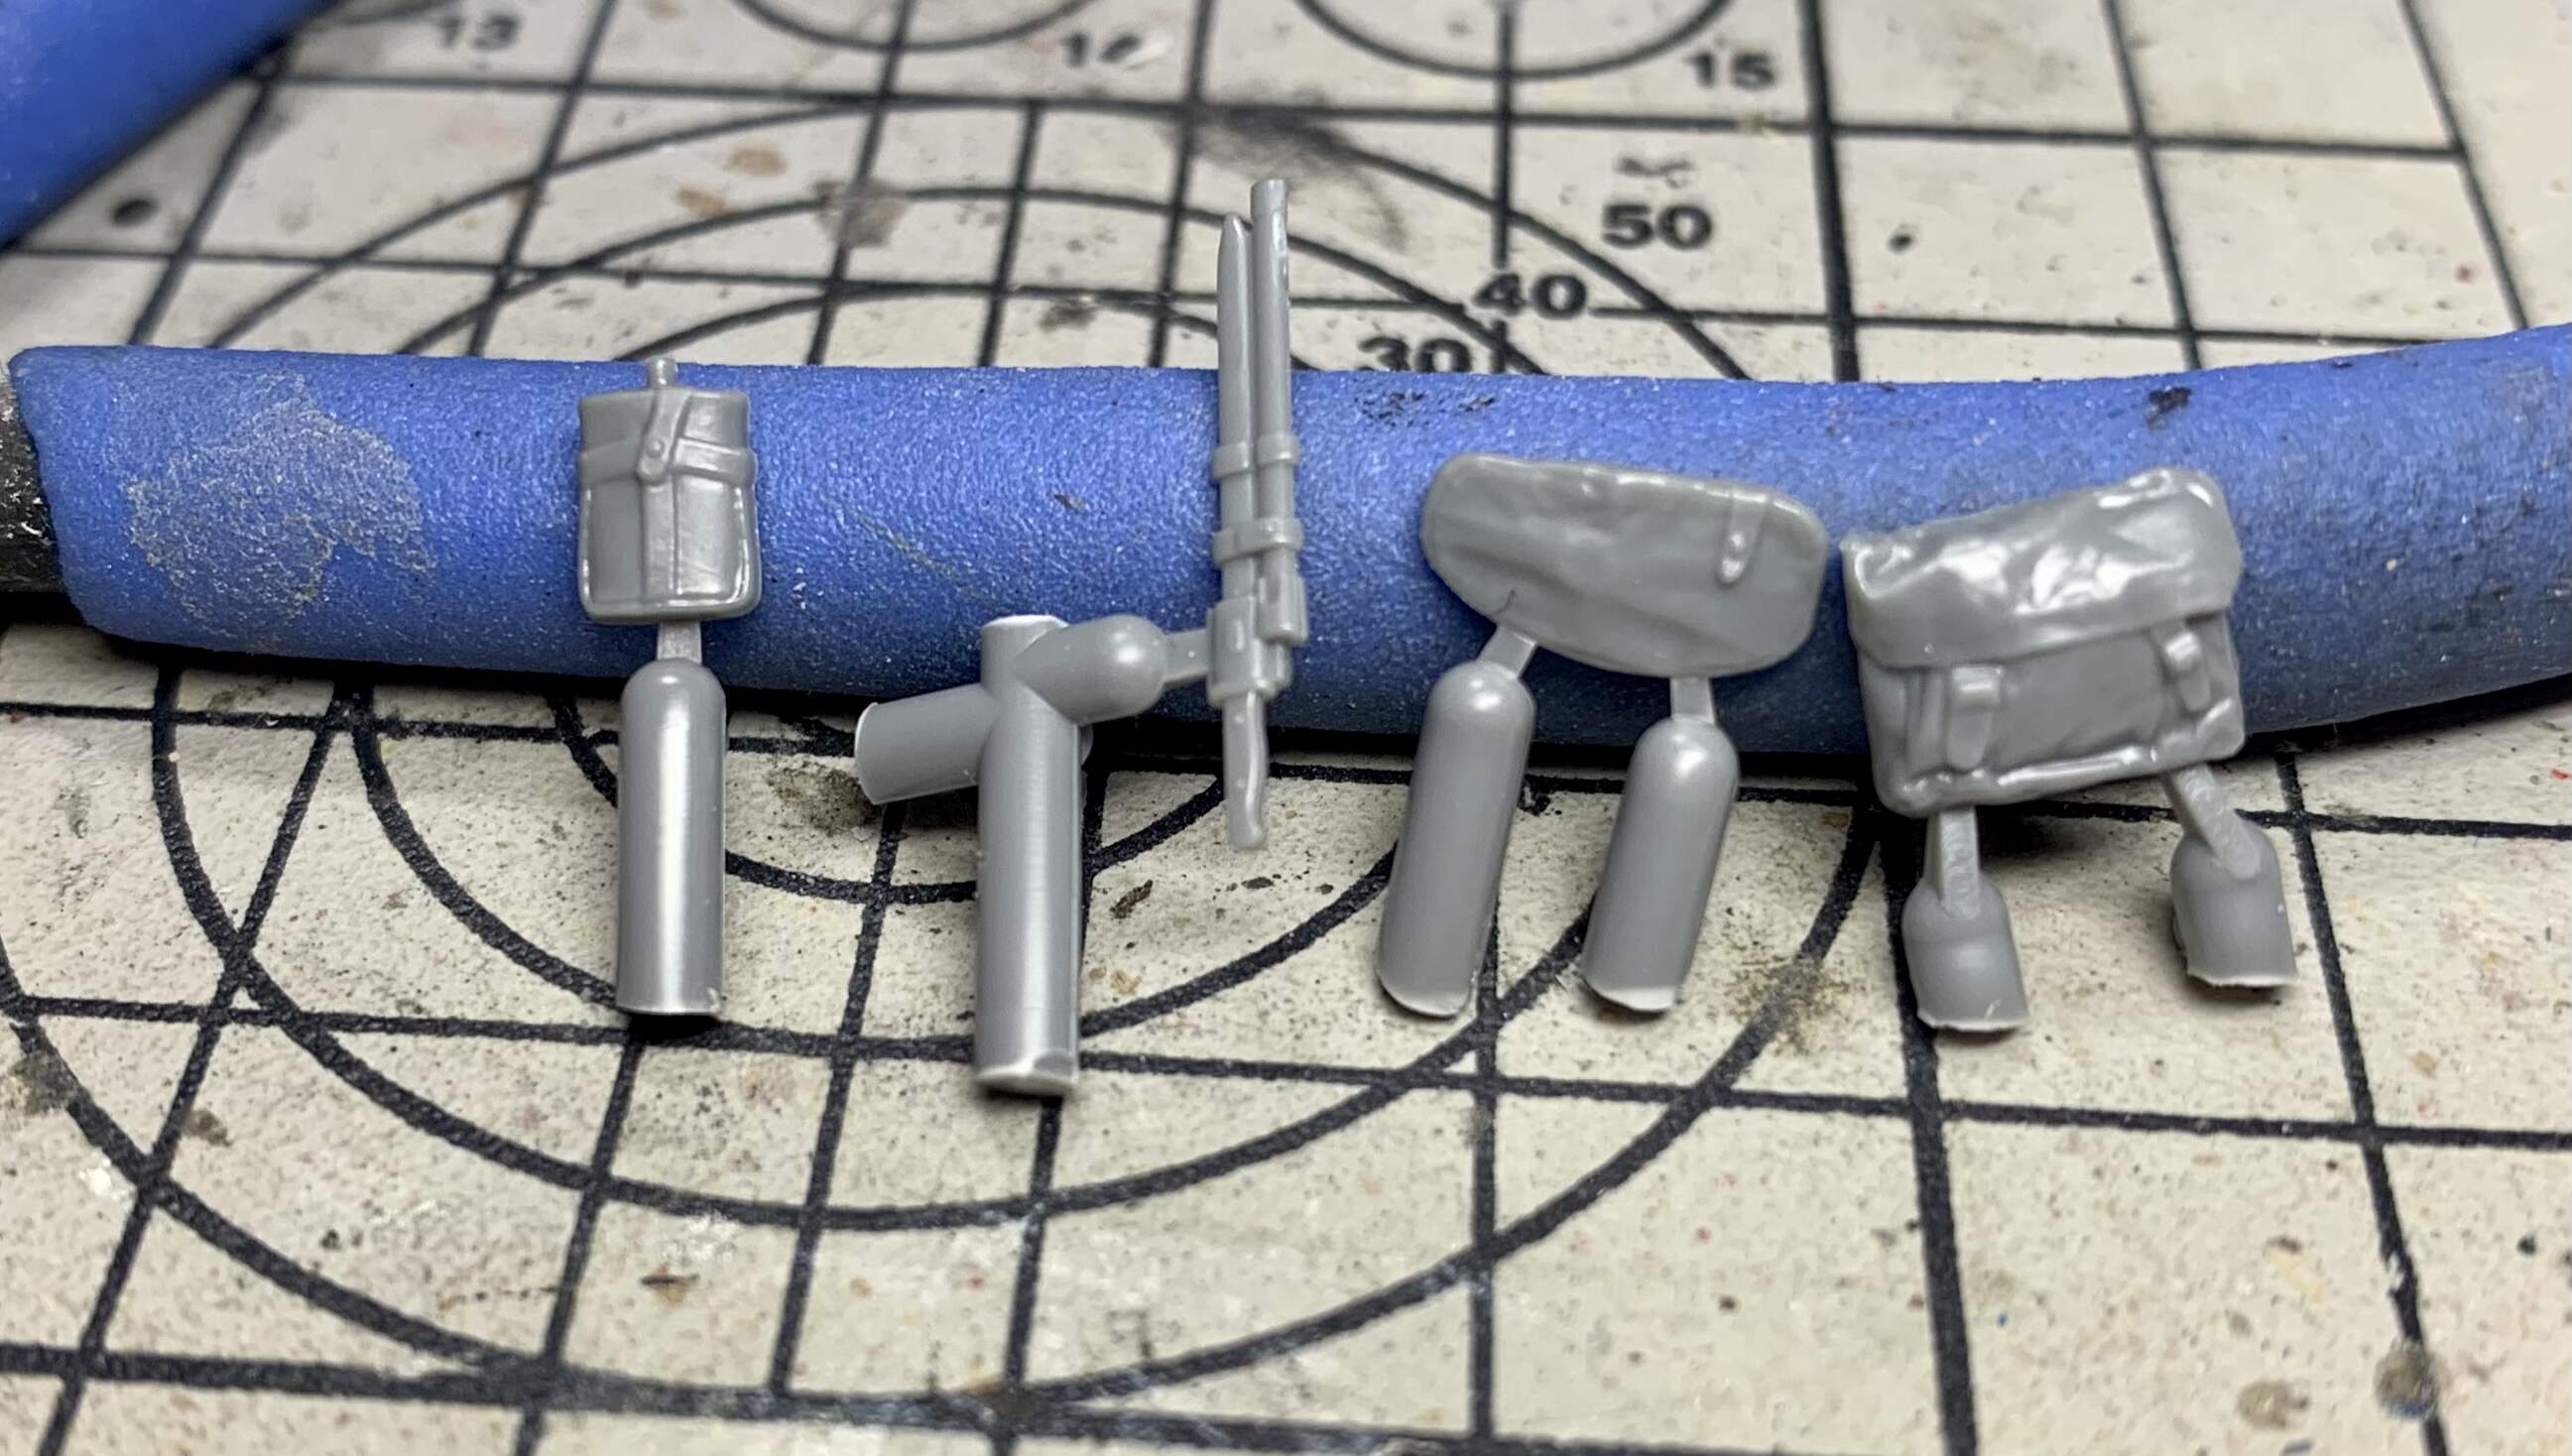
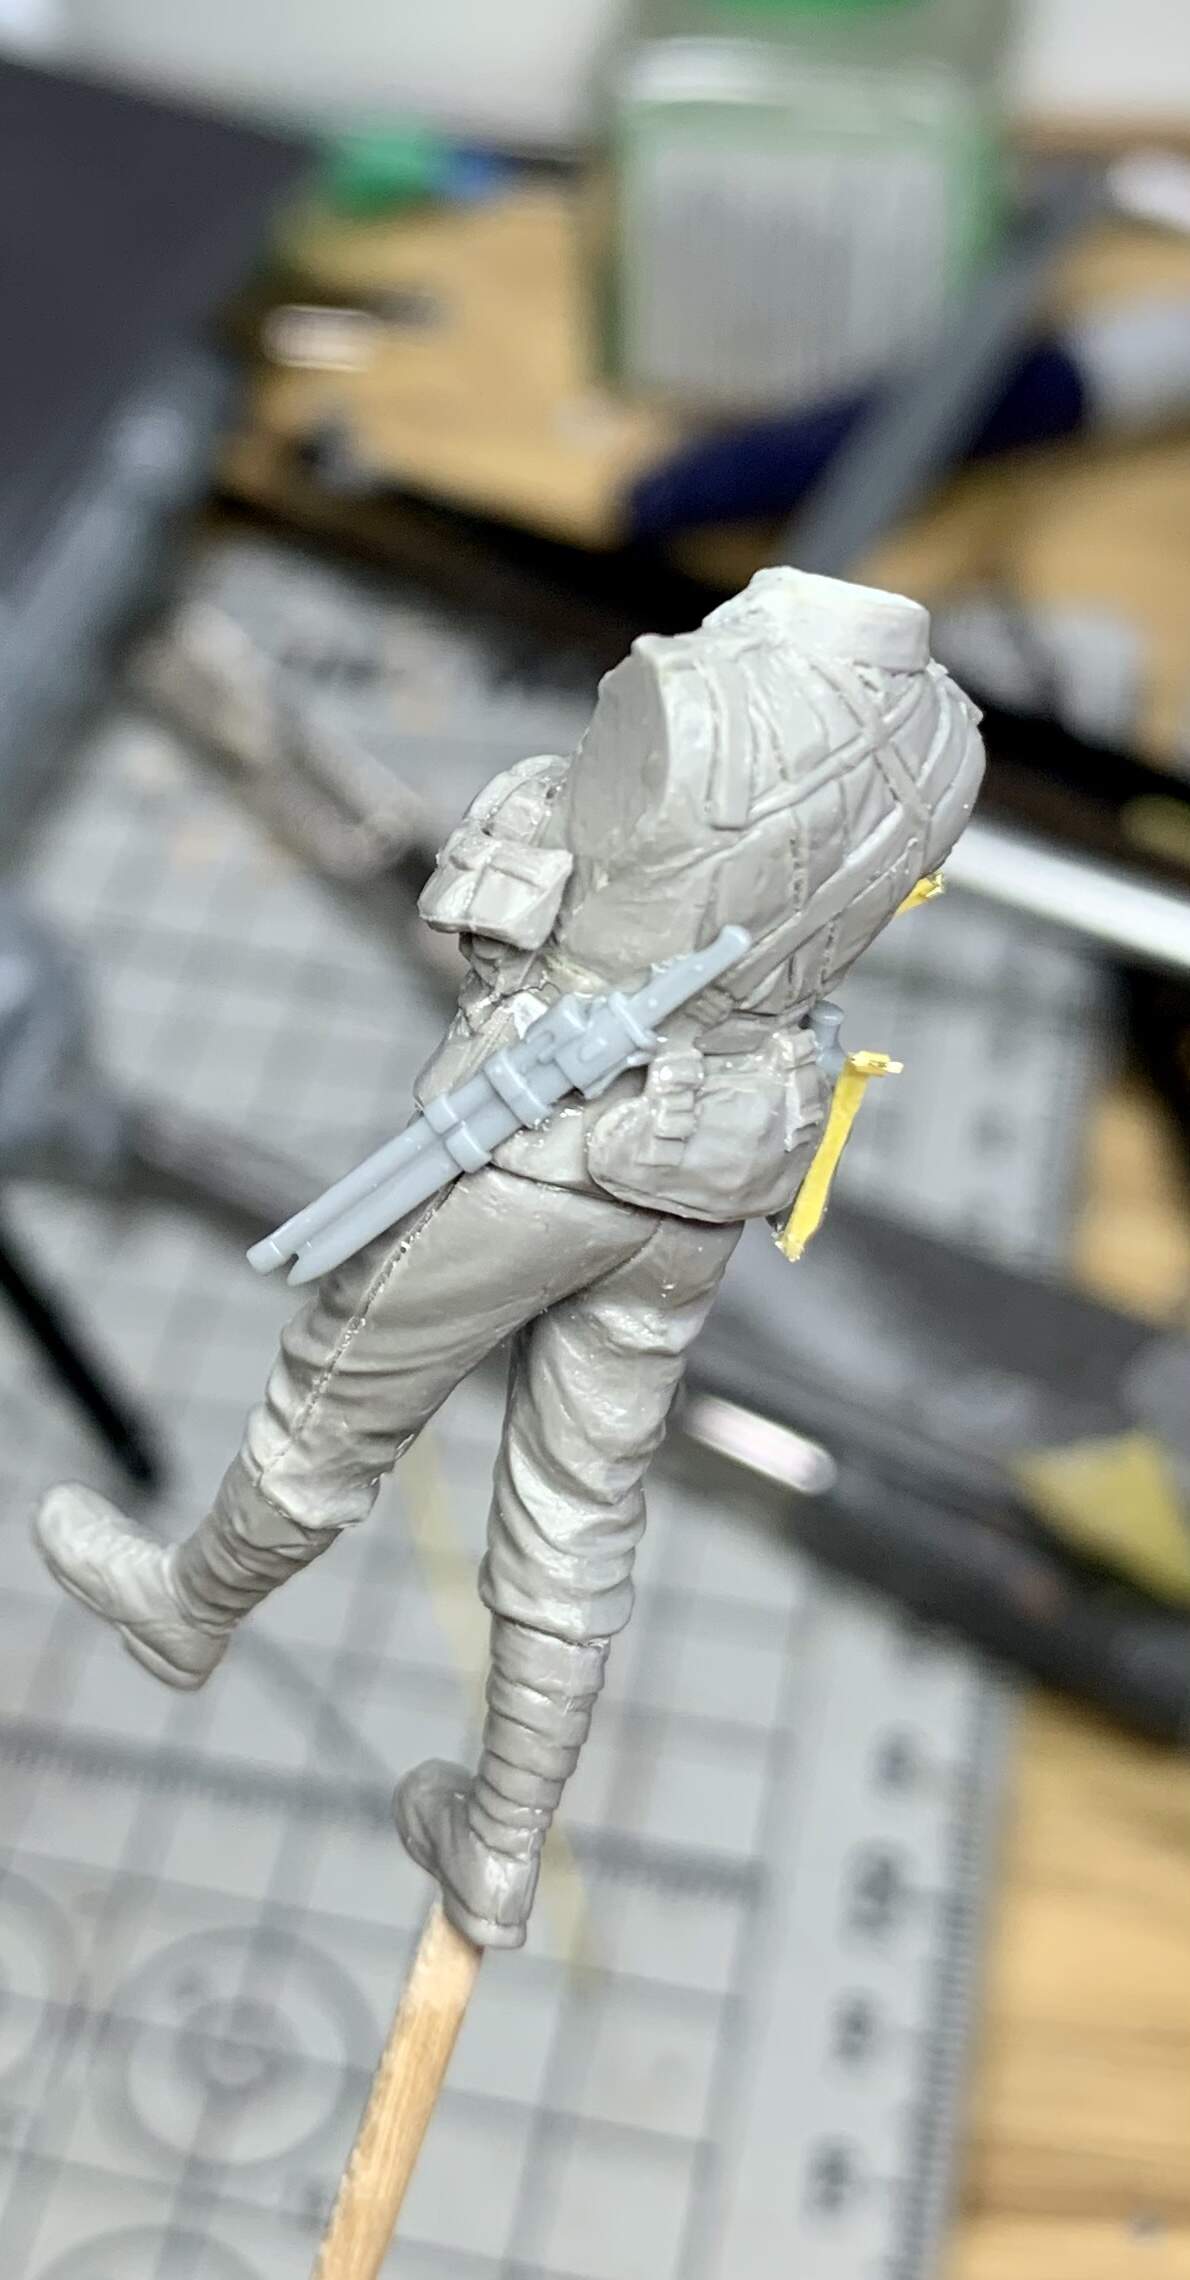
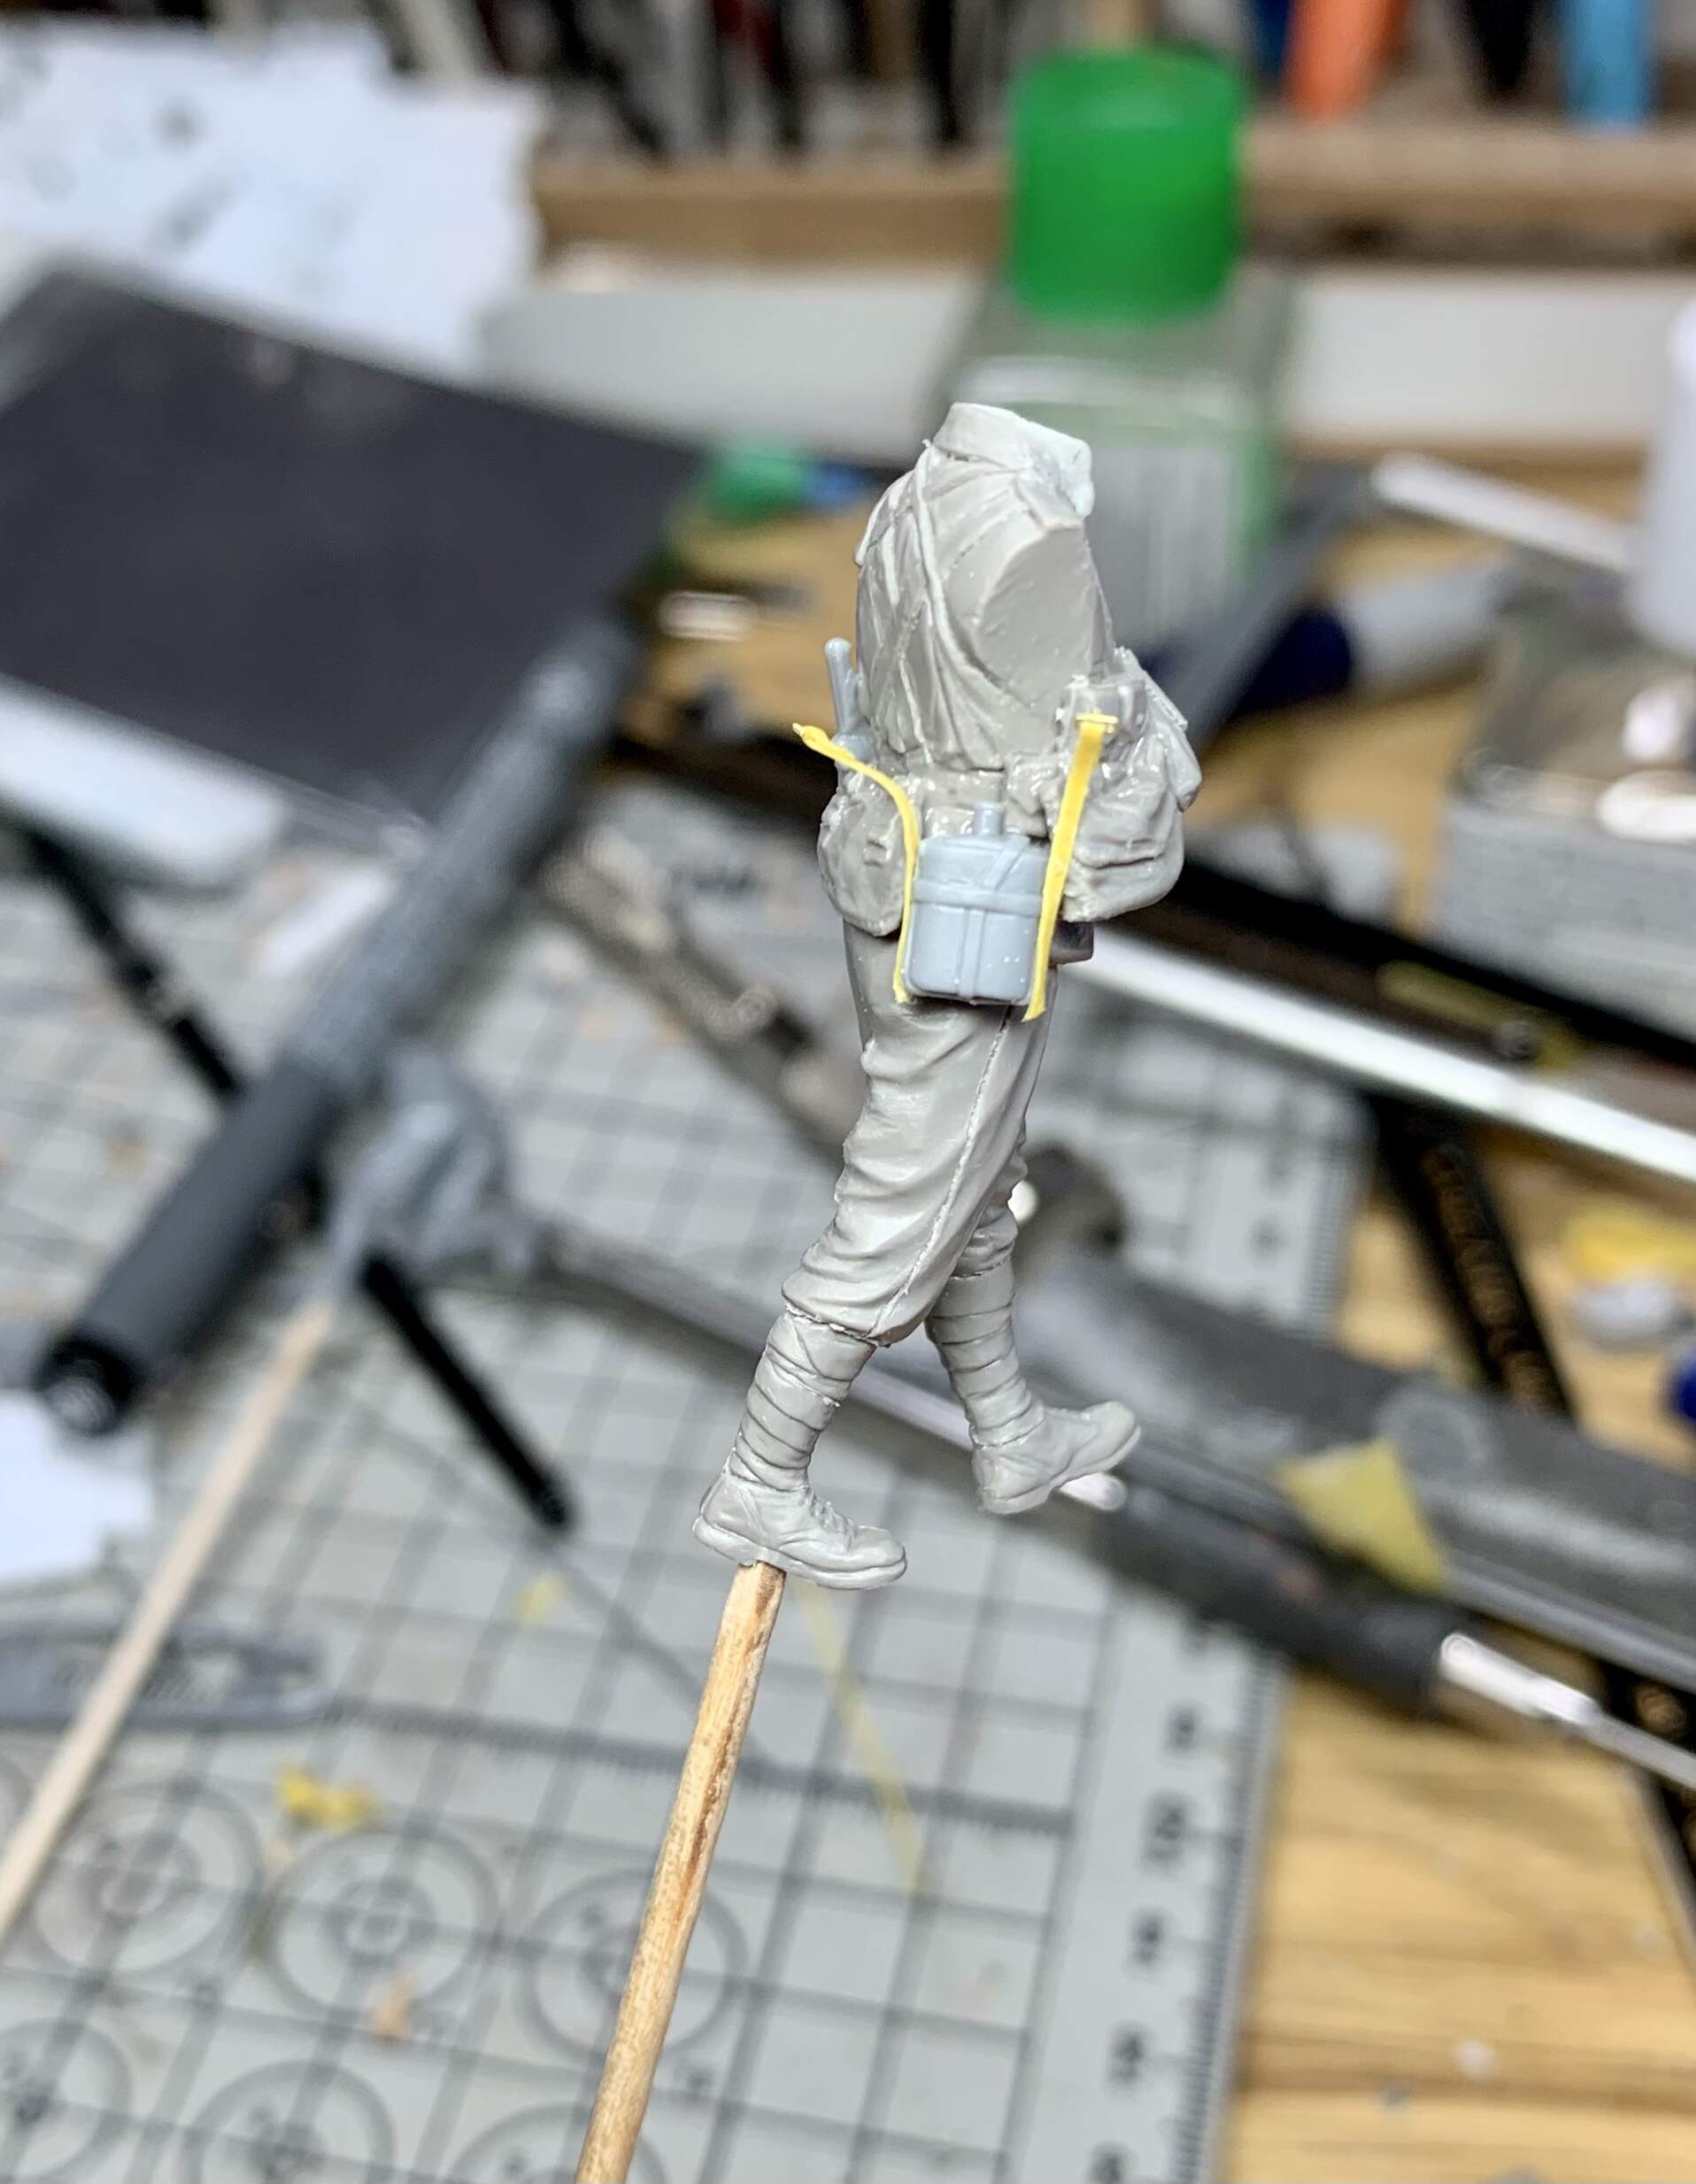
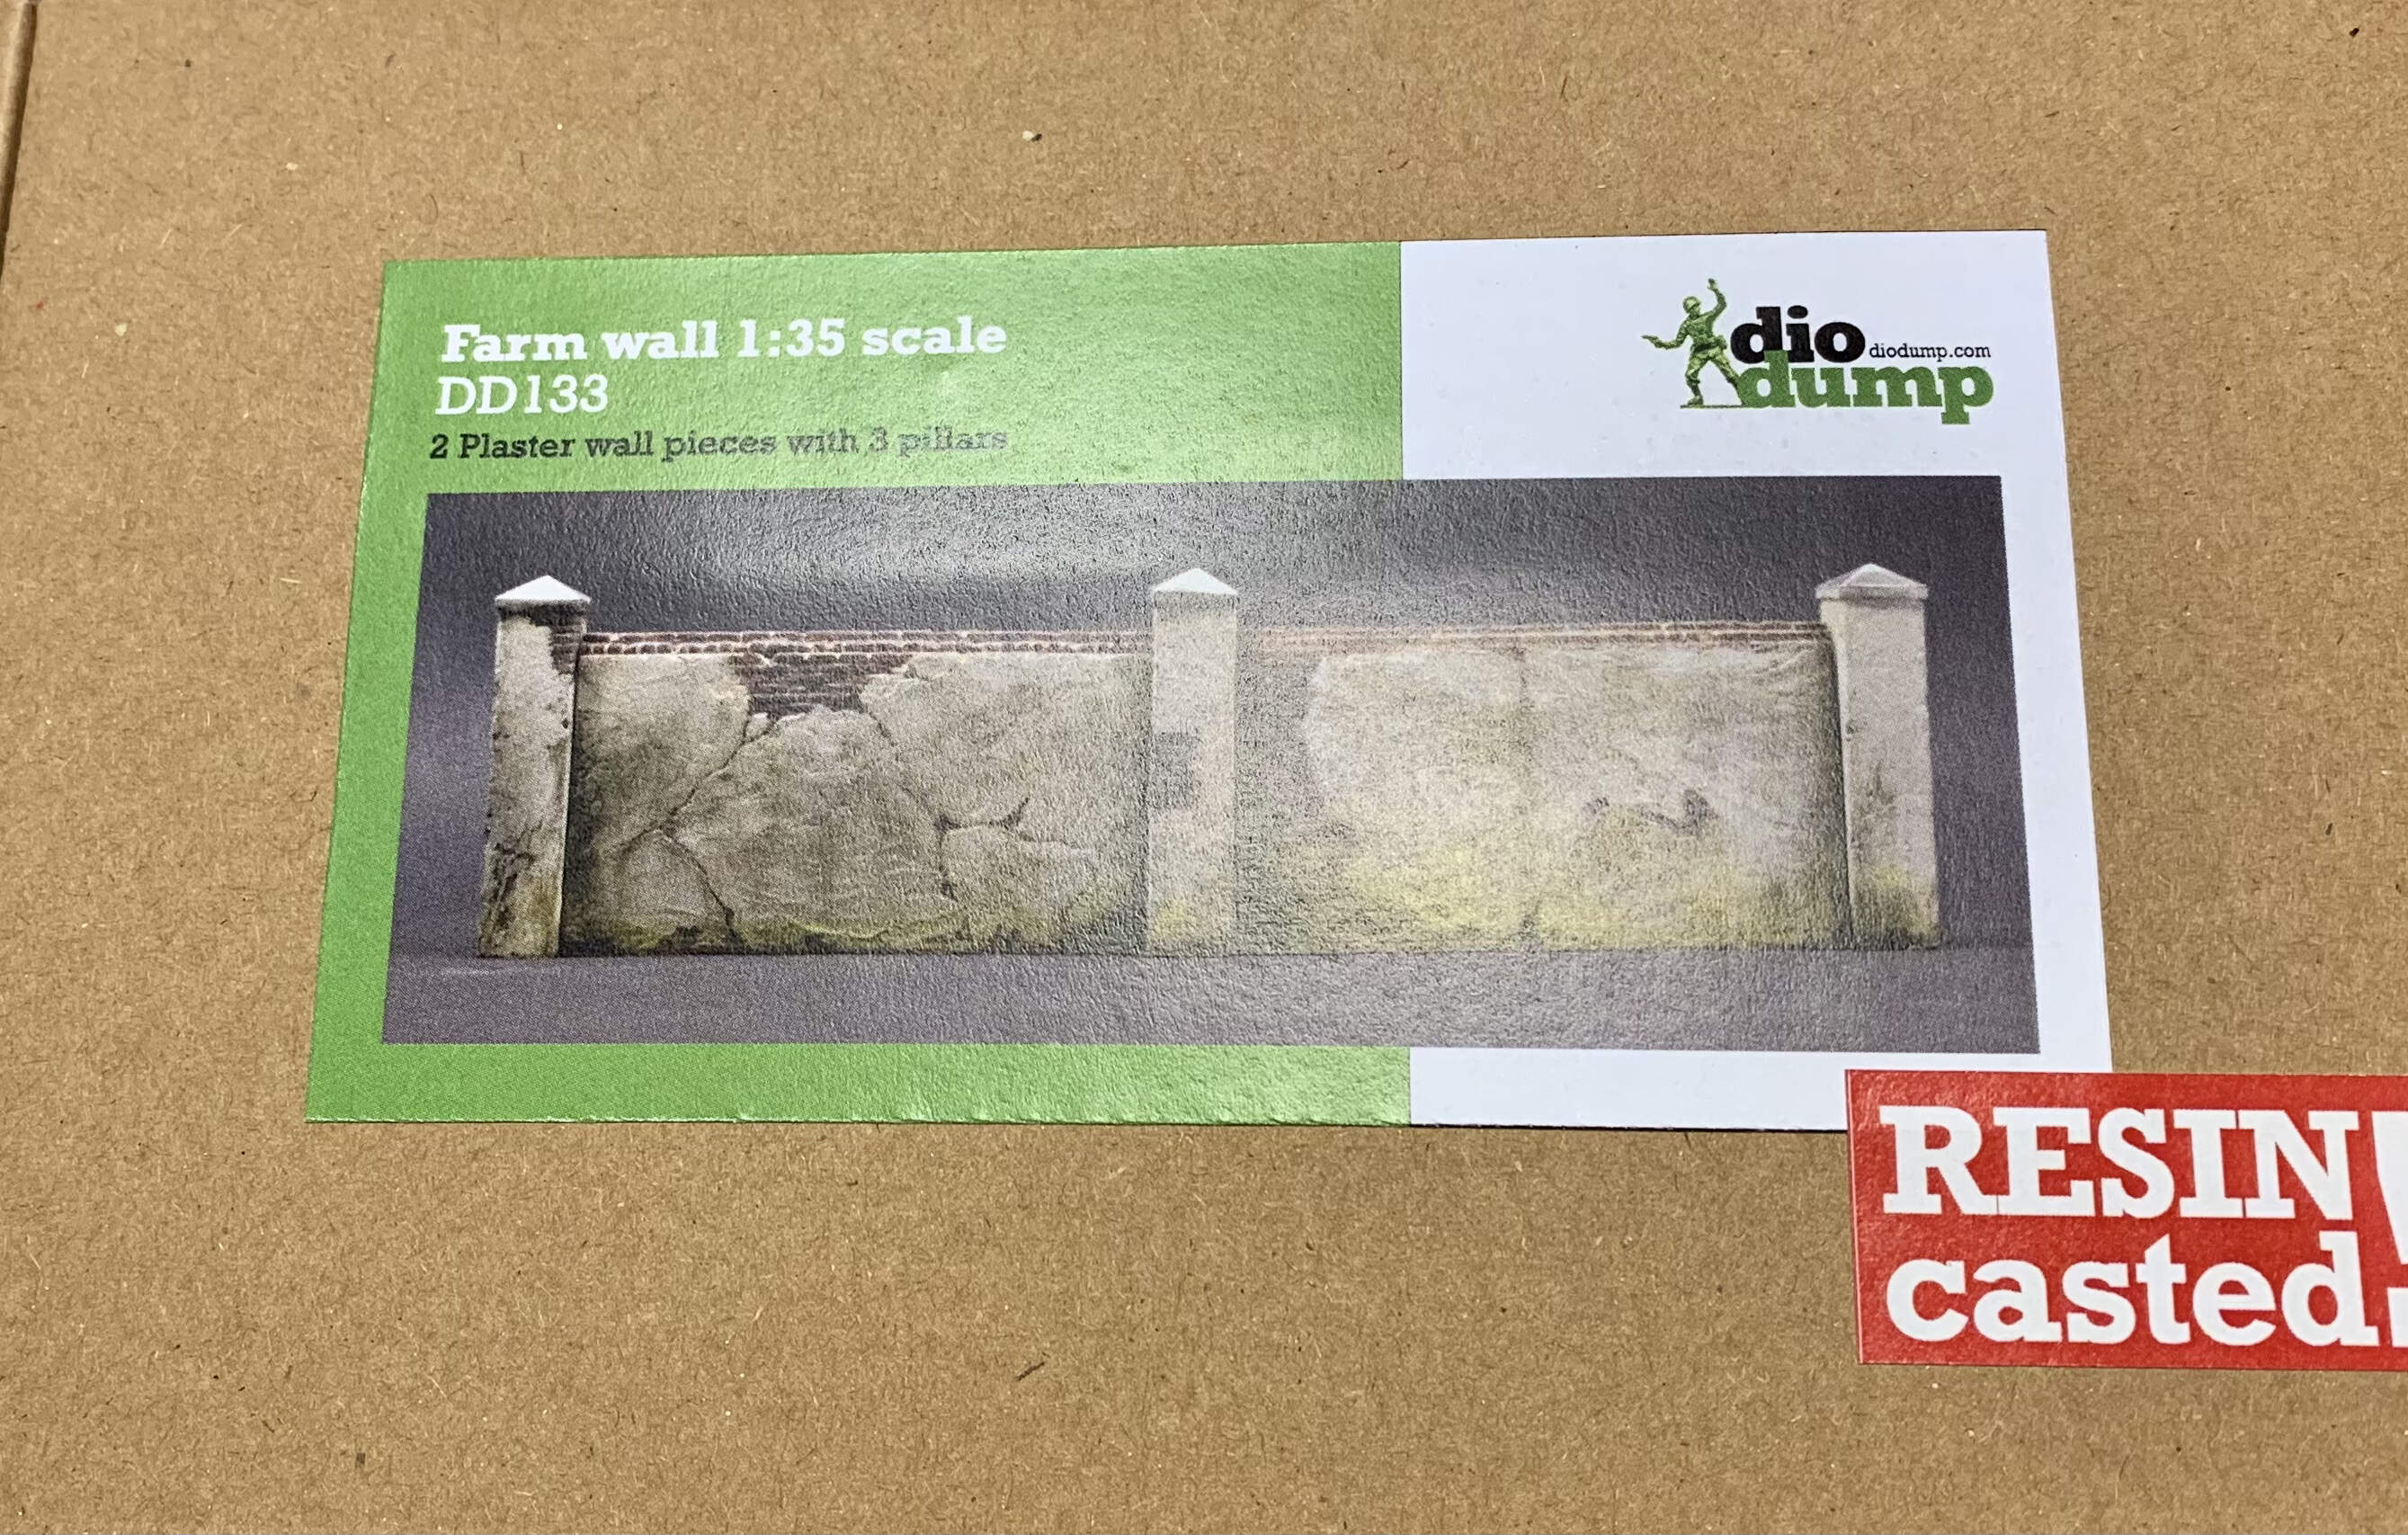
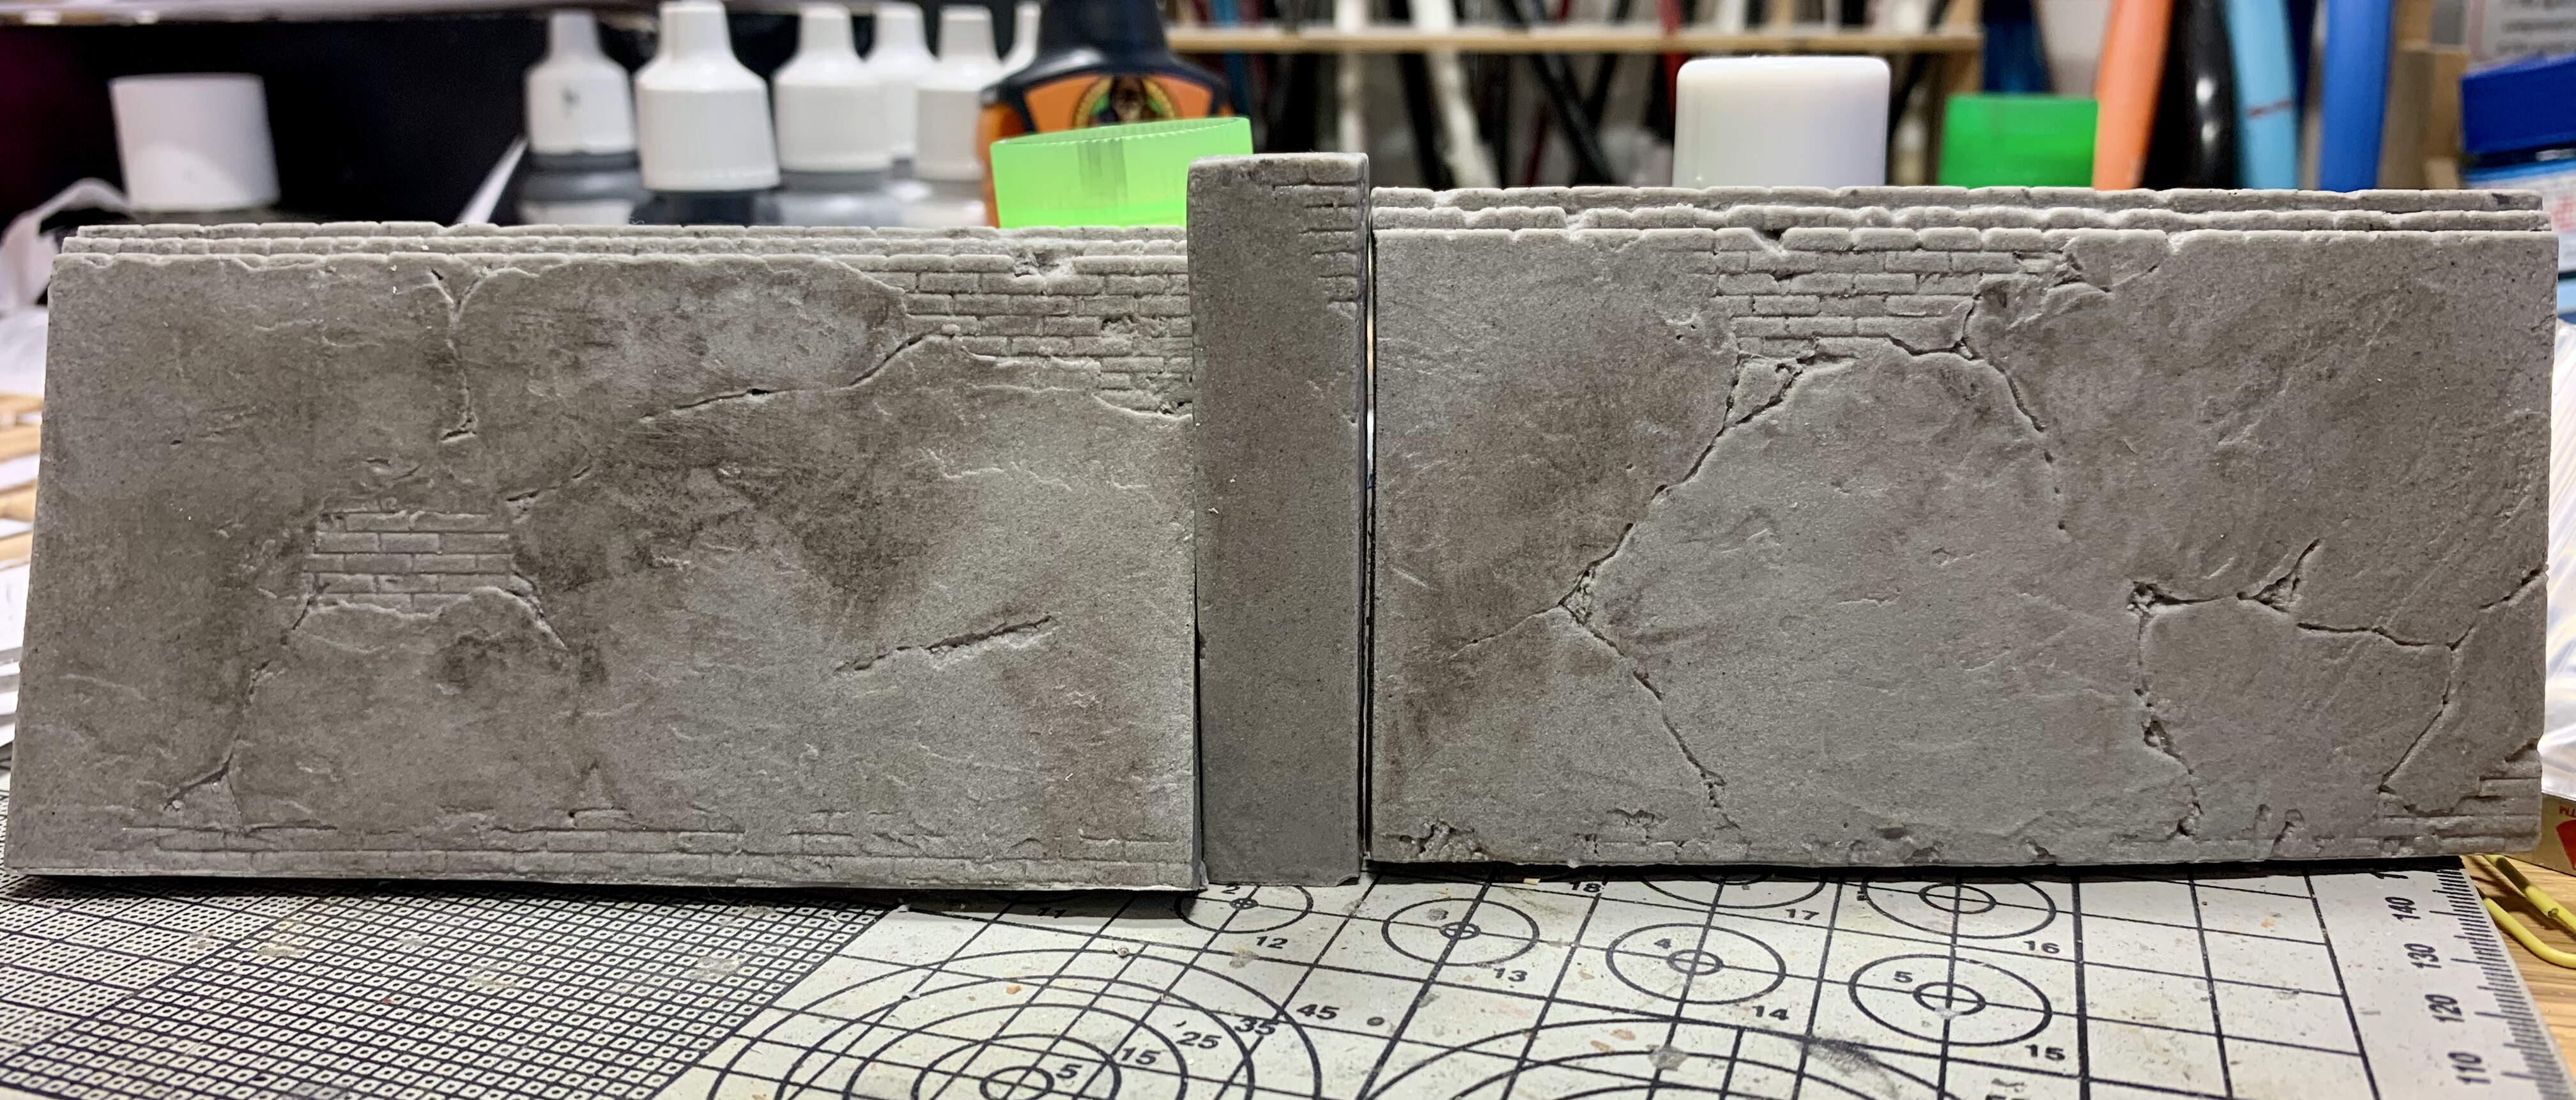
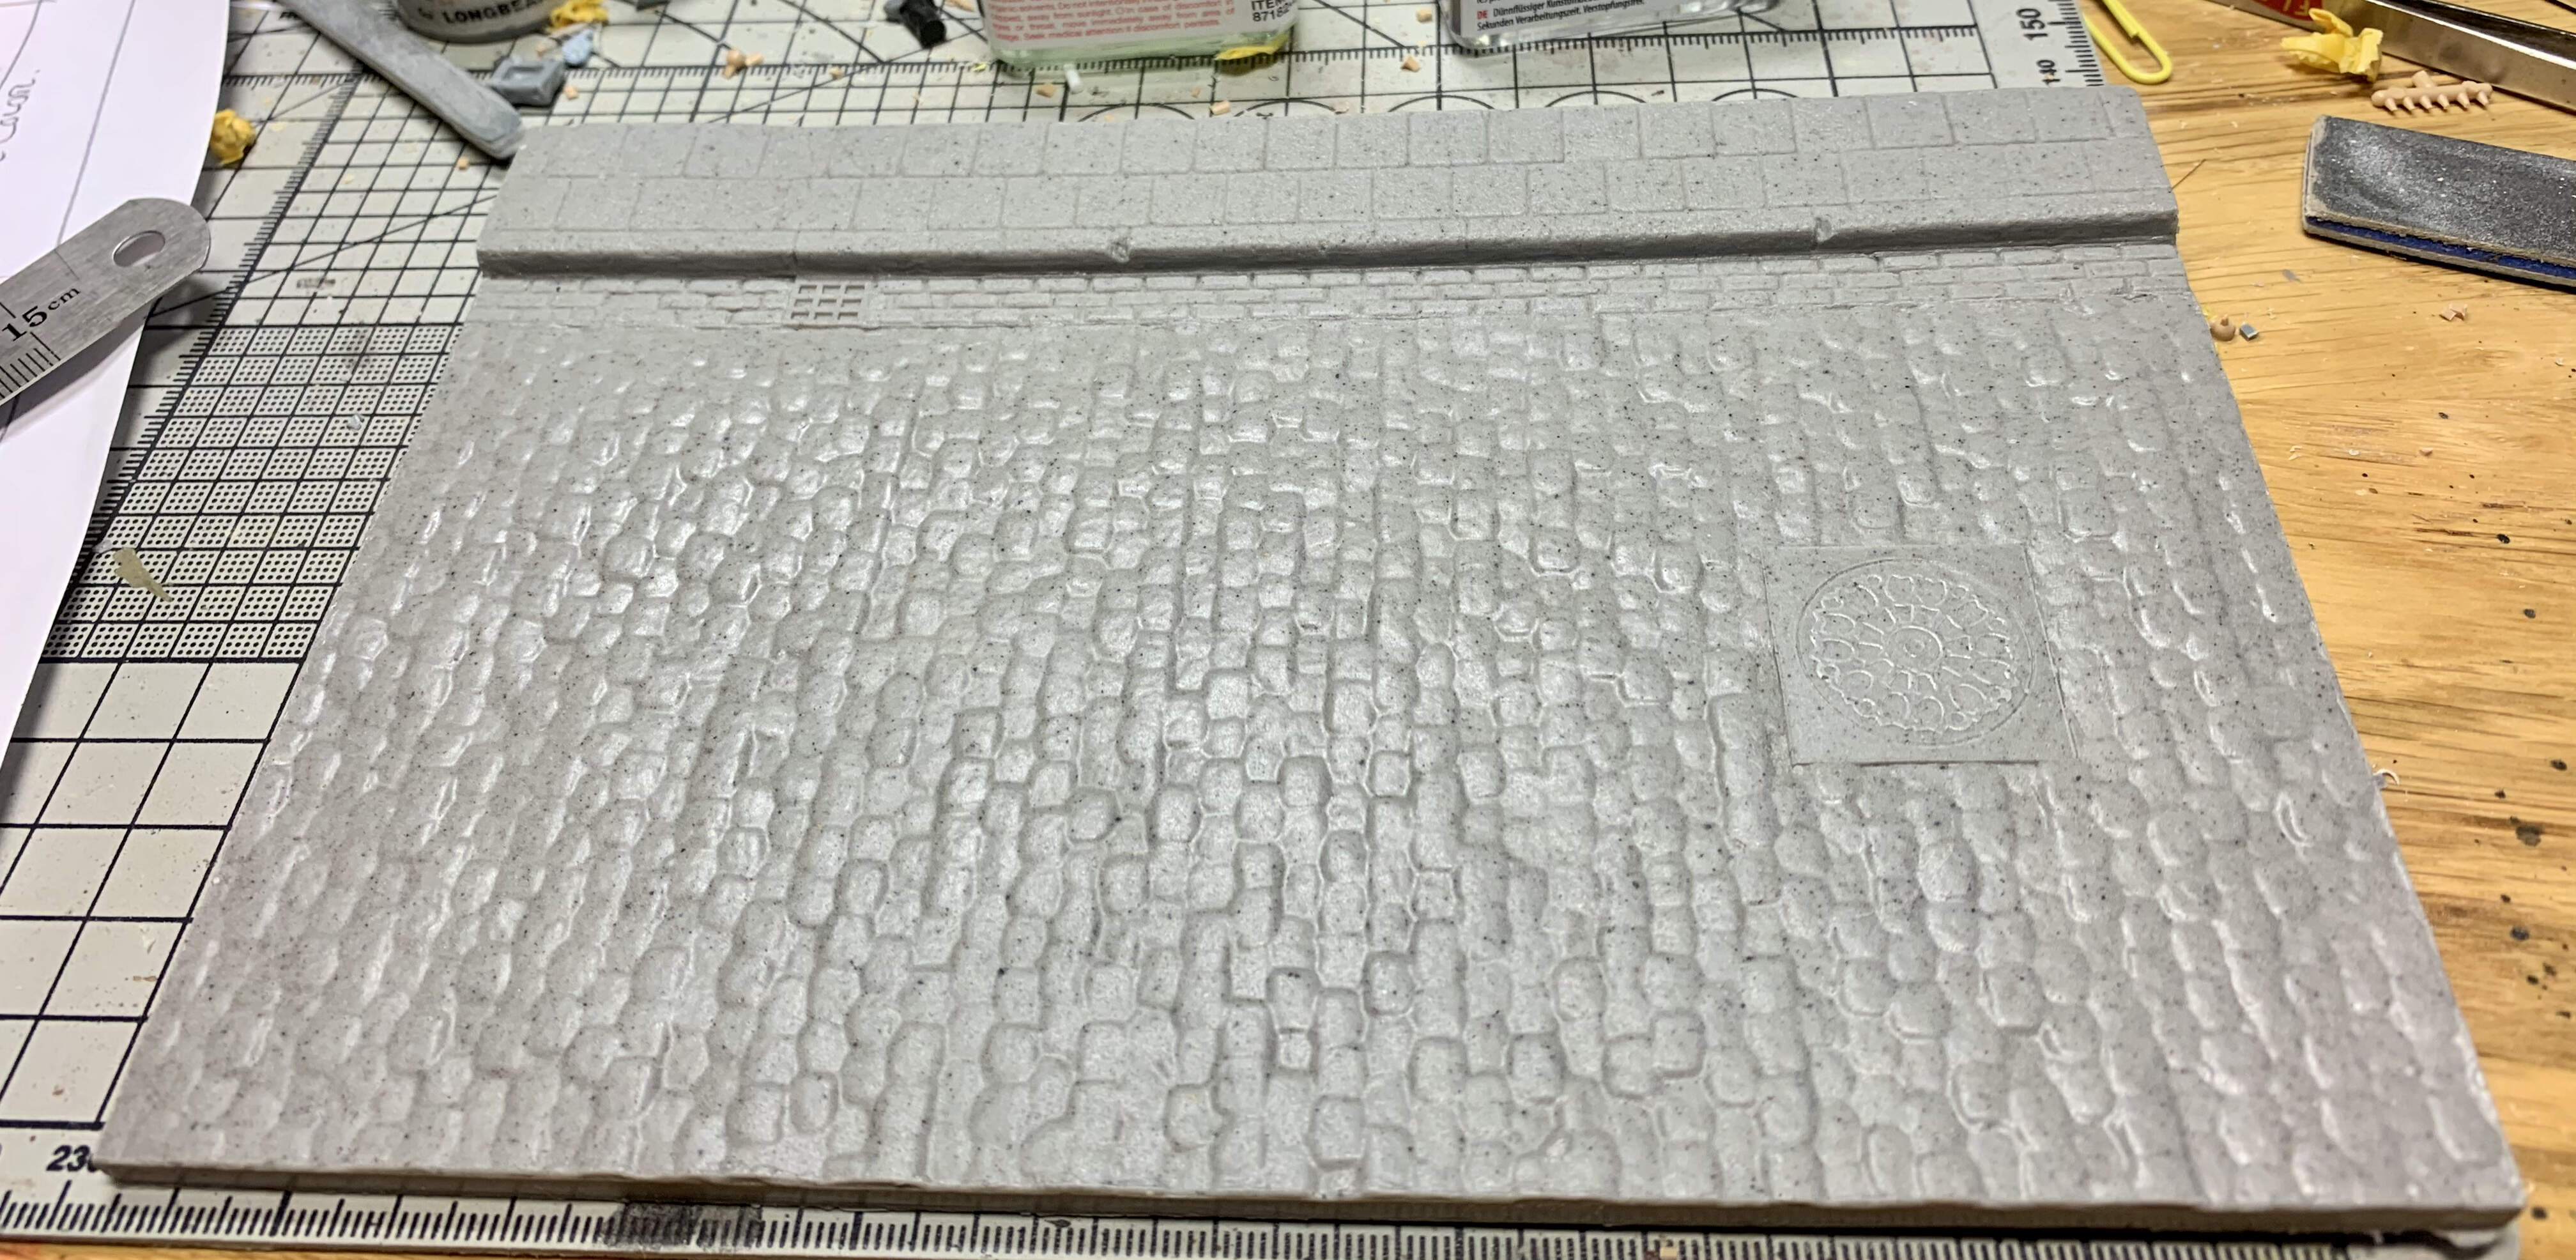
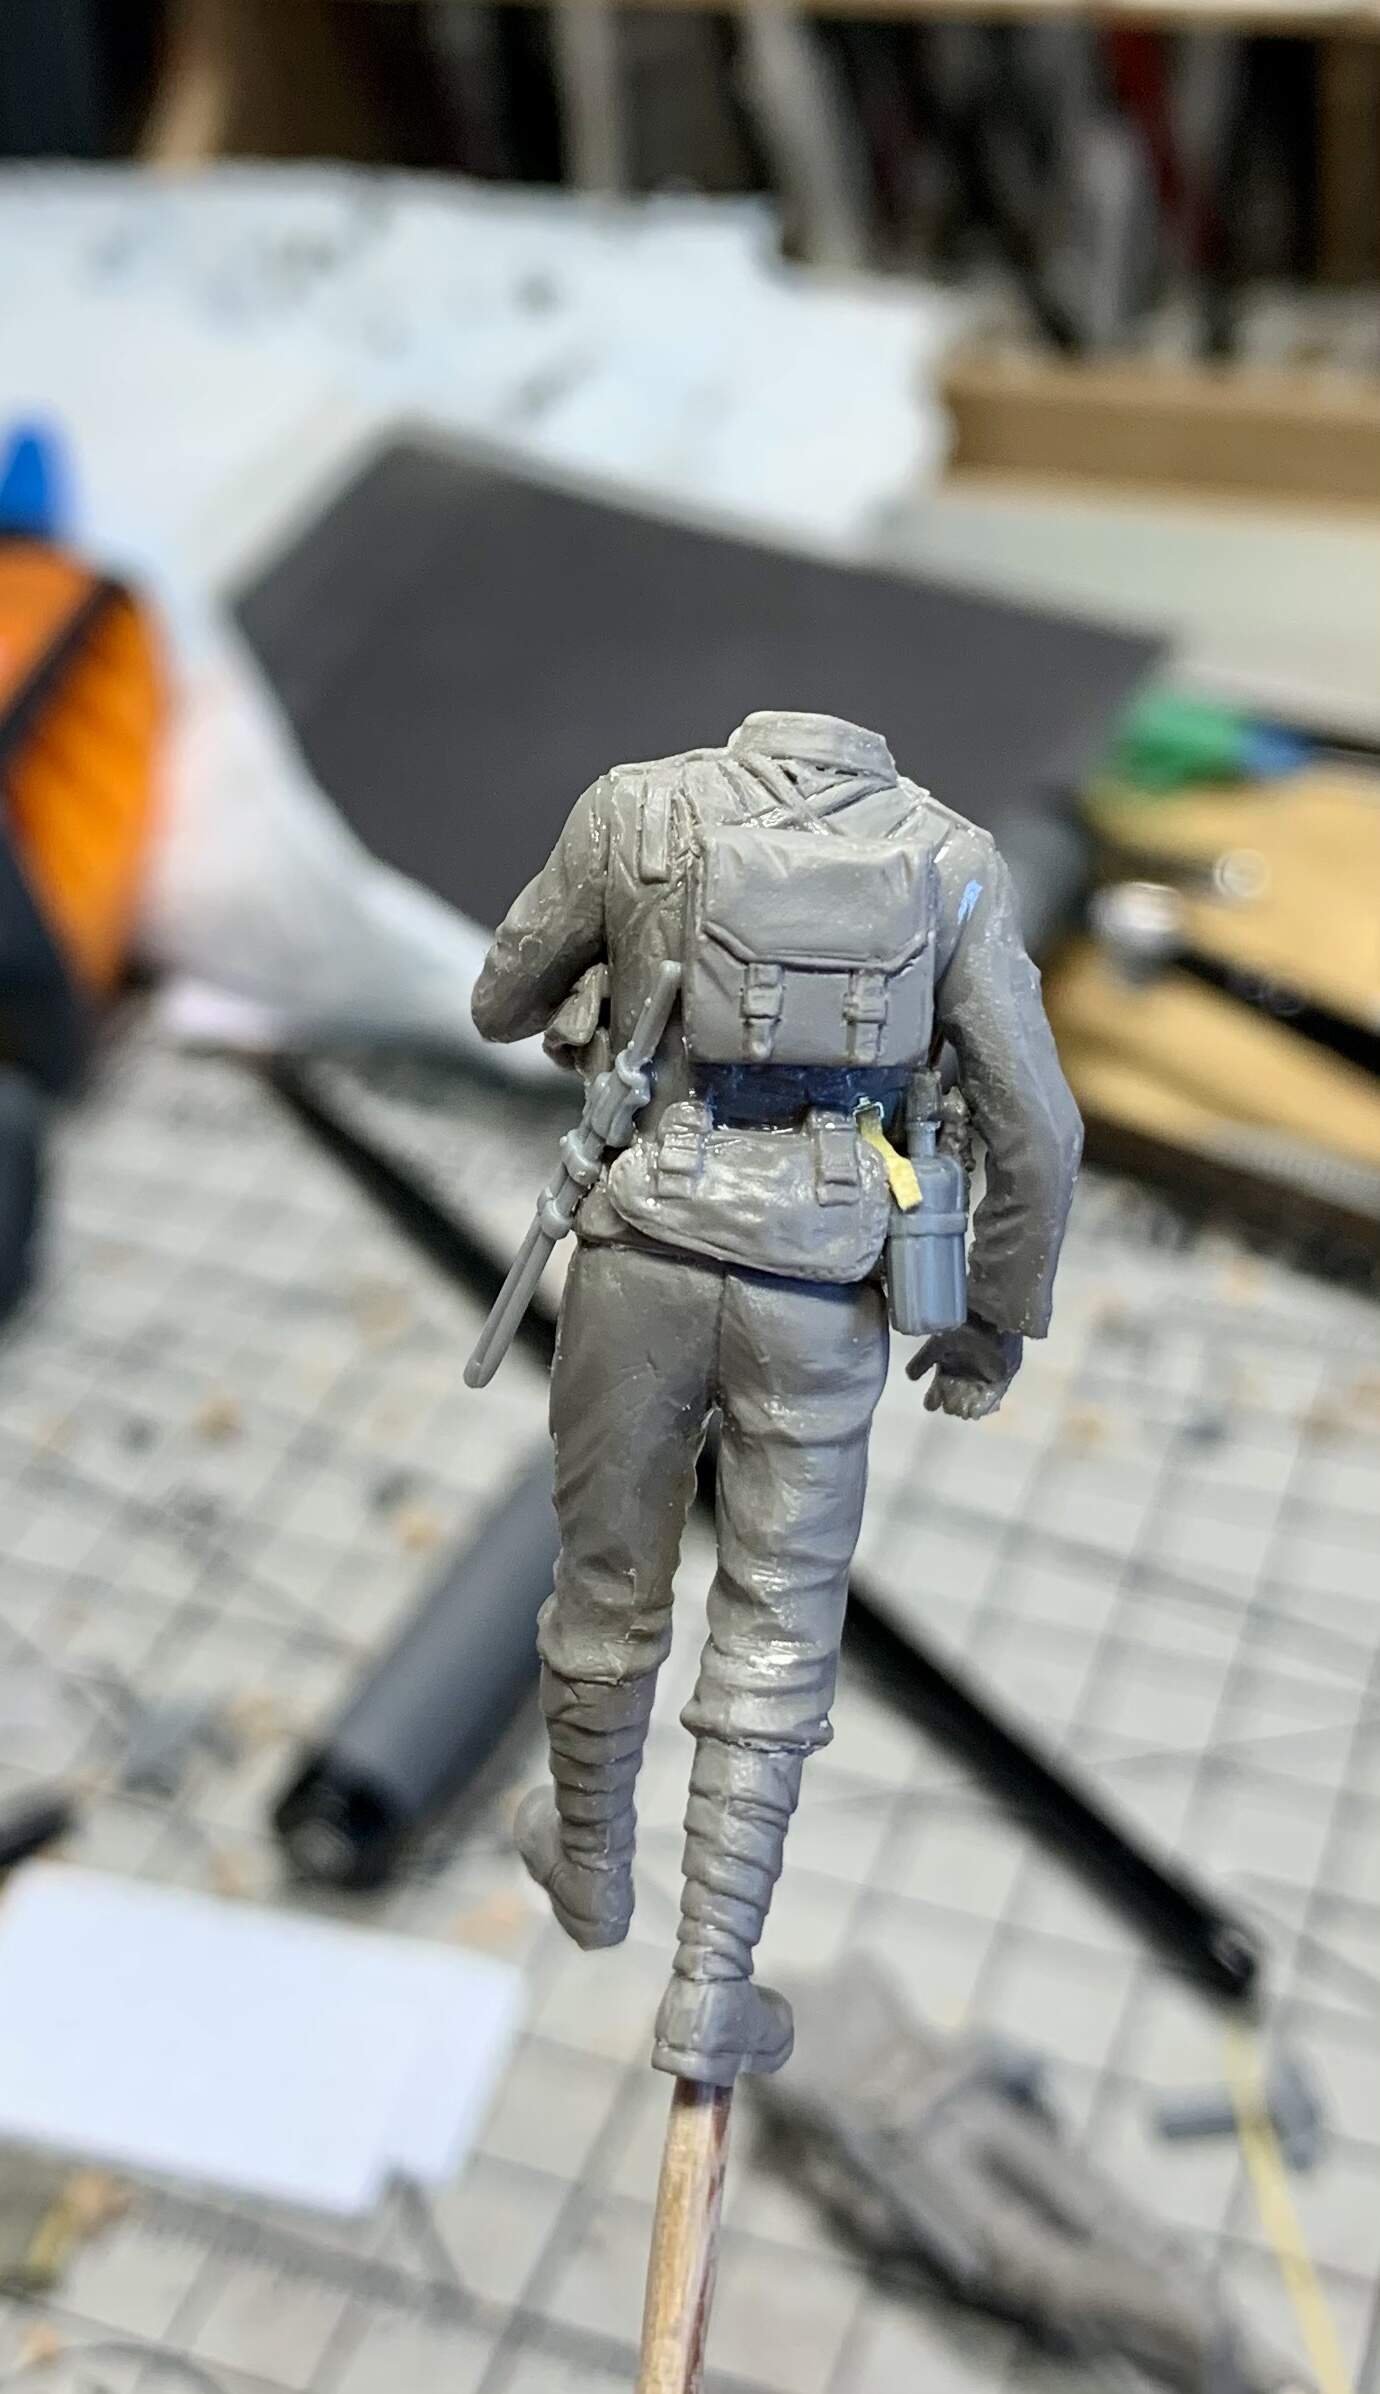
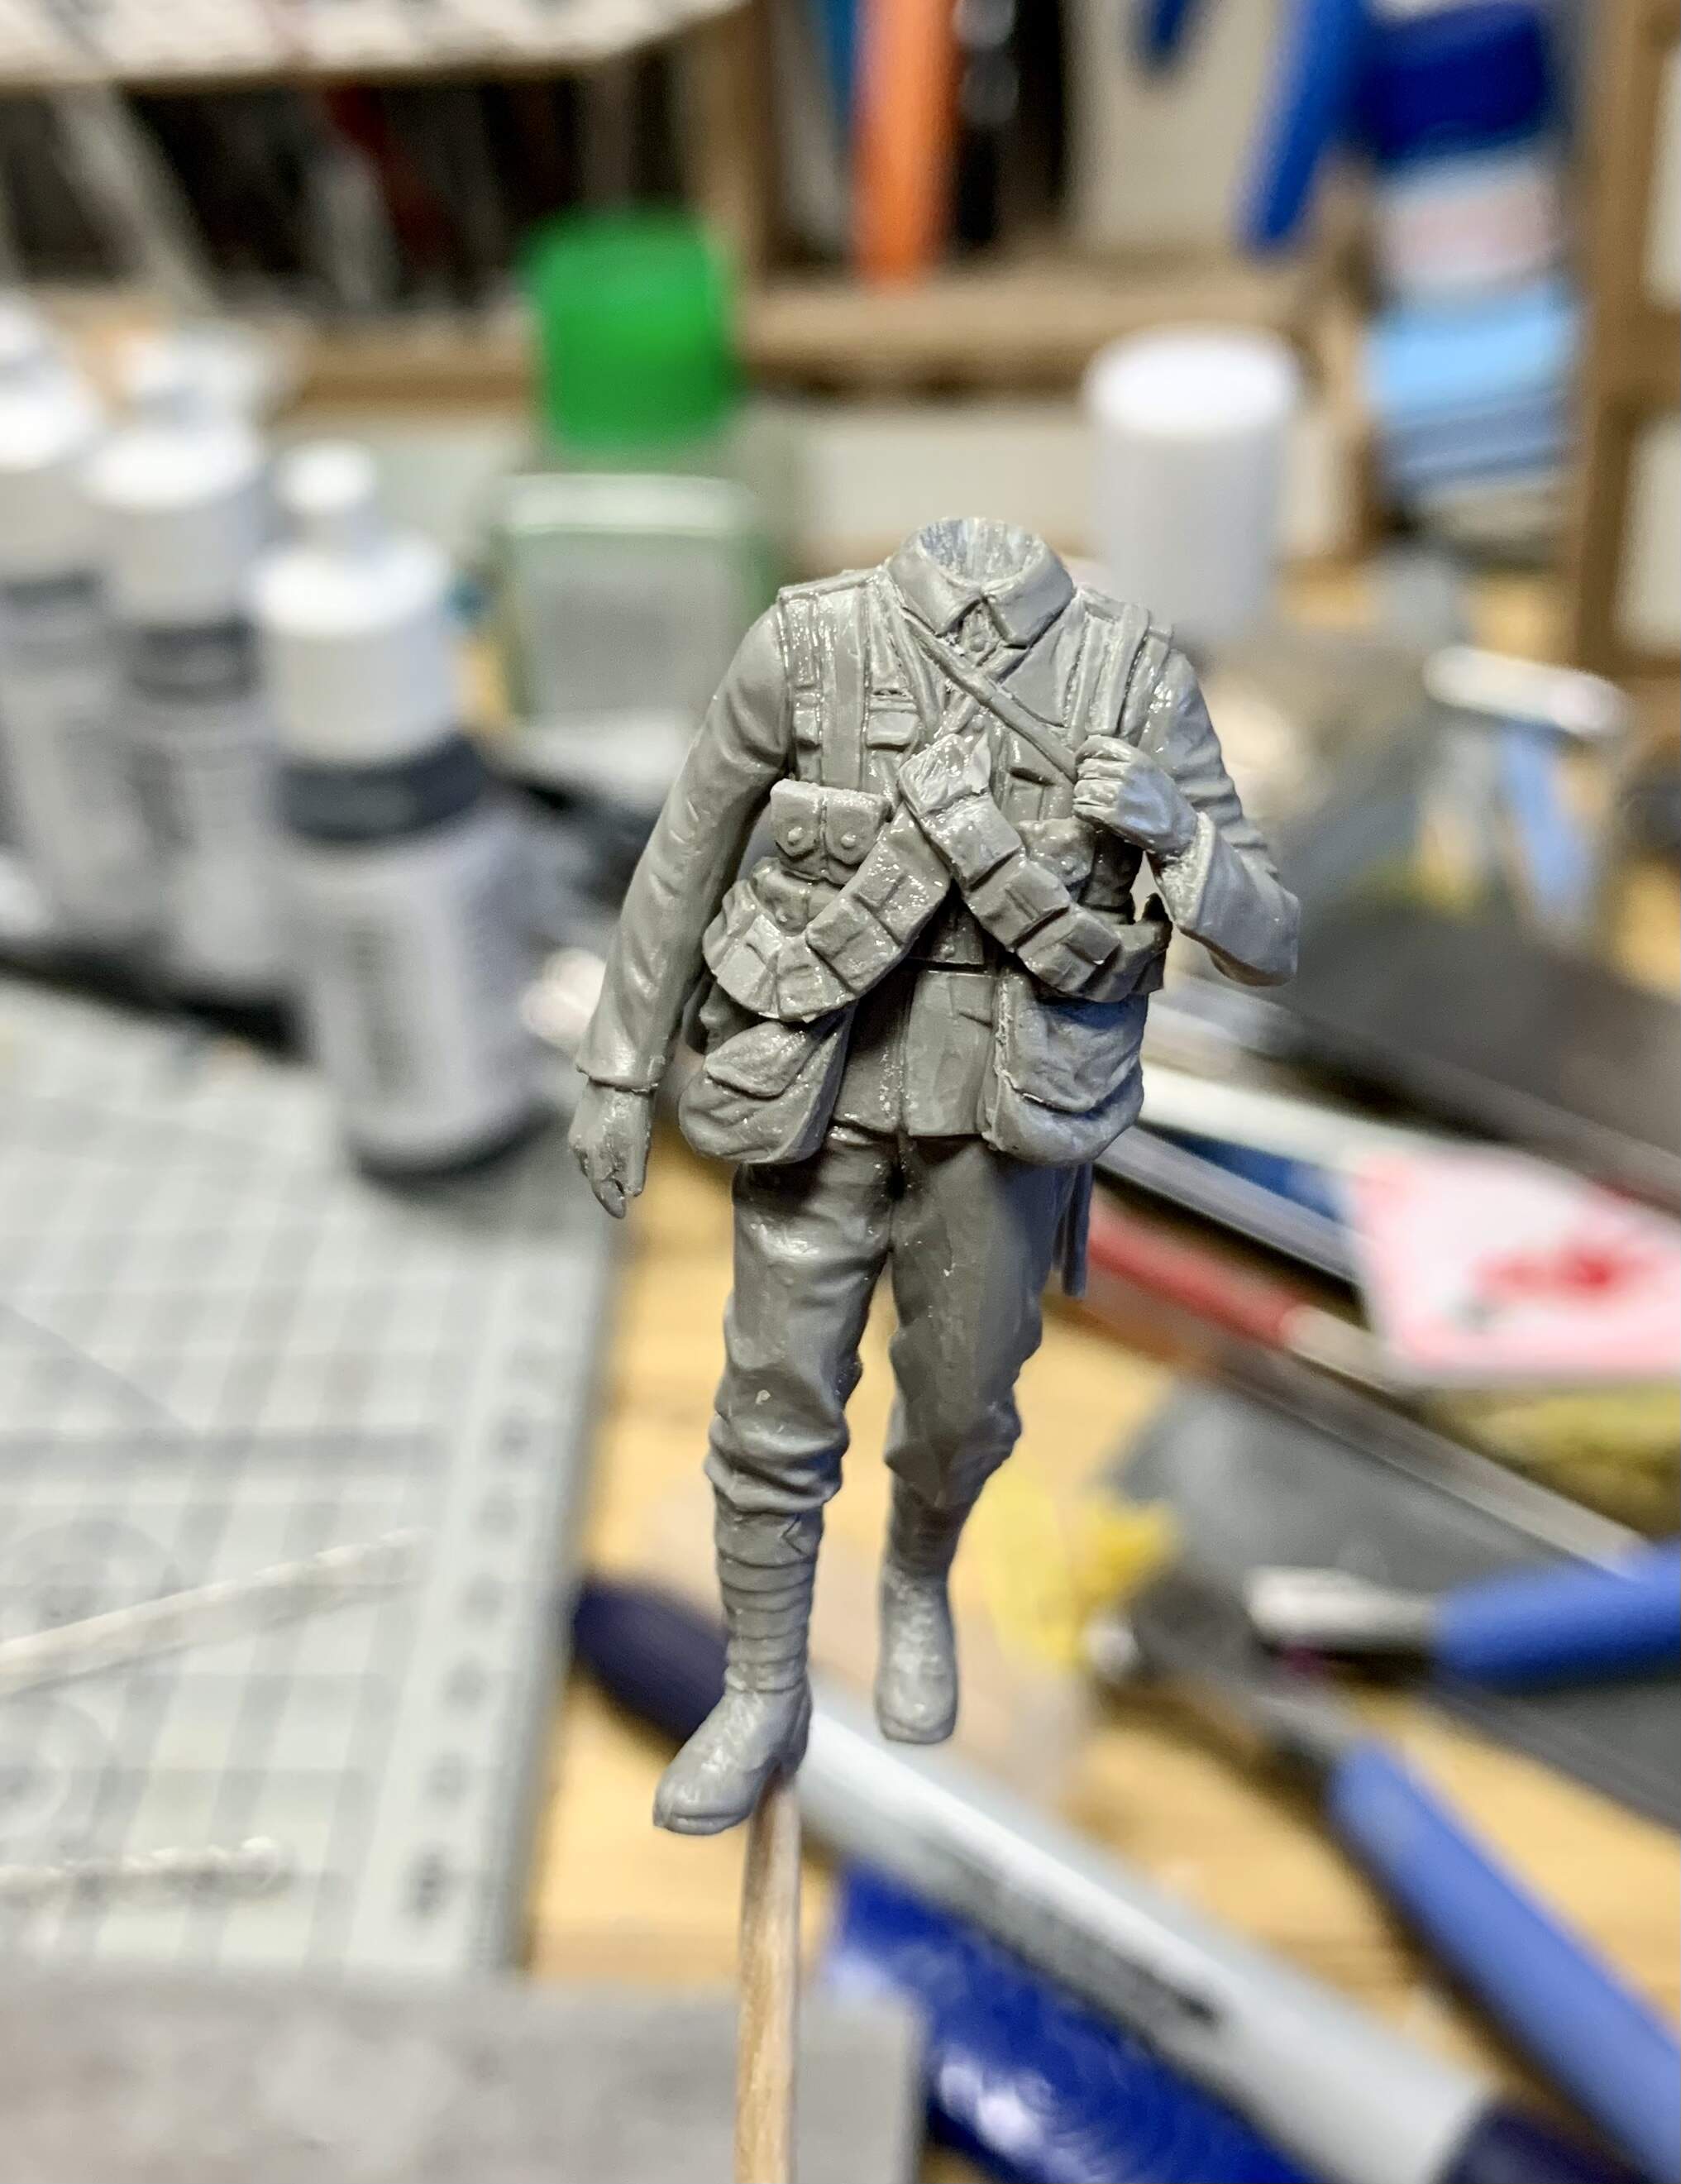
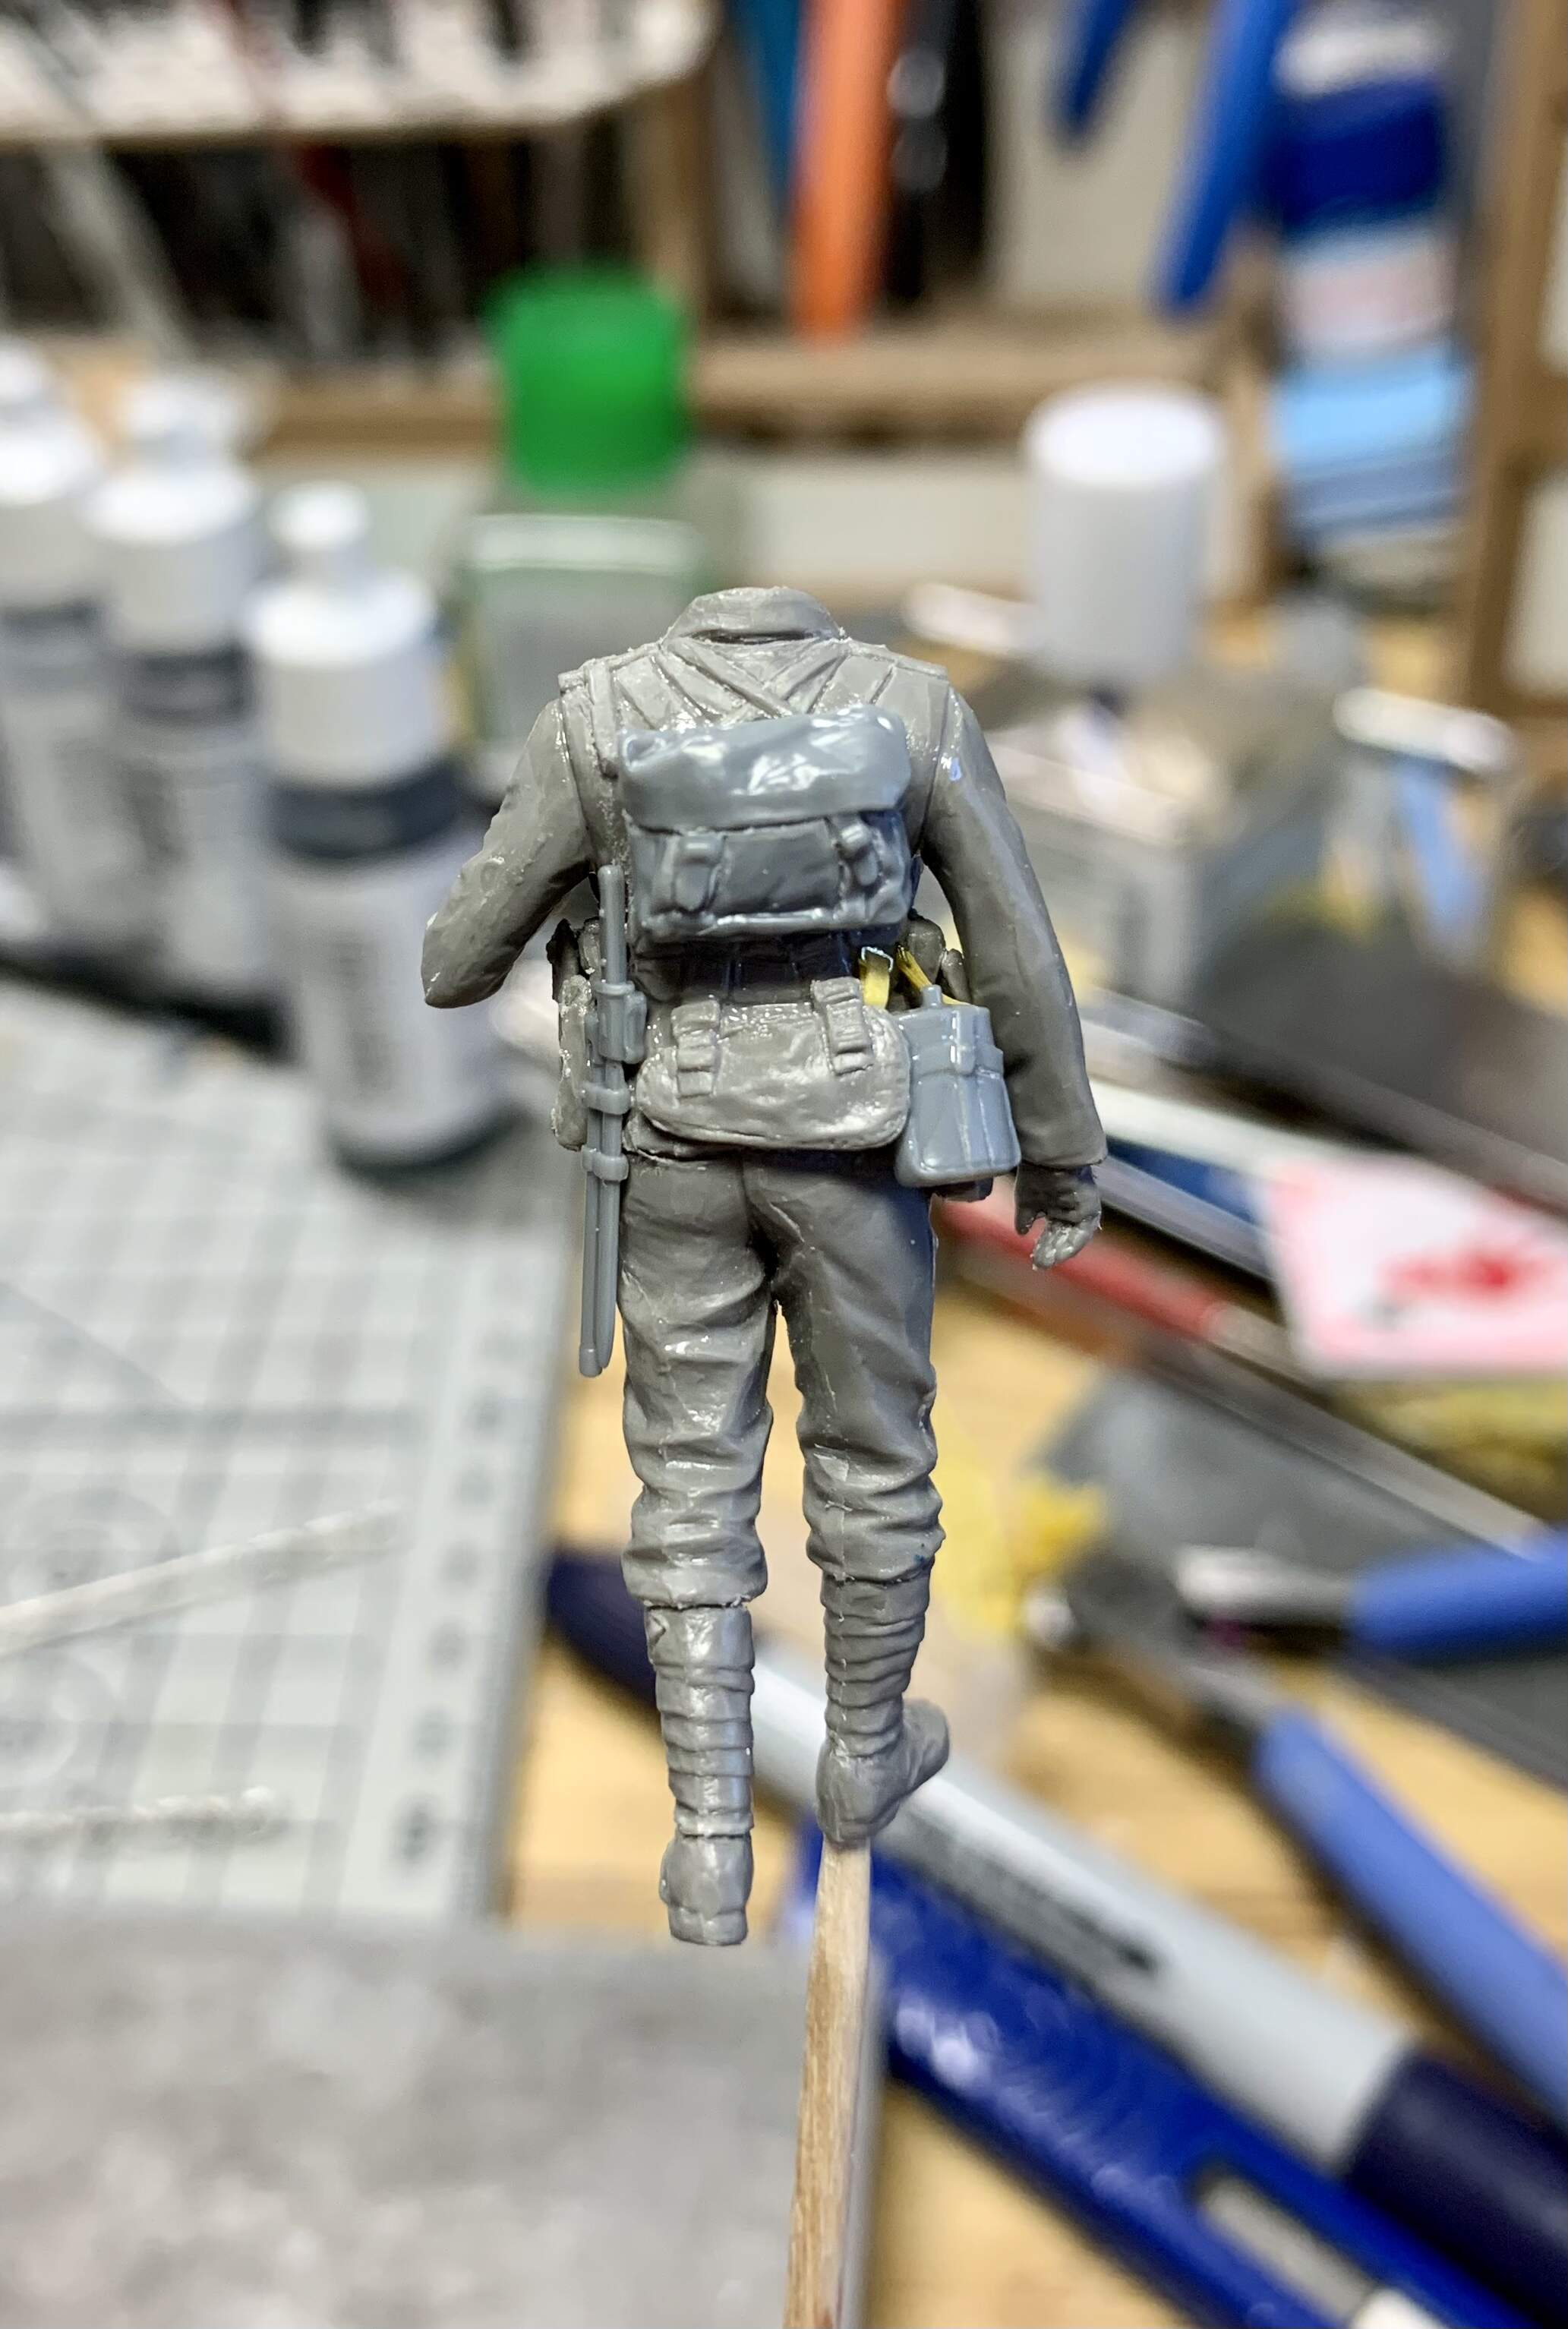
! ! Such is the timelessly frustrating quality of resin.