Going back to the base was a nice change of pace from figure stuff and it was great to get some color acrylics out again!
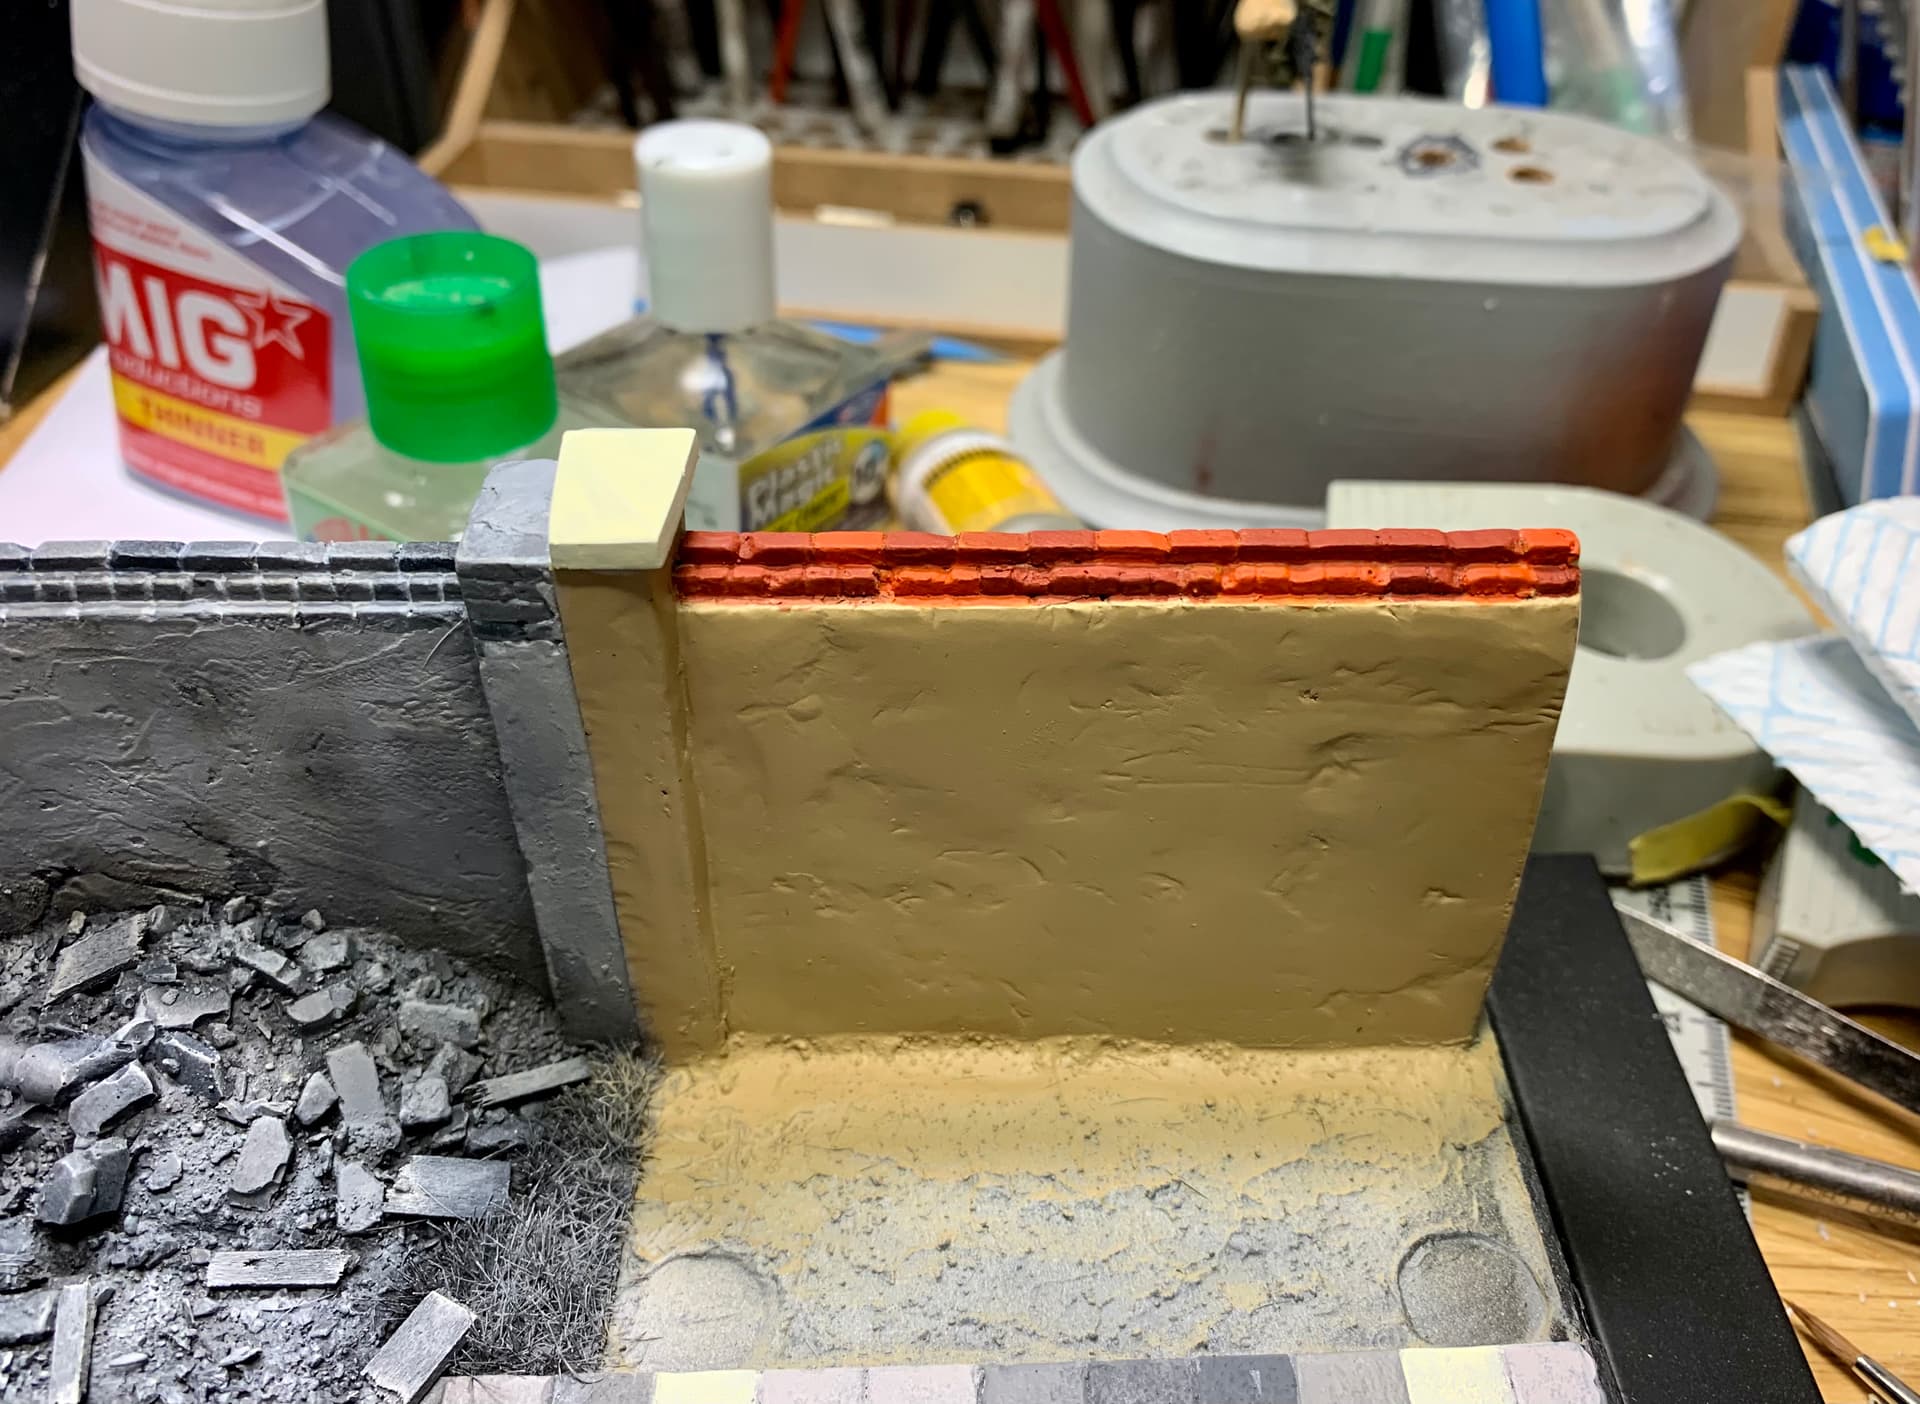
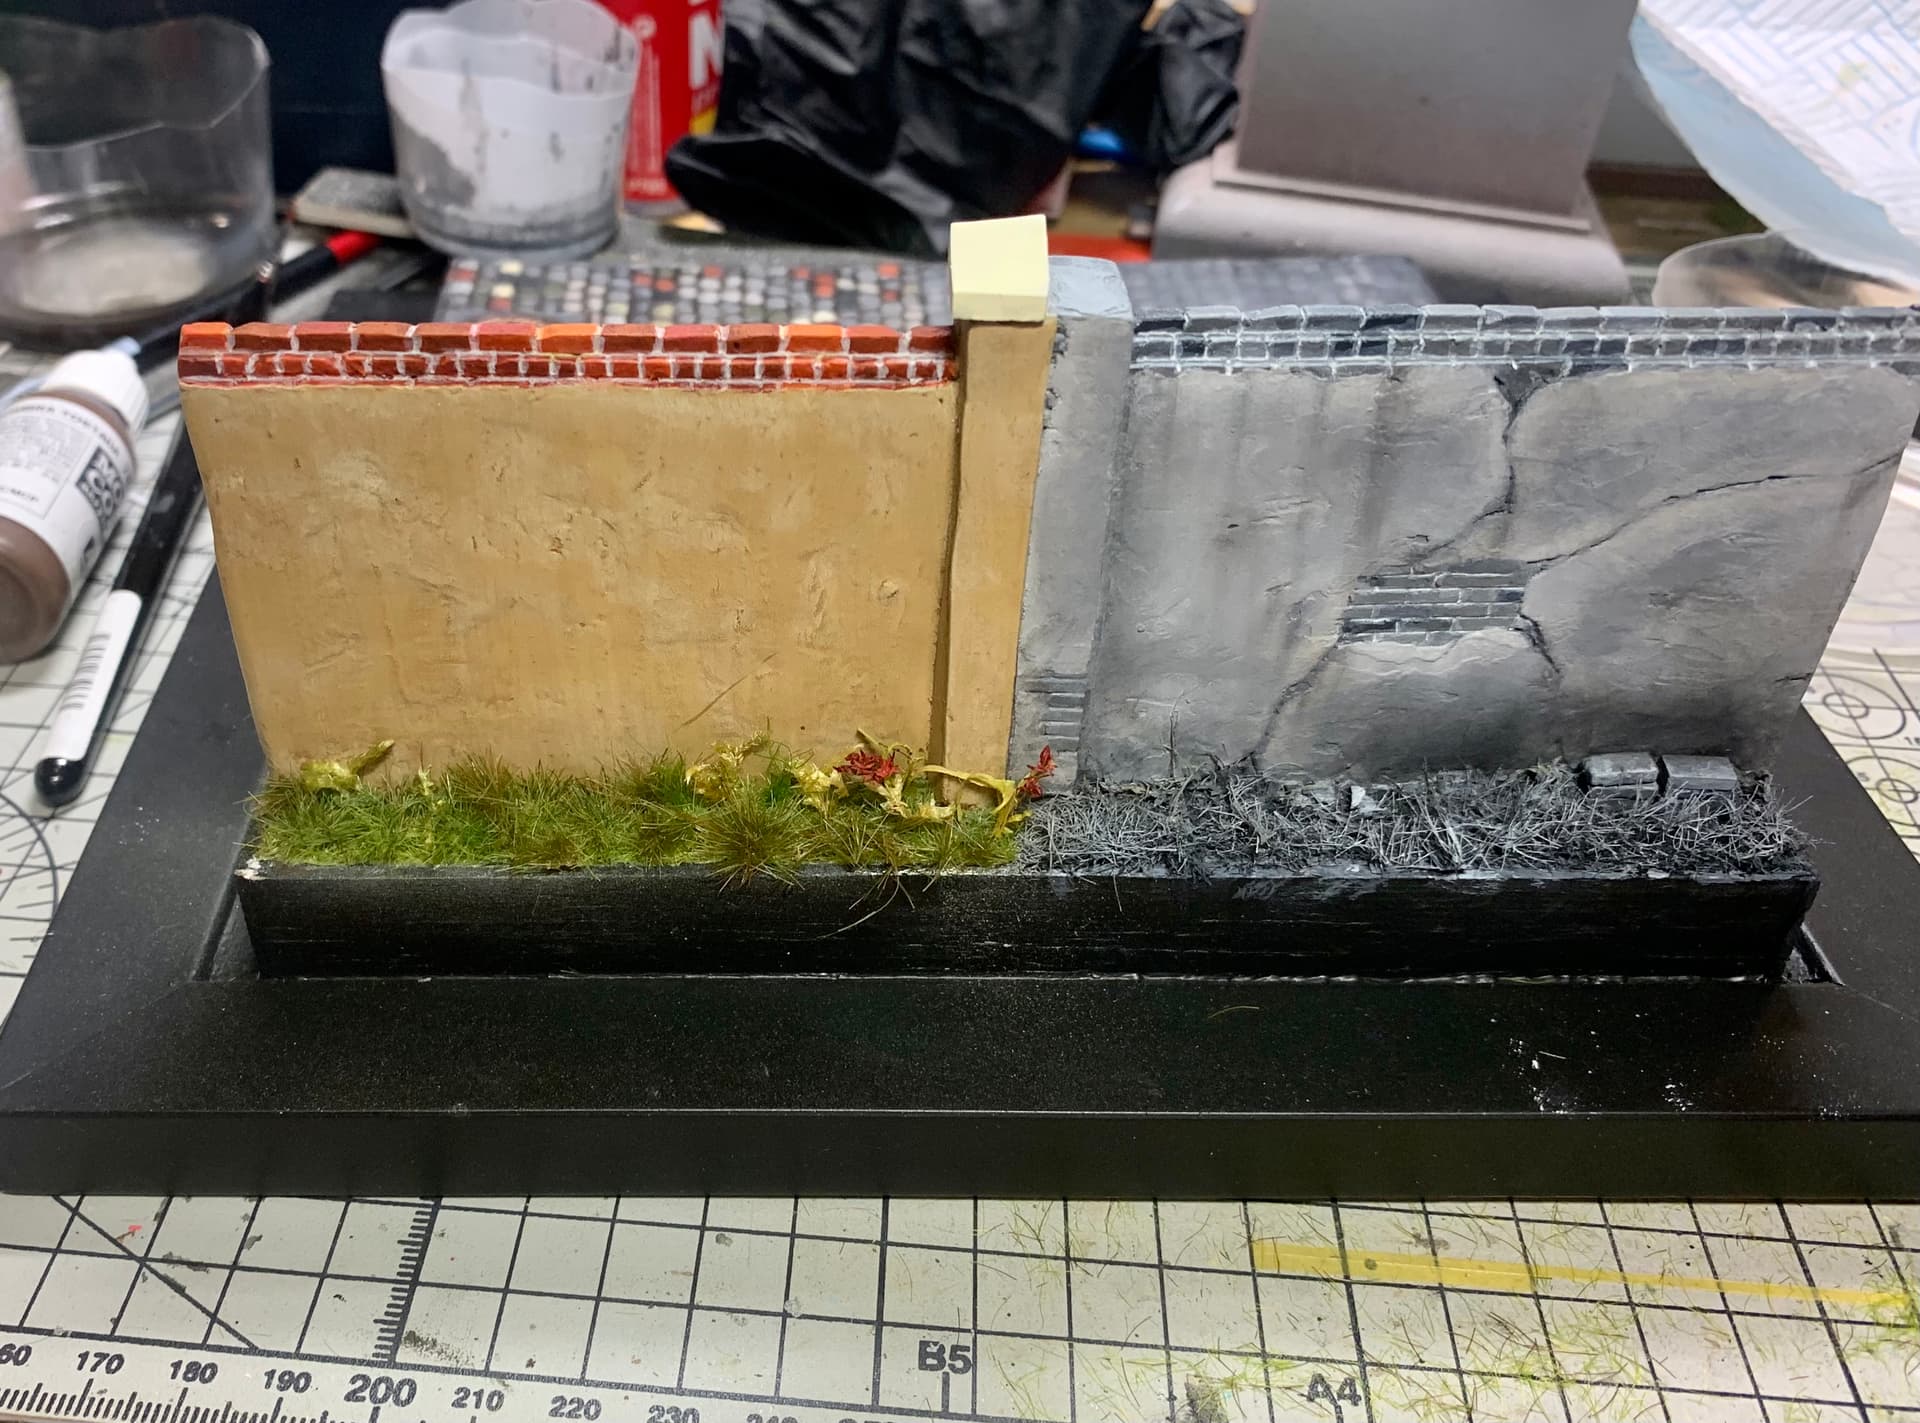
The sandy brown color already on the wall was chosen after another few virtual trips to Abbeville where some older buildings had this kind of rendering.
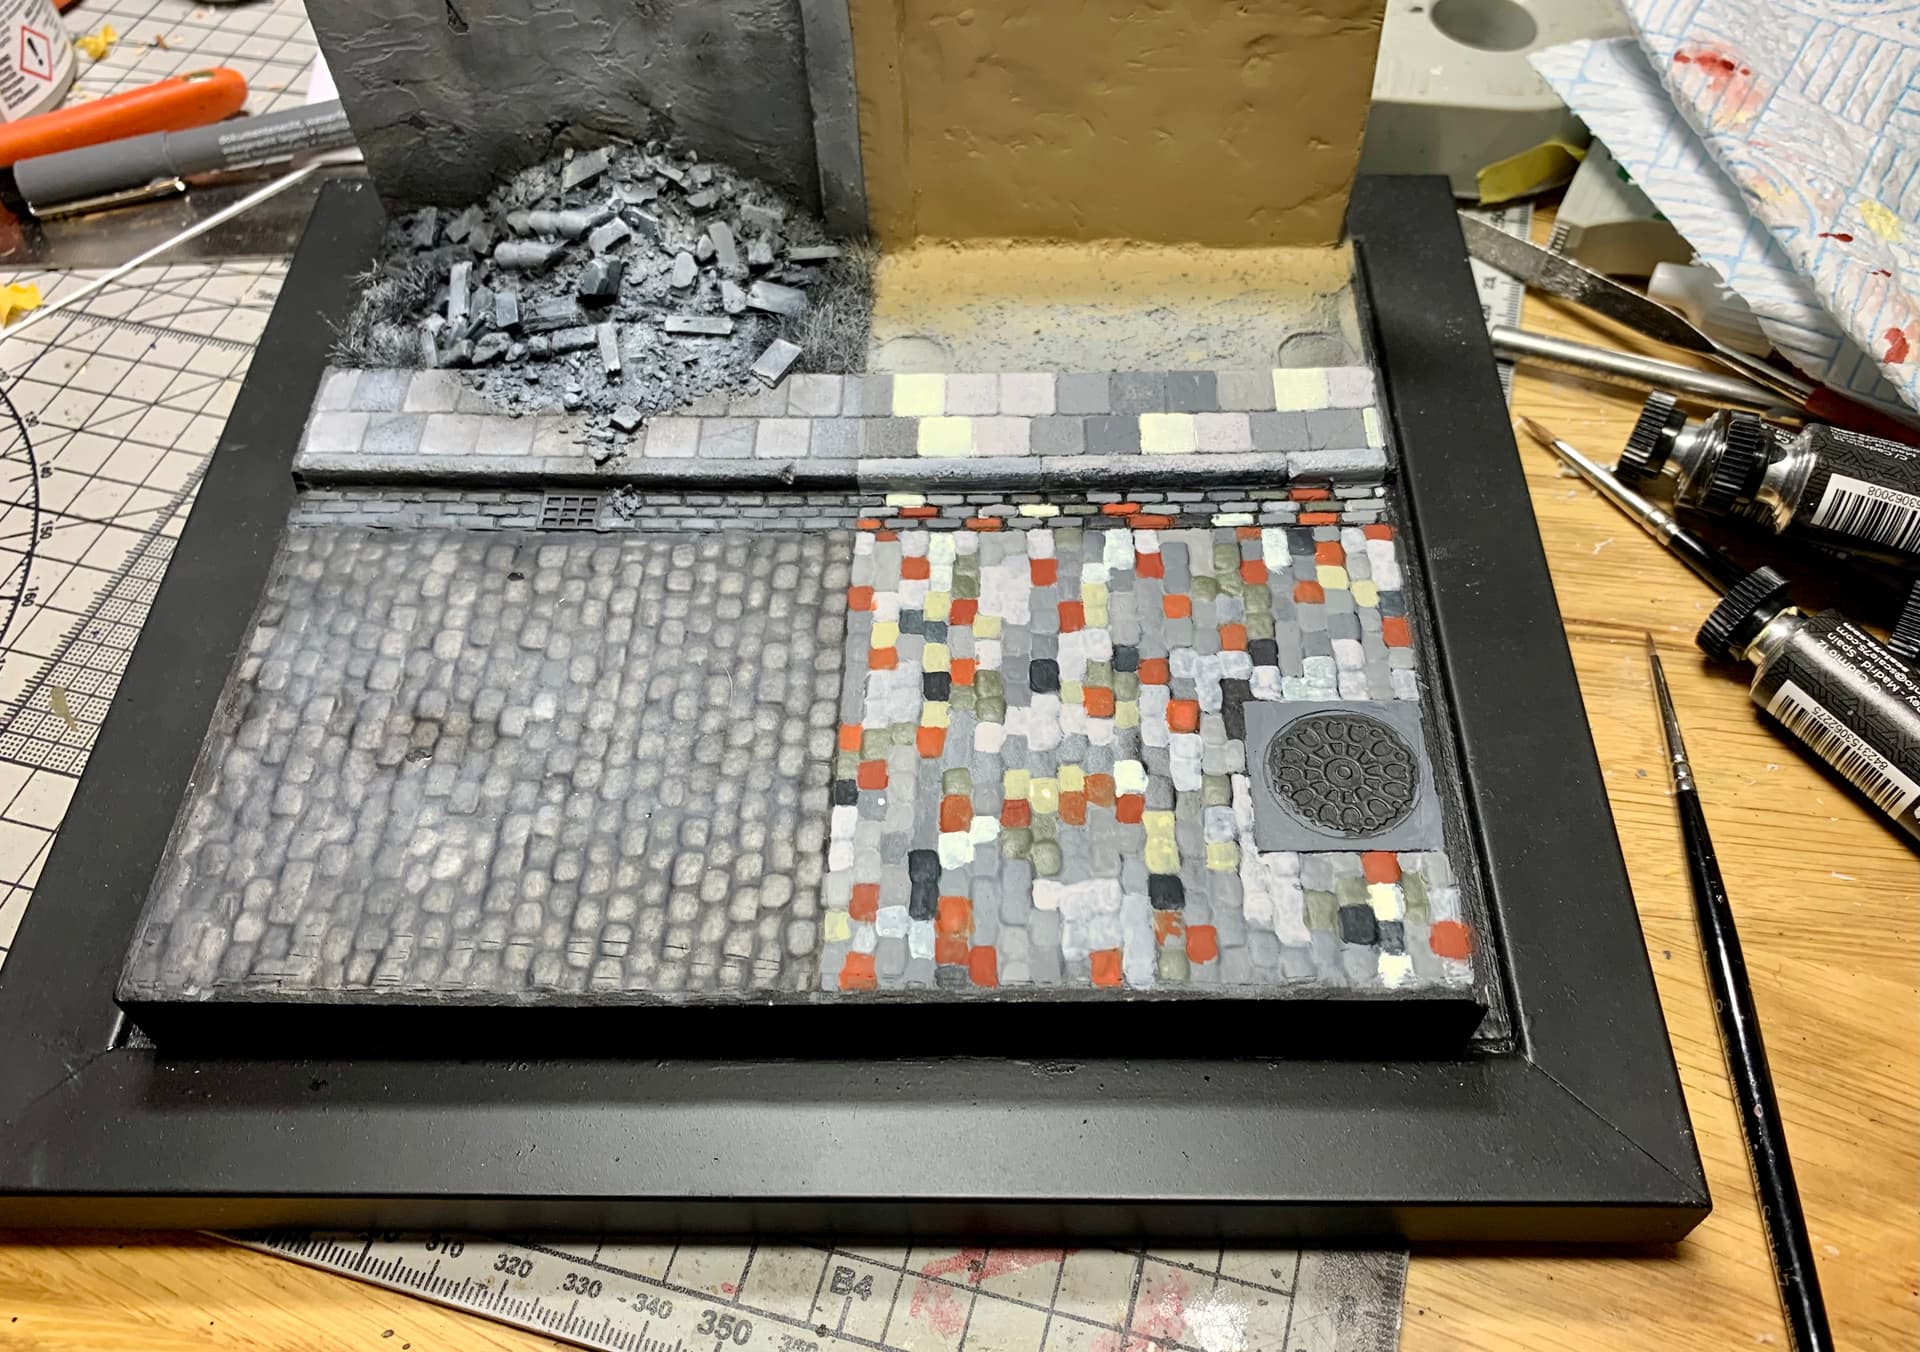
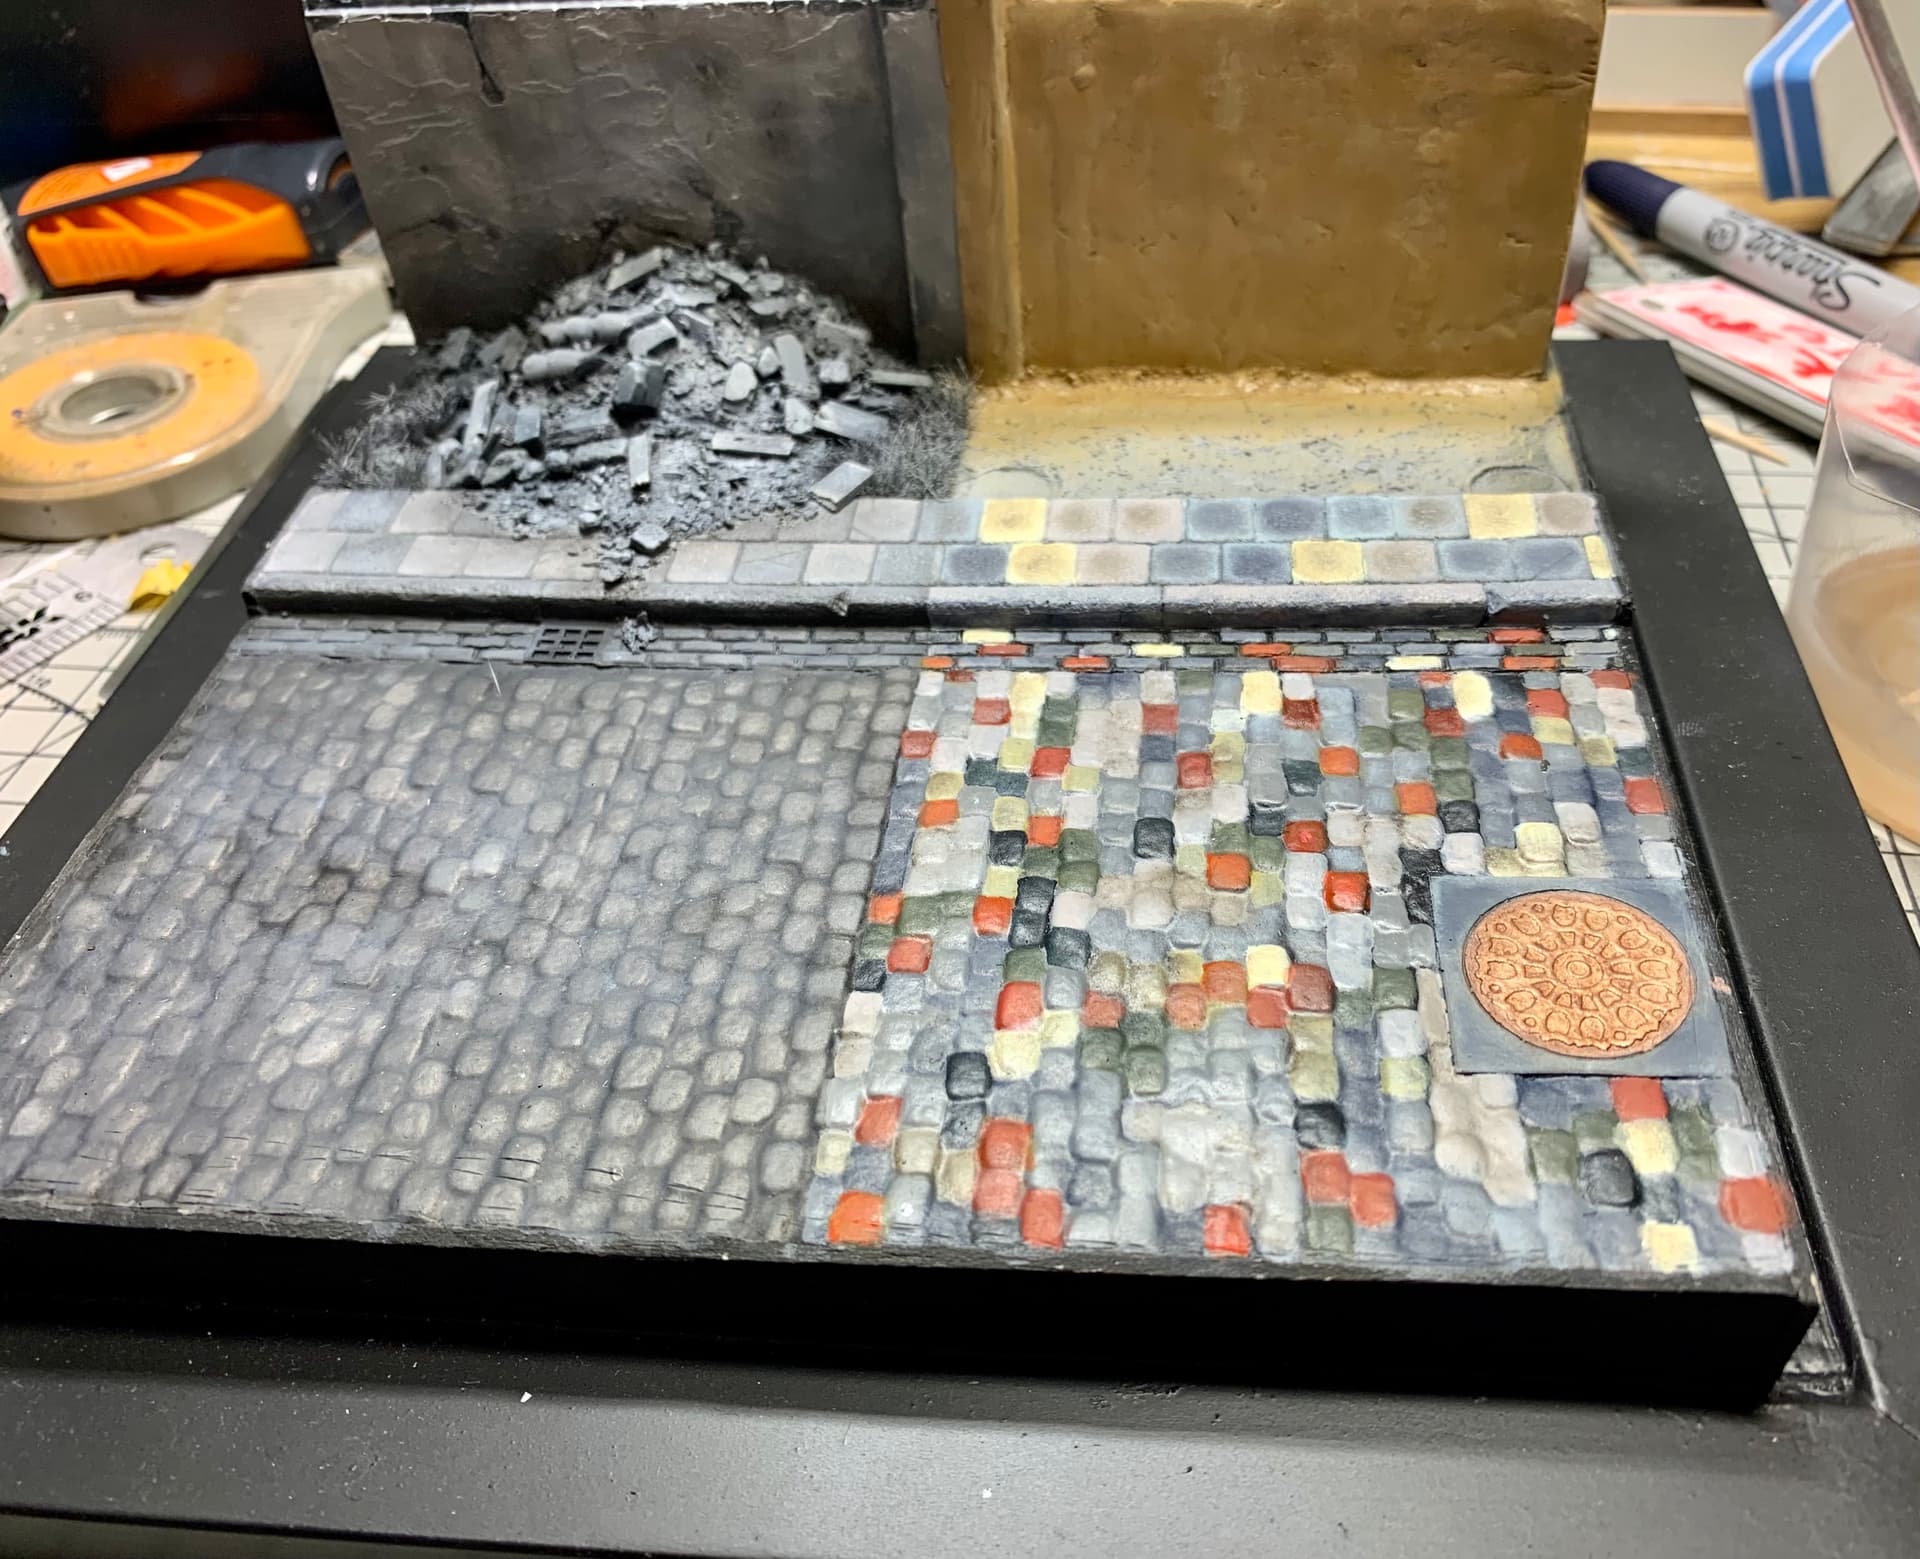
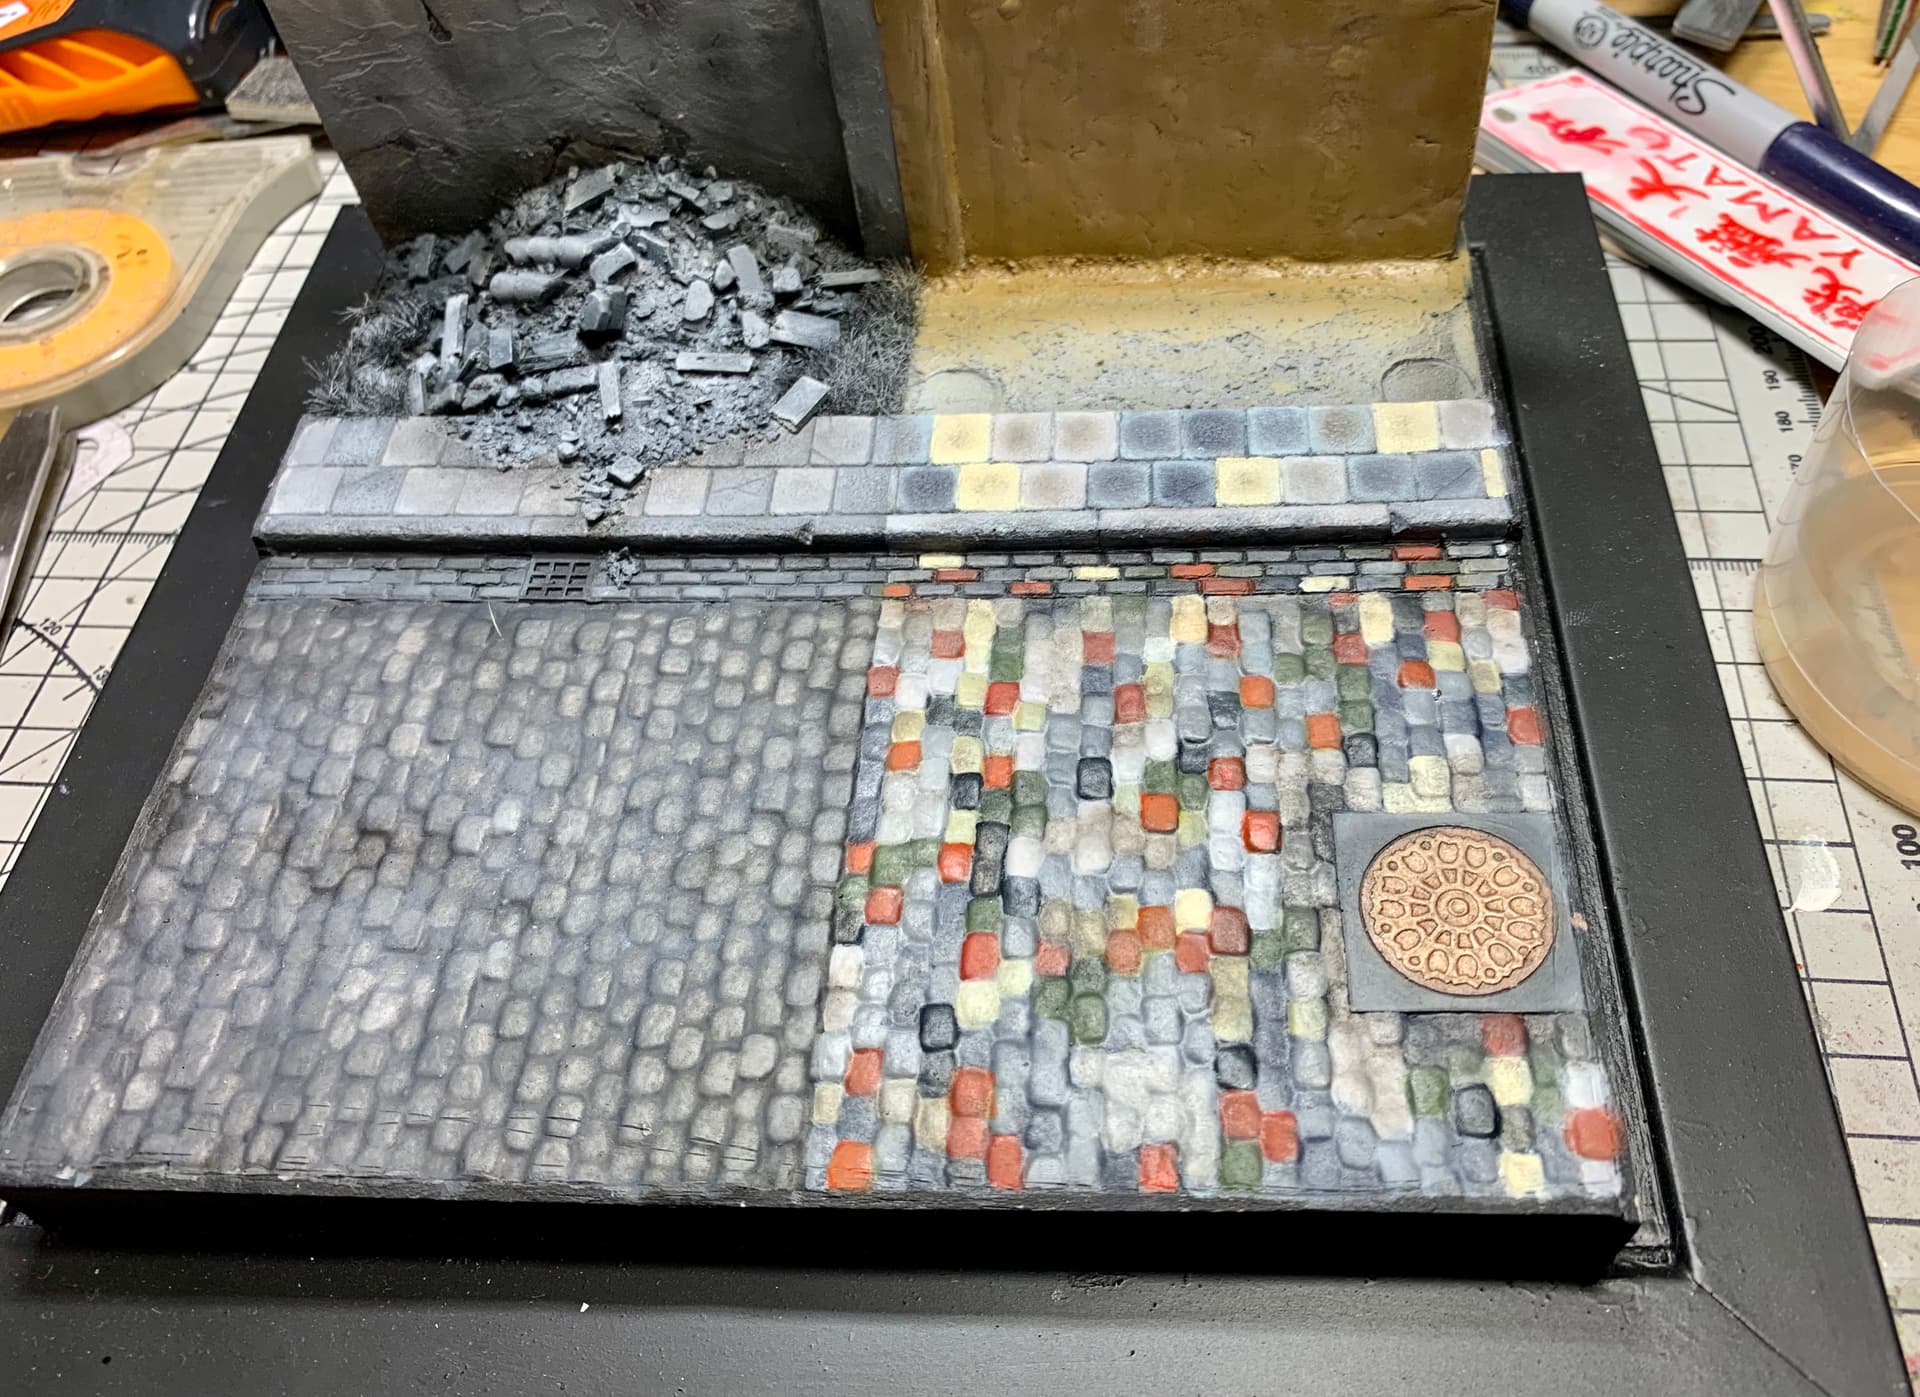
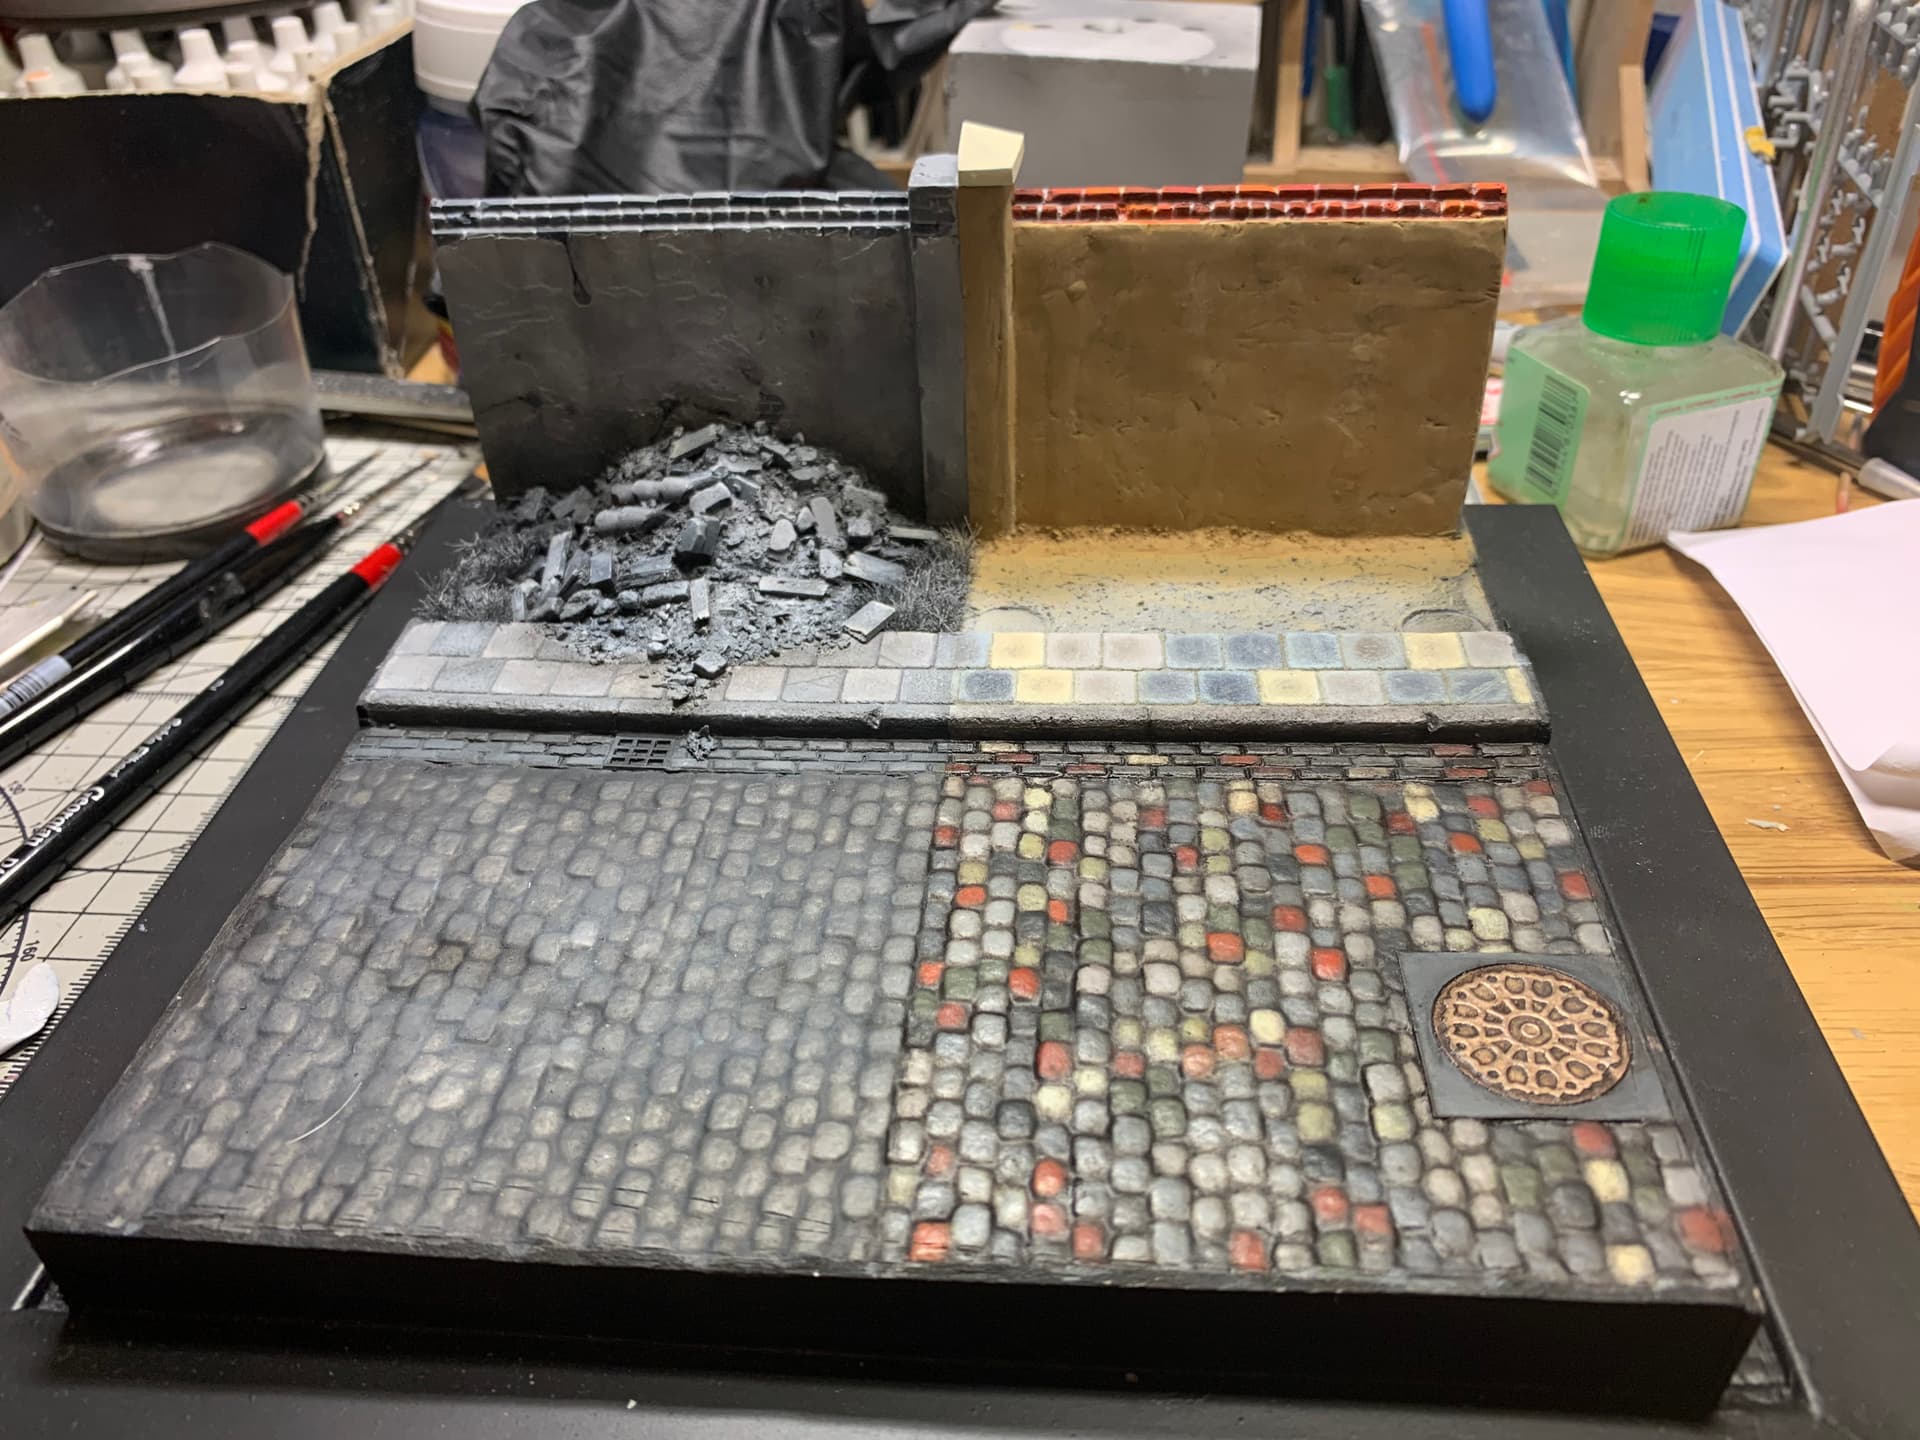
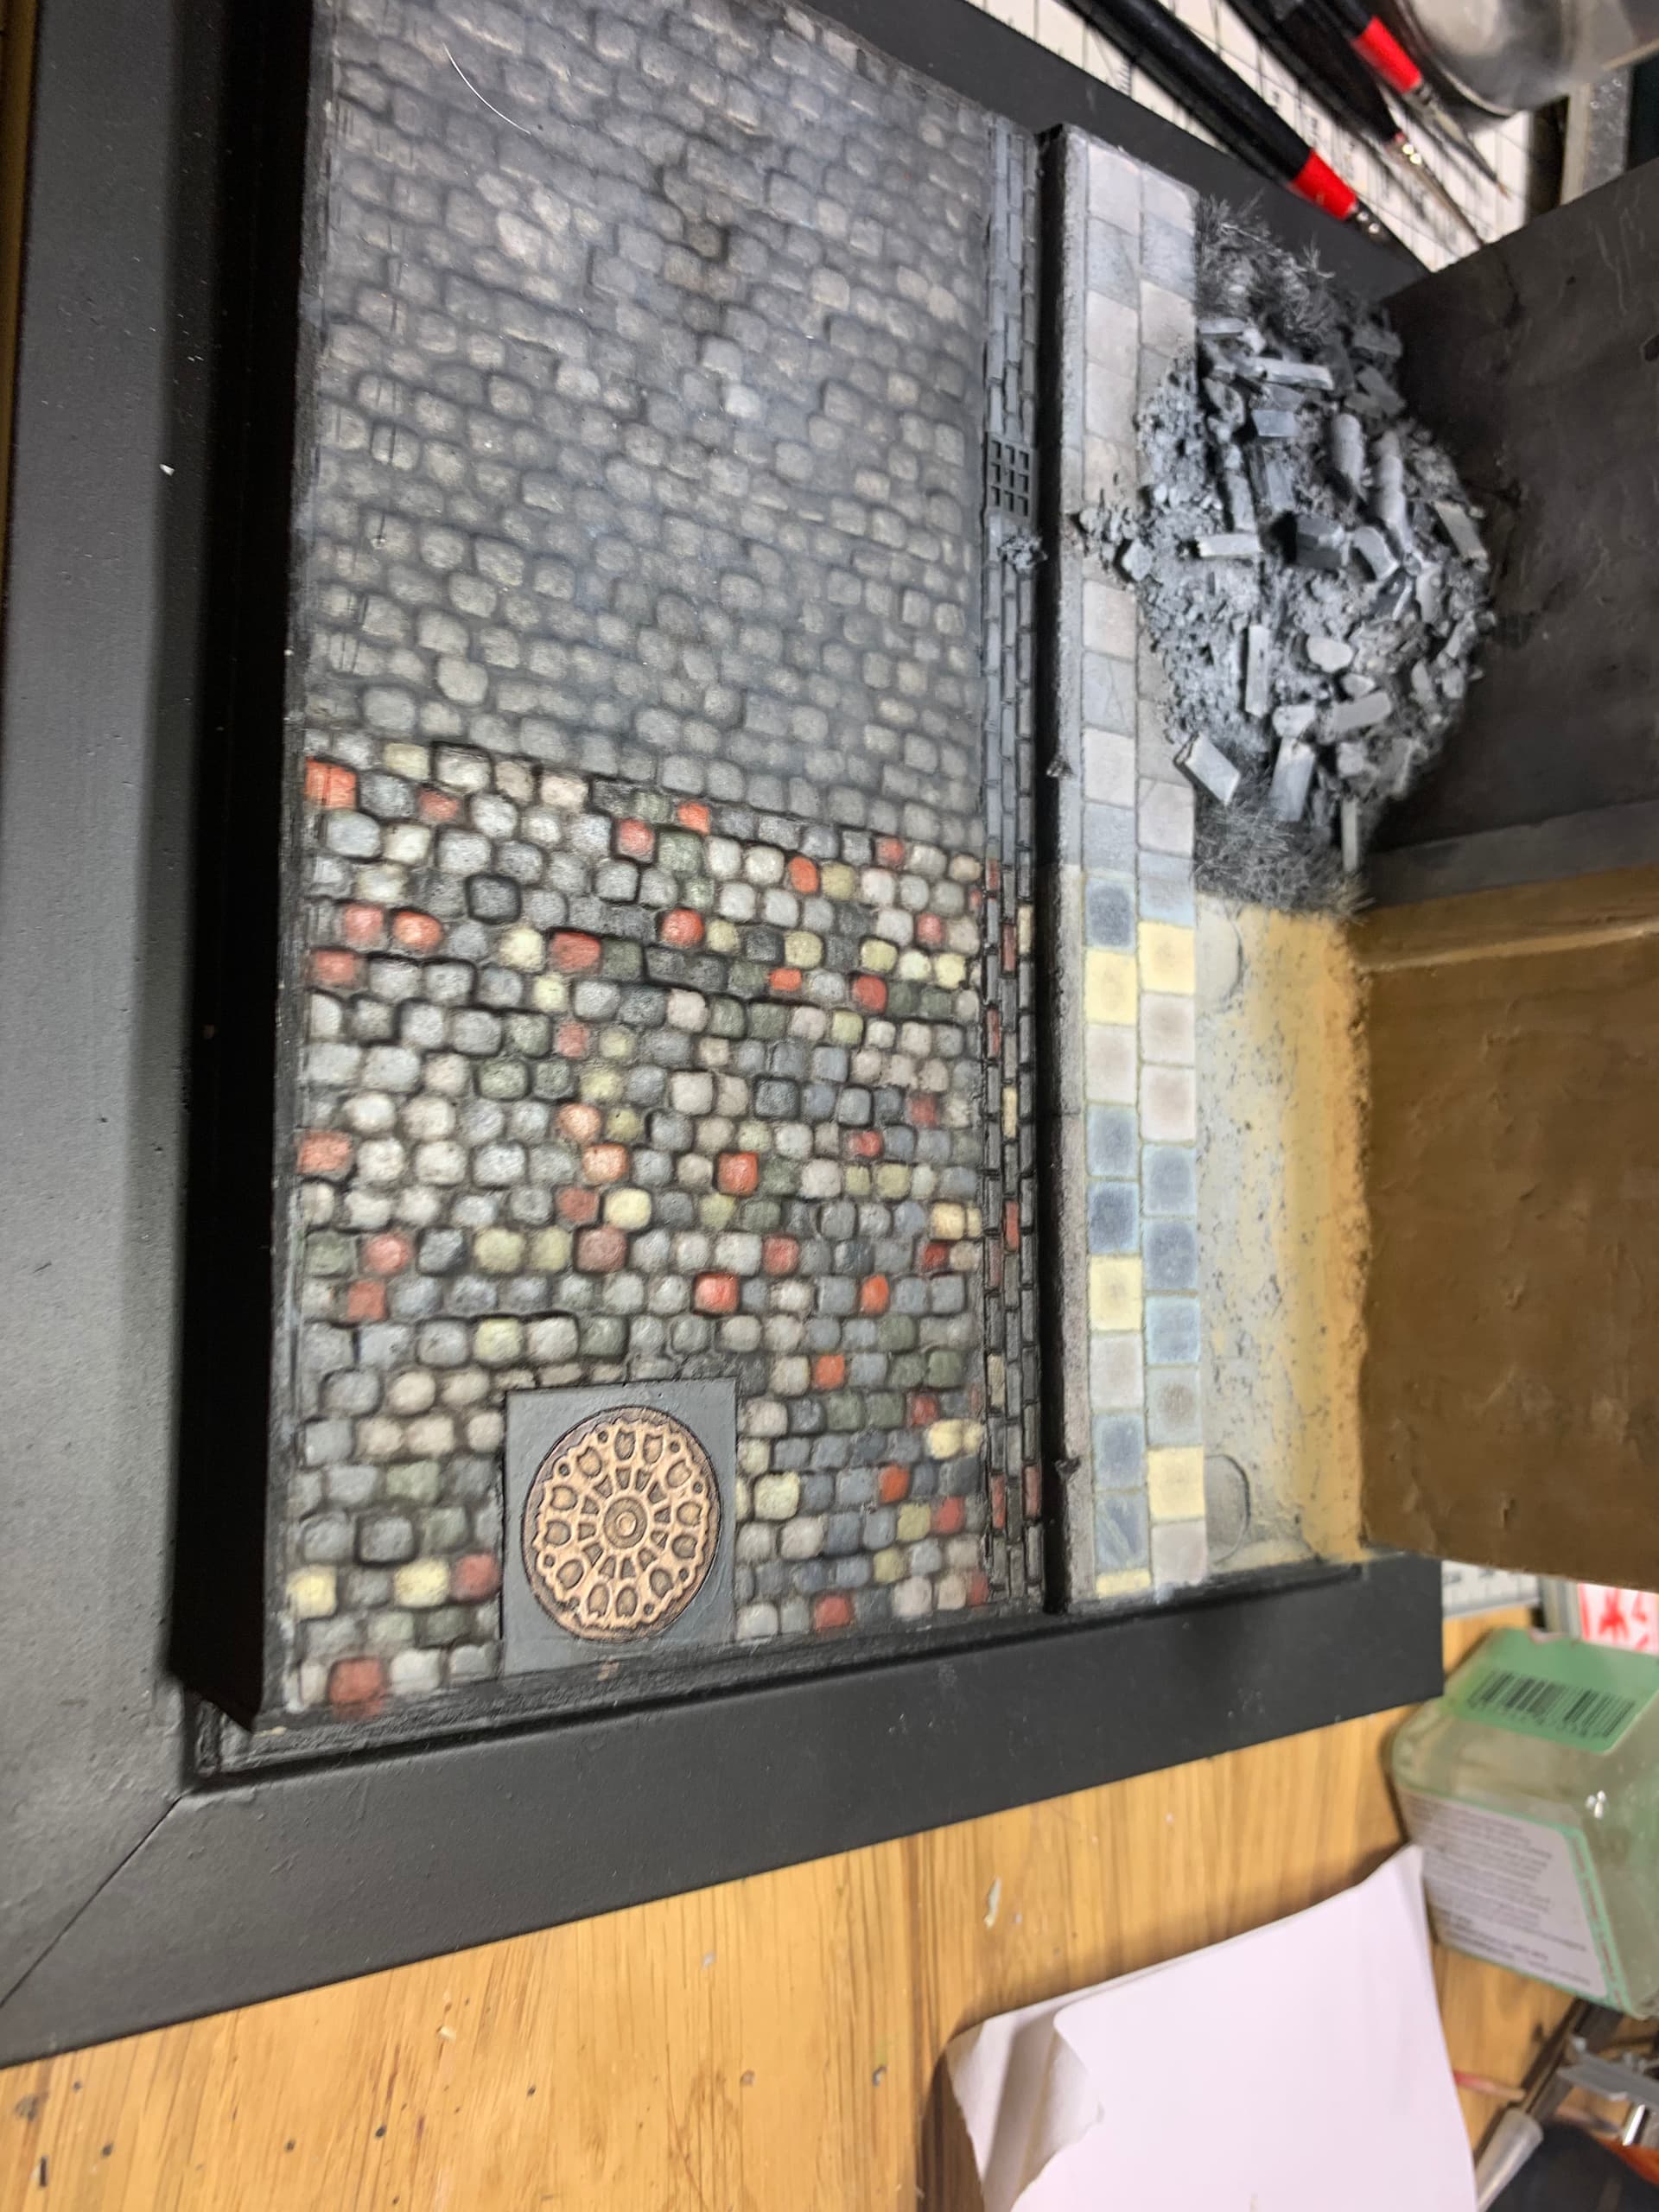
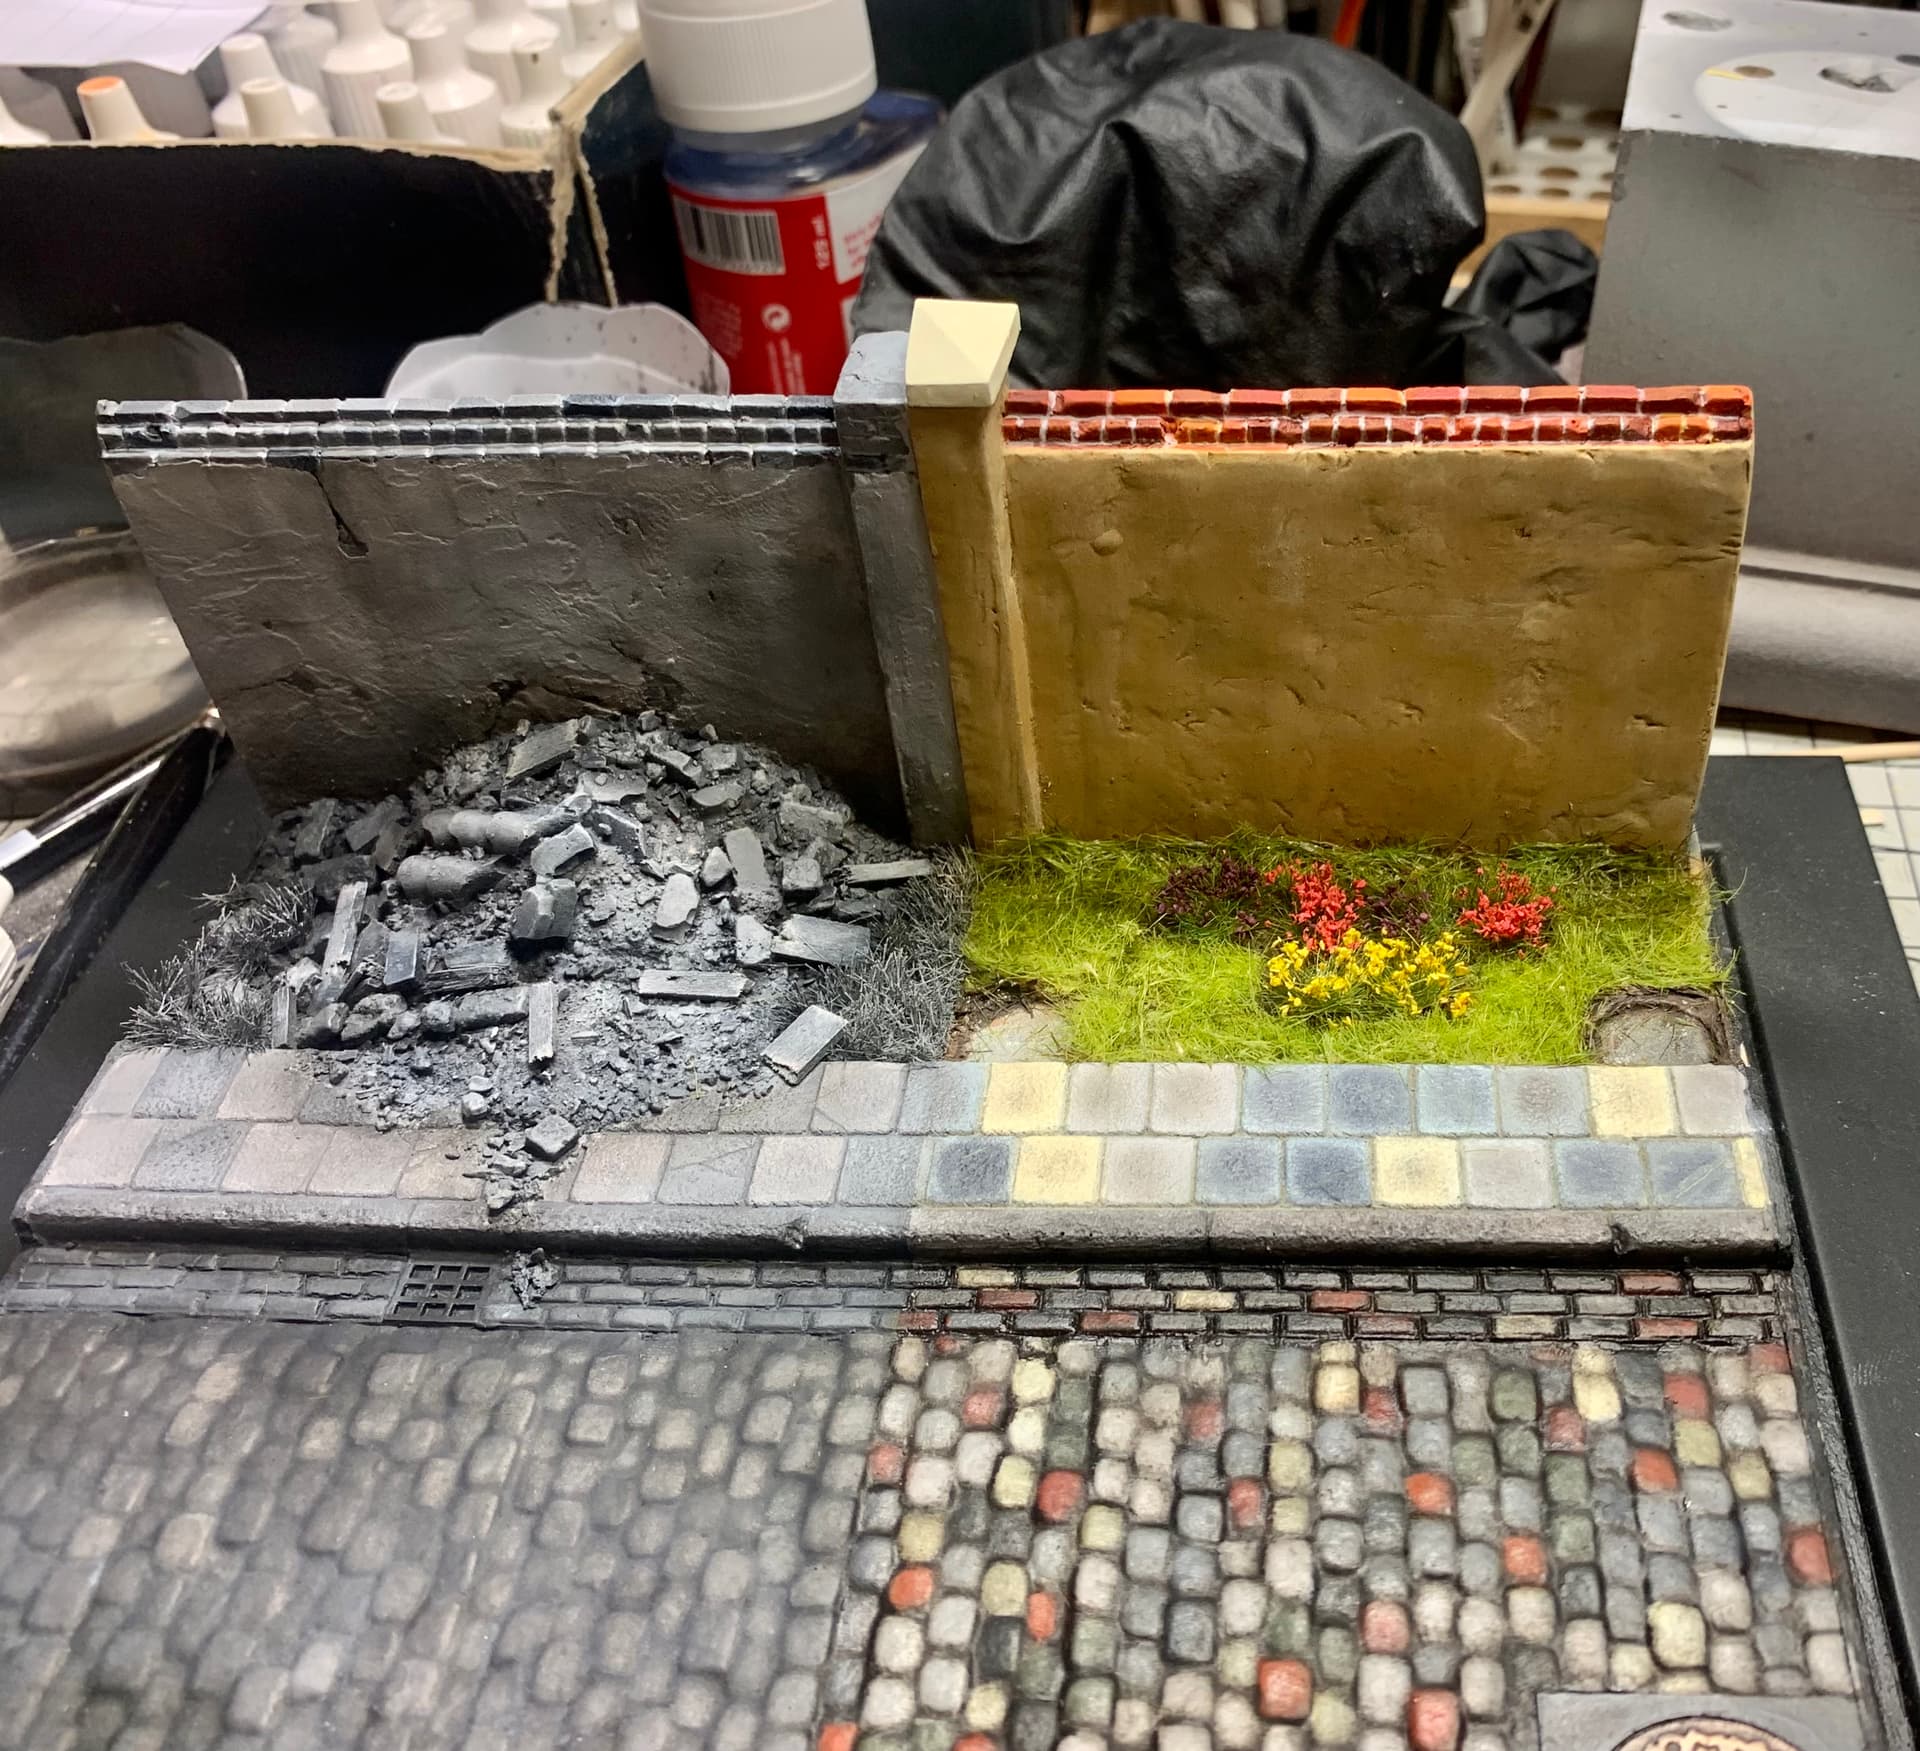
Apart from that my plan was basically to get some interesting colors down on the cobbles and sidewalk as well as doing the bricks atop the wall.
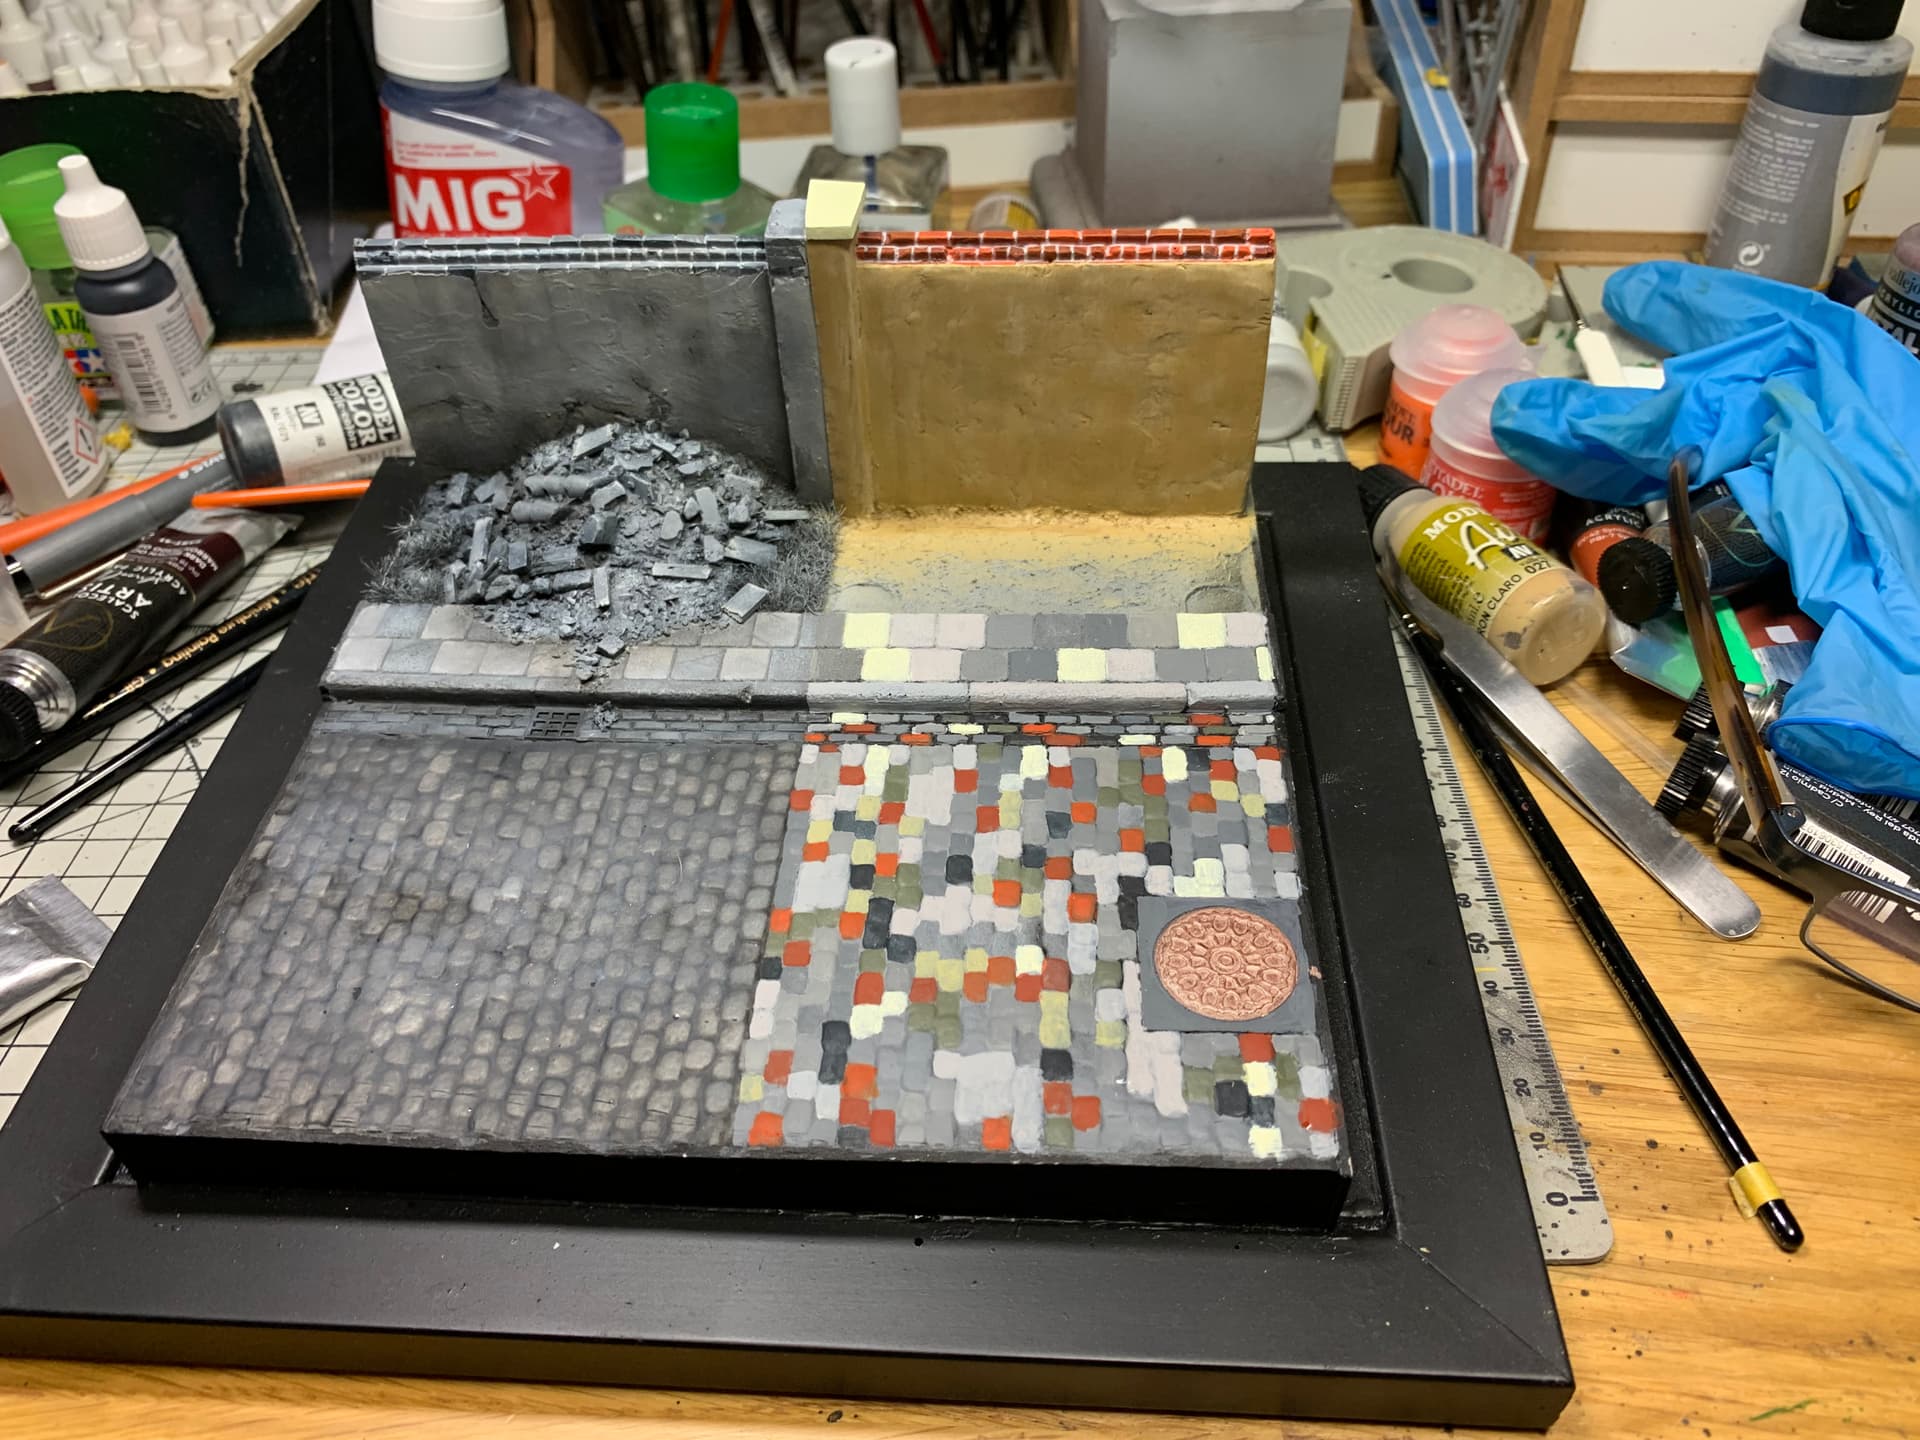
Then I basically tidied up the cobbles, painted the manhole cover, added the concrete between the bricks and did a little light drybrushing on the wall followed by a fairly diluted coat of dark brown wash.
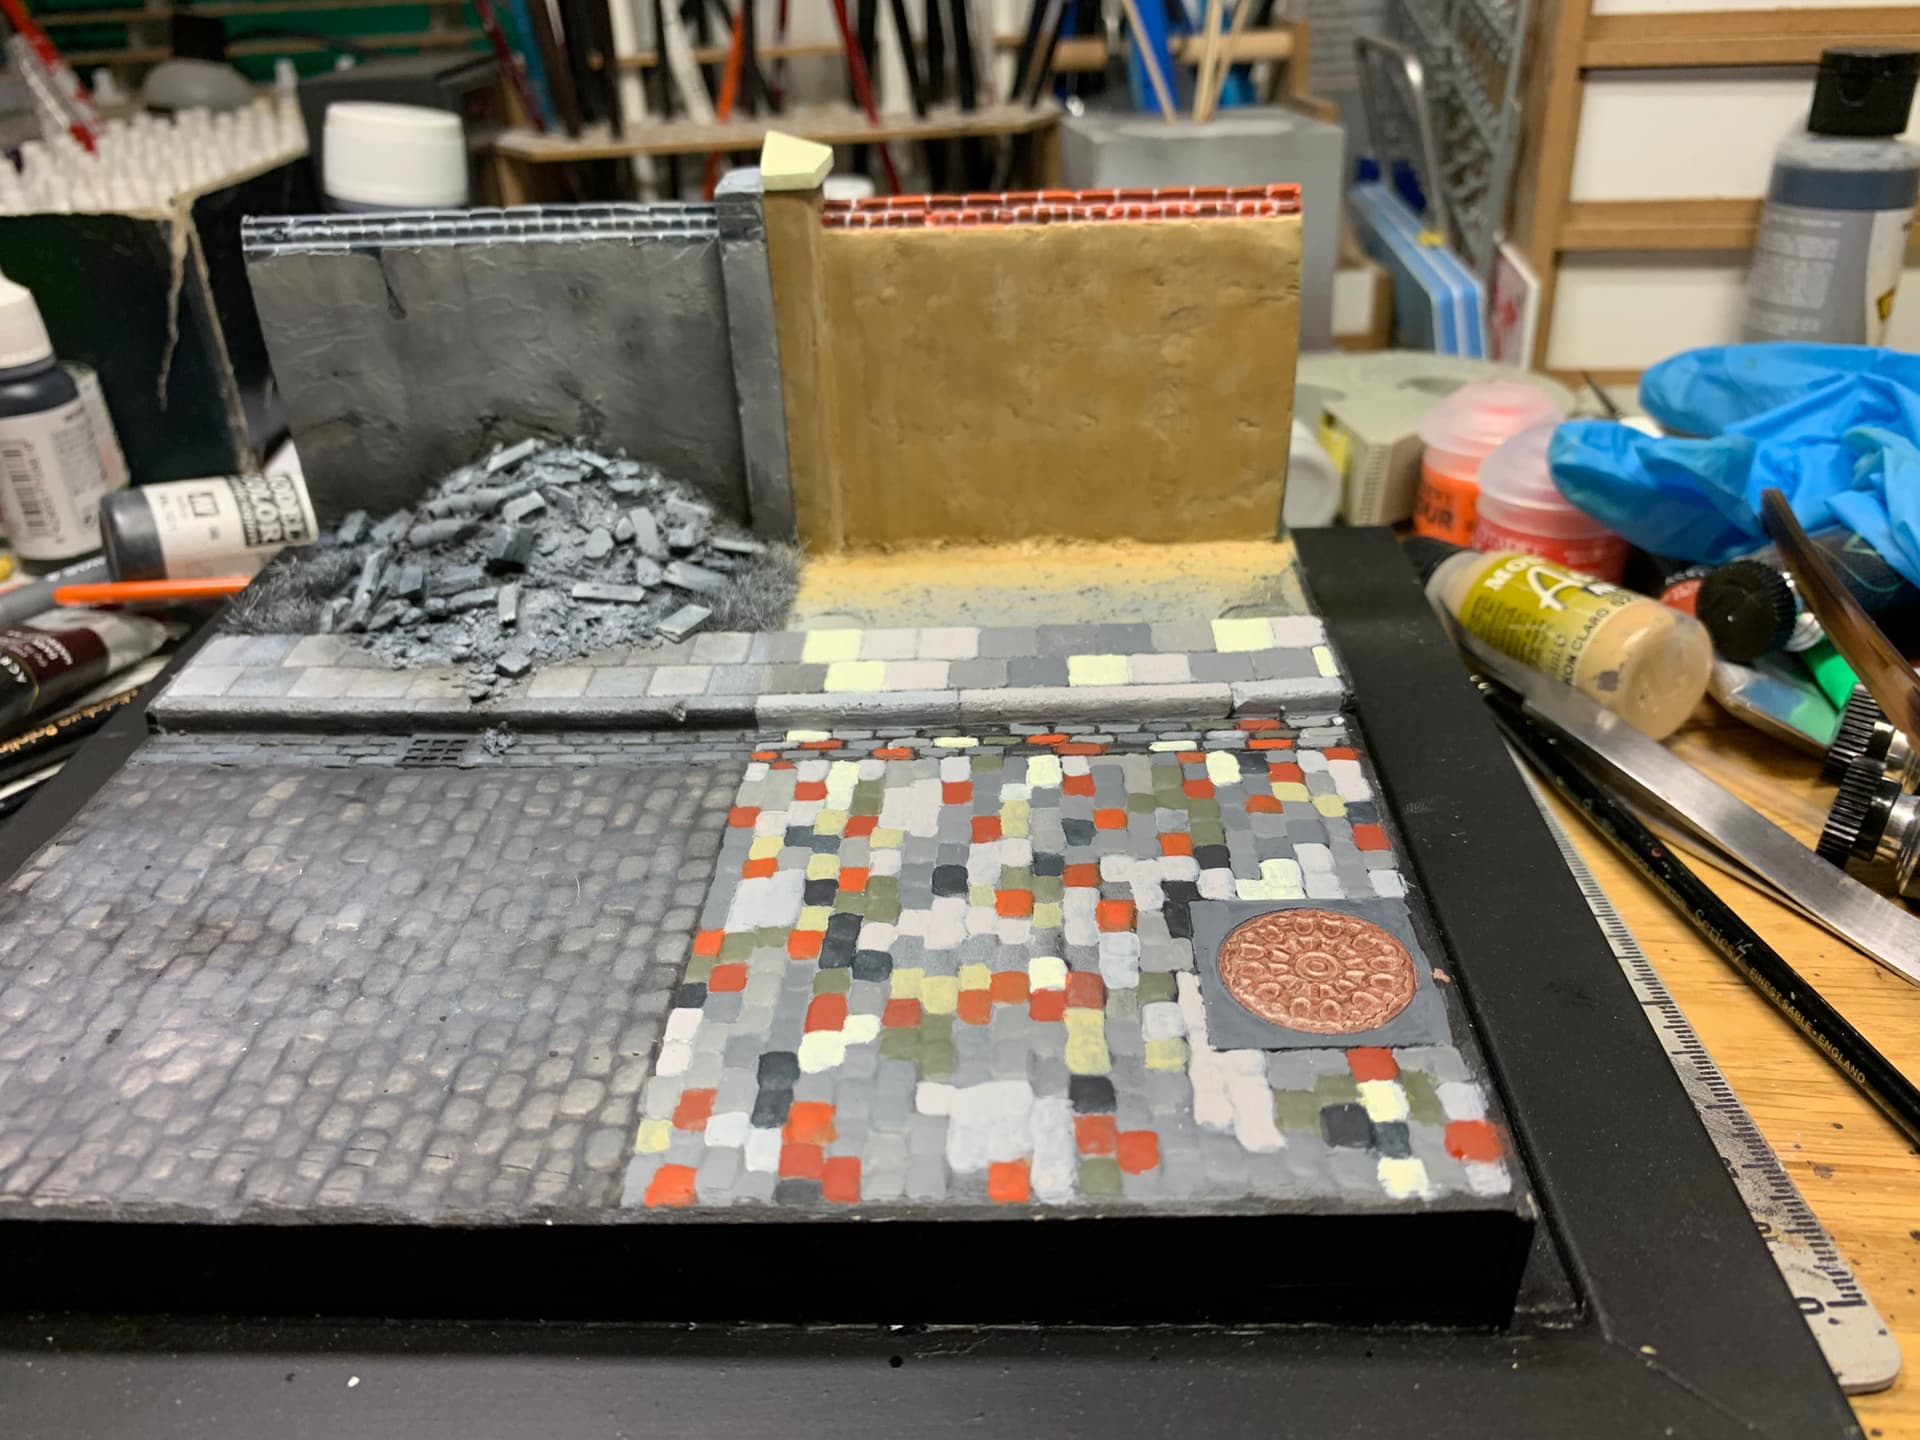
As you can see the cobbles currently look a bit like Berlin Brigade camouflage! But the base is a good way off being finished and parts will take a good walloping from oil paints once I get some satin varnish on it.
In the meantime I’ve been painting the figs and my next update will cover that.
As always, thanks for reading and any comments/criticism etc is very welcome.
8 Likes
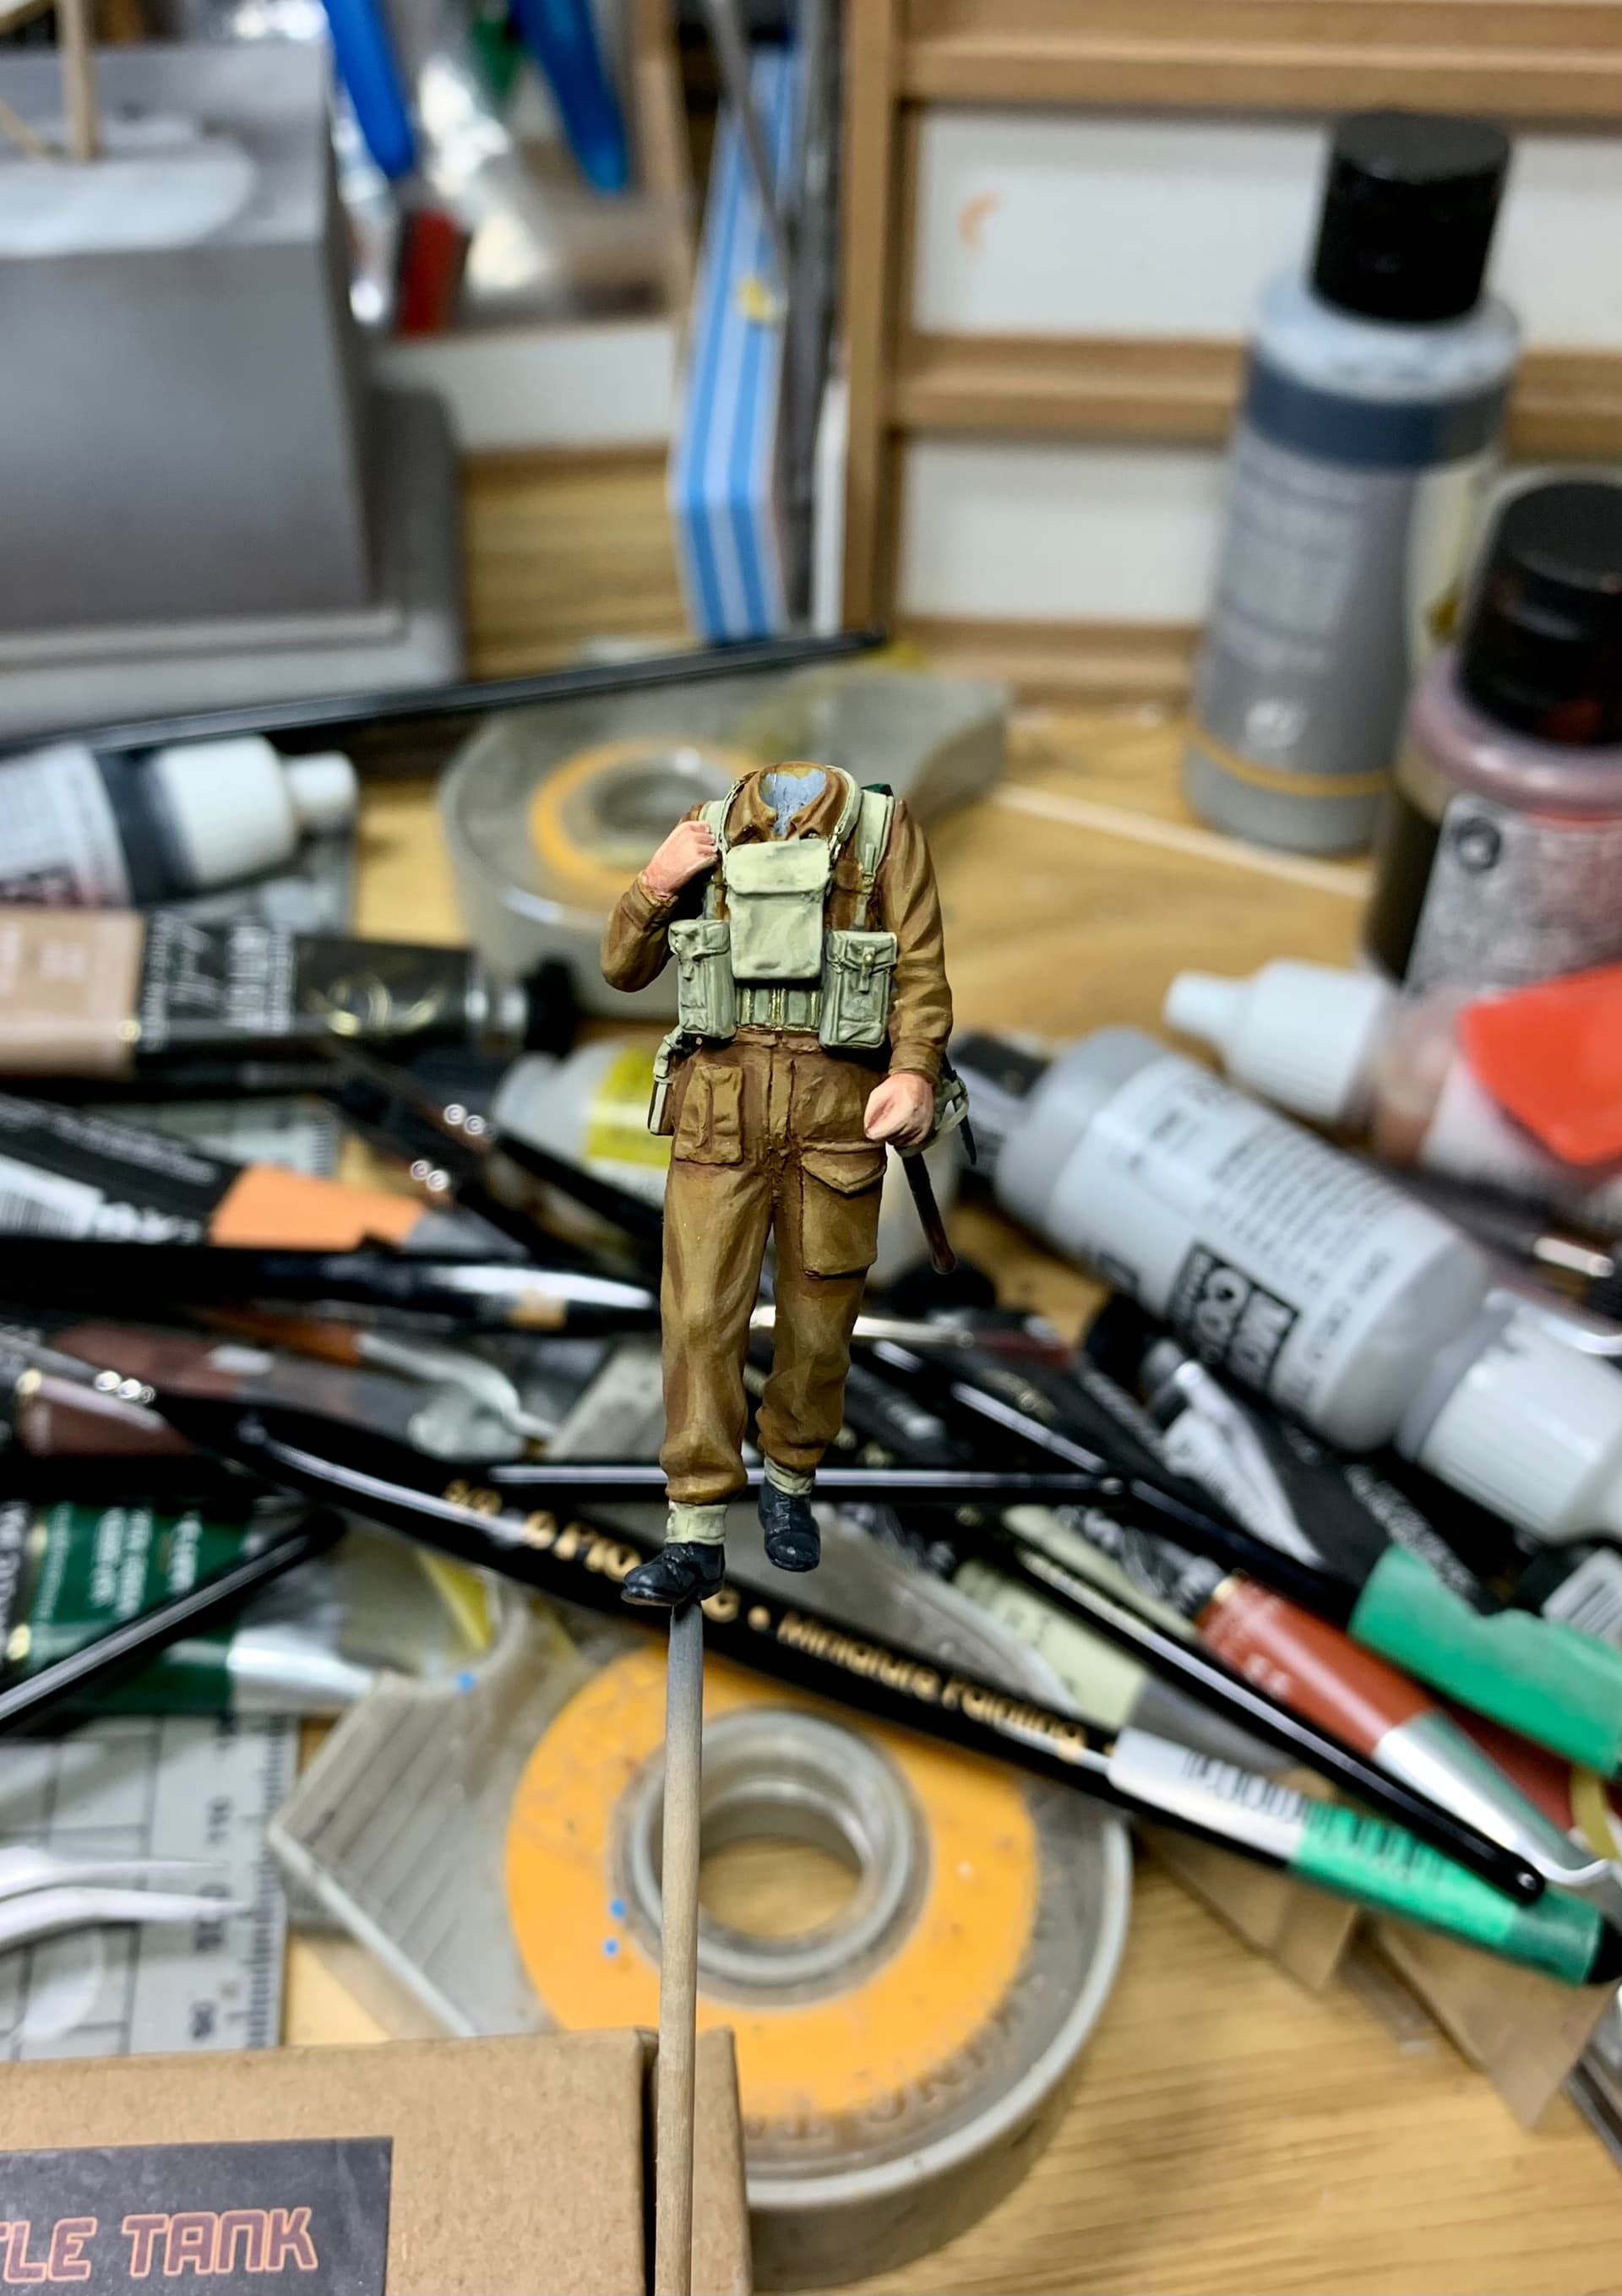
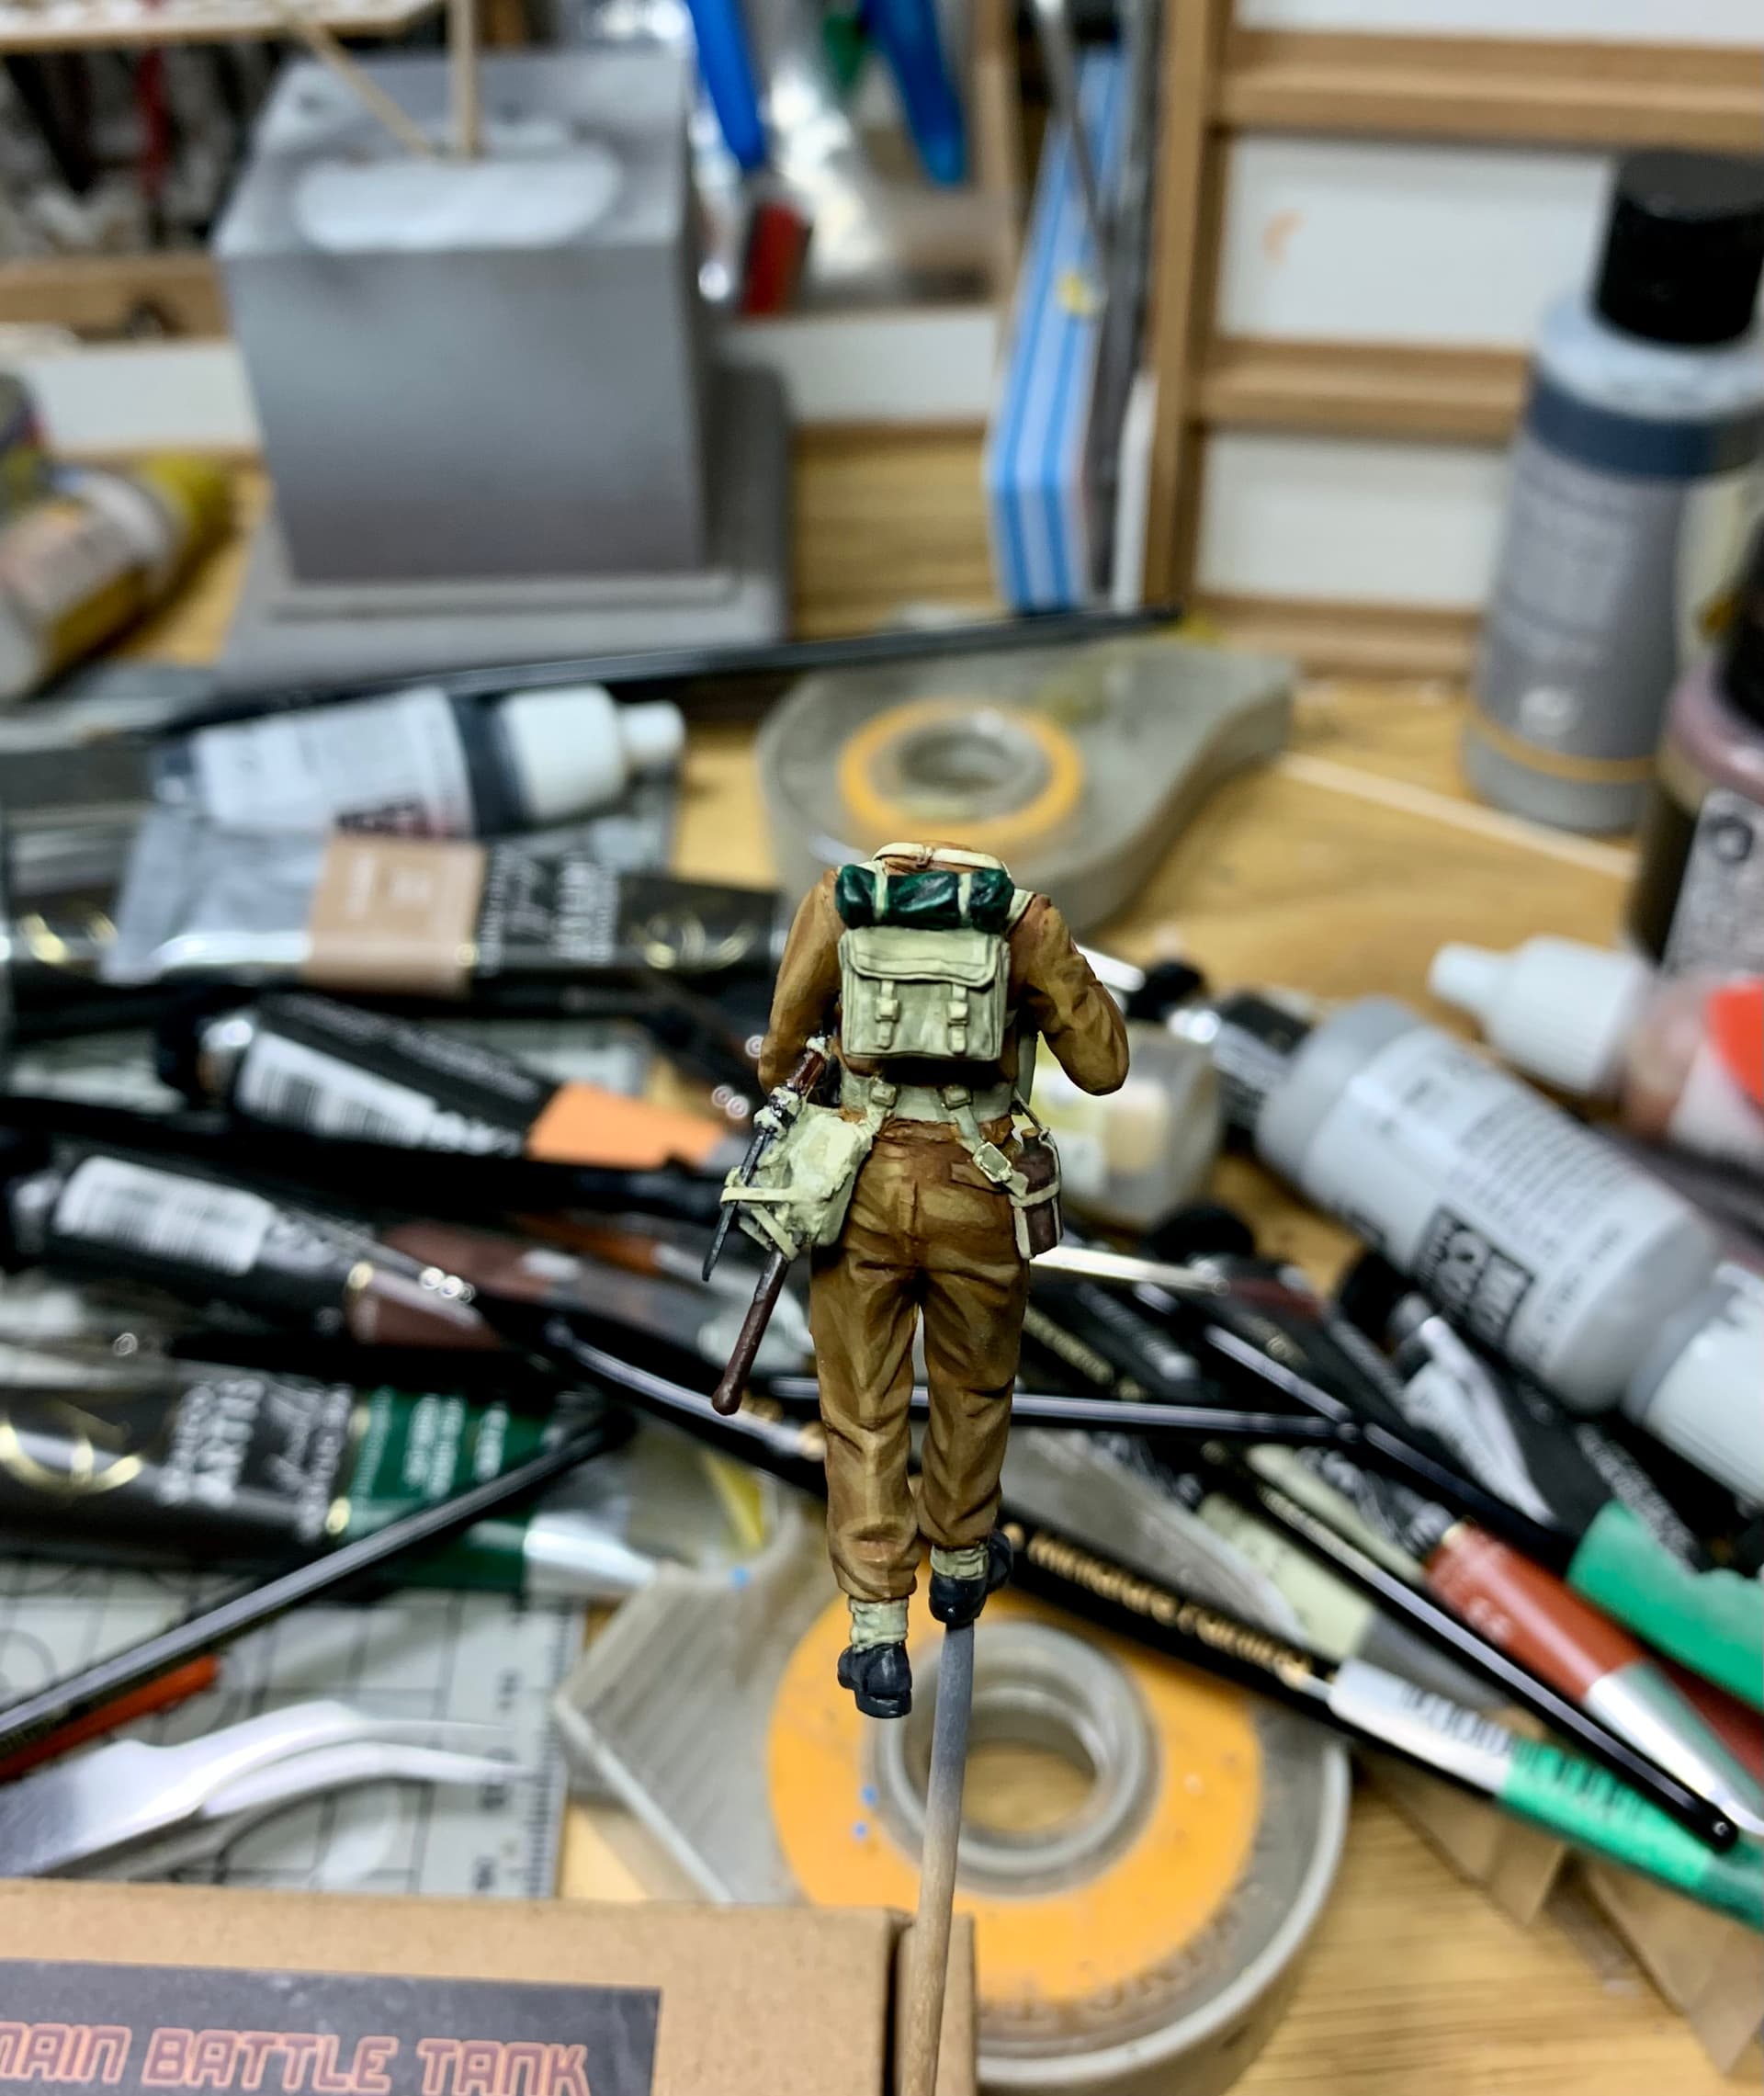
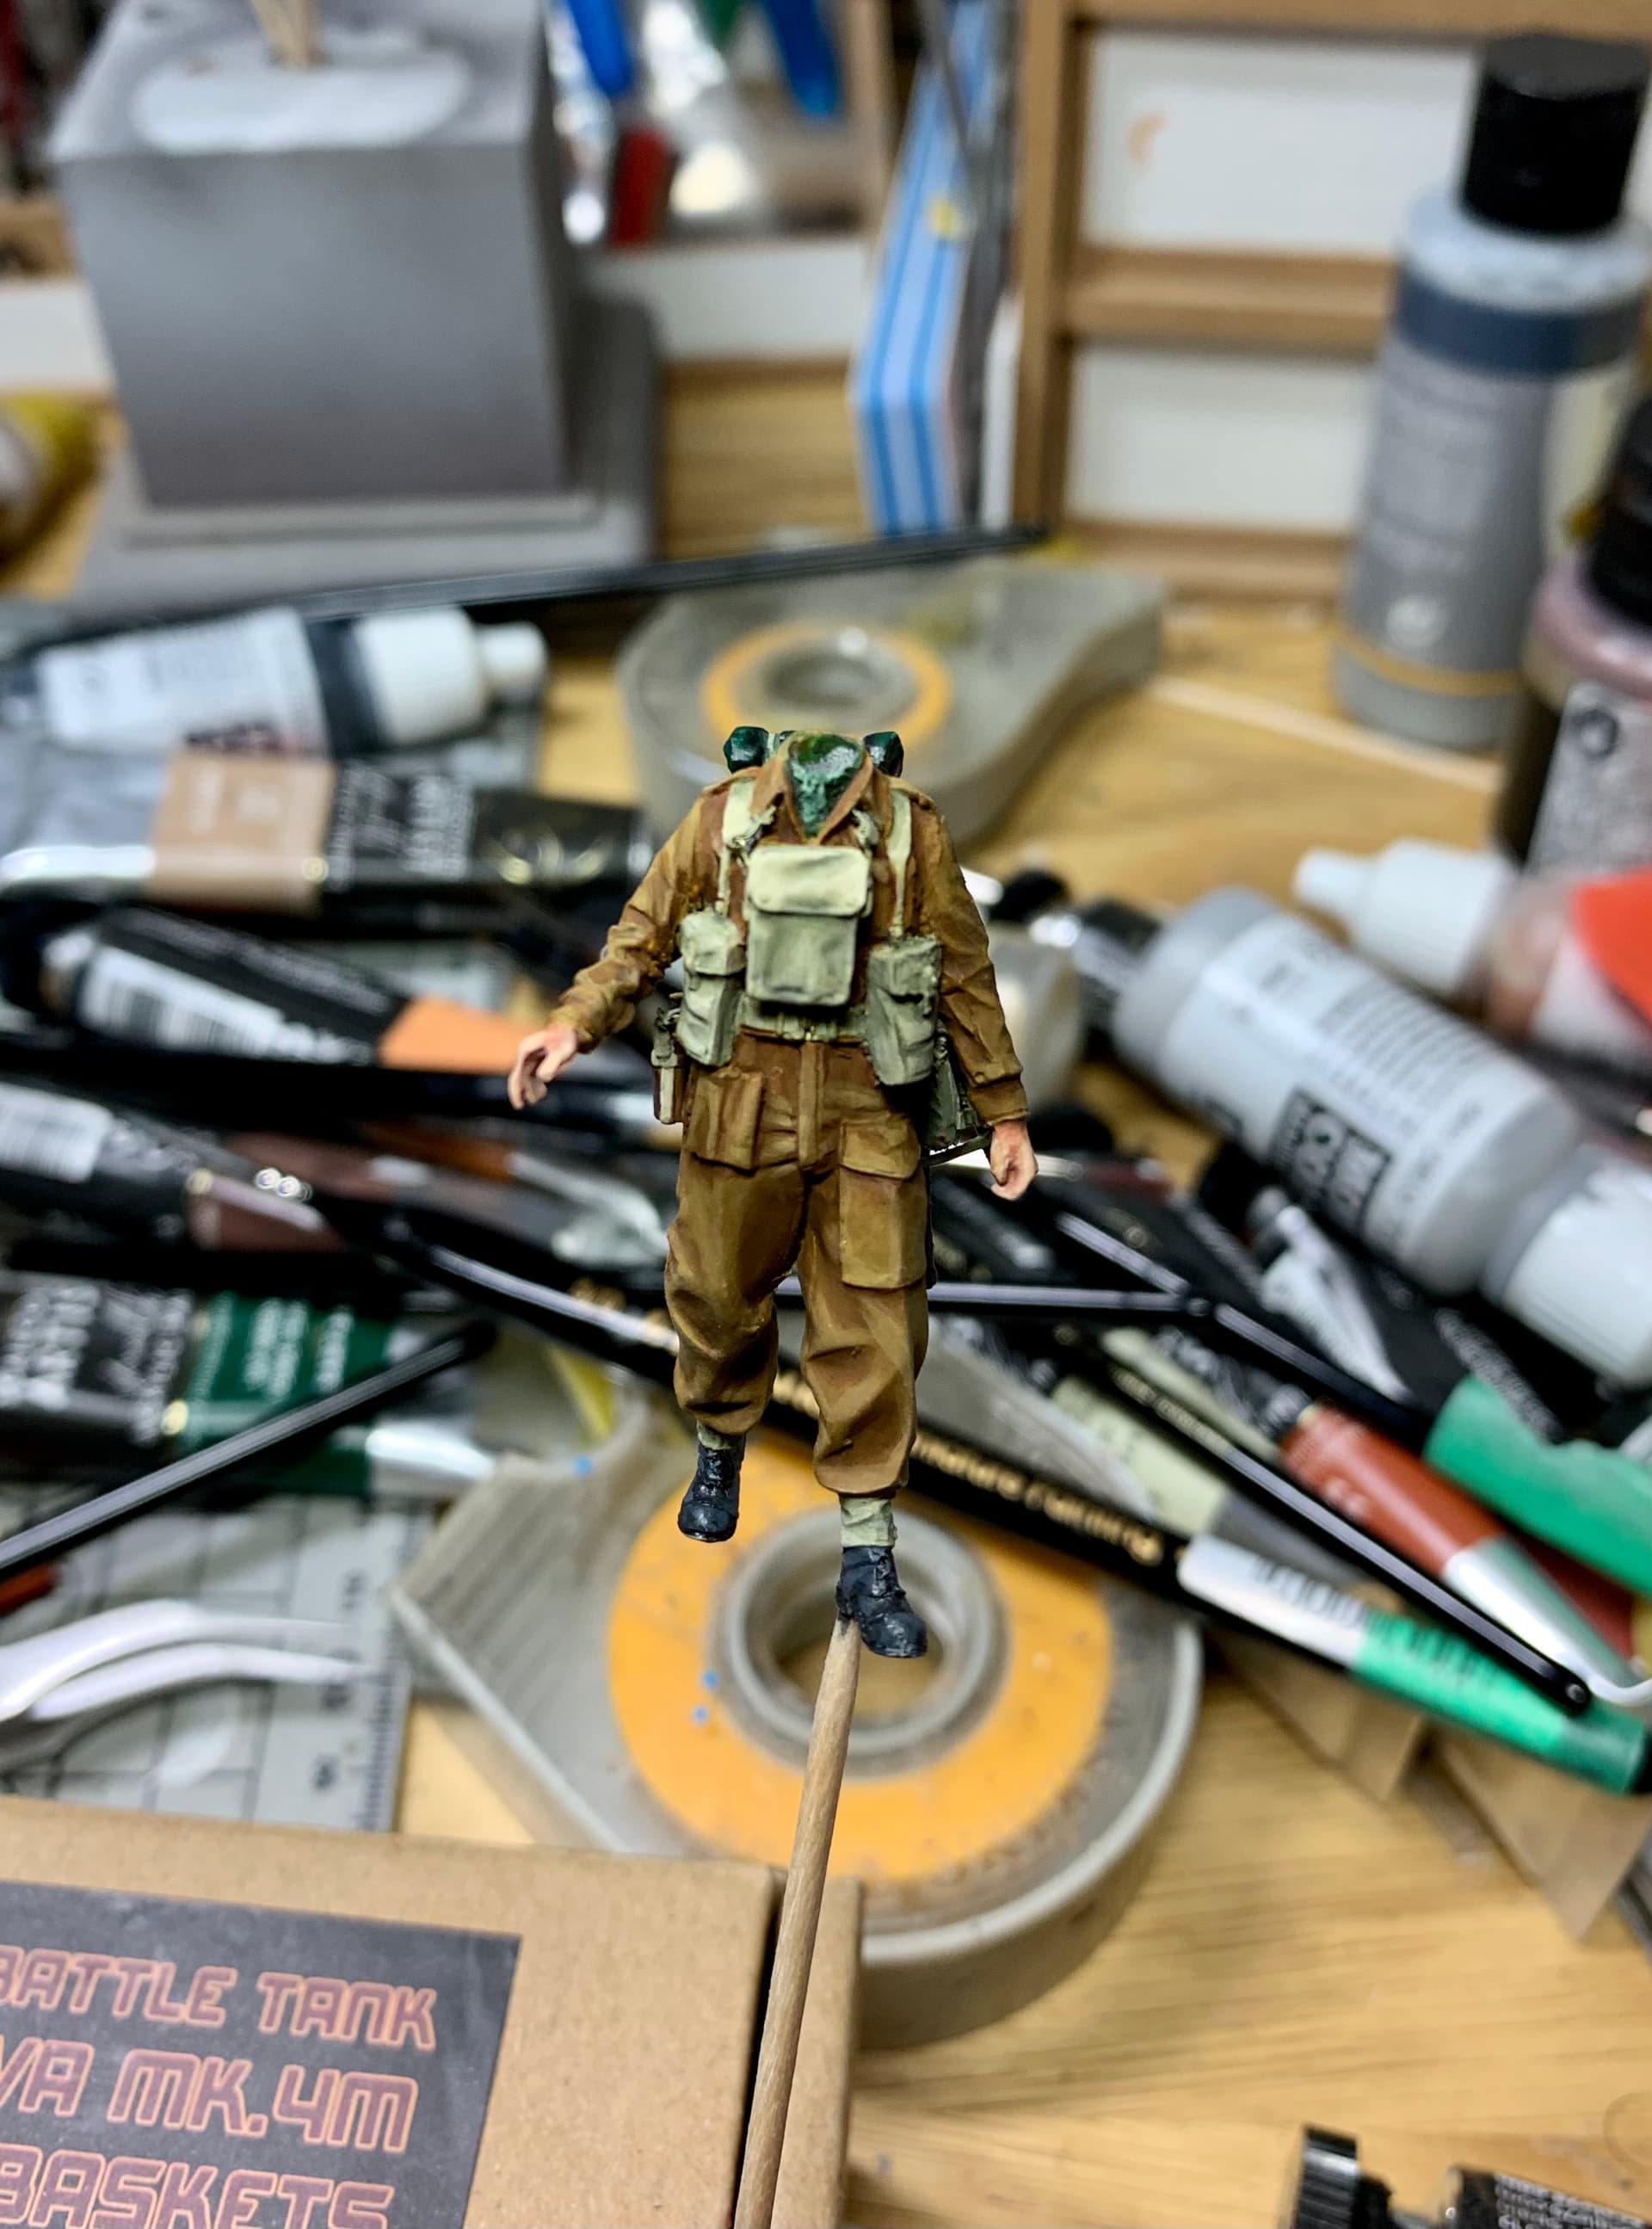
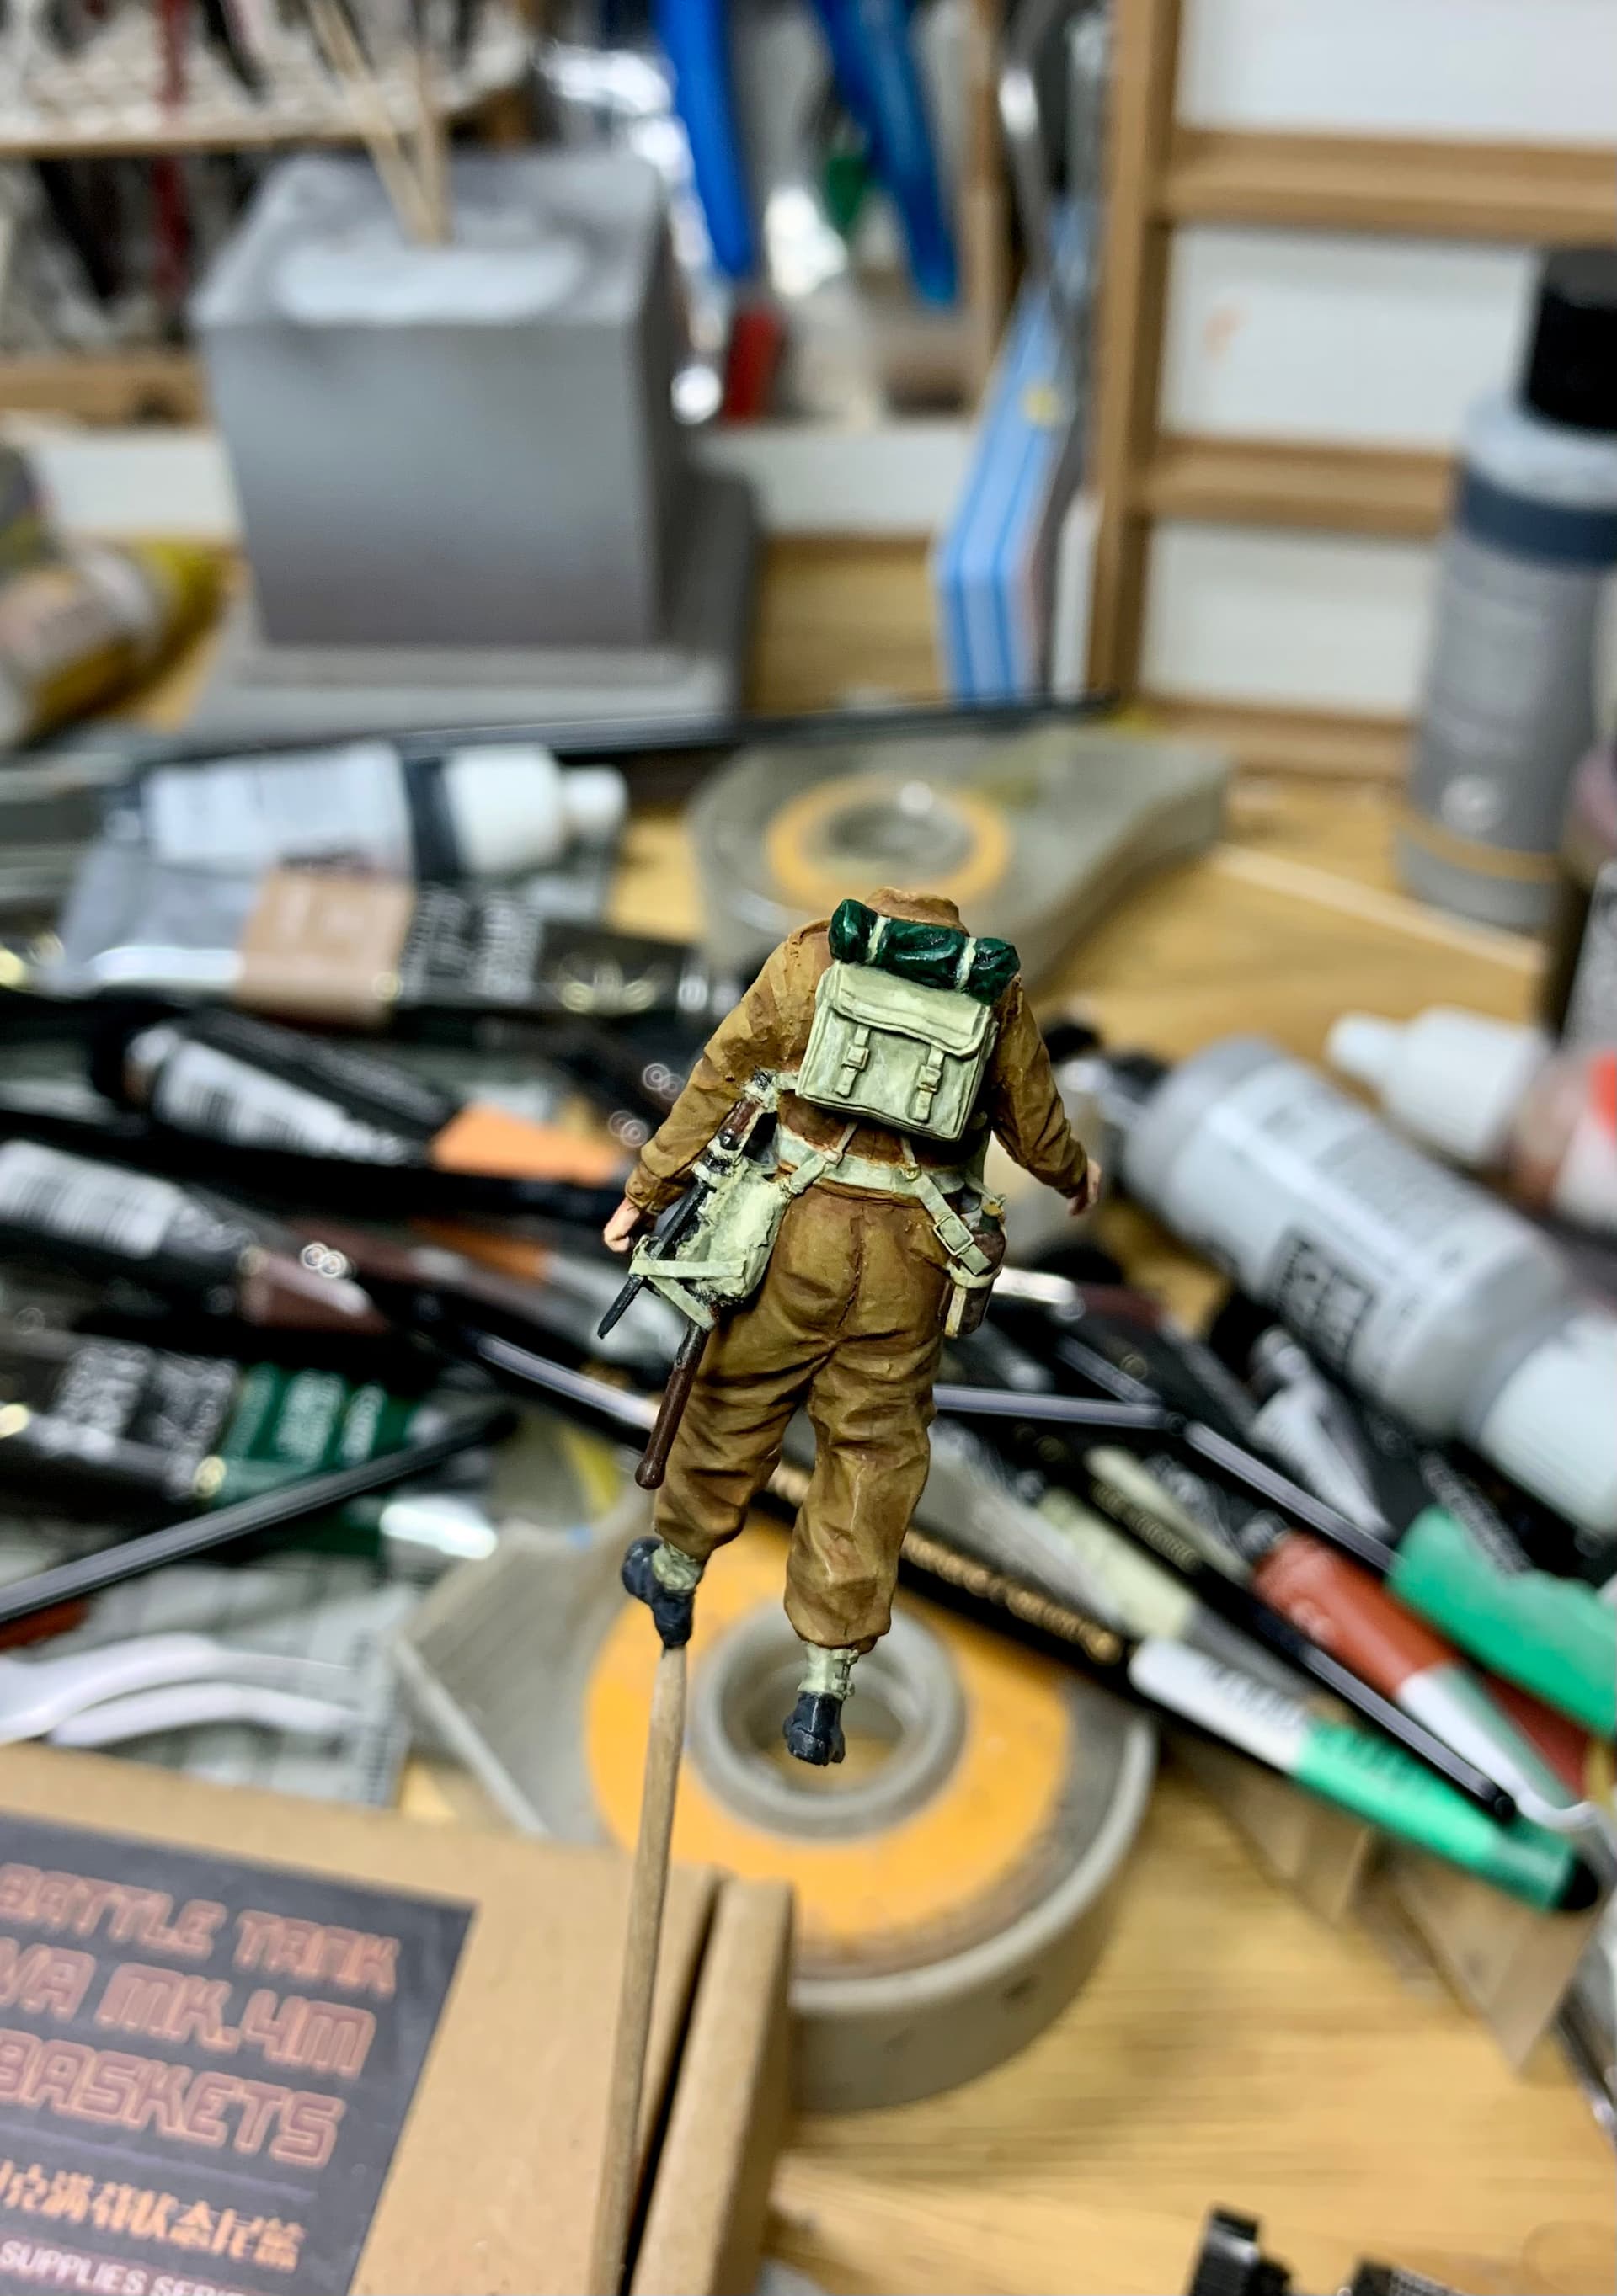
The primer on the figs showed (surprisingly) little that needed corrected so I was able to get into the painting very quickly.
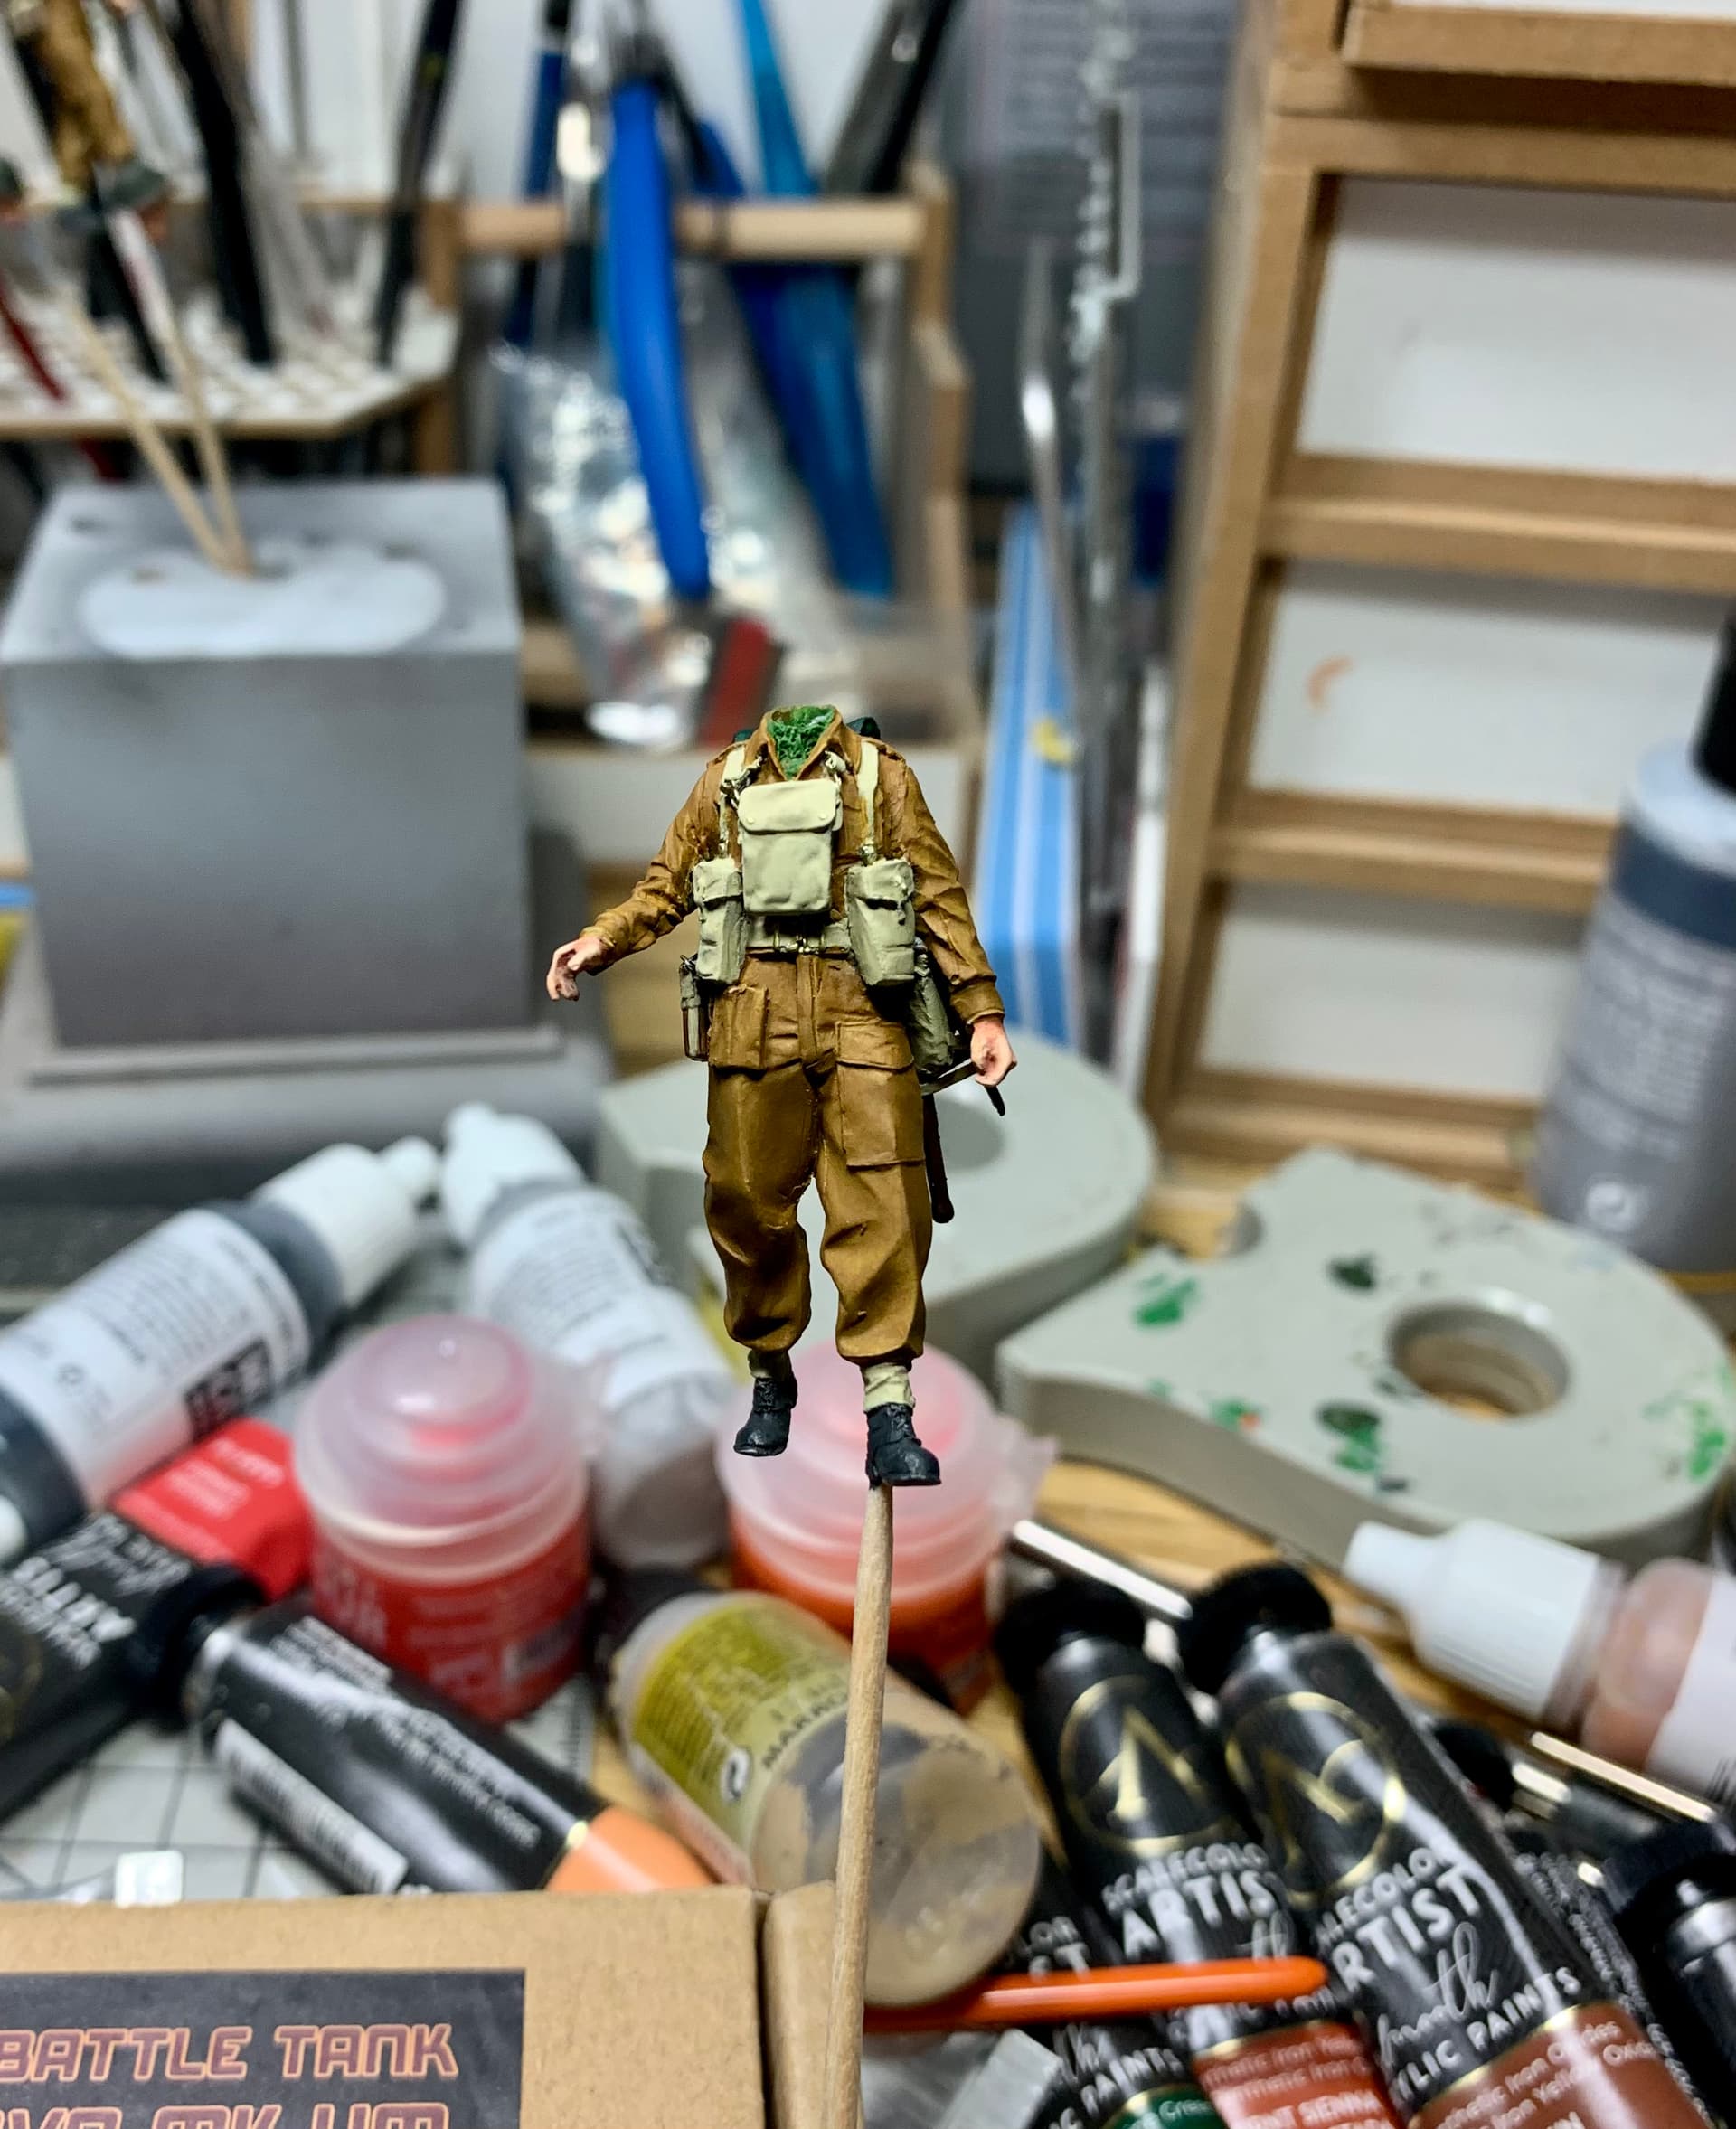
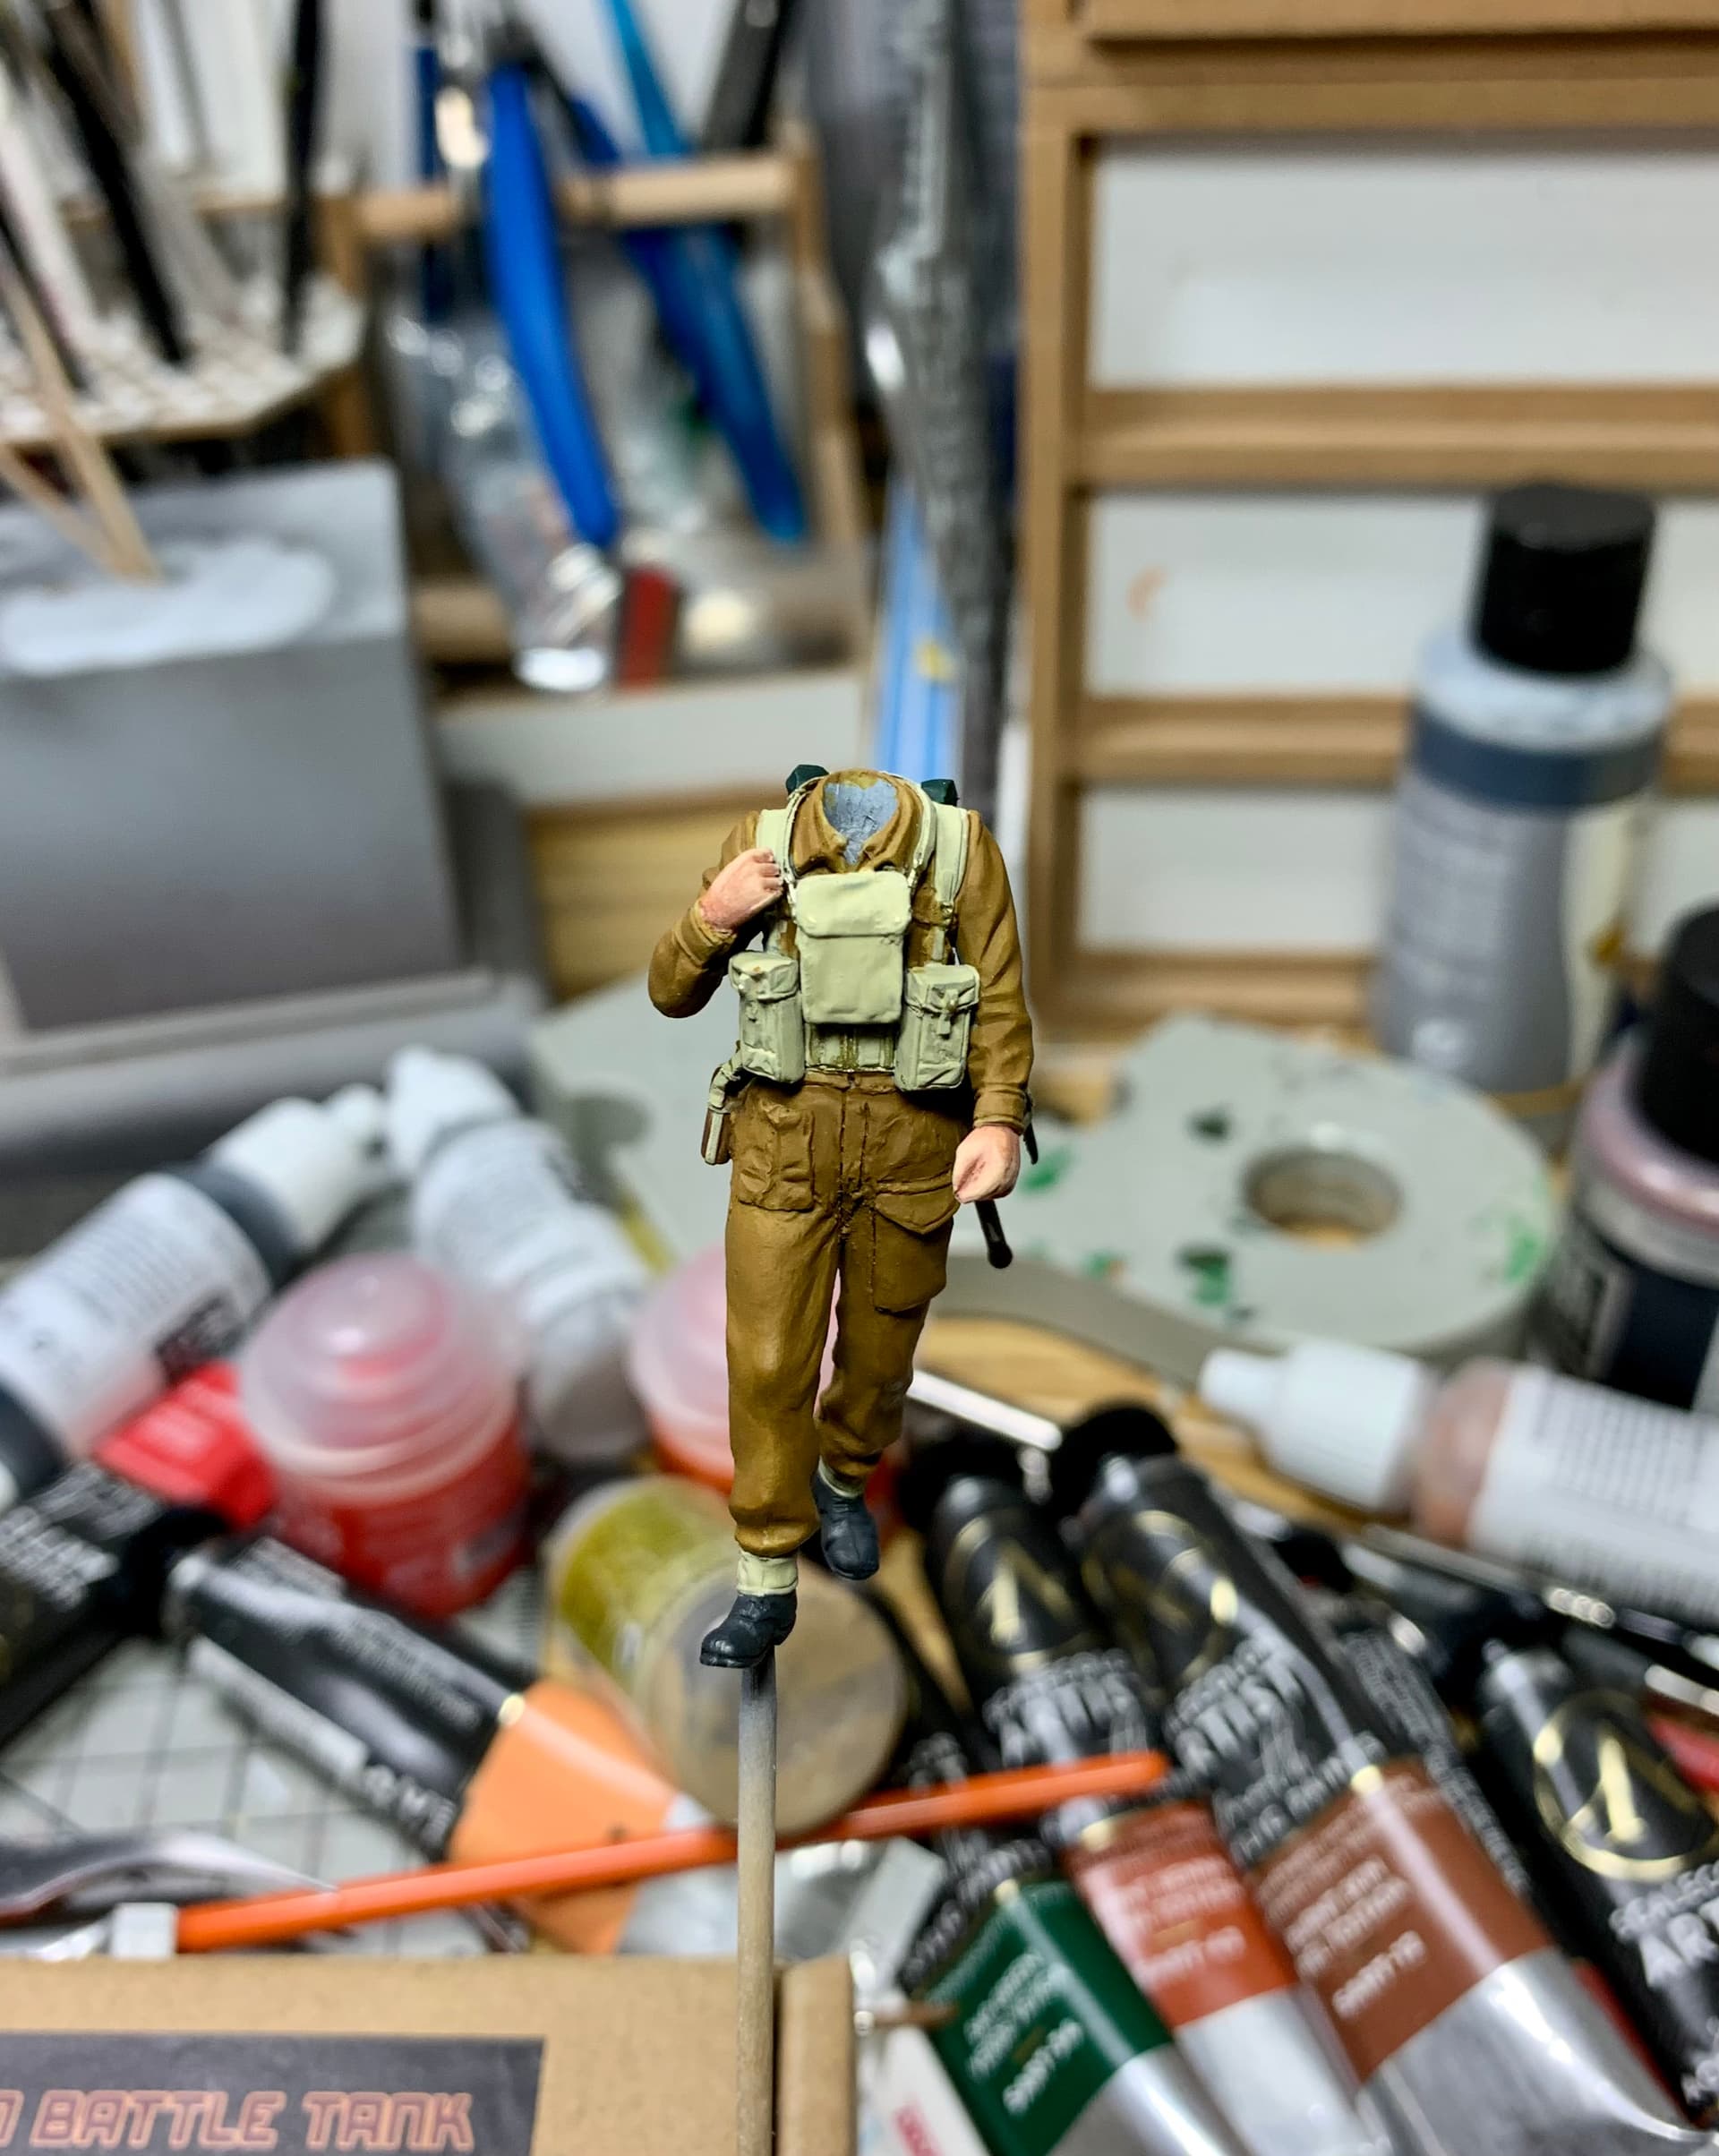
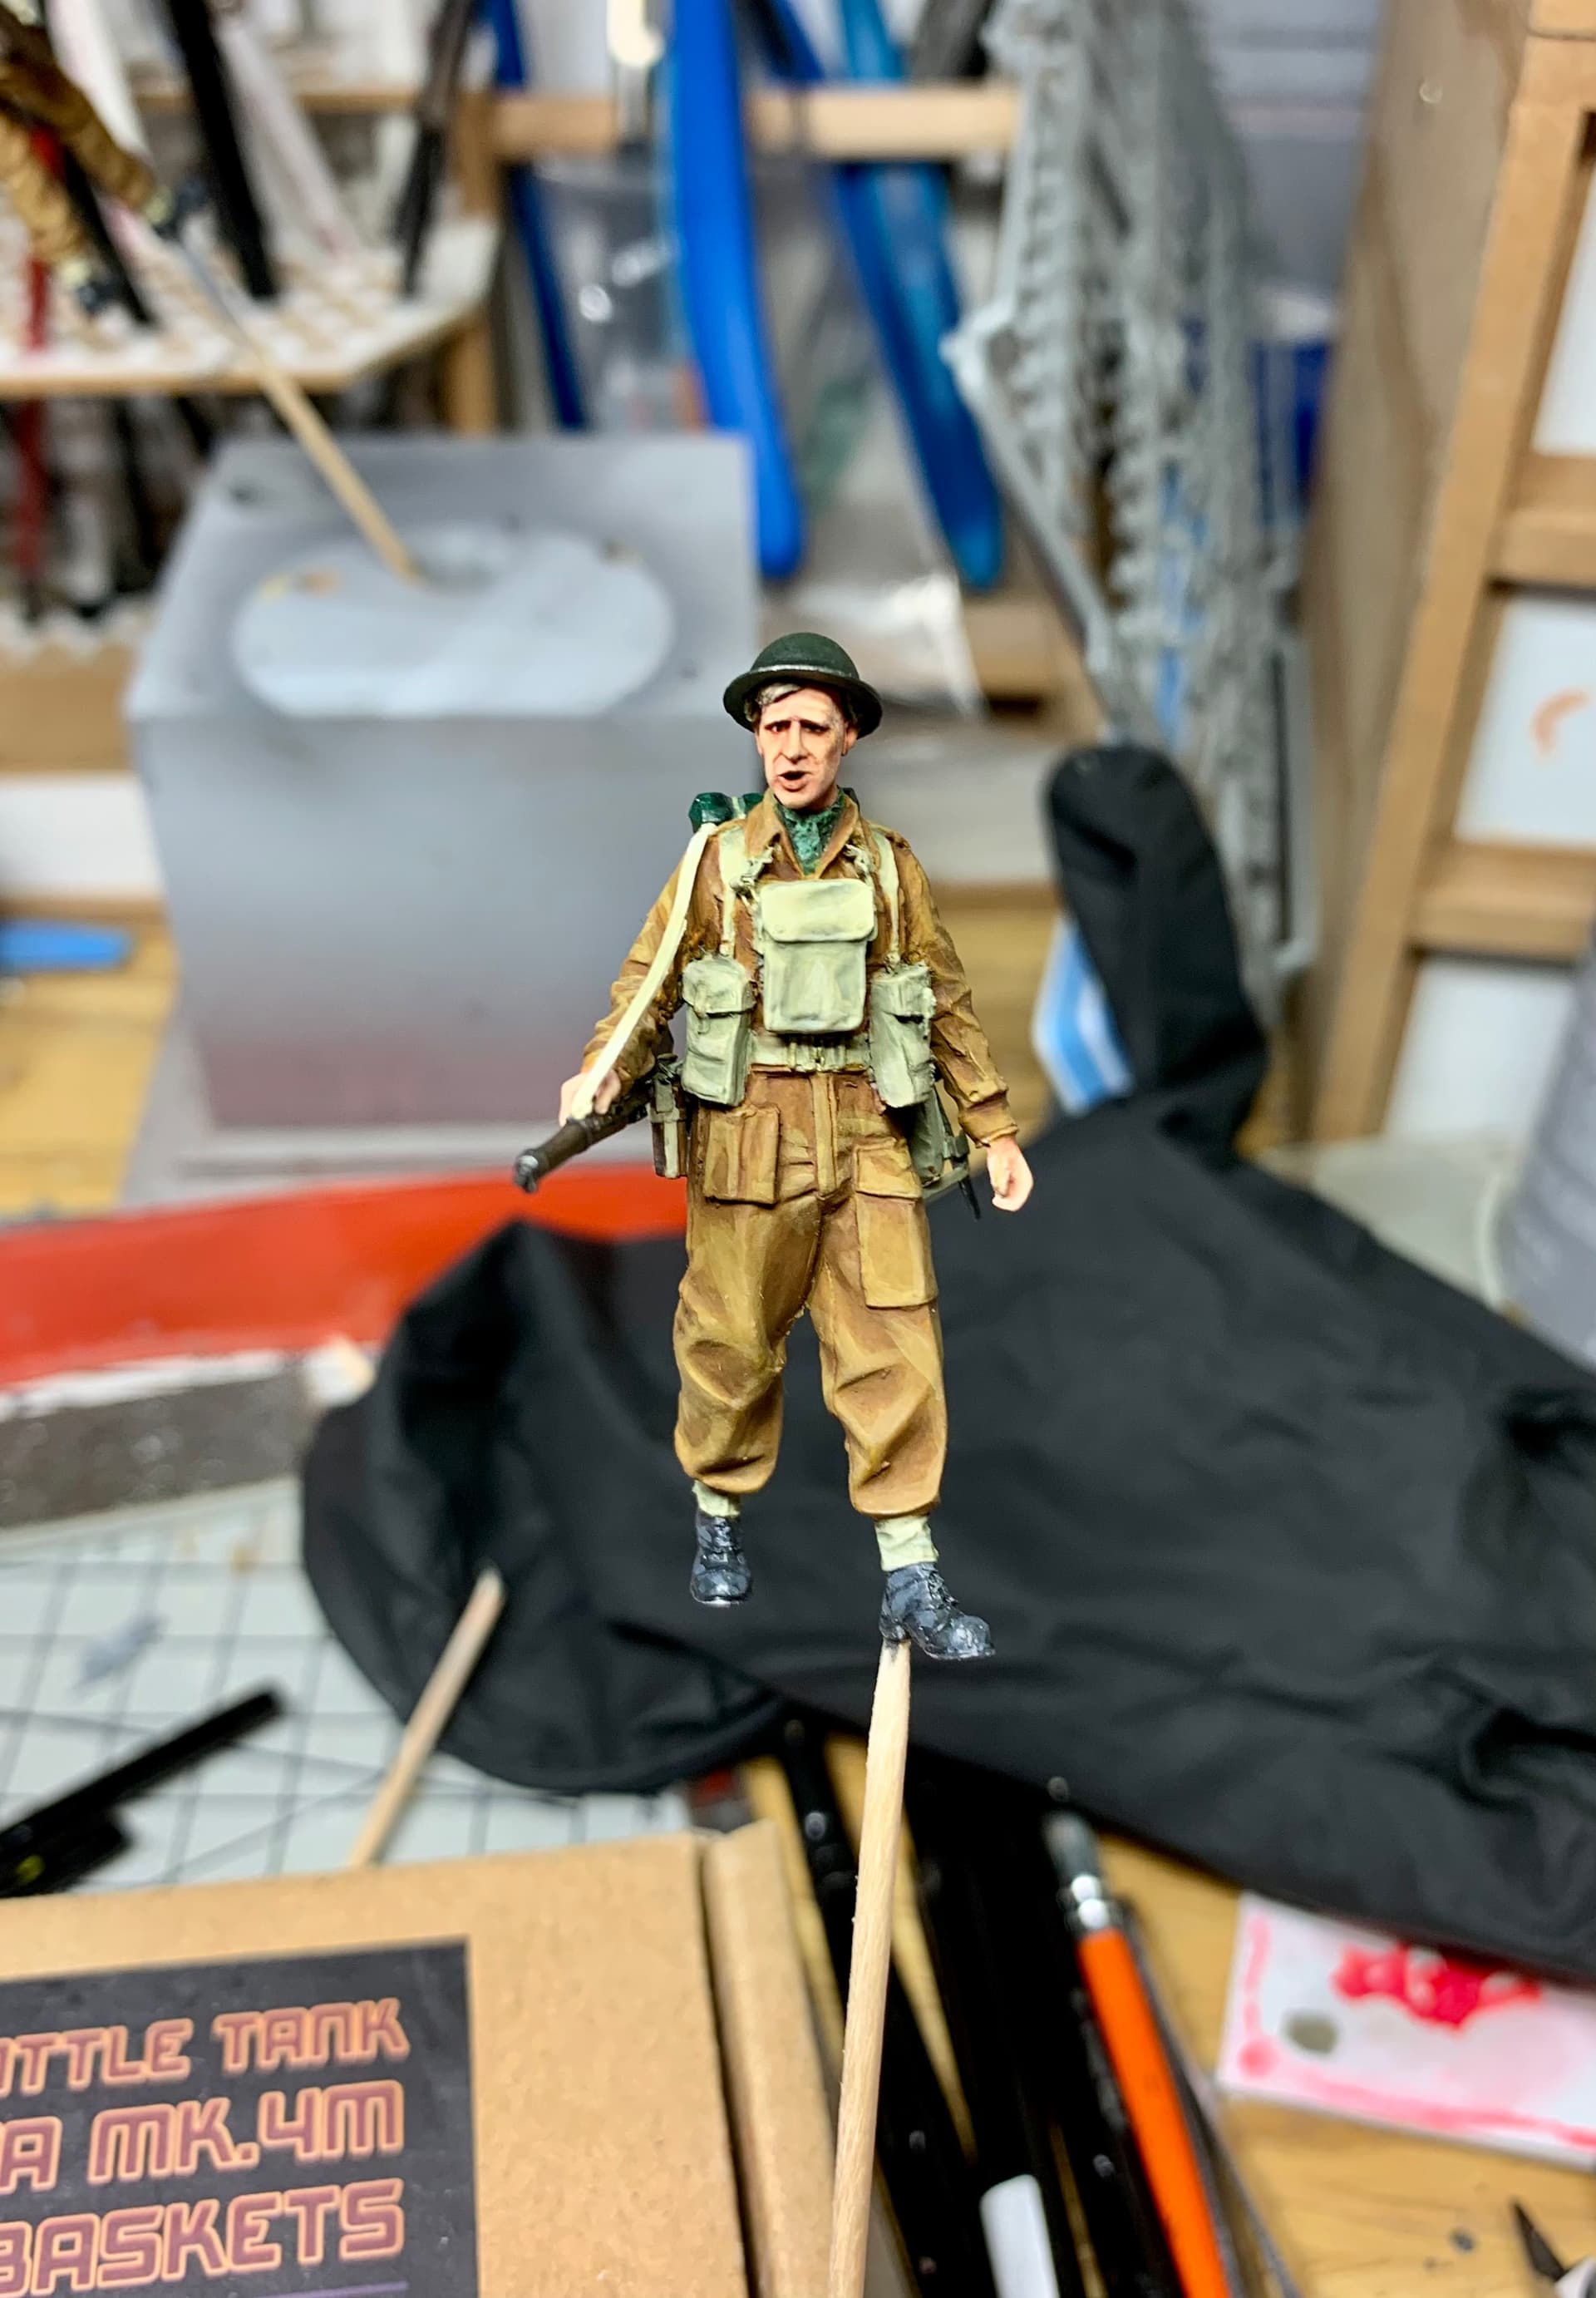
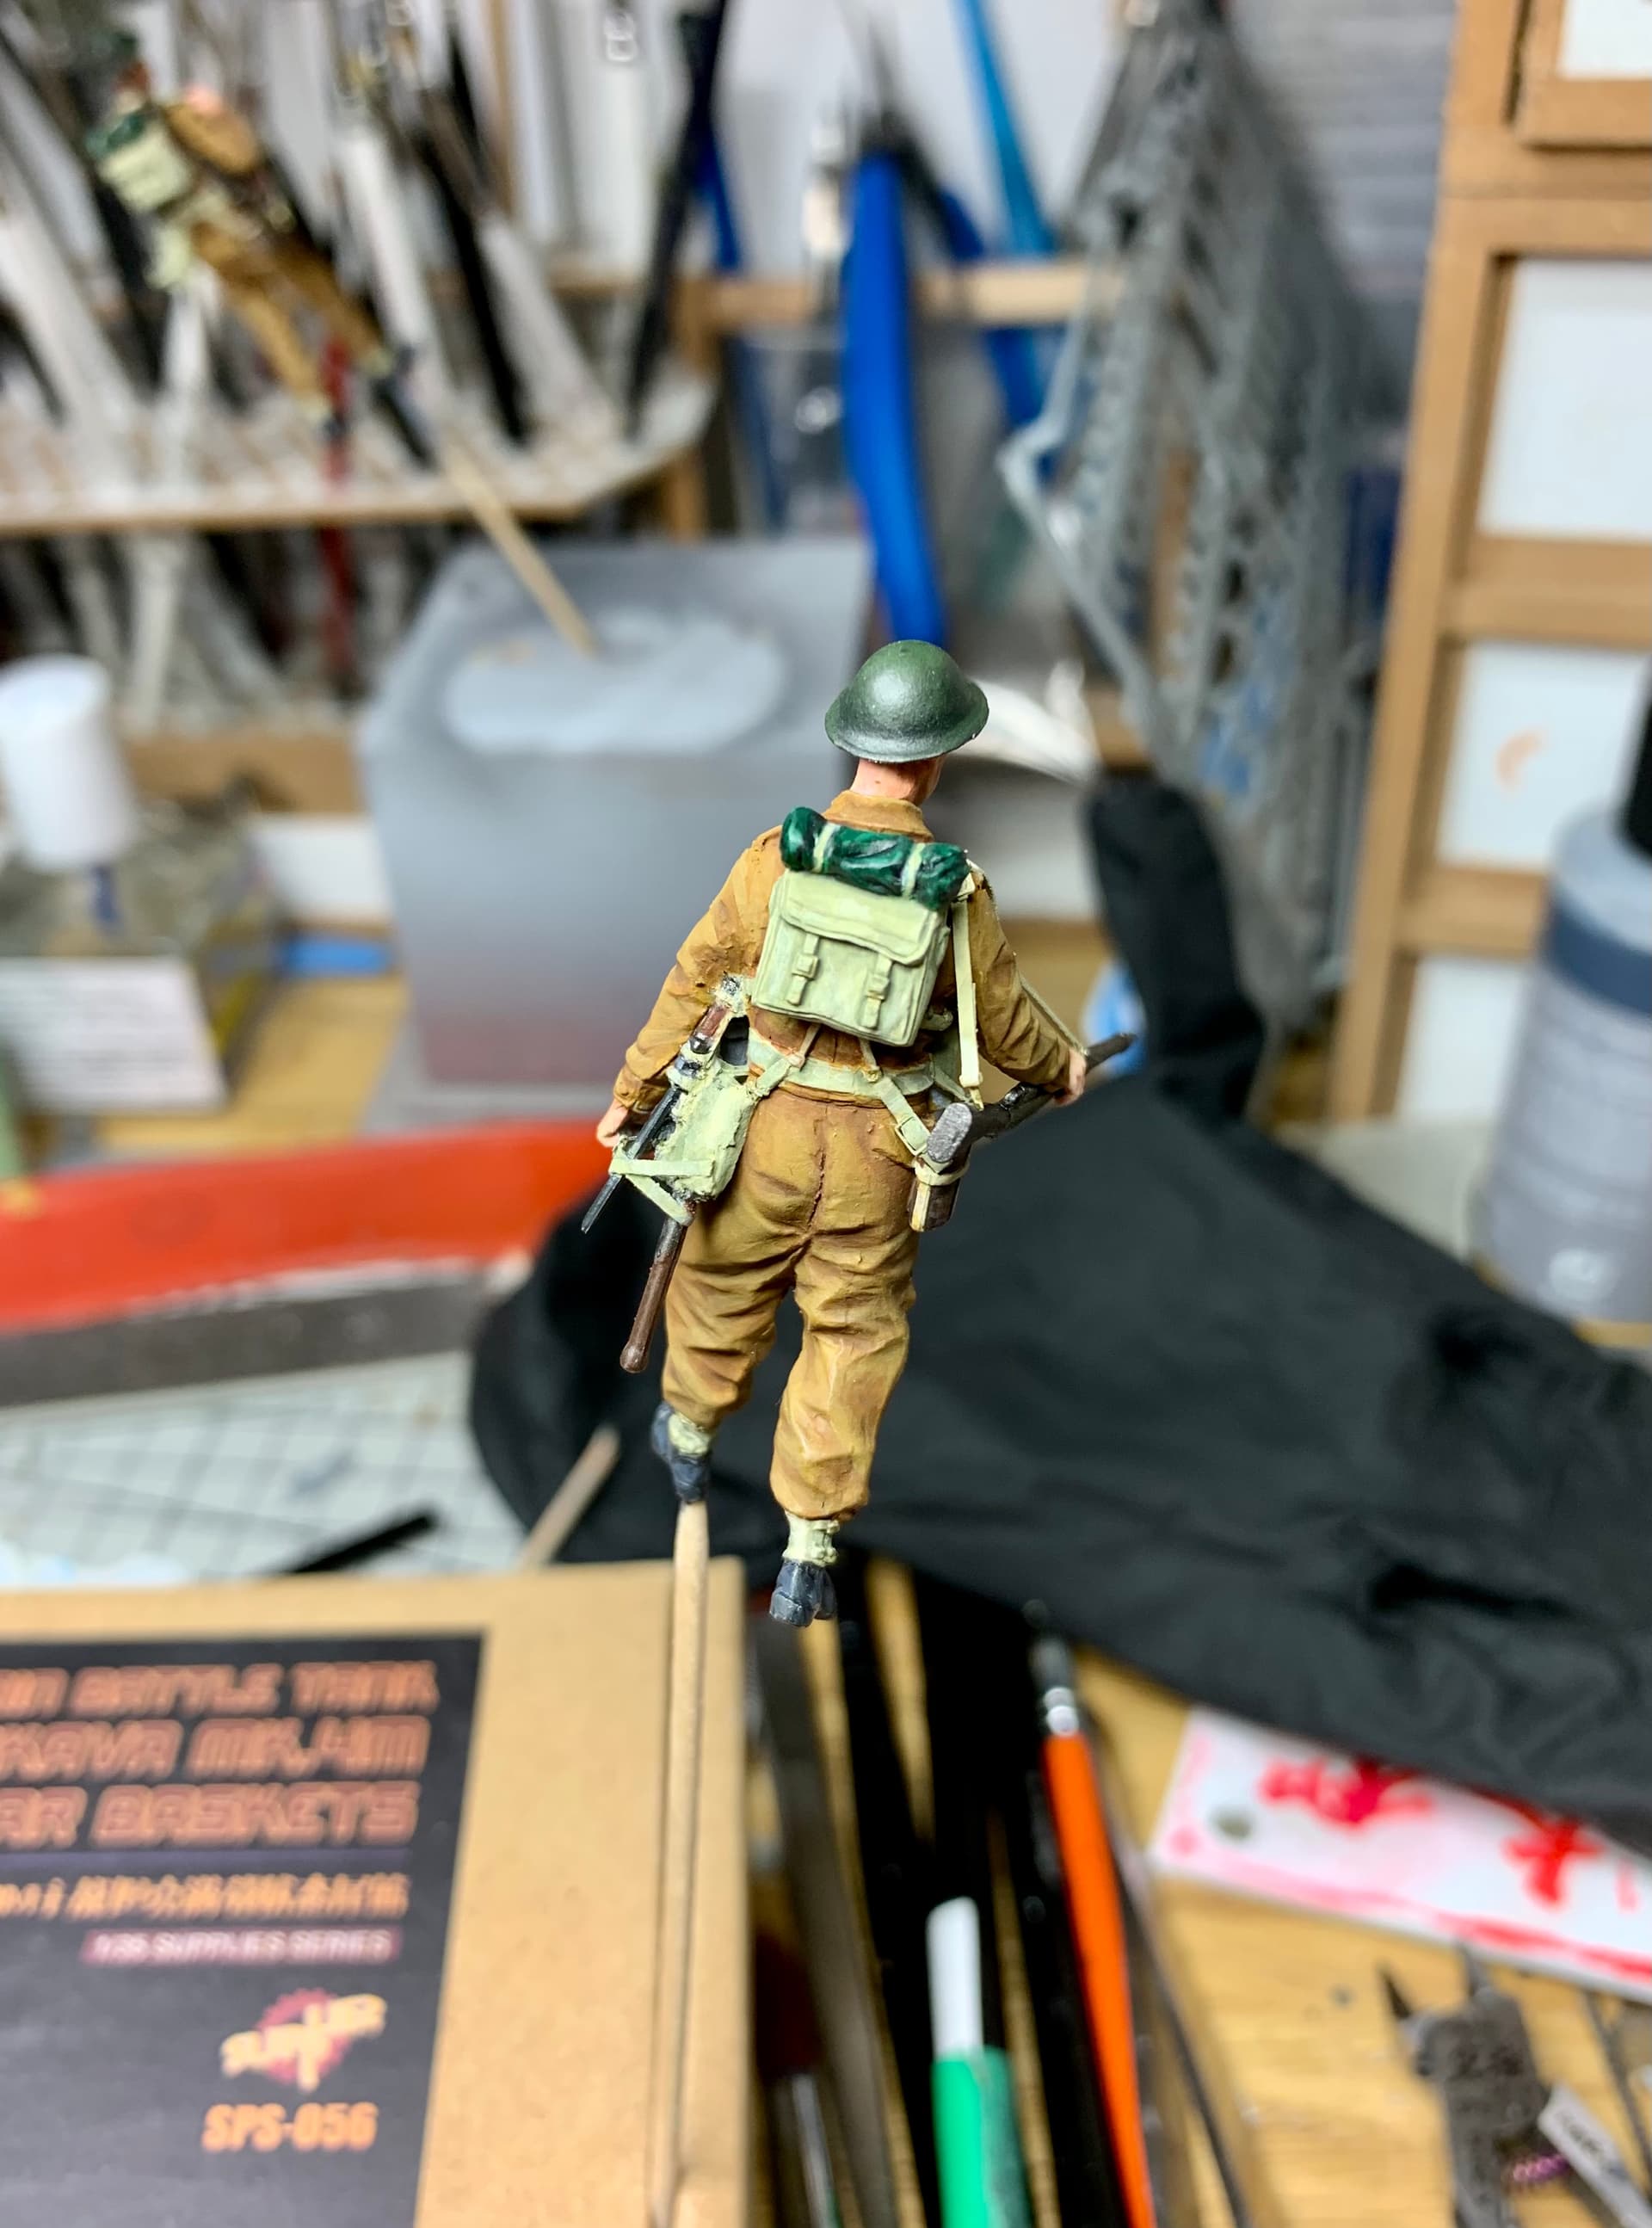
Like a great many uniforms of WW2 British BD’s came in many shades of brown- mostly quite dark but there would be the usual variations of color in manufacture, not to mention the effects of time in the field on the uniforms.
I think the color I chose was kind of in the middle, not too dark or light. I also went in the same direction for the webbing which could range in color from an almost olive color right through to very light tan- again material, manufacture and time used would create any number of differing shades.
As with the street section it was just nice to slap some color other than grey on a figure!
Above you can see both figs with the main colors all blocked in.
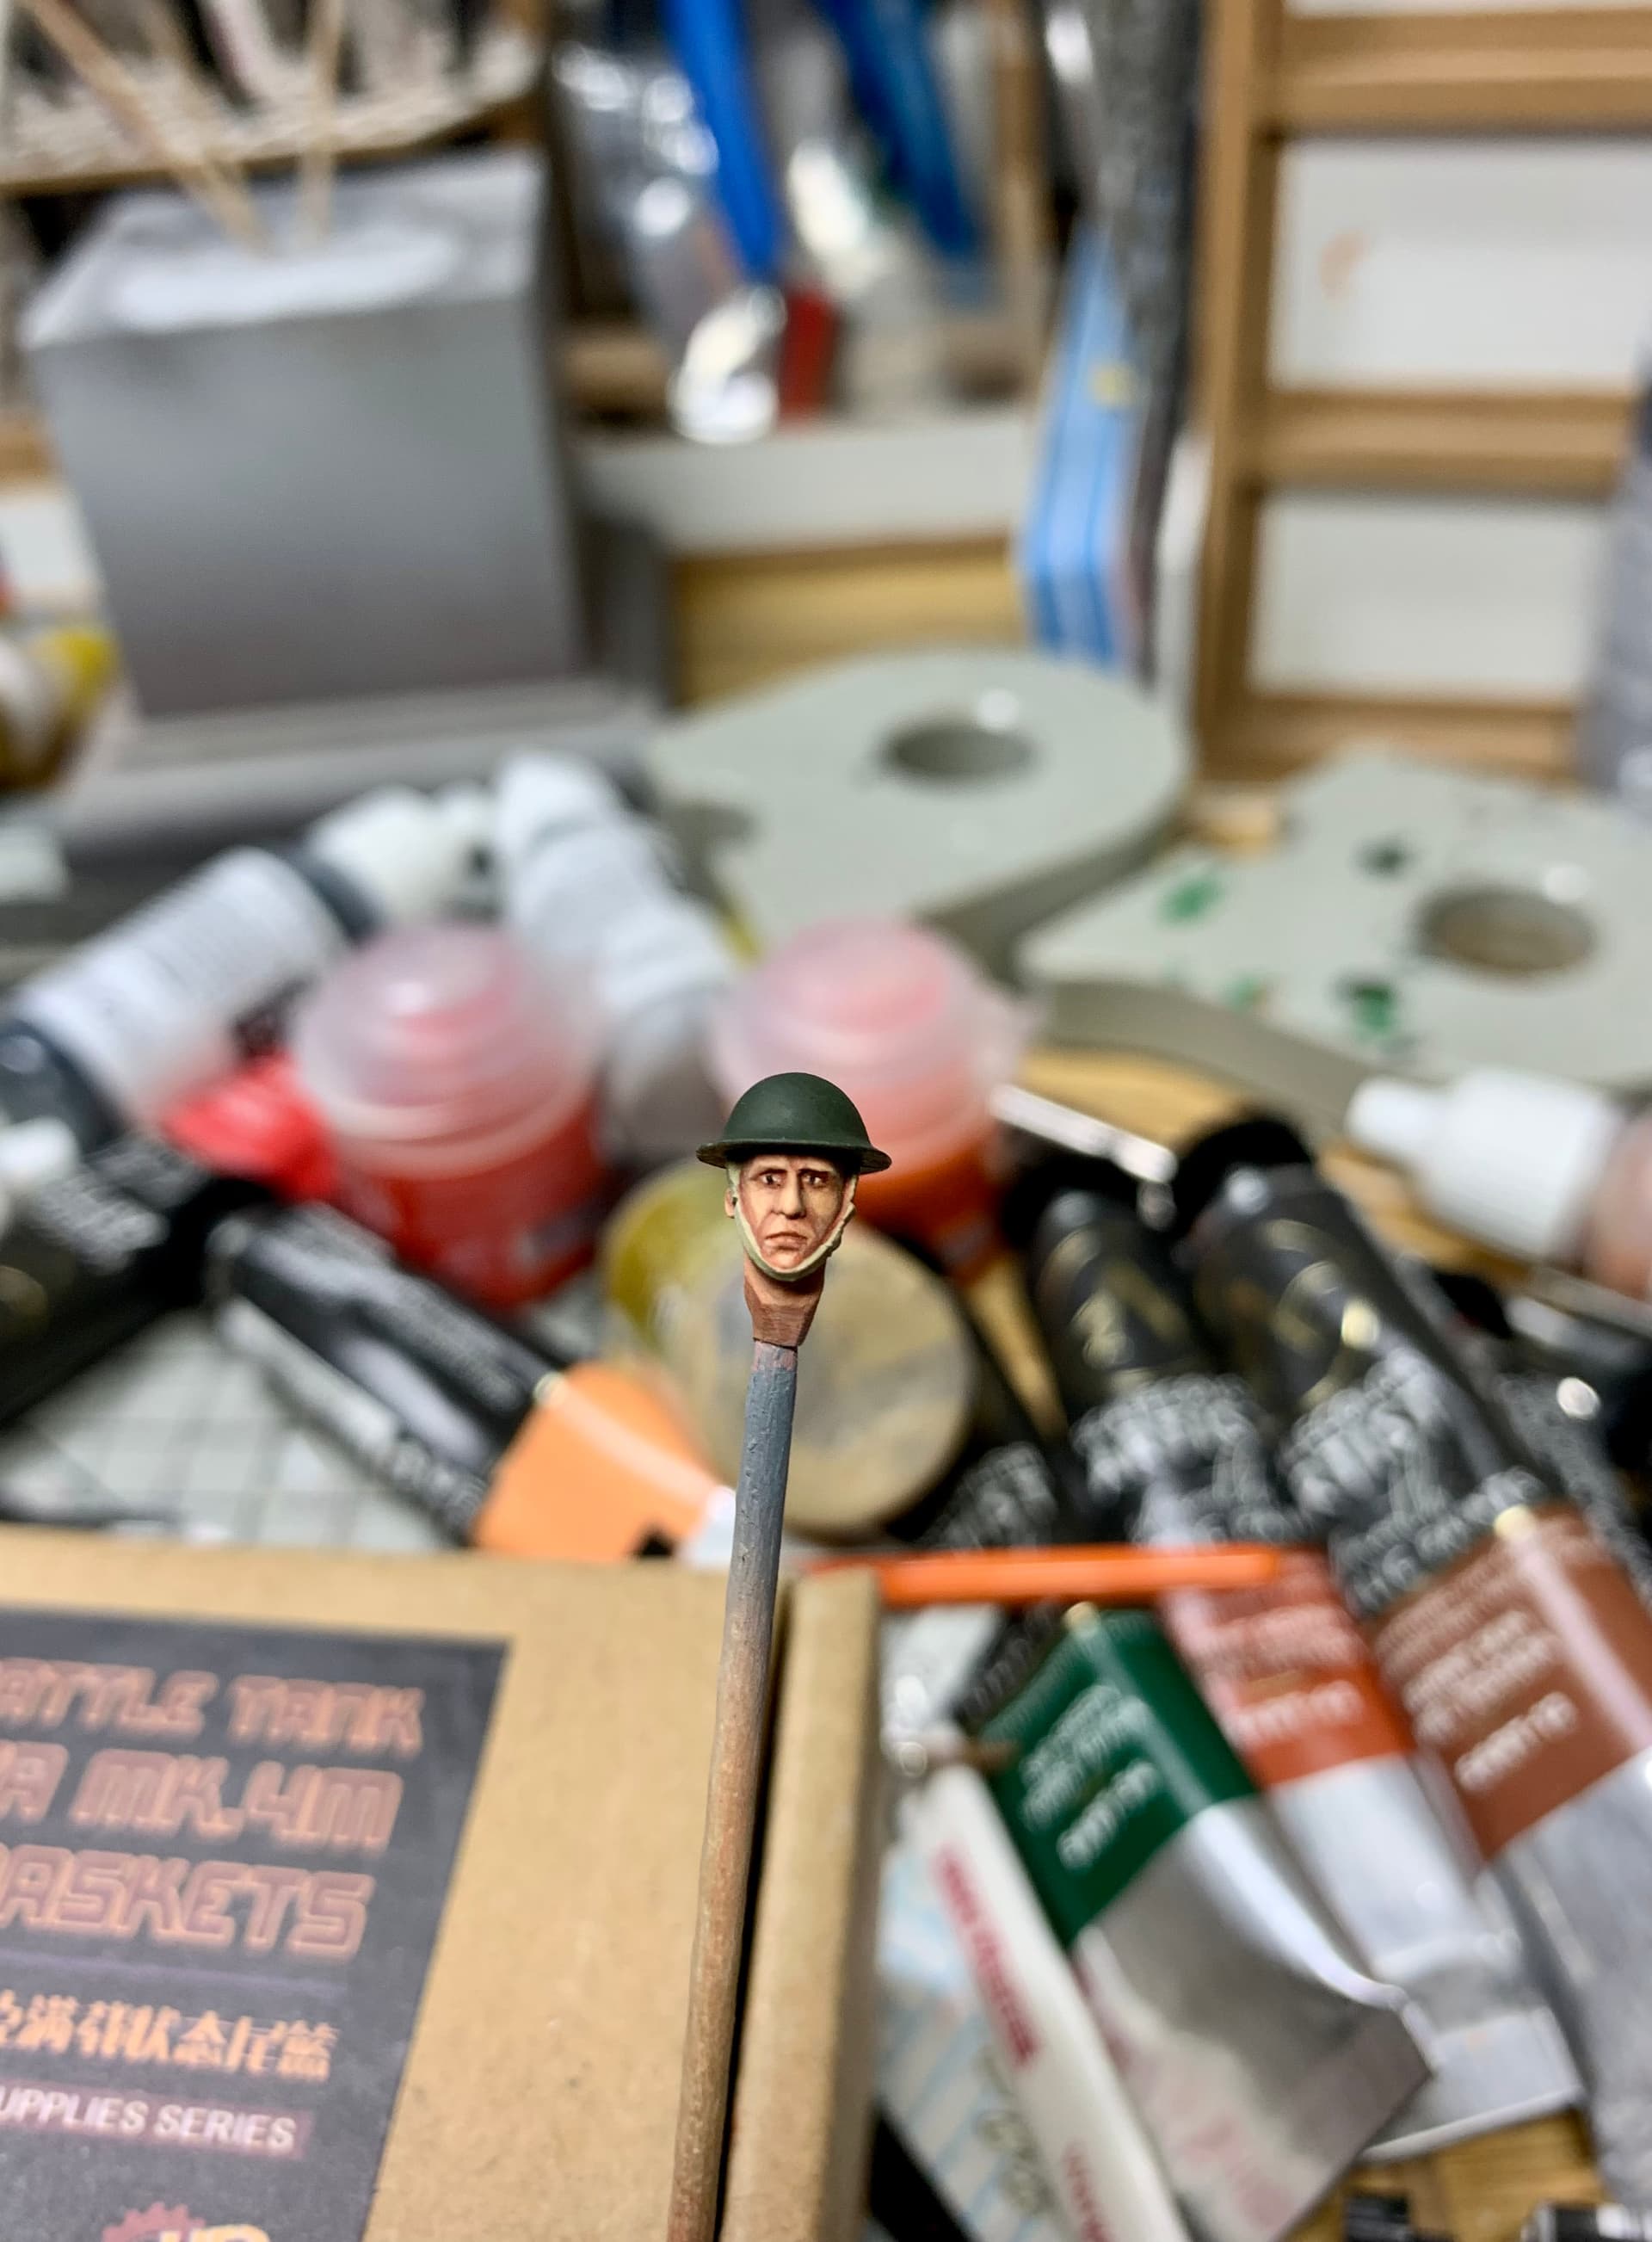
Roger’s head, above.
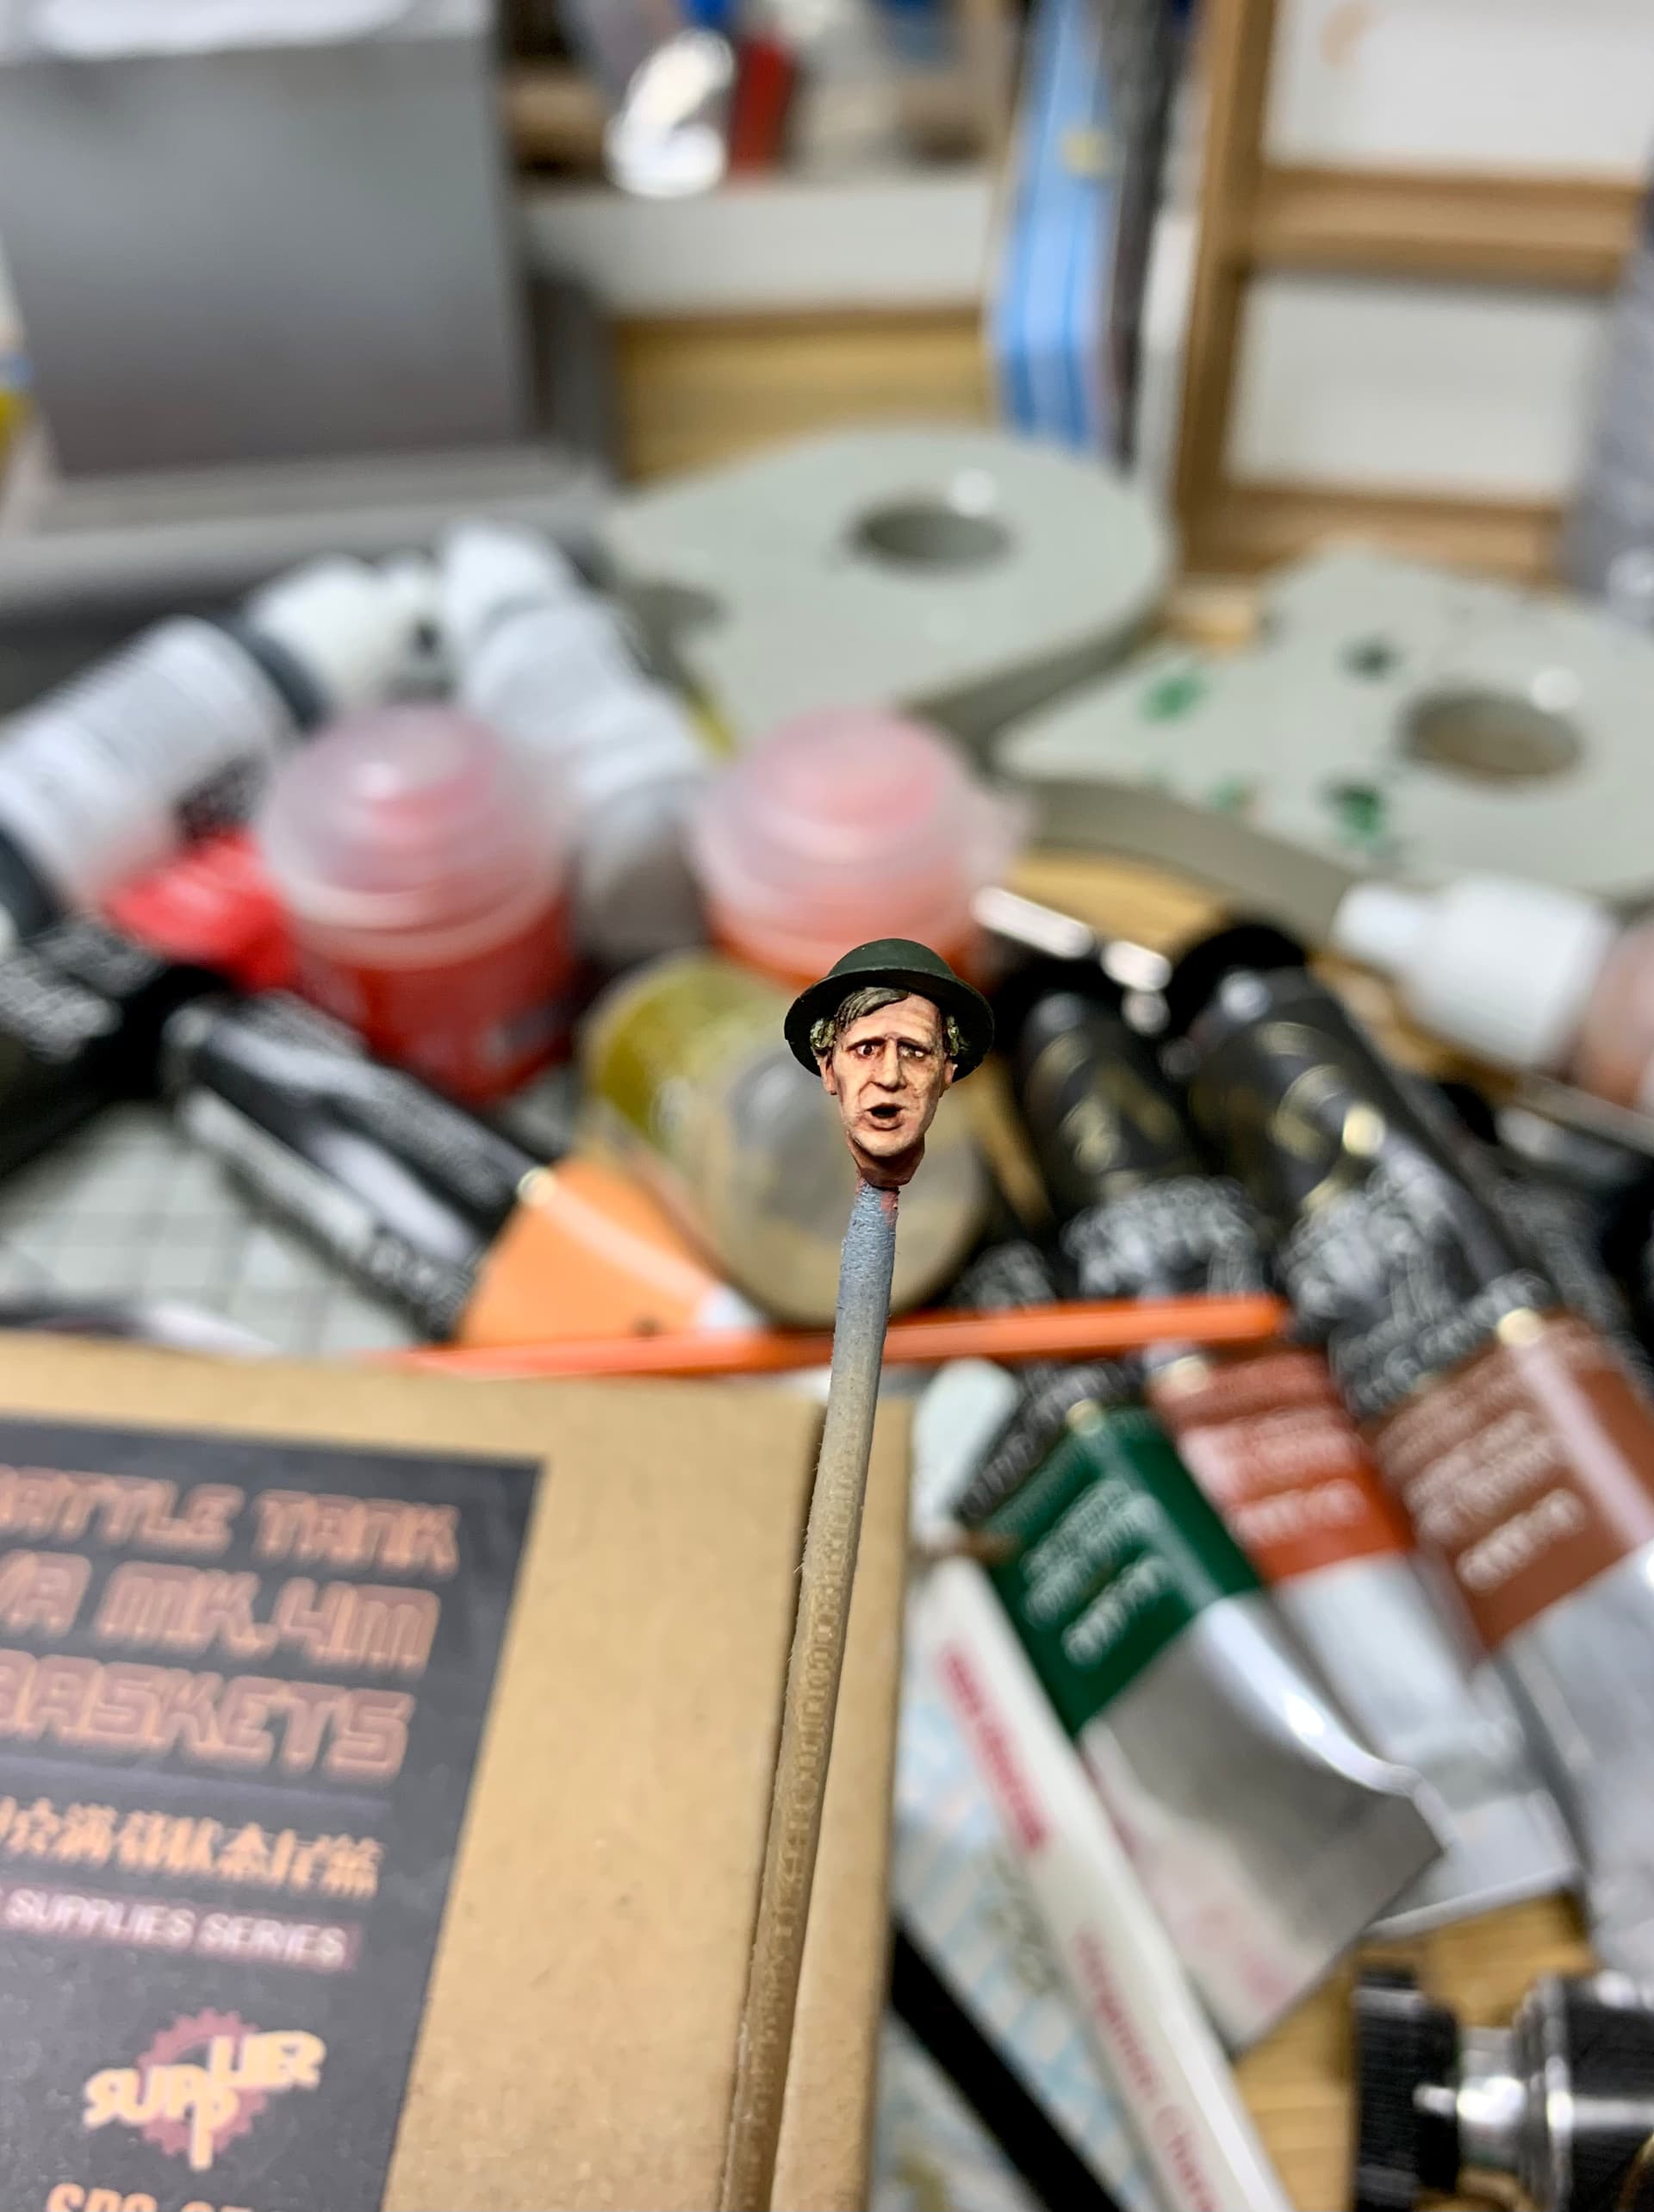
Gordon’s head, above.
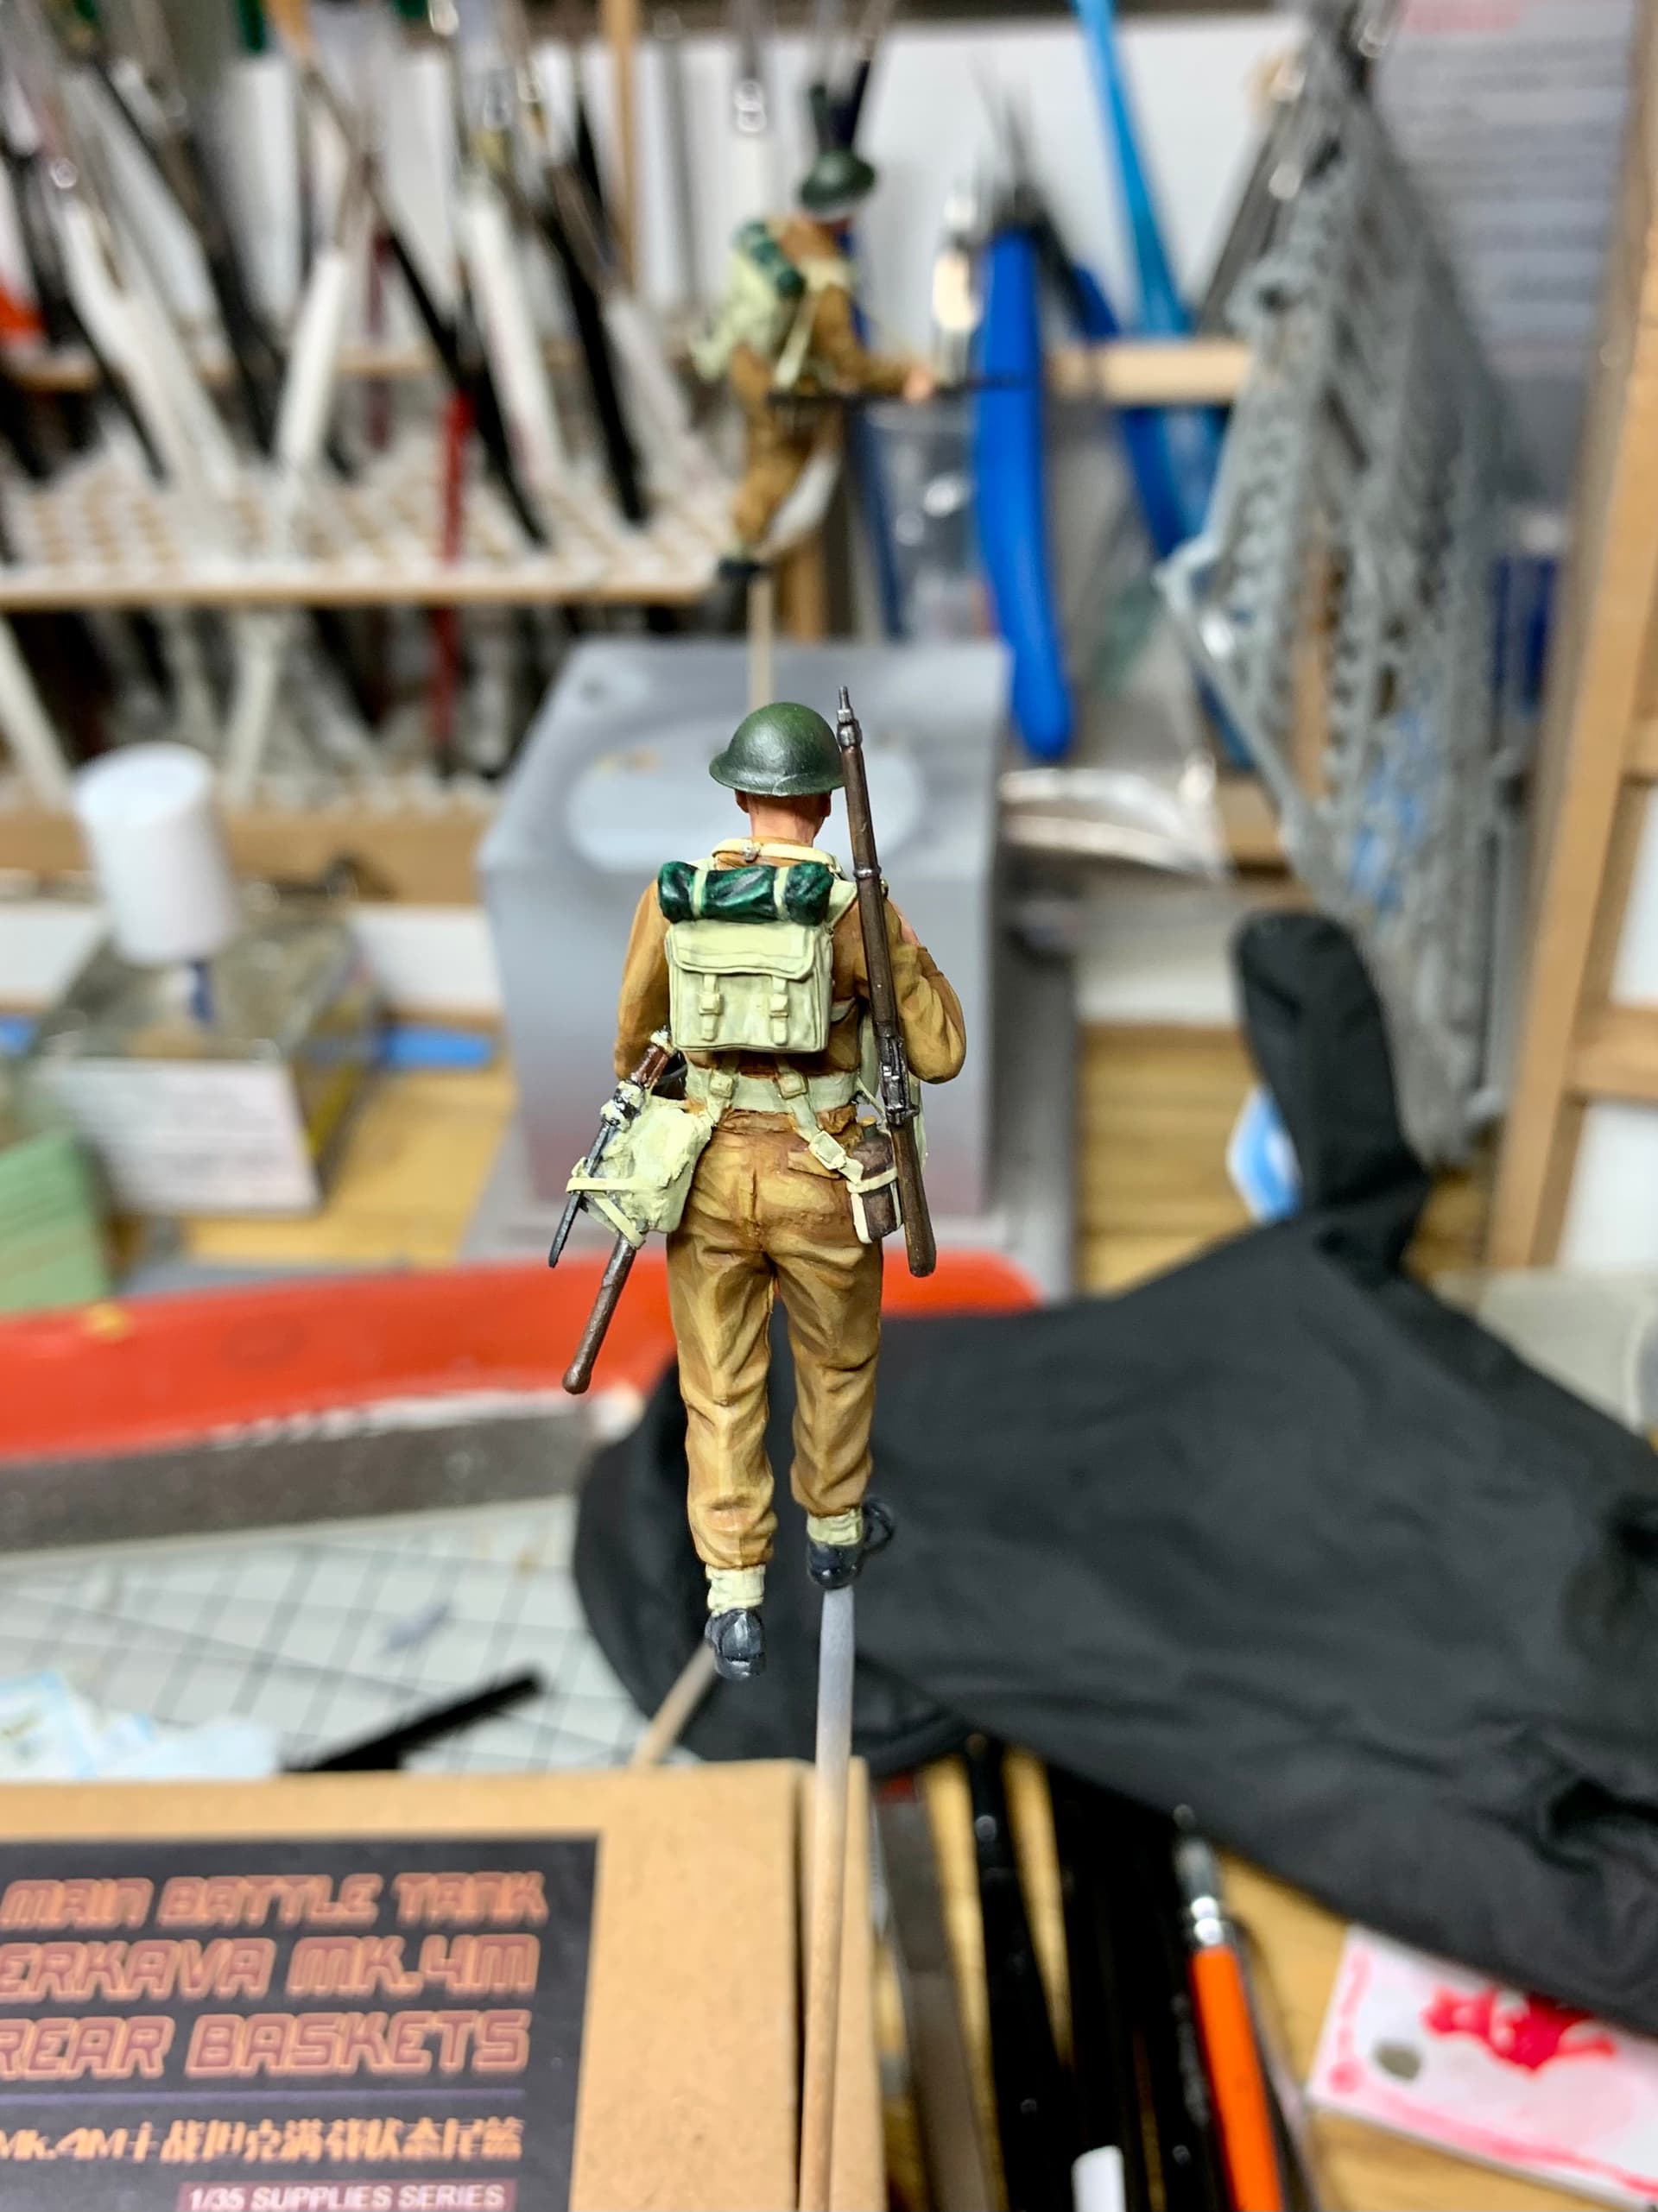
Above, you can see both figs have all the painting finished and are just waiting to get the heads, rifles and slings all glued in place.
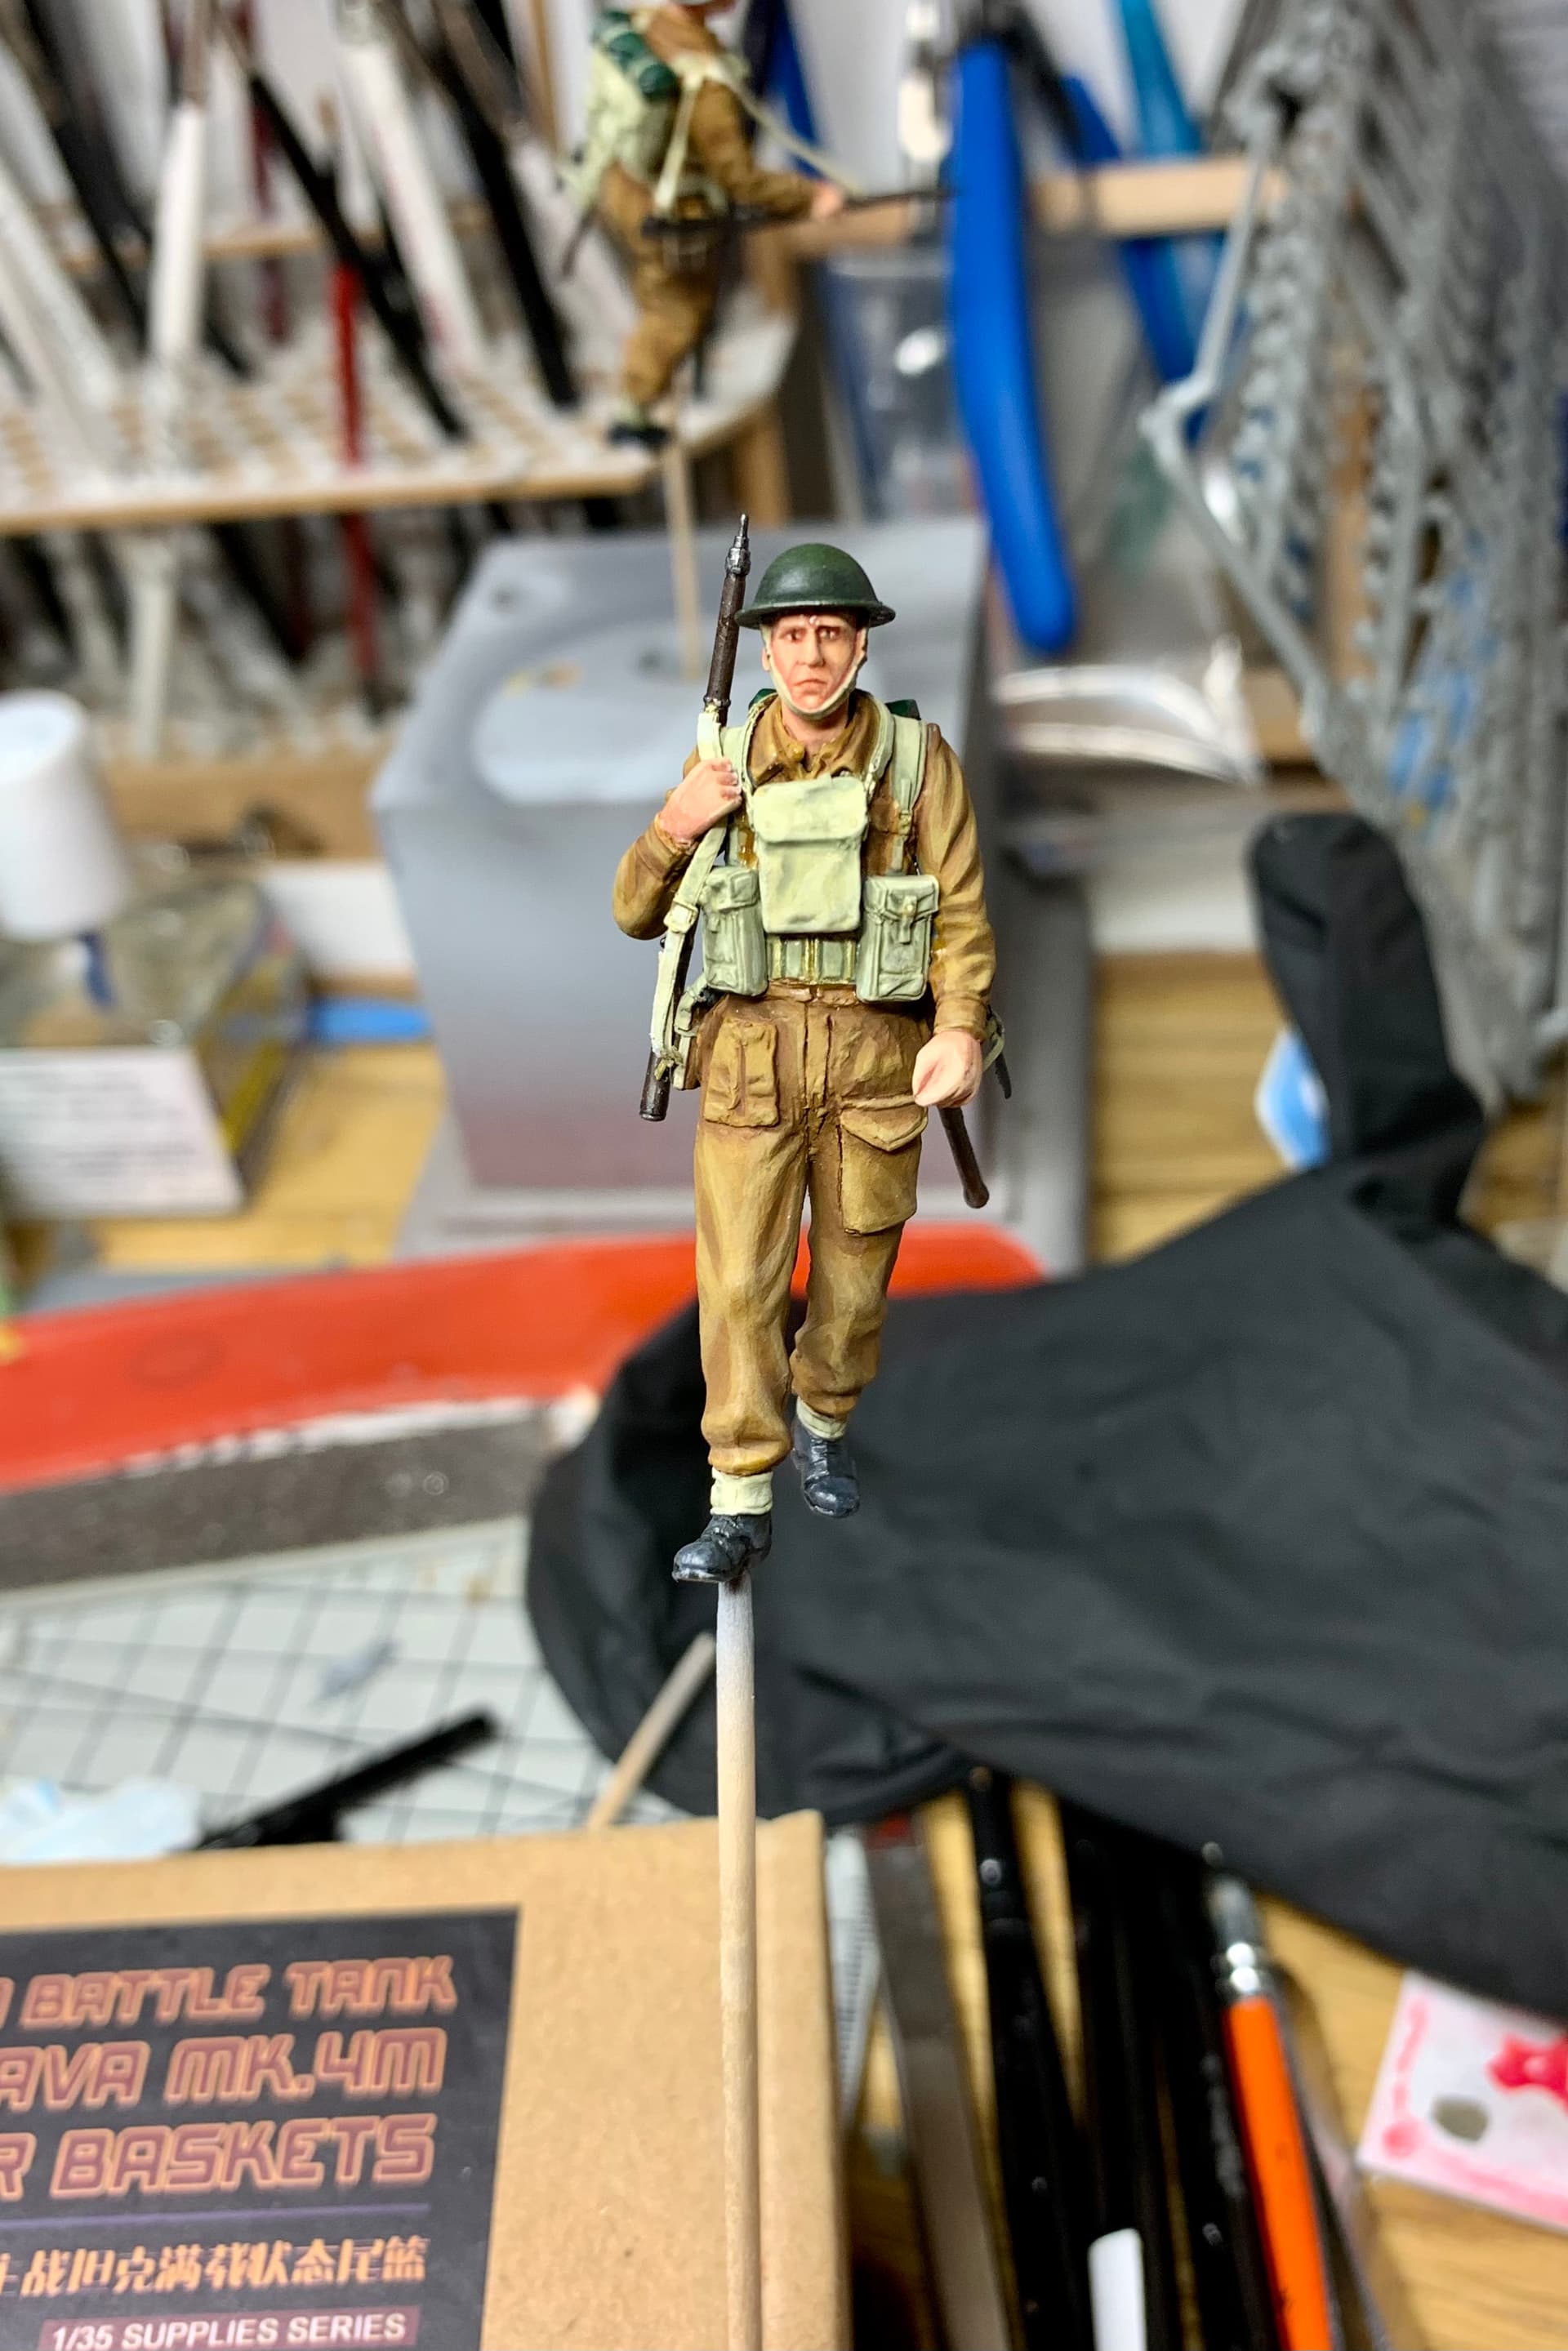
Above, you can see Roger all finished.
Above, you can see Gordon all finished.
So, now these two are done they have joined Basil and Cyril in a dust free cabinet while I get on with weathering and finishing the base, which will be in the next update.
Comments/Criticism etc are always welcome.
Thanks for reading.
12 Likes
Great characters !! In my world, it’s perfectly painted.
Looking forward to the Weathering
1 Like
Poor Gordon looks like he’s just had a sudden realization that maybe that second helping of compo stew was a bad idea.
1 Like
Nice paint job on the figures Karl, the painting of the faces is excellent, and the subtlety of the uniforms is a joy to the eye, 
 .
.
G 
2 Likes
@Micke_MM- Thank you my friend for such wonderful praise, I really enjoyed painting these two- for some reason I like doing British Battledress uniforms, doesn’t even matter what scale.
@Canmedic- Funny you should mention that- the faces were interesting to paint because the expressions changed as I did so- prior to painting I thought Gordon looked older but as I went about painting them, Roger seemed to take on a more aged look and I kind of leaned into that and gave him slightly greying hair and some deep frown lines. I think Gordon actually looks less grumpy when he was painted! Thanks for taking the time to look and make a comment, it is much appreciated.
@G-man69- You are very kind bud, thank you for such nice comments. As I said above these are some of the uniforms I really enjoy painting the most and I was really trying here to get a ‘worn but not too worn’ look.
@bwilt- Thank you for saying so and for stopping by to check out the latest post.
1 Like
Yo, this great work man! Keep it up! /Erik
@JoseCesar67- Thank you my friend.
@DIOWORK- Cheers mate, thanks for the support.
Just want to say I appreciate all the support- throughout this project it has been a great source of encouragement and has been an awesome motivation while I’m working on this piece.
1 Like
Haven’t been here for quite some time, just had to catch up. More briefly, so I have to read over it again with more time on my hands. Really admire your work, Karl!
Thank you Torsten for taking the time to catch up on the thread and for such nice comments, it is very much appreciated.
This is great work. These two figures have real character. If Roger is older, you could always give him one or two Good Conduct stripes (inverted chevrons on the lower left sleeve, they were actually the same design as NCO’s stripes, but turned upside down). These were worn even on the combat BD. The BEF, as in the First World War mainly consisted of Britain’s Regular Army, so there would be plenty of “old sweats” in it. Pre-war regulars served for years in India, Egypt, Palestine and other hot climates, so it wouldn’t be untoward to see the odd tanned face.
2 Likes
Thank you mate, it’s very nice of you to say- though Hornet heads have to take some credit for making such great expressions in their range.
I had no idea Good Conduct stripes were worn on the BD’s, I always thought the inverted stripes were only for a dress uniform. I will keep this in mind for the next time I am doing some British figs. Always good to have more info about British uniforms !
Something along the lines of what you mentioned about ‘old salts’ in the BEF was in my head while I was choosing the heads for Gordon and Roger- I guess that’s why I gravitated to Gordon especially as I felt that head really looked the part.
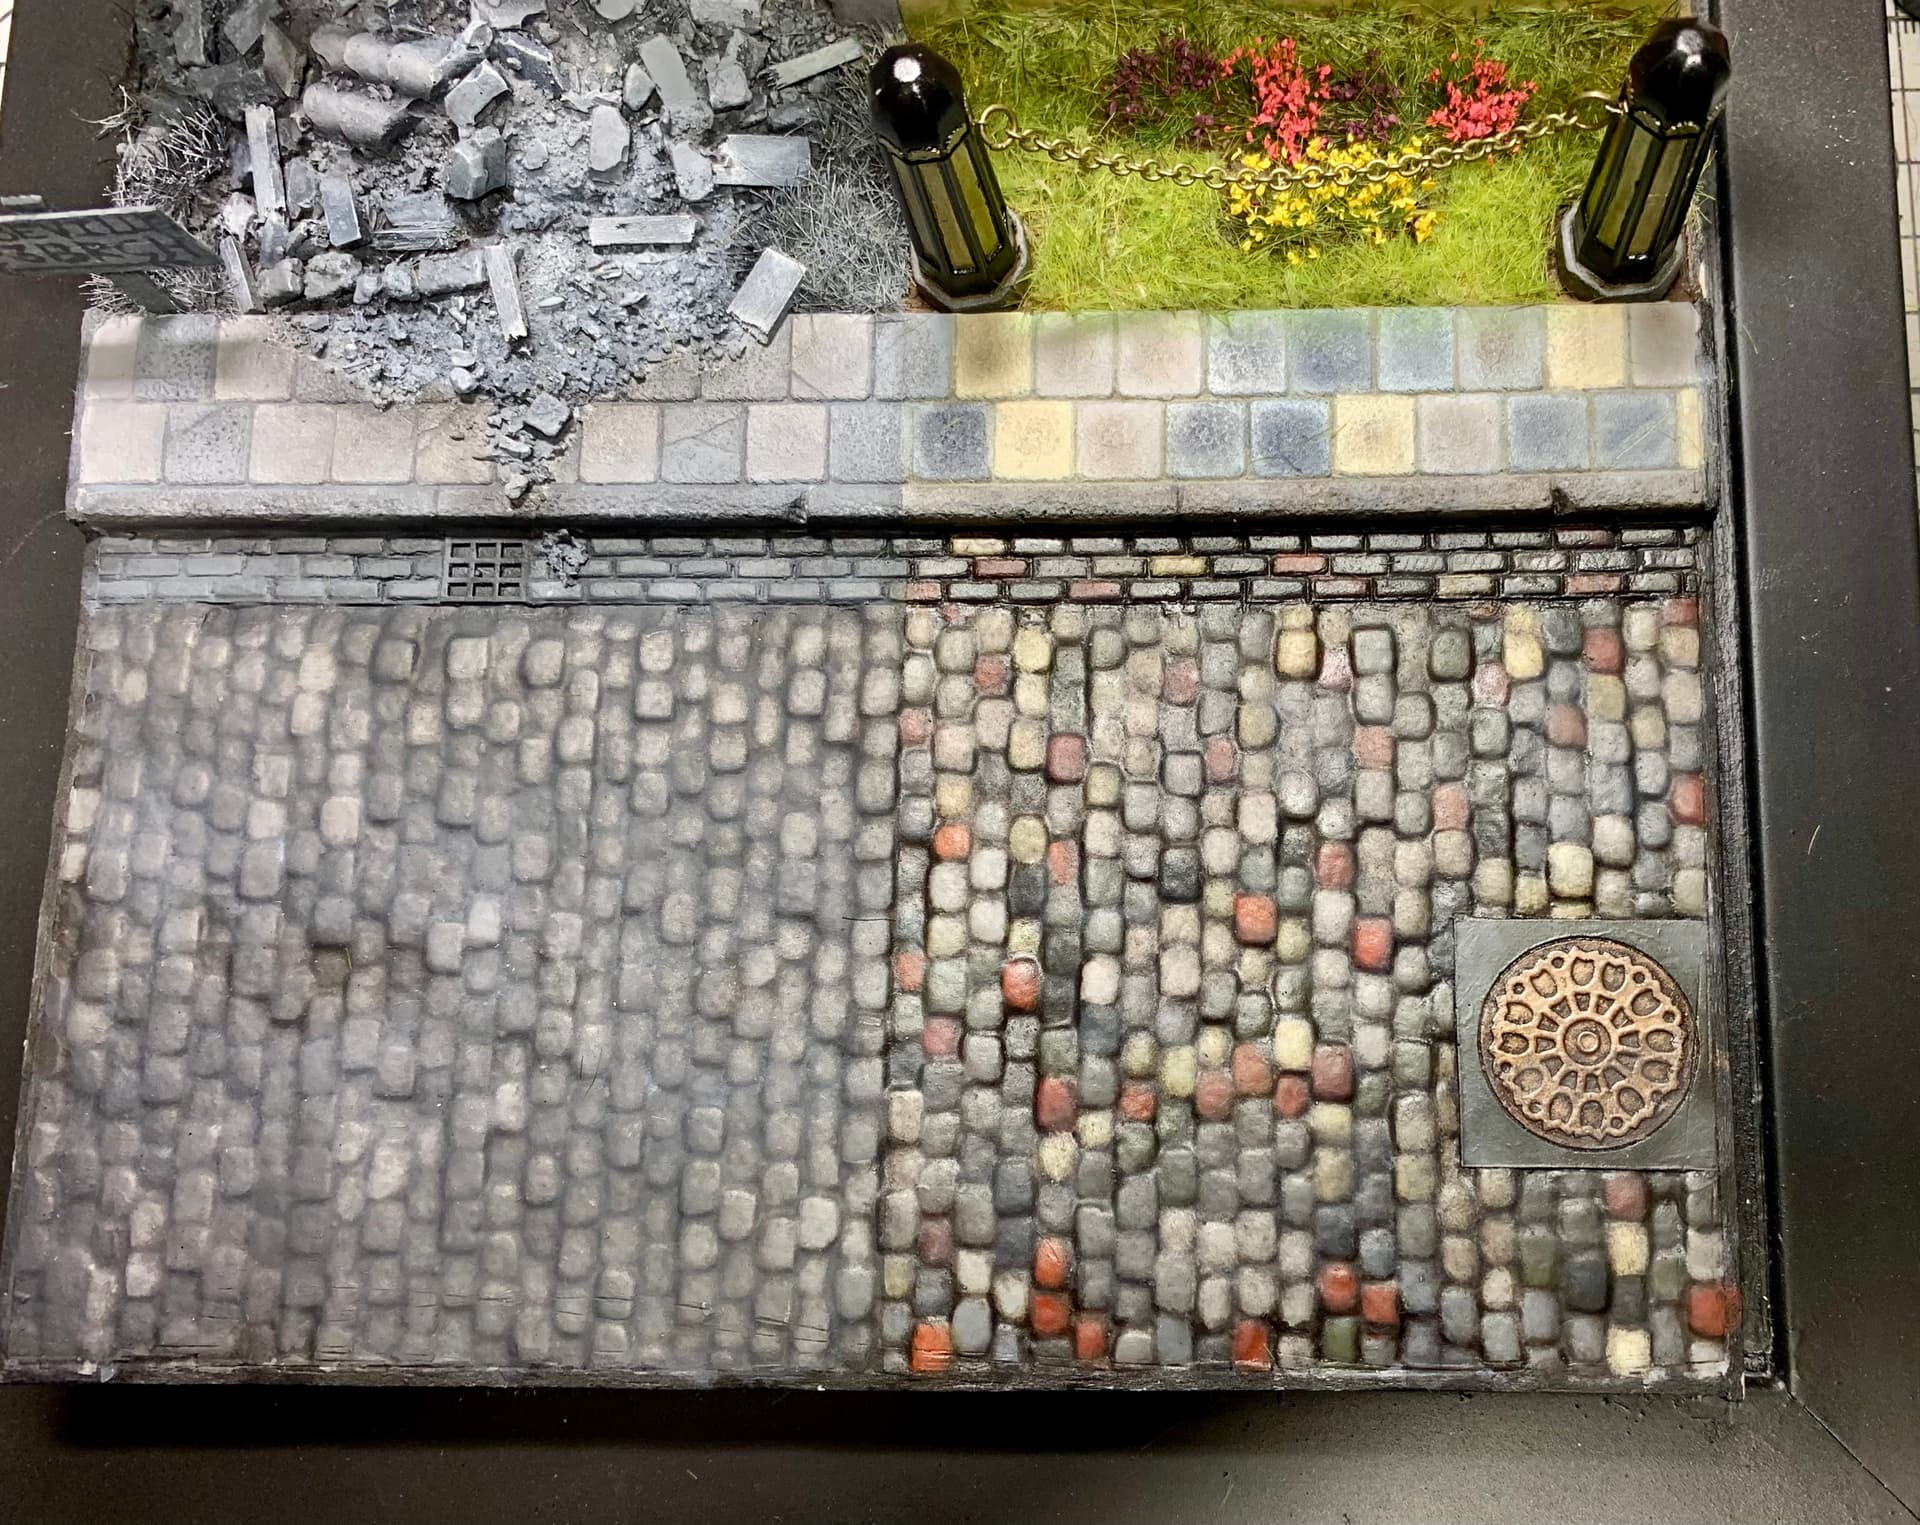
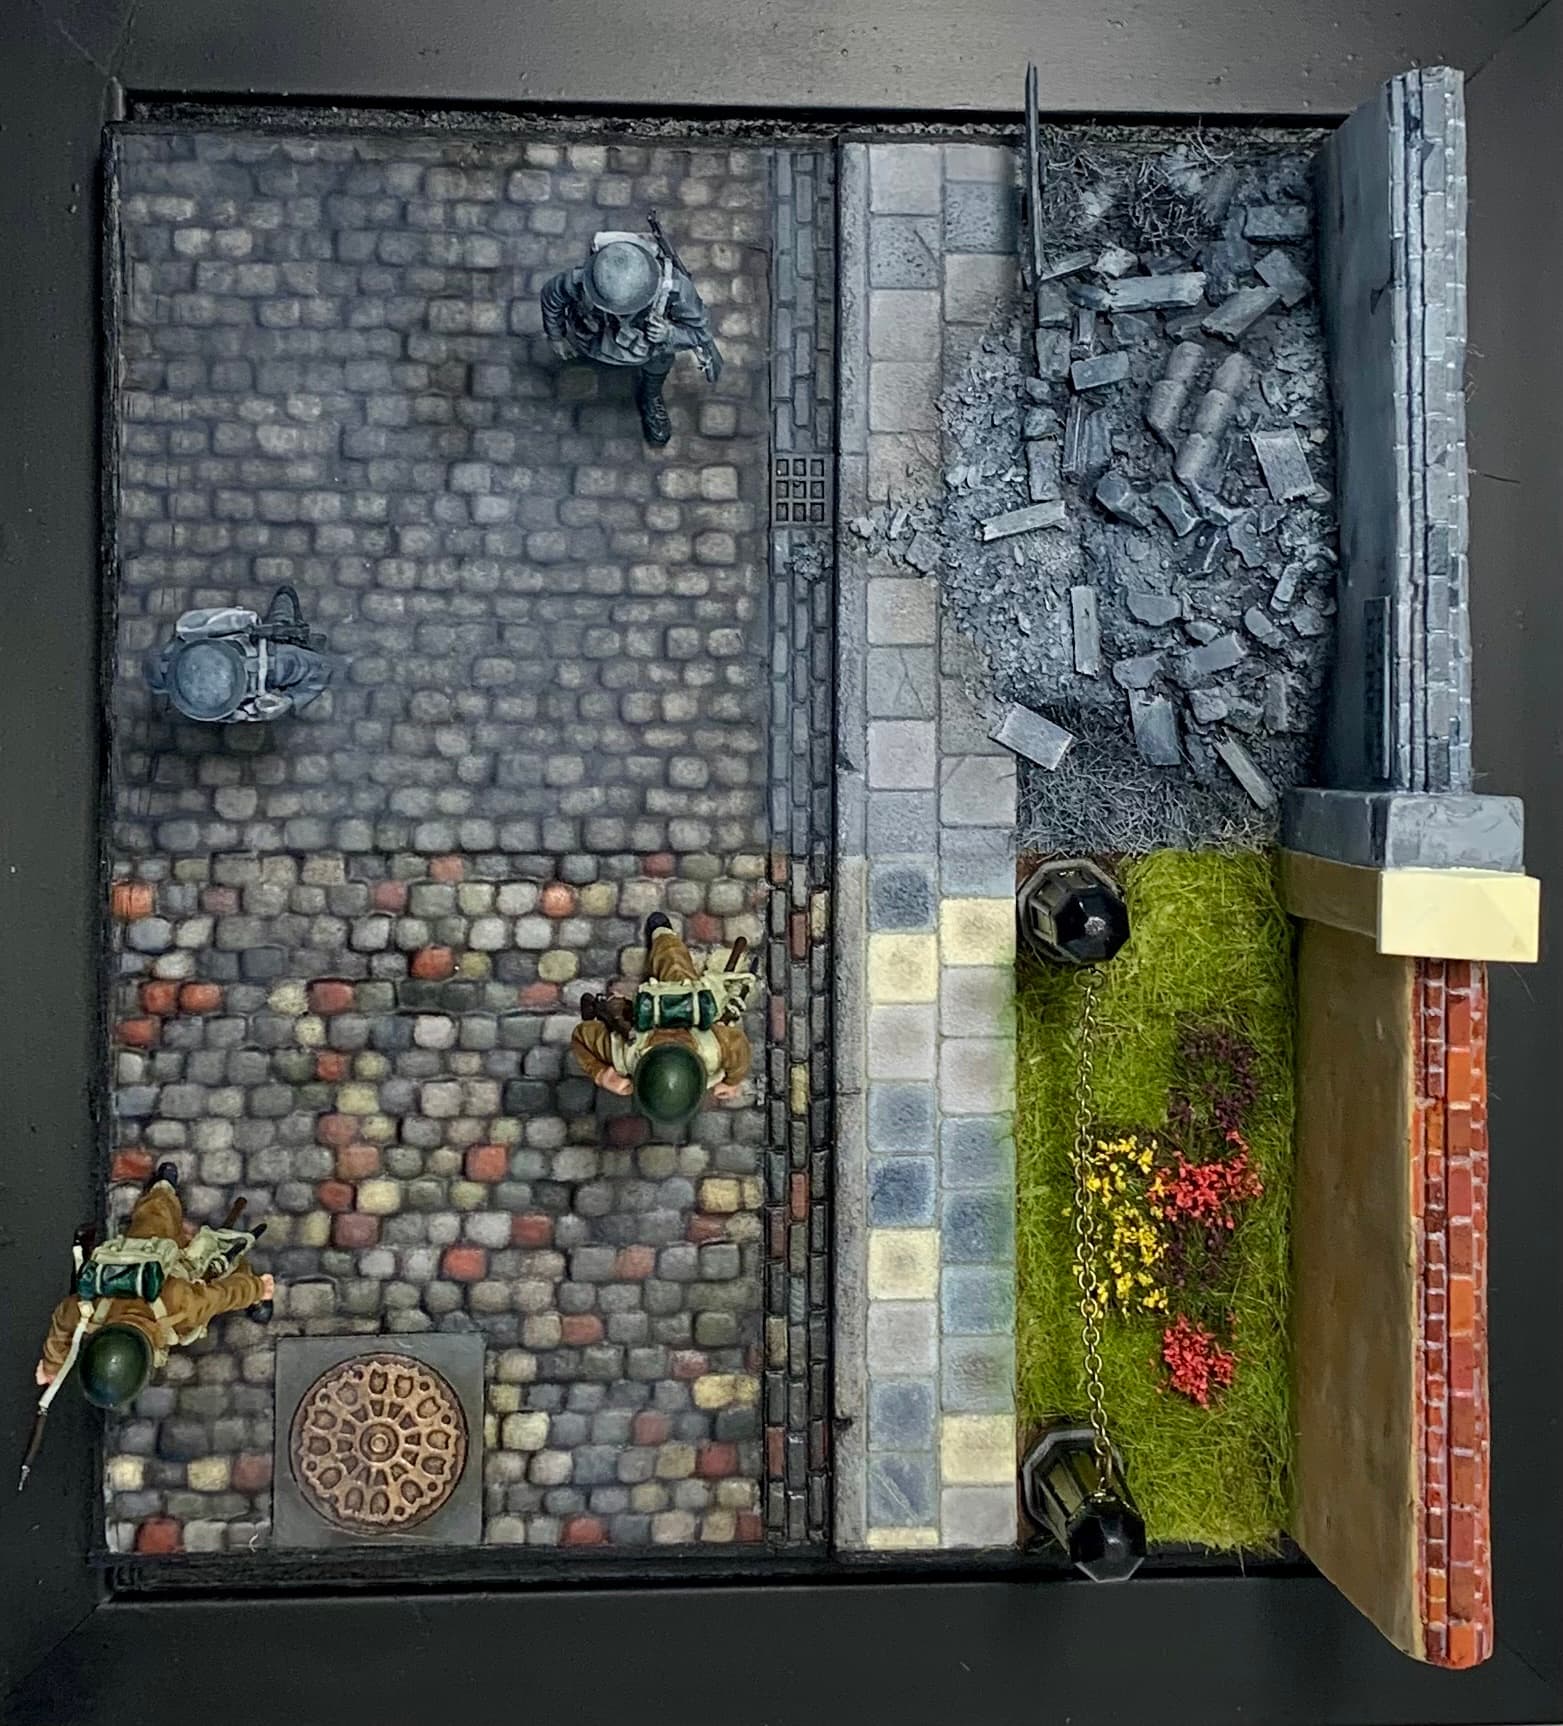
Returning to the base it was time to do some work with oils and for this I had three thing I wanted to do. First was to give the colors a bit more depth and interest, second was to highlight and darken where some cobbles sat above or below those around them and third was to dirty and dull some of the brighter cobbles. In addition to that I wanted to work on making the gutter area darker and grimier along with the bottom of the curb. I also worked on the pavement in the same fashion but not quite as intensively it wouldn’t be as dirty as a road.
The reason I mention the ‘objectives’ for oils is because its easy to get bogged down somewhere along the way. I reckon it’s good to have a very firm idea of what look or effect you want before you reach for the brush.
I took three sessions to do the cobbles and the pavement and I also did a little drybrushing on the manhole cover.
After 1st session.
After 2nd session.
After 3rd session.
Then it was all left to dry for a few days. This was so the next stage, a mixed black and brown wash, would not disturb the oils. The wash was to define the cobbles by pushing it to the sides of each cobble like I did previously with the black and white section. A dark grey wash was used for between the pavement slabs.
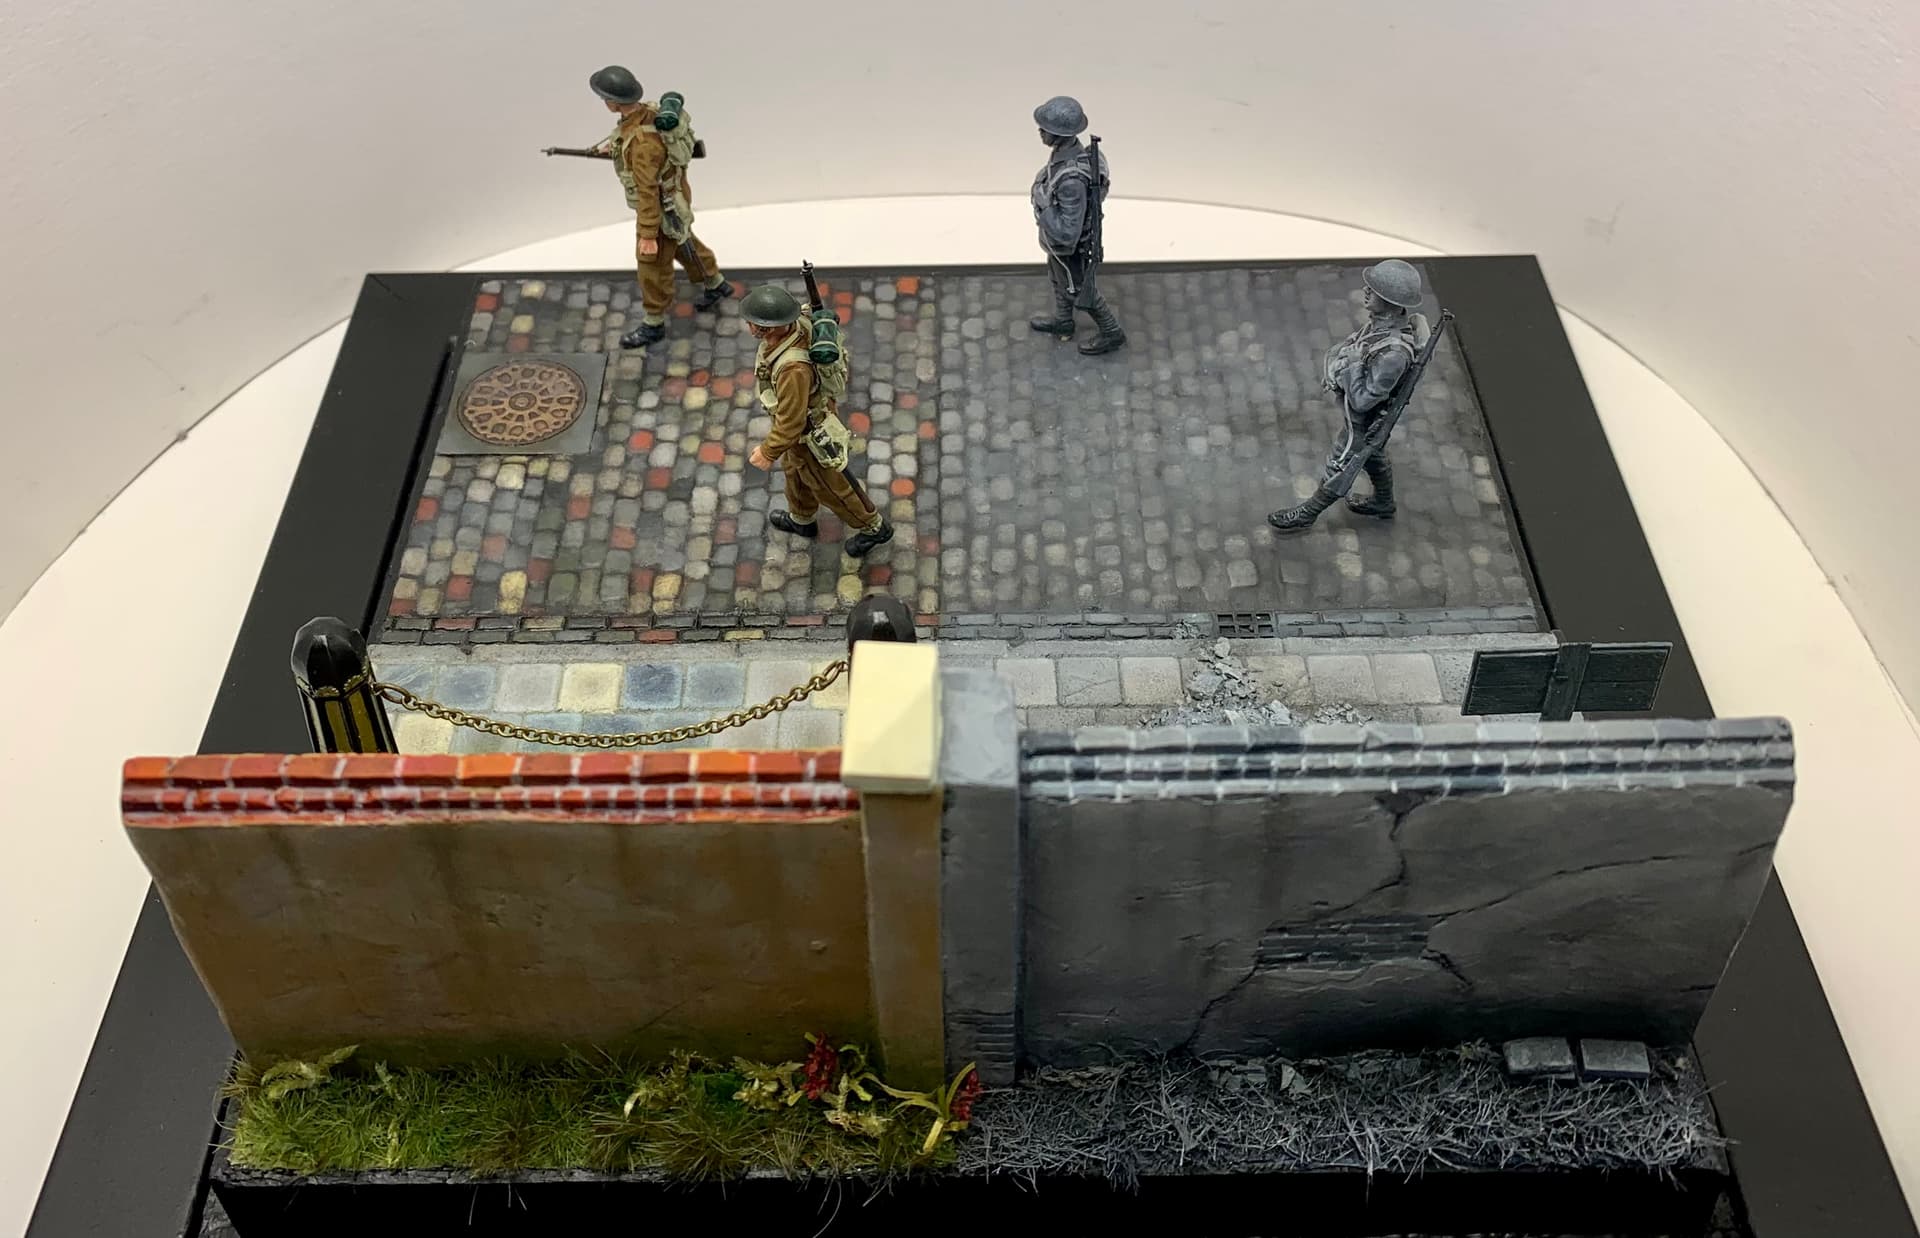
While the wash was drying it was time to tackle the bit I was dreading as I really don’t like working with grass or vegetation all that much. What I planned was a weedy area behind the wall and a fairly well kept bit just off the pavement with a small flower bed.
I used mostly Fredericus Rex products for this and some flowers and weeds I found on eBay.
So next up will be the finishing touches that I have already started on, which basically include a little oil work on the wall, some dirt on the cobbles and gutter and final assembly.
Thanks for reading.
8 Likes
very nice job especially on the wall I like it very much
Very kind of you to say, thanks !
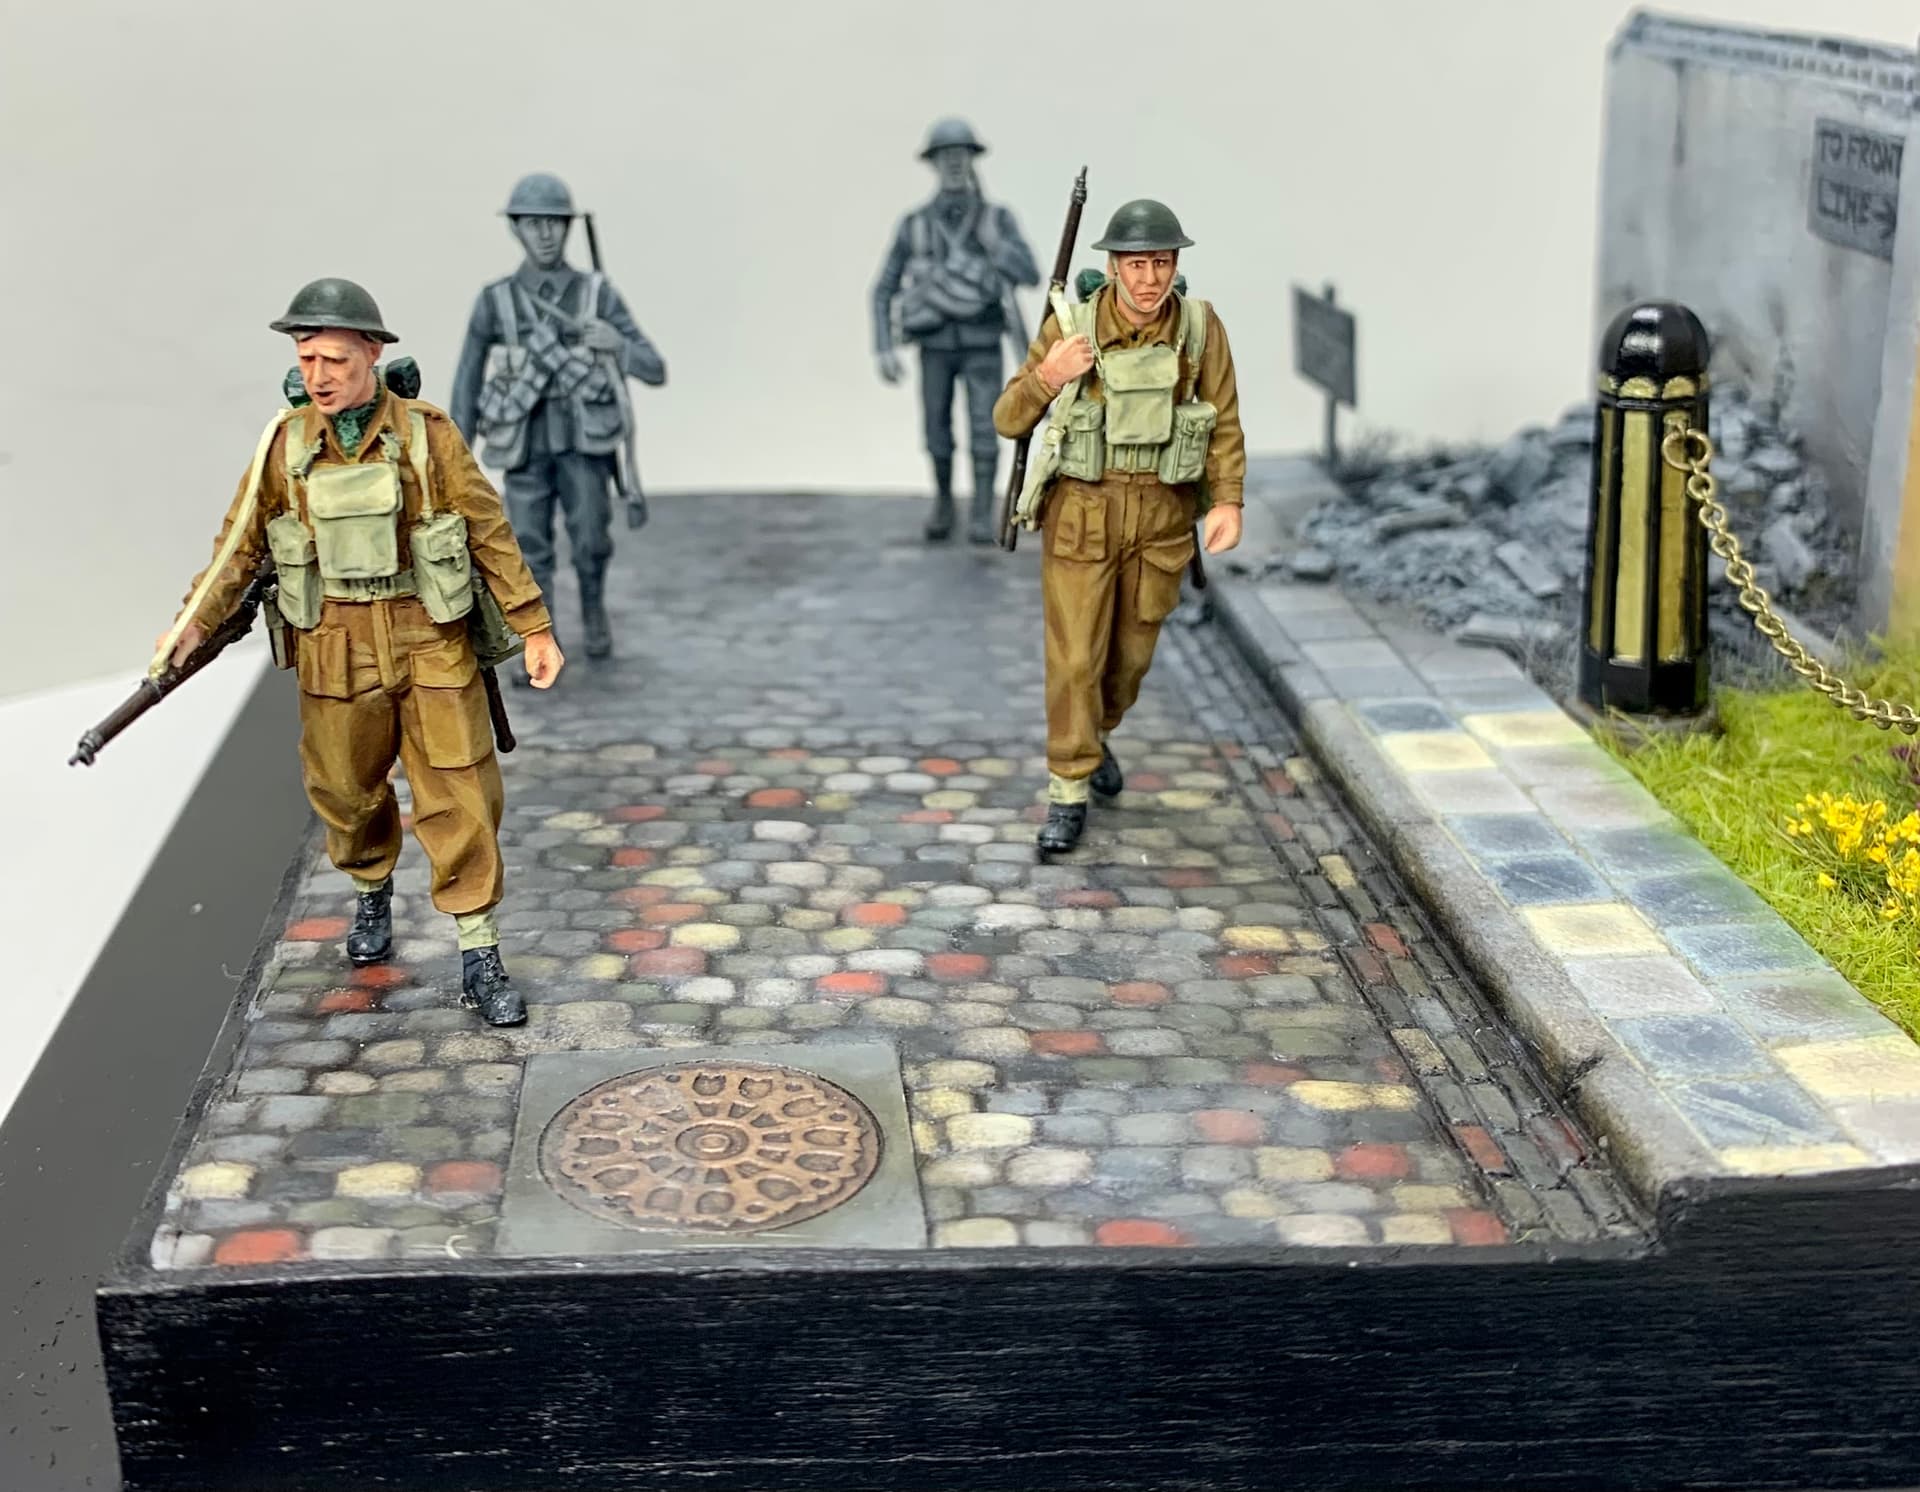
Nice work Karl , it’s really popping with the bw/color transition .
Cheers Glen, much appreciated!
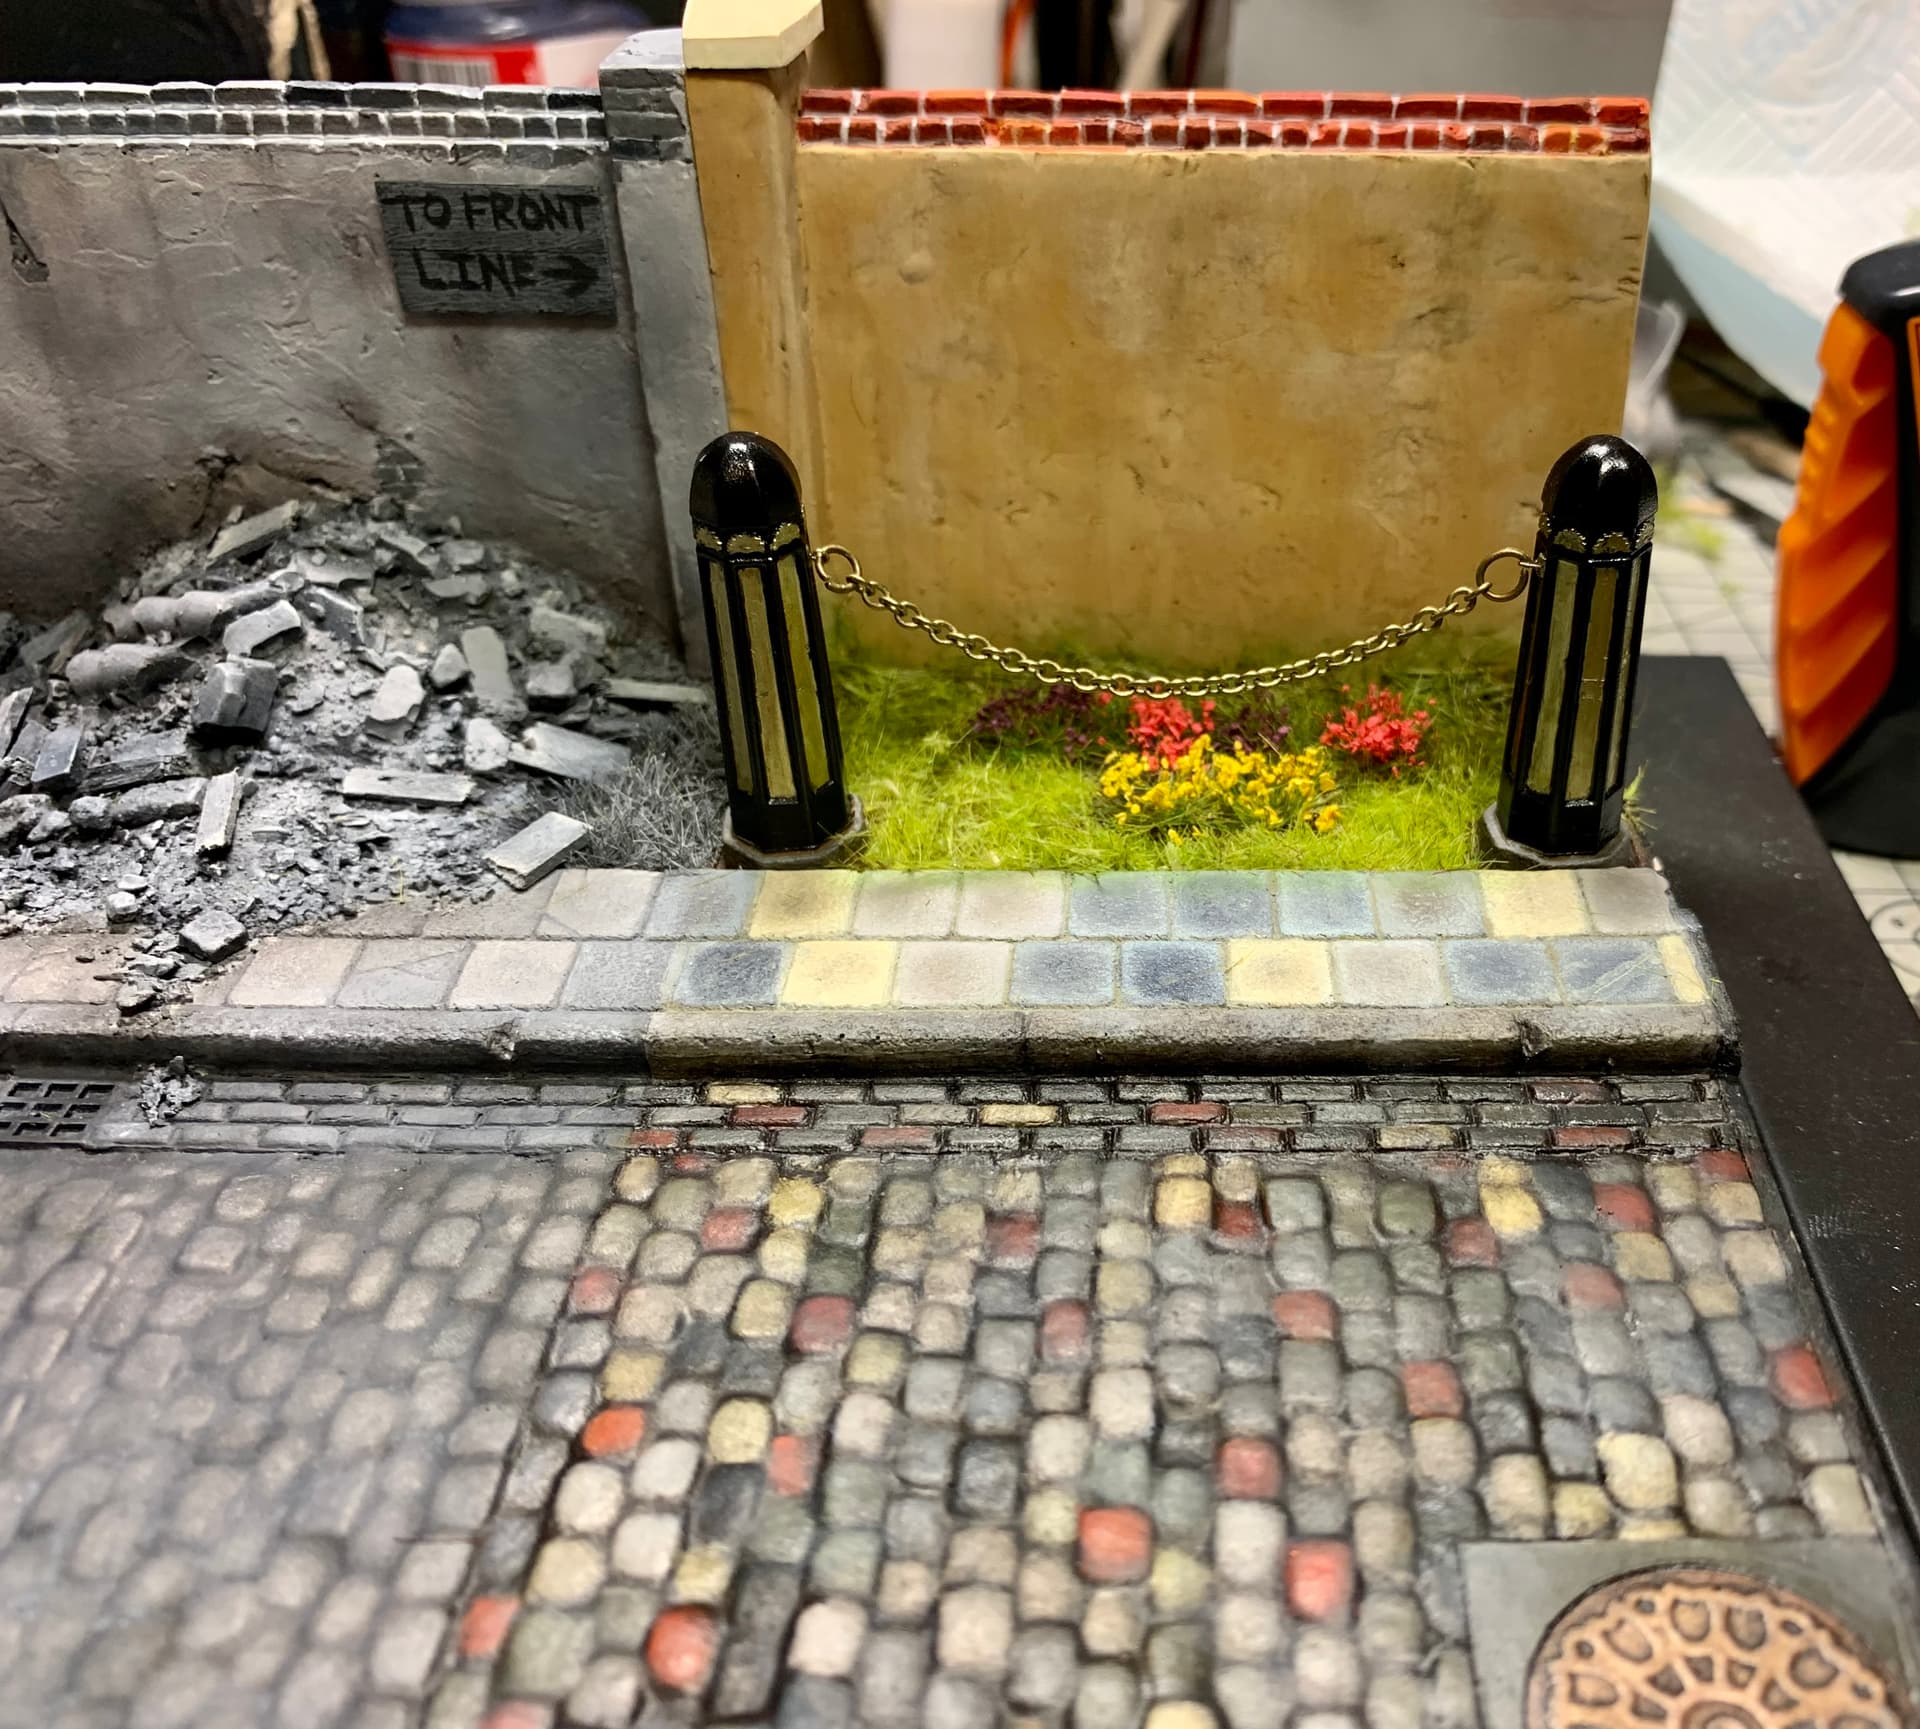
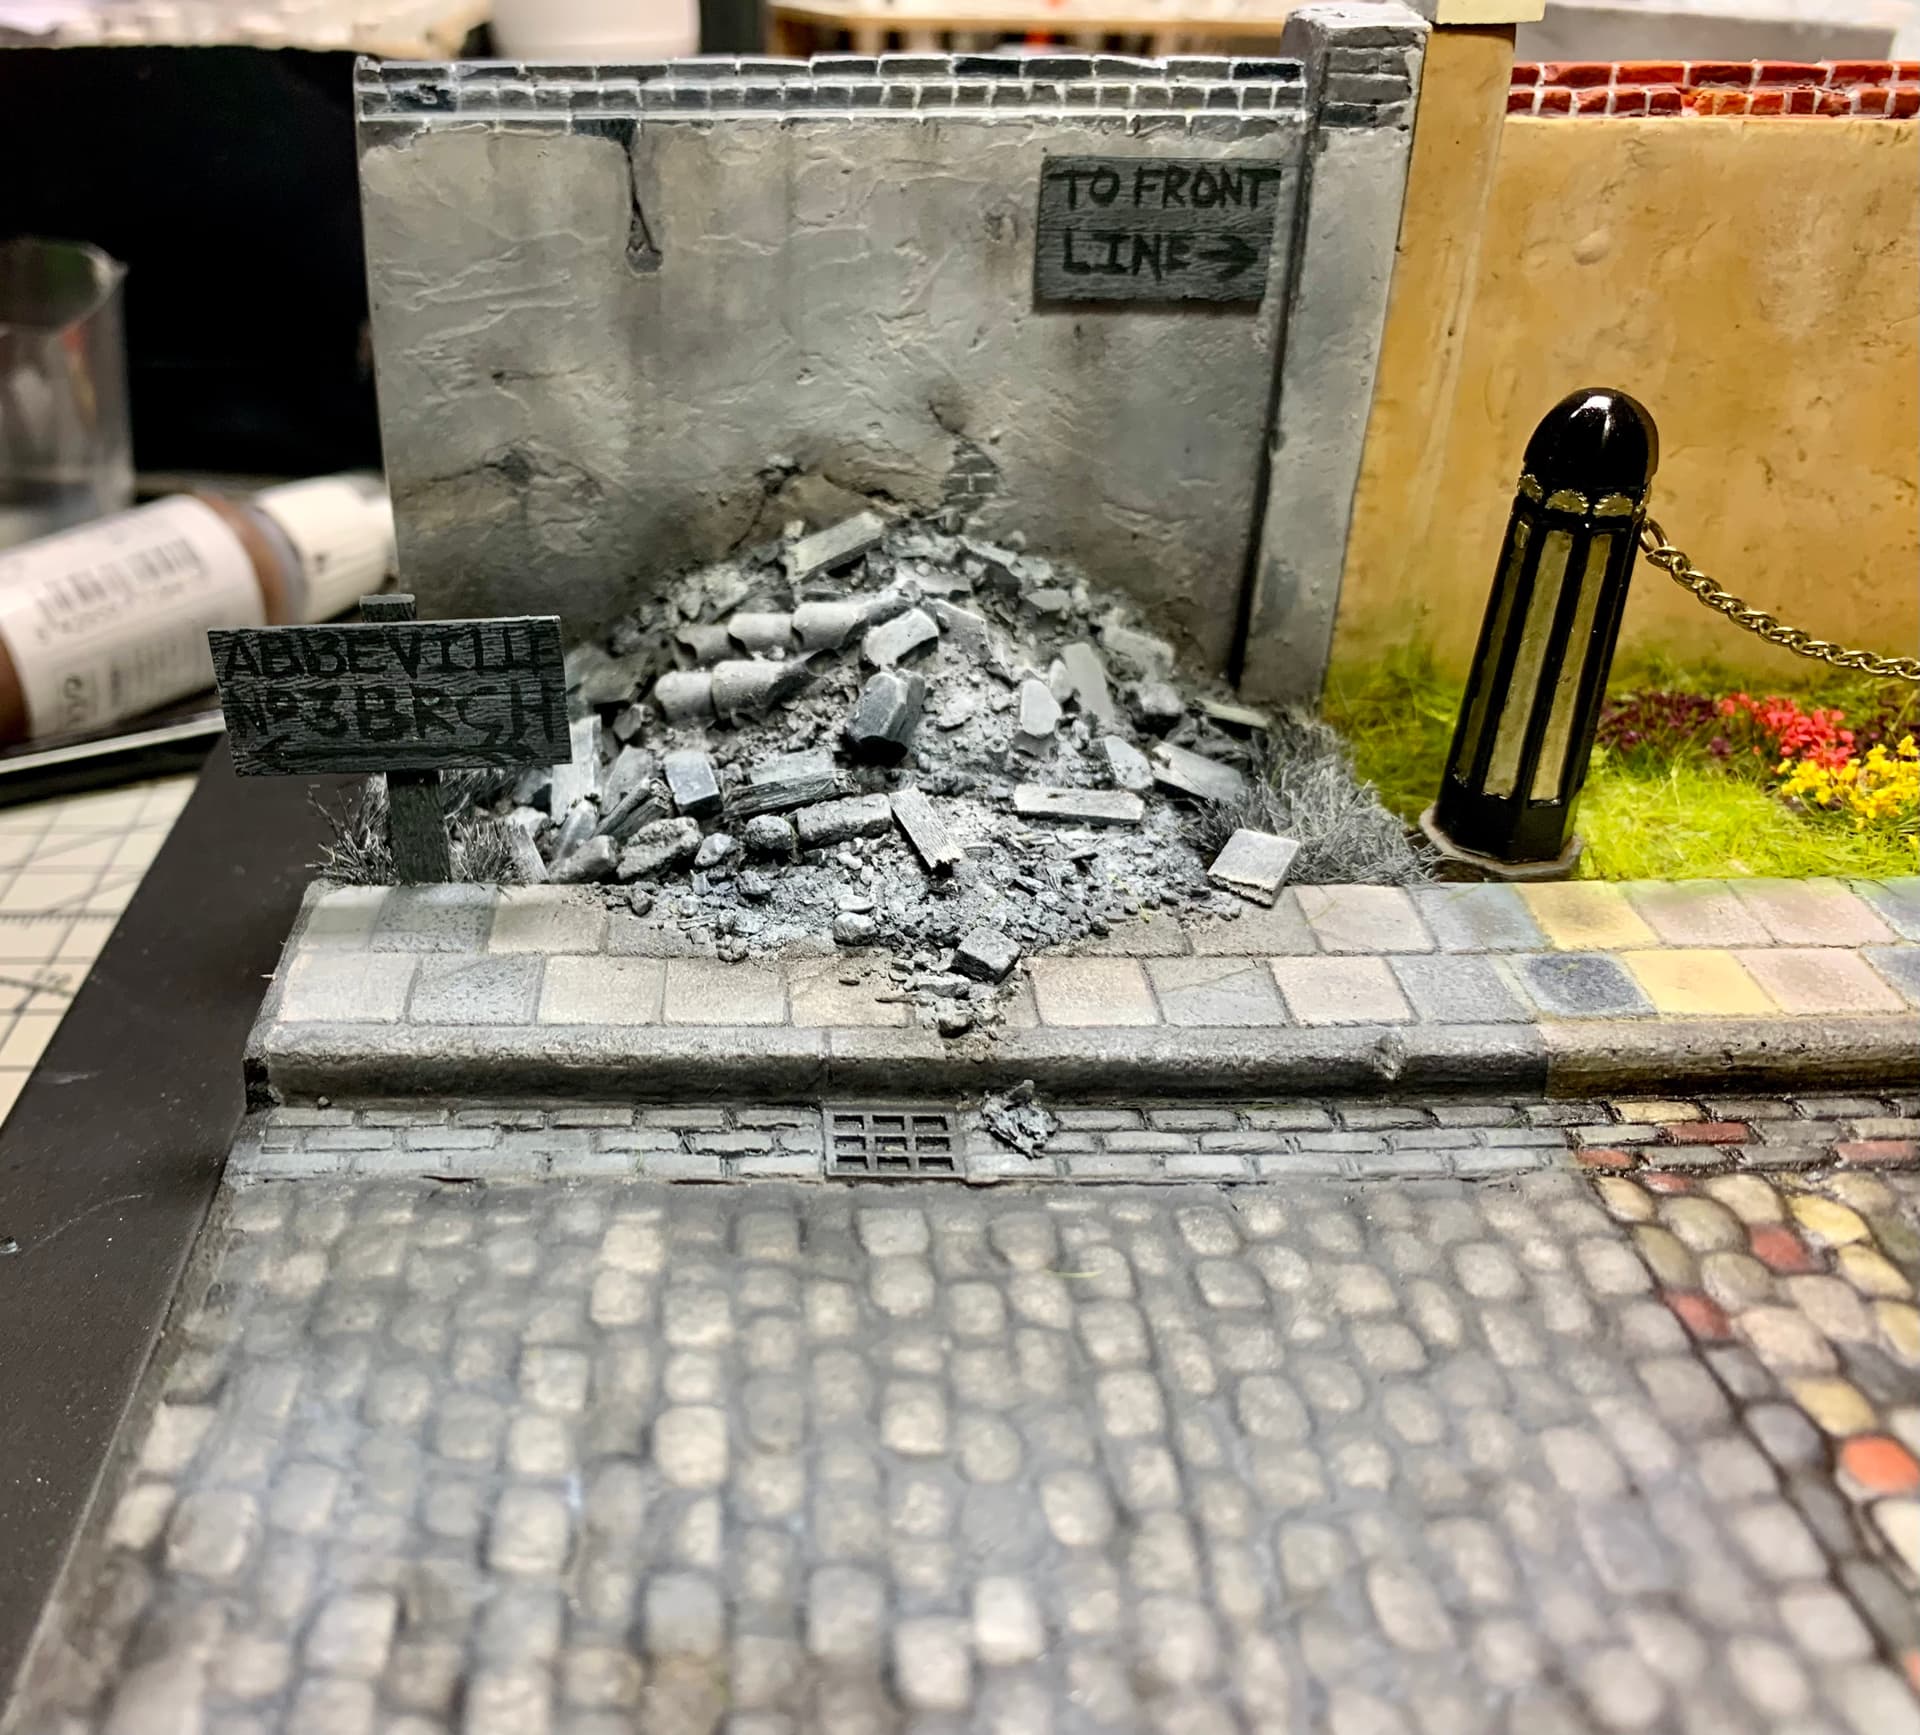
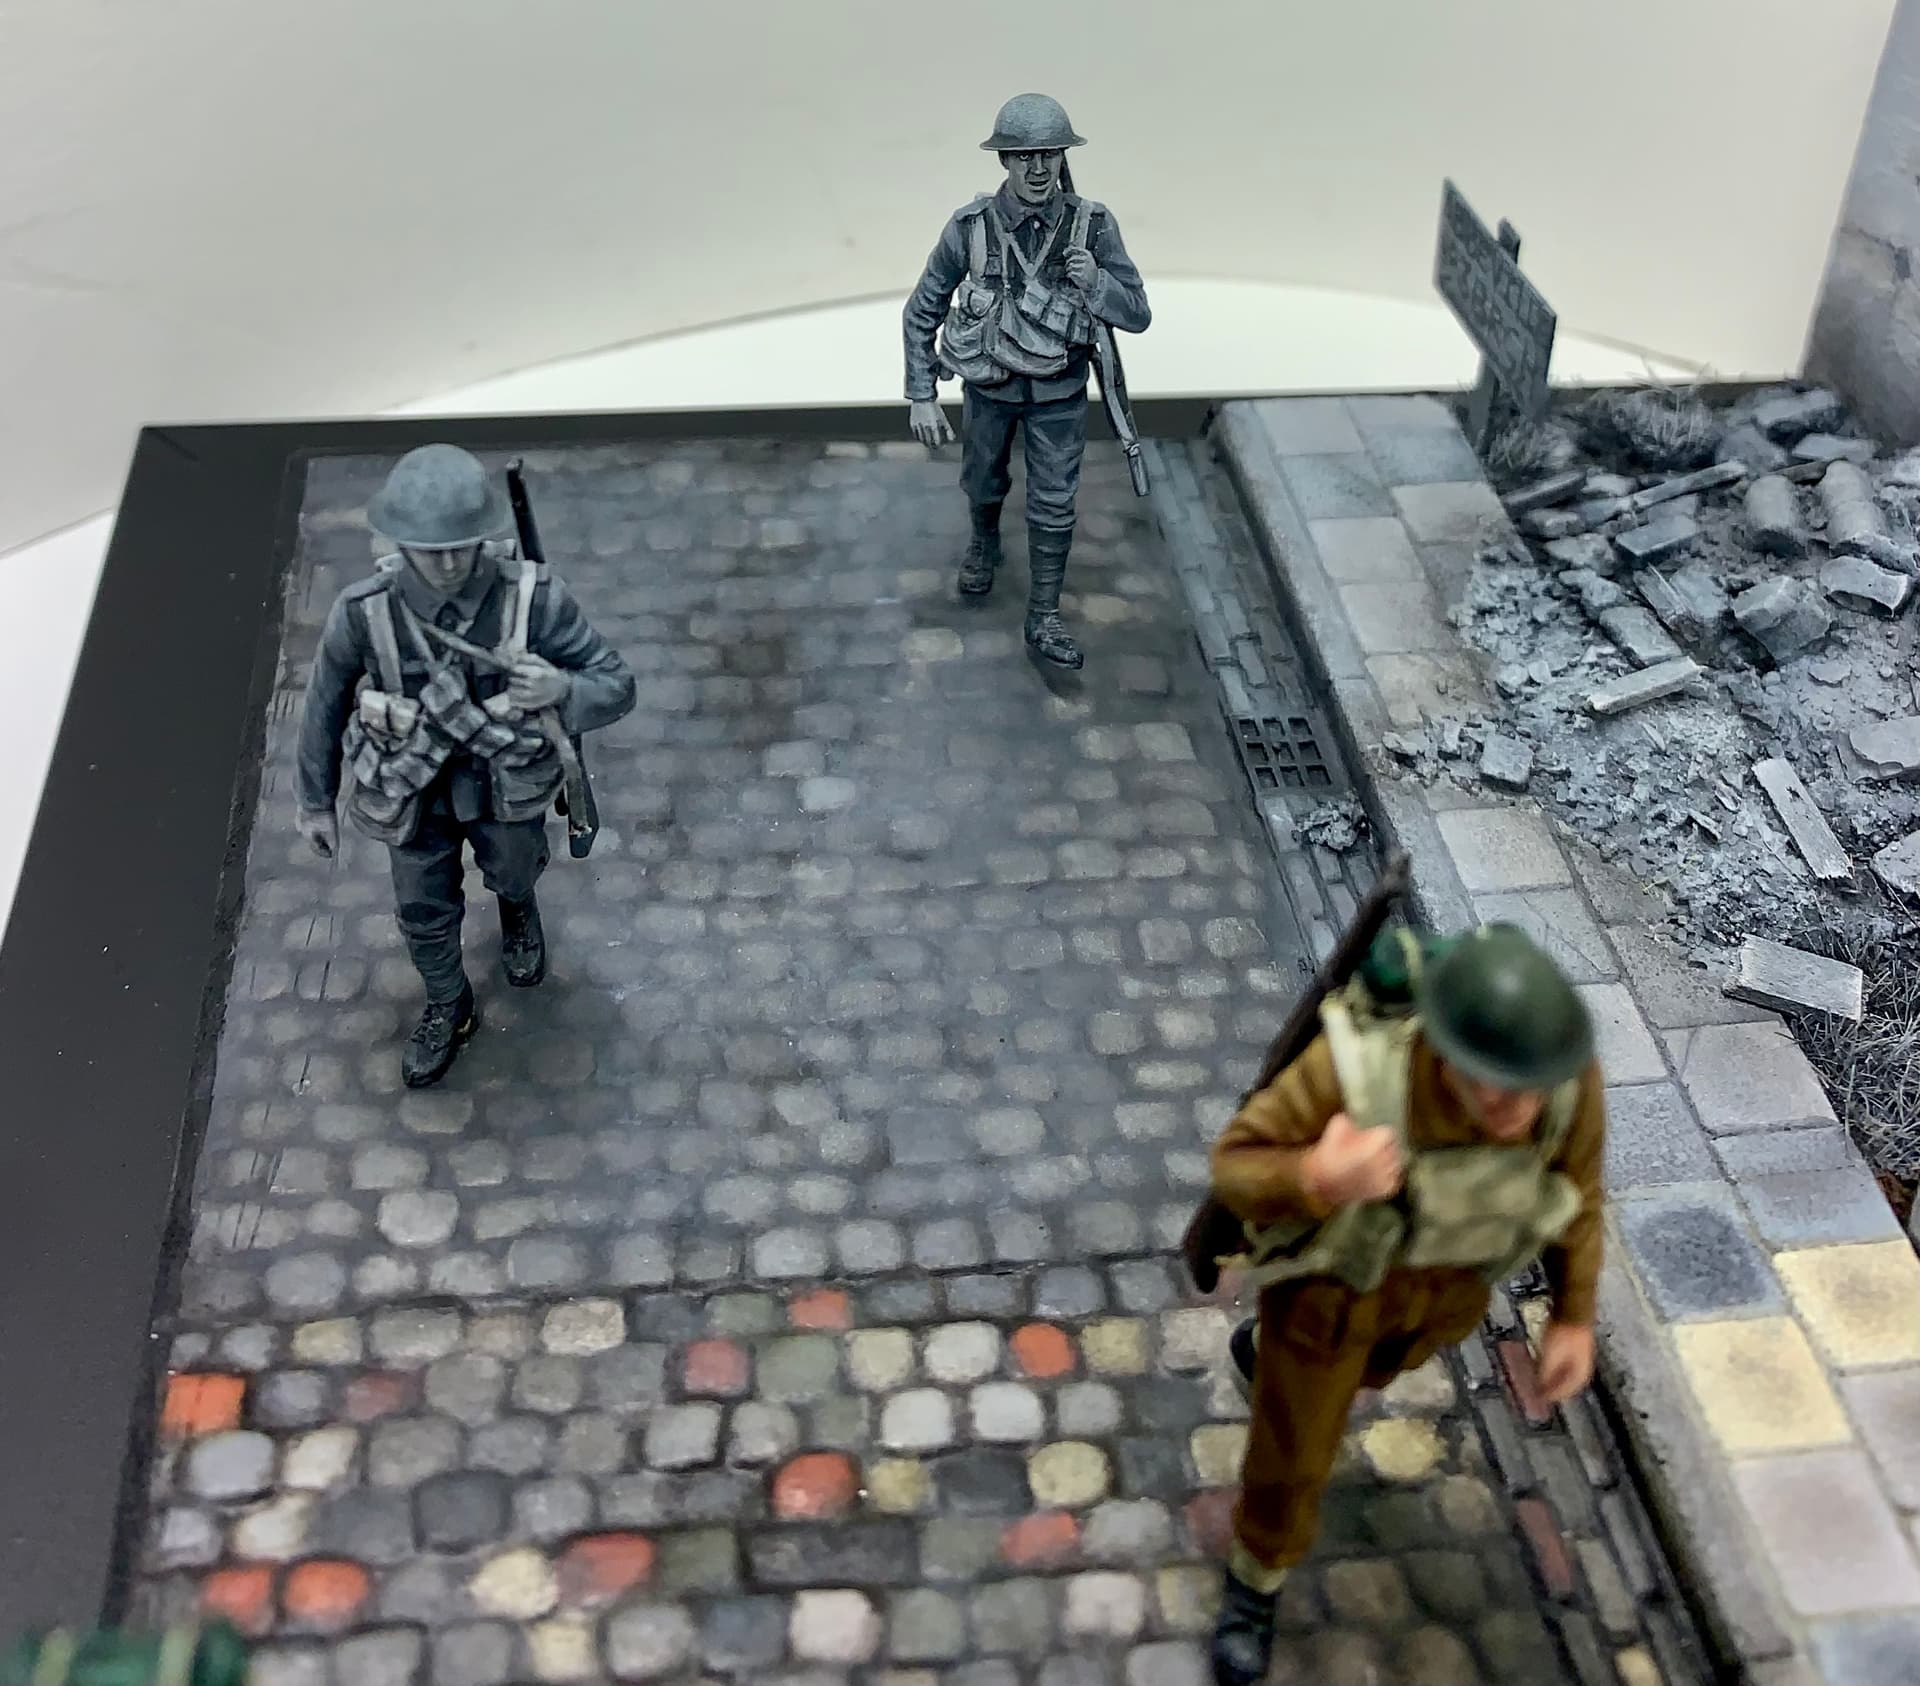
The final touches were fairly straightforward- the first thing was to dirty up the road a bit more. I found an excellent oil color in Abtielung 502 range called ‘Industrial Dirt’ which has a great grimey, oily brown tone that’s perfect for a dirty roadside gutter.
Areas where road traffic would pass was also dirtied up with various dark and dust coloured oils, with some lighter colors in the middle and a few other areas.
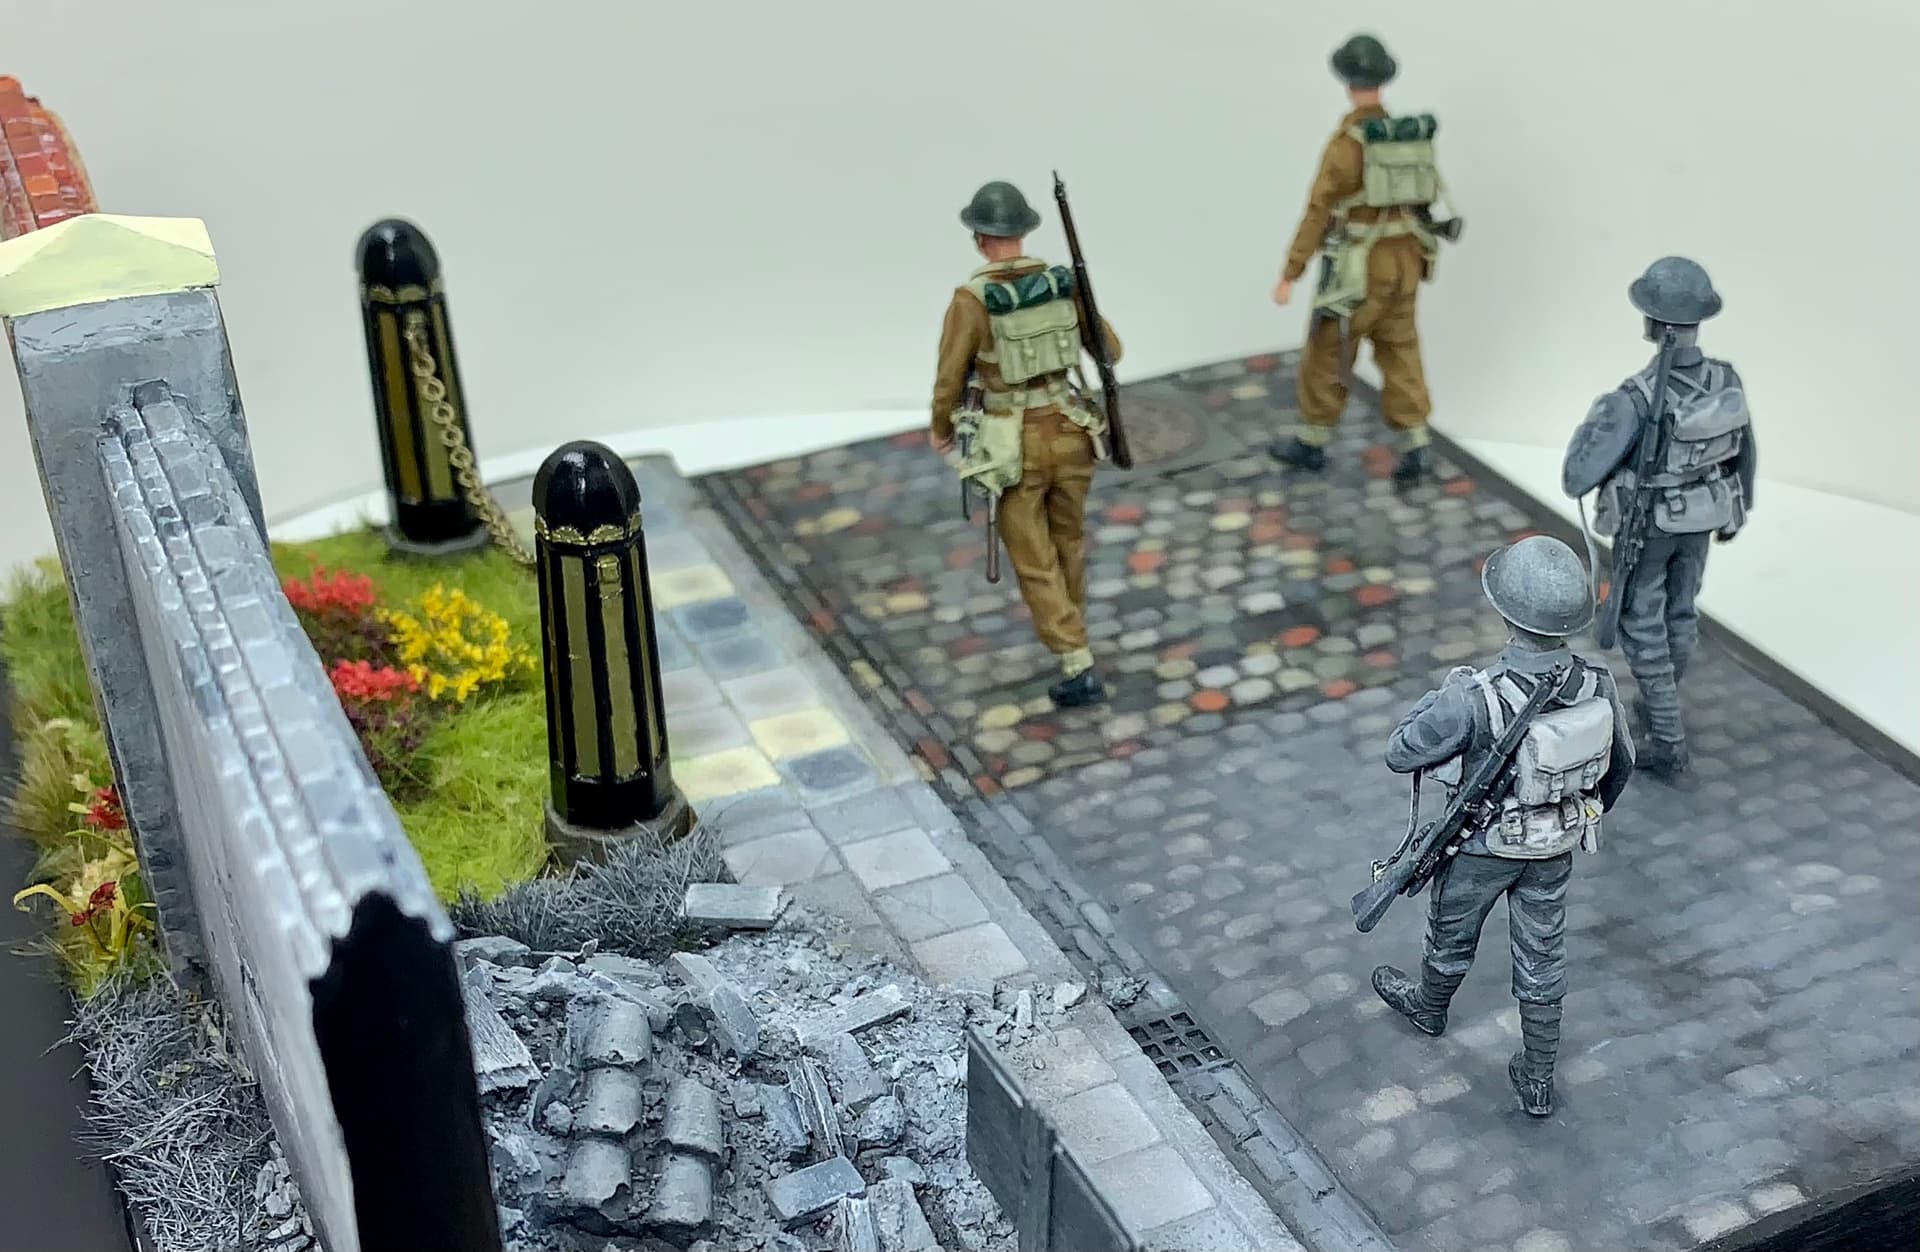
Then it was time to assemble my bollards from Mac One Models complete with a gold chain. After that I added a pair of signs in black and white, one pointing out the direction of the front and the other to the Number 3 British Red Cross Hospital in Abbeville (it was also known as the ‘Friends Ambulance Hospital’).
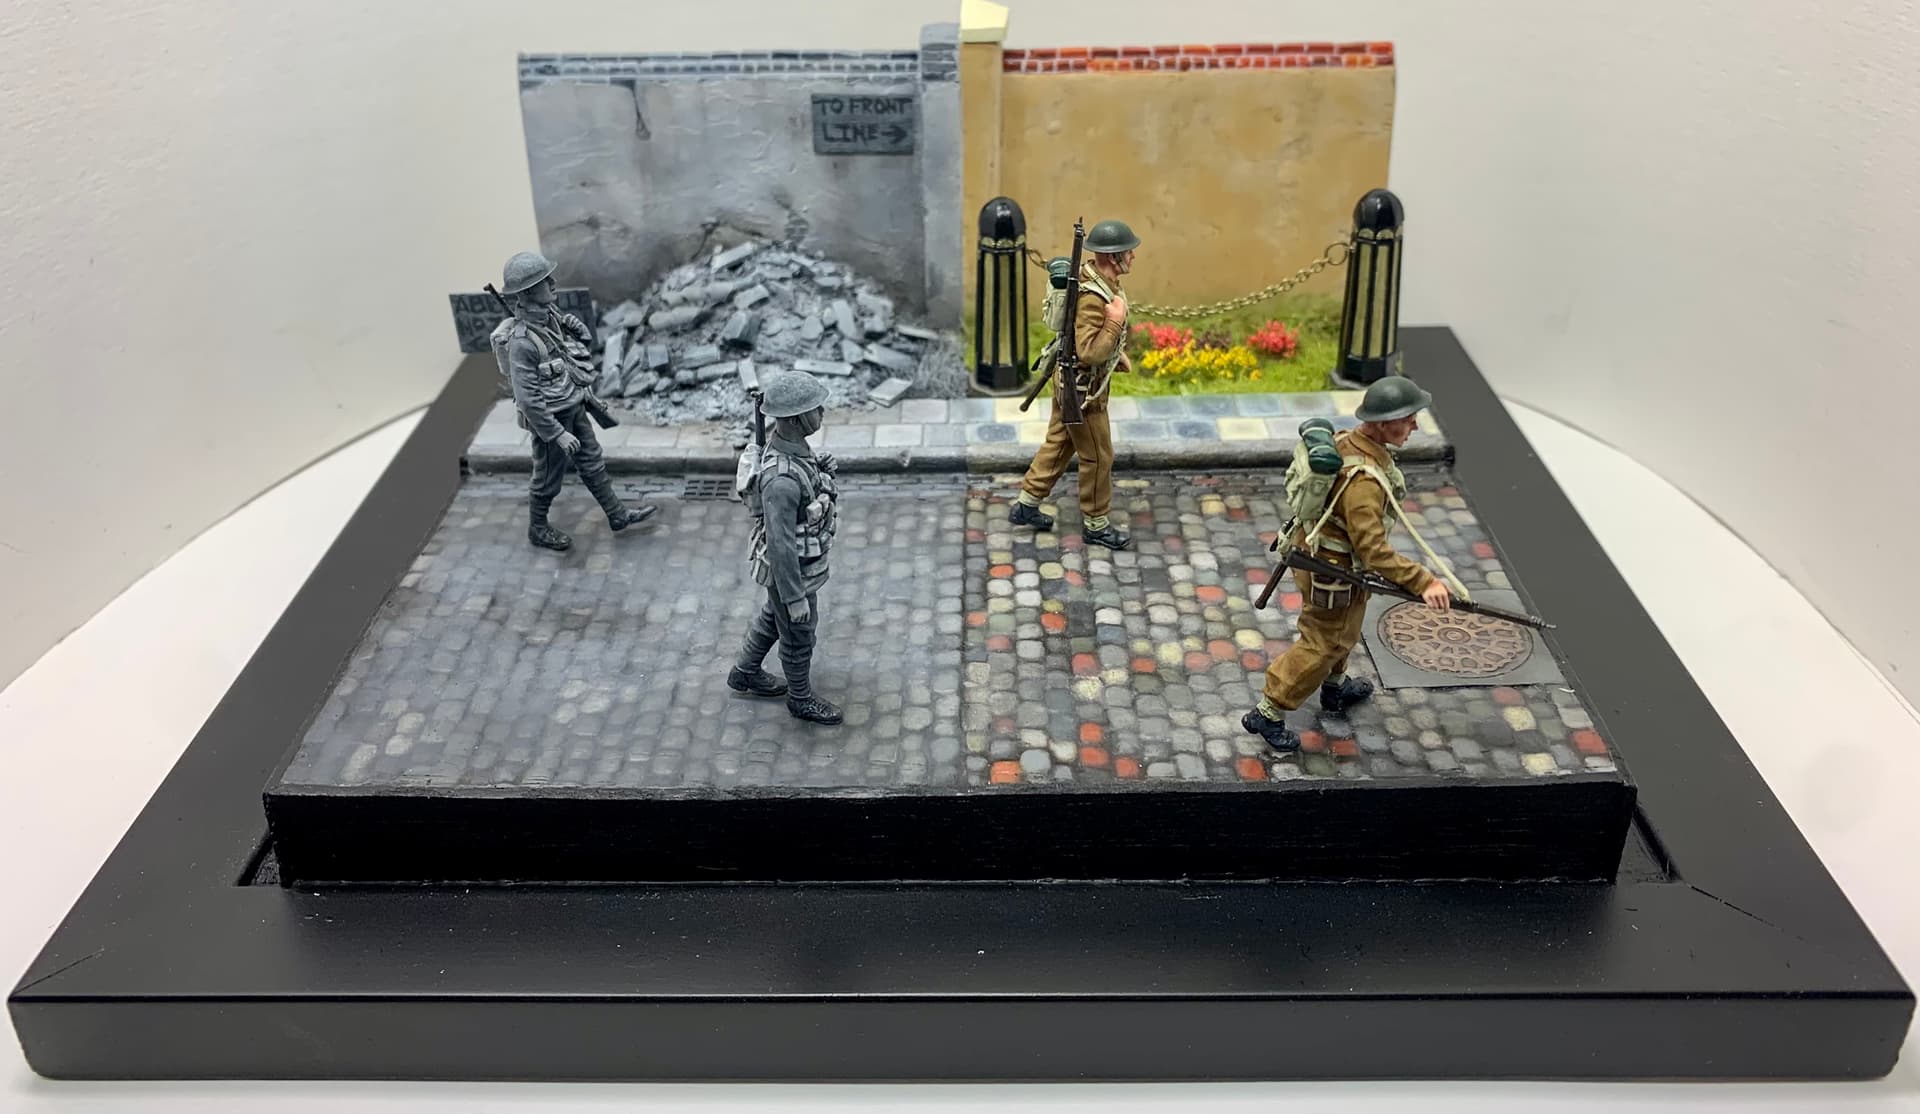
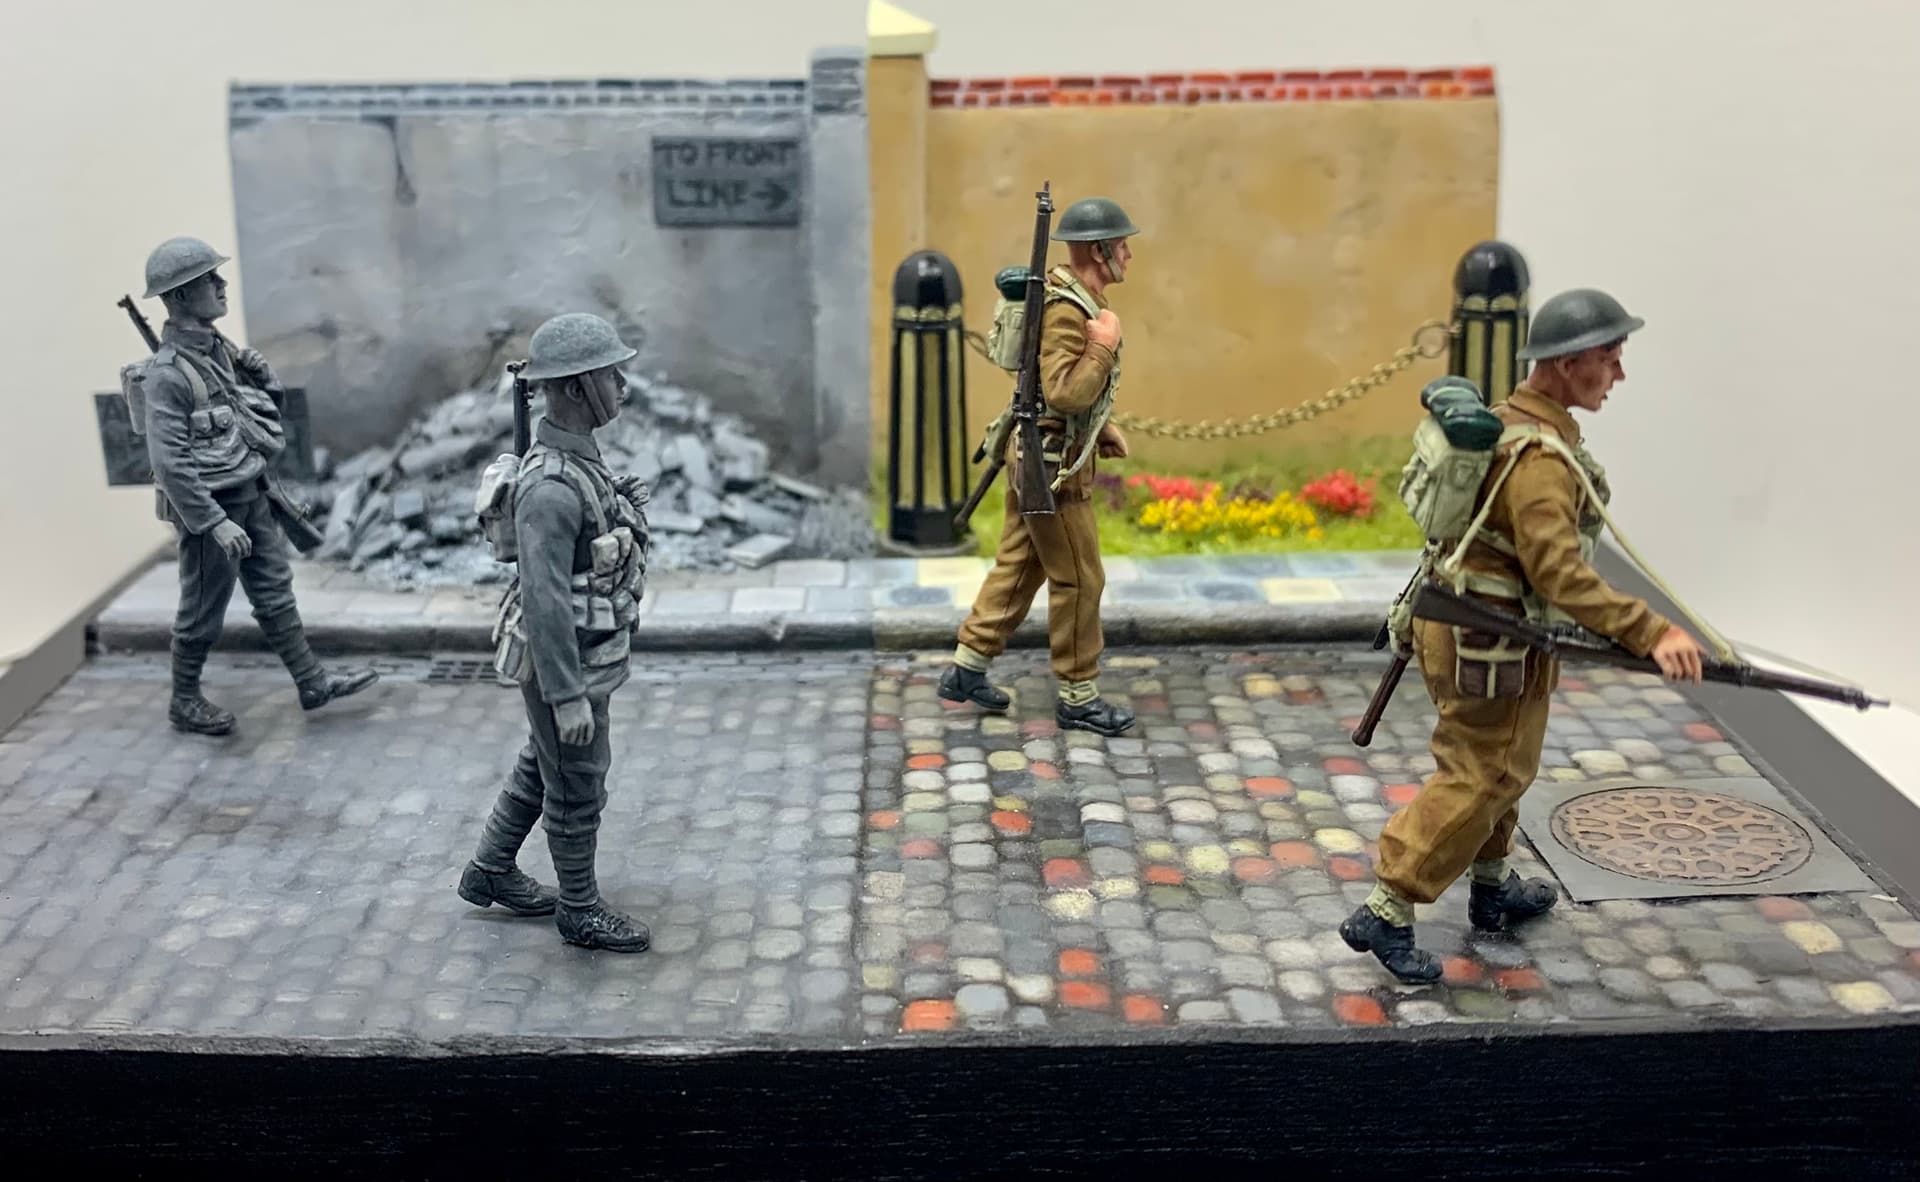
And finally the figures were added. Done! (Except for a name plate which I am getting sorted and I will post a pic of that when I get it.)
I have to say that I am very happy with how this has turned out. My enthusiasm for this was high and it was kept that way in part by the build log right here. Once you start one you really want to finish it and the odd time something can get in the way and you don’t get it done, but when you do it feels good.
I must also say that the encouragement, friendship and support that I’ve been lucky enough to find here was a huge factor in driving this build along. I had always had great experiences in this way whenever I did a build log on Armorama in the past. Safe to say, nothing has changed in this department on the new site! I really do have to say a big thank you to all who stopped by for a look, gave a like or made a post.
21 Likes