Just finishing my M813. Its been an interesting ride this one. On to a straightforward Tamiya AAVP7A1 next. Any info in it.
If you don’t have it yet, the Hobby Boss versions are 1000 times better than Tamiya’s, and comes with a full interior, for about the same price.
+1 ![]()
H.P.
I have HB’s recovery version and AFV’s Cannon Teal as well as the Tamiya kit. Not sure if either went to ODS though.
The LVTH-6 was long gone by the time of ODS (in the USMC at least…)
Talking about the AAVR-7, it depends on the kit you have : if it’s the RAM/RS variant, it only appeared at the end of the 90’s (the AAV RAM/RS Program was approved in 1997).
H.P.
Thanks Frenchy
Its an AAVR 7A1.
That’s the one. The Tamiya looks a v easy build, but this is obviously a better-detailed kit. Seperate track links -Oy vey!
Would anyone like to point out the various deficiencies with Tamiya’s AAVP7A1 with UGWS?
I know it doesnt have a detailed interior like HB’s versions, but what makes HB “1001 times” better?
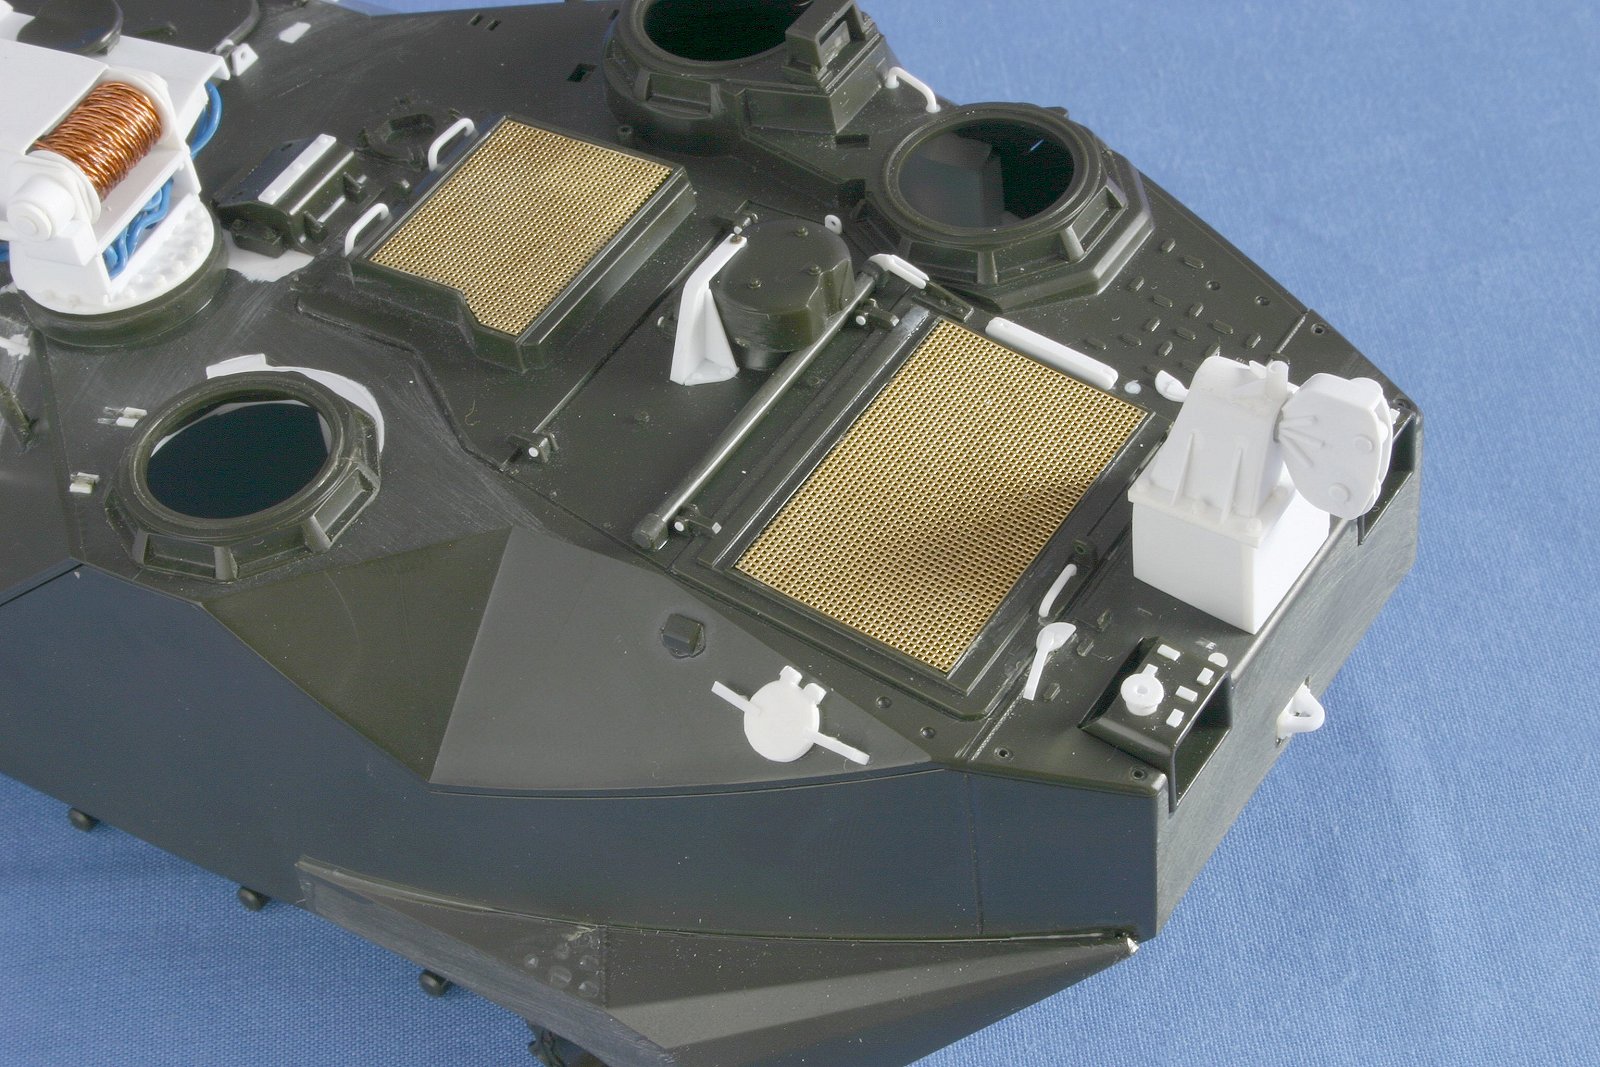
For me, it comes down to details. The HB one is more detailed and a better overall kit. It has better detailed road wheels, correct sprockets, I prefer the much better detailed indi-link tracks, the forward upper deck already has anti-slip bars, the basic shape of the hull is more correct, the weapons and UGWS cupola are better detailed, it includes PE screens for the engine intakes, etc., etc., etc… Then there is the interior, which I also prefer.
It is pretty much the issue I find w/most Tamiya kits. They are so-so on details and usually simplified to make less parts. They also often have incorrect or over-scaled suspensions since most were originally motorized (and those dreaded motorization holes!). They will build into OK kits that look the part, but are not as detailed as I like them. They can be improved with a bunch of PE and AM parts, but are usually not worth it to me, especially if there is something better out there by another company, which is usually the case now.
1 Like
Thanks Gino.
Concur Hobby Boss is a better kit for shape & detail. Having an interior allows you to open up all those hatches and have something that does not resemble inside of a shoe box.
I have several Hobby Boss AAVs in the stash however, I still enjoy throwing together a Tamiya AAV on occasion because of its simplicity. Unless you want to shell out some serious $$$ there isn’t much available for after-market improvement for the Tamiya kit whereas you have overflowing options for the Hobby Boss kit - and most of it will not fit the Tamiya kit.
The Tamiya kit will work OOB for an ODS hog.
The Hobby Boss kit while better, still has some short falls. The driver station needs some rework to get it closer to correct. The cargo hatches are too thick and lack various details. Additionally, Hobby Boss molded the SINCGAR antenna conduits on the hull. Those should not be there for vehicles pre 1995-ish. On the topic of radios, Hobby Boss does not include the older radios in their mounts nor do they provide the radio rack for SINCGARS located immediately behind the Troop Commander’s seat.
I have a Hobby Boss AAVP7A1 at about the 80% mark being done as a test vehicle I crewed many moons ago.
I am also starting an Academy LVTP7 / Tamiya AAVP7A1 and Tamiya M2 Bradley kit bash to represent a test tractor we had at the test branch many moons ago. She was an LVTP7 with early style driver and TC hatches, early style ramp personnel hatch, bow plane, UGWS, EAAK and Bradley suspension.
2 Likes
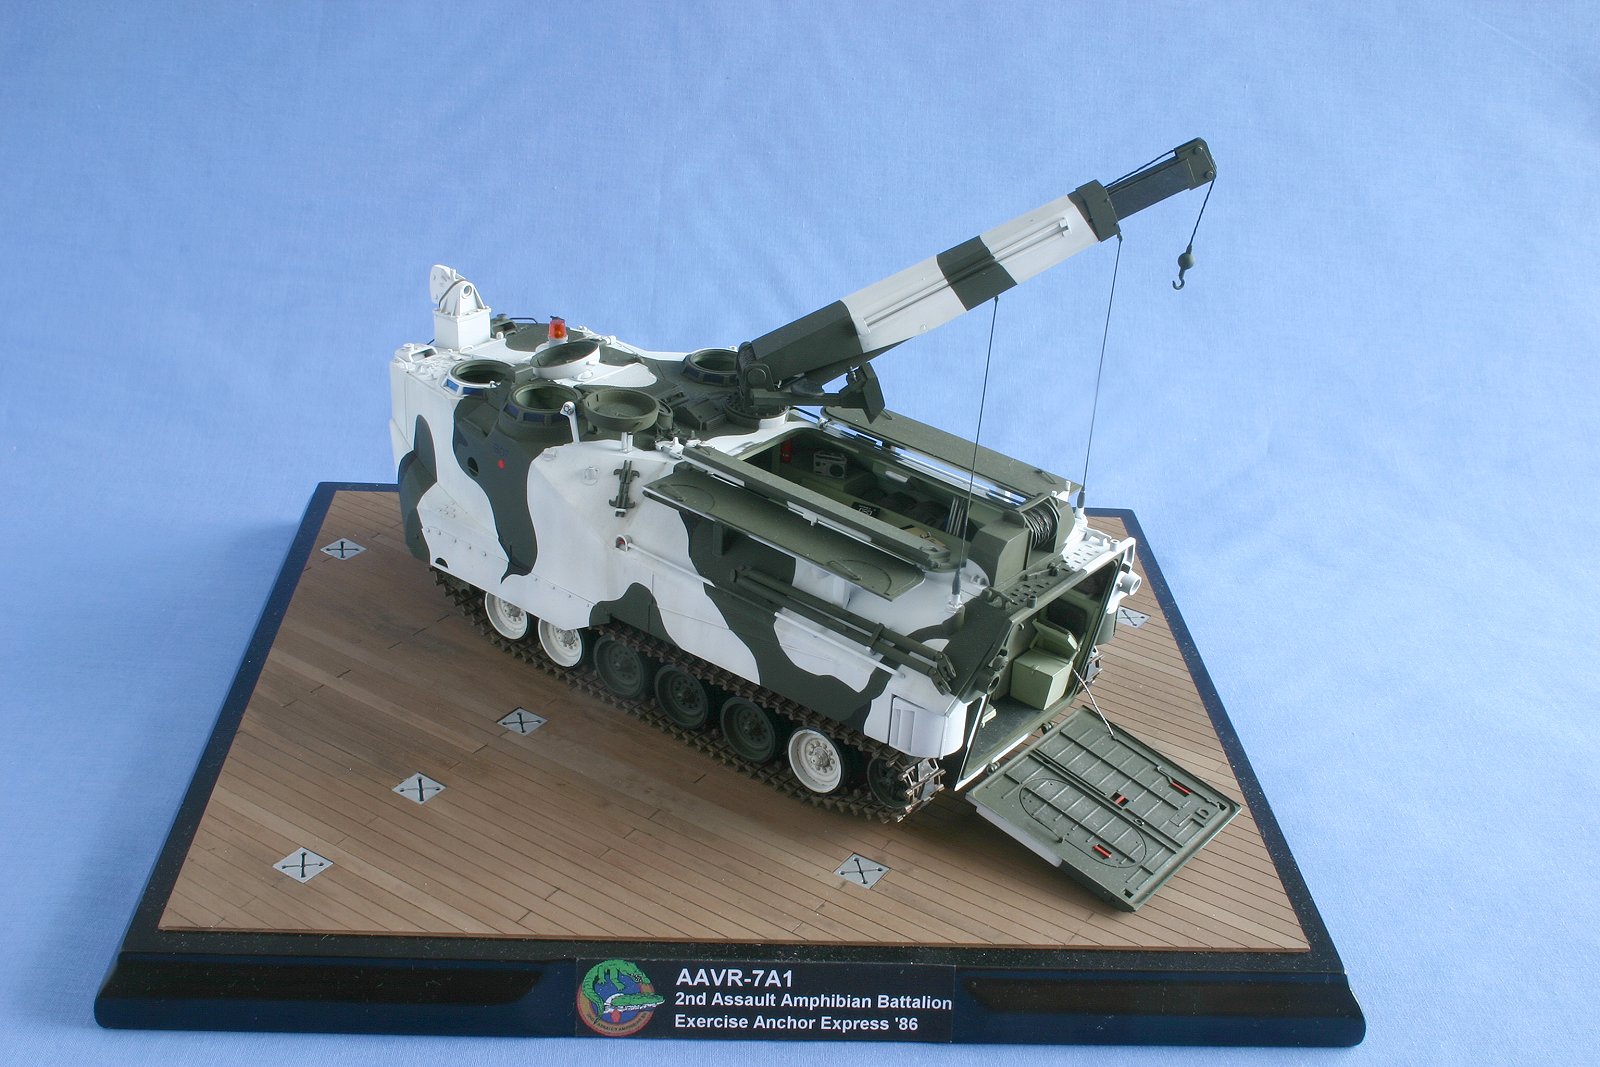
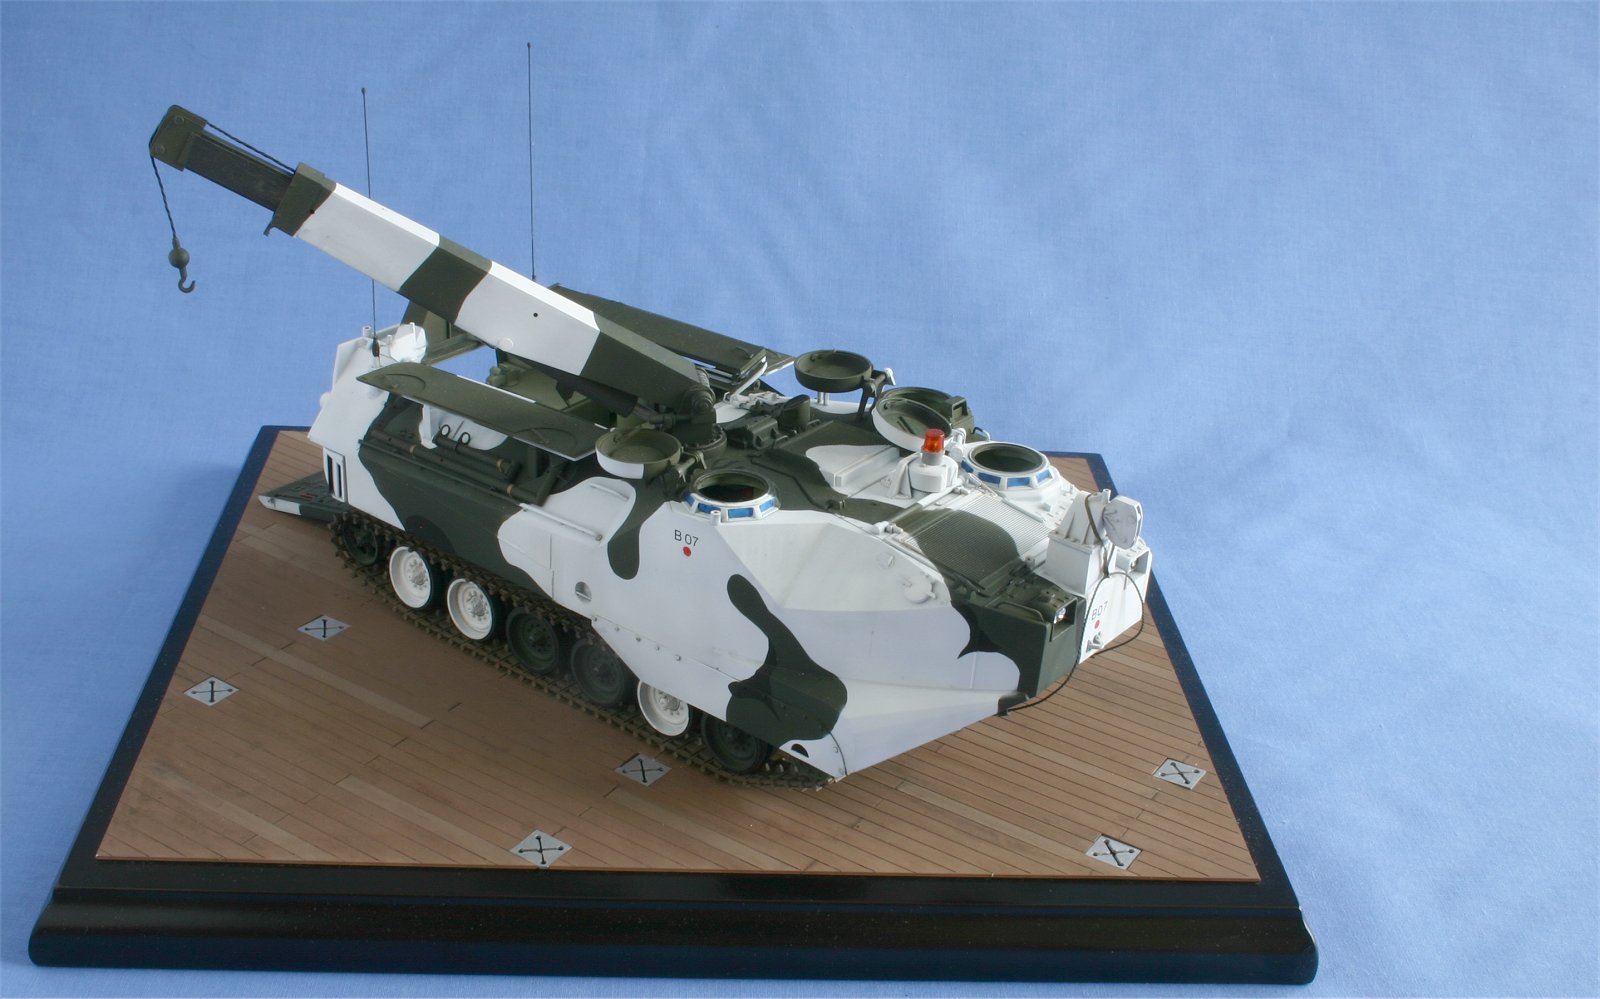
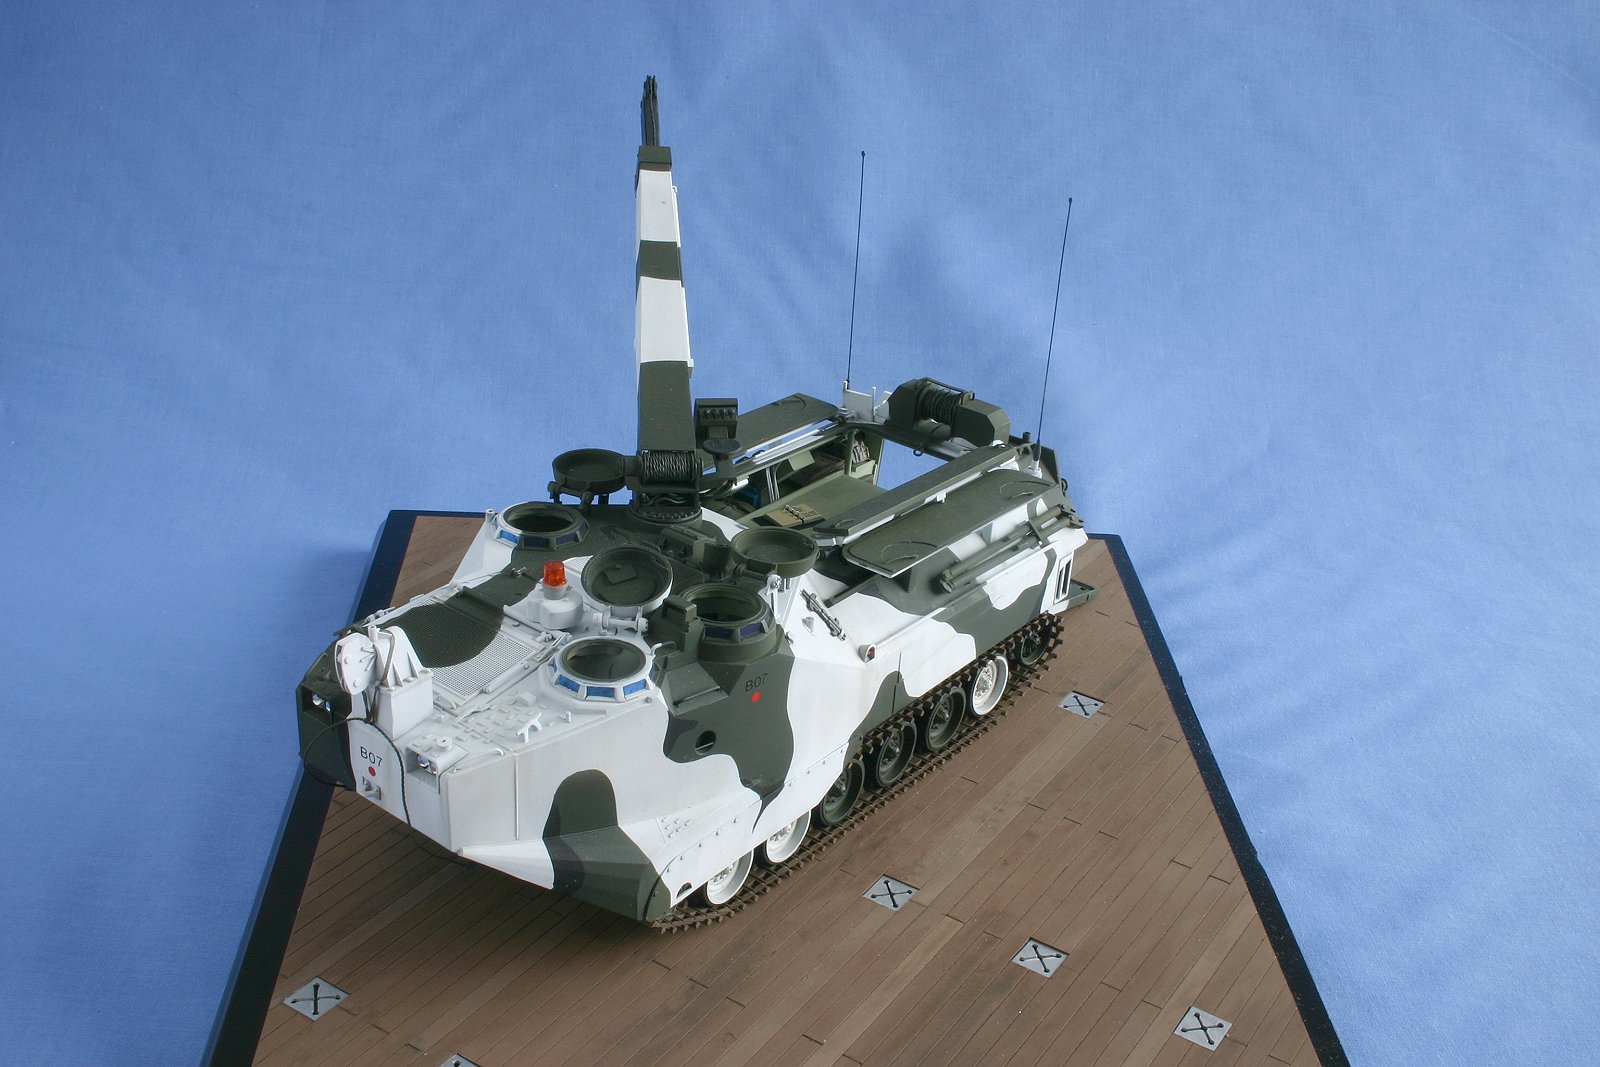
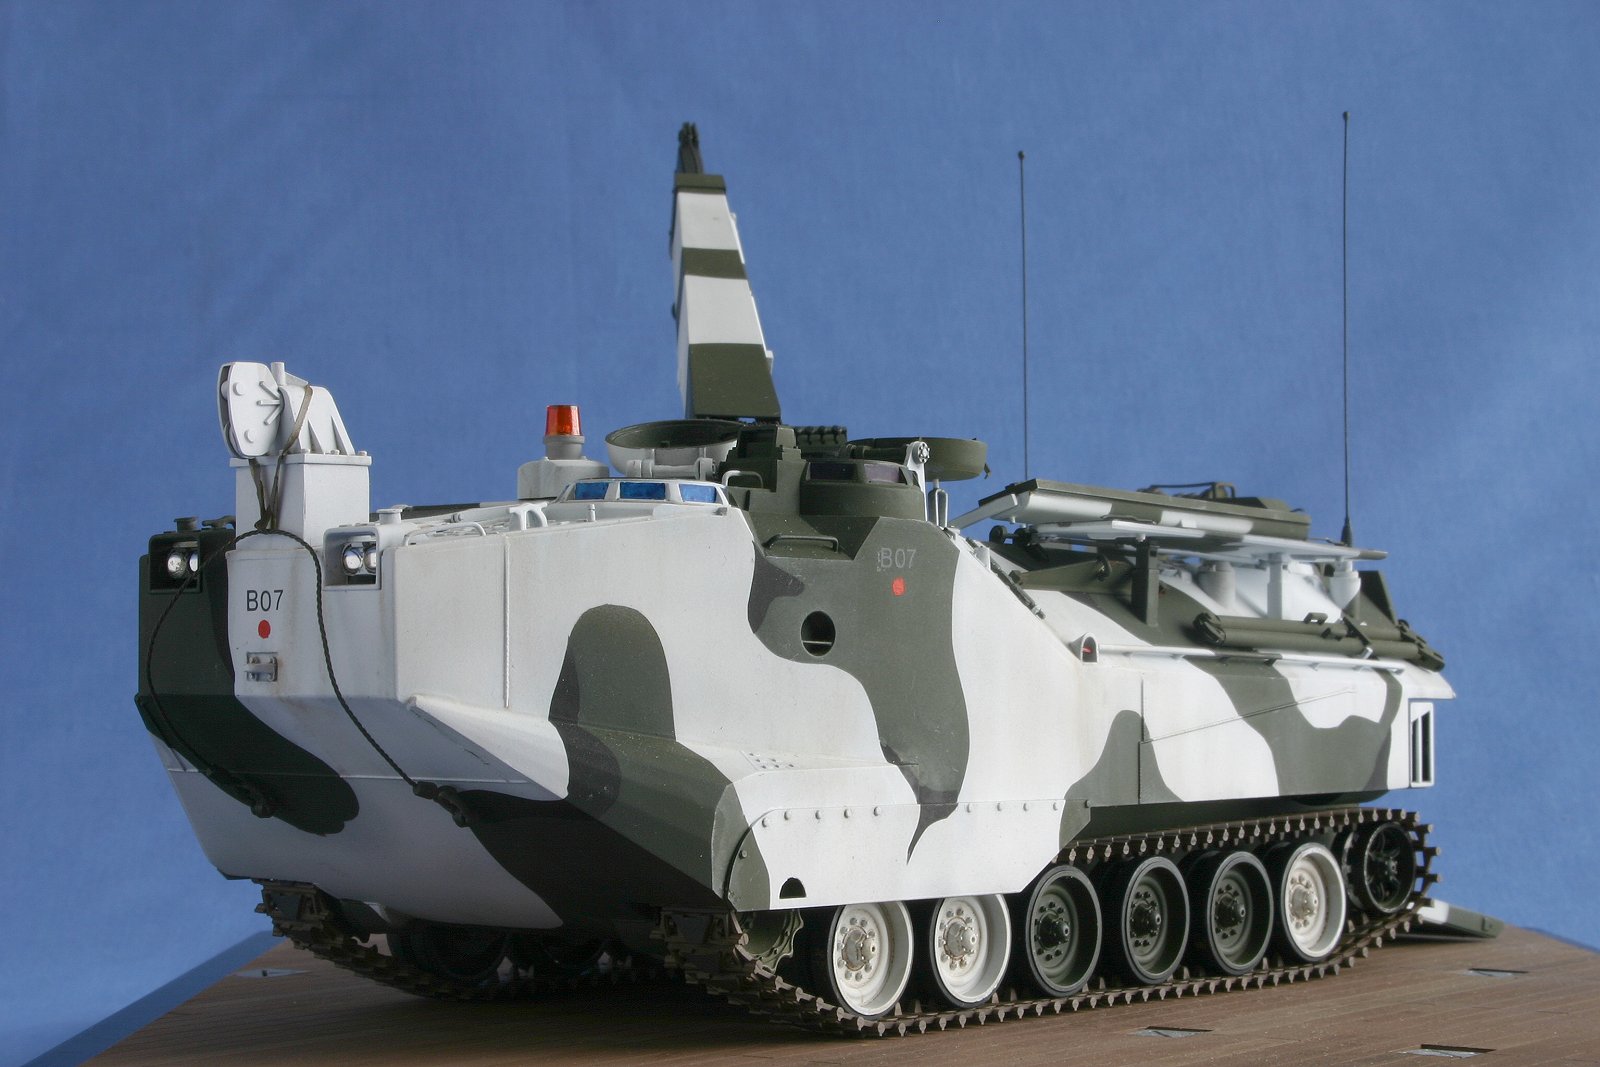
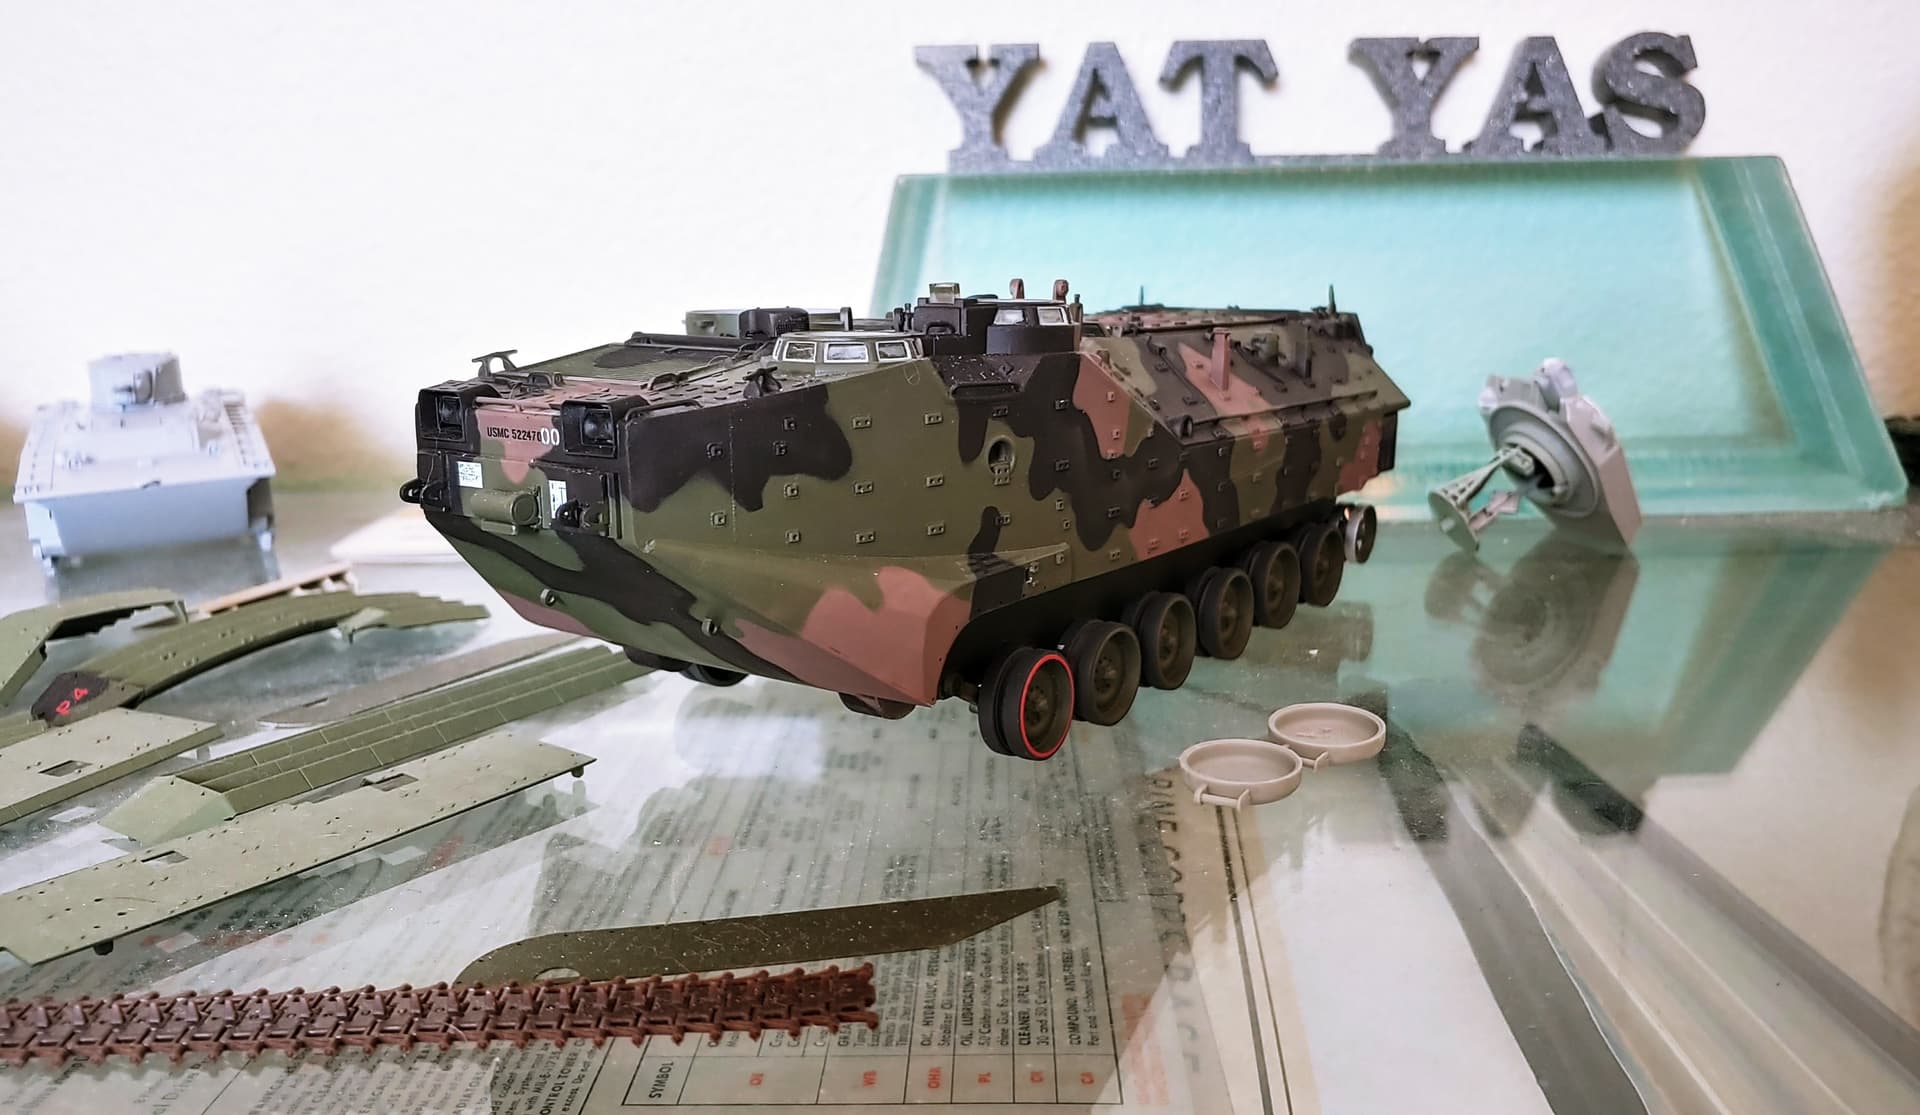
The last AAV I built was before the Hobbyboss kits were released so it was a Tamiya kit, converted to the AAVR variant. I don’t mind the lack of interior in the Tamiya kit, but I’m sad enough to enjoy the challenge of adding the extra stuff myself 
10 Likes
I remember that one John. Very nice.
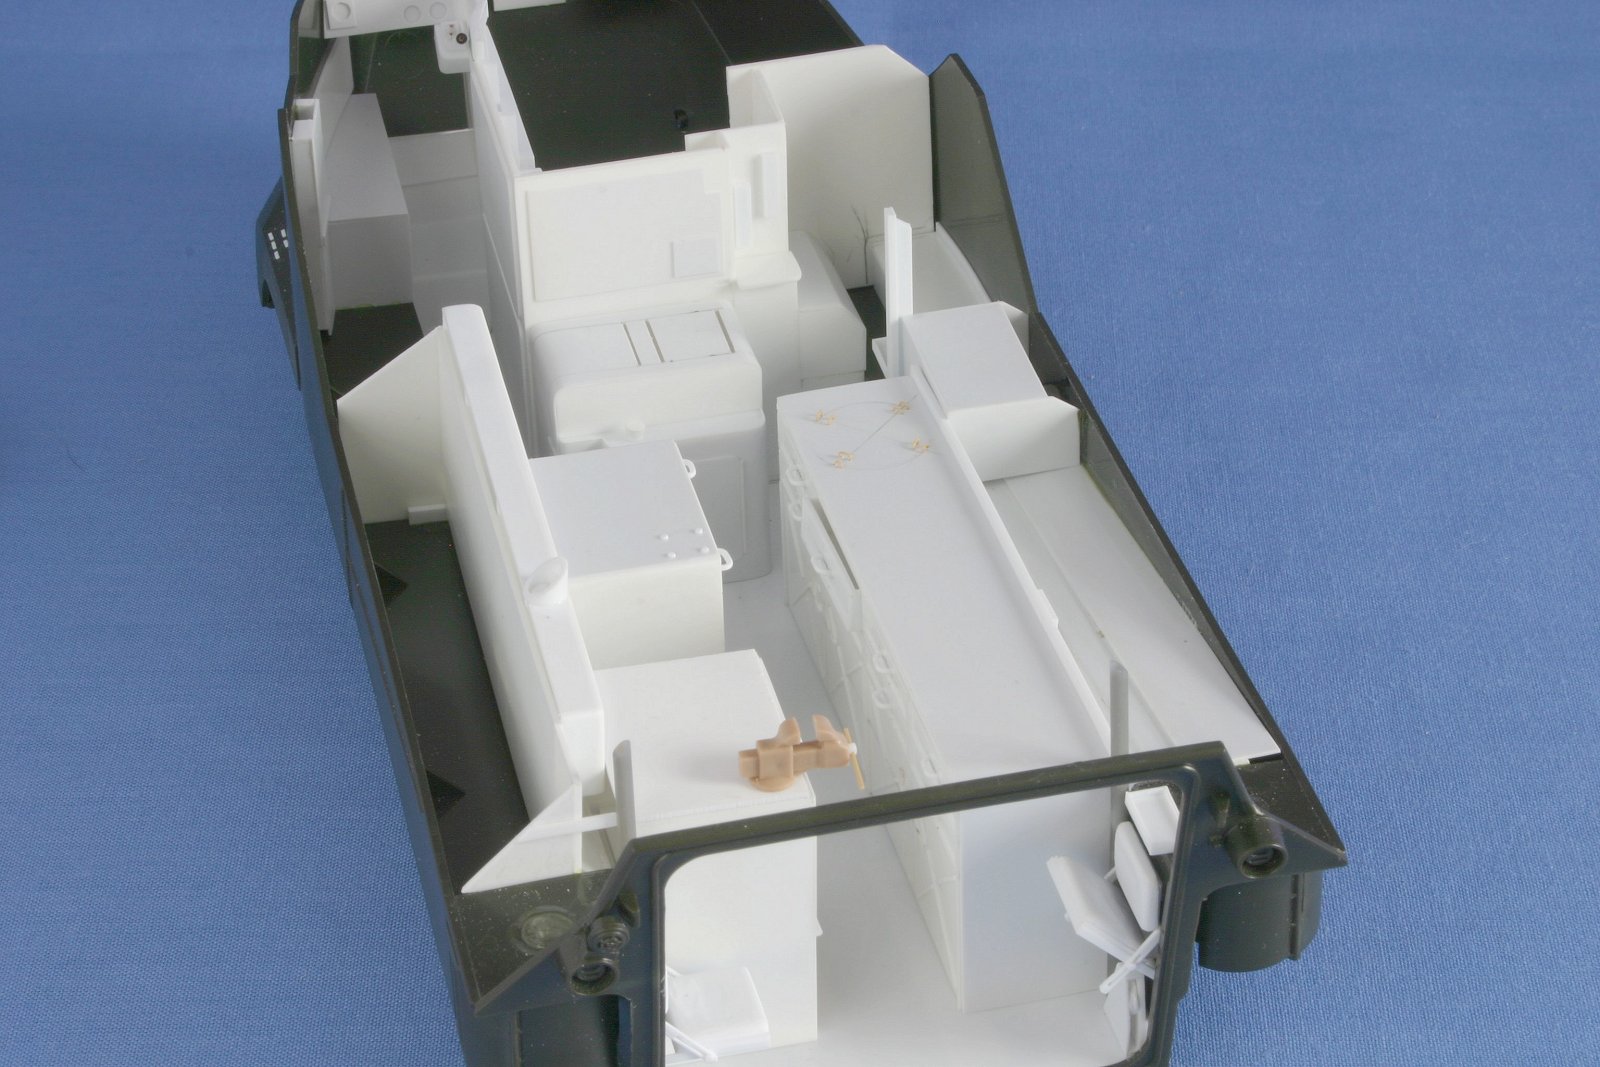
I too scratched an interior for the Tamiya LVTP7A1 many moons ago, way before the HB kits were even thought about. At the time, I used a lot of M113 and Bradley interior components on it. It wasn’t perfect, but it looked the part.
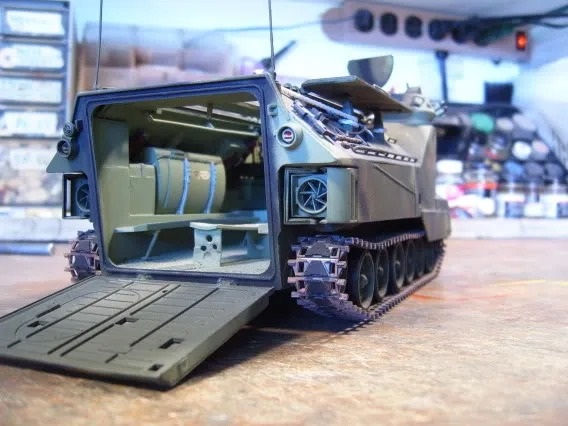
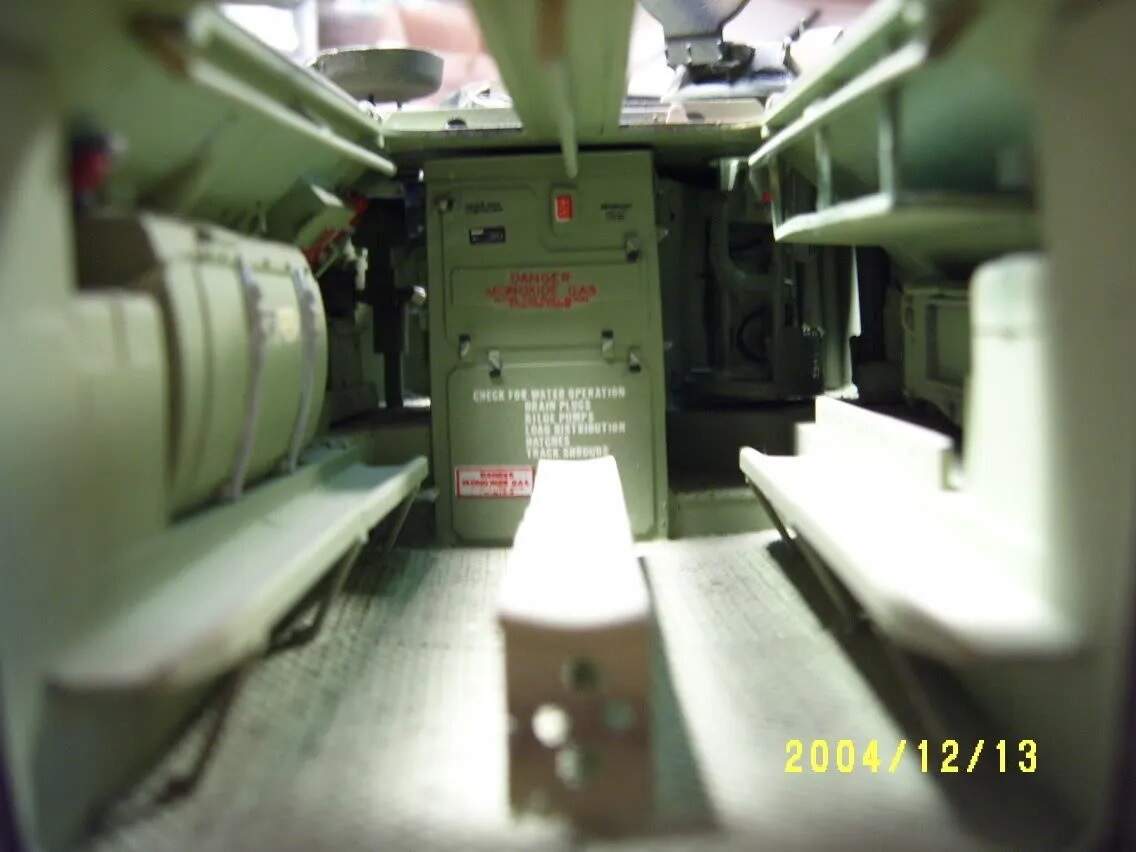
More here:
7 Likes
That is an impressive looking R7 - especially given it is the Tamiya kit!
Only discrepancy, those clover leaves are way too clean. 
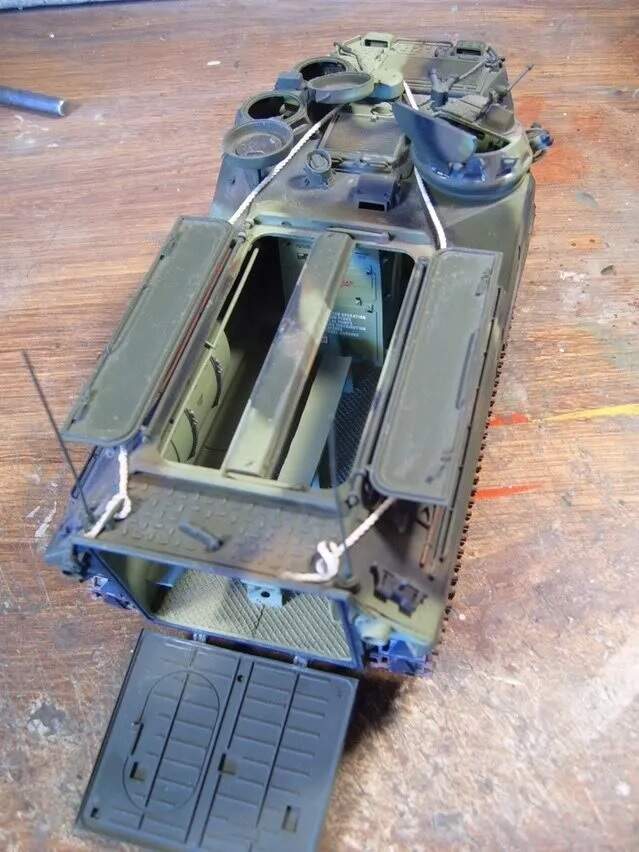
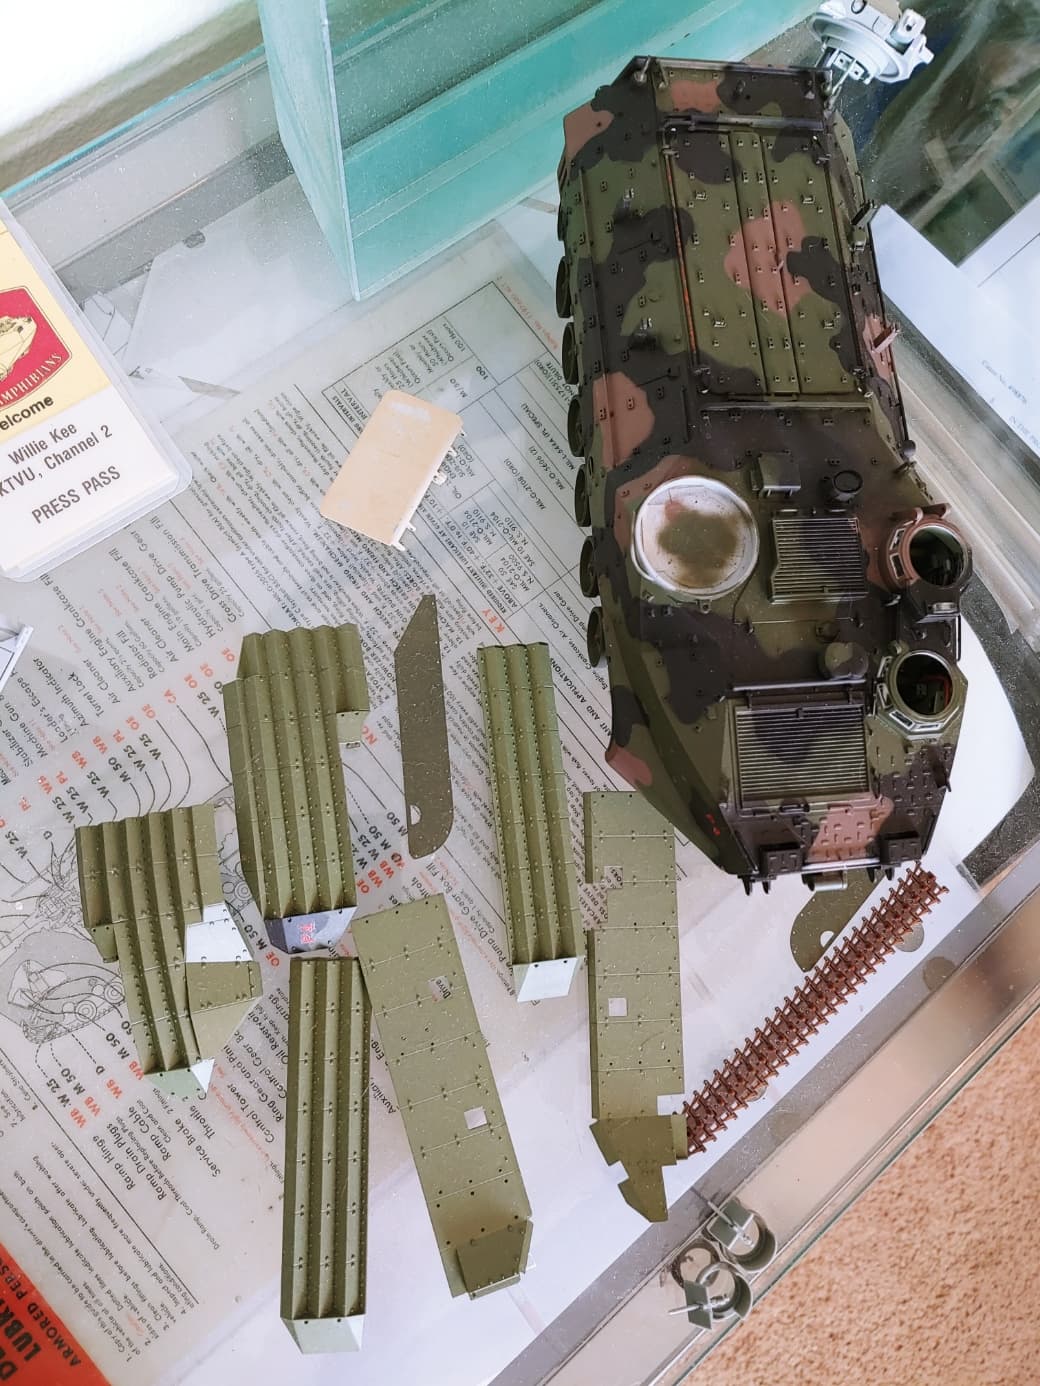
My Hobby Boss AAVP7A1 “P4” WIP. I had to re-set all the suspension arms to represent the stance of this “re-indexed” vehicle with 10,000lbs of weight in the cargo area.
I replaced the molded cargo hatch torsion springs with rod of correct cross section and rusted them up - even on “new” vehicles those things rusted quickly. I also added grounding straps to the cargo hatches using lead wire.

5 Likes
Is it better to superglue them and stretch them via the drive sprocket over the road and idler wheels, or fit them around the d/s and idler then stretch them the little bit needed and s’glue with the joint on the lower run?
1 Like
“Rubber” tracks or indy-link?
With “rubber” tracks I would leave the sprocket, idler and any return roller off the kit.
Close the track loop, decide where the joint will be least visible.
Hold the sprocket and idler in their approximate positions in the
track loop in relation to where the joint will be. Position the track
loop, holding the wheels with thumb and index finger, on the road wheels.
Slide the track into final position by sliding the idler and sprocket into position.
Insert the return rollers.
If it is indy link I build a very deep U which reaches from one or two teeth of the sprocket
all the way around to one or two teeth onto the other side of the sprocket.
One or two short bits will close the U on the sprocket, depends on the size of the sprocket
and the shape of the teeth. Slide the U into position from the idler end.
Depending on the space between return rollers and the overhang above the return rollers, if there are any may need to be left off.
Thanks Gino 
I see you had a busy moment there 
Thanks Robin, rubber tracks indeed. I will use this method on my next track, it looks great.
Unfortunately I fitted the drive sprocket and roller already.…