It came out looking great. Nice job.
1 Like
Well done on the finish. Looks great.
1 Like
Have you tried eBay? You can often find decals there.
Ken
1 Like
@tankerken
I’d hoped to find a preconfigured US Army ADA unit set. I’m not skilled at “assembling” decals. Maybe I’ll find an Avenger or similar set to hijack?
1 Like
I get by with a little help from my friends-
Thanks to all who offered insights regarding techniques, tips, and ideas. The modeling community has always been a supportive ensemble, and with all of us we secured a Silver medal in intermediate in my first-ever modeling competition. Thank you!
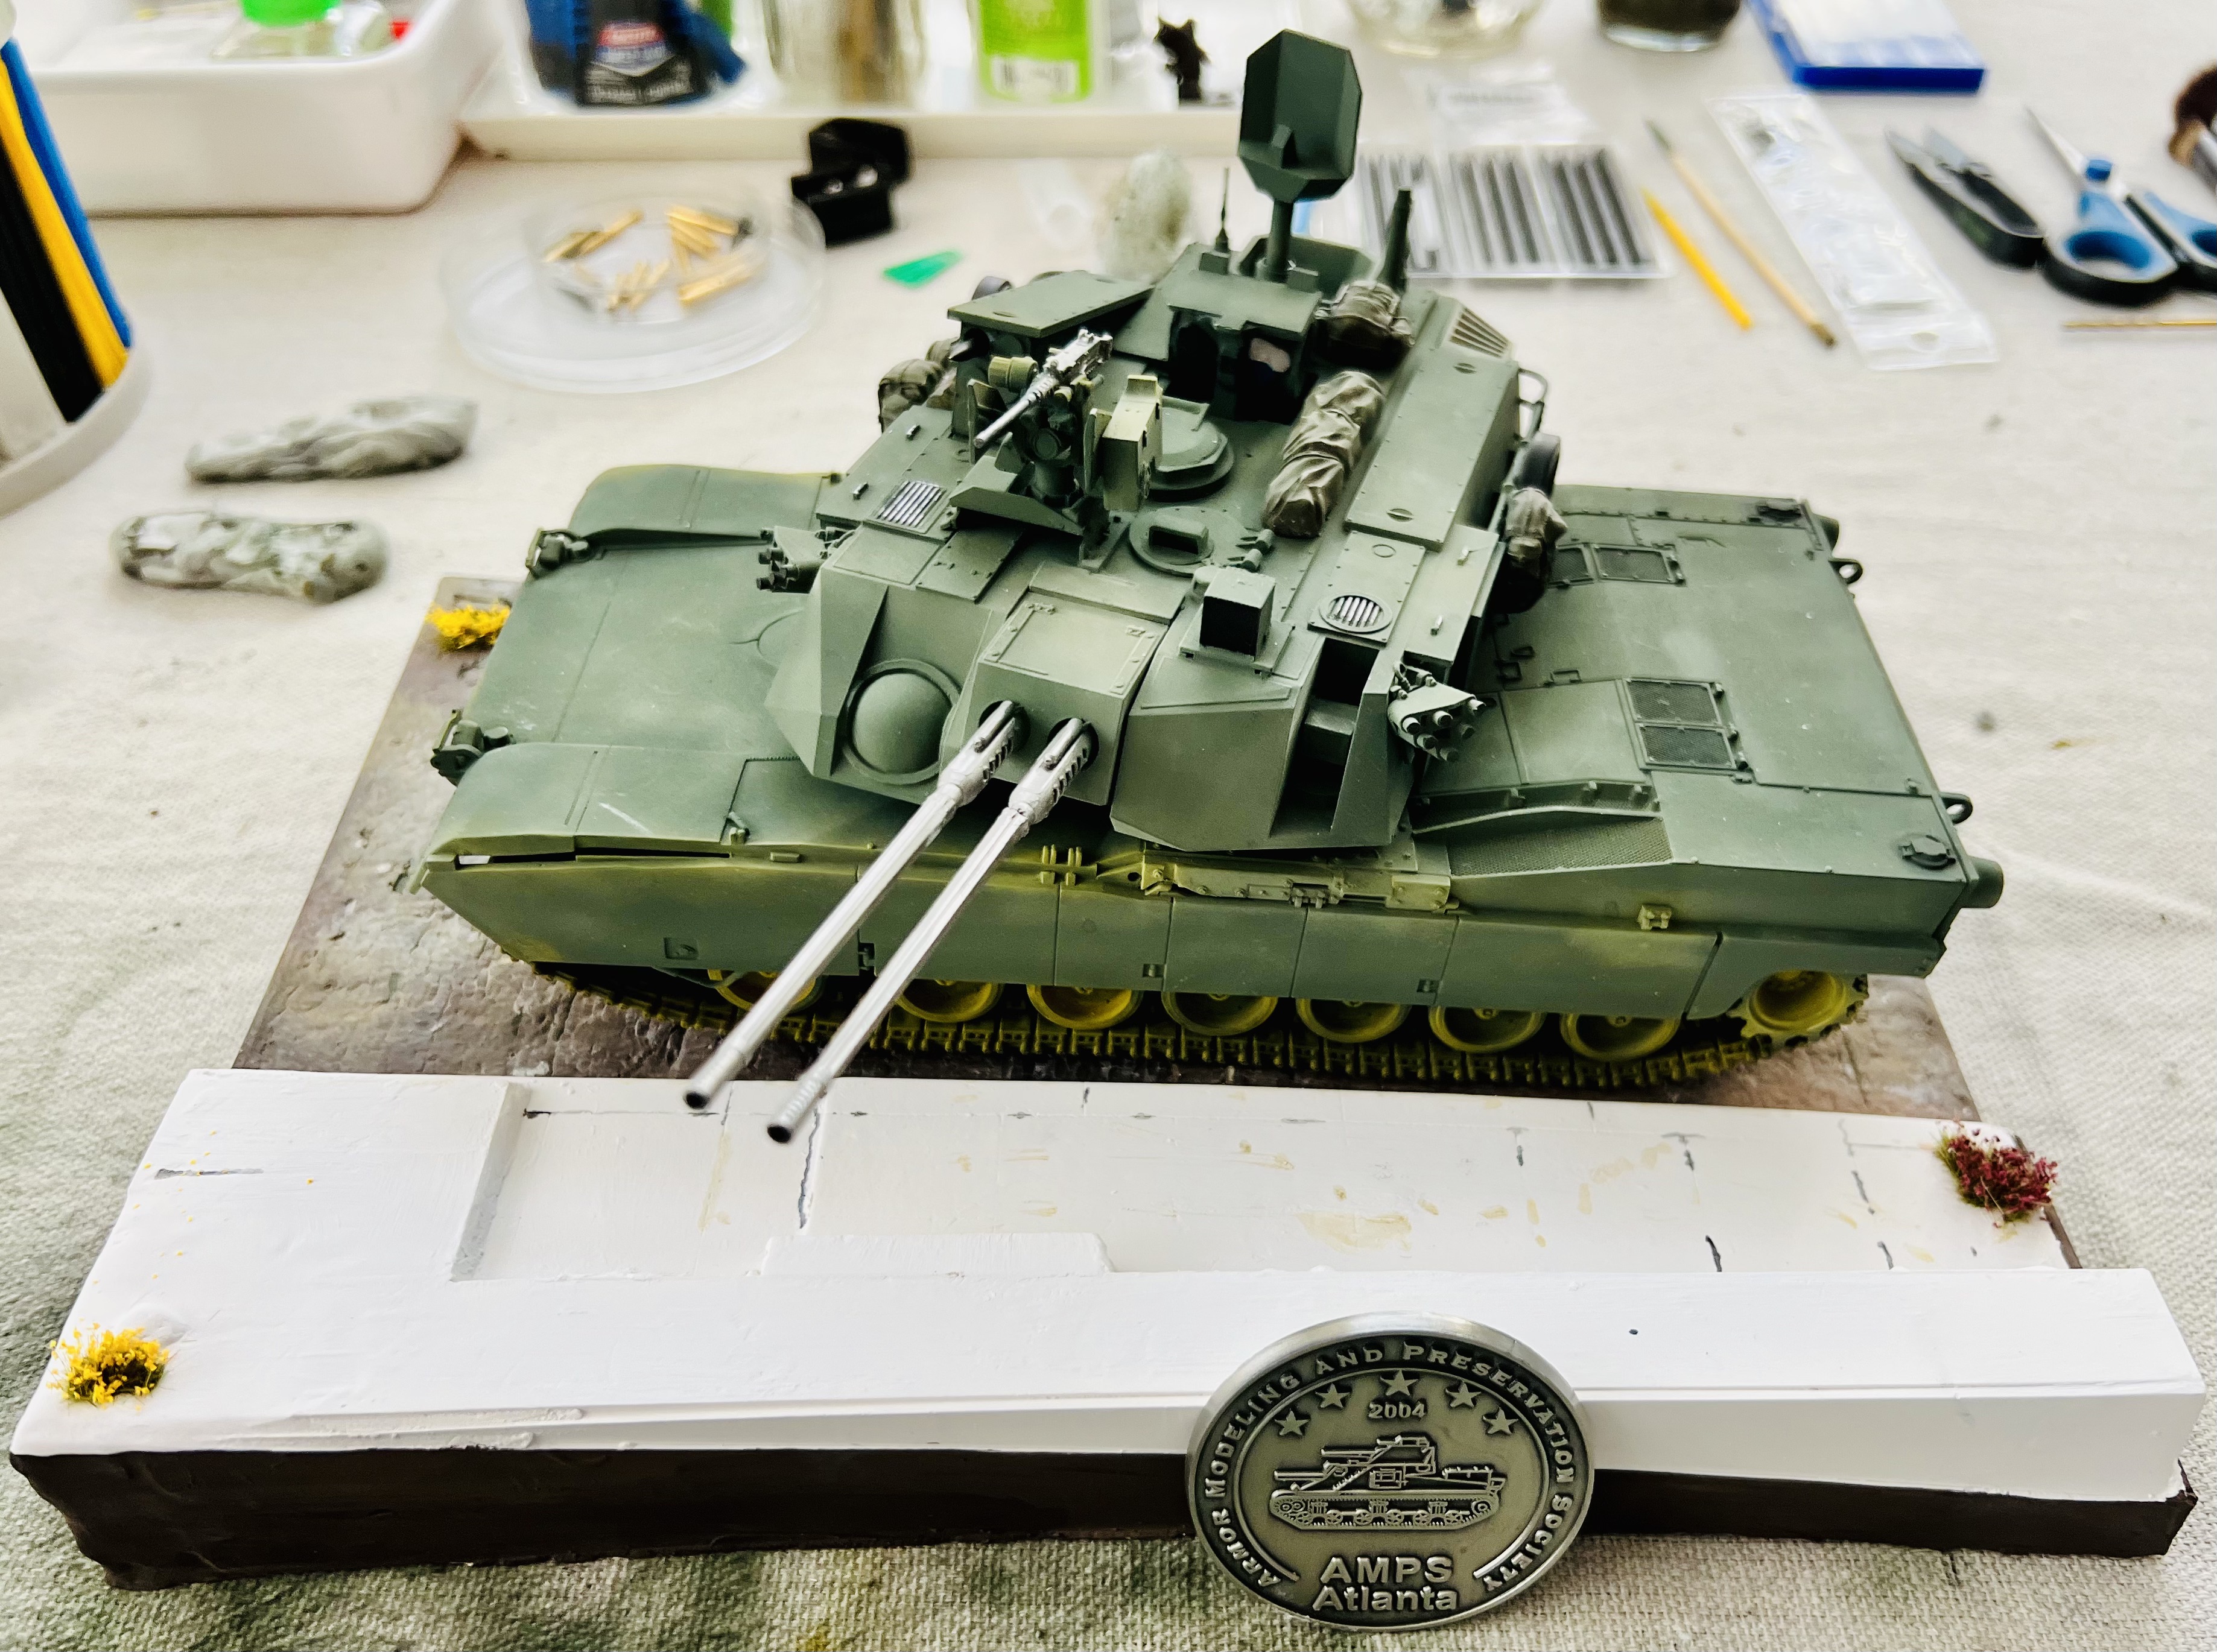
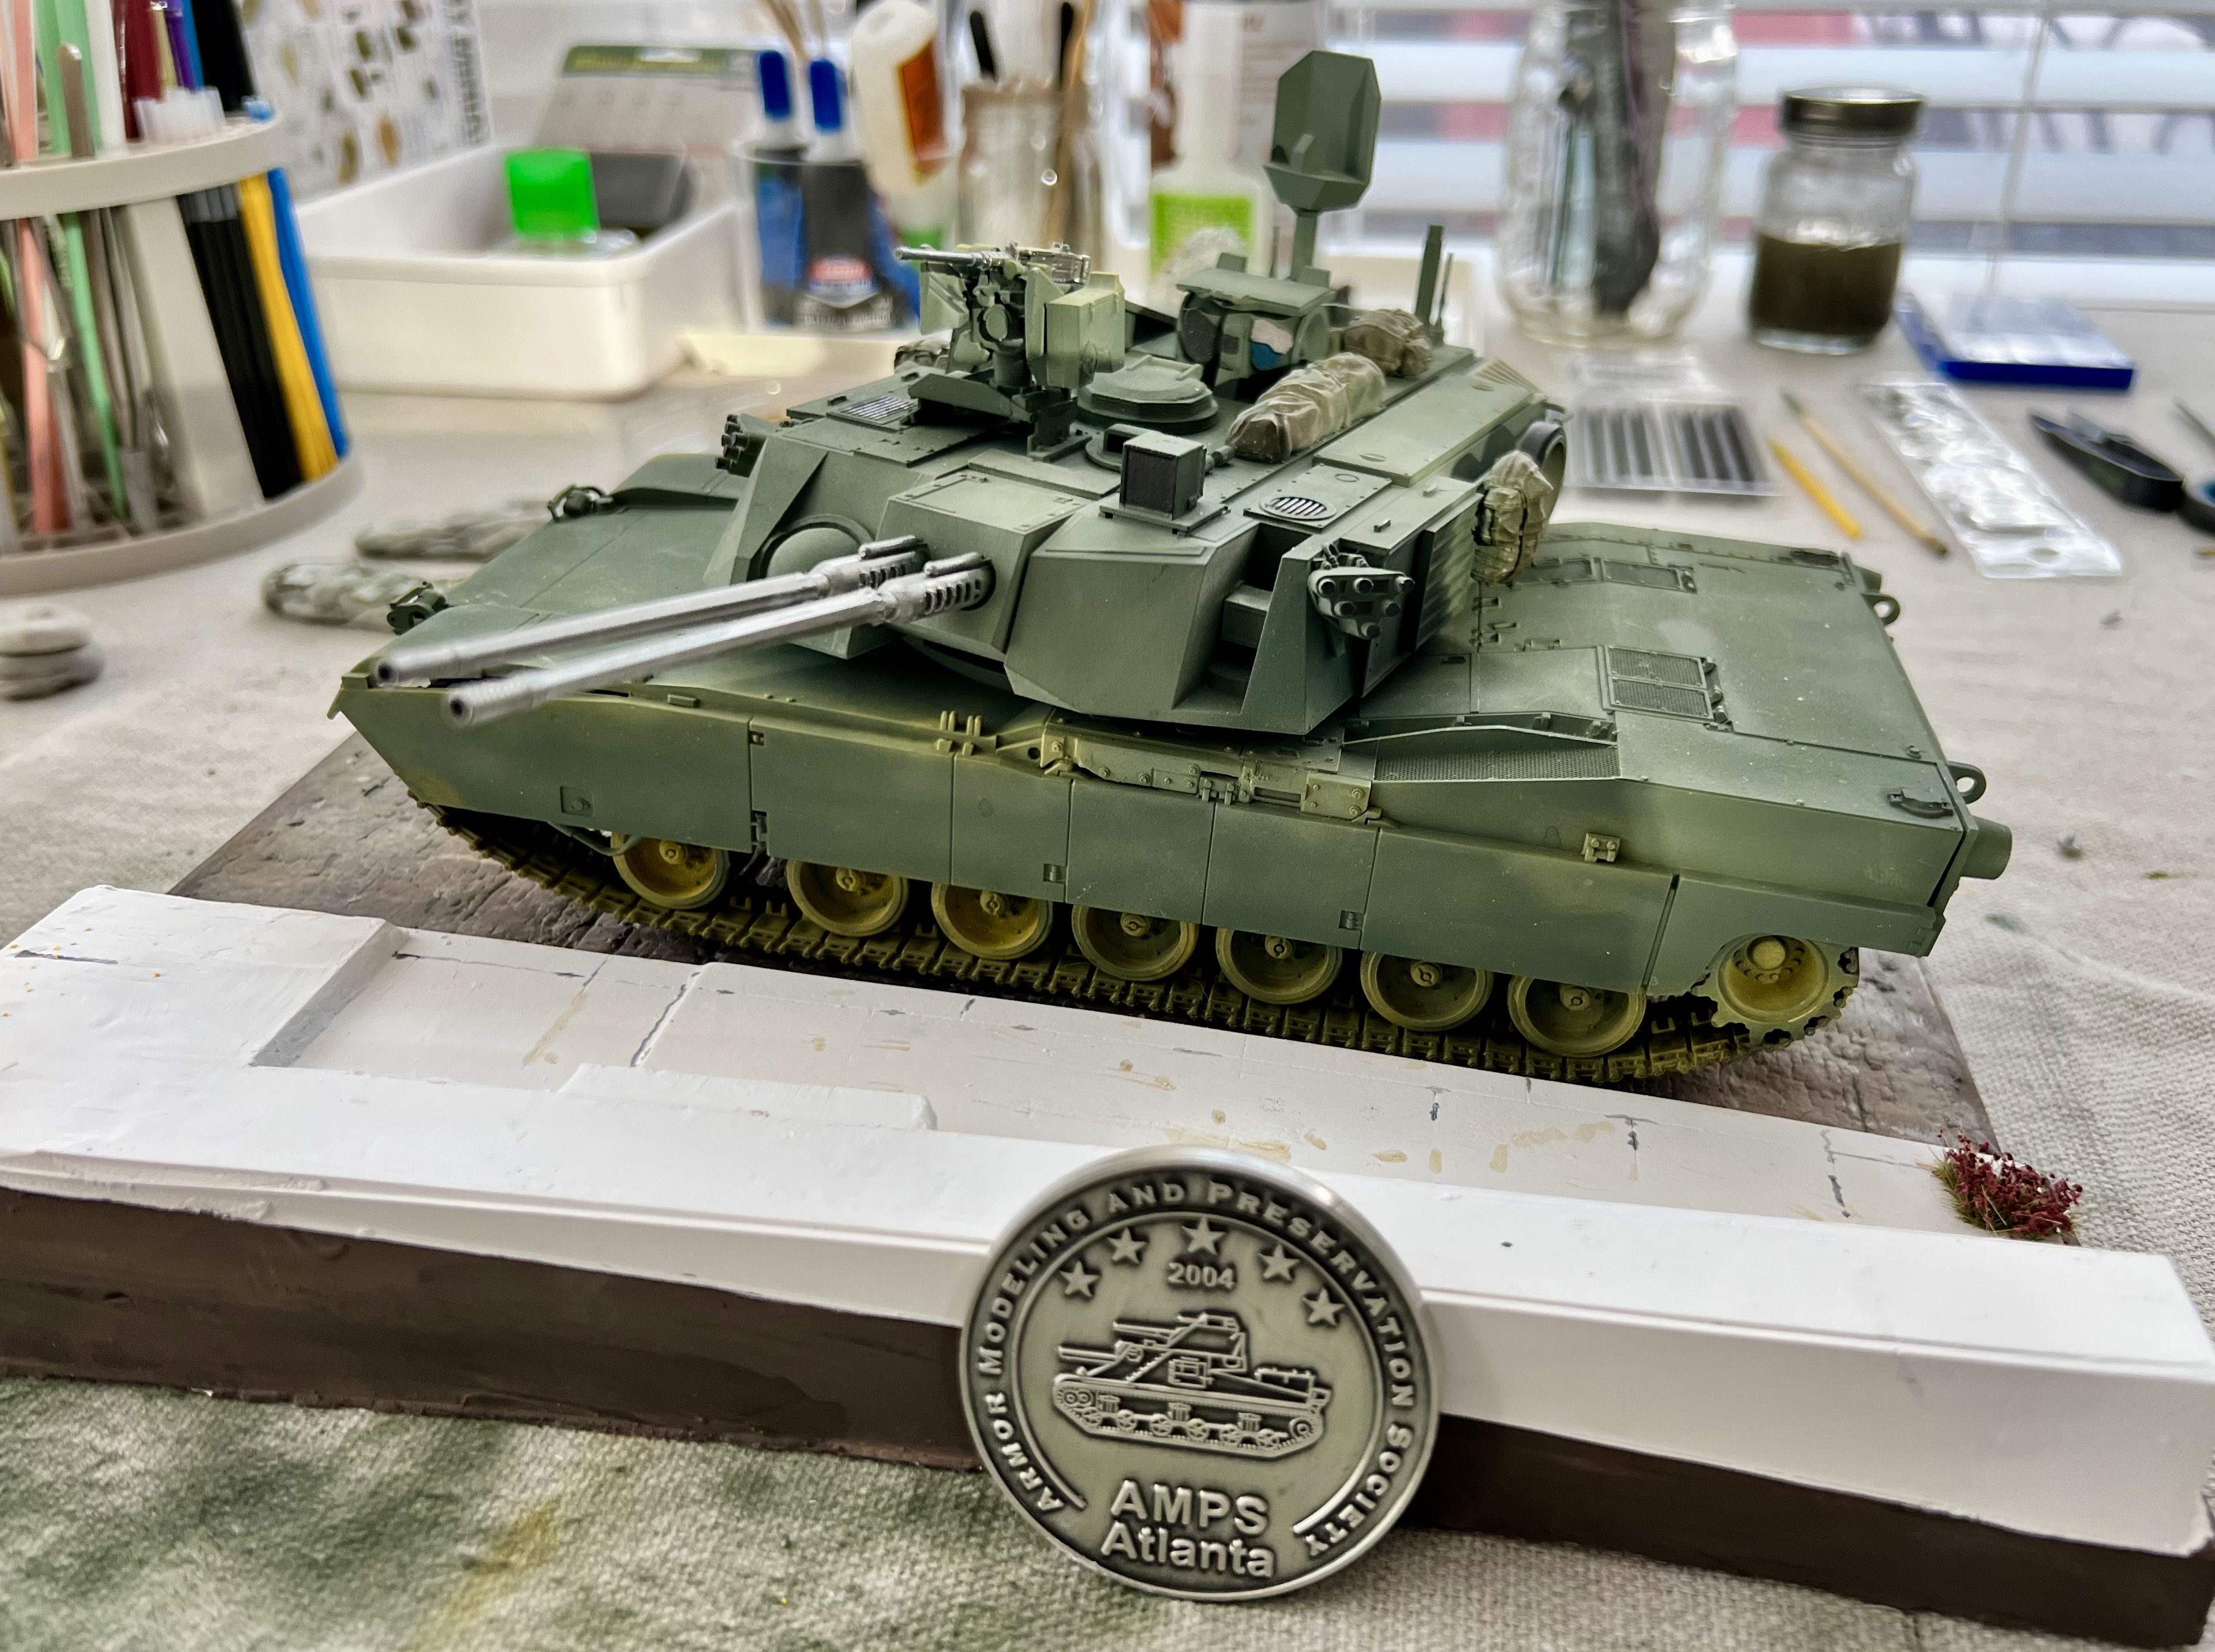
The show was phenomenal: nearly 150 vehicles, with something for everyone. We had entrees in all 16 categories of AMPS, including Gundam-like fantasy sets. The AMFS (Atlanta Model Figure Society) was with us in the facility, and there were thousands of spectators.
I also managed to score two raffle items, a 1:100 T-35 Soviet WW2 heavy tank, and a really interesting Russian Kashtan naval CIWS from TAKOM. SCORE.
Thanks again to all for the support and encouragement.
7 Likes
Nice win for a phenomenal model Ted. Congratulations.
2 Likes
very cool build
1 Like
Nick-
I’ve acquired a set of RFM “to be assembled”. IF I can pull that off, do you still want the tracks? I had to use the rubber bands because I was too sick to get and assemble the RFM kit.
1 Like
The build looks great and congratulation on the show prize.
2 Likes
Well deserved recognition with the award. Its a great build and you nailed it.
1 Like
thats fine i dont blame you for wanting to use the one piece tracks as sick as you were
i got 2 sets of the original T156 tracks im good
1 Like
Most kind, Nick.
I have spares for may thngs. Try me when you must; I’ll see what I’ve got. Like 15 different 1:35 M2 HBMG. I measure them for fidelity in length and width! Argh!
1 Like
Feedback from the show: sharing for others to incorporate into your routines too.
- Floating front roadwheels: The RW arms are cast with the body, so I need to build up the road bed a bit, and more importantly check it on a flat surface and on the diorama base!
- Do a better job of highlighting straps (I have a shake in my hands, so I’ll look for a steady support). Initially, I’d done the more visible bands. So neophytes, do the straps before you affix your gear, if you’re that modeler.
- The rear hull plate had a slight warp. Fix it!
- When attaching roadwheels to bustle racks, fabricate an attachment: a clip, center guide, or strap!
- Deadly glue shine where I had attached a rucksack. Get close and touch anything up!
I self-identified as an Intermediate Modeler, even thought it had been a LONG time. These are useful no matter what level you are. They are a great bit of feedback that will make me a better modeler. In the pursuit of excellence, all these are actionable. Hope all y’all can use the feedback too.
1 Like
Ted, if you suffer from hand shake (as I now do) I can highly recommend this DSPIAE Hand Stabilizer. I have one and it works wonders. I can paint razor straight lines every time. Adding tiny photo etch parts, I now always get them precisely where they belong. It looks like a gimmick, but trust me, it isn’t. It’s pricey, but precision isn’t cheap. Check it out -
You just wrap your palm around the ball, lay your fingers on the rod, and you’re rock steady.
3 Likes
VERY cool Matt! Not too expensive, so a good investment even now!
1 Like
Excellent work, could you share a secret where I can get a 3D model of the tower for printing. I have been searching the Internet for a long time, but I can only find it in 72 scale. If you made it yourself, then I have great respect, and if it was made to order, could you give me a link to the person who made it?
2 Likes
I bought the kit from @BananaTank who have a presence here on KitMaker. I know of one other source, Scot Models I think it was, that might have the 3D files. But I’l admit I’m a neophyte, as I thought one could scale up a 3DP file (such as .stl) to any scale desired.
1 Like
You can rescale (up or down) any .stl file to any scale you want. It may lose detail though and not really look good when printed.
1 Like
Understandable. If printed a 0,1mm or less, should look well enough. I replaced the gunner’s hatch and used a lot of flexible sandpaper stick to get a good fit, but I think it worked out pretty well. I bought the 1/35 kit, built at 0,1mm resolution.
1 Like