Decided to go ahead with this build even though I think the upcoming GWH kit will be better. I’m at the priming stage. Sorry there has been no build progress, but I have not really enjoyed putting it together, the kit has some nice details but fit is not great in places and my building skills are not up to fixing all the issues so it is getting painted as is. Don’t get me wrong though, it is still a good kit, I’m just not a great builder!
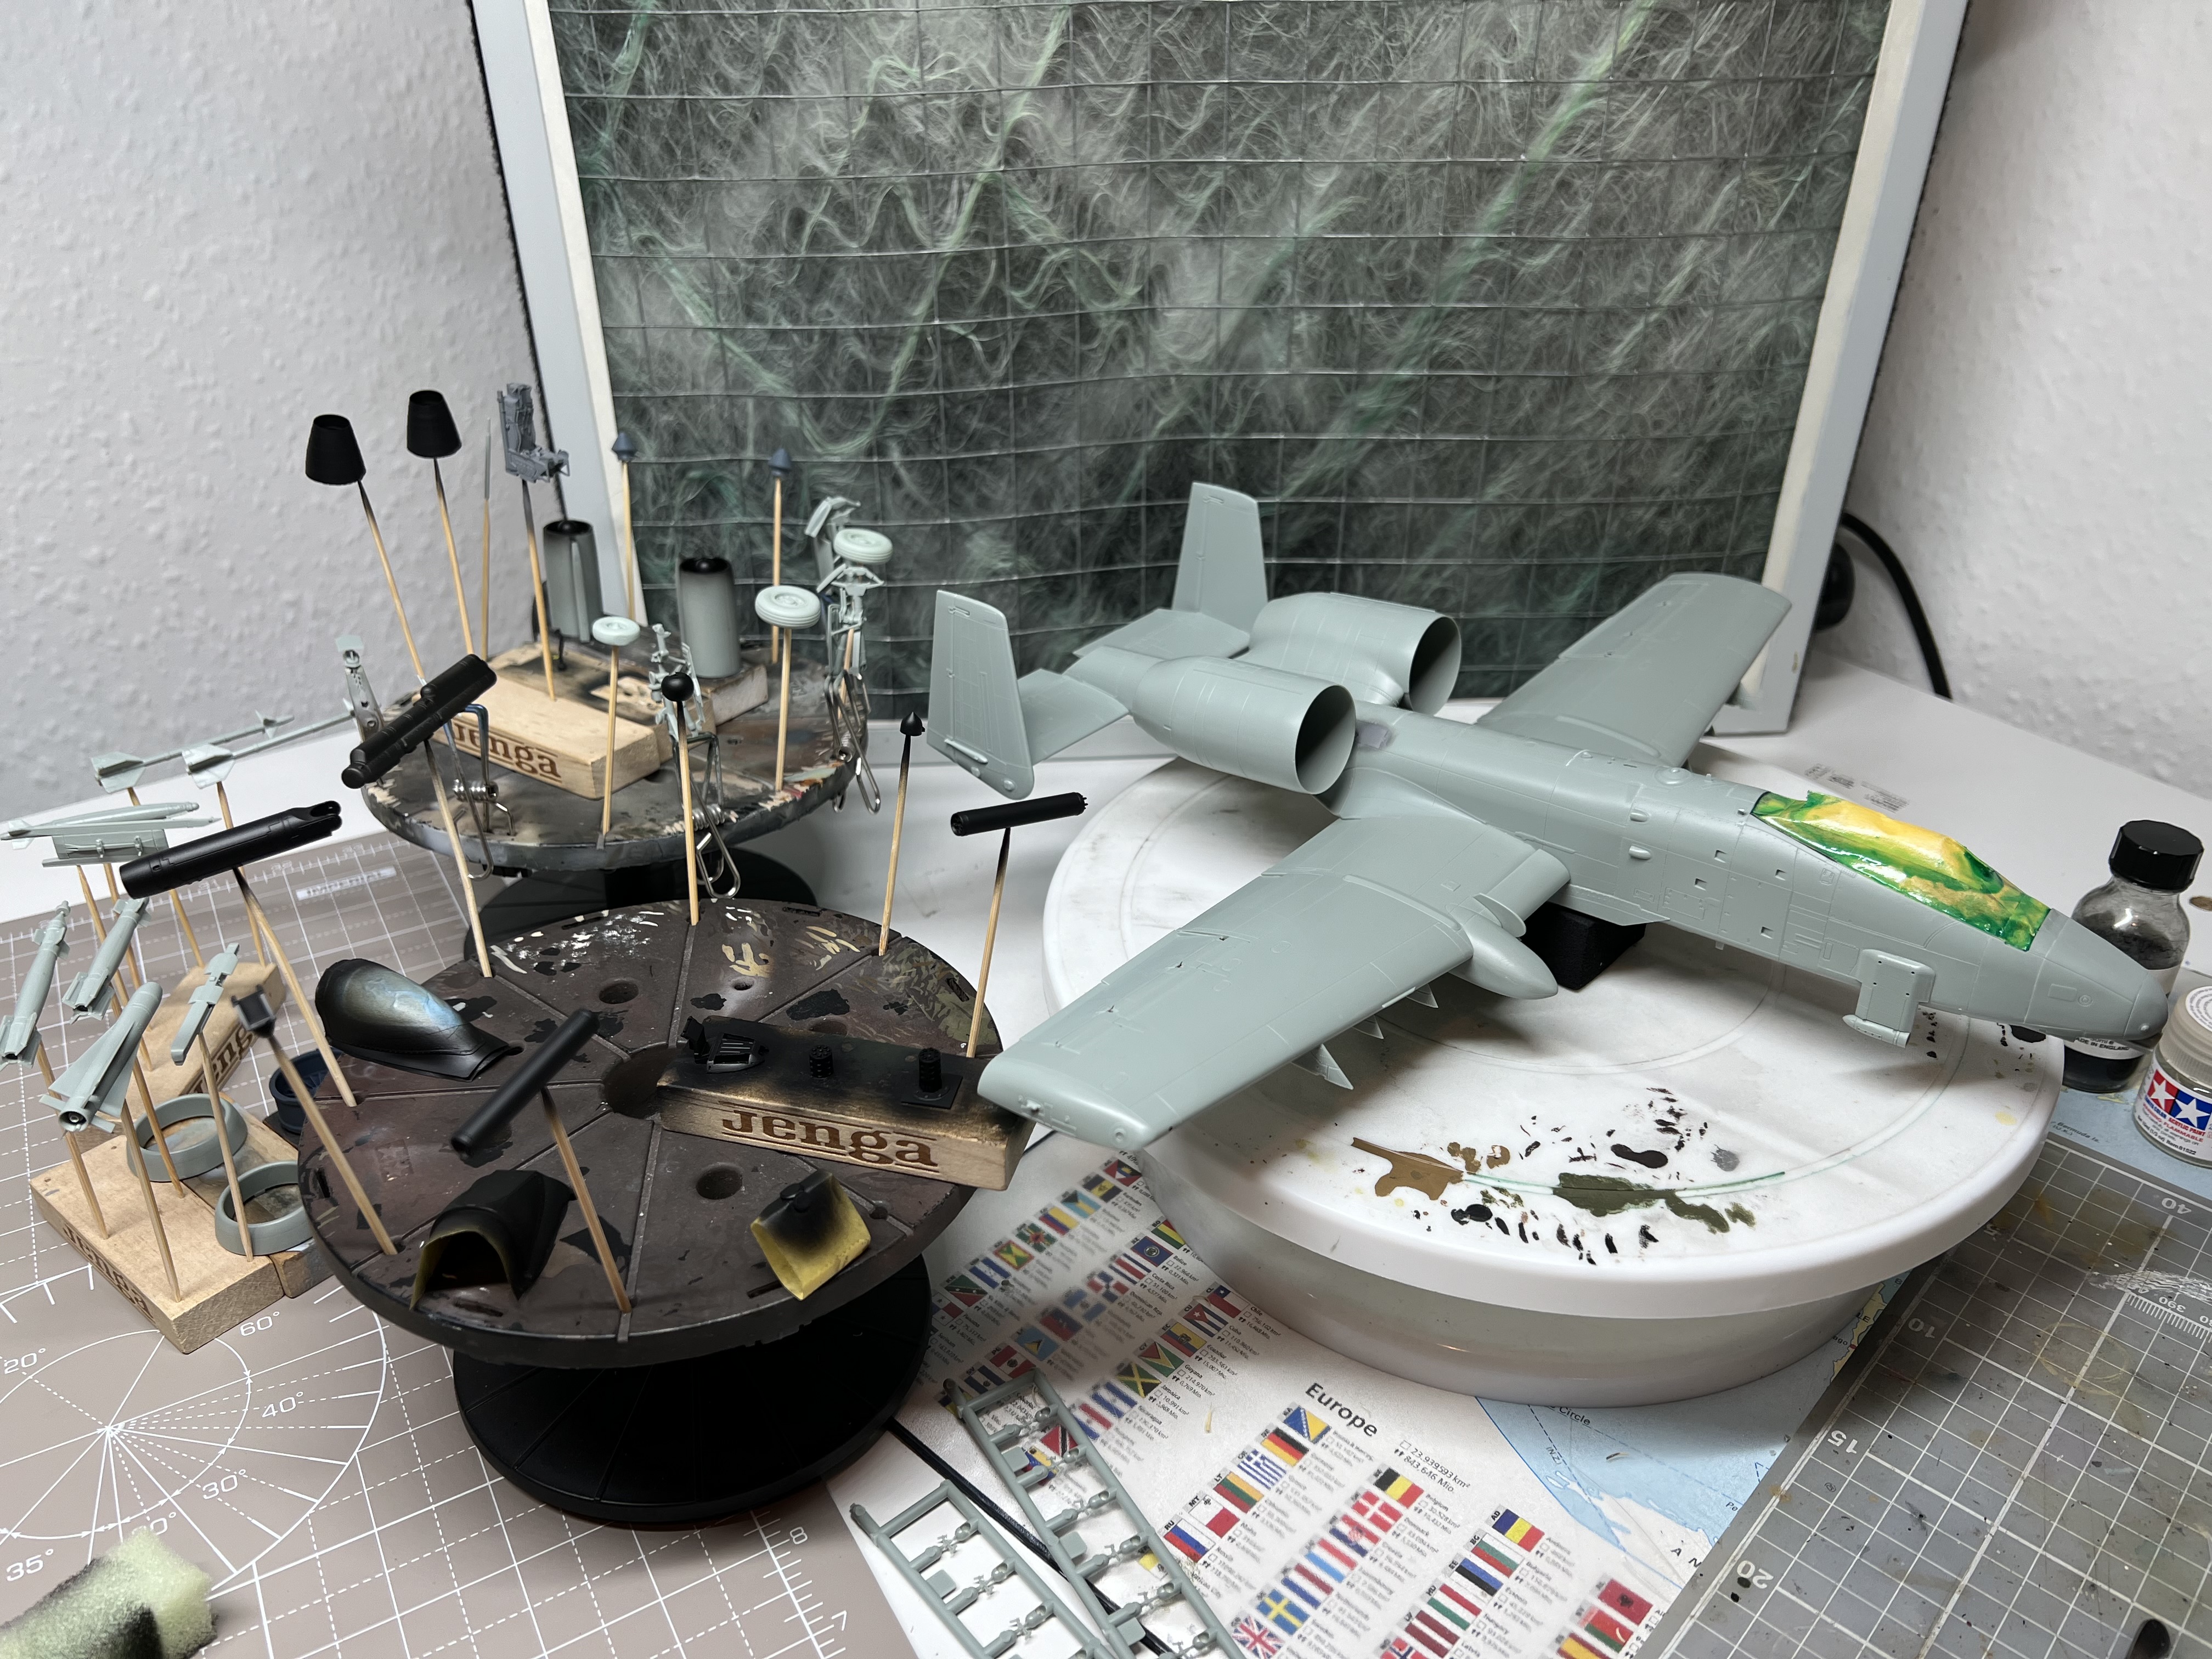
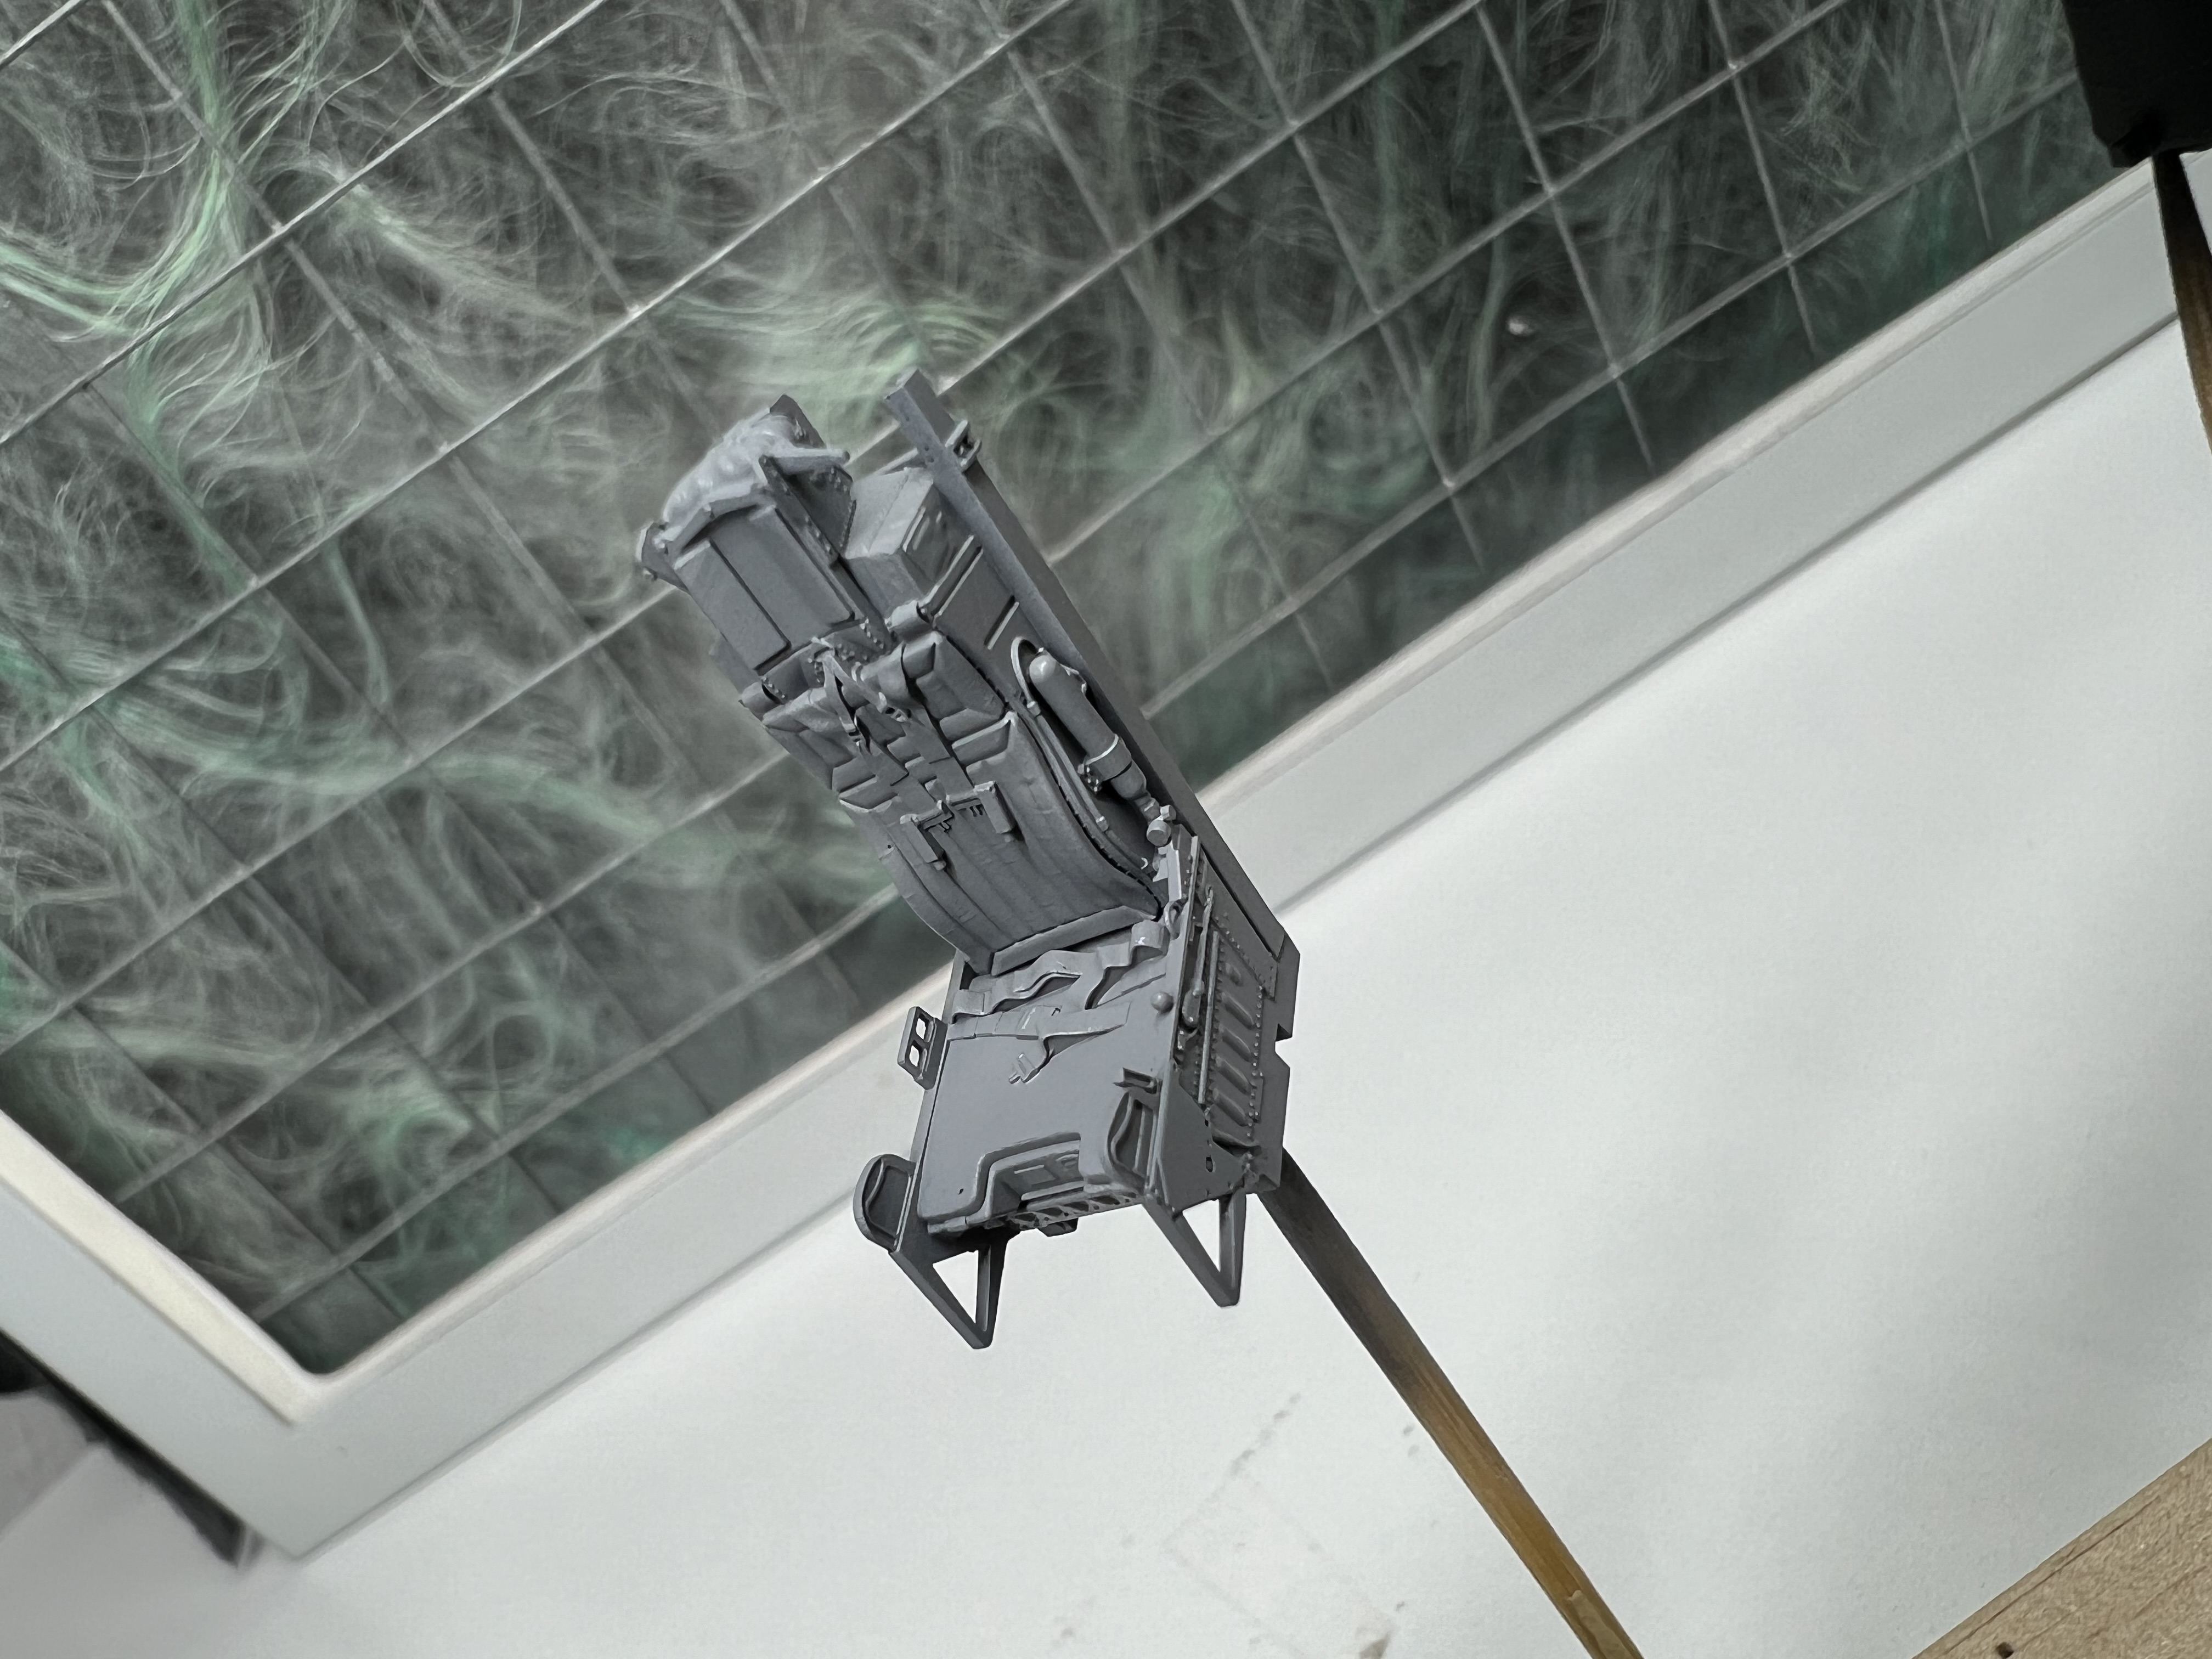
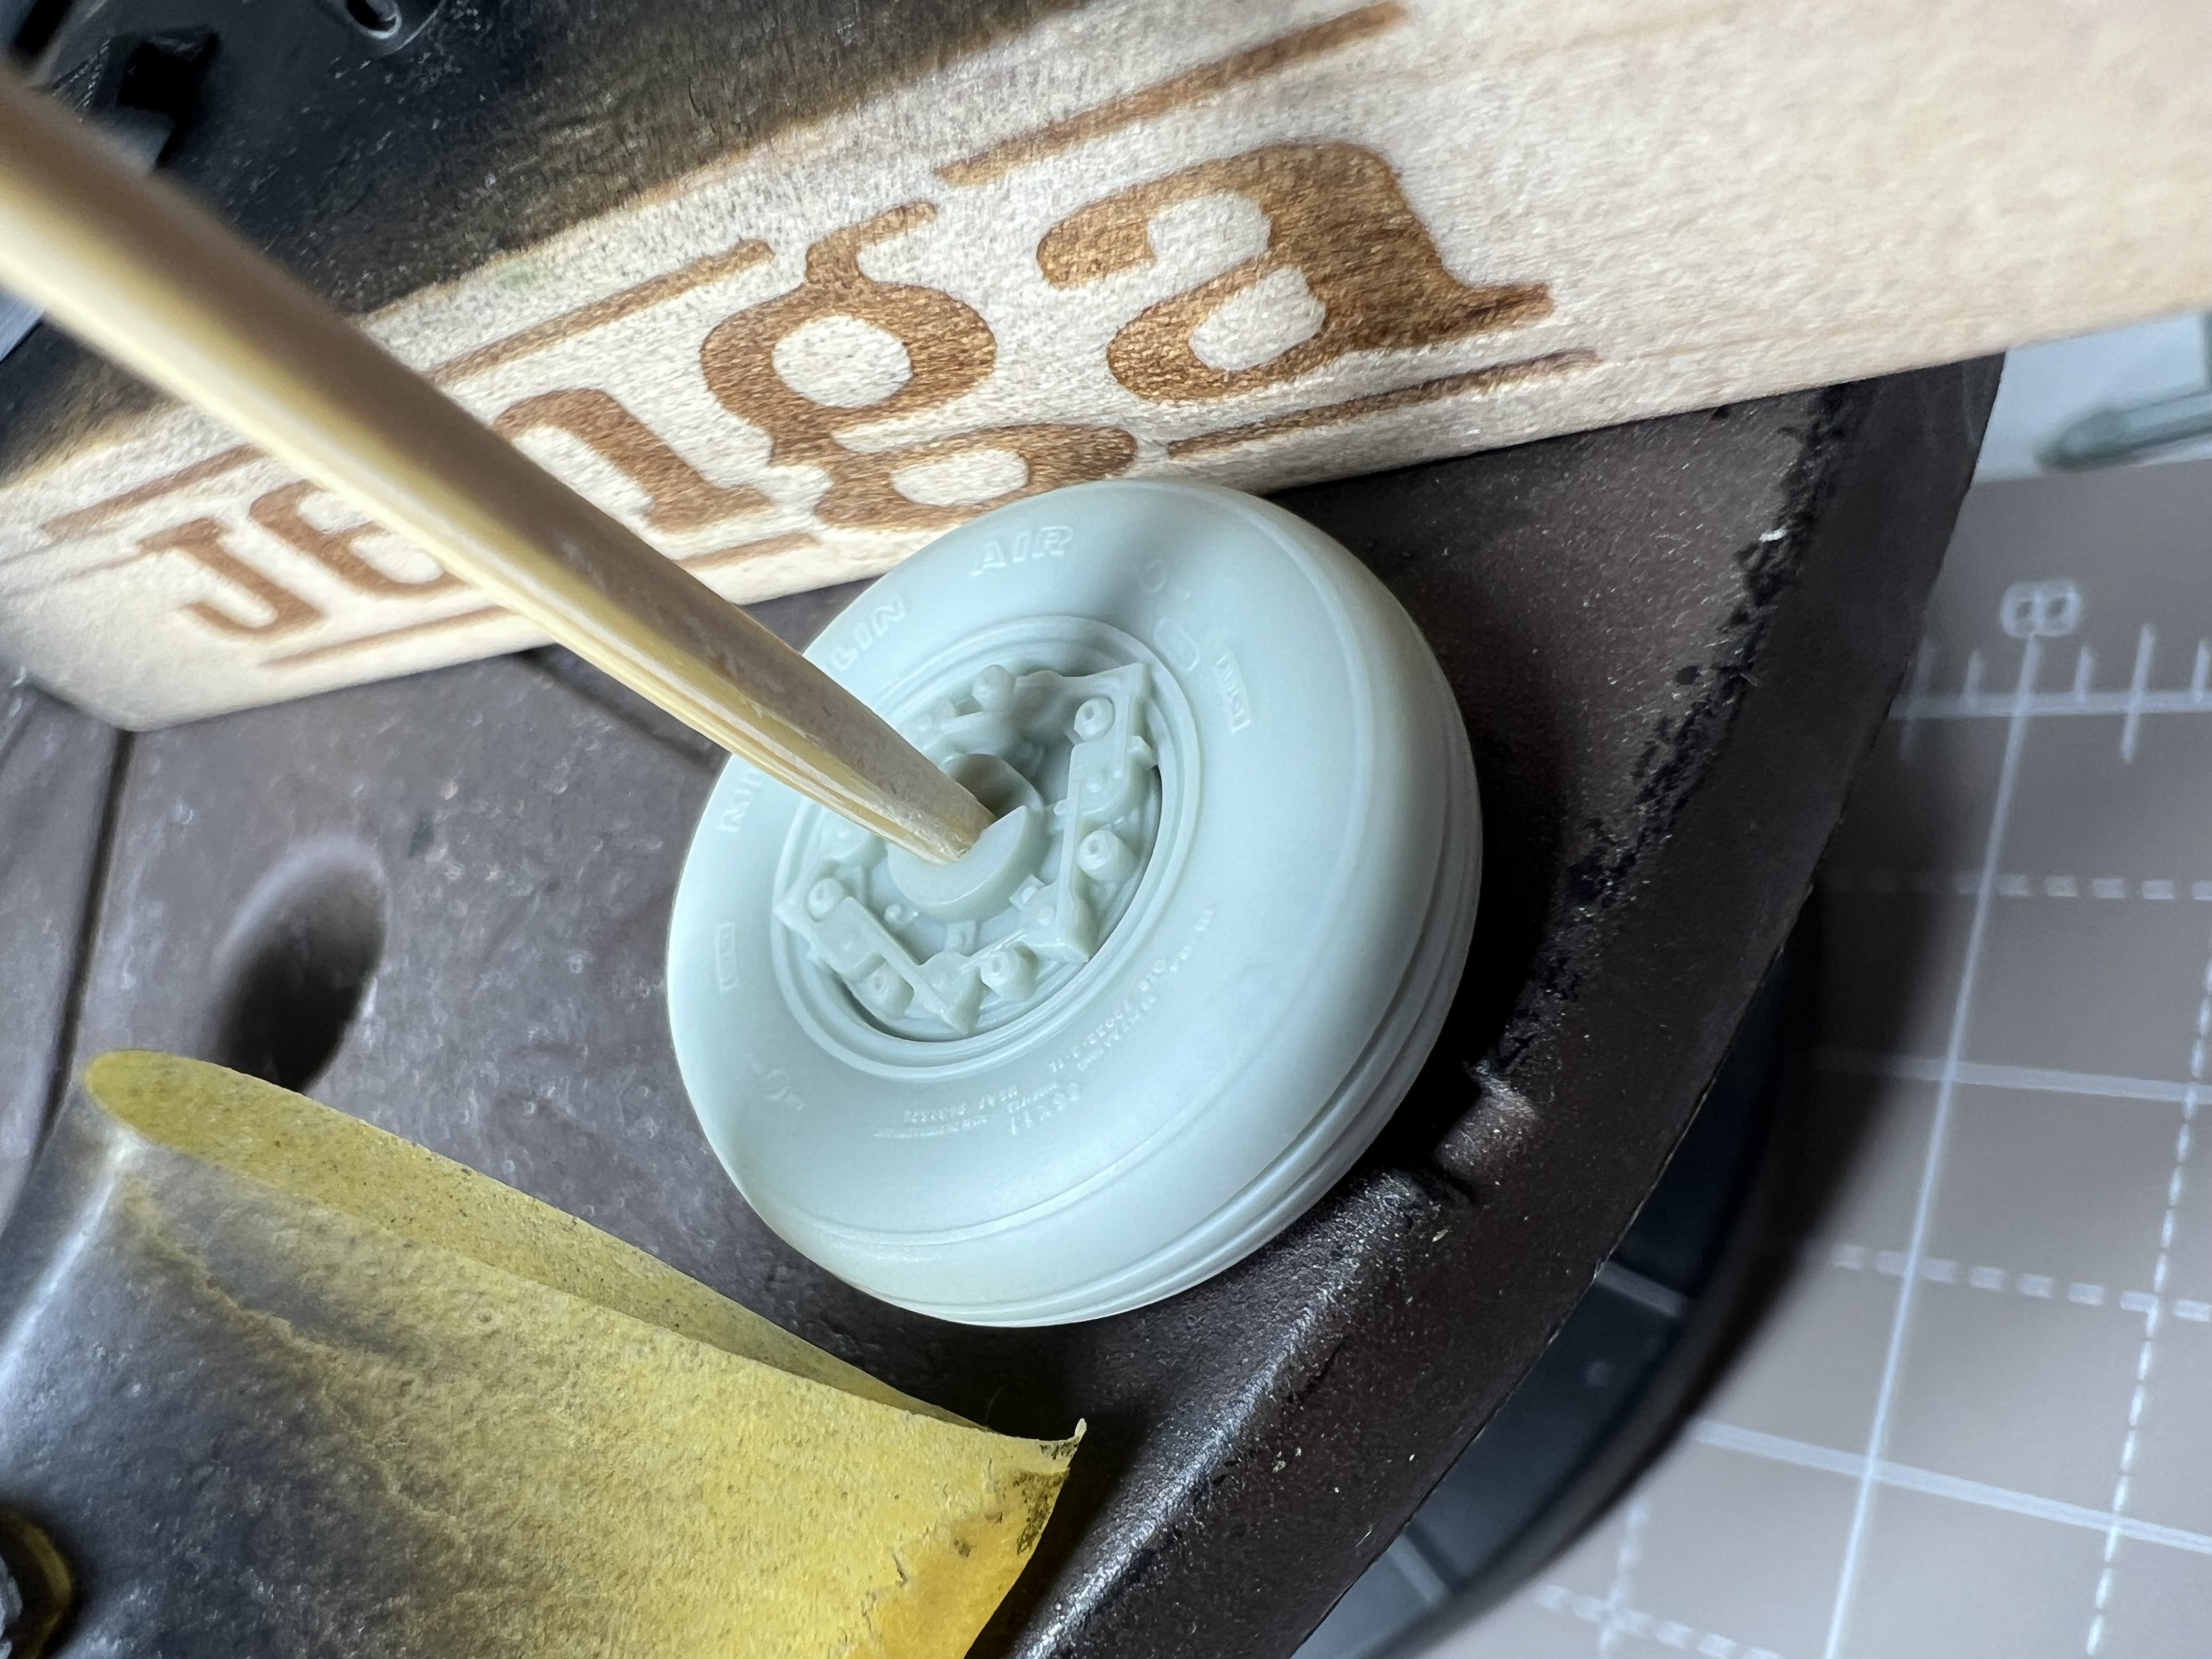
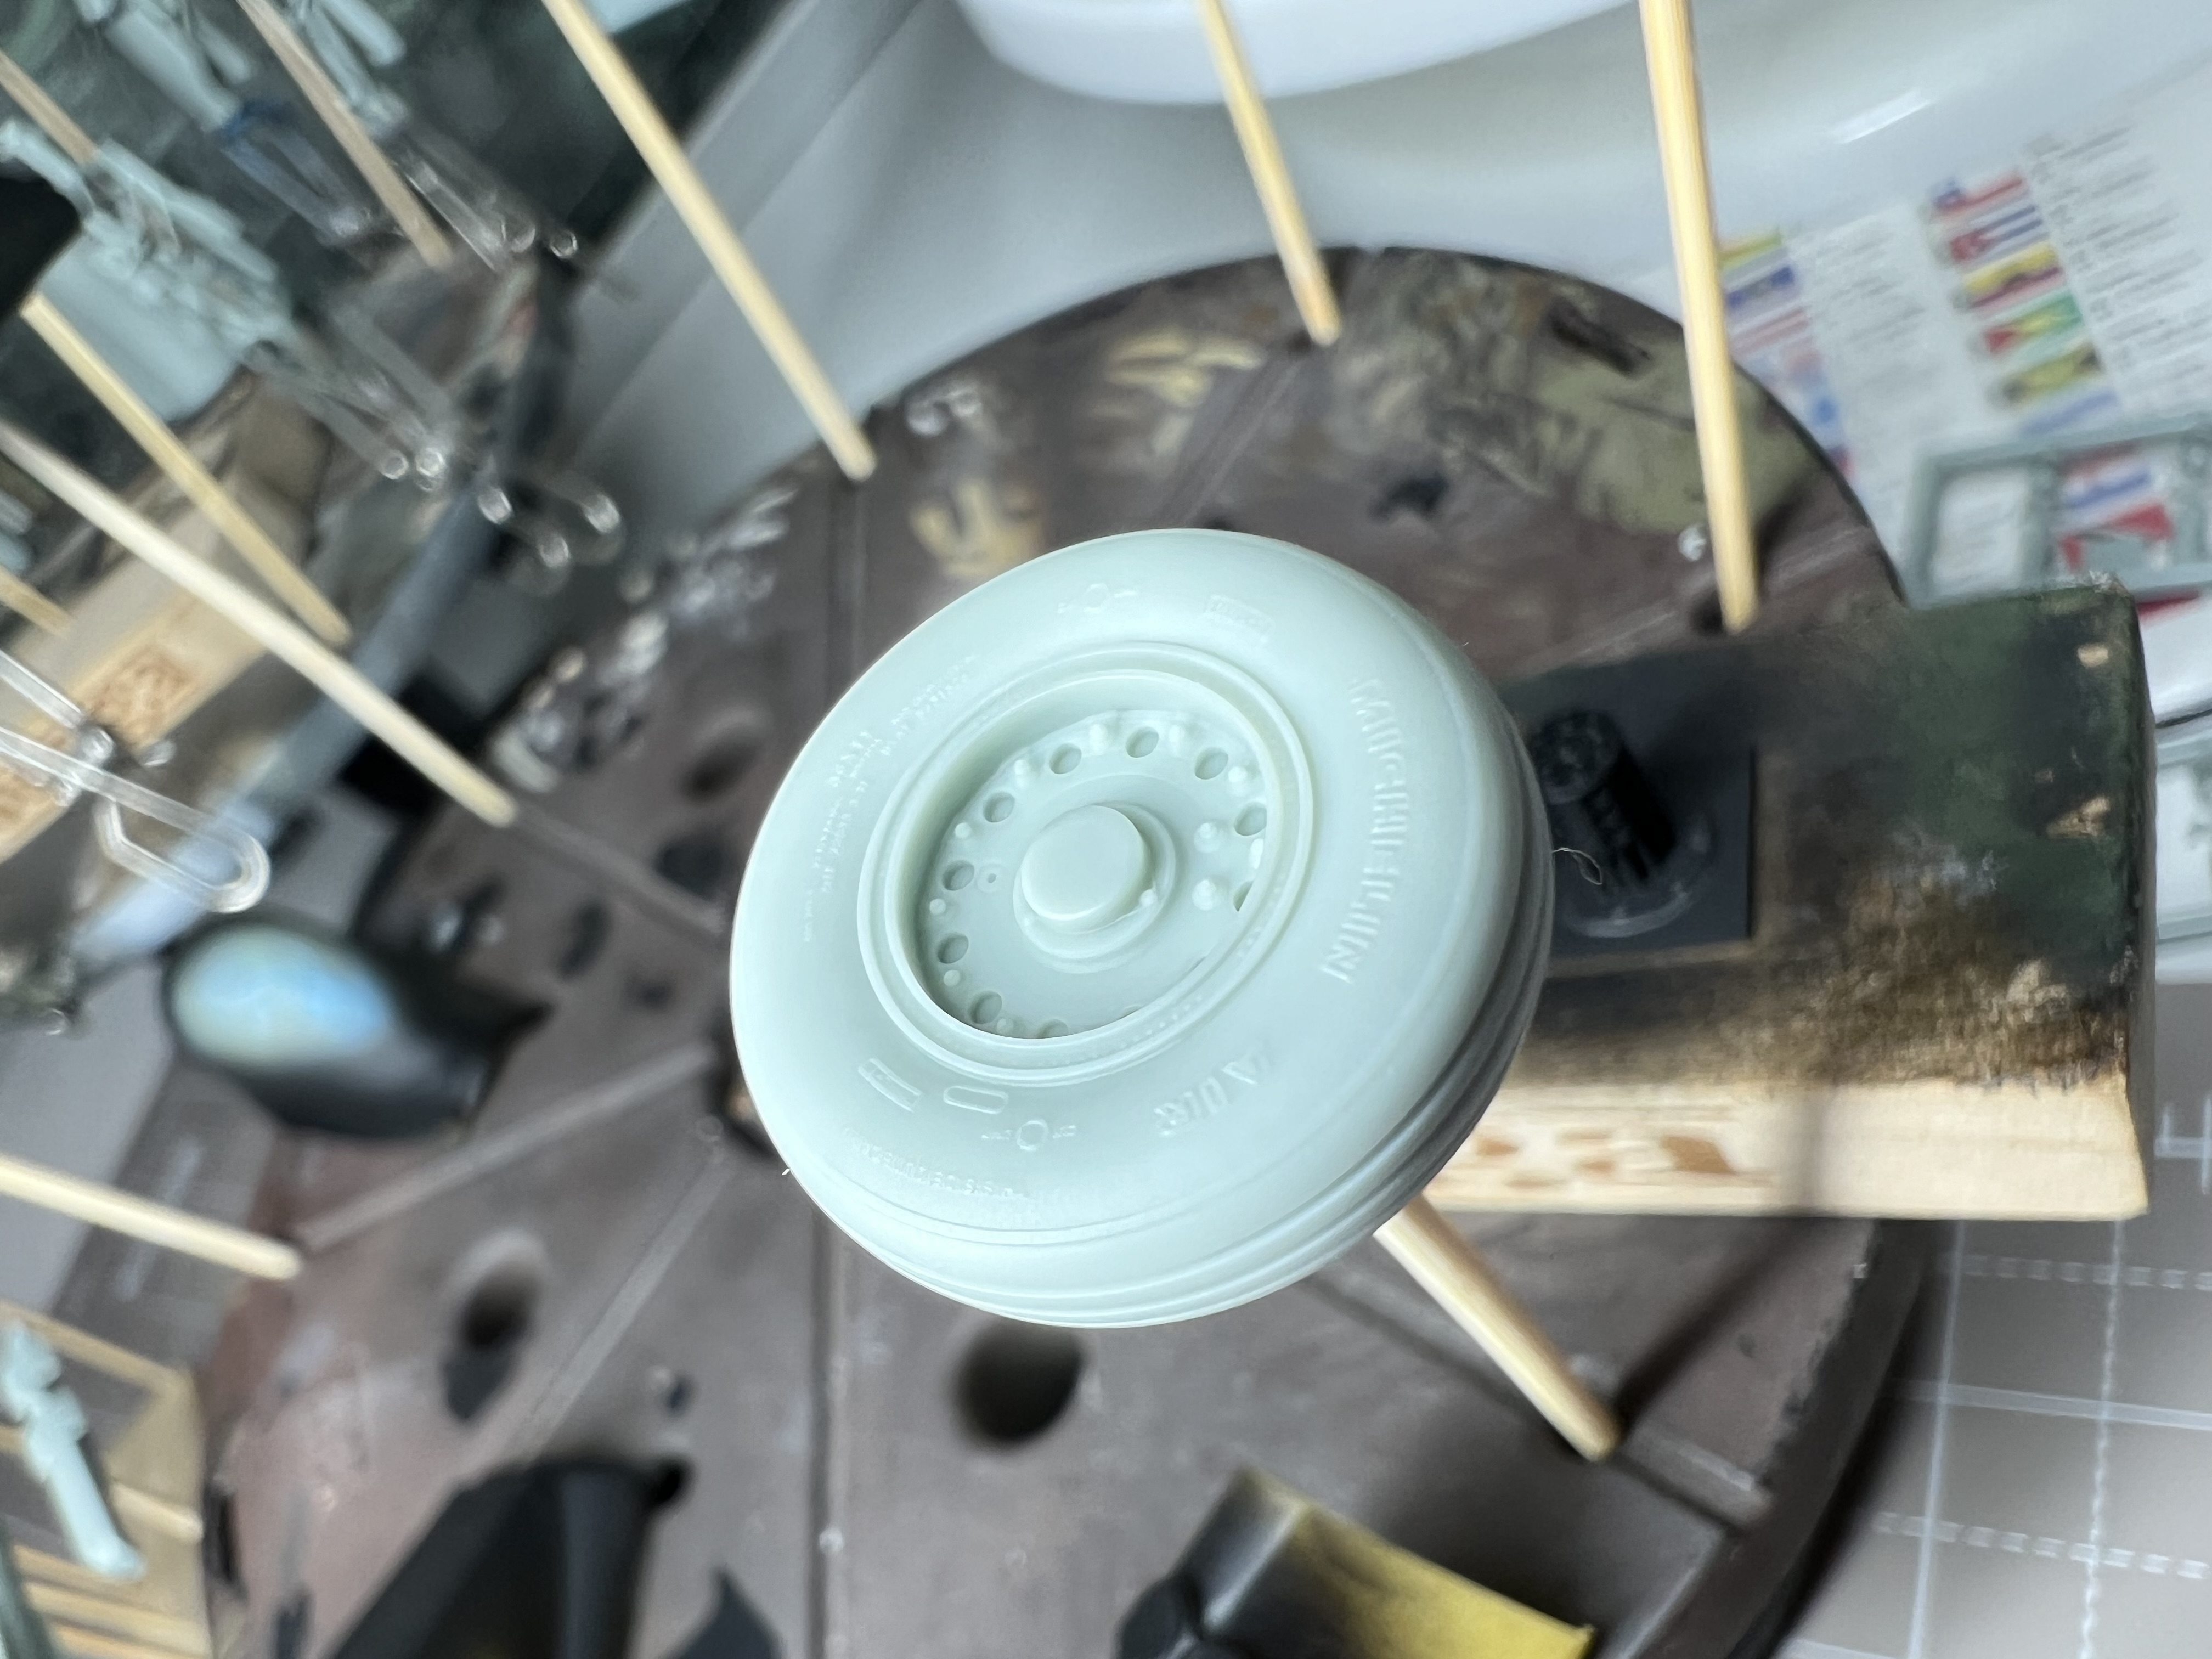
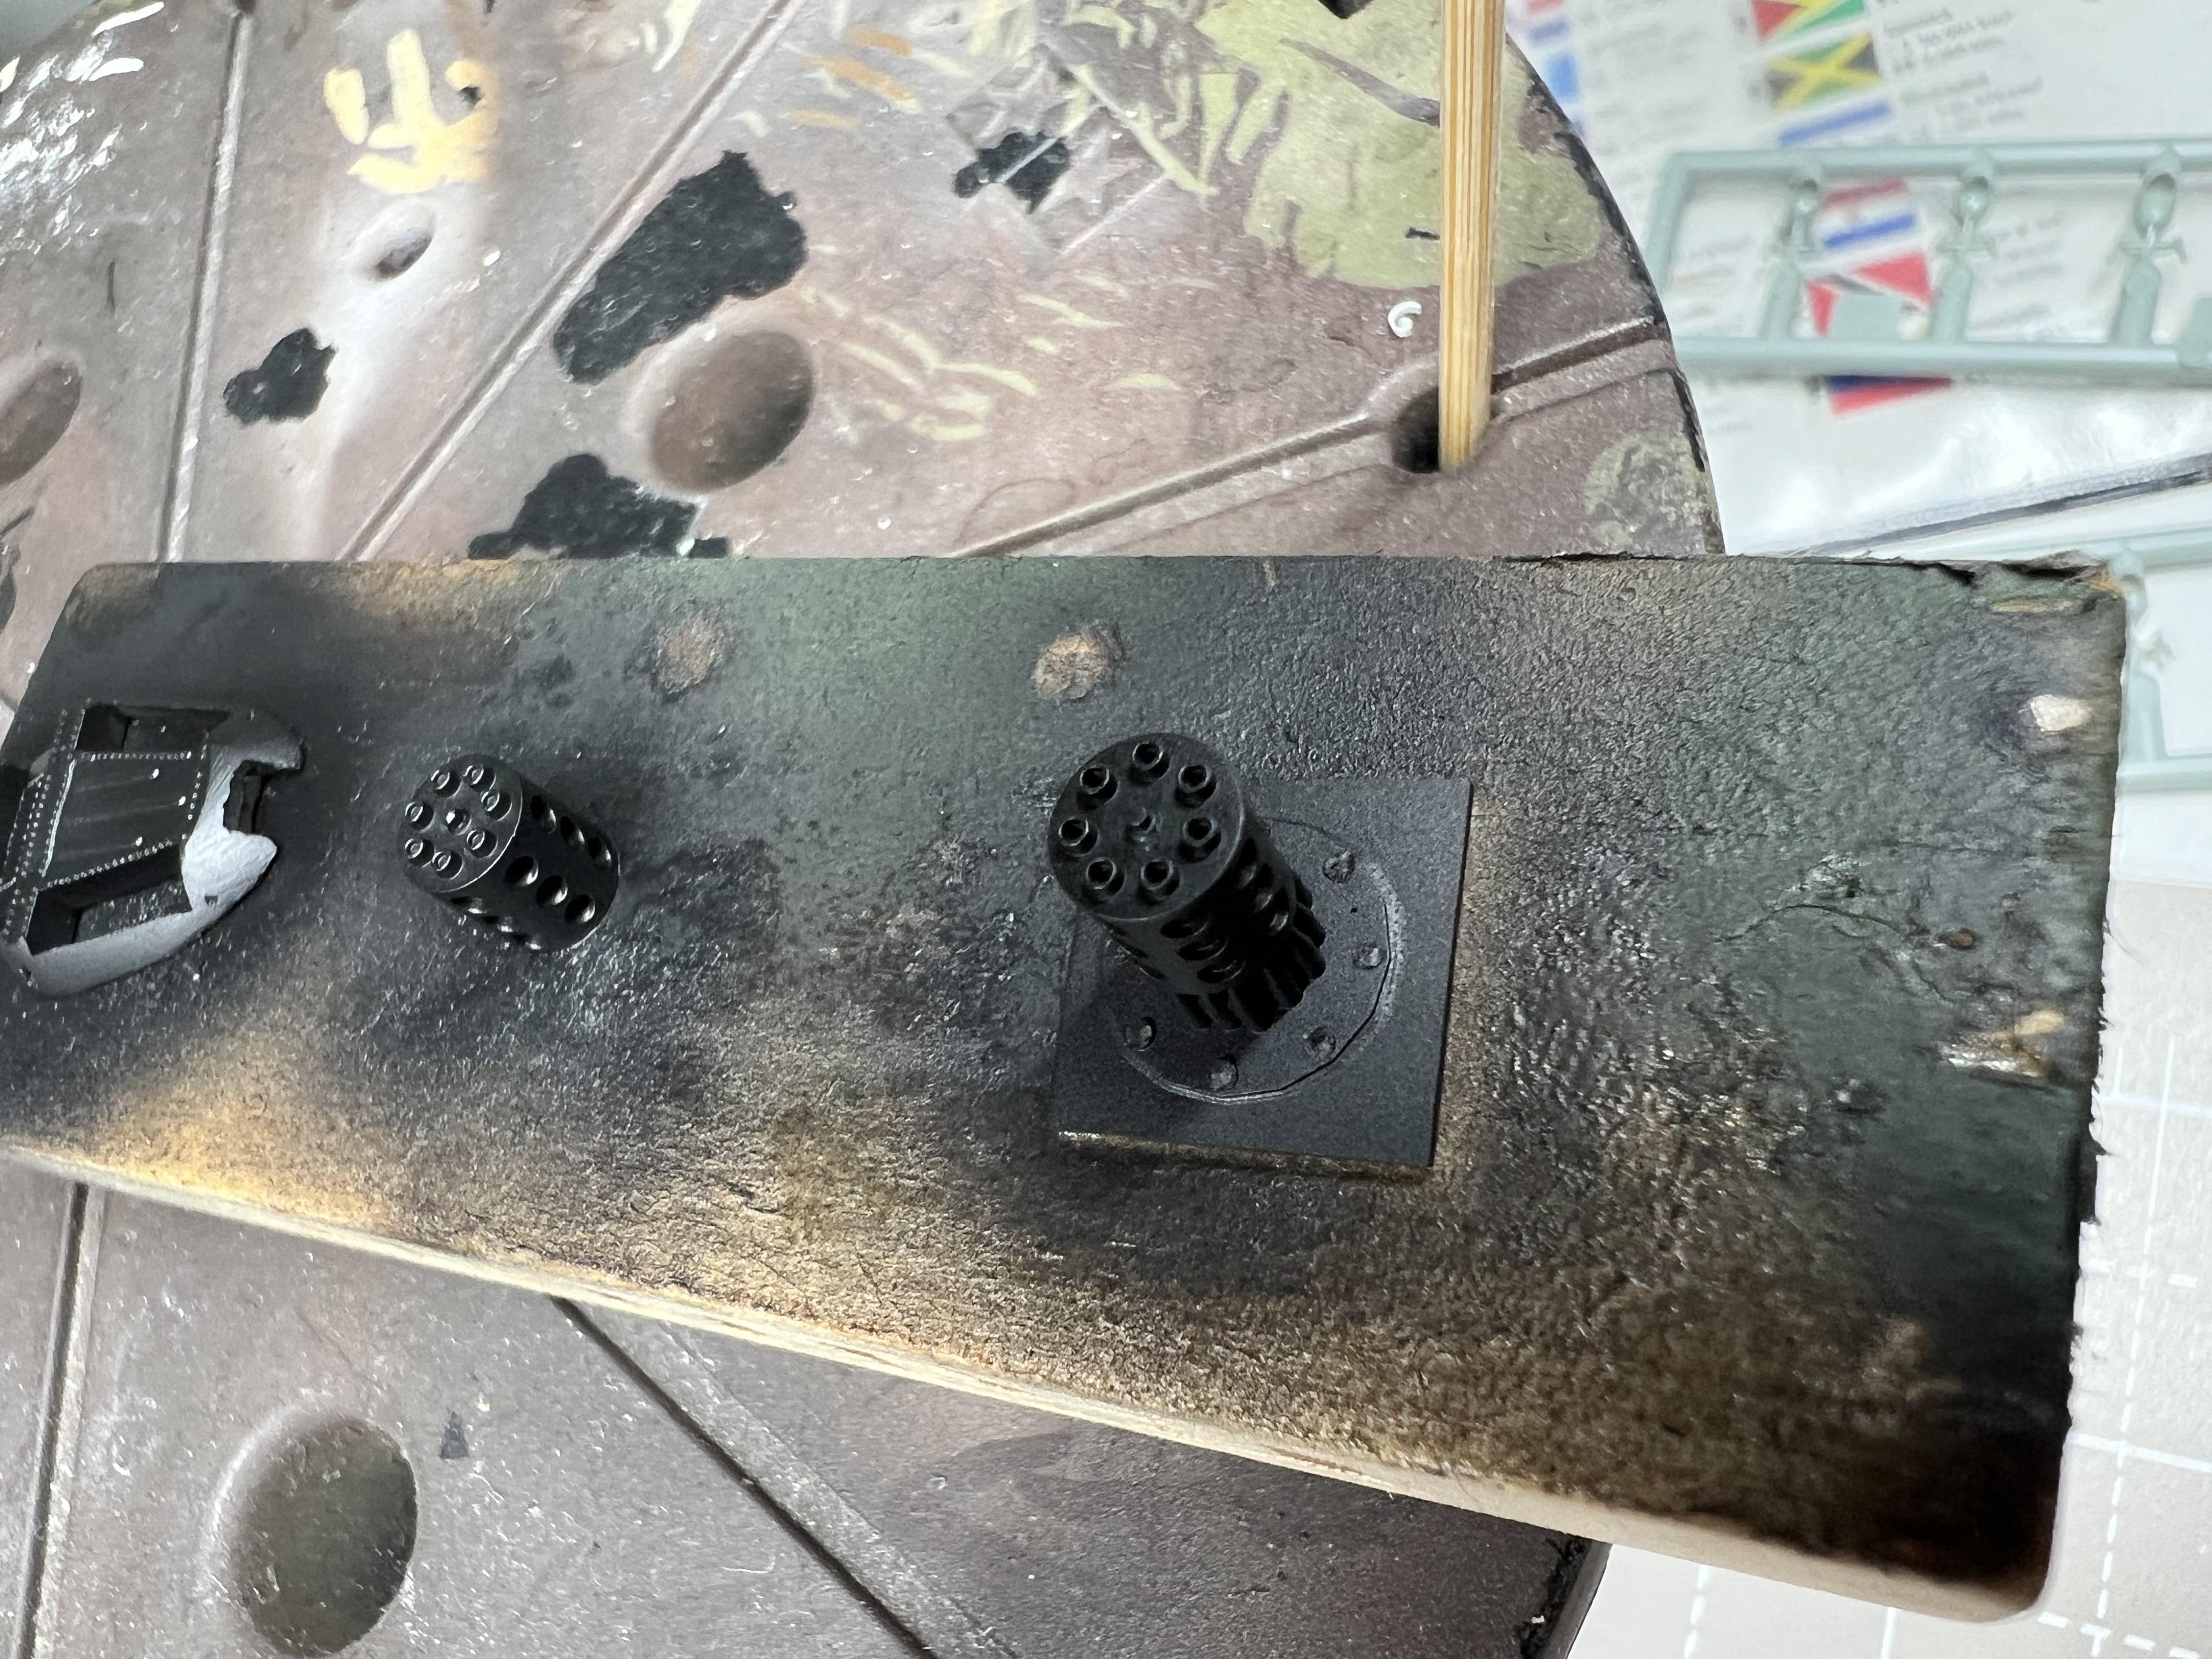
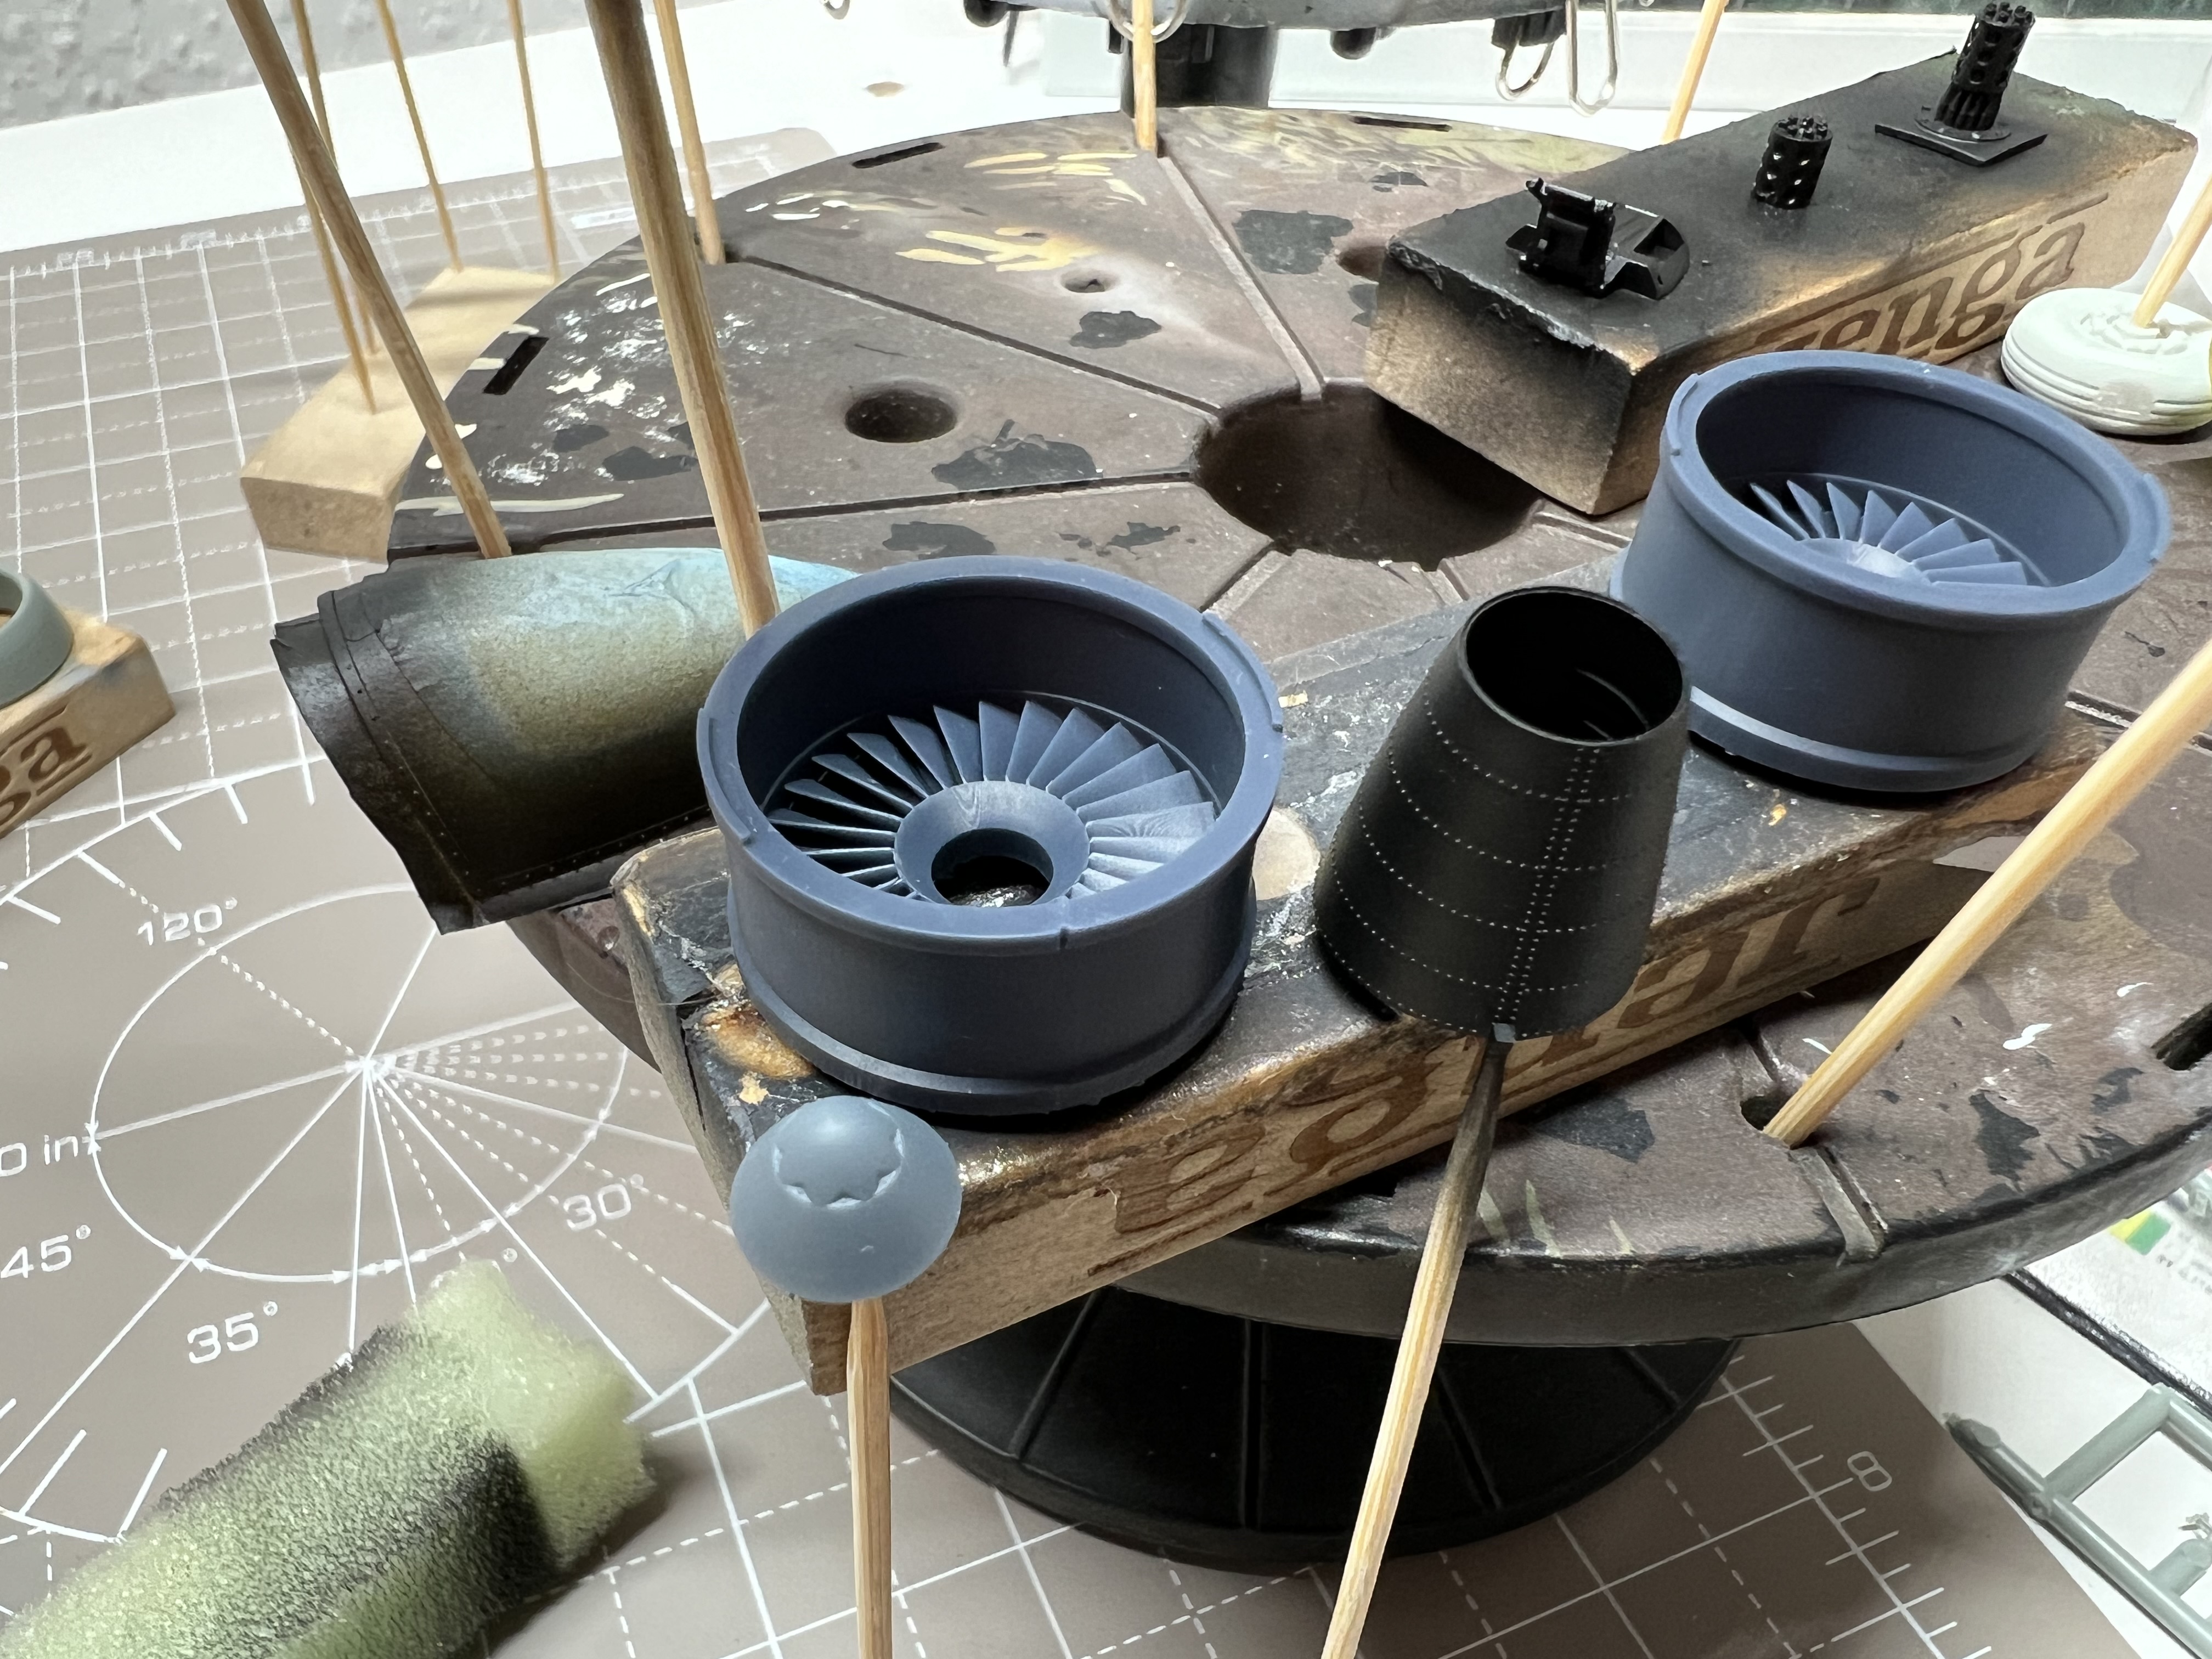
Aftermarket is all from def models and very nice too, ejector seat, recessed engine intakes and exhaust, wheels and cannon.
I have had to do a lot of filing and adjusting to get parts to fit smoothly Luciano @Littorio. Not on every part, most fit pretty well. However the engine nacelles needed attention before they fitted flush with the fuselage, and the forward fuselage is made up of a few parts which needed finessing to fit smoothly too. All probably par for the course in aircraft modelling, which i don’t have a huge amount of experience with, but I’ve been spoiled lately with the engineering of the Bandai Star Wars kits.
I would still recommend this kit as I think the detail and proportions are overall pretty good, and at this moment in time probably the best available.
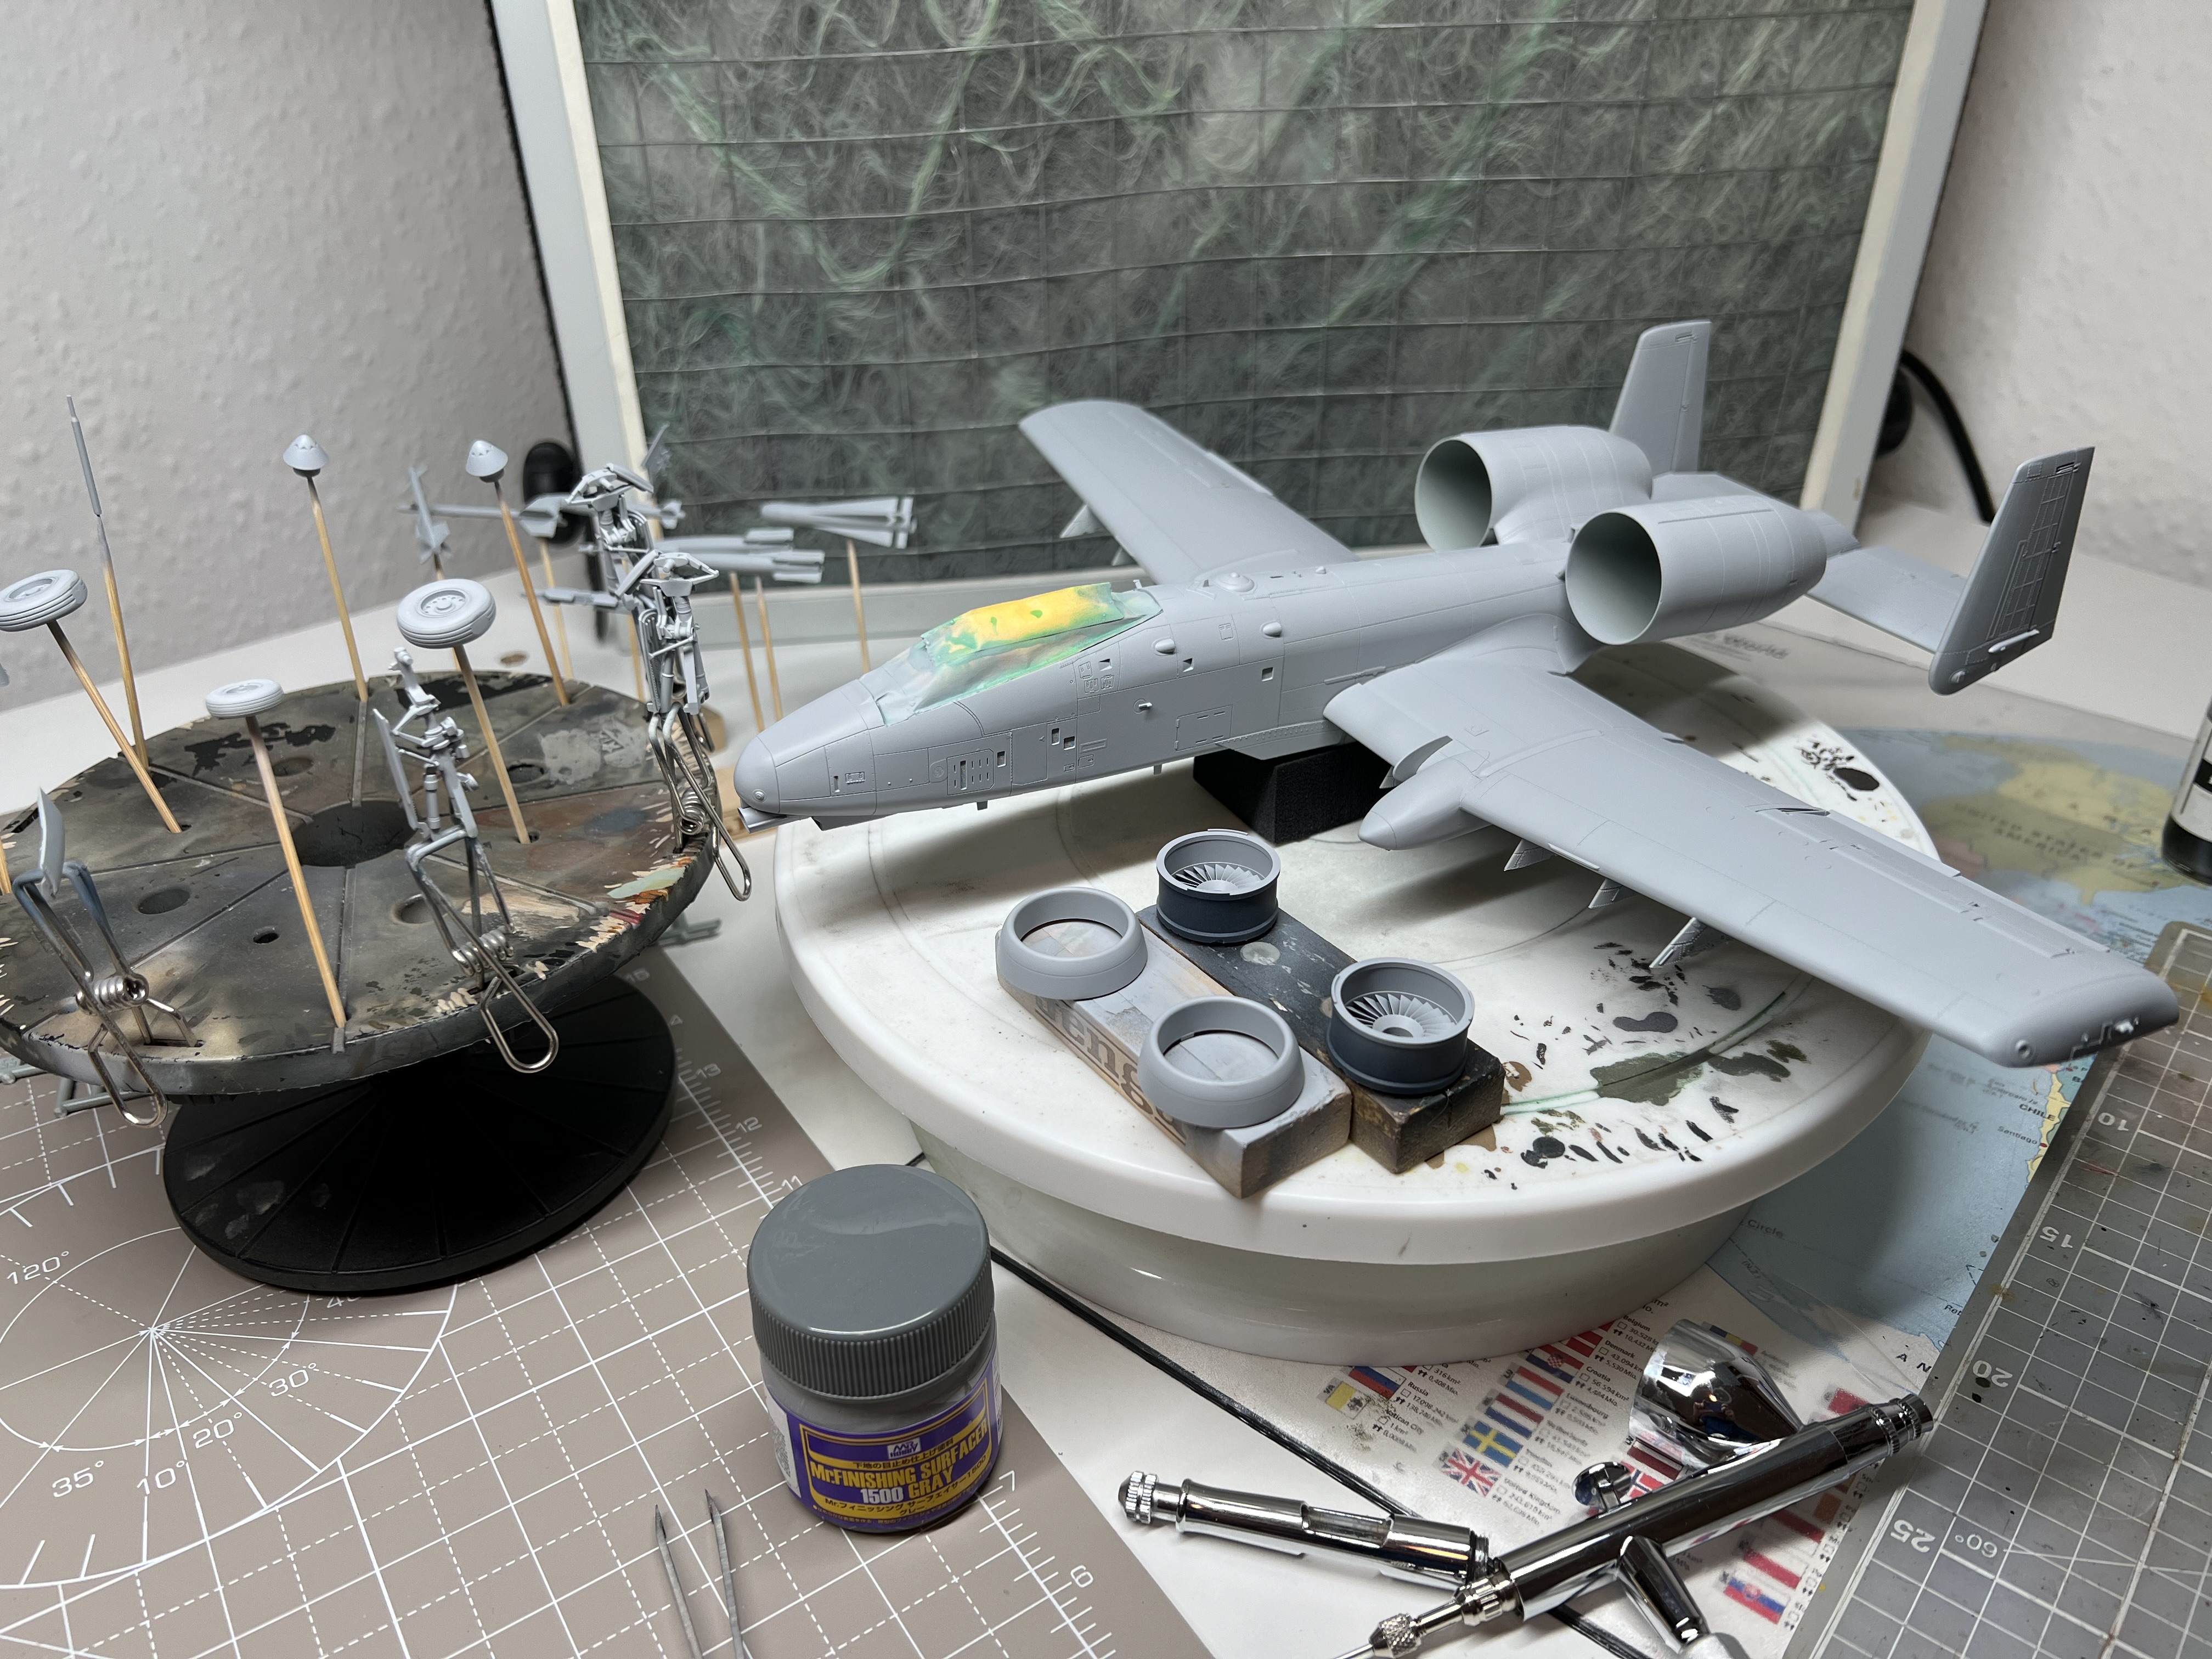
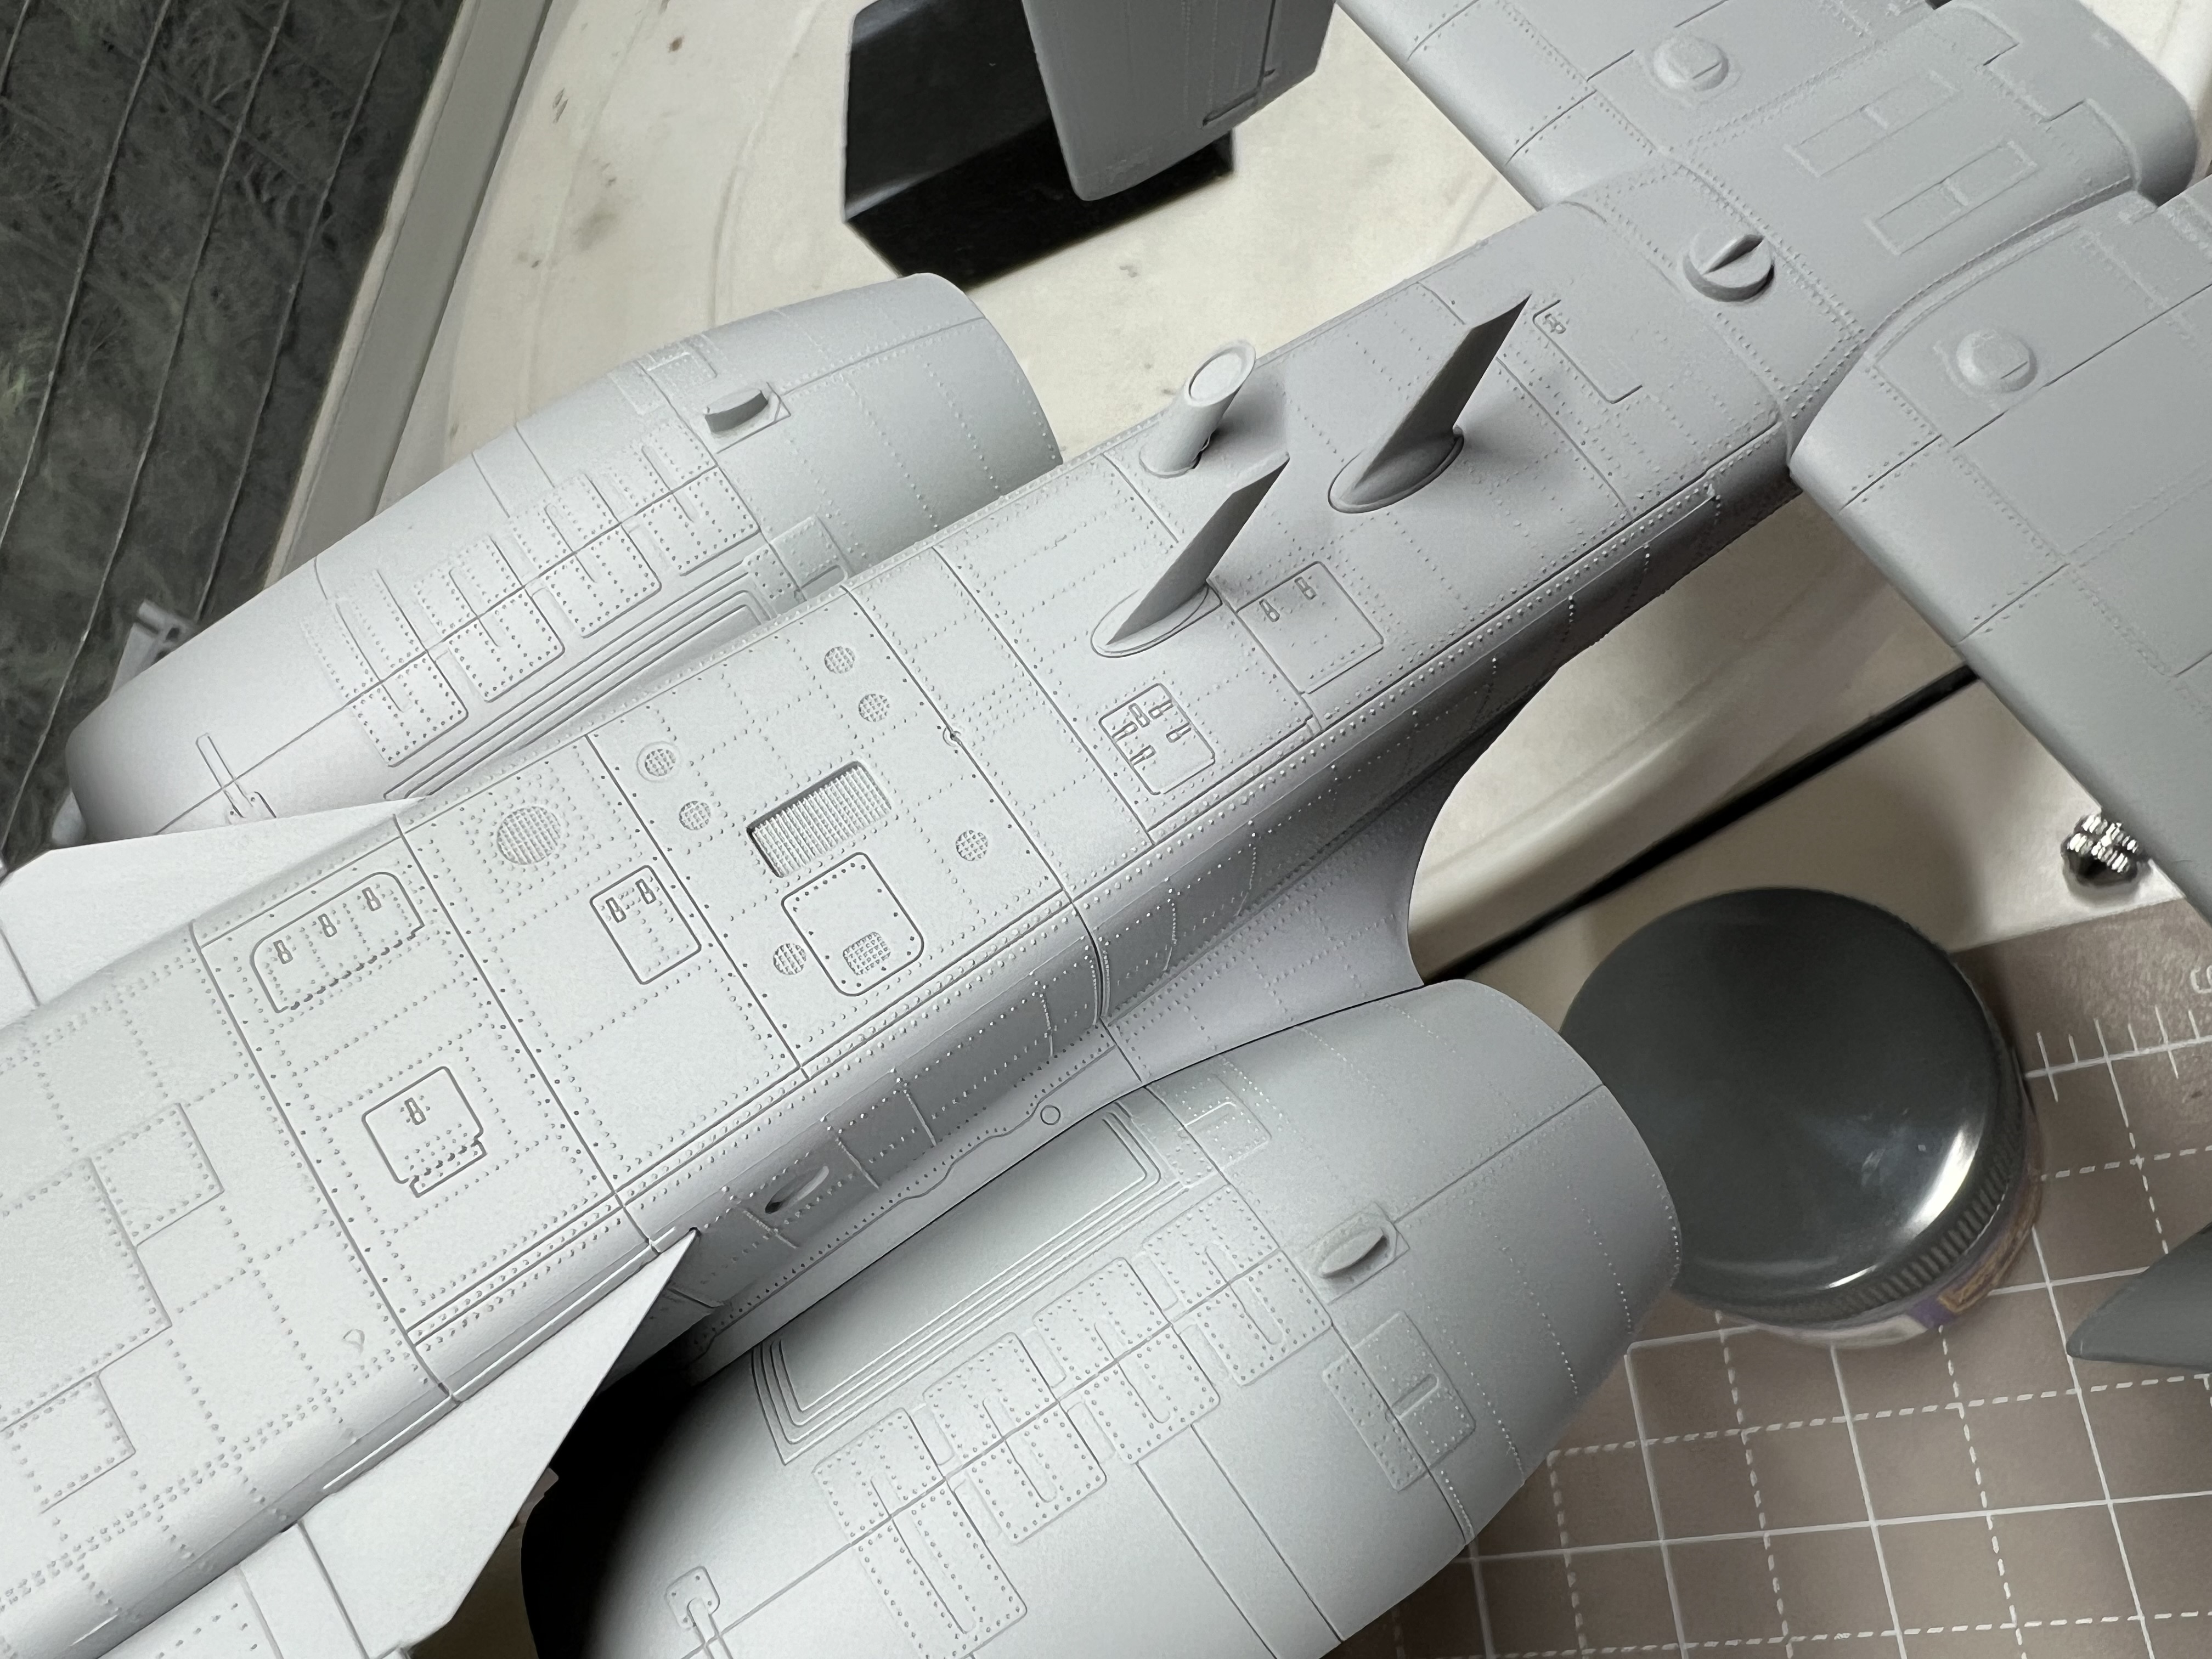
The kit is pretty good and some of the engineering is impressive. The fuselage from the cockpit back, excluding the engine section is one piece slide moulded.
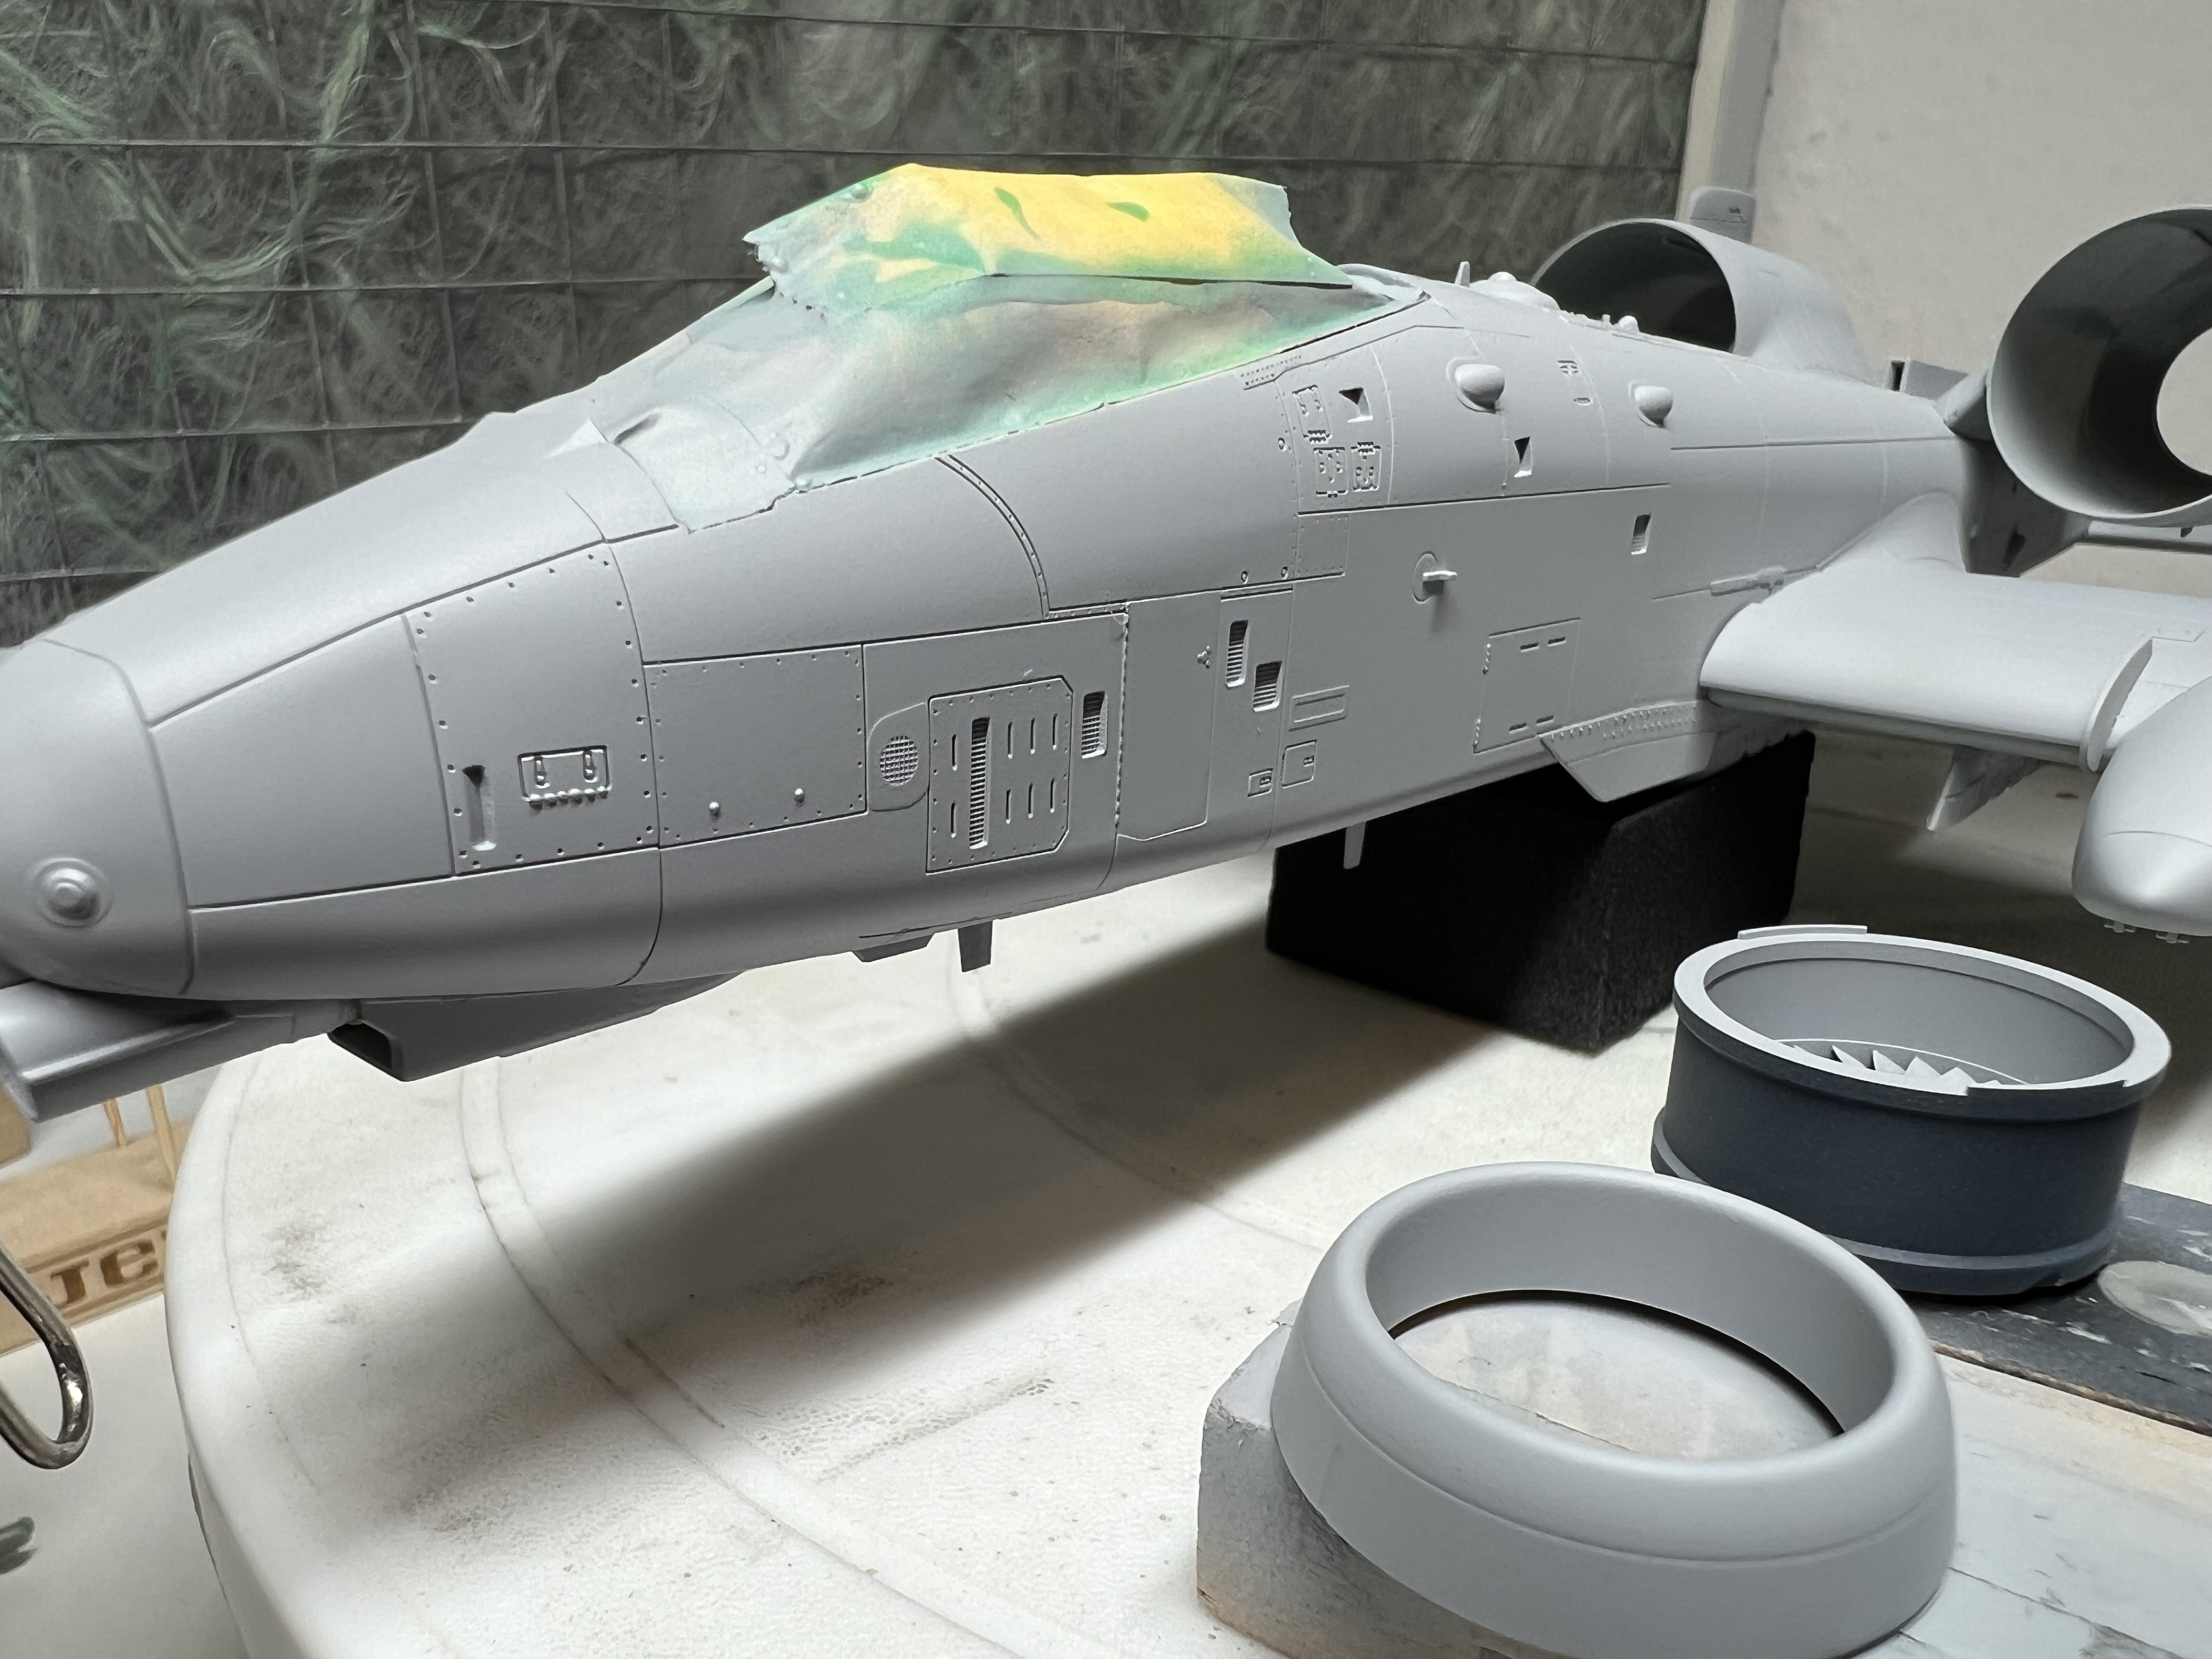
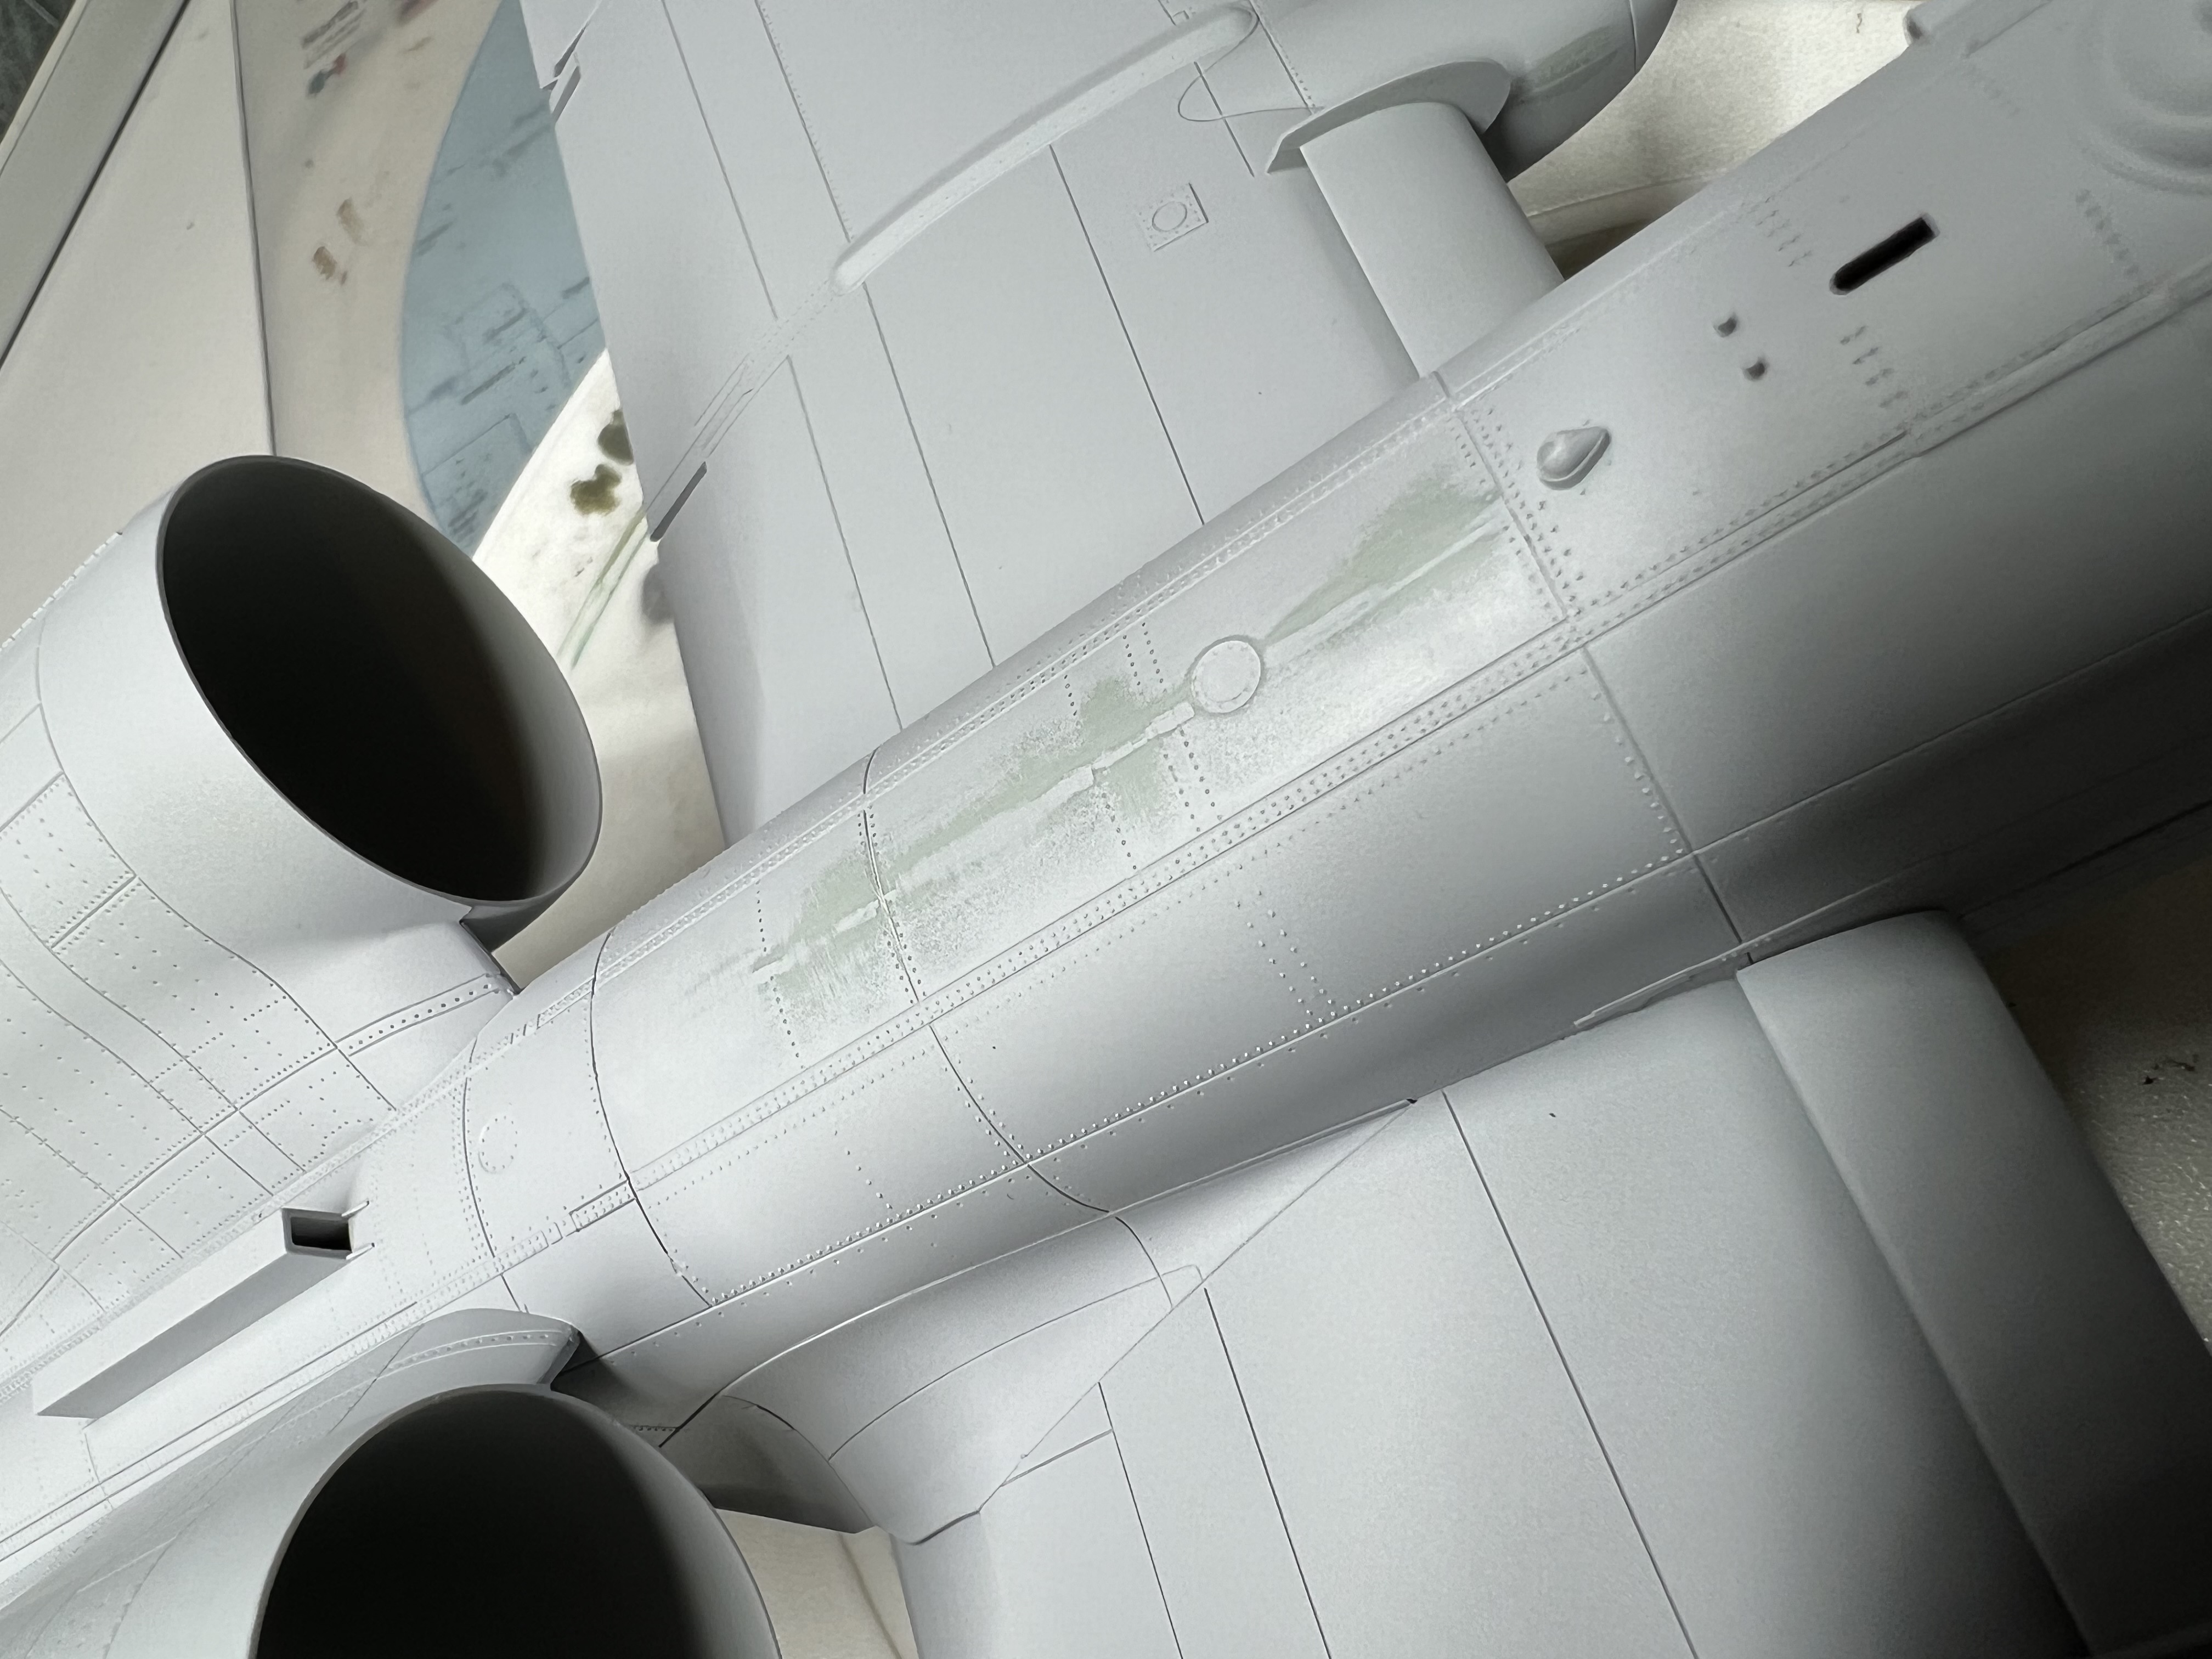
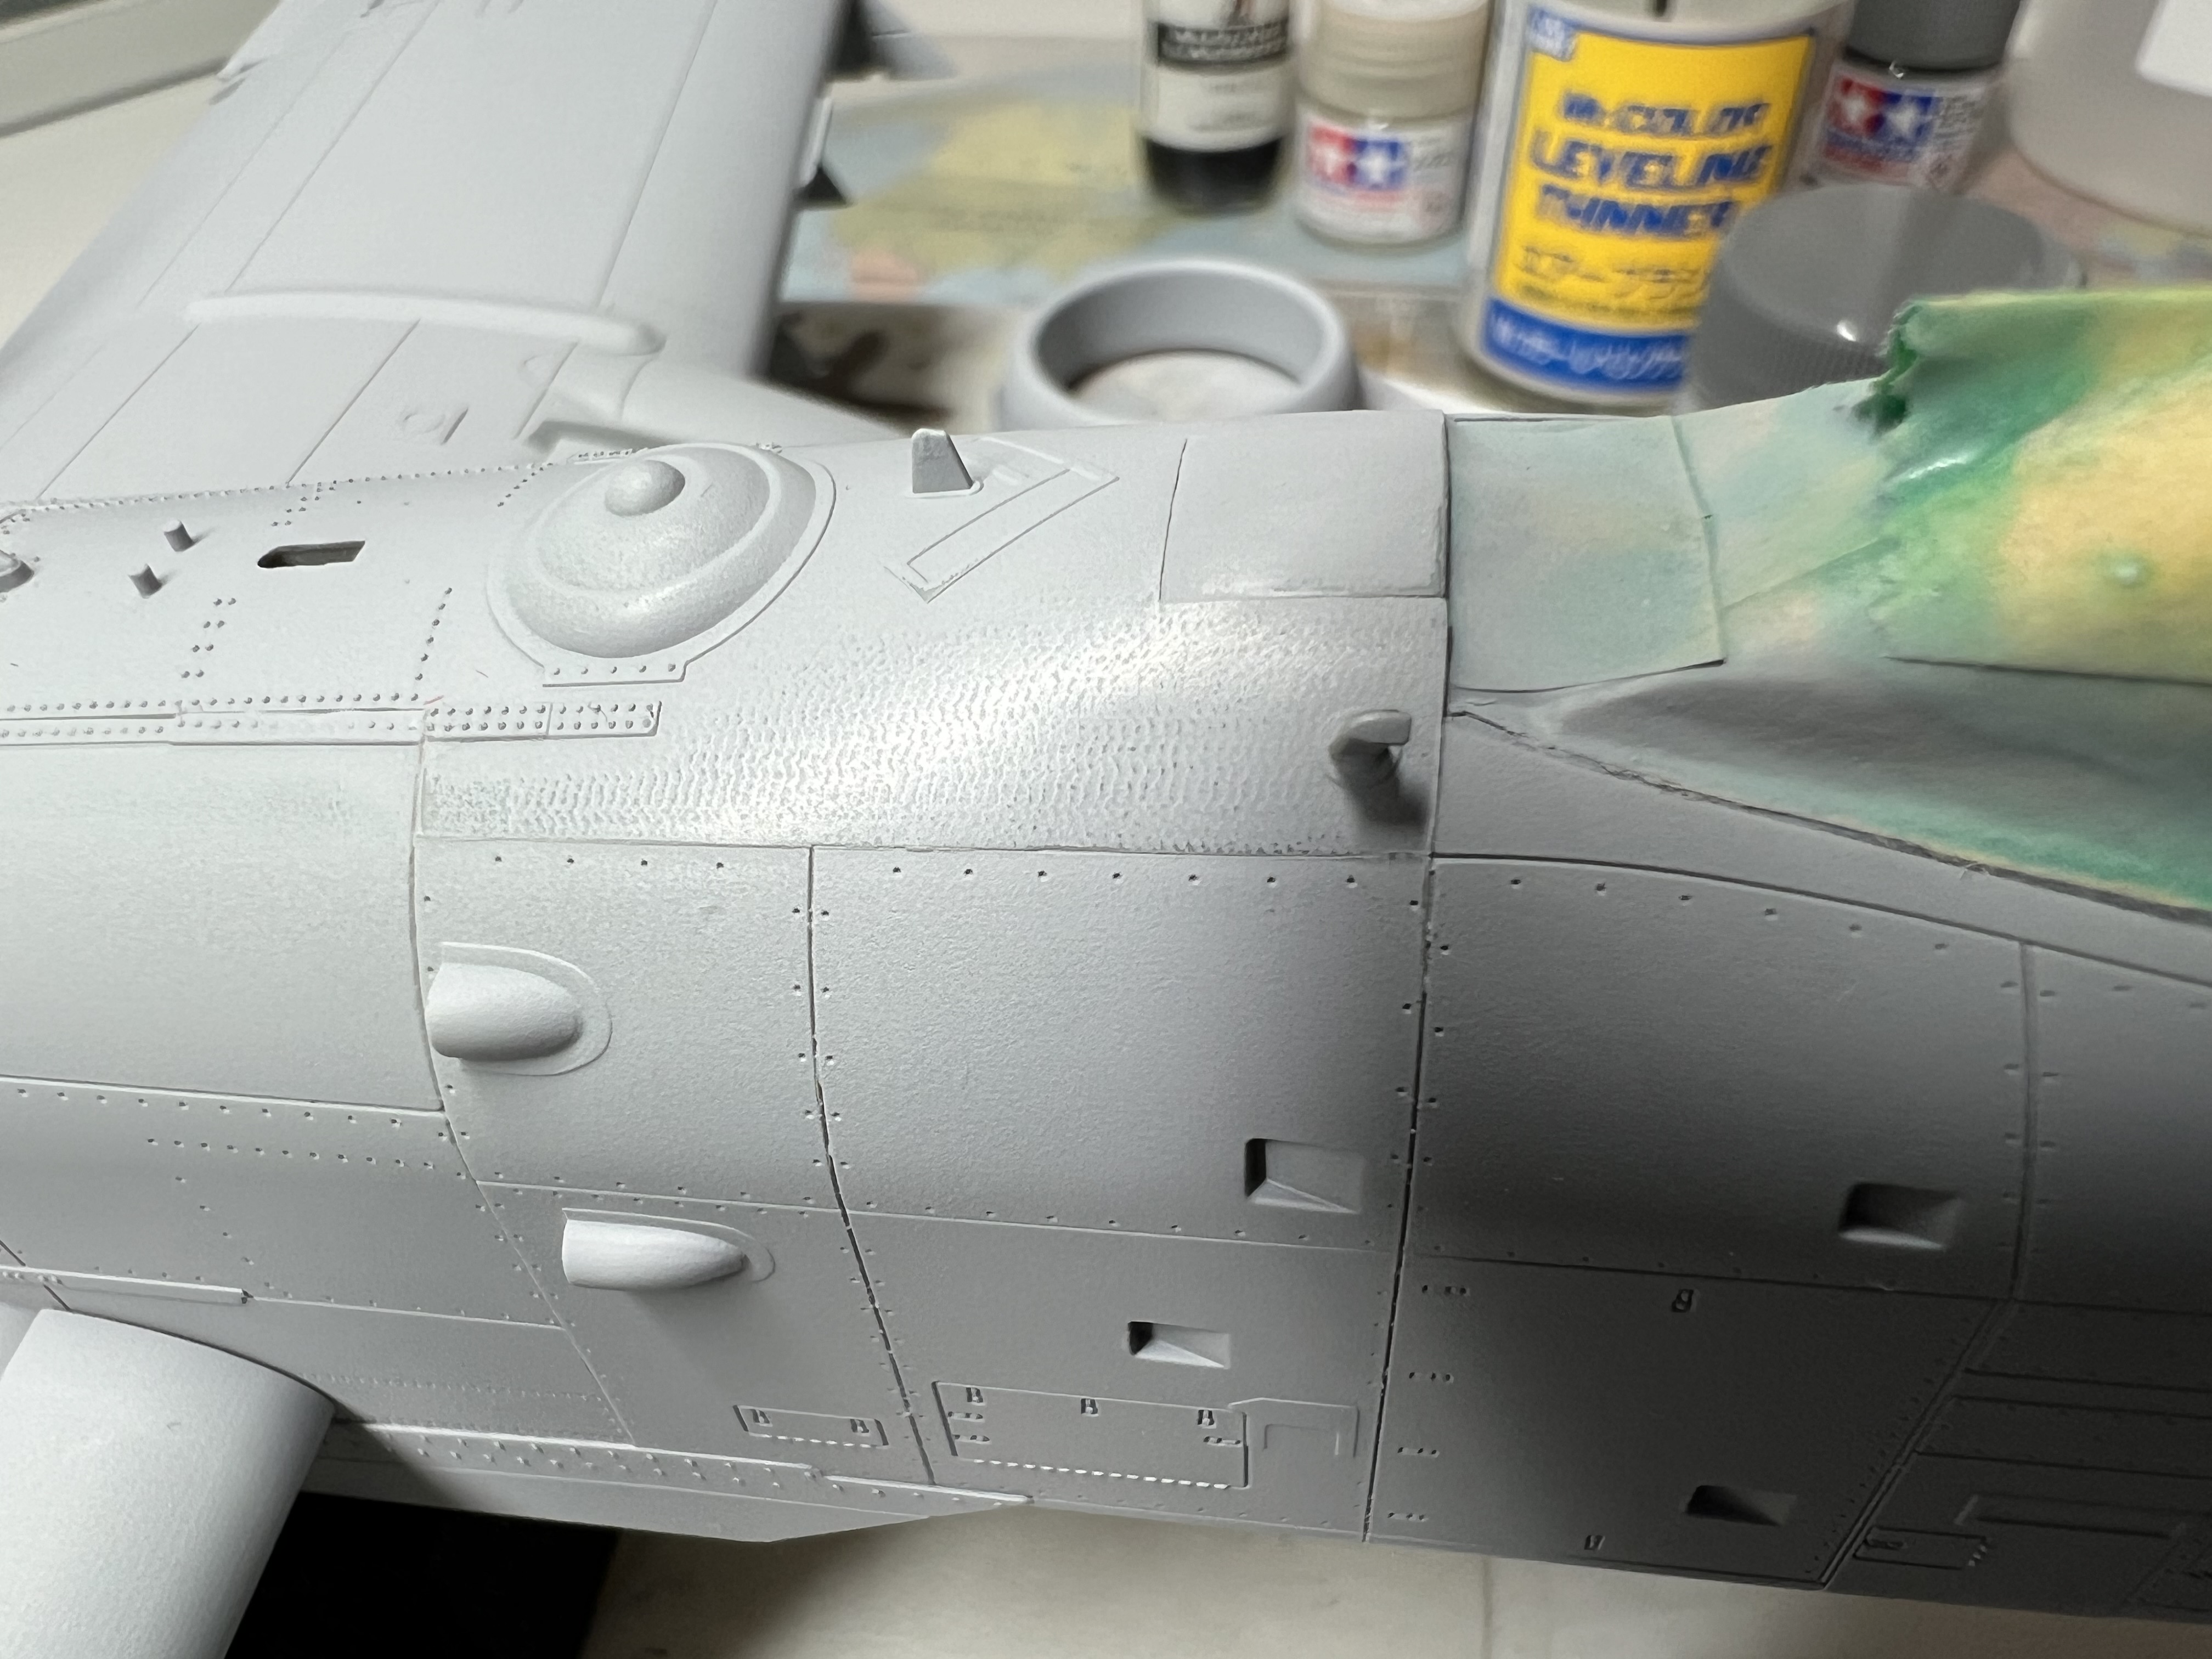
However there was a step mould line along the top which I struggled to sort out without removing the raised rivet detail. After priming I have decided to remove the rivets in the sections shown below as the seam was just too obvious and impossible to fix without removing more rivets. Replacing rivets is not in my skill set, yet!
Also, in the second pic you can see the part had some waffle pattern in it, which I have hopefully mostly sanded out, which would suggest a problem with the mould?
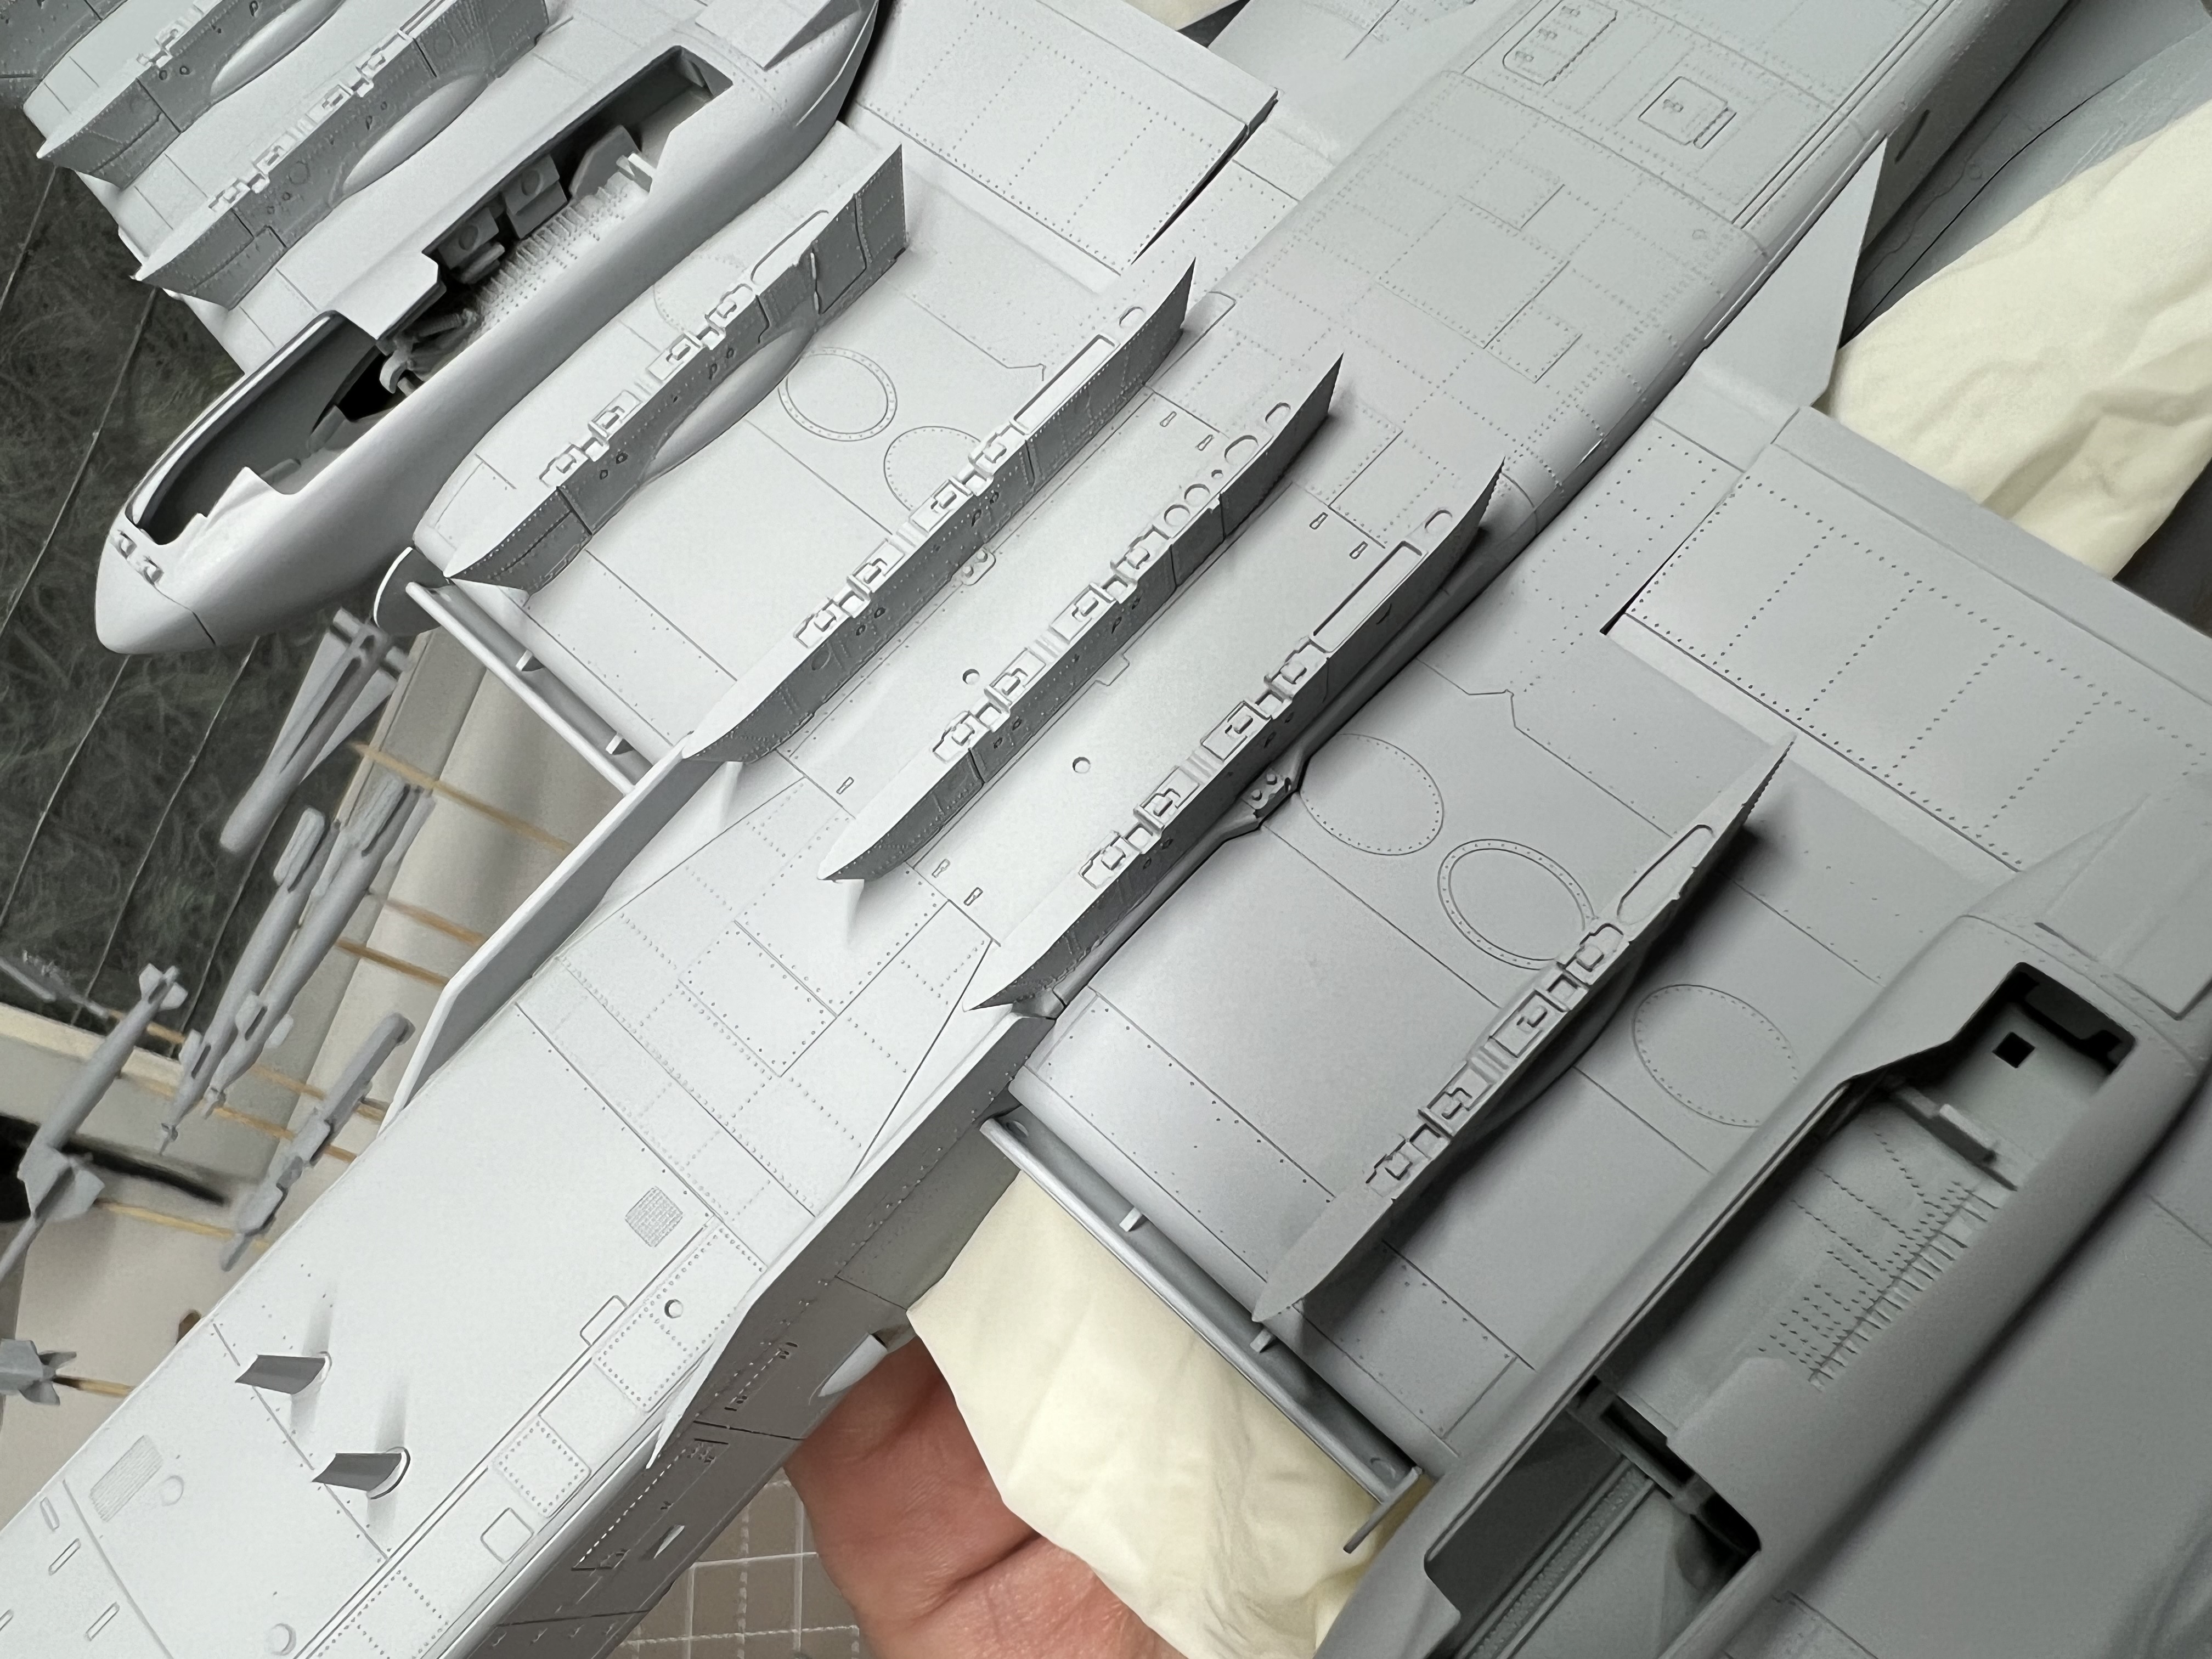
Also have some more work to do on the wing wheel well housings, not the best fit for those parts.
So, some more sanding and filling and some spot priming then onto the actual paint job. I’m beginning to properly enjoy this one!
Thanks John @Johnnych01 , the less seams the better for sure.
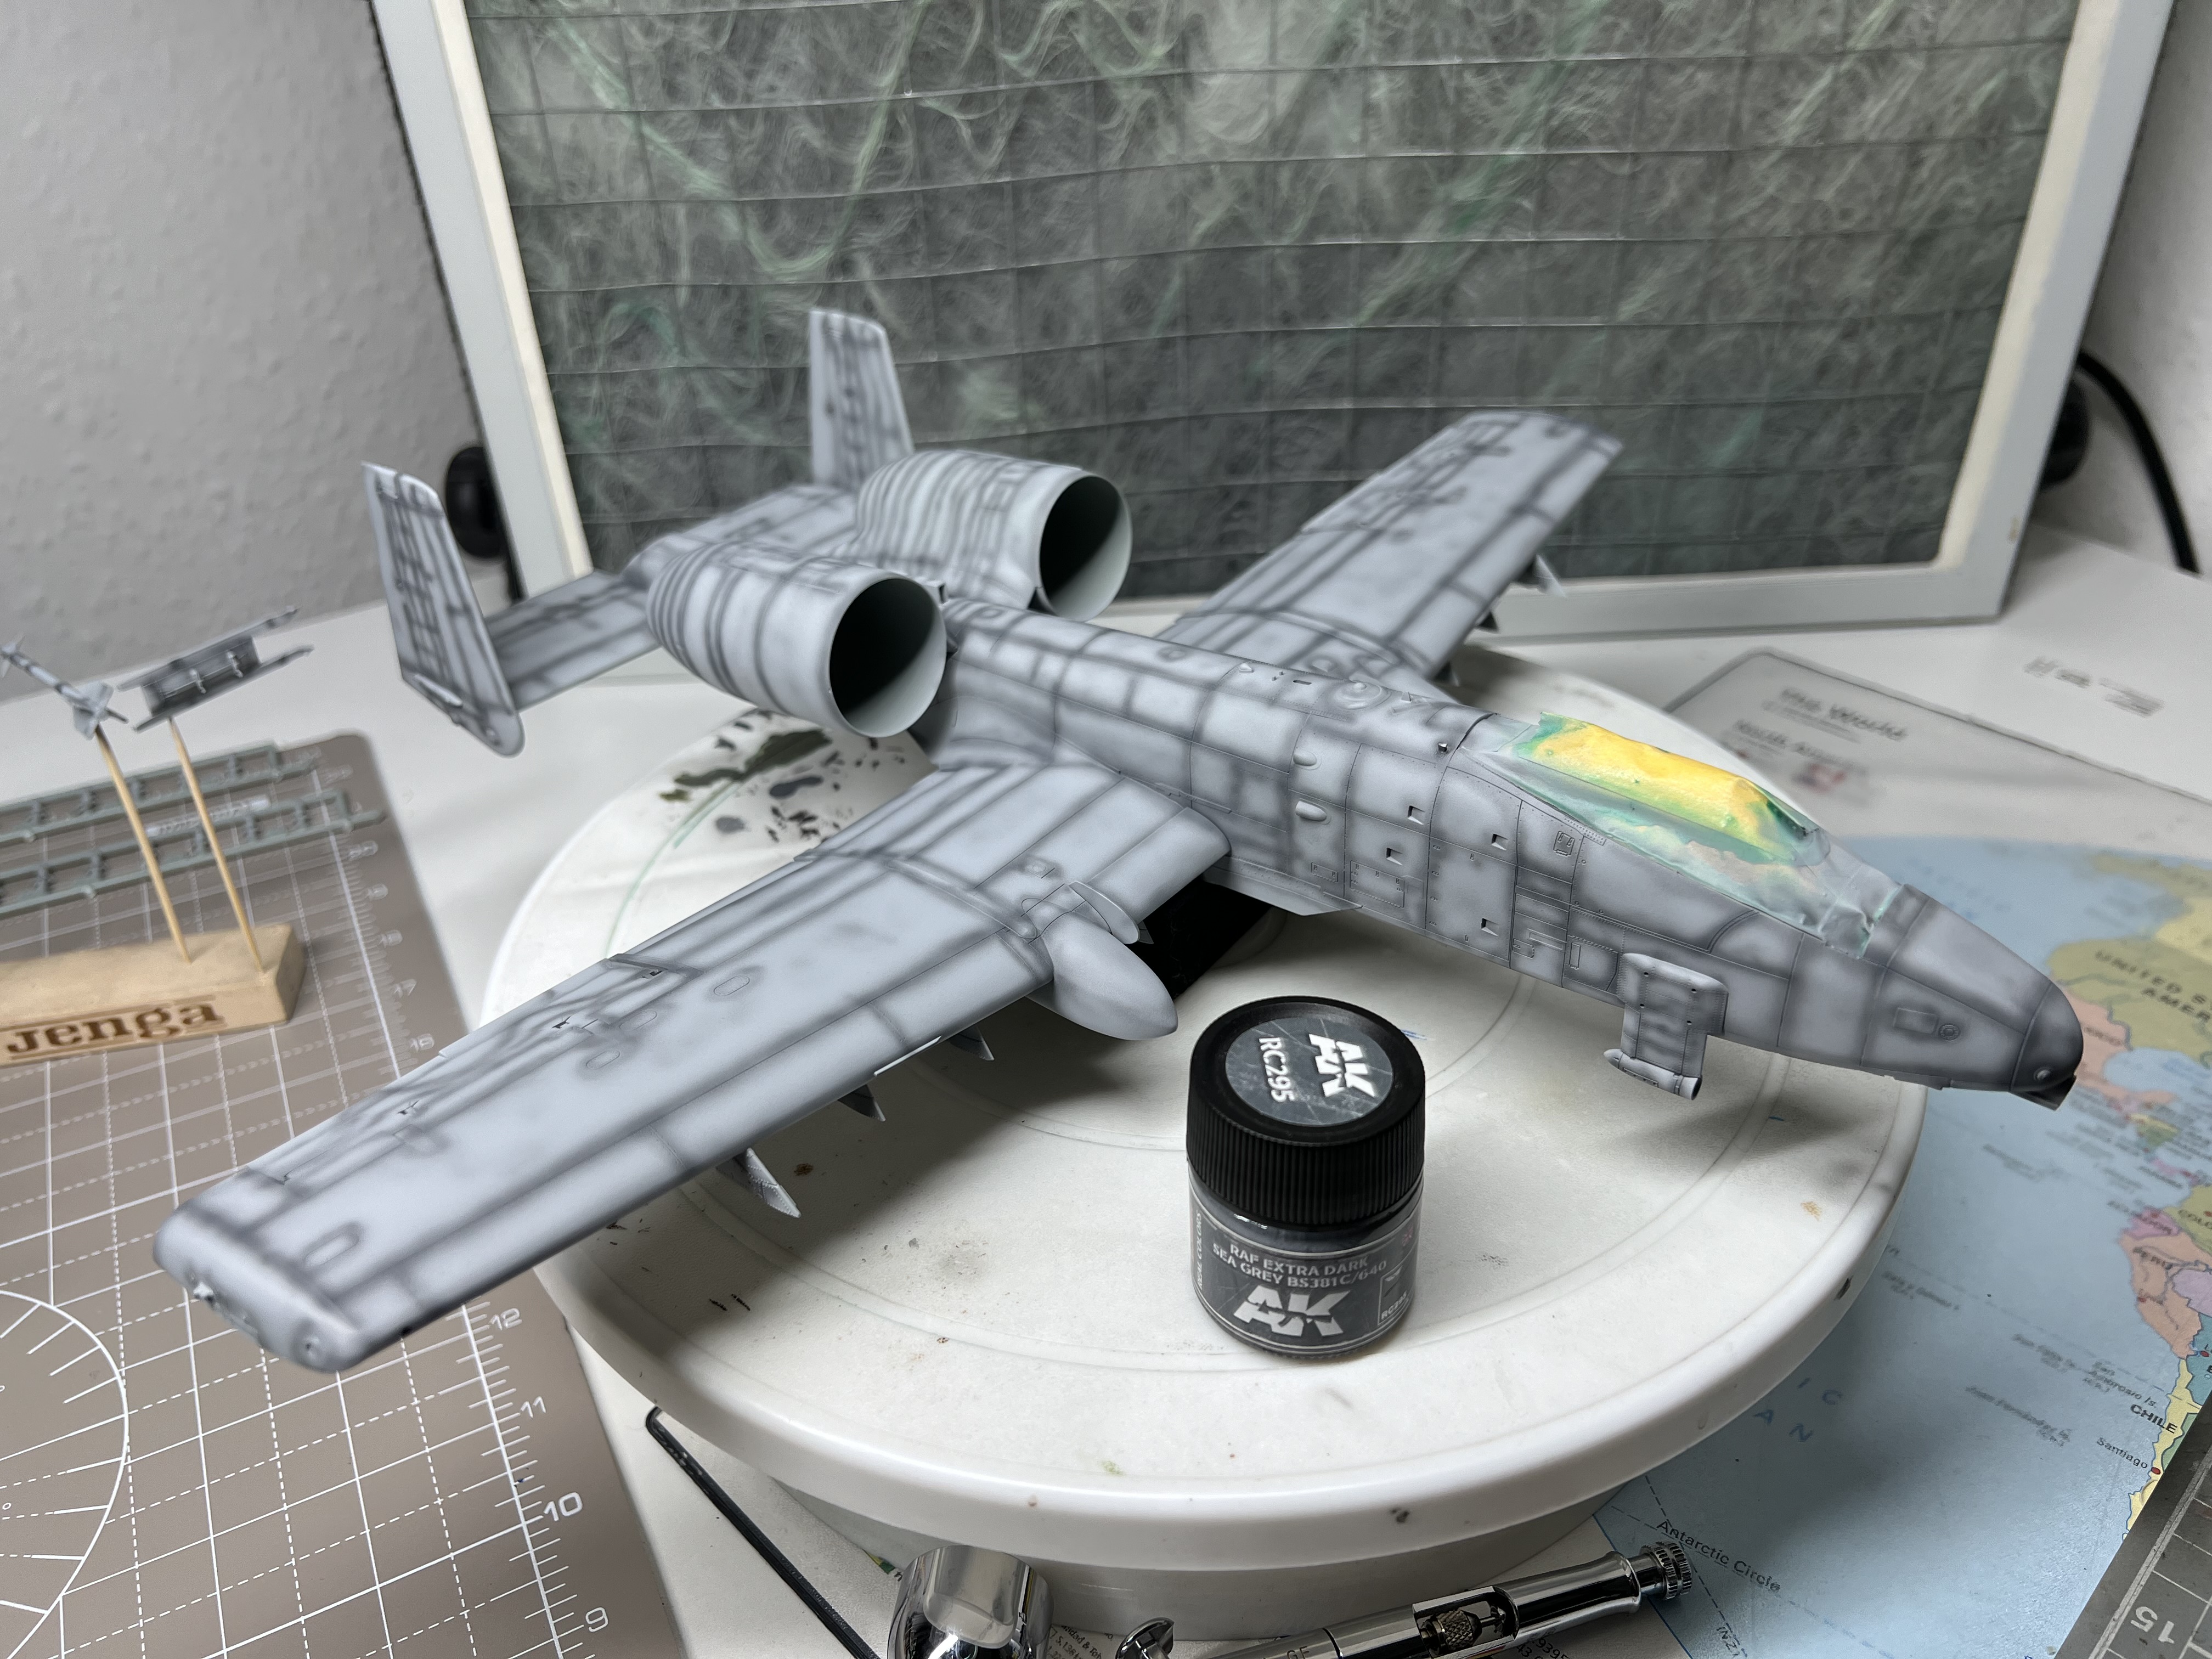
A couple of sessions of pre shading completed. AK real colour RAF extra dark sea grey thinned 2:1 levelling thinner to paint. Actually the same process I used on the AH-1Z Viper. Although I added some mottling to panels on this. The contrast isn’t quite so stark as the pics show.
Thanks Michael @justsendit , just don’t zoom in too close!
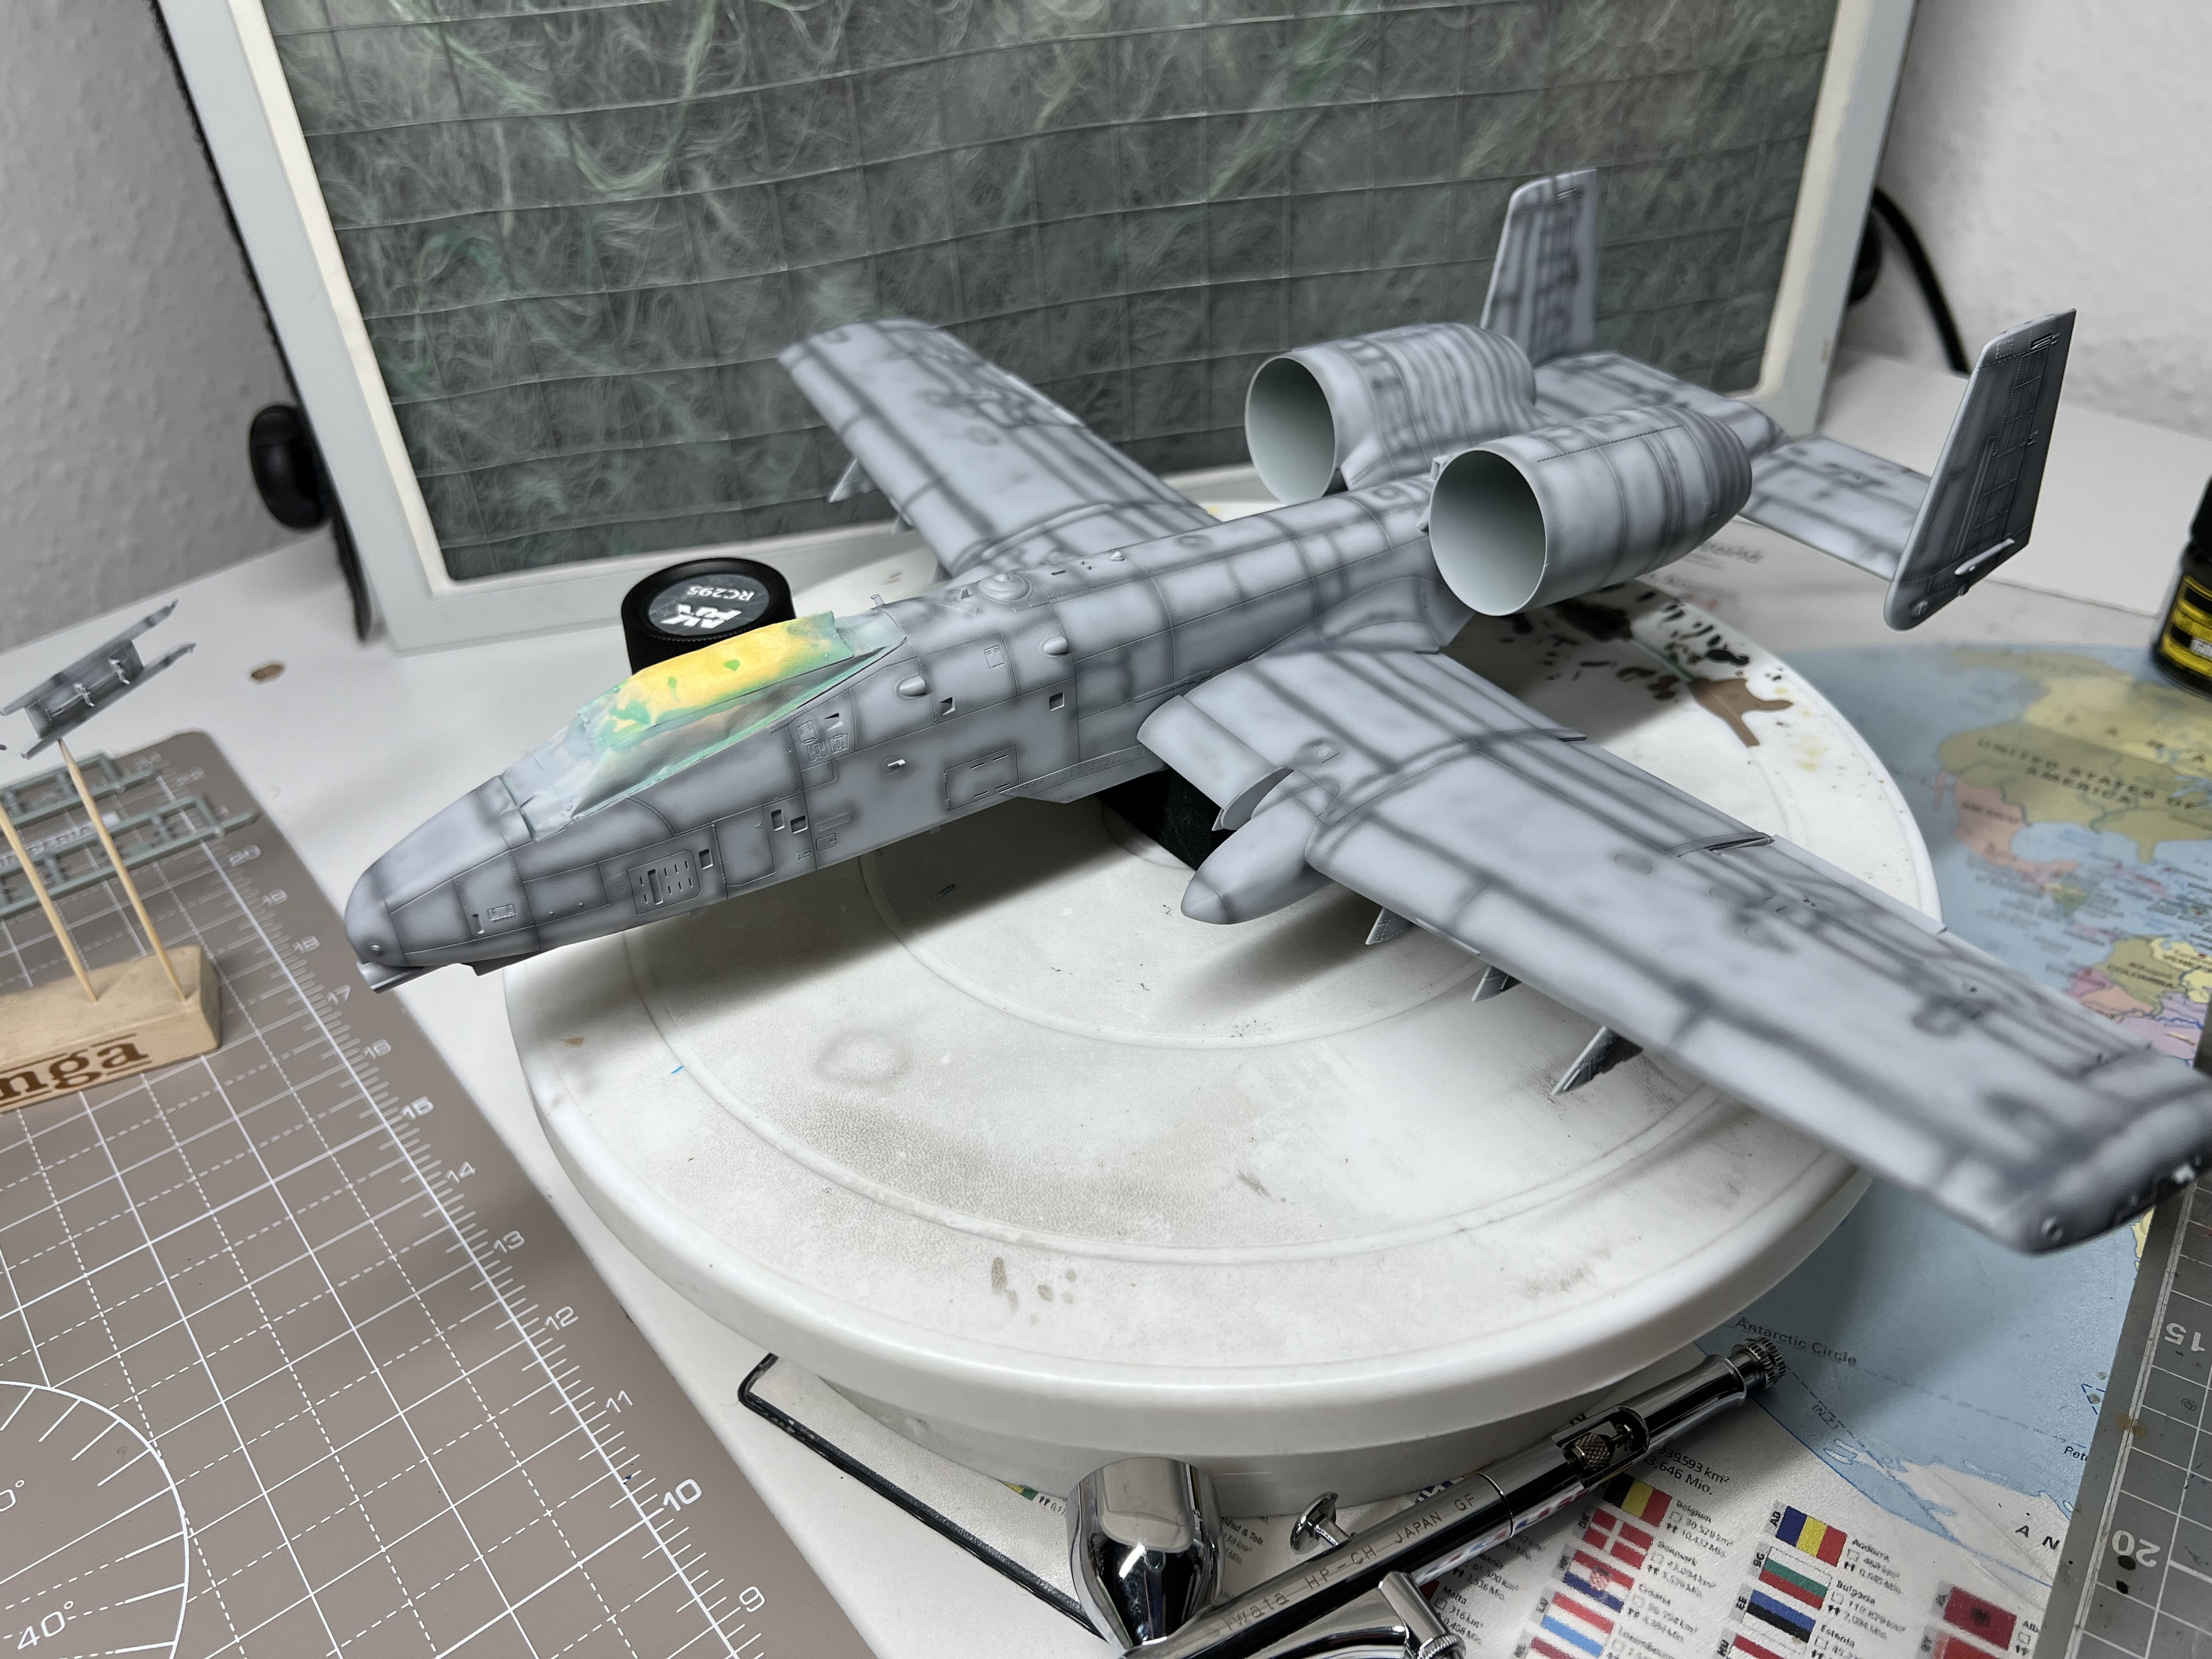
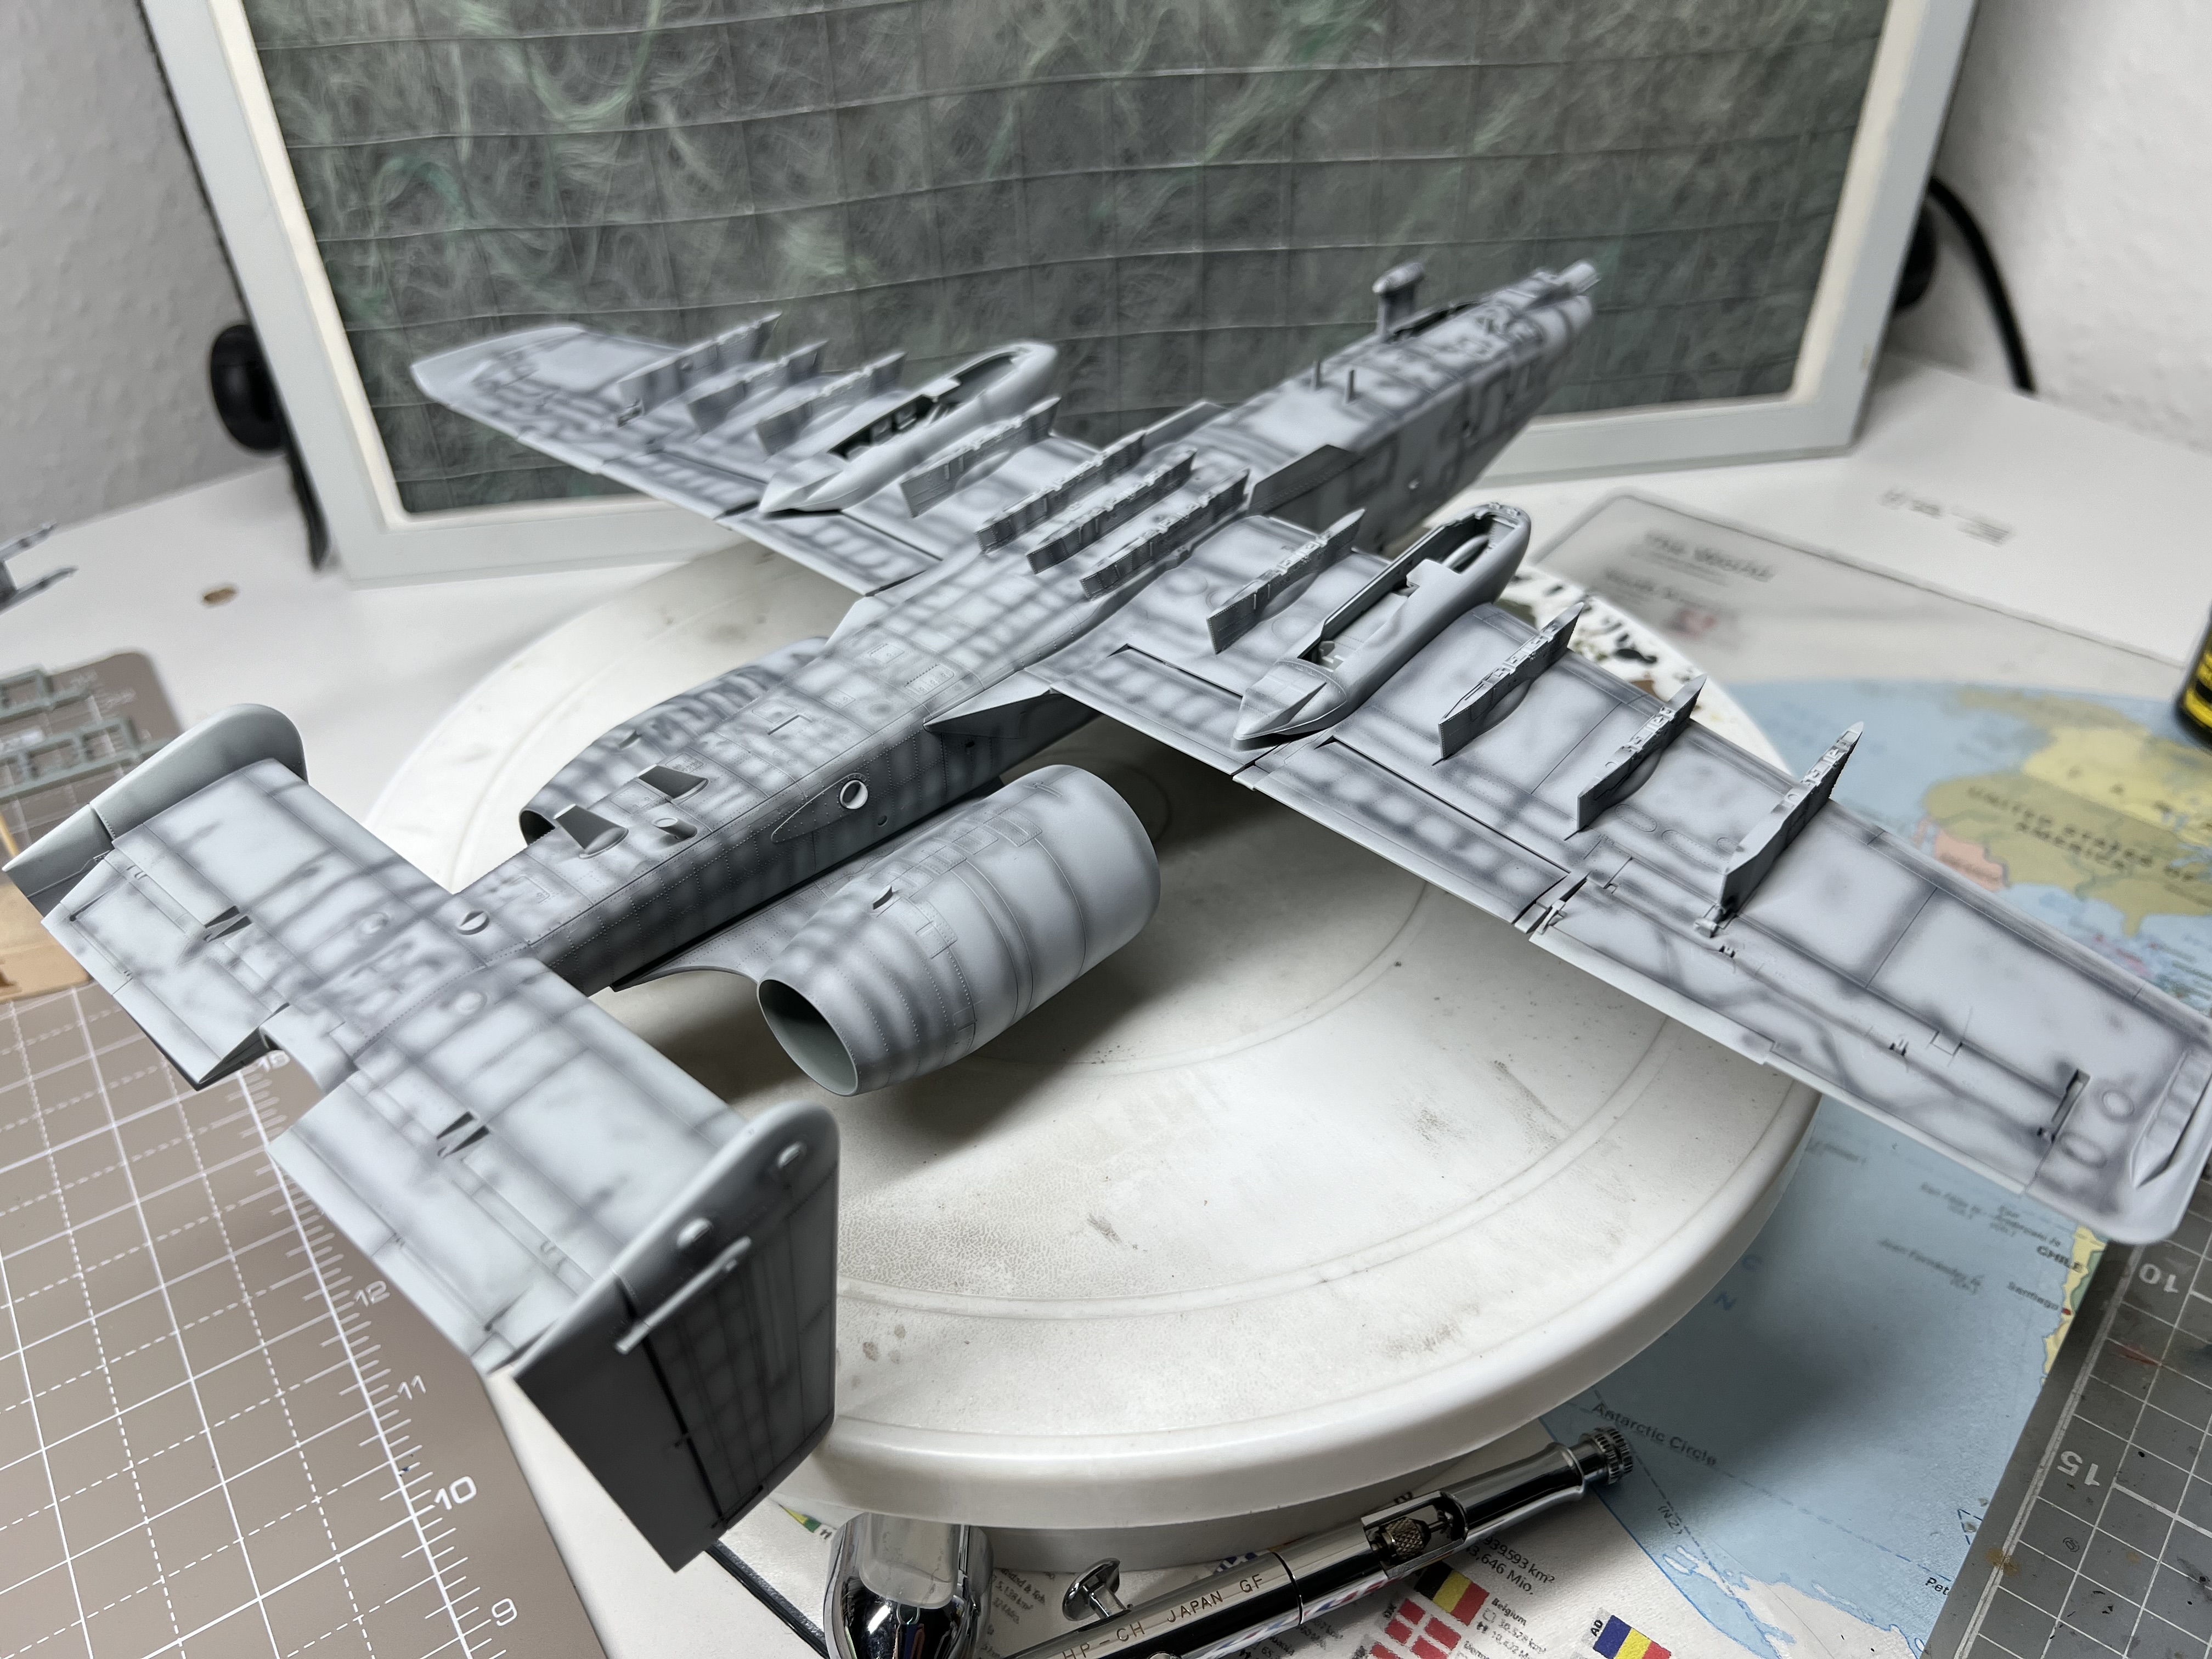
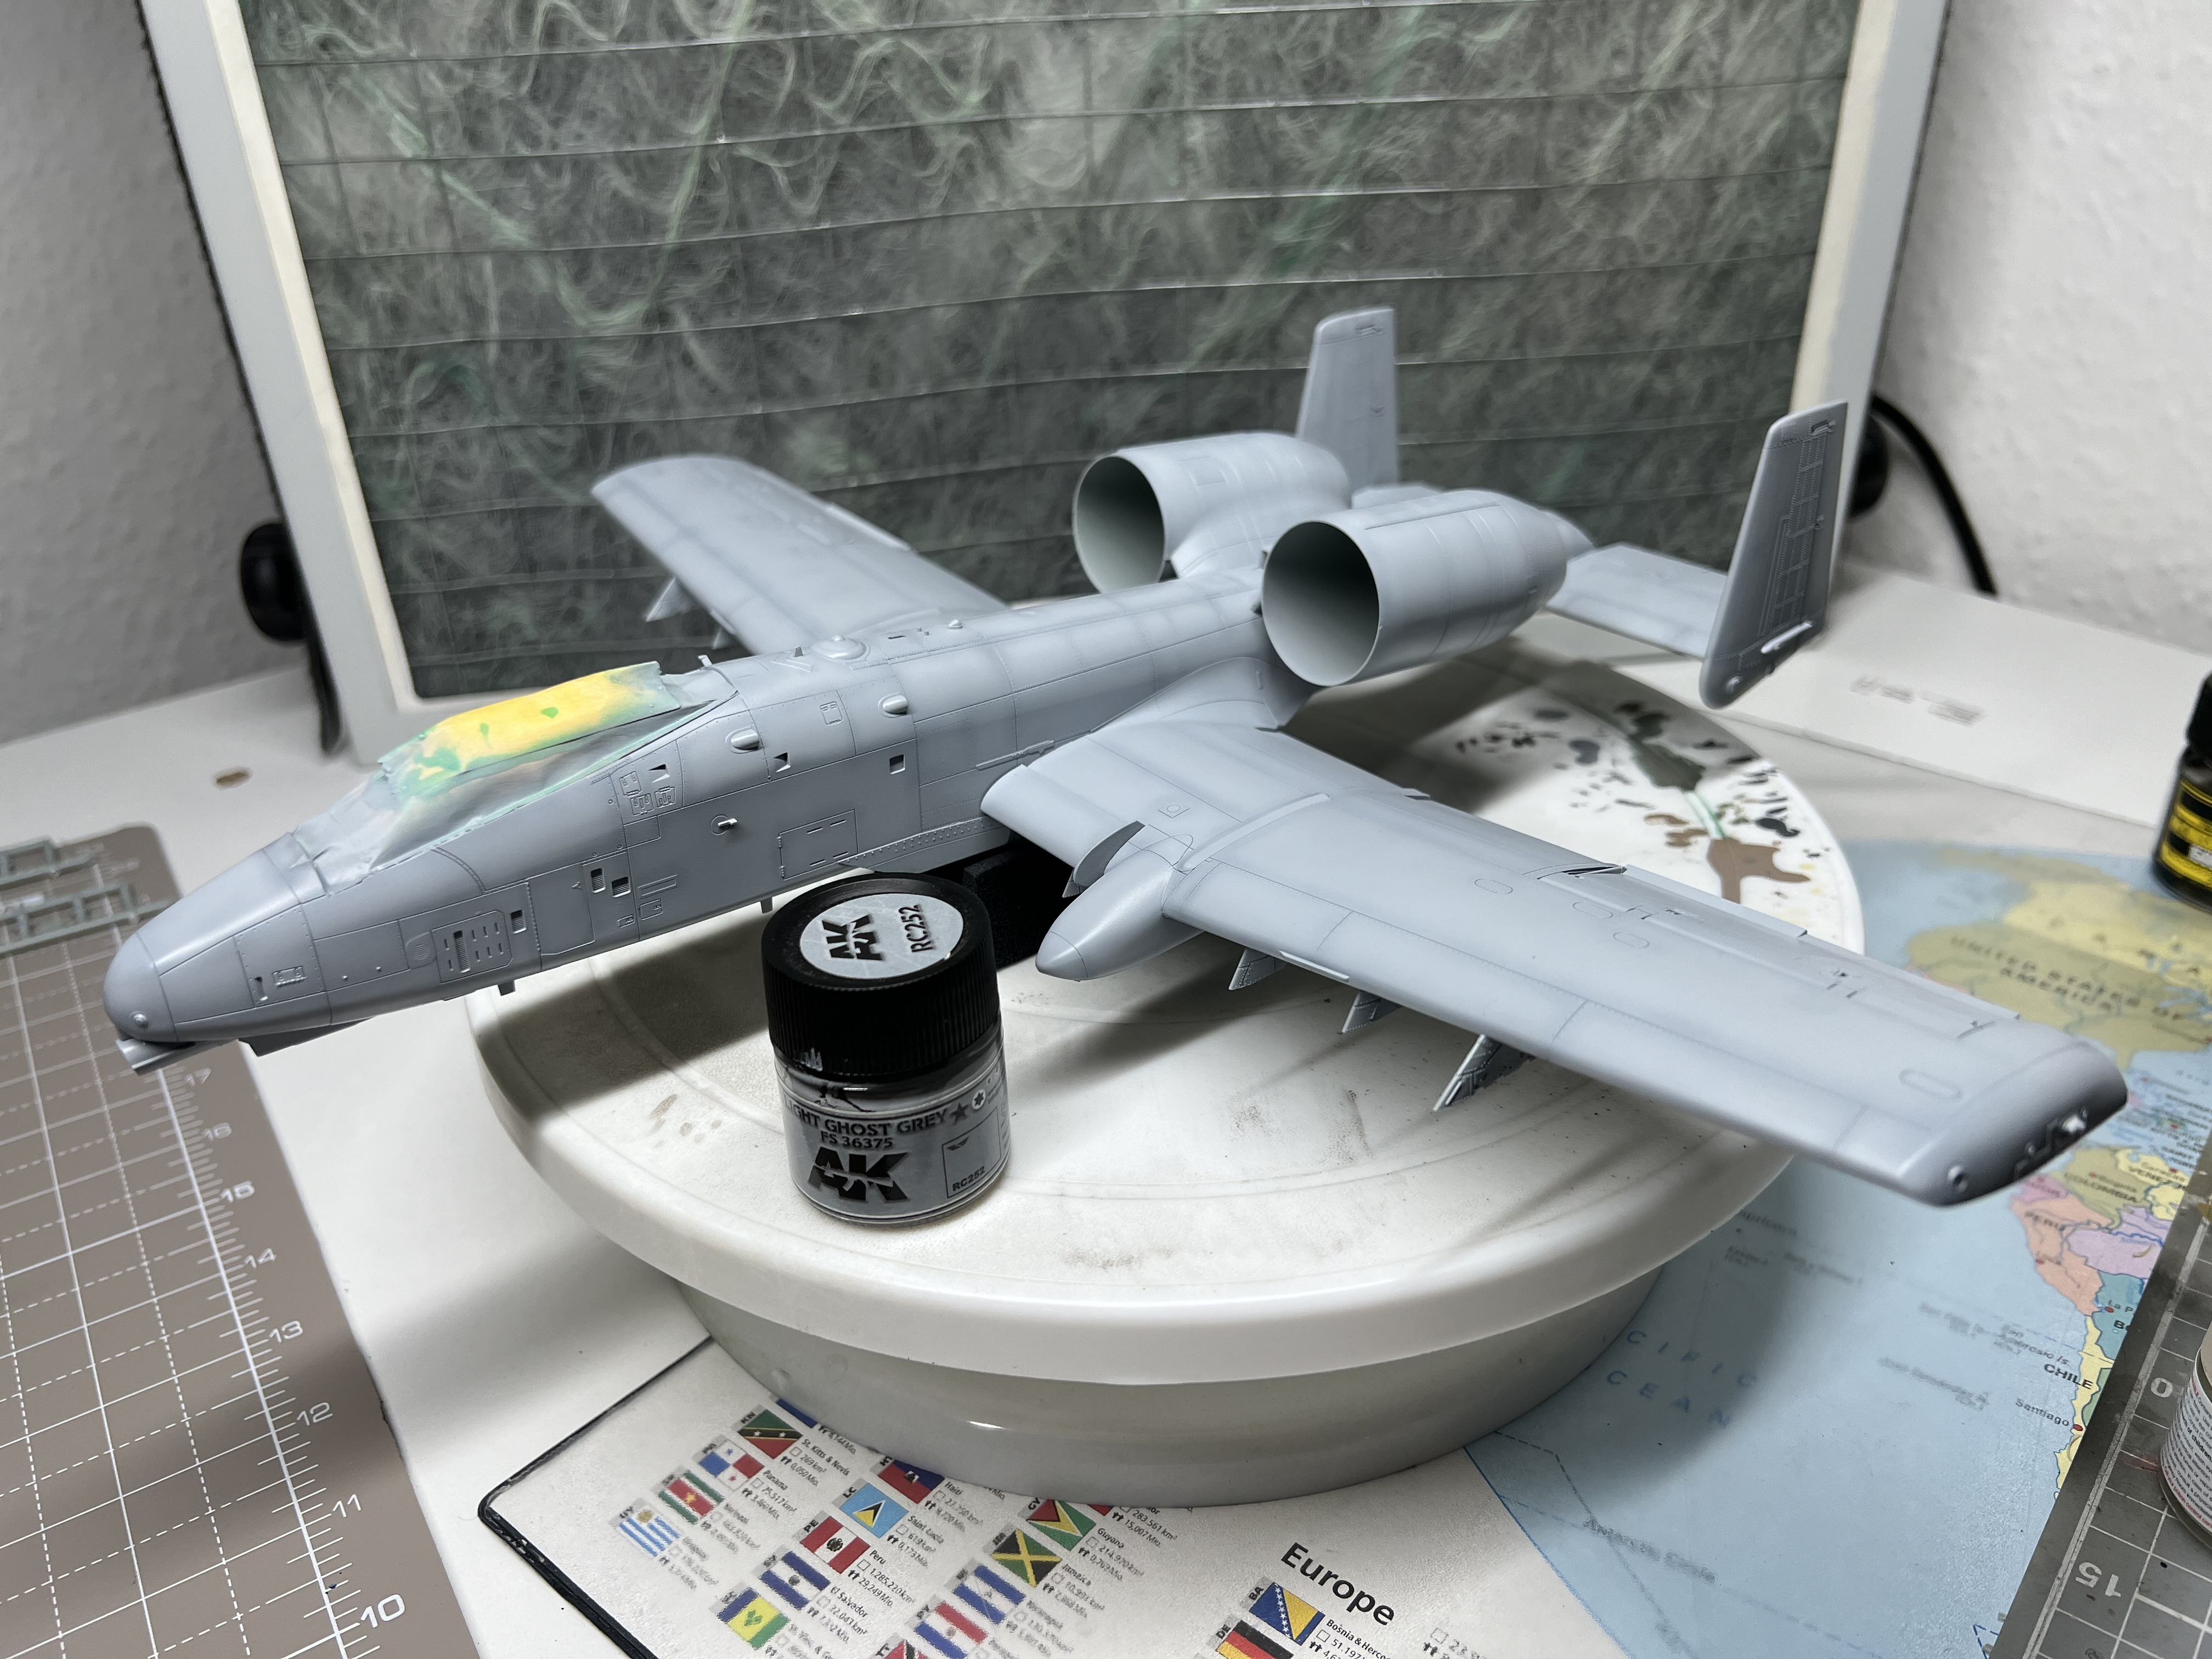
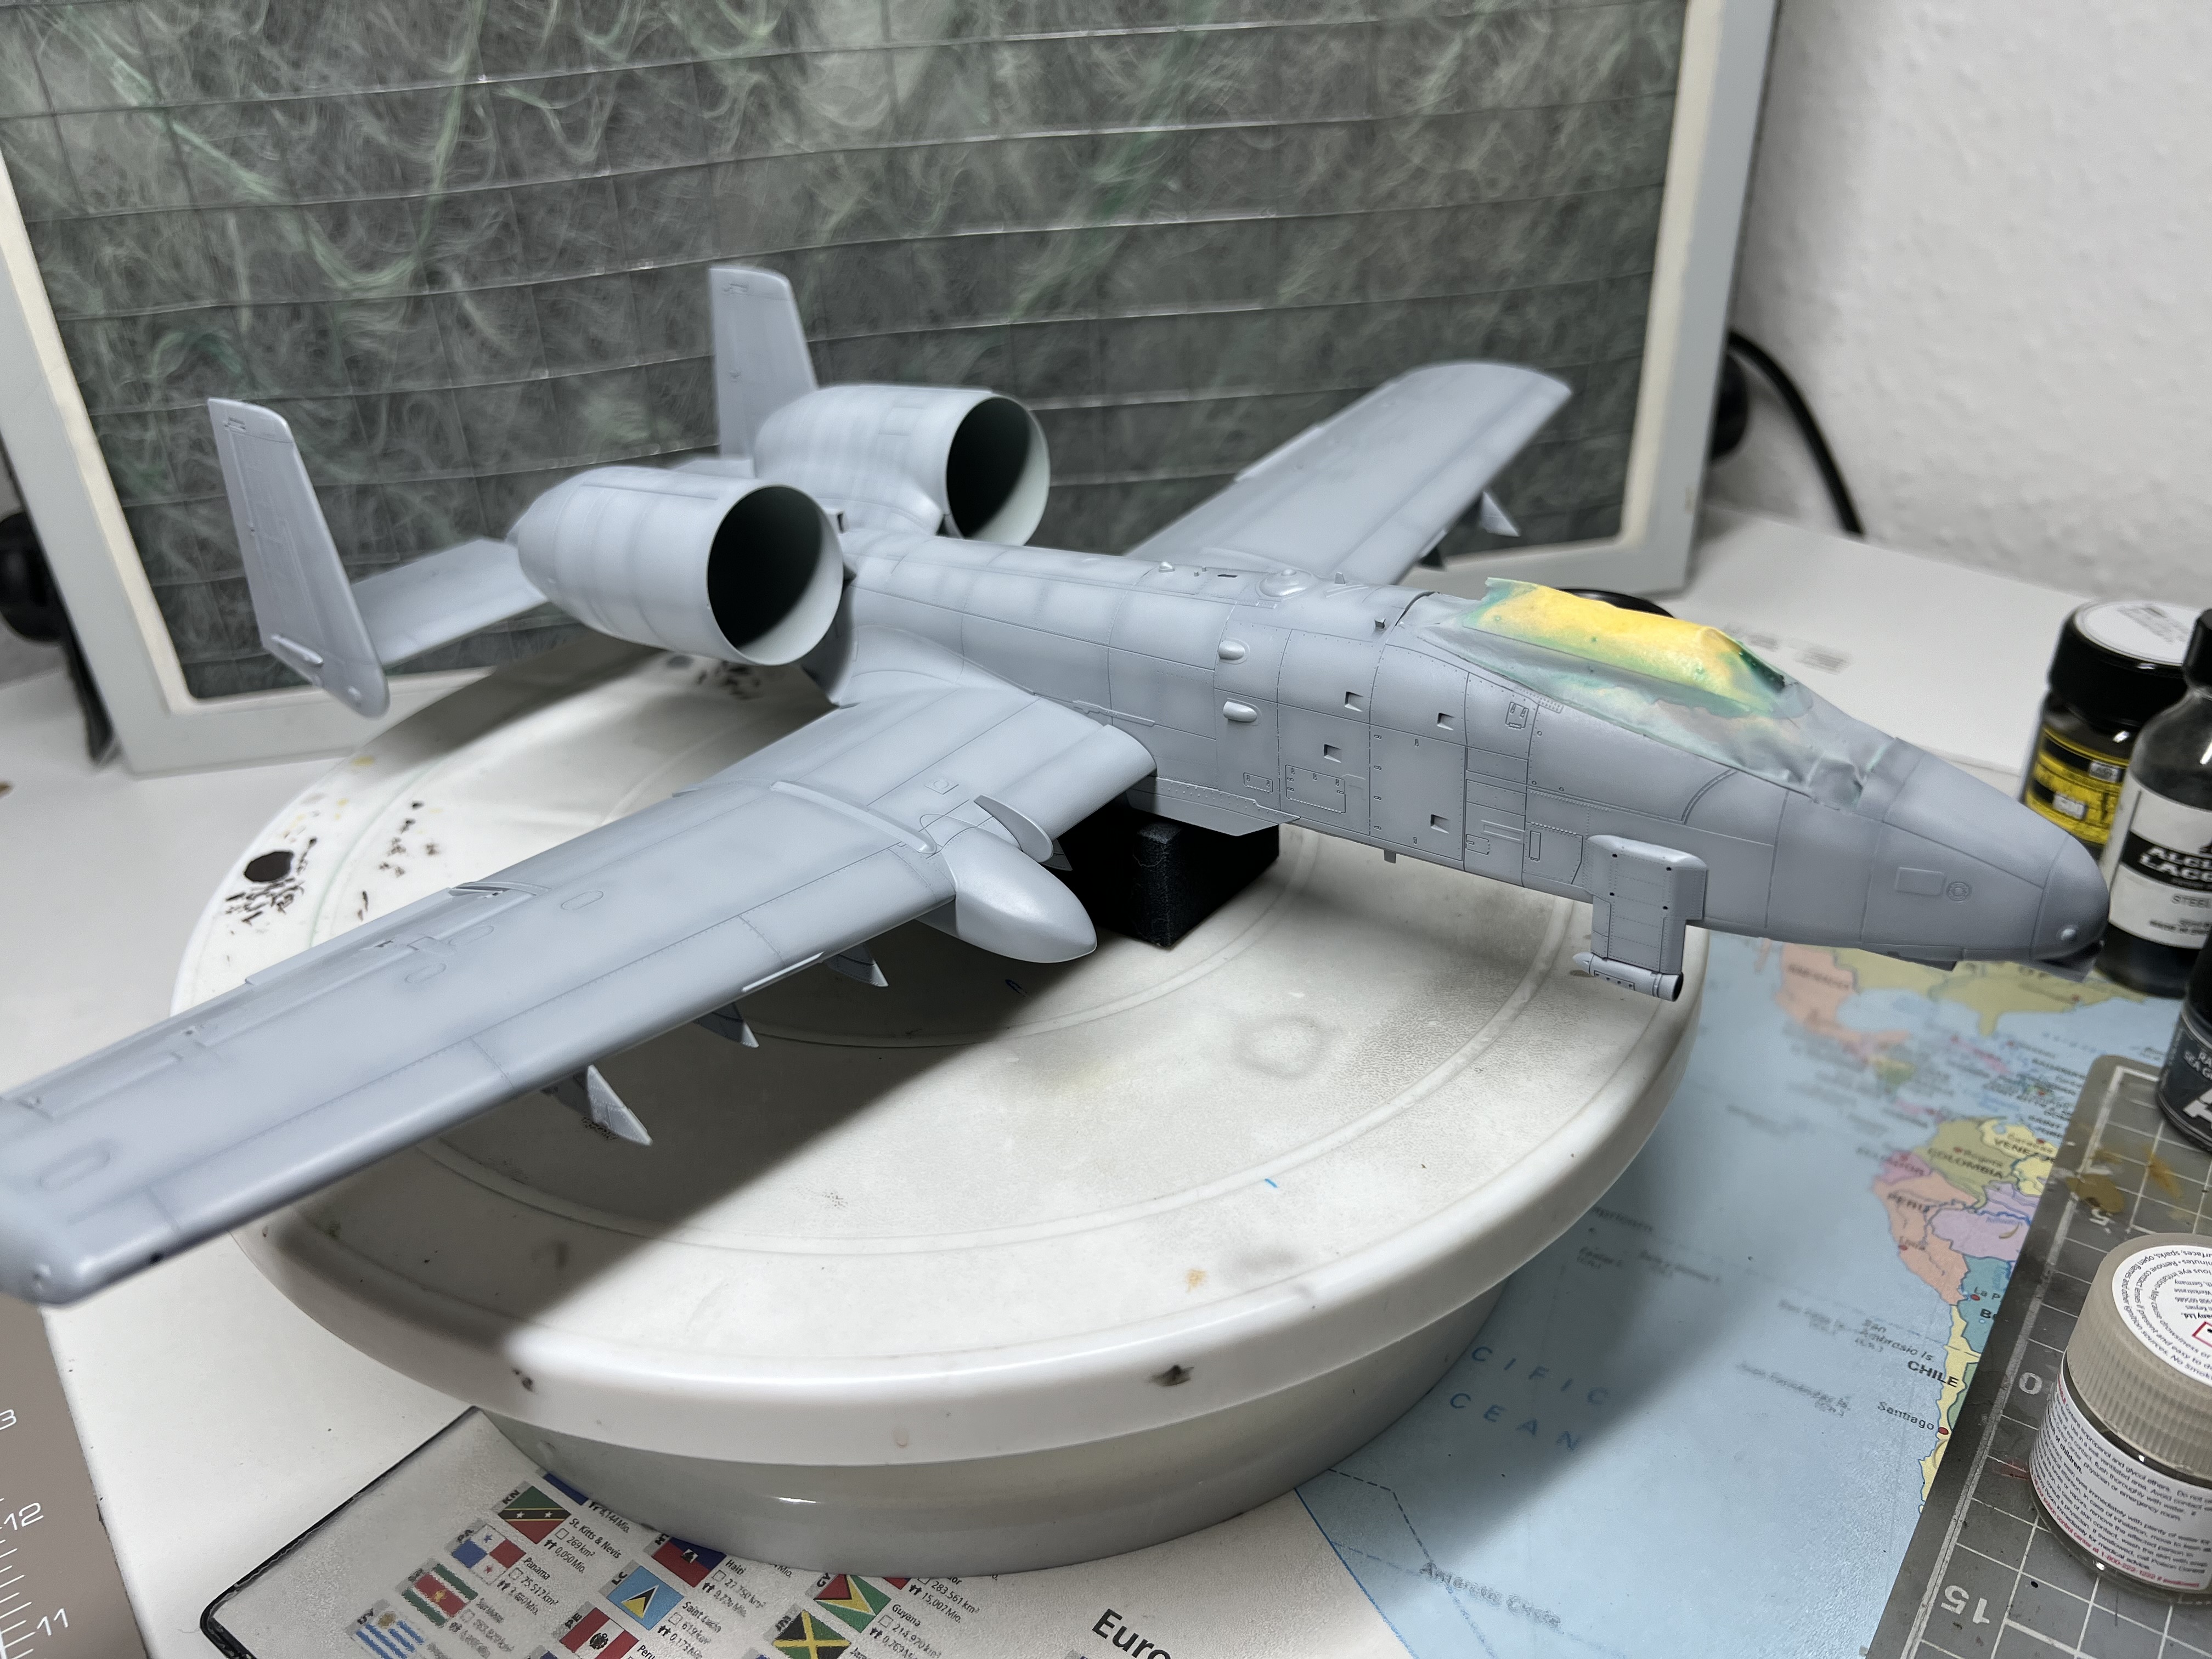
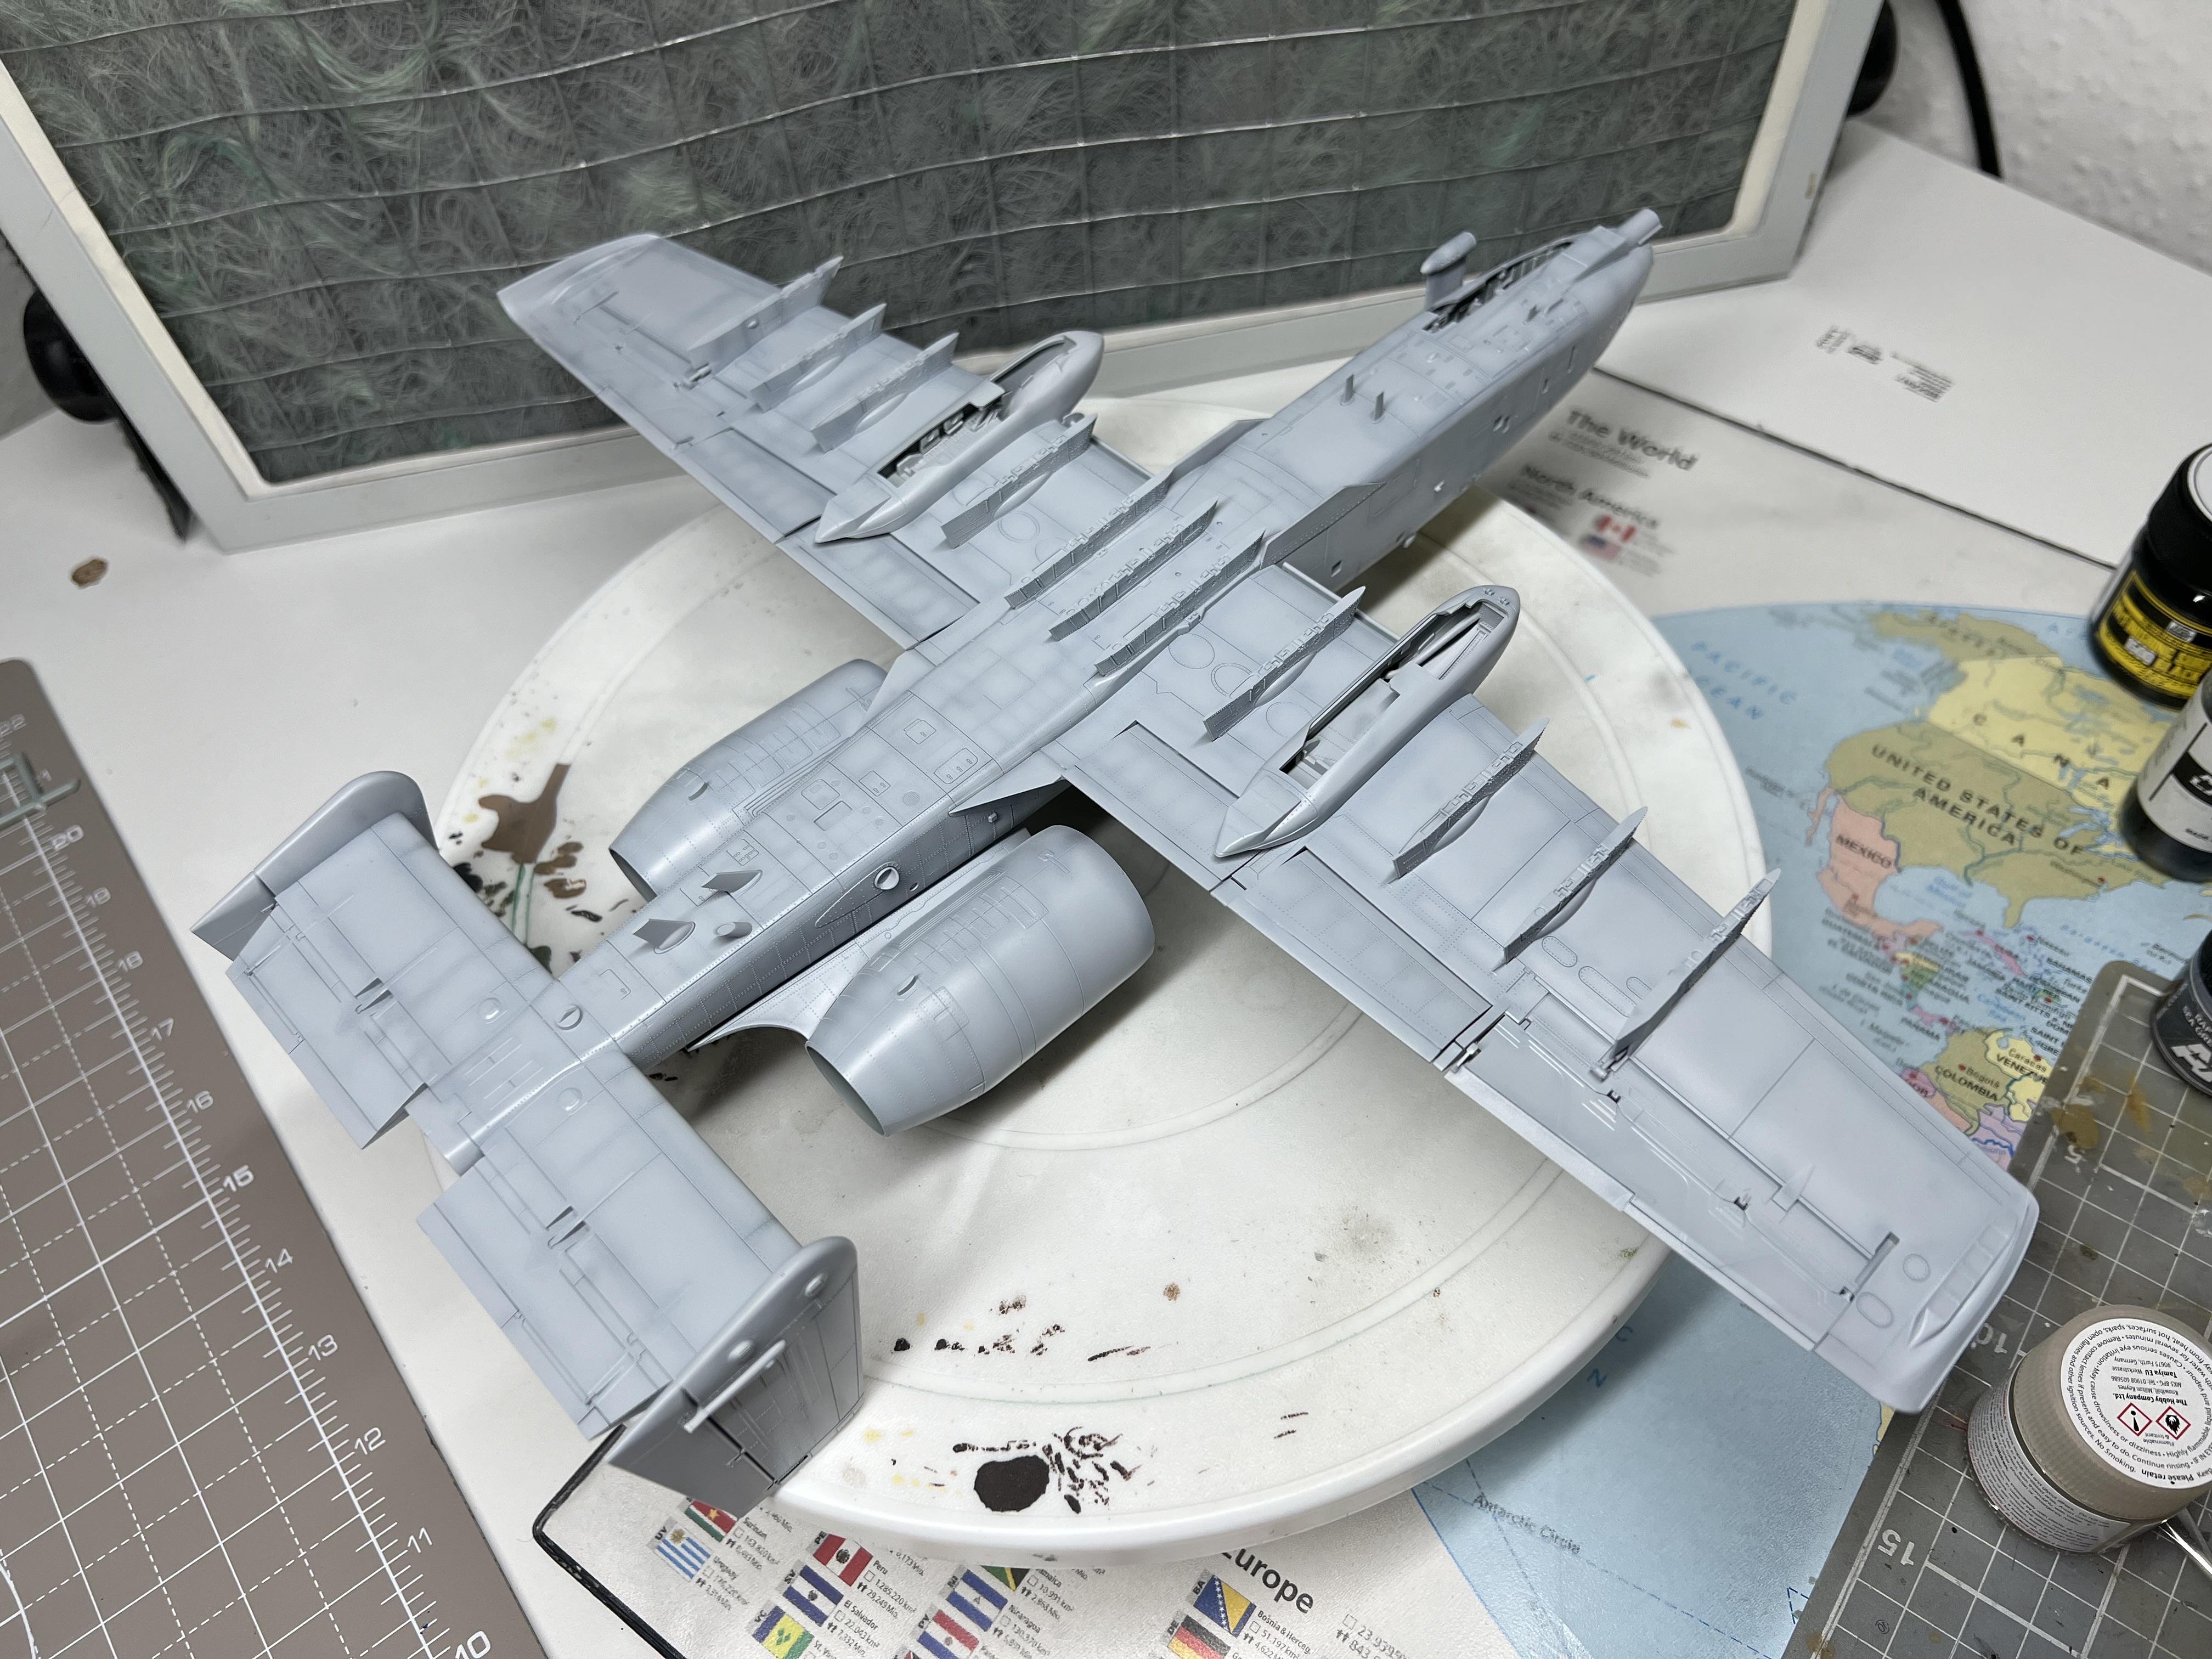
That’s the Light Ghost Grey on. AK Real Colour again. This paint seemed really thick in the bottle so I thinned it 3:1 levelling thinner to paint, with a fair dollop of Tamiya X22 clear to give a more satin finish, and built it up in multiple layers. It went down pretty well.
Next is masking off for the Dark Ghost Grey. Will use the blutac method I think, once this layer is fully cured.
Any preshading I’m not happy with will get fixed with the third process… I hope!
I am a huge fan of the AK RC line … I am gradually switching over 100% to have them as my main spray colours. I usually spray 50/50 with a few drops of tamiya retarder in the mix ---- thinner is car shop cellulose thinner as its more cost effective. I’m upto about 45 - 50 pots from the range now … I get great even coverage and it drys fast and hard, able to handle with no visible damage or marking