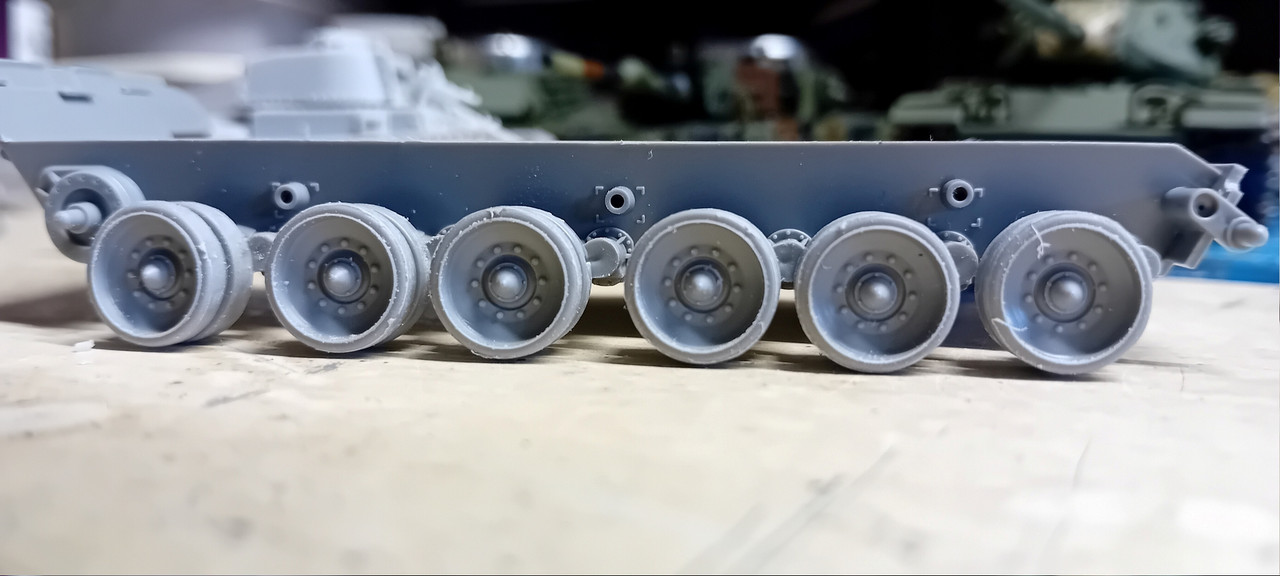
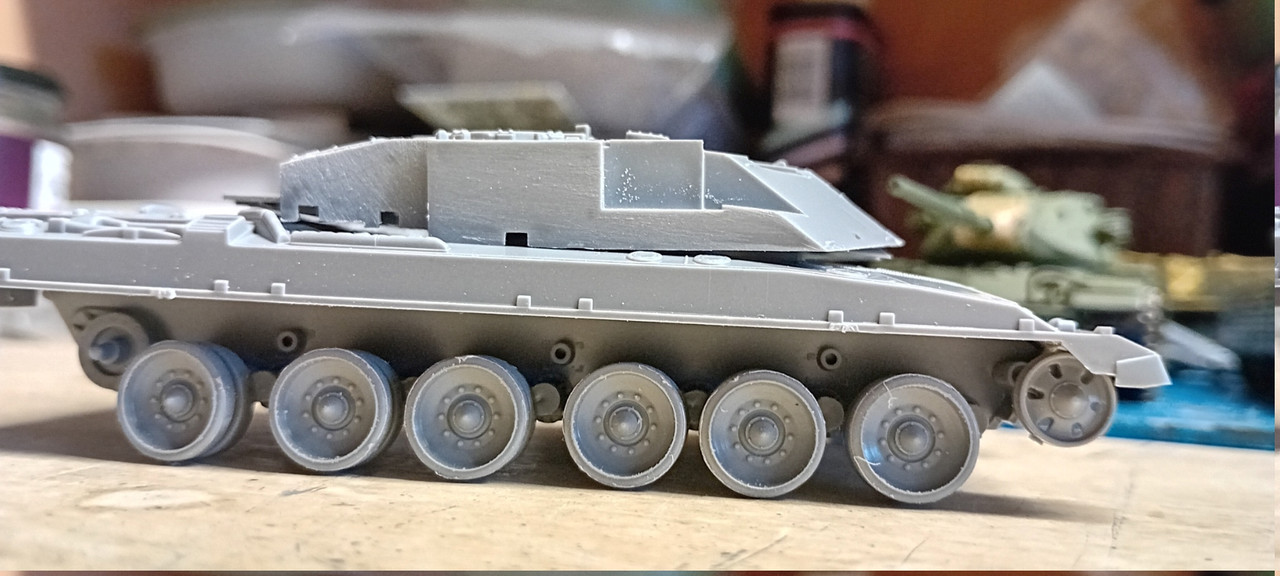
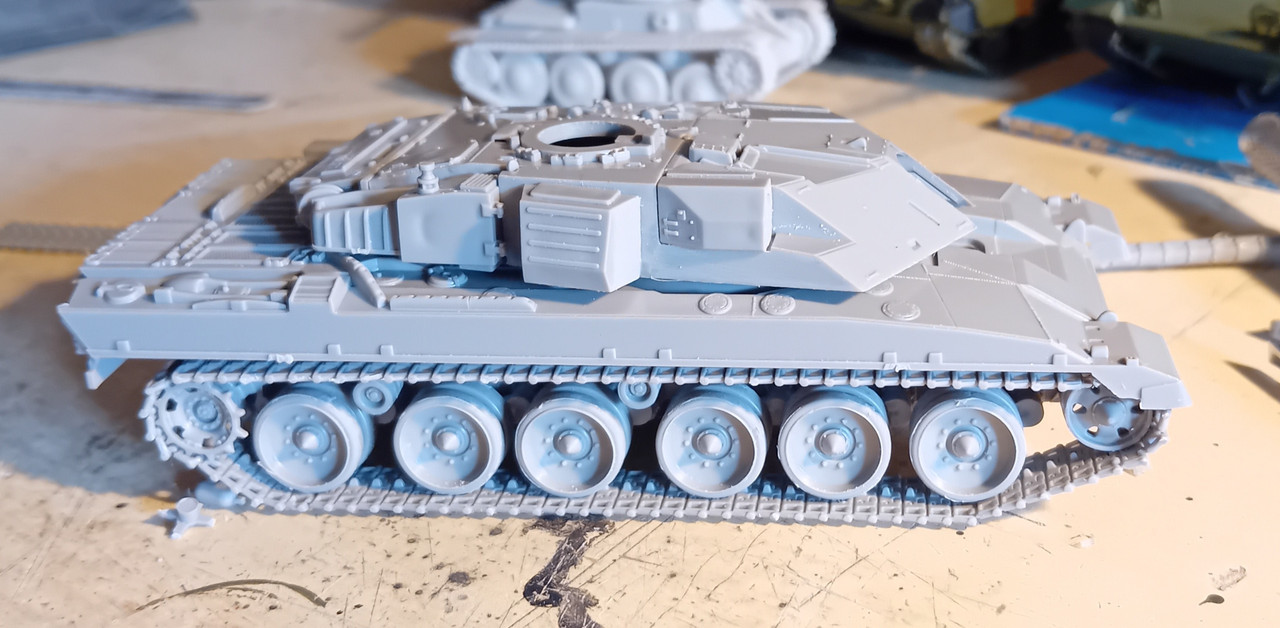
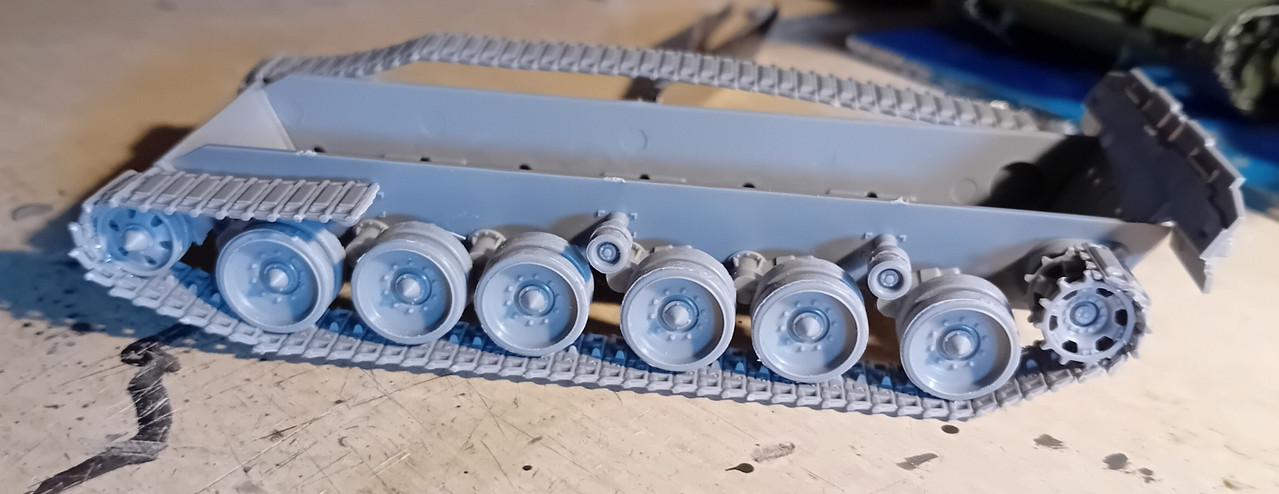
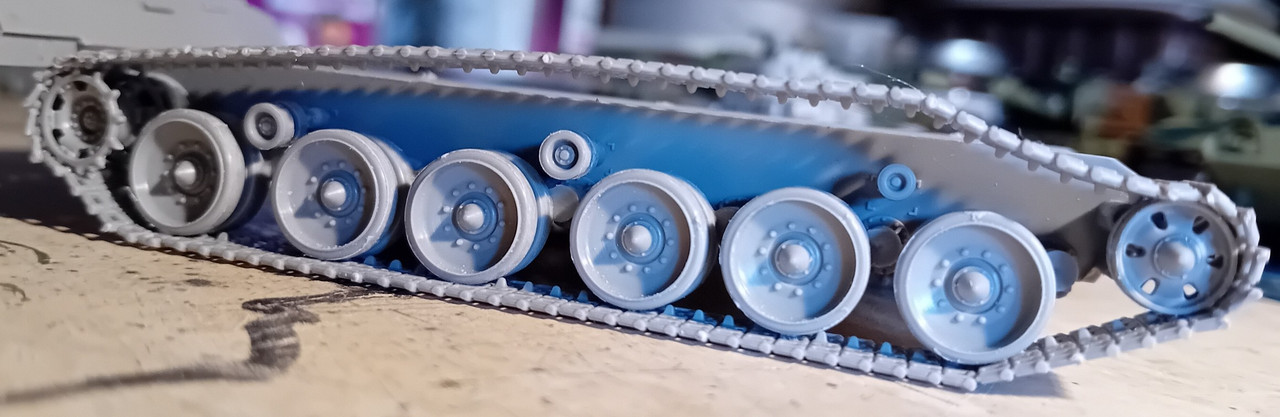
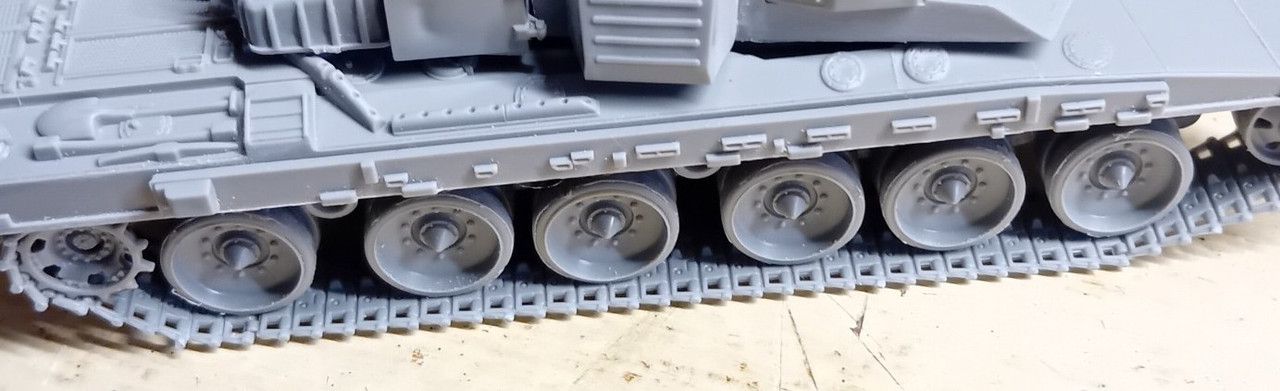
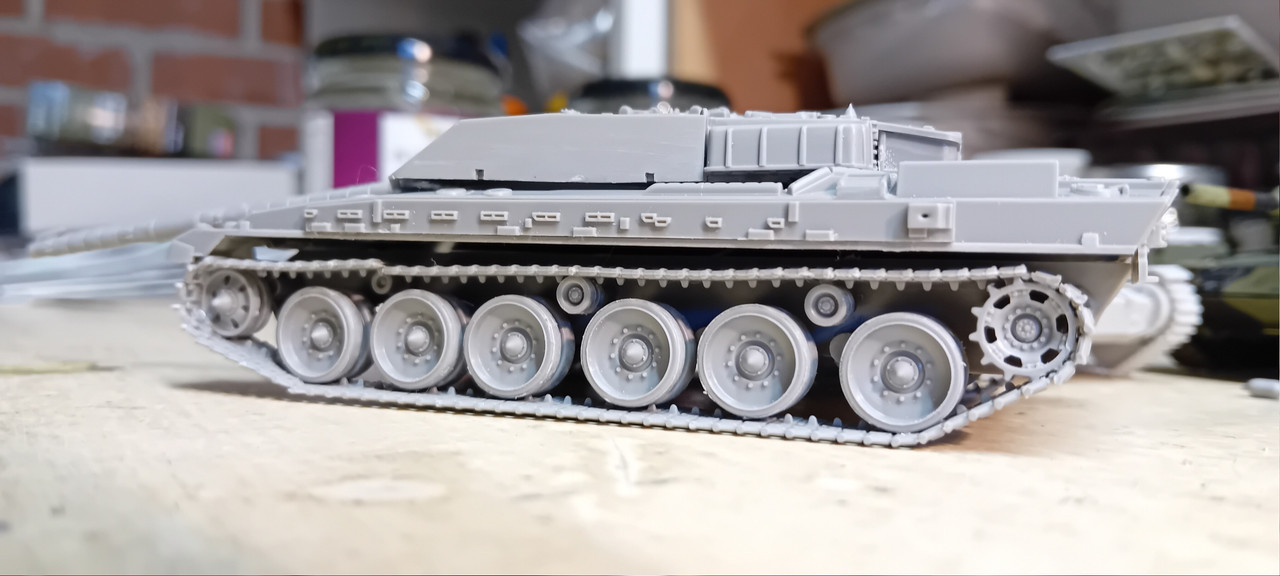
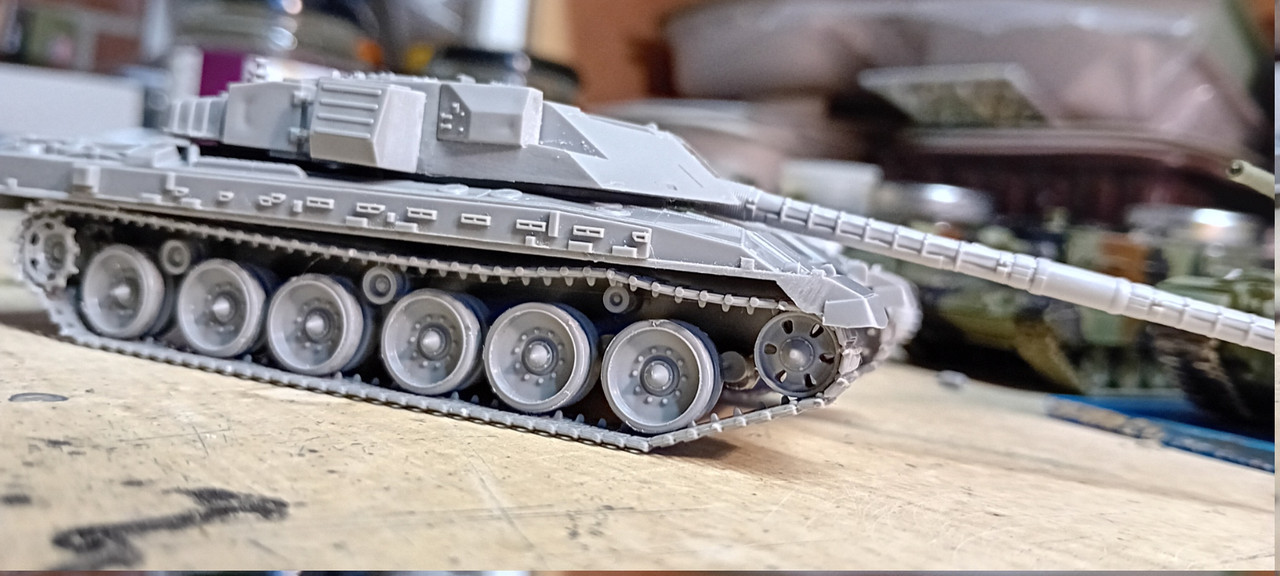
I put the lower hull together ready for the running gear but now I had a dilemma.
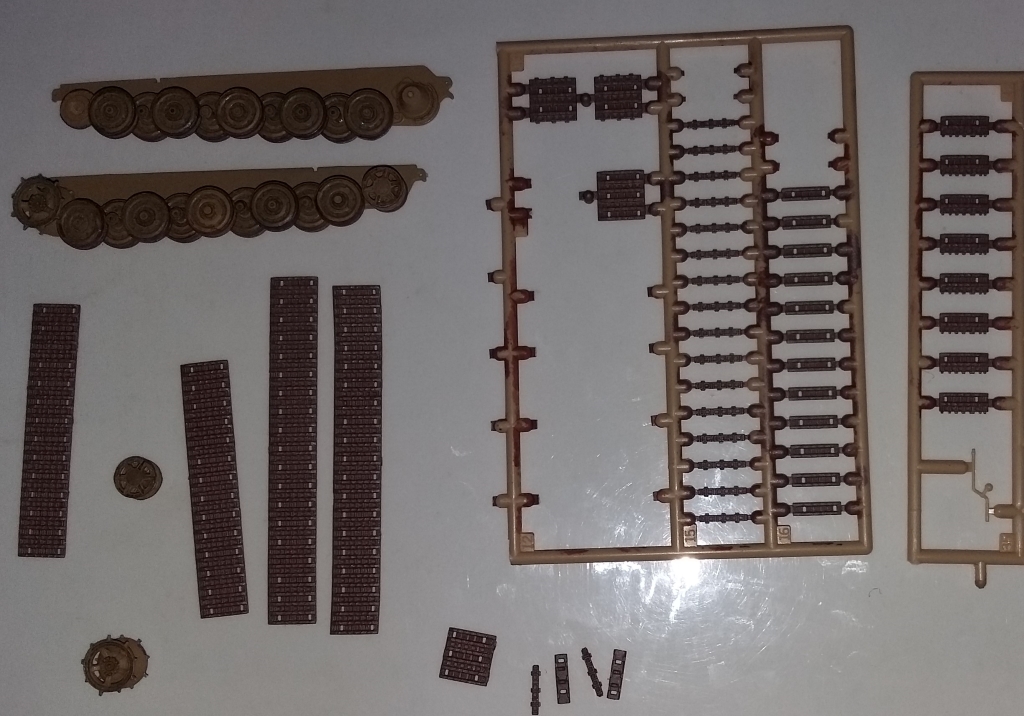
My first ever attempt at L&L tracks was the Revell Tiger II.
I prepainted the components and found significant grief in getting them to stay together. Next I tried the Revell Pz.III
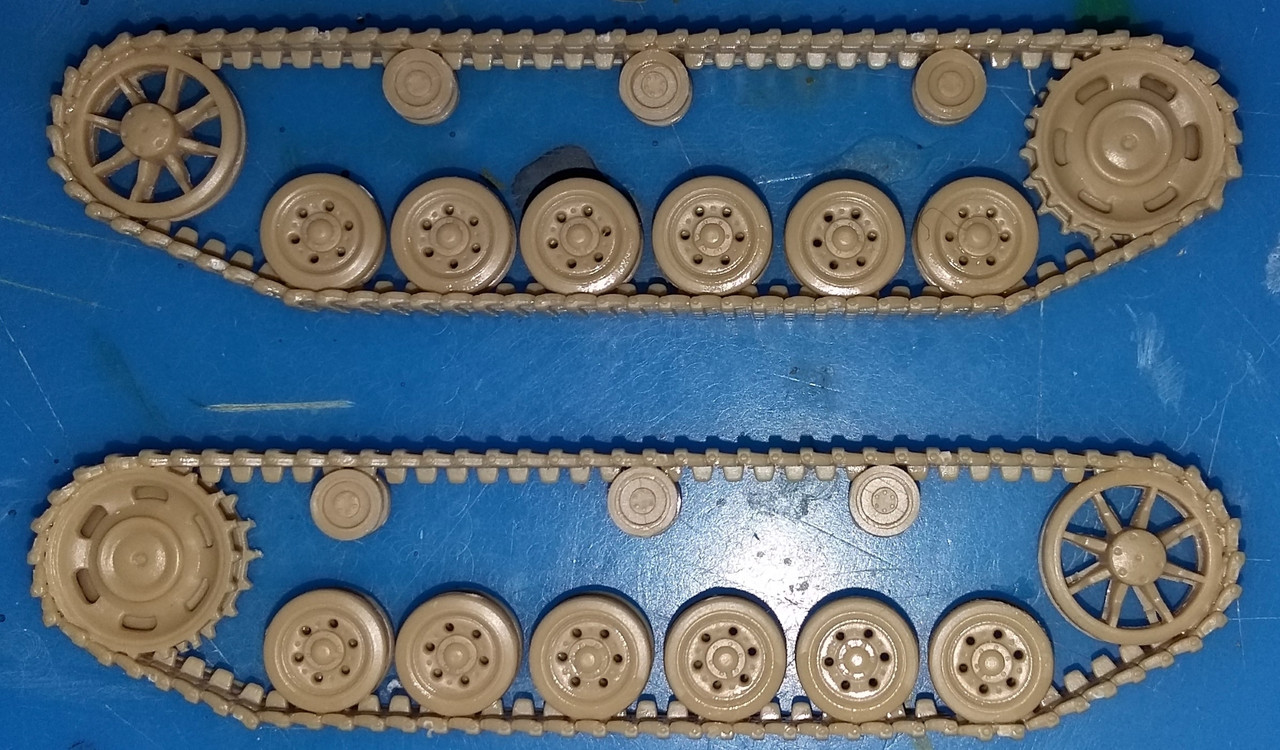
and succeeded in constructing both track runs and rolling gear as detachable units for painting so I could access both sides.
The Chally has suspension arms moulded to the inner wheels with rather small attachment points.
The jury is out on cementing them in place and trying to paint the running gear in situ or trying to hold them in alignment while I fit the tracks so they are detachable for painting.
Has anyone built this kit - and how did you deal with painting the running gear?
Will it be a Gulf War tank, or perhaps one on exercise somewhere in Europe? Because if the latter, you can glue the tracks to the wheels and paint everything — wheels, tracks, lower hull — in the same mud colour
After struggling with the same problem in 1:35 on several models, I decided that mud (or dust) all over is the best way to do non-workable tracks The Tamiya Panzer IV I built a few years ago was a real chore to paint because of the link-and-length track that I had to have as bare steel due to it being a tank in North Africa.
I have decided to go the very muddy route up to a point. I will paint what I can reach of the fully fixed running gear in cam, track colour and rubber colours then cover the gaps (inaccuracies) with mud. A lot of this will be behind the side schurzen, of course.
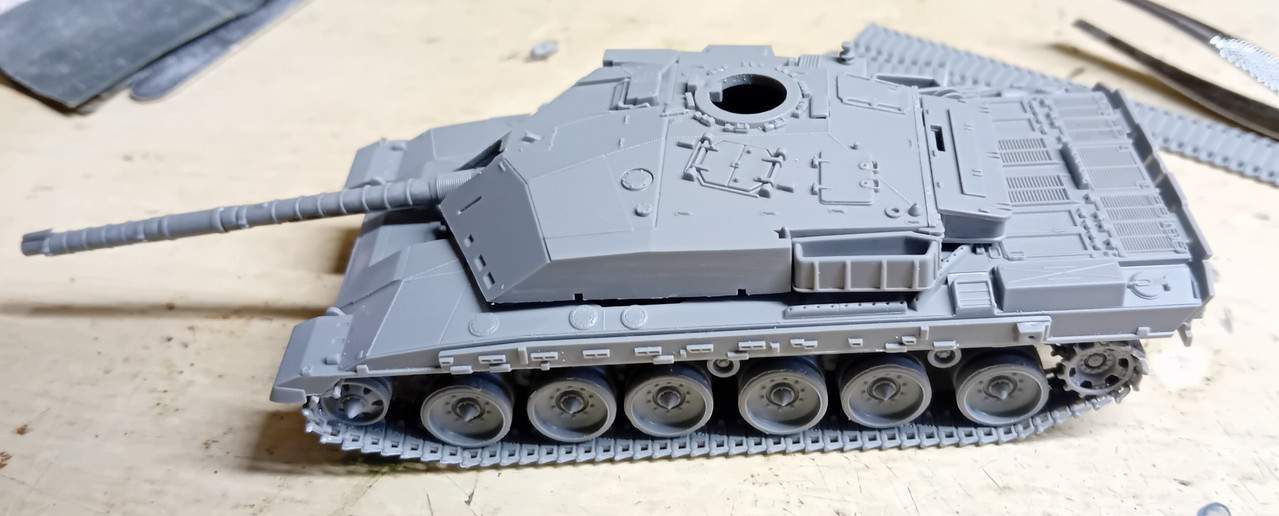
But, putting the turret parts together I found that I had misunderstood the position of the gun barrel pivot and it is inverted. I need to rework the joint to correct the alignment.
Aaaargh! What a thought - 1/72 scratch built interiors! As regards the tracks it will be a good exercise to try and resolve the problem in case I get a build where I can’t hide it.
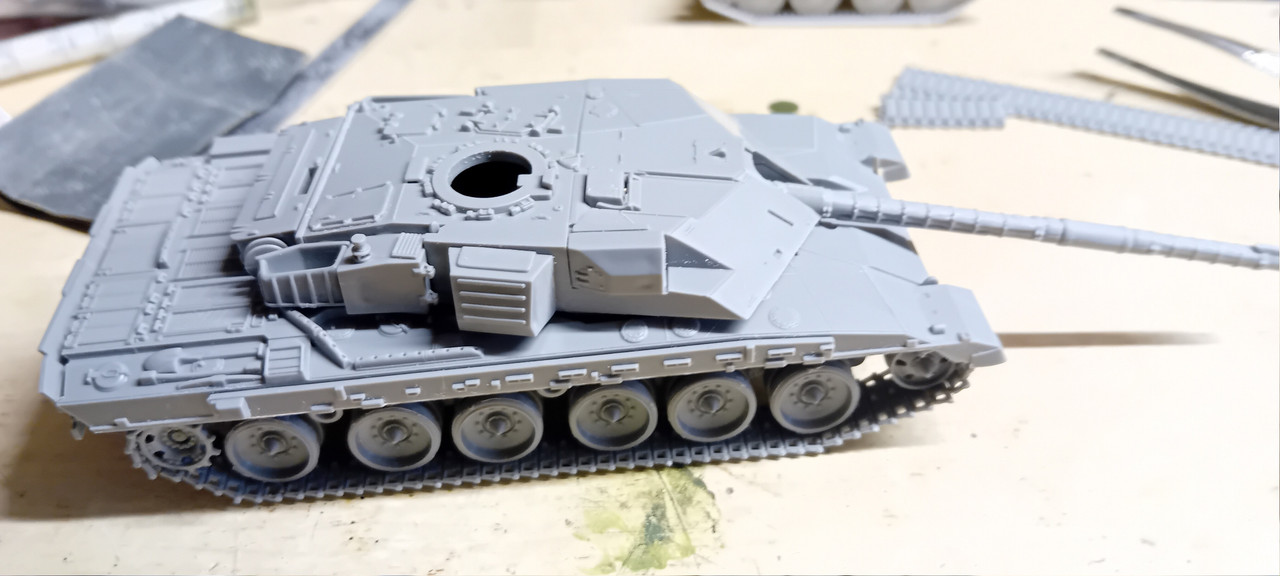
The gun barrel is now on right way up. Jury is out on the turret front and side bins. They are moulded to look like mesh - not very successfully. I’m debating whether to build them OOB or adjust them to replace the moulded mesh with some proper metal mesh. Maybe a mod too far at this scale; and I could always drape a tarp over them.
And the RHS too.
Still lots to do, especially on the tracks, which are playing up a bit at present, so I am taking a break from that area in order to avoid giving the whole thing a flying lesson.
That’s because you mentioned the name Revell in your opening post:
My first ever attempt at L&L tracks was the Revell Tiger II.
The forum’s Auto Tag functionality goes through your post, sees the word “Revell” and says, “That’s on the list of tags I know!” and so adds the tag for it.
Attempting sections of sag between the return rollers I snapped the length trying to recover a bend in the wrong place.
On the RHS I cemented the long length front and back and will attempt to get it cemented to the return rollers once it is set firm. It does sit flatter if held down but it is a bit under tension so we will have to wait and see how it develops.
With regard to the fitment of the side ERA I read somewhere that someone had an issue.
The side detail had to be removed before the ERA could be persuaded to behave. I think I will drill the ERA part and the side panel and peg the ERA with a stretched sprue pin to re-inforce the join a little.
Then I will probably remove the side panel and stick the ERA the same as the modeller I read about when I cannot get the thing to stay put…
I had a look at the ERA panels now I have fitted the additional detailed items both sides. The ERA does not seem to bear any relation to the parts attached to the hull sides. There are what looks like attachment tabs but they do not appear, to my brain cell at least, to relate to anything on the corresponding part. There does not seem to be anywhere to align the part ready for drilling/pinning…
Has anyone built one of these - or the Revell version, that looks to be the same from the destructions available on line?
 )