@Stikpusher I love your Jeep 
That looks great.
The Sharpie reference was for the clear piece, not the frame. The blackened edge of the clear piece (window) eliminates the white edge to the glass after it’s installed in the windshield frame. The rubber windshield gasket could be painted with the camouflage color or black as new build or replacement gasket. Stick with what works for you.
1 Like
Matt & Paddy, thank you.
@m75, ok now I understand. I may have to try that on my next 151 build. The windshield part edge is stepped. Not sure how well I trust myself to do that edge without slipping. I have the part installed now and it looks fine from the front, but is noticeable from directly behind.
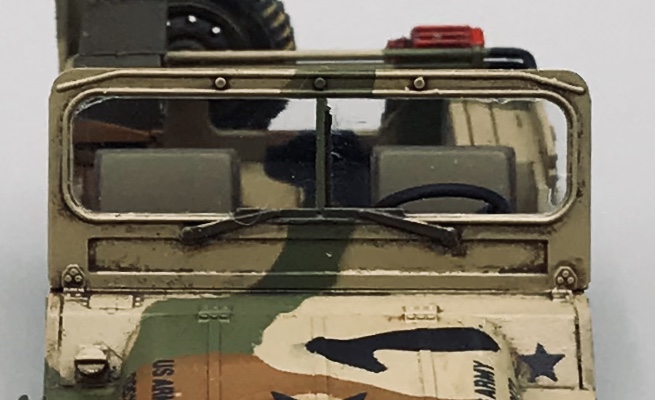
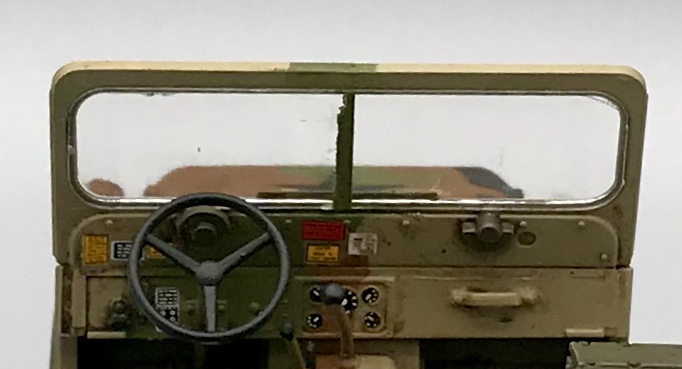
Of course once it’s on my display shelf no one will be able to see it from that angle…
3 Likes
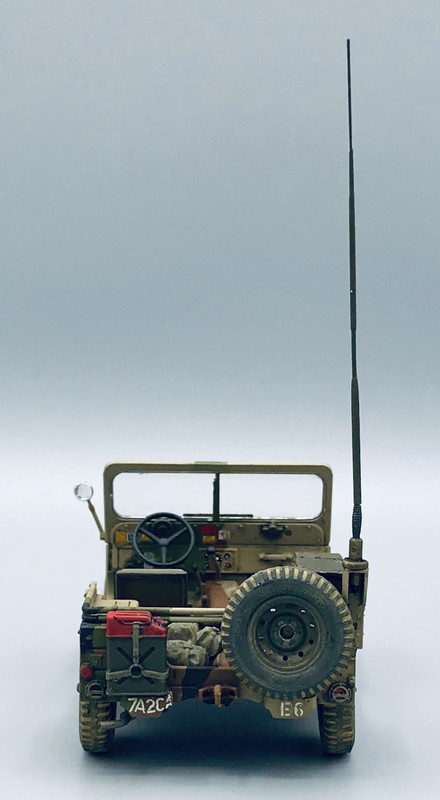
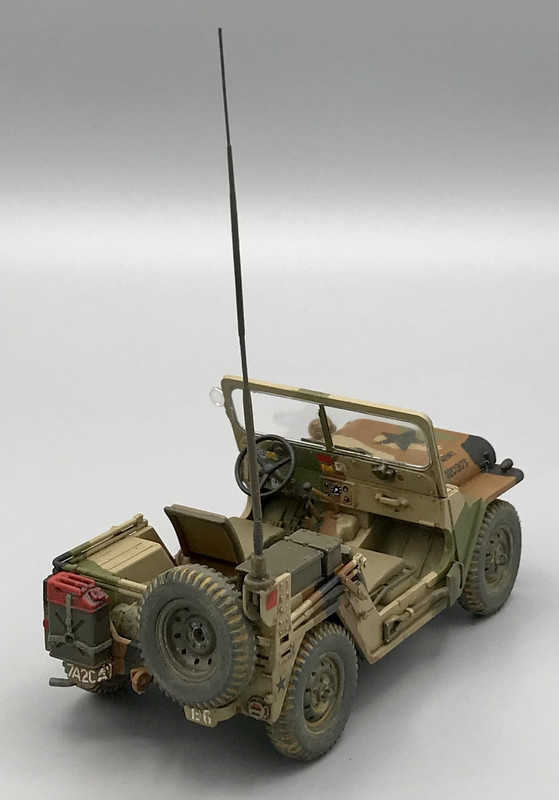
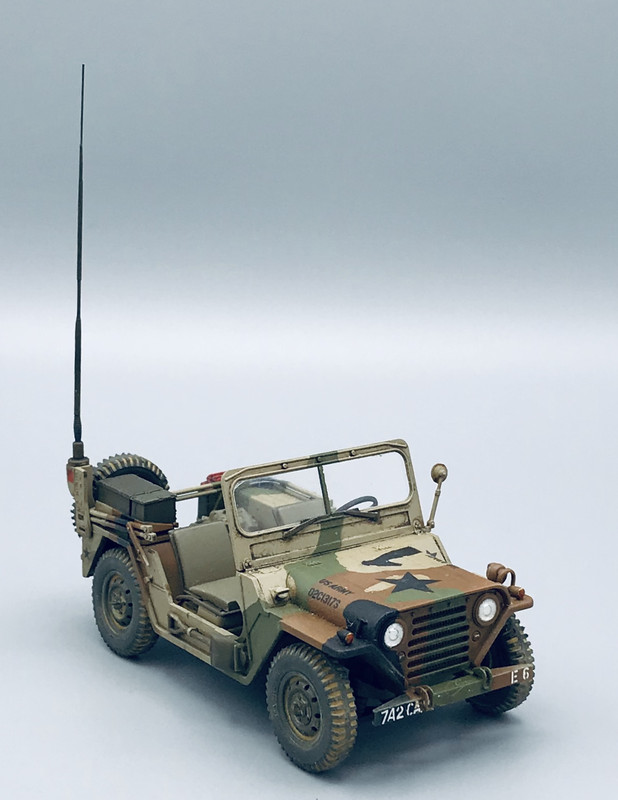
I’m calling this one finished. I built this as a quick project, with minor modifications, so as not to slow me down. I did not correct the rear suspension, which Academy molded as the A2 type, but then again, no one will see that on my display shelf. I painted in the 70’s era MASSTER scheme used in Europe by 7th Army units using Humbrol enamels. Markings are a mix of kit decals and decals from my decals drawer. I tried scratching up the antenna using telescoping brass to better replicate the tapered shape of those things, but it did not turn out as well as I wanted. Better luck next time I guess. The map case and medium ALICE pack are from my spare parts bins. All in all a fun little project.
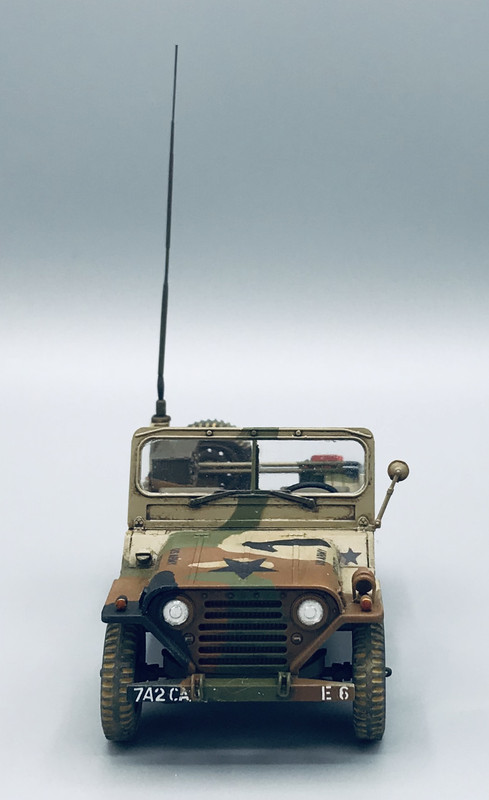
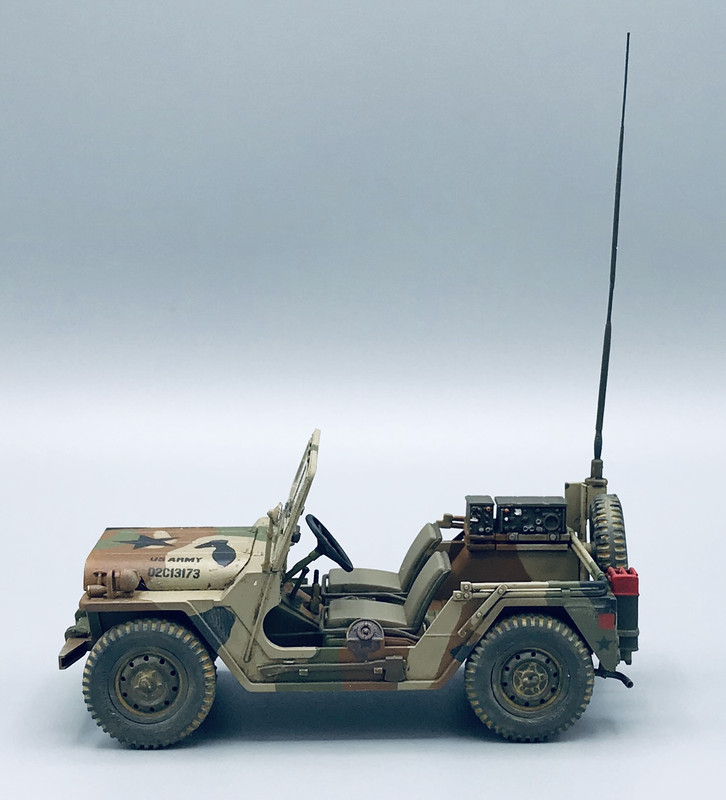

Comments and critiques are welcome.
10 Likes
Very nice. It came out great.
Looks pretty good to my eyes. It’s a great paint job.
Carlos, a cracking little model; all power to the MASSTER pattern as well. An inspiration when I get around (c.2037) to mine!
A seriously good build and well done you.
Great job. MASSTER is becoming one of my favorite schemes and yours looks outstanding. Nice clean build not too busy with a lot of extras to distract you. 
Yes it came out excellent
Rich
Thank you all for your kind comments! A great way to wrap up my model building year.
@Brian, this scheme sure is addicting. I’ll probably get to the last of mine around the time that you estimate! Lol!
@Armorsmith, I figured since I gave it a CO’s bumper number, I would not overload it with stuff. Keep it simple.
1 Like
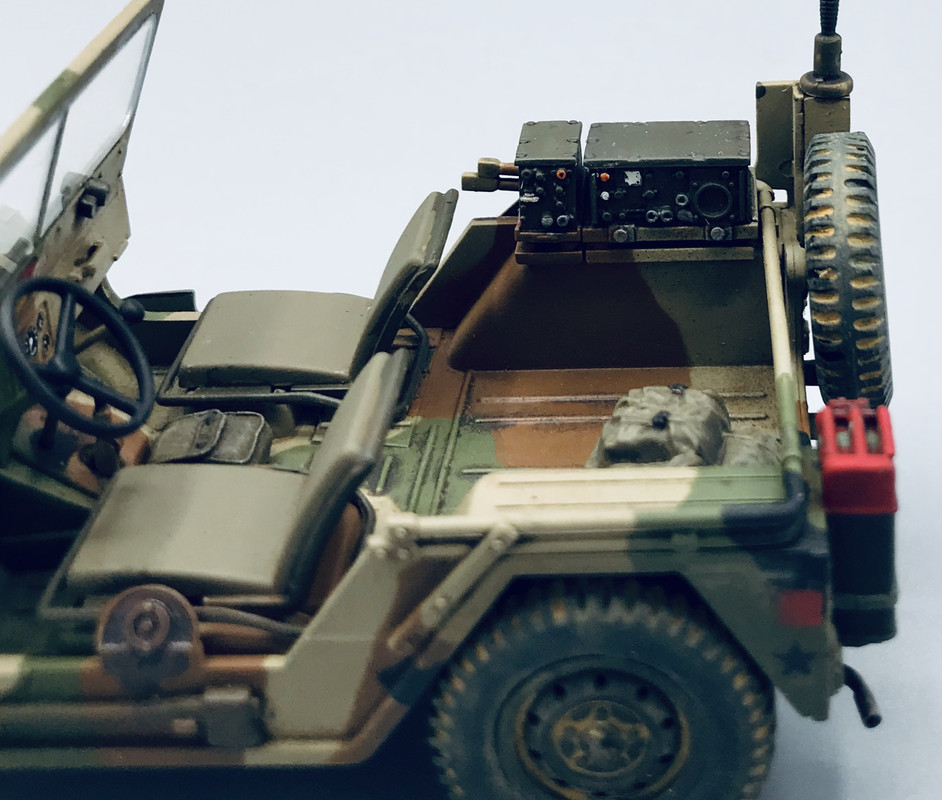
A very nice model. Slightly dusty - that’s what I like. Camouflage is also successful for you. The backpack shines a little and … where are the radio cables ???
That’s turned out brilliant. The camo is excellent and the weathering spot on. I’ve never built an Academy 151, ( only Tamiya), but I’m going to pick up one or two.
Thank you guys!
@Makiwawa - I didn’t feel like diving that deep into the detailing here, as far as wiring up the radios. But yes, that an idea for the next one.
@disorderly - this is a decent little kit but it has some accuracy issues to be corrected for a proper A1. I addressed most except the most significant and least visible, the rear suspension. But straight OOB, it will look good enough on your shelf when built as is.
1 Like
Awwwssum! The cammo is cool man coool. That antenna though, is there any resource material, books or such that covers comms equipment? I’ve seen antennas on Nam era Cav afvs that have a coupleing in the middle or half way the length of the whip.
Cajun
Thanks Terry. I tried to replicate that two part antenna here, but it did not turn out as good as intended. I don’t know of any books covering Commo equipment besides the manuals for the stuff. But a significant portion of my military career was spent in a Commo MOS, so I have a lot of hands on experience with a few items, some antennas being among them.
For the FM type radios, such as the type on this kit, the antenna is a two part whip, tapered in shape. I forget the nomenclature now, but it was standard US Army issue. The antennas for the SINCGARS radios look the same but are slightly larger in diameter. The older FM radio antennas will not fit onto the newer SINCGARS antenna base. Of course in 1/35 scale the visual difference is beyond what our eyes can probably see. HF vehicle mount radios used a longer thinner multi section whip antenna, on a different base.
1 Like
A lean mean fighting’ machine!
1 Like
@barnslayer-  Thank you!
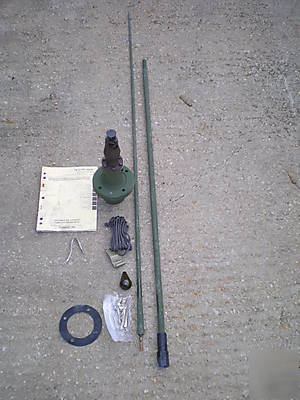
@agincajun - ok I did a bit of googling… the antenna is the AS-1729 for FM vehicle mount radios. The thinner top portion is used on a separate base for the R-442 receiver(s) on VRC -47 and 48 set ups.
2 Likes

These antennas are brass, tapered, and replicate the two-piece construction. Plus the antenna tip that was to help reduce the “poke your eye out” incidents for those who weren’t watching where they were going… It’s a great set!
1 Like
Thanks M75! I was looking for such things after my attempt had its hard landing. Not quite a crash and burn, but more of a bent and battered walk away… lol!