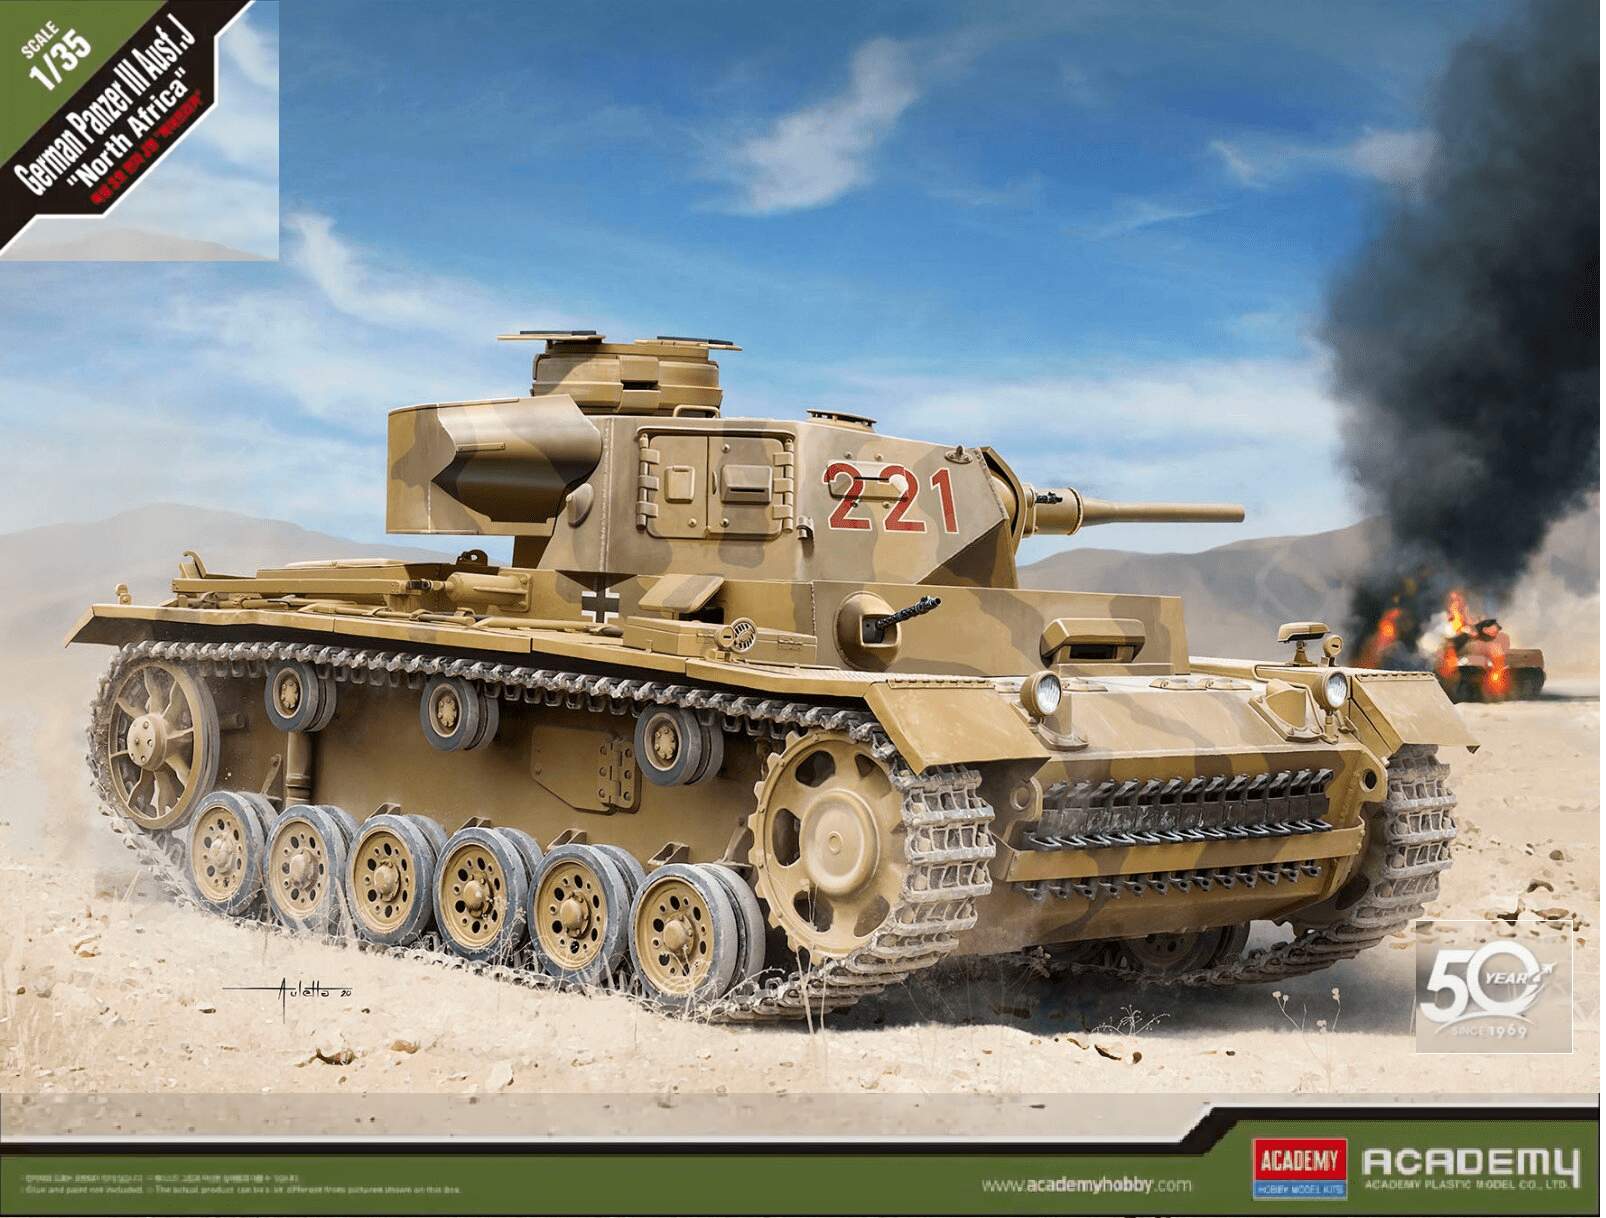
I’m starting my next diorama which will feature a broken down and abandoned Panzer III, set in North Africa. I have an aborted build of Dragon’s Panzer III ausf M Neo which I though I could use as a donor for parts, including the partial interior. I decided on the newish Academy ausf J for the base kit as it looked like a decent kit at a good price.
First, just a brief mention of some of the highlights as I haven’t seen this kit mentioned that much or many build logs.
Options for either the L/42 or L/60 variants
Options for two different fender layouts
Link and length tracks
PE mesh screens included
Marking options for 5 different vehicles (all North Africa)
It’s clear that Academy are planning additional variants as there are a substantial amount of parts included for the ausf M & N. There are a couple of things I’m not so impressed with though.
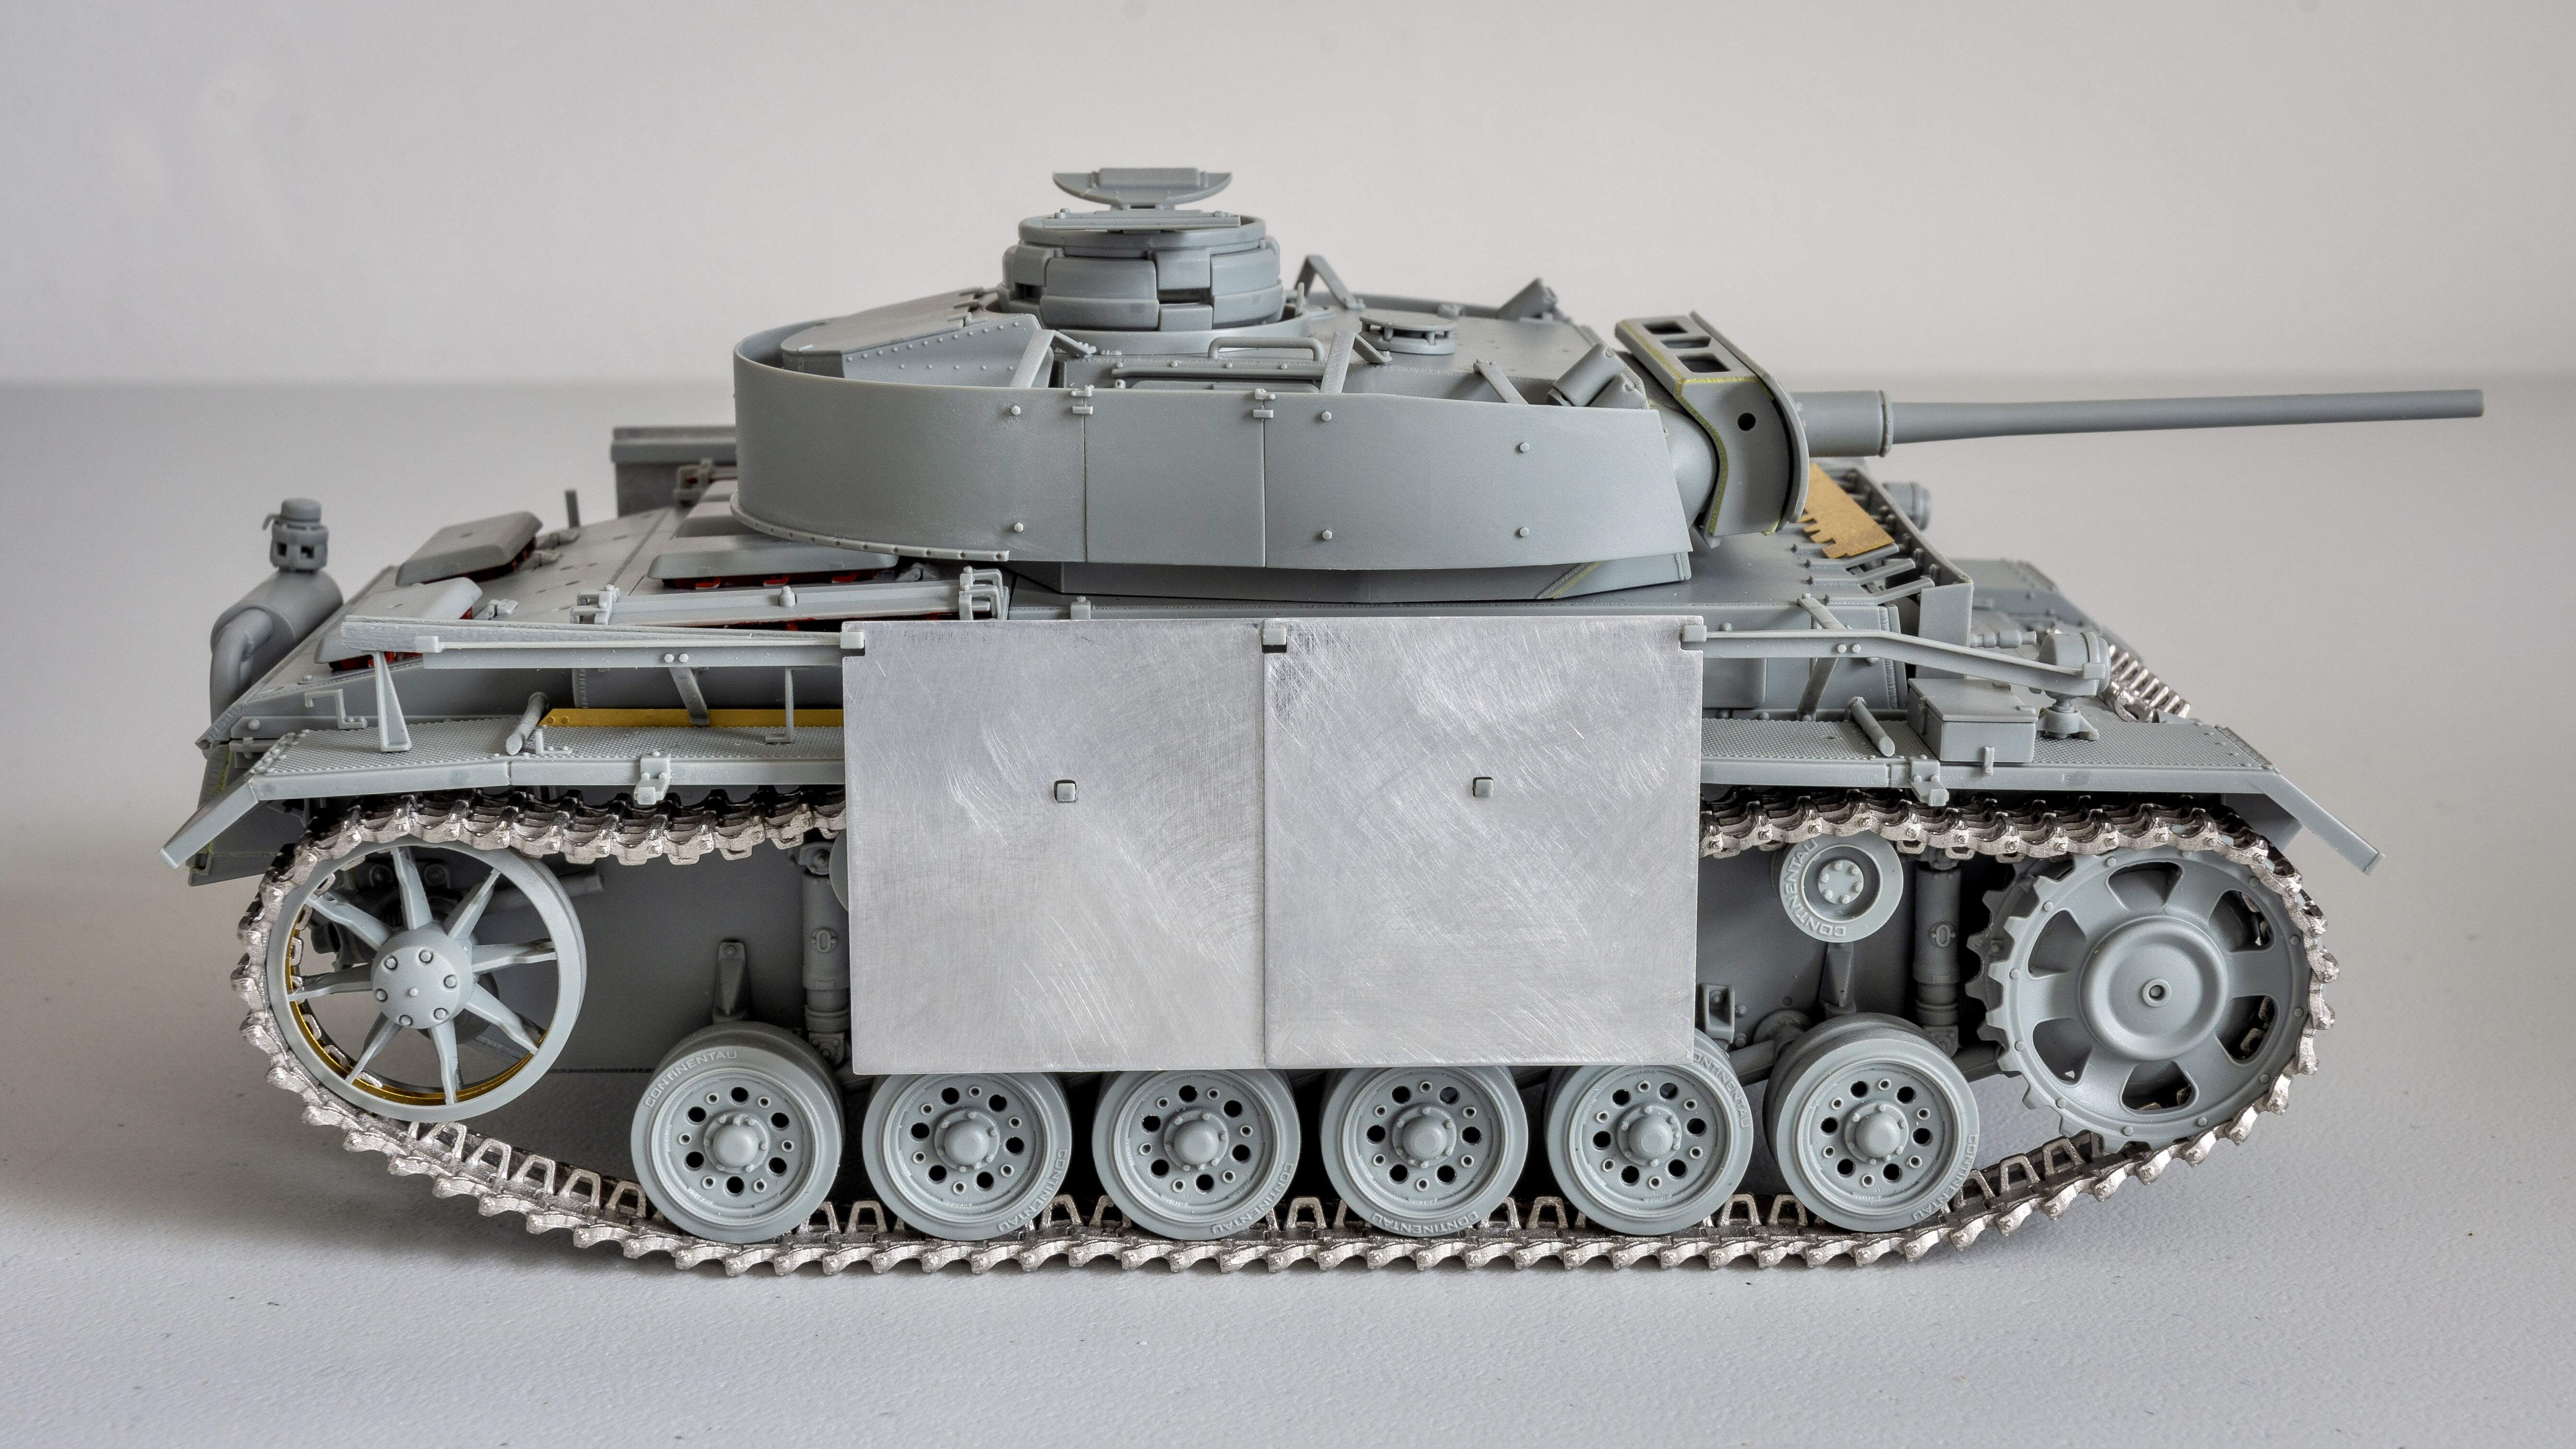
The tracks have solid guide horns which are very unlikely to be correct for the the marking options provided. Every reference photo I have seen of the J in North Africa have hollow guide horn tracks.
All of the hull hatches have the hinges moulded on in the closed position. Only the turret has the option of open or closed hatches. All of the vision ports are also moulded closed.
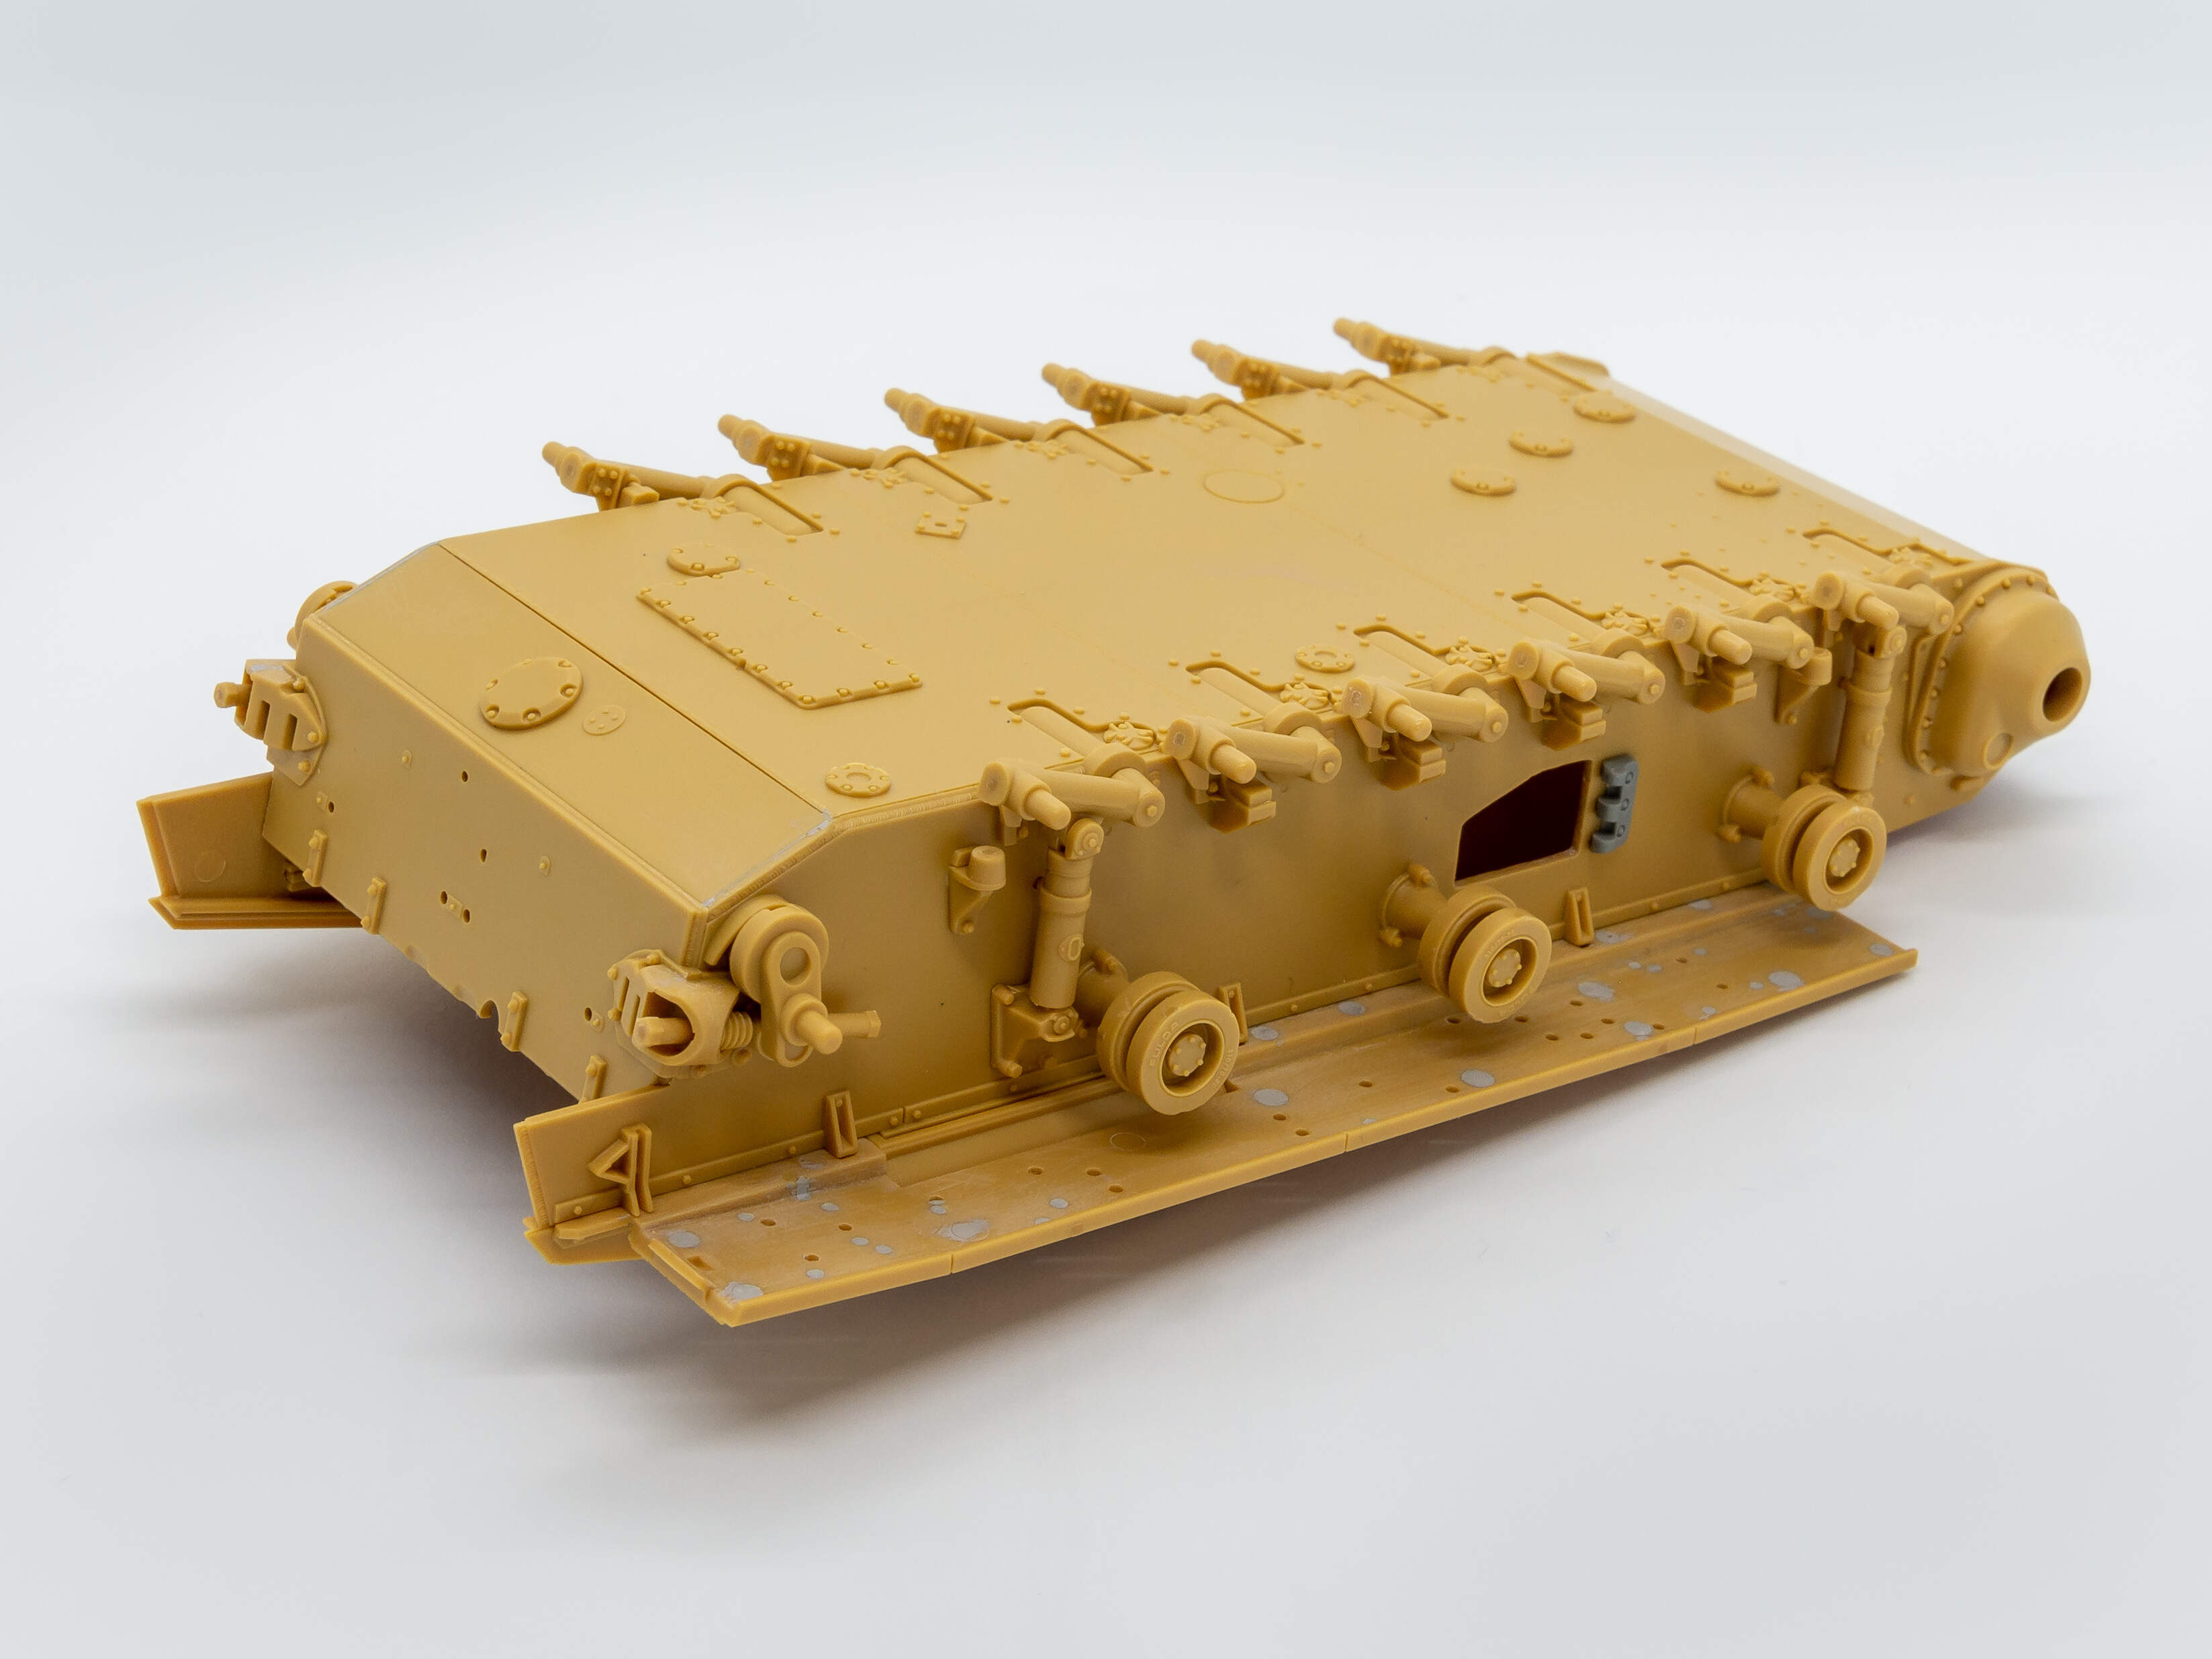
Construction starts with the lower hull which is flat pack design instead of the usual tub. This all went together very well with only a small amount of filler needed at the rear. I also made the first modifications to the kit here. I didn’t fit the forward bulkhead and removed the locating lugs from the hull sides. All of the light pin marks and locating holes were also filled in. The other change I made was to create the openings for the hull escape hatches. The hinge and hatches where replaced with spares from the dragon kit.
The underside of the fenders aren’t up to Dragon’s standards but that is to be expected on a cheaper kit. There are a lot of location and pin marks to be filled though, if they bother you. I decided to fill them but very few will be seen with the tracks on.
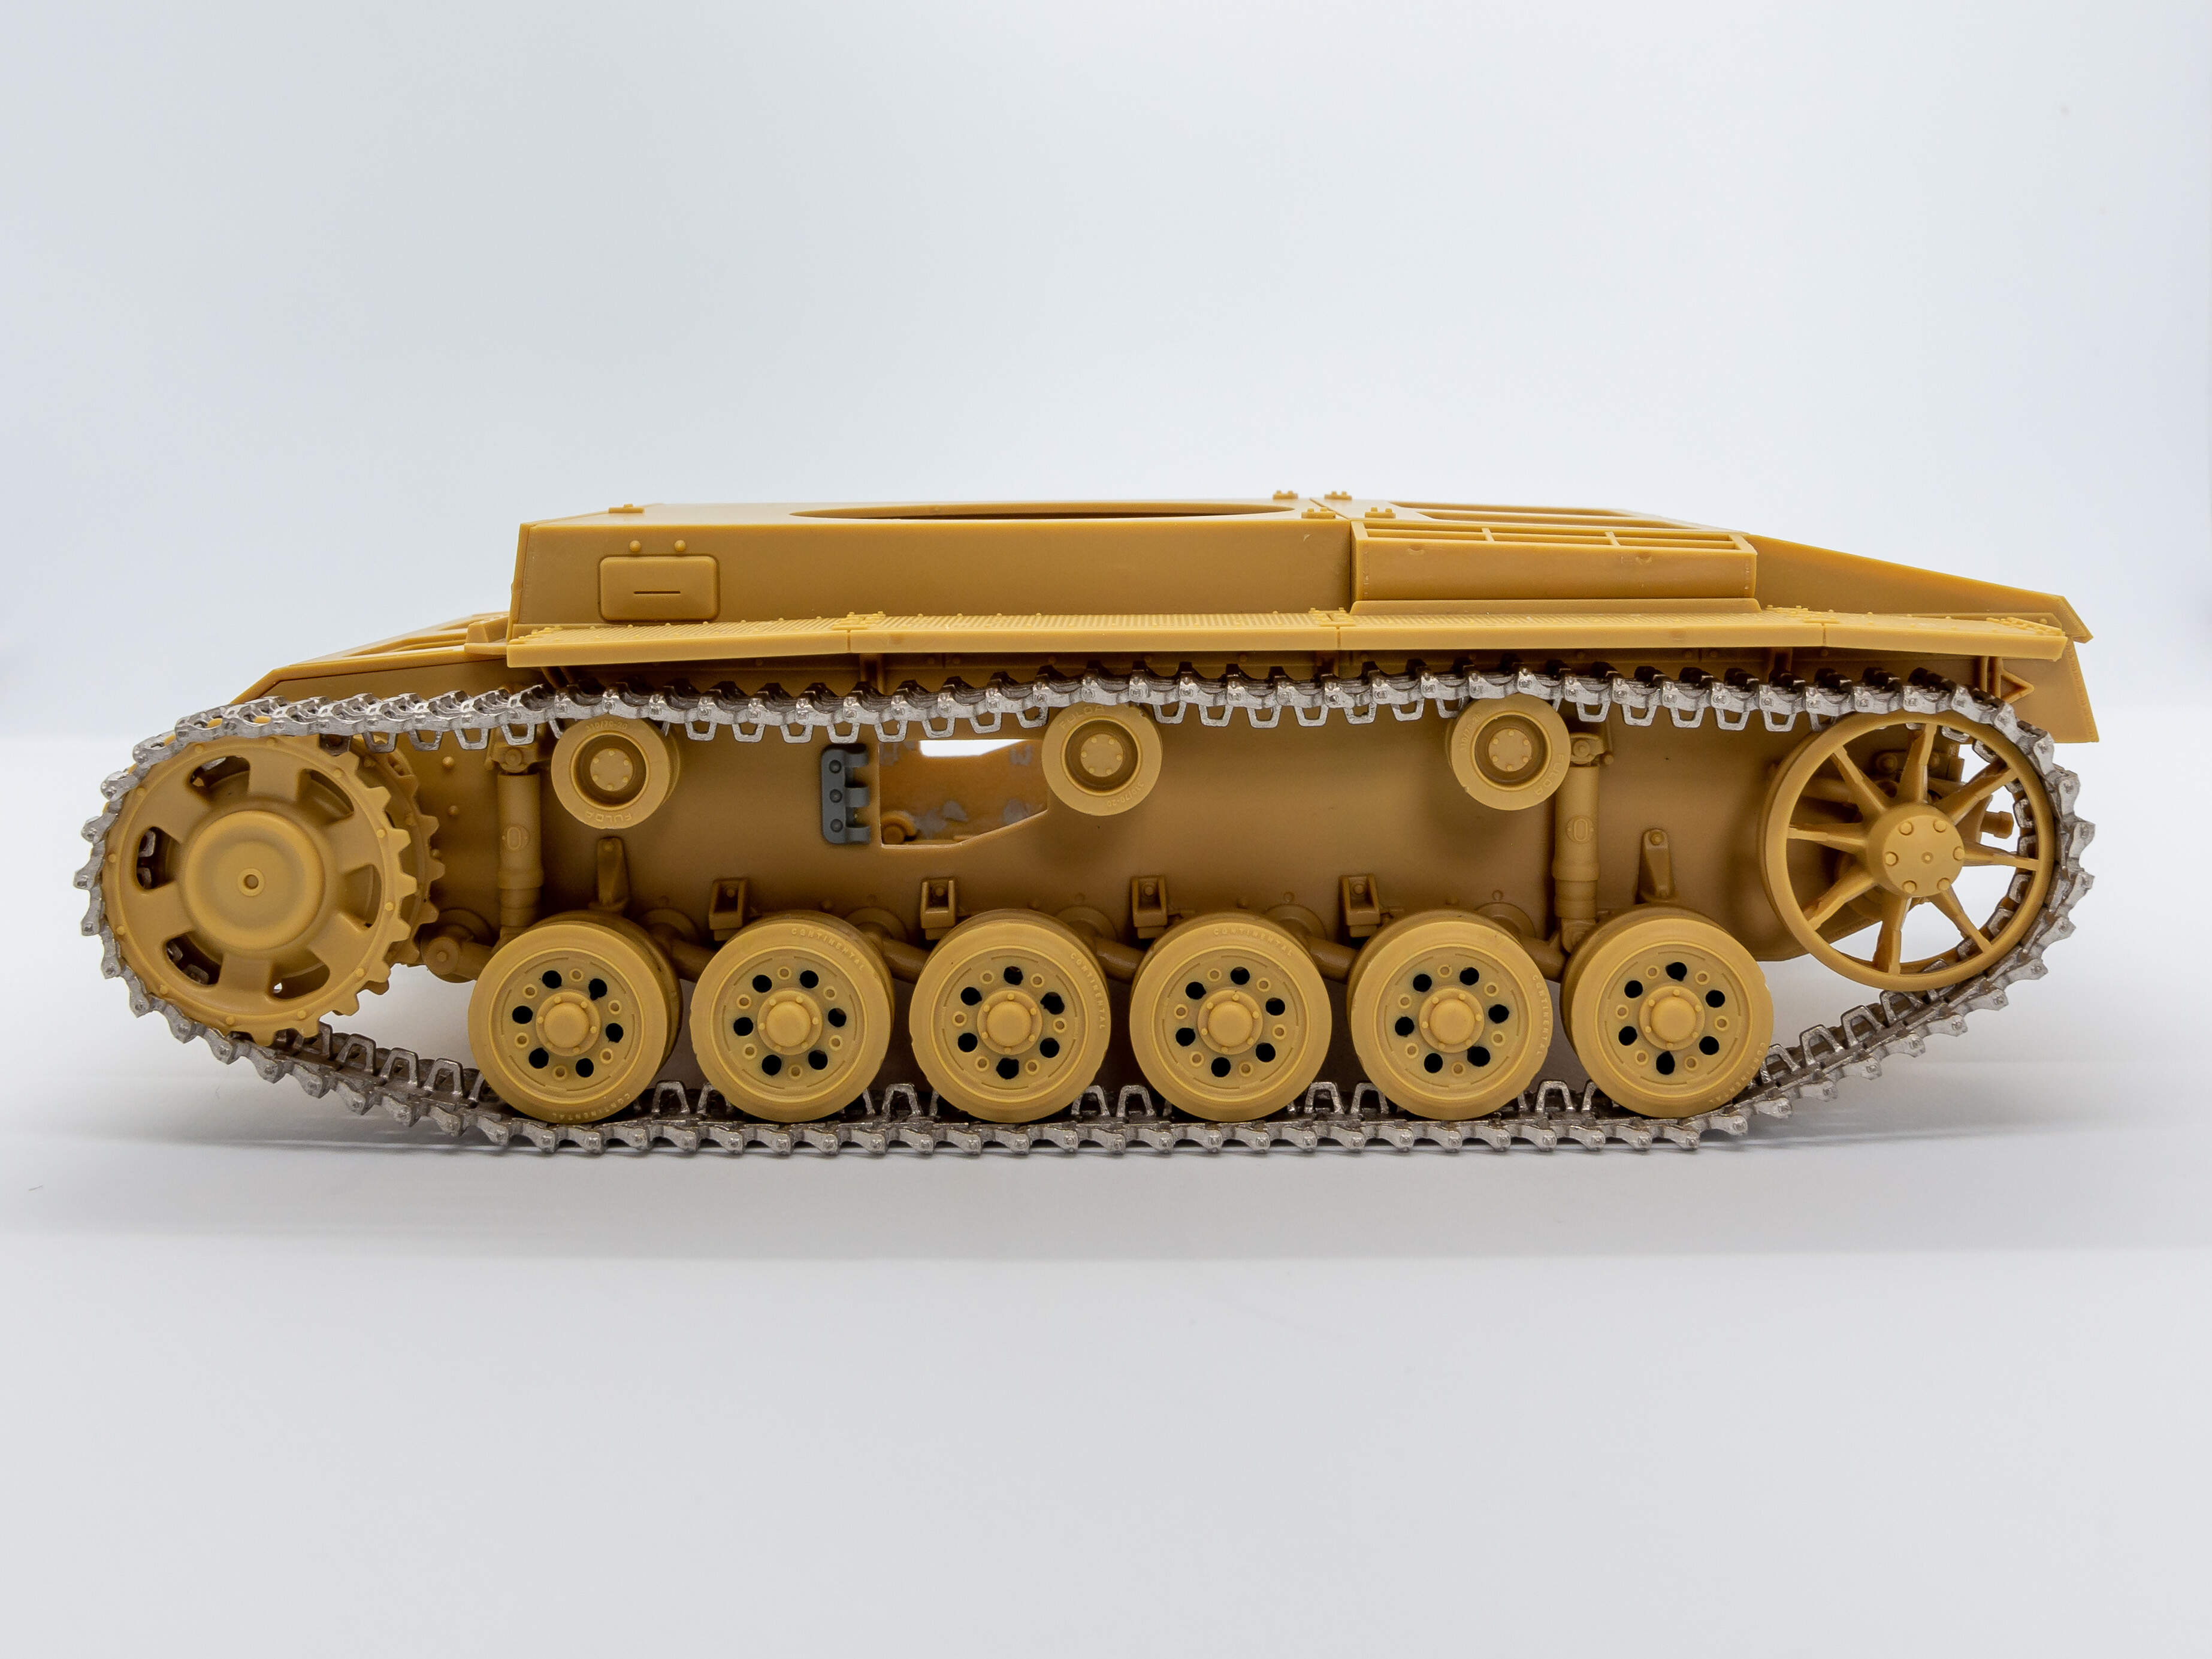
All of the suspension parts fit perfectly with little clean up required. Academy have done a great job on the wheels. They fit perfectly, detail is good and the clean up is a breeze. I added a little damage to some of the tyres. The tracks were replaced with the furils I had built for the Dragon kit, which also fit very well.
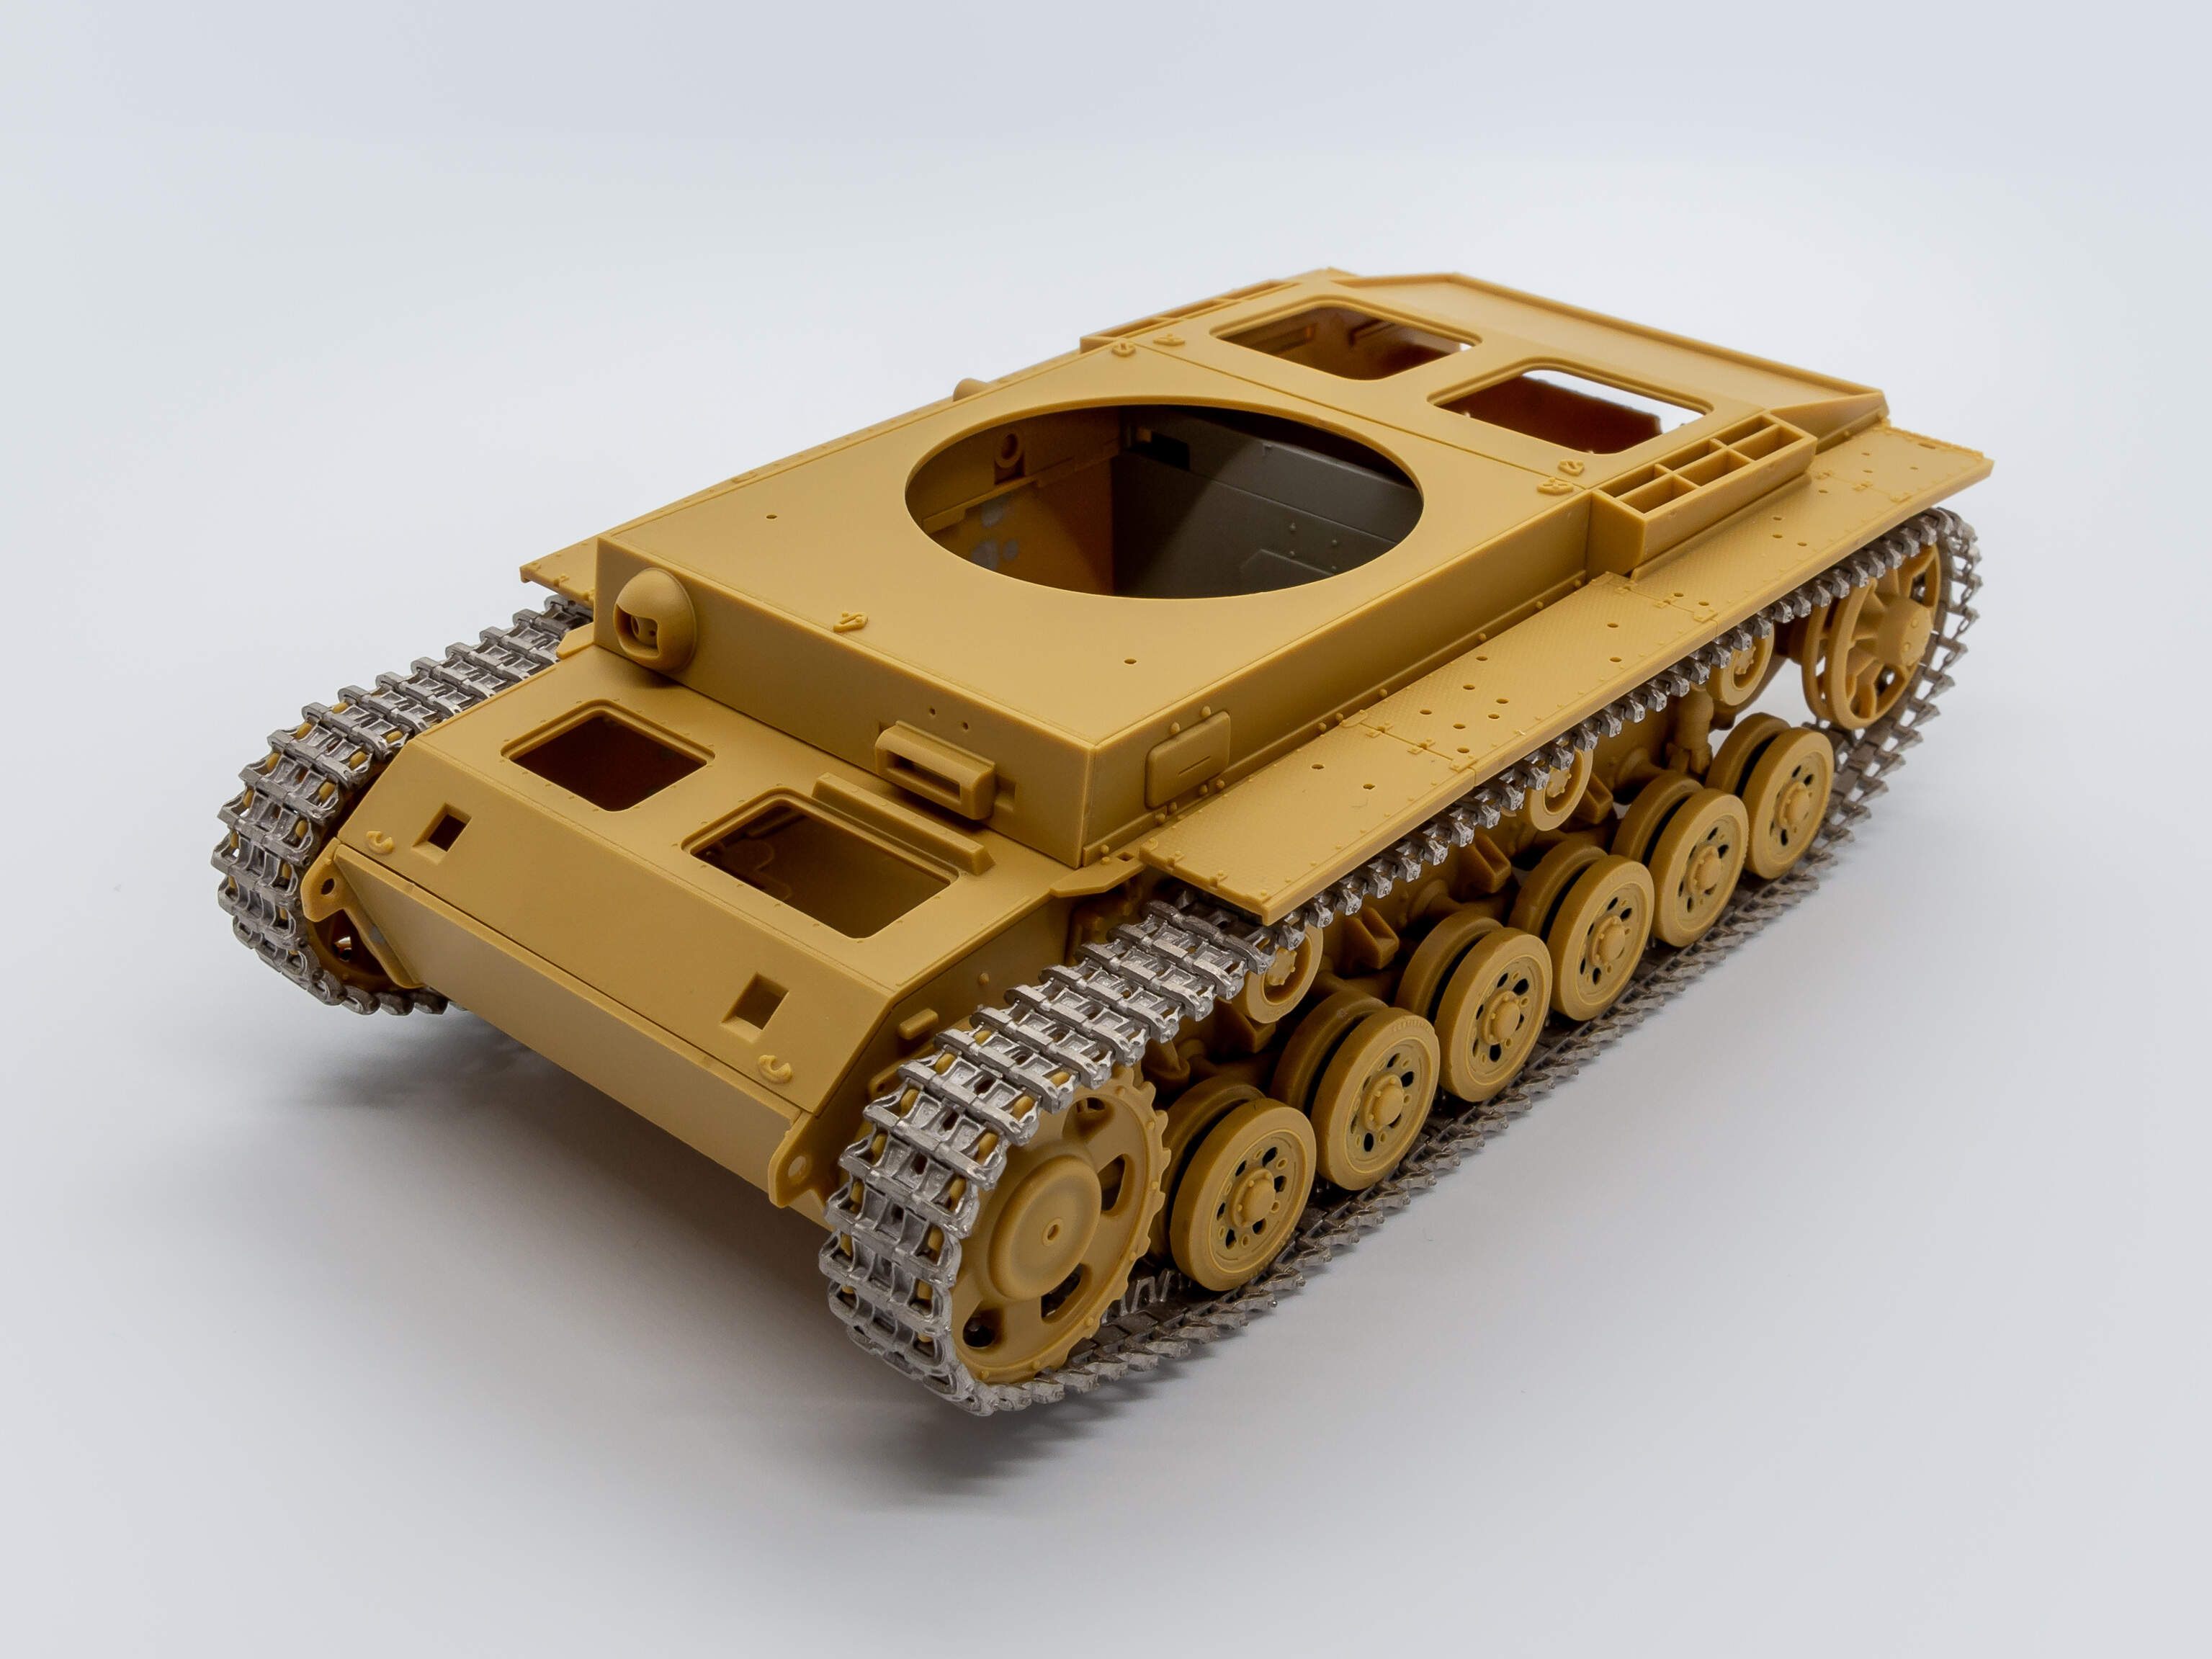
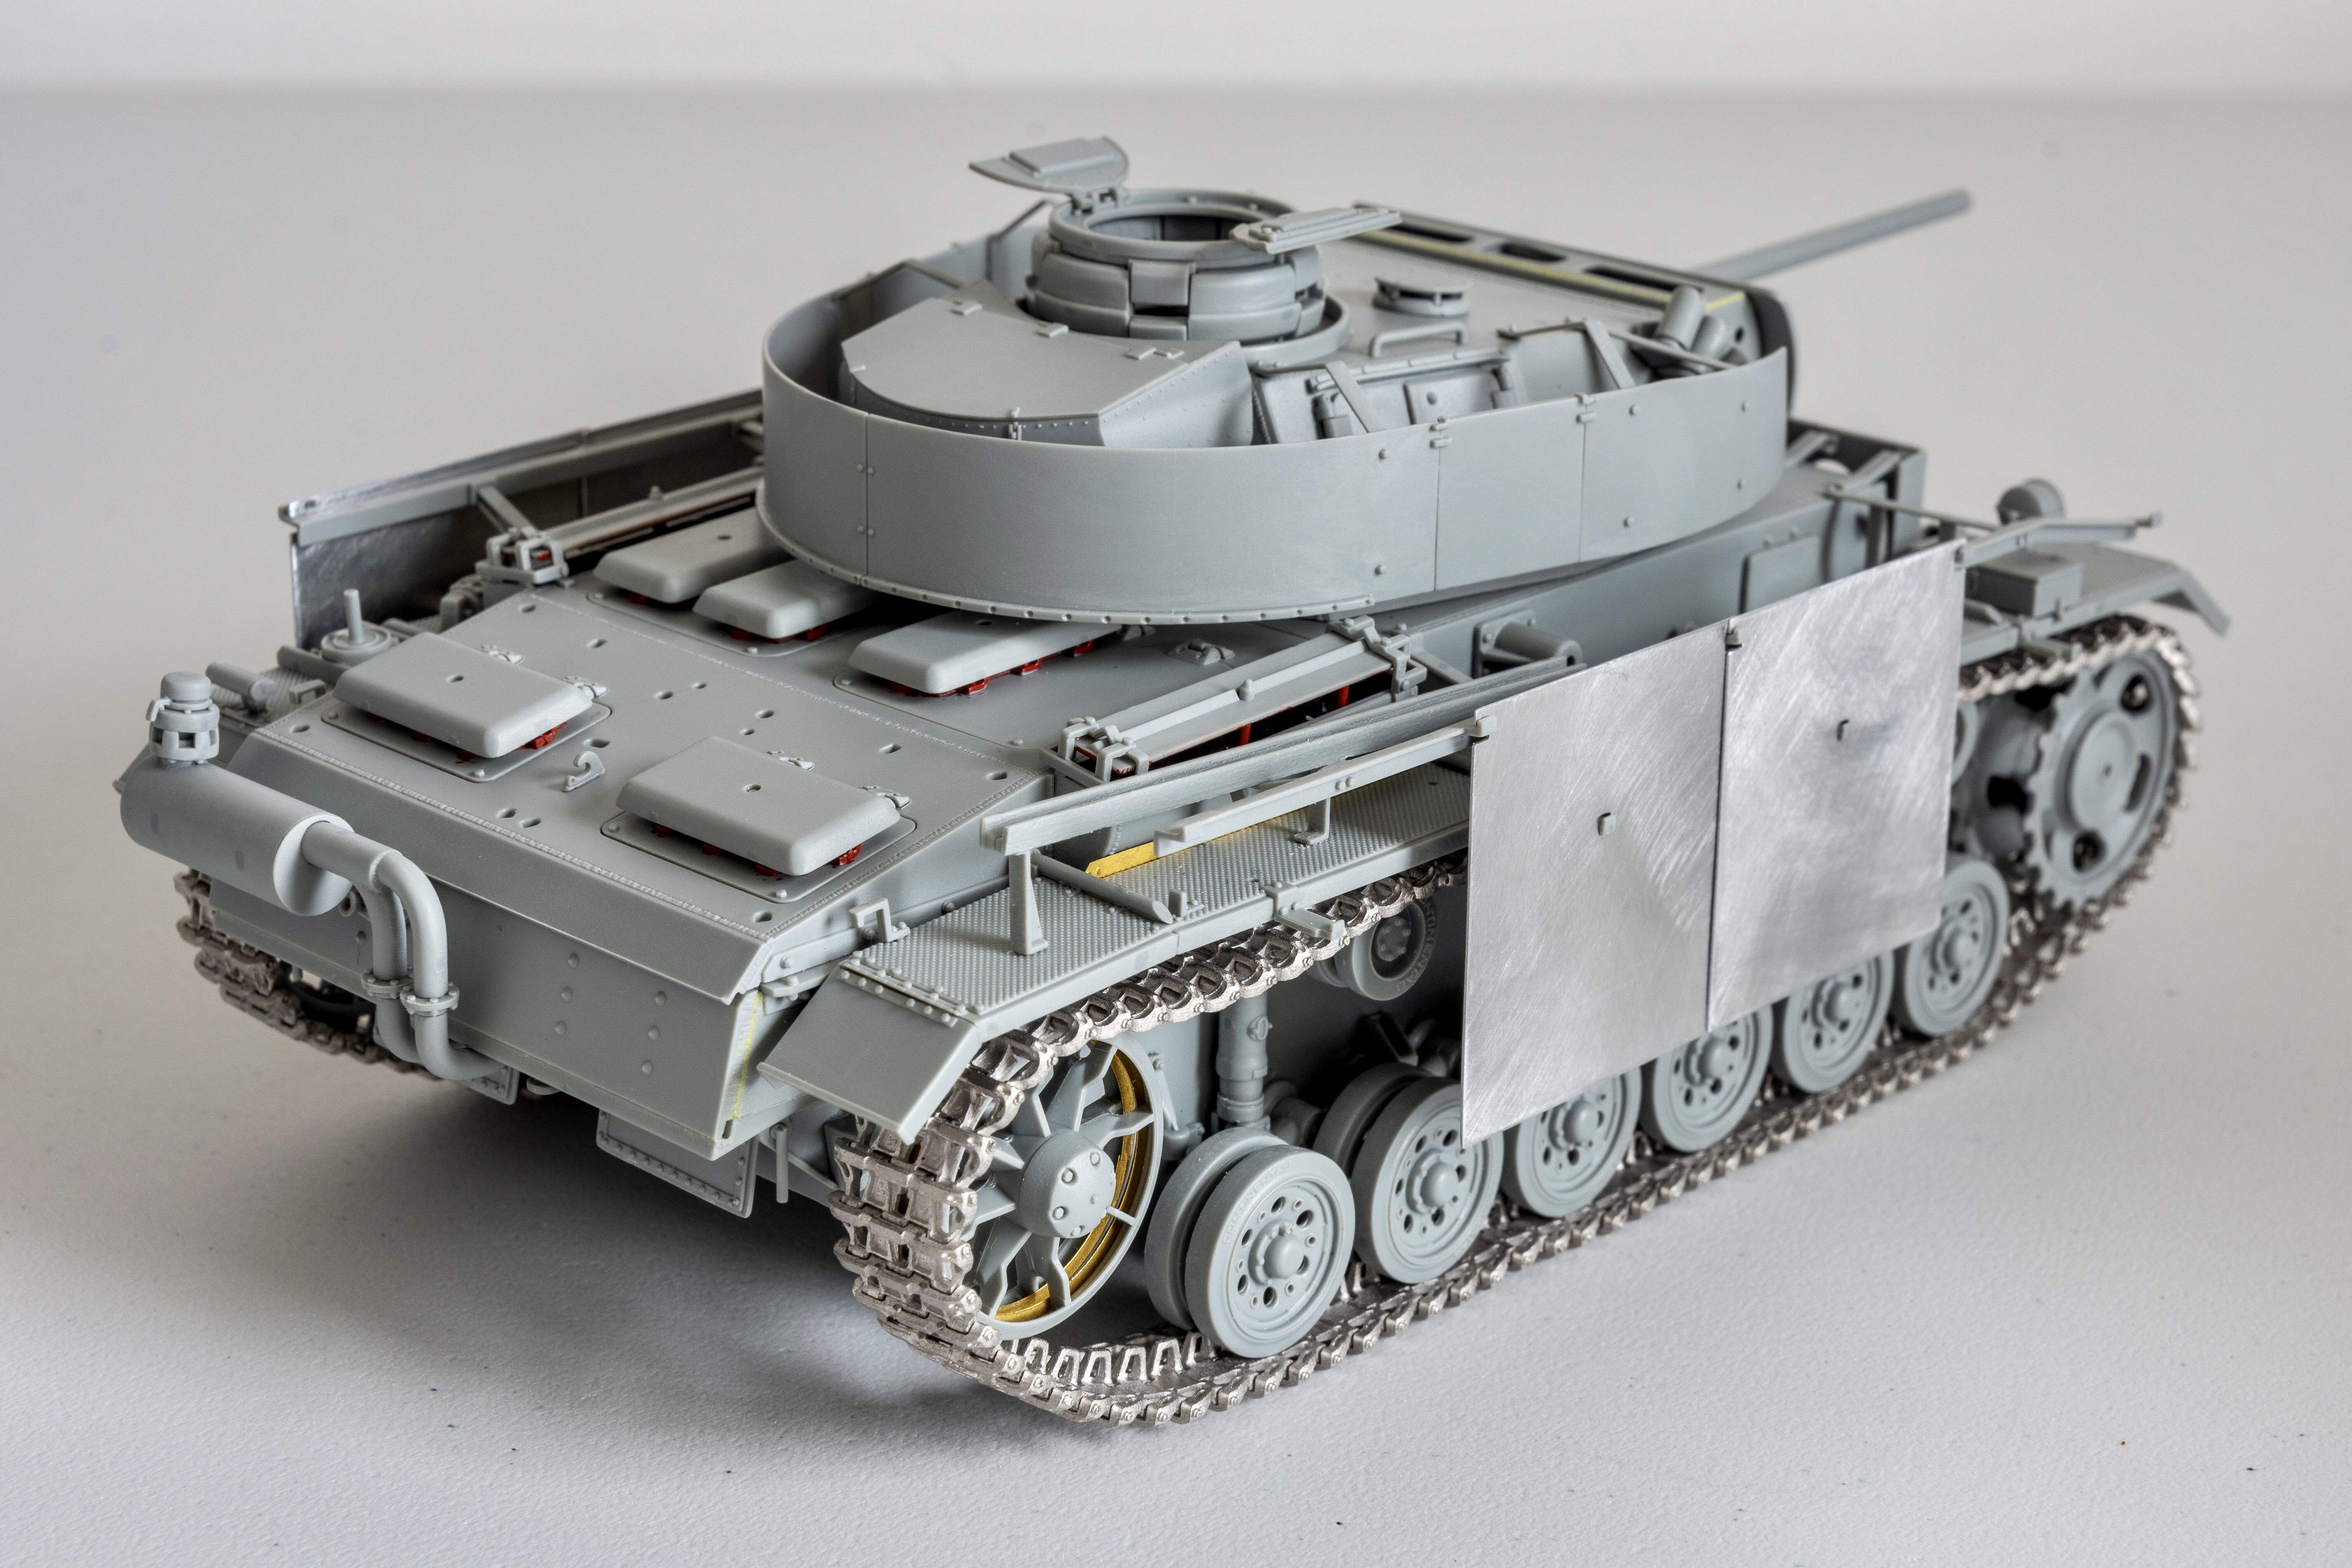
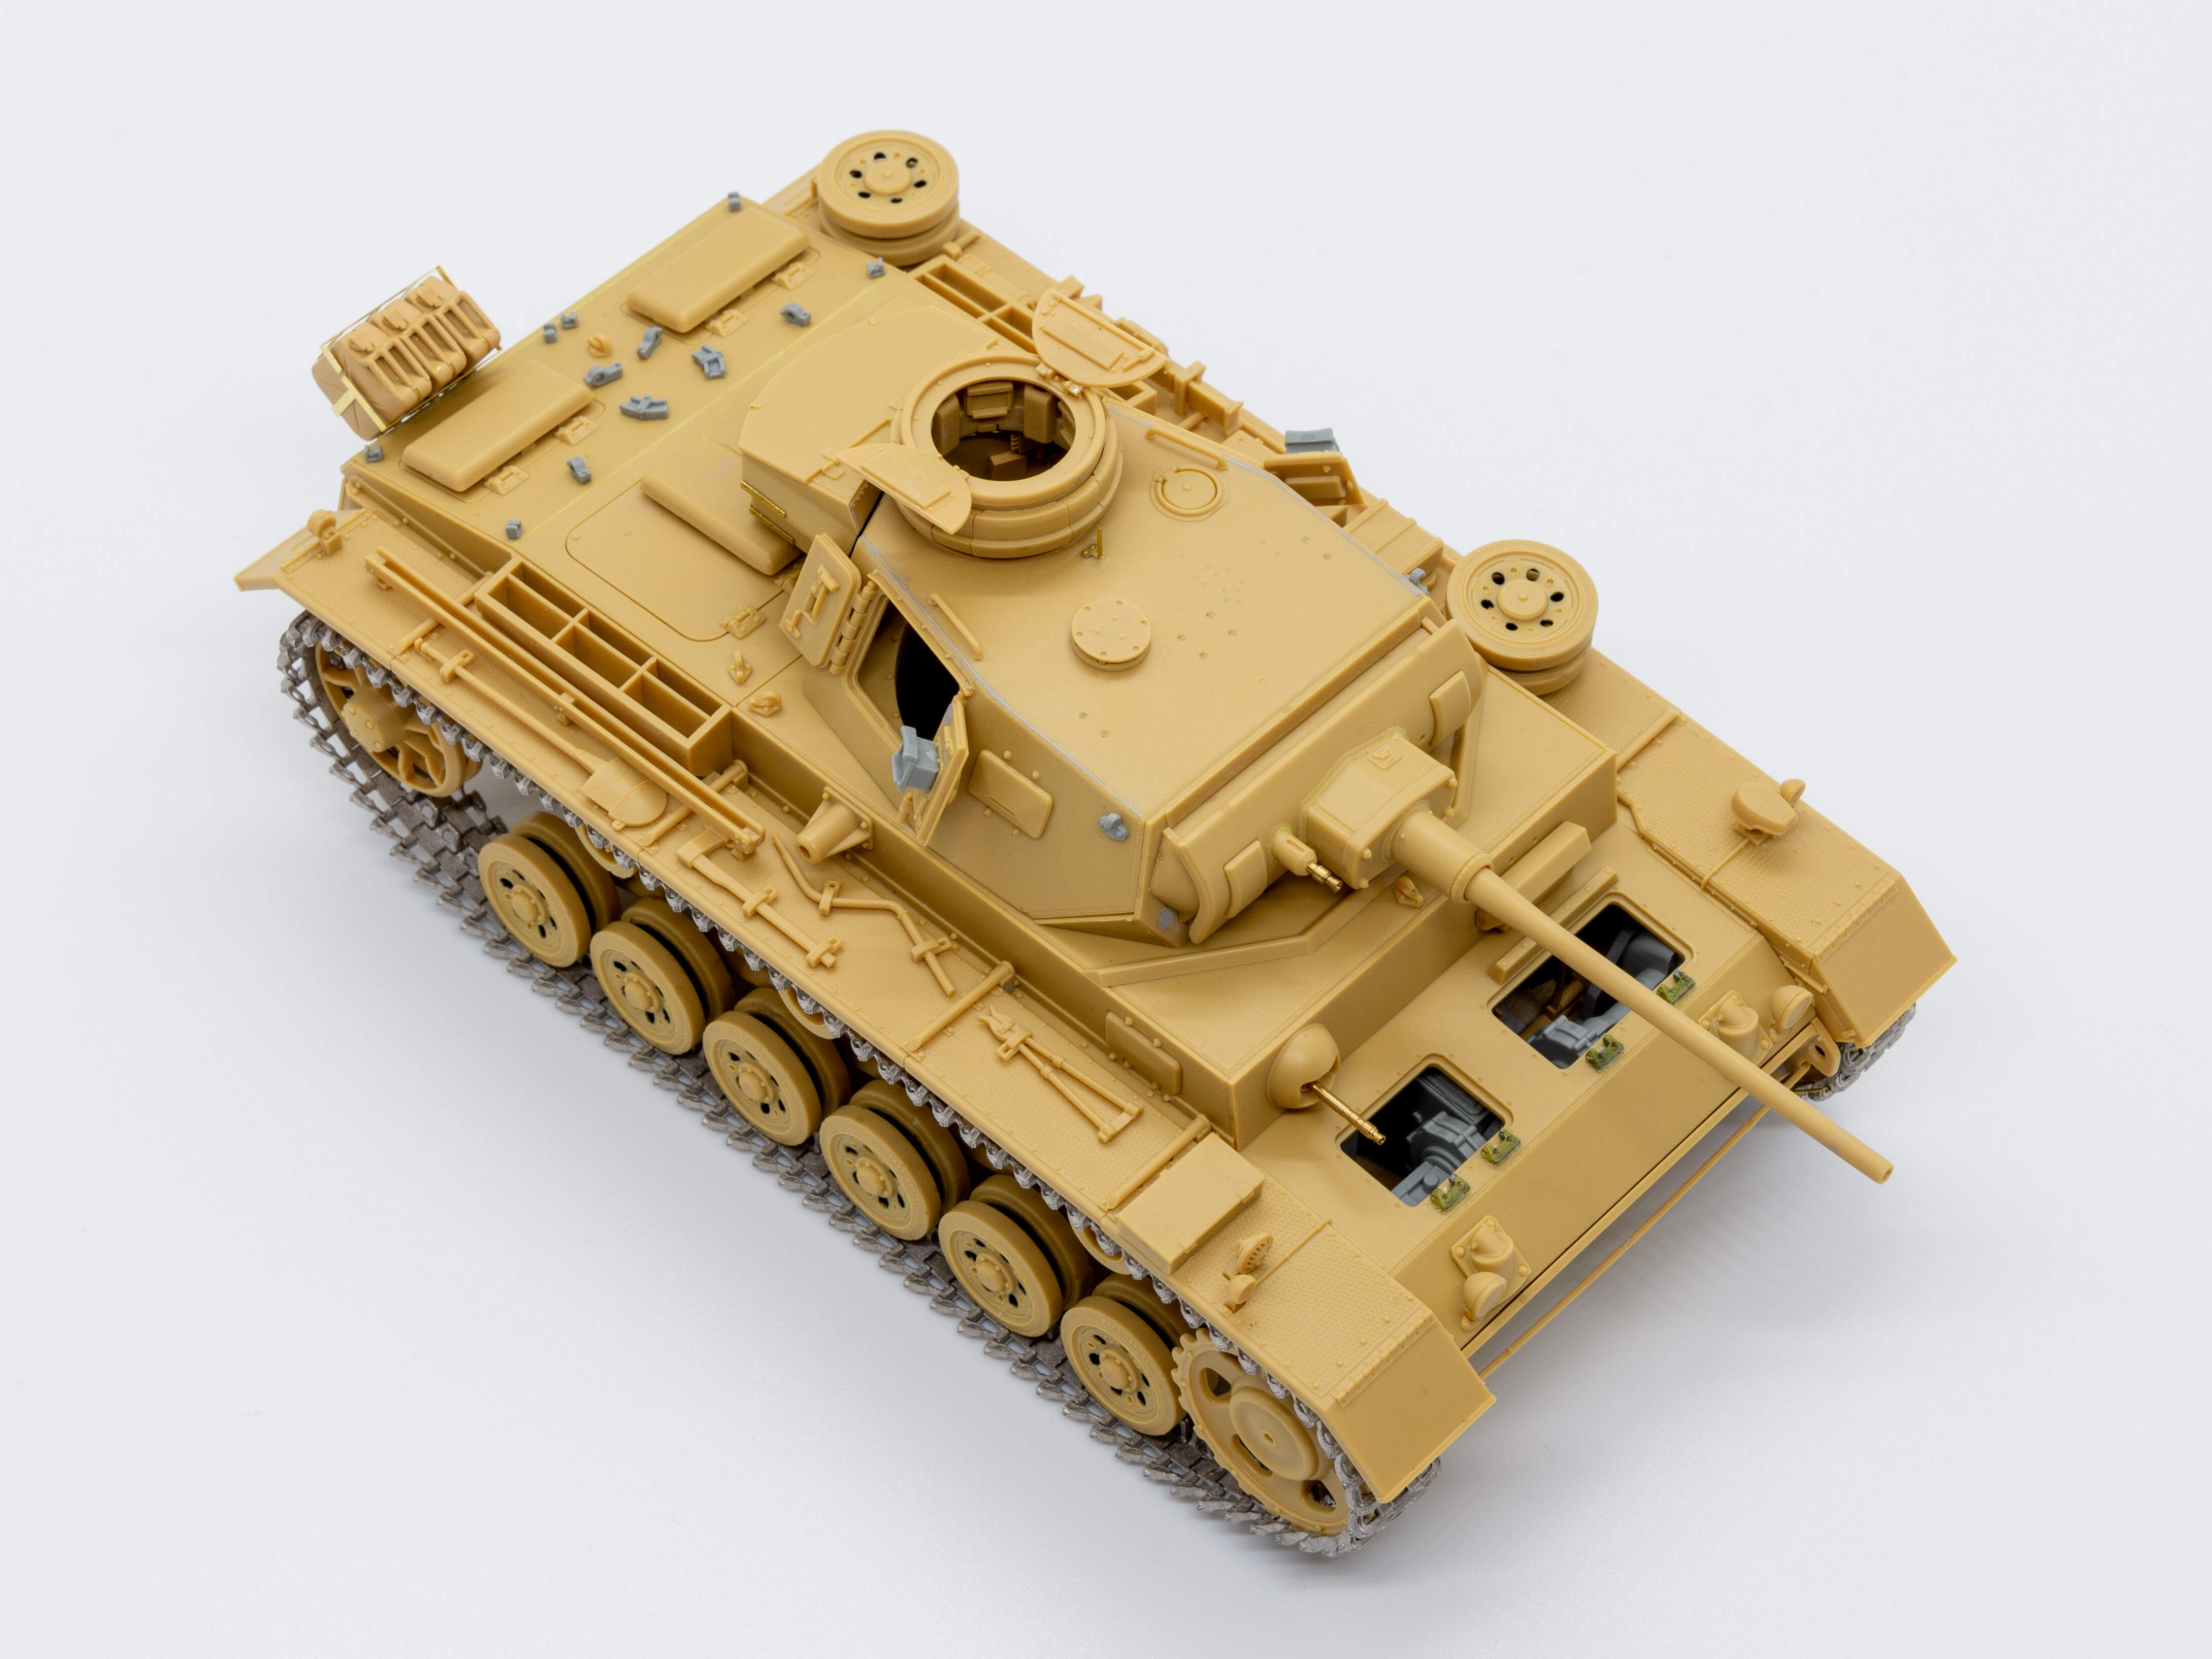
The upper hull parts are a modular design similar to Dragon. These parts also fit well with no issues. They hold together well even when just dry fitted.
So far I’m pretty impressed with this kit. The fit is almost on par with Tamiya and the detail, while a little softer and simpler than Dragon, is pretty good. Next up is preparing the hull interior.
@Dan I have been eyeing up that kit, looks like it is going to be top notch. I went with the academy kit mainly as I had the interior parts I needed already, otherwise I would of gone for RFM.
@Armor_Buff my kit had a few warping issues, mainly with the fighting compartment roof which was badly out of shape. I had to abandon the interior as it requires large amounts of the internal bracing to be removed. I couldn’t do that as the bracing and superglue were needed to keep the roof straight. It looked like this before painting.
Initial painting went fine but something went wrong with the gloss coat. I think I had a bad bottle of Vallejo varnish as it became very sticky and gooey. That was 8 months ago and the varnish is still tacky to touch!
@Guern Matt, sorry to heat there were problems. Nice save working around them as the build looks very nice. That’s terrible about the bad varnish after all the work. Thank you for heads up about the warp.
@Armor_Buff thanks Wade, I think I was unlucky with the warped parts, never encountered that in a Dragon kit before. It’s a great kit overall, excellent detail all round. I would recommend replacing the tracks though, the ones with the neo kit aren’t the best.
@Dan Would be interested to hear more on the build Dan, are you doing a build log or have any photos?
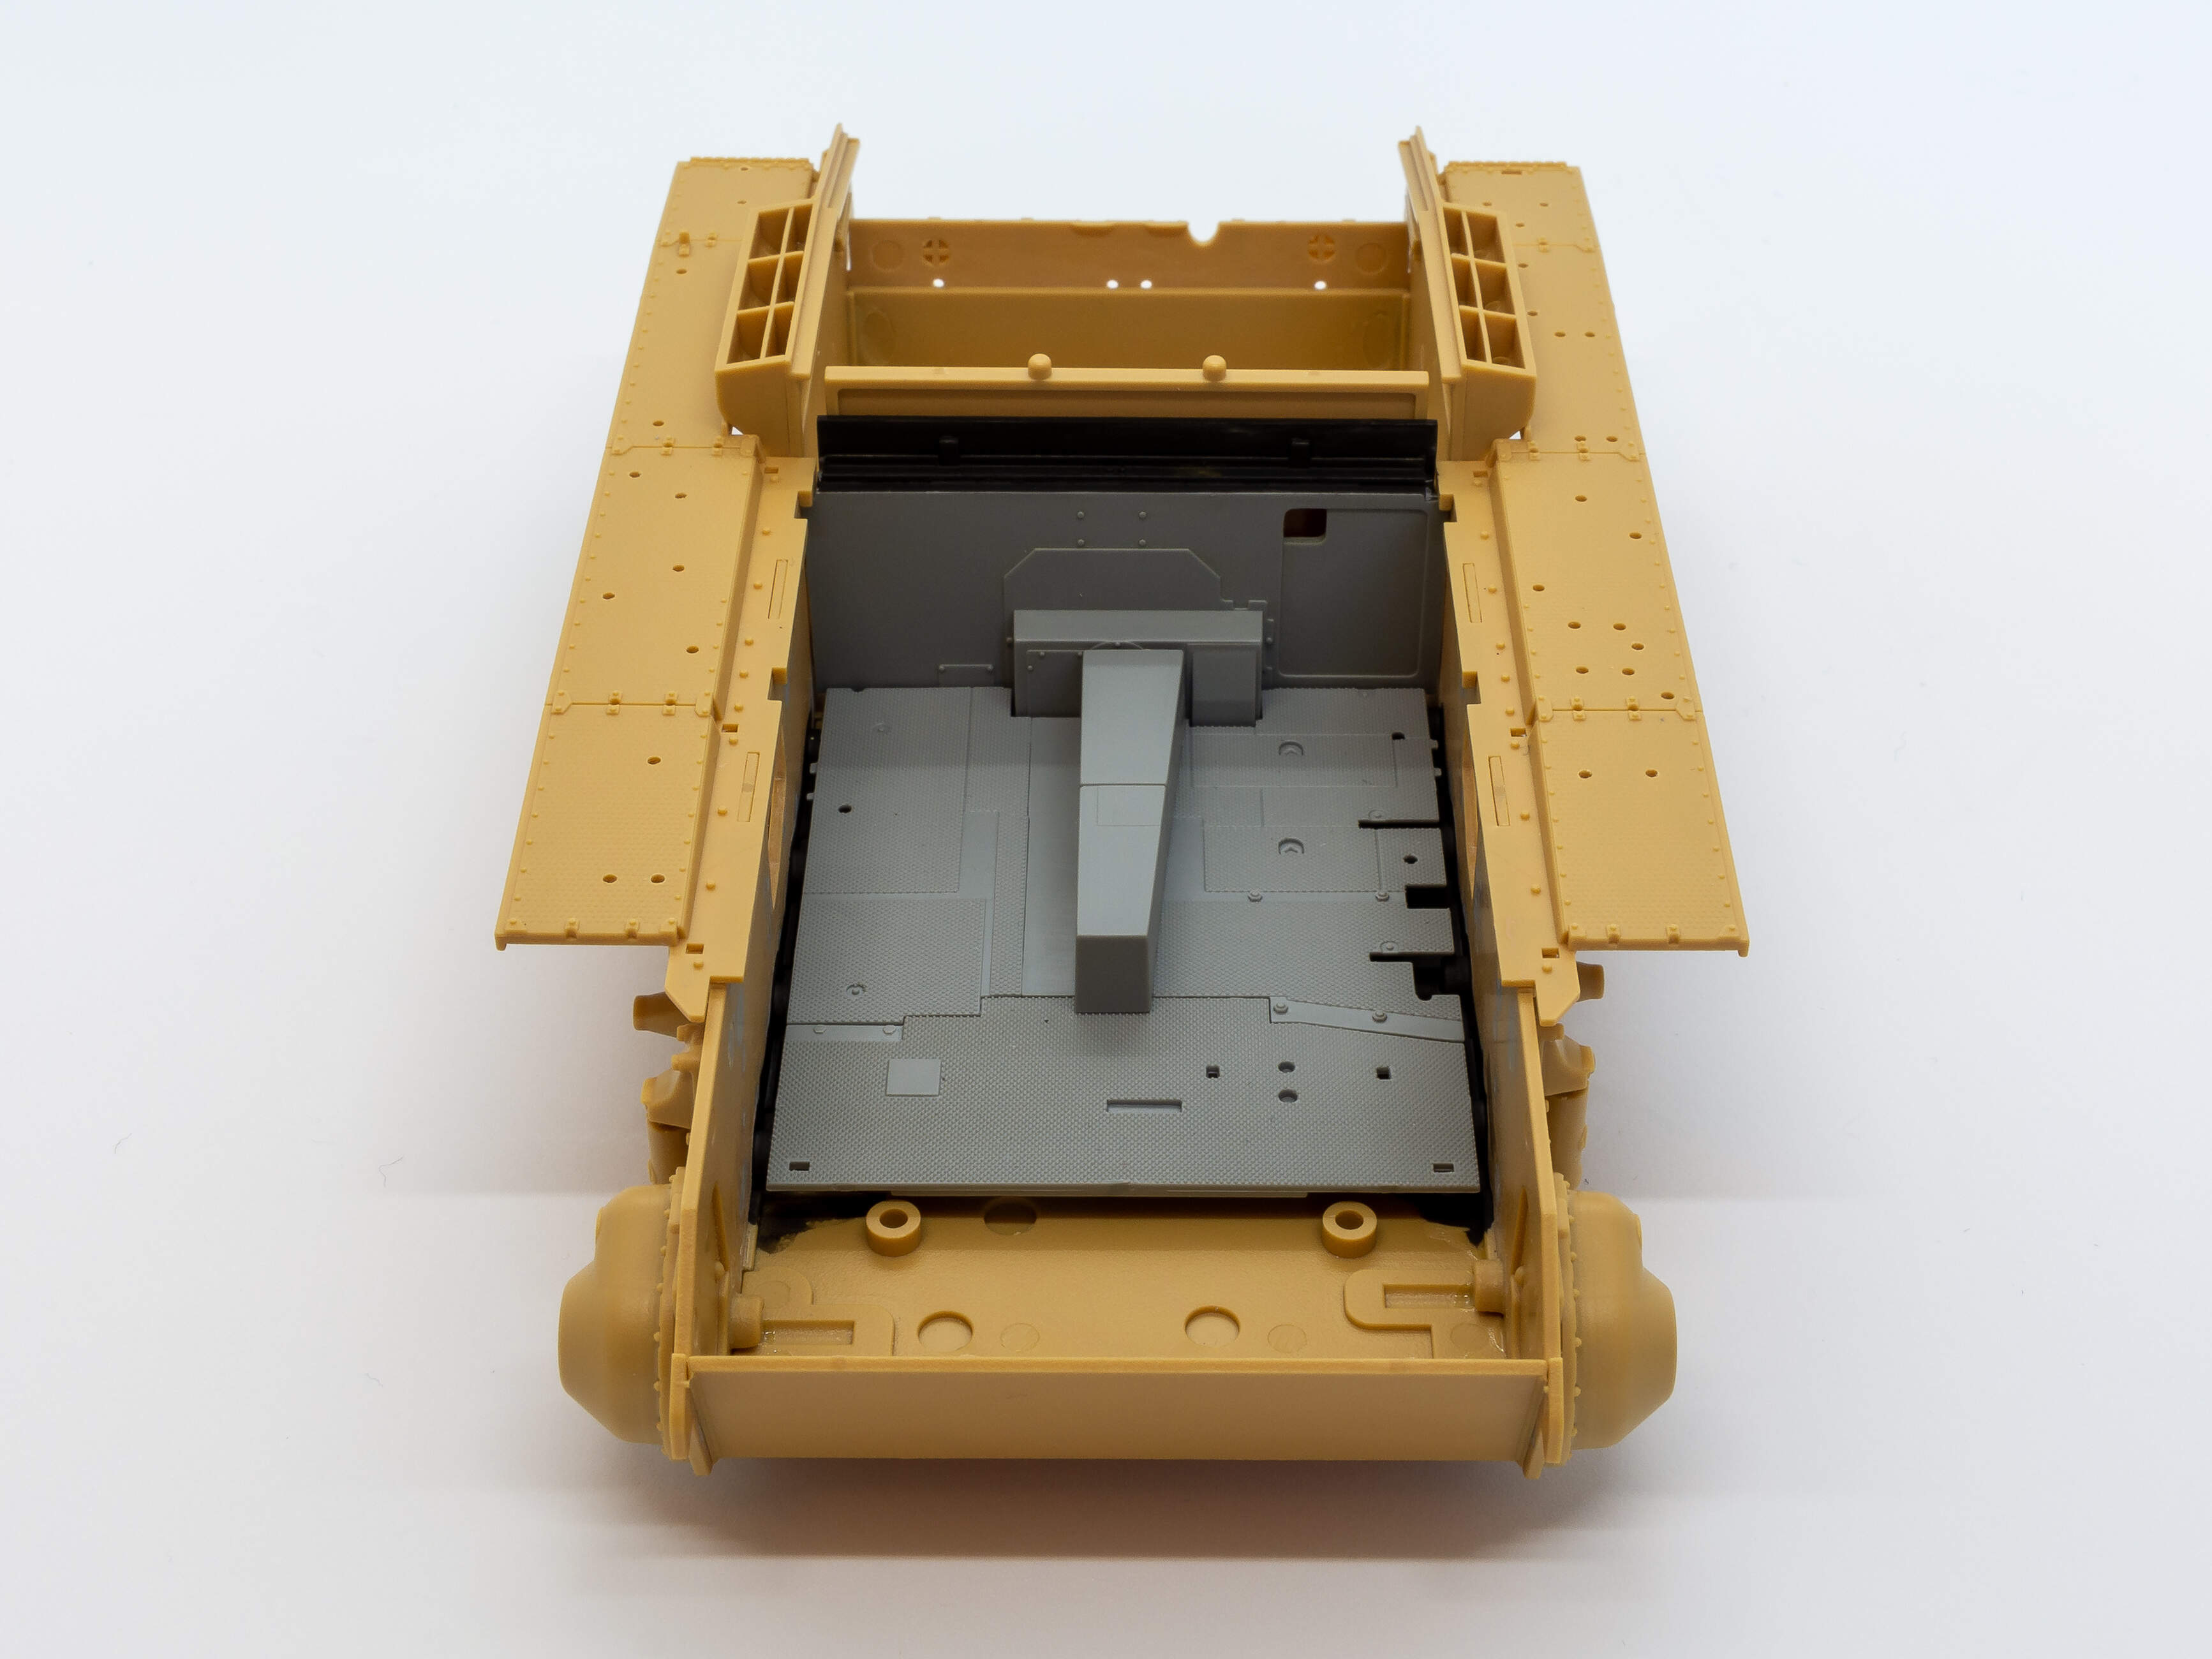
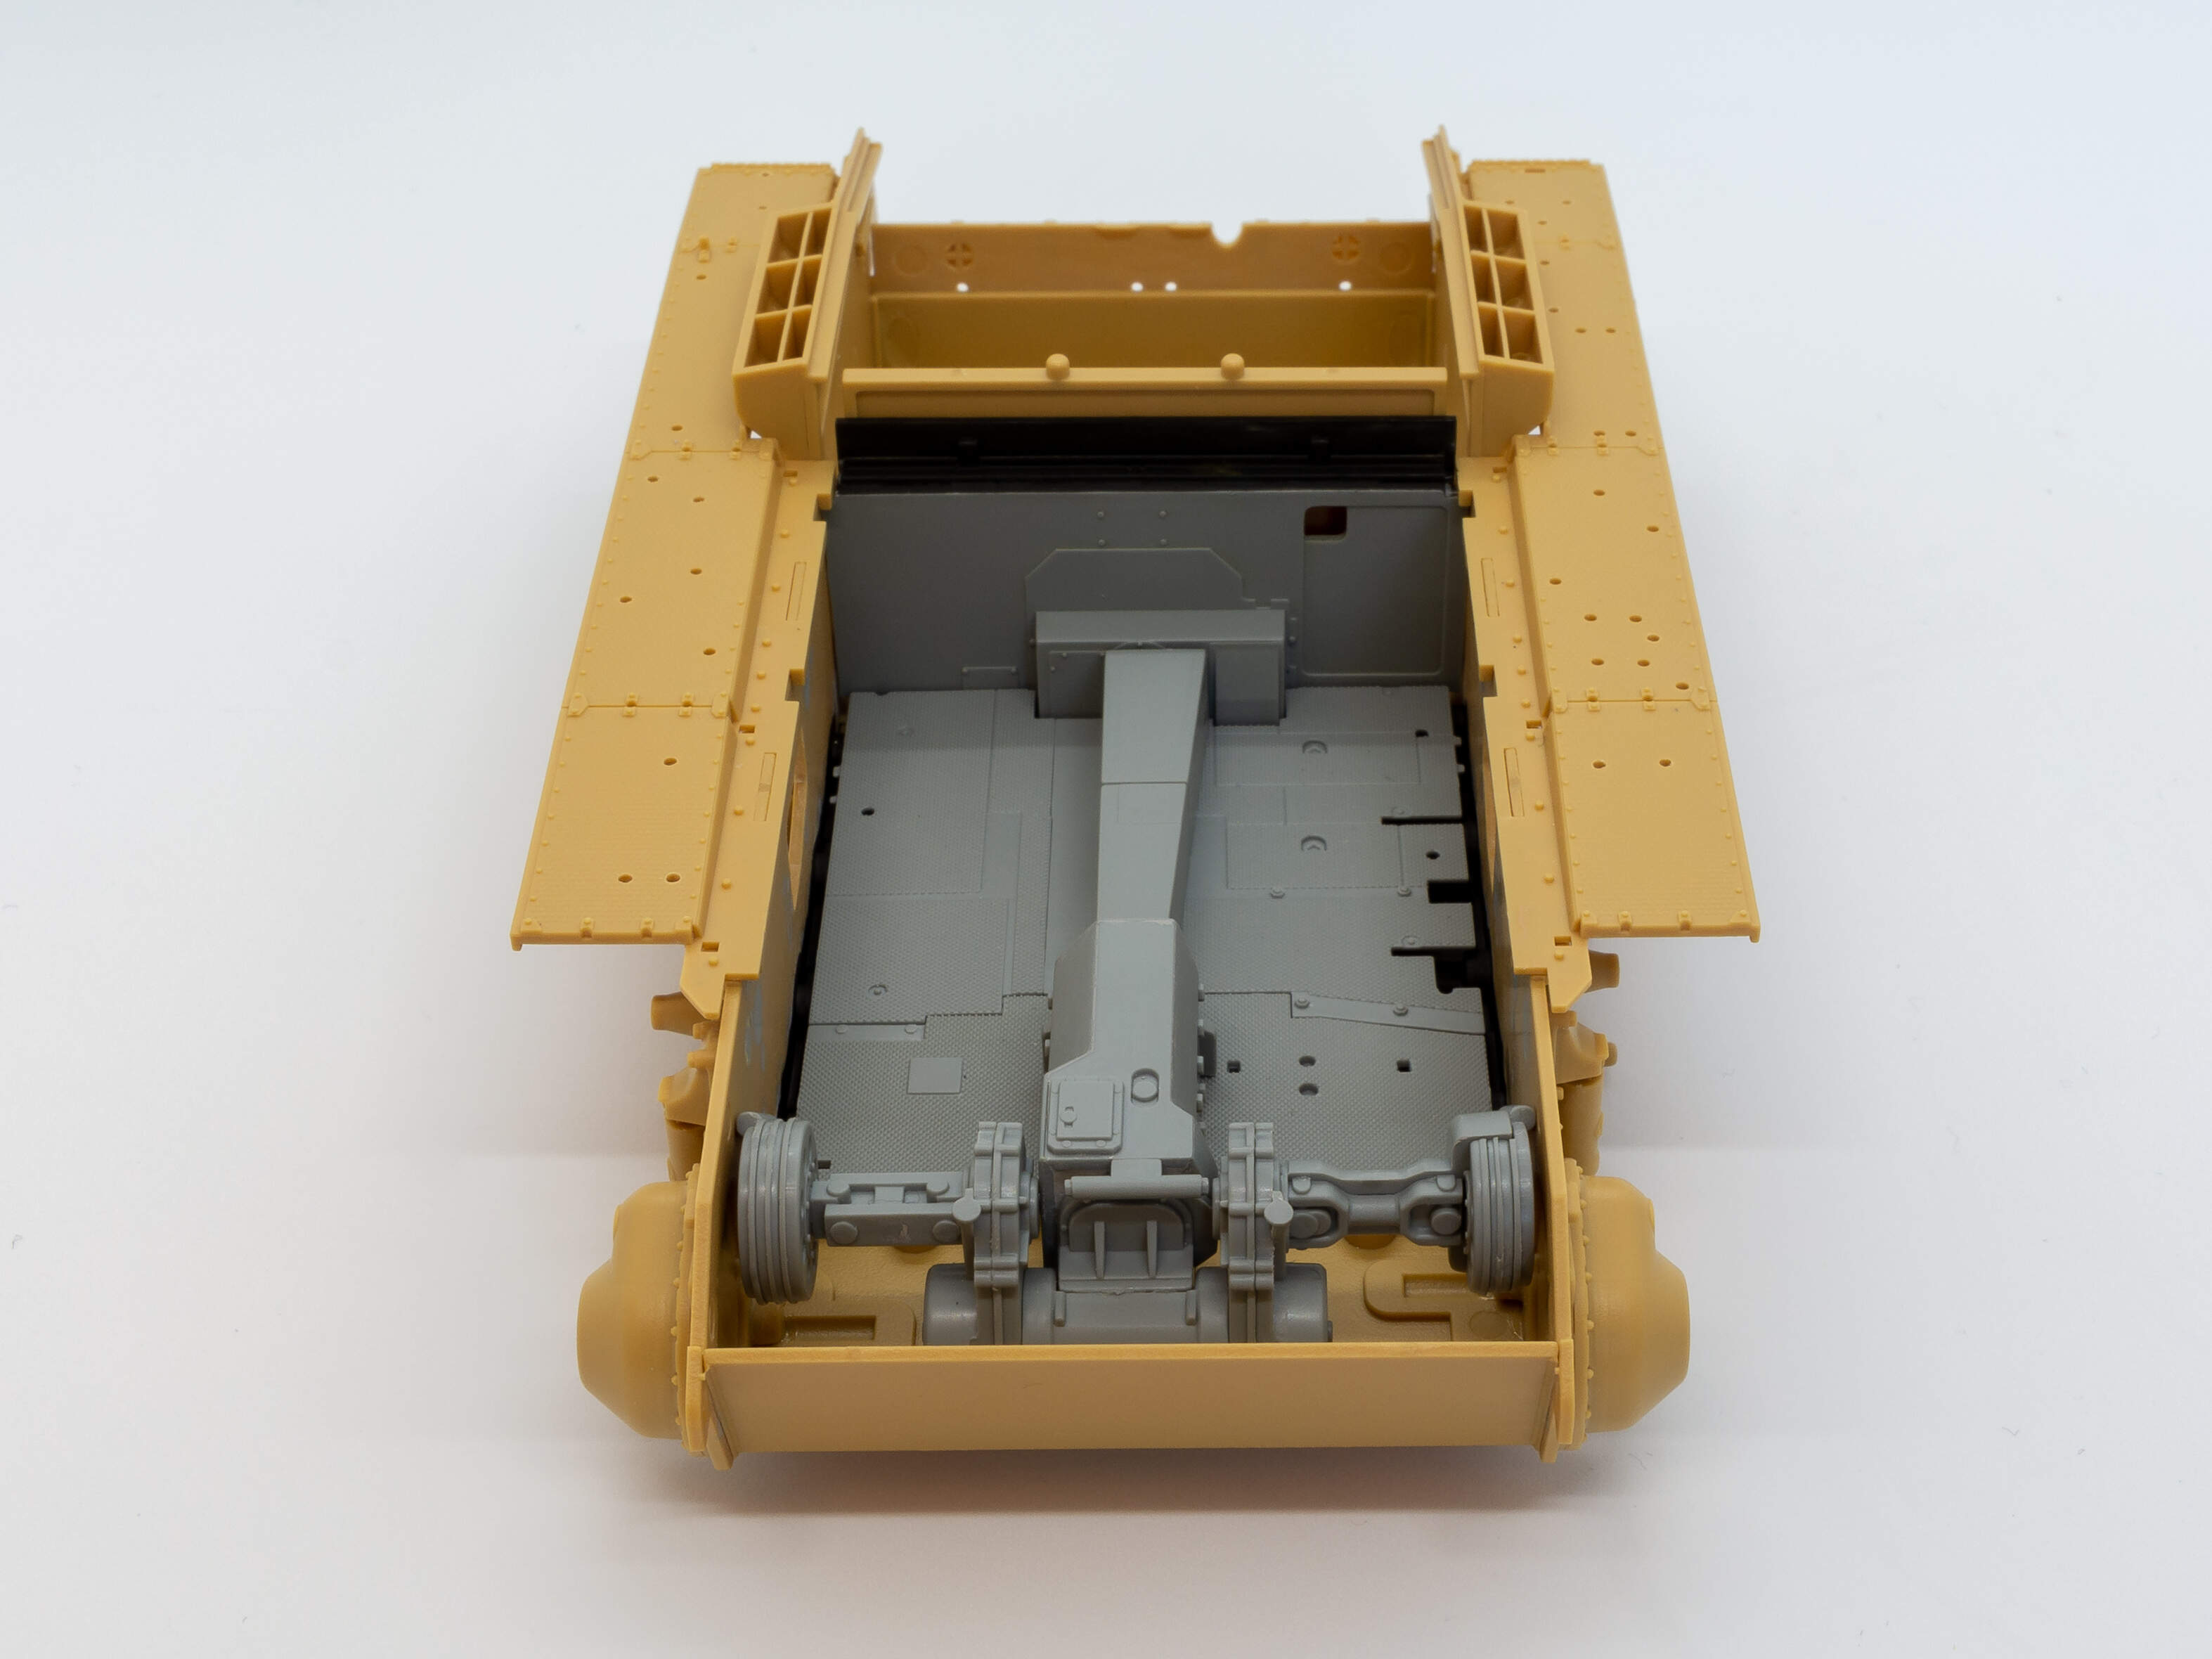
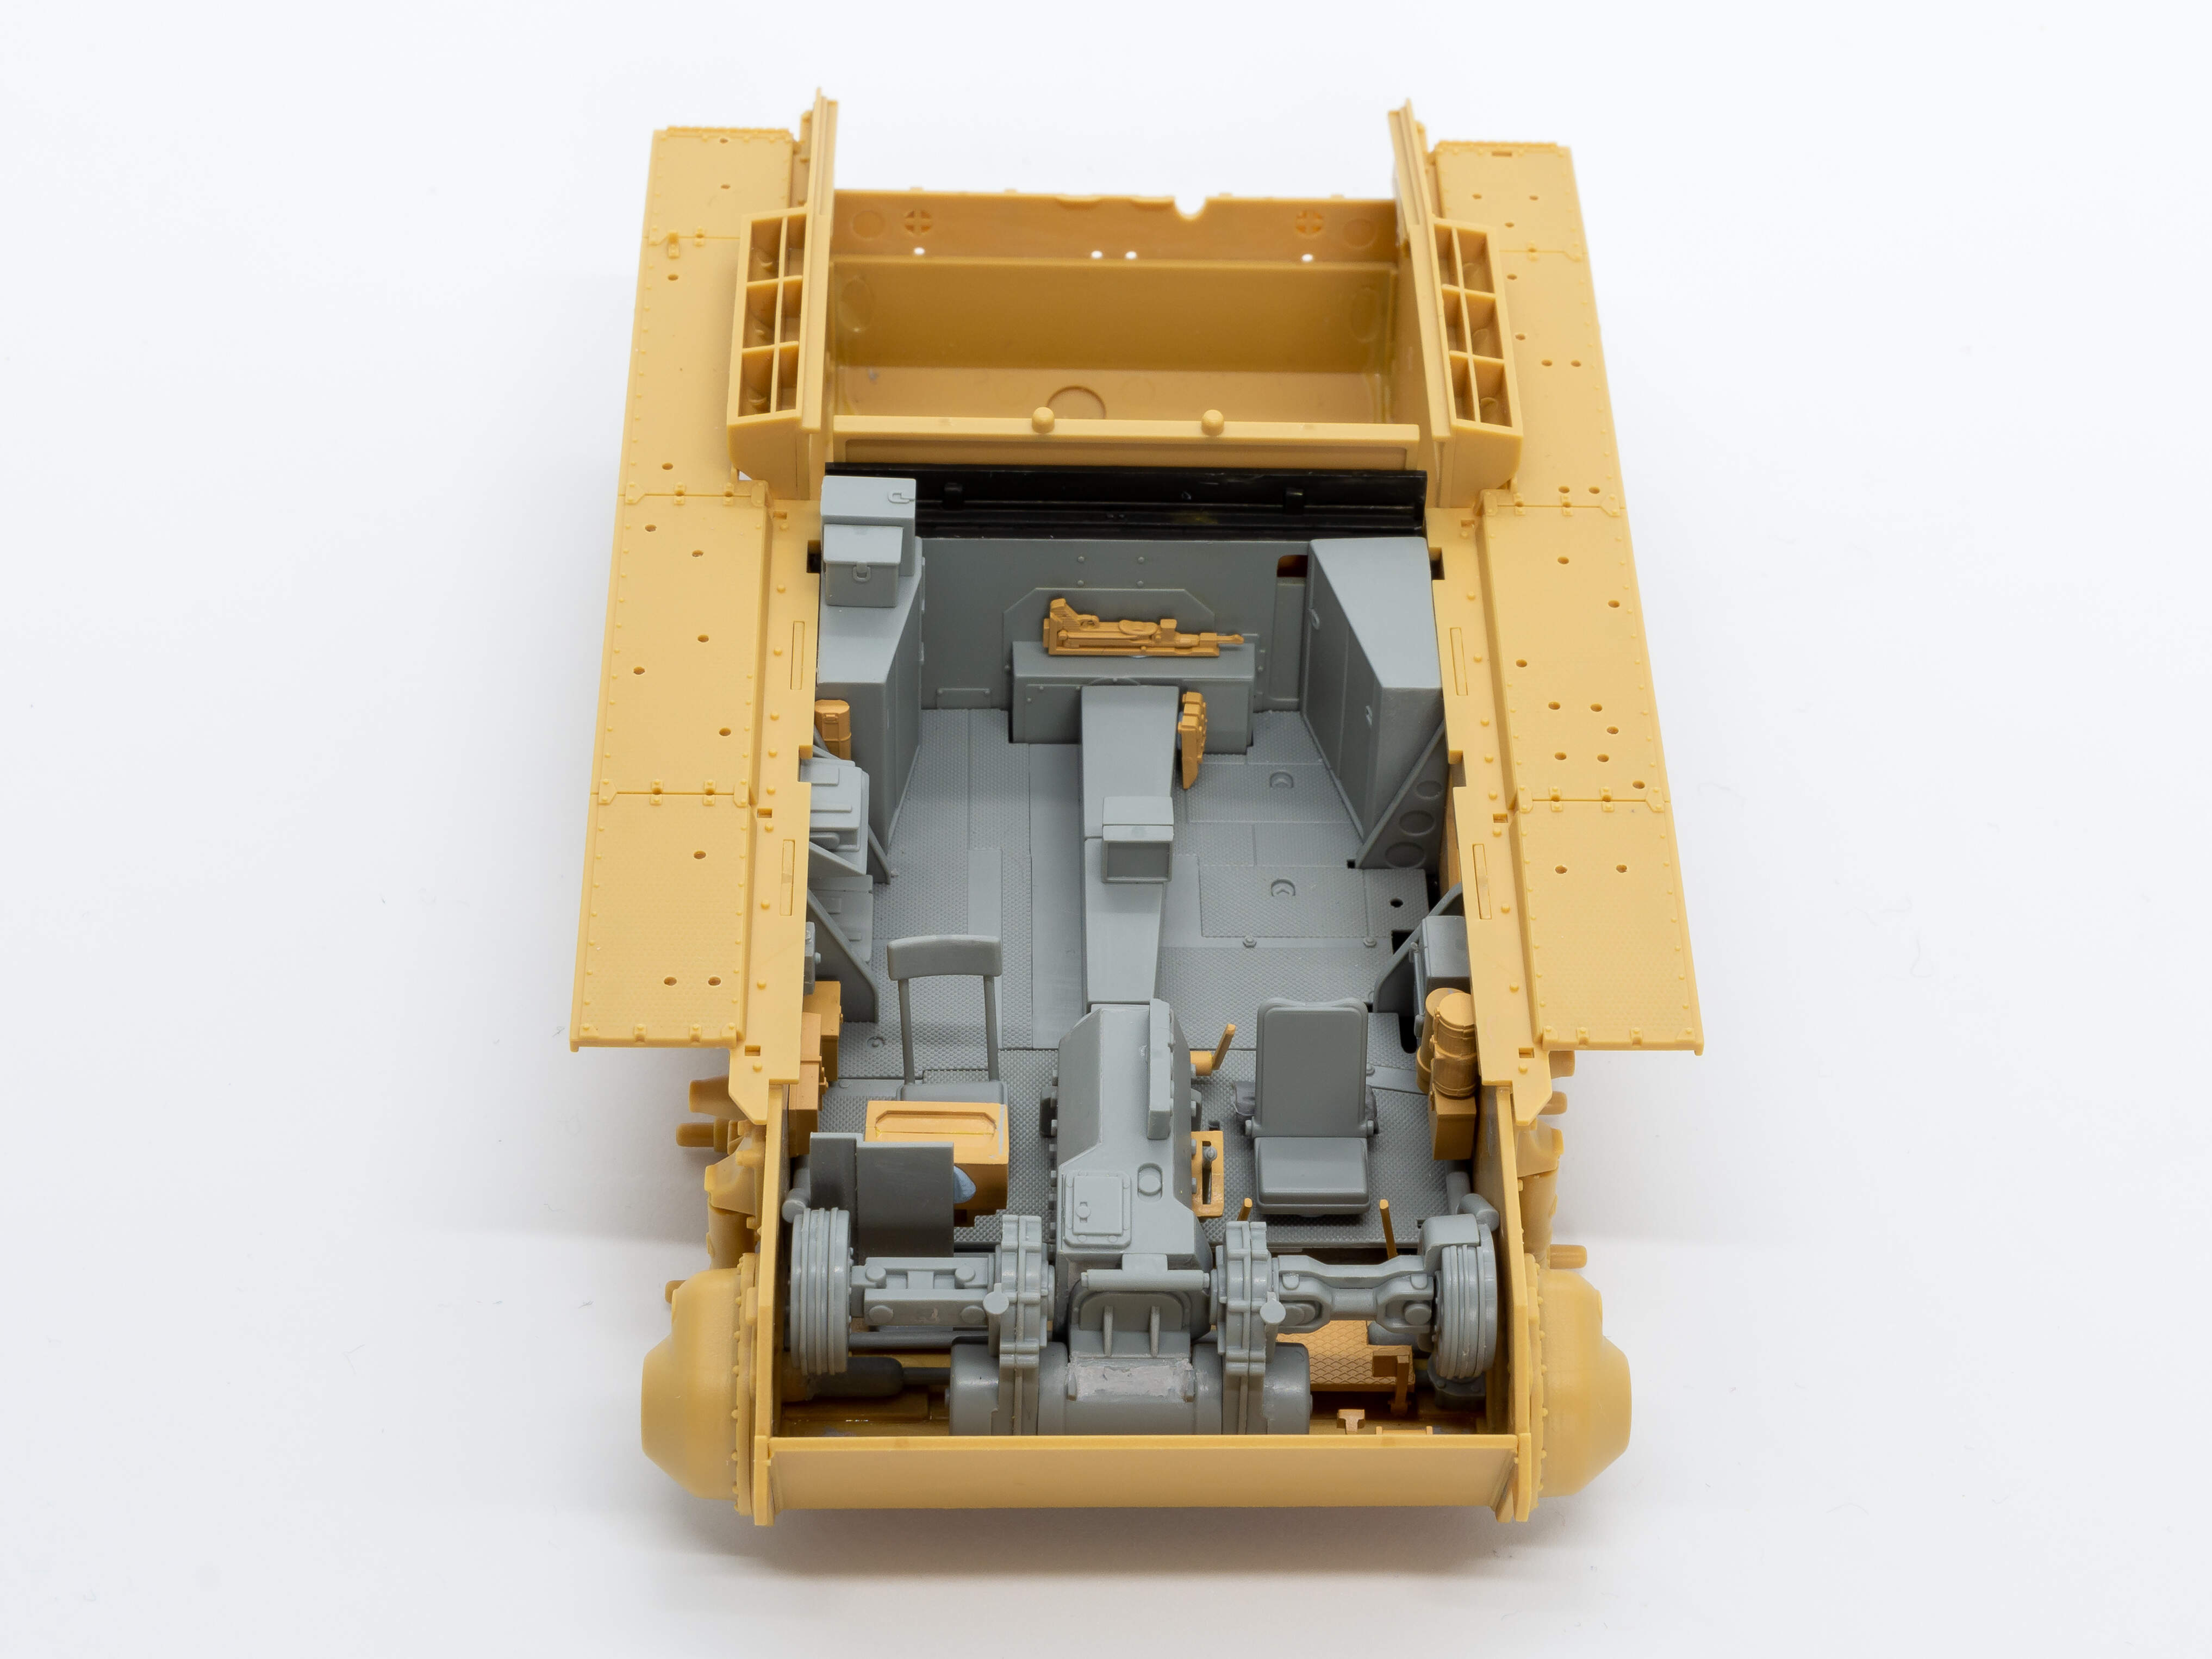
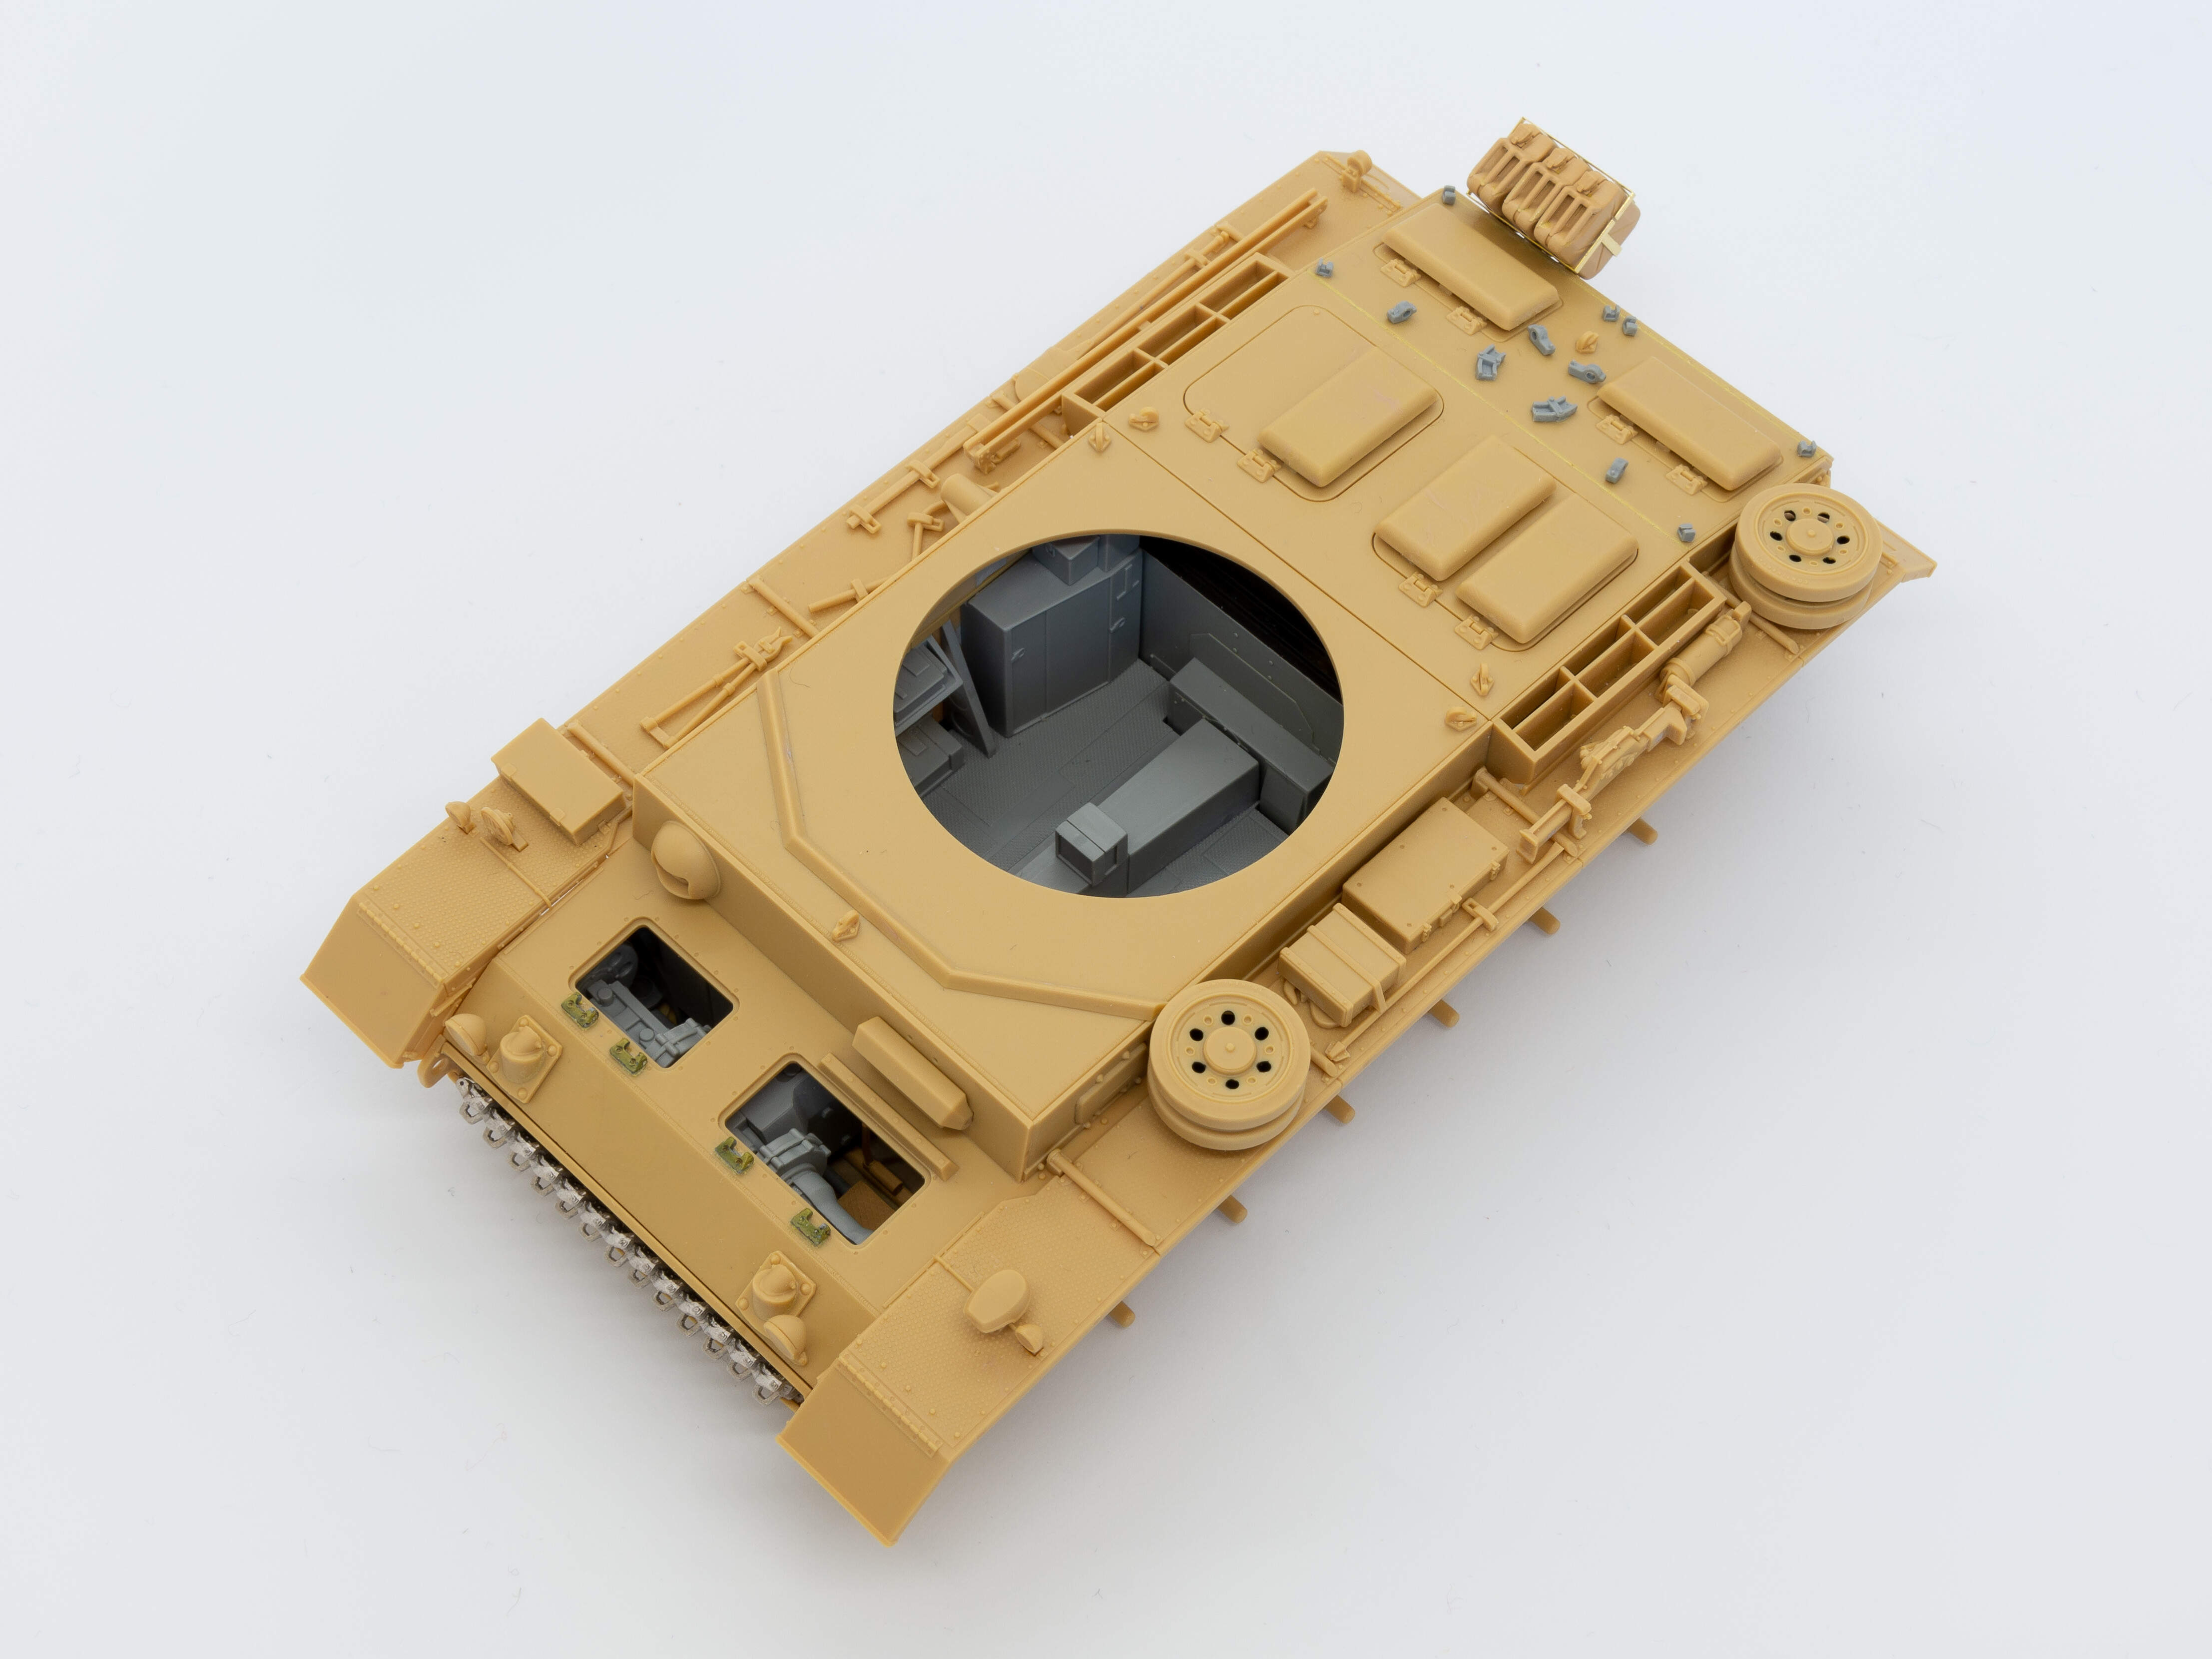
Moving on to the interior, the first thing to do was to get the positioning of the hull floor and firewall correct. The interior of the Dragon hull tub is a little smaller than the Academy hull, with the Dragon front plate being much thicker. This results in the hull floor being a little too short to fit the Academy kit. I moved the lower half of the firewall forward slightly so the hull floor lined up with the escape hatches and transmission. This created an issue with the upper section of the firewall which now sat within the turret ring. In order to get around this I set the upper section further back, creating a step in the firewall. Not ideal (or accurate!) but an easier fix than lengthening the floor and transmission tunnel.
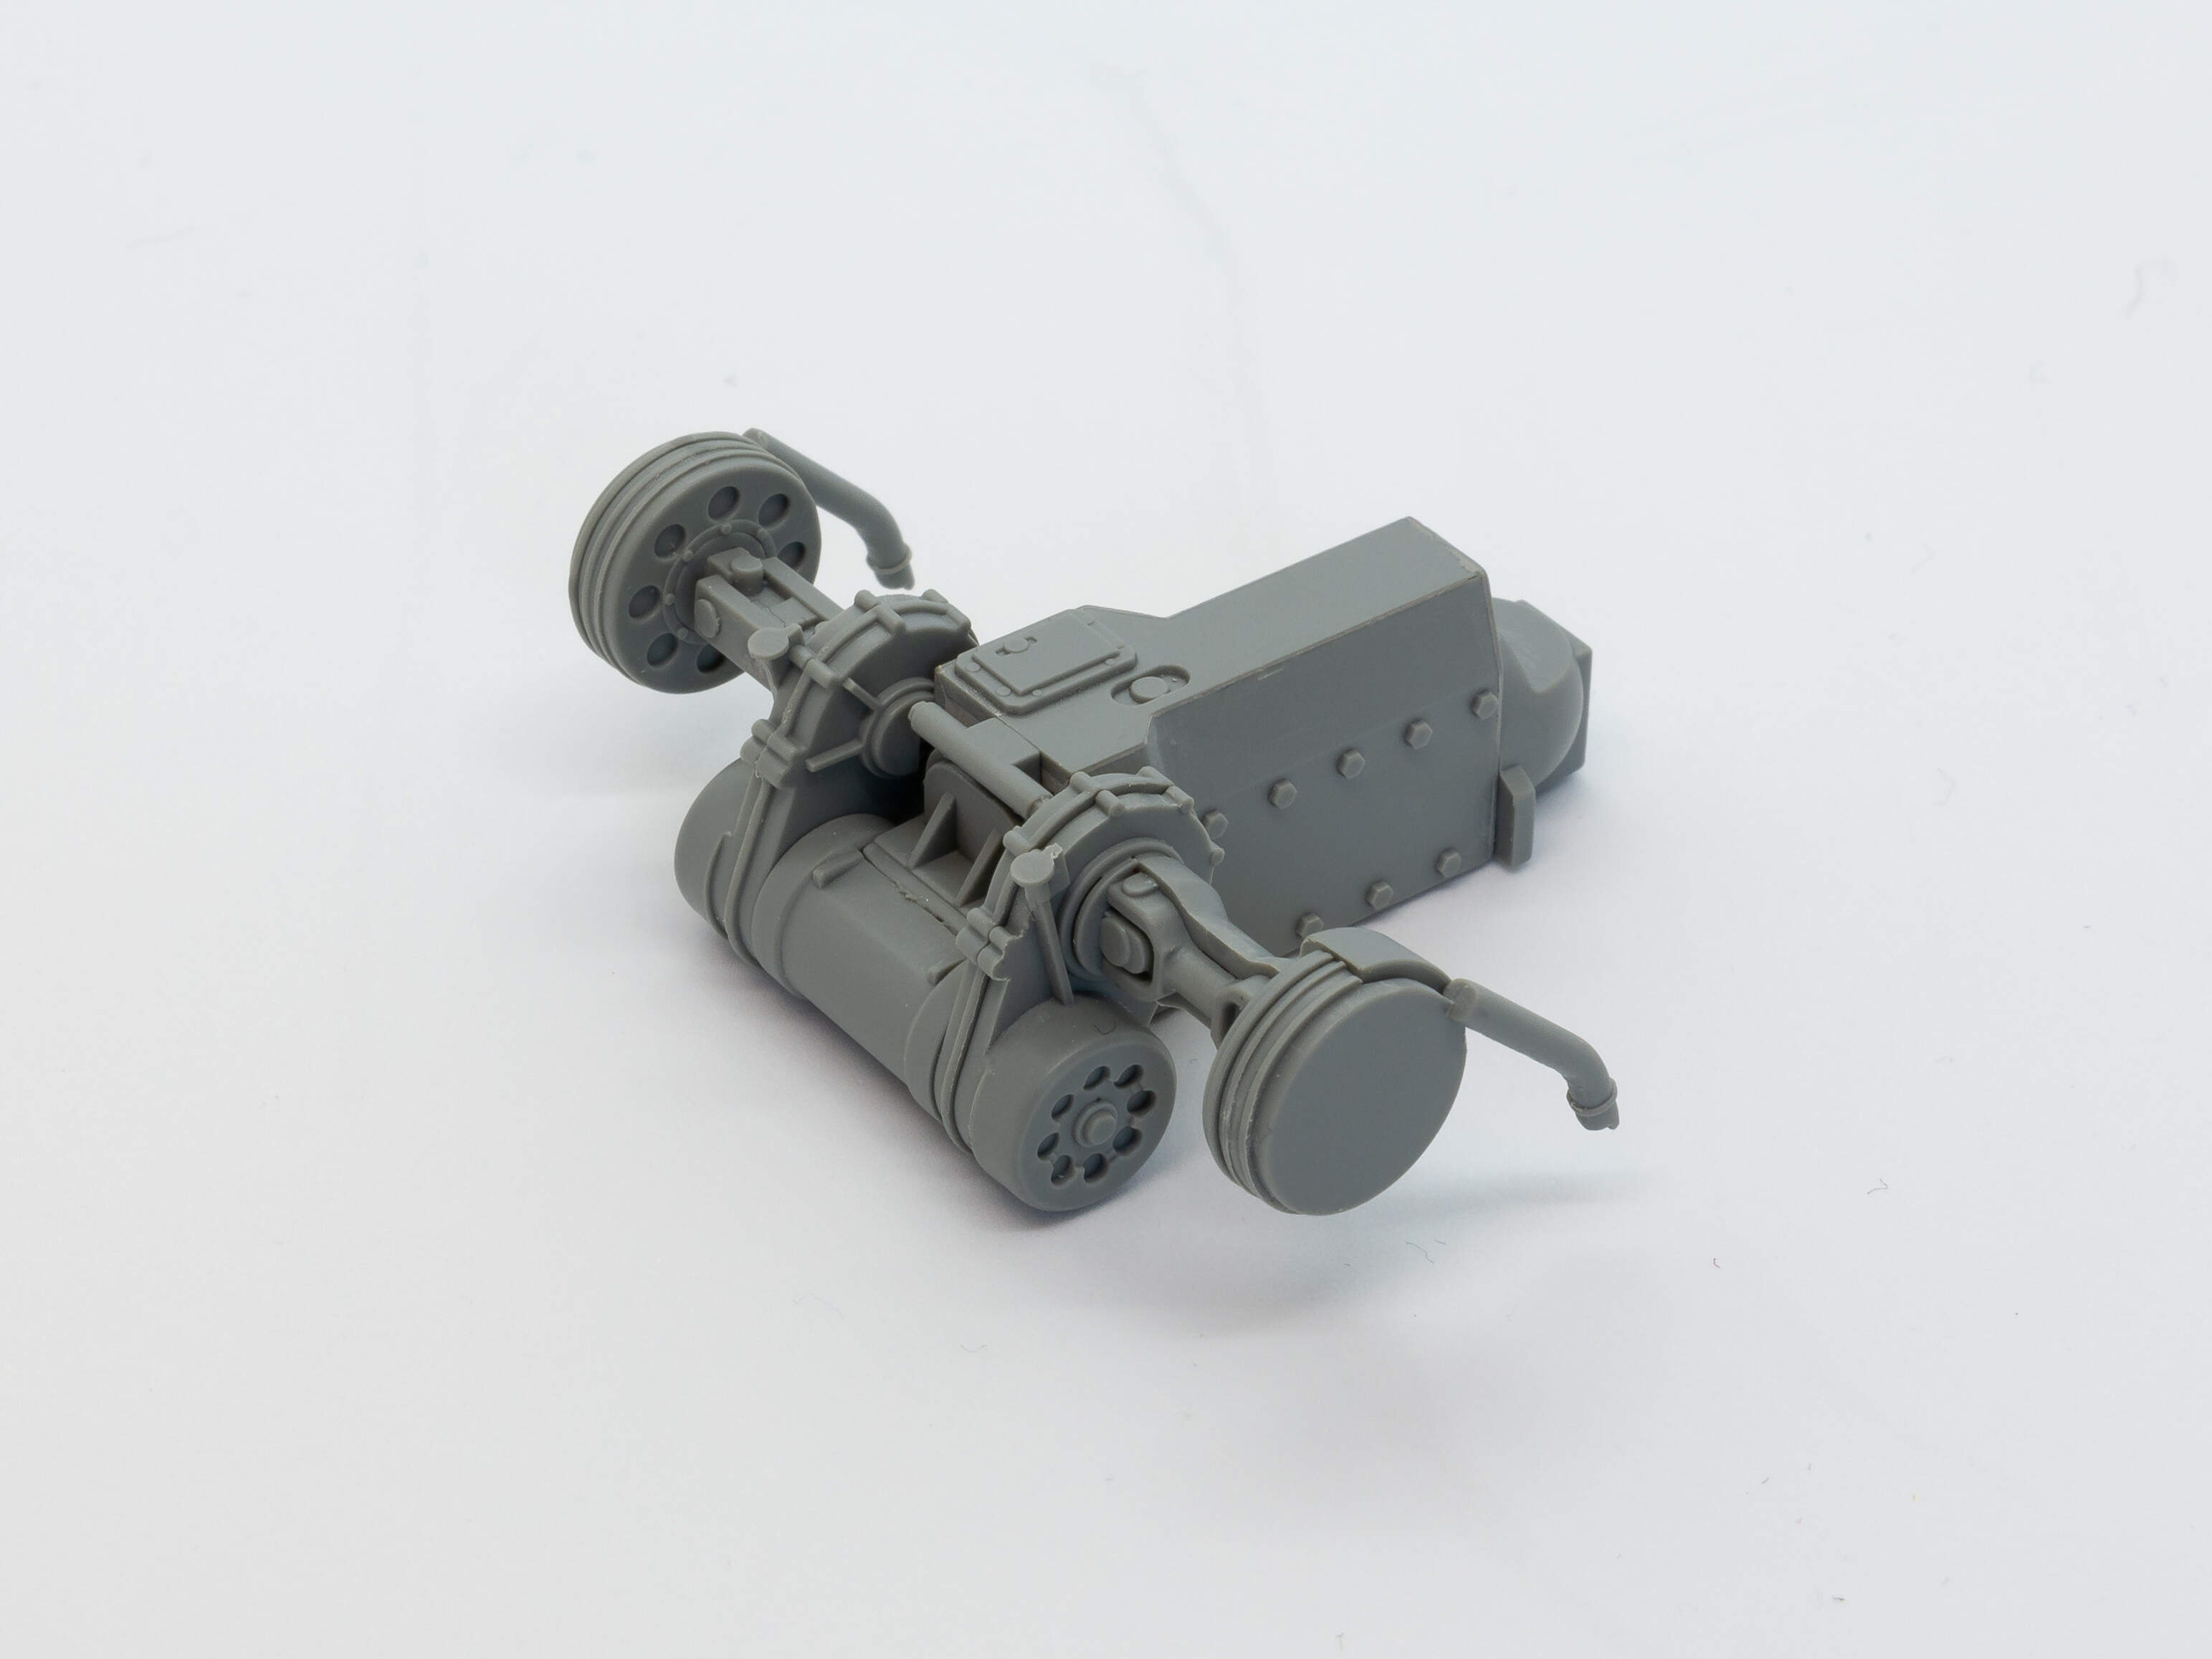
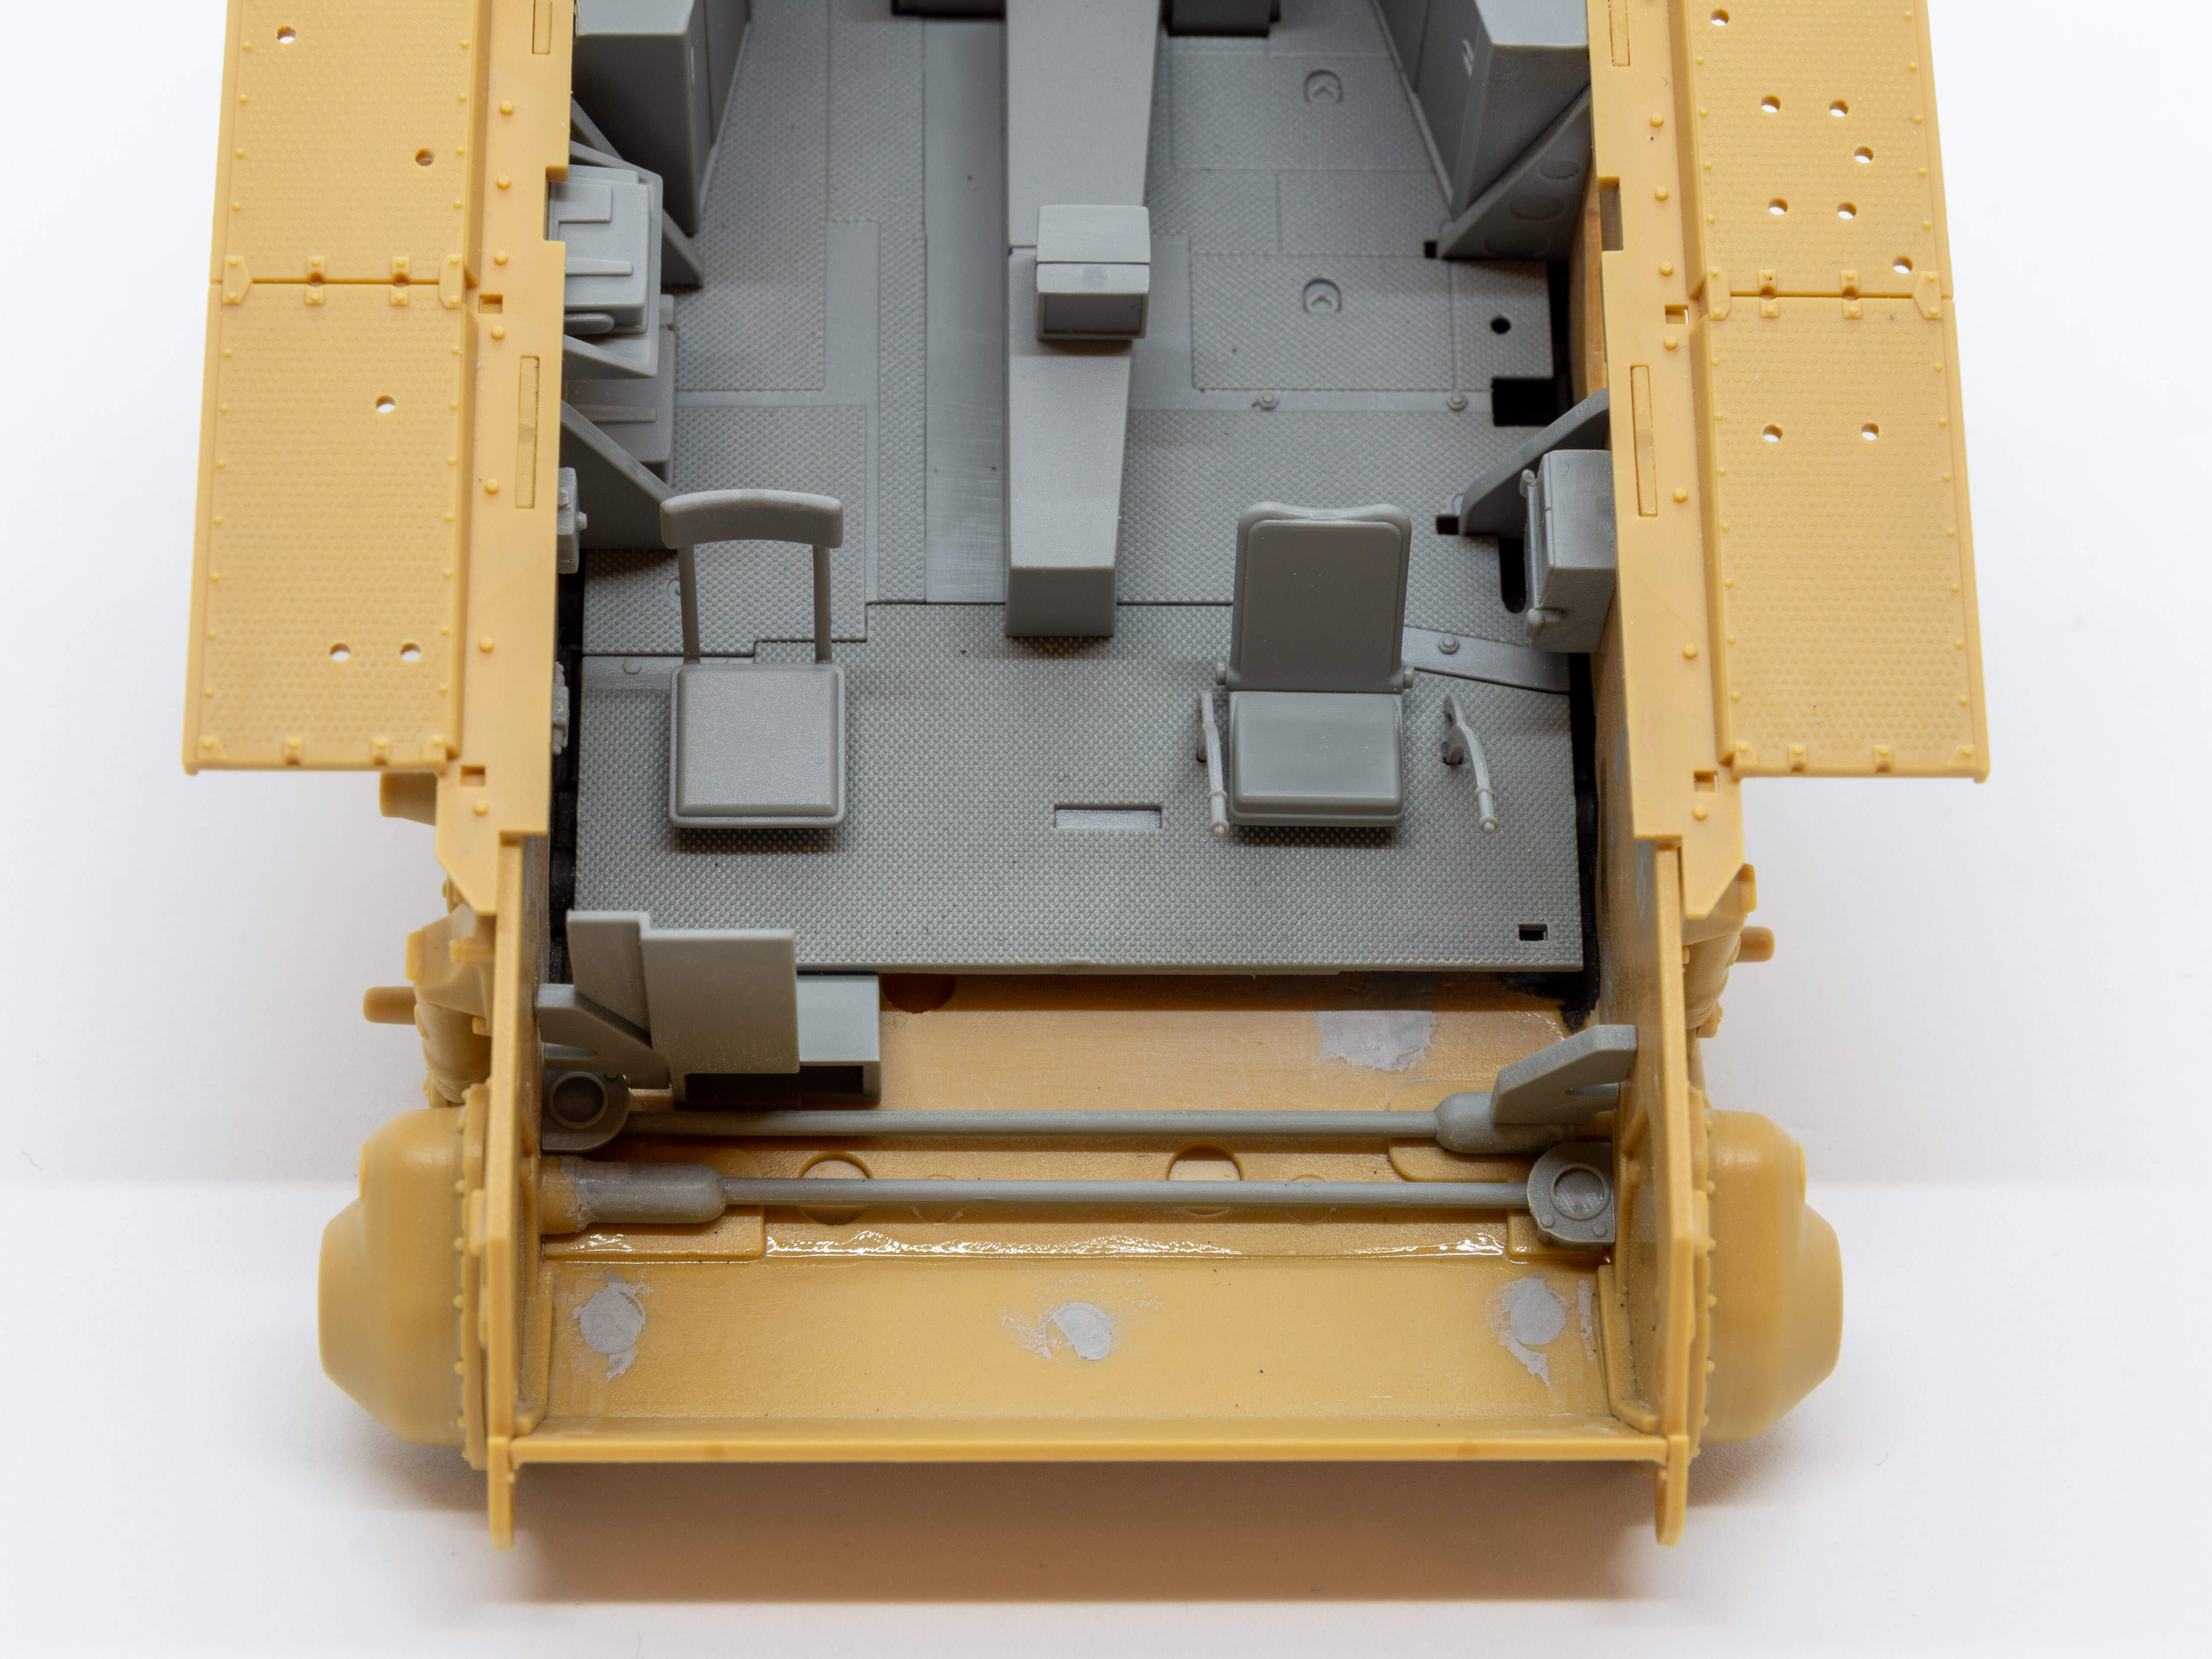
Hi guys, another small update. I’ve just about finished fitting the interior to the lower hull, only a couple of parts left to go. The torsion bars under the transmission can be seen though the open hatches but they are missing on the Academy kit. I shaped off cuts from one of sprues for the larger parts and pulled the main bars and end stations from the Dragon hull.
Overall I think the Dragon interior is fine when viewed through the hatches but is clearly missing a lot of detail. I’m weighing up whether to add further detail or just go with what is there already. I think areas around the open hatches would be benefit from additional detail.
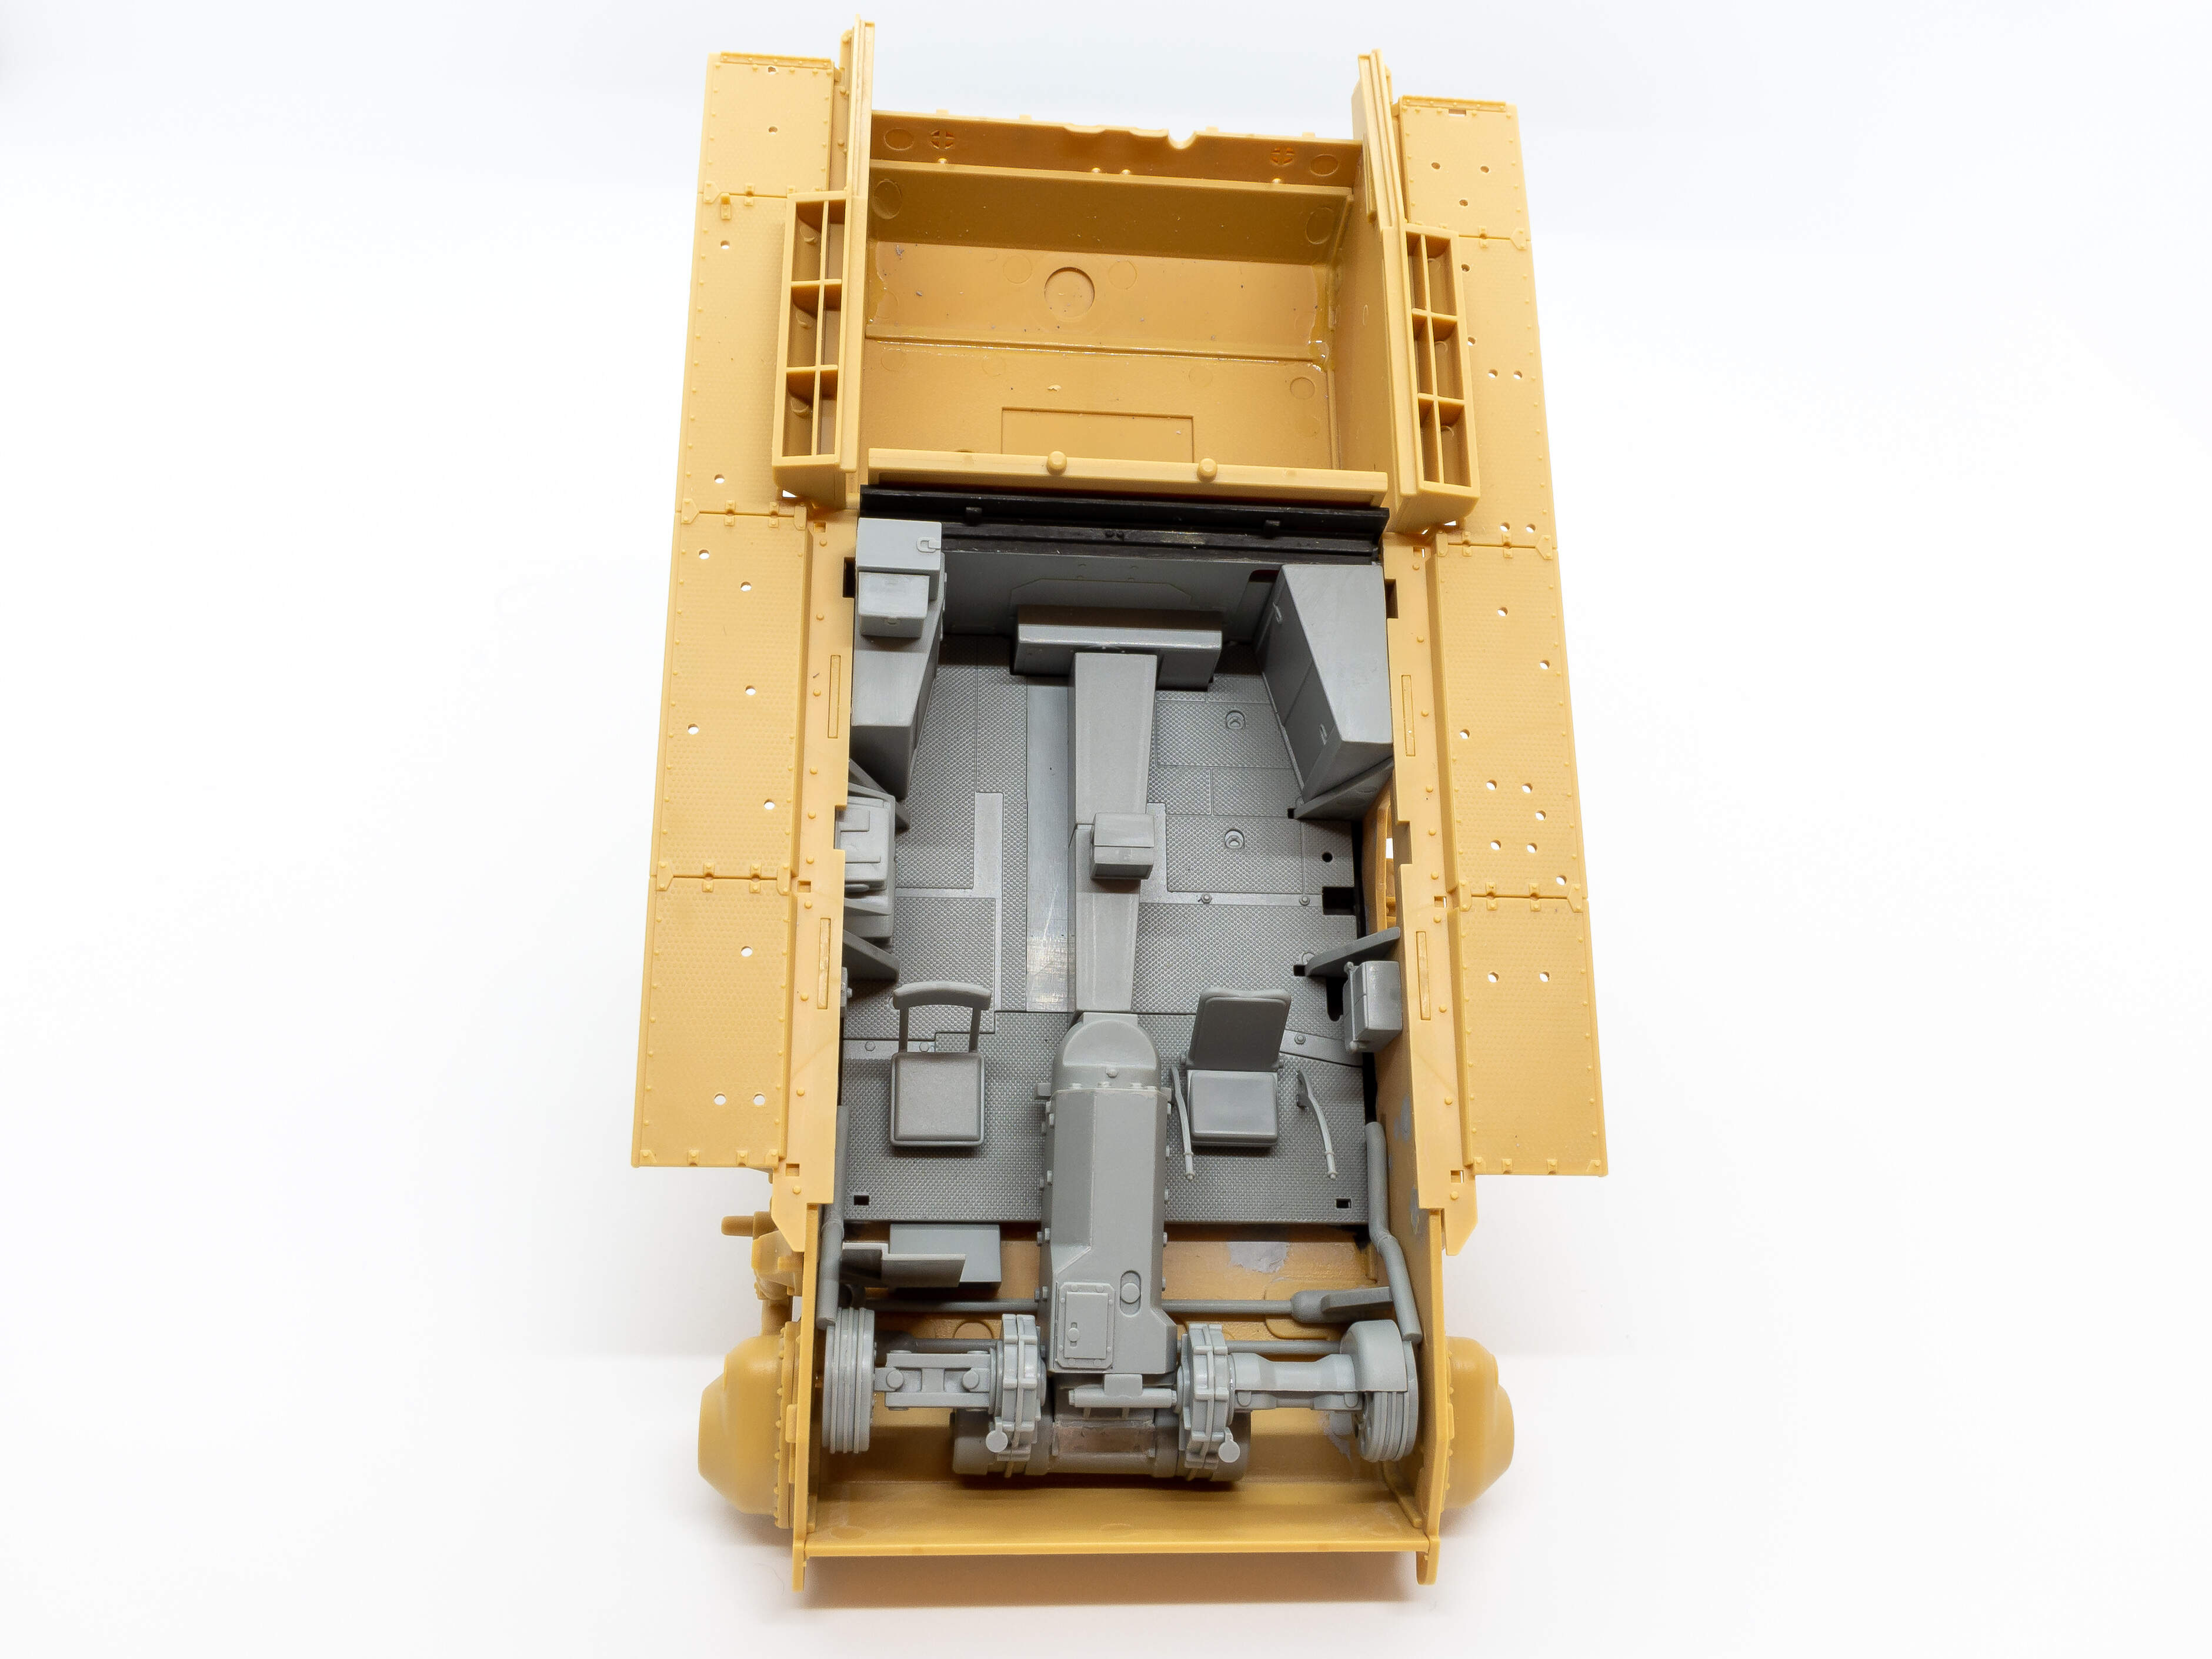
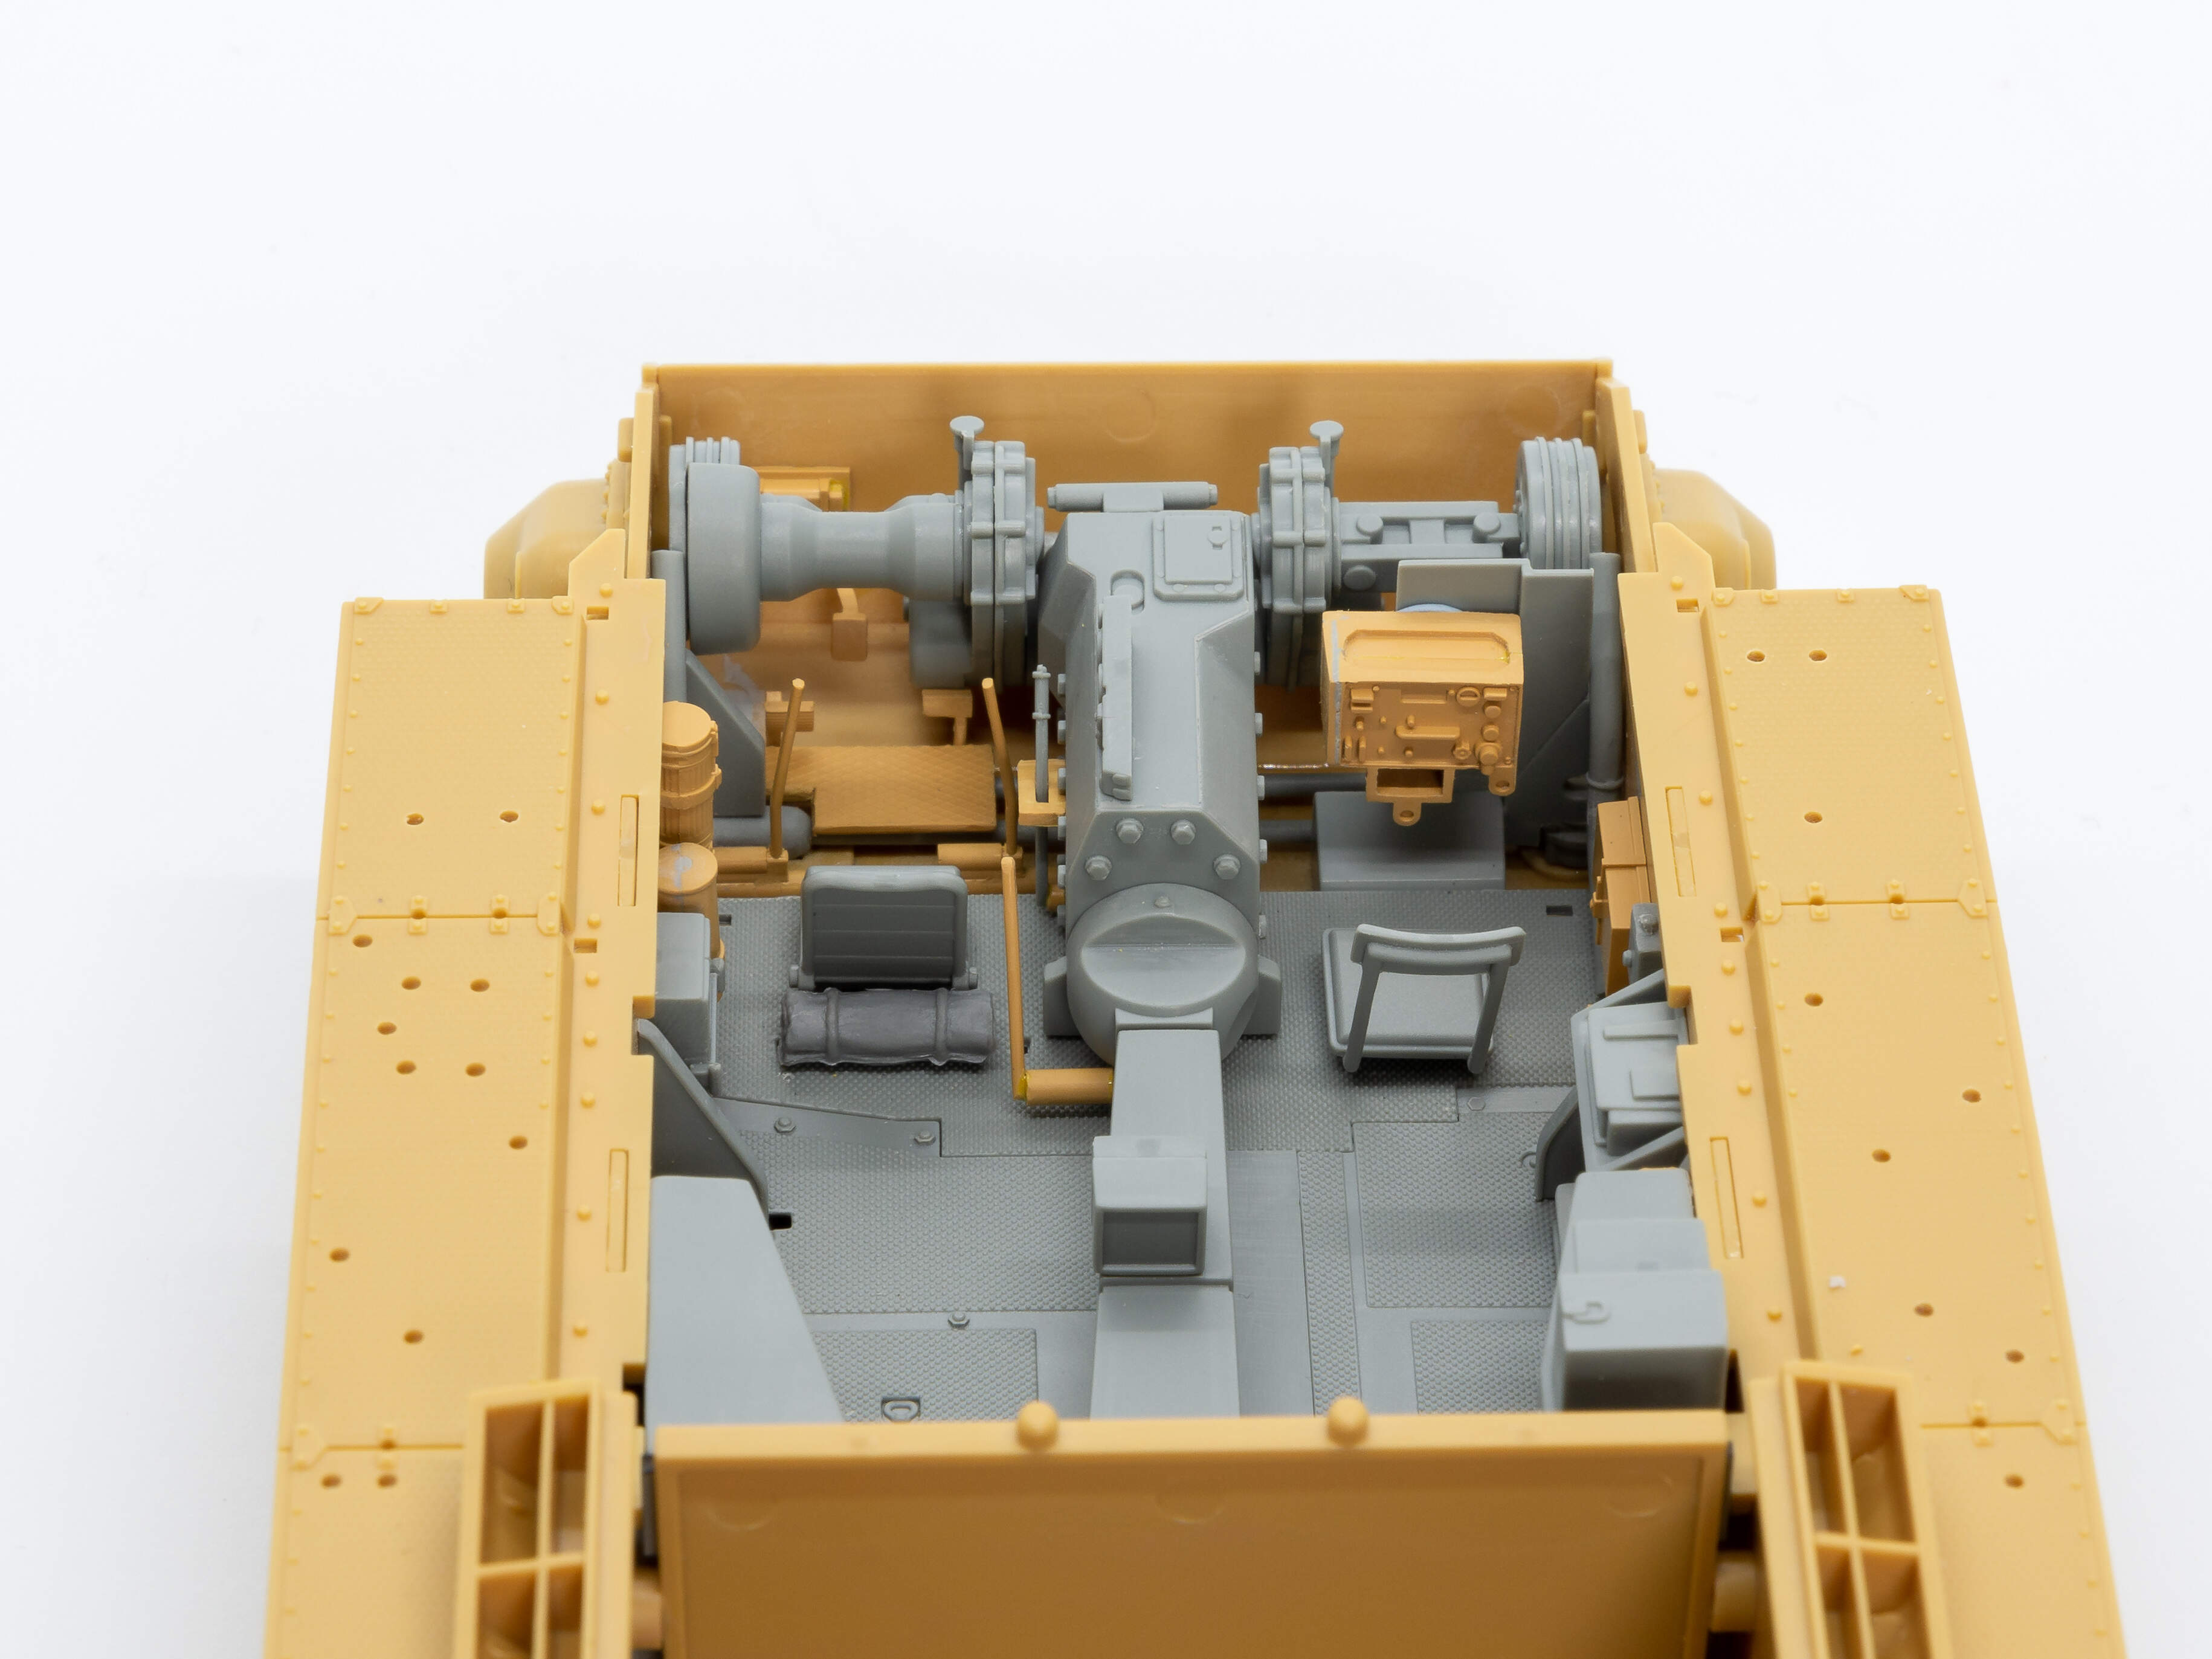
So next update is a little later than planned. I couldn’t resist trying to add some more detail to the interior which slowed me down a bit. After looking at some interior photos and using the RFM’s instructions for their ausf J kit as guidance, I raided the spare box for extra parts. Most of them came from RFM’s Tiger 1 interior. I built it as an exterior model but kept some of the interior sprues in case they came in handy.
Most of the changes were to the drivers position and the transmission. While not that accurate I think it is a better representation than what is provide by Dragon.
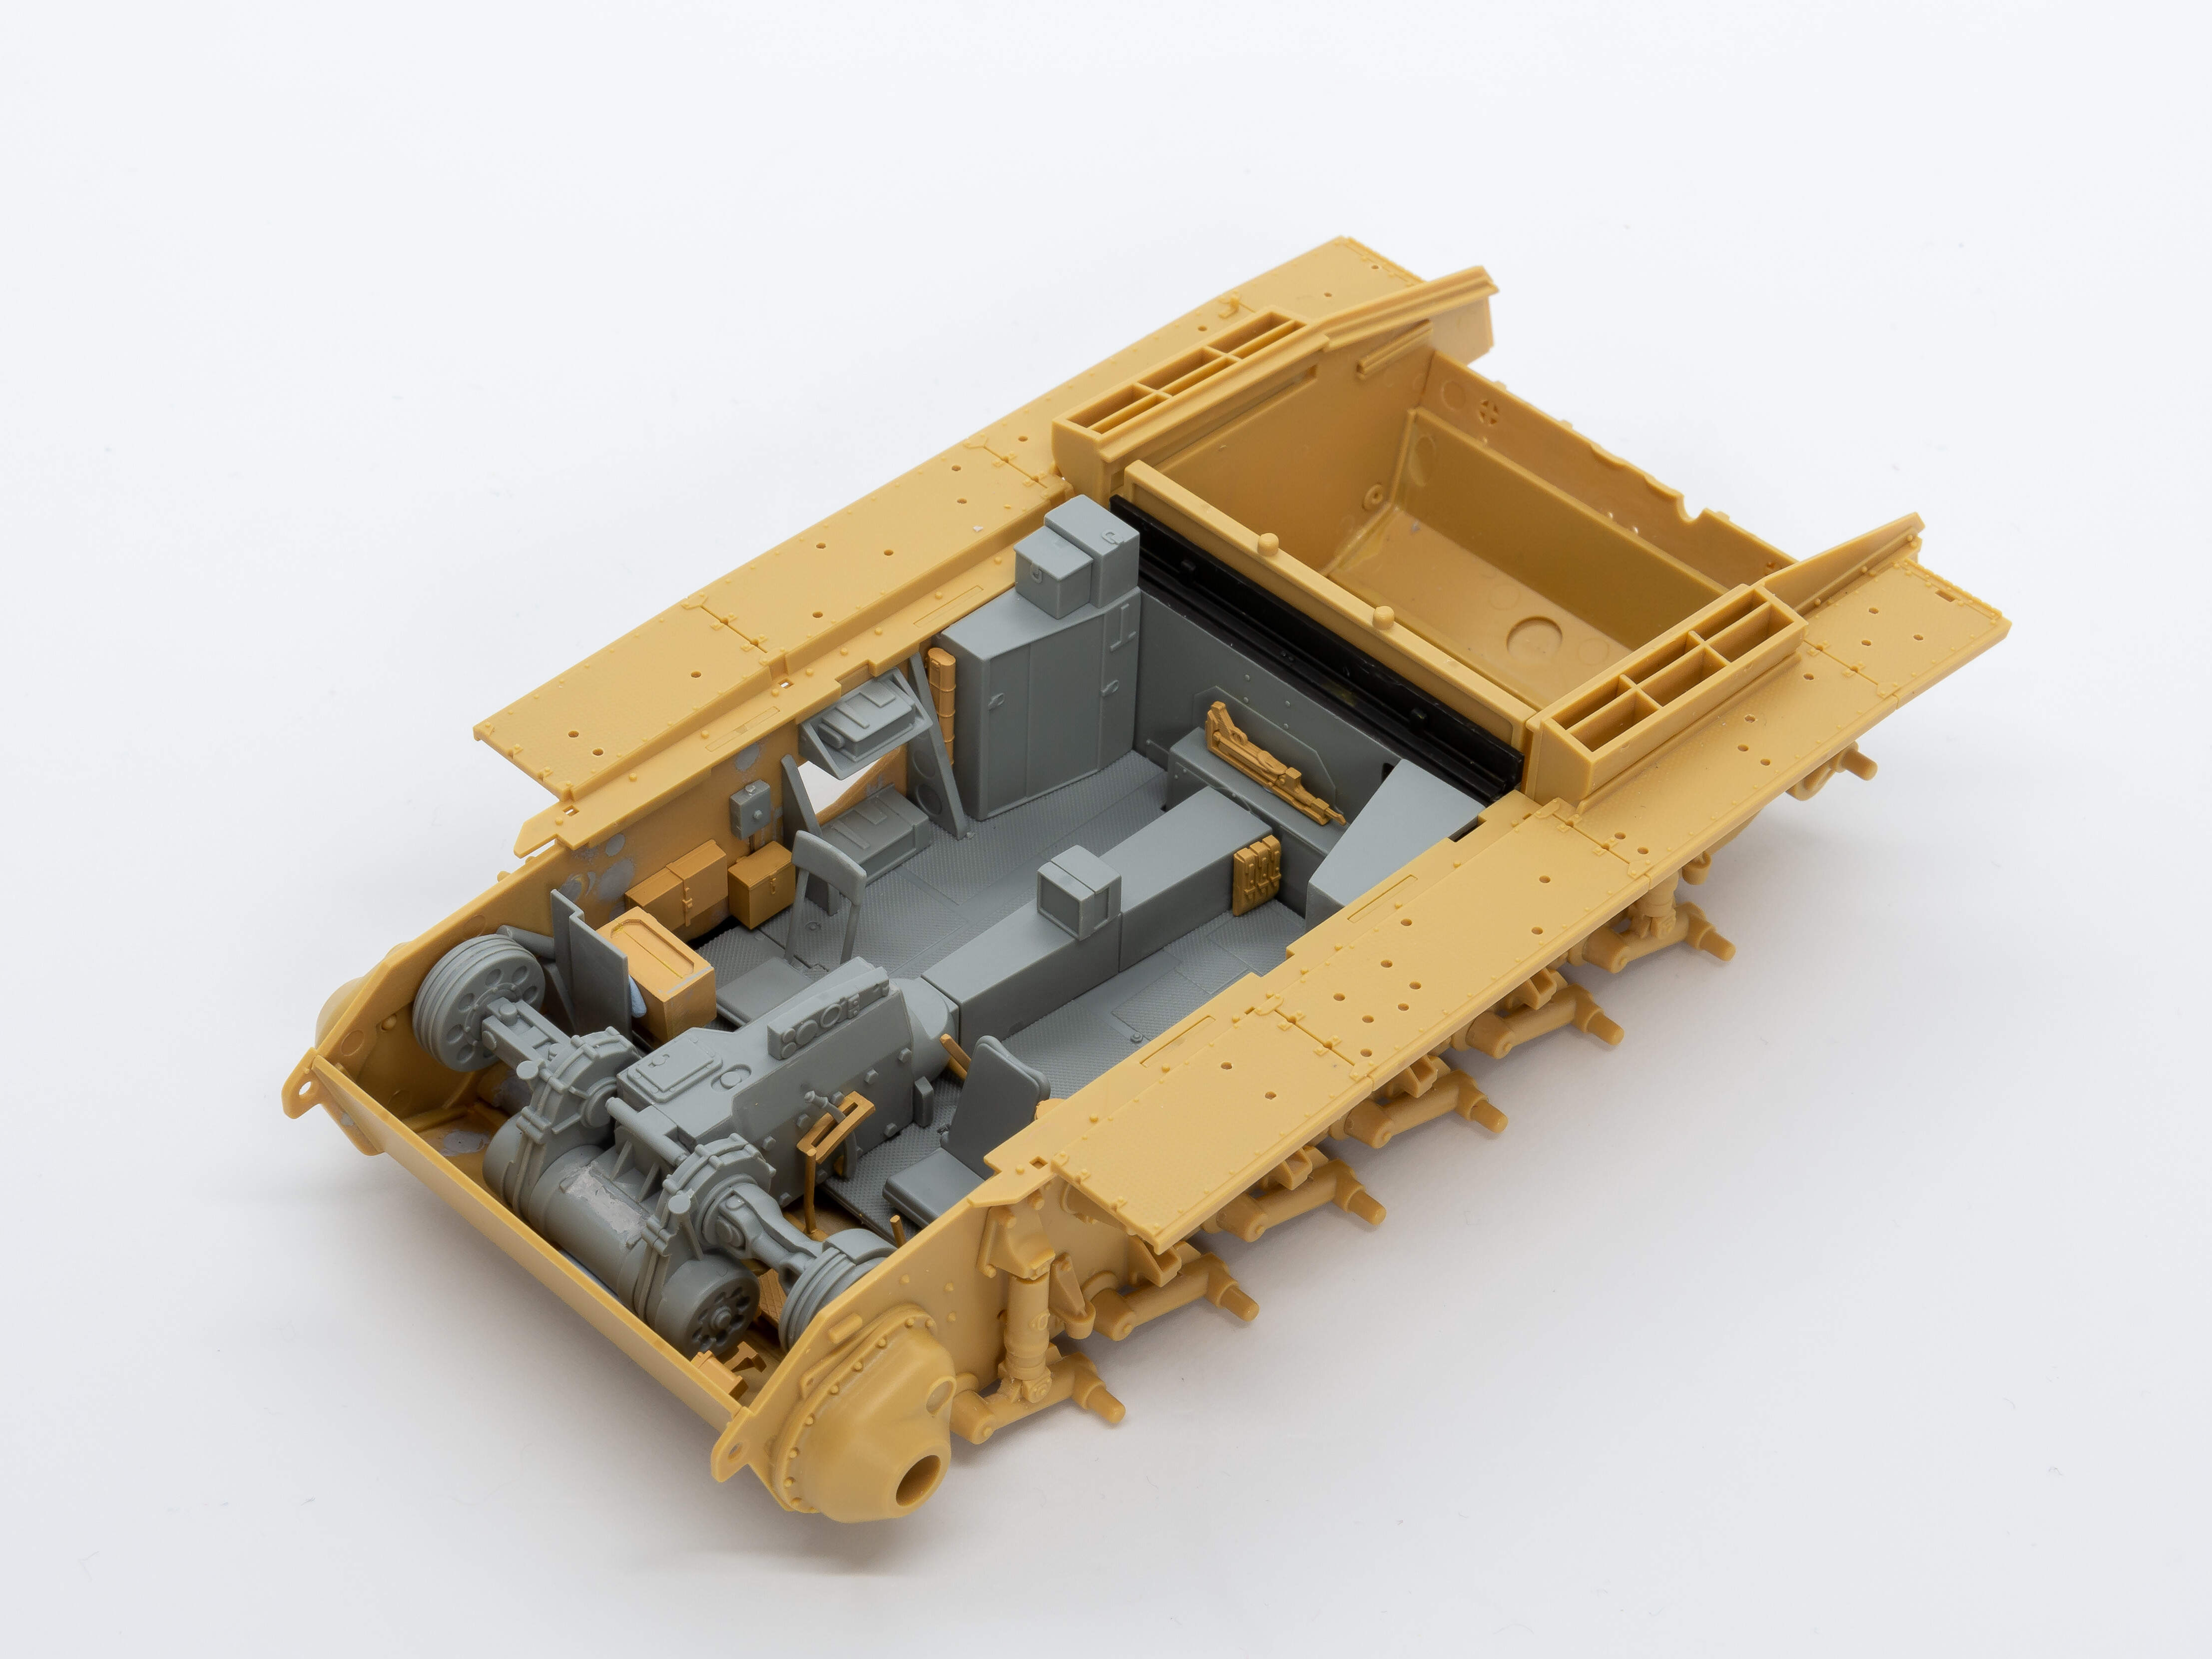
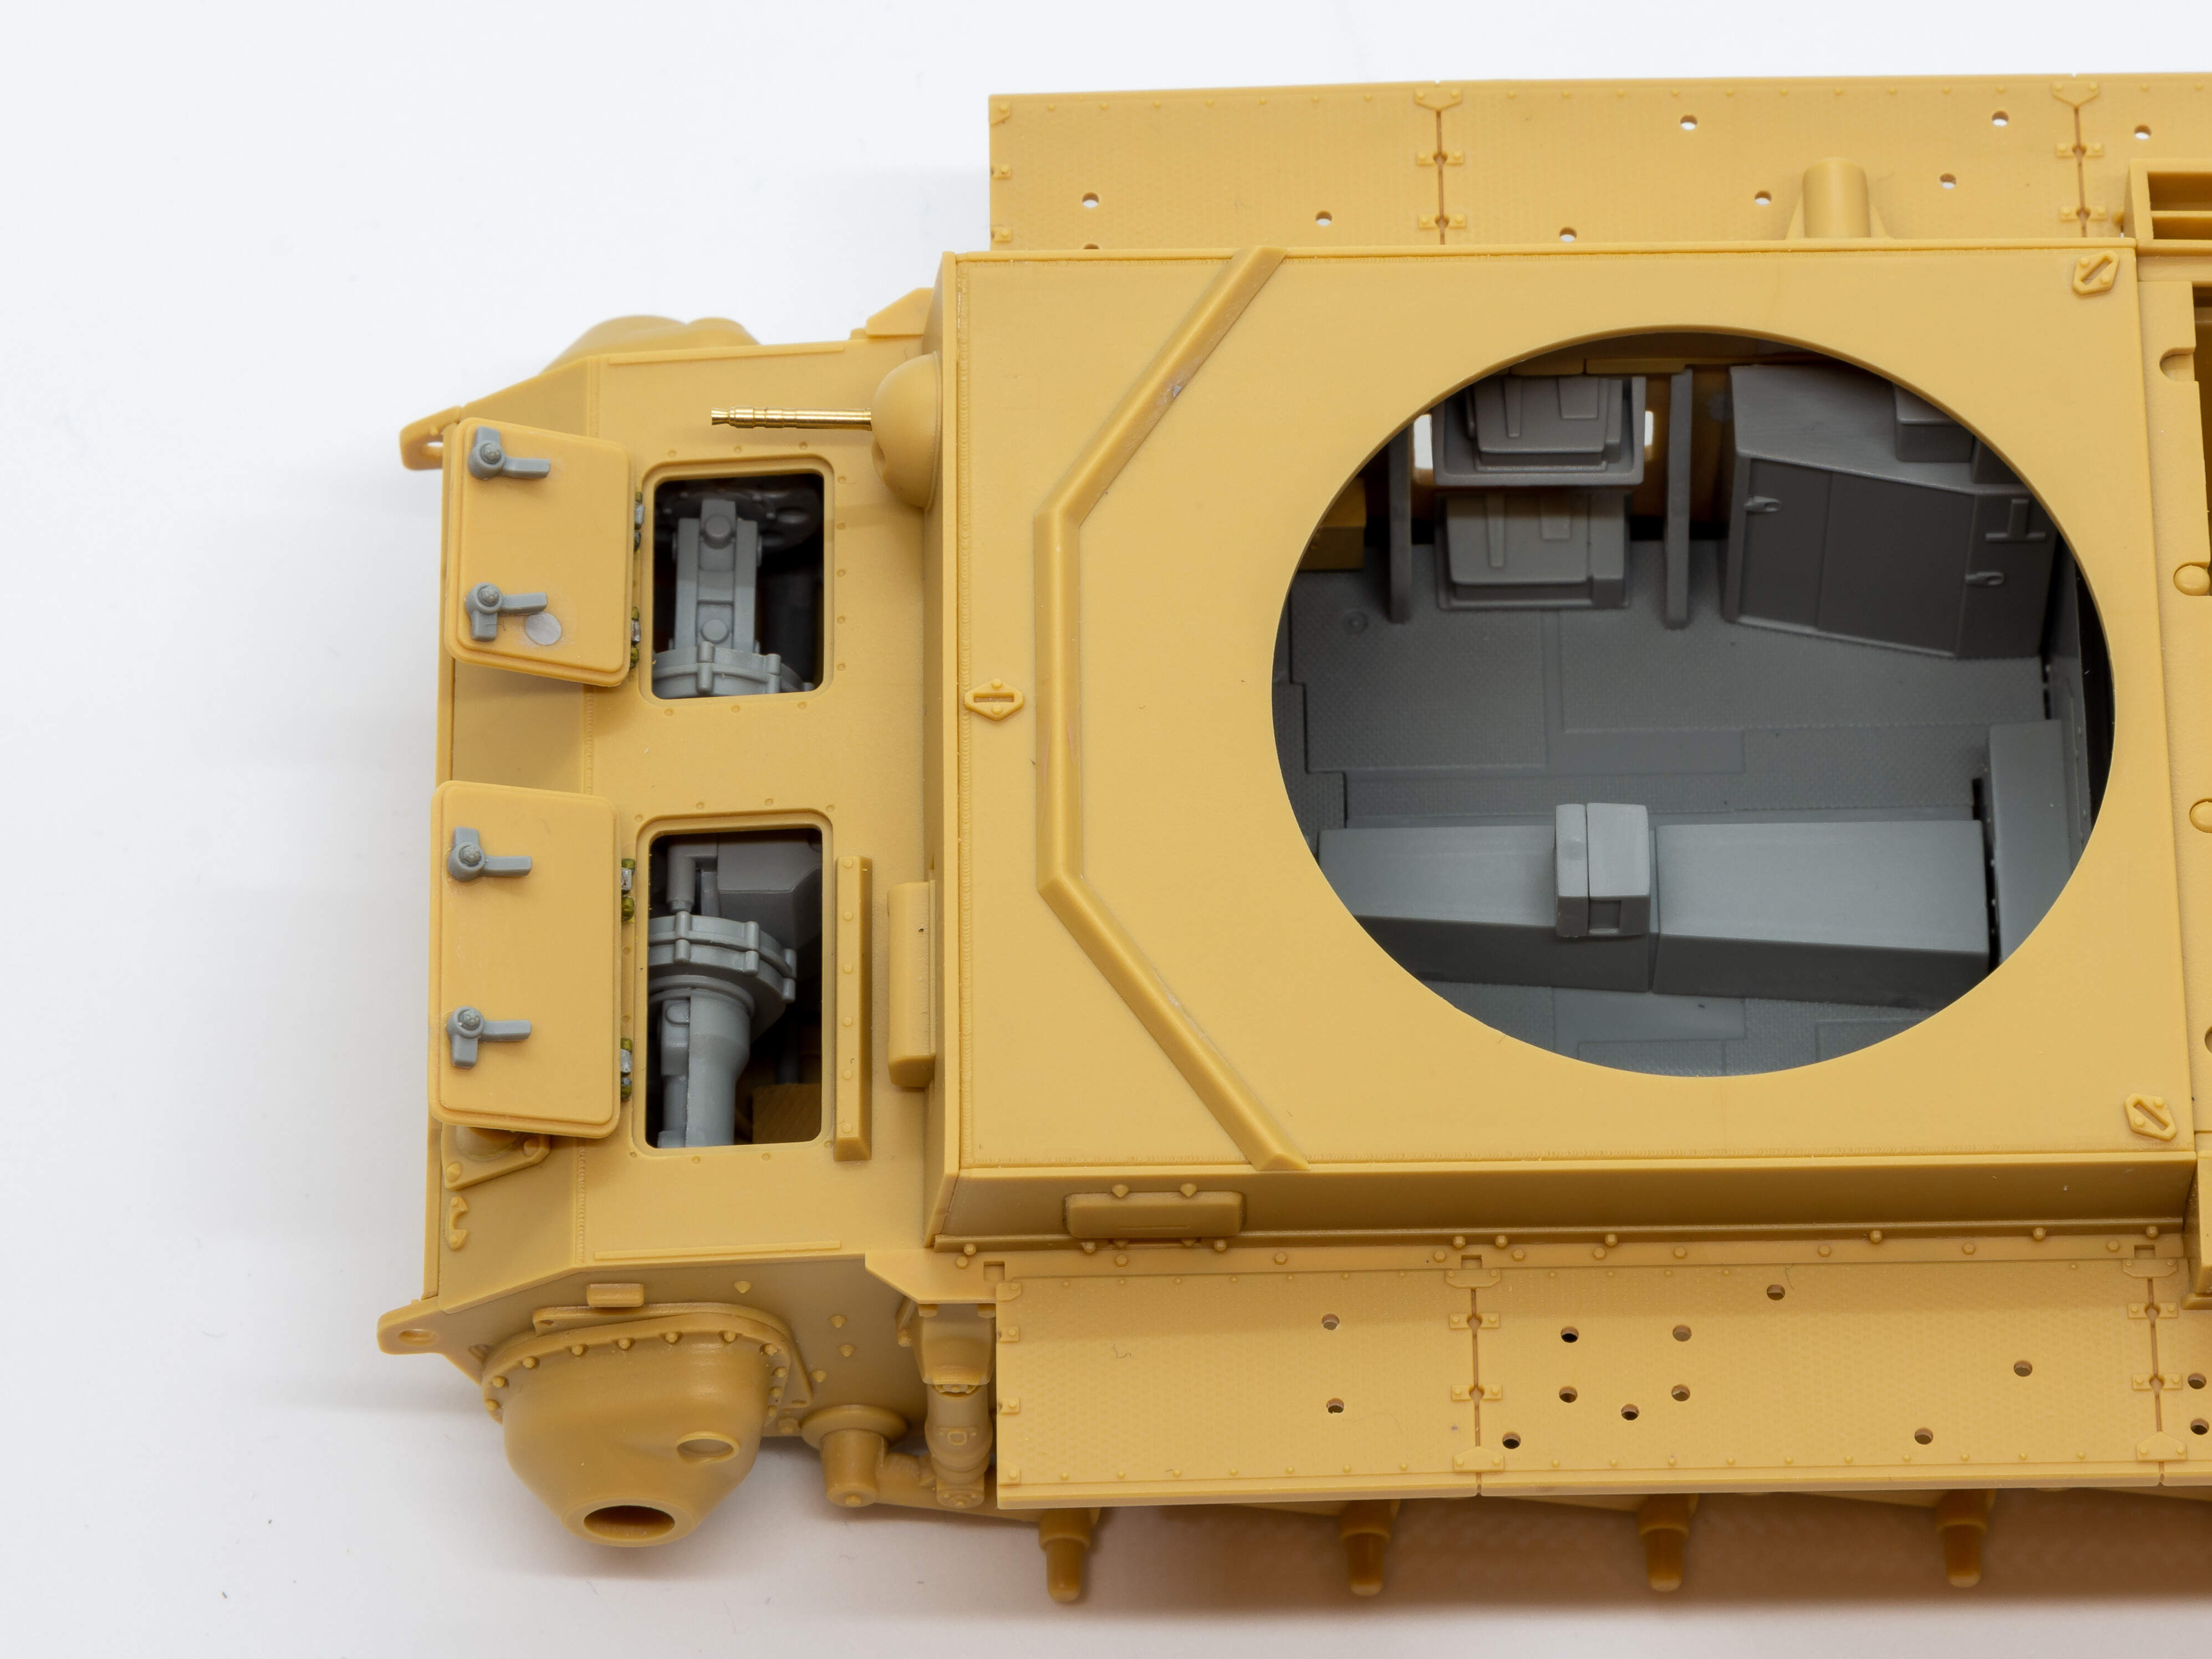
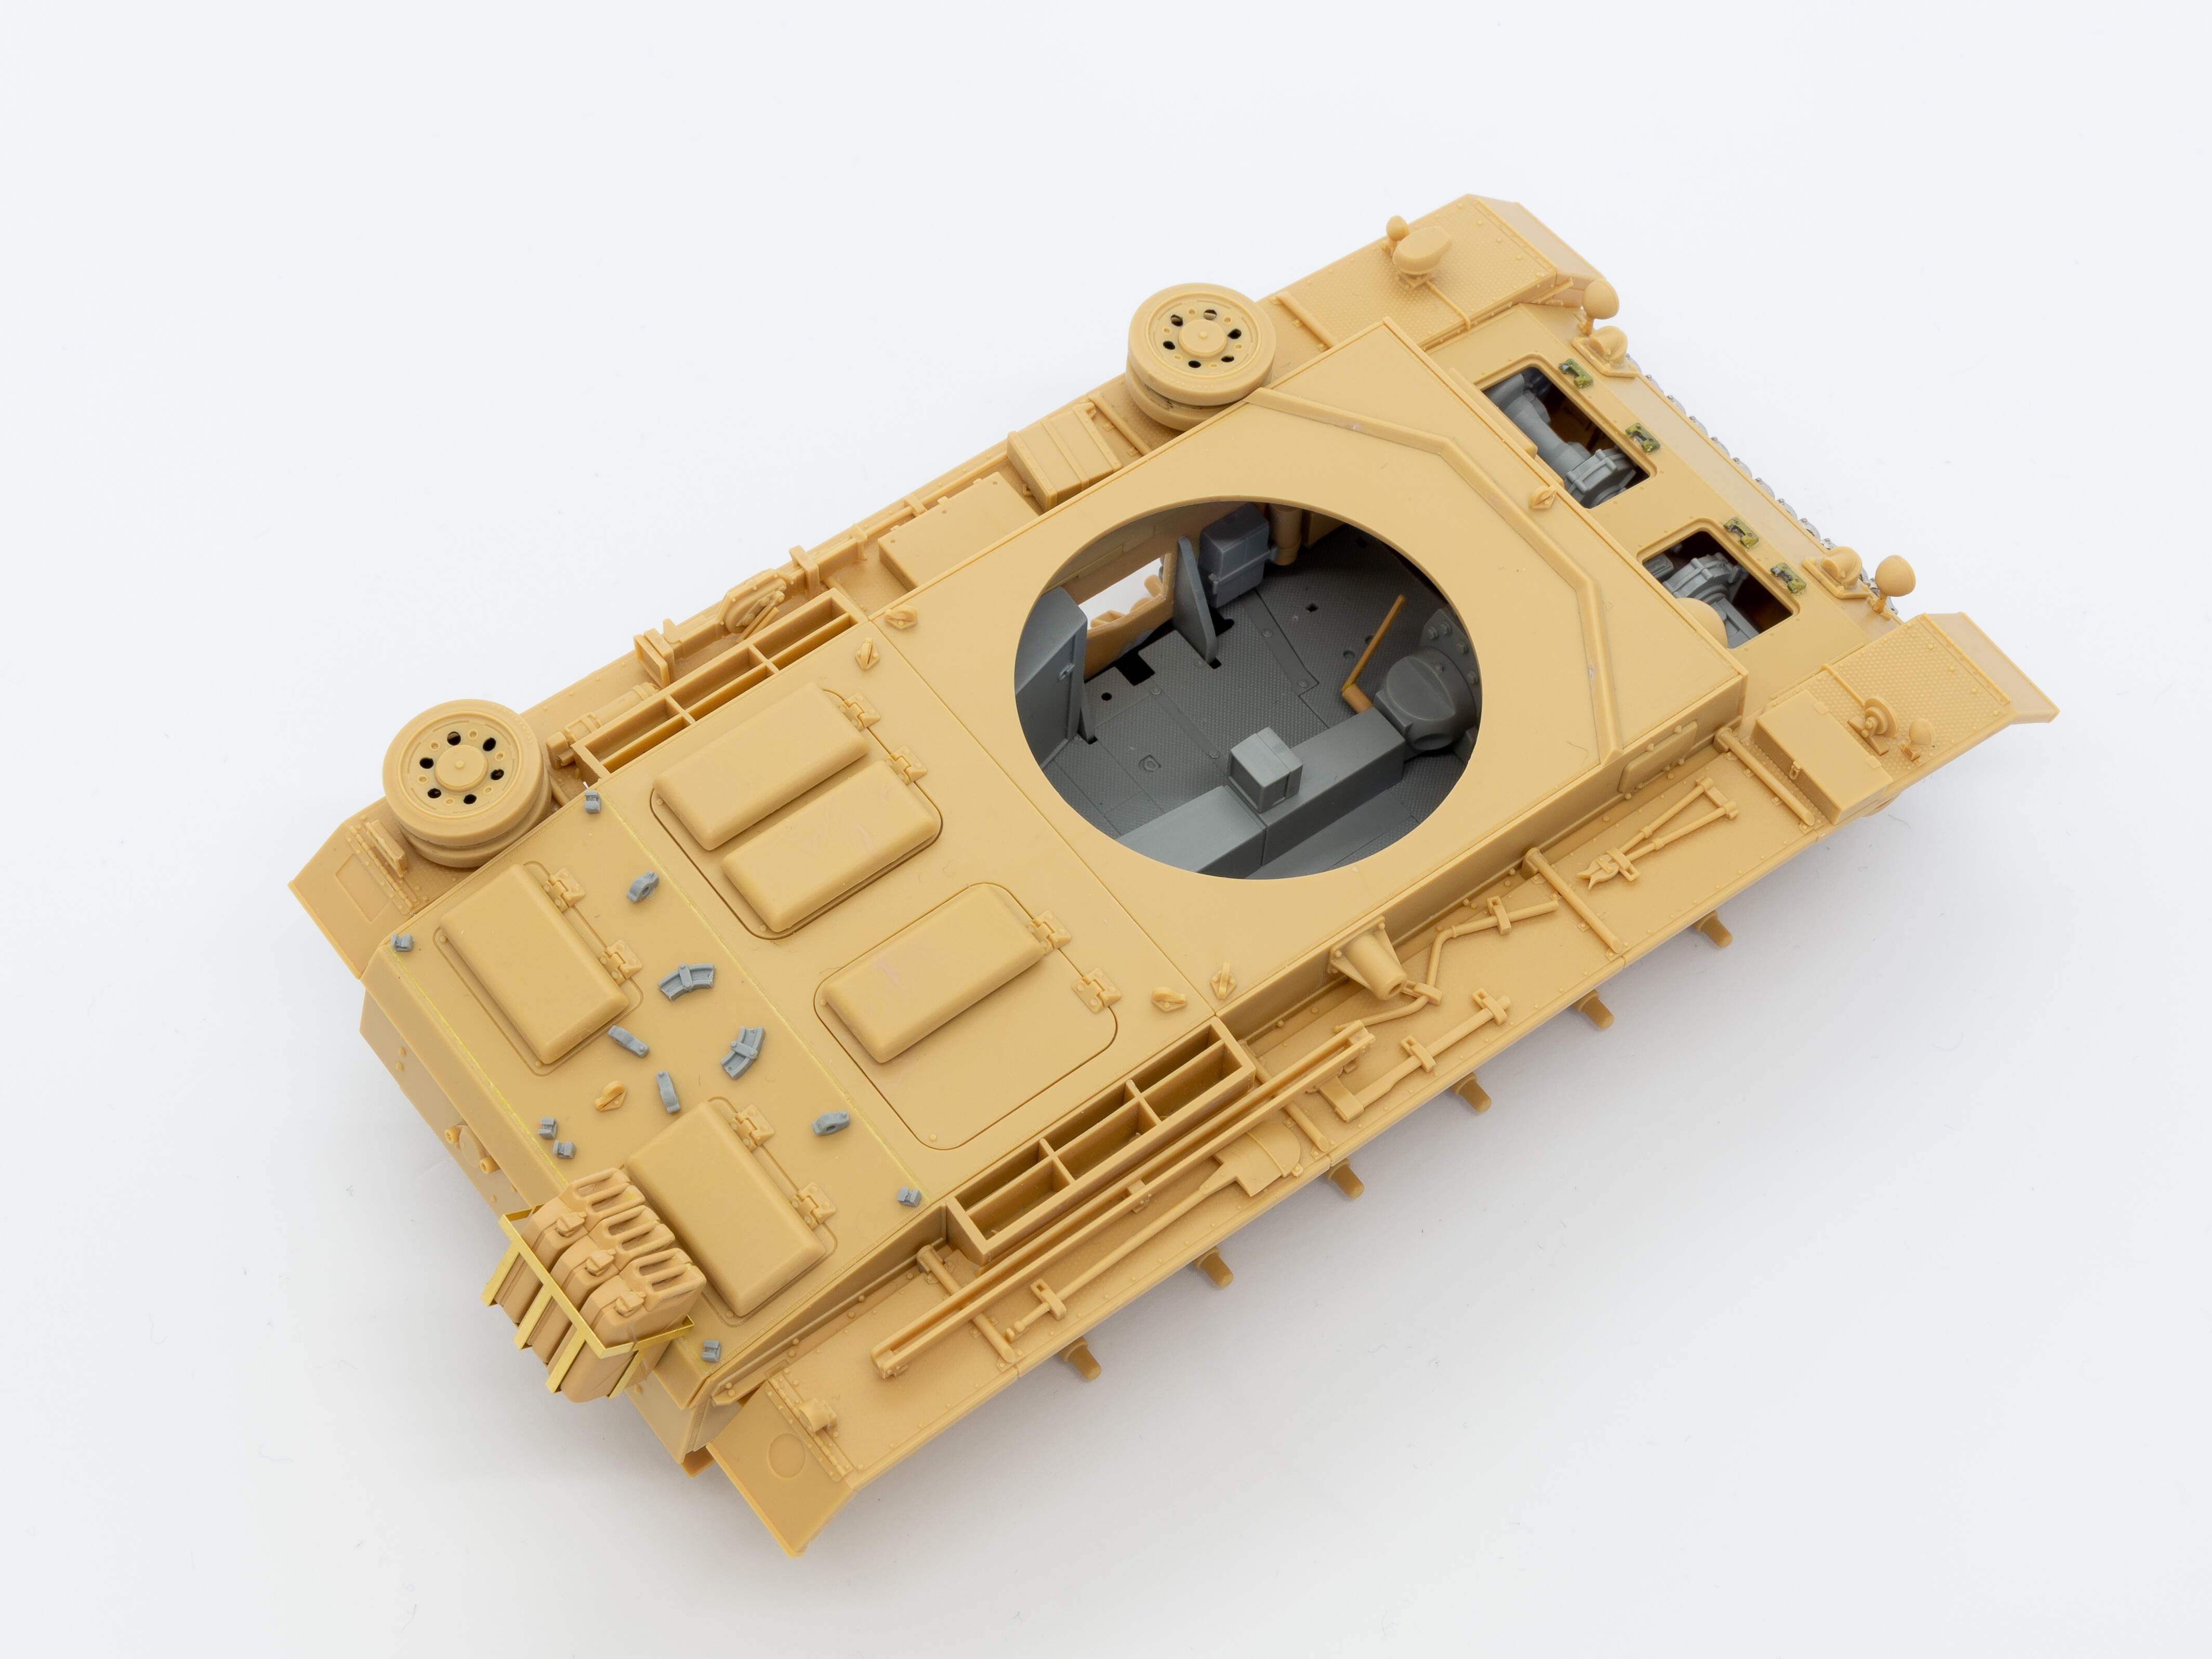
The upper hull needed a fair amount of filler to get rid of all of the pin marks. The viewing blocks and brackets were taken from the Dragon kit. Note Academy do not provide the viewing block for the driver’s position so it is just a hollow slot. The mg34 and radio are again from RFM. I replaced the barrel with a brass one I had in the spares box.
I also tackled the front plate and hatches. As I mentioned in my first post, Academy have provided all of the hatches with the hinges moulded in the closed position. I can see why they did it to maximise the use of the moulds but really I think any modern kit should give the open/closed option. To fix this I removed the hinges from the Dragon engine deck and replaced the Academy ones. The latches were also taken from the Dragon transmission hatches although they are for the ausf M, I figured it was better than nothing!
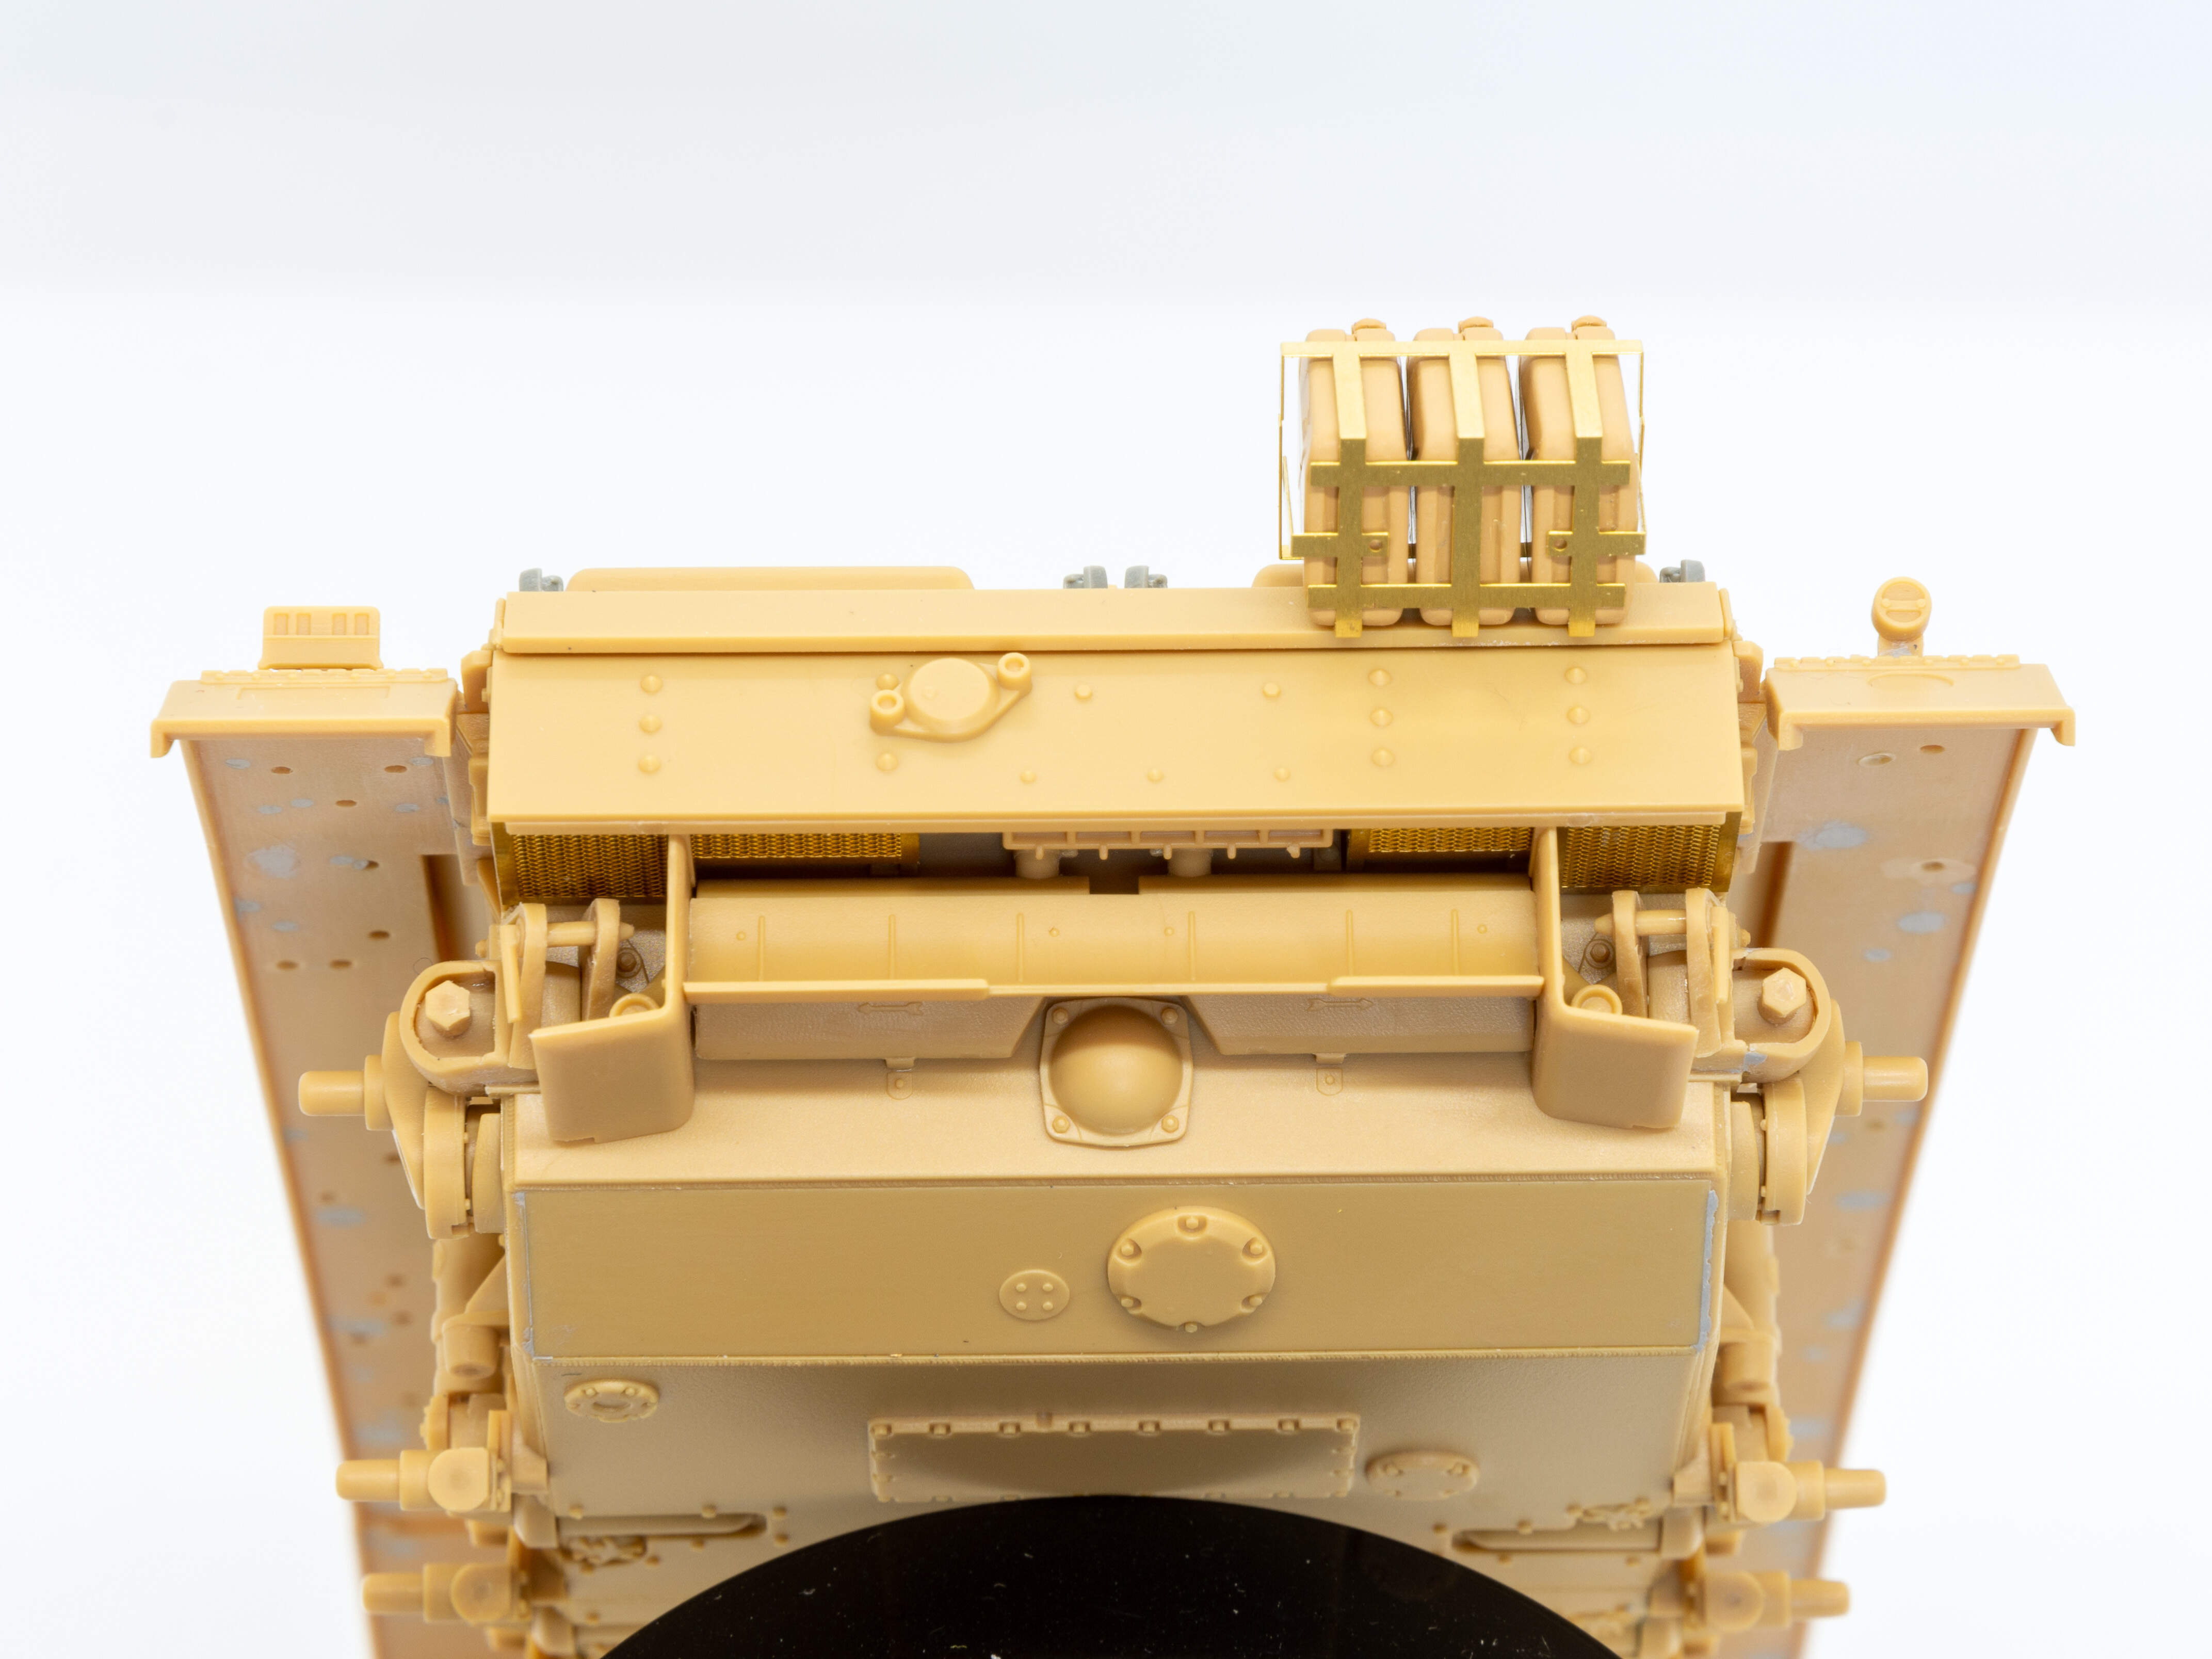
Quick update, the hull is now more or less complete. I’ve built it mostly OOB except for the addition of a small jerry can rack on the rear plate (from RFM Tiger I) and the replacement of the tow cables with empty brackets (from Dragon Ausf M). There were a few minor issues with the hull but all were easy to overcome. I’ll do a run down of build observations once I’ve finished the turret.
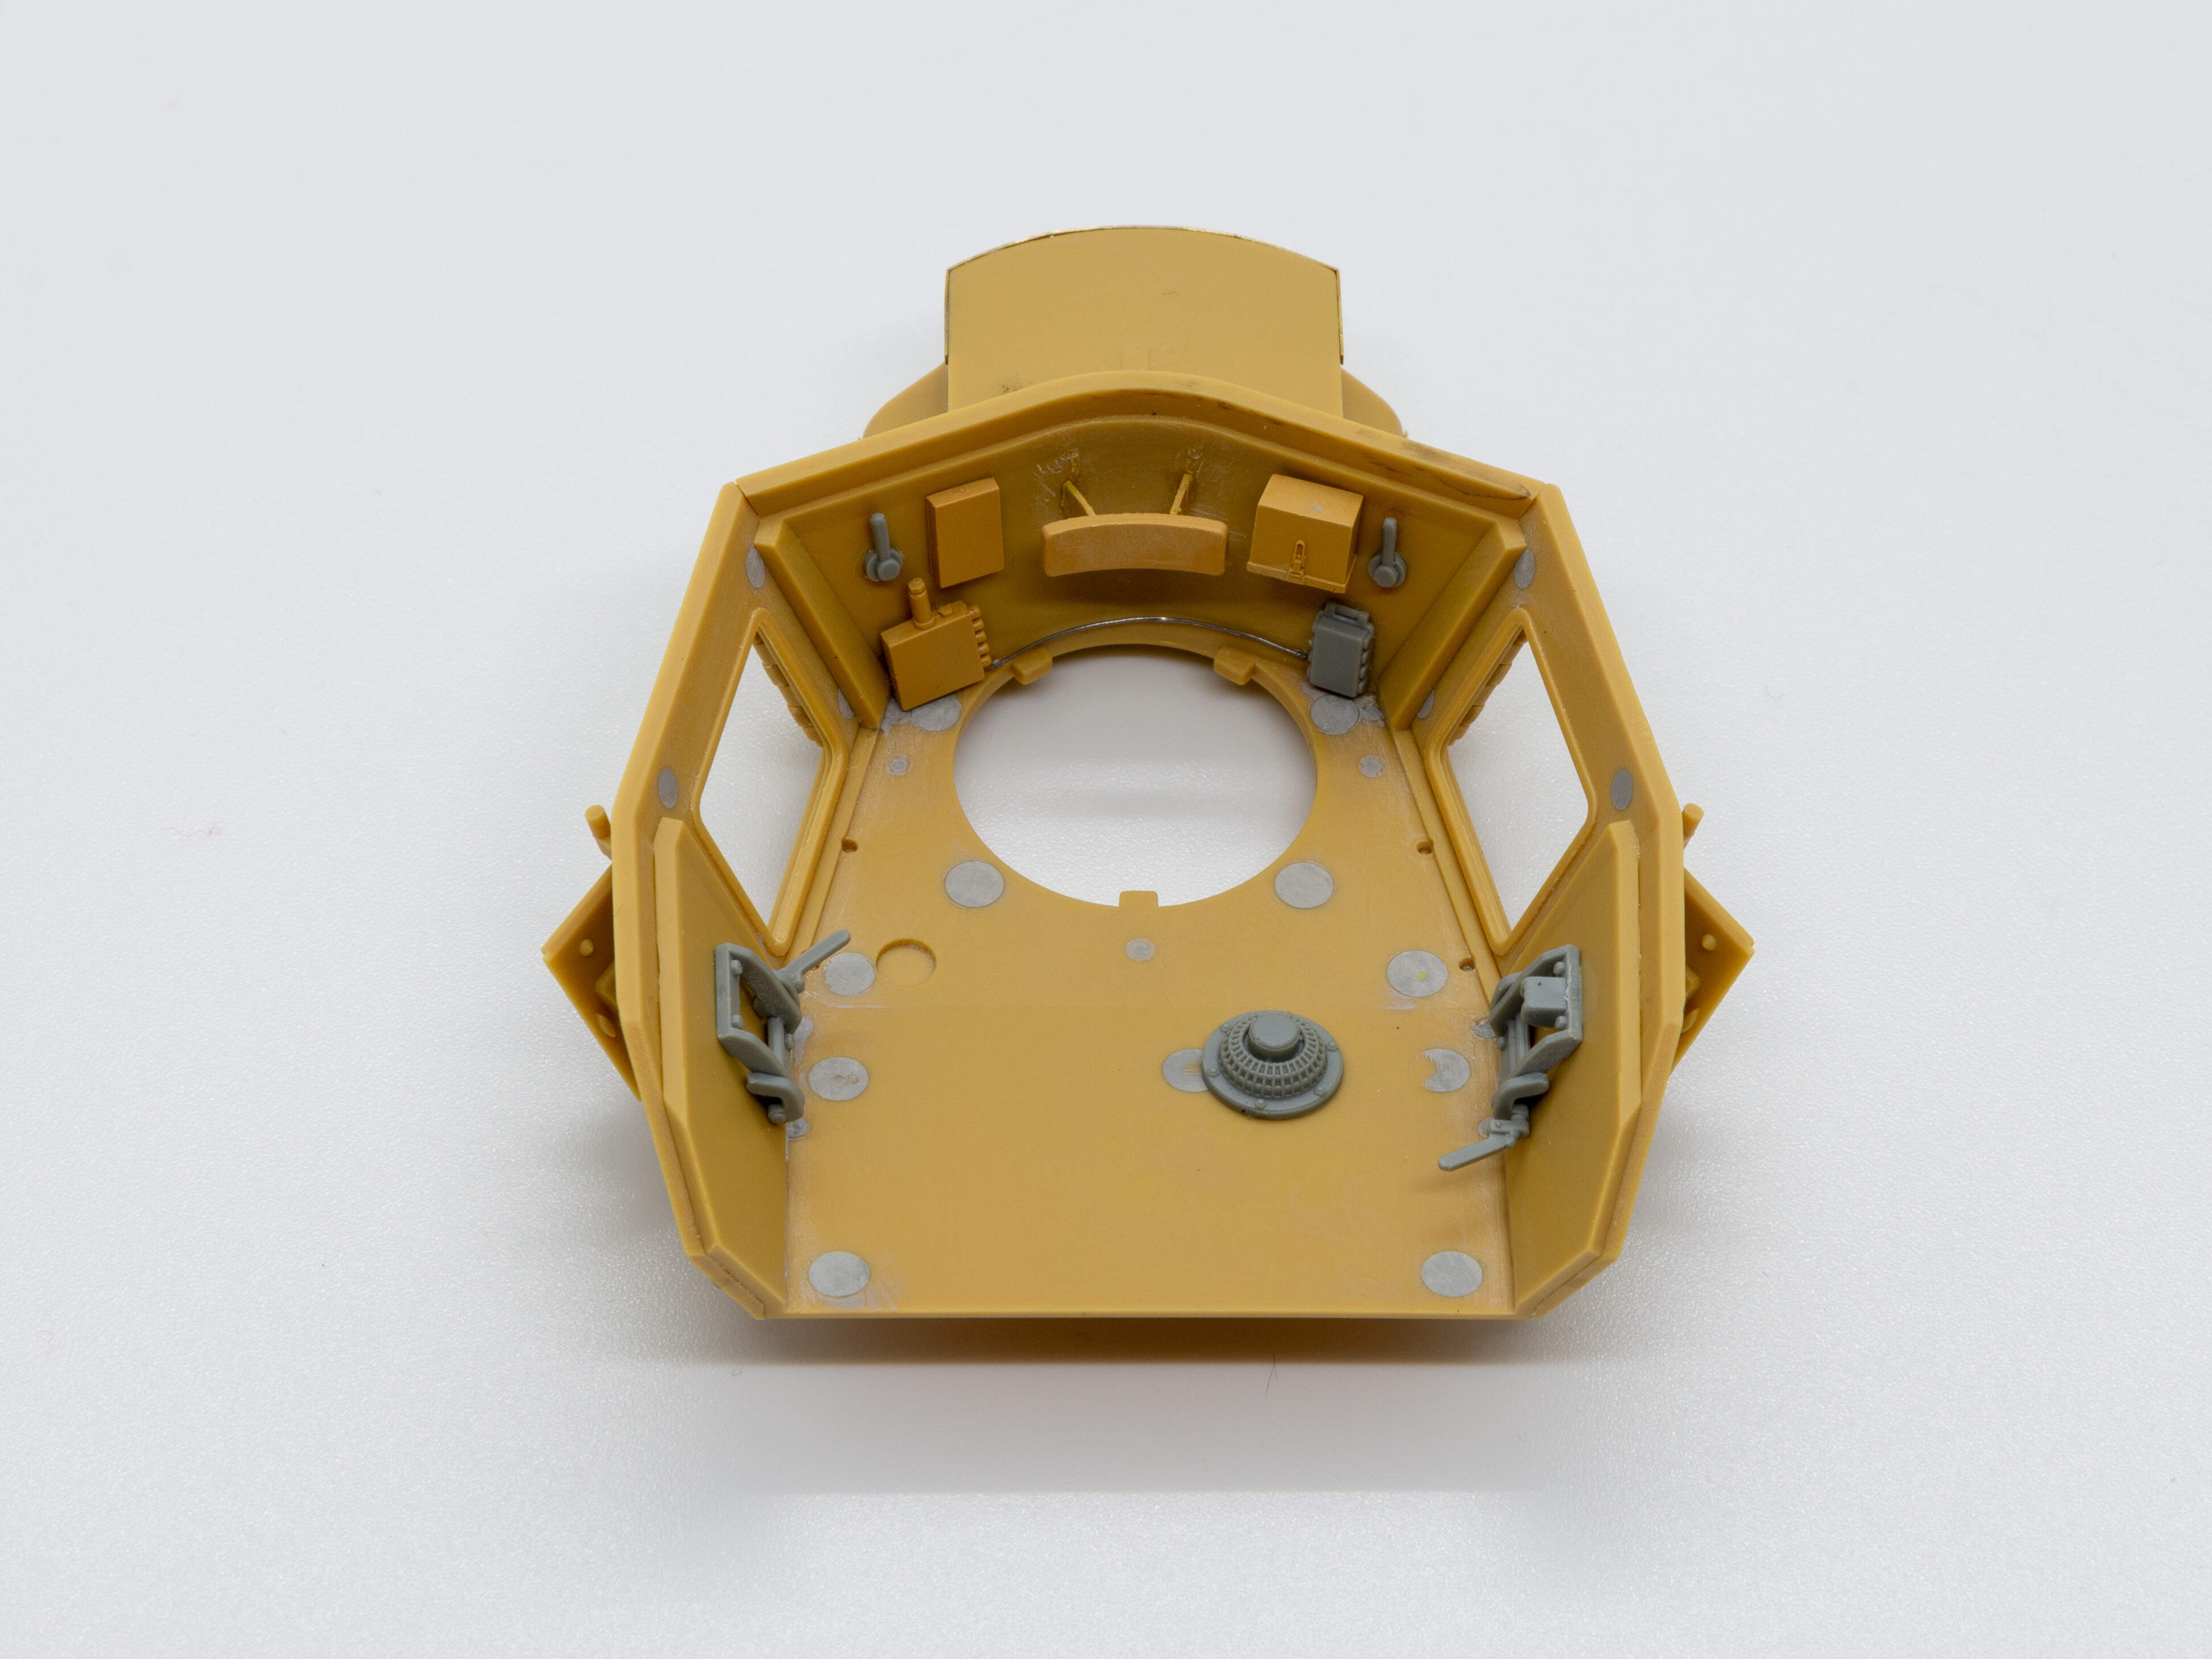
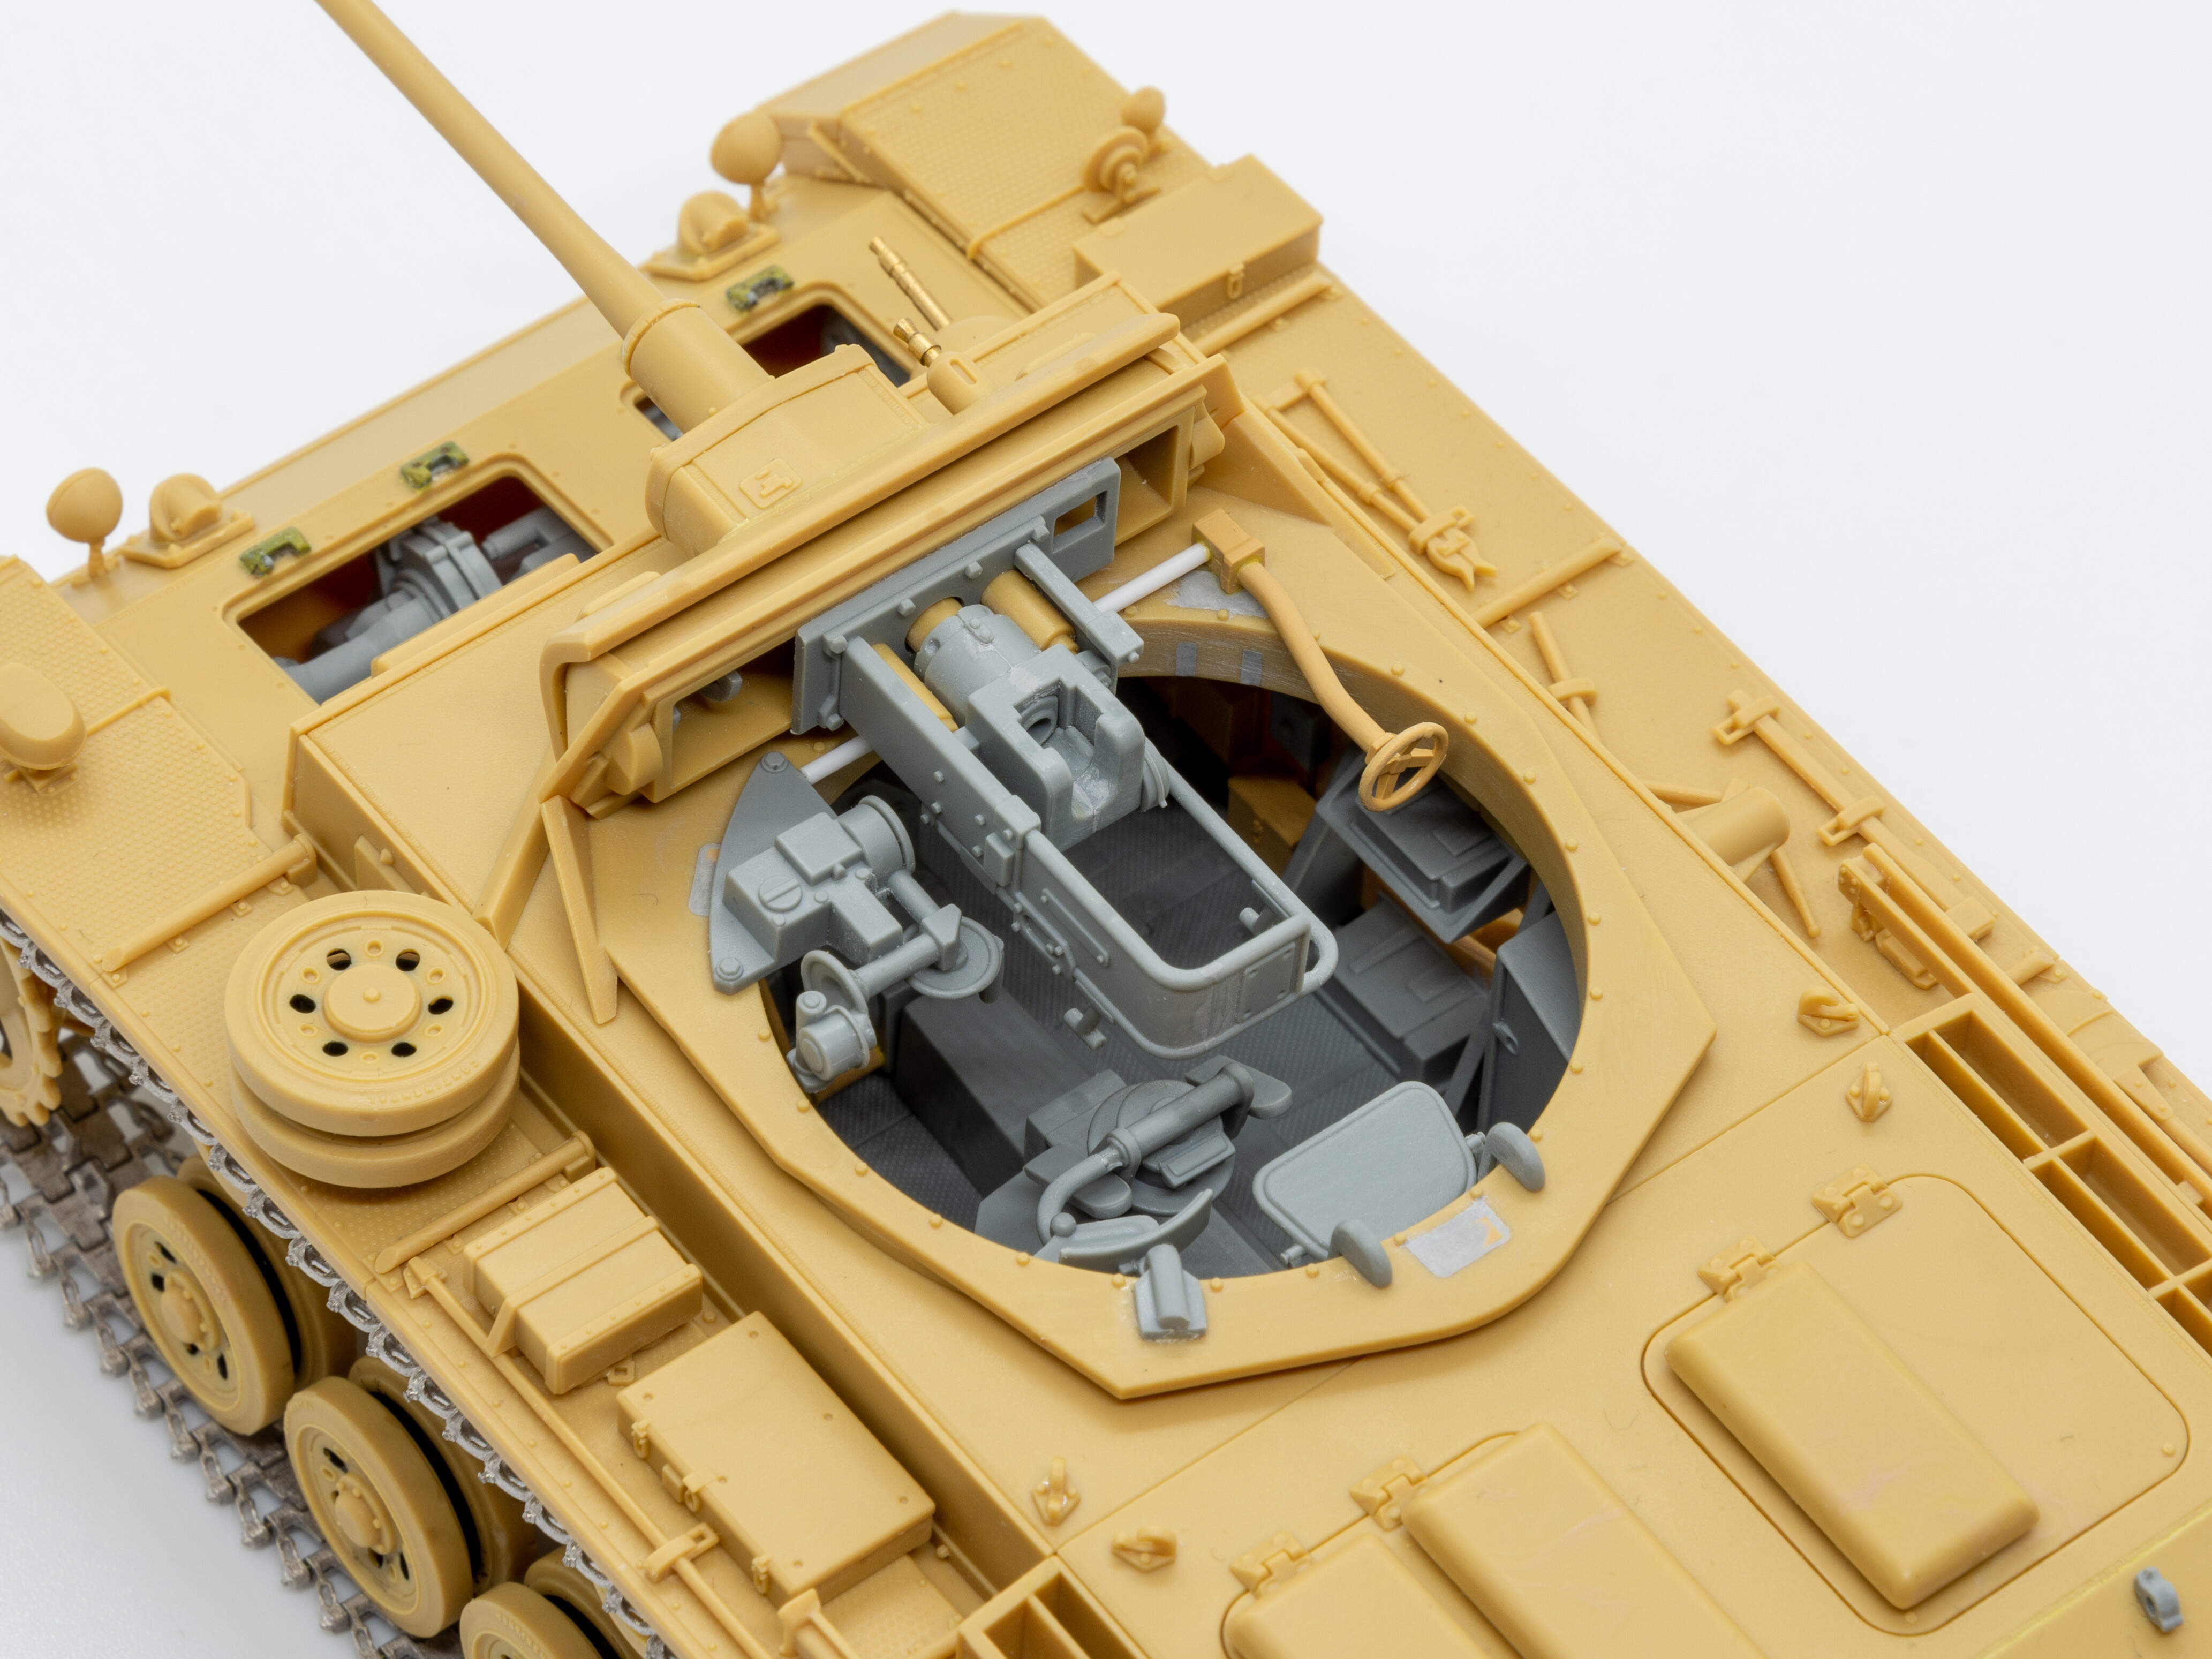
It’s been a while since the last update but I now have the turret more of less finished. The interior is again made up of a mixture of Dragon and RFM parts. There were a few parts of the turret that I wasn’t overly impressed with which are mentioned in the round up below.
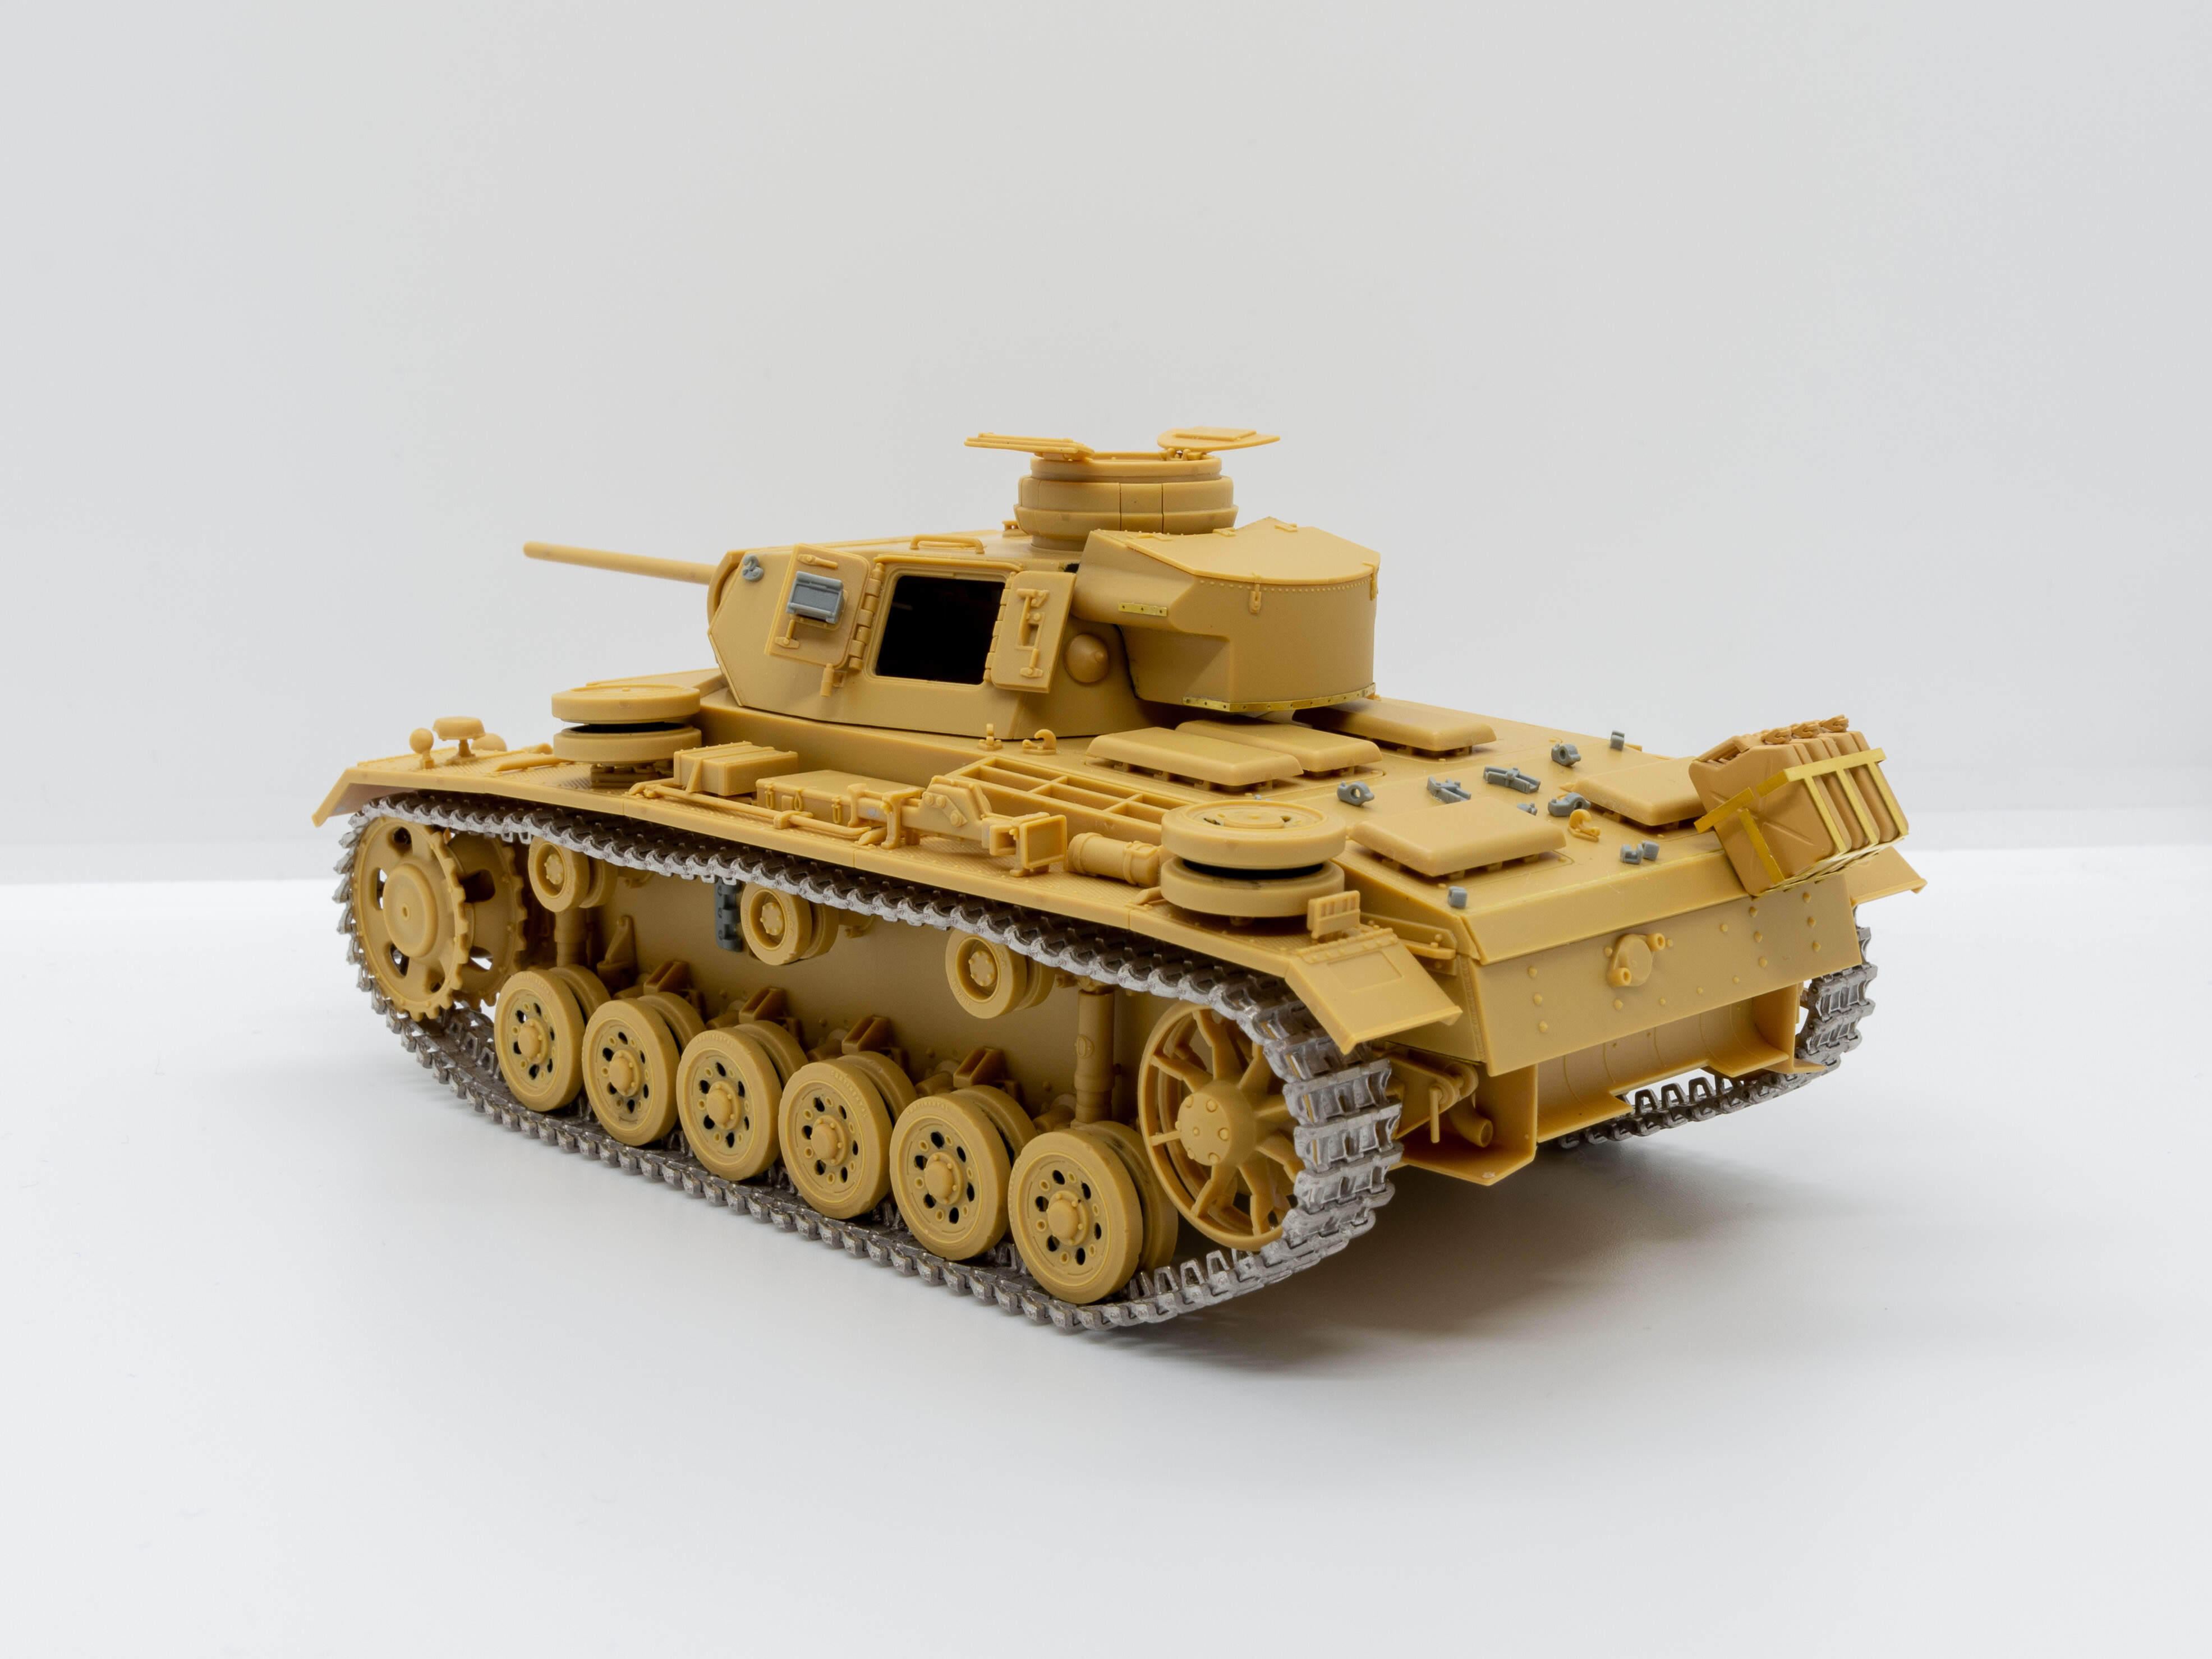
The build is more or less complete now. There a few minor interior & exterior parts left to sort out but I’ll tackle these when I get onto painting. Overall I think it is a nice representation of a mk III J. This is the first interior I have done in 1/35 and if I’m honest I don’t think I’ll do another one, unless I intend to have panels cut away. The amount of detail seen through the hatches doesn’t warrant the amount of work required in my opinion! Here is how the build looks all dry fit together.
Over all I did enjoy building this kit. For the most part the fit is very good and the detail well done. It’s not as good detail wise as the Dragon kit but that is expected for the price, although it is easier to build. Adding the interior obviously made the build more complicated but there were a few areas where Academy could of done better.
Hull:
The rear section of the engine deck is a separate part which is slightly too small, leaving gaps at the weld seams. Easily filled with milliput.
The lifting hooks are all too wide to fit the locating holes on the hull roof and engine deck. Simply sand them down a little to get them to fit.
There is a very noticeable gap where the front plate of the upper hull meets the front plate covering the transmission (note the last photo in my first post). This seems to be caused by the the upper hull sitting slightly too high once the fenders are installed. I got around this by gluing them together, changing the angle of the transmission plate. The result is some gaps are created where the hull sides meet the transmission plate but this is far less visible / easier to fill.
Turret:
Academy provide the sides of the turret as separate parts to be added to the main shell, in order to make maximum use of the molds. However the fit of these parts to the turret shell are pretty poor, leaving seams to filled on both sides of the turret roof right on the weld detail. The general fit of the main turret parts are not up to the same standards as the hull.
The mantlet and gun sleeve have some nice weld detail but there are gaps between the parts that need to be filled.
With the turret door stops in place, the forward doors do not fit in the open position. The part of the stops which the doors are supposed to rest against have been molded at a different angle to the door. I just cut them off as they are mostly hidden by the door anyway.
I’m going to put the panzer to one side for now and start building the figures & base next. I’ll return to start painting when everything else is built.