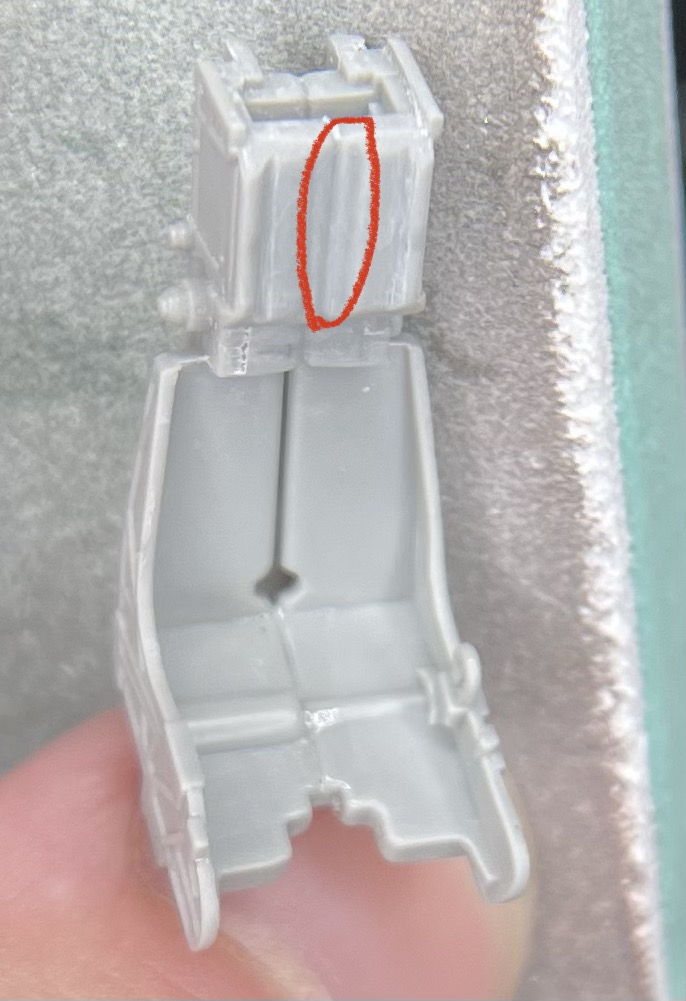
I am building a F-18, my first modern jet, and already hit a snag on the cockpit. The inject seat comes in two halves. This isn’t a huge deal as the cushion and top of the seat is a separate part that cover most of the seam. However there is a glaring seam in the center of the headrest that isn’t there on the real thing
I am looking for advice on filling it. I tried Mr surfacer but I don’t think it is deep enough or narrow enough so the surfacer just pulled right out. Maybe sprue glue?
I’d make a mixture of liquid cement and shavings from the kit’s sprues. Some call it sprue goo.
It won’t shrink or crack and costs virtually nothjing to make. Best of all it works great. Apply, let set, cut and sand to shape. You can start out with CA so you have less of a gap to fill. It cures instantl;with a shot of accelerator. In fact, sometimes on a gap like that I use CA for the whole job. Since there’s no wait time I can often totally fix a gap like that, including sanding, in less than five minutes.
I did consider sheet styrene it’s just the small indent in the center.
@18bravo I normally opt for super glue in a case like this too, but I find sanding it in tight quarters can be a pain. I might give sprue goo a go. What consistency am I shooting for?
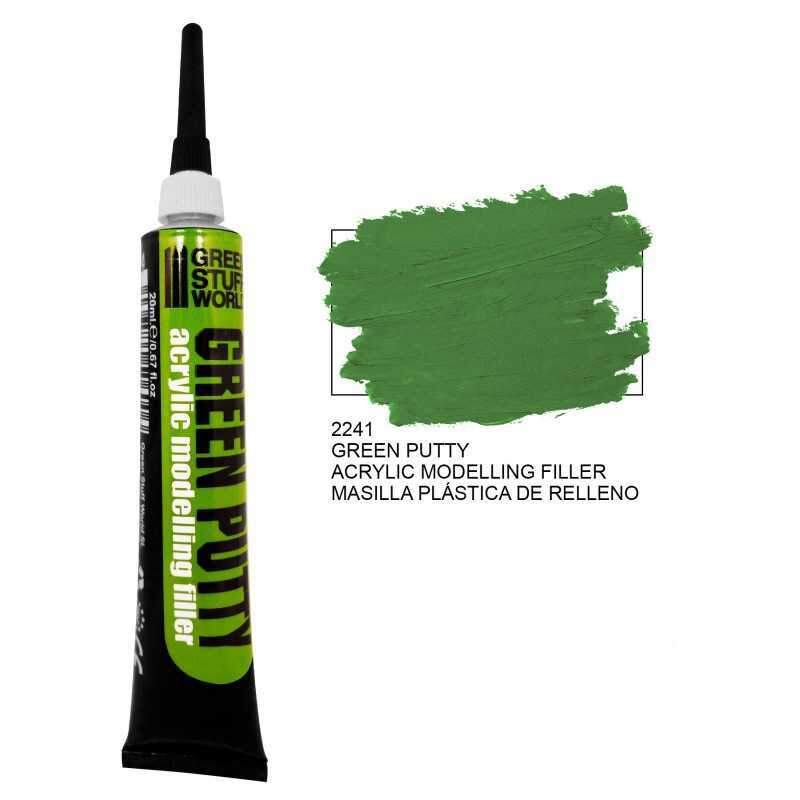
I’d just fiddle with it. I make it about like Squadron Green Putty. You can even manipulate it once you’ve applied it by dabbing on a little more cement and flattening it with a blade. Less work after it cures.
Another thing I like to do is lay in a piece of stretched sprue, again from the same kit. You can even shape it before hand a bit if it needs rto be angular on the bottom for instance. lay it in the fgap, and THEN apply cement. Keep squashing. Often this is enough and doesn’t need sprue goo afterward- just final shaping.
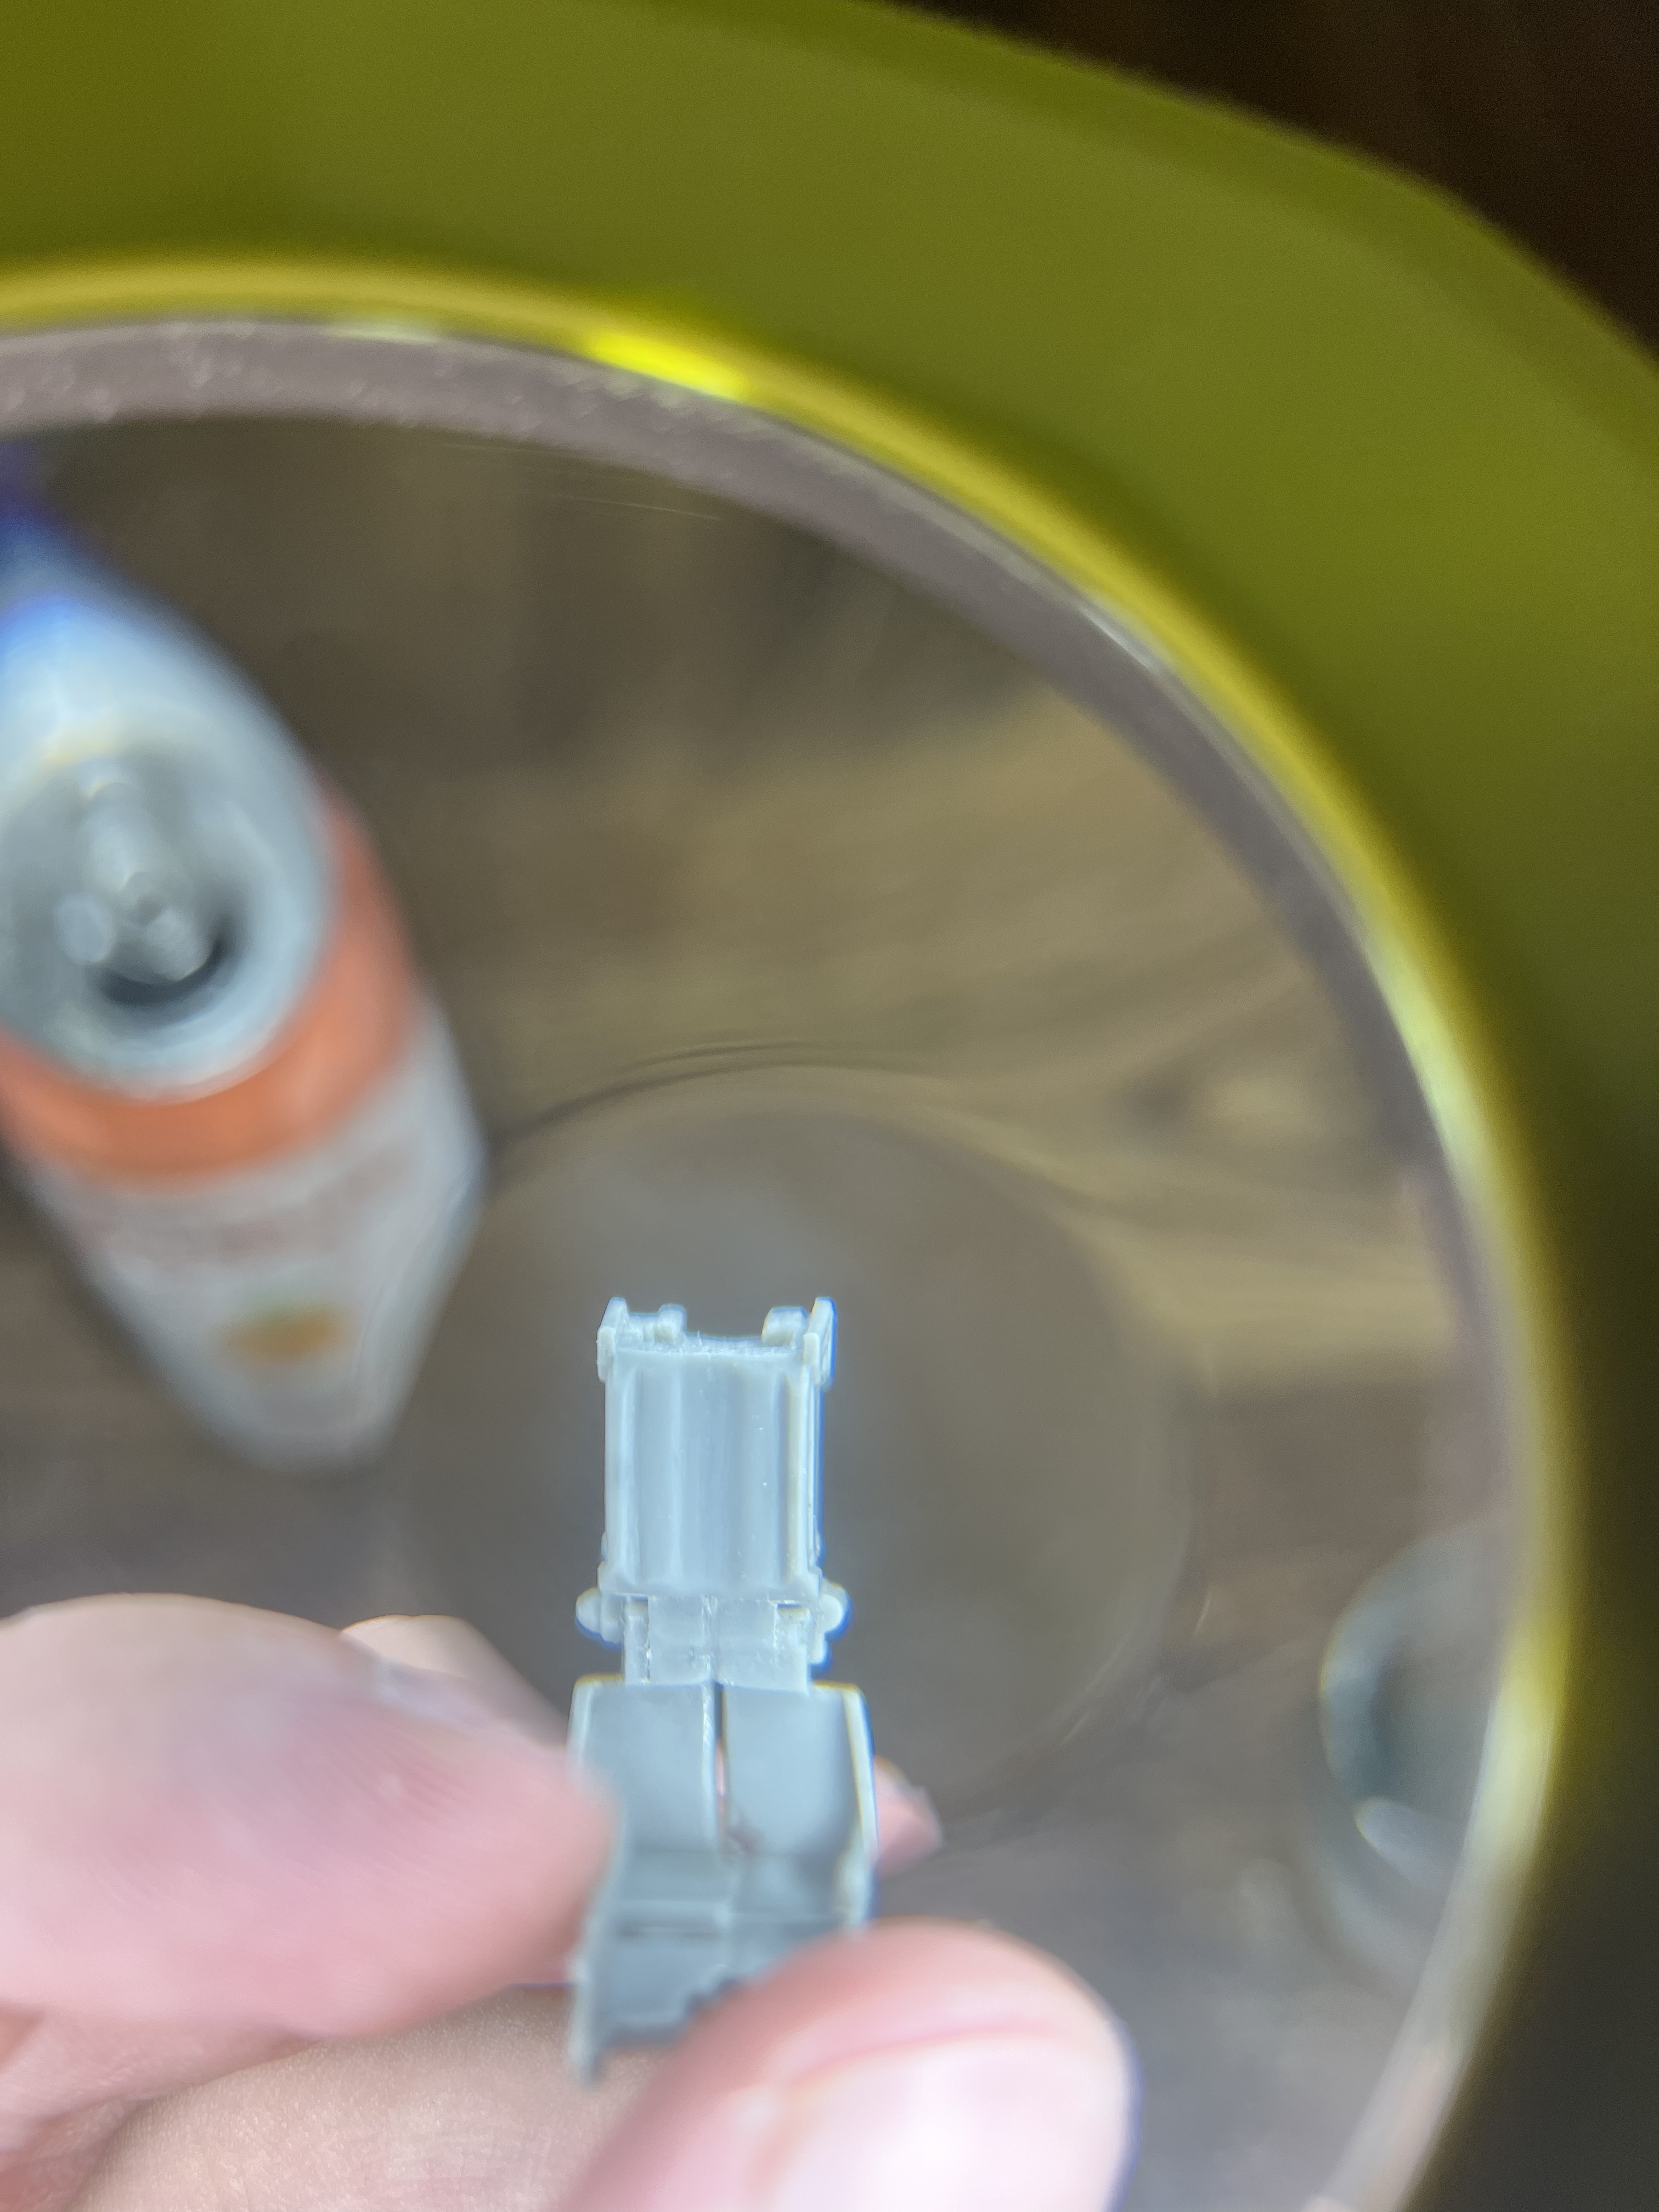
Gave this option a go, seems to work well! Was easy to get the sprue in the gap, just waiting for it to hard. I did some test scraps and it’s nice and easy to sanding which is nice
I’ve used this technique several times, too. When done neatly, the gap disappears. Also, less mess as with putty fillers. Only works with styrene kits.
Thanks for all the suggestions. Went with @18bravo suggestion of some stretched sprue which I melted, then flattened with a toothpick. One thing I did different than normal is waited about 15 minutes. At this point the sprue was soft but not wet so it was easy to shape without damaging the surrounding plastic. Good as new