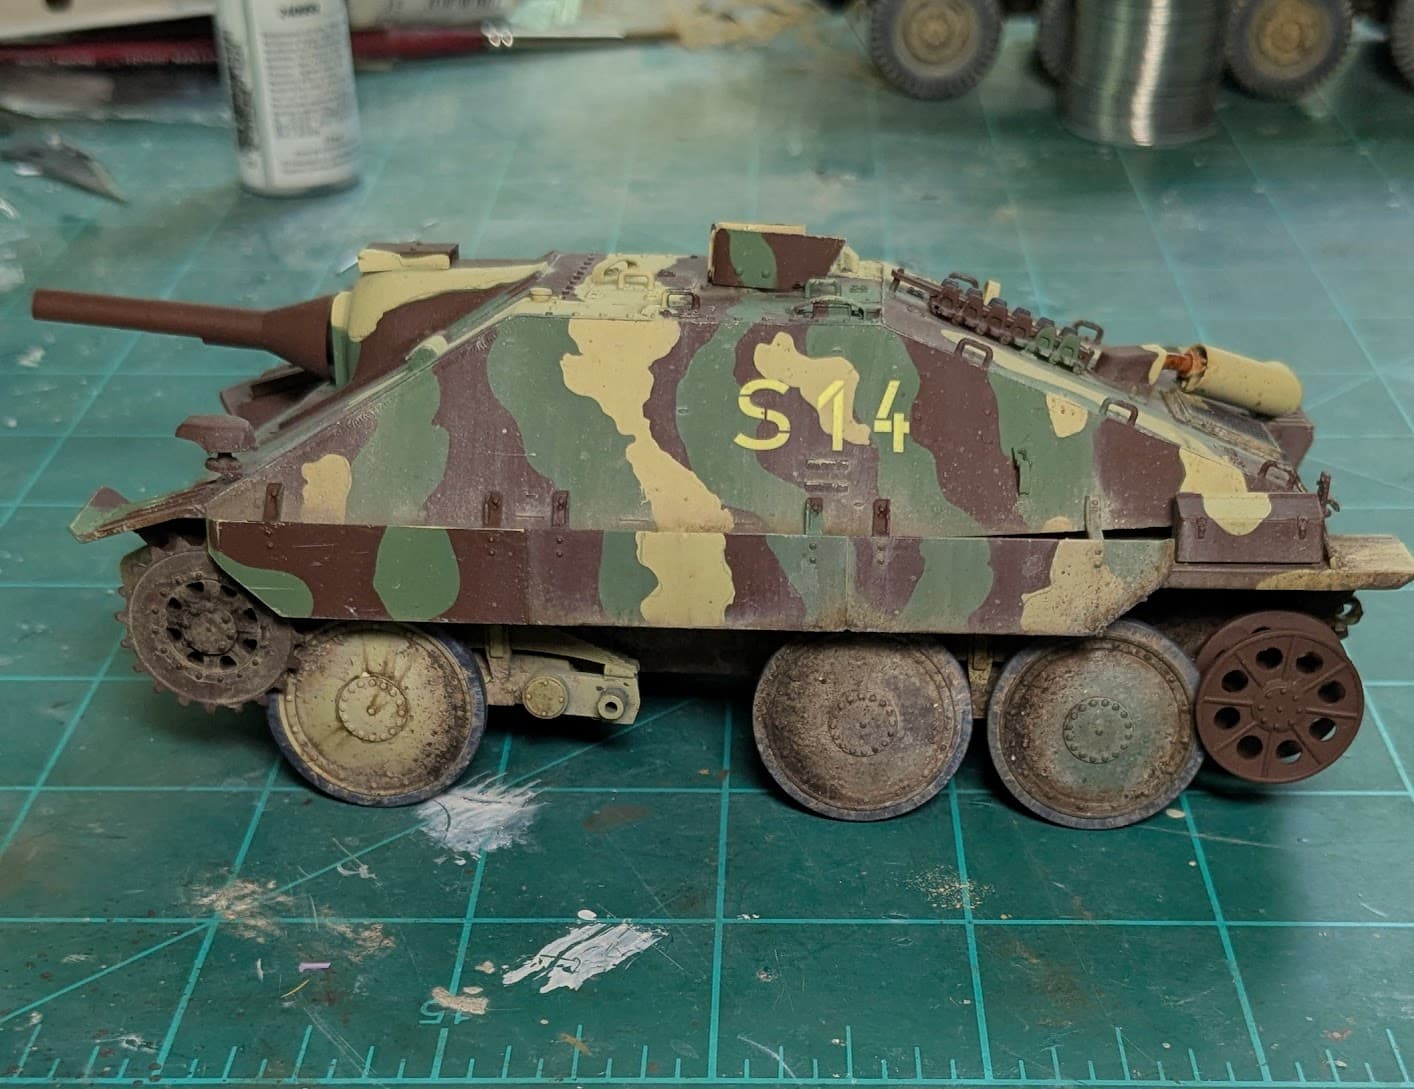
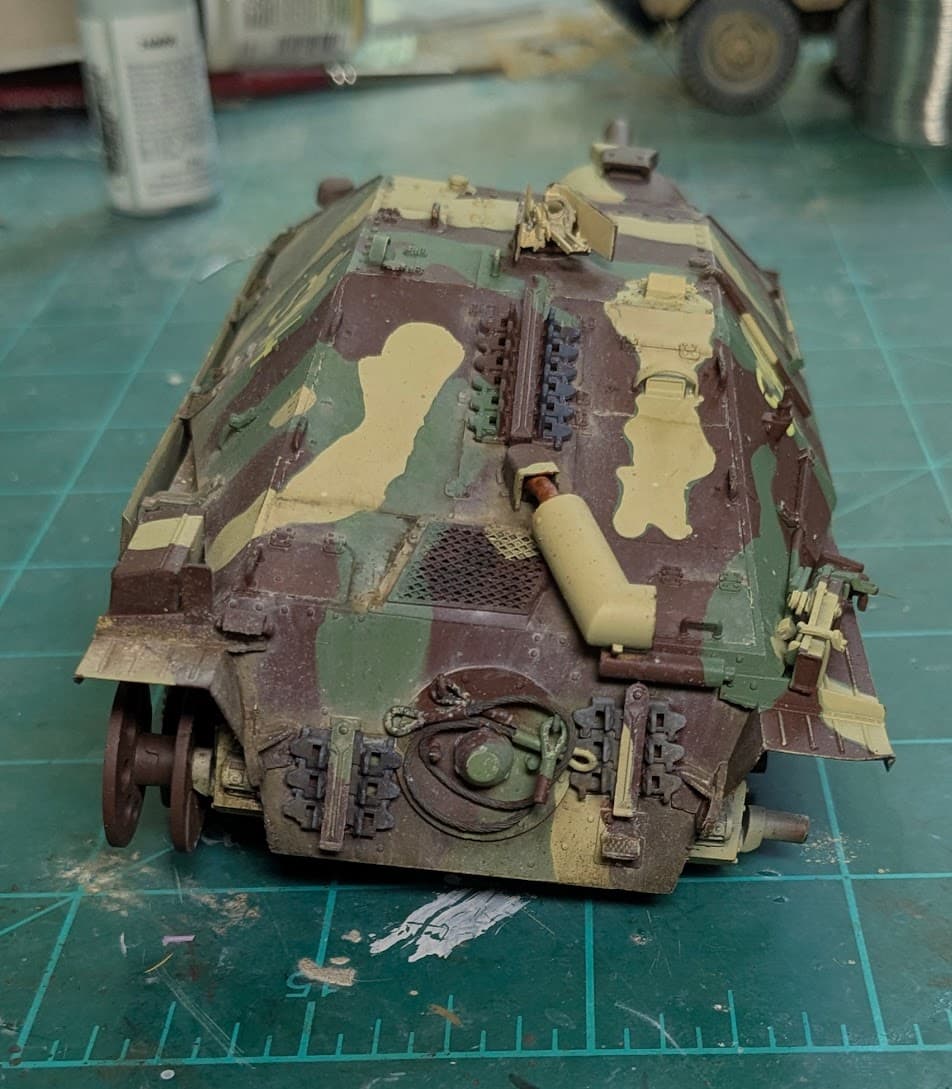
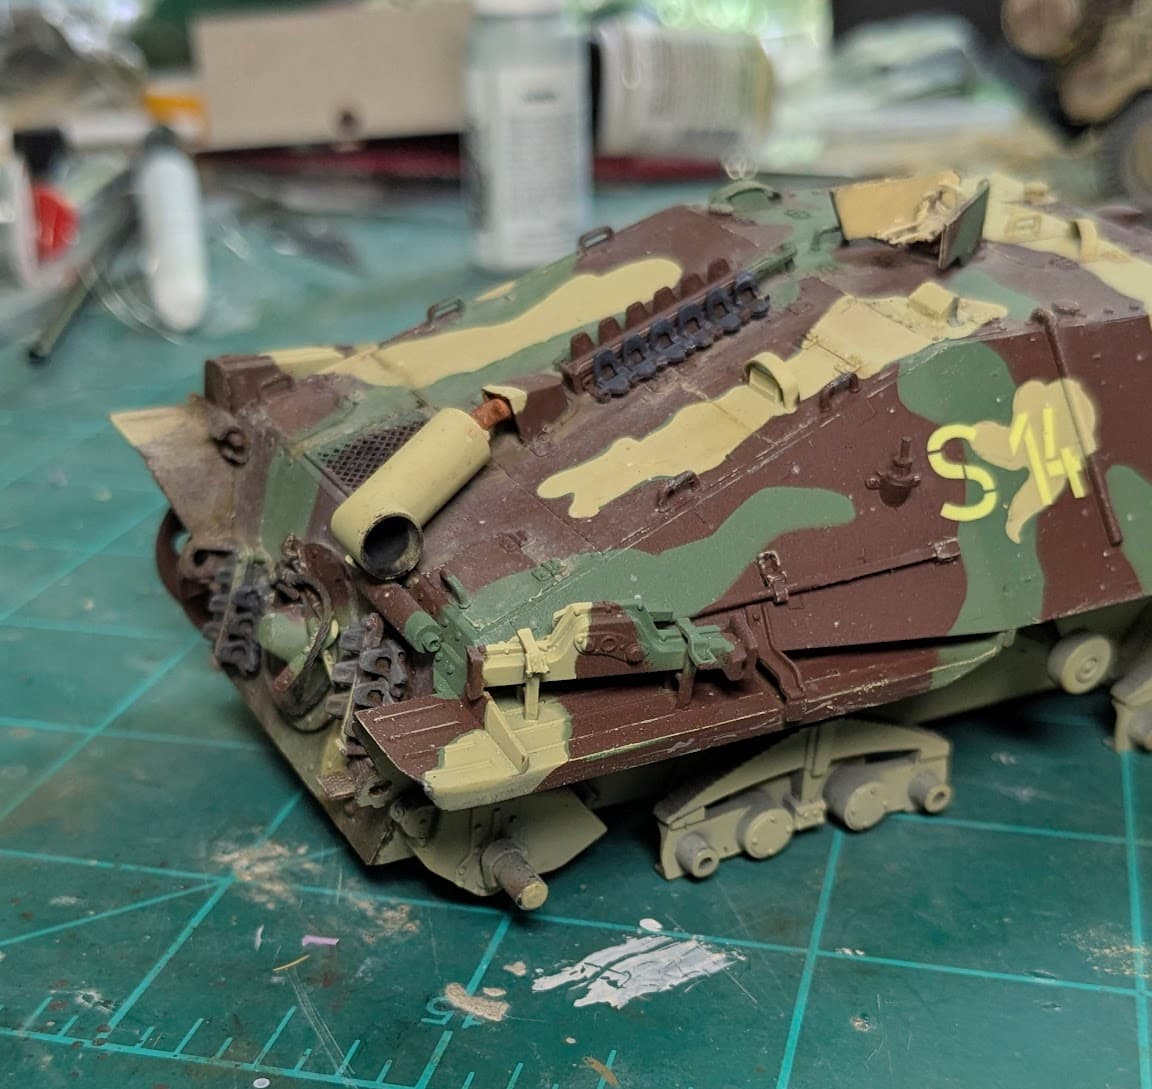
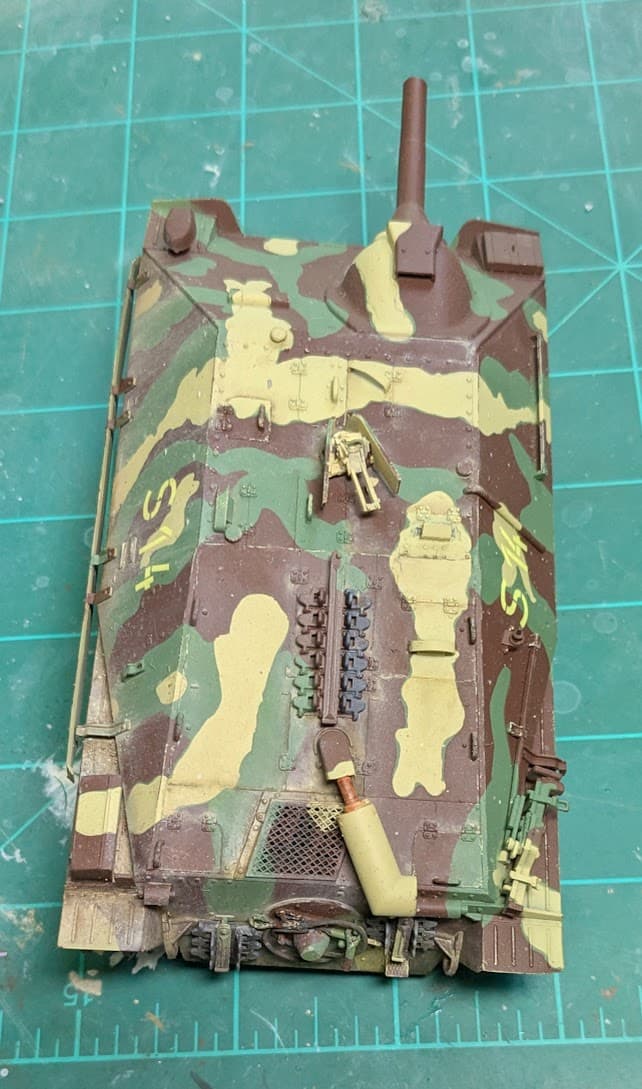
I’m really pleased with the results, although there is some touching up to do with acrylics and a brush later. After I spent more than an hour pain-stakingly masking the dunkelgelb, I said “to heck with it” and just generalized the green and brown. The brown is a bit dark, but that’s okay. I might hit the model with a filter to tie it all together a bit more before decals and weathering. Thoughts?
Colin
P.S. I’ve clocked out at about 13-14 hours so far on this model; the build phase took the least amount of time on a build that I’ve had in a while; topping out at around 9 and a half hours.
Nice job Colin, a heavy scrub of lighter shades of dust (after decals) should fade the brown enough as well as pull it all together with whatever other weathering you have in mind.
I would be wary of using the real Silly Putty. I used it once on a model with PE detailing. When I removed the Silly Putty a lot of the smaller PE removed with it! I didn’t notice at first, but I was eventually able to reclaim most of the PE as It was all mushed up in the Silly Putty.
@Mead93 , that thread is helpful, thanks! Those markings turned out great. I’m looking forward to doing stuff like that! @M70 , that’s very interesting! I might have to try that sometime.
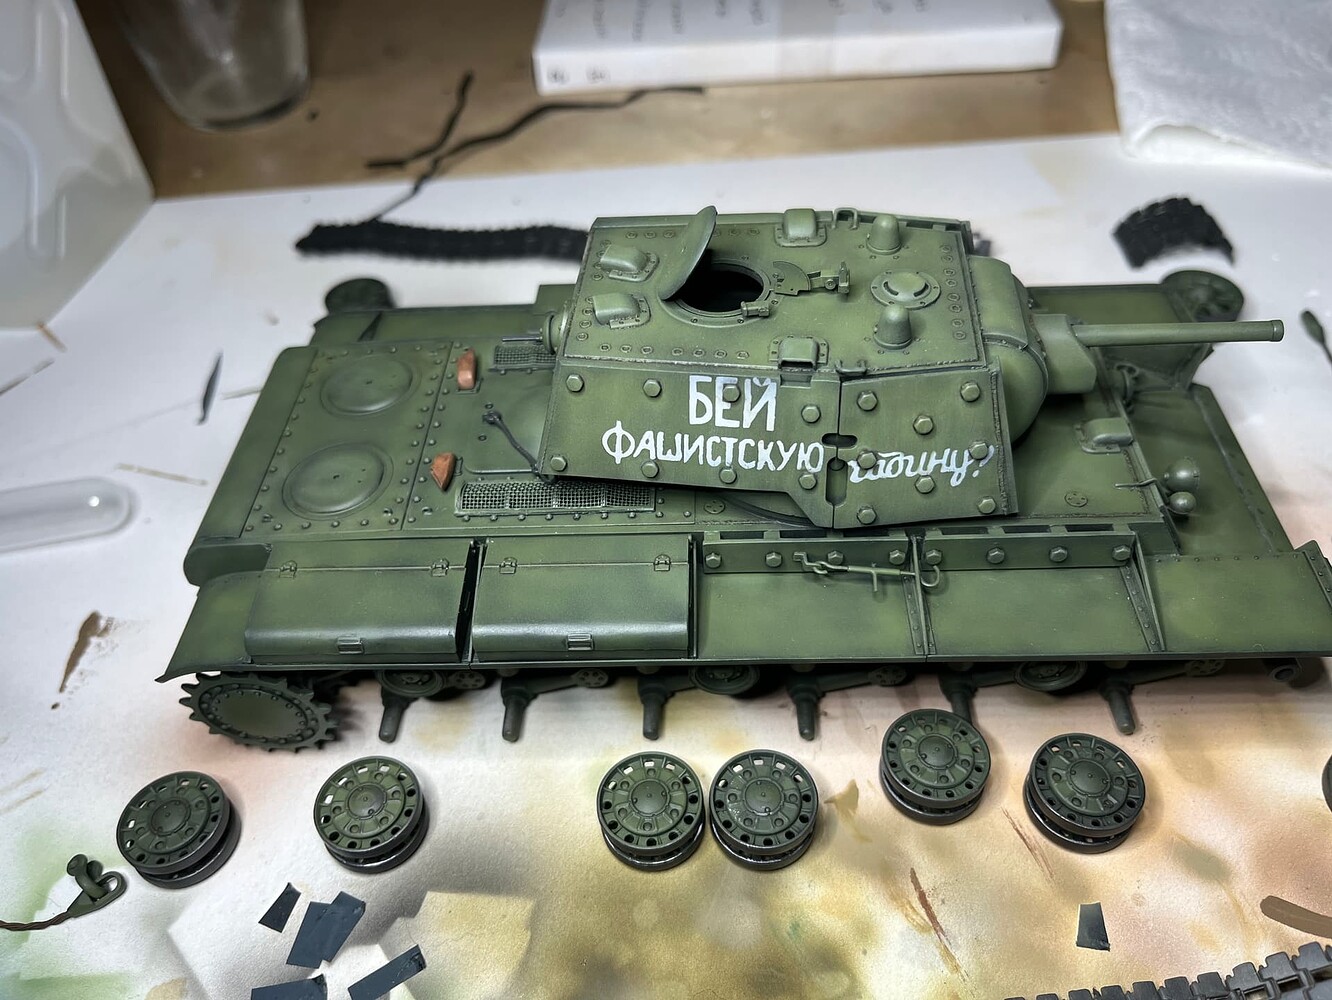
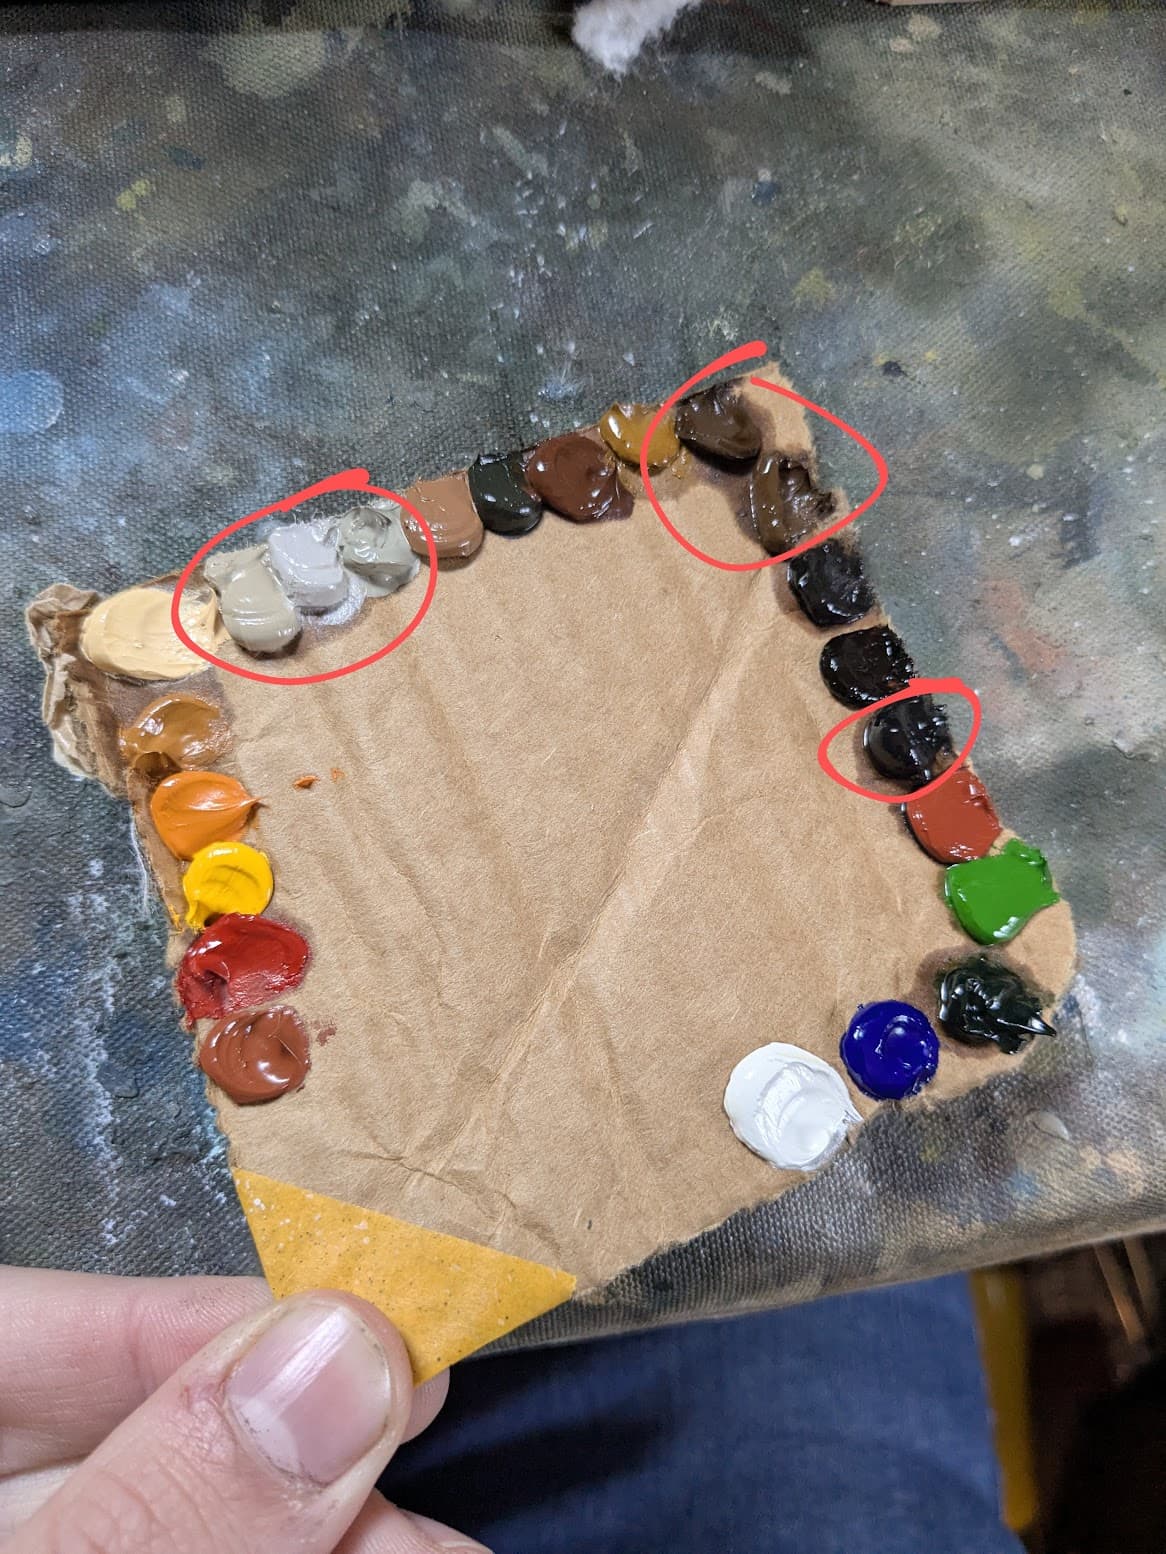
Well, not much work has been done, just added the markings and a matt coat. I’ve also just prepped my OPR palette, so now I just need to wait until the paints have drained most of their linseed oil.
@Biggles50 , awesome job on that Sturmtiger! I honestly wouldn’t be able to tell that was brushpainted if you didn’t tell me.
@Mead93 , thanks!
Yeah of course!
I’ll give you the quick rundown of my steps and then when I do the next wheel I’ll take pics as I do each thing. The general thing to remember is layers and blending, with a lot of speckling, from light to dark. My technique is pretty much the same as Mike Rinaldi; he’s got a very helpful channel on YouTube called rinaldistudiopress.
For this wheel, I focused on the circled oil paints in the picture. I initially layed down some pigments and fixed them with mineral spirits, but you can also use the thinner for your base coat to fix it a little better. Depending on the effect your going for, and the area, you might want to put oils paints down first before adding pigments; for instance I would do that on the lower hull, but I will detail that when I do it so it makes more sense. I layed the pigments down here to add a bit of color variation and texture when blending the oil paints over top of it. I may go back and add more pigments later.
These oil paints were mixed together on the palette in no specific ratio, just until they looked like they matched the pigments and looked good on the model. The pigments are also hand mixed from several different ones to achieve variation.
The big difference between this technique and others is that it’s not a general “one-size-fits-all” step-by-step over the whole model; you work in sections and completely weather that so you can see how it’s going to look on the model, and then apply that everywhere. Again, as I post more, this will make more sense, especially when I get to the tank itself.
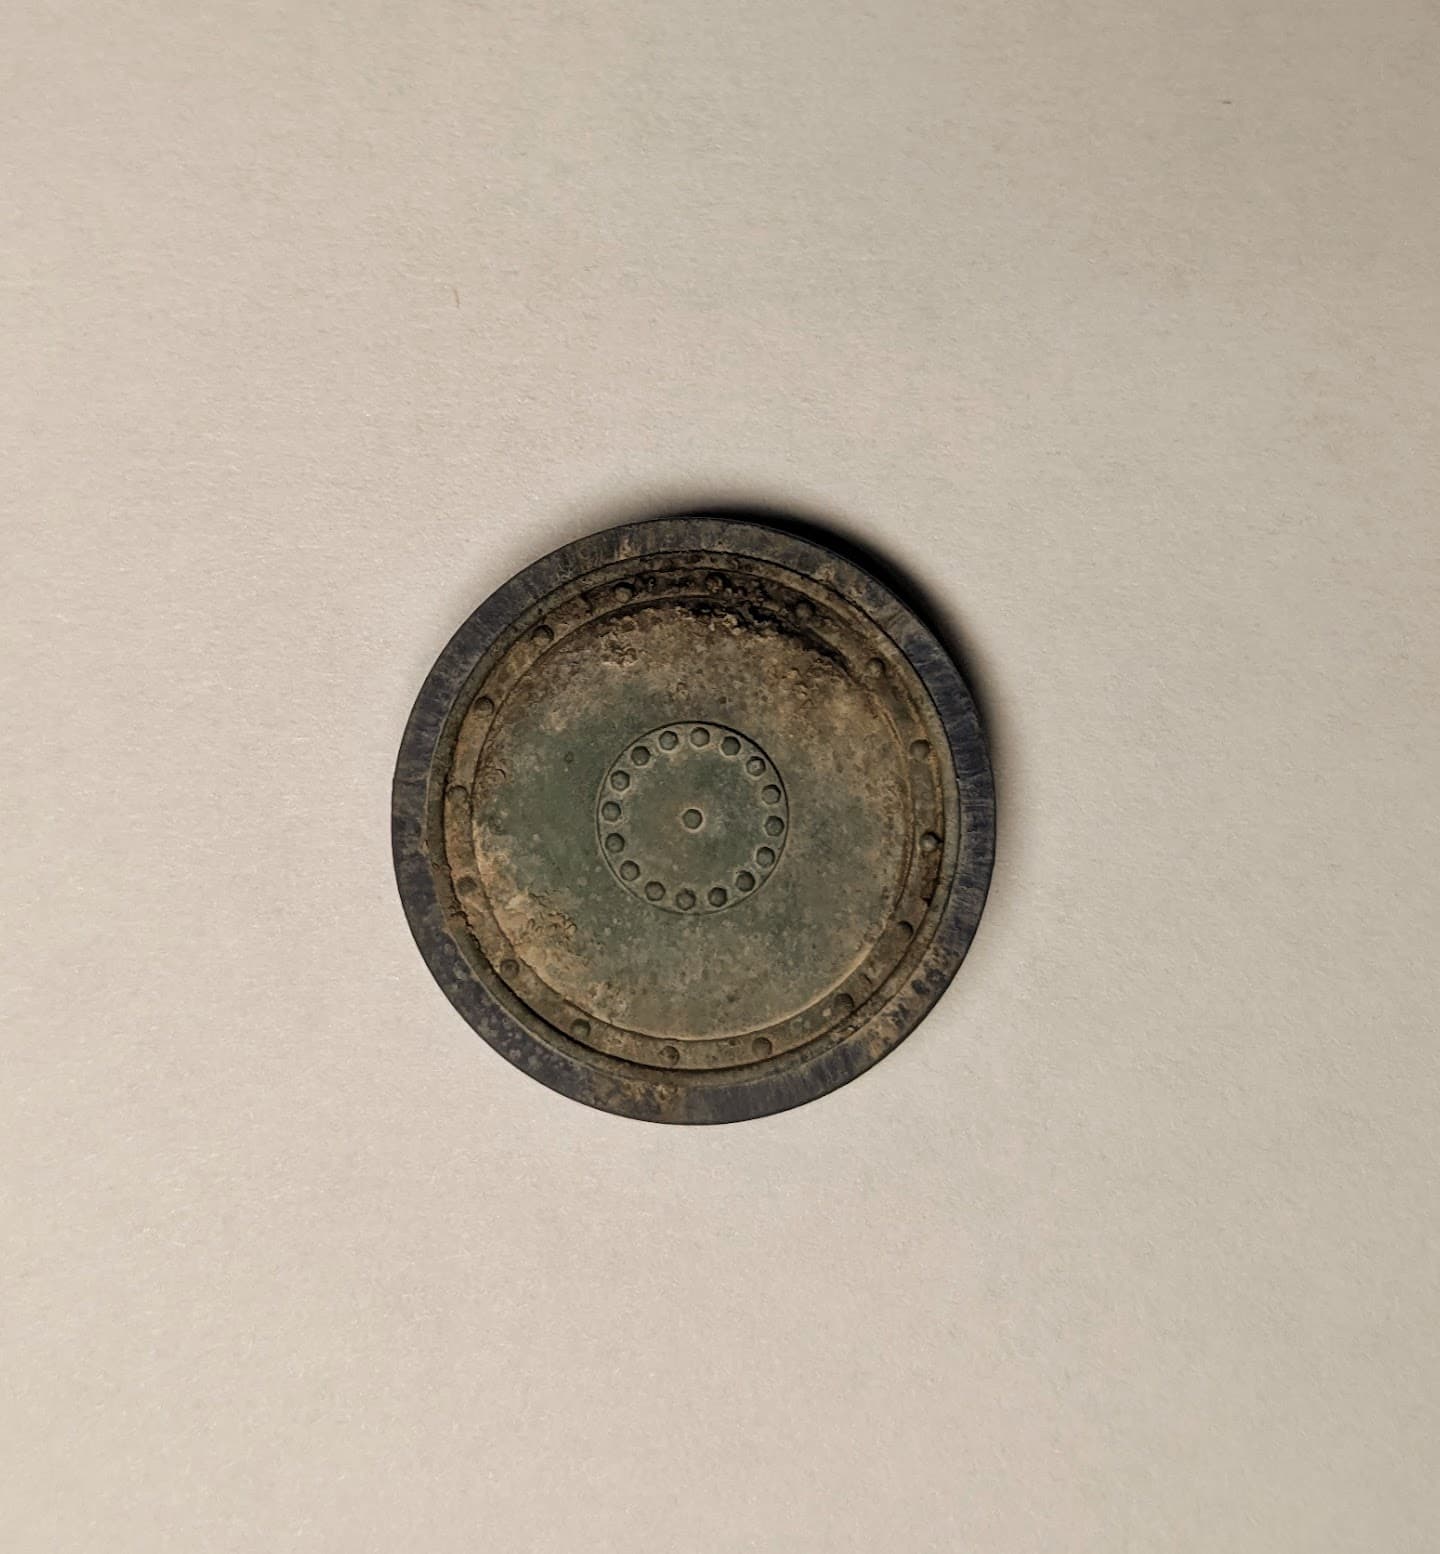
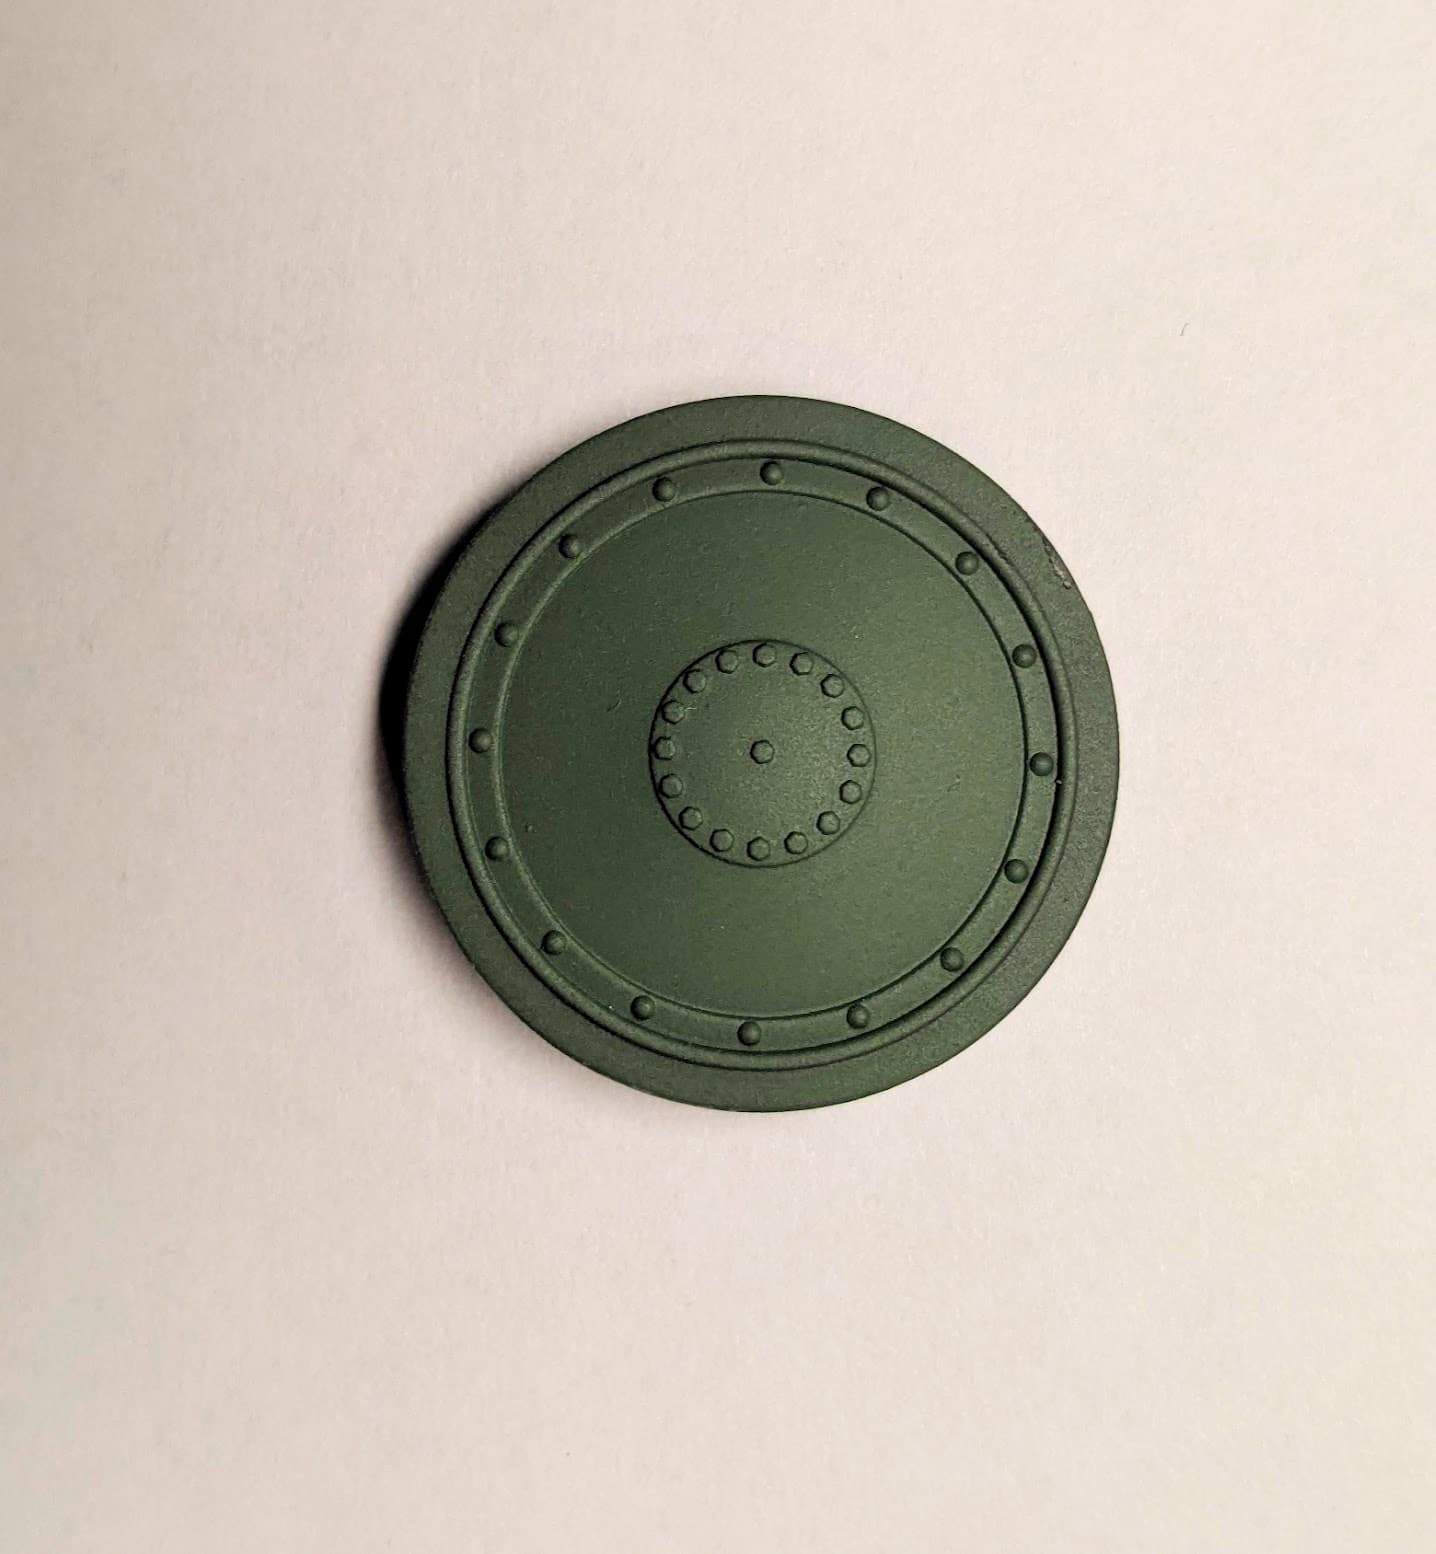
Well, the second wheel is done; this one took me much less time this go around, since i had an idea of what I needed to do. I took a video of it rather than photos, since I figured that’d be better so you can see how I’m thinning the paint and using my brush. The oil paints I’m using are from Abteilung 502, and my thinner is the Winsor & Newton Artist’s Mineral Spirits. Where the paint is shiny and wet and then it cuts to it dry, I’ve stopped the video momentarily to use a blwo dryer. This speeds up the whole process by a lot. I’ve already fixed the pigments to the wheel and dried it when this video starts.
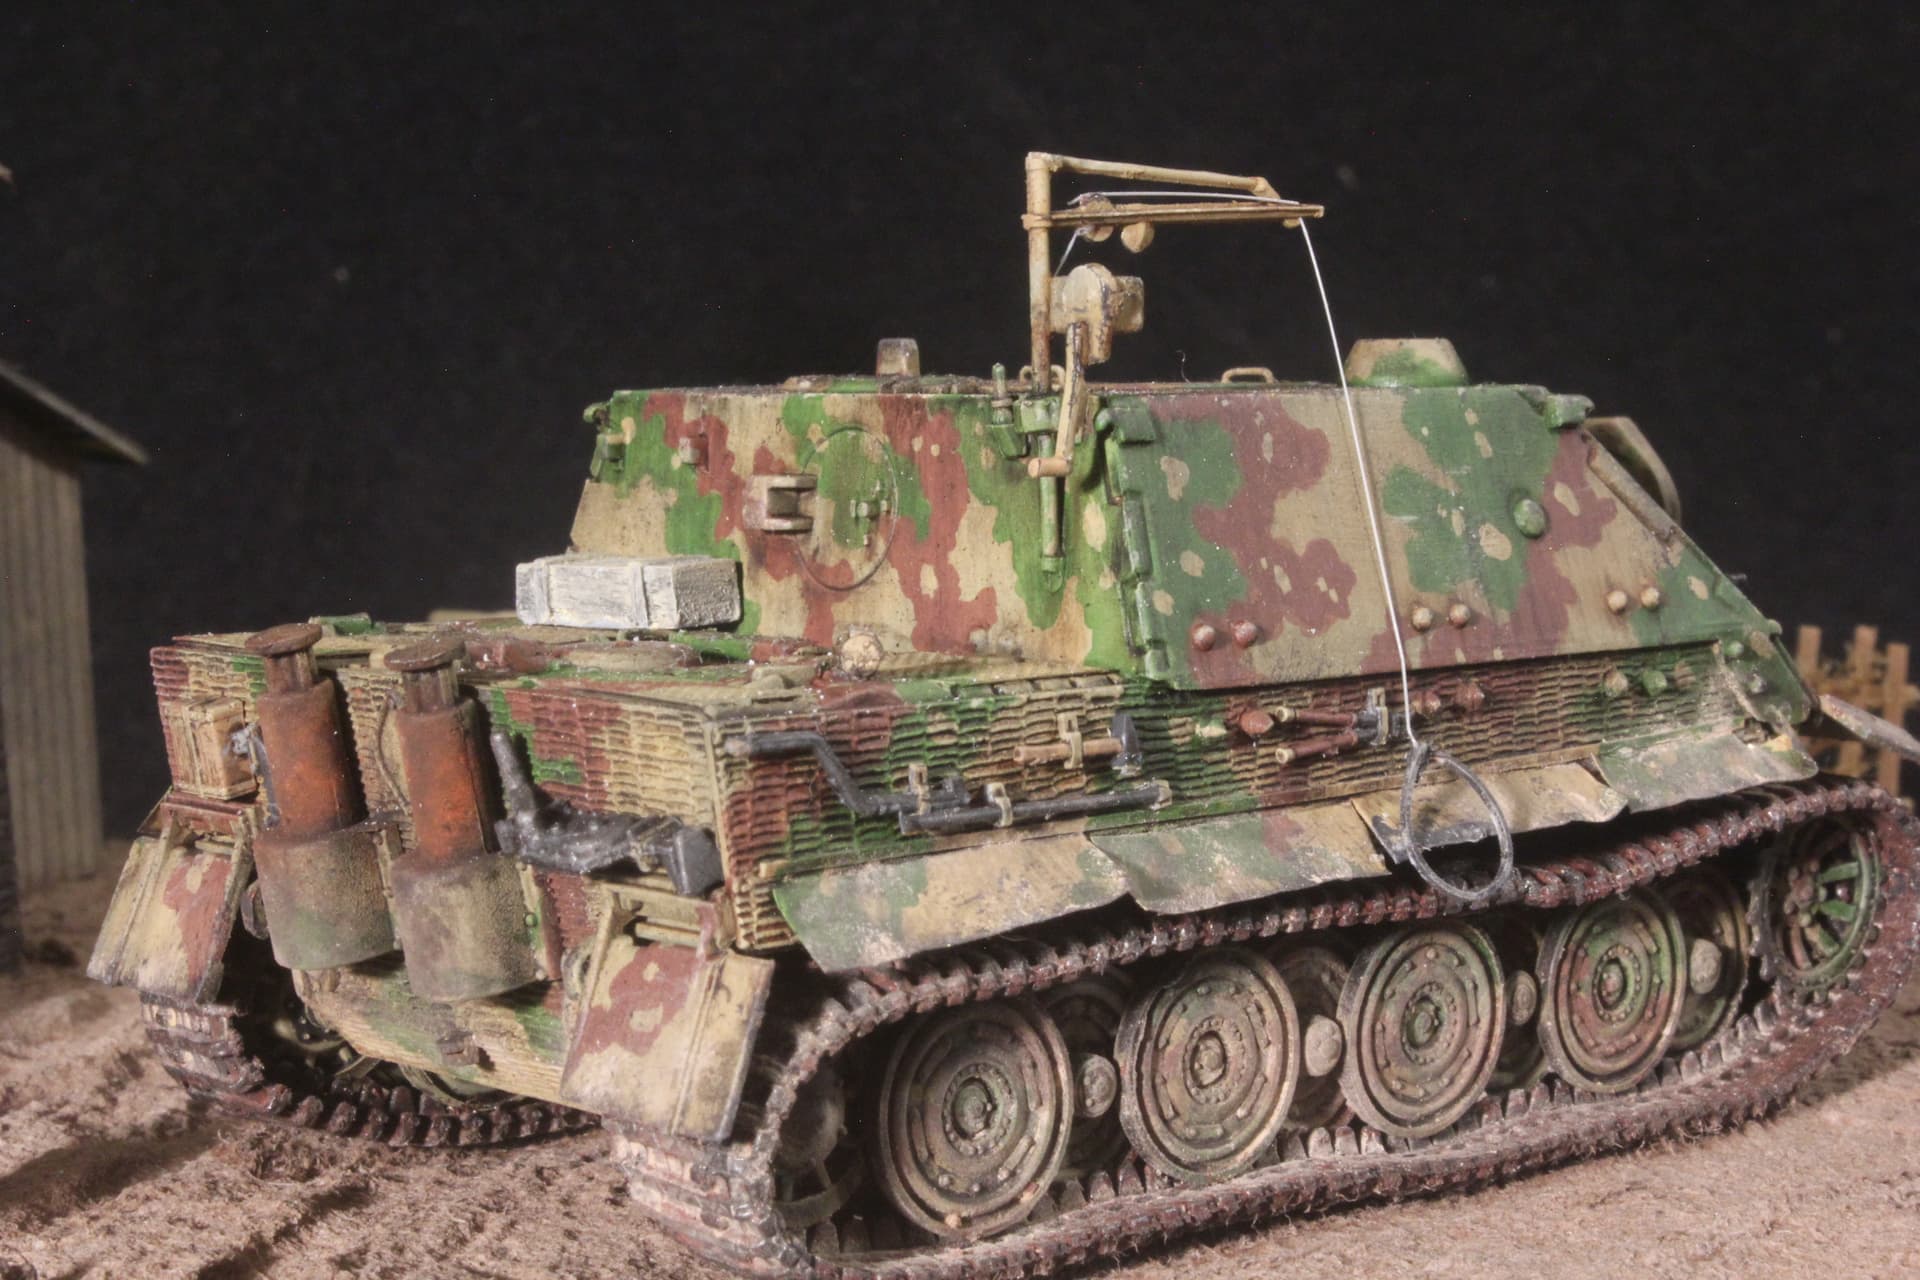
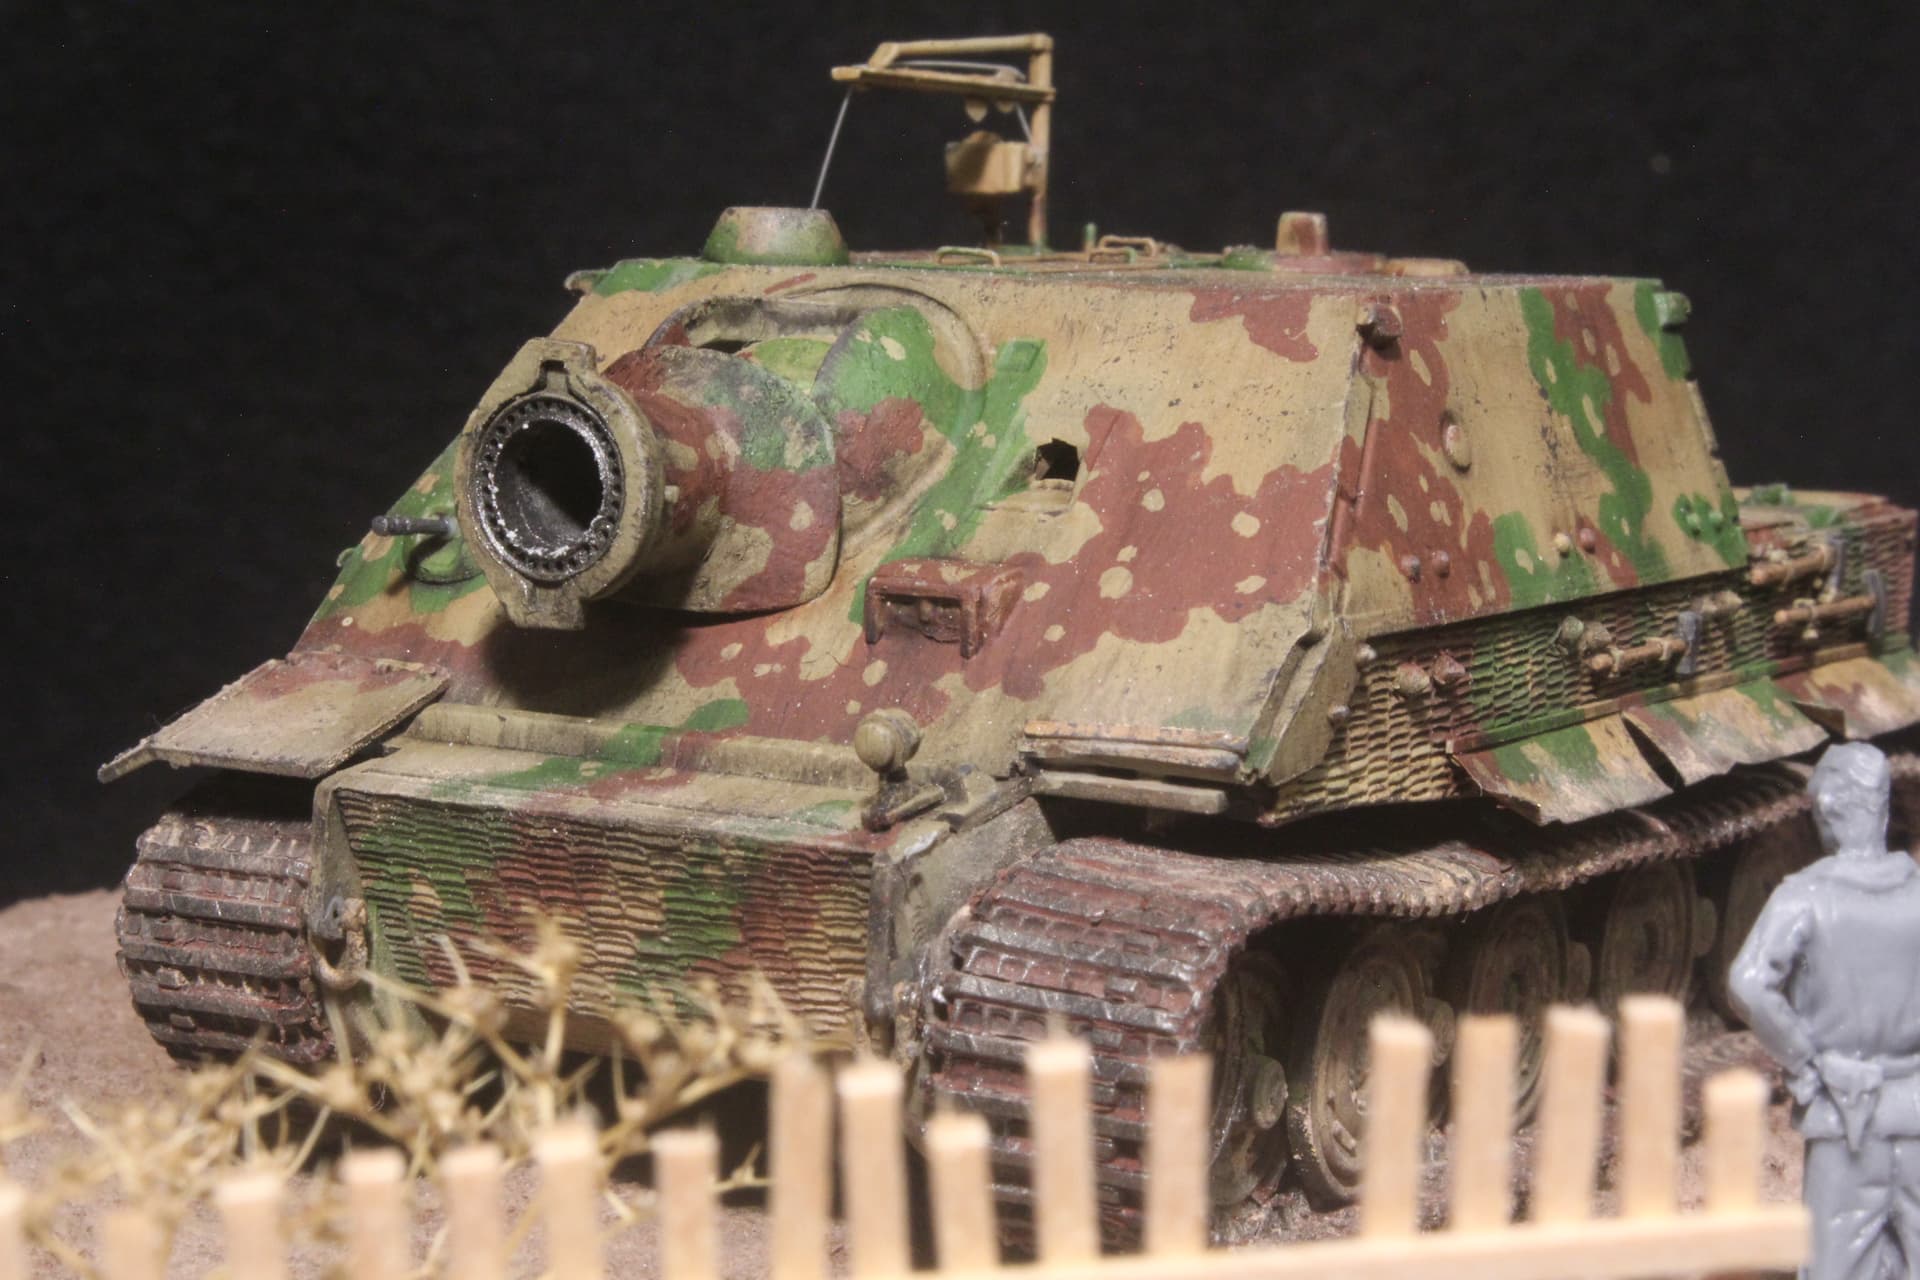
Well, progress has been inching forward. I’ve done most of the engine deck, but I’m not calling this section done until I’ve weathered more of the model so that I can see what else I might need to add. I also finished another of the wheels.
Oh my, hard to believe it’s been almost five months since my last update!
I just haven’t really been into modeling lately, but I still sit down at the bench at least once a week to work for a little bit. Maybe I’ll get some mojo back and be on top of things again, but I don’t know.
Since then, progress has been slow but steady with this one. I tweaked much of what I had already done because I wasn’t happy with the effects; that is, I wanted a more muddy, wintery look and it was looking more like summer to me. As of now, I’ve finished (more or less, probably will have more tweaking) the left side, rear, and top of the Flammpanzer, as well as almost one side of wheels and the bottom hull on the left side.


 - 1/11/24")