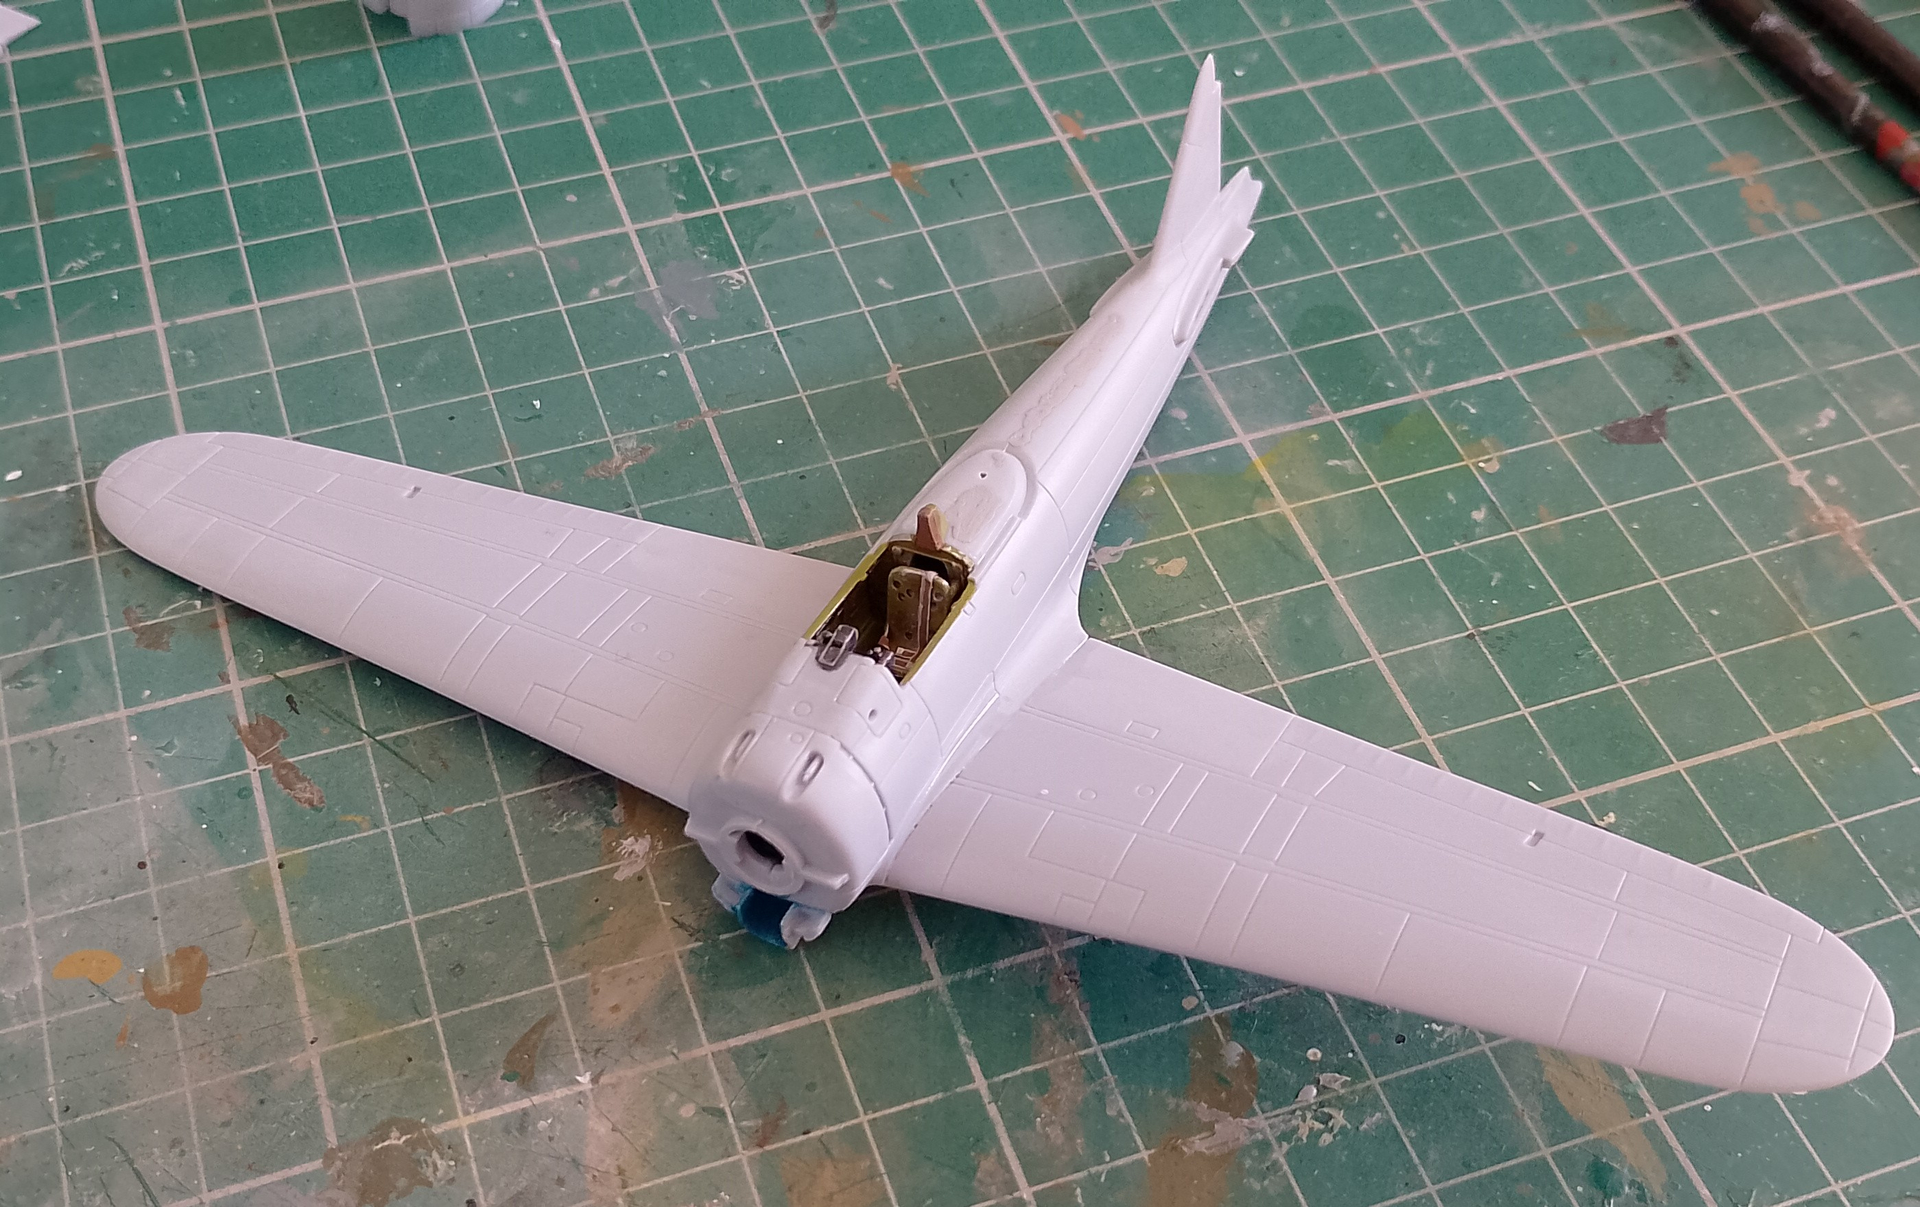
Along with some other projects and campaign builds, I’ve set myself the challenge of building the Airfix 1/72 A6M2b Zero. As simply as possible, brush painted and get it finished before the end of my holidays. The only extra I will use are pre-cut canopy masks, just to save my sanity. I have a couple of these Zeros and they’re so cheap and easy to get, I’m not too fussed if it doesn’t go quite to plan. I tried to do something similar last year with the Airfix Mig-17, but I didn’t do a great job with the paint work. I believe that was a failure on my part to thin the paint enough and putting it down too heavy. Lesson learned, so let’s try again!
Box art is action packed showing Zero’s dogfighting US Army A-24 Banshee’s over some Pacific Islands. Looking at it closely, it does look like a real photo with CG aircraft and ships added.
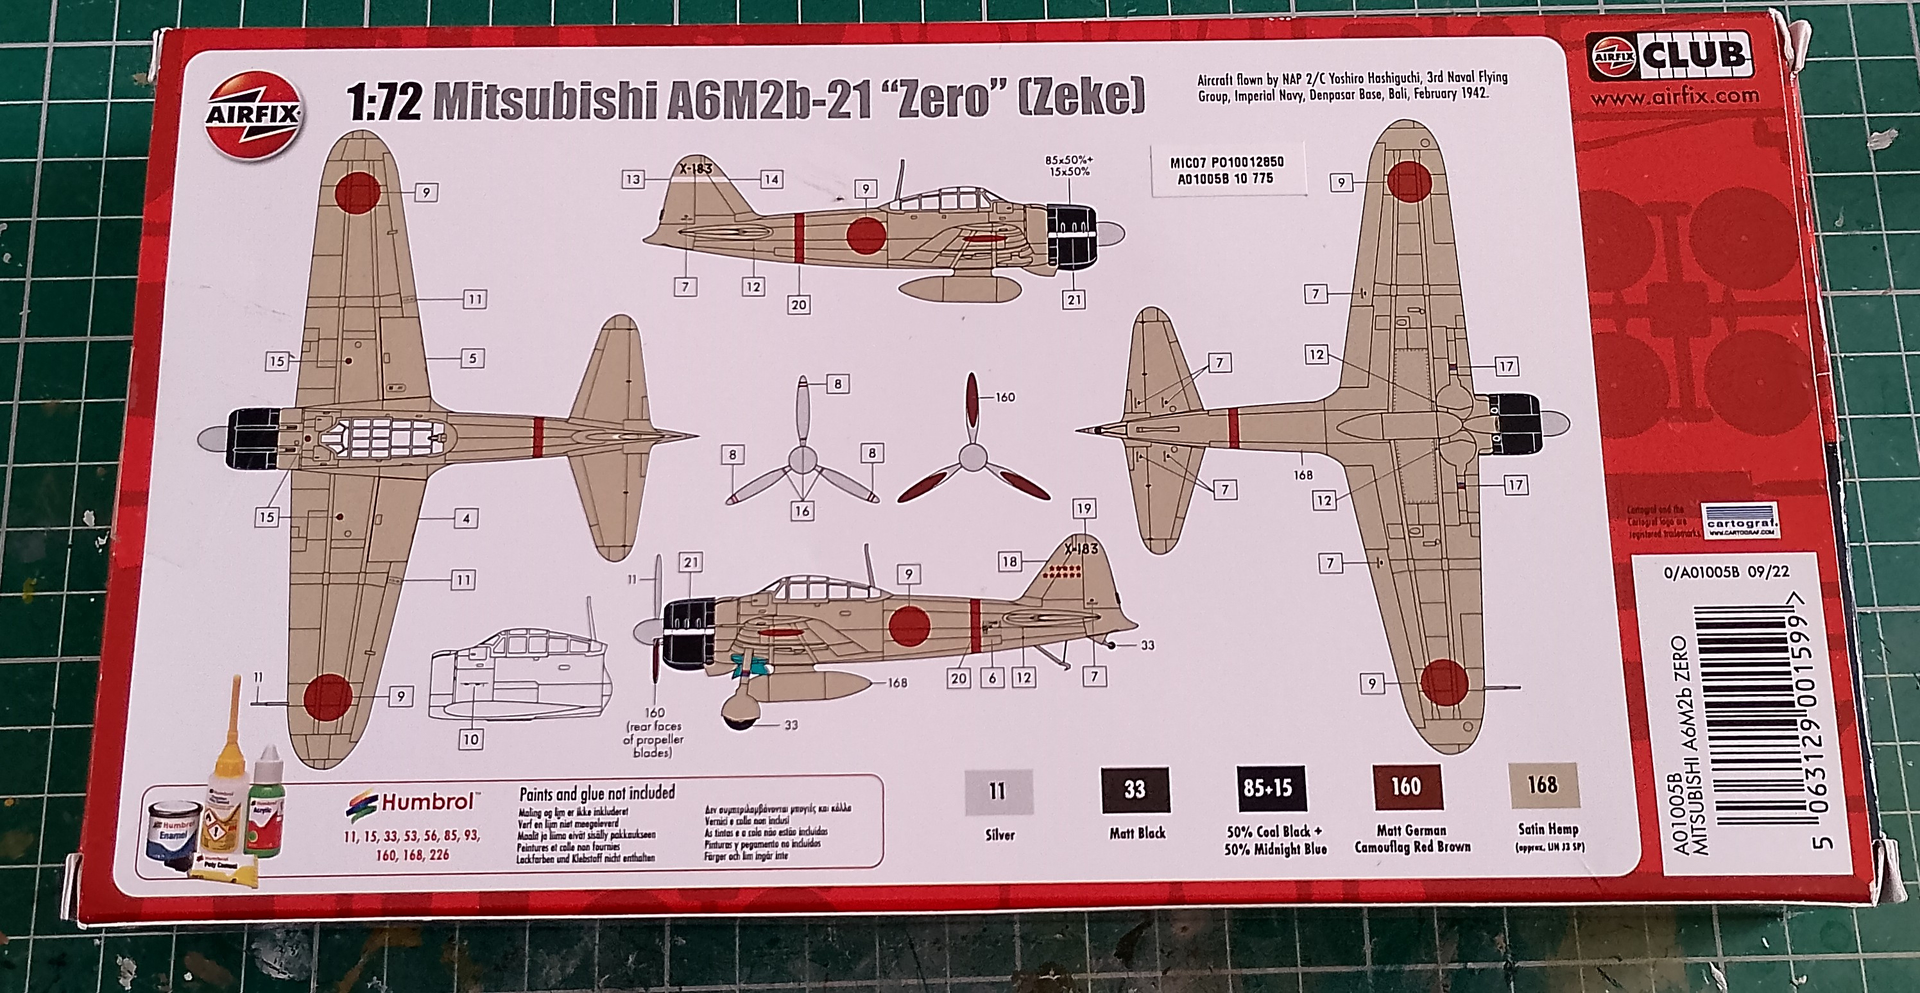
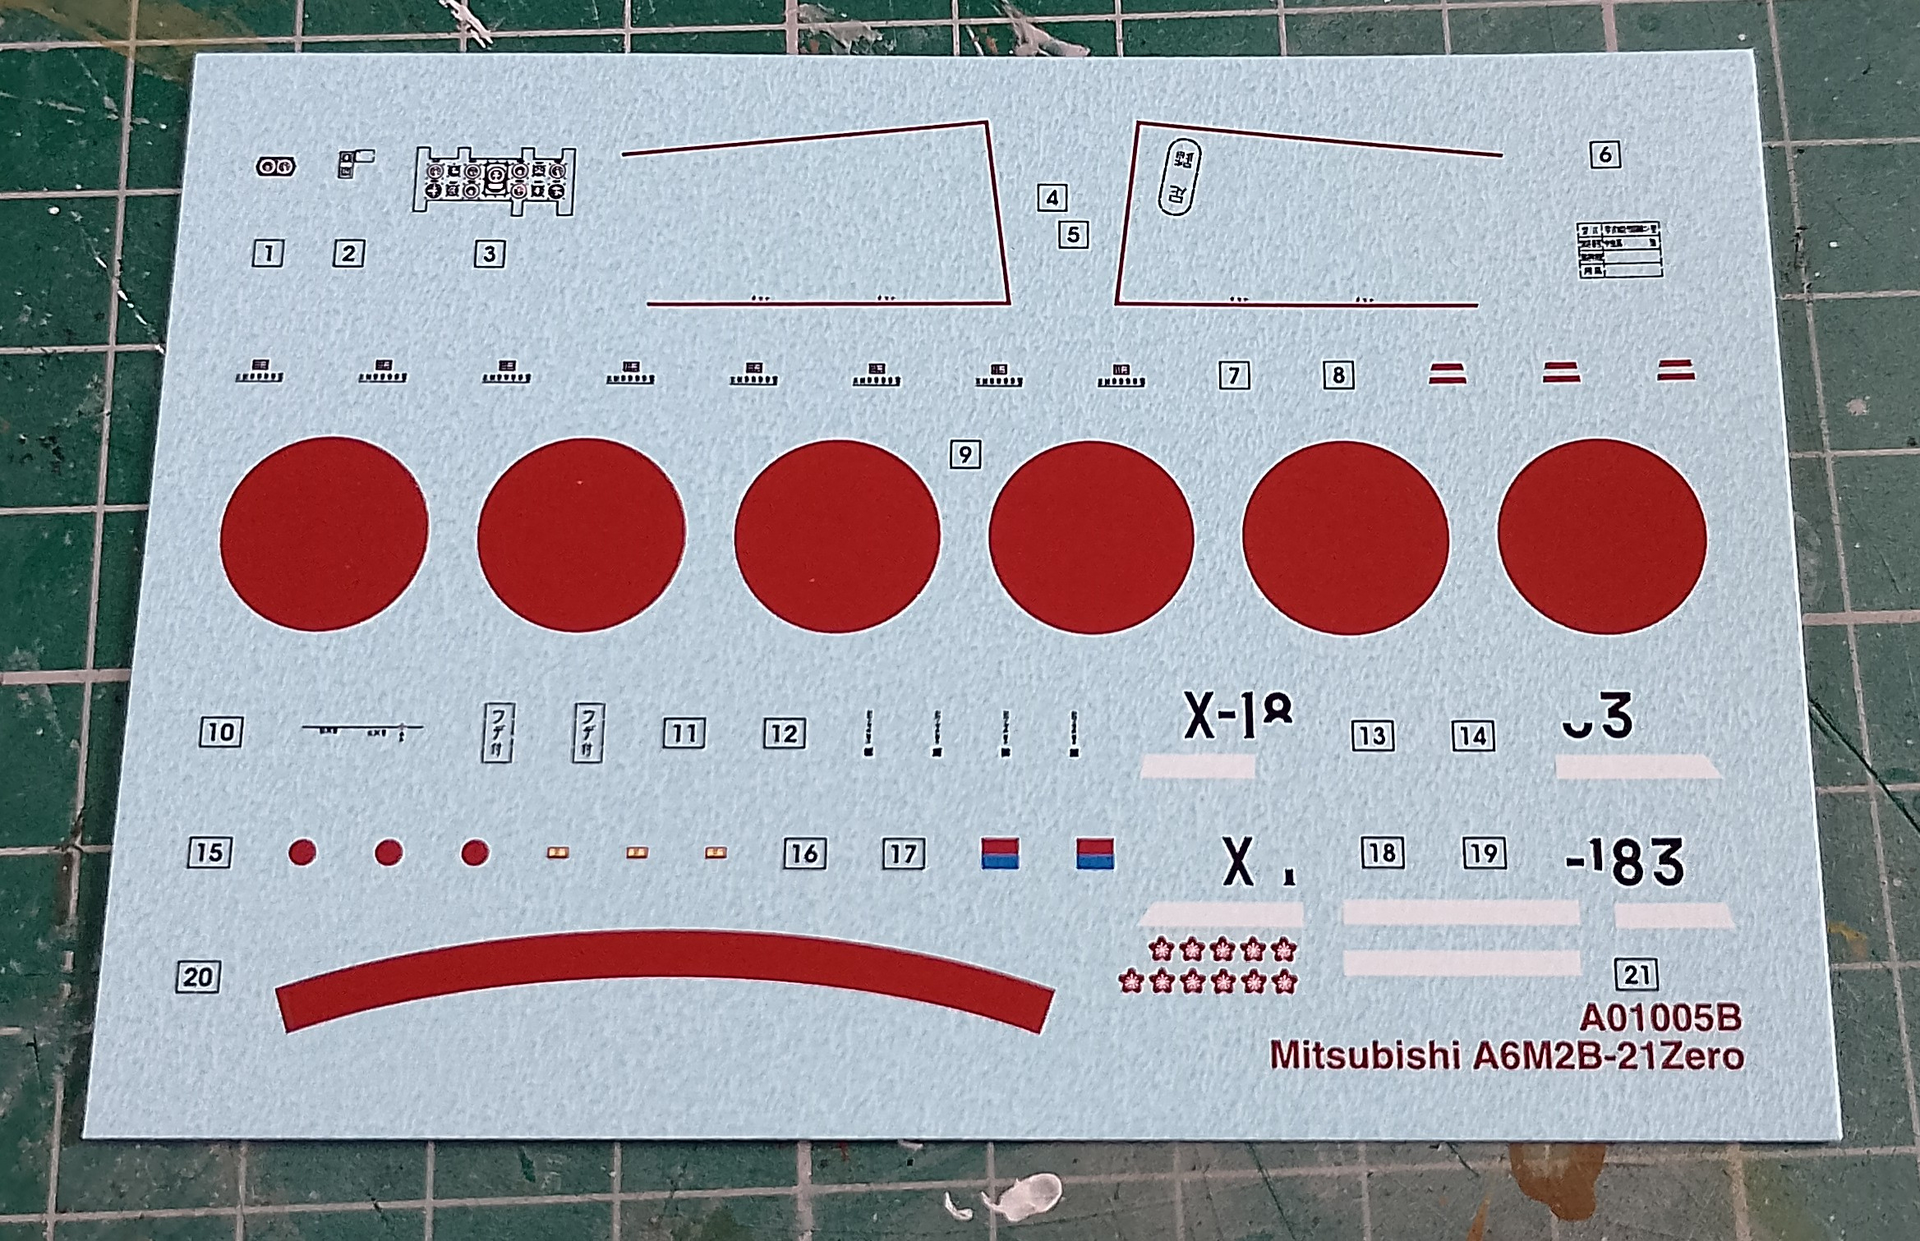
Keeping with simplicity, Airfix give you one marking option for an aircraft based in Bali. Decals look excellent.
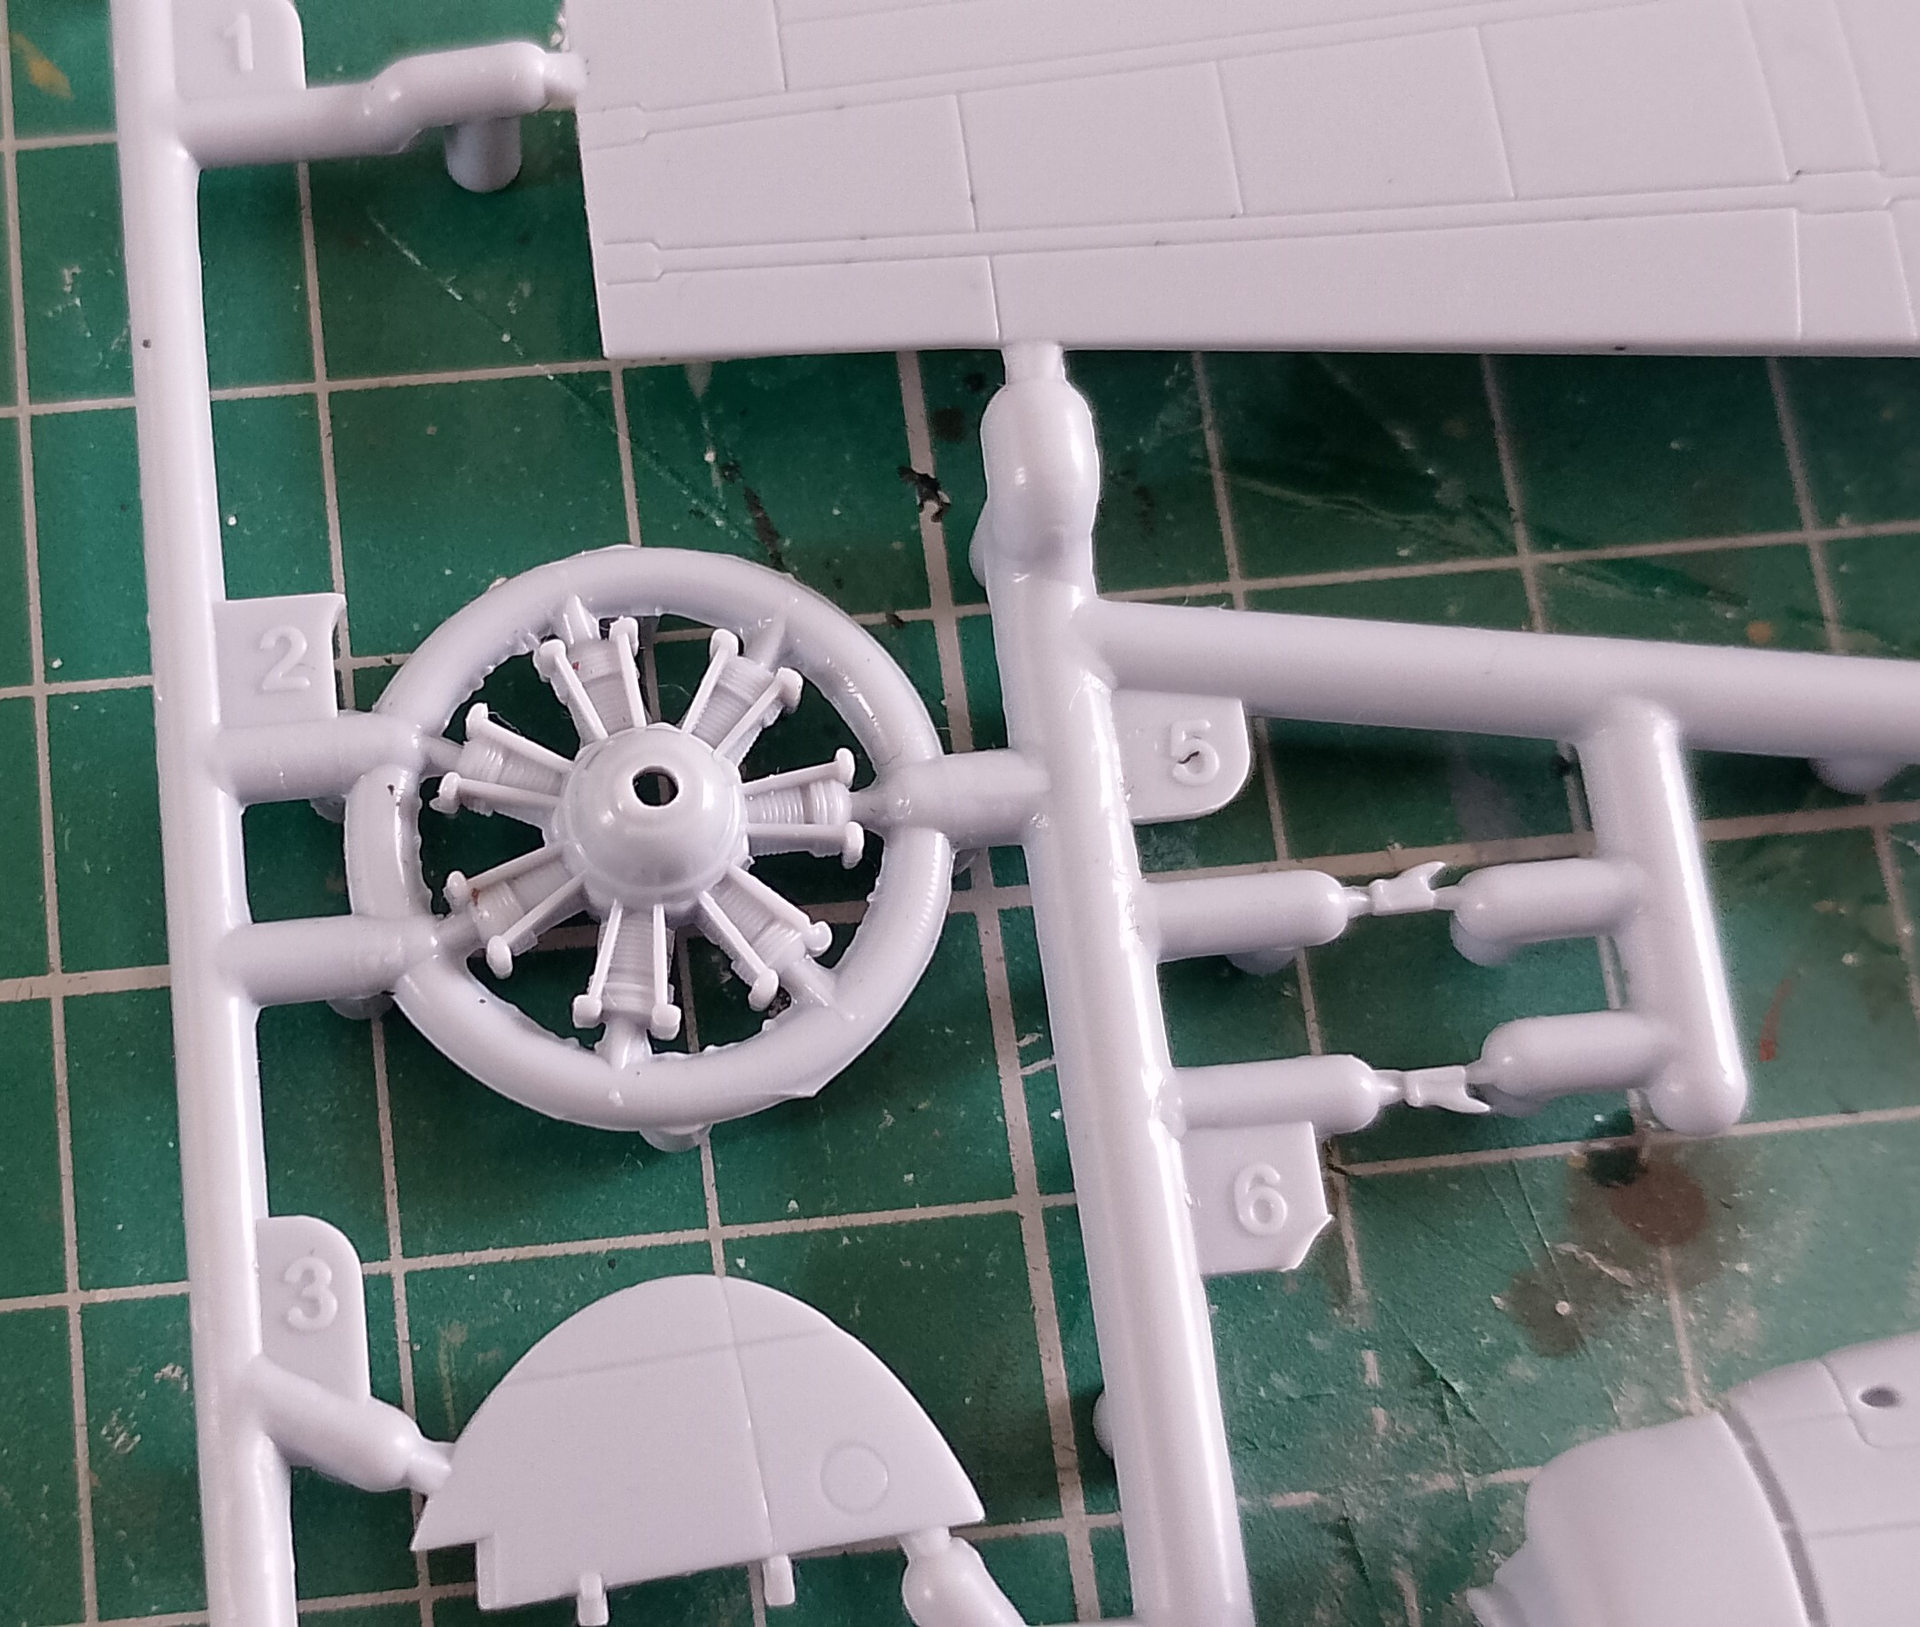
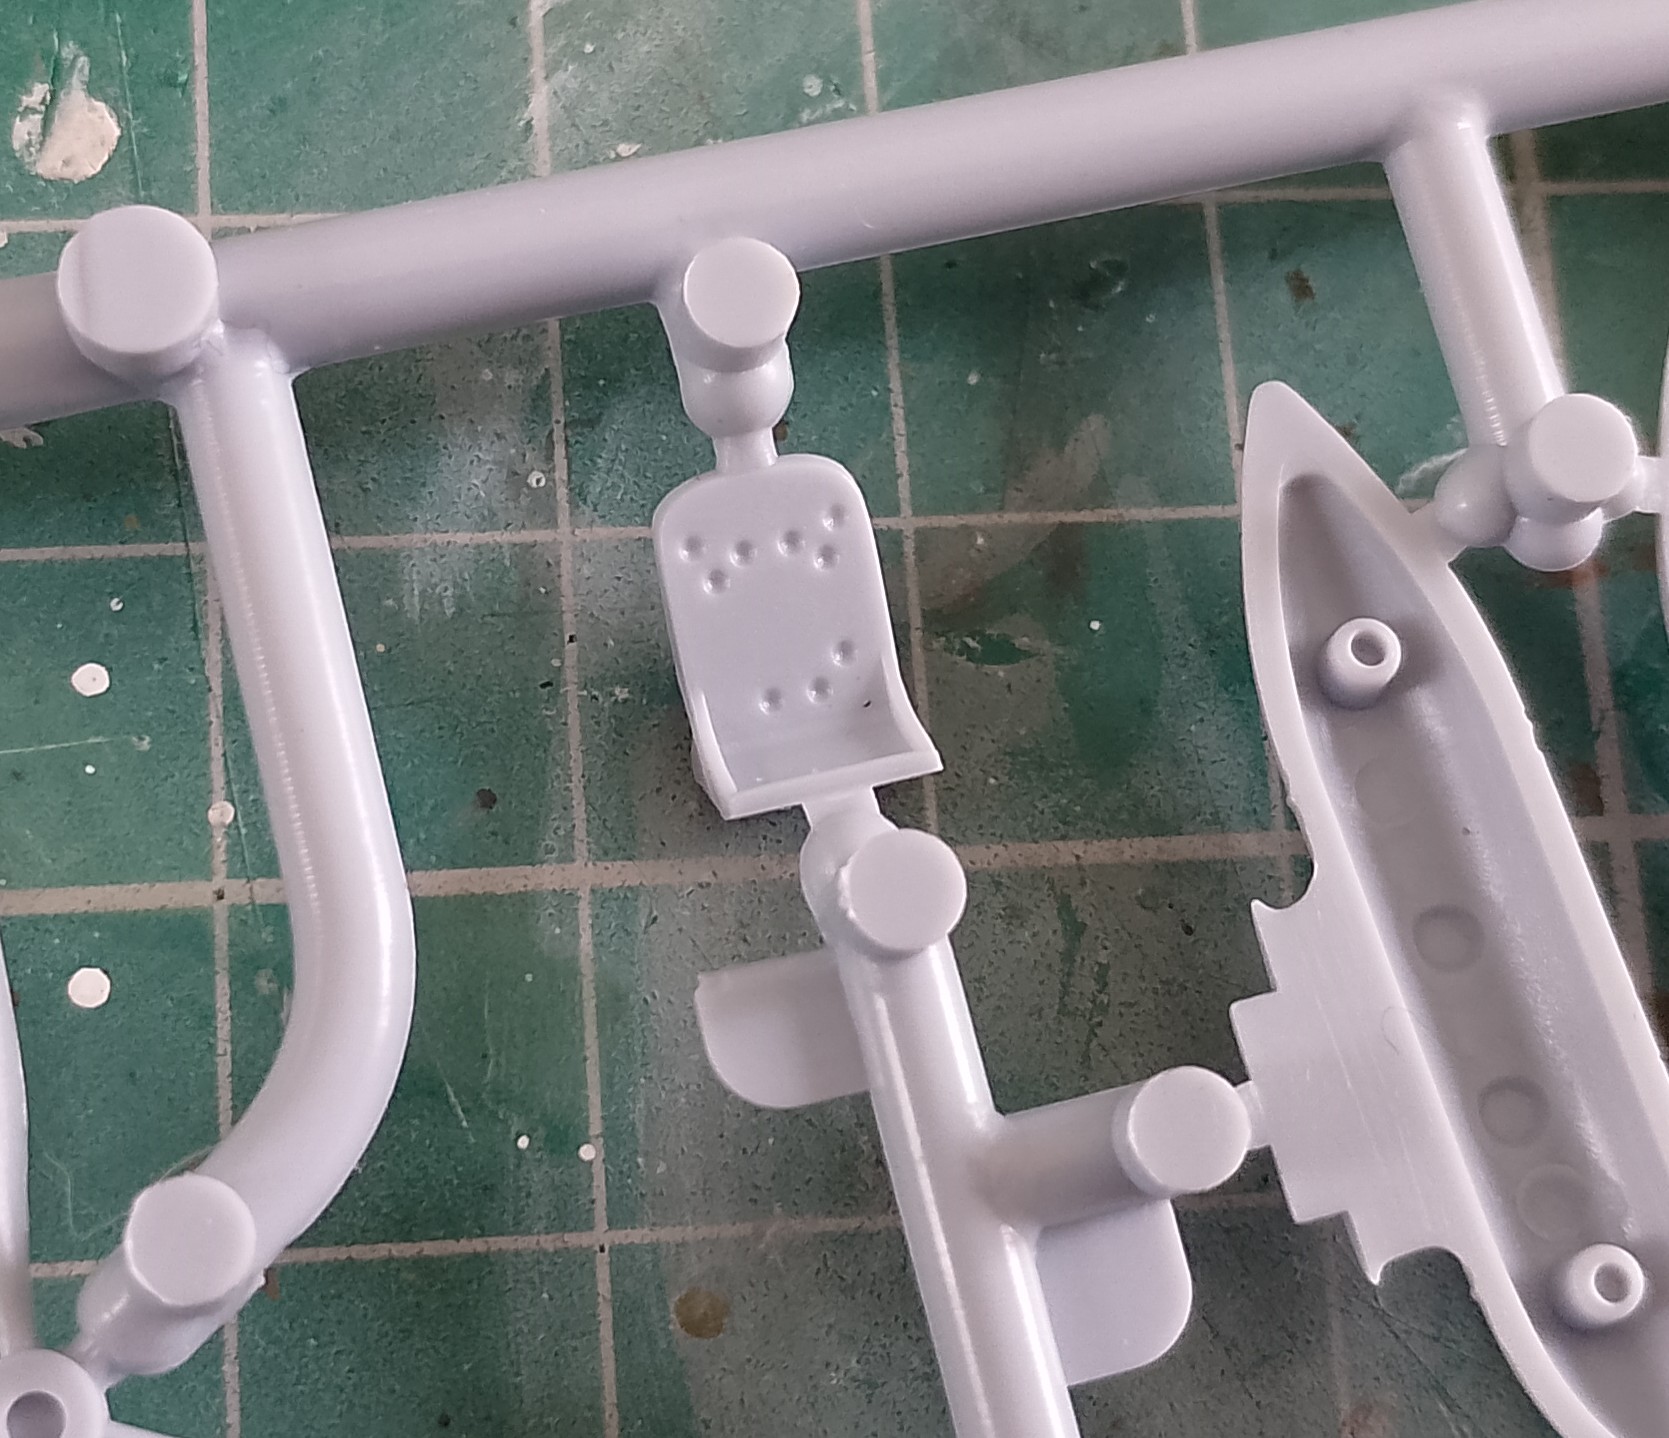
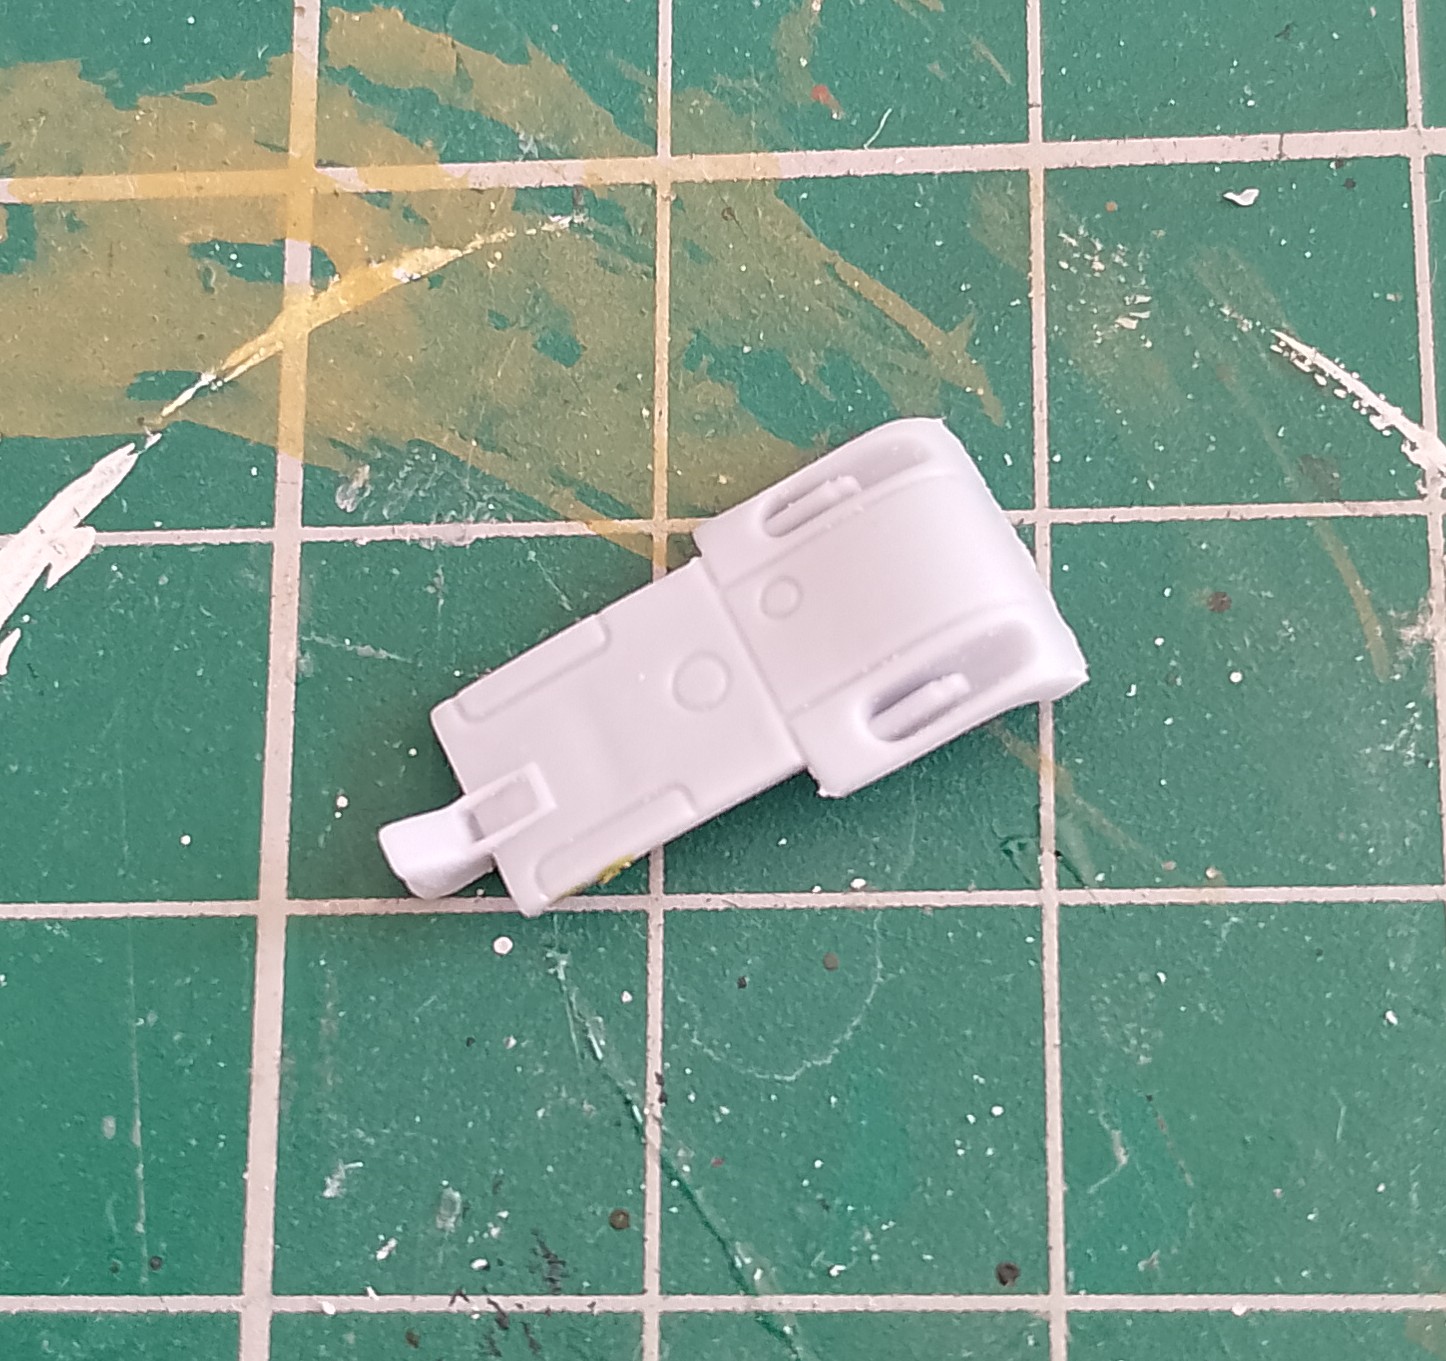
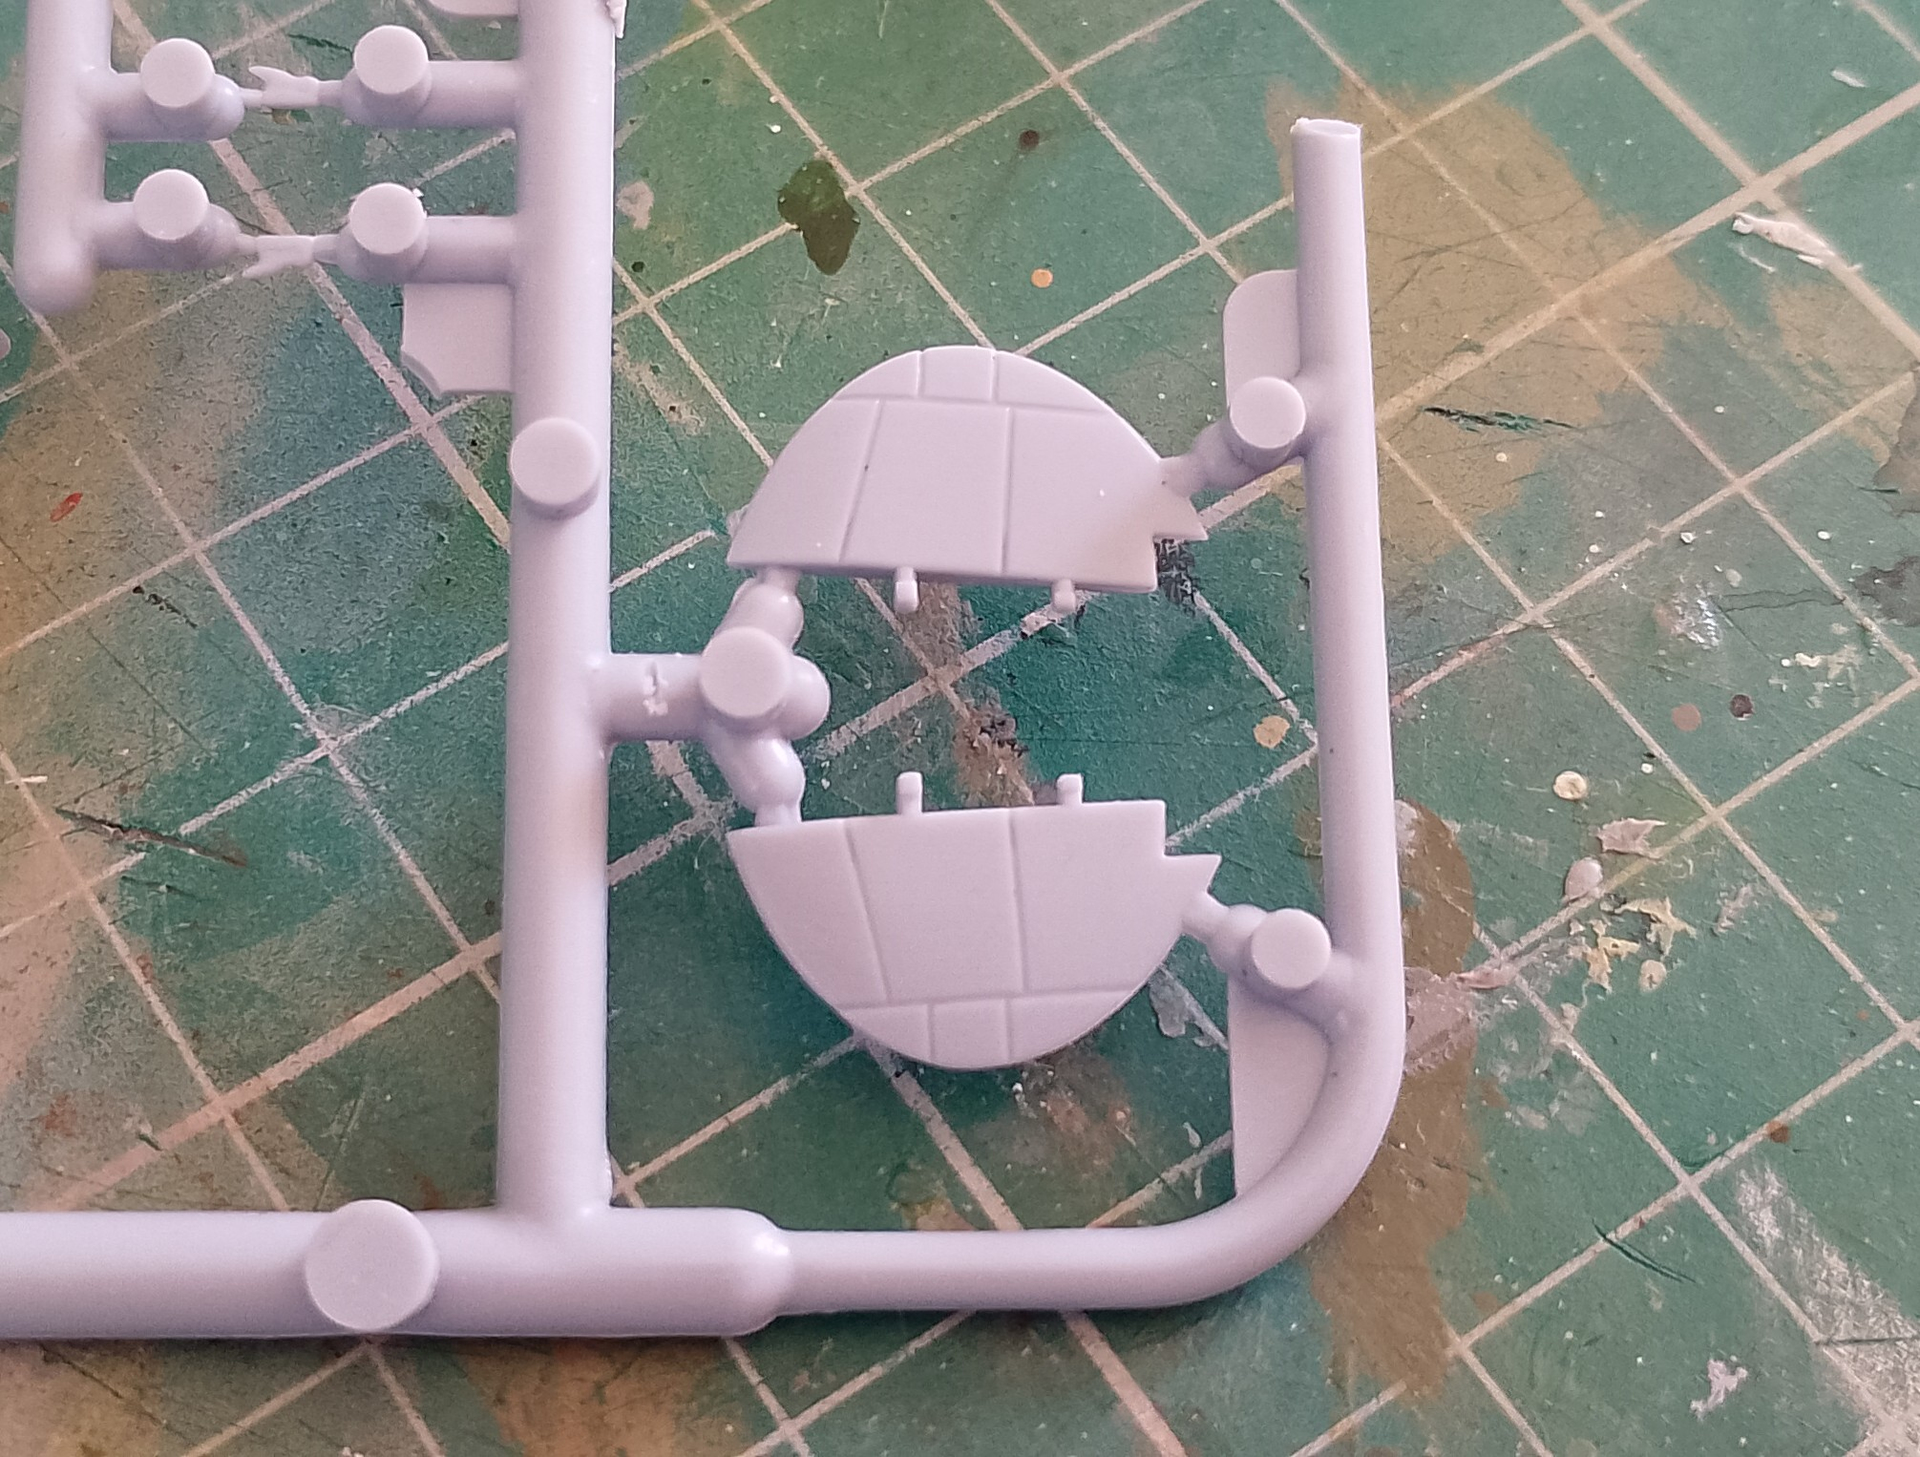
Three grey sprues plus clear. Details are good throughout. A few little improvements will help though, like opening up the lightening holes in the seat.
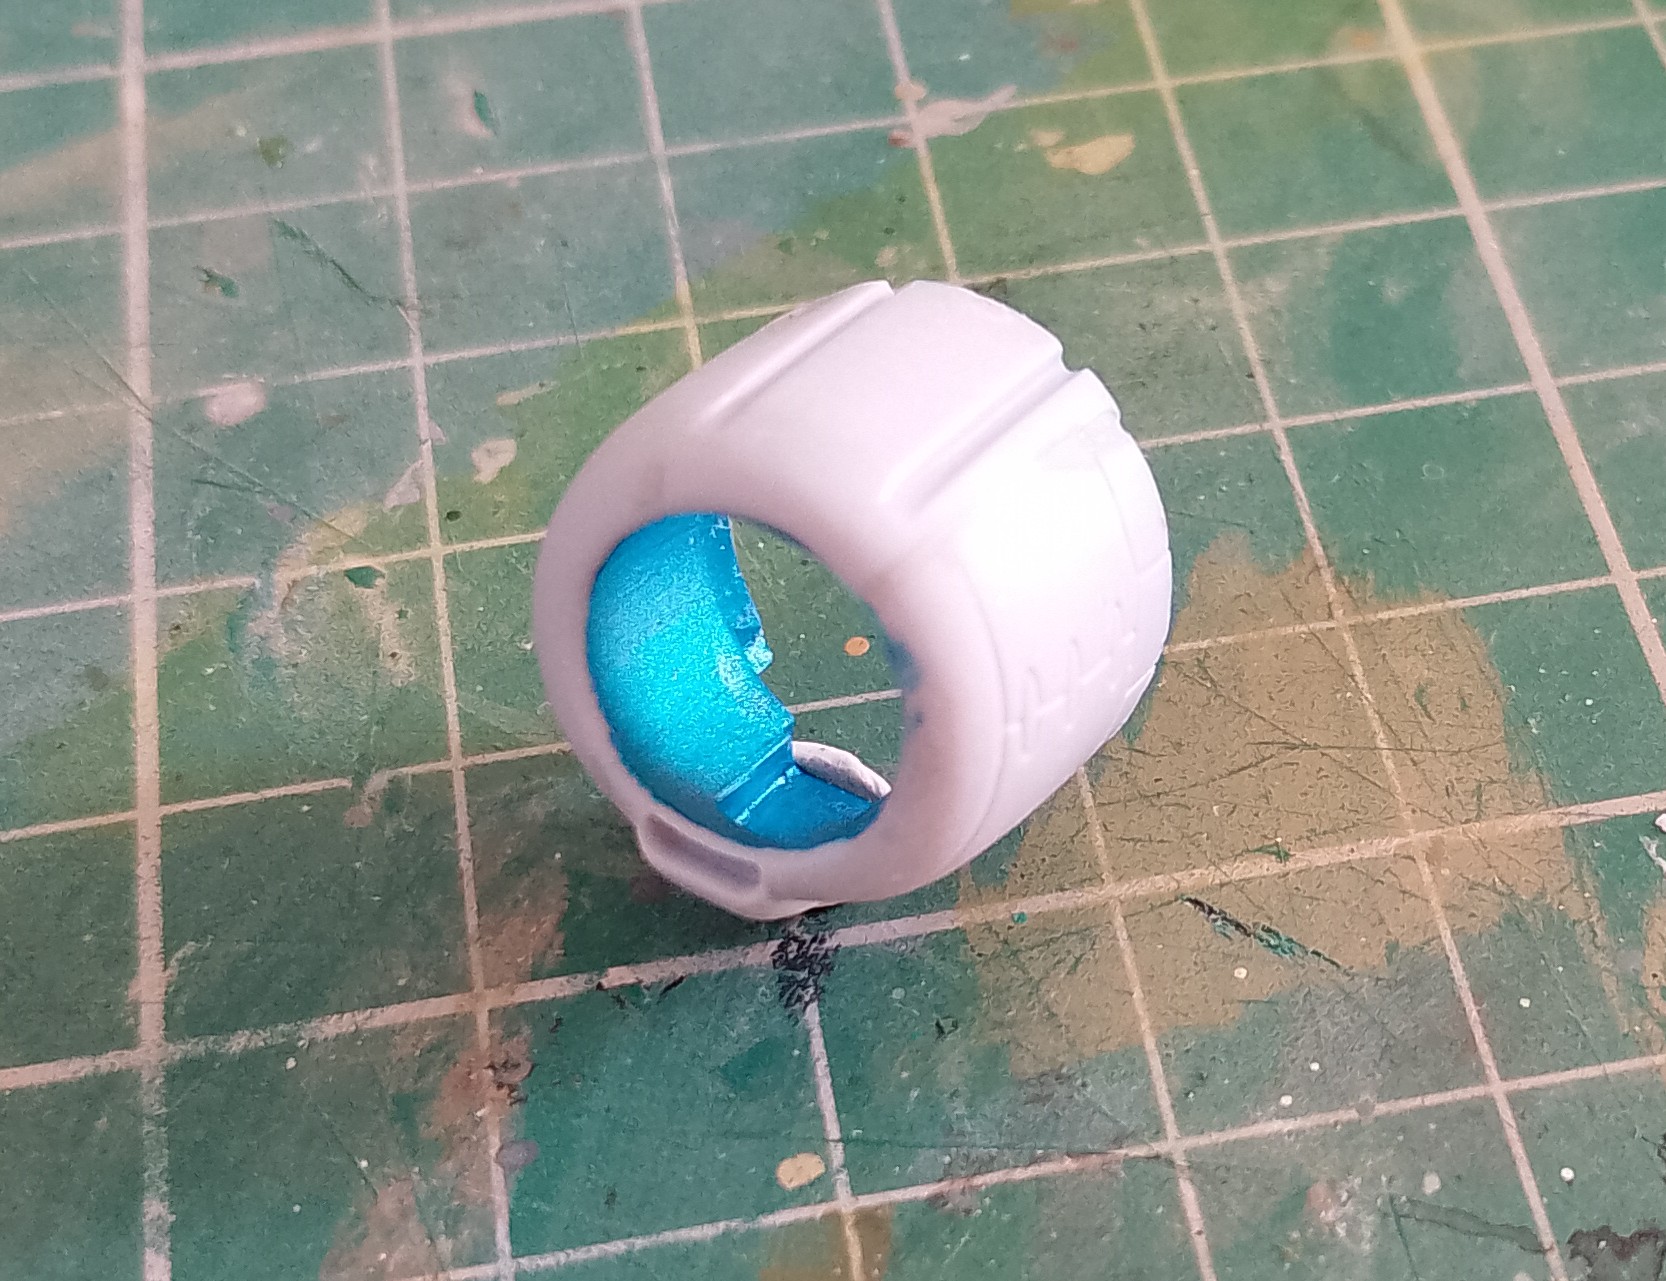
Cowling has a couple of bad seams, but should sand out easily.
My choice of paints will be AK’s Mitsubishi green paint pen for the cockpit. Couple of choices for the Aotake and Amber Grey. Will do some tests to see which I like the look of more and how well they brush.
So let’s get on with it!
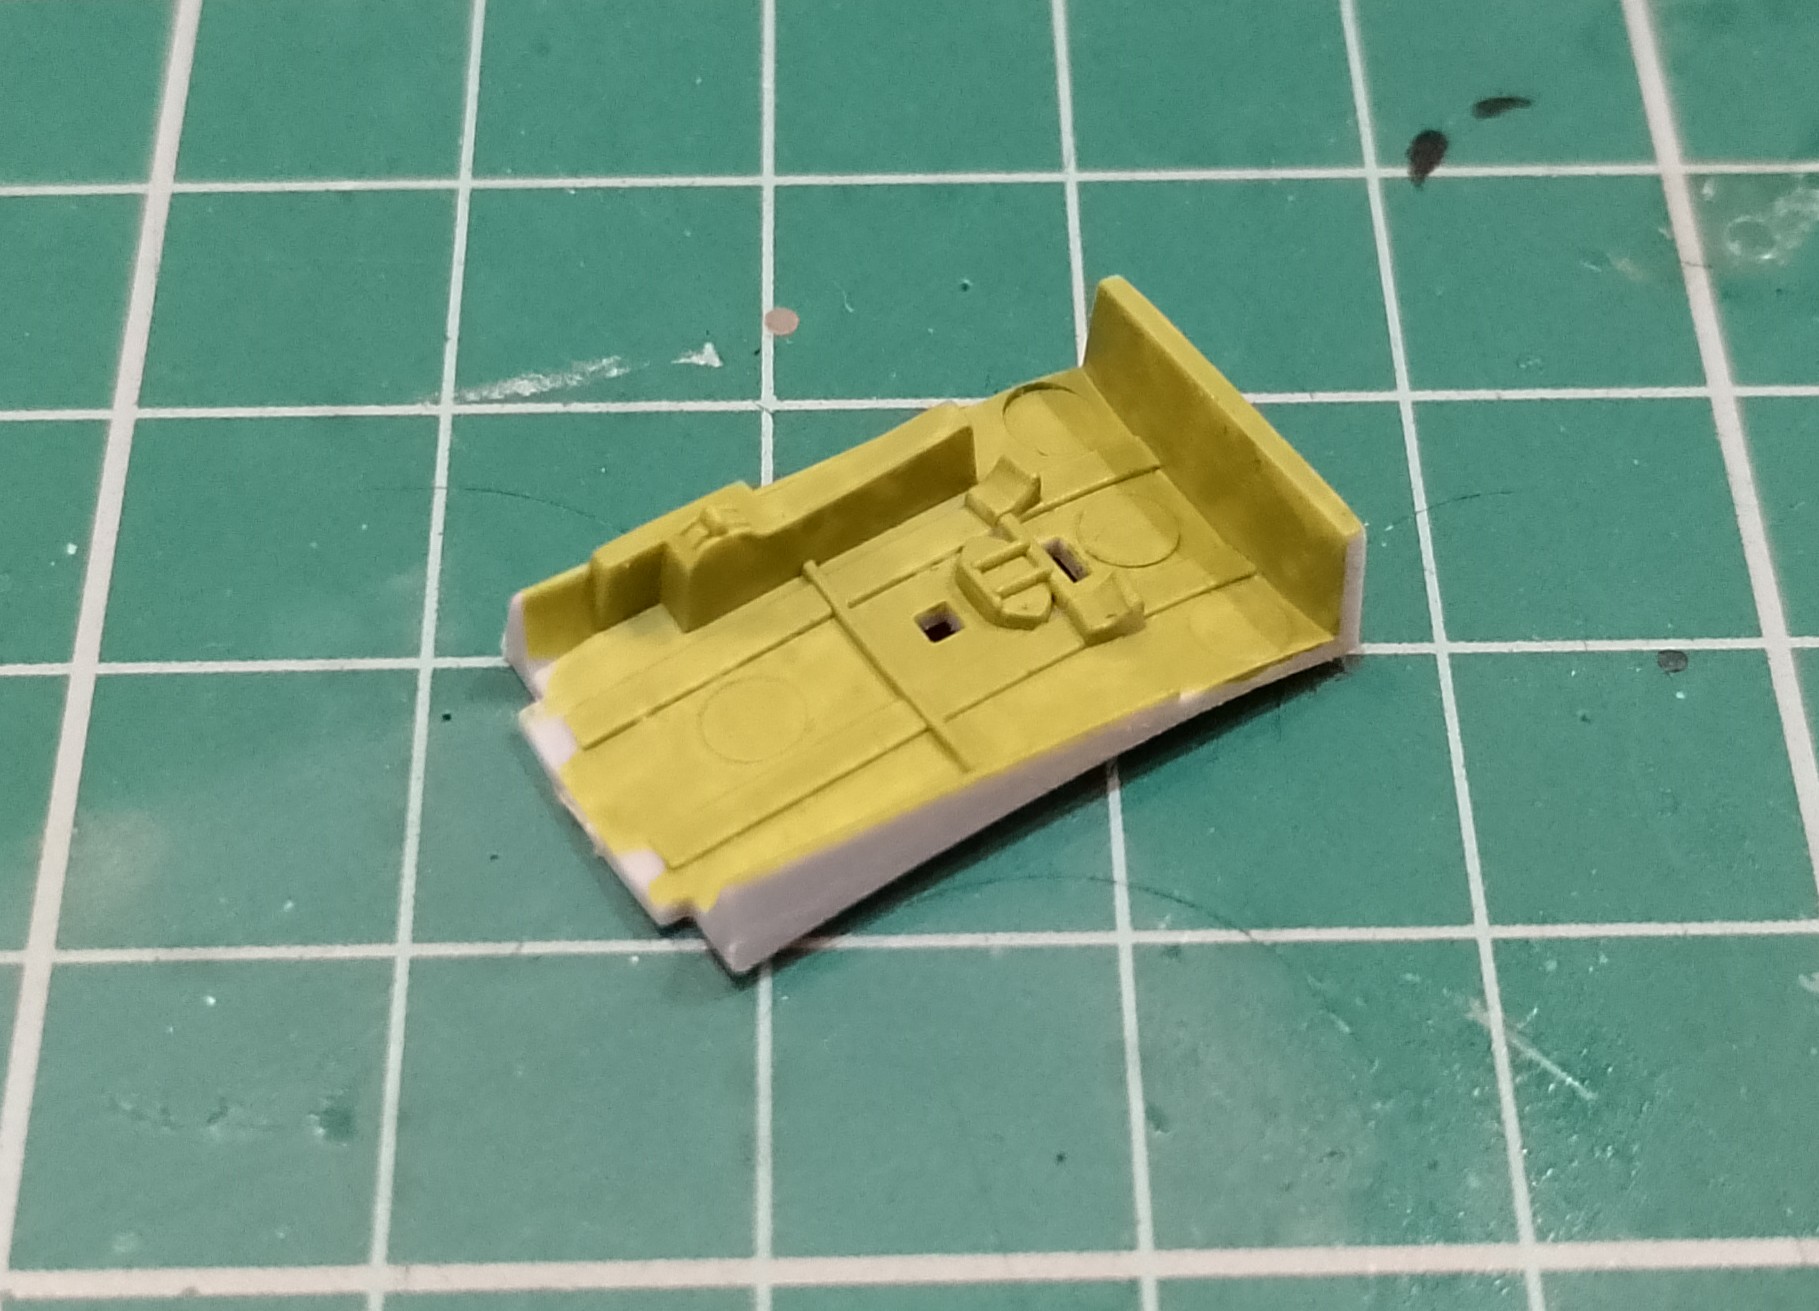
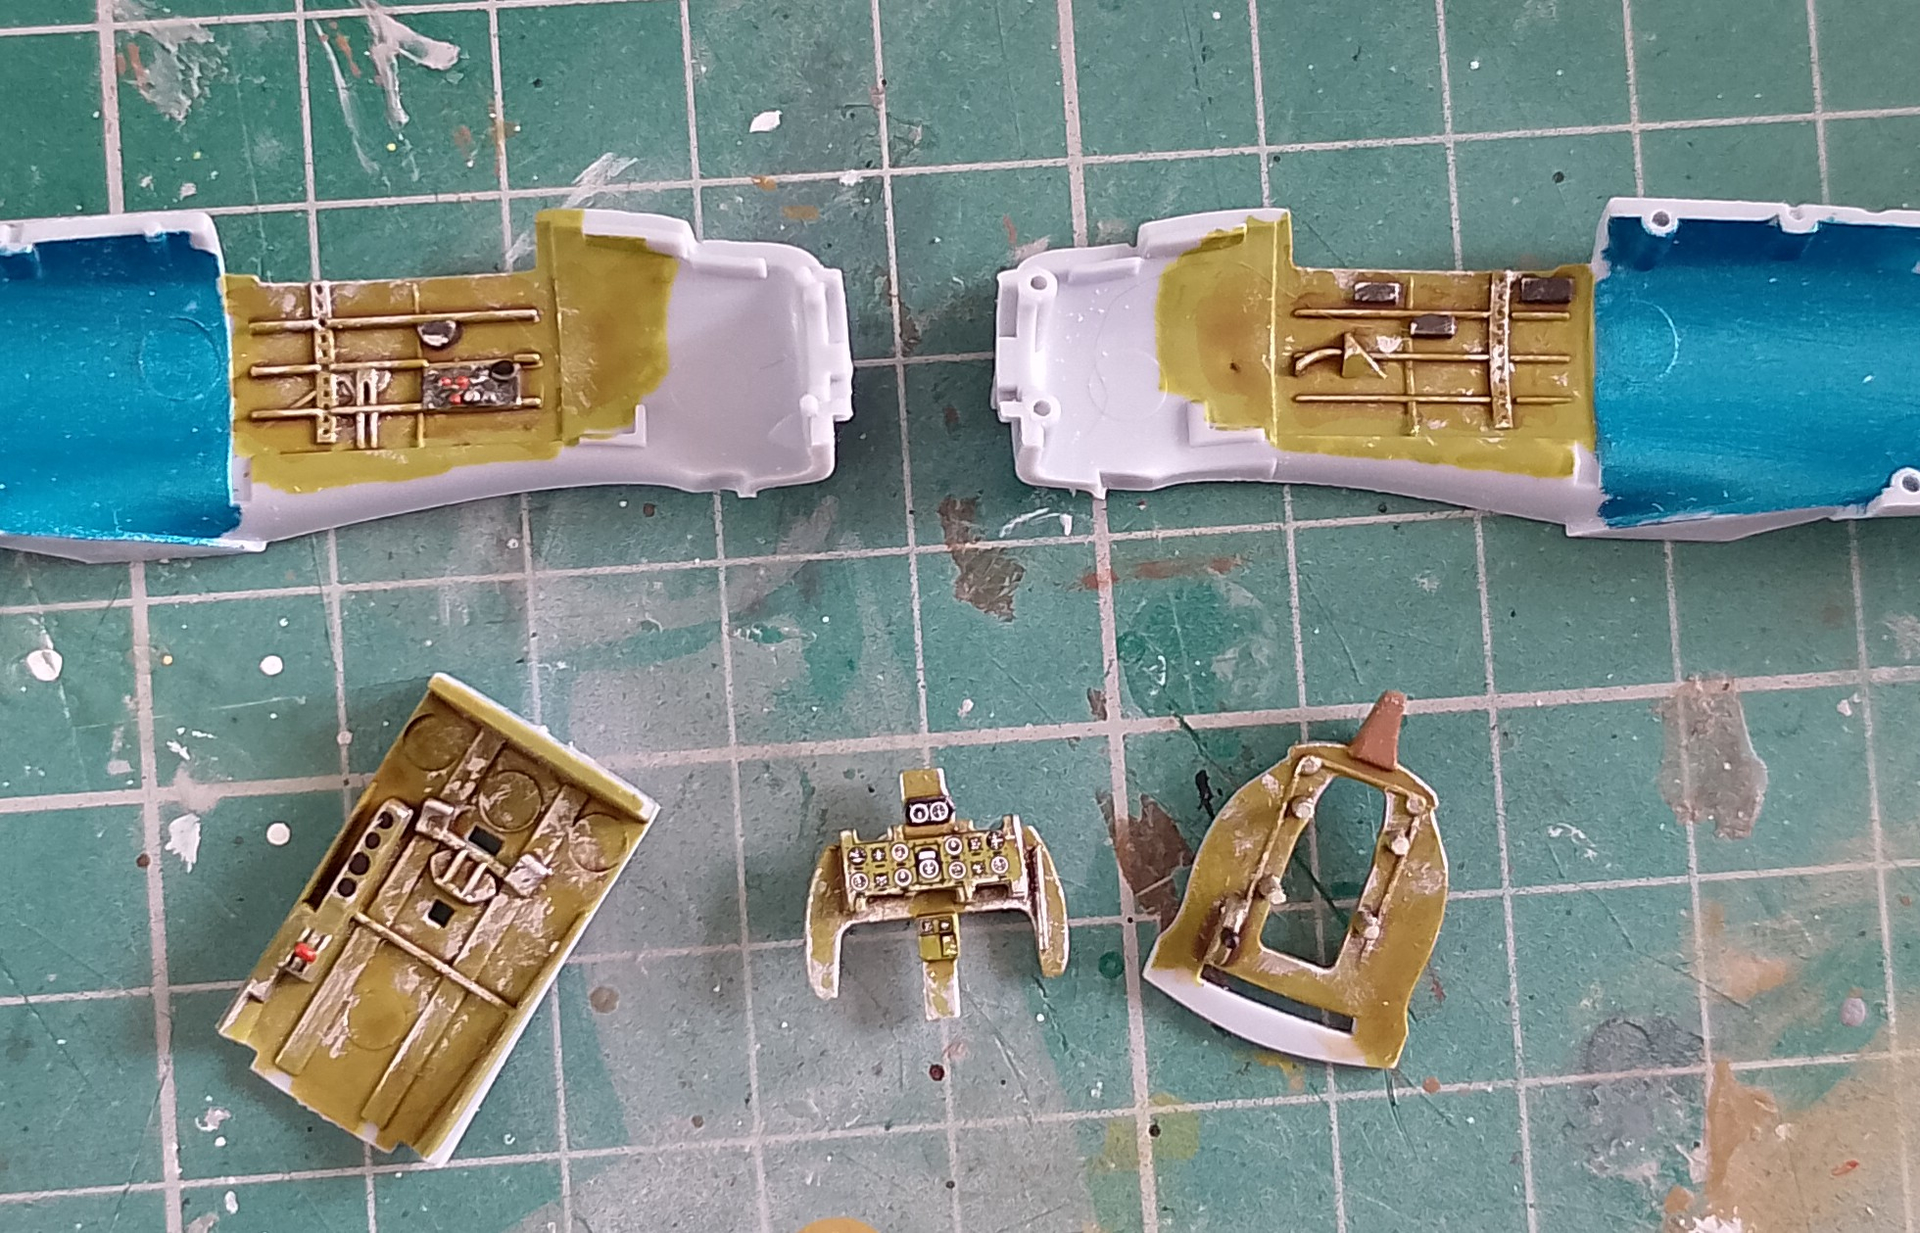
As usual started with the cockpit and got those holes drilled in the seat and back of the headrest.
And did a quick try out of the interior green paint pen. Probably needs another coat but went down nice and easy and dried quickly.
Thanks for looking.
16 Likes
Thanks. It does look quite nice on the sprues. I’m surprised at myself for not building one sooner!
I’ve been away from building kits for a long time (although I was still collecting  ). I have this kit and was thinking about using it to get back to building. I’ll be watching your progress with interest. Good luck!
2 Likes
Will you be using Modeling Cocaine to help speed along the process?
2 Likes
Thanks for following. It does look like a decent little quick build, hopefully the building will prove that!
I could’ve gone even simpler and did the Dogfight Double boxing and built it wheels up. Comes with a Wildcat with markings for both at Midway. I’m saving that though until after Airfix reissues the old Dauntless later in the year.
Haven’t managed anything today as we’ve been out most of the day. Had a little time when we got back to rummage in the paint box to find the bottle of AK Japanese cowling black. Has that nice blue sheen.
No, just the usual paint and glue fumes!
1 Like
Good luck brush painting that grey/white color! I never had any success with that.
1 Like
Thanks, I’ll be going over a white or light grey primer. I’m going to test both the Humbrol and AK on some scrap first to see which gives the better finish. I think the AK is slightly darker of the two.
2 Likes
I notice this is a red-label box. Is it a re-re-release, a recent release, or a partially re-tooled release? I used to build Airfix (and Frog, and Aurora, etc.) in the '60’s when they cost a whopping .50 cents. They’re pretty decent kits.


1 Like
It’s the 2011 new tool. They’ve reboxed it quite a few times since it came out. I think the first was in a green-grey scheme and all the rest have been in the early amber-grey. It turns up a lot in starter sets and themed gift boxes. I’ve got the first release Pear Harbour set which also included their excellent Kate and new P-40. That should be out again soon if not already.
I had hoped that these would be the start of a new line of Pacific kits, but they never followed them up. A new D3A1 Val would be a good seller. I know Clear Prop has an A2 coming, so hopefully they’ll do the earlier soon after.
Didn’t manage anything yesterday because of other things going on, so did a little more this afternoon.
Cockpit is largely painted now, 2 coats from the green paint pen and a few bits picked out with AK Rubber Black pen. Probably should use a grey primer next time, but you learn. I can see me liking these pens though. They went down nice and smooth, covered well, dried quickly and no thick paint obscuring details. Brilliant for doing jobs like this. It just needs a dark wash and a little dry-brush with aluminium to bring out details and add a little wear and tear. Then a few dials, nobs and switches picked out with some colour. I painted the rear part of the fuselage with Vallejo’s metallic turquoise. A little thick so I might use the Gunze in the wheel wells as I now goes down a little thinner, but it did the job here. Just hides bare plastic through that hole behind the seat.
The gunsight here will be improved. I’ll trim off that bit of triangular plastic and replace with a bit of clear.
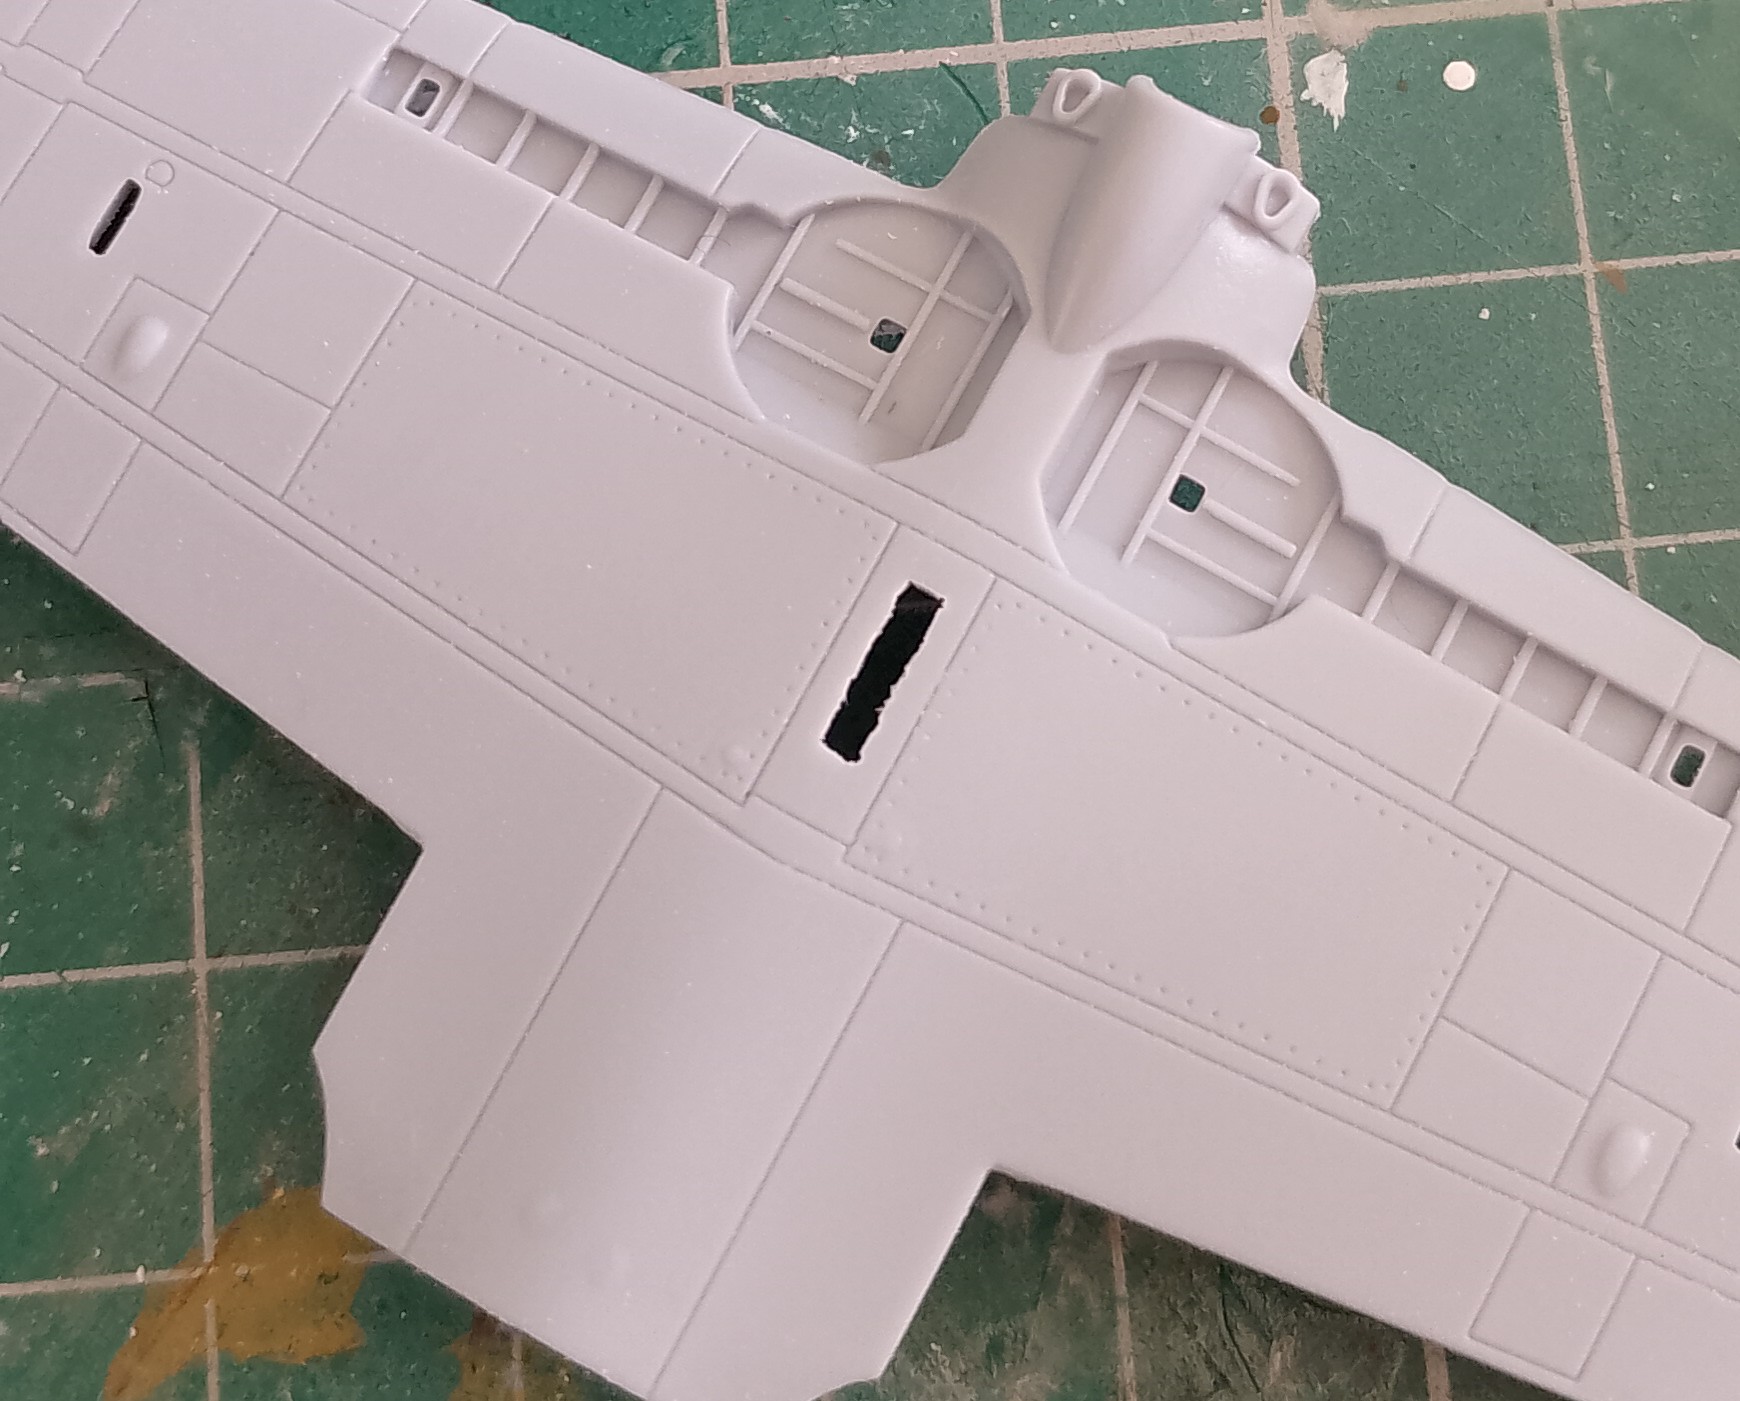
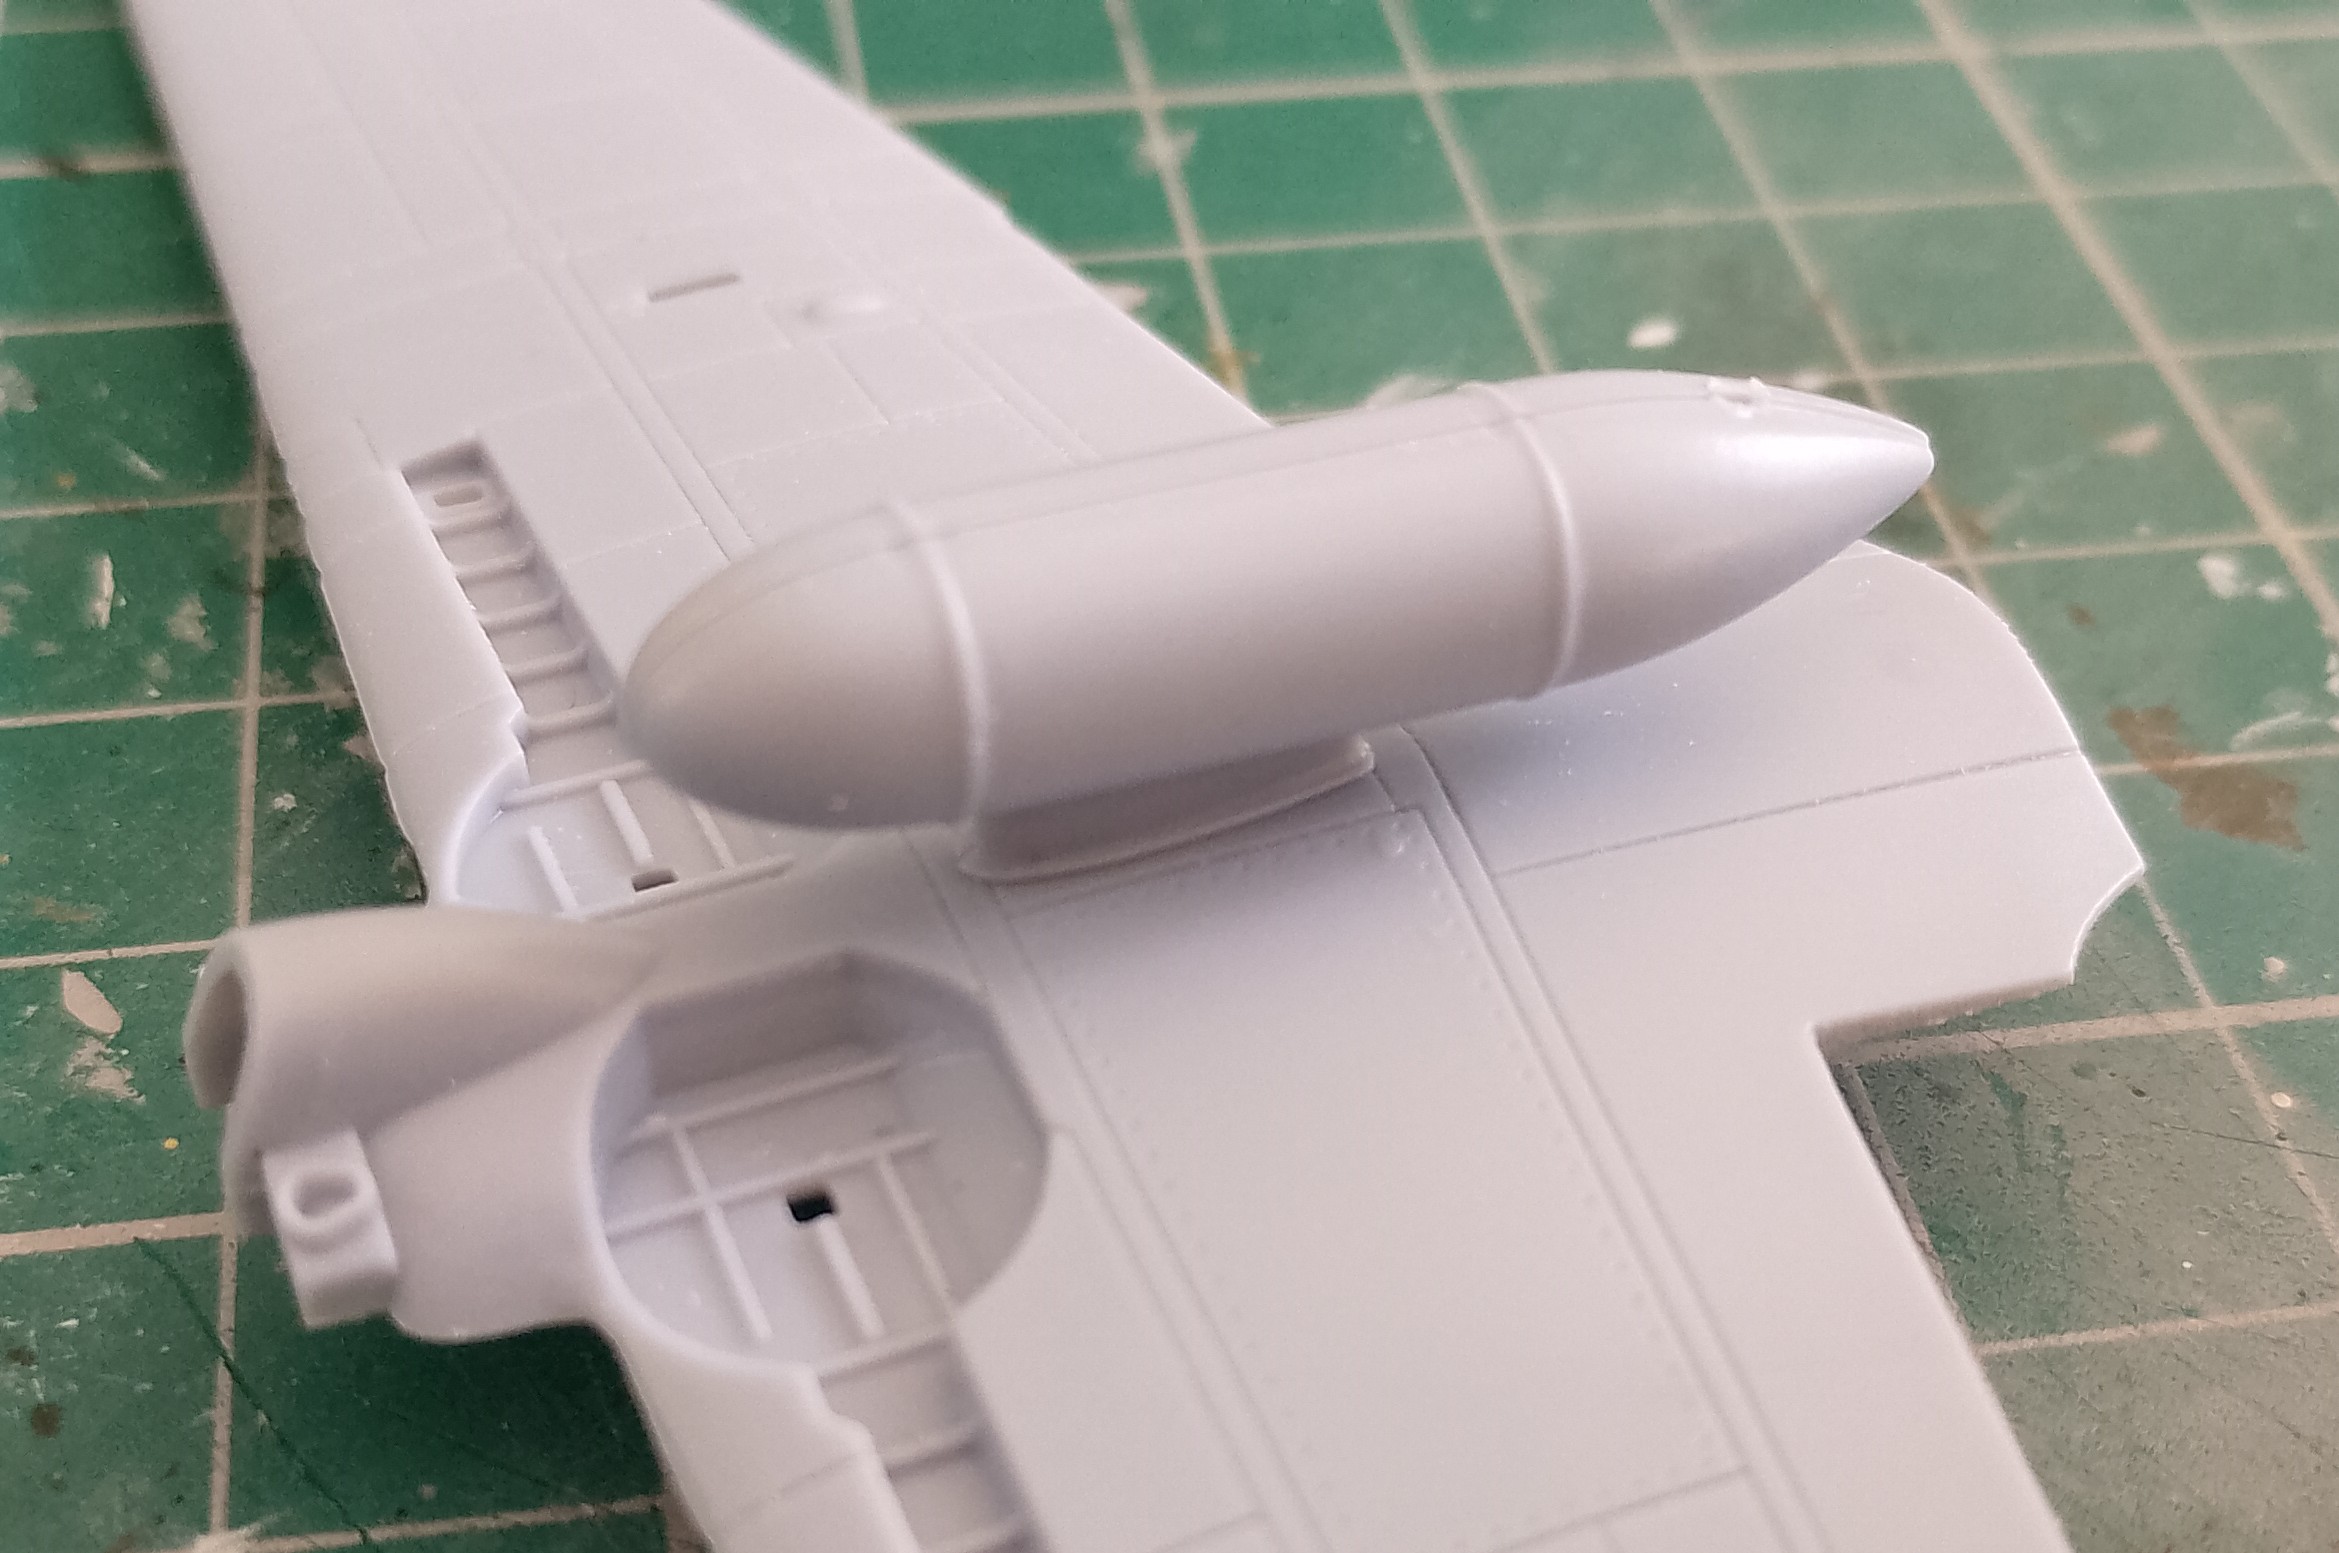
And cut the slot under the belly for the fuel tank. Not the neatest, but the tank covers the hole.
9 Likes
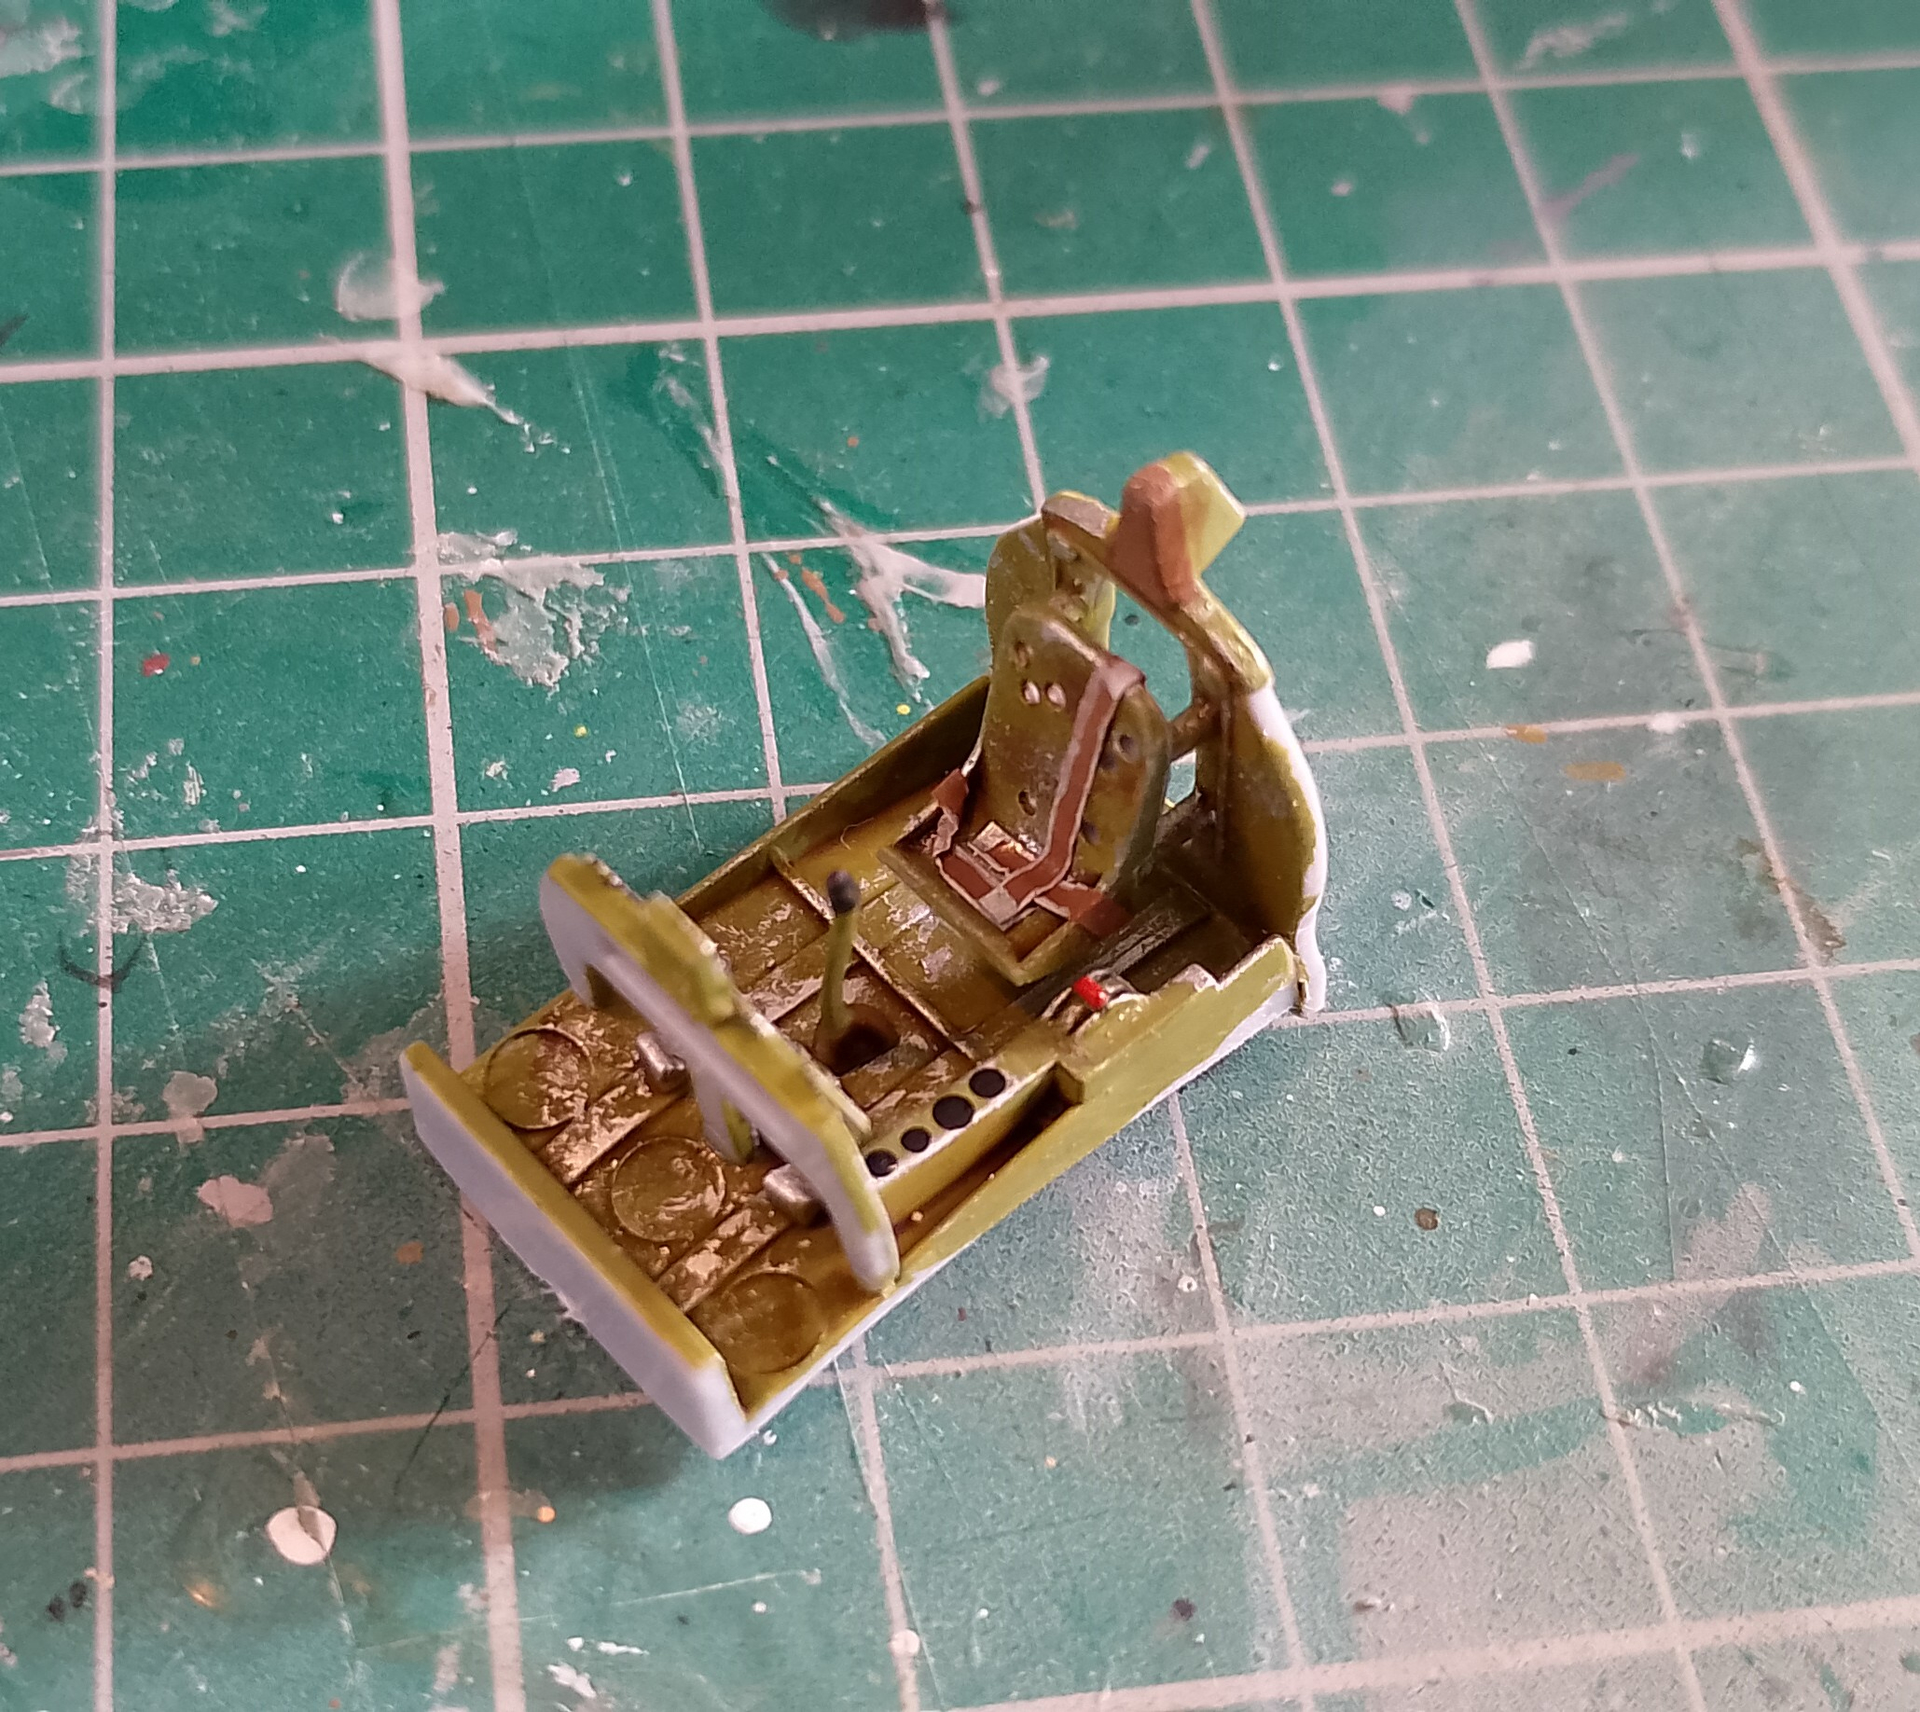
Little bit more over the weekend. Gave the internal parts a wash with Games Workshop sepia and a dry-brush with aluminium. Then painted in a few more dials with gloss black (Airfix missed the 4 on the side console, they’re pictured in the instructions but missing on the actual part and decals) and a few knobs in red. That’ll do for that.
Just need to make up the seatbelts and it’ll be ready for closing up. Am I right in thinking the Zero had lap belts and a single shoulder strap coming over the pilots left side?
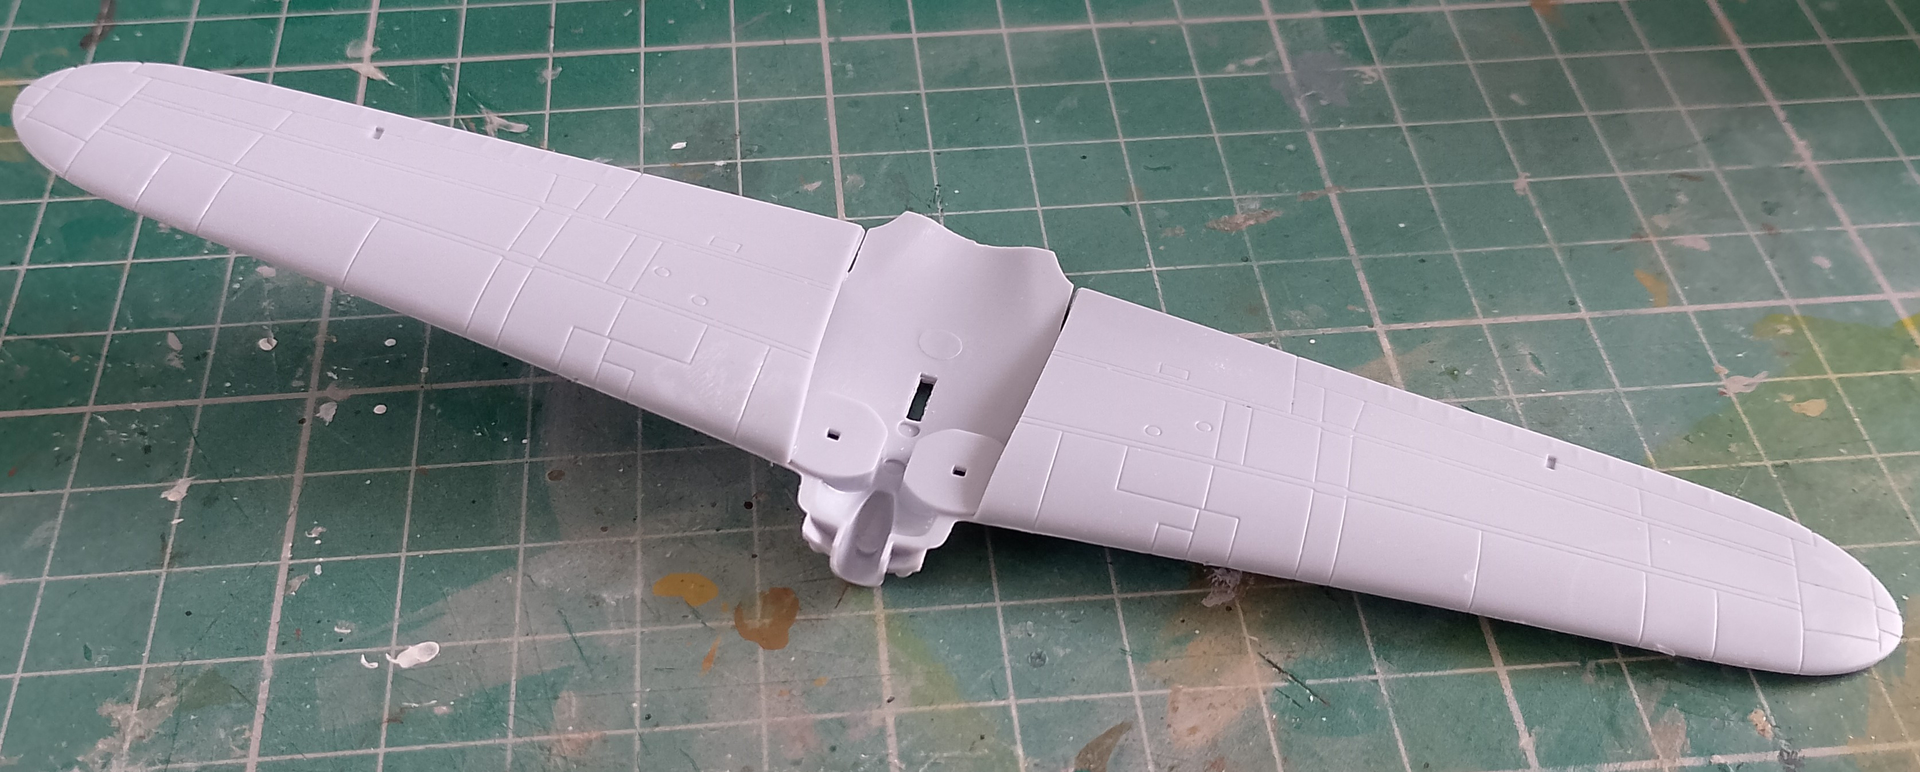
And got the wings together. No problem here, fitted perfectly.
7 Likes
Calling the cockpit done. Ready for fitting into the fuselage tomorrow.
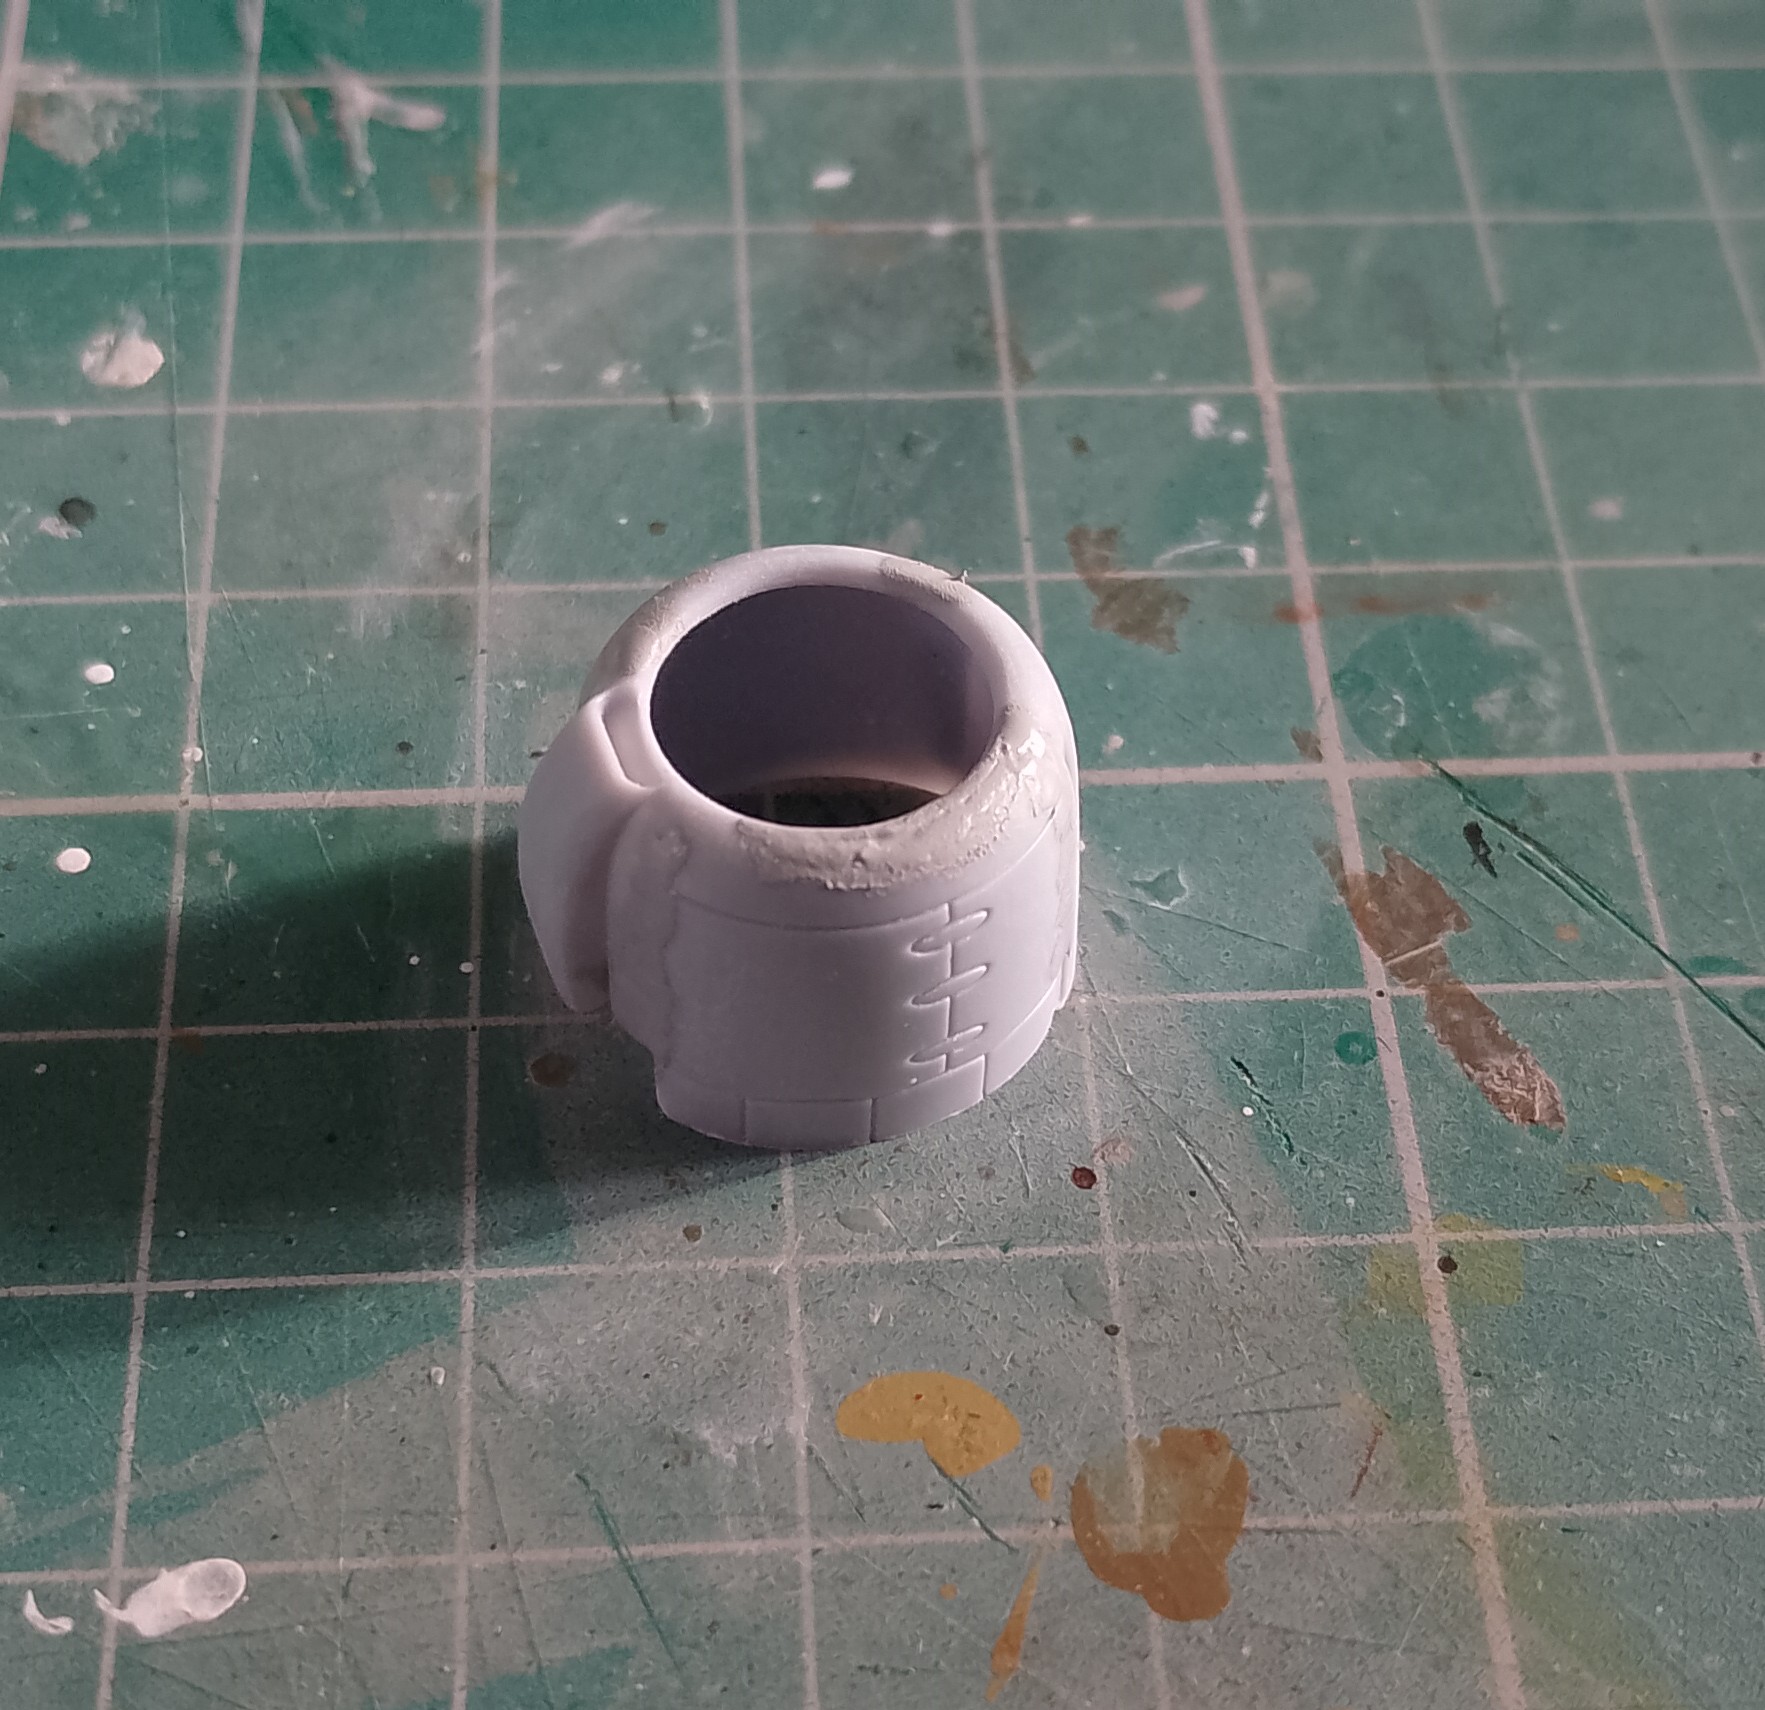
And started cleaning up the cowling. It looks like parts of the mould didn’t quite come together properly, resulting in some nasty seams. Put a bit of thick Mr Surfacer along those and after sanding back, should fix them. The cowling is the only bad part I’ve found. I’m going to check the other Zero’s in the stash to see if they have the same problem. I did look around earlier for a replacement resin cowling, but no joy.
8 Likes
Well what they say about the best laid plans of mice and men must be right. Haven’t managed any time the last couple of days as we’re rushed off our feet getting ready for the main holiday. It’s going to have to wait till we’re back.
Until then, thanks for watching.
3 Likes
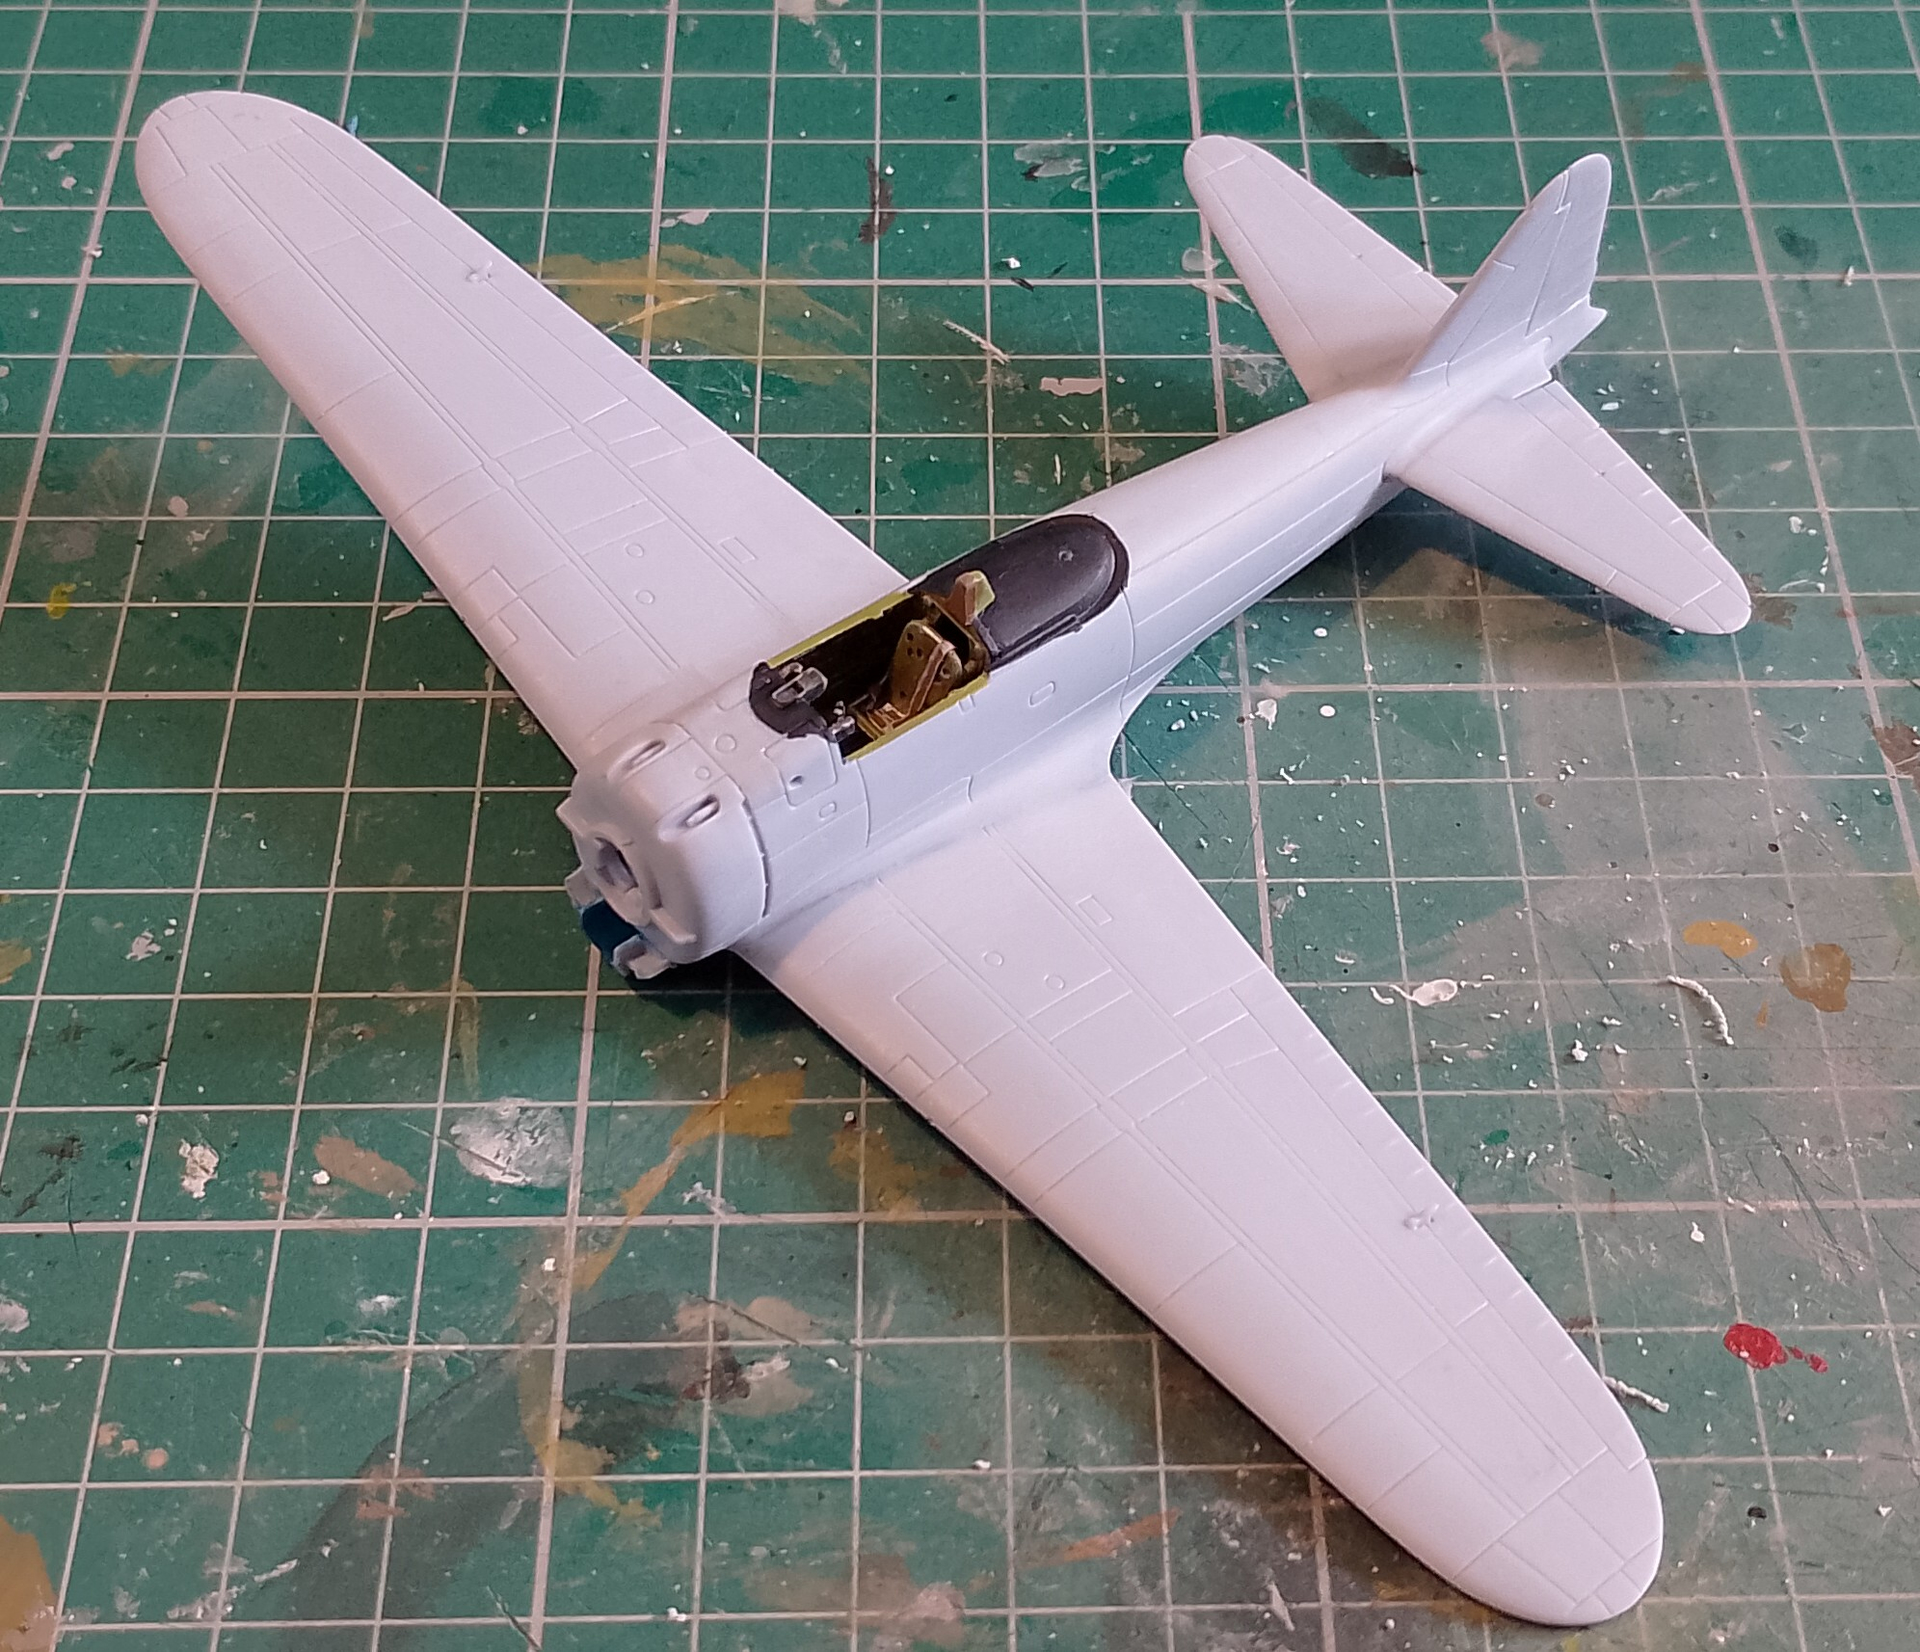
After a week away, carried on a little bit more today and got the fuselage together. Again no problems here, fits perfectly. Also got wing joints cleaned up but did find some sink marks on the upper wings above the flaps. Bit of Mr Surfacer sorted that out.
3 Likes
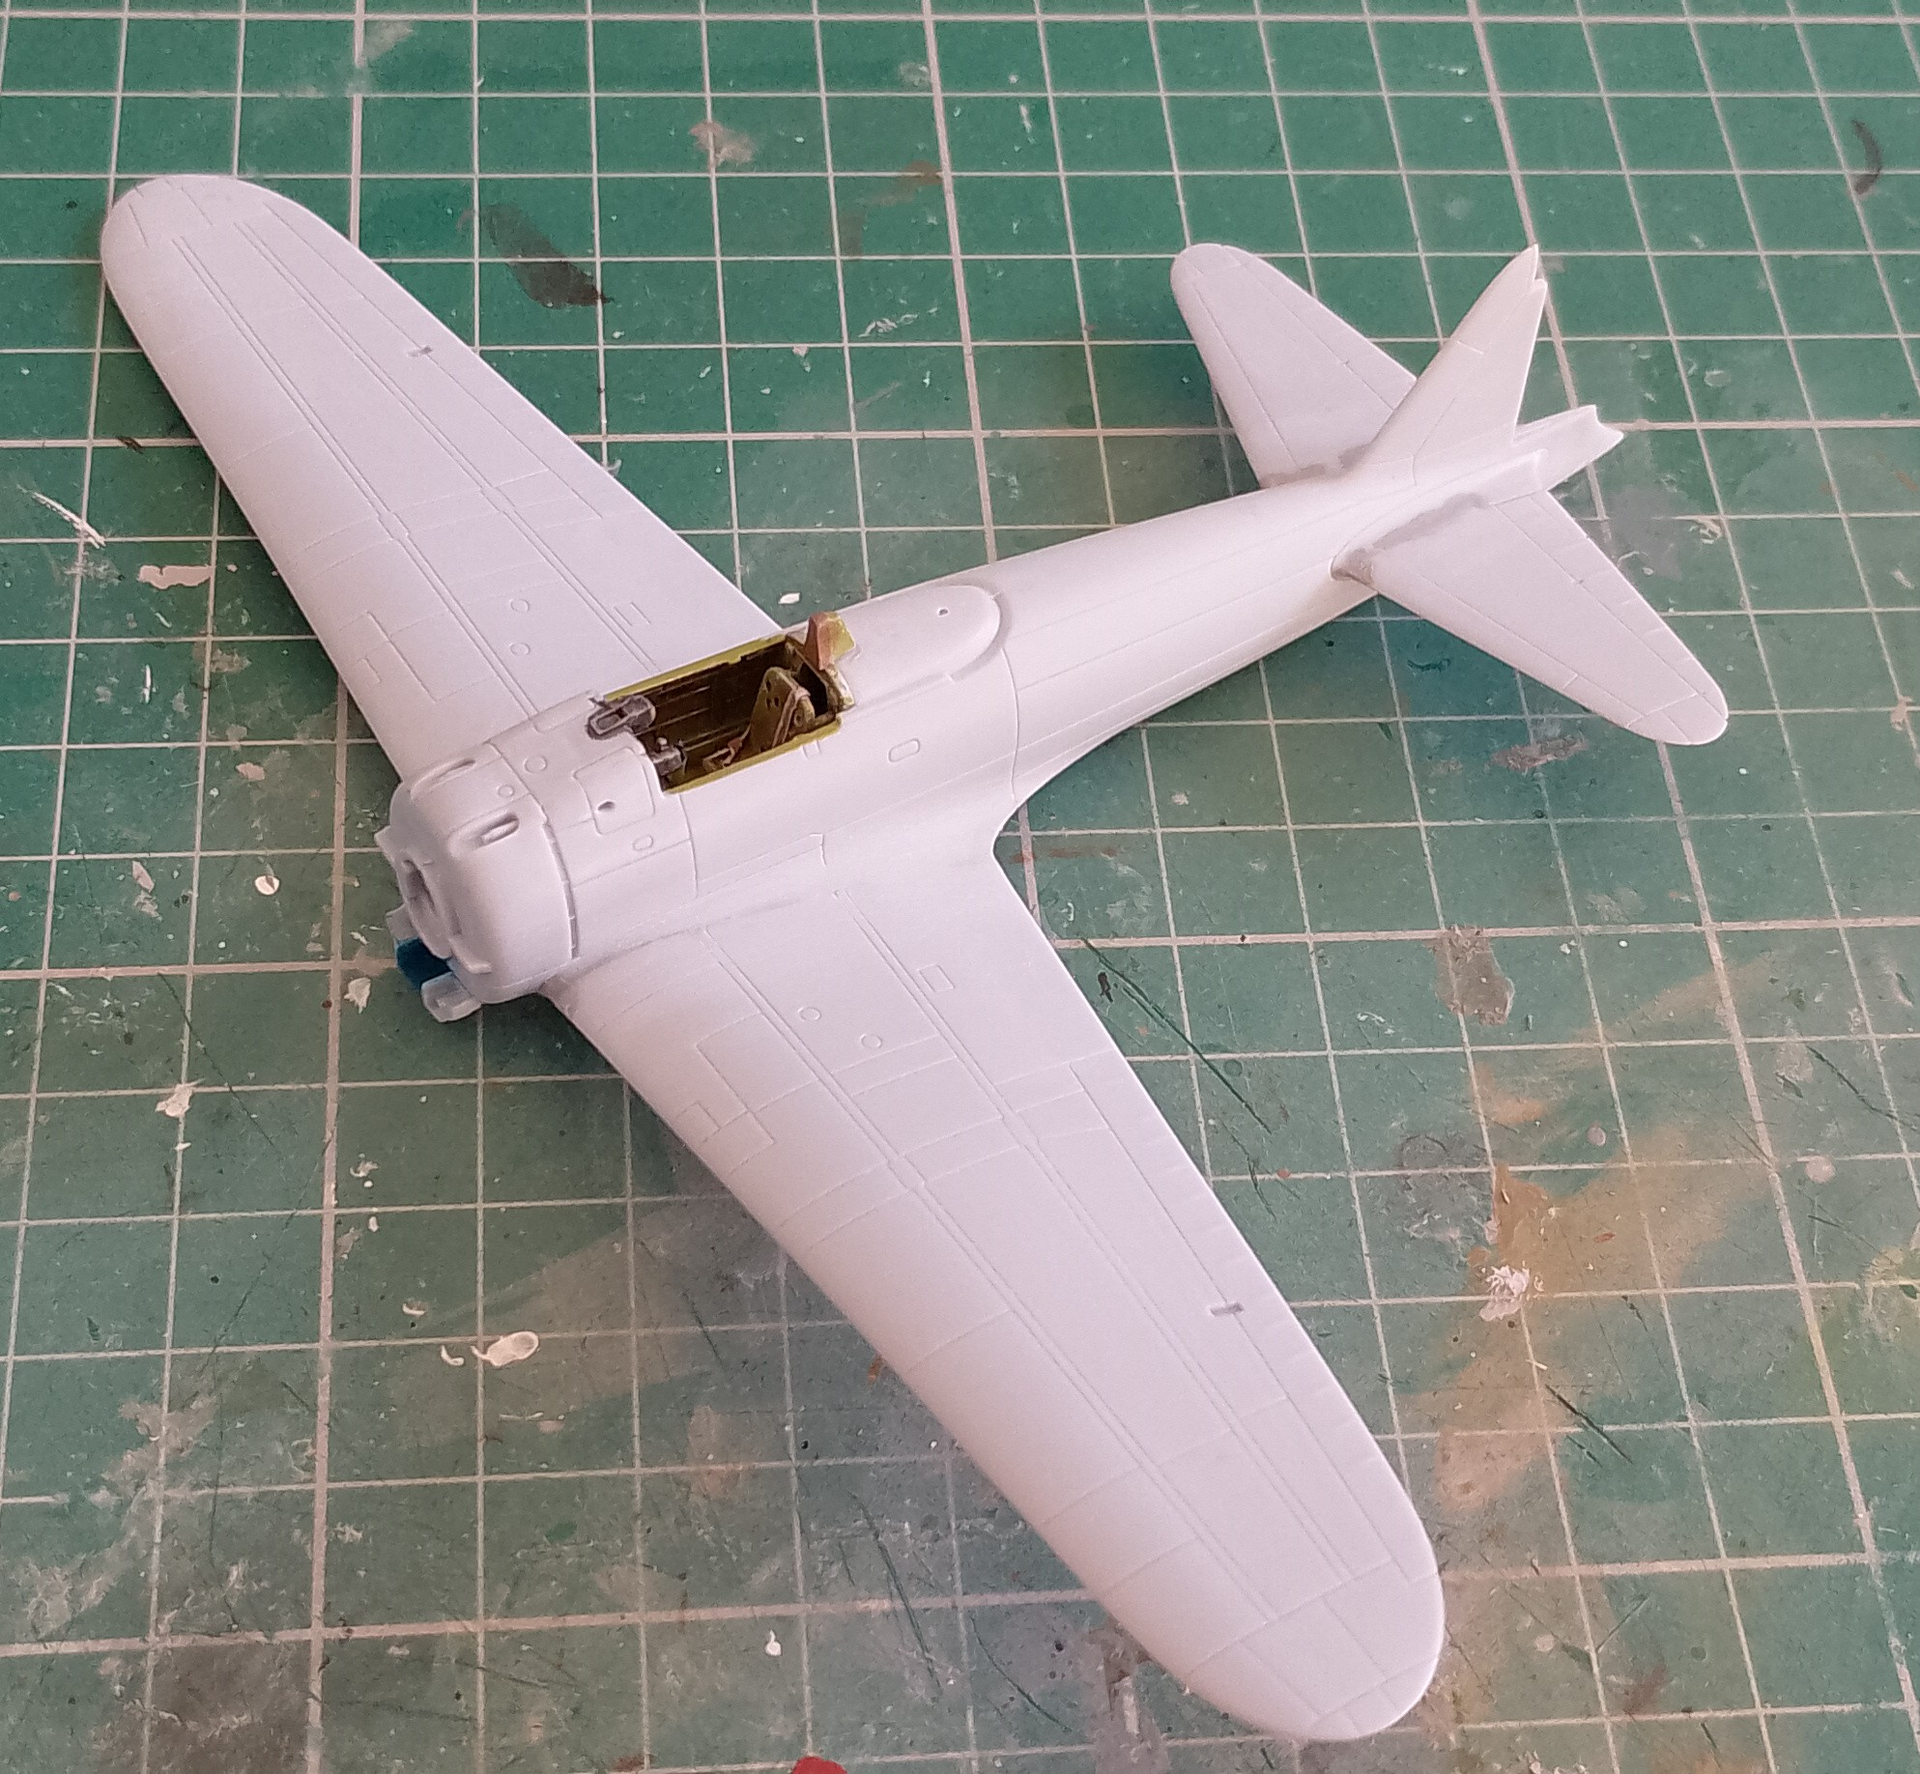
Wings on. Starting to look like an aeroplane now.
And got the seams on the cowling cleaned up. Some Filling was needed in a few places. Once I was happy I painted the inside with blue Aotake.
One nice little feature of this kit I hadn’t mentioned before are the optional folded wingtips. Needs a little surgery to take off the existing tips and cut a couple of slots to fit them. I might try it out on one of the others sometime. I think Airfix did it better on their Wildcat, where they provided an entirely separate set of folded wings that needed no cutting.
6 Likes
Little bit of tidying up needed at the wing and tailplane roots. Bit of Mr Surfacer and a light sanding sorted it.
And got the gear doors cleaned up and given a coat of Aotake. I used Gunzes here as it goes down a little thinner (didn’t want to cover detail up), and I notice it’s and little more matt and ‘glittery’ than the Vallejo. I might try the Modelair version of this paint and see how that goes down.
6 Likes
This week wasn’t as productive as I’d hoped, but I have managed to get it pretty close to some paint. Got the last bits fitted and a bit of the AK Blue-Black behind the cockpit. I might put some satin clear over this. Just got to mask the canopy and fit it.
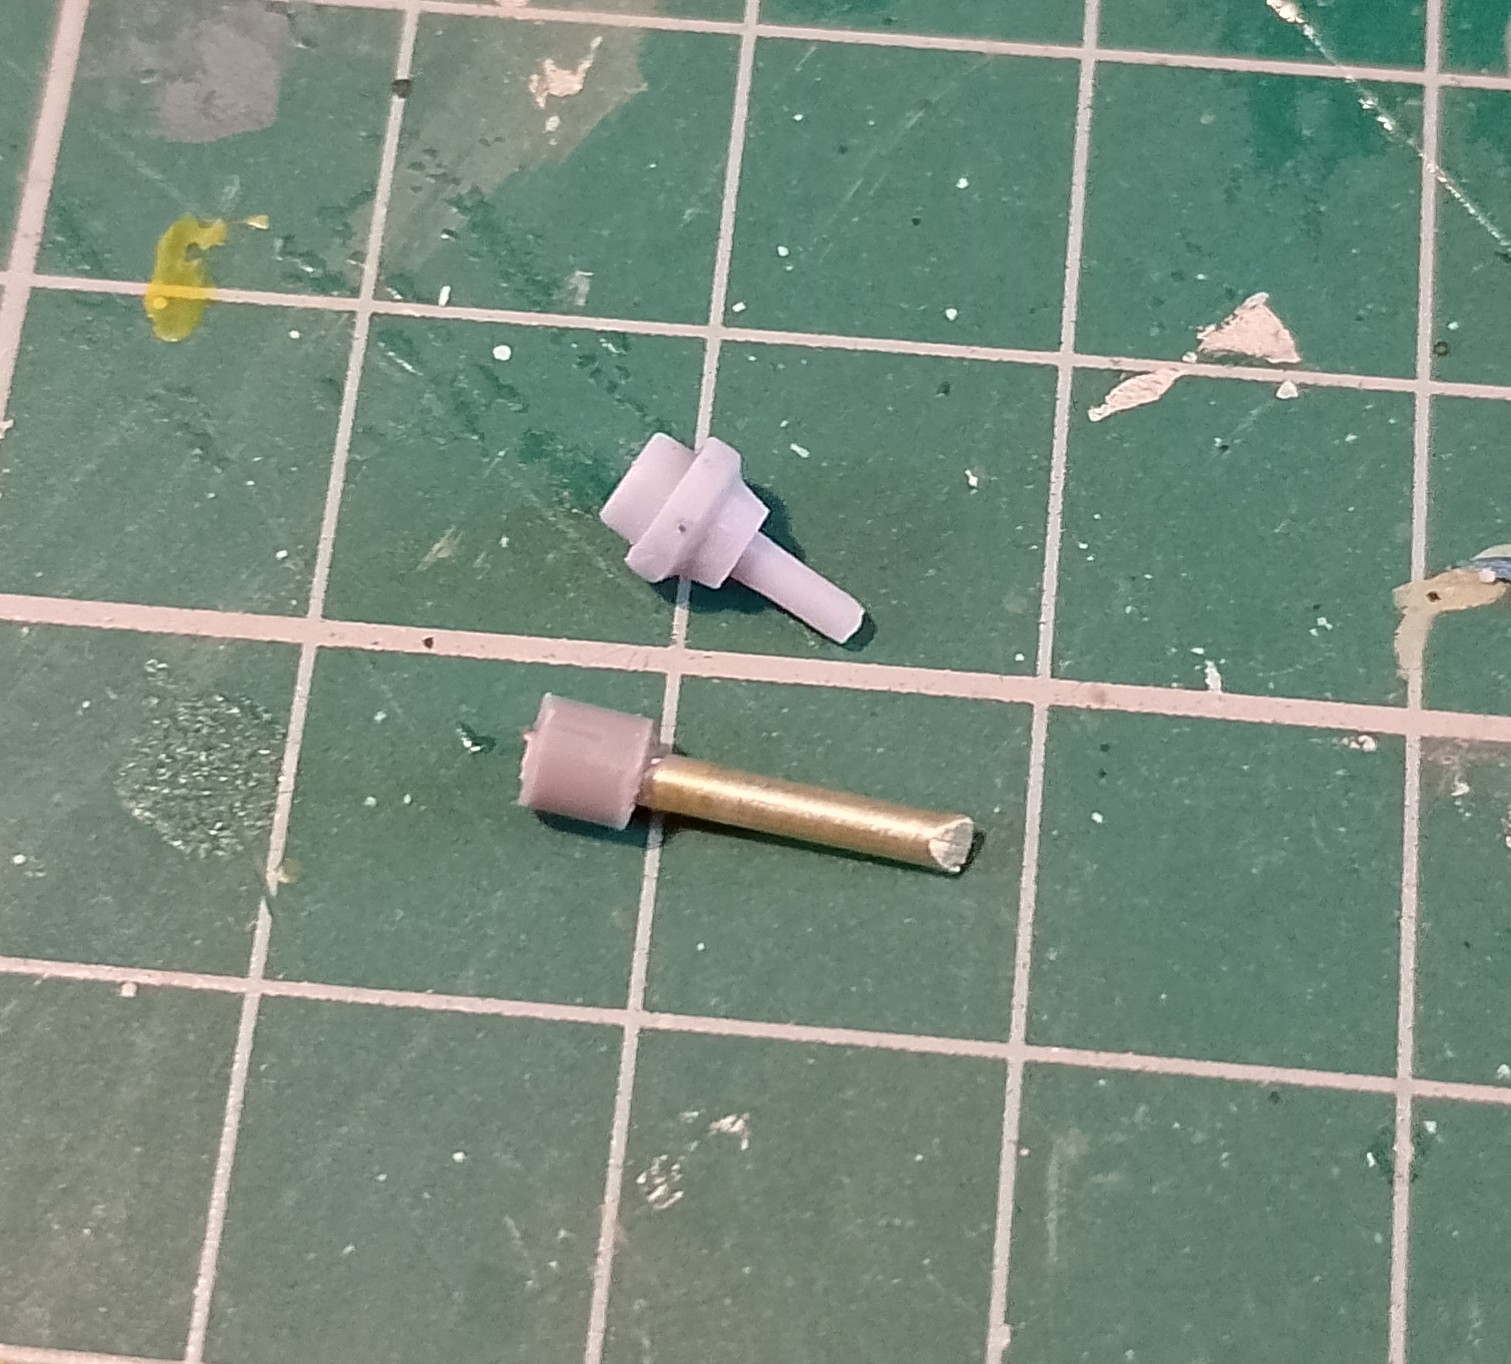
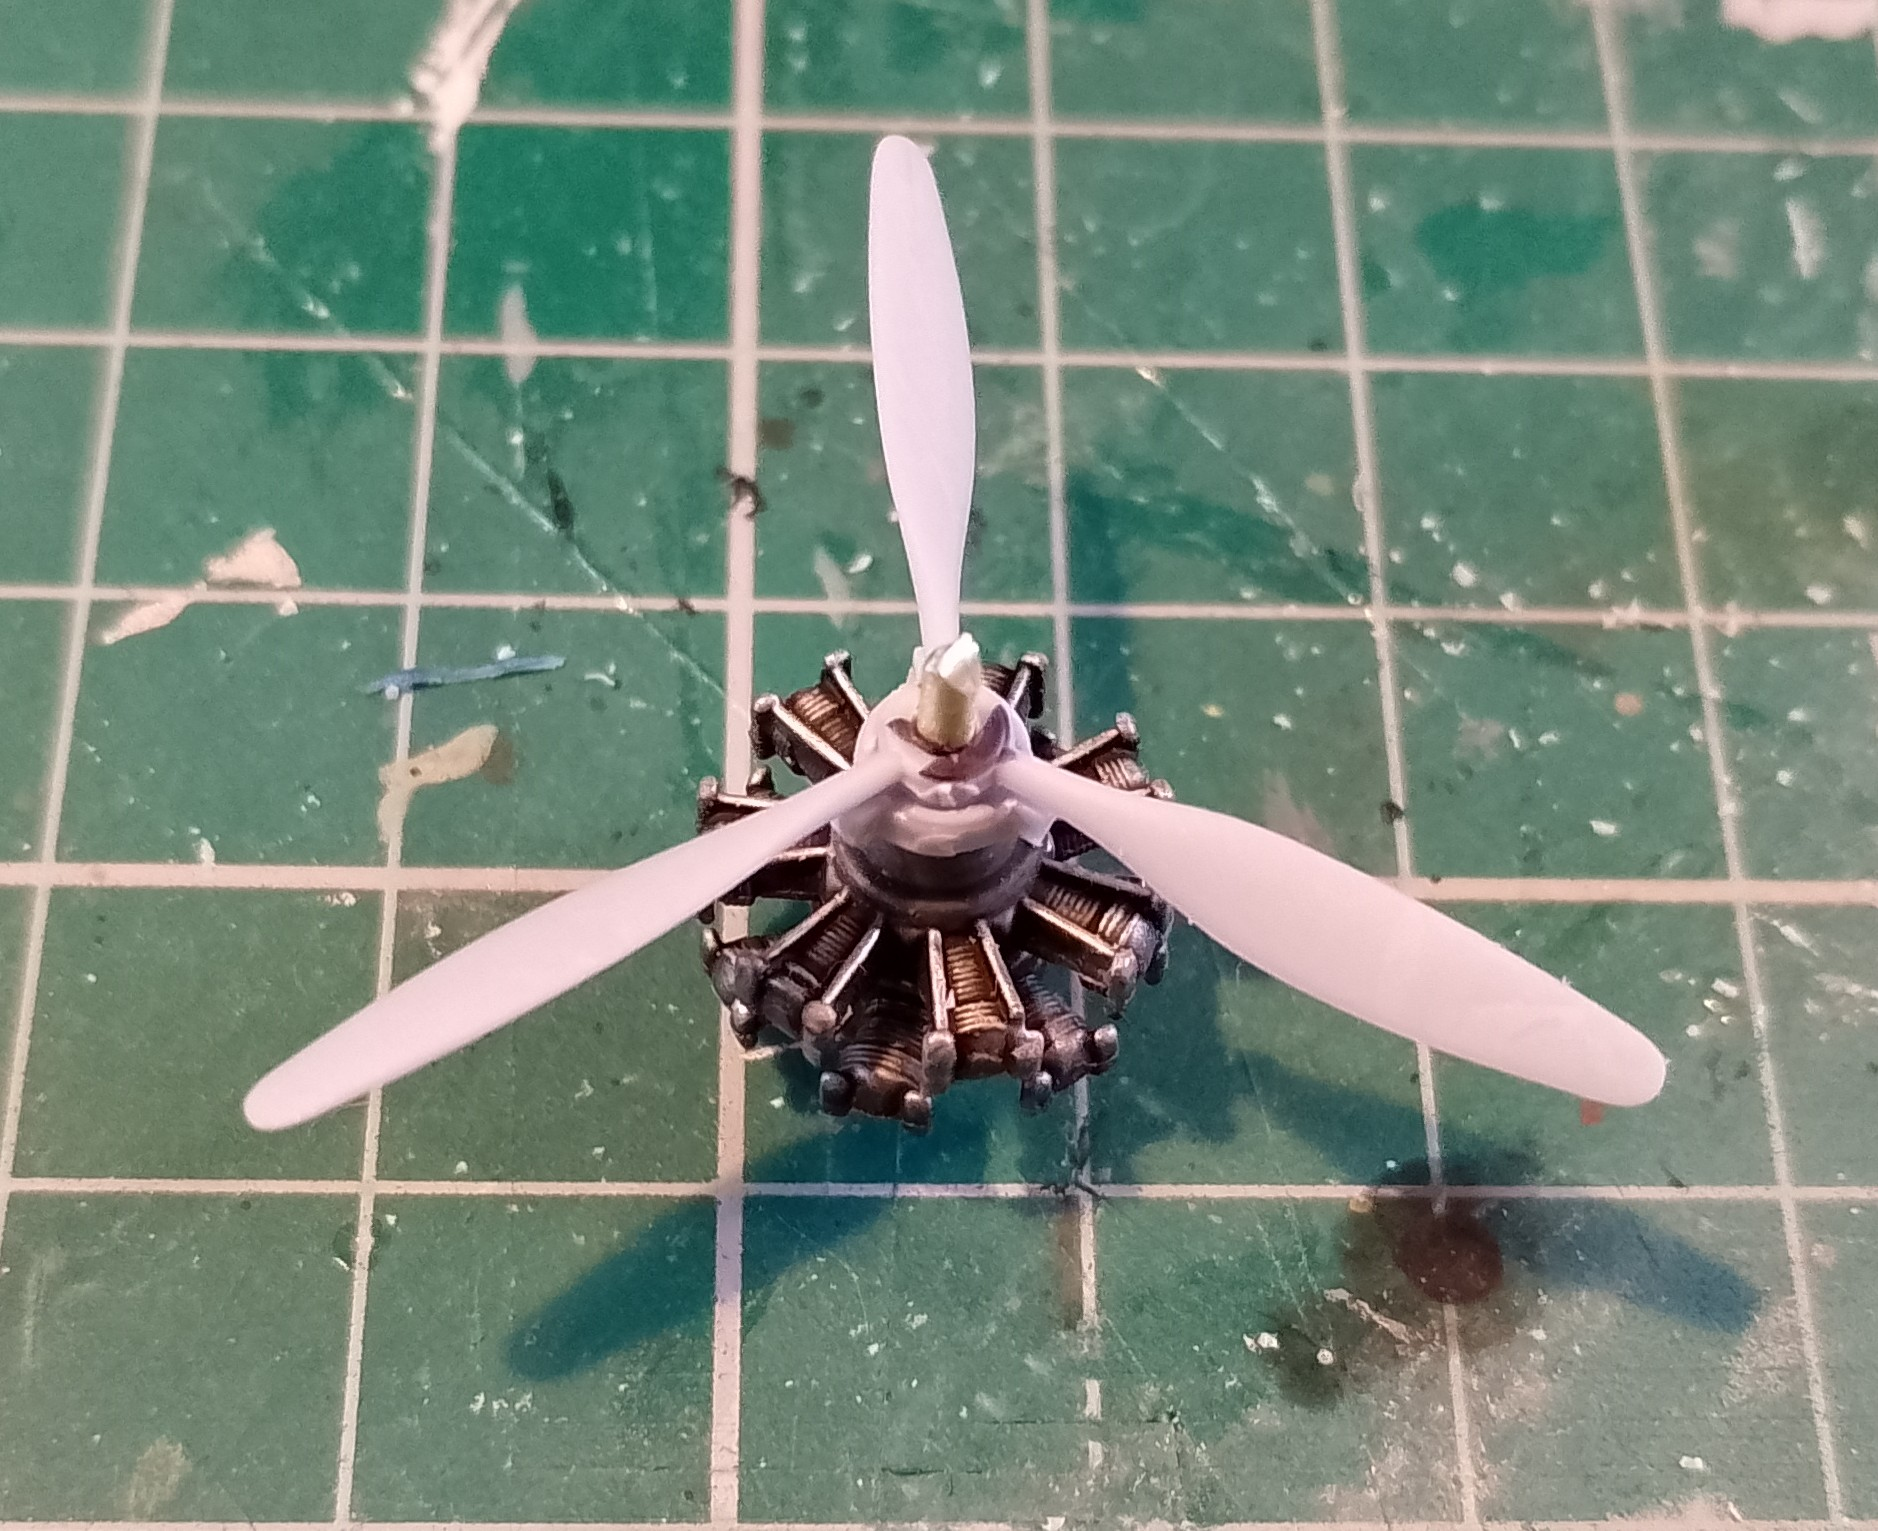
I thought the prop was a little short, so scratched a new one from some brass rod and sprue. The prop and spinner now fit much more securely and there’s less chance of the brass accidentally sticking to the engine.
6 Likes
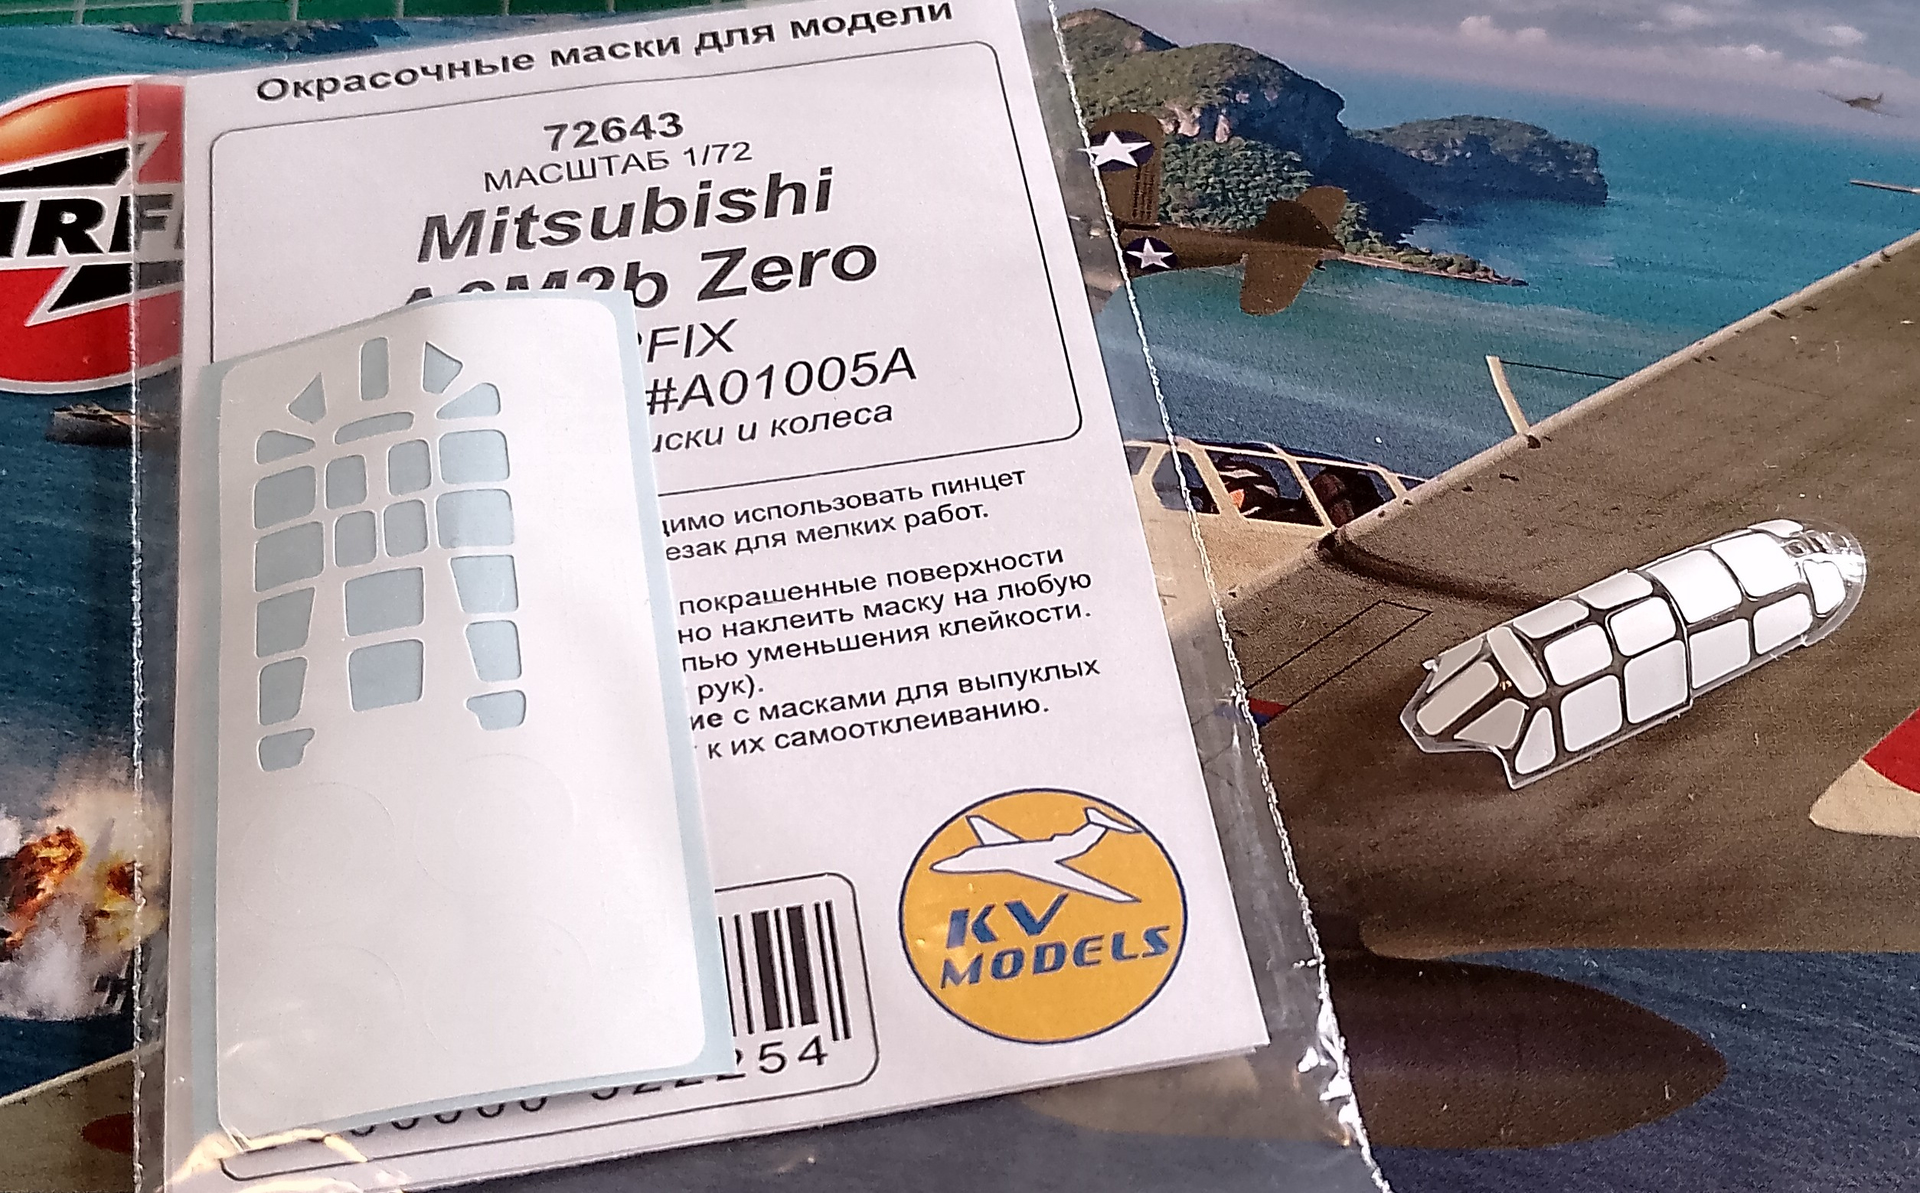
Got the canopy masks down this afternoon. I had a set of KV’s lying around. They’re vinyl and a little bit like the original Eduard masks. Fingers crossed they don’t peel!
5 Likes