Alien 101

My airbrush is currently down for repairs so I decided to switch to sculpting for a few days. In this topic, I will sculpt an alien creature from start to finish. This will be my 101st alien creature sculpture.

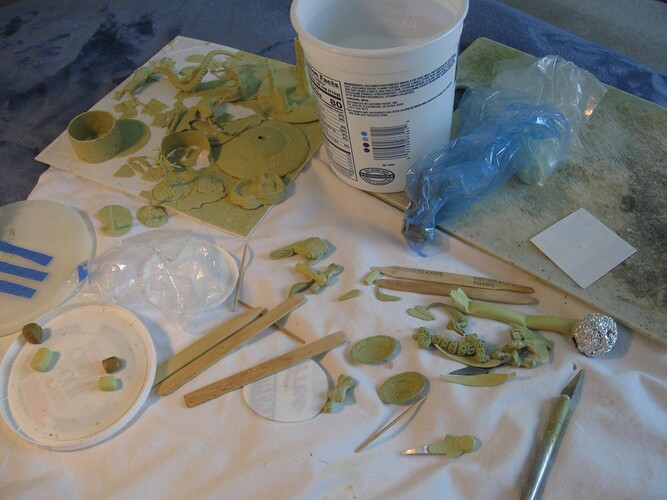
The picture above shows my sculpting setup. Everything accept the cutting board and big tile fits inside an old cottage cheese container.

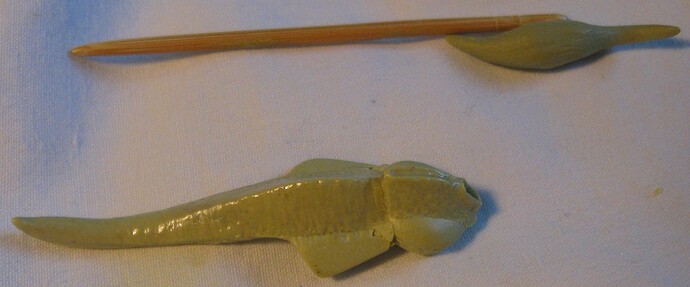
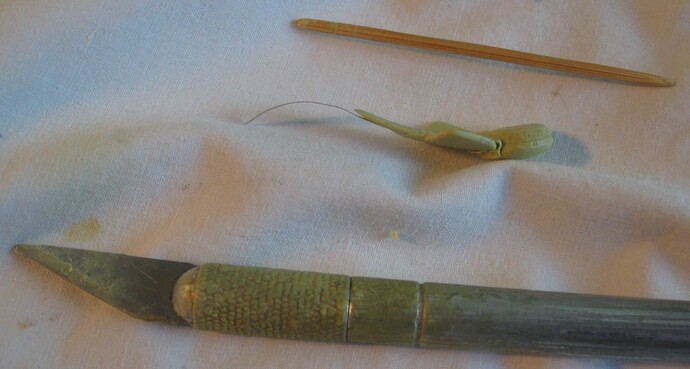
My current goal is to complete old projects so the basis for creature 101 is an old, leftover armature (soda pop can aluminum) with some preliminary sculpting work. It appears in the picture above between the knife and toothpick.

Sculpting Session 1: All exposed aluminum was given a coating of putty. The tip of the tail became a bird like head. The body of the tail is now a neck and deep chest. The former head is now the rear end with some digestive plumbing.

Since one goal of this project is to use up old material, it may soon absorb another leftover armature.

Alien 101 is 1/1 scale and will be about the size of a goby fish. Maybe.

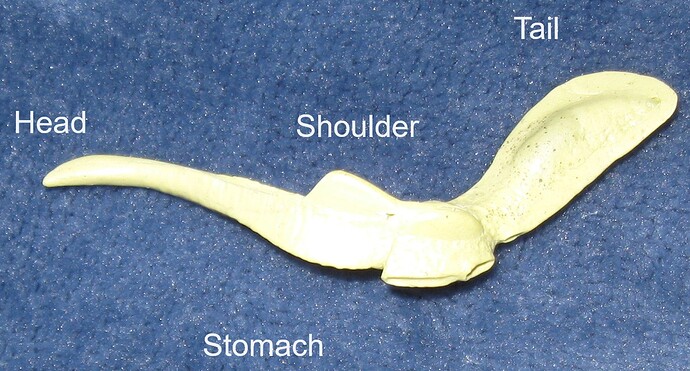
Sculpting Session 2: The small body from the previous picture was grafted onto alien 101, becoming a fat tail. A spine along the back of creature serves as a ramp to the new tail and secures it in place. Texture was added all along the back.

The creature currently has the body plan of a road runner. That will change. The connection between body and tail is still precarious. That needs to be addresses in the next sculpting session.
5 Likes

Following along with curiosity and interest. As a sculpt, do you have a final picture in mind or do you just see where it takes you?

Cheers,
Colin

3 Likes

Alien 101

Sculpting Session 3: From here on, each sculpting session will use a lump of putty the size of a pea. Milliput has a work time of about 90 minutes so mixing a larger batch of putty would only result in wastage. At all times, I keep a terrain sculpture off to the side to absorb excess putty.

Starting at the base of the tail, I filled in the notch created when the two sections were joined. A very thin layer of putty was then applied to the entire tail. This acts like shrink wrap, holding everything together and increasing structural strength.

Next, a rope of putty was added to the top and bottom of the tail, then teased out to form a comb. This comb was joined to the spine from the last session, forming a continuous curve. The lower portion of the comb became another orifice.

It cannot be seen in the picture above, but the tail now has a soft curve to one side, indicating motion and breaking symmetry. That is really important for creating life like sculptures.

Adding texture to thin layers of soft, unsupported putty is really difficult so the session stops here. Shaping and texturing of the tail must wait for a future session.

@Colder Thank you for following along! In most cases, I begin a creature sculpt with a general body plan in mind but details develop spontaneously along the way. Rarely, I will make a preliminary sketch.

For this creature, I started with a simple goal–sculpt something that looks like a paramecium. After only three sculpting sessions, the paramecium part has become a fairly stout, vertical eel tail.

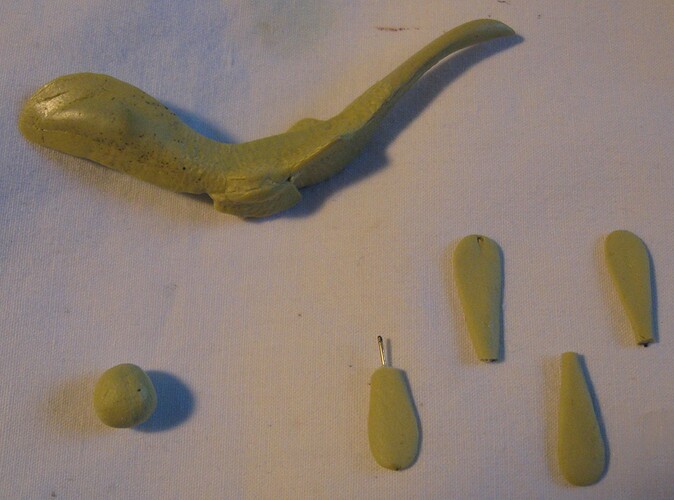
Sculpting Session 4: My collection of spare parts includes 4 paddles with wire cores. These will now become parts for Alien 101. To prepare each paddle, part of the putty was snipped away to reveal the wire core. These wire extensions will serve as anchors. You can also see the putty ball mixed up for this session.

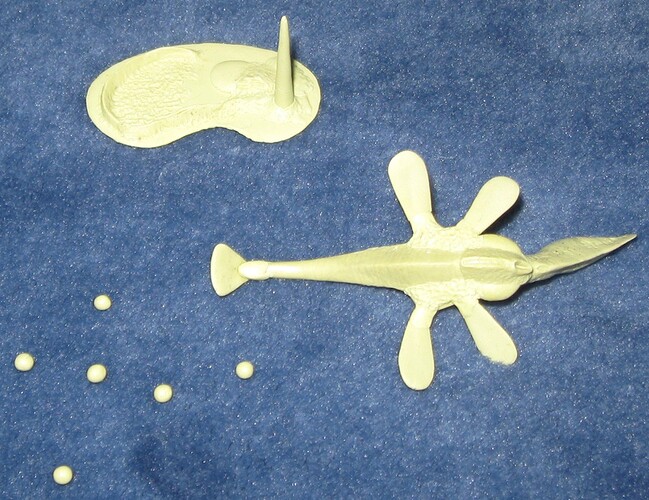
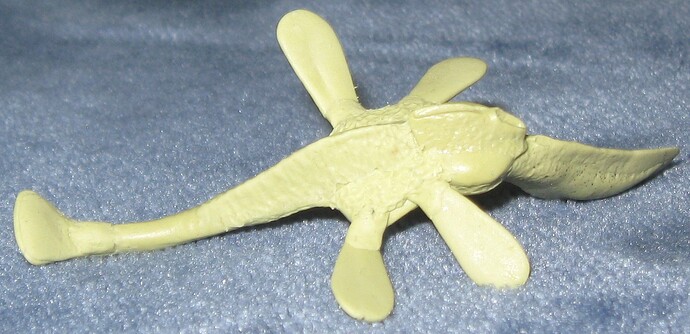
The road runner is now a plesiosaur. All 4 paddles were anchored to the underside of the shoulder wedges. A small amount of putty was rolled into 6 spheres. There will become eyes. The rest of the putty was used to create a wedge and cap over the former beak. This will become the core of the head.

As explained previously, the terrain piece in the upper left corner is kept on standby to absorb extra putty. The rim on the left side of the piece was extra putty from Session 2.

Sculpting Session 5: I attempted to put texture on the forward flippers and head but putty from previous sessions began to lift. After removing putty from the left front flipper, I added some bulk to the keel. Since the head was now peeling away, I used more putty to secure it. With those small things done, the creature needs to dry for a day so all the Milliput can cure to a much harder state.

3 Likes

Alien 101

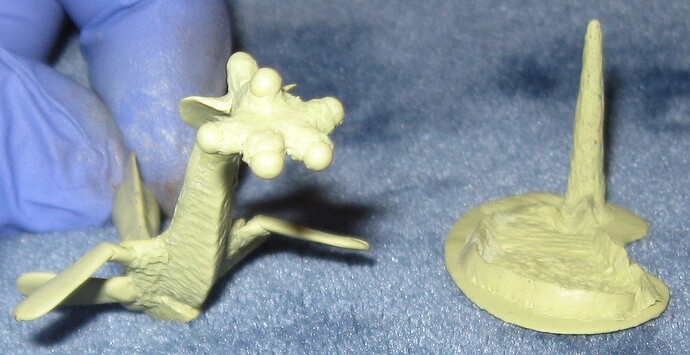
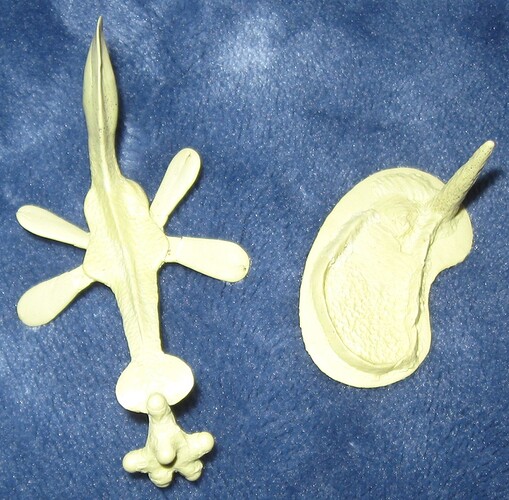
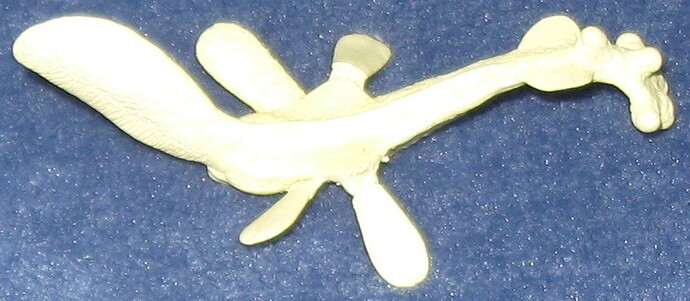
Sculpting Session 6: Having dried about 12 hours, alien 101 is now much stronger. During this session, all 6 eyes were attached to the head. Two eyes face to the sides, giving the creature good all around vision. Two eyes face forward, providing good stereoscopic sight. This very probably means this little alien is a predator. A fifth eye looks straight up, allowing the creature to see enemies approaching from above. Finally, a sixth eye looks backwards.

The upper surface of the neck now has texturing, an extension of the dorsal ridge, and two small, flap structures. It seems likely alien 101 uses skin flaps and leafy limbs as camouflage, imitating the undulating fronds of another creature.

Extra putty is slowly accumulating on the terrain piece. A ridge now runs almost all the way around the edge. Perhaps alien 101 lives near this feature.

Sculpting Session 9: Texture was added to the tail and one rear paddle. One forward paddle broke off. The piece was stripped down to the wire and reattached.

1 Like