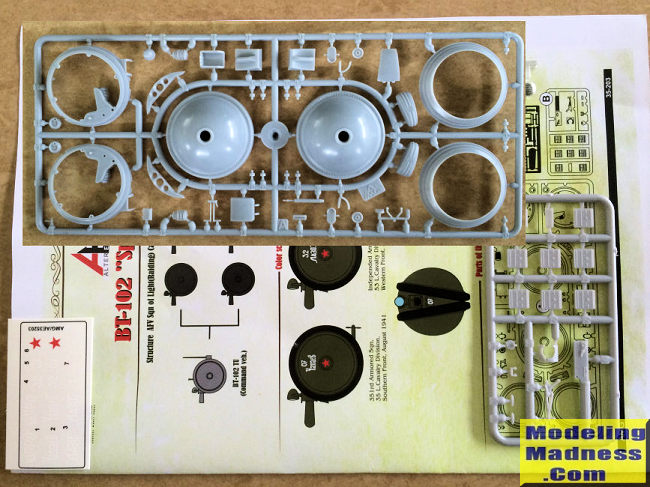
Has anyone seen or built this kit? I just recently noticed it and thought it looked good but know nothing about the manufacturer. I can’t find any builds or reviews of it.
Is AMG any good? I see they have some other Eastern European/Russian items such as UAZ vans and such. Any opinions?
AMG seems to be hit or miss if the kits where released. There molding looks ok but I think I was missing a few parts for this version. Maybe the wrong pe set.
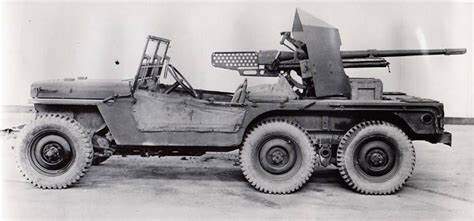
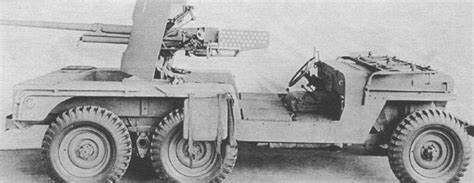
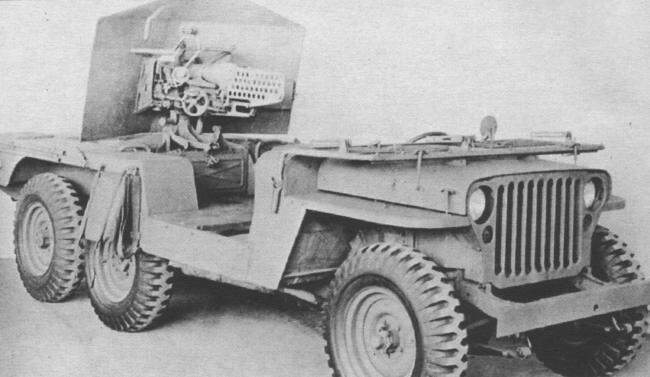
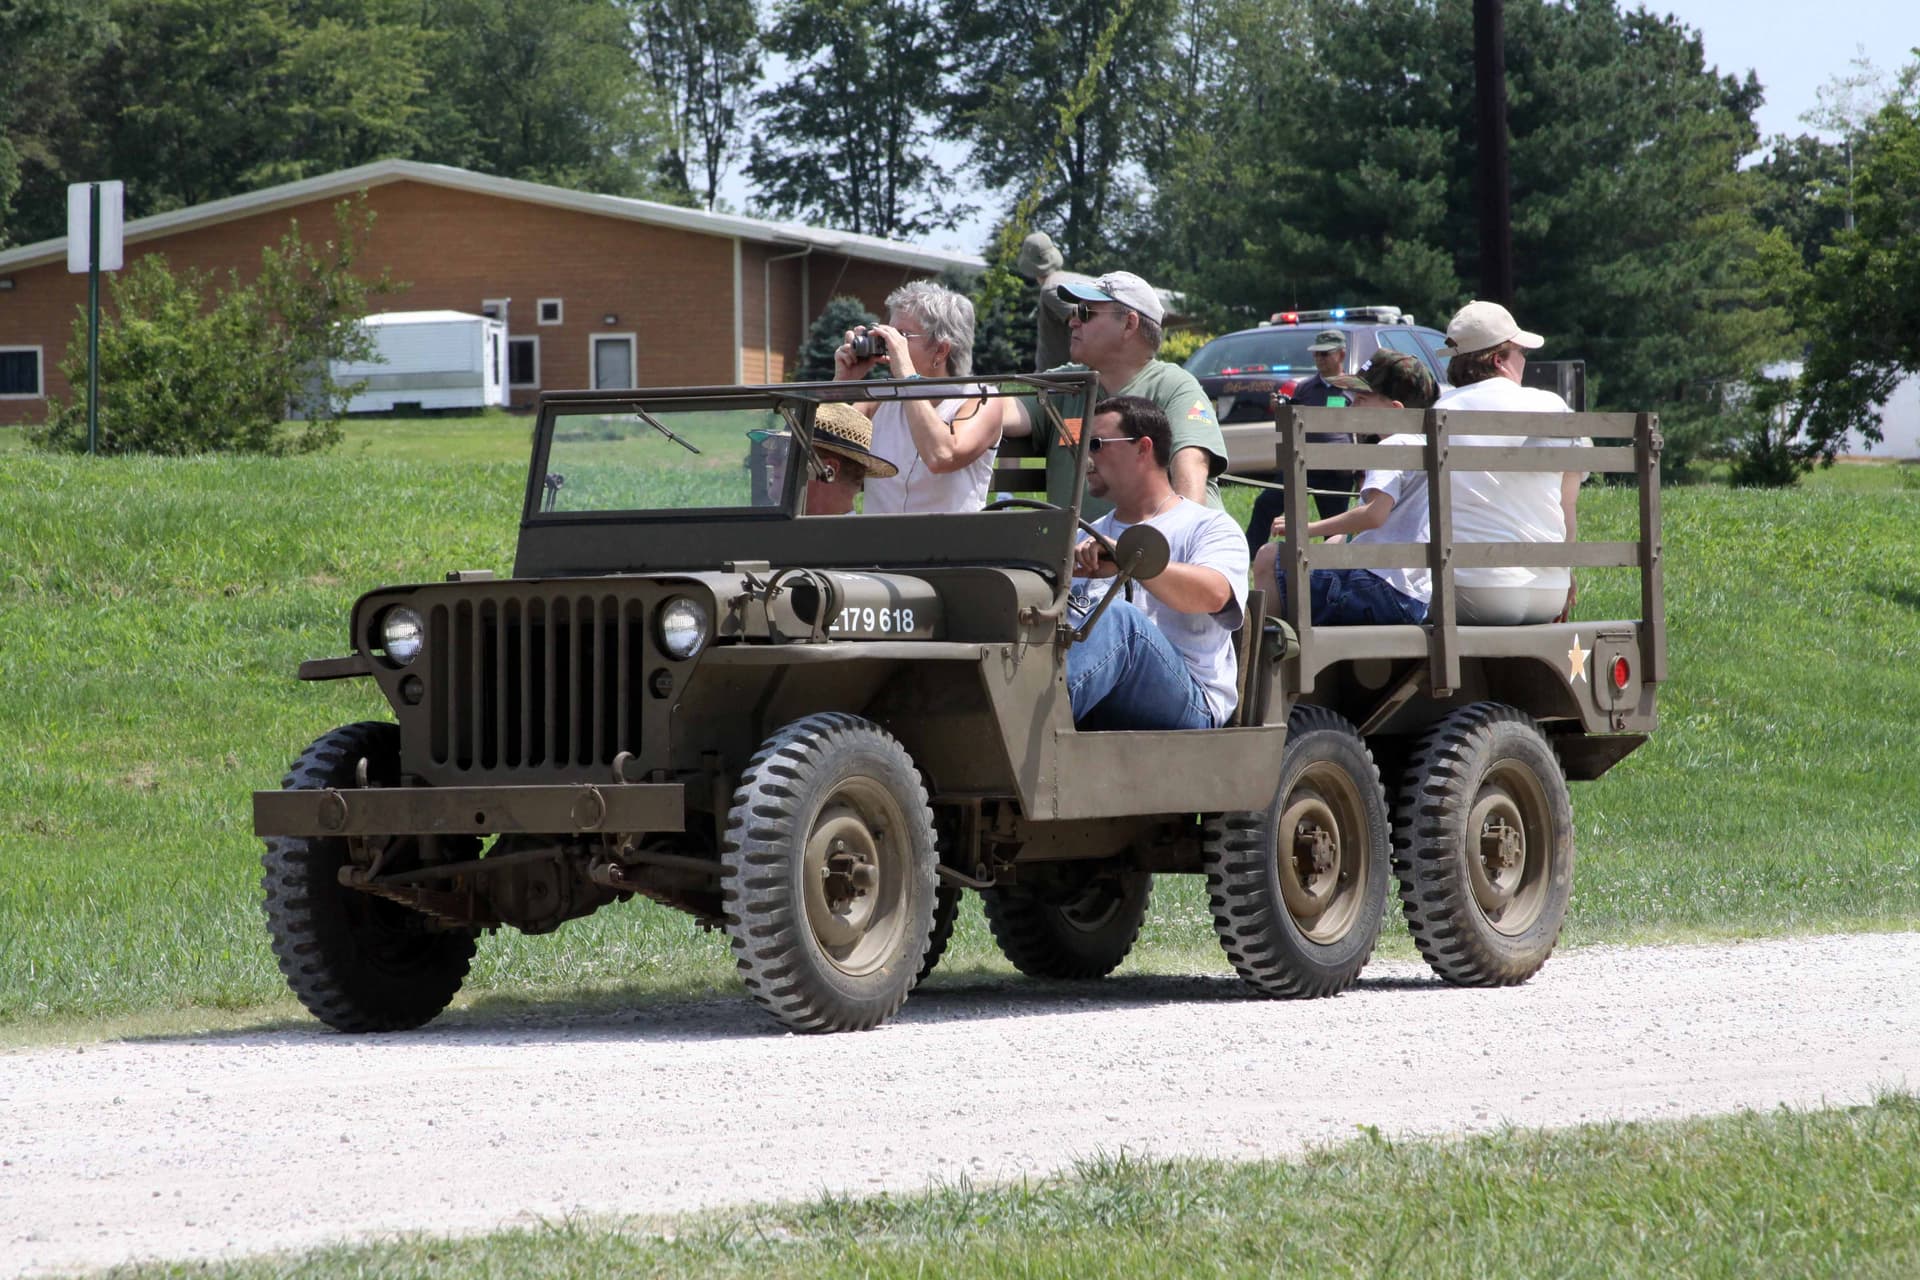
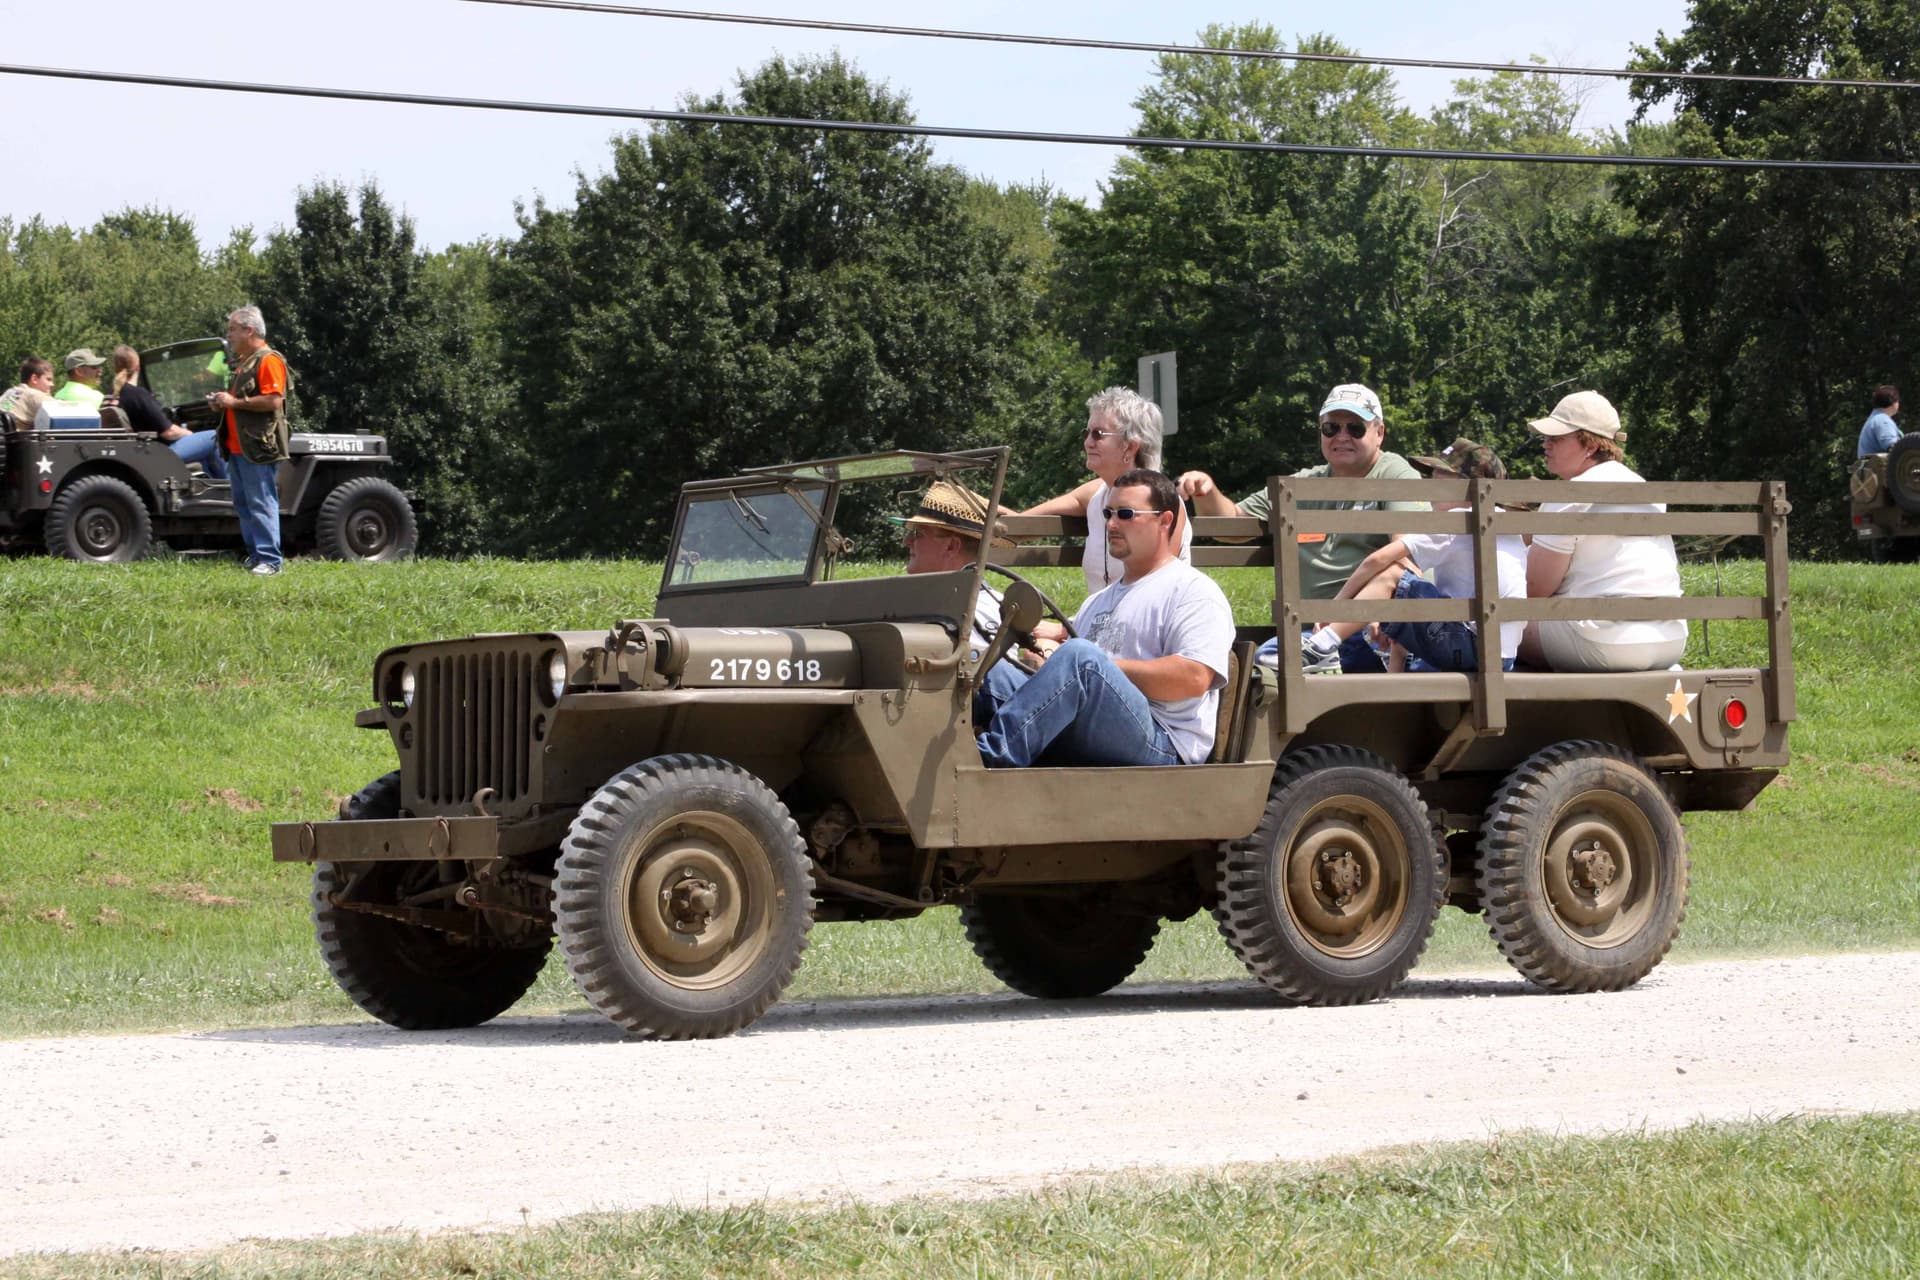
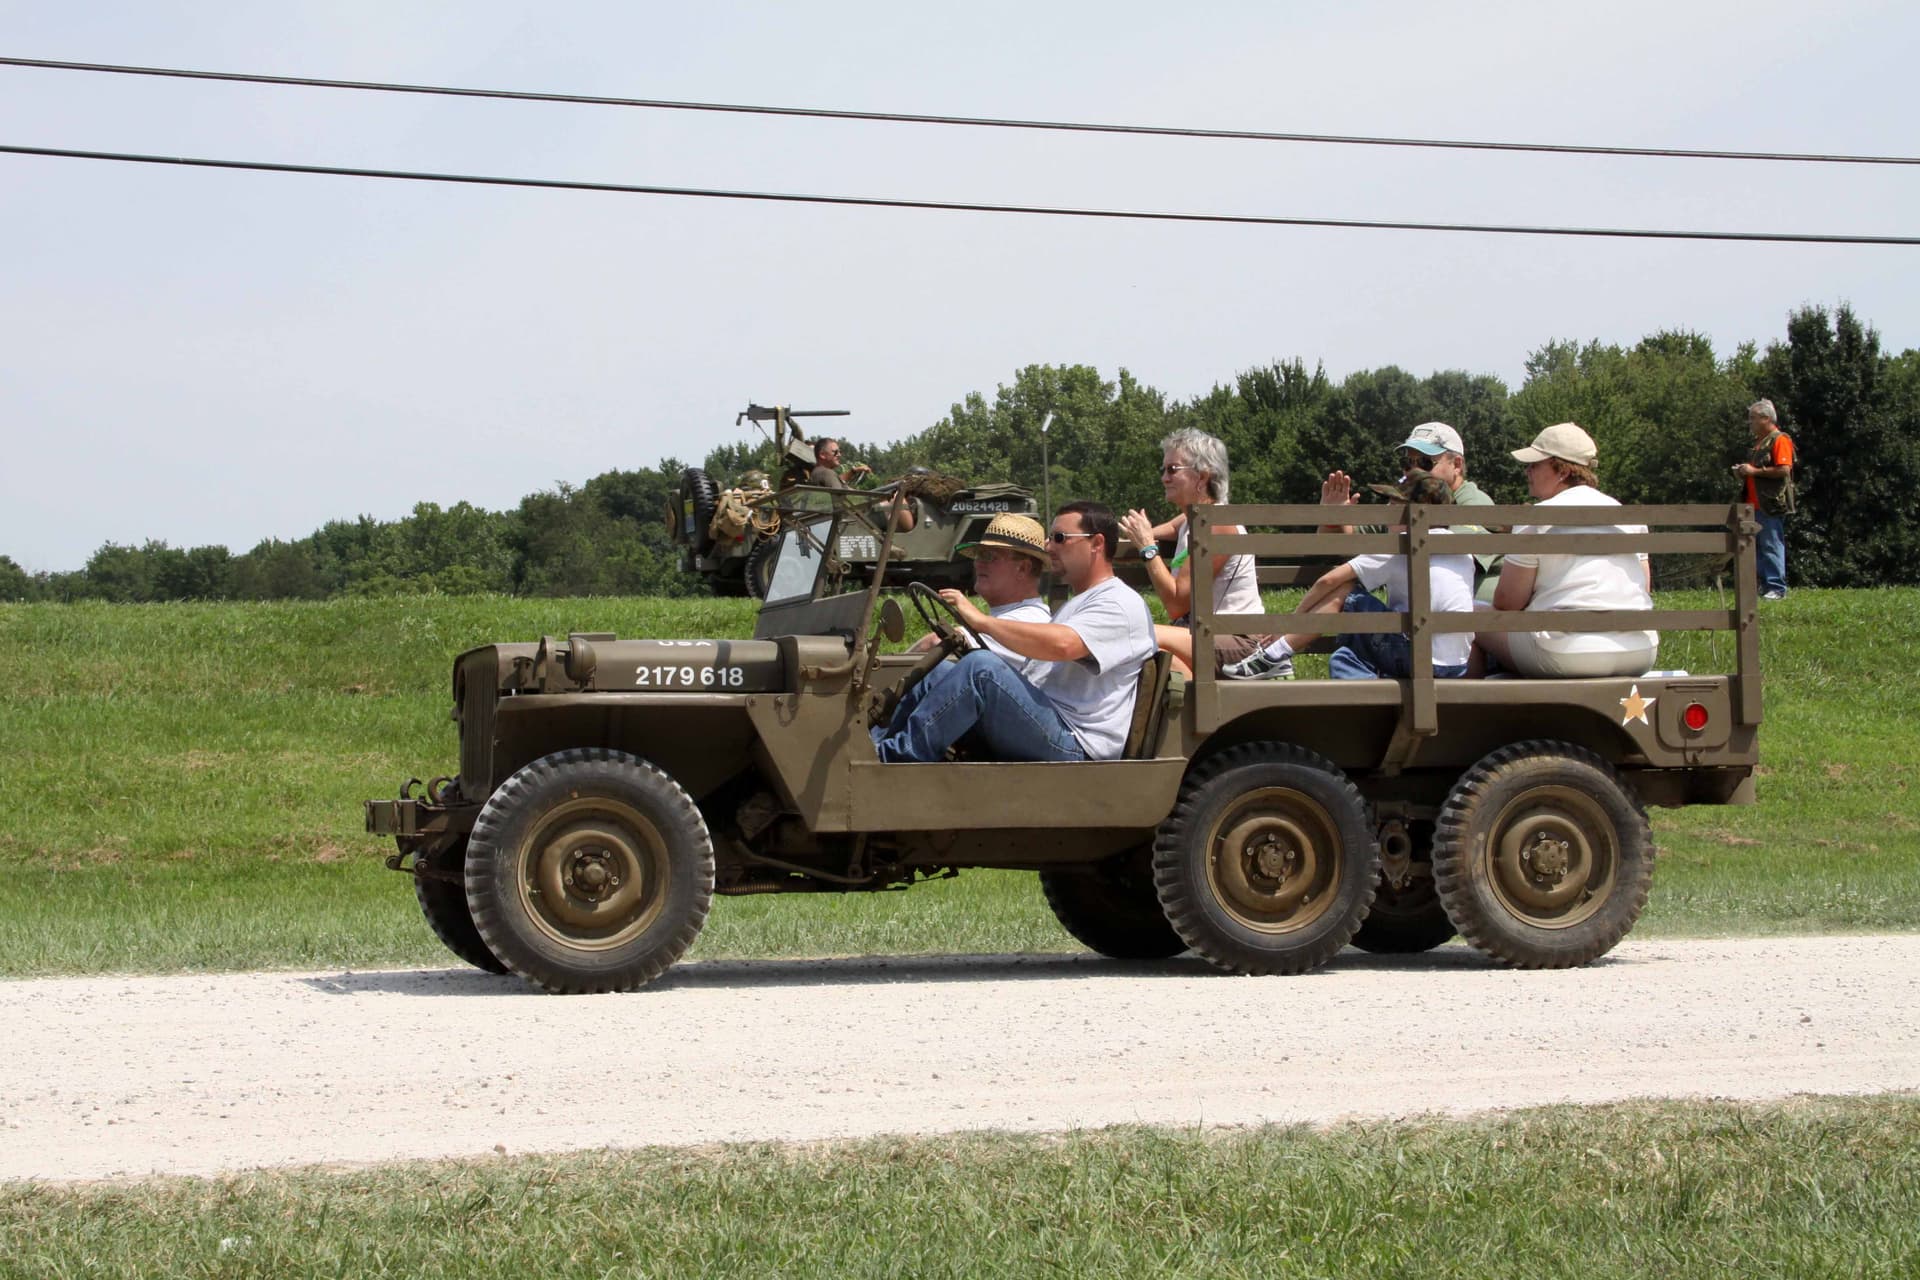
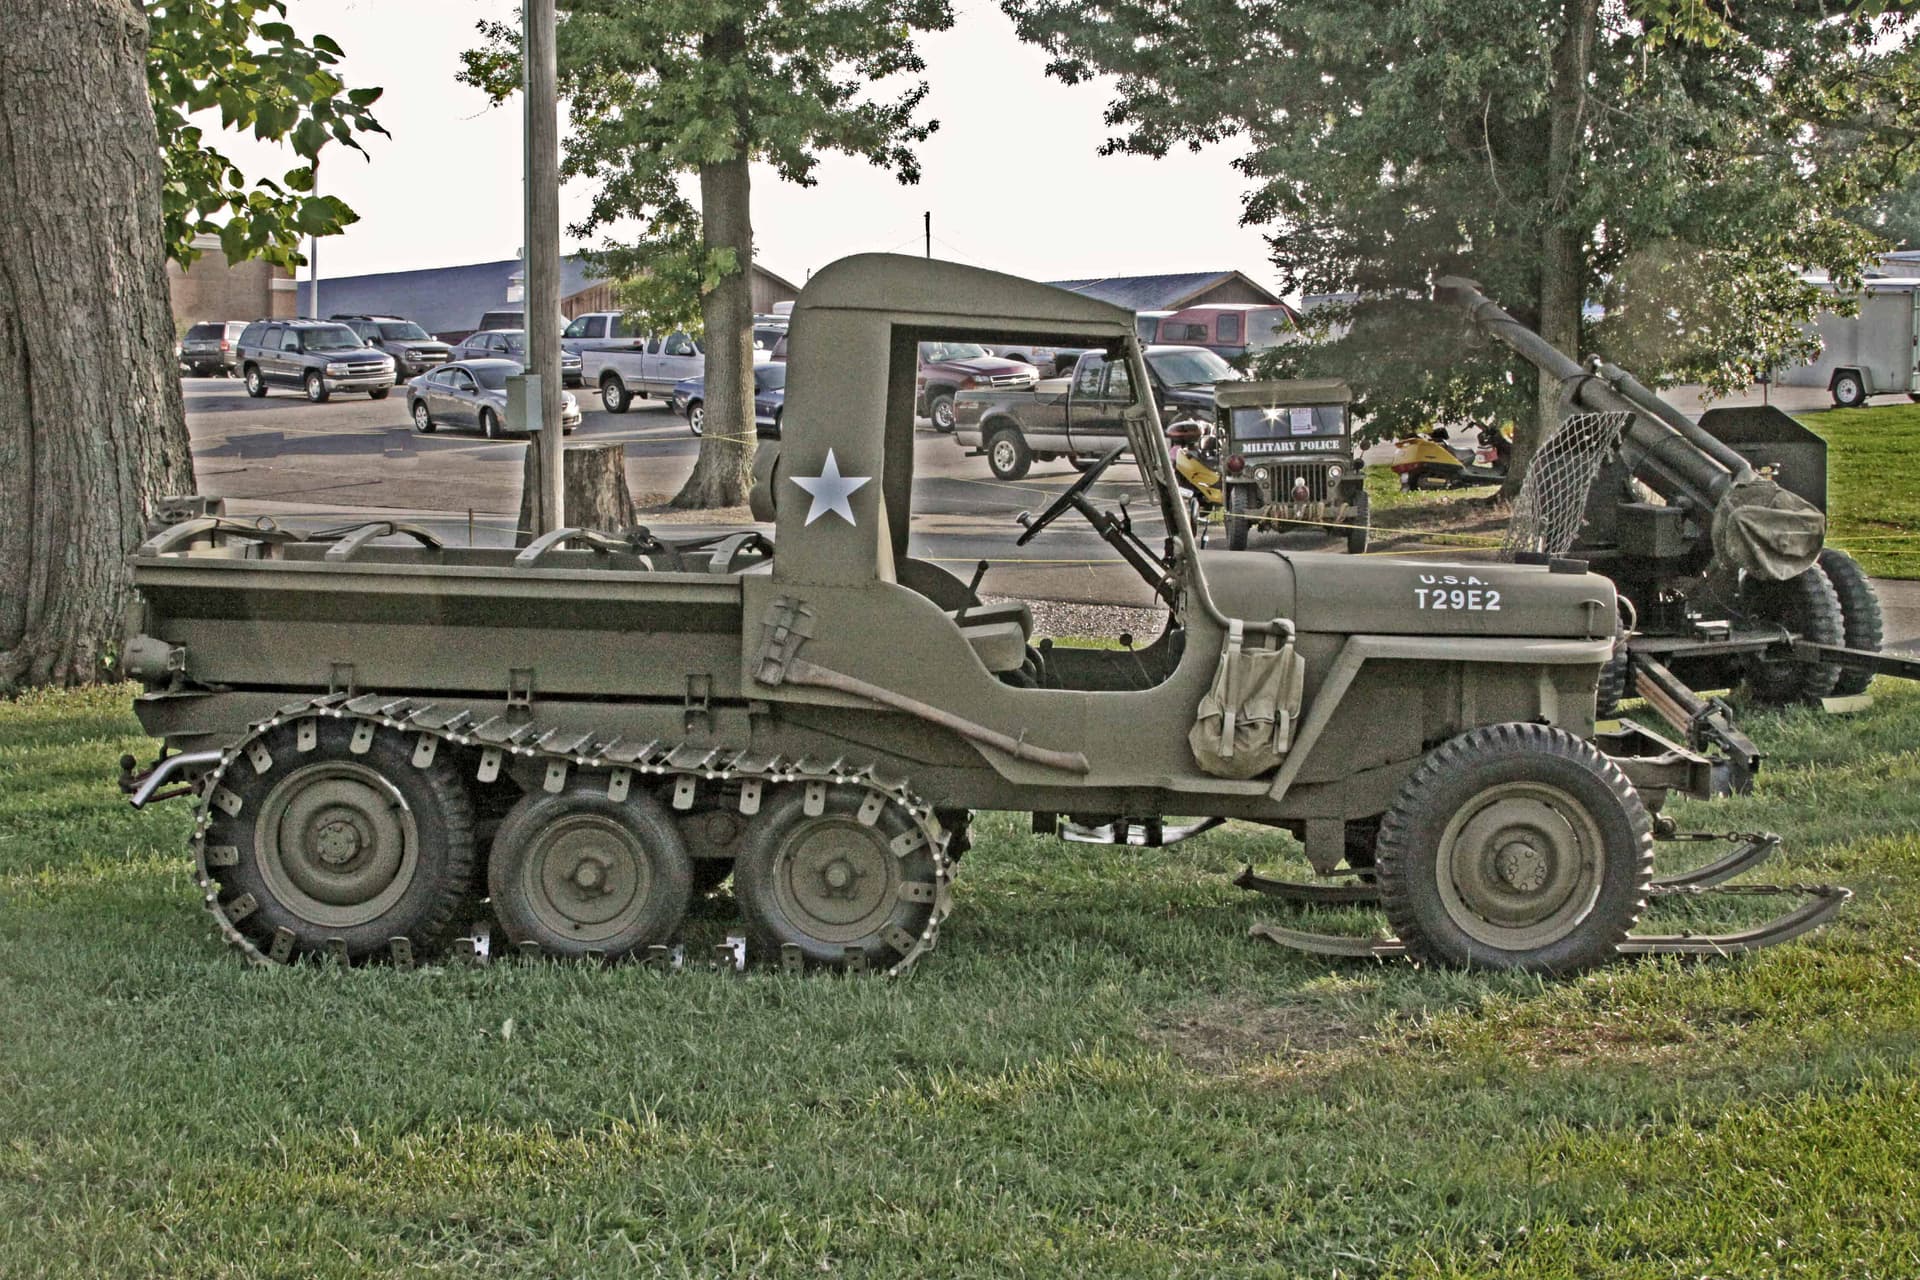
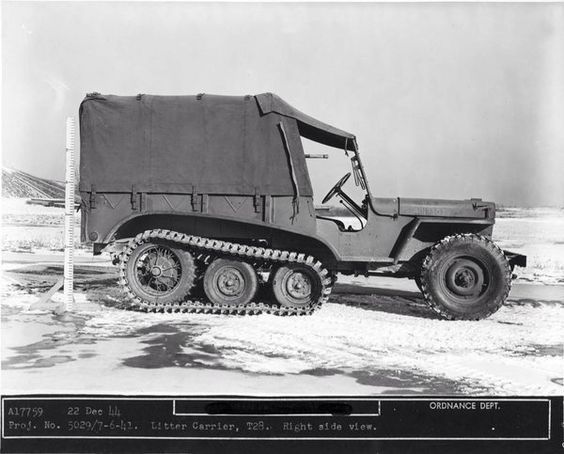
I remember seeing one of those 6x6 jeeps at the US Army Transportation Museum years ago. Interesting concept. here’s an idea.
Equipped with an M3 37mm AT gun.
I think you could mash up elements from other Jeep kits to shore up deficiencies in the AMG kit using a Tamiya kit, hoping that the kits are not overly different in terms of detail.
Seen at the 2009 MVPA National Convention in Evansville, Indiana. I was told this was one of the few remaining original prototypes. (All photos by Mike Koenig)
I really wanted to build this kit but… The instructions are terrible. Some parts’ locations are not shown (hidden behind other parts) or are shown incorrectly. Some parts are not numbered on the plans or are numbered incorrectly. Some parts are not shown to be assembled when they have to be but are shown after it’s too late. The PE is done in copper and is mostly too thin. All the various ring loops are done in flat PE. The bending of several parts is unclear as are their locations. The chassis parts in particular have such heavy mold lines that there is no flat surface where it needed for locating attached parts. One major suspension V part is simply not present on the frames and the Vs are positioned side to side when they were really front to back.
I have ordered a second kit, in the expectation that I have learned the necessary lessons. First, get a Takom Jeep kit, as many of the common parts look quite similar and you will improve the engine and transmission assembly by seeing how the Takom parts go together. The distributor cap is missing and should be scratched if you expose the engine. The air filter should probably go all the way to the right back corner, but there is another part (fuel filter?) there. There is a wire support that goes from the firewall to the radiator, but that means the air filter pipe has to be filed down where the wire crosses. Also, the entire multi-part front end assembly will make more sense after seeing the one part Takom front end. It will still be very hard to align properly. You will probably want to paint the various parts before assembly so you don’t have to mask the hedlights through their smll openings, and you can have a metallic or black radiator if you want. The grill slats will benefit from gentle sanding to even up the edges.
Watch out for any pieces that determine the engine off-set (no, it does not go in the middle!), as the instructions show the lower chassis support turned left to right (the little slot has to go on the right), and the front support piece does not look like it will fit into the side pieces whose location is iffy (they both have the same part number but are mirrored - they will match the shapes on the chassis you glue them to, but you have to cut an injection gate out of the slot the support fits into), and if it does, the fan belt piece is too thick and pushes too far forward. The PE fan is only vaguely the right shape, has no twist to the blades (the thin blades tore when I tried to twist them), and is too long to fit inside the radiator hood as it has to even though it probably shouldn’t. Make a substitute with shorter arms from .005 strip if you need a fan.
The two-pronged part that goes under the chassis actually has to come up through the floor on the far sides of the brake and clutch pedal arms just a little way up - it transfers the pedal motion to the appropriate system through links that are not provided. You have to trim off the side extensions of the brake pedal piece to get the arms through the floor. The assembly of the gas tank (between the front seats) is very sloppy and there is no front to the tank, leaving a huge gap between the tank and two tabs on the firewall (my firewall was distorted in removing it from the mold, so the gap may be due to that, but the tank still has no front). One of the shift levers has a ball twice as big as the other two - all should be the same. There is a gizmo that is missing from the rear of the gas tank.
The load bed exterior rear gives you the choice of a PE or plastic cover for the rear lights service area, but there is no mention of the plastic parts (too thick and too tall). The PE is much too thin and too short, and the reflector that is molded on the side is shown left in place but it must be scraped off. I would thin and maybe shorten the plastic. If using the PE, add .010 stand-off sealing strips and paint them black-rubber. You have to eyeball where to locate the cover.
The rear gate doesn’t fit well and the location of the PE opening handles is unclear - look for internet photos or YouTube videos. The bends in the load bed are very sharp. I rounded mine a little - some restorations are sharper than others. The PE brackets for the side rails have no bottom - glue the brackets to the supports, making them even at the bottom, then glue the side rails and brackets to the side of the load bed.
The film and control panel do not look good, but the panel is too different from the Jeep’s to substitute. There should be a device and levers on the steering column to allow the steering wheel to pivot flat for shipping - check photos or videos. All the PE loops should be replaced with RR injected eyebolts from Tichy or your favorite RR supplier, or make wire and plastic rod loops. The missing suspension V can be made from 60X80 or 100 strip using the one you get as a pattern. Do not install the Vs until you’ve fit the funny-shaped support tube between the chassis sides for two reasons: 1. You can’t fit the tube thingy after the Vs, and 2. the instructions don’t actually show you where the Vs go except you trap the tube thingy between them and get it vertical.
I know this is rambling, but I guarantee it makes more sense than the instructions!
Thanks for the rundown. I figured it wouldn’t be a perfect nor easy kit being of Eastern European origin. I am very familiar with jeeps and jeep kits, so that should be helpful.
Wow. I purchased this kit with great expectations. Their ADGZ kit was pretty good. Your report makes me want to bin this kit unopened. Still, I have a Meng MB that I can donate to the cause, and I restored a real MB with a friend, so I think I can figure it out. Thanks for the warning, though!
Were you able to finish it? How about some photos?
I saw this kit in a Denver area shop a few years ago. The kit’s origin told me to pass. Thanks for confirming. The incorrect box art doesn’t exactly imspire confidence either.
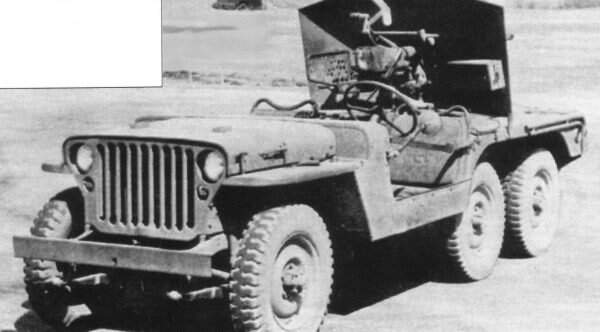
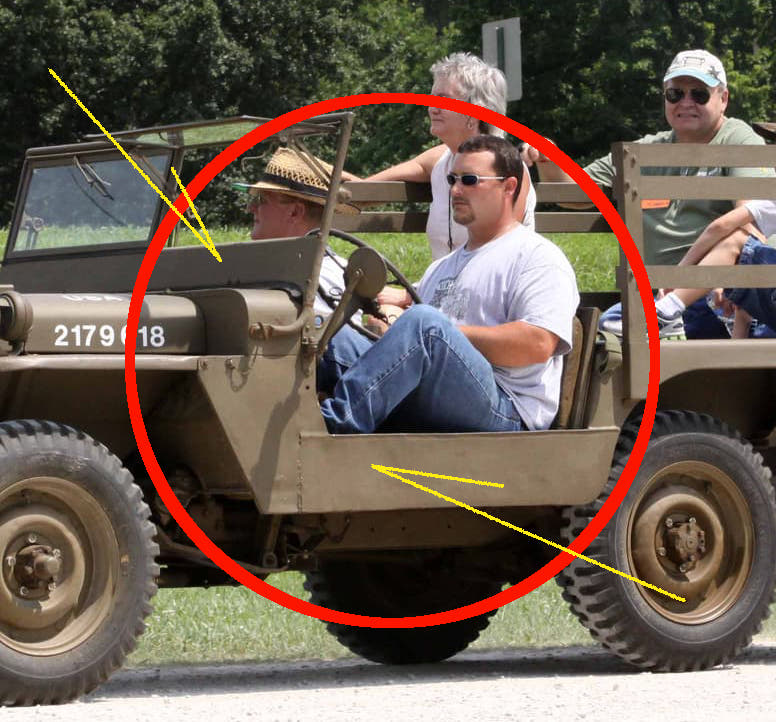
If you see this odd stepout in the design of the cowl and if the side panel (no tools) shoots straight ahead to meet the top outer corner of the fender then you are most likely looking at the real deal and not a chop-shop copy. Anything else is homemade regardless of how nice a job has been done on it.
As seen here, no matter how beautiful the custom design and the workmanship; there are “what ifs’” and then there is the real thing. This one is a modern home built.
Anybody know if the track unit was the same as theM3 halftrack? Did this make it to trial status? Or was it just a reminder of a 3 (+) Martini lunch gone wrong?
I know one of the grumbles with the M8/M20 was cruddy off road ability. Tracks would have helped. I’ve toyed with the idea of a mortar carrier. Recce team of an M20 , couple M8s and an 81mm for fire support …
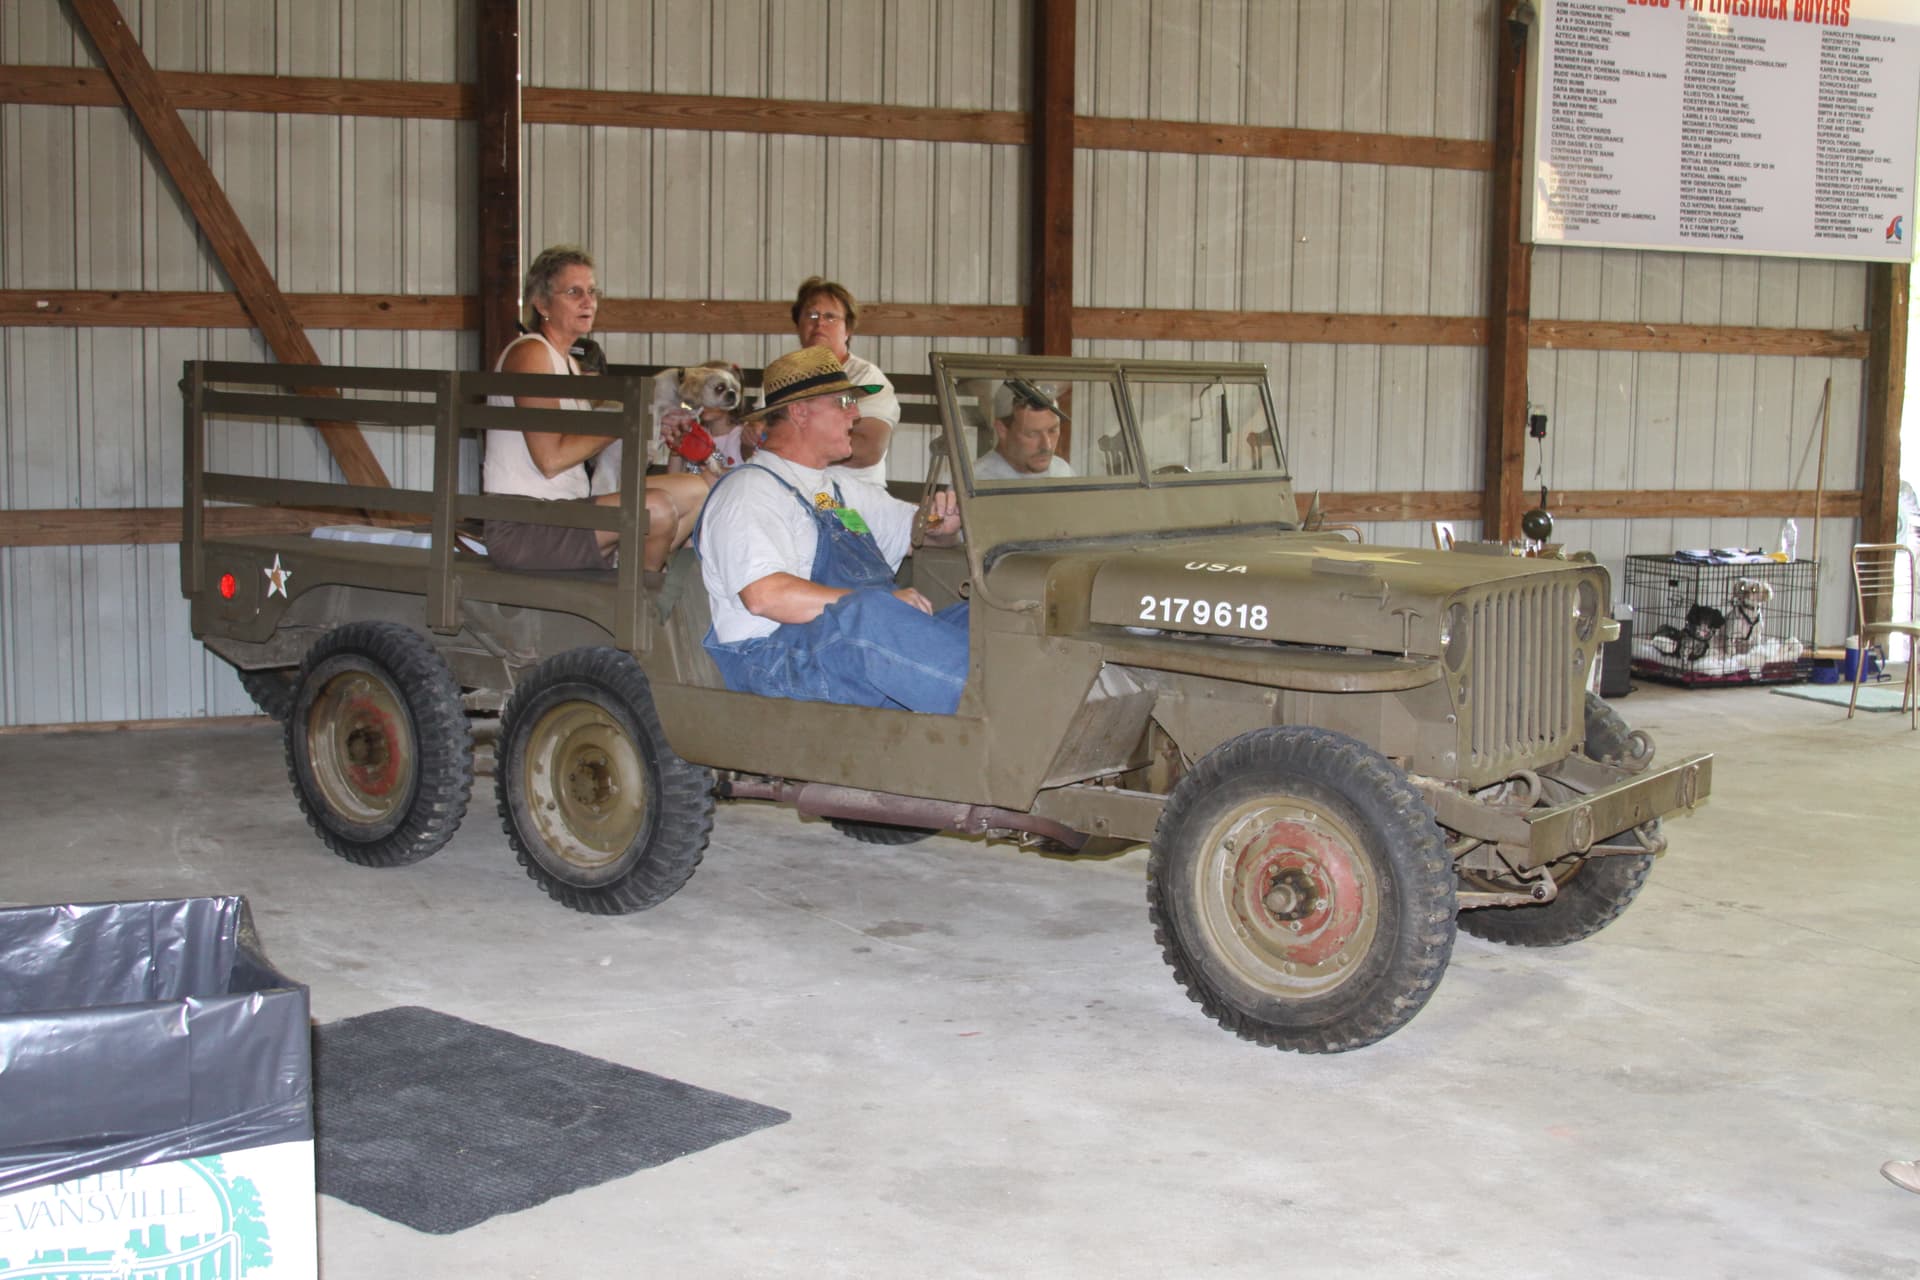
Beats me as to why in building the original WWII experimental 6x6 they did not just use the standard Jeep forward body tub as a starting point without any modification ???