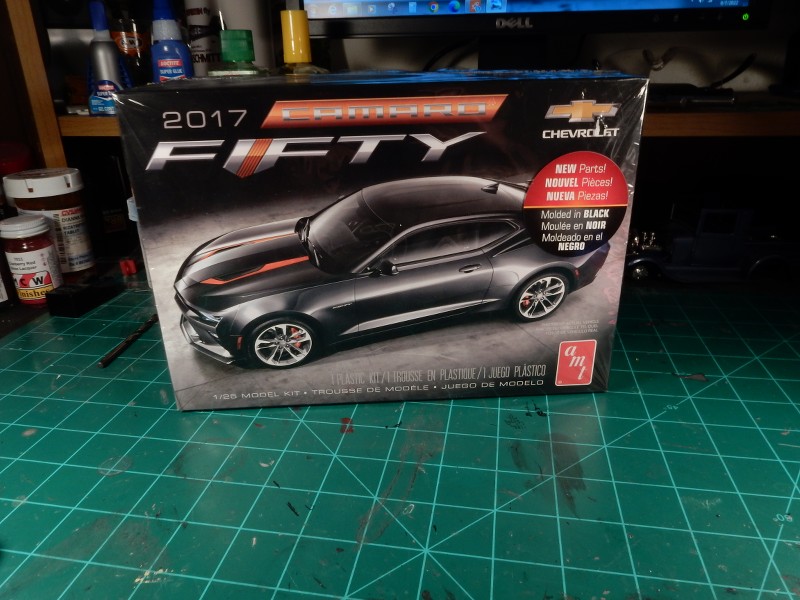
I’ve been working on a pair of 1970-1/2 Camaros for the last couple of months. I am almost finished with my Z/28 version and was just about to get started on the Baldwin Motion Camaro when I found out that a good friend of mine at work is going to retire in late November. He owns a 2017 Camaro “Fiftieth” Edition and I thought I’d build him a going away present. It’s rare when I do this as I always tend to feel under the gun of a time frame in which to get a build finished in time.
Joseph,
Now there’s not only a great new build, but a super retirement gift as a bonus too boot. I’m sure that it will be built up to your usual high standards. Please do one of your excellent build blogs so we can all appreciate the work, effort, and results along the way.
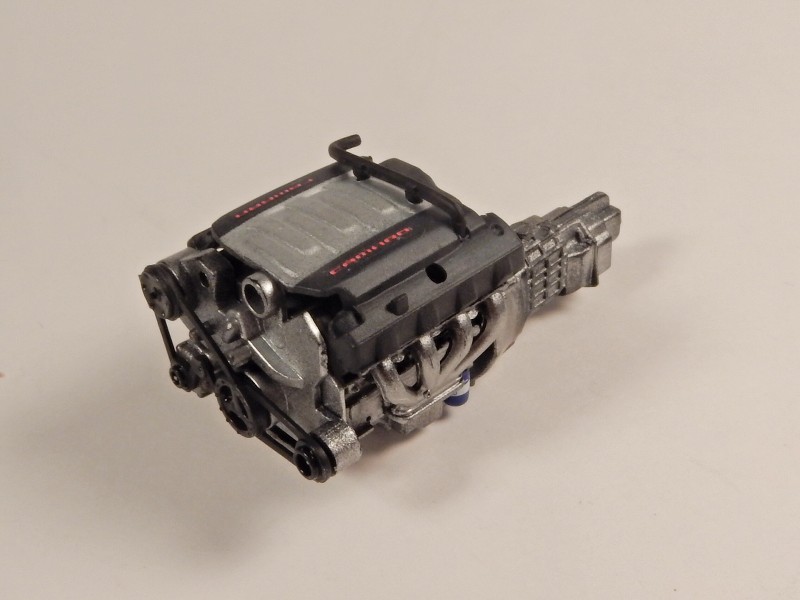
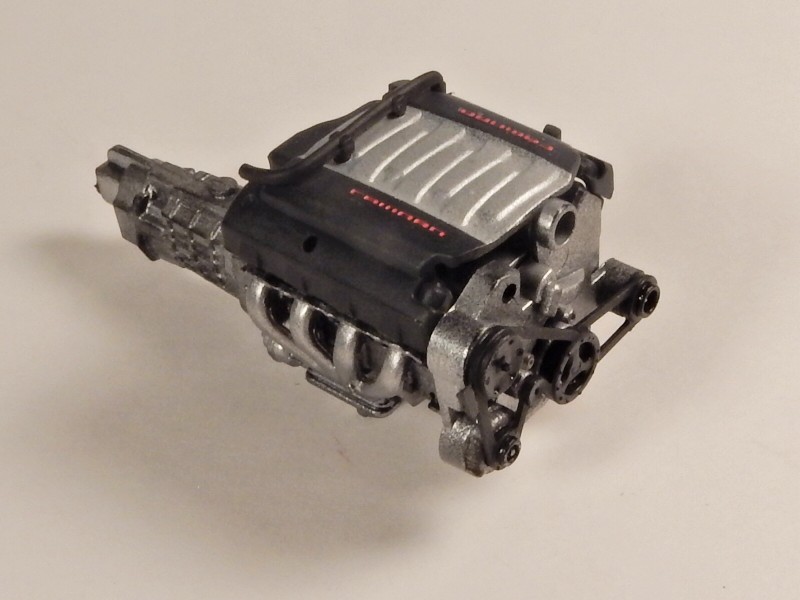
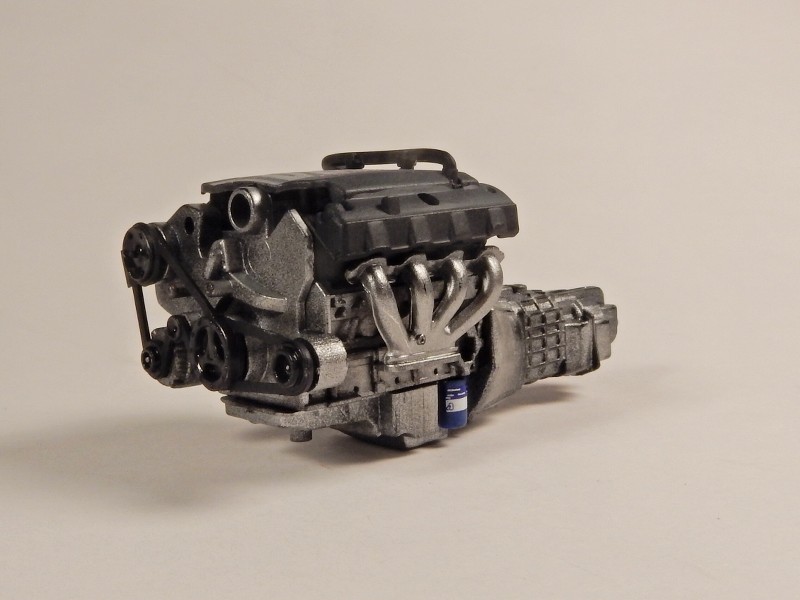
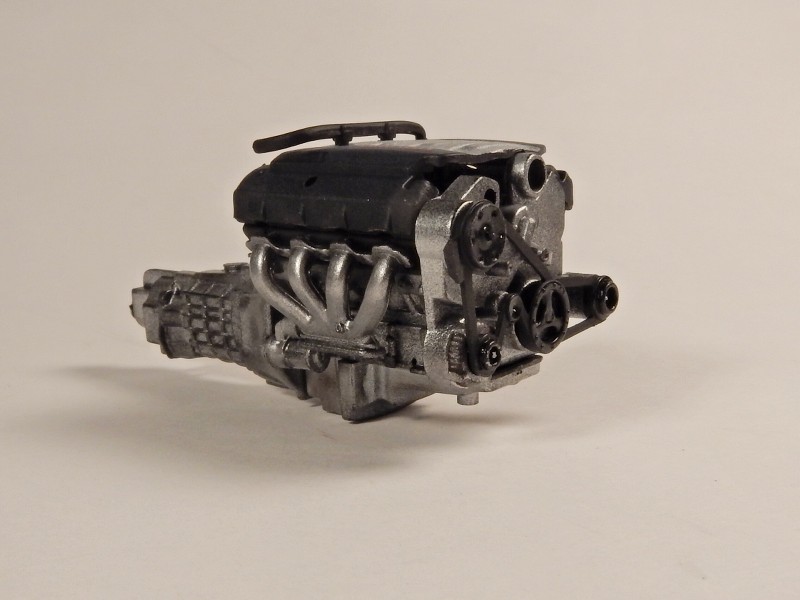
Engine is pretty much finished up on this one aside from some minor touch ups. It’s all OOB except for the AC Delco decal on the oil filter. Couldn’t help myself…just had to add it.
Joseph,
Hard to tell it’s just OOB. So much variation of Metallics just takes it to a whole new level. But as we’ve learned, you’re a true master of engines and chassis.
It’s looking great. Good job on the engine. My wife used to have a 2017 RS Convertible. It was a great ride, but too small for us as my other ride at the time was also a two-seater pickup. Still miss it on sunny days.
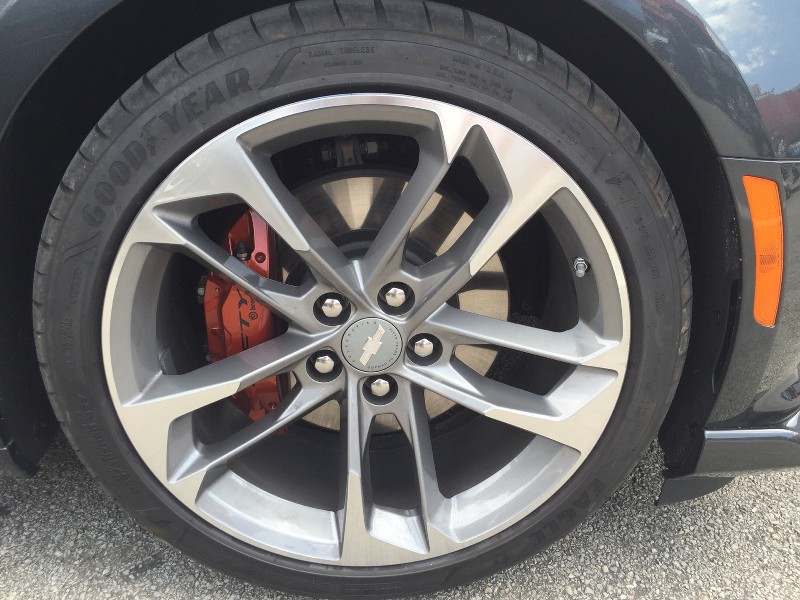
The only chrome parts in the whole kit were the wheels and these aren’t supposed to be chrome. They are more of a silver with a contrasting darker color used for the inlay areas of the wheel.
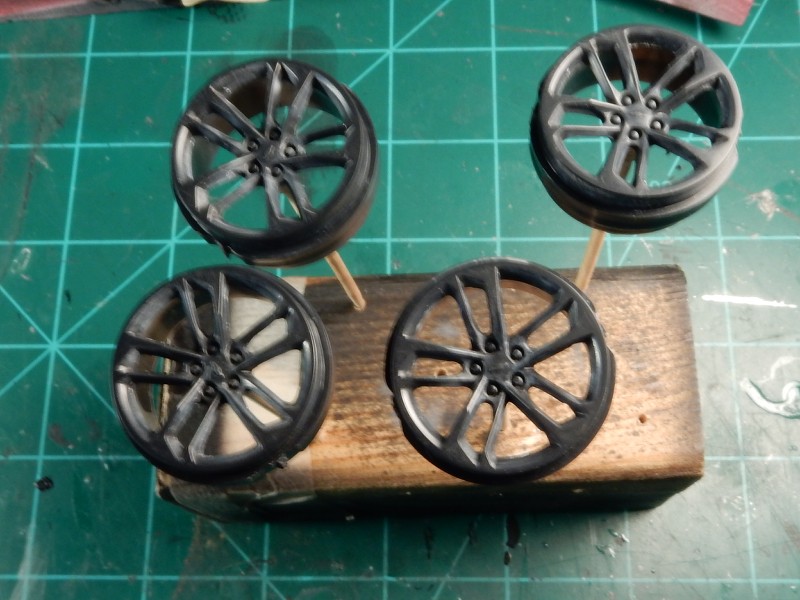
So I went to work by stripping all of the chrome off of the wheels and cleaning them up.
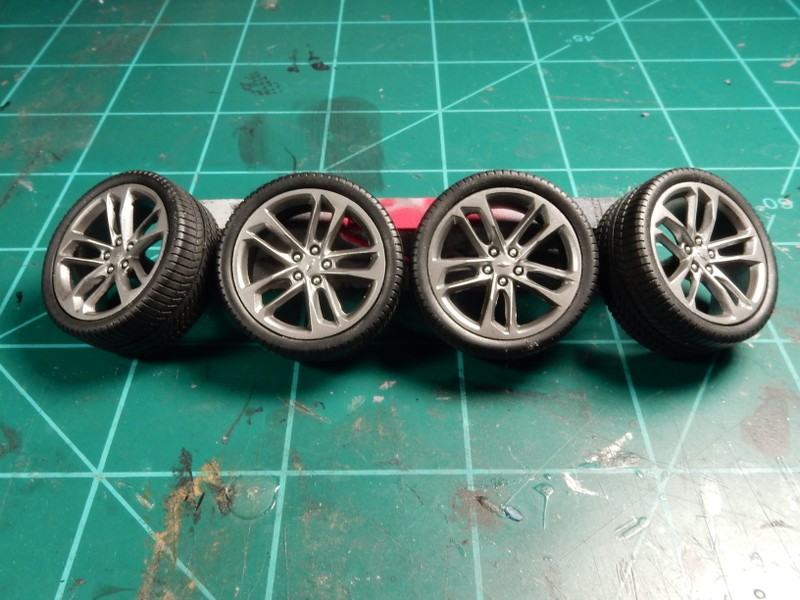
Here they are finished up. One of the problems with silver is that any leftover flash at all will show up in pictures. In real life you’ve really gotta be looking to see it. I used Vallejo Silver for the wheels and shaded the darker areas with ground up black pastel. Just didn’t feel comfortable painting the inlay areas. I then put a dot of Molotow Chrome on the lugnuts and then used a toothpick to apply MM Chrome Silver to the Bowtie emblem in the middle of each wheel.
I agree with Joel, lovely job on fixing up those wheels. You can also use a sharp pencil to darken the highlights around the rims, gives good control of how dark you want them and very precise to apply.
Thanks fellas!!
Damian: I’d considered the use of a pencil but I wanted the effect to be subtle. I do really appreciate the suggestion and will be keeping that in mind for future projects.
Getting this one to a lower stance has been a tricky ordeal but I’m making my way through it. I did some work on the rear suspension to get the stance mostly where I want it. Gonna play around with the front a little more to get a tad bit lower. A good test fit/ mock up later:
One thing this kit has going for it is a completely detailed out undercarraige. Very high parts count (over 40 parts) and a great effort by AMT on replicating it.
Thanks Joel. Been crazy busy at work and therefore completely drained when I get home as of late. Will be posting progress on this one as well as commenting on other ongoing builds this weekend.
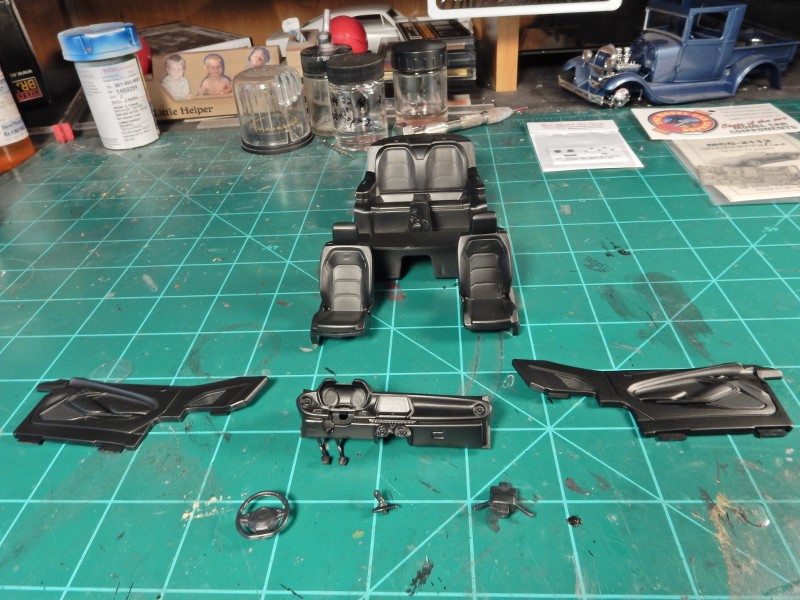
Now to move on to the interior. After building the chassis up, I’m a little let down with the interior. I mean…it’s okay… The problem is going to be painting the contrasting panels on the seats, door panels and dash. LOTS of masking in store for me.
Check it out:
Here’s the layout which has now been primed and had the semi gloss black lightly sprayed on for the right effects.
Joseph,
I’m looking forward to seeing how you mask and then paint that two tone interior. I’ve got all the confidence in you to produce an exacting replica.
joel
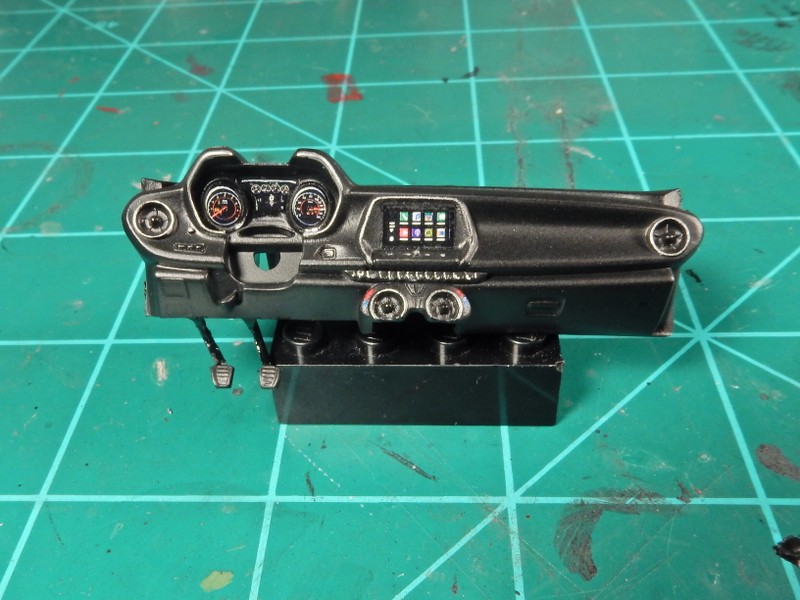
Dash is mostly completed. Still have the steering wheel and column to go and then we’re off to the seats. I managed to pick up a spare interior so I could make the painting masks for the seats and door trim so that’s next up.