Greetings all, just signed up, long time lurker first time posting. Figured I’d share my latest build as I tried a lot of new techniques mixed with some of my own.
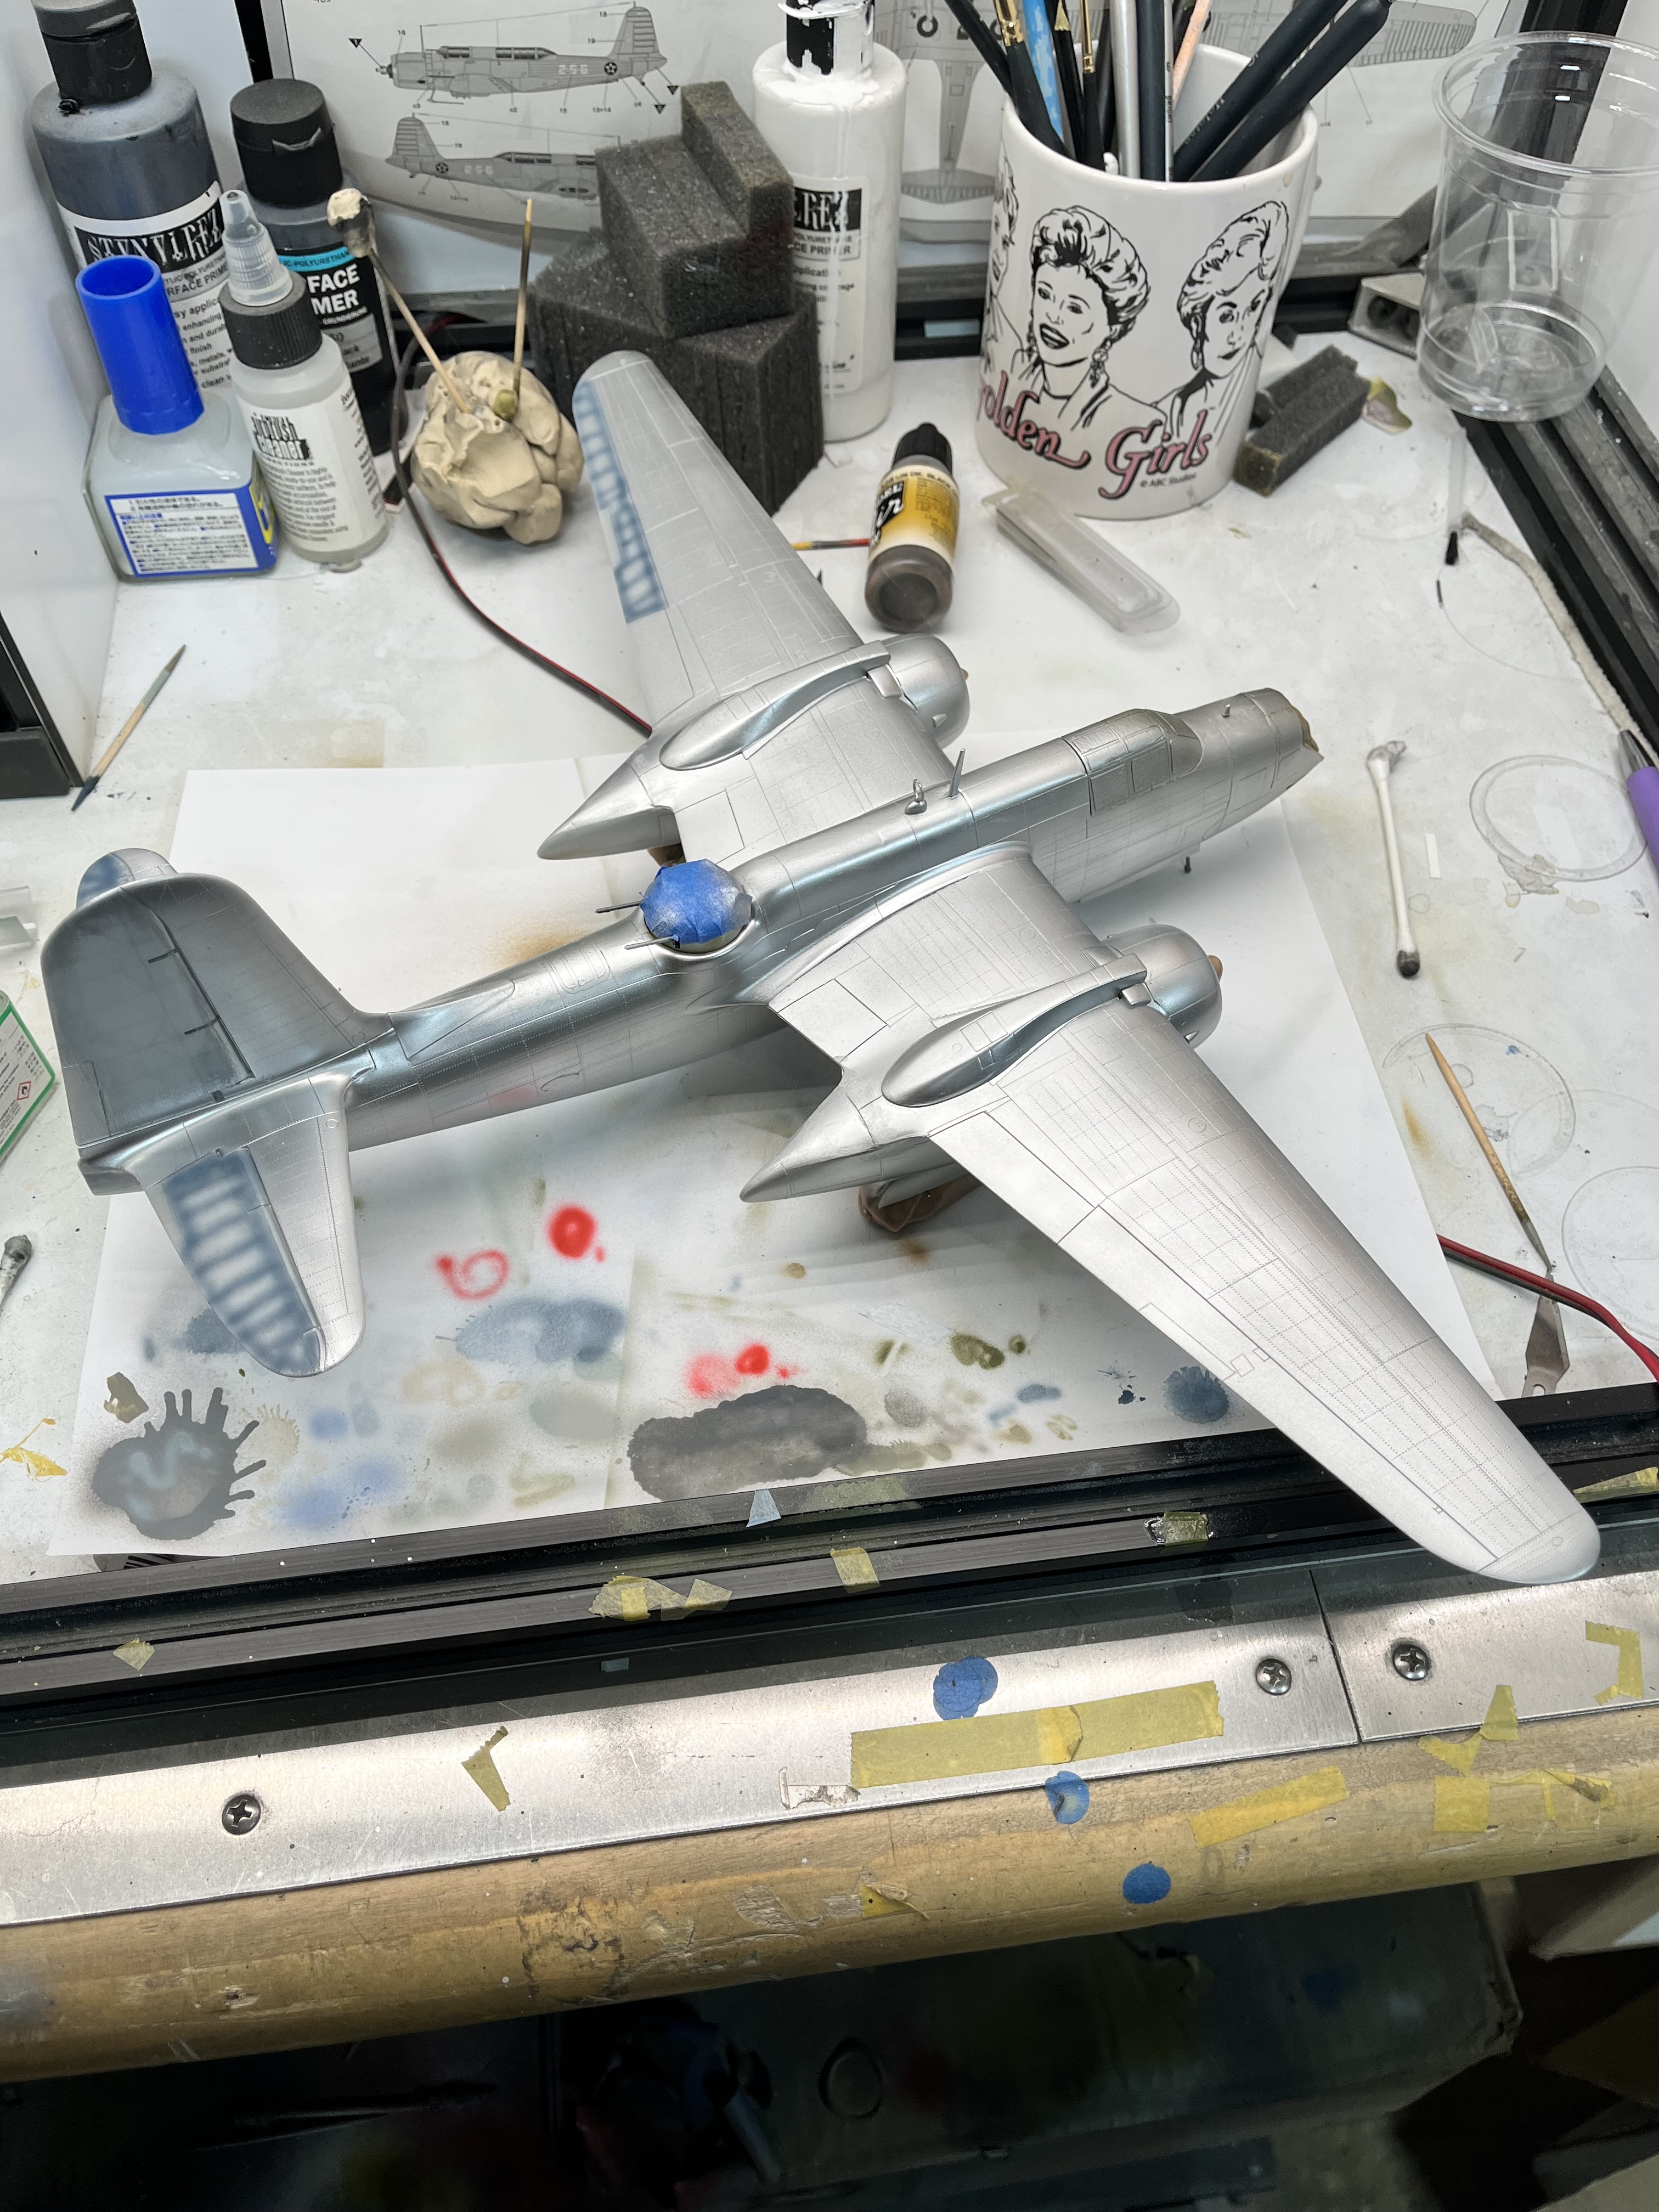
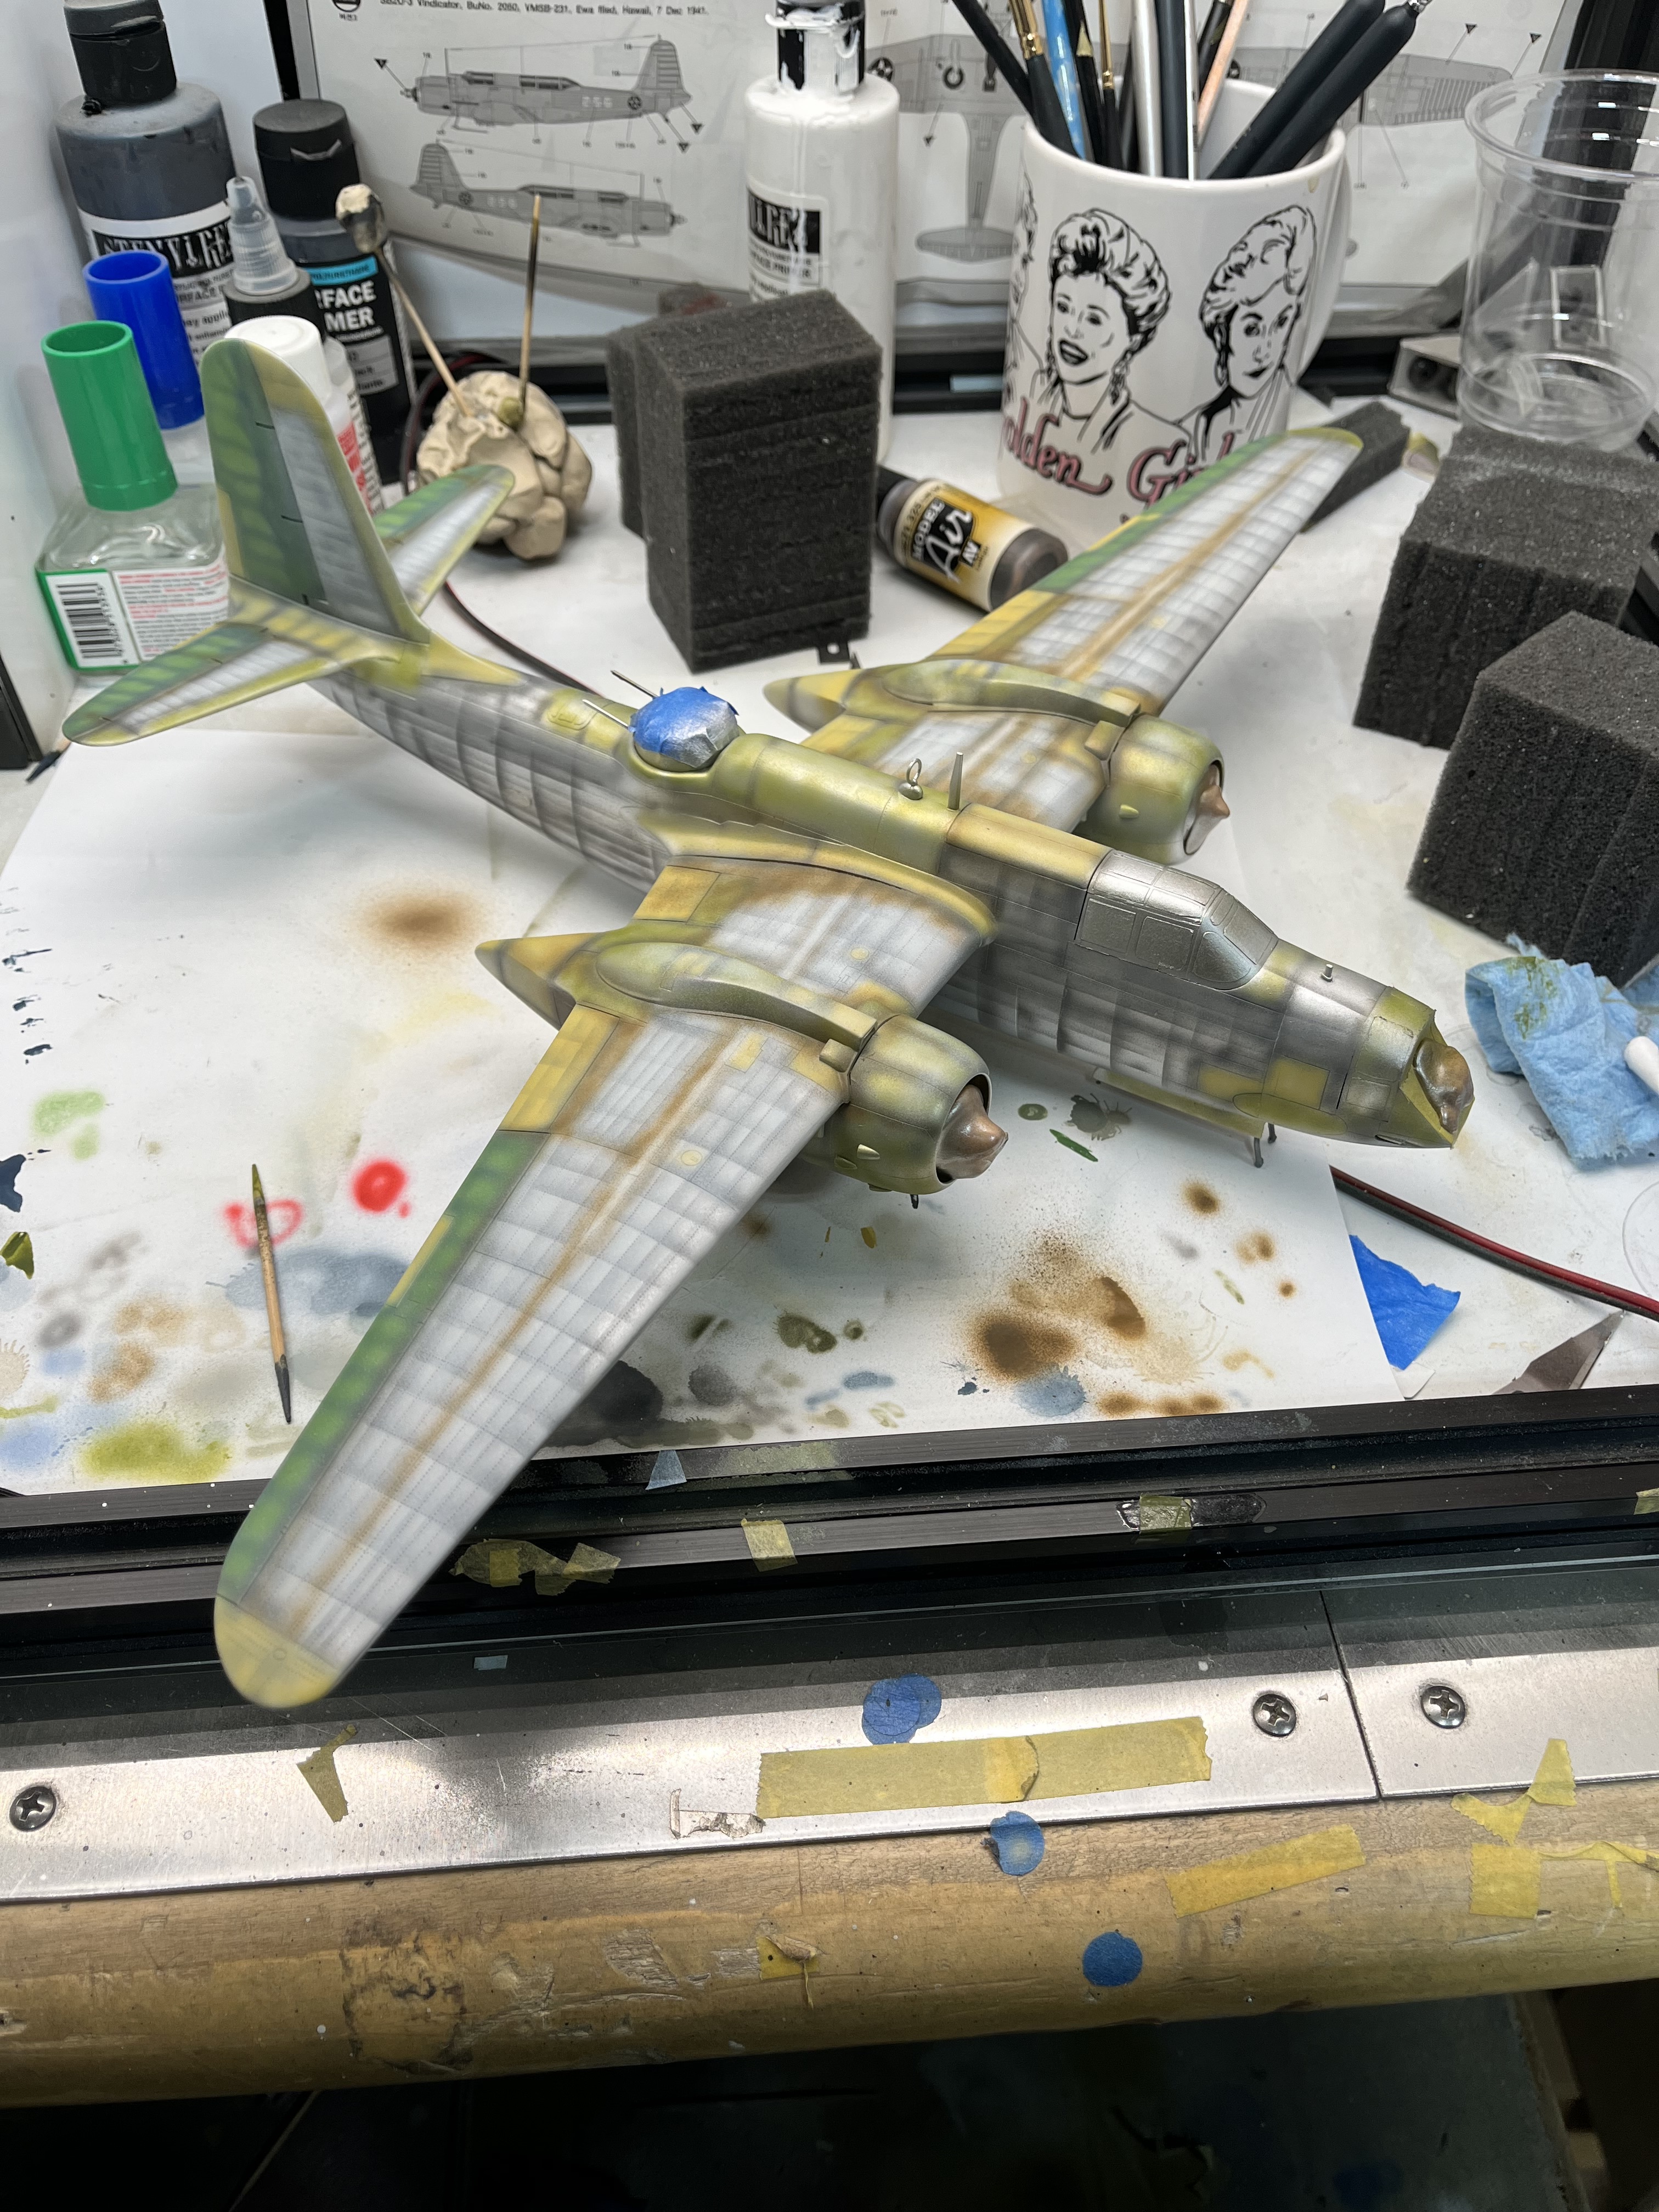
Here she is built with added rivet detail and a start on preshading the control surfaces to simulate fabric.
More to come…
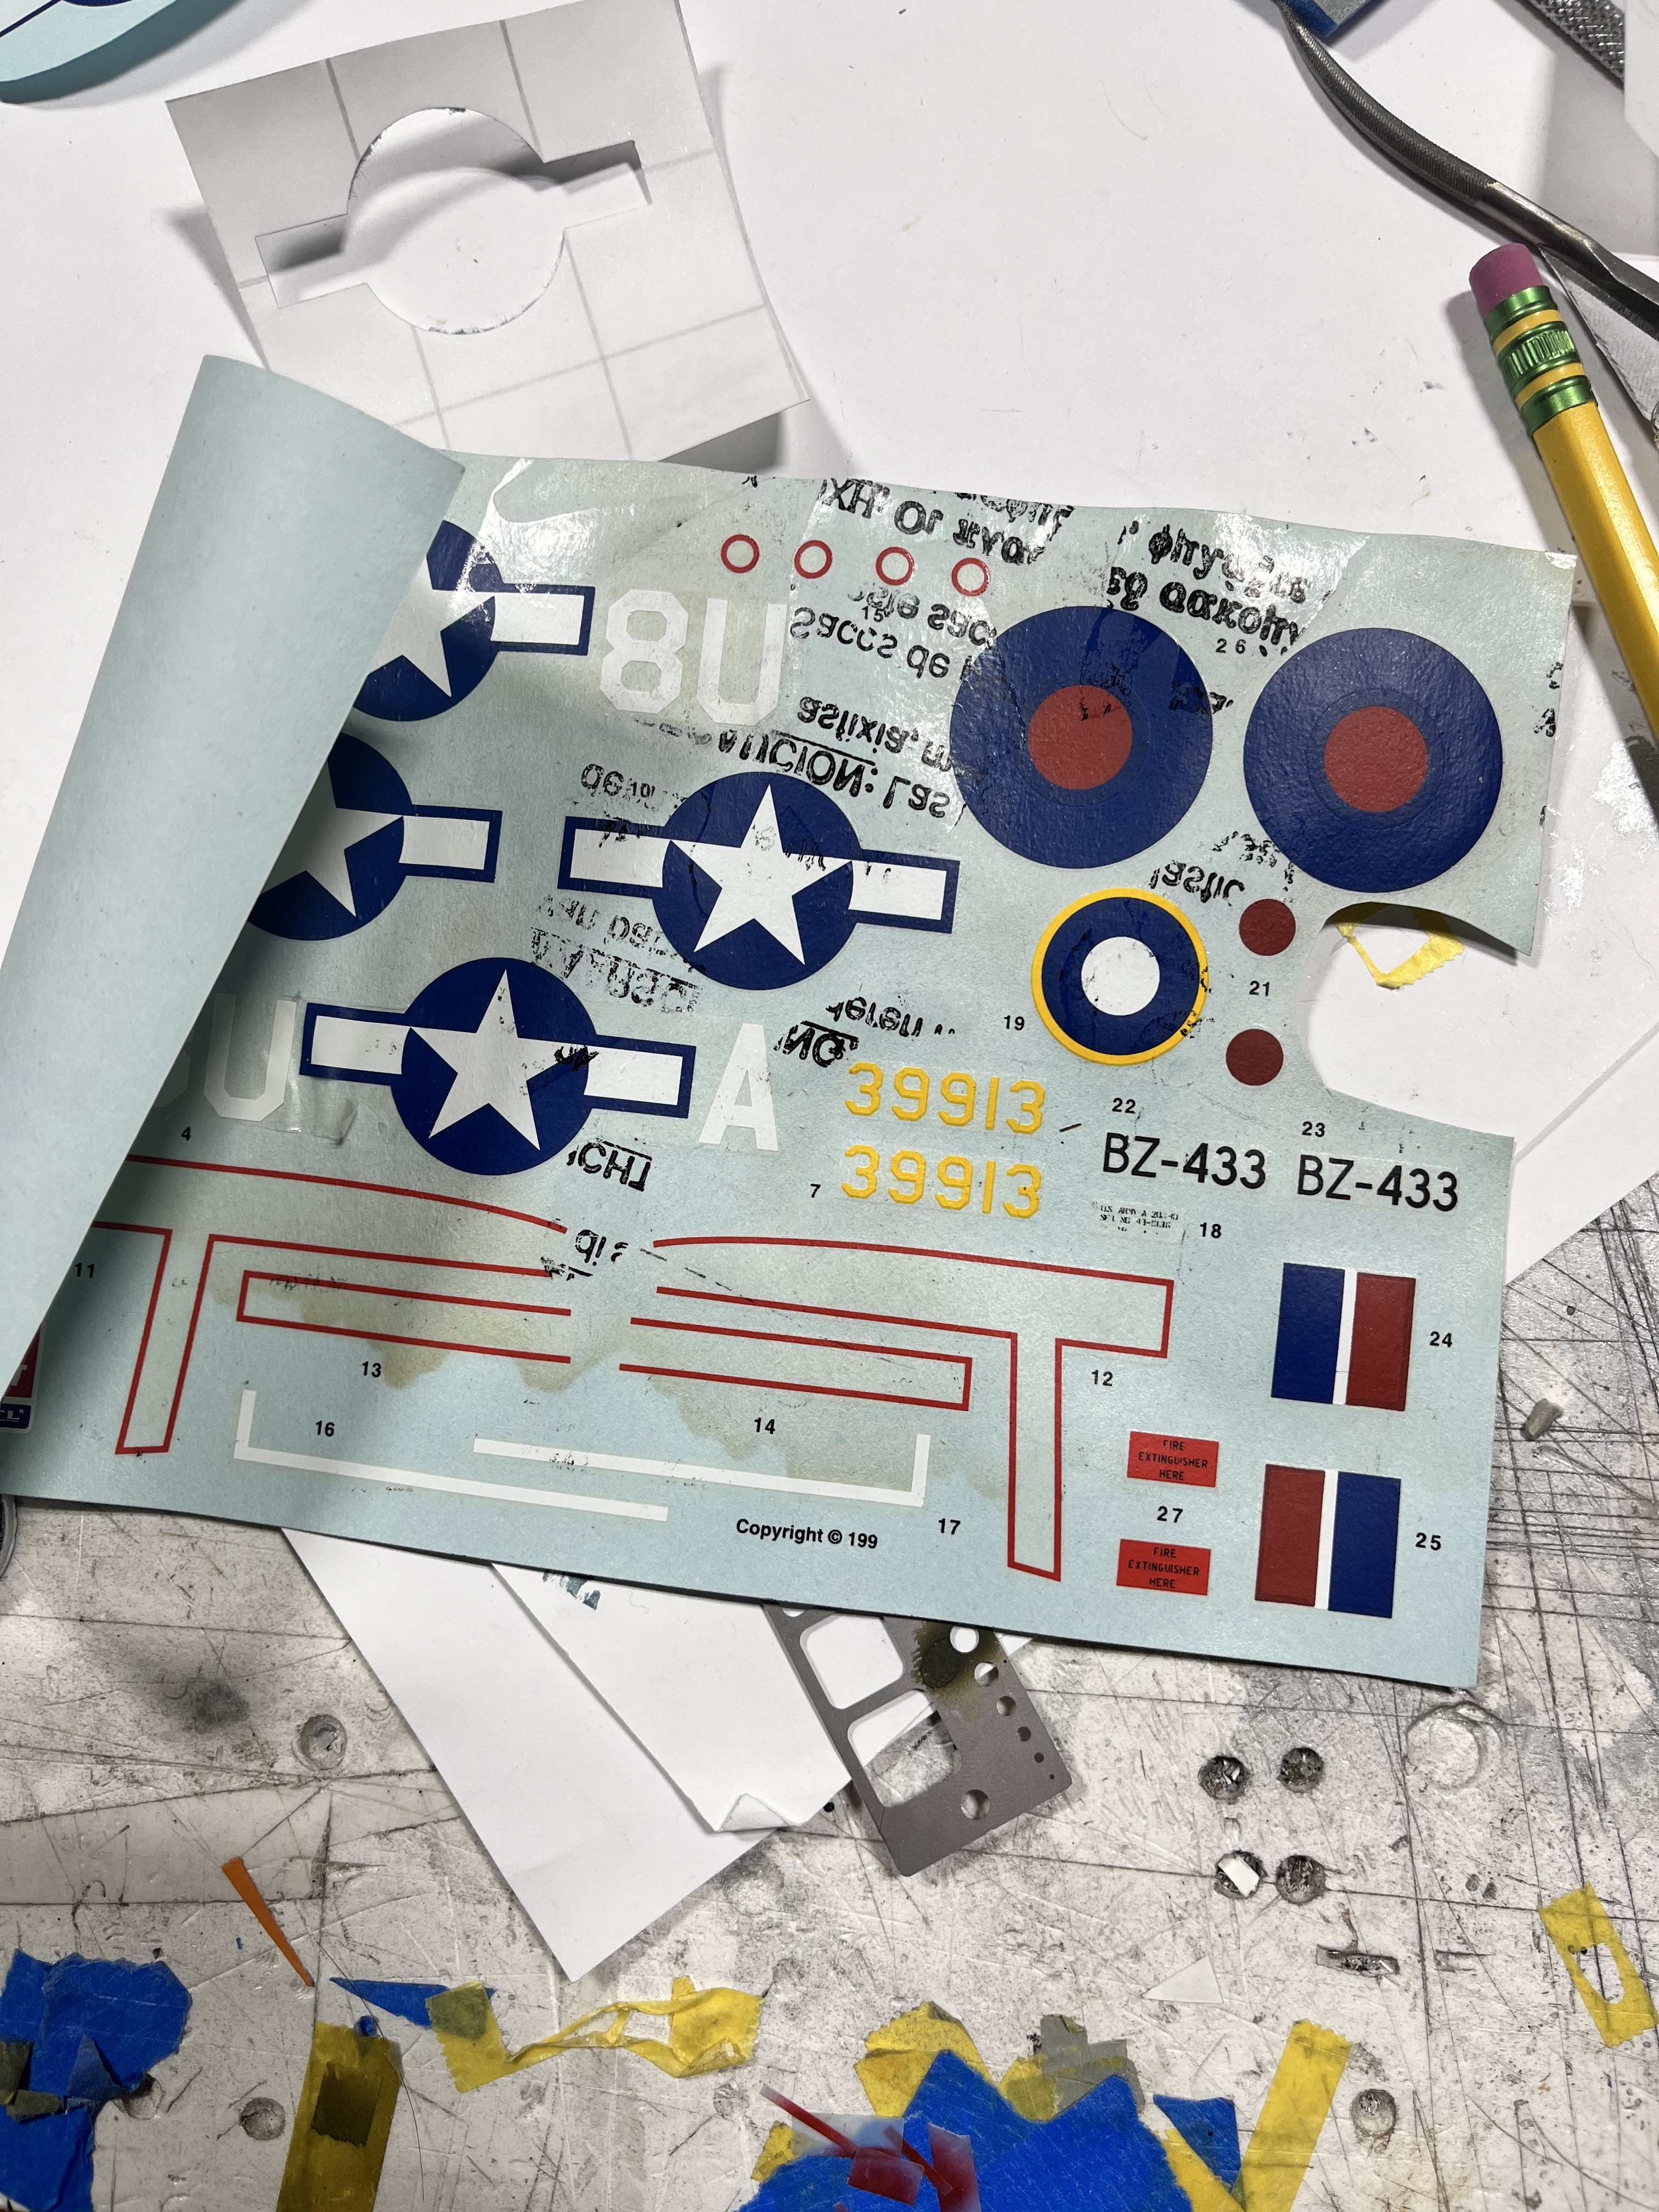
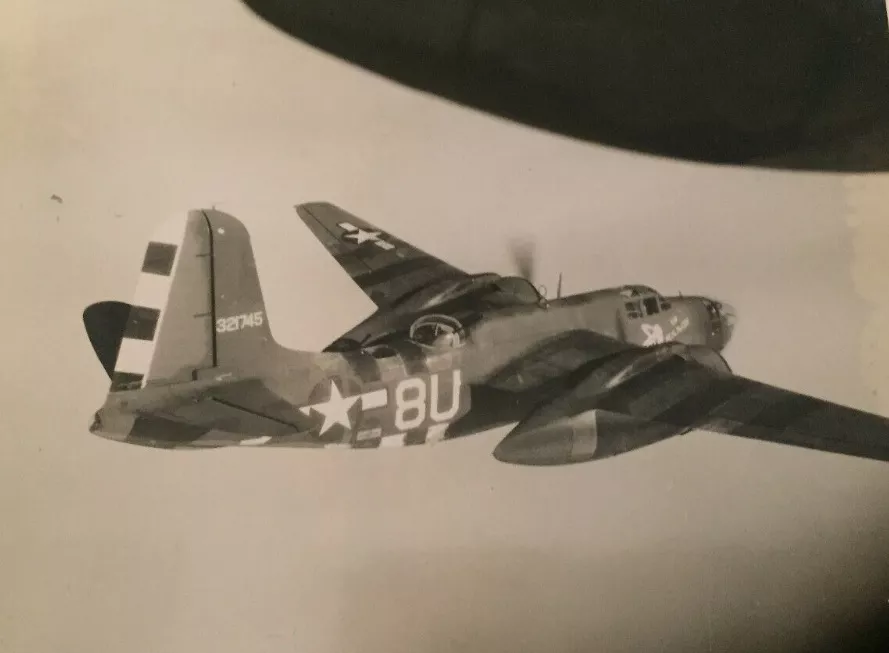
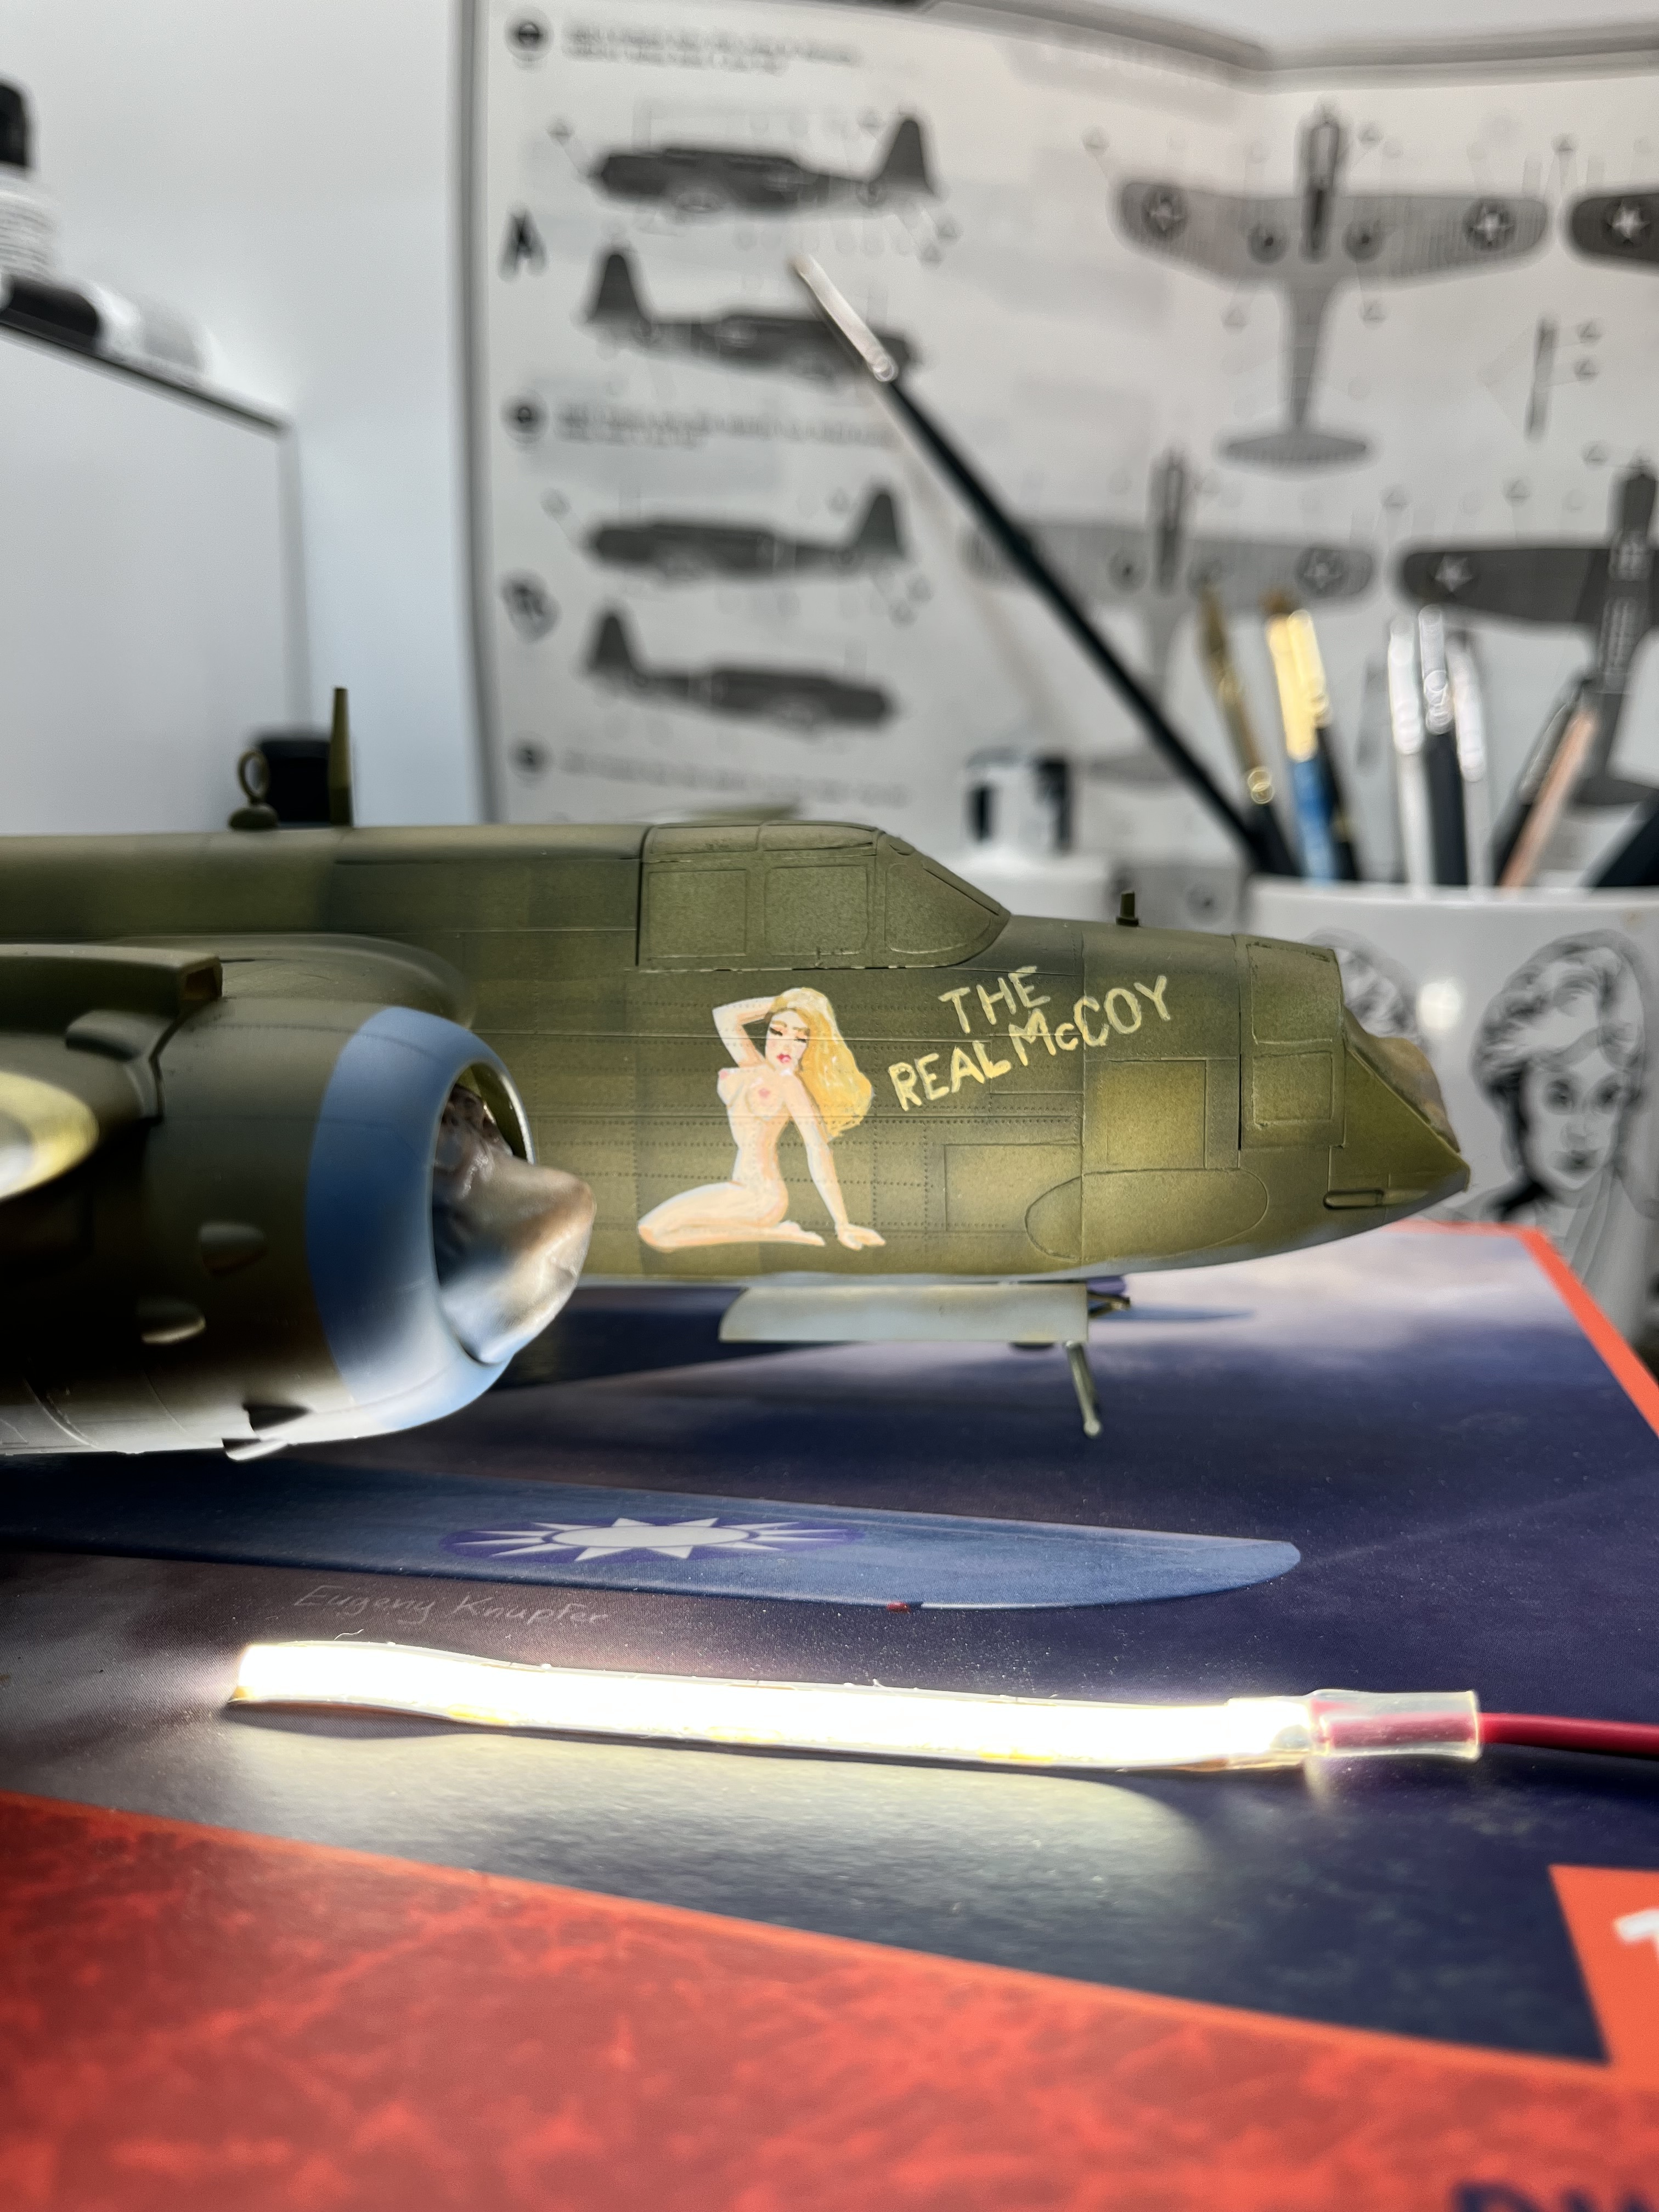
These were my kit decals… an unholy matrimony of a decal sheet and a parts bag. I decided to go down a rabbit hole and find an ETO A-20G.
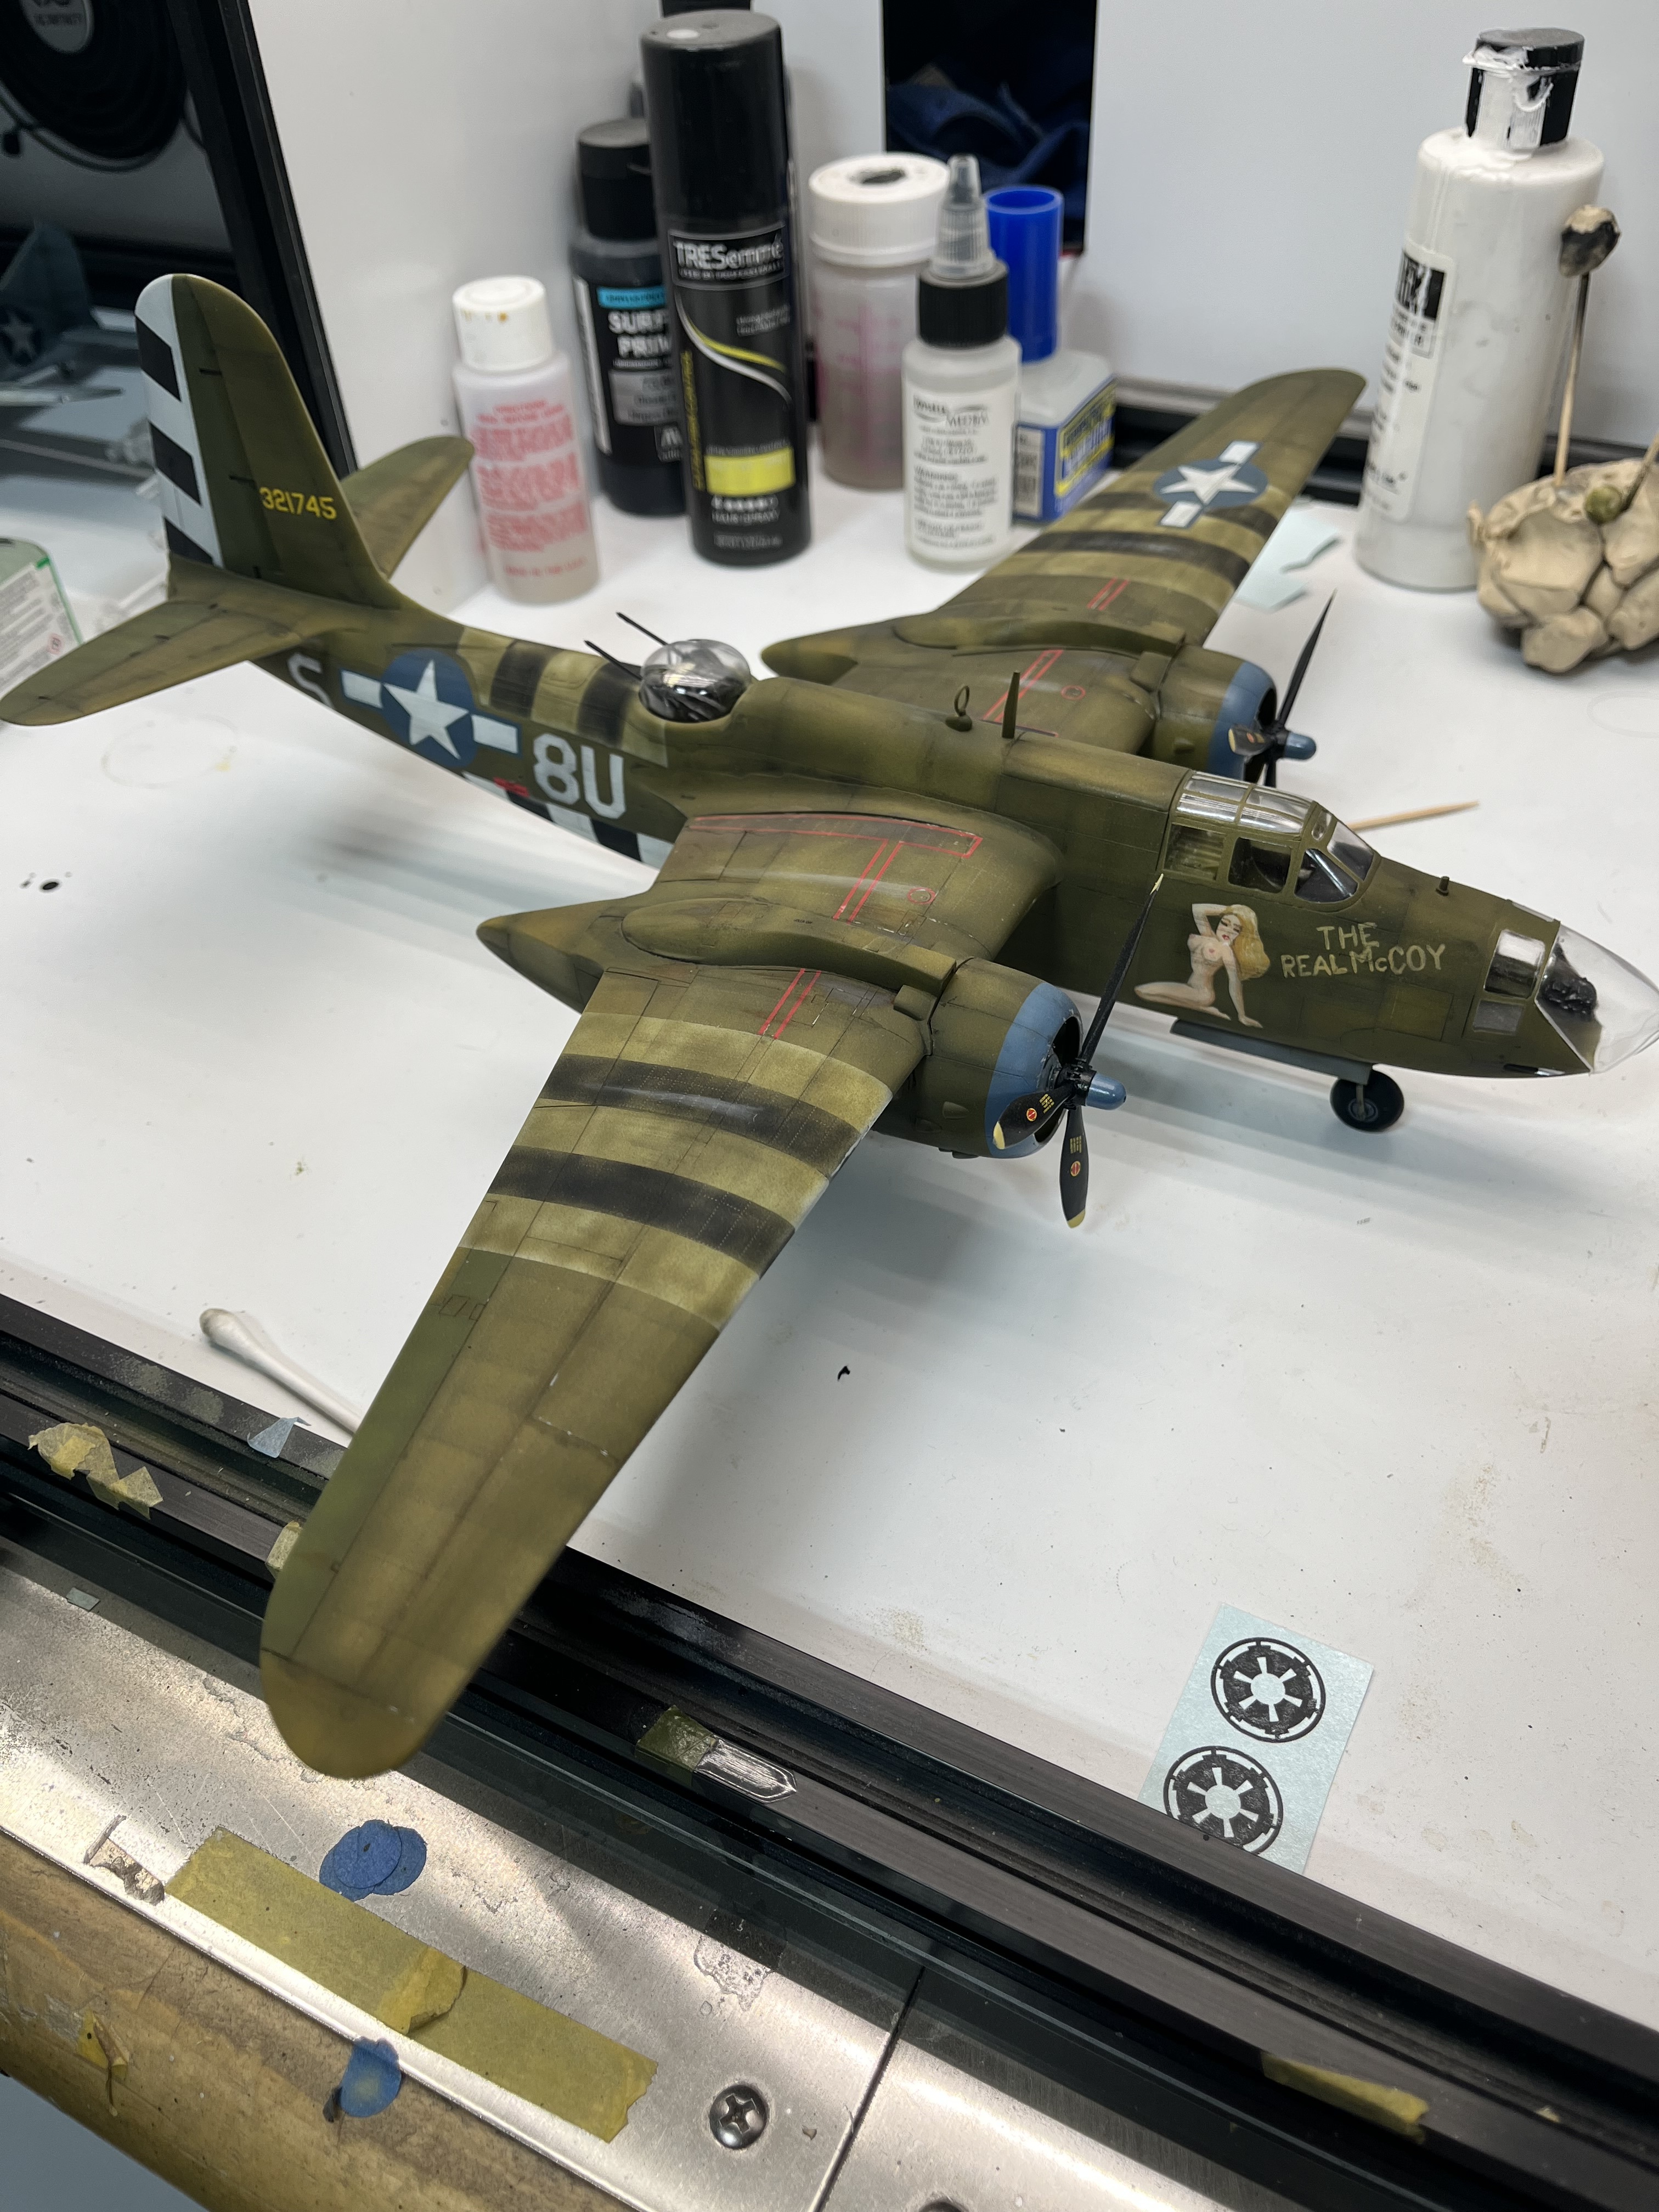
I landed on “The Real McCoy” and had to do the unique scheme with the painted over invasion stripes.
4 Likes
All the control surfaces are set, now for the fun bit.
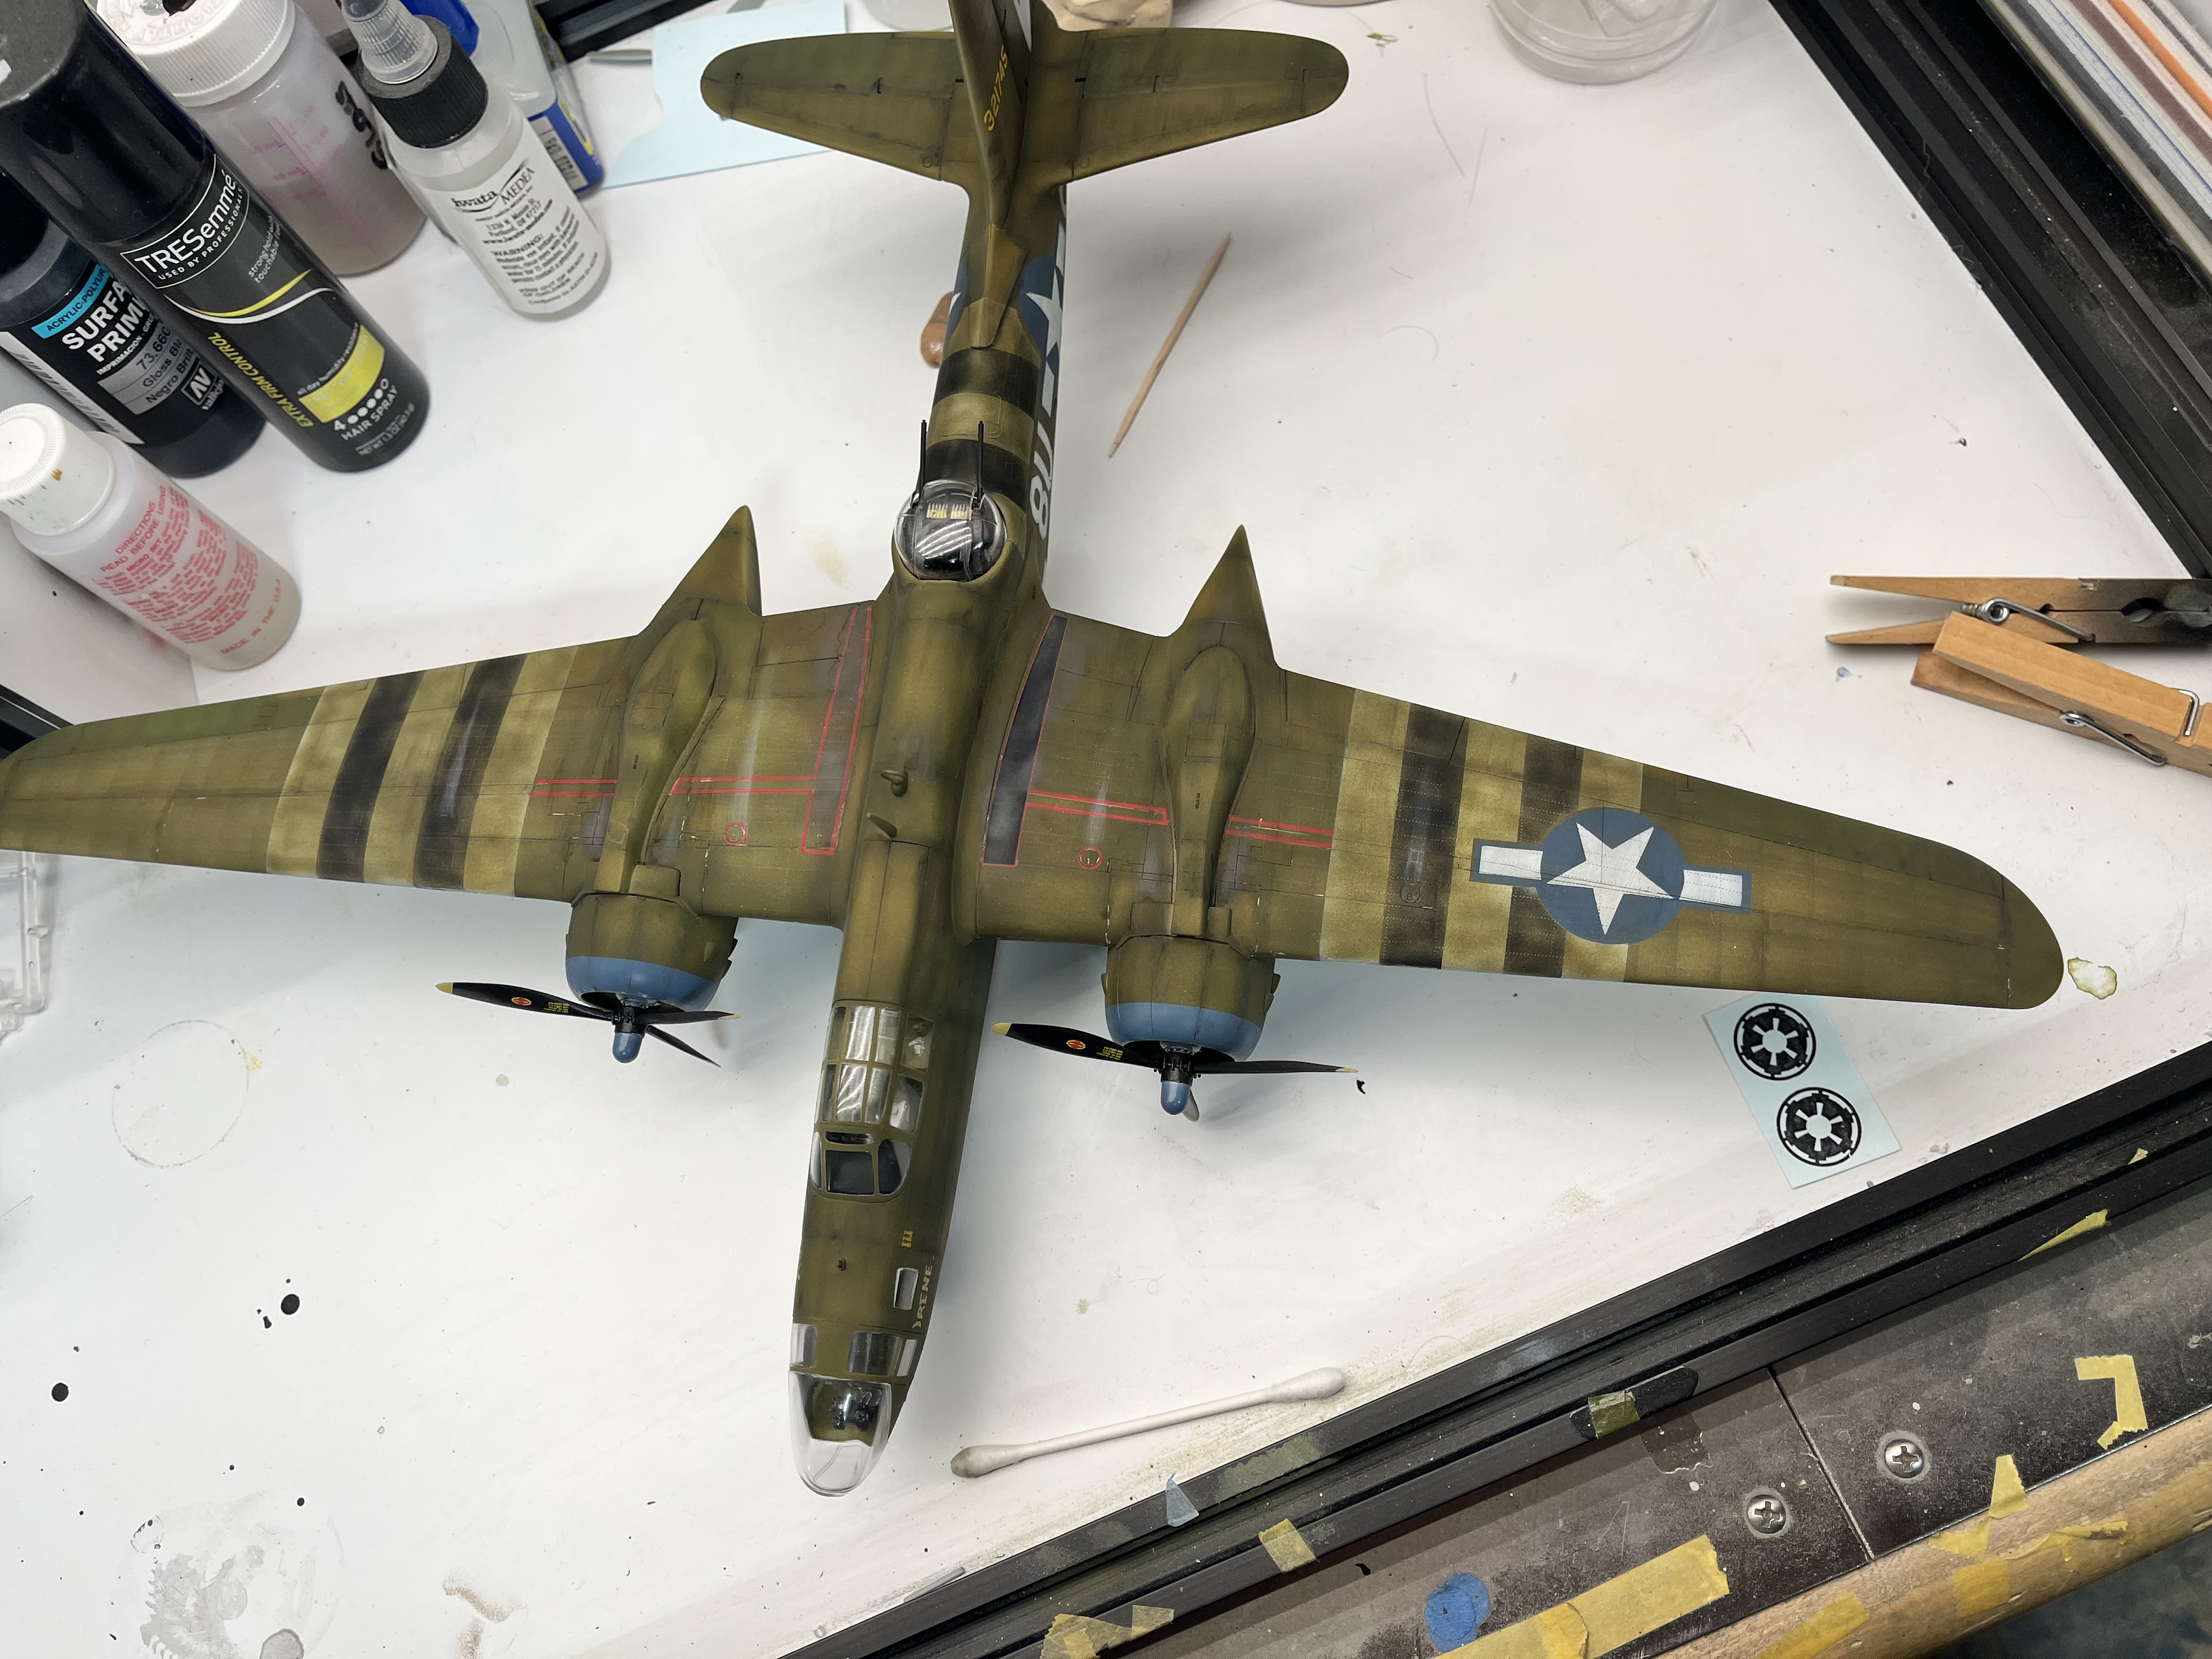
Using a straight edge I cross hatch the individual panels using the rivet lines as a guide. Essentially faking a light source and adding that drama.
All the lines are on. I used tape for the fuselage straight edge btw. I start to add some color in the pre shade.
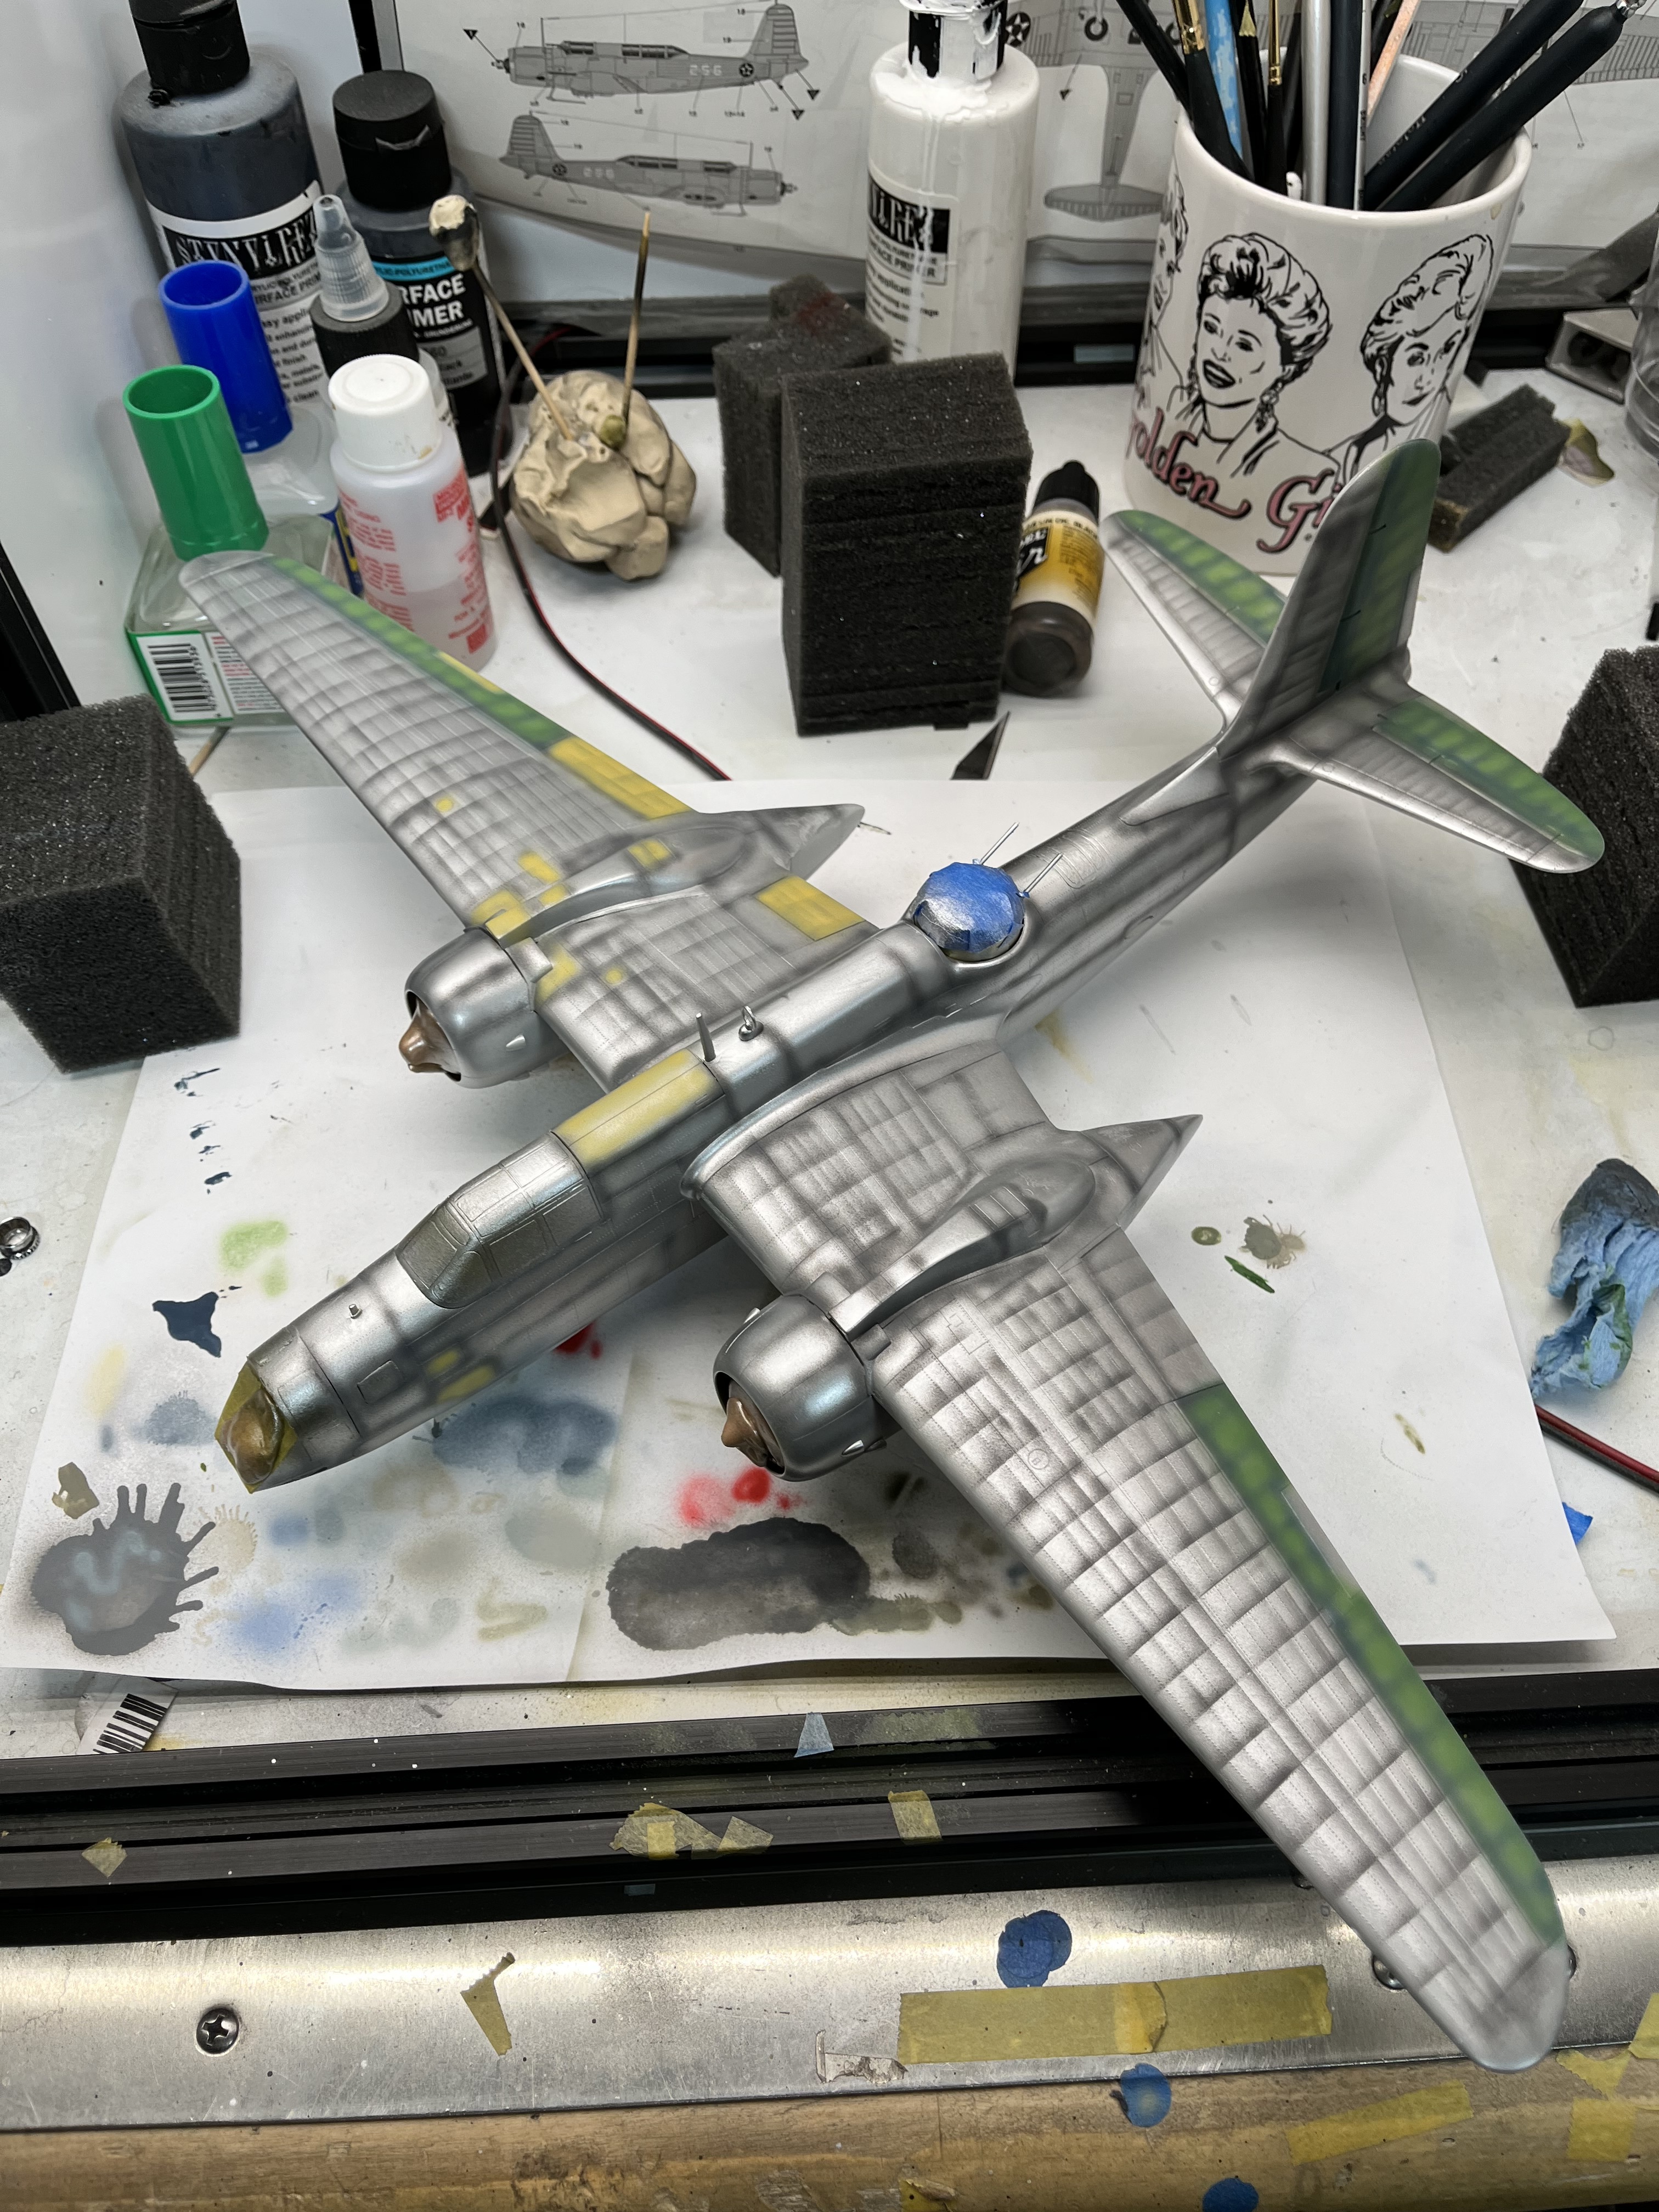
Now, I do like drama, but to dial it back a bit I add a coat of thinned light gull grey.
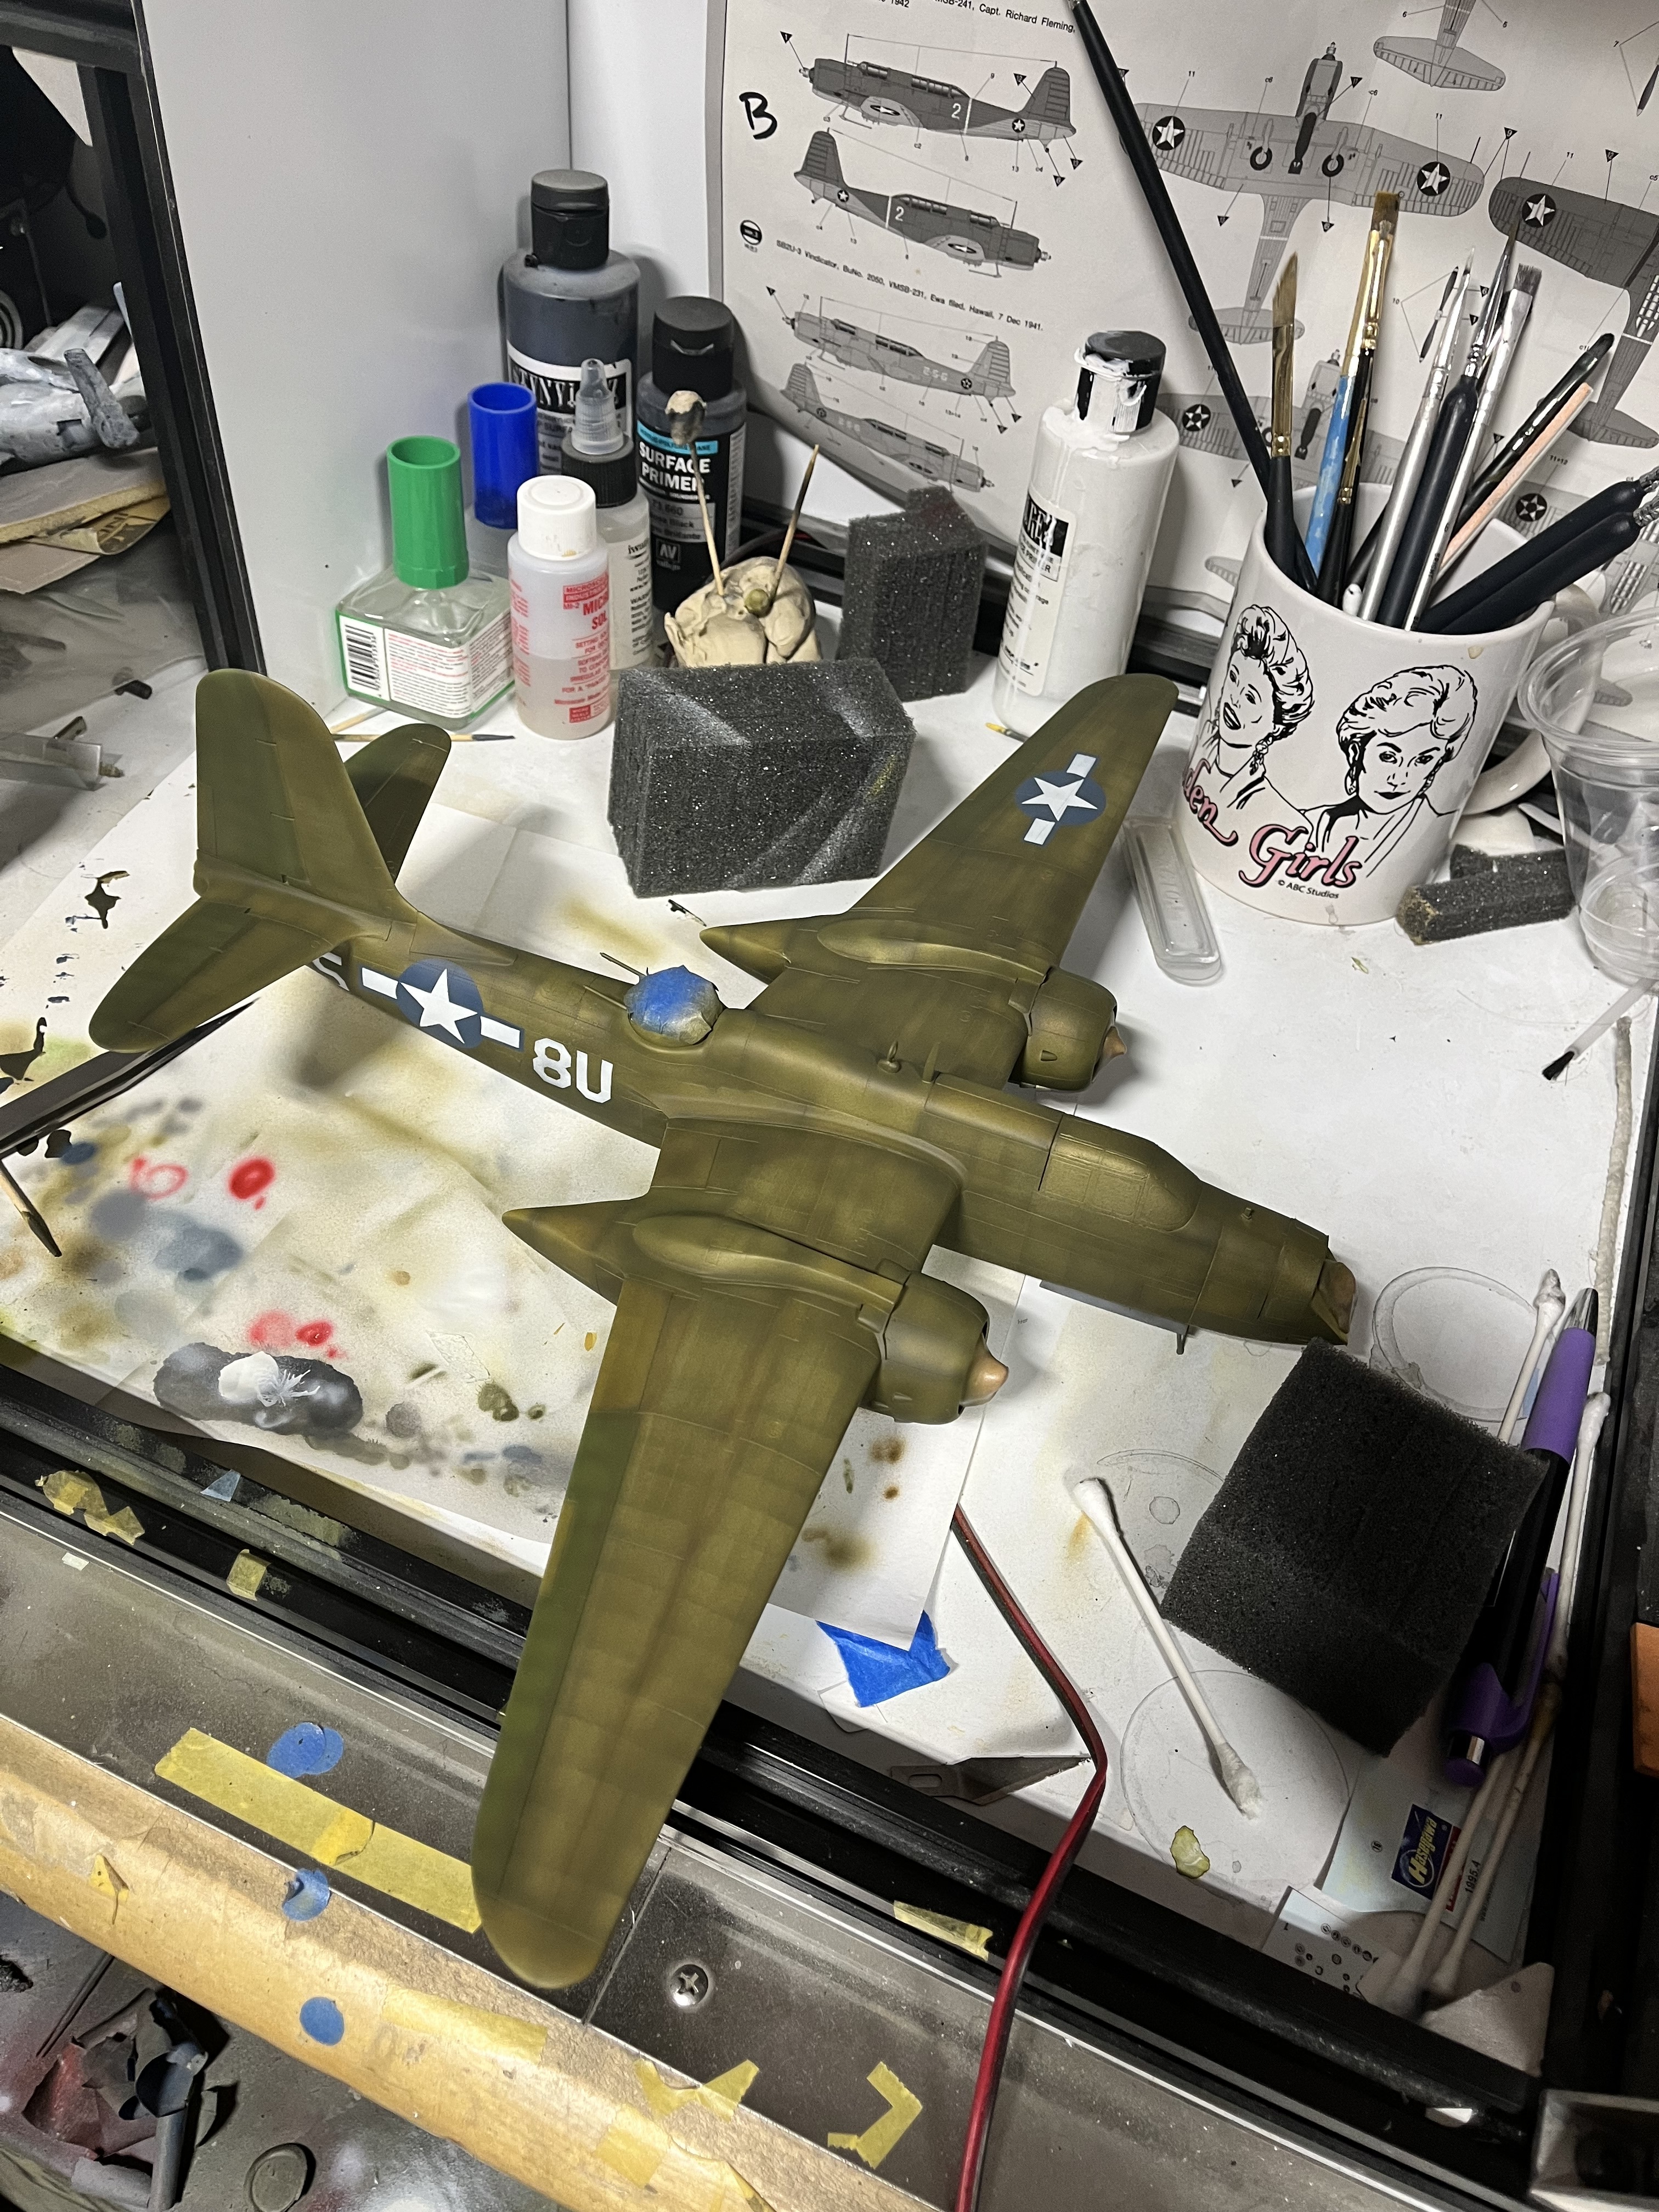
Here’s the first coat of DK olive drab thinned 40/60 paint to thinner.
7 Likes
Hi Marks!
Good start on this oldie and welcome to the forum! 
Many years ago I built a VVS (Soviet) A-20 of the Black Sea Fleet out of the Italeri rebox. Had many issues … 
Happy modelling!
Torsten

1 Like
As a fellow lurker I admire your courage to post. Mind you, your model is excellent so nothing to fear. I need to improve a bit before I’ll ‘come out’! Great job / Ian
1 Like
Welcome aboard. She is looking great. 
1 Like
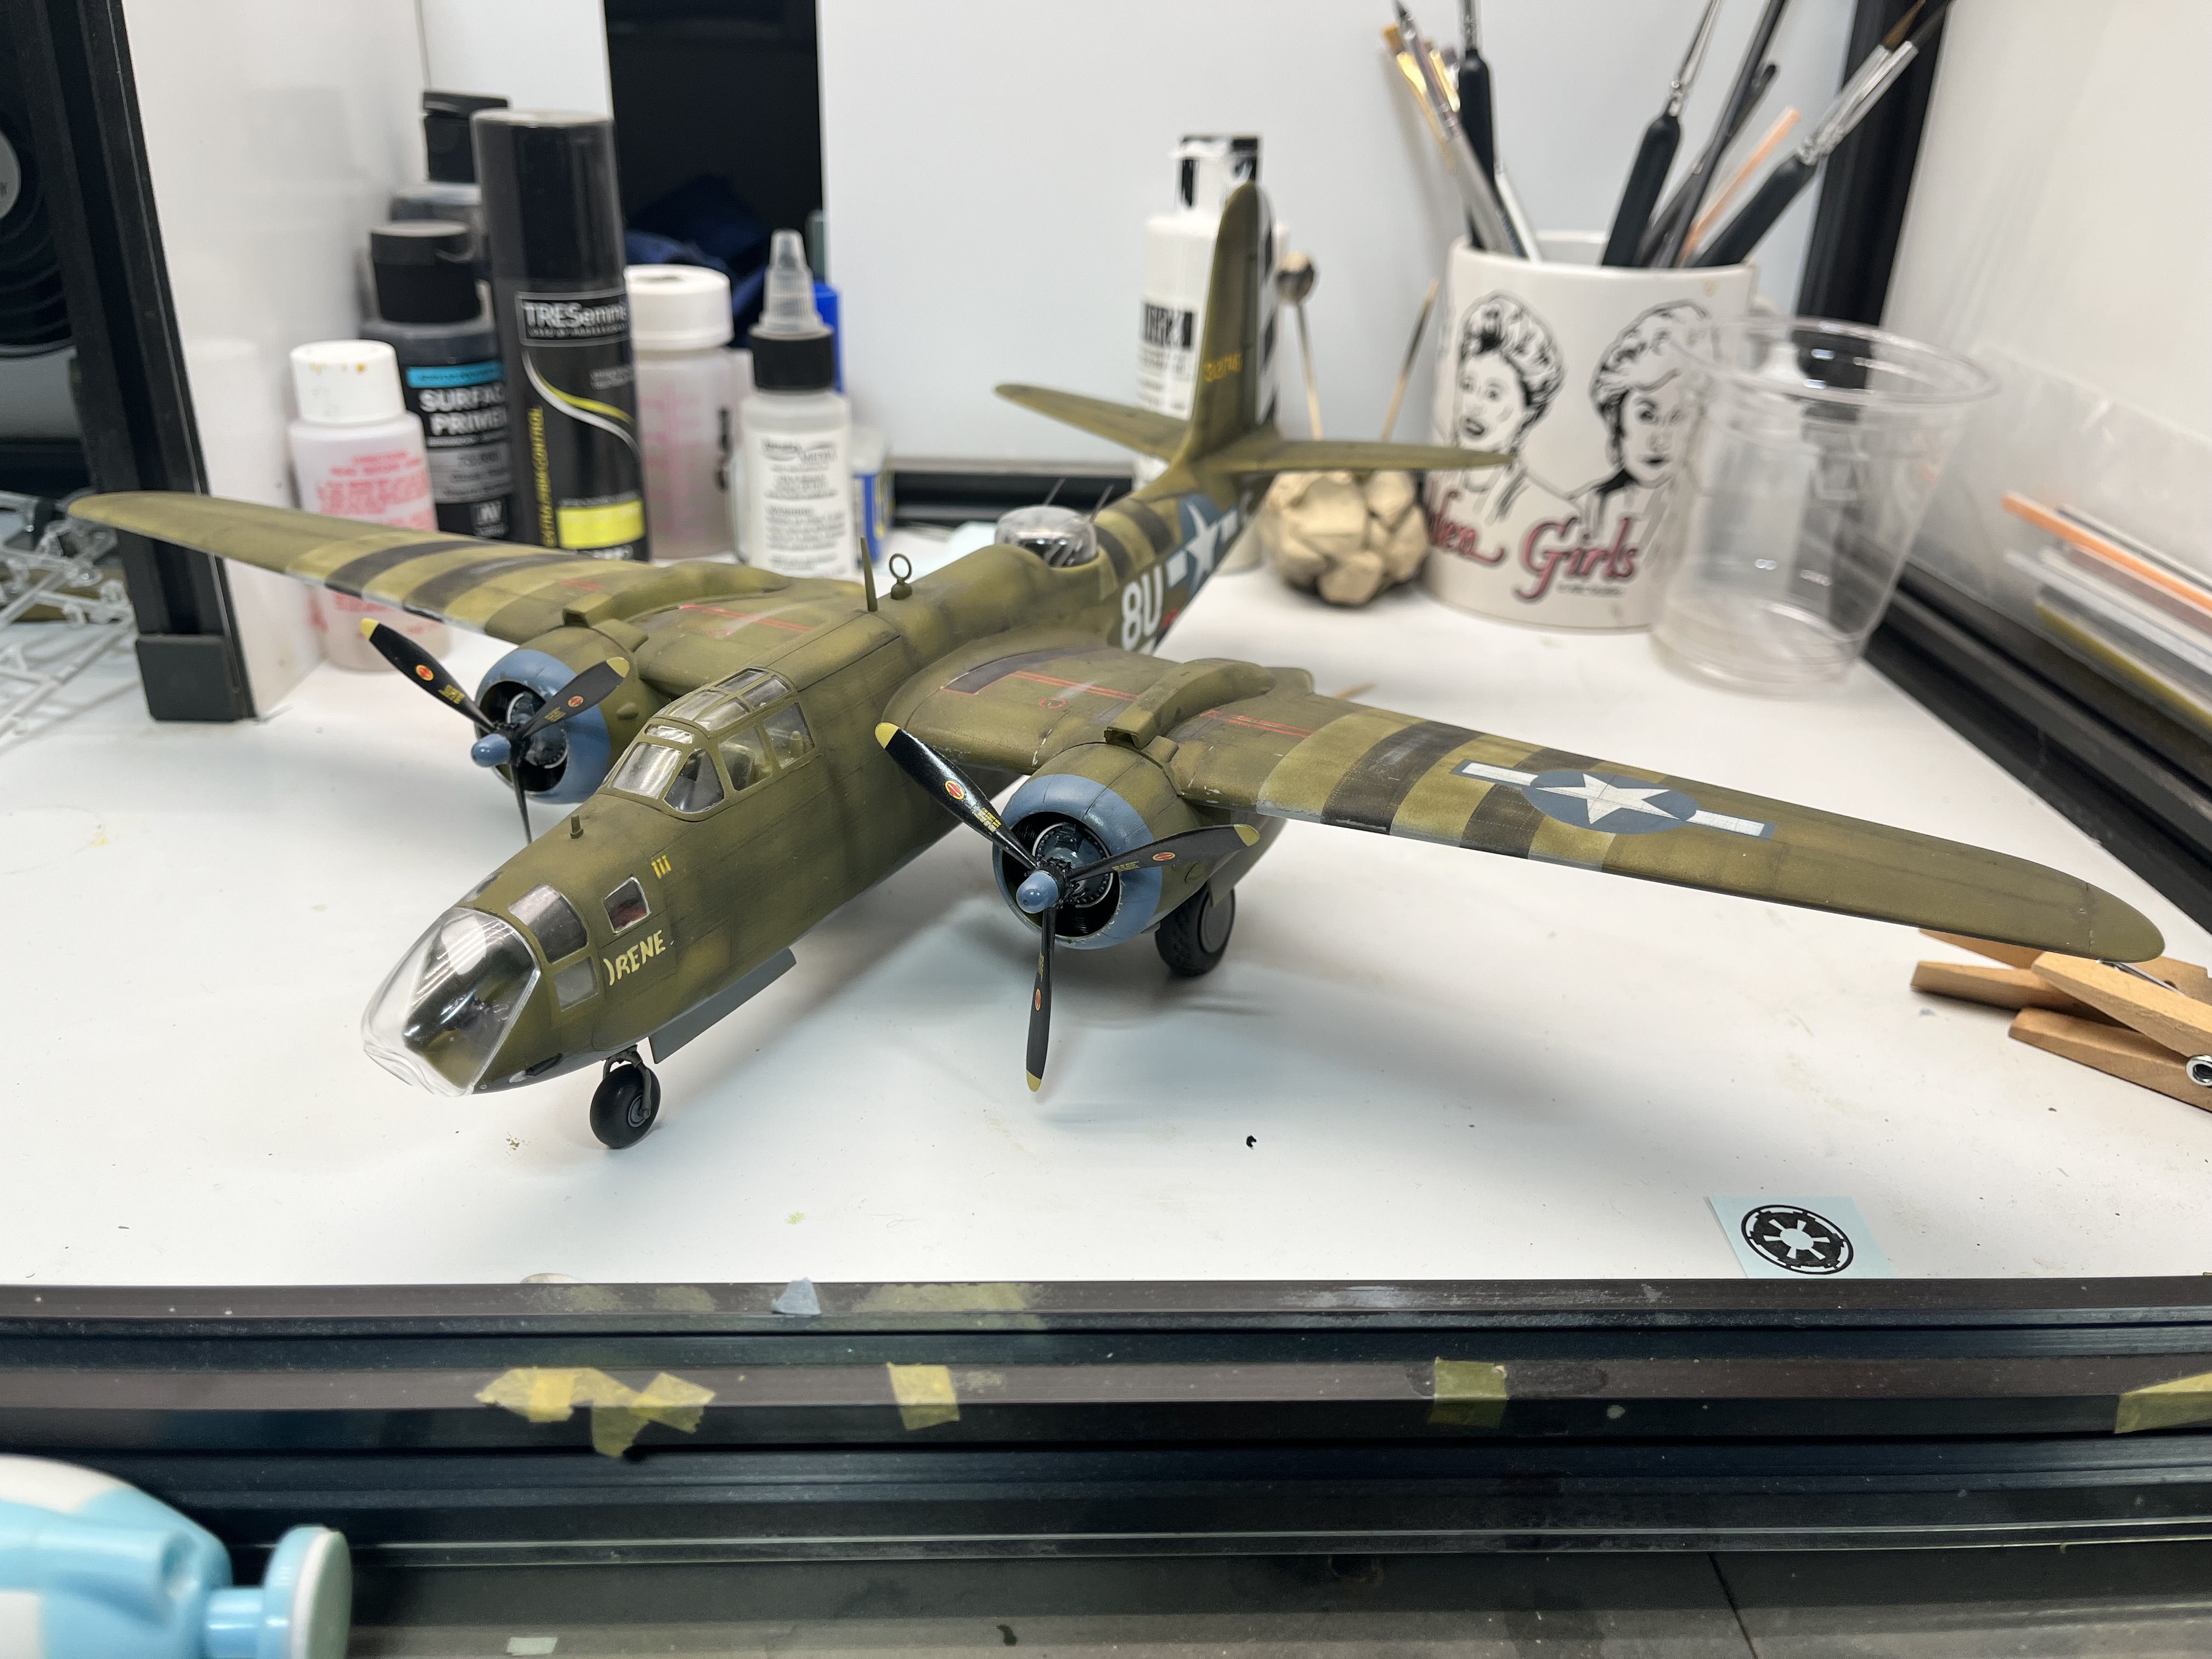
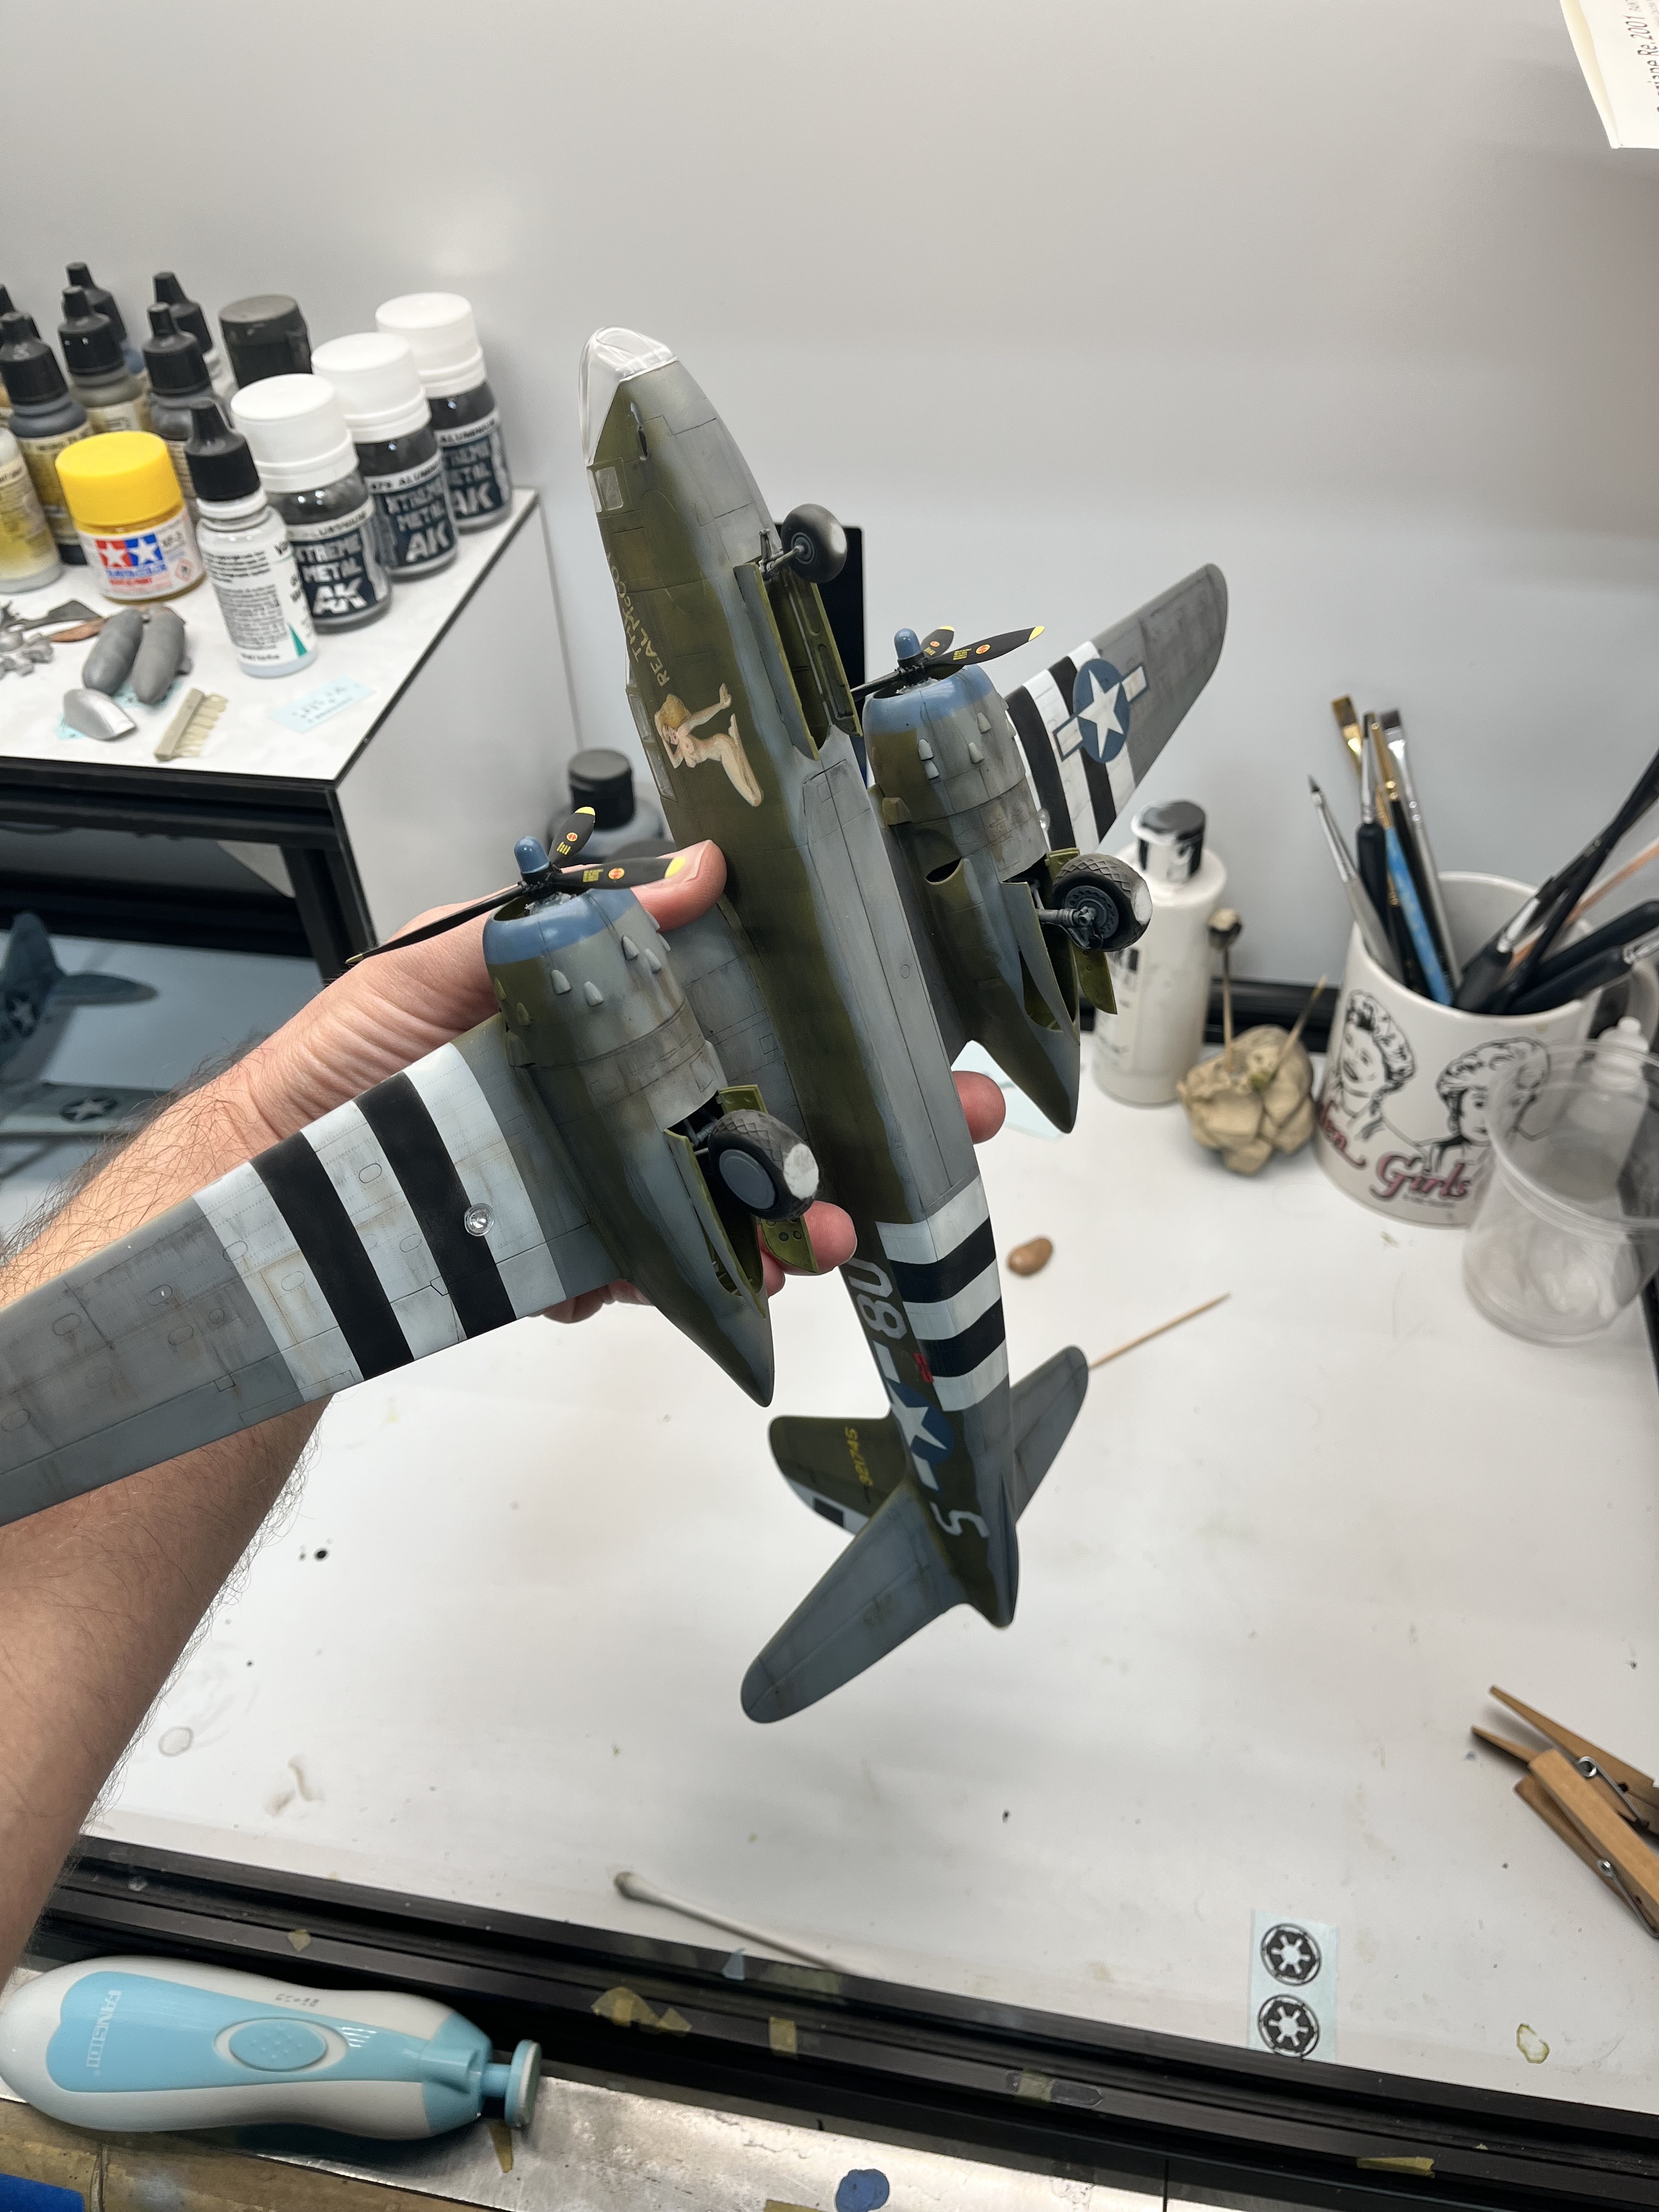
Here she is with insignia and squadron info painted on.
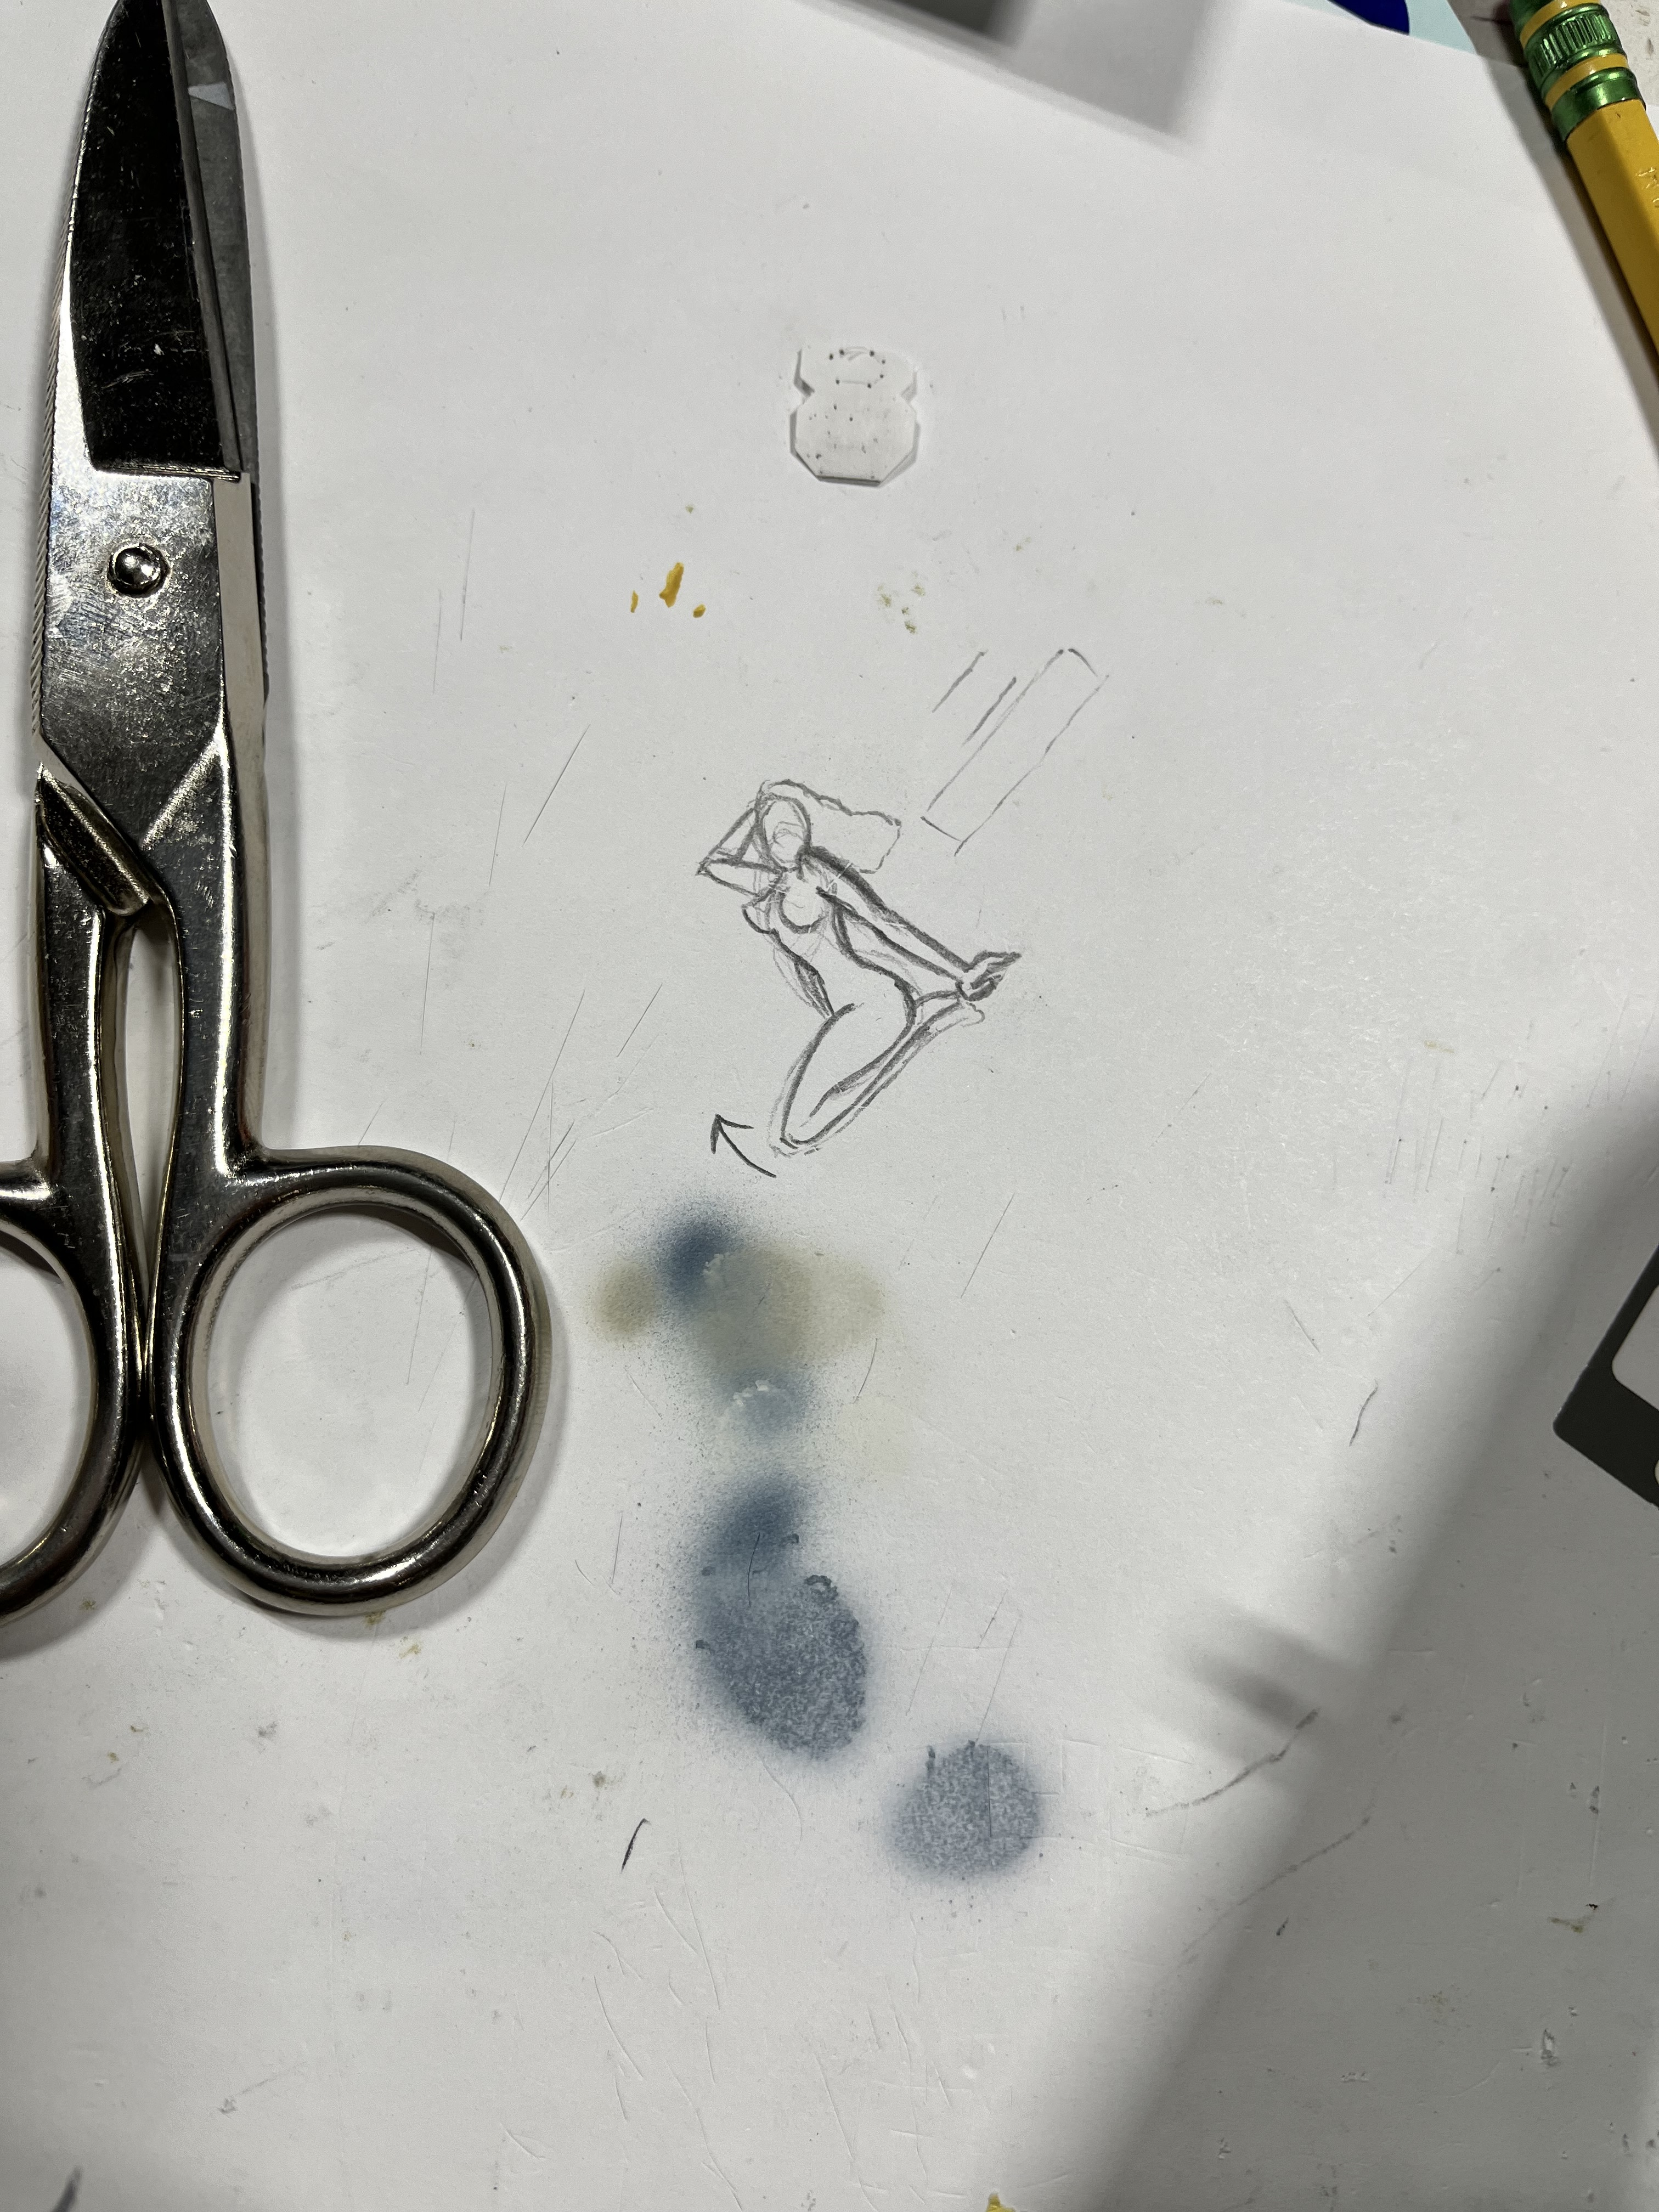
The fun part of sketching out a scale pinup. Had to take some liberties with her as the only shot of this side is from the same/last roll of her before going missing in the clouds.
The final painting (may break a few NSFW rules)
![IMG_6736|375x500]
(upload://wqZqFAe0htDlPWHrLEYpigJ5lYu.jpeg)
Blocking out the white for invasion stripes
Adding the black. Thanks all the kind words fellow plastic mechanics
6 Likes
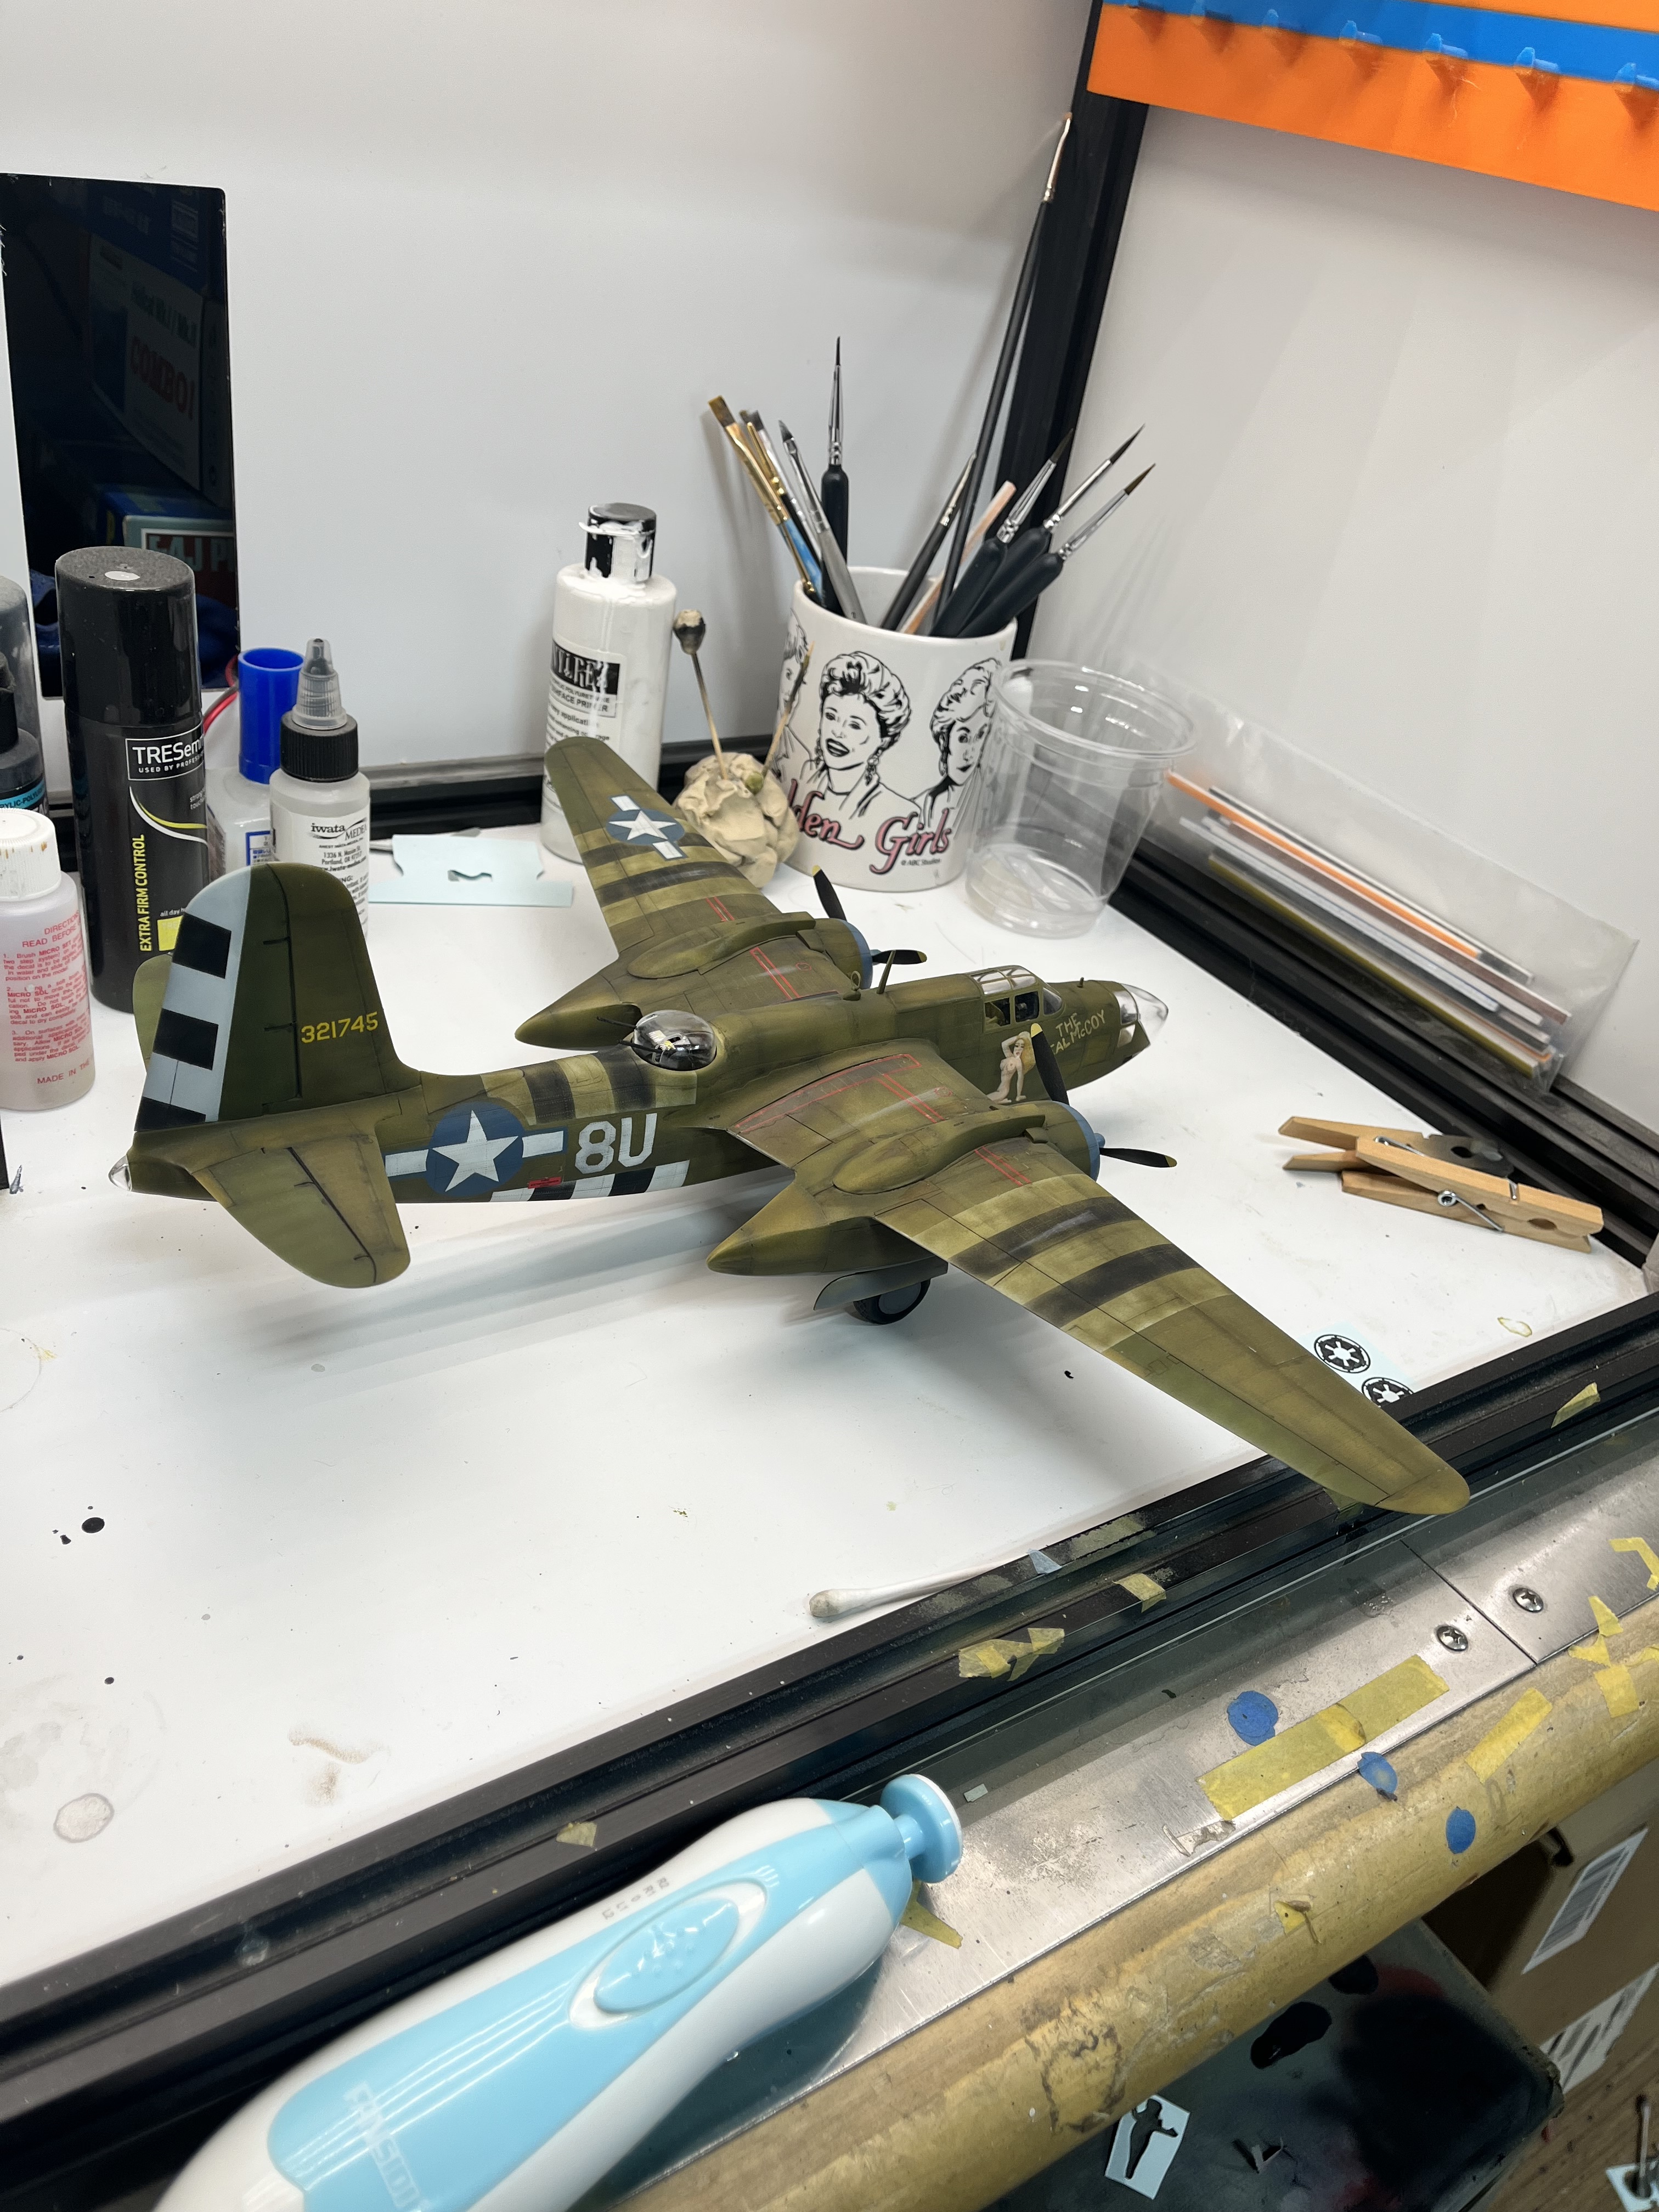
I had to skip a few steps documenting the build, but in short gloss, Mr softer, decals for the stencils and a matte coat with tamiya weathering pigments and there she is.
Now, if my day job can calm down a bit I can get back into it. Most likely after the holidays before I start cutting new sprues. That said, I was able to finish up this build, an a6m3, F2A-3, Re.2005, SB2U, FW190, F-51, and continue some work on my Lancaster Grand Slam.
Till then, I’ll be shooting some studio shots of the above mentioned build and share them shortly.
4 Likes
I gotta say, the nose, and I know why they did it (tooling cost savings for all the sub models) was a true PITA. I’m still not jonesed about it, but I wanted to get this one done before the LL build.
Been browsing your bench thread, amazing stuff in there so far only got to the Mk ii spit duo combo build but definitely going to revisit (given up on hopes of sleep, daughter turns 1 next week and it’s been a year of reconditioning the mind and body/ increasing my doses of caffeine)
2 Likes
Thank you, I feel like you’re in a safe space, this isn’t Reddit after all. Take the plunge, the water is great.
1 Like
Thanks, Marks! That’s very kind of you!