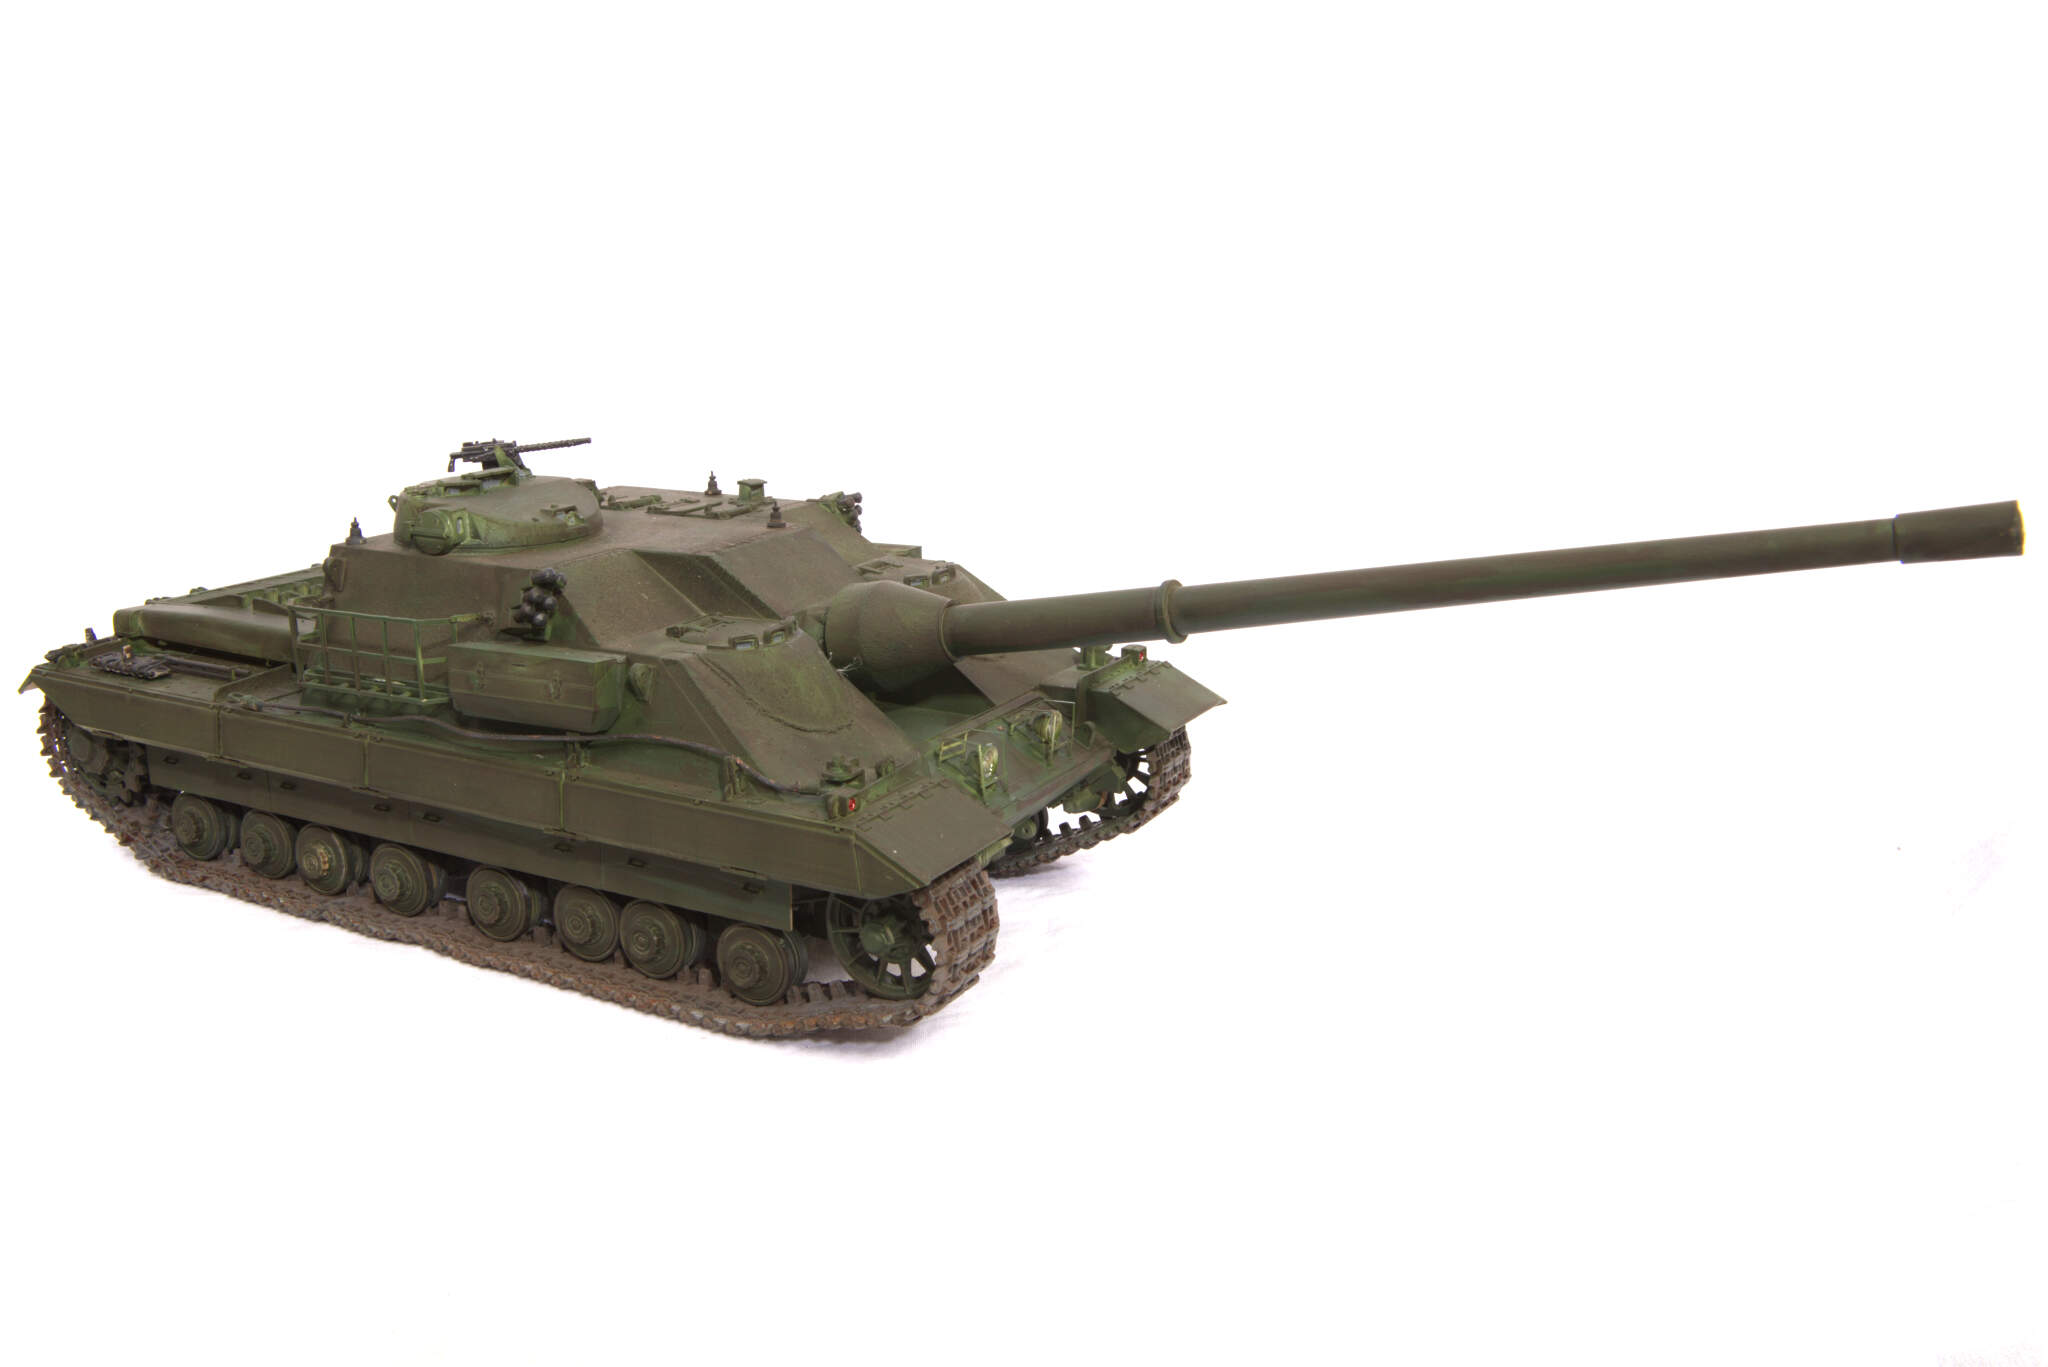
If you are thinking Tamiya Challenger 1 for Op Granby, be aware the kit has many flaws as the base kit was based on the prototype. When Tamiya added the extras for the Gulf war kit, they didn’t change the main hull issues. It looks nice as an OOB, but if accuracy is your thing, it needs work. This is is mine to show what I mean:


2 Likes
Thank you for the information.
Does Accurate Armour have a set that corrects the Tamiya kit for an Op Granby tank ?
Yes there is some stuff for a CR1 I am looking at this.
I do not have the upgrade so can’t really comment on whether it is worth the cost. I looked at it originally, but opted to scratch build after what I had read at the time.
The side armour looks okay for what you can see, but I have read twice now, that people that acquired the set had issues with the resin being bent. Here is one:
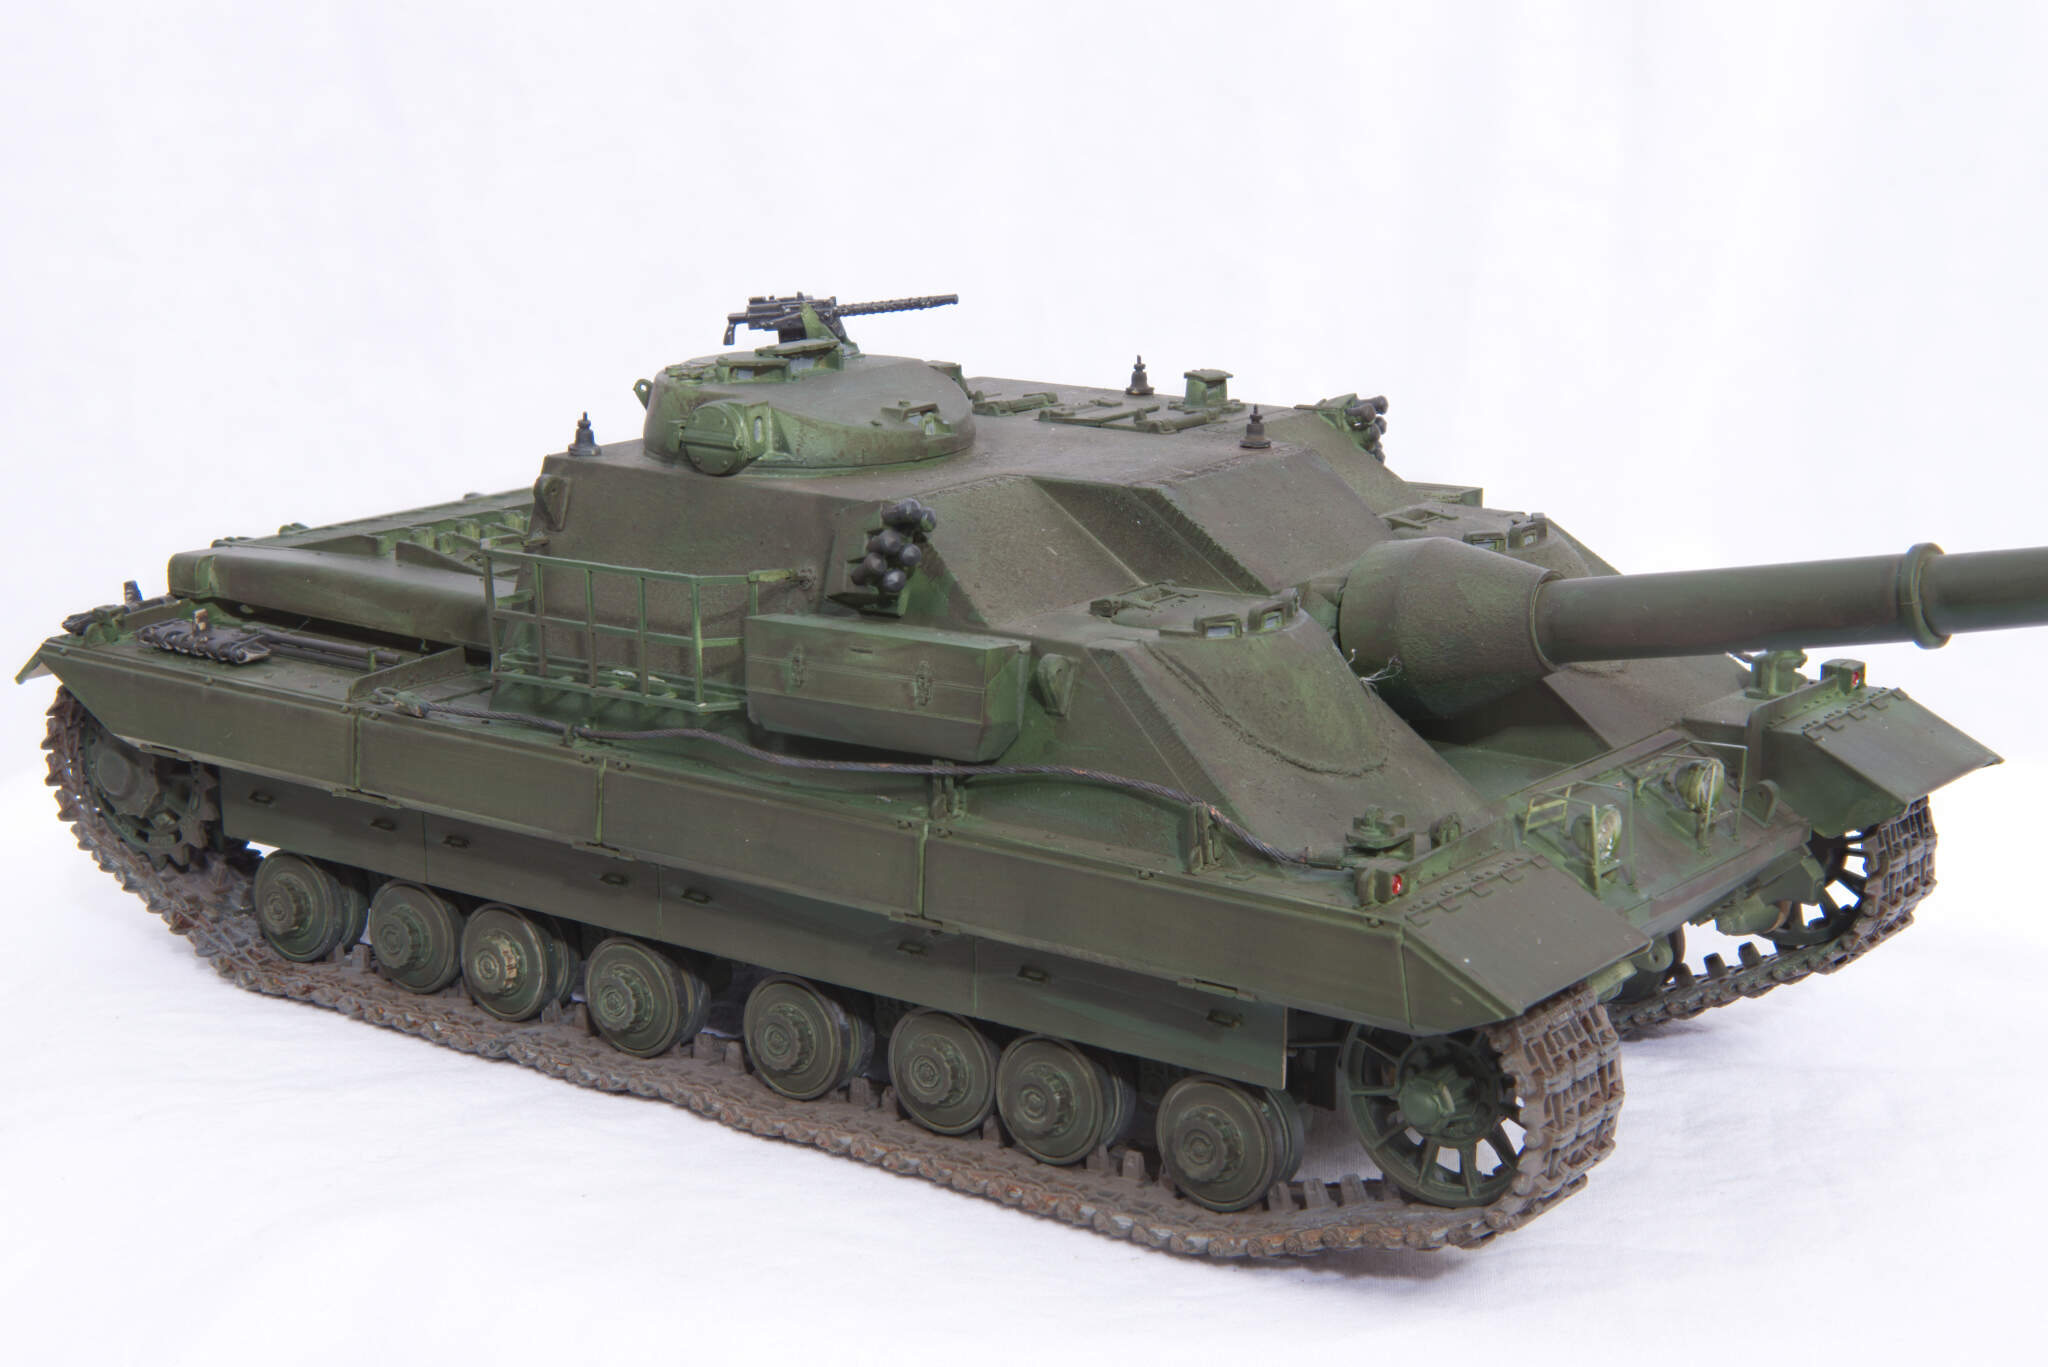
If they only supply a turret bin lid, and not the whole bin, then that is no use, as the bin in the kit is the wrong shape for the ones in the Gulf War - it is the shape of the ones with the lid that opens the other way and just changing the lid is a bit of a cop out.
I am not sure if the AA set includes fillers for the hull depressions behind the lights or the ‘holes’ which you can see just under the turret front in my front on pic.
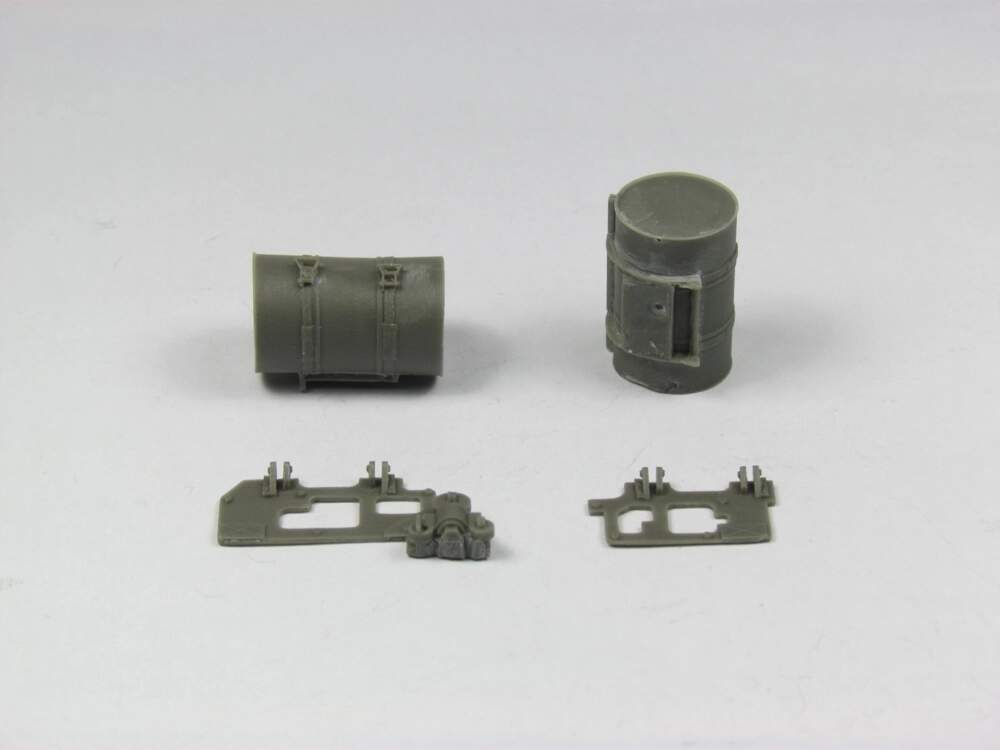
I did not replace the Tamiya rear fuel drum parts as you do not see a lot behind them and they are close enough. If I remember correctly, if you you remove the circumference ridges and from the kit parts they are passable as is. The AA drums appear poorly shaped if this pic is anything to go by:
The upgrade does not seem to have replacement headlight guards either. The Eduard set is too fine and flat to use, but it is not hard to make these.
The scratch building may look daunting, but it is not a complicated build really. if you have done a little entry level scratch building, then this is a good project to step up your modelling skills on - as long as you plan in advance and consider each step before proceeding.
Thank you very much.
1 Like
Captain cock up arrived in Coventry.
Put a wash on and SWMBO arrived and I forgot about it for over a week.
The wash had dried on so hard no amount of scrubbing with thinners would shift it.
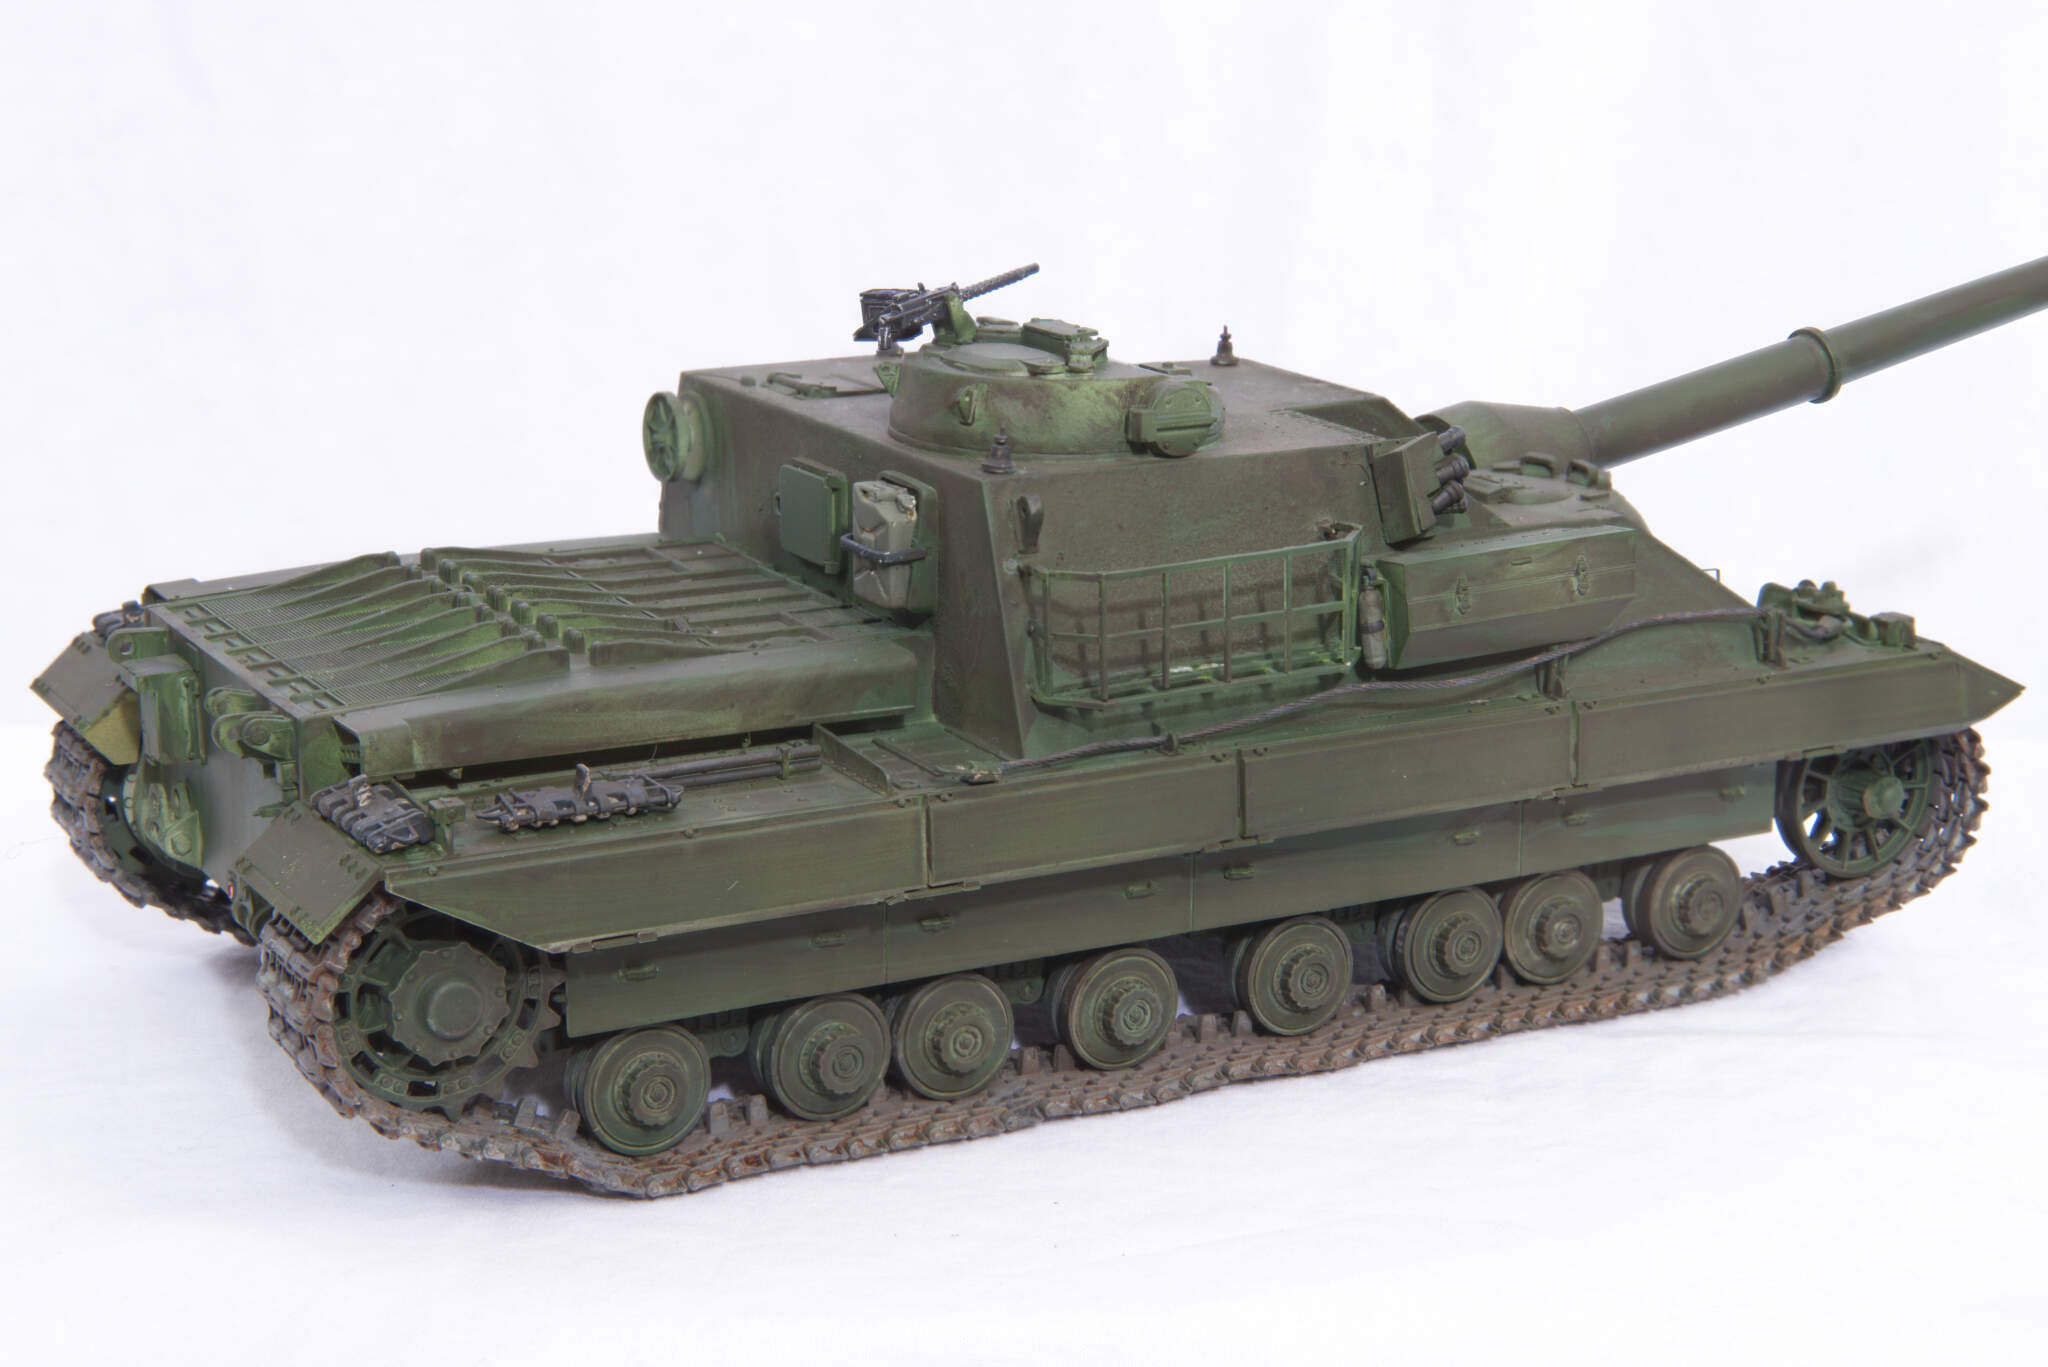
So the following is the finished model as best as I can get.
Thank you for the help and encouragement.

1 Like
If a wash has dried too long and you can’t get tide marks etc. off, dry brush the base color over the bad areas. It disappears the nasty bits.
1 Like
You can always airbrush light, thin coats over it and use the wash like you would a pre-shade.
1 Like
Damn that’s a real shame… Is it beyond salvage ? Would a light misting of the base colour all over do anything ? Or a complete respray ? It is a nice kit and you put a lot of effort into it…
1 Like
It really looks like a vehicle long out of service if you want to go that direction.
The studio flash does make it look much worse than just viewing it with Mk1 eyeballs.
I put on the display shelf as requested by SWMBO and from a couple of metres away it looks just dark green.
So I think I will just live with it and learn from the mistakes.
I still have not made more than 15 AFV’s in total as I was formerly only making things with wings so every kit is a learning exercise.
1 Like
Thats a sensible way to look at- a lesson learned for sure.
1 Like