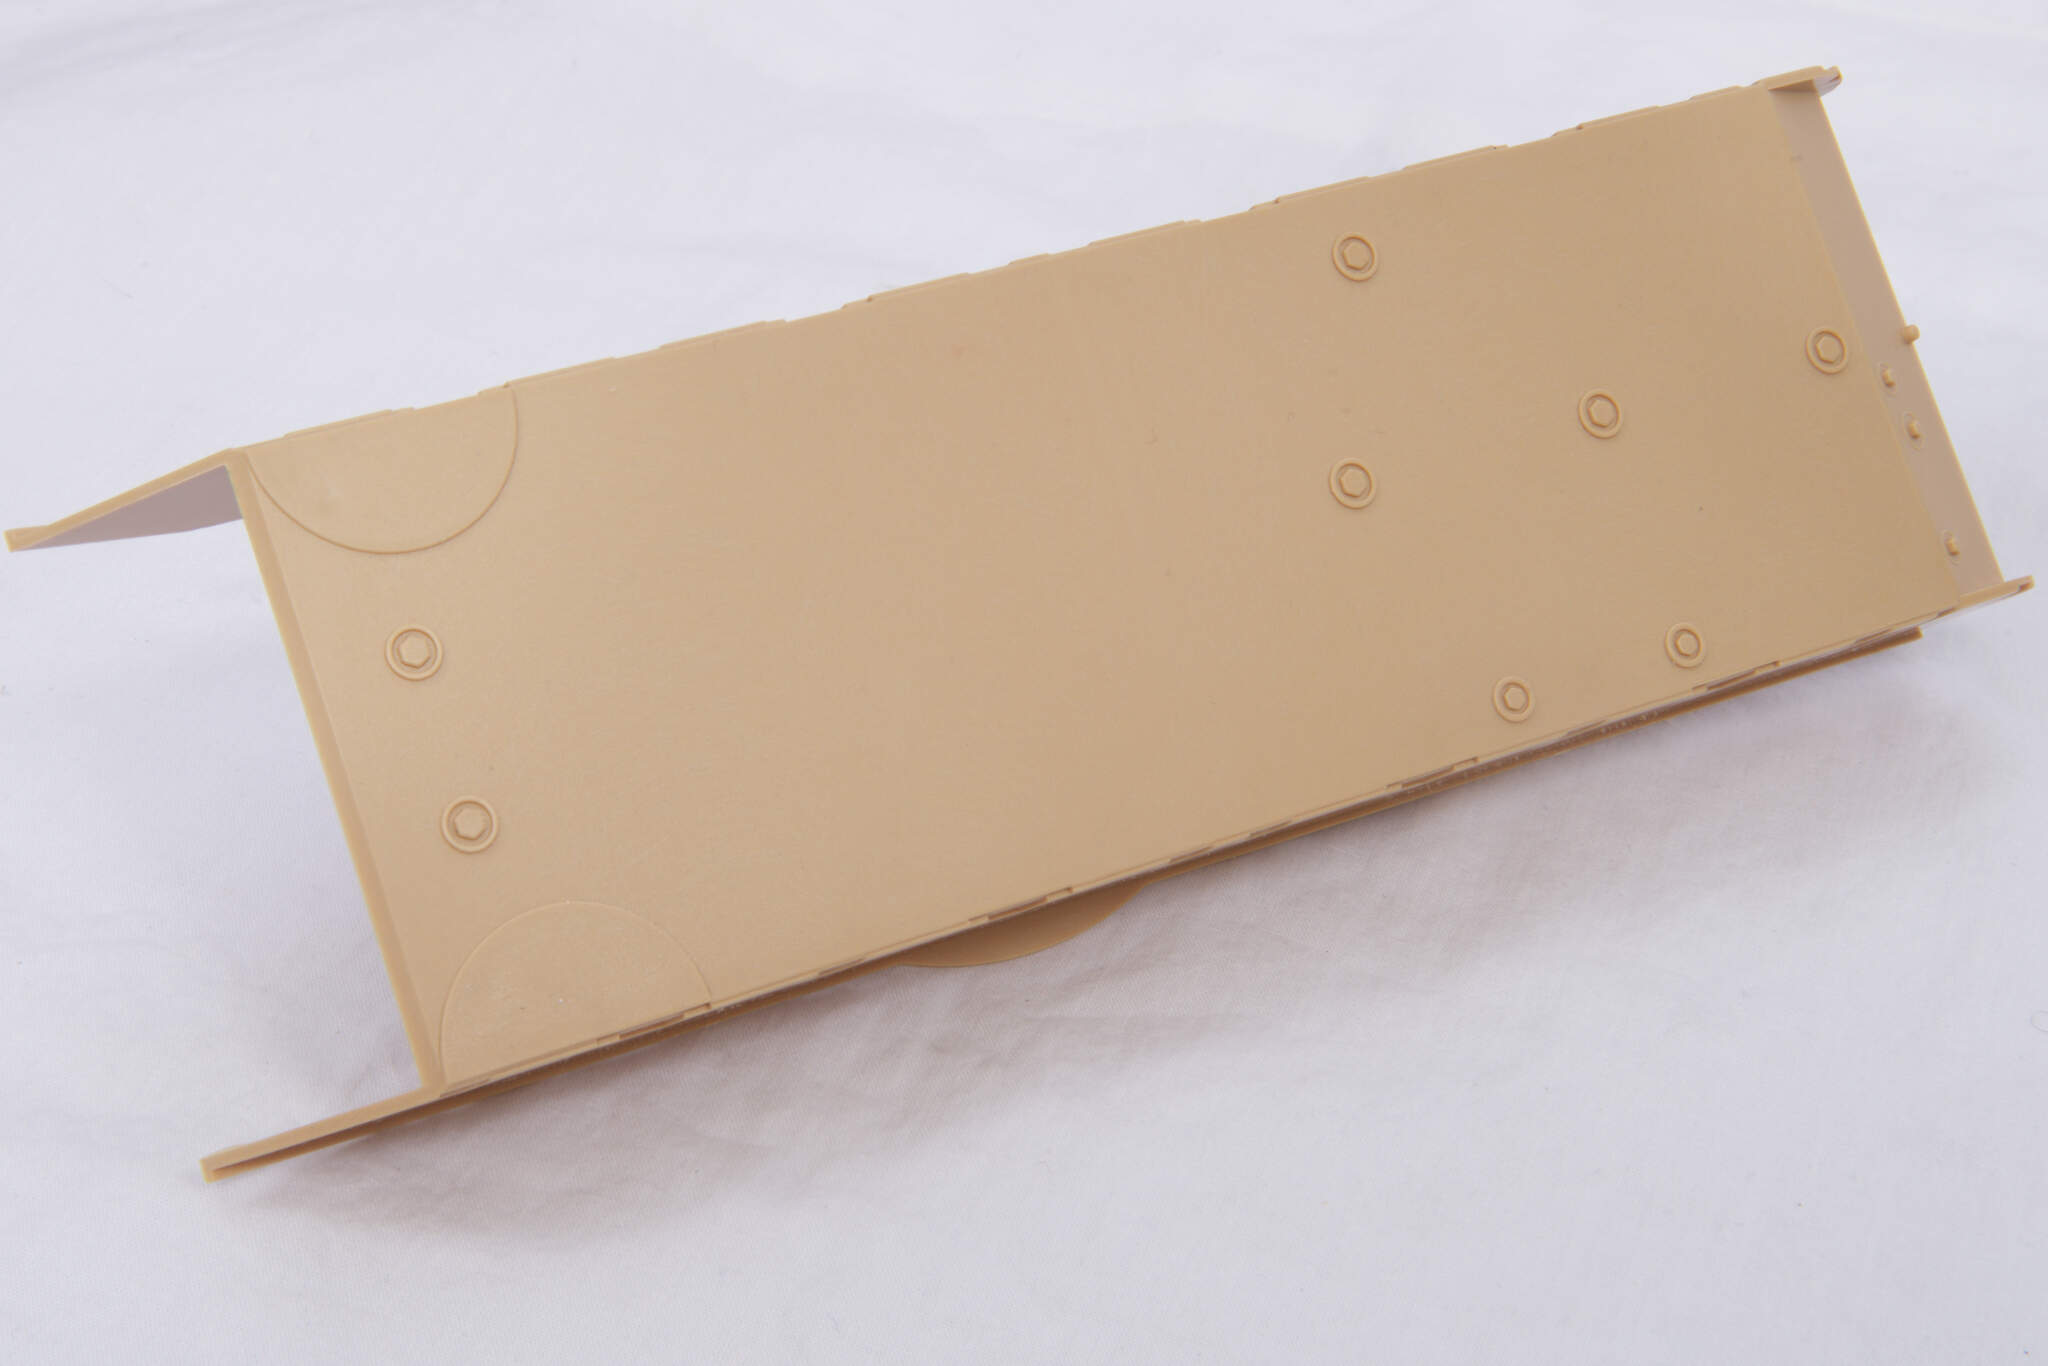
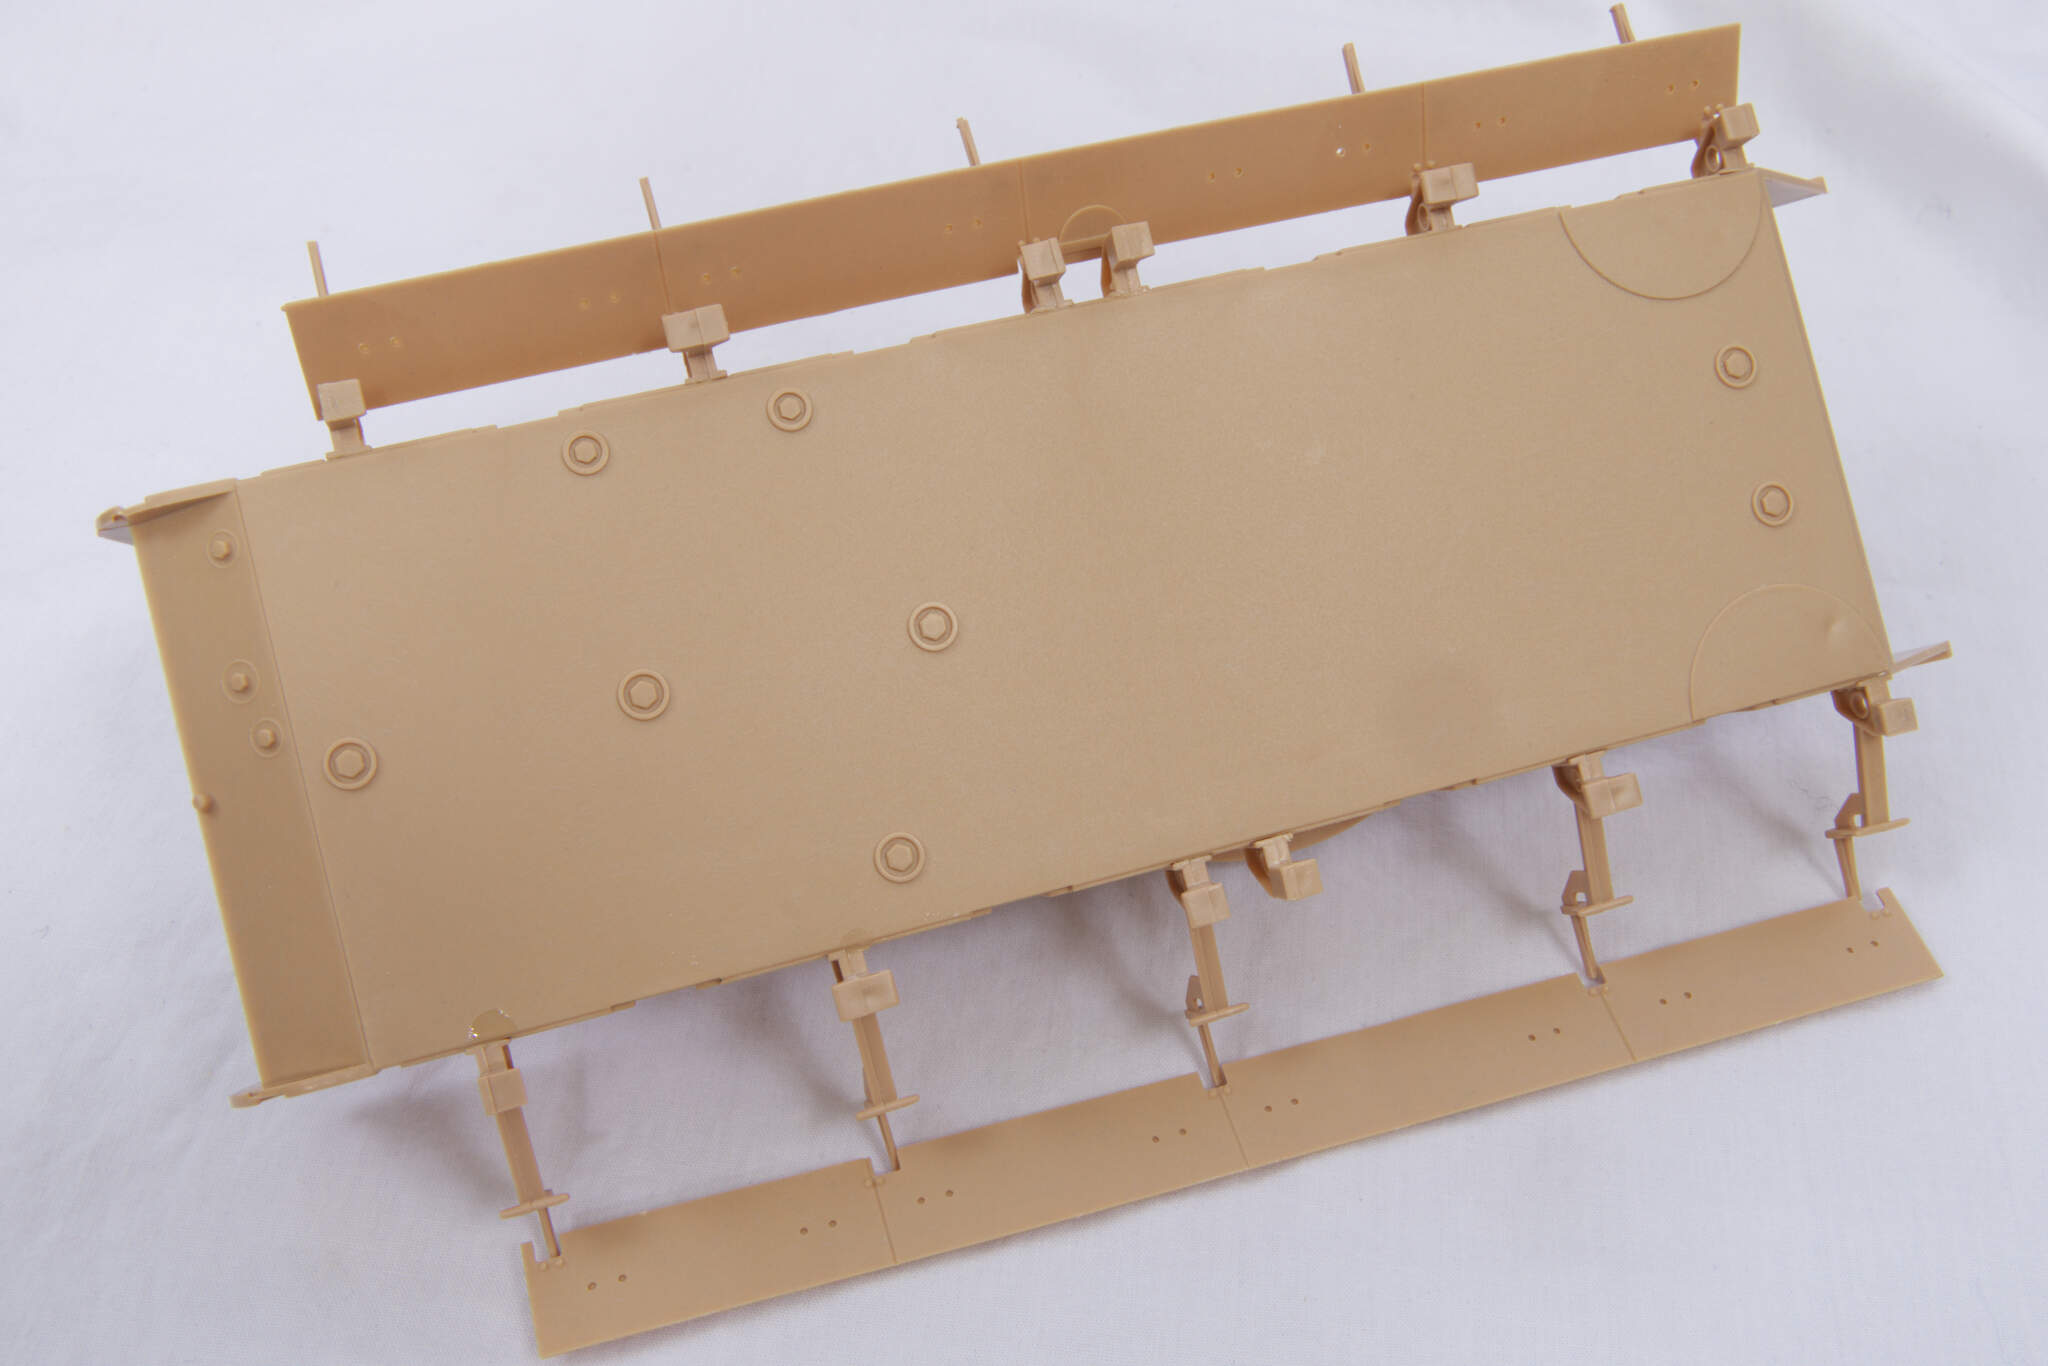
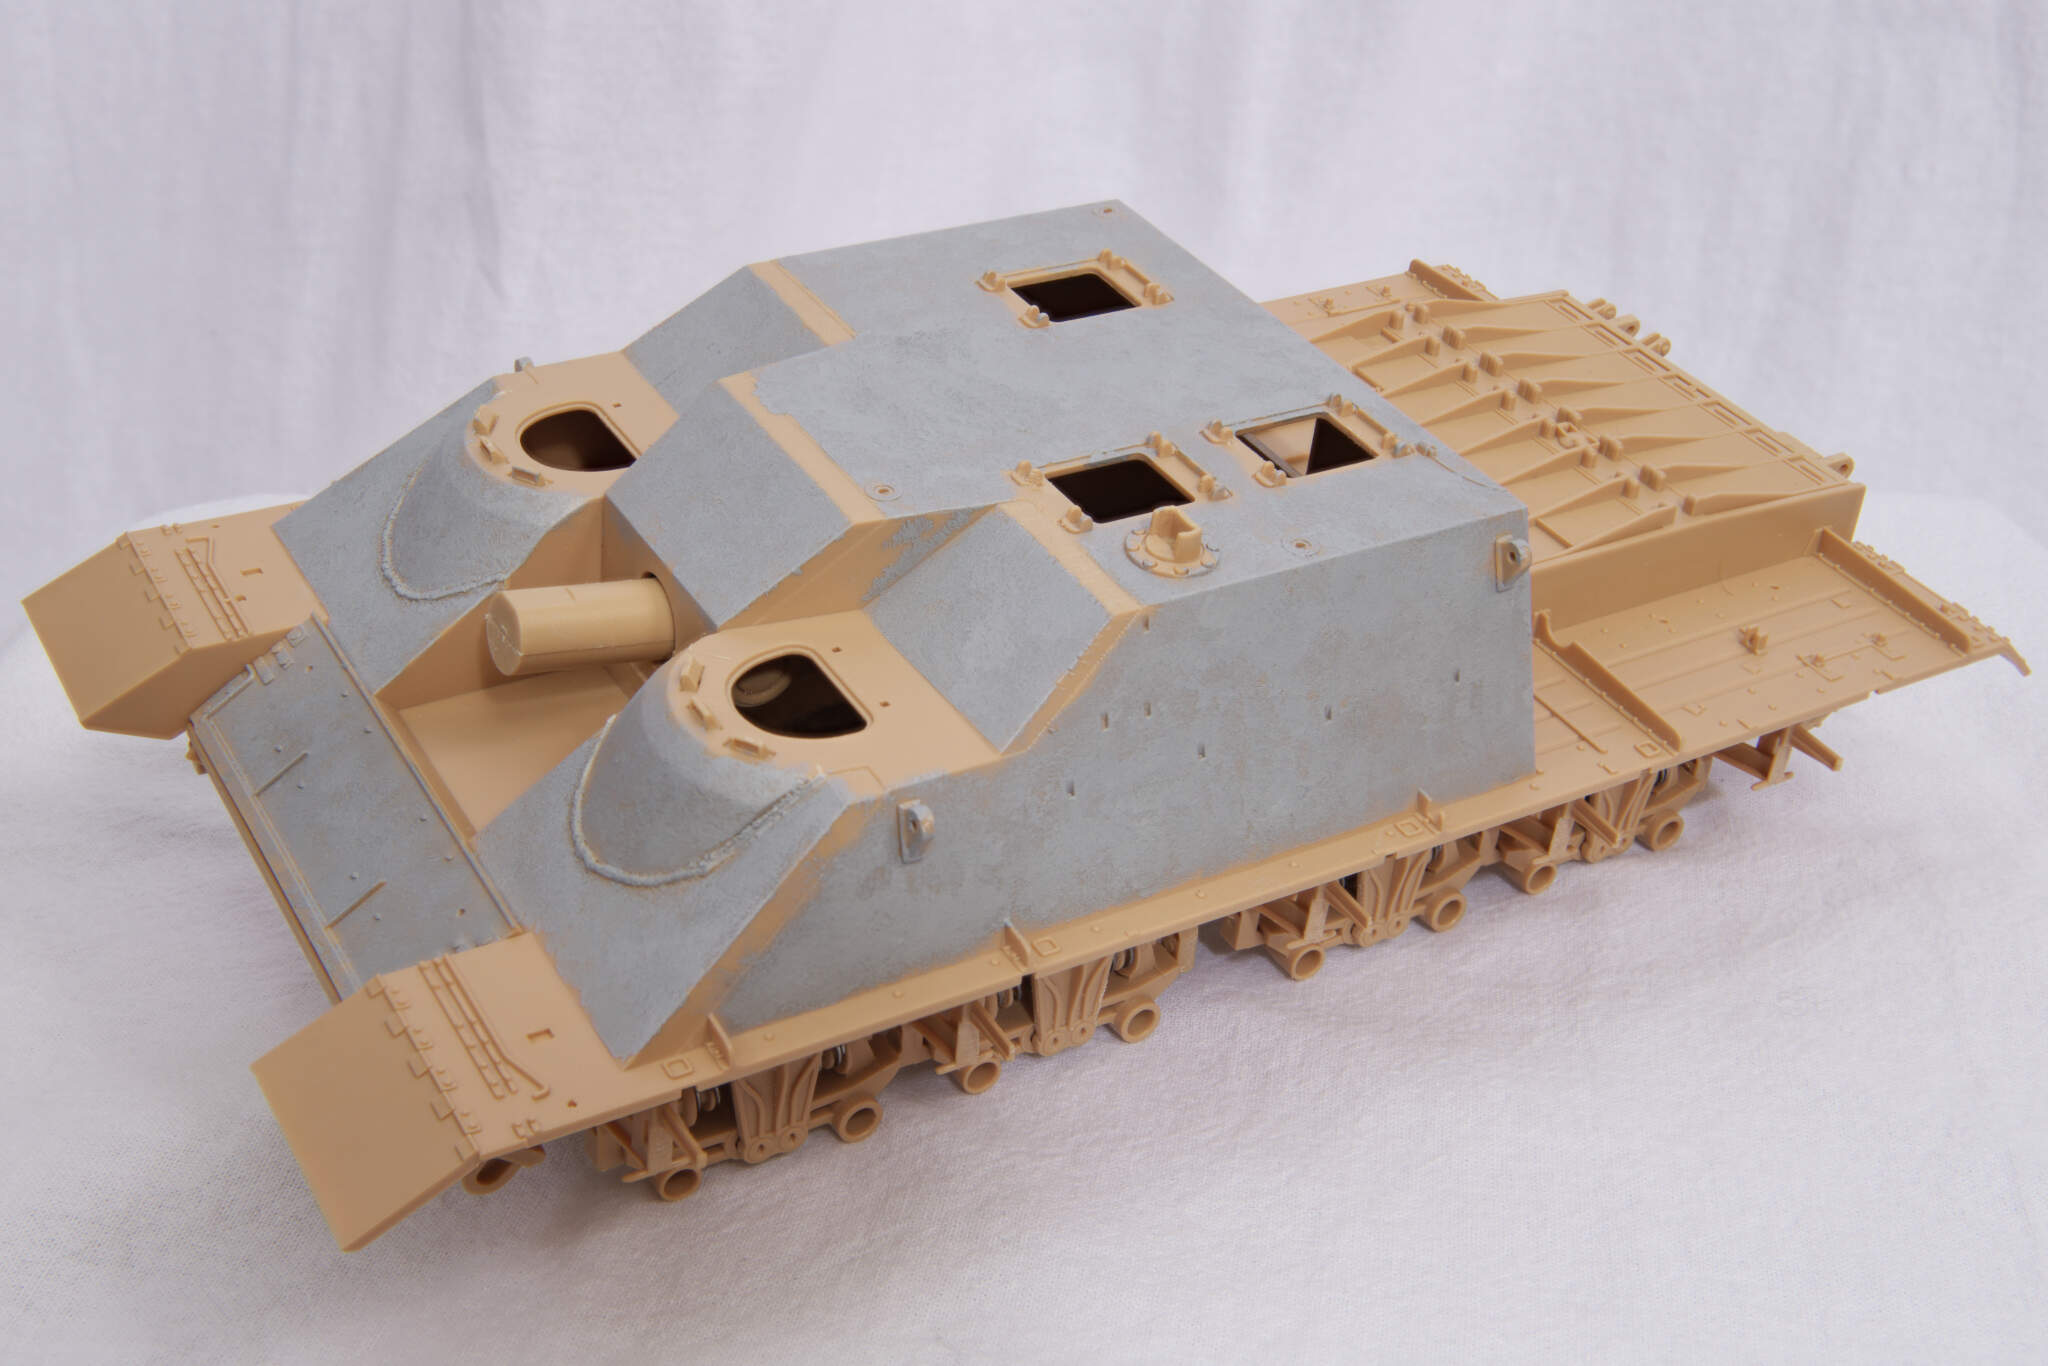
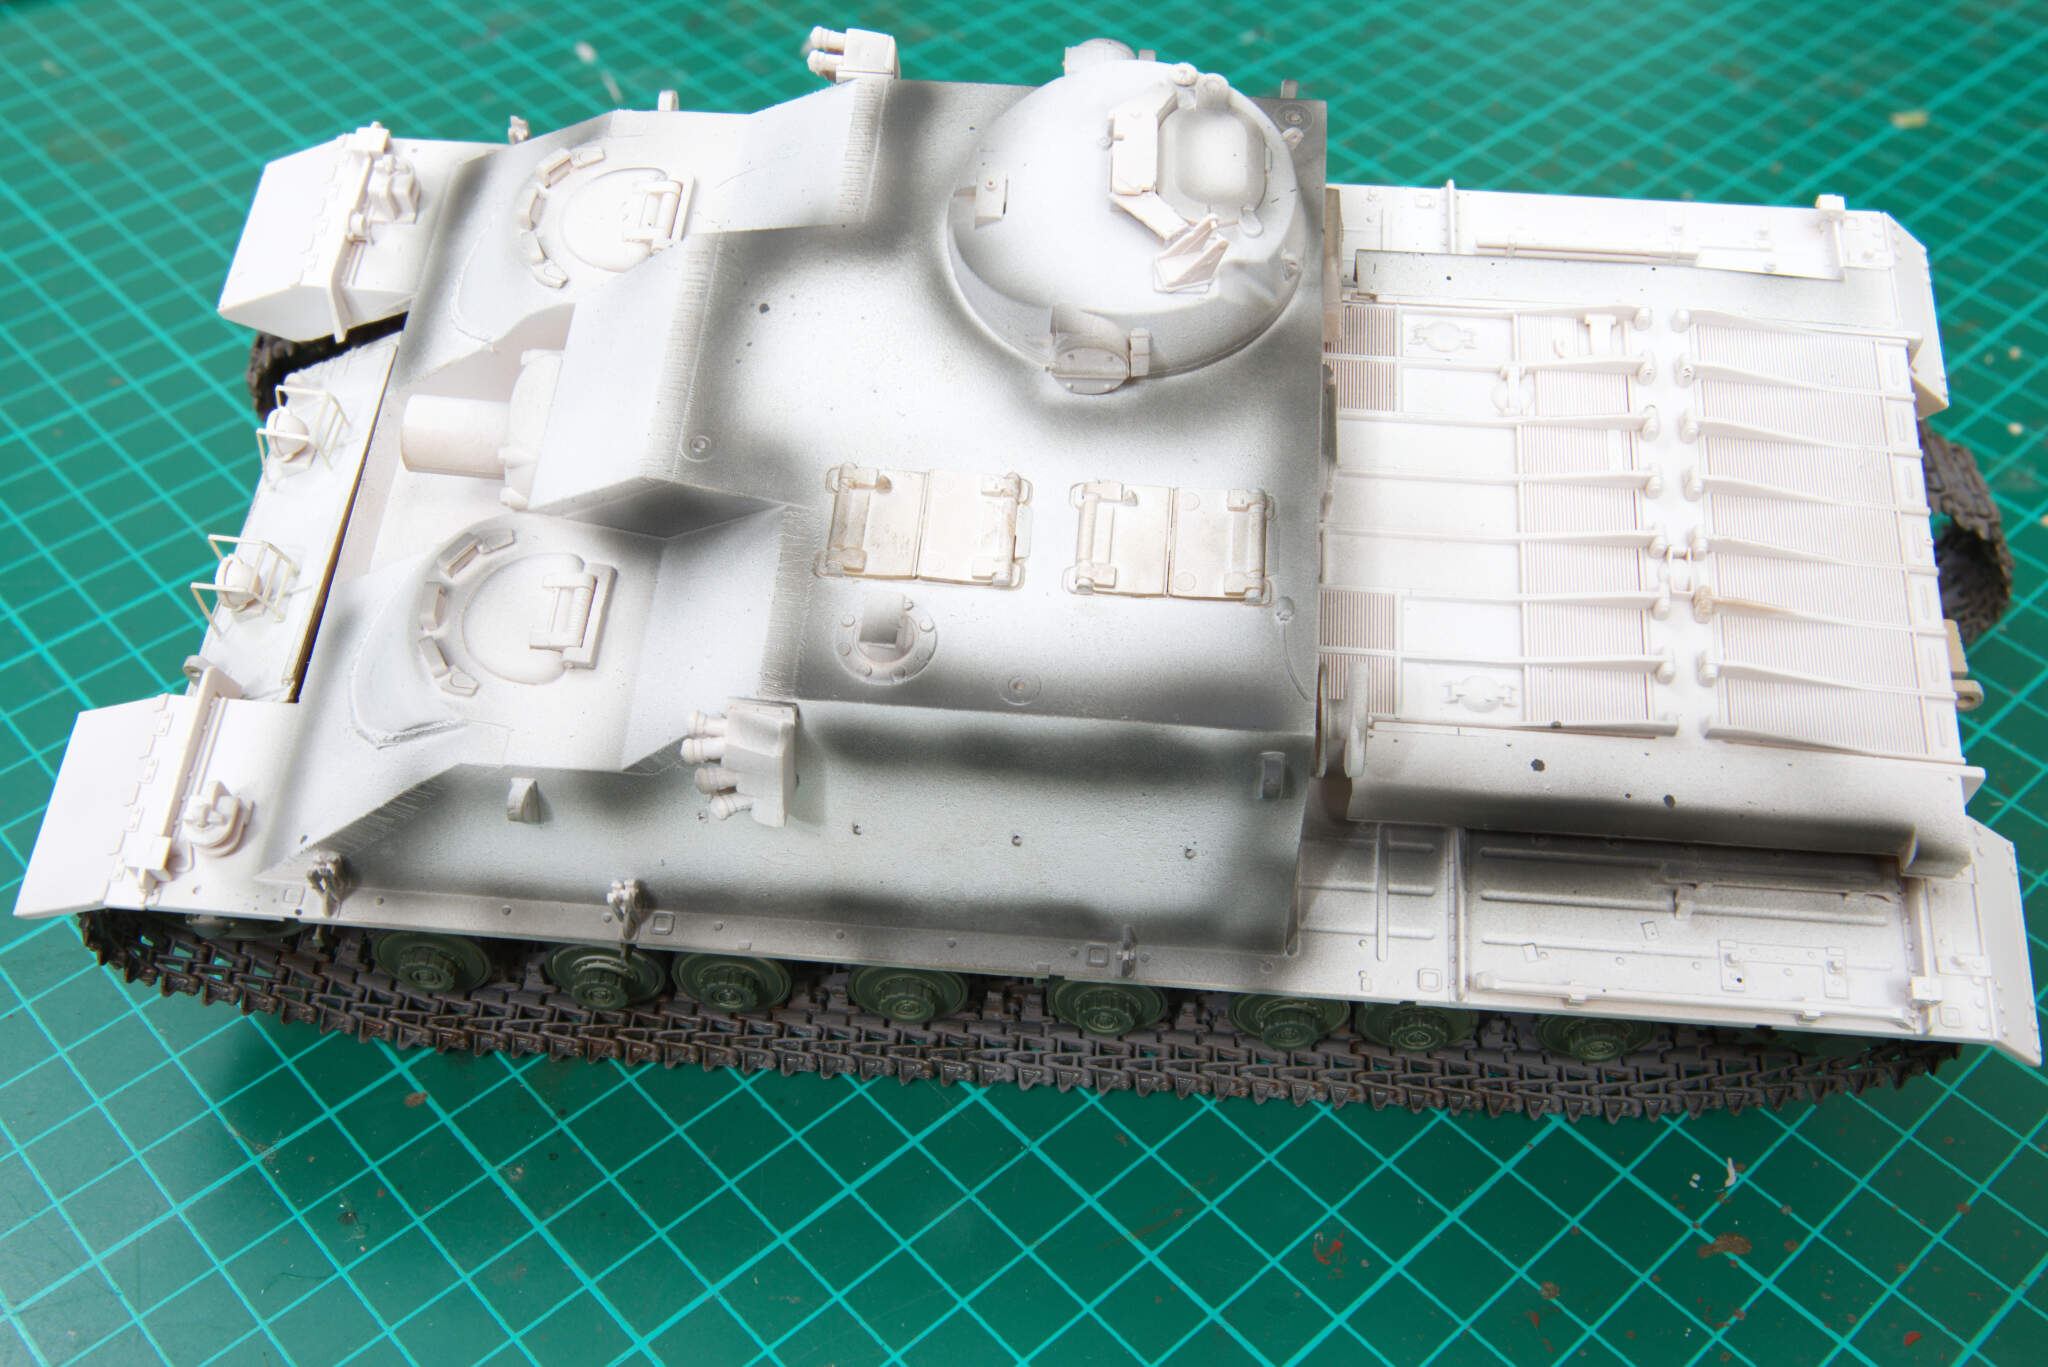
First time try adding weld beads and hull texture. The grey is Tamiya putty thinned with extra thin and stippled on with a stiff brush. What do you think? I quite like the hull texture but the weld beads not so much.
Thats it for now. Next update later next week SWMBO here from tomorrow.
No prizes @iwatajim@Johnnych01 for guessing what camouflage scheme it is going to have.
Excellent Cats! I’m so glad to see one of these being built. Hull texture and weld beads look great to me. The lights on the back look similar to the reflector type things on the chieftain, which were just red circles. And that’s a brave choice, but I think this is going to look great in Berlin guise. I look forward to seeing further progress of the Berlin Badger!
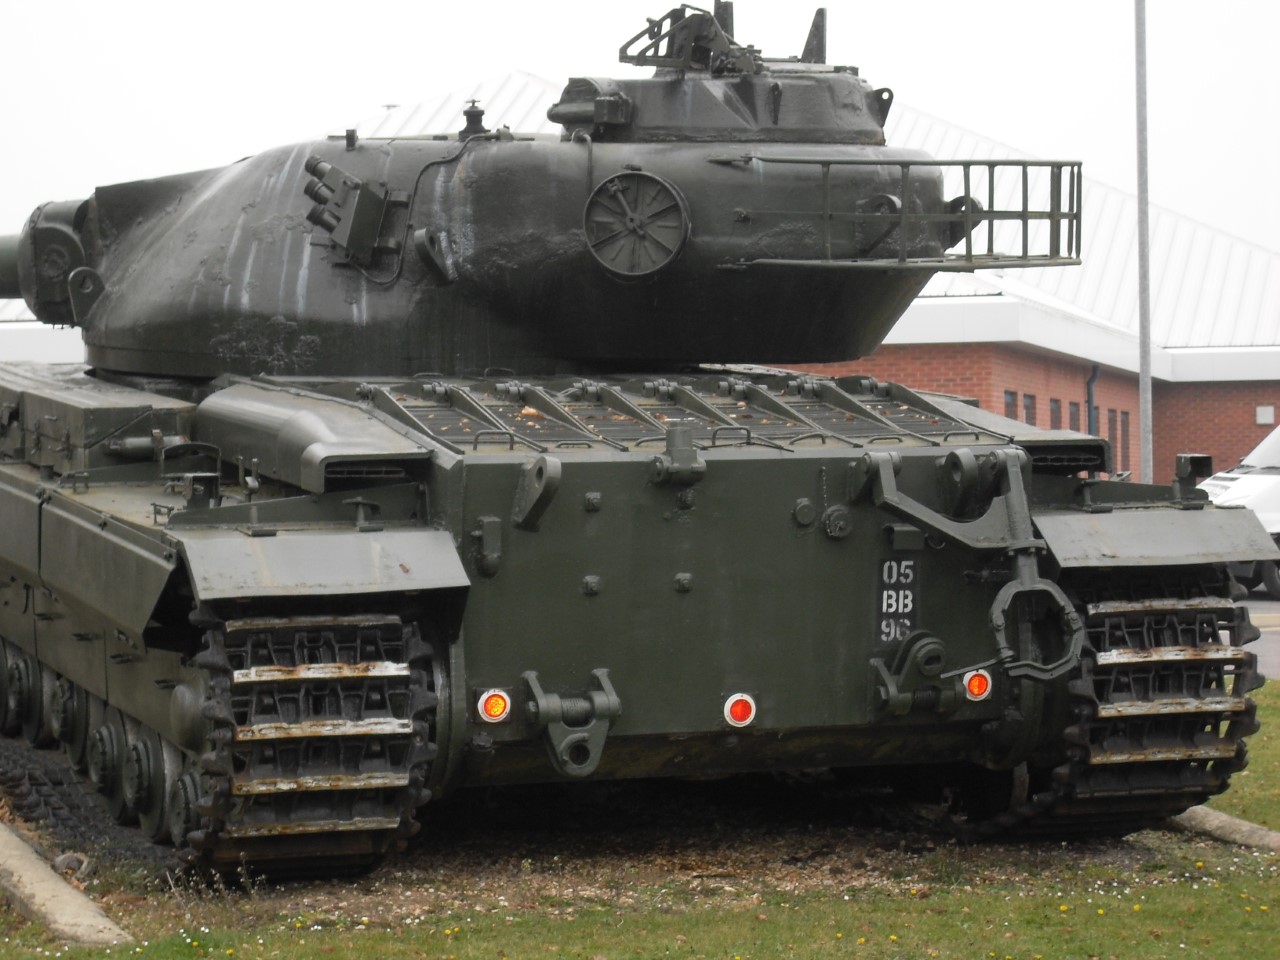
I would say they are just reflectors, but not really sure why you’d need 3 or placed on the lower hull. They would get covered in crud in no time…safe bet will be reflectors though.
It should look great with Berlin Cam. The superstructure is well shaped wth those angles. Perfect for the block pattern.
Looking good, very good; I was thinking of getting one myself (like I’ve nothing else to build). I always thought that it would benefit from a proper Commander’s cupola (think Centurion) and I think when I read a review elsewhere, noticed that it doesn’t have an aperture for the Gunner’s sight - although this is all academic as it was never built(!) - but as a model it will have a massive presence on the display table.
What is it with you Berlin scheme guys? A thing this size deployed in an urban environment? Surely it would look at its best in say, a Middle East scheme - trials perhaps? Sand over (gloss) deep bonze green - the latter colour soon to become worn in and matt? C’mon!
I’ll be following this with no small interest, and just know I’ll end up buying one.
Cats, just to confirm that they are merely reflectors (“circles”); as this vehicle was a derivative of the Conqueror, see an actual Conqueror rear here:
Also, just in case you’re inclined as so many Conq modellers are to replace the “moulded-on” handles on the engine decks at the rear, don’t. As you can see from the picture, the handles are in fact retractable and are sort of countersunk into recesses (not all on this rather neglected veteran). A lot of pundits deride the kit manufacturers for this but they - the manufacturers - are right; the idea was to reduce the trip hazard. Remember, there were no rubber-soled boots back when Conq was in service, or at least at the beginning of its service, and studded boots on say, a wet and slippery engine deck was, I’m sure, no fun, especially on a dark German Winter’s night.
For the record, the Conq shown is on display outside the WOs’ & Sgts’ Mess at Bovington.
Sent SWMBO back to work so time for an update.
Sorry its a bit later than intended I had my second AZ jab and wasn’t feeling up to lots of bench time.
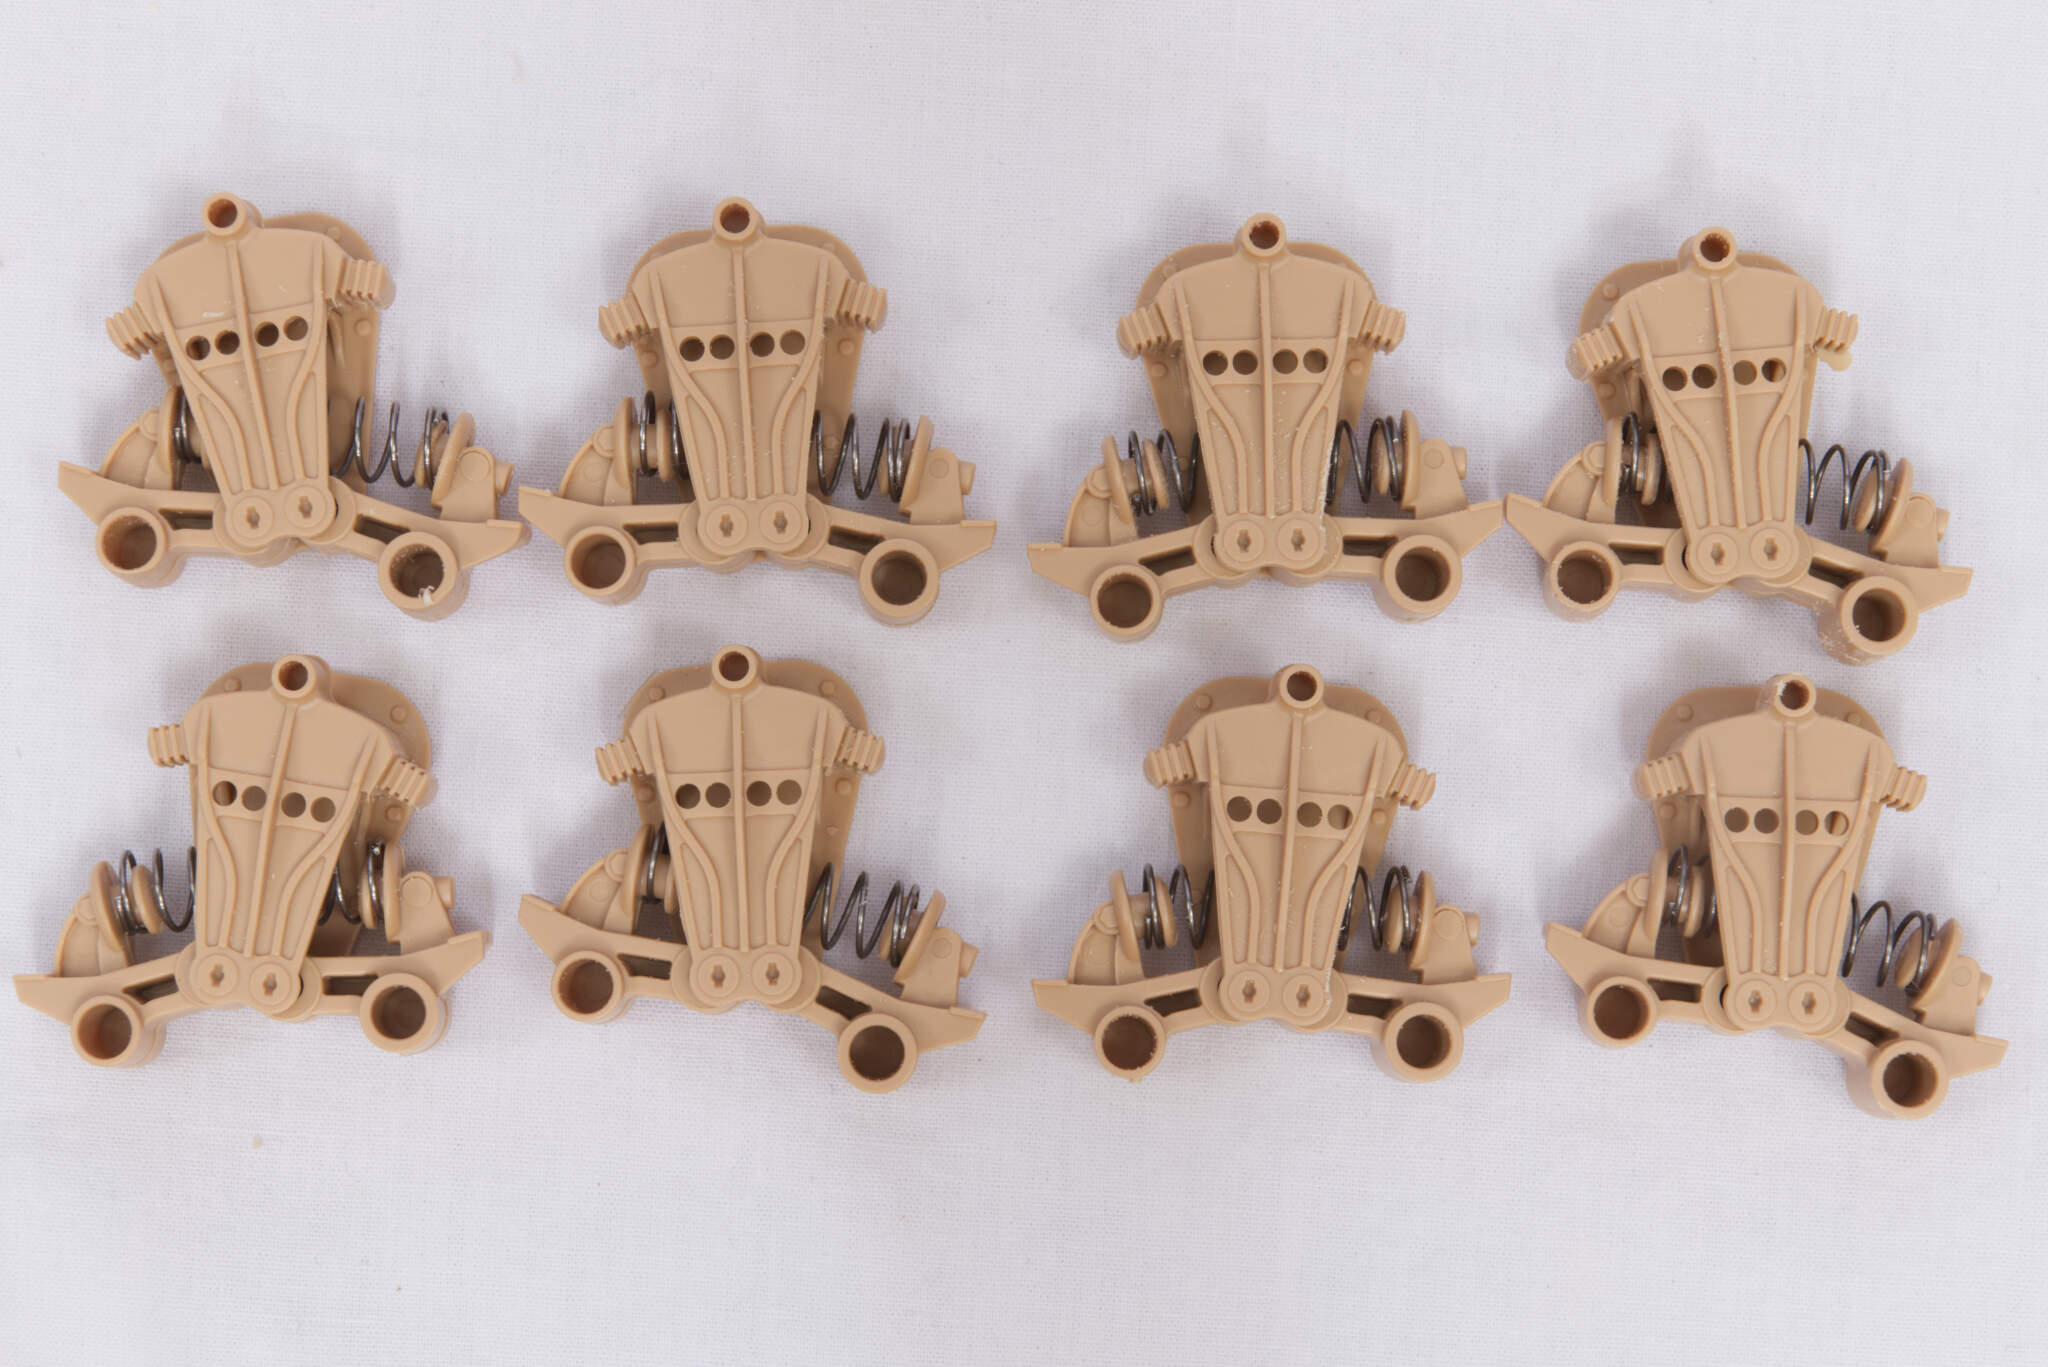
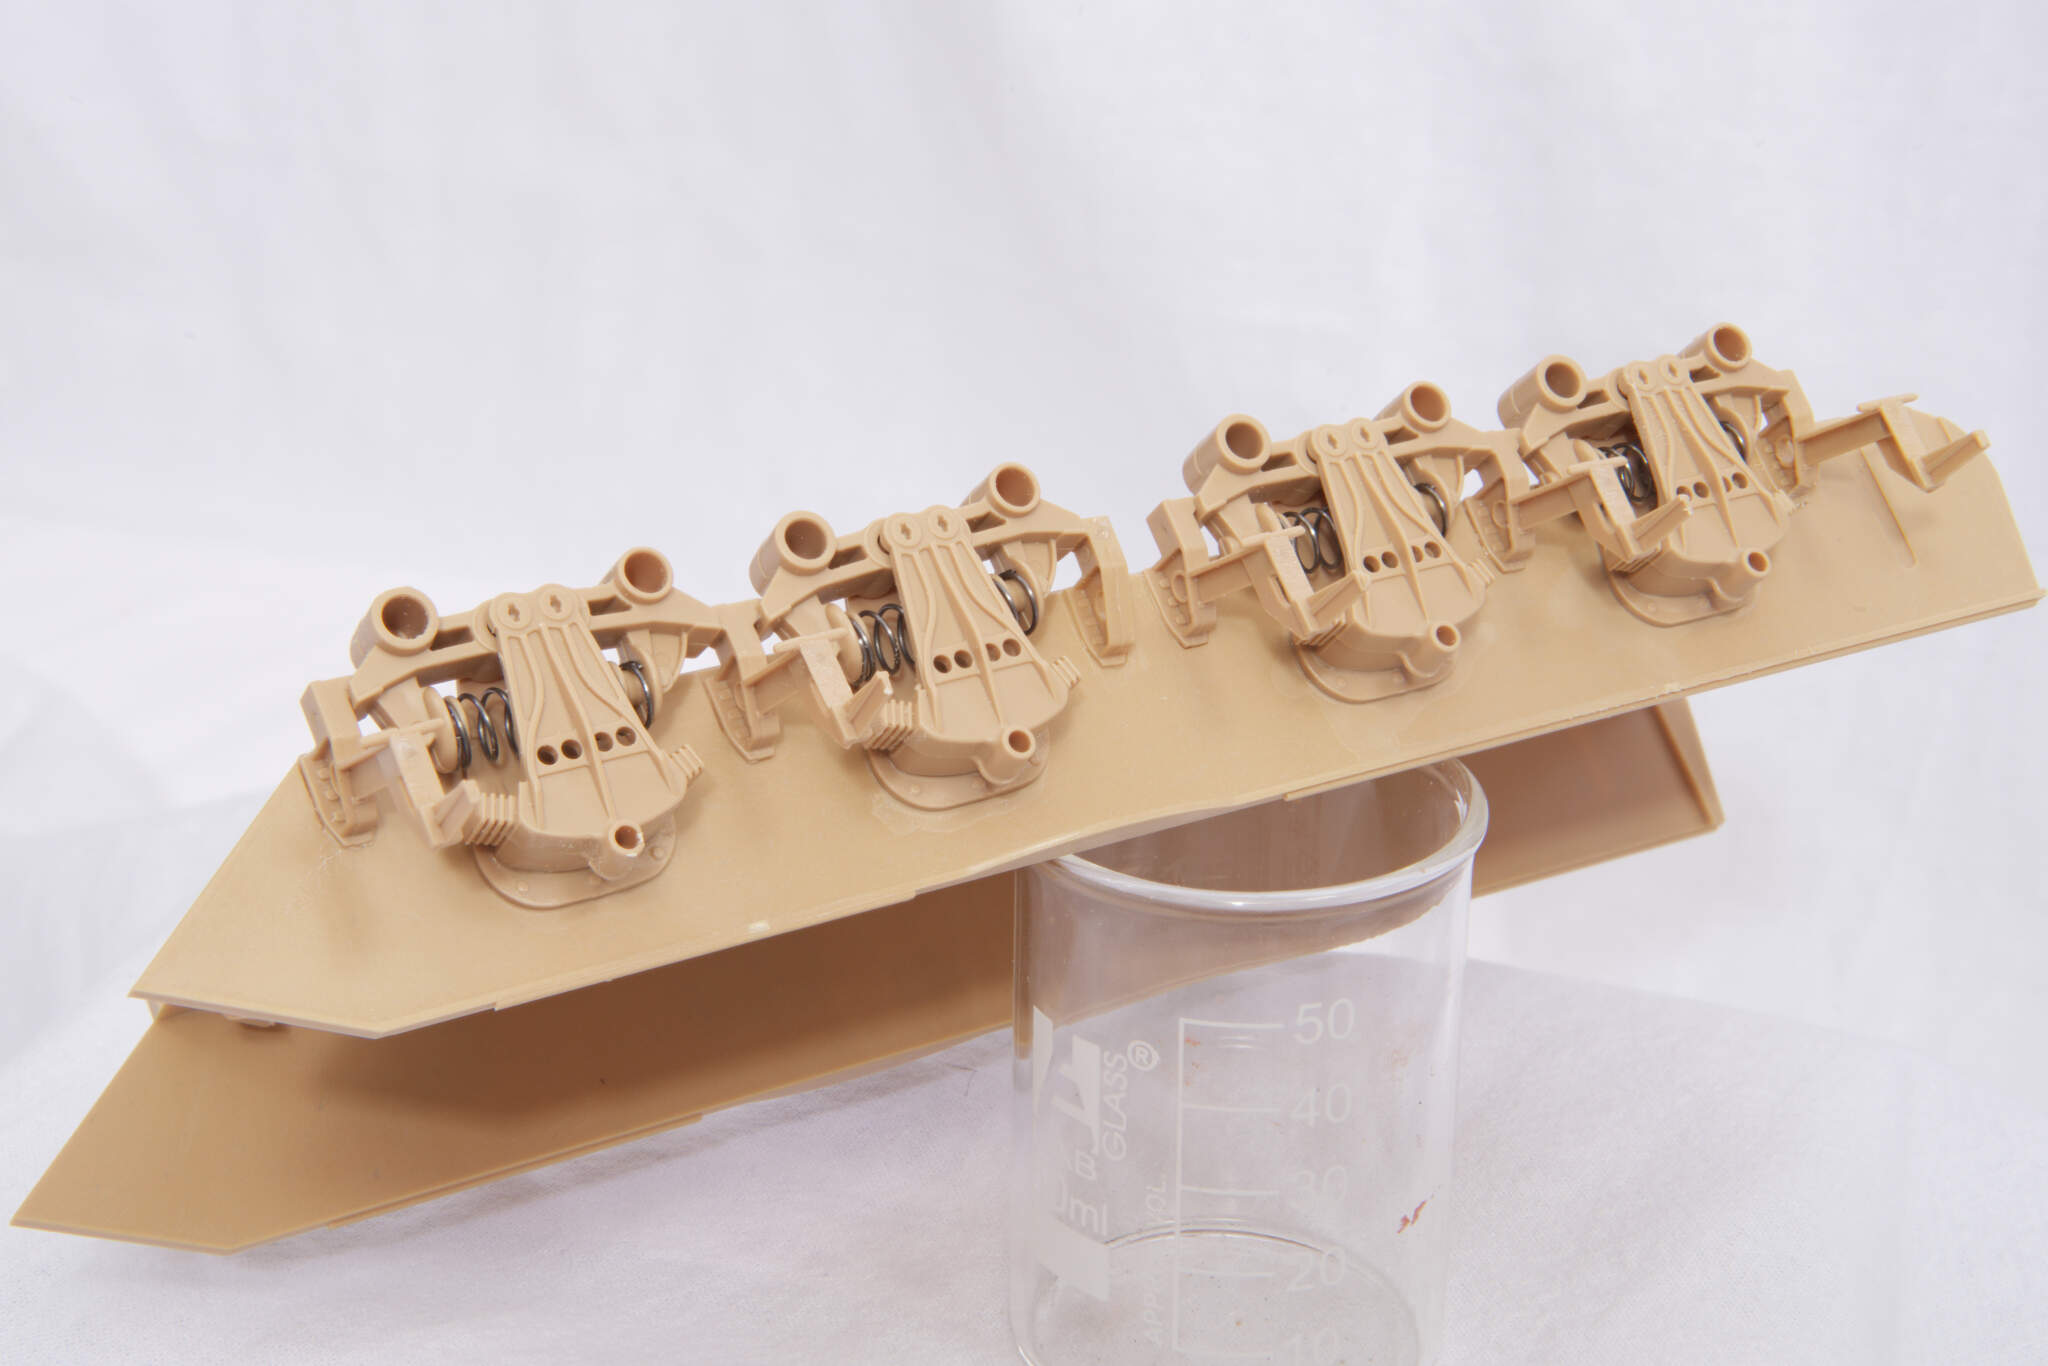
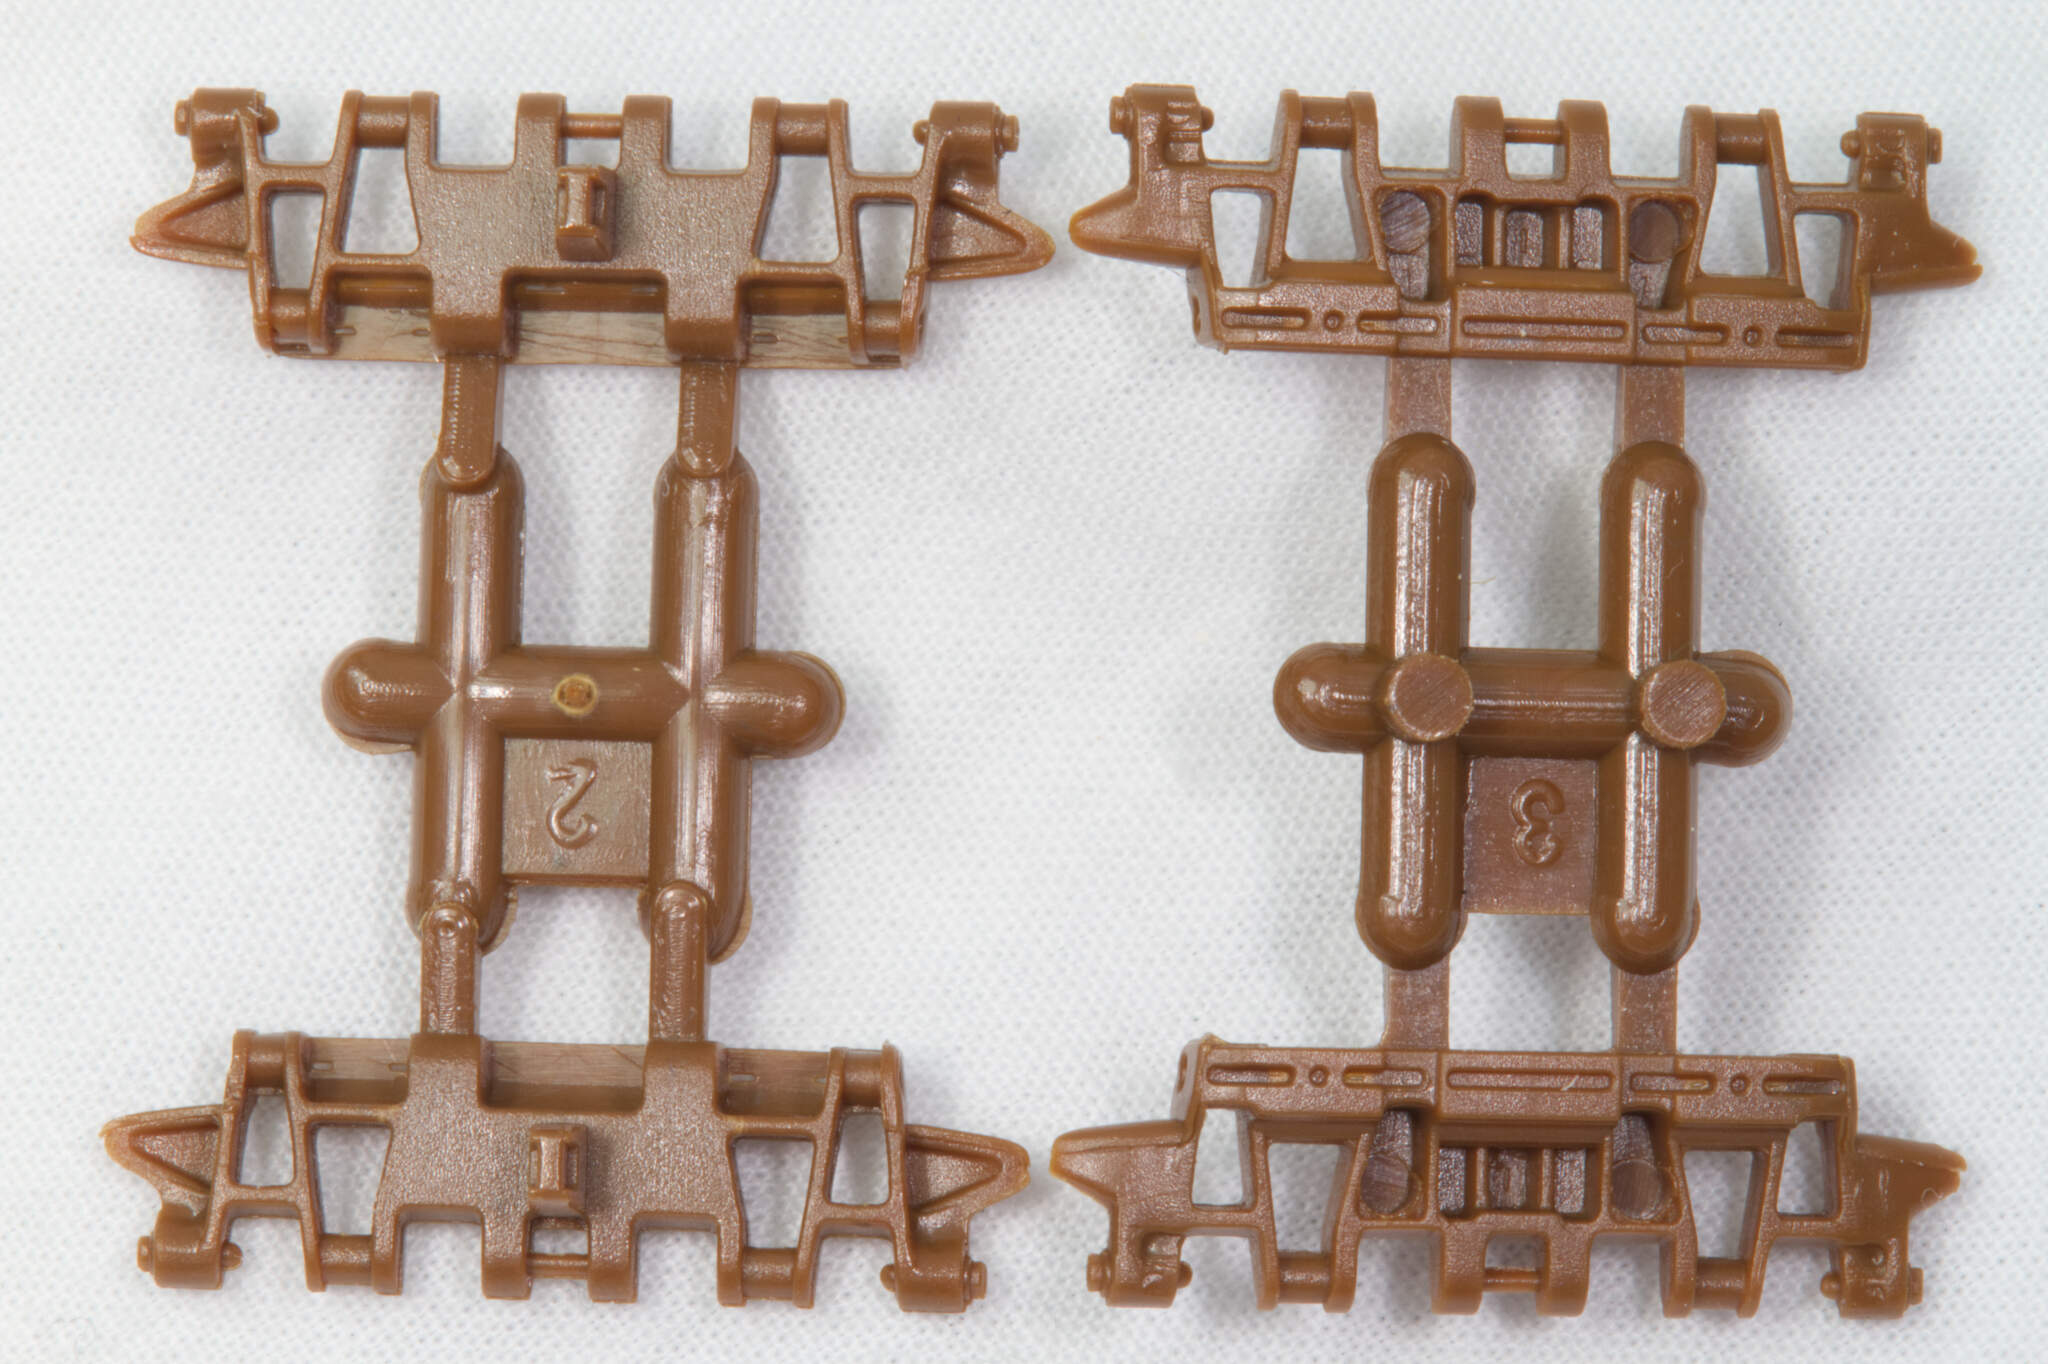
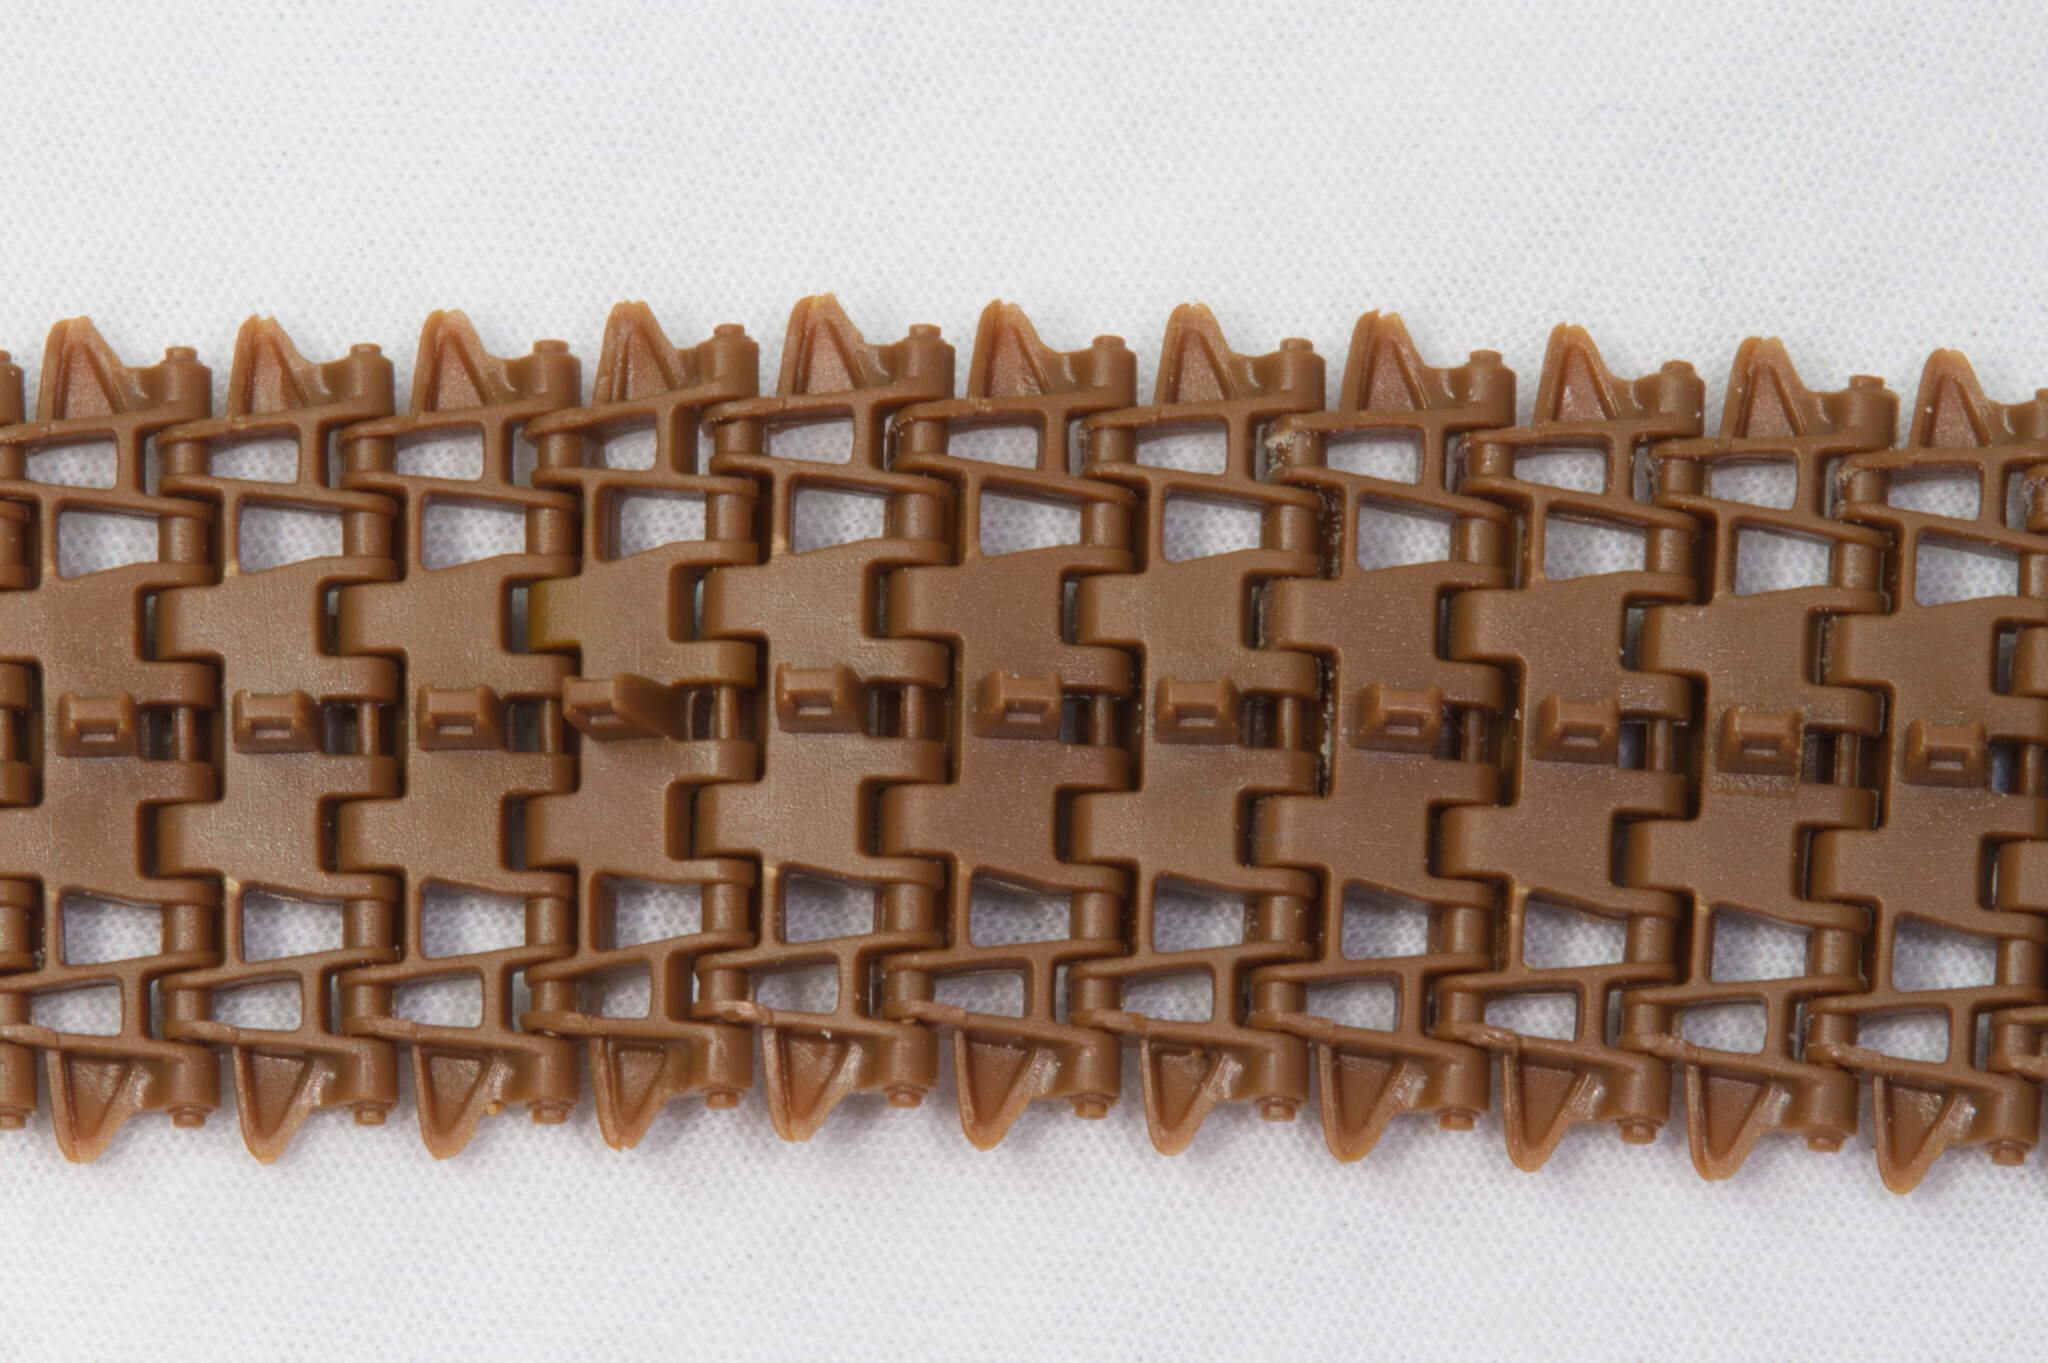
The tracks are a dream to use…
I was going to do Berlin Brigade camo but I had also ran out of AK RC317 AMT-11 Blue-Grey. So i tried and failed to mix my own and failed miserably, wasting a lot of paint in the process.
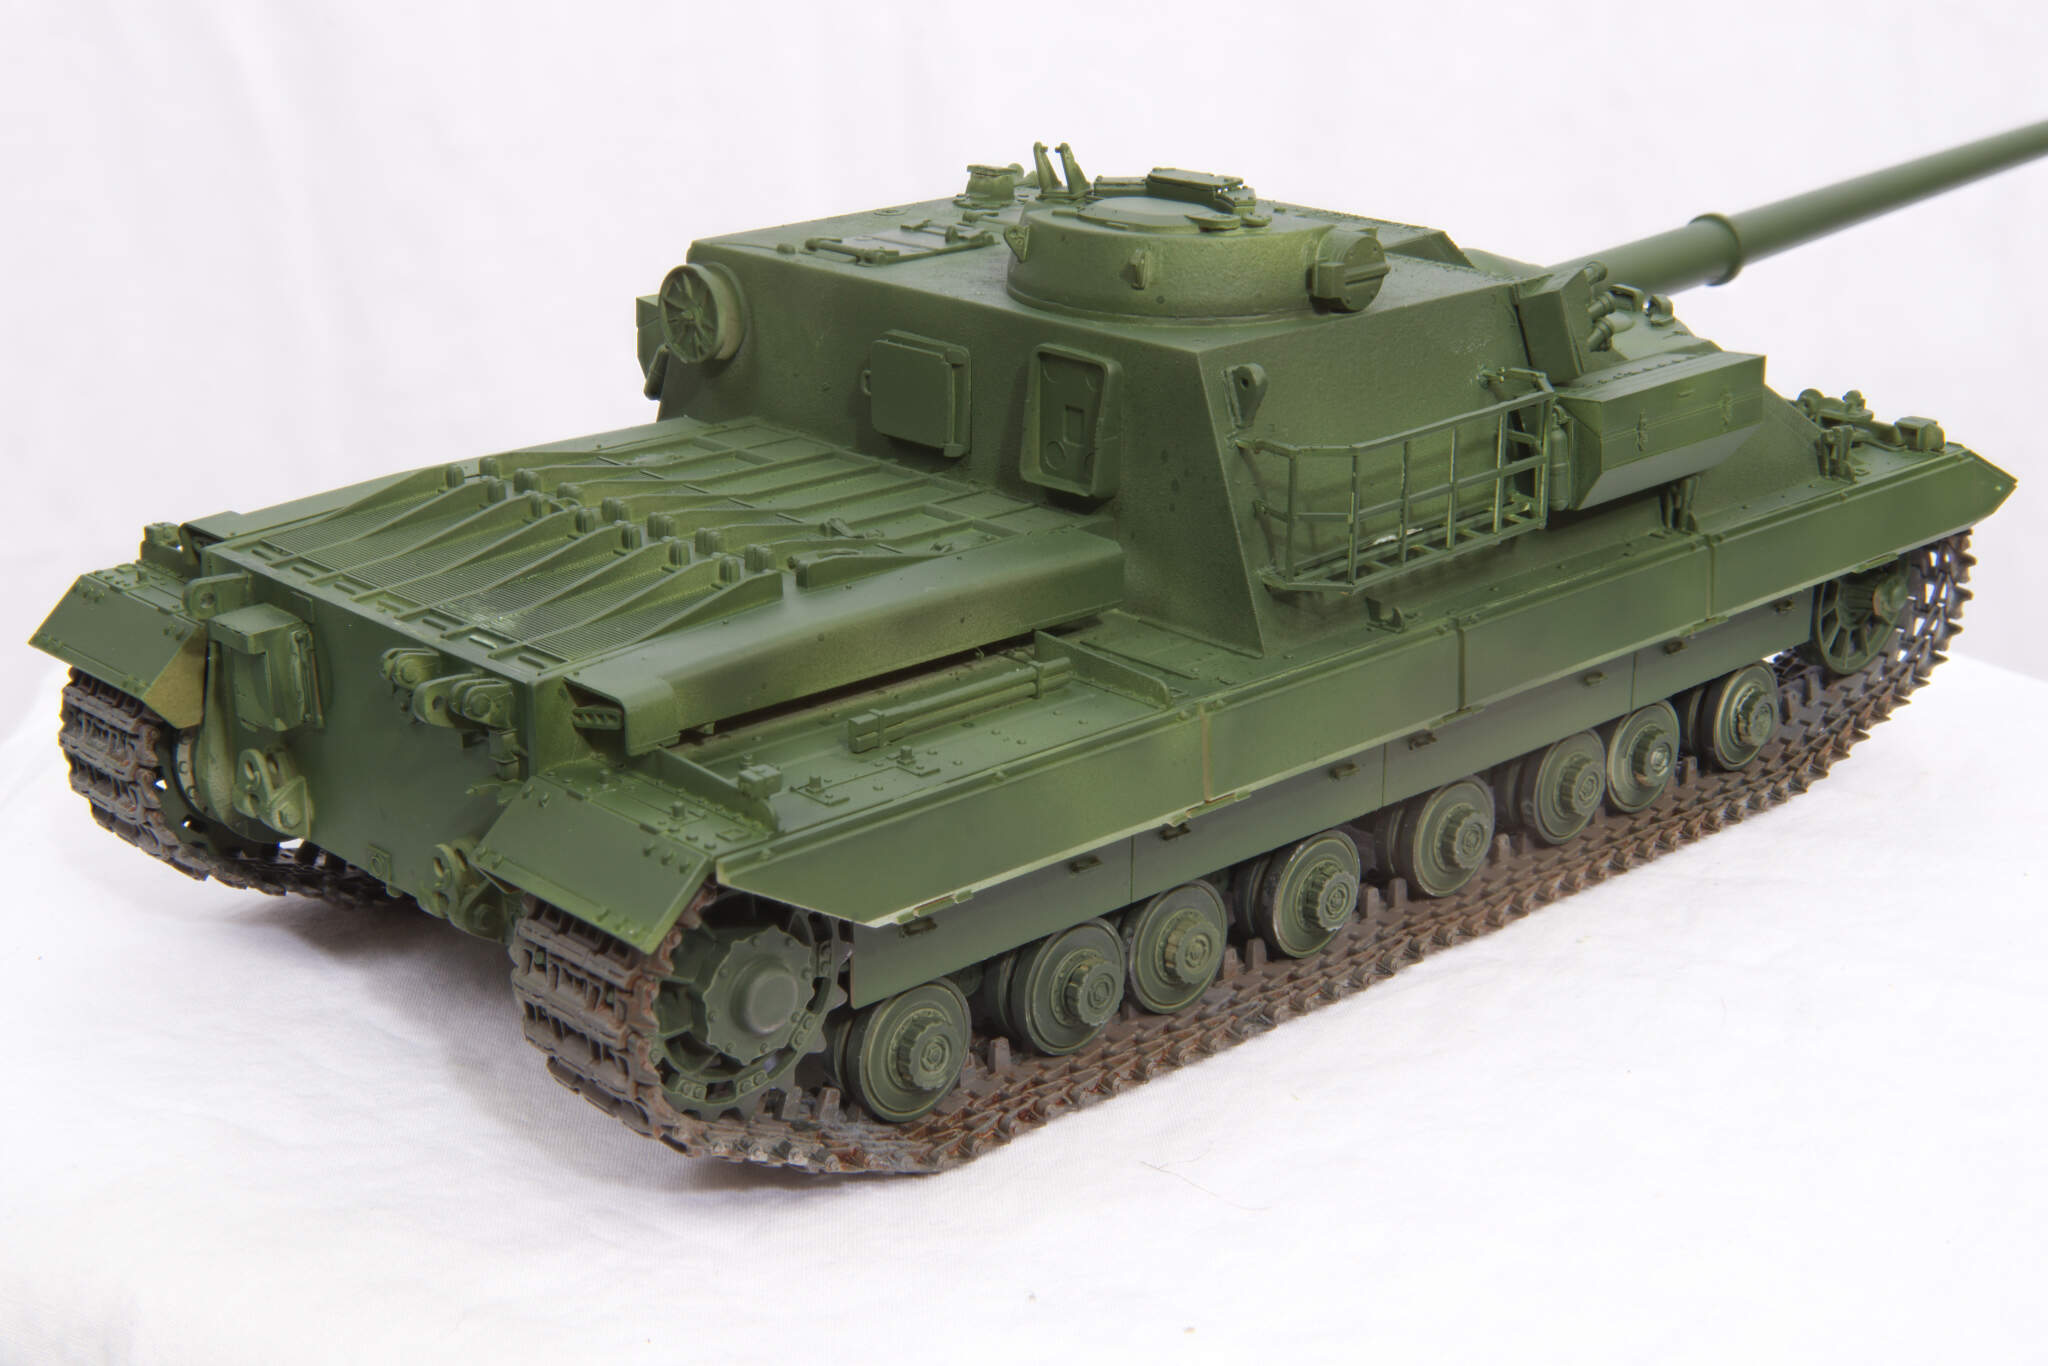
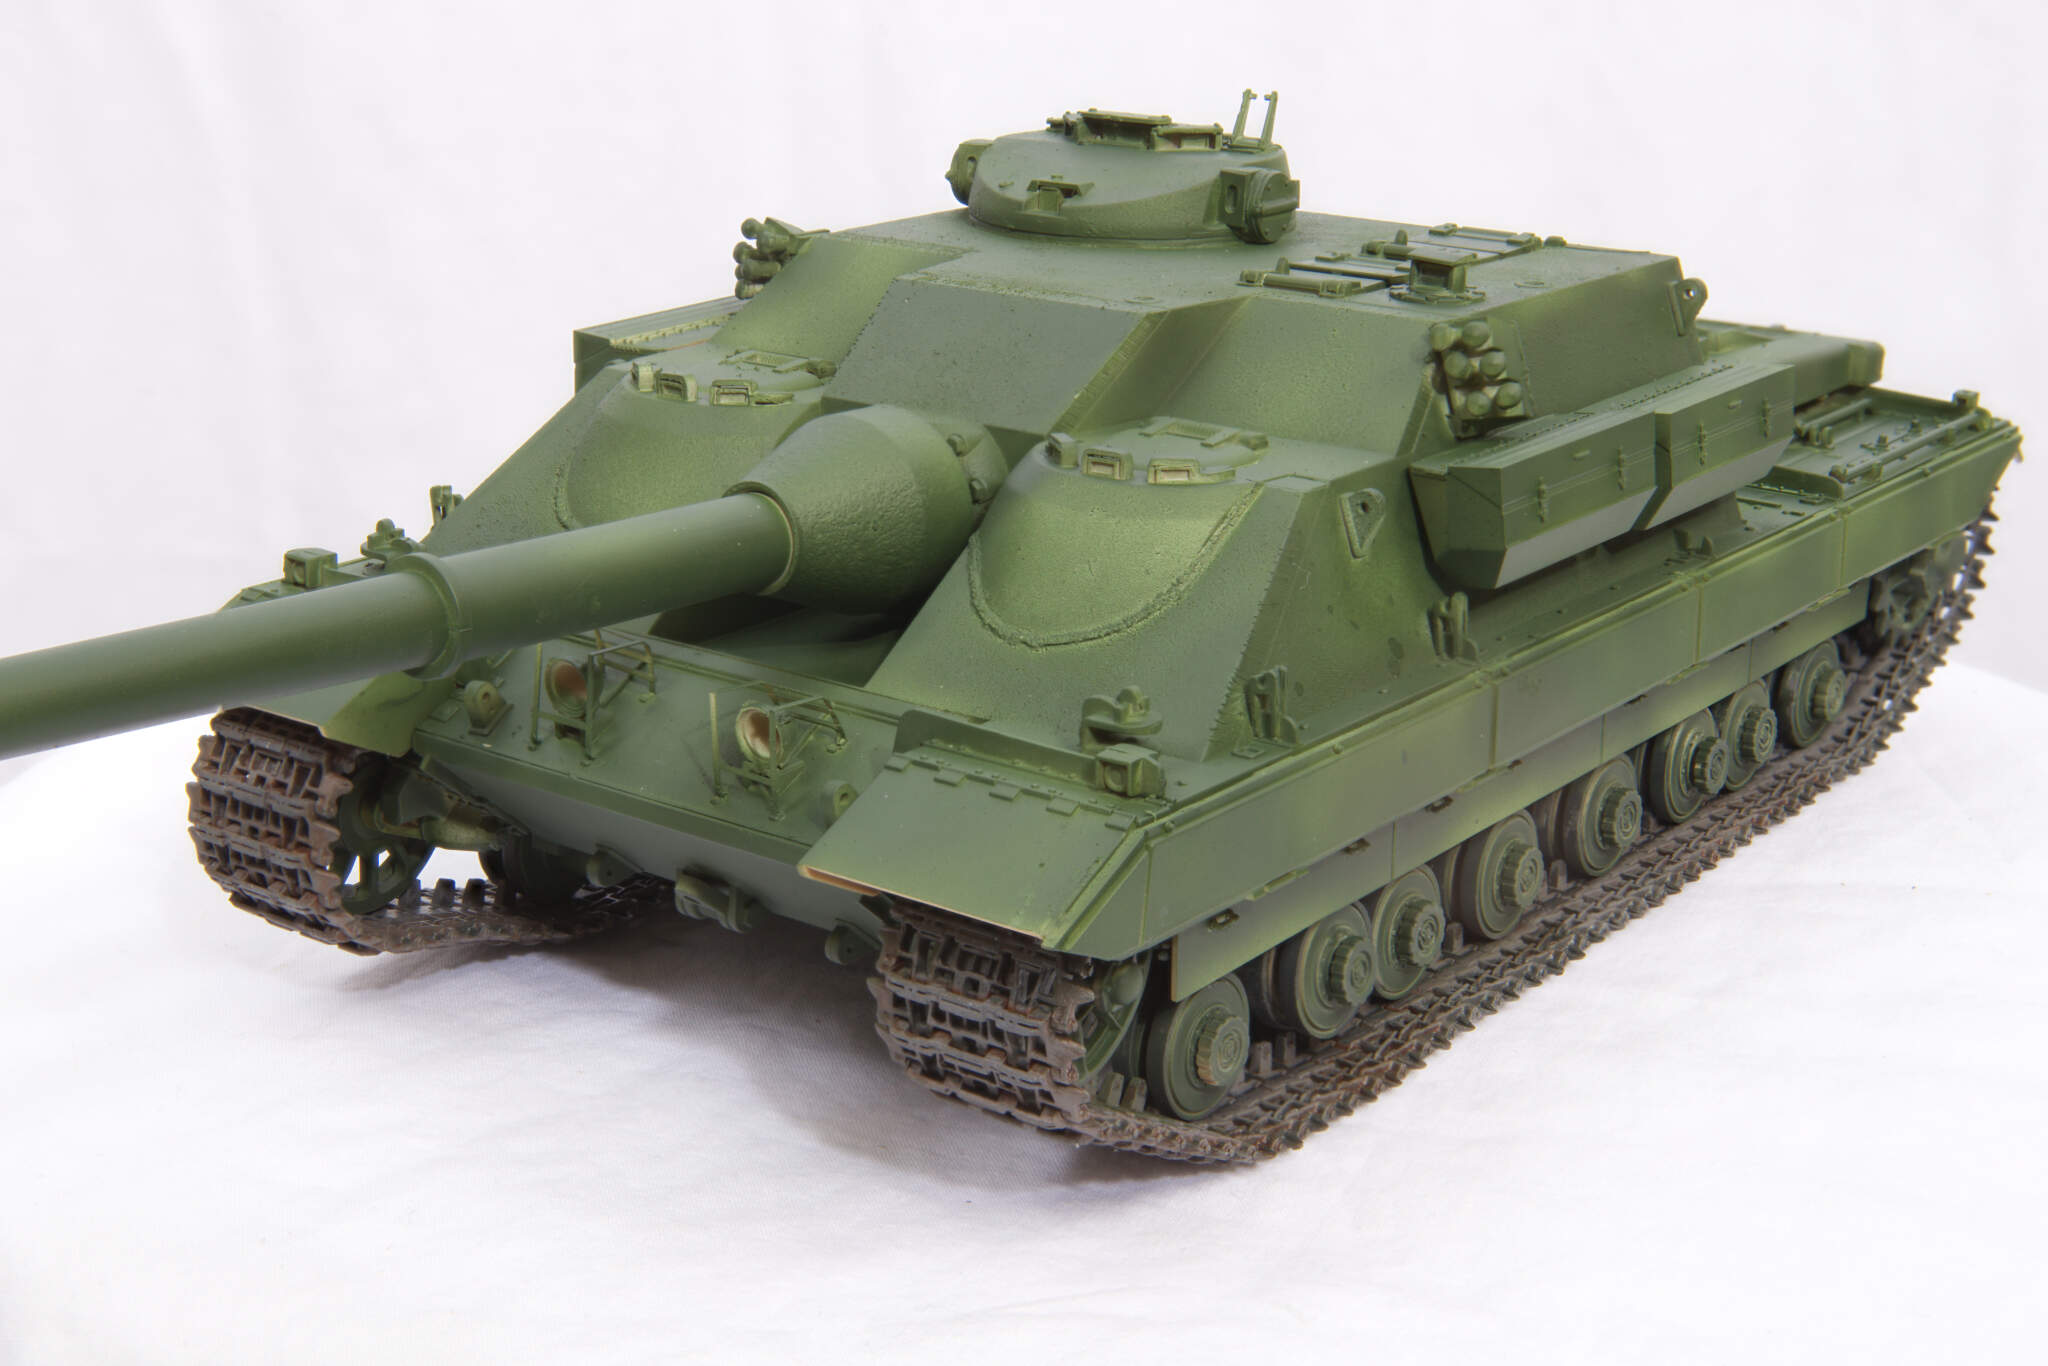
So it is going to be NATO Green & Black.
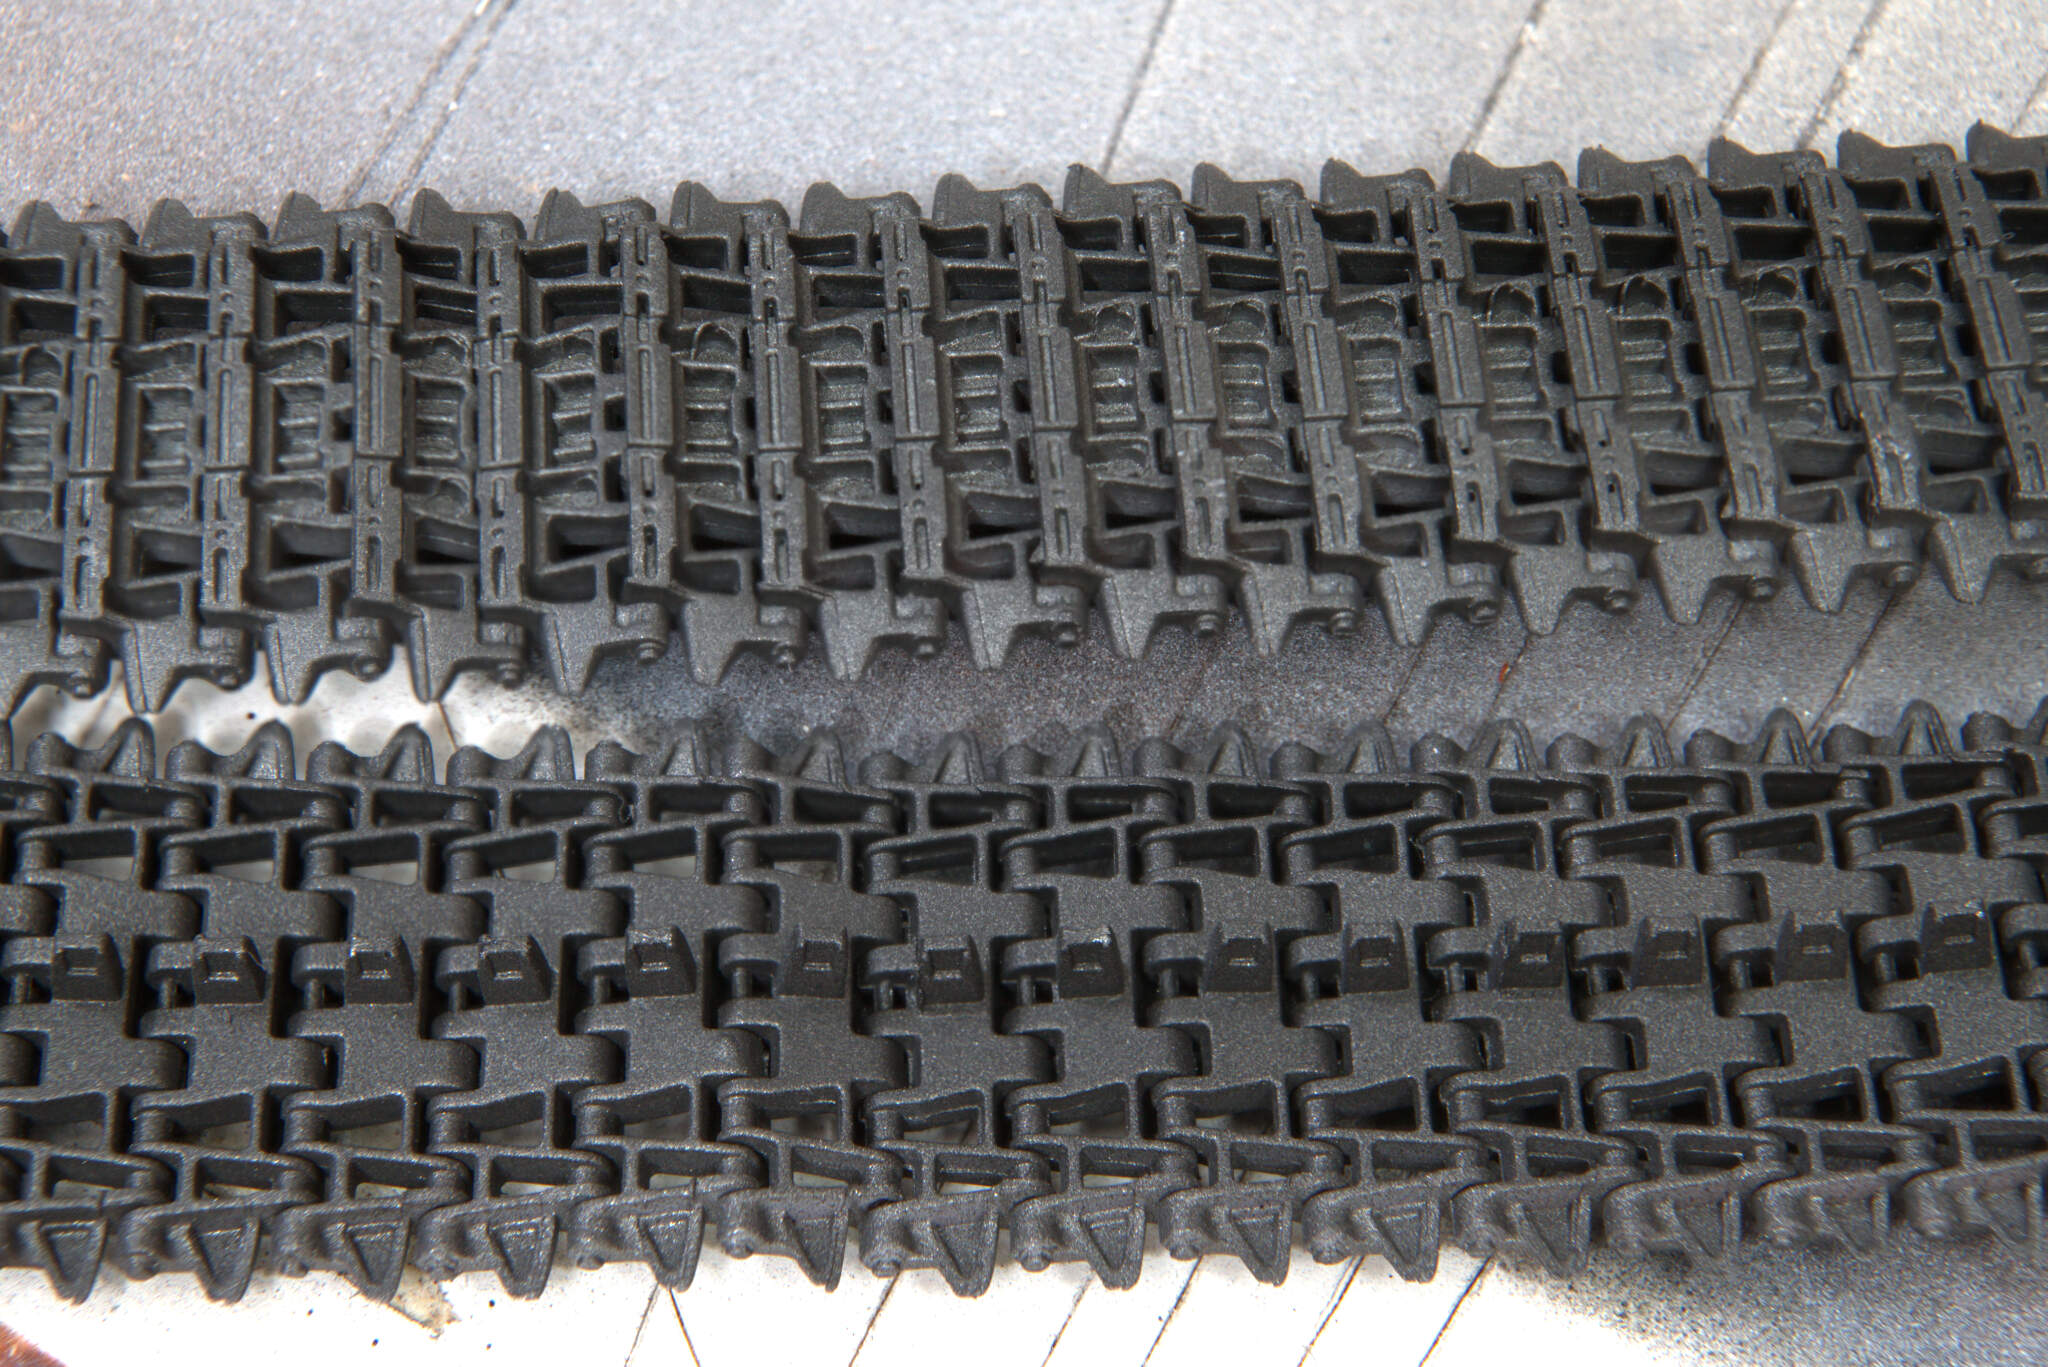
I matt varnished the tracks and used a light rust wash and grey pigment to start weathering the tracks before fitting.
Next the green will get a touch up on some areas made more obvious by the studio flash.
On a different tack I have been looking at doing some stuff related to Operation Granby which of course was thirty years ago.
I wanted to do some of the MBT’s fielded by both sides.
So I have been looking at the reviews of this:
and wondered if anyone had any thoughts on it?
I have this coming for one representative of an Iraqi MBT:
For something from blighty I think there can only be one choice but it is quite old:
Looks great Colin and I think the NATO cam will look just fine. Really like that base coat on the tracks. I may borrow that idea as it looks very good.
Is the cupola fixed are did it look like it was meant to movable for the real thing if they had built it ?
Ref the Op G, I used the Tamiya M1A1 mine plow for mine on the ODS group build as most the M1 gurus said it was a pretty good match… and it was fairly cheap.
The Chally1 may be an old kit but I think it’s probably the best there is for it. The PE set I got for mine helped in a few areas, and I knocked mine back to Chally1 MK1/2 for my old ride.
Thanks John.
The cupola is fixed on the model I think your right about it moving though.
I have not started my bedtime reading yet but it may be in it.
The Tamiya CR1 it is then. They are relatively cheap ATM at around £25-£28.
I will look at the PE but it is not my favourite medium. Was it an Eduard set you used?
To be honest Cats, if you just glossed it now and left it as the gloss finish Deep Bronze Green, to my mind it would look the biz! However, it’s not my model and will still look extremely inteersting in what you’ve planned. It is a bit of a monster isn’t it?
I see there is a Commander’s cupola after all - or was that on a sprue within the box? To me it makes a hell of a difference. very nice job.
Thanks.
The cupola is an assembly stage in the instructions.
I have not started putting NATO black on it yet so I will have a think about your suggestion regarding just leaving it green.
It certainly is a monster I put it next to my E-100 and it close in size.
It was just a thought; I’m quite a fan of shiny green! For a bit of colour any RAC markings (eg the red and yellow bisected square) etc would all help. It is of course your model and I certainly don’t mean to micro-manage or interfere to such a degree. I just know I’ll have to get one myself now!
I just wonder is such a beast would be operated by the Royal Artillery - that is in providing long range anti-tank? Of course, as a What-If it can become anything, but arguably an interesting option.