There is no point in laying out a review of the box - it is on the network. There is no point in describing the assembly process either. It is on the net, it is also on this forum: Bison126 has already assembled this model before.
Below is just about some aspects (for fresh memory) that it is better to know before assembling. The material is formed taking into account personal jambs or excessive body movements, as well as according to the jambs of the instructions. There are no complaints about plastic.
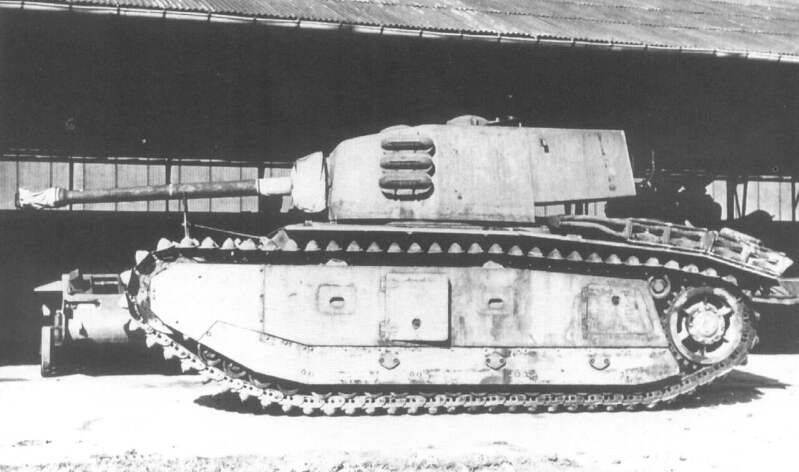
A non-alternative 1/35 scale model of a very strange prototype. That is what attracted him.
The strangeness of the prototype is also reflected in the strangeness of its model: here there are only half as many rollers as there are tracks!
The strangeness of the prototype is also reflected in the strangeness of its model: there are only two times fewer rollers than trucks: 84 rollers against 160 trucks!
So you won’t get bored. But there is good news: the rollers are small and you won’t see them at all, so you don’t have to bother with processing.
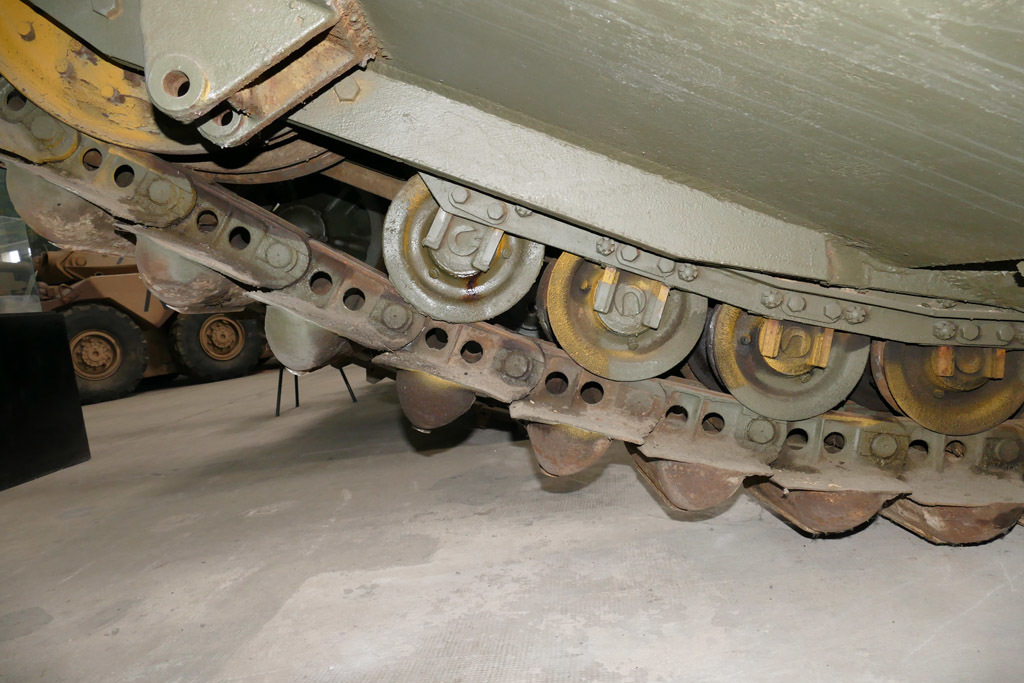
On the contrary, the tracks are huge! And still bitten off, and not on sprues. What well. And again, good: there are 20 extra pieces! You can break and lose as much as you want.
In principle, there are few details at all and the product can be recommended as a weekend model.
So from a personal note:
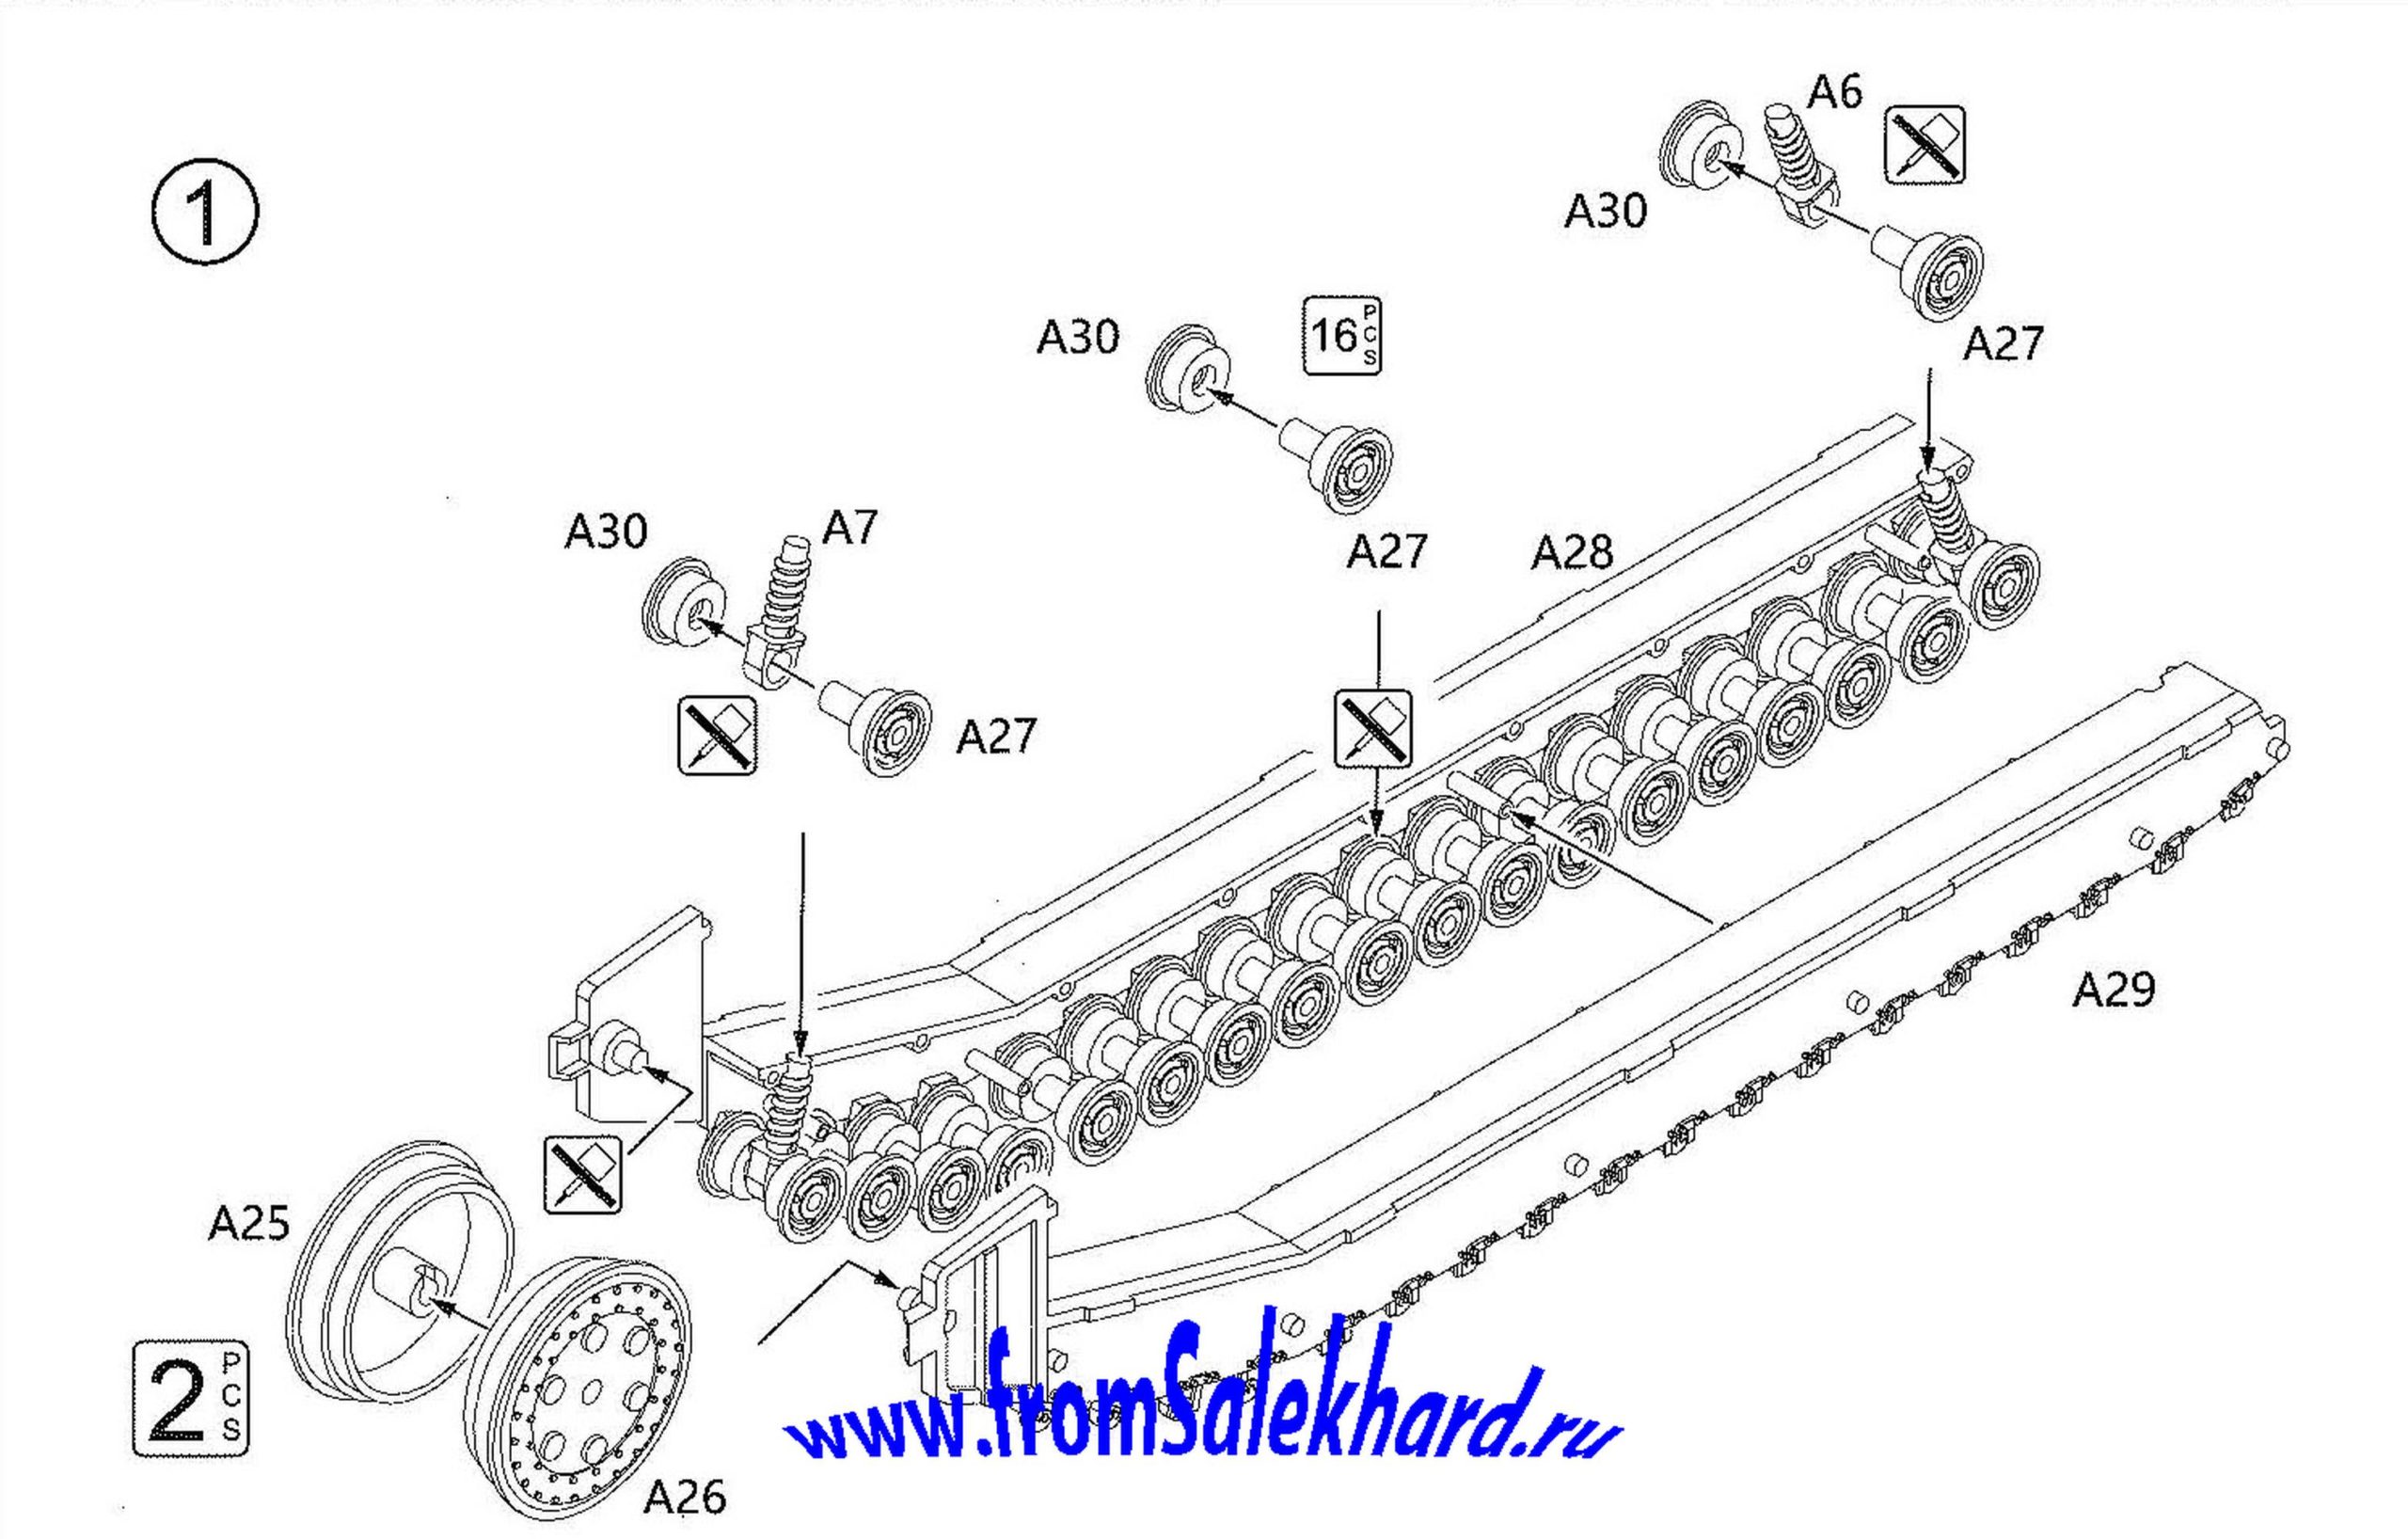
1. The mobility of the rollers is a completely optional thing (I did).
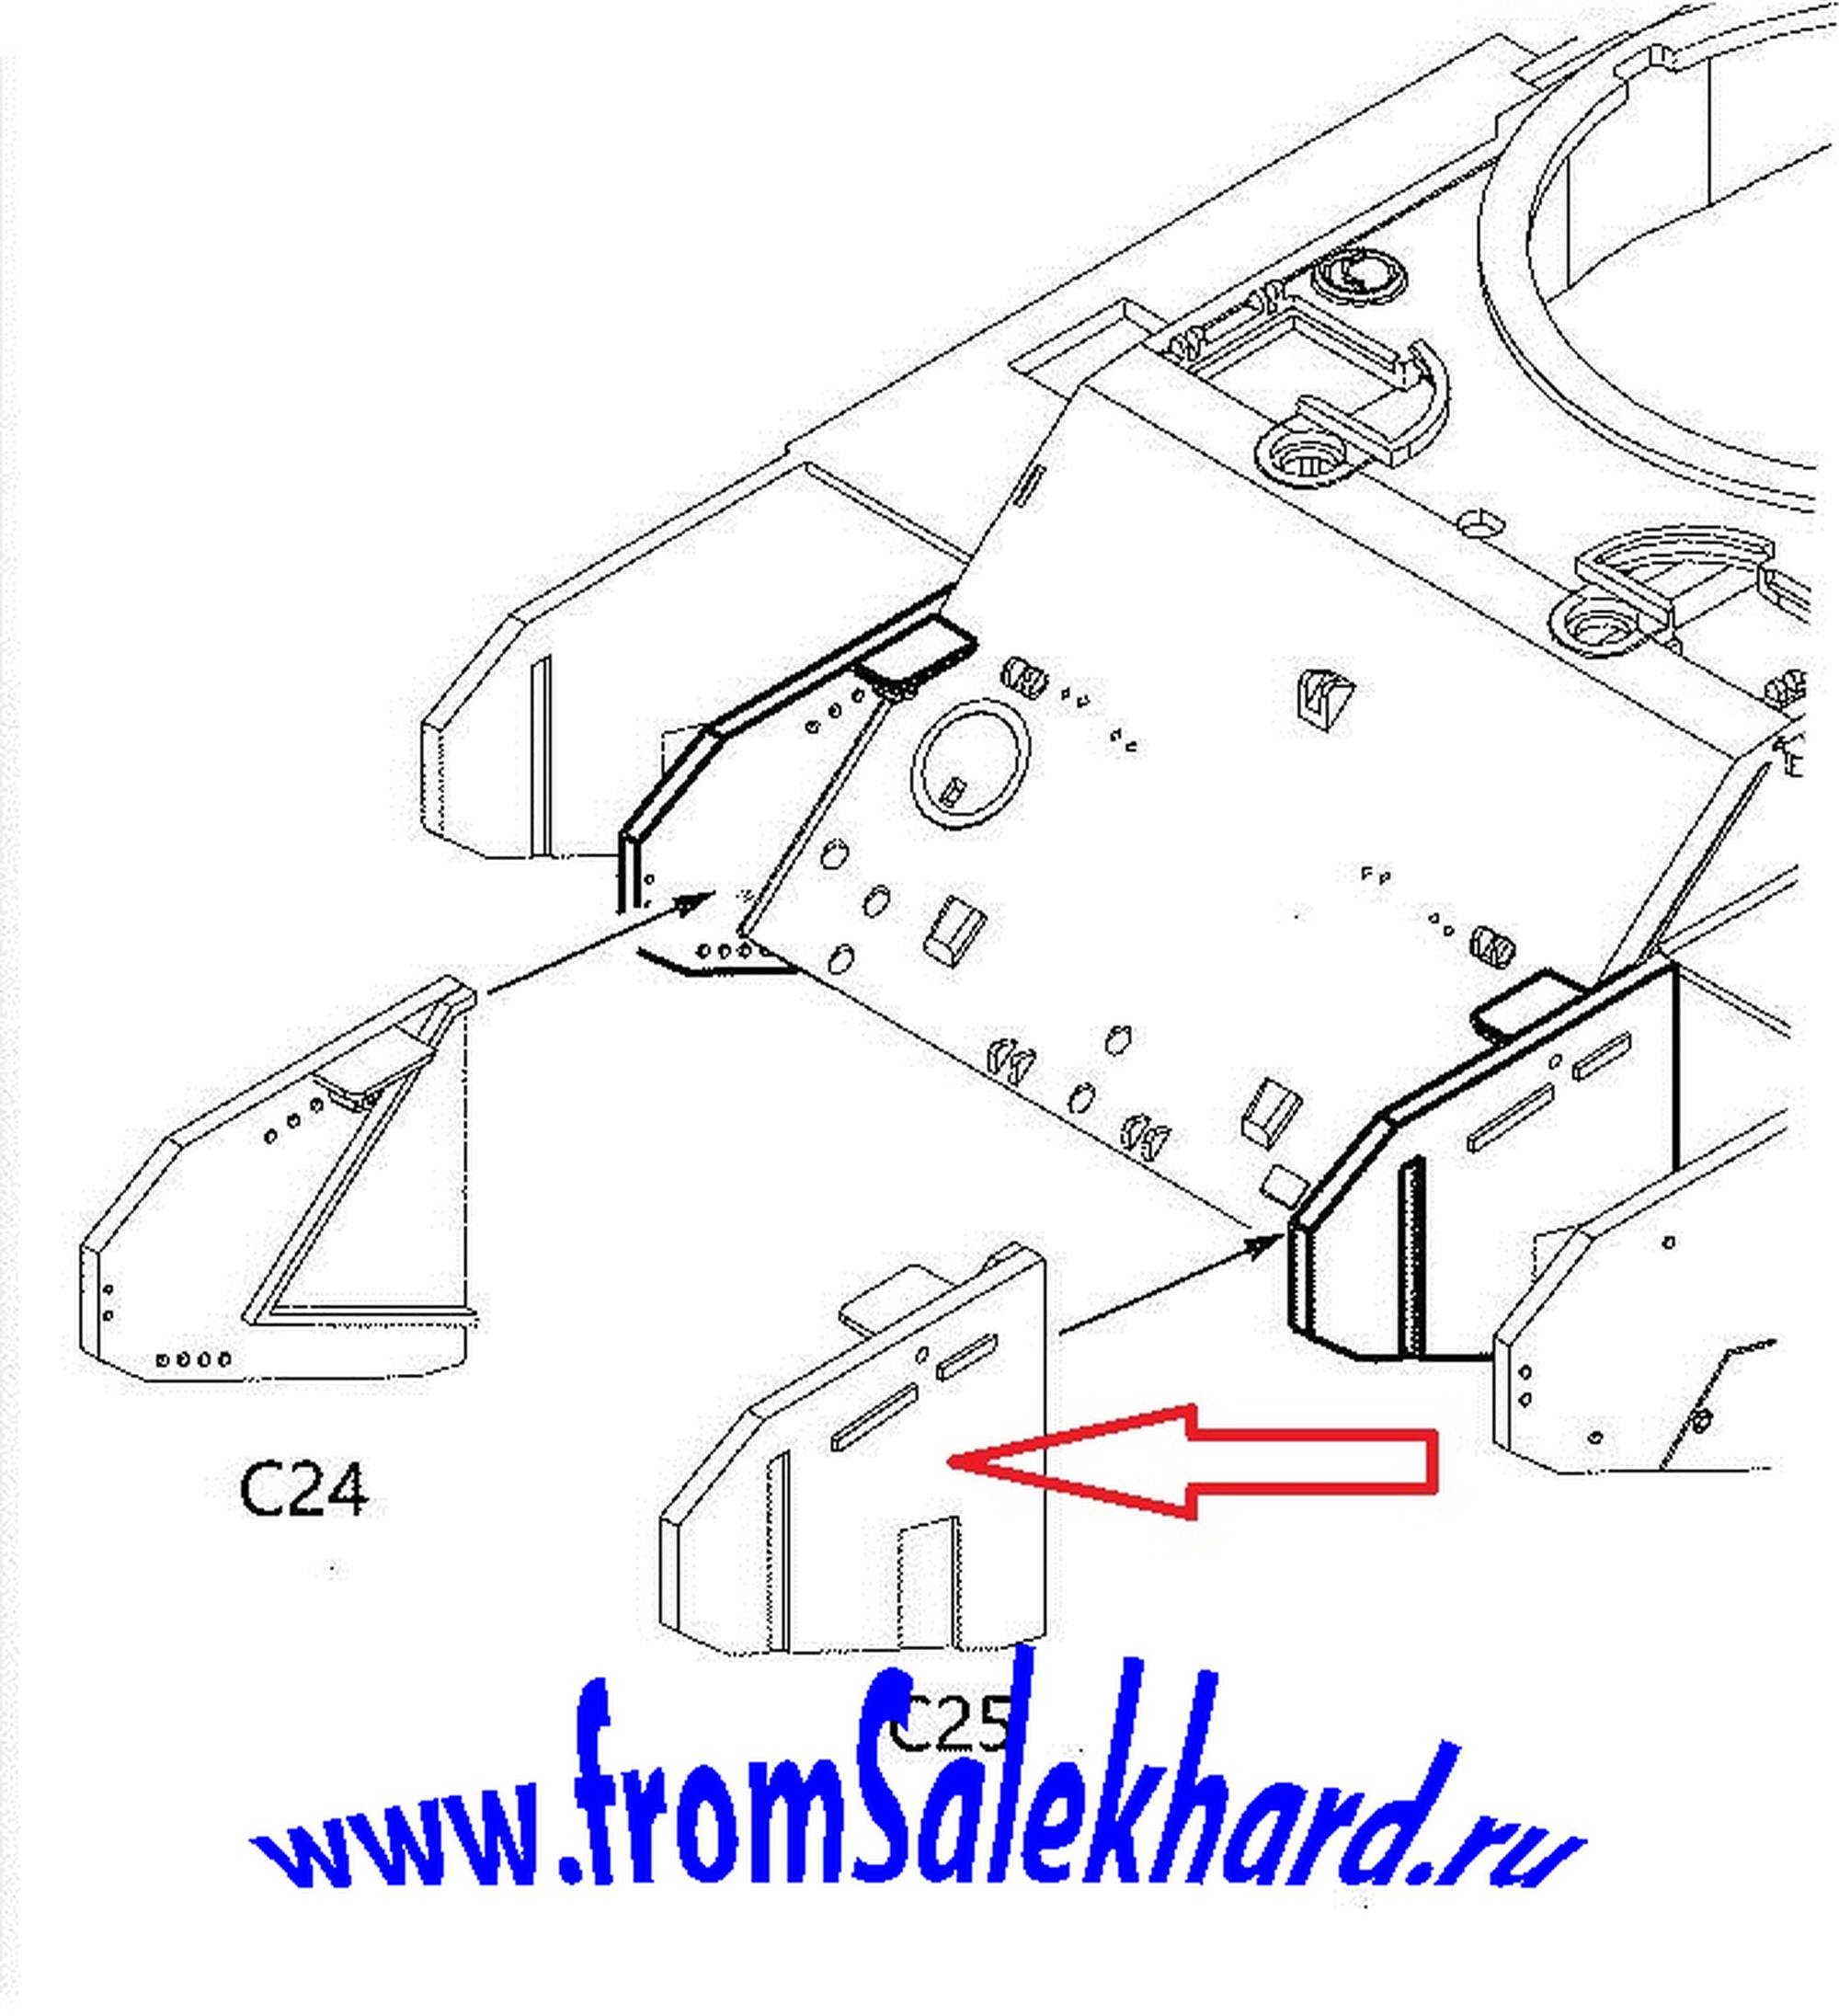
2. It is not necessary at all to putty traces of pushers on parts C24 and C25 - they are completely closed in the future (I closed it).
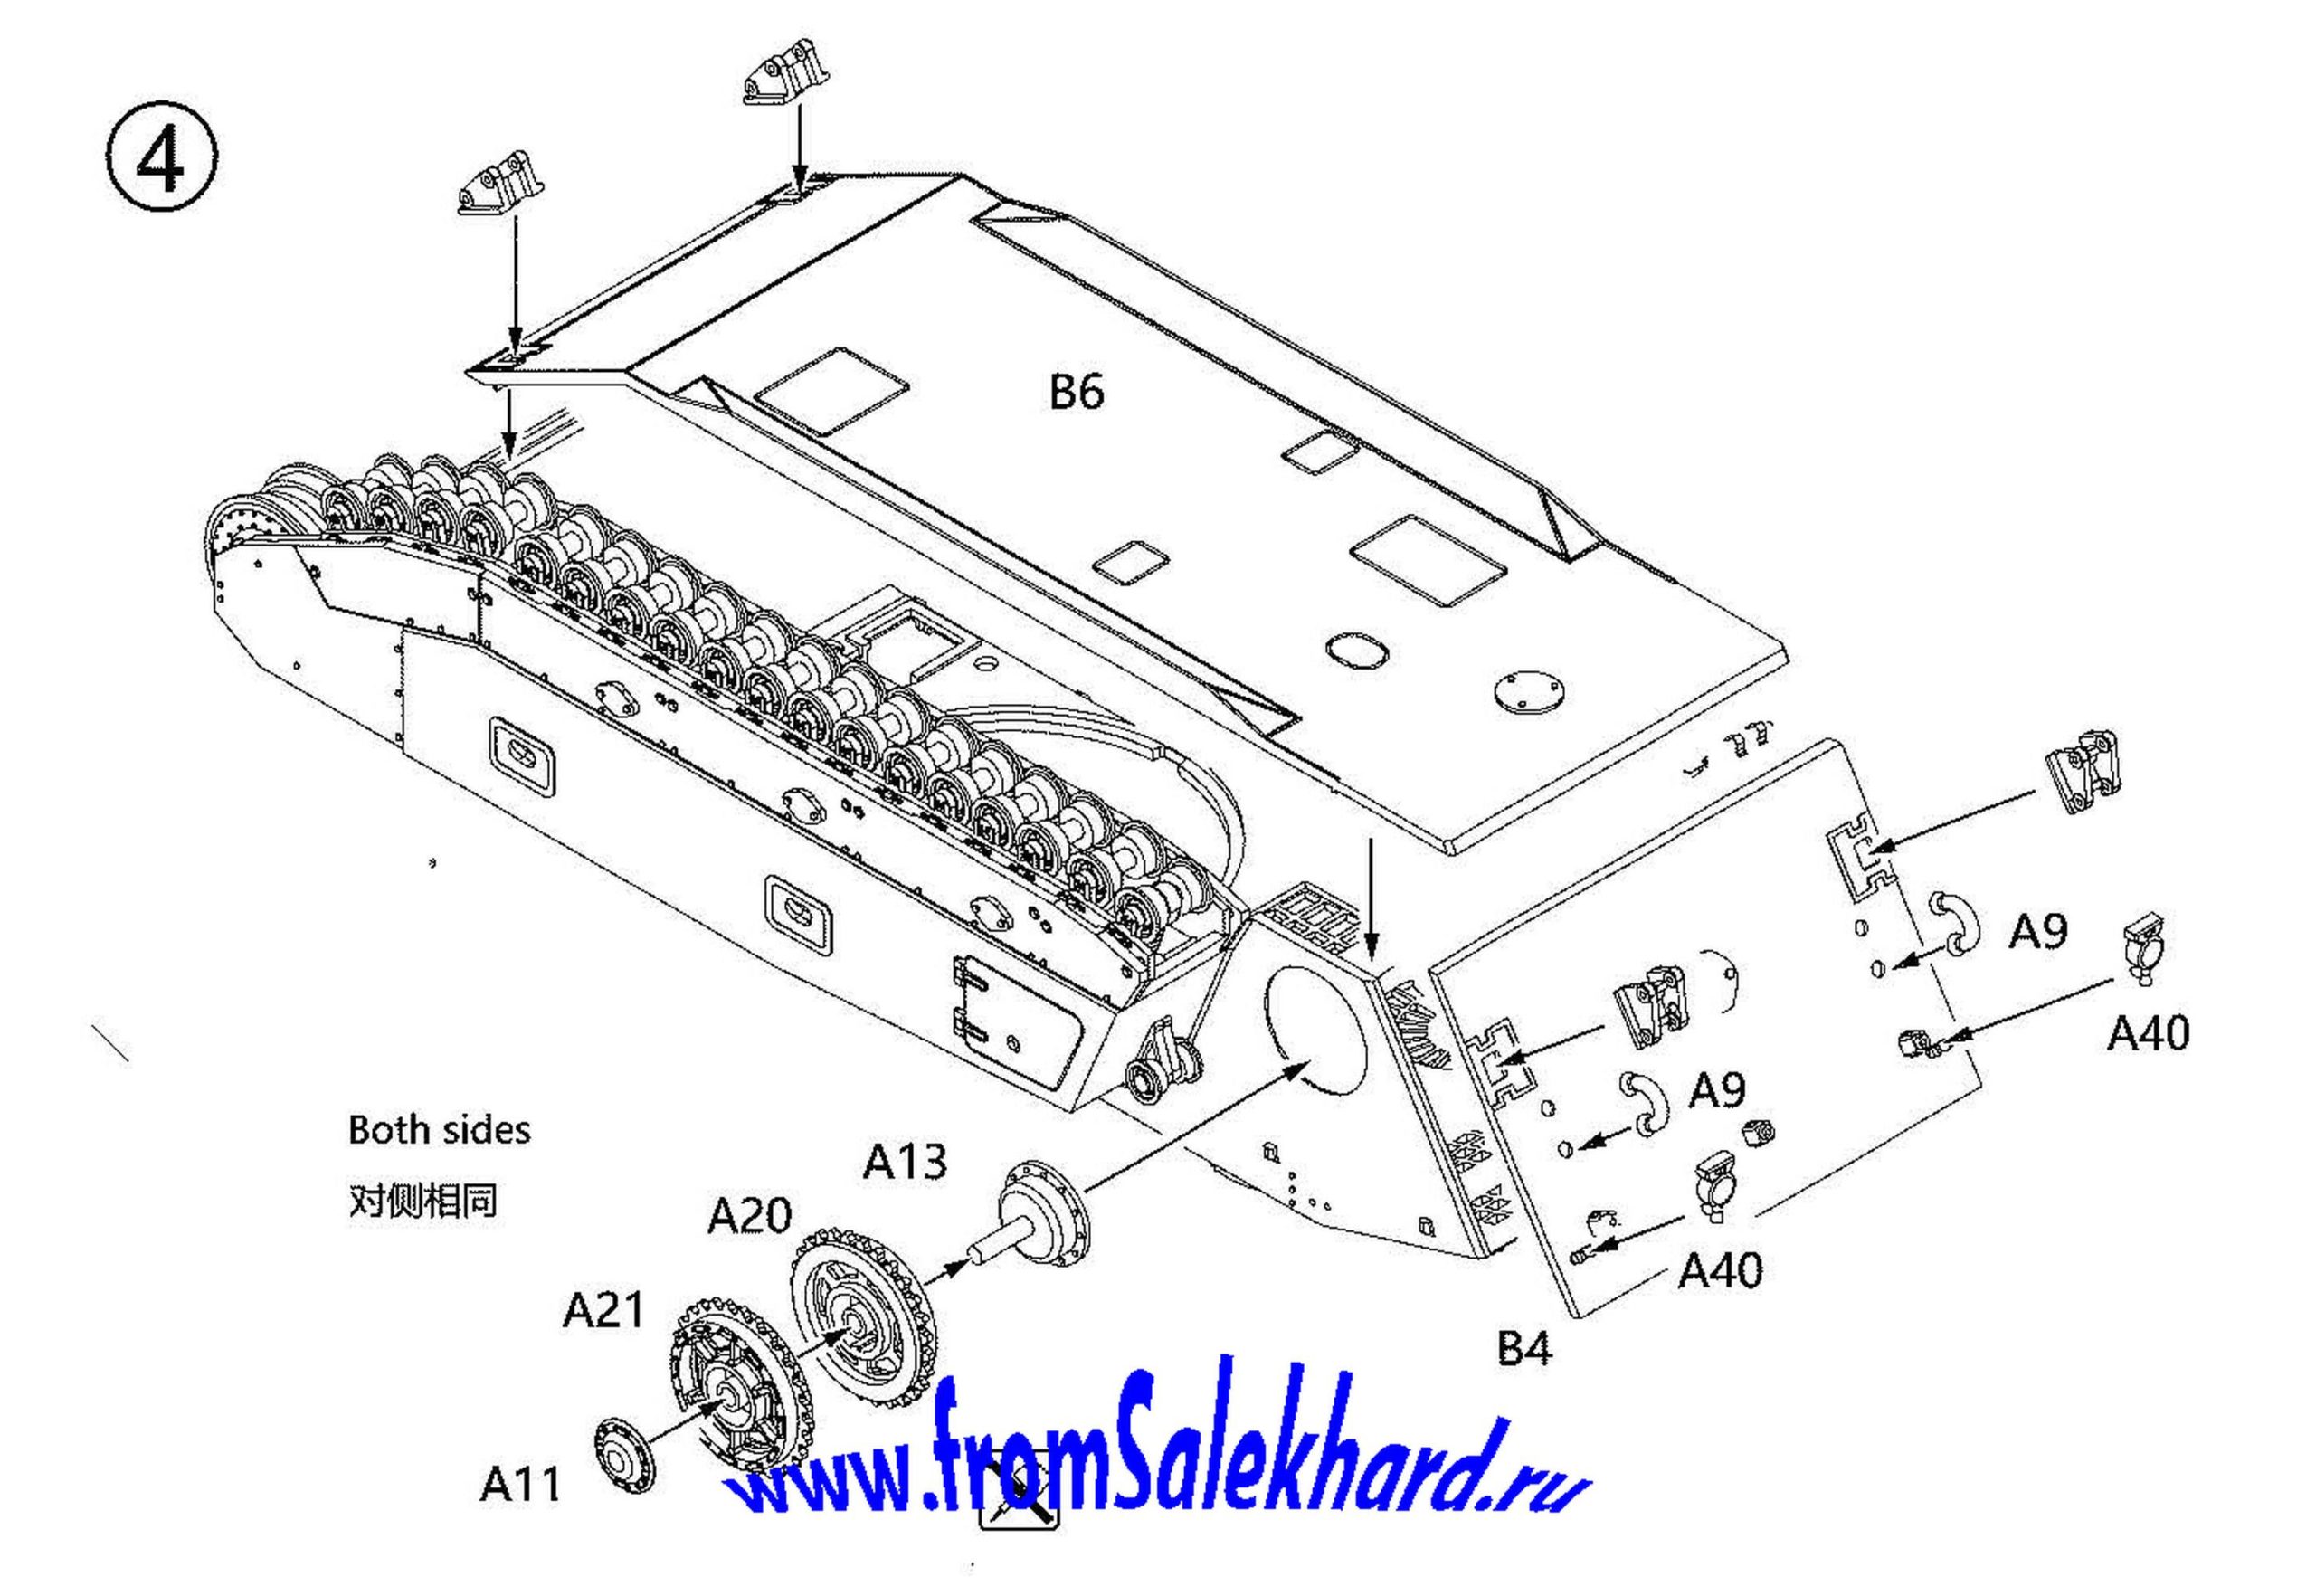
- It is not worth gluing carts with rollers before installing the fenders.
And they hold up really well even without glue.
These trolleys are hard to put into place and there is a risk of accidentally pushing the structure of the support rollers in (this happened to me).
They fall into a closed box structure. You can’t get them, because from the inside. It is necessary to pull out the subassembly with rollers (if it is not already glued).
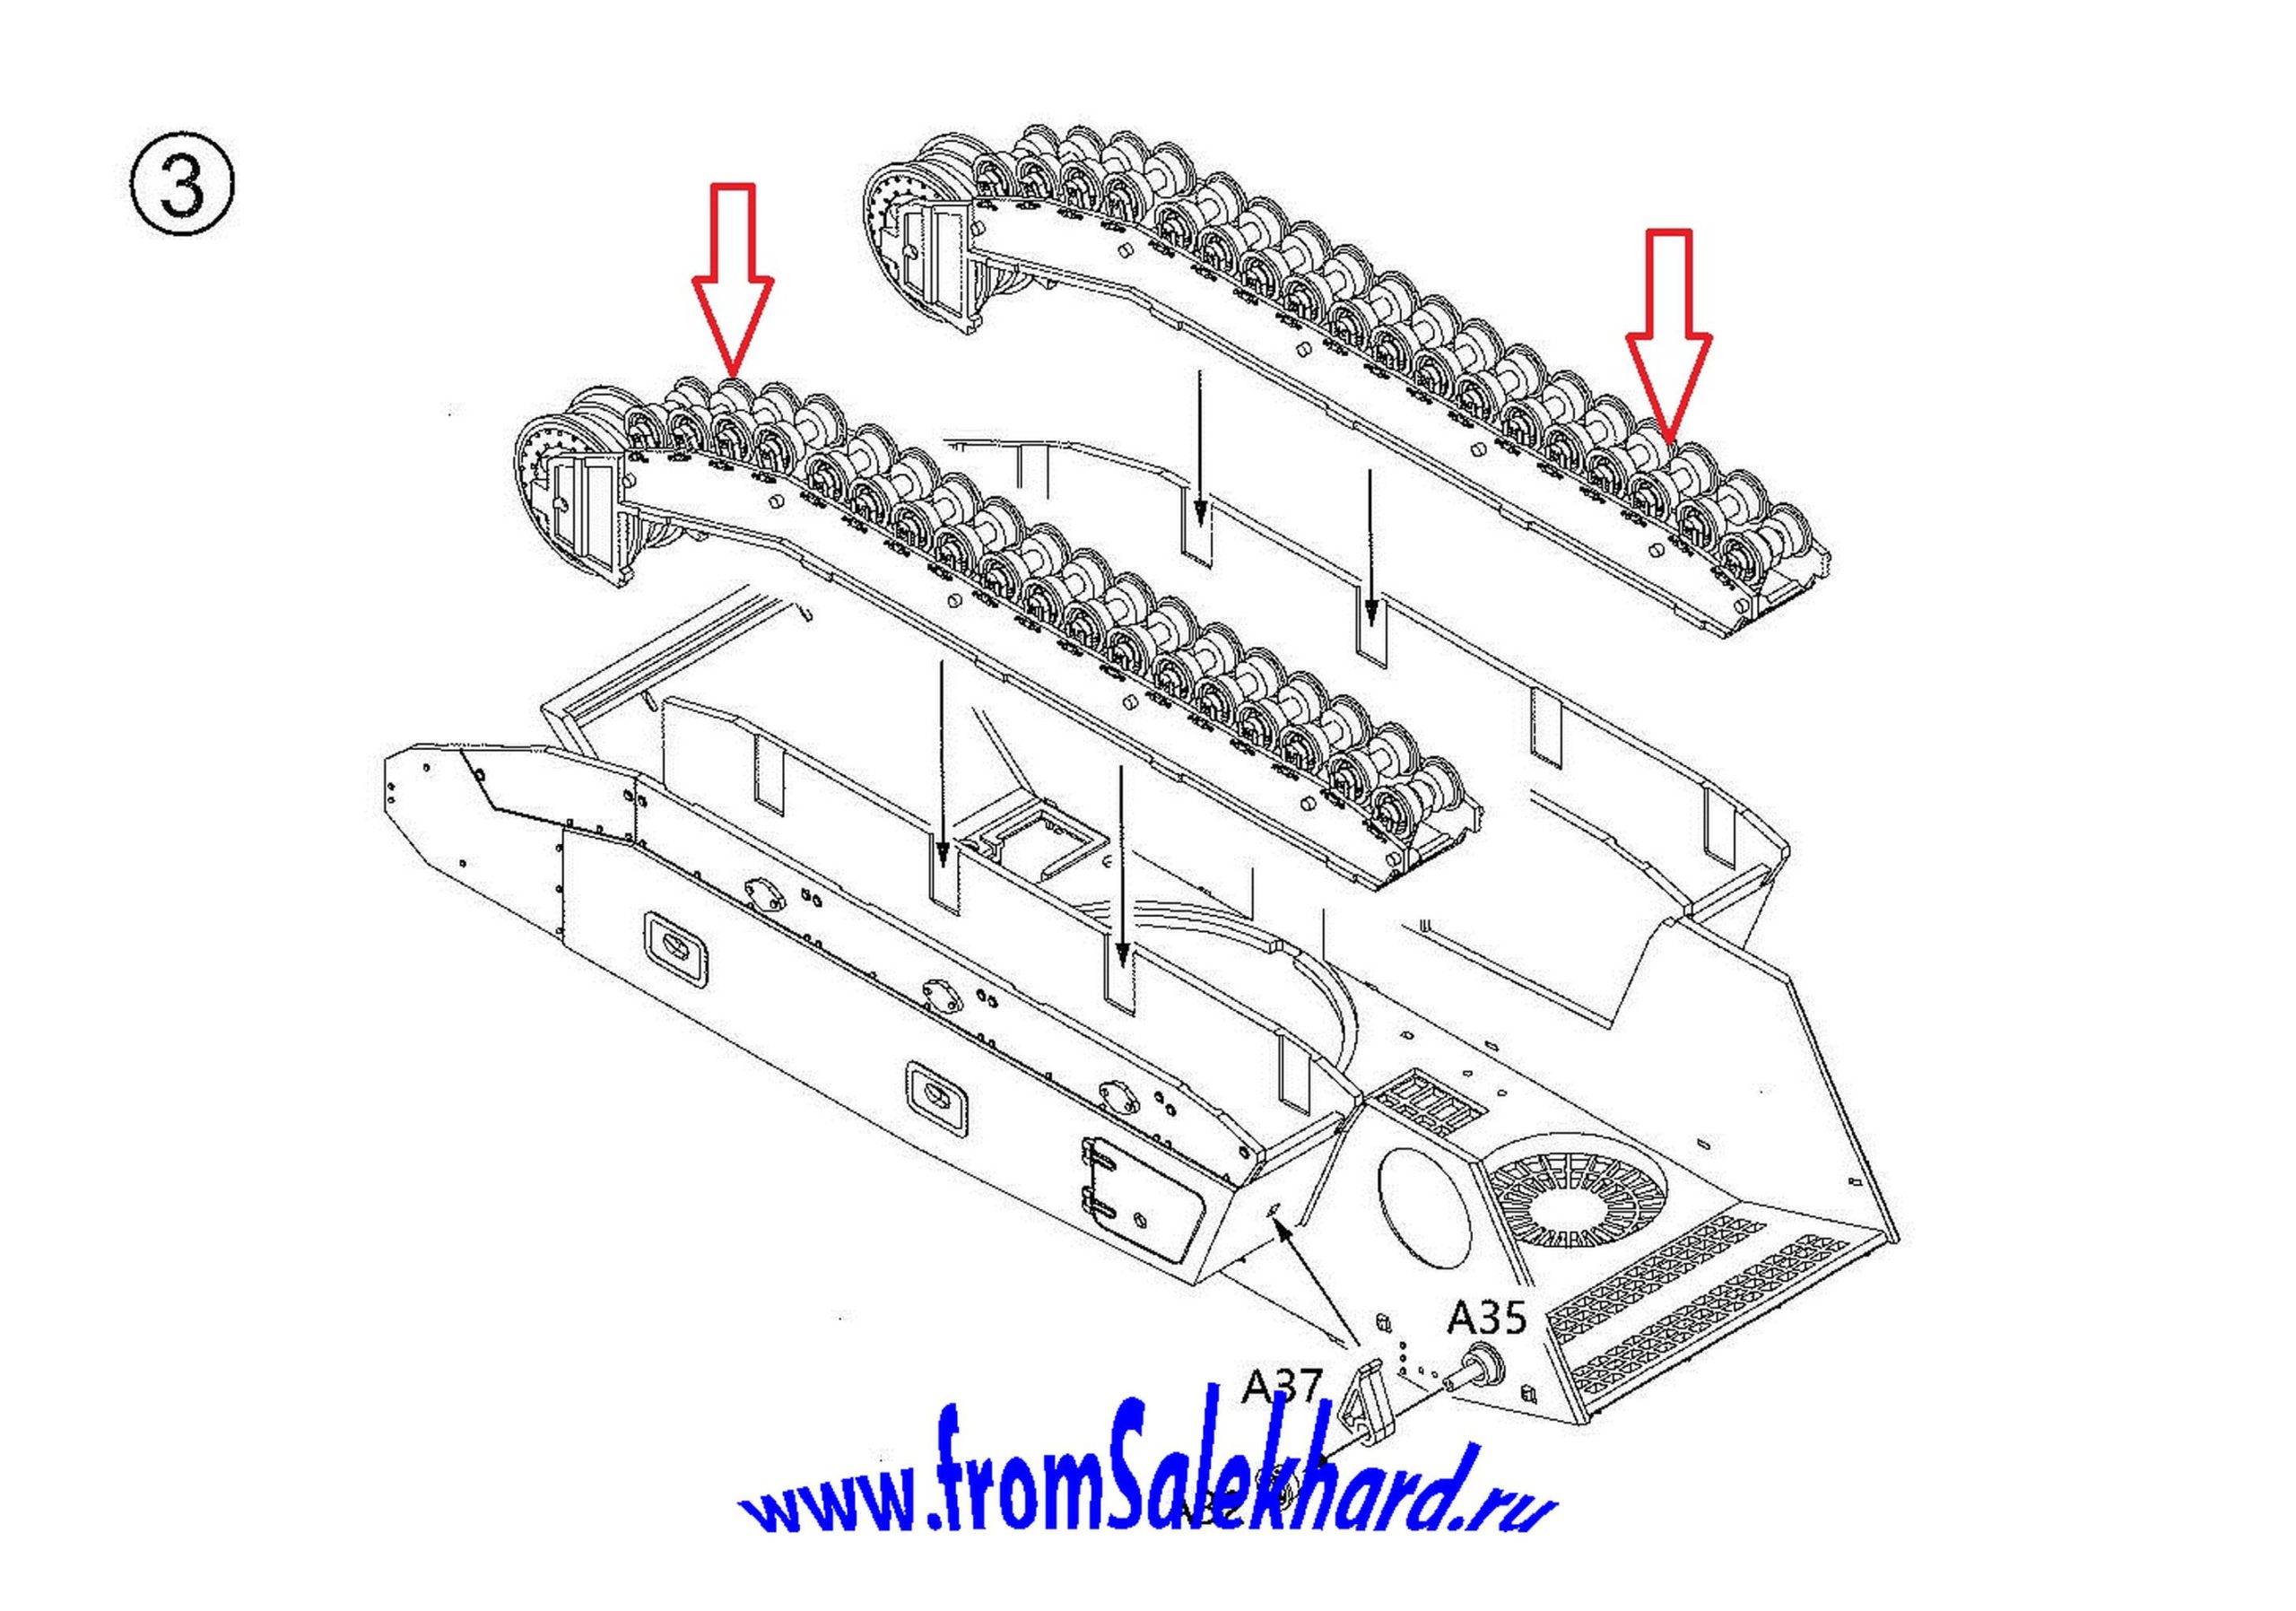
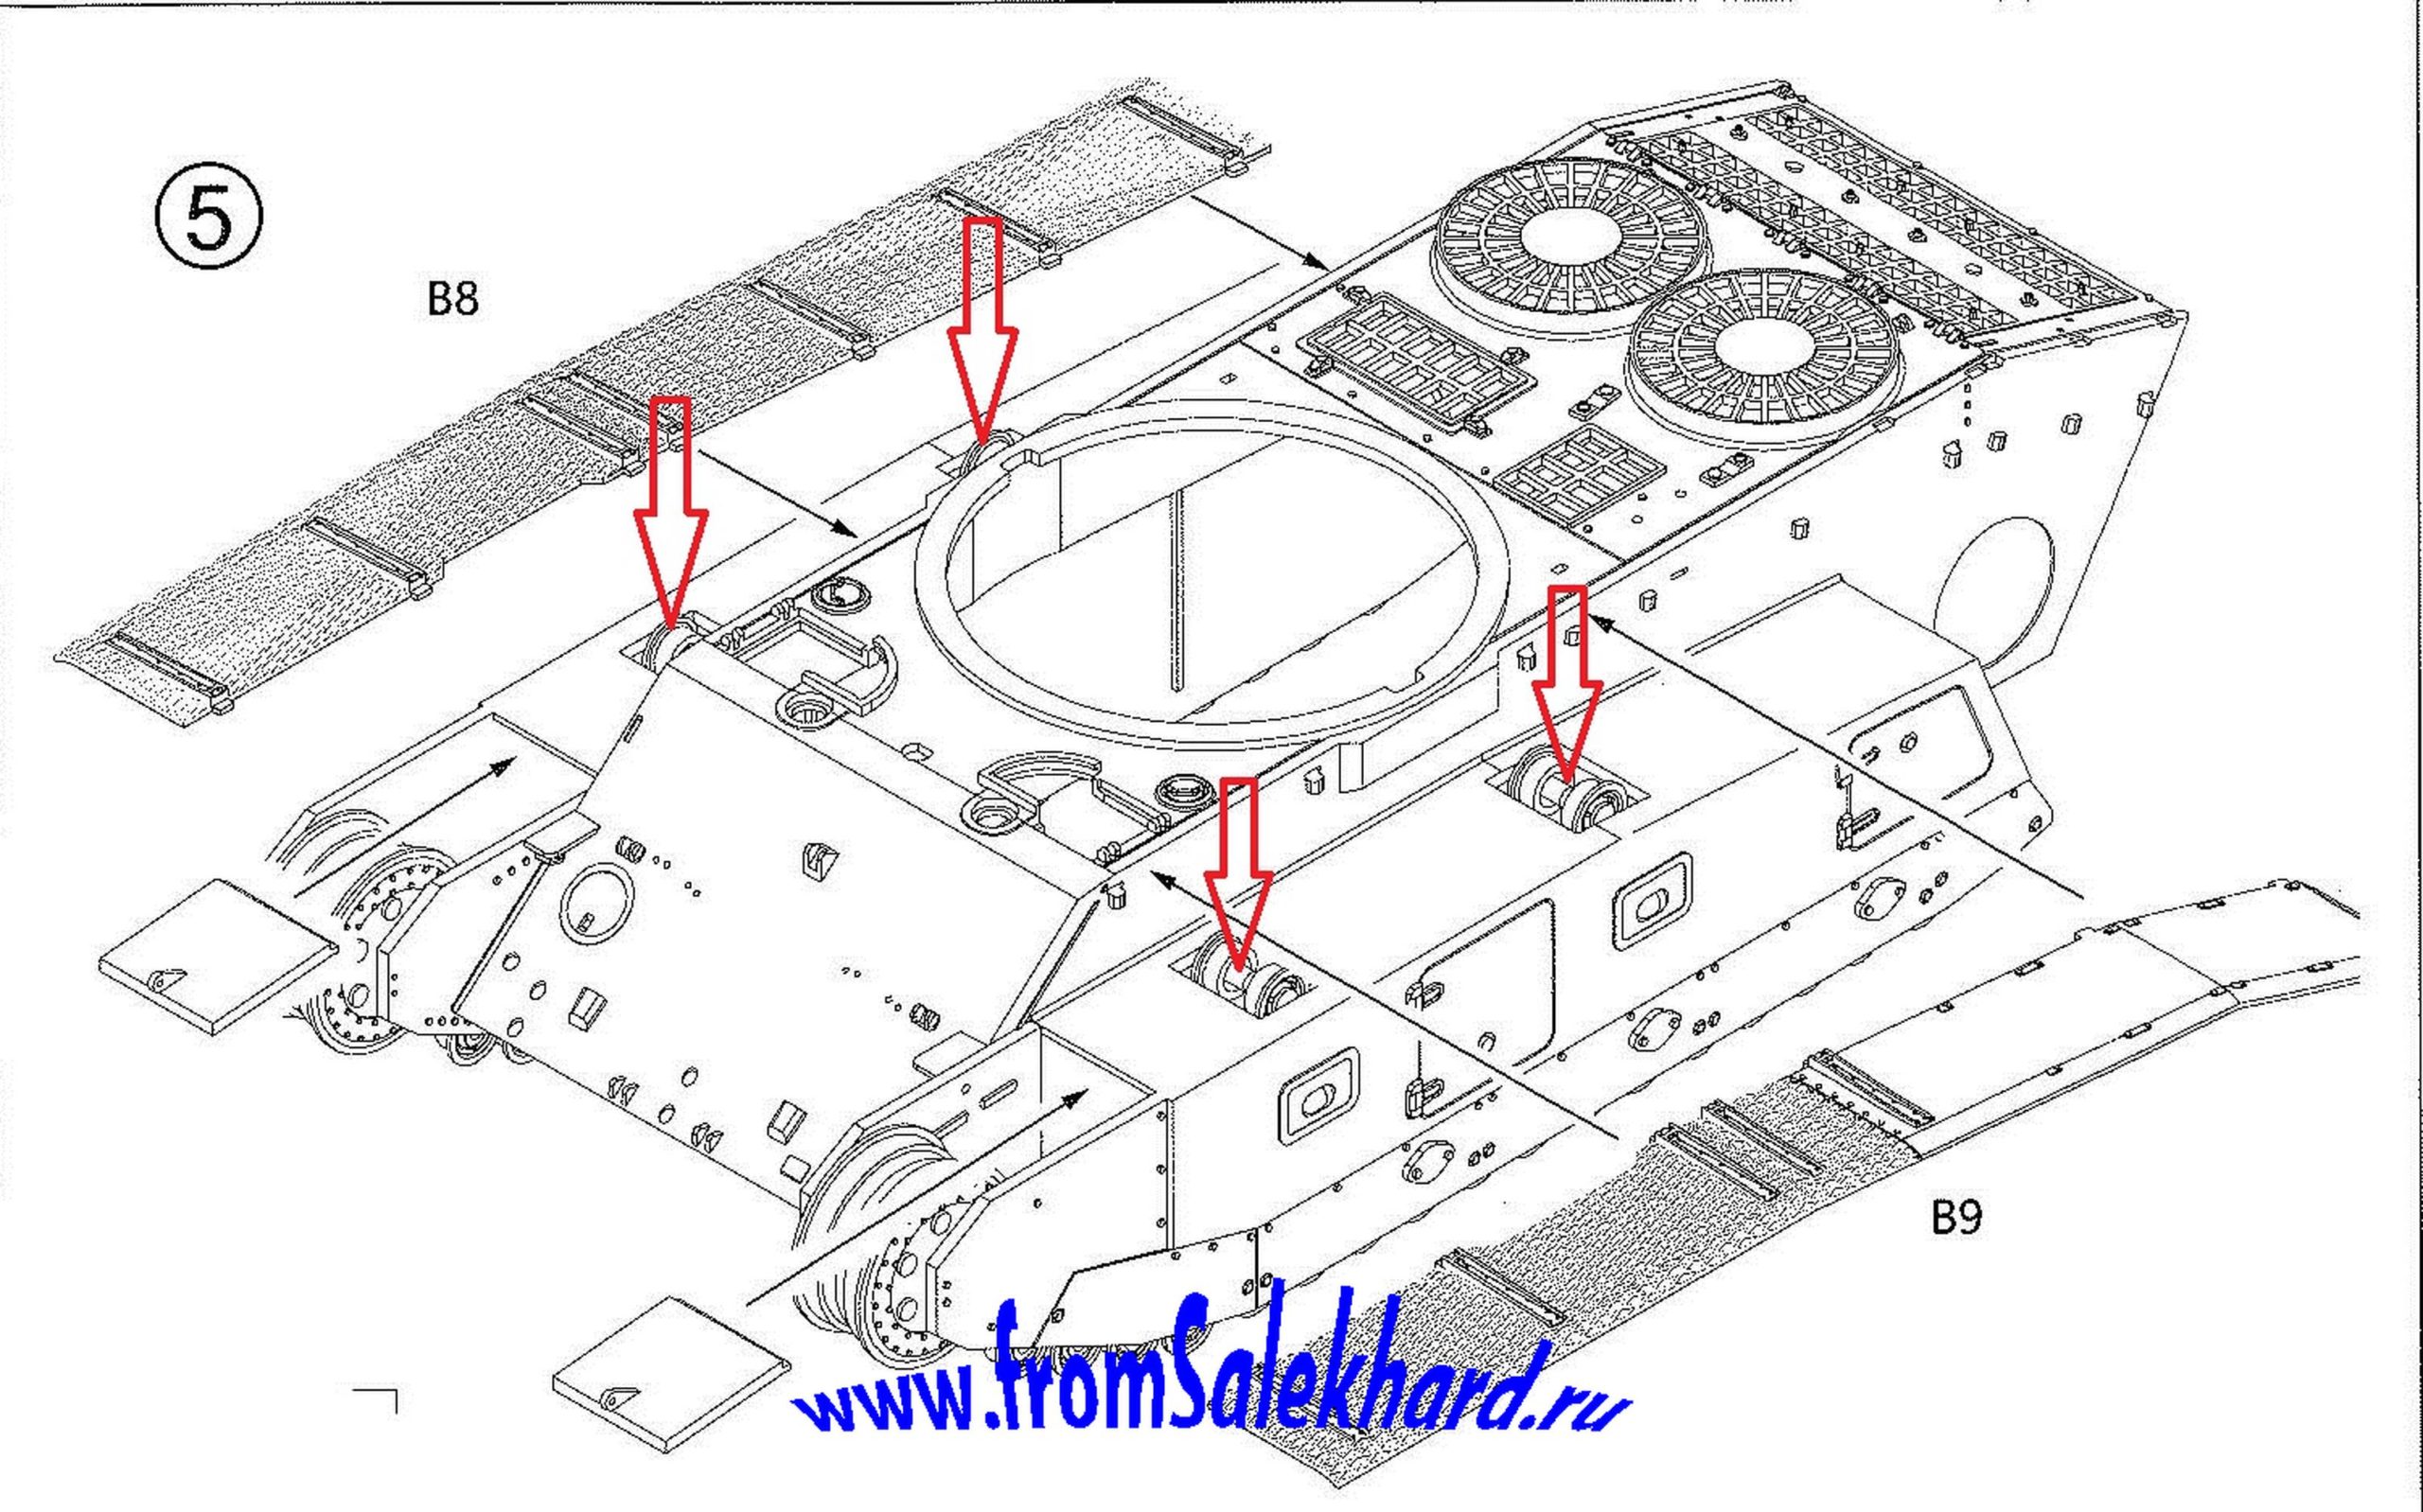
4. It seems to me that even before gluing the bottom at stage 4, it is necessary to glue the ventilation holes from the inside.
The holes themselves are large, the etched mesh on them is coarse-meshed. Nothing can be seen through them, but the darkness is not thick enough. (I didn’t and I regret it, but not fatally).
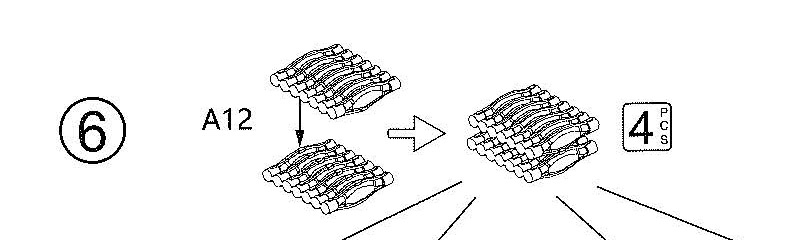
5. When assembling a very intricate muffler, you need to pay attention to the fact that there are rectangular protrusions on one side of the A12 parts. These sides should be facing each other (I re-glued one part).
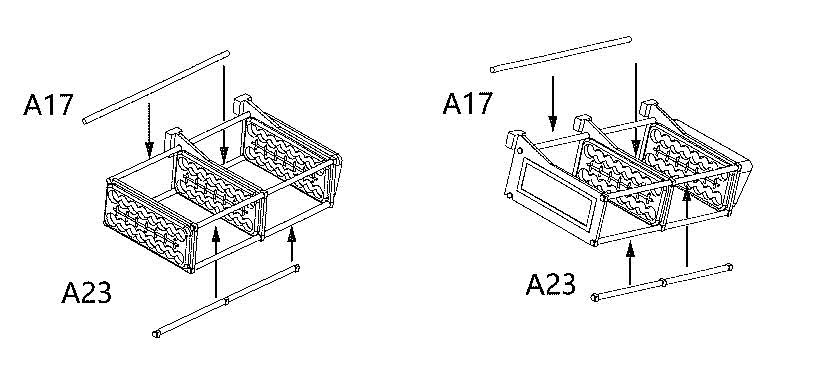
6. In the same place: I got distracted and did not glue parts A17 and A23 in a timely manner. I glued it already on the assembled and installed muffler and only outside. In my opinion, it will.
I read from someone that it is easier to replace them with wire. An alternative is a pulled sprue. Painfully, they are fragile when biting off the frame and stripping.
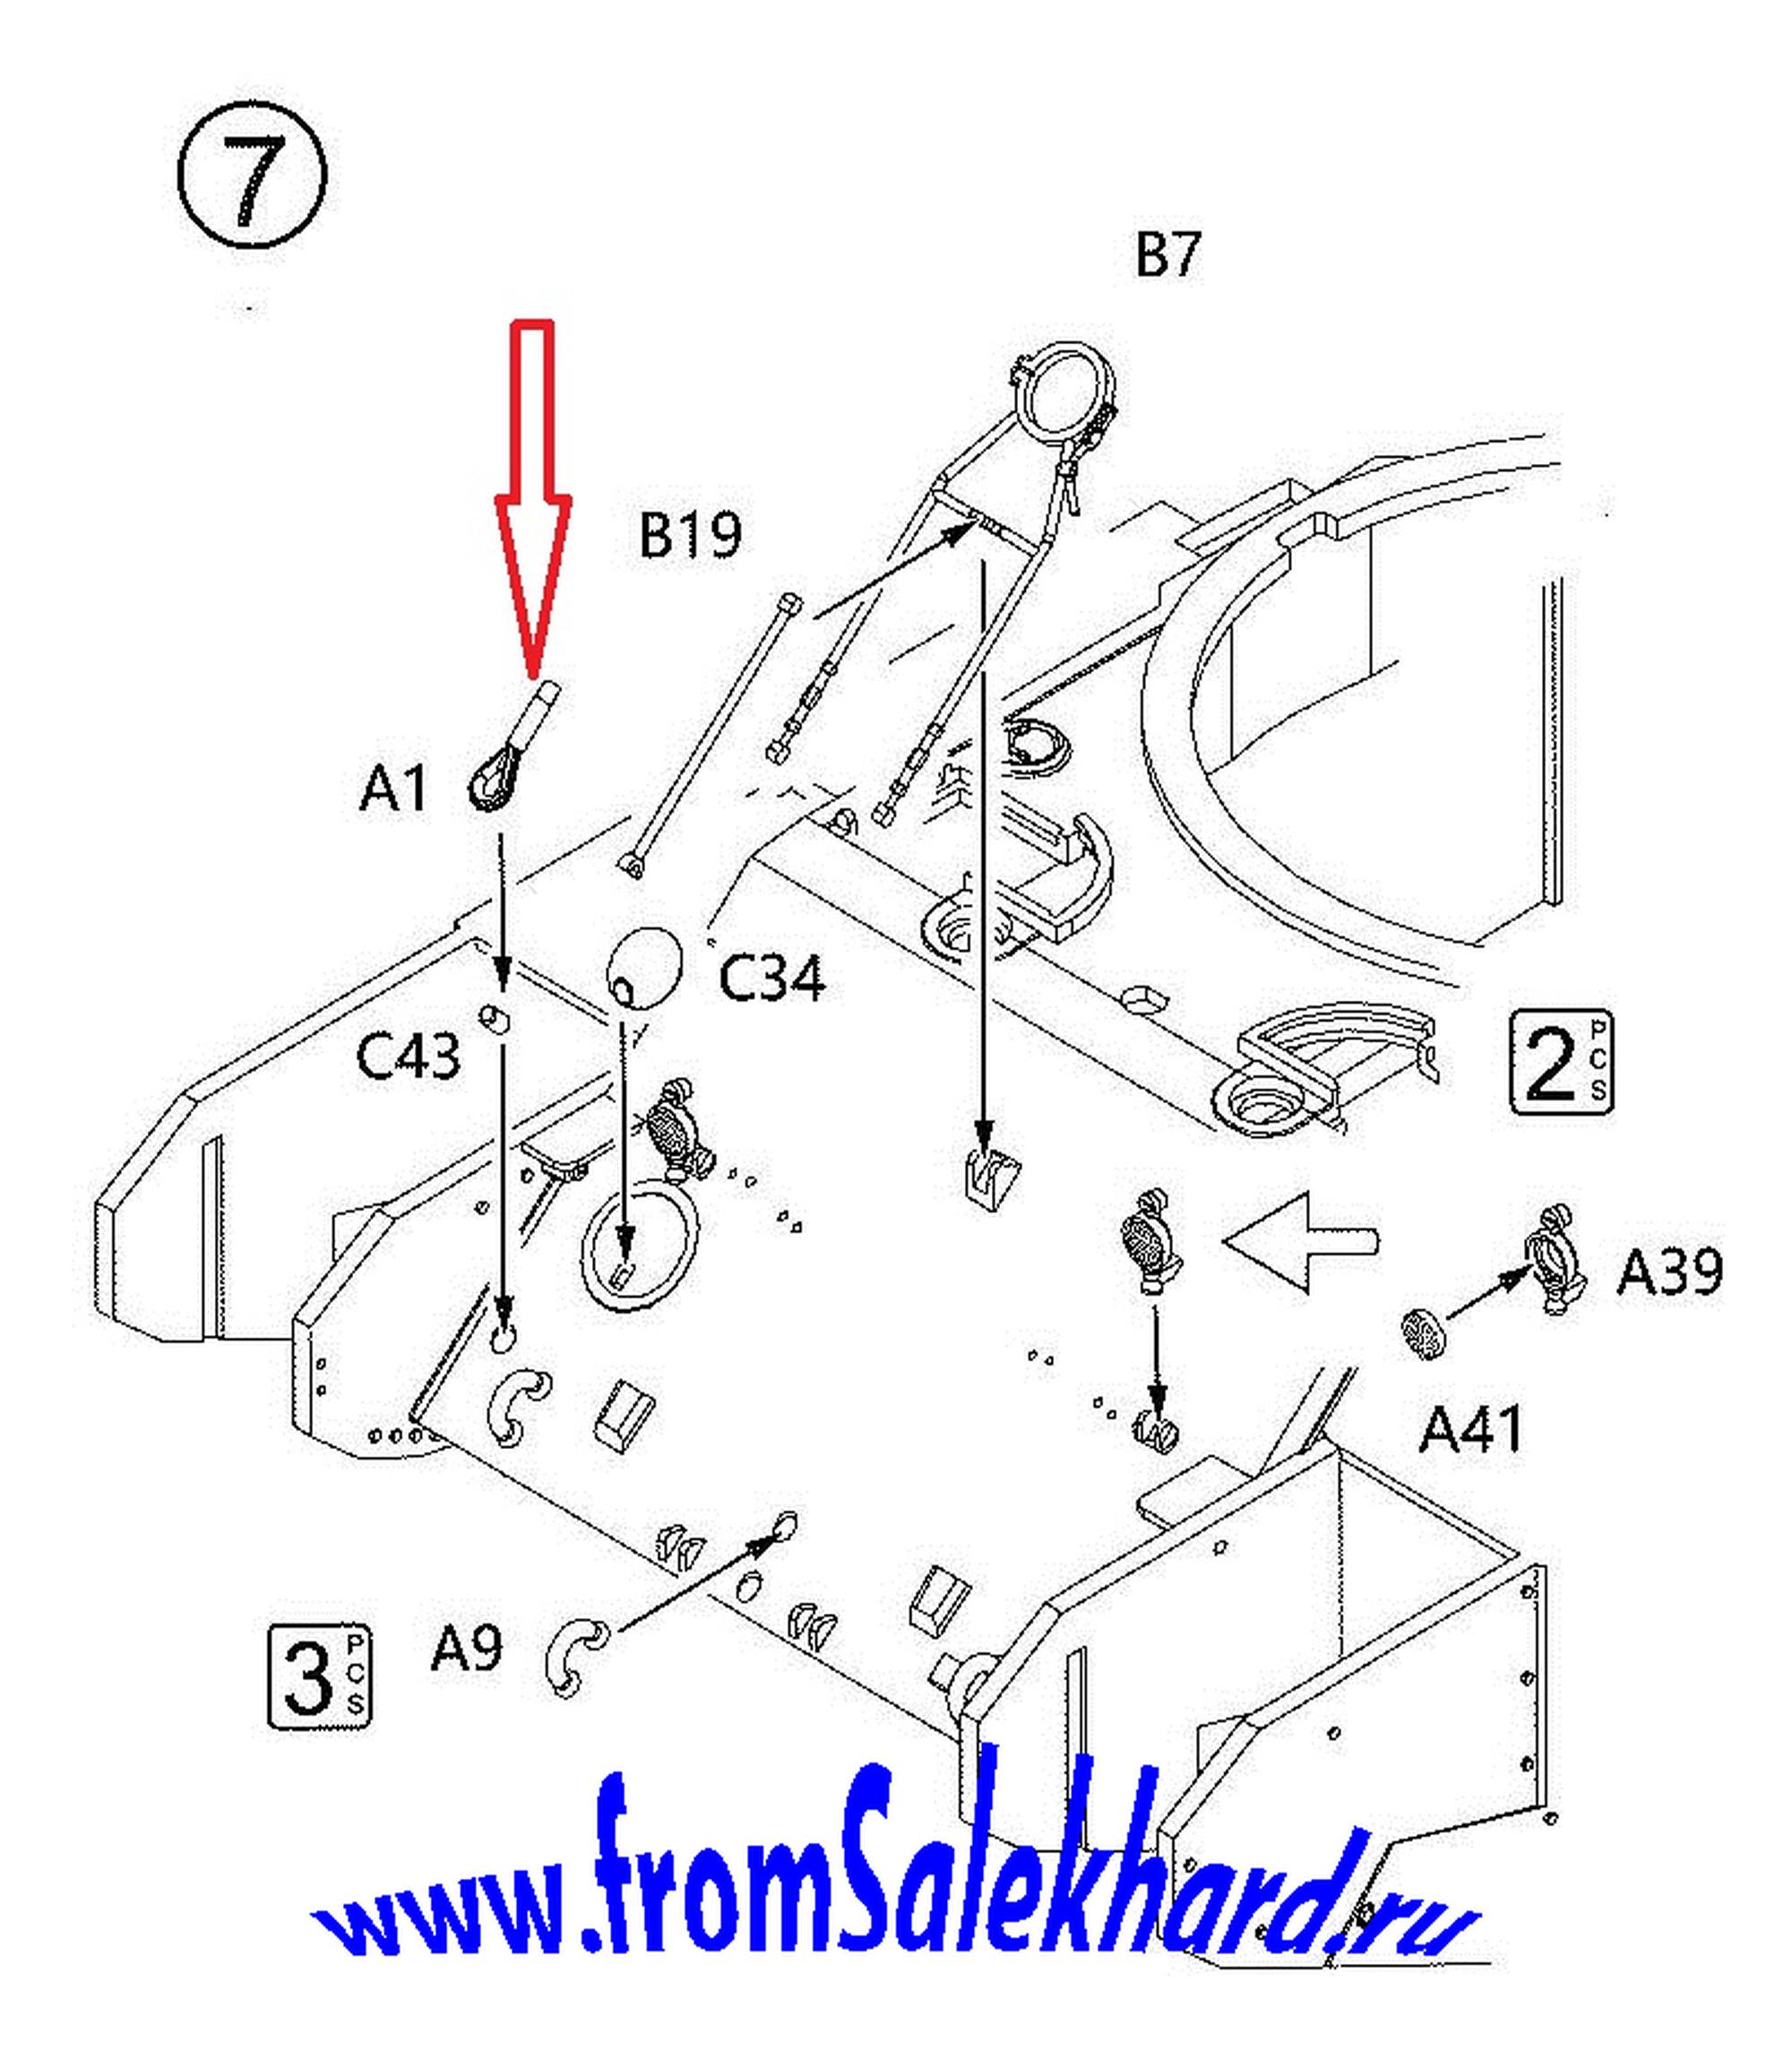
7. If you want to make a tank with a barrel in the transport position,
then parts B7 and B19 do not need to be glued at this stage
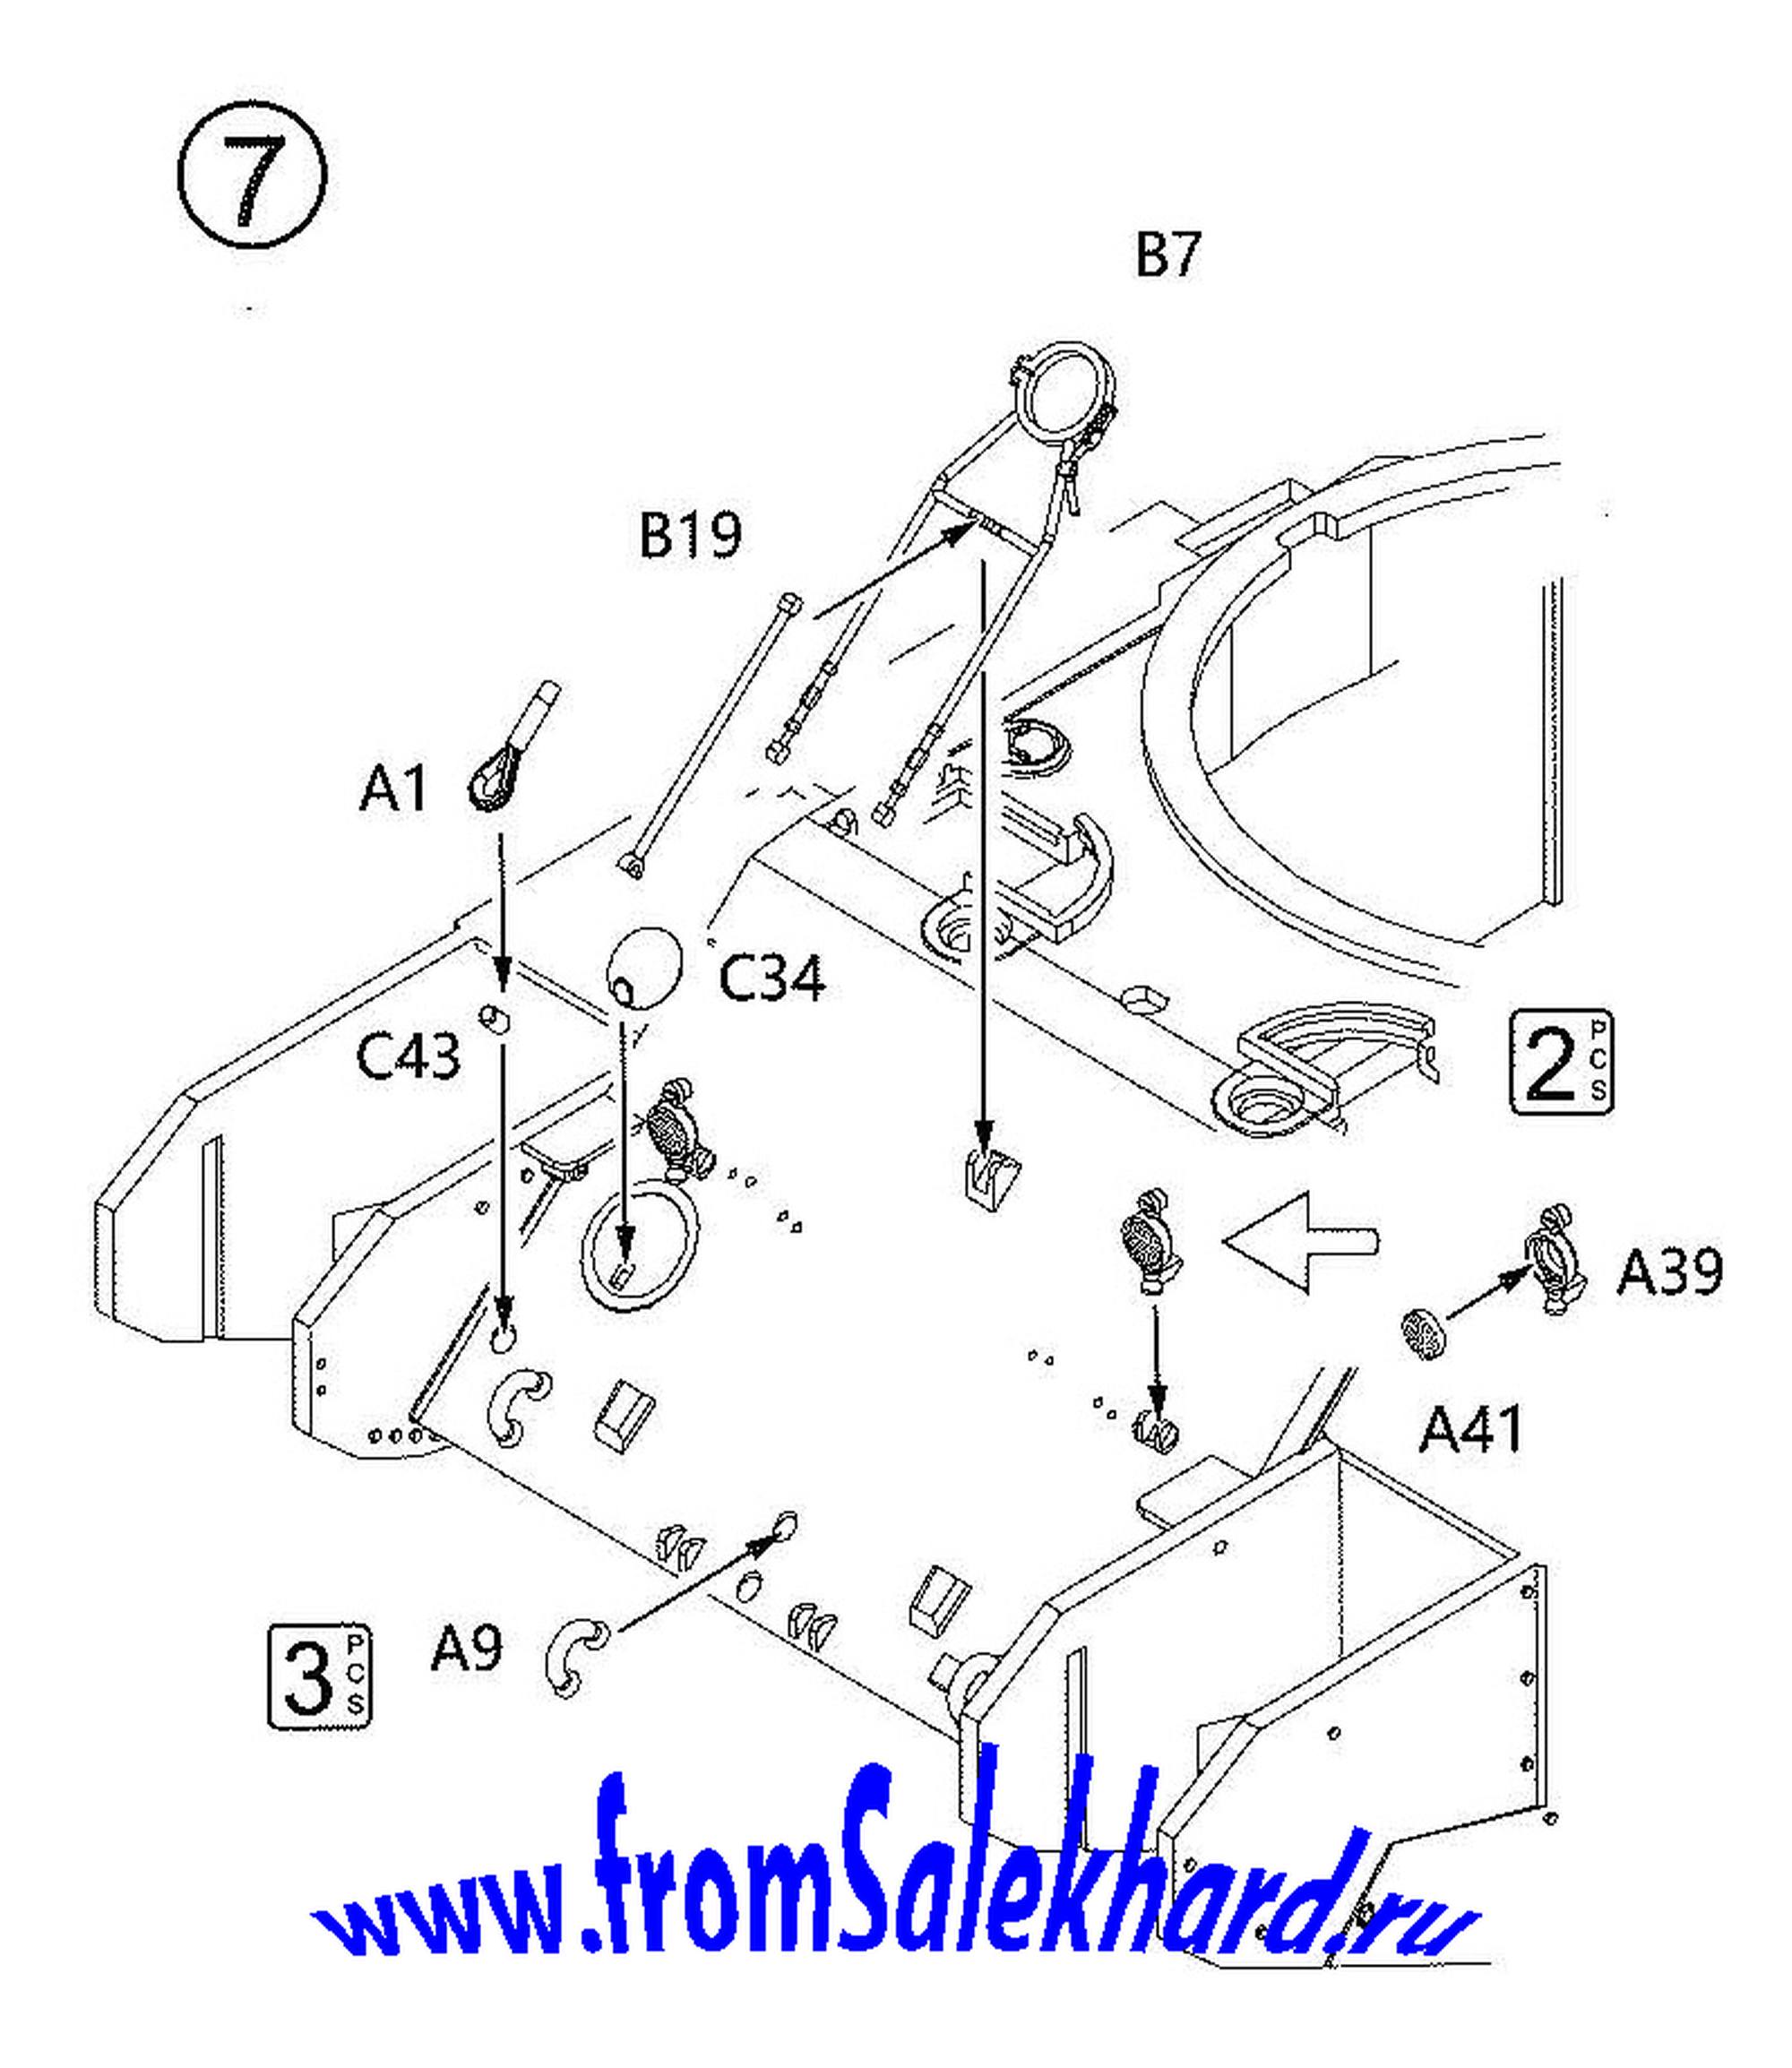
Please note that in the photo of the prototype, the barrel in this position is not lifted up proudly, but looks a little down. And it is much shorter, since in order to reduce the dimensions in the stowed position, the gun could be pulled back
Compare this photo with the previous one.

How much better is the last one! We’ll have to give up the traveling position.
8. Do not attempt to glue the periscope armor (parts A34) in the indicated places. You are being deceived!
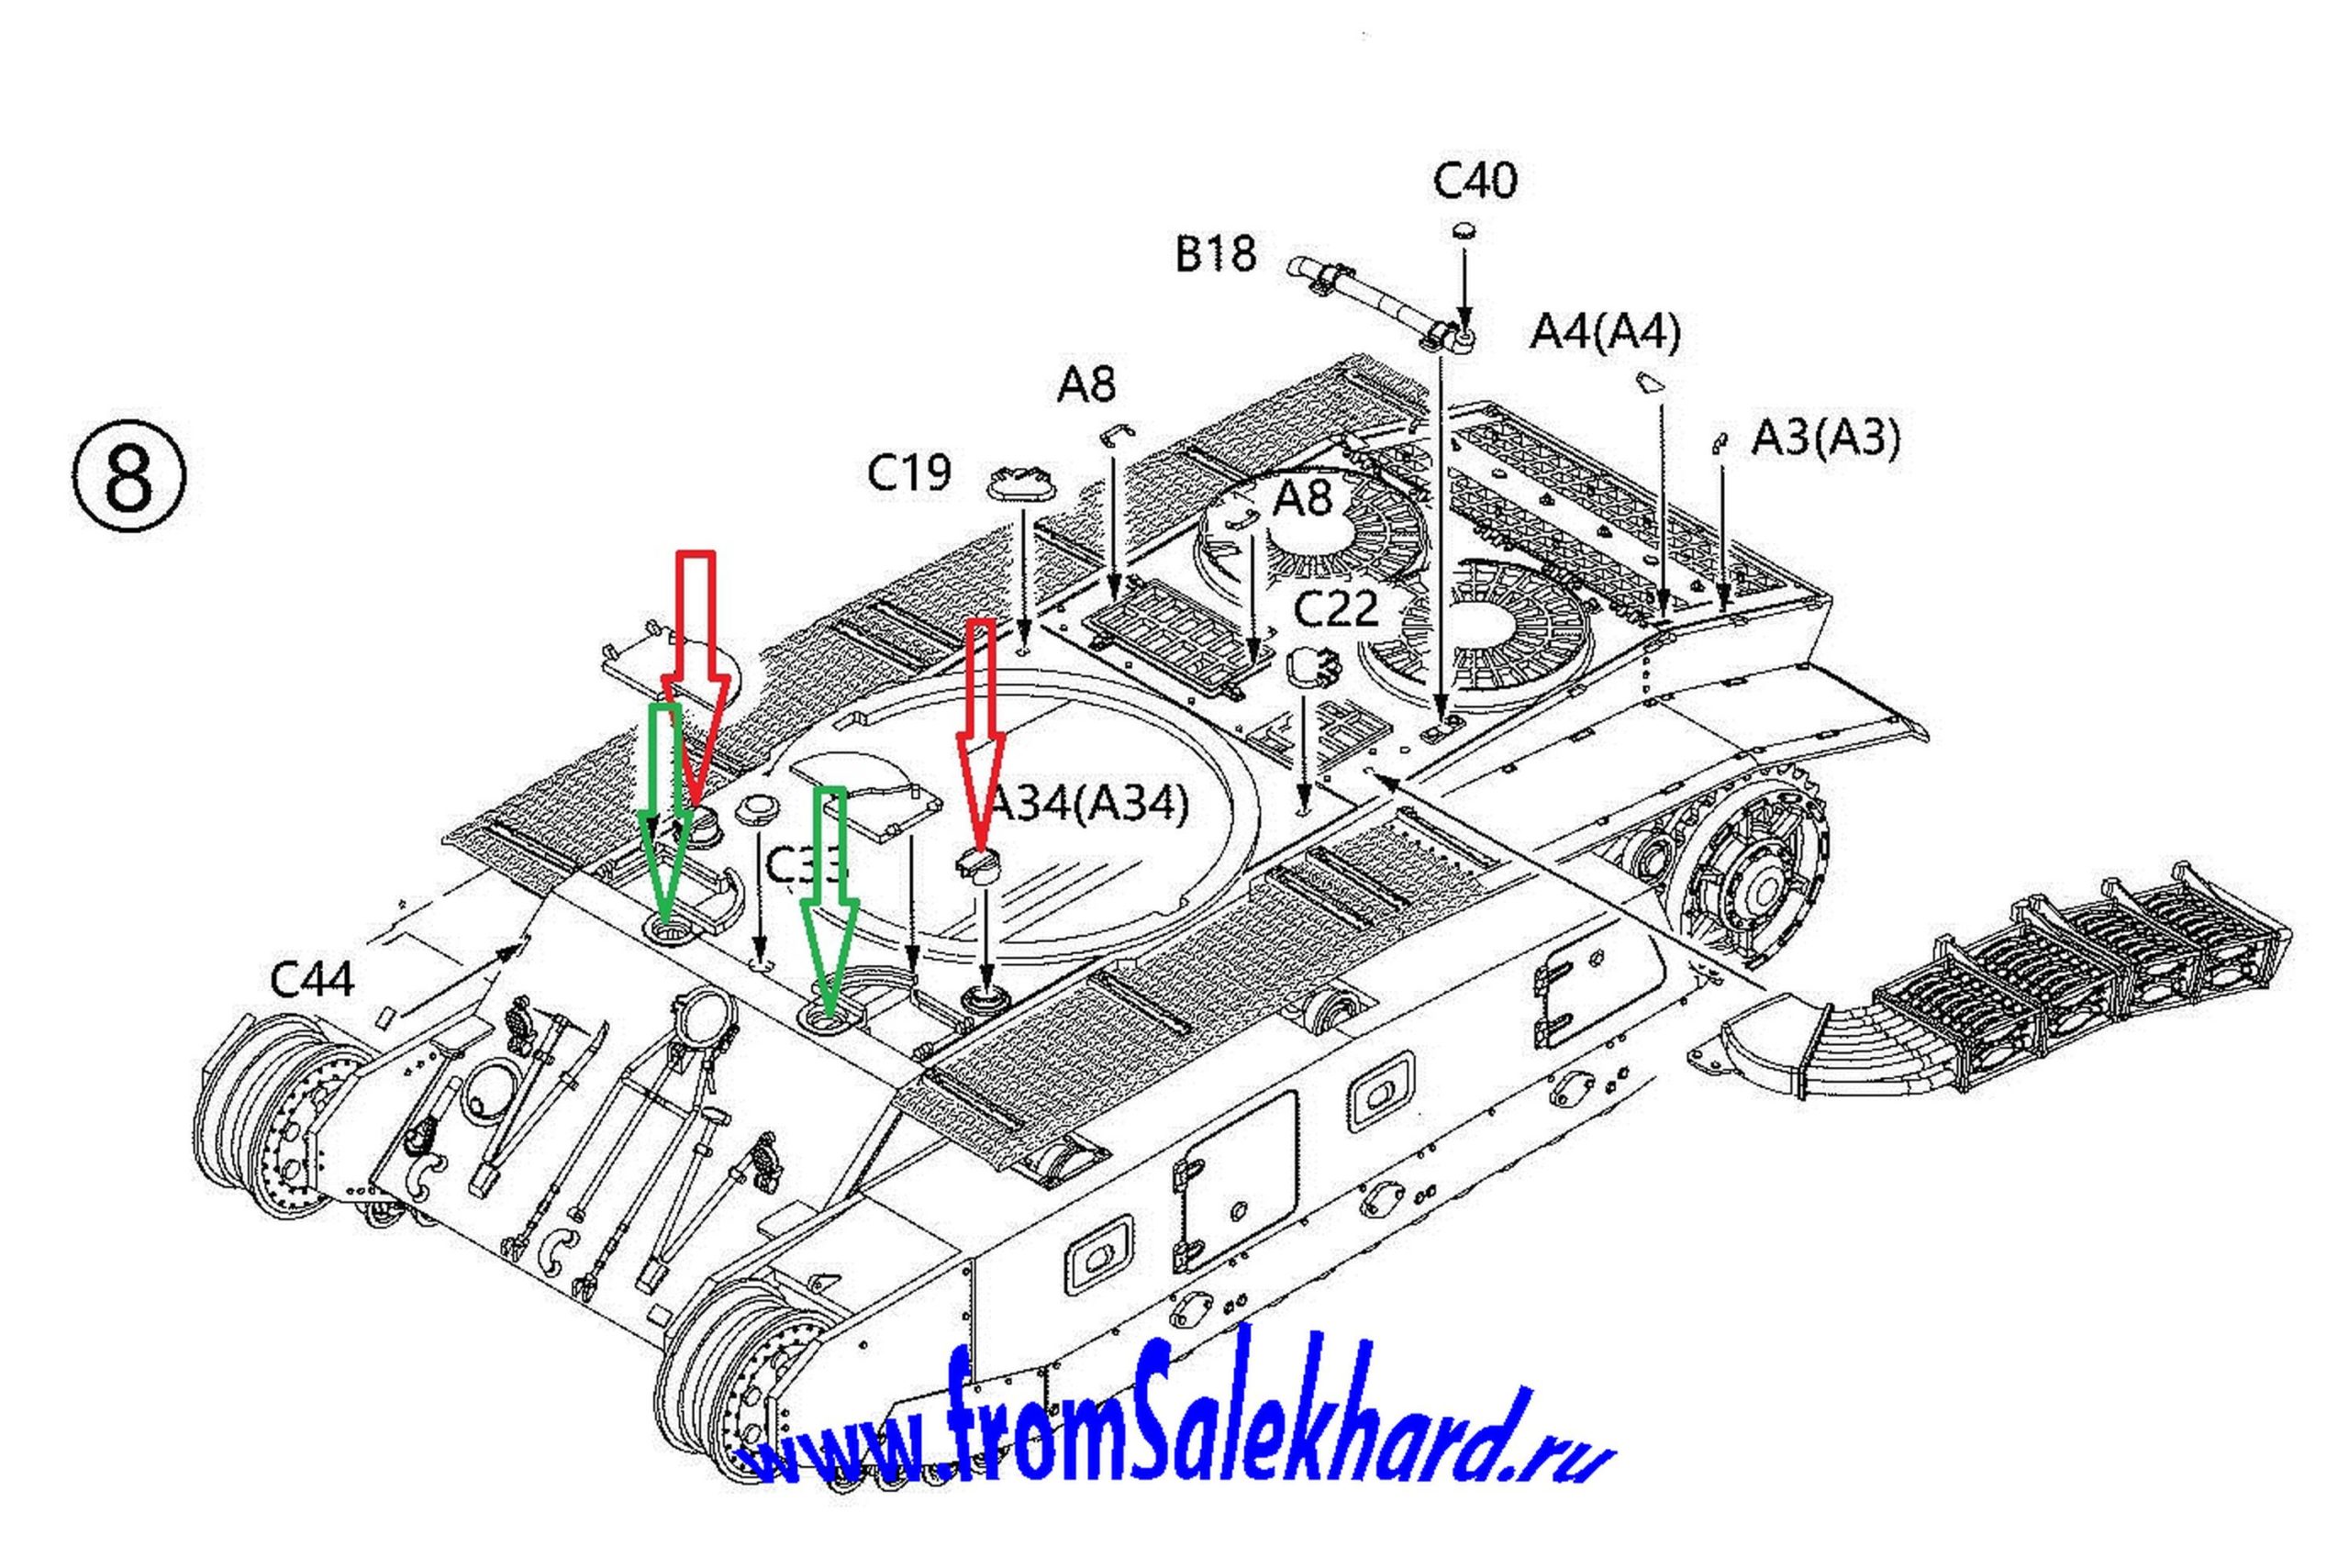
You yourself will quickly understand this - they do not get up there. Plus, on the diagram of the next stage, they are drawn in the right place.
- I didn’t even think to bother with mobility and the internal (very meager) interior of hatches.
You can’t make them open - inside the case is completely empty.
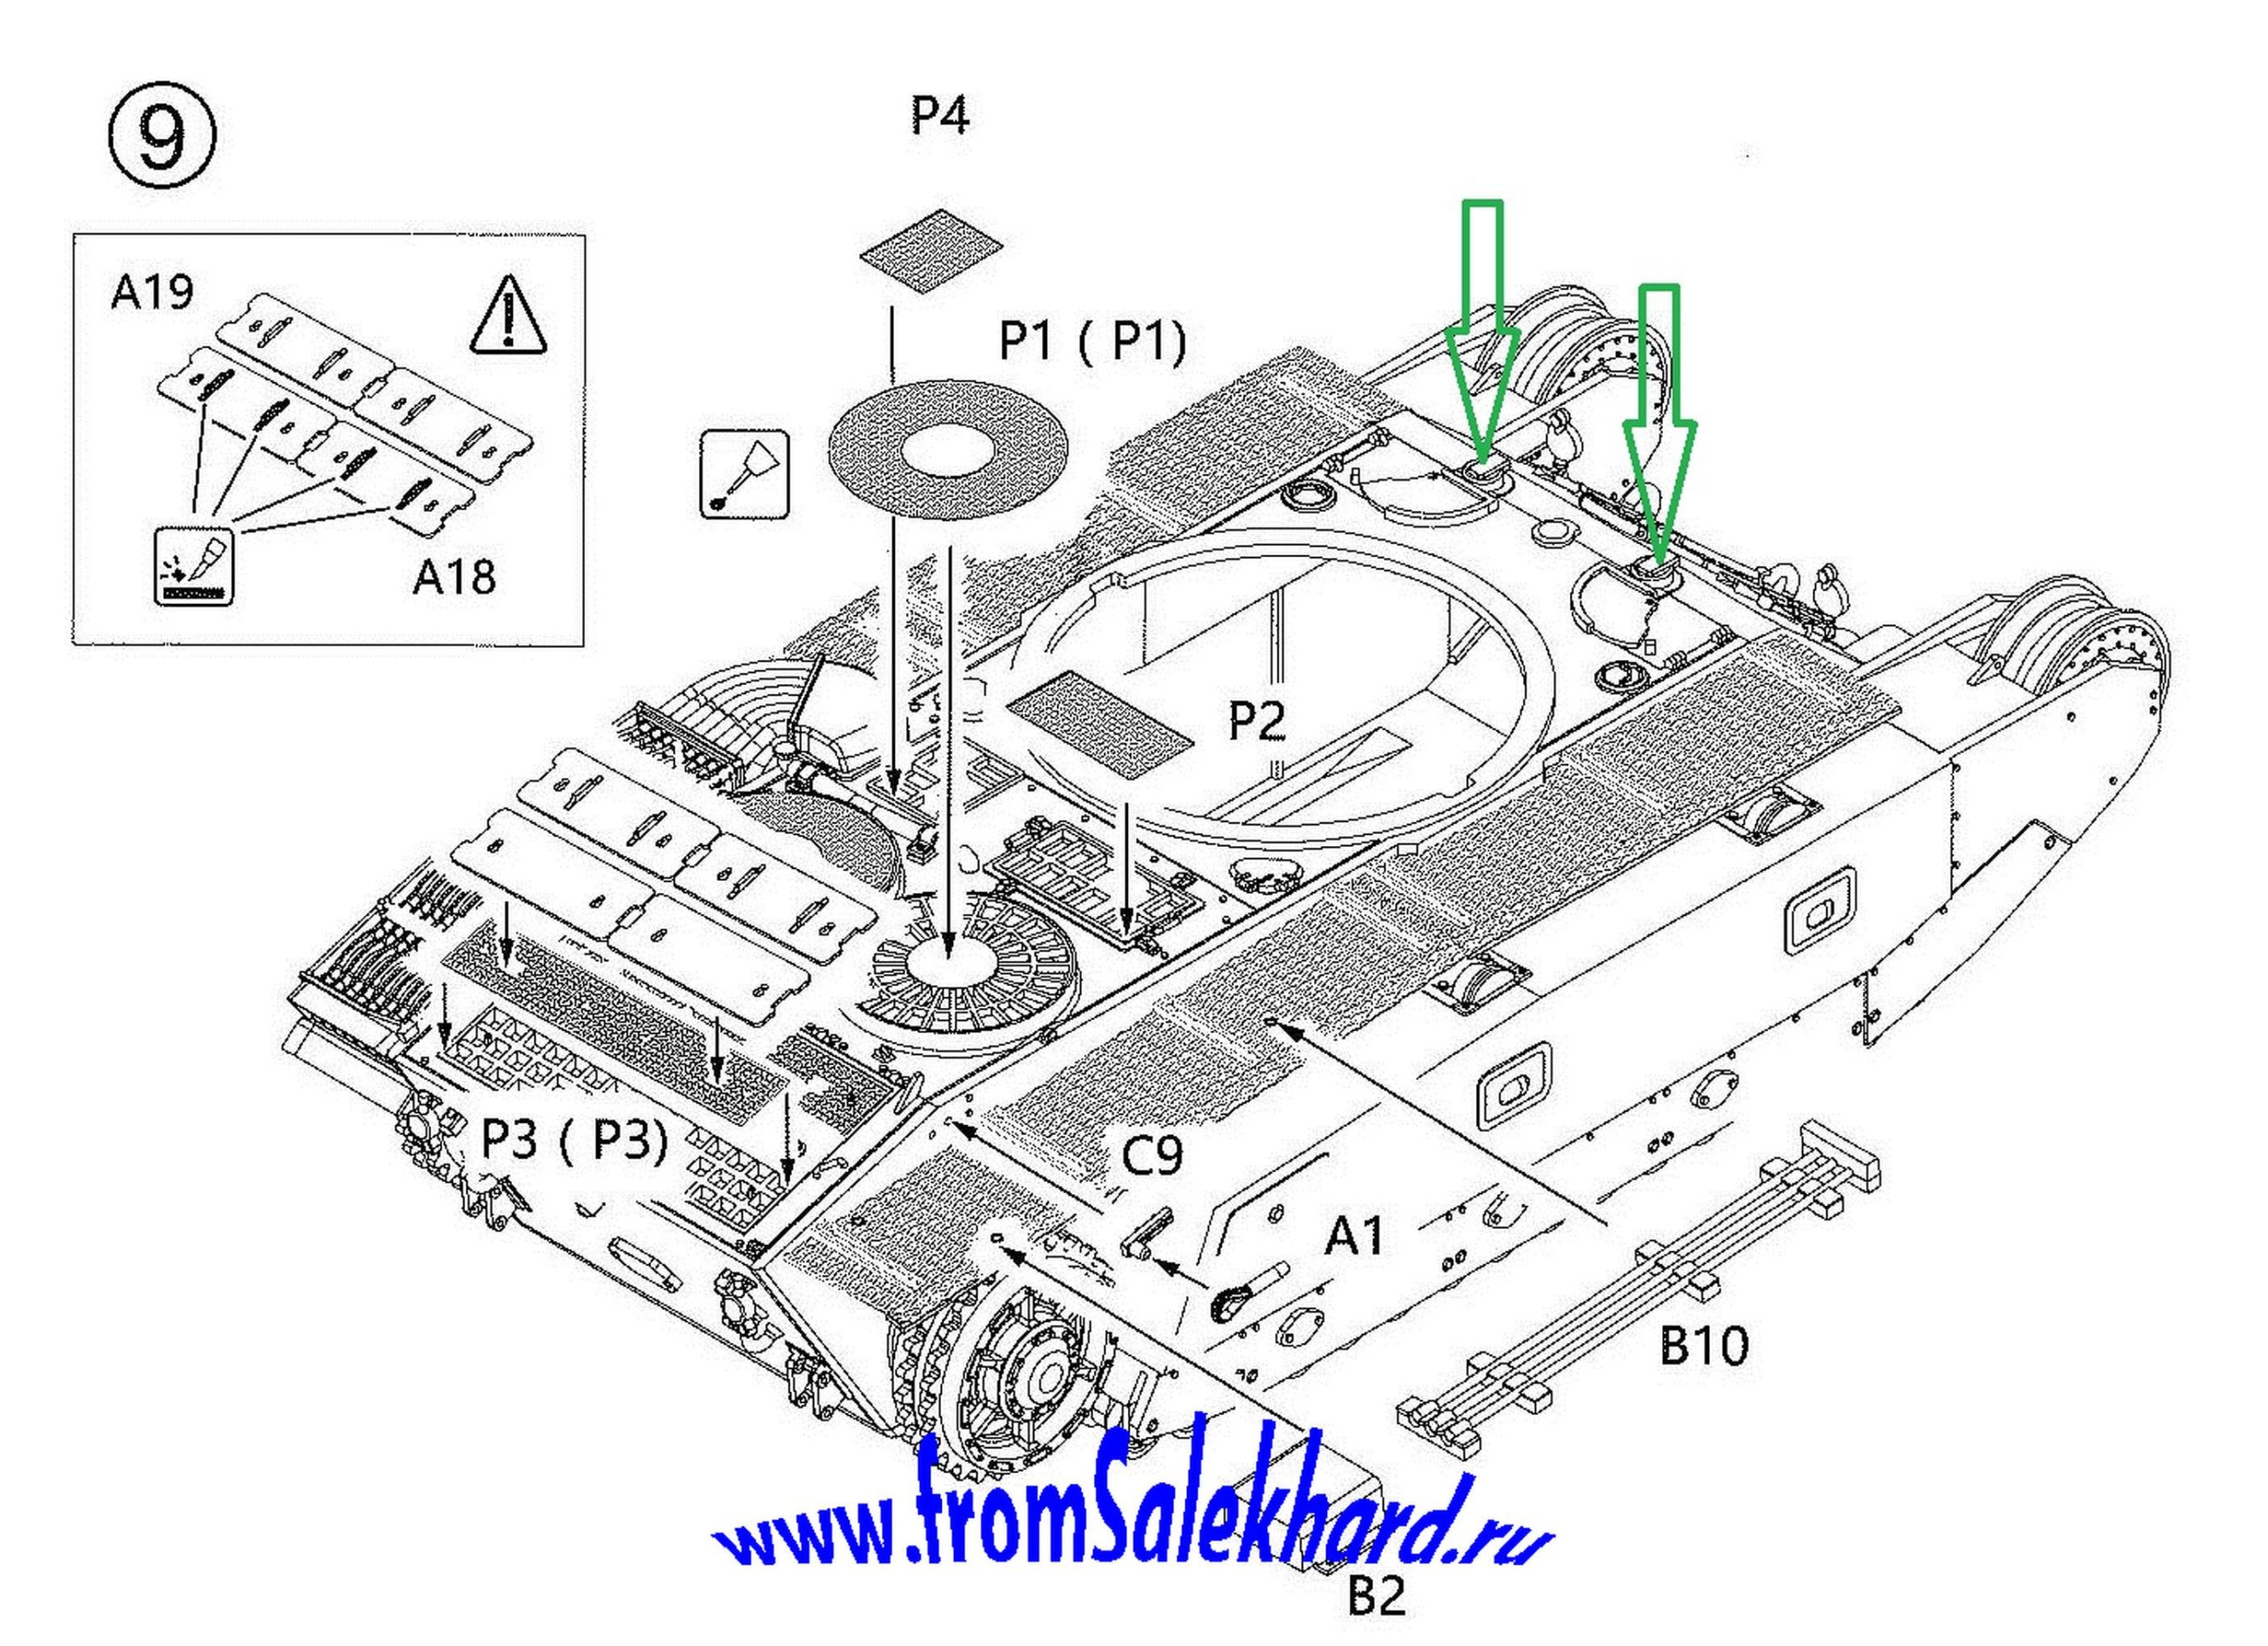
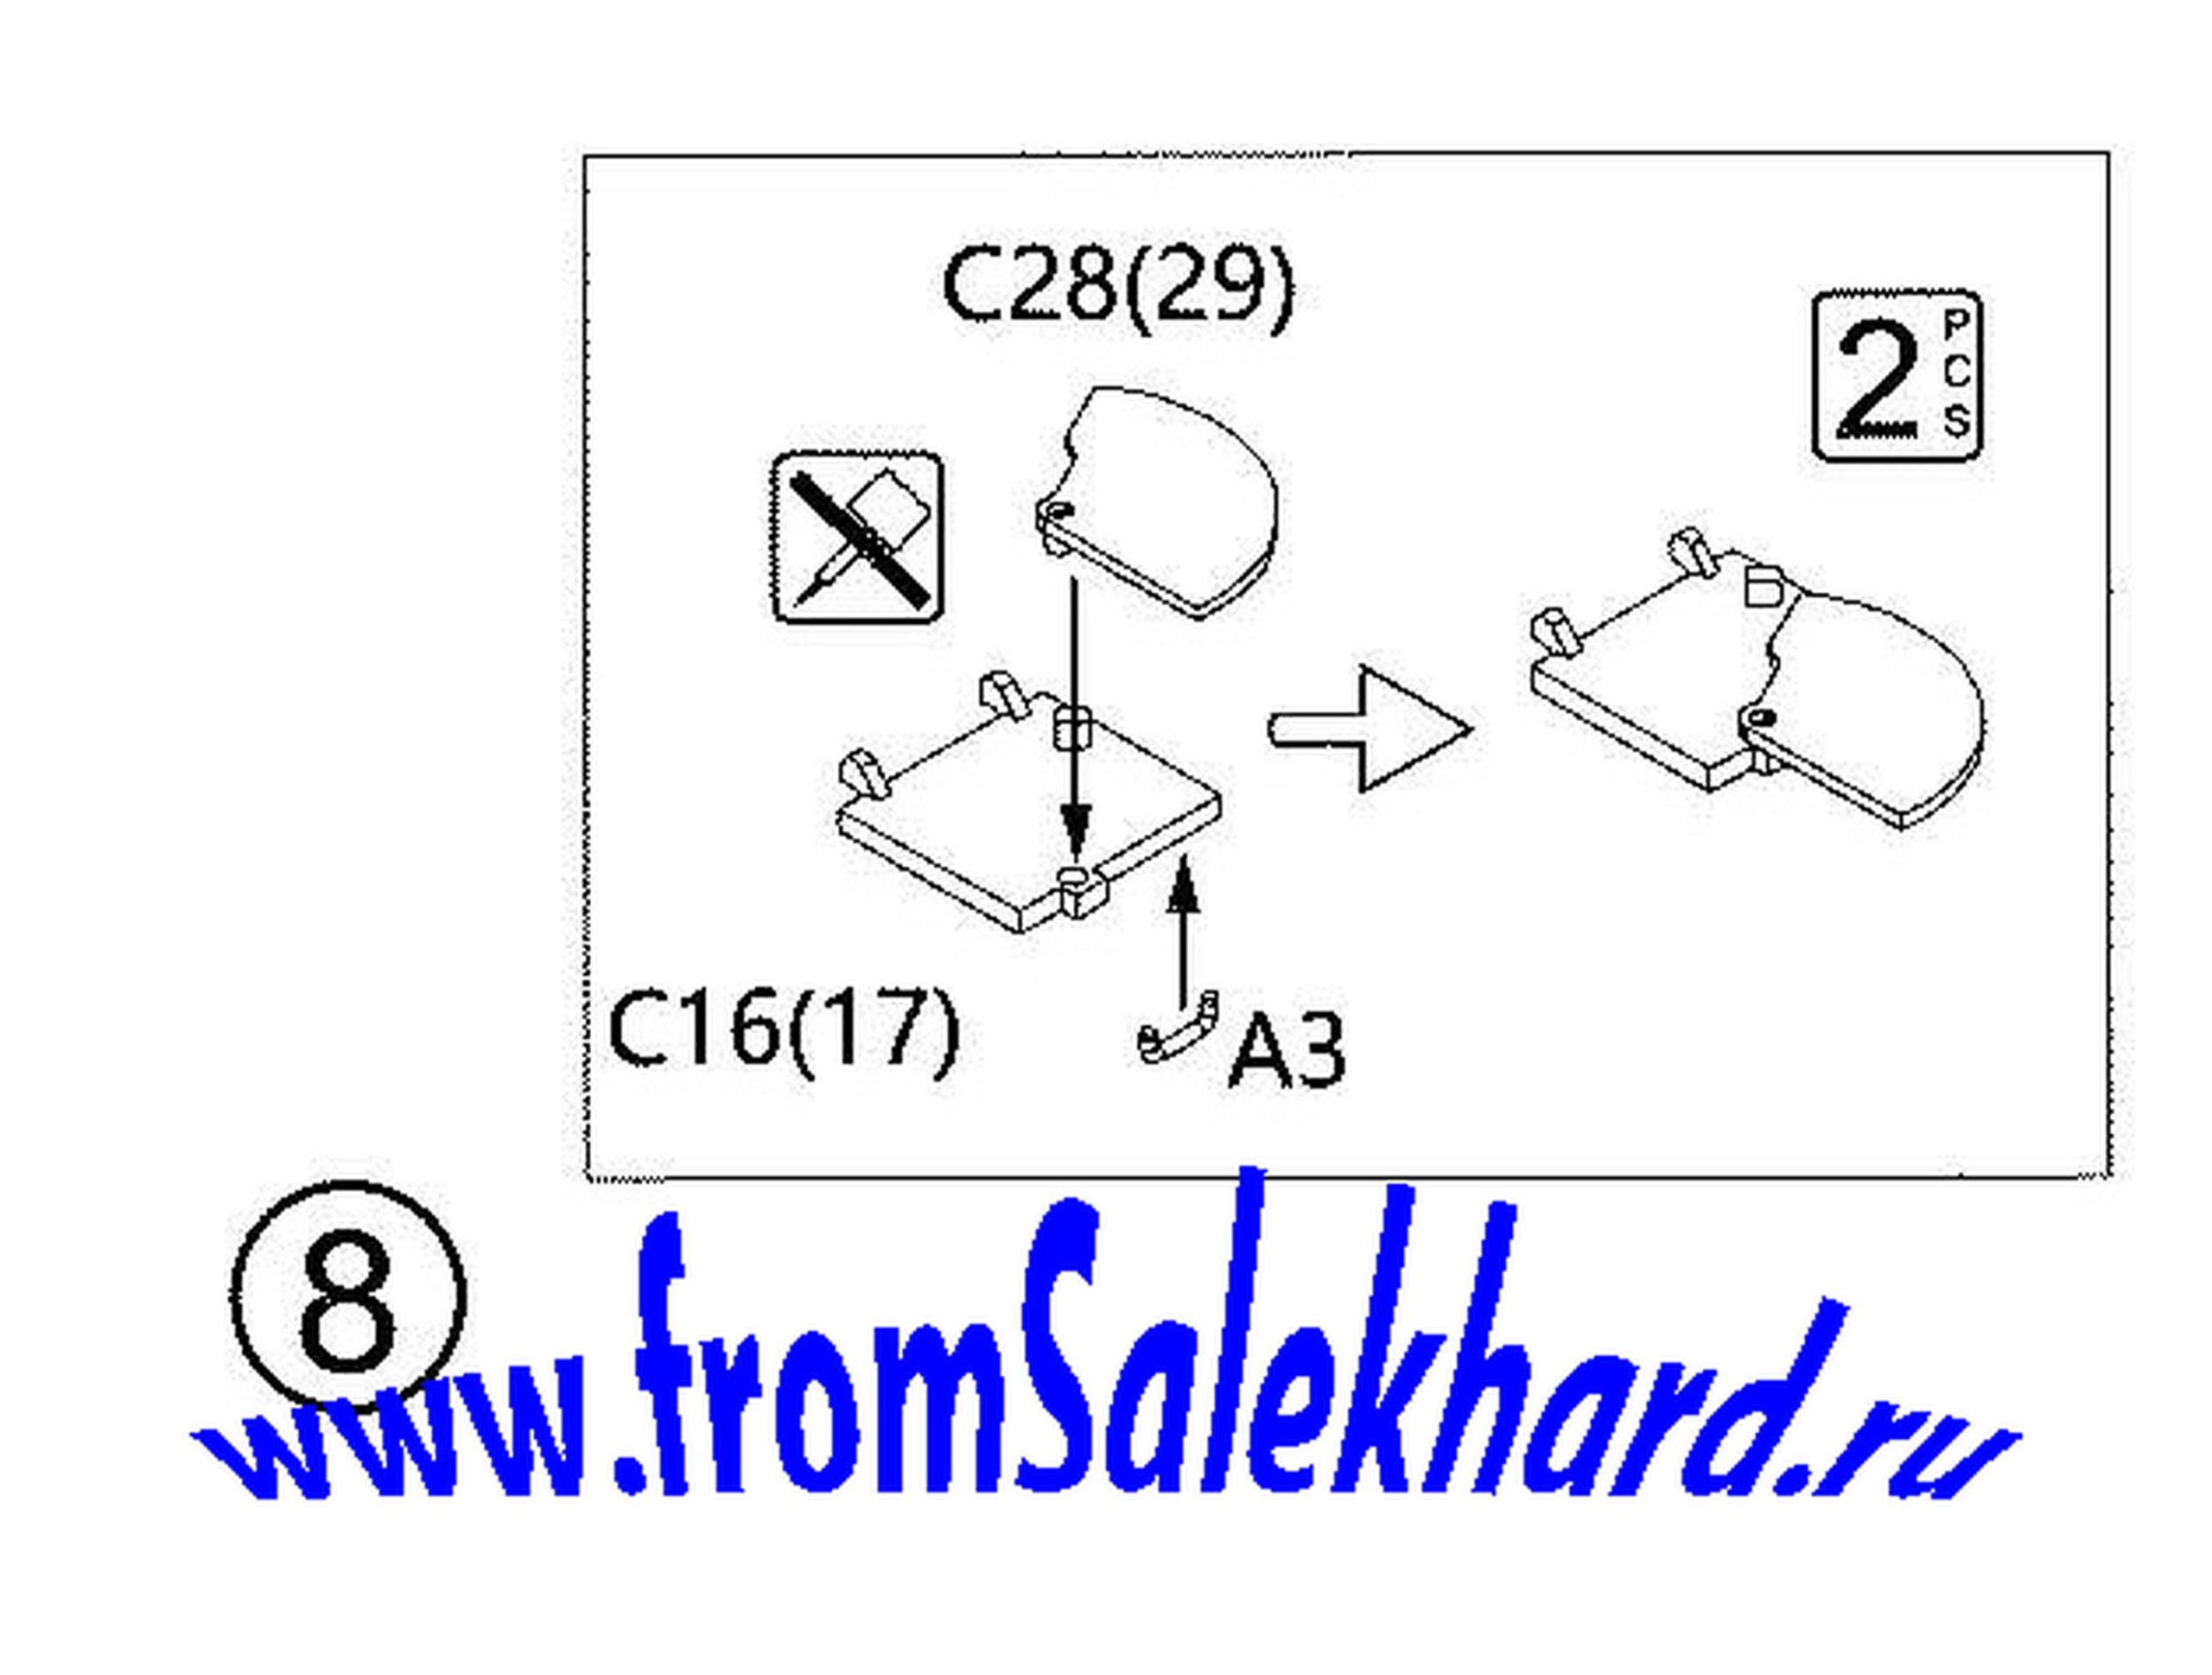
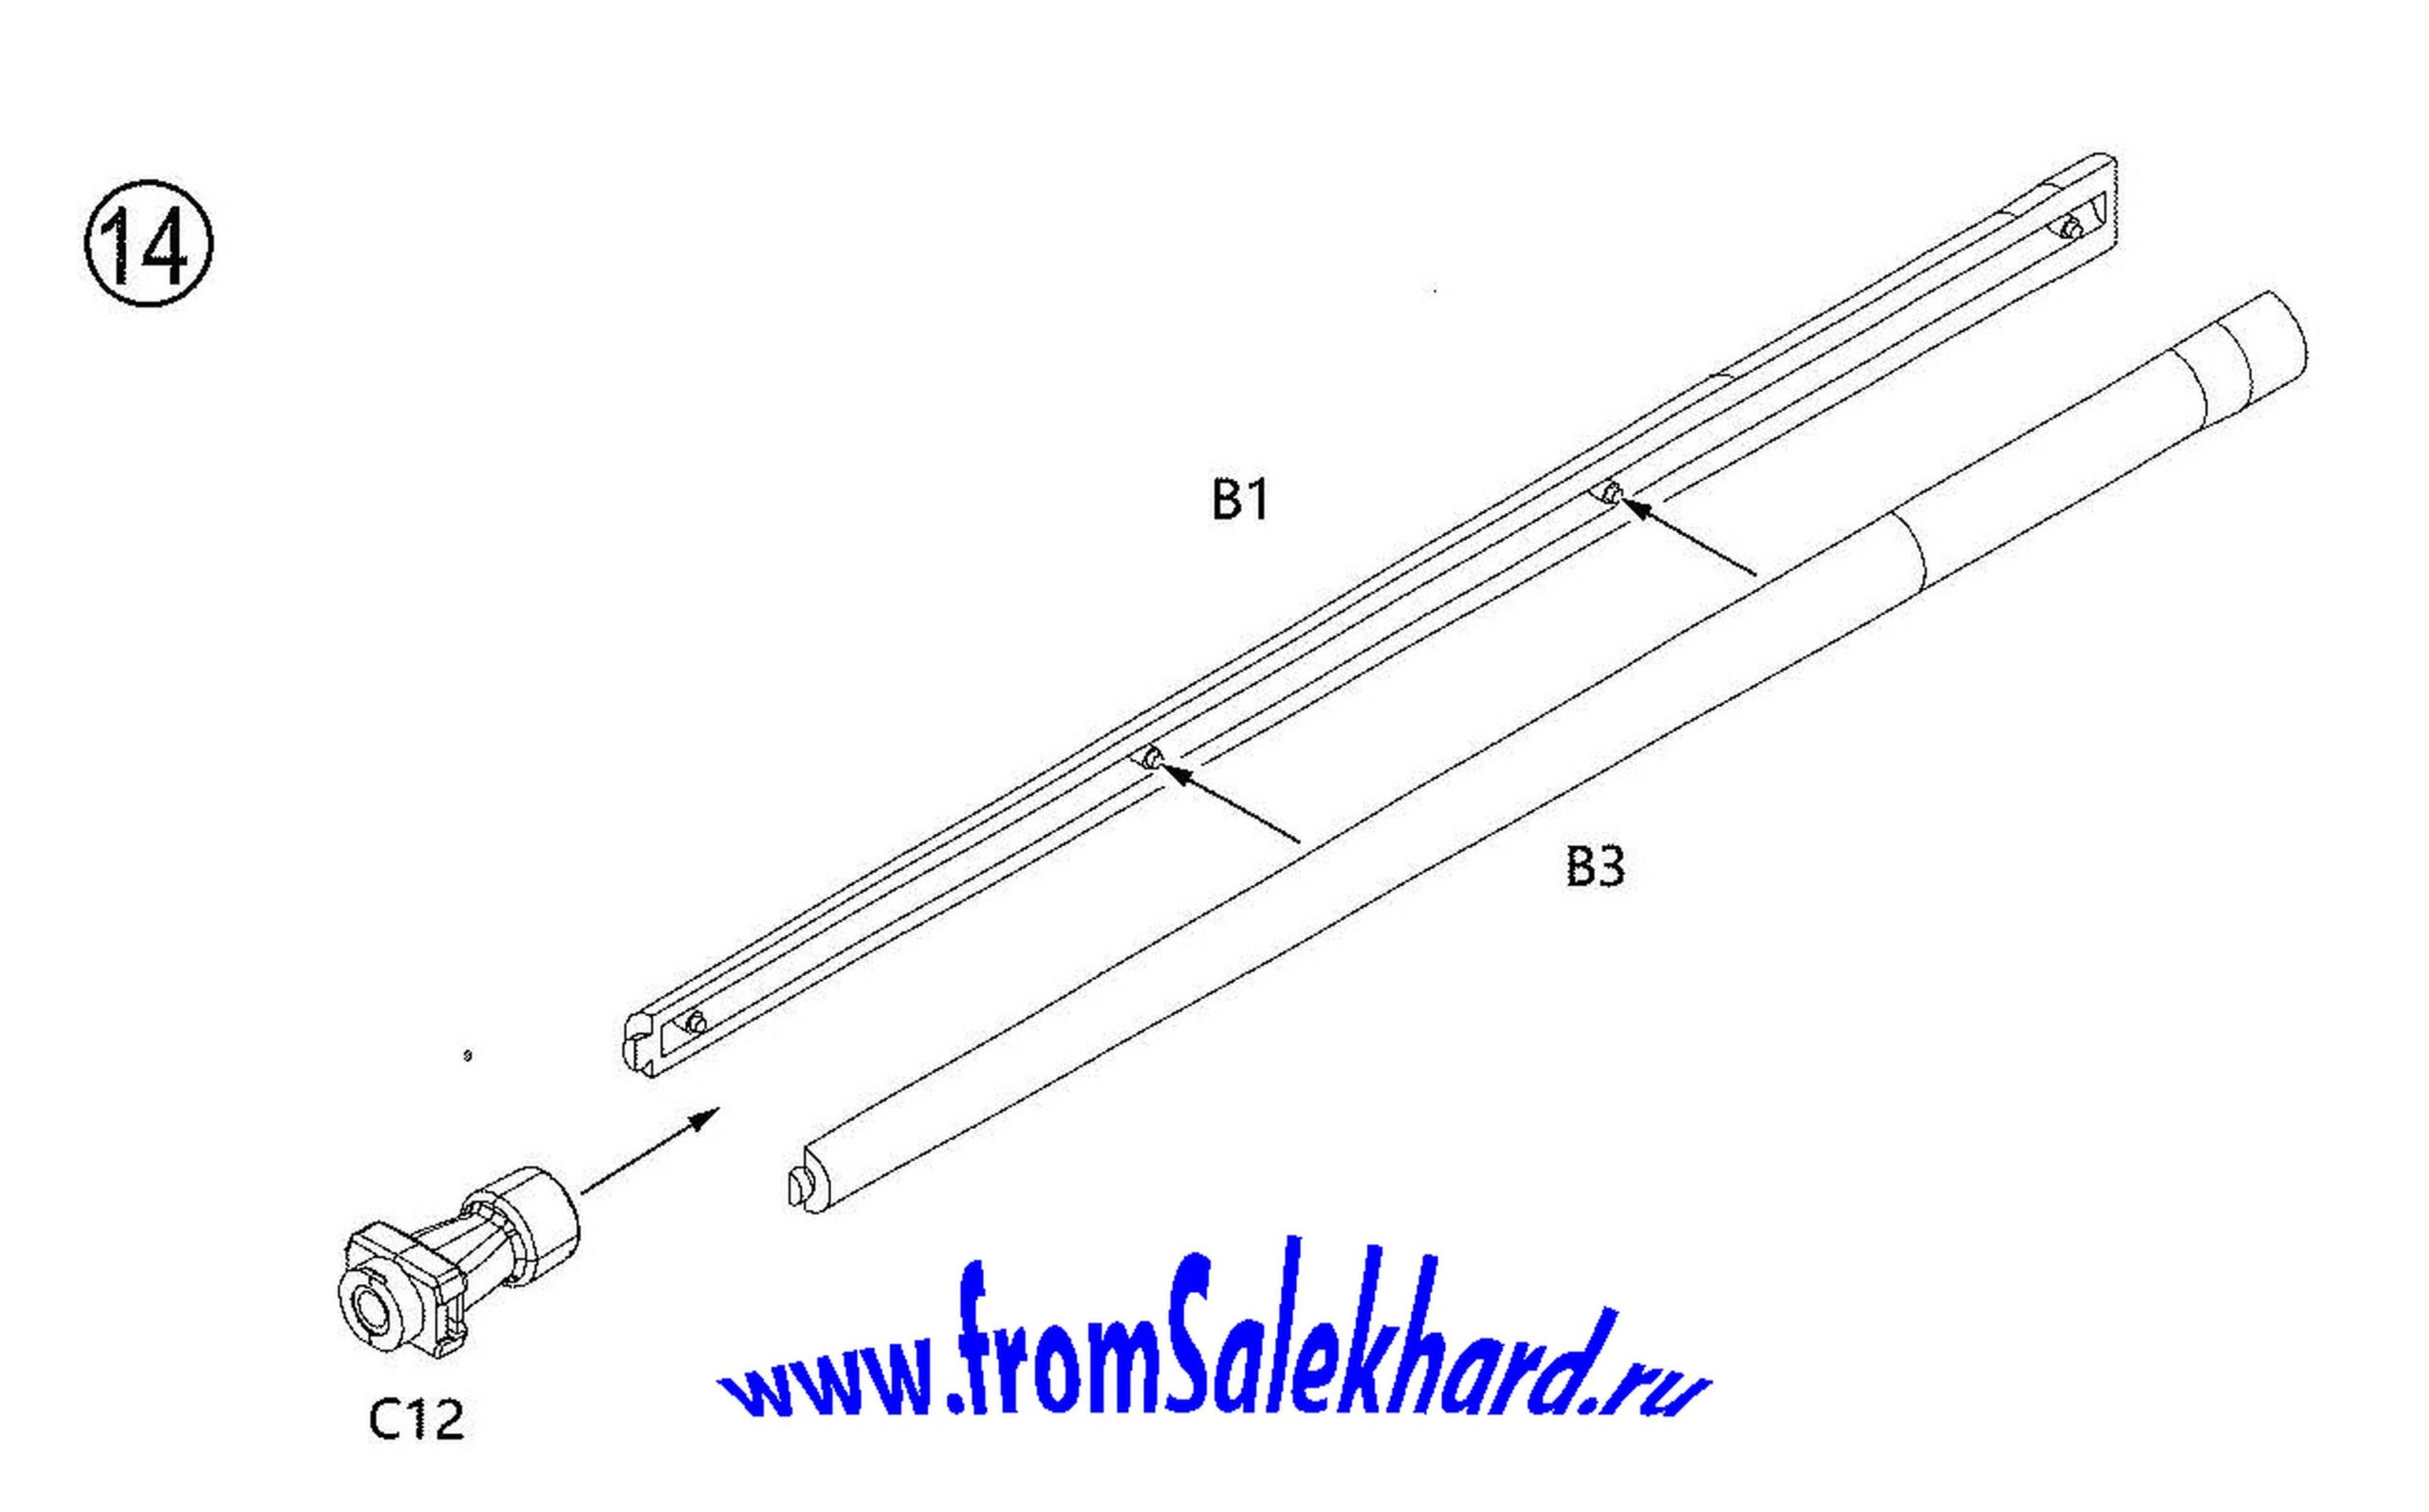
10. There is no need to hurry with gluing the cable thimble. According to the instructions, they must be glued separately in steps 7 and 9
And only then to assemble into a single structure

As a cable, the company gives a rope!
As a result, I was left without a cable. I bought the cable myself, but it did not fit! This is a heavy tank, so you can’t put a thin cable, but they don’t fit under a thick thimbles.
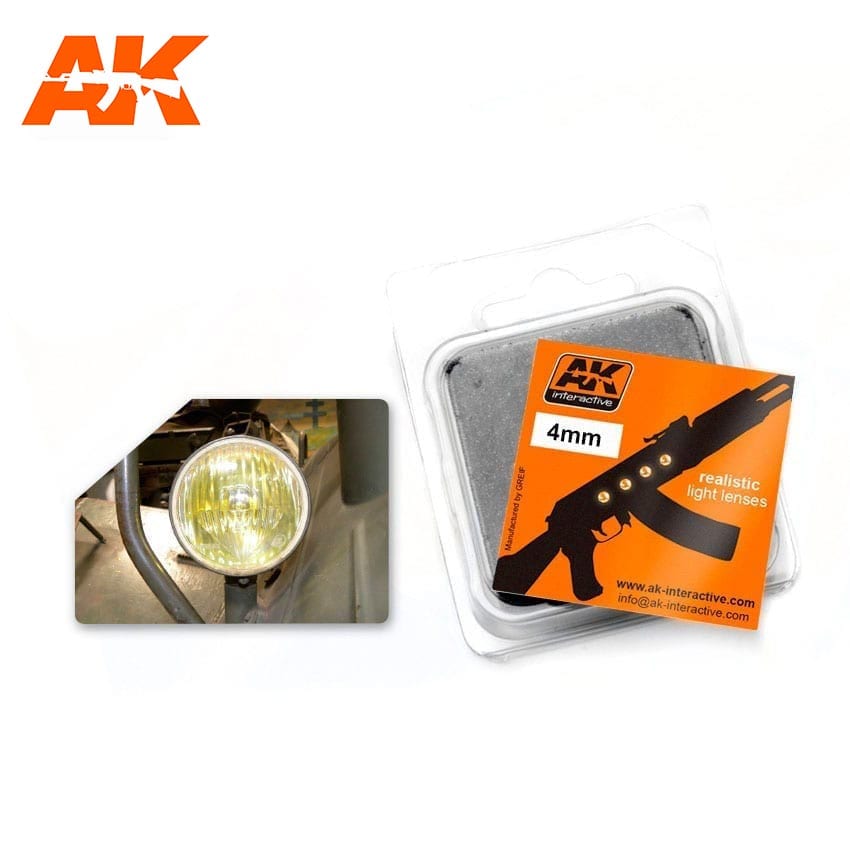
11. It should be embarrassing to sell a set without transparent parts, so with the headlights, do whatever you want, but with this in mind
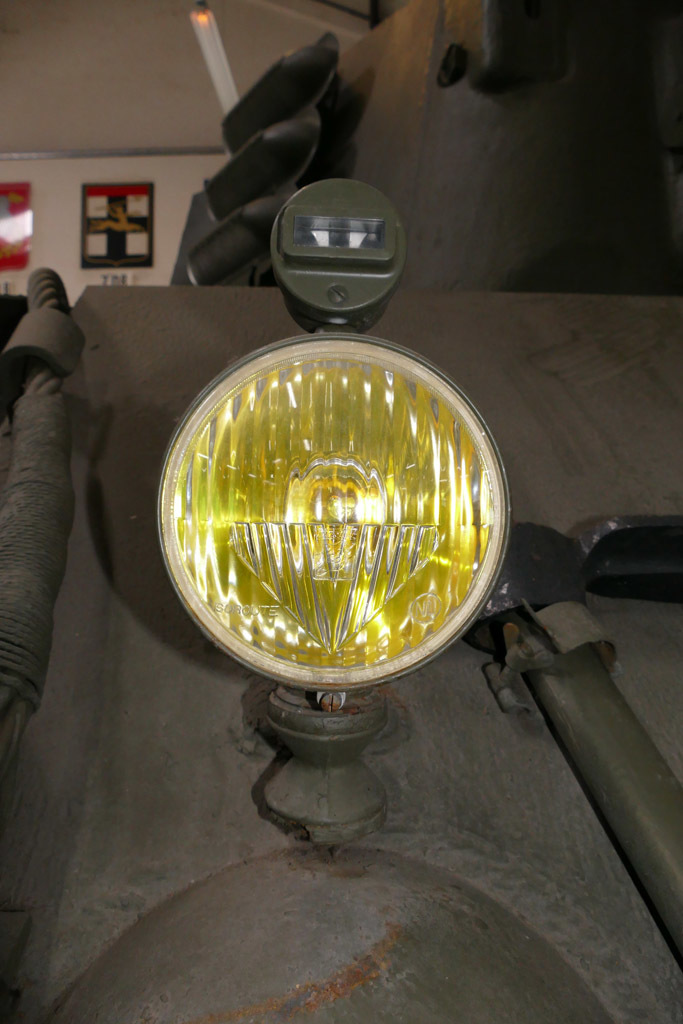
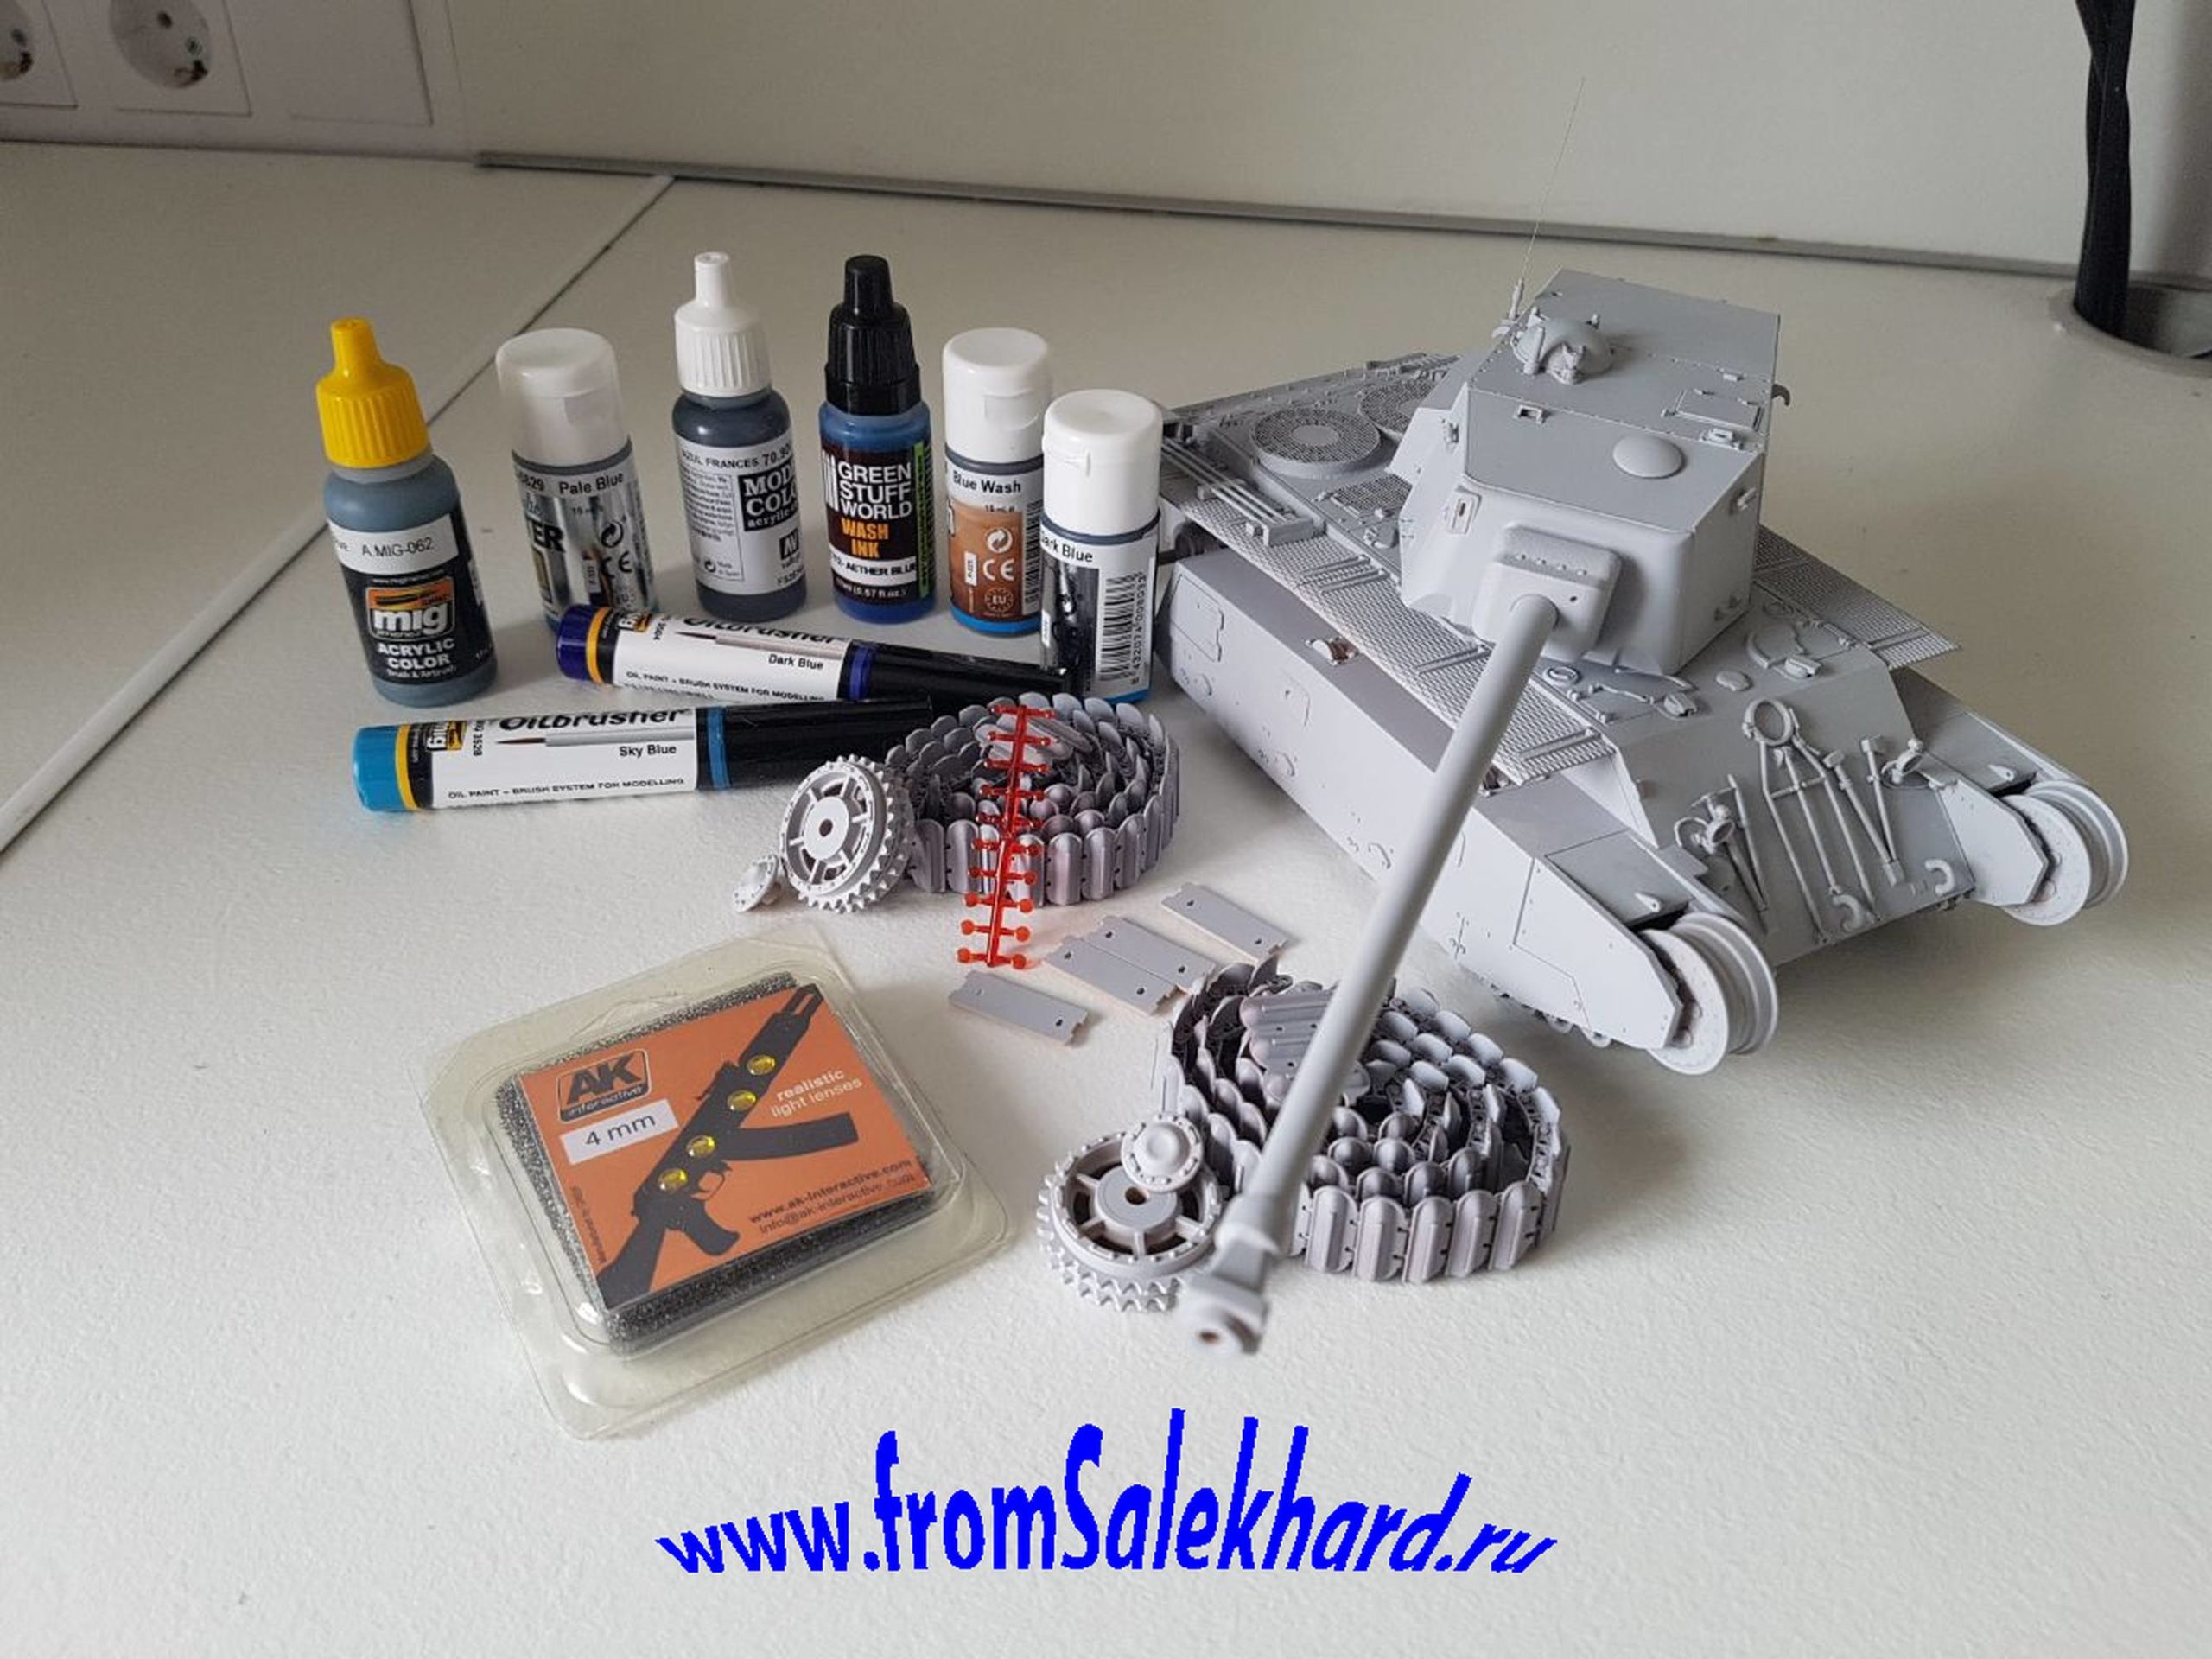
PS After sorting through alternative options, I ordered this product from AK Interactive
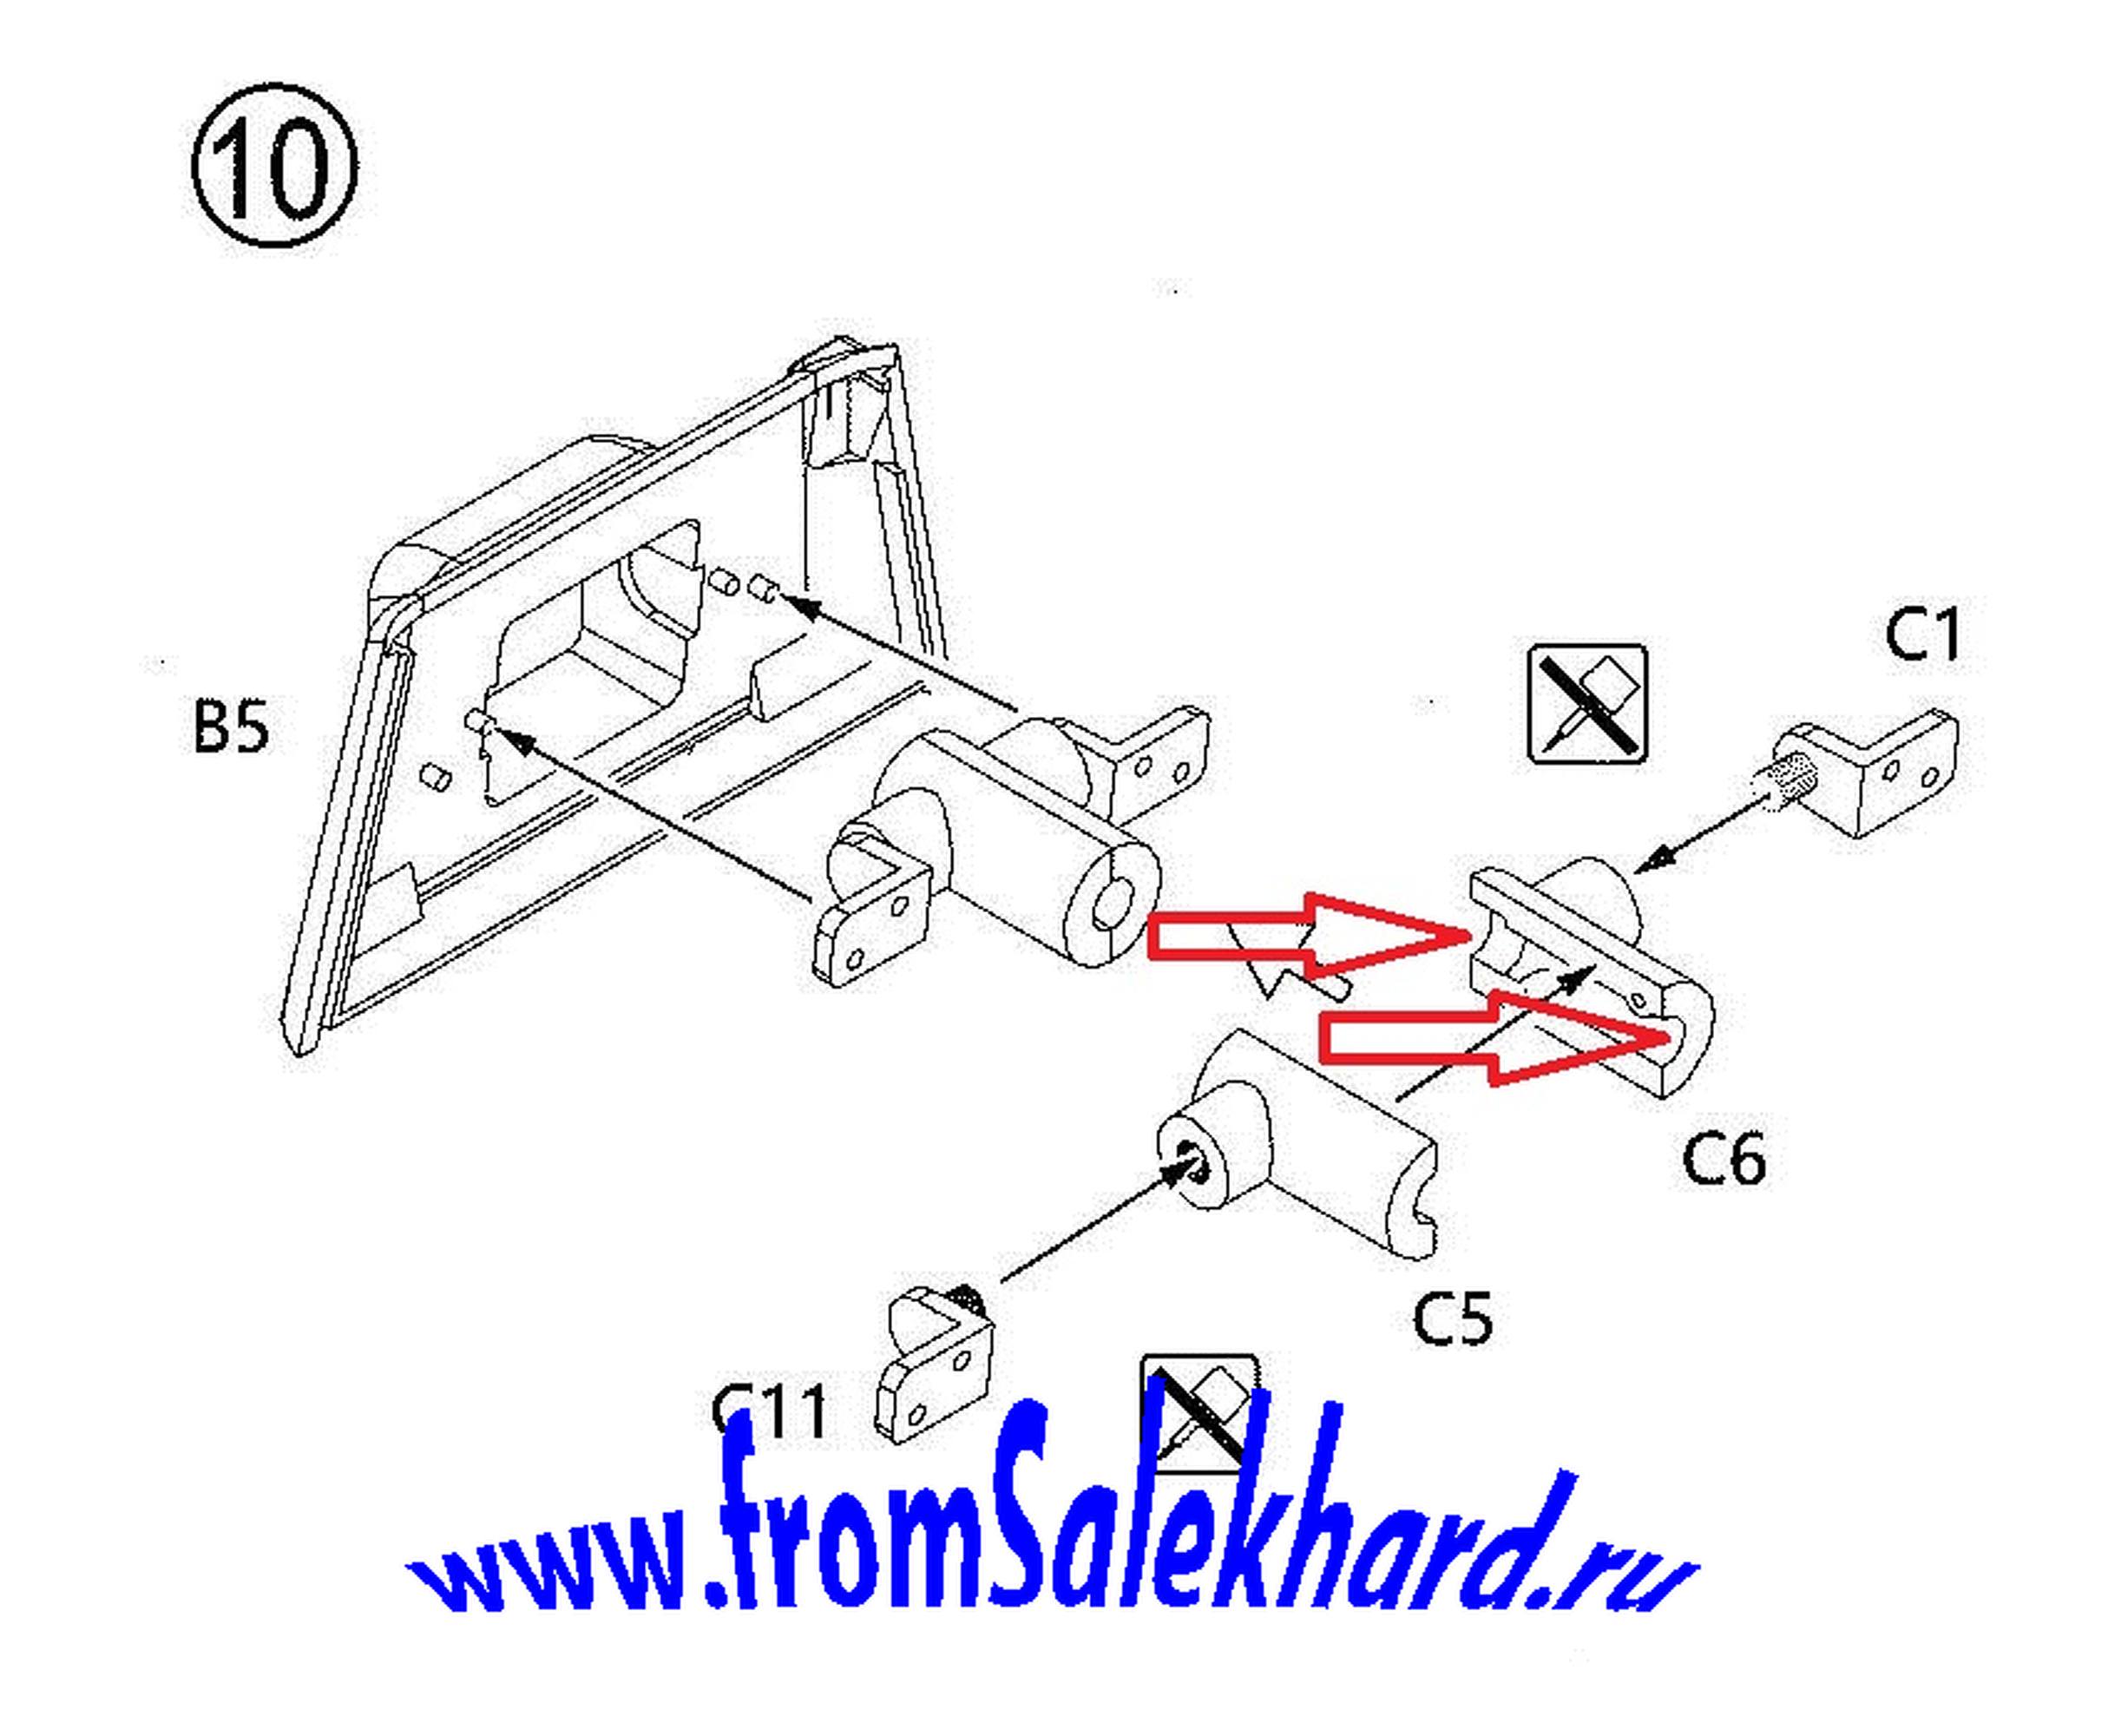
12. I almost made a mistake when assembling the “gun carriage”. According to the instructions for parts C5 and C6, the hole is through, in real life I have it only on one side.
13. A lot of small things are glued to the tank turret, which can be damaged at this stage
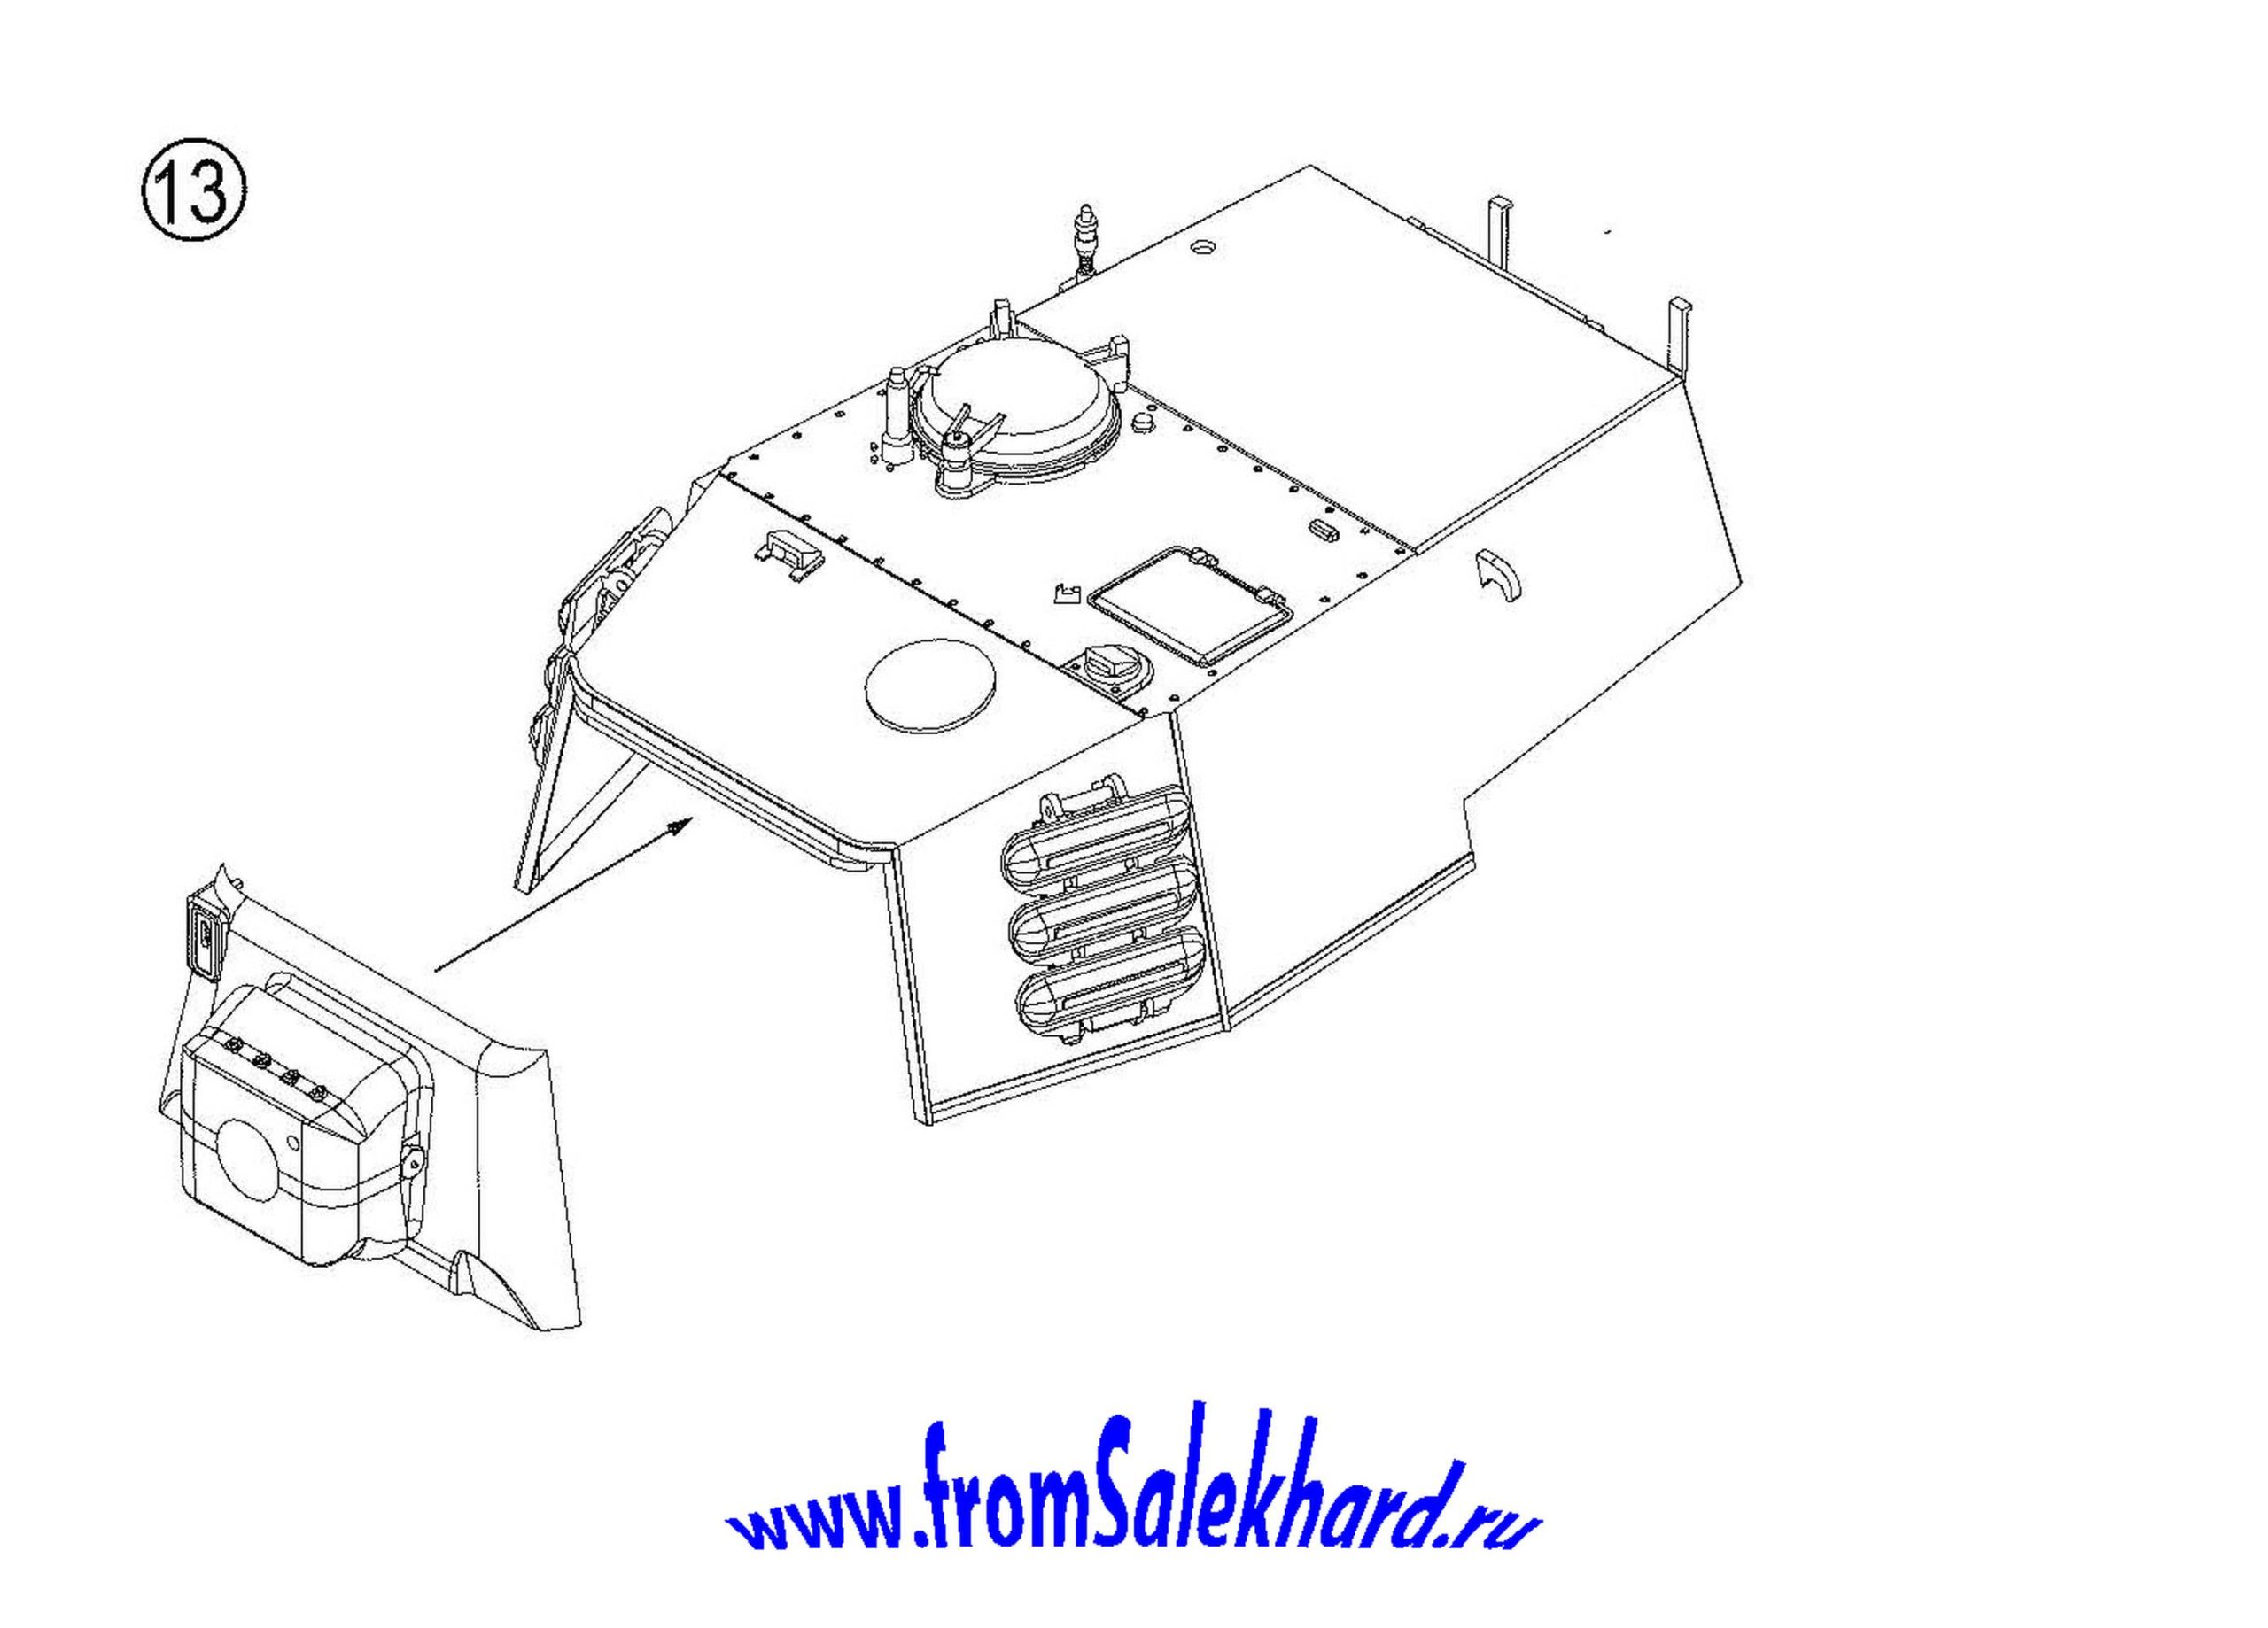
Personally, I first glued the frontal part, and only then all the small things. Everything worked out fine.
14. If you want to make a model in the transport position of the barrel (see point 7), then the B7 part must be put on the barrel before gluing the muzzle brake.
By the way, there is also a metal barrel in the set, which is not mentioned anywhere.
15. Please note: the paint manual recommends that we paint with a “rubber” color
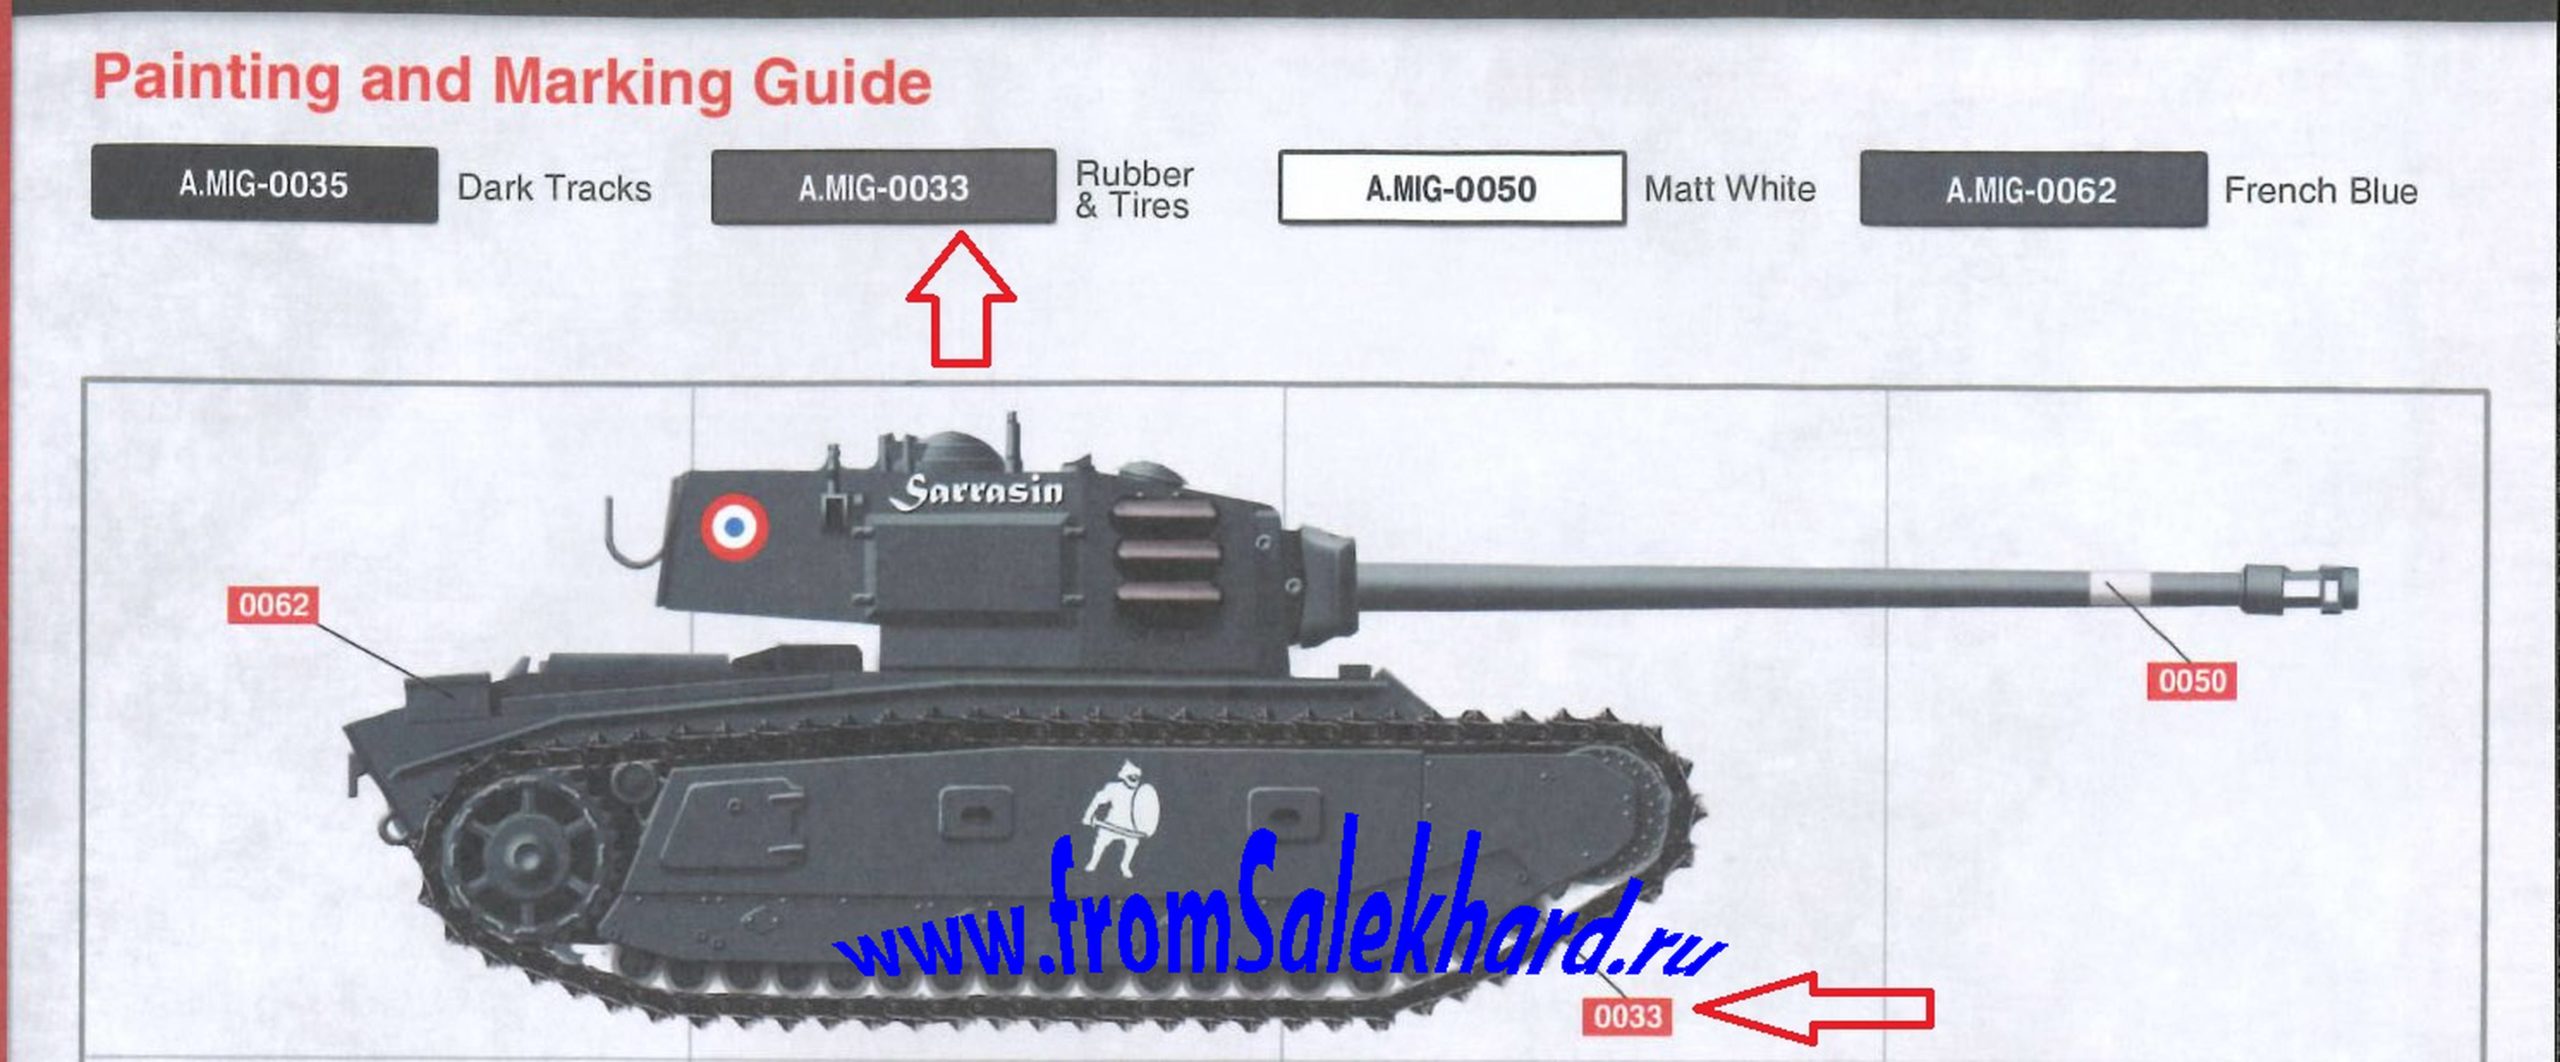
these rollers!
PS. If I were French, I would replace the bolts on the hull and on the gun mantlet.
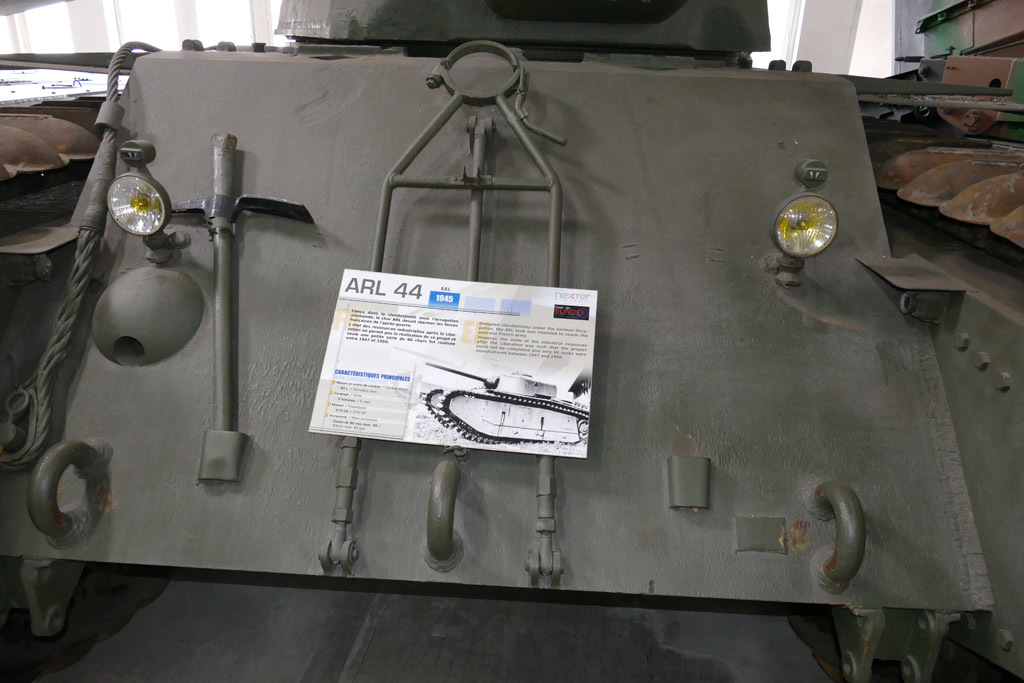
PSS All color photos are taken from the photo review “ARL 44 in Samyur” for which many thanks to the author!
PSSS I hope you could understand what I wrote in Russian-Google English.