I mentioned last week as part of the Lockheed 100 Campaign I’d start another HIMARS. I hope my tips from last year were helpful to some. This ain’t rocket science (Oh - it sort of is) but there are still some new pitfalls I didn’t mention last time.
I’ve also had the Kelik interior 3D Decal set on hand for quite some time, but never needed it as I wasn’t really doing much with the interiors. I decided I’ll build this one opened up, as it’ll be as it appears at a trade show for Lockheed Martin Missile Division.
Wow - was I disappointed.
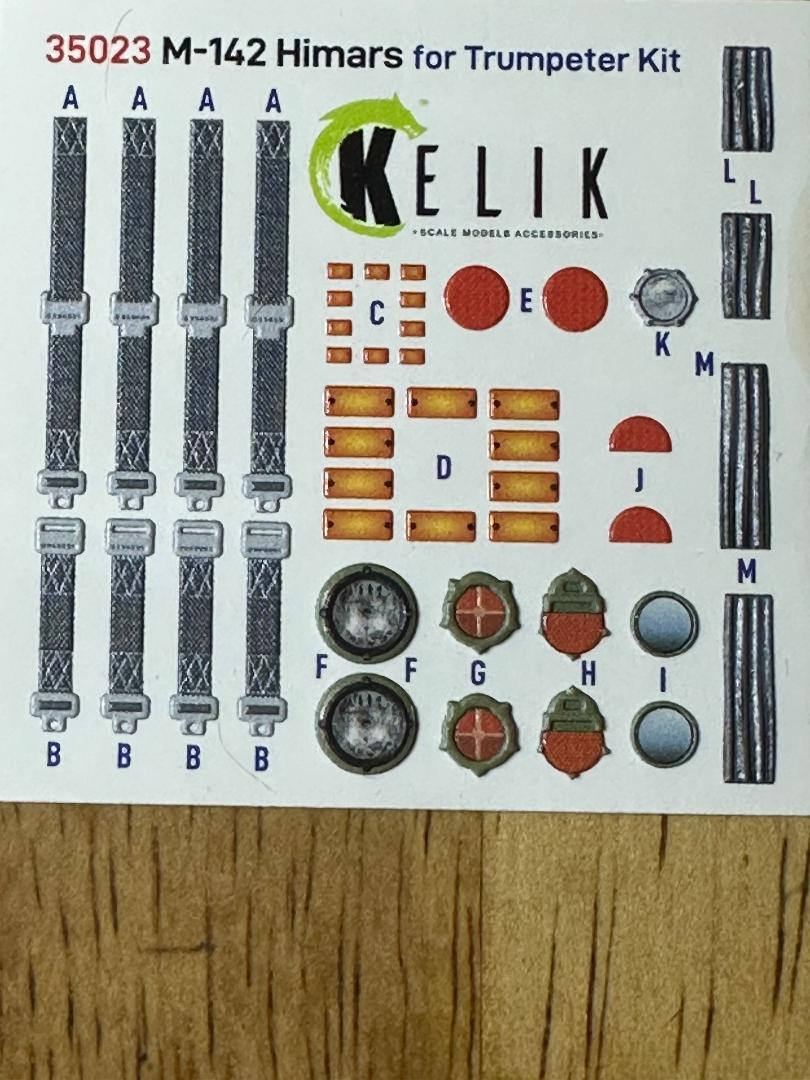
I understand it was designed for the Trumpeter kit, but even so, there’s nothing really useful in this set. I’d give it a 3 out of 10, and that only because the decals are very pretty.
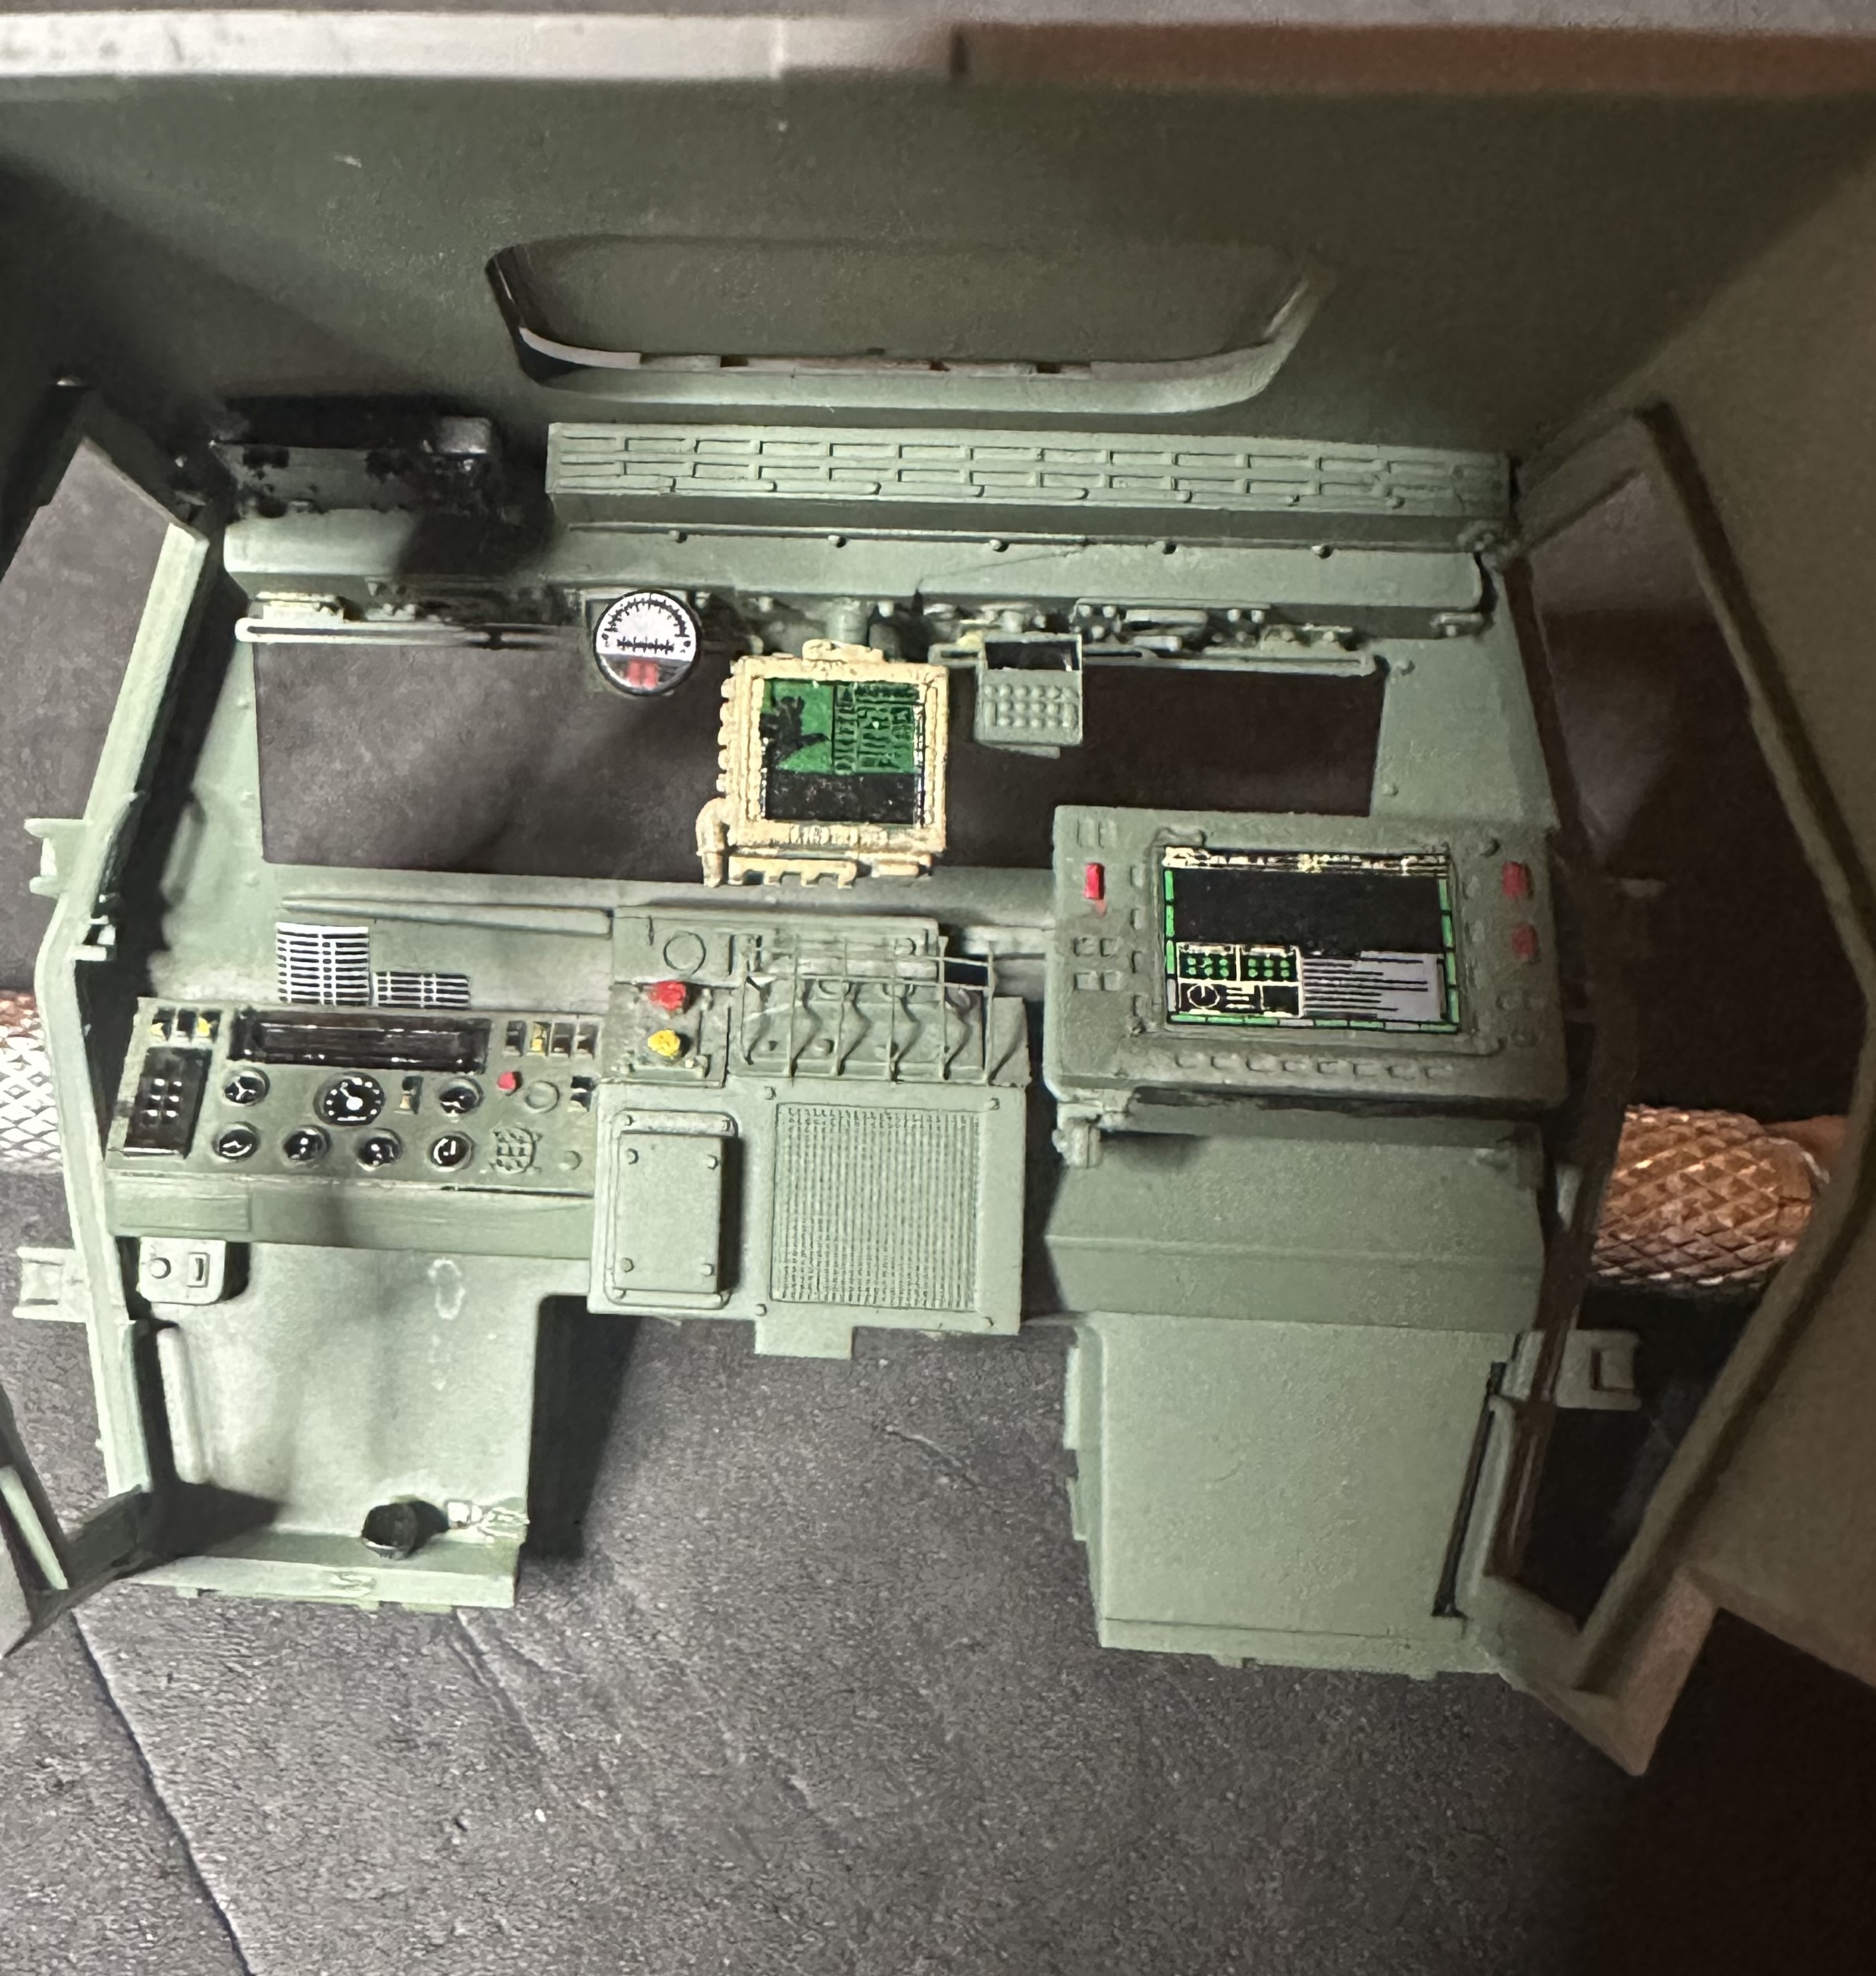
The arrangement and even number of gauges is incorrect, so even that piece is useless, unless you just want to throw something in there. A little careful painting of the Foreart parts should be sufficient. On top of that, the bezels for the gauges are black in the set, but green in real life. And the toggle switches are not correct either.
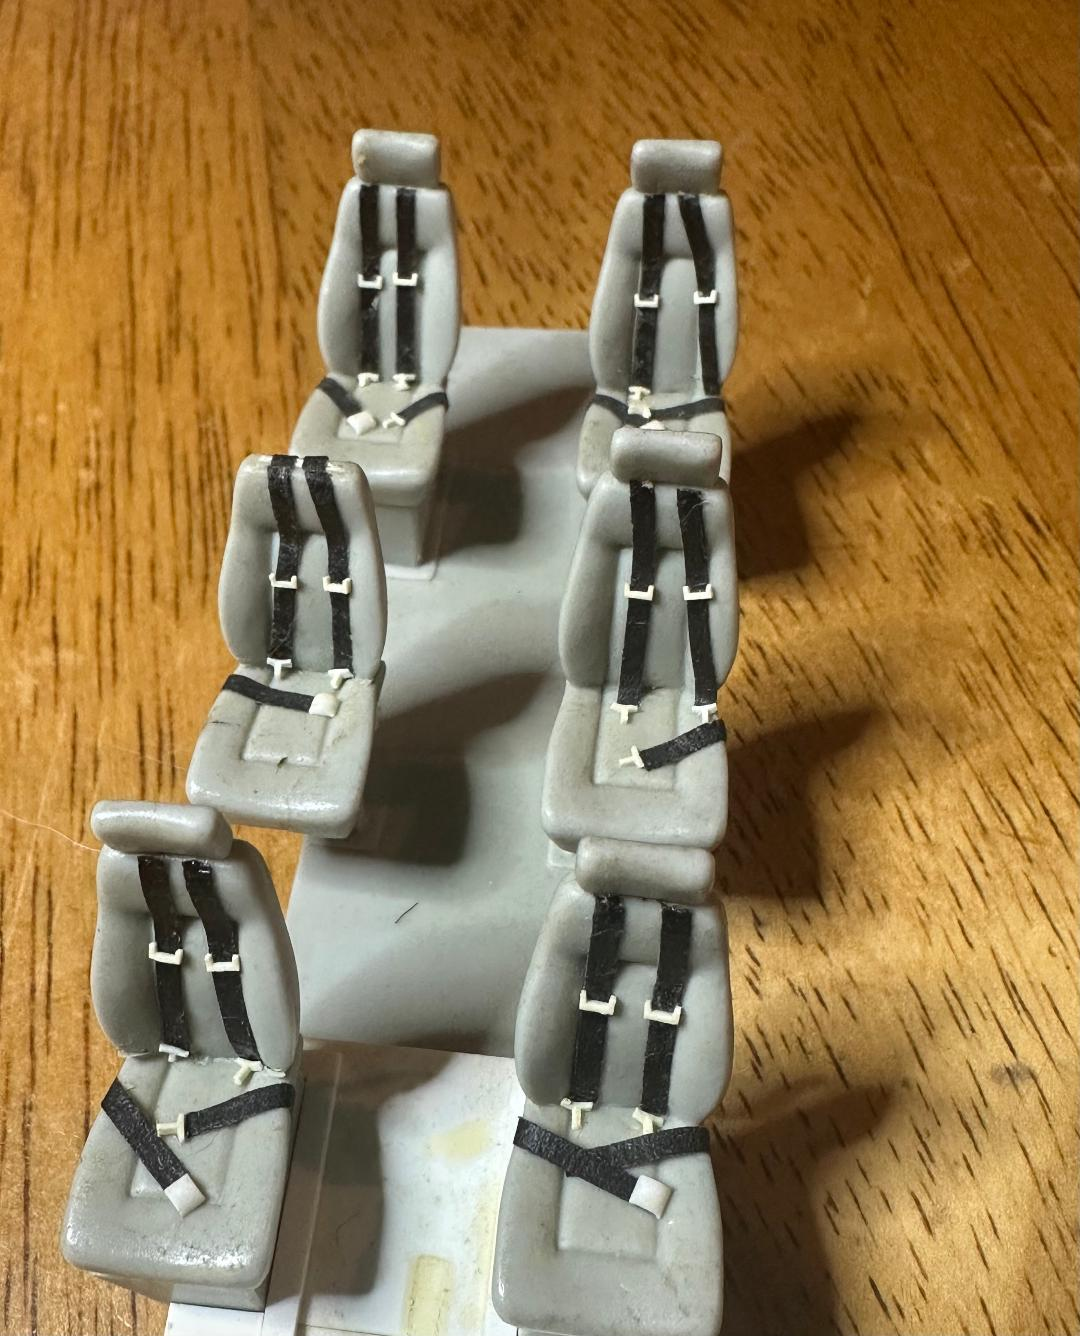
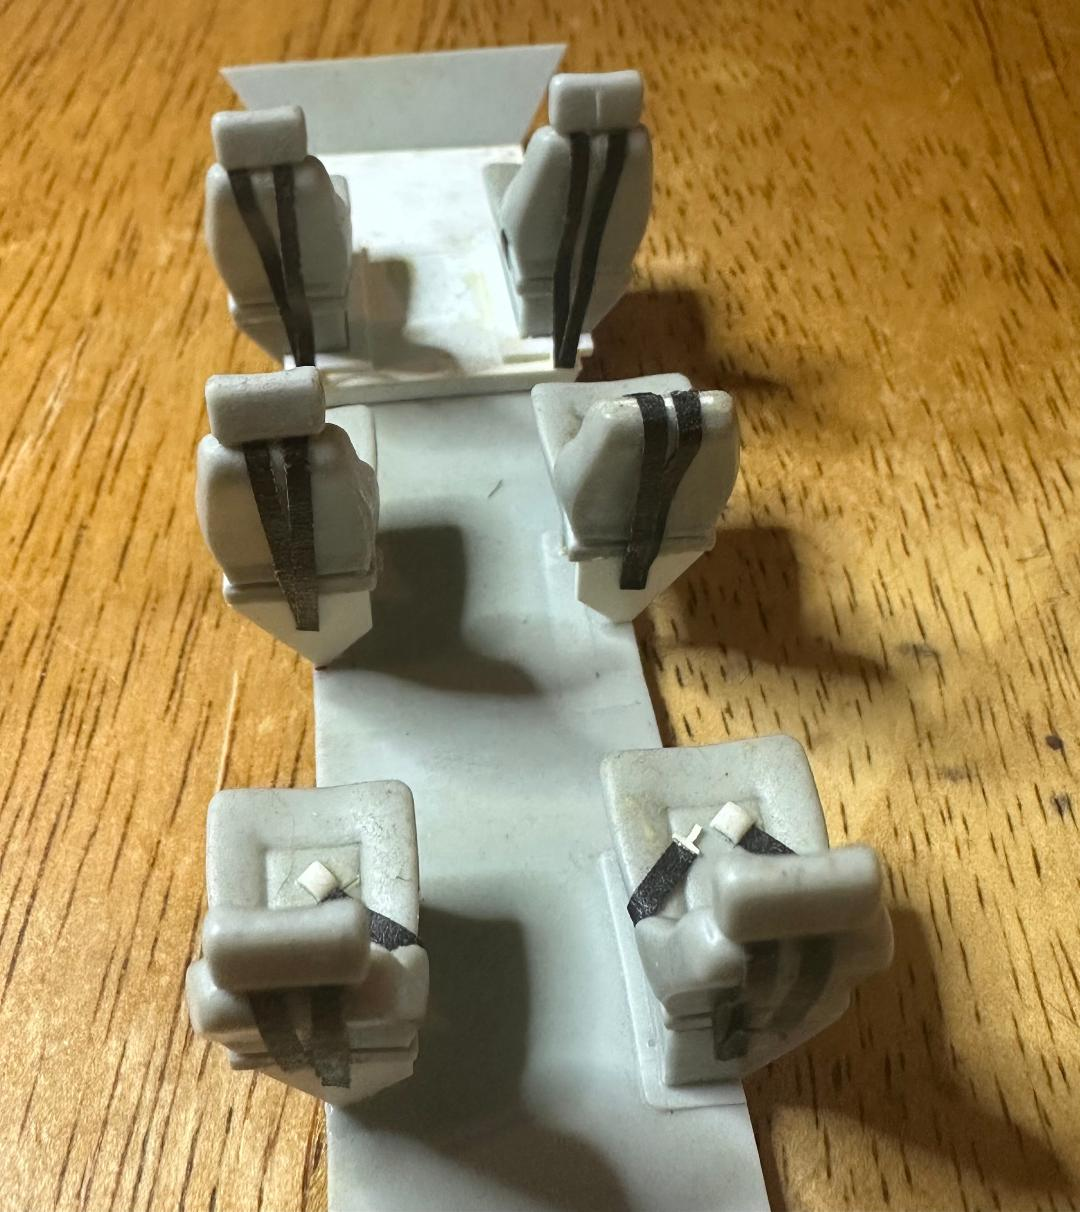
So - what about the seatbelts? Well, because it was designed for the Trumpeter kit you only get two sets. No big deal - I plan to put a driver in the seat. The real problem is that they are about as incorrect as you can get.
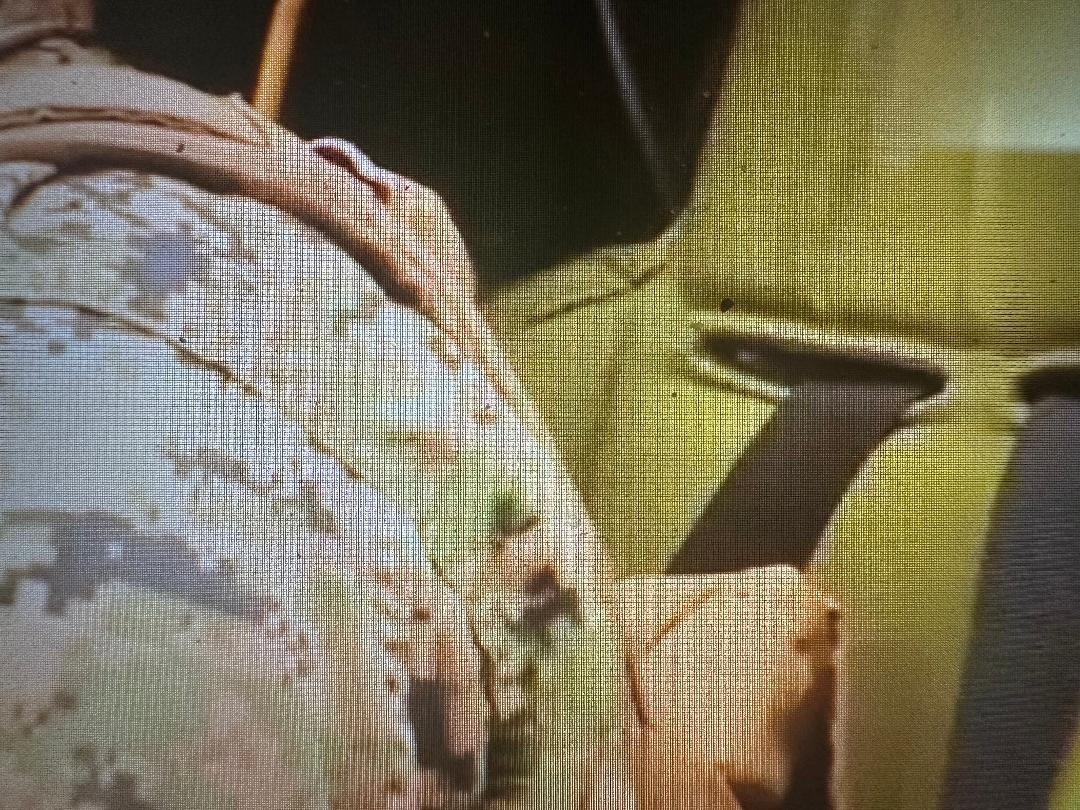
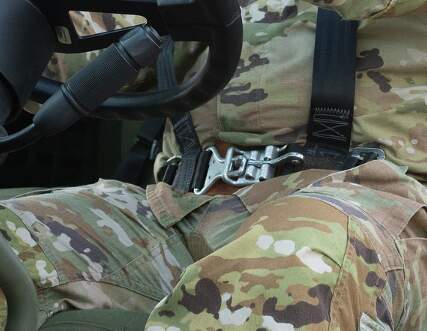
This is what they should look like - if you’ve ever ridden in a Black Hawk you’re familiar with the style. But they should also have red pull tabs which I’ll add:
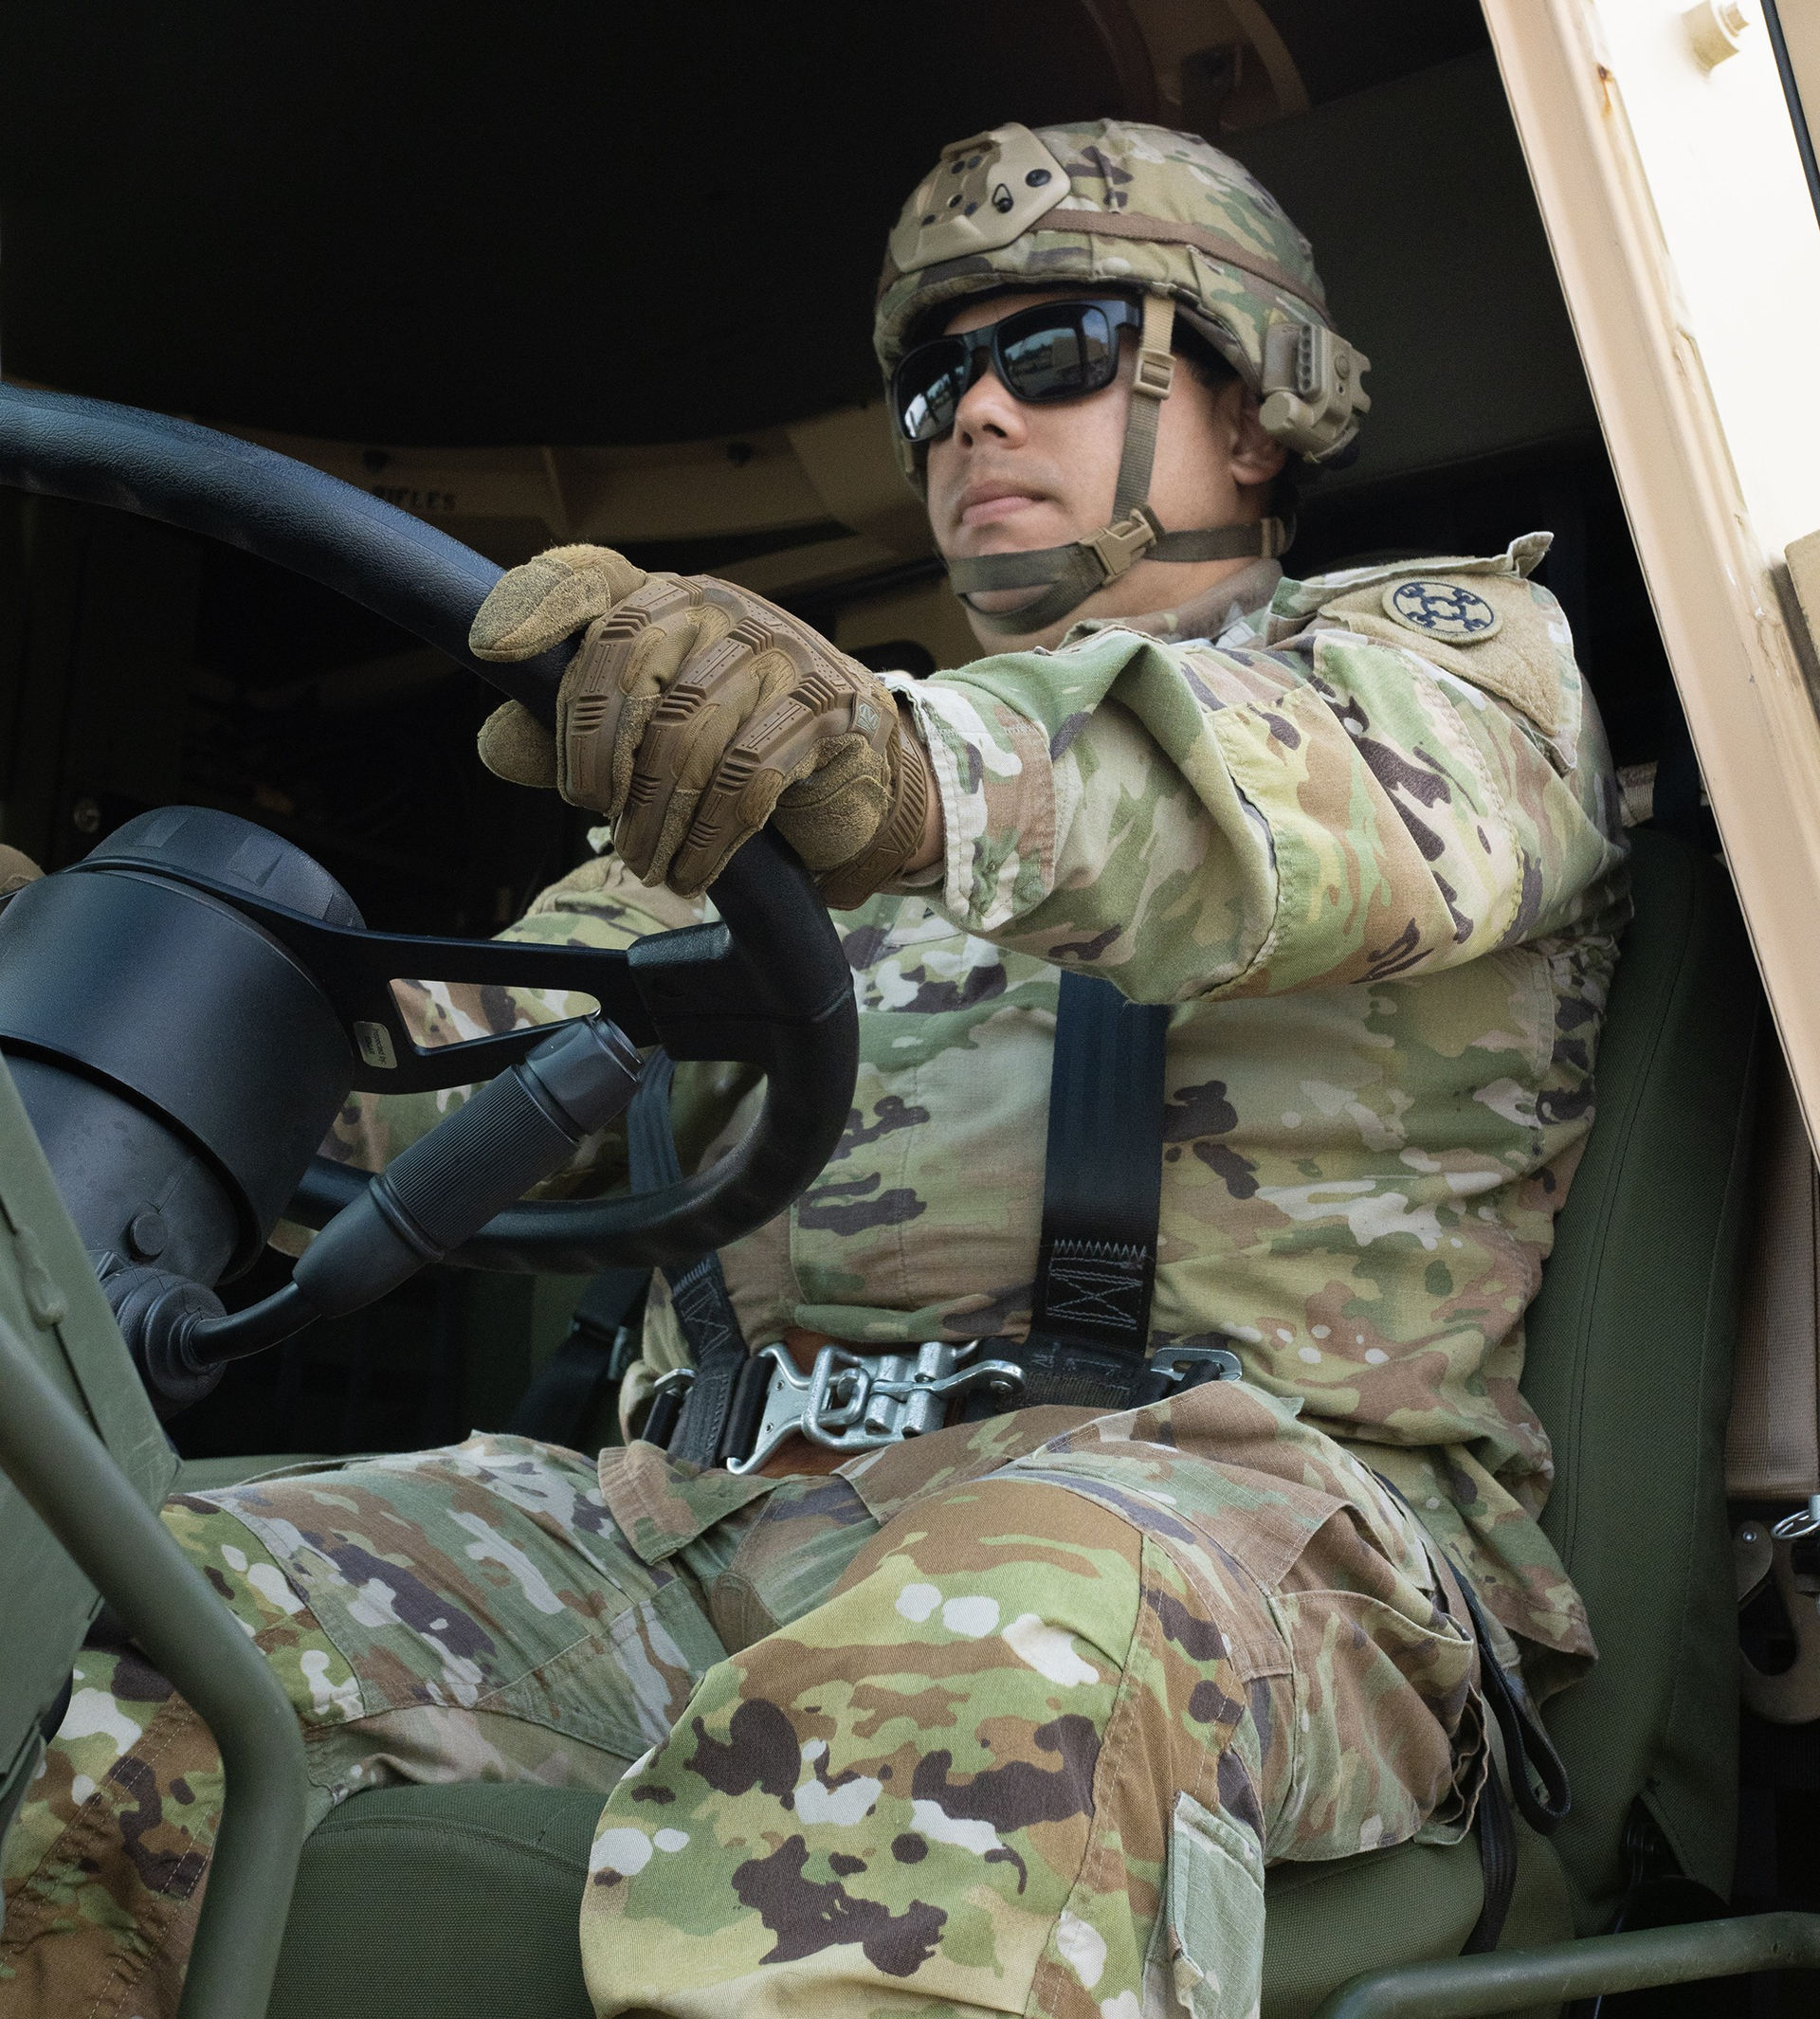
The Kelik set gives you the same buckle end on all four straps. 

The door mechanisms are another reason the set falls short - they’re inaccurate as well as incomplete.
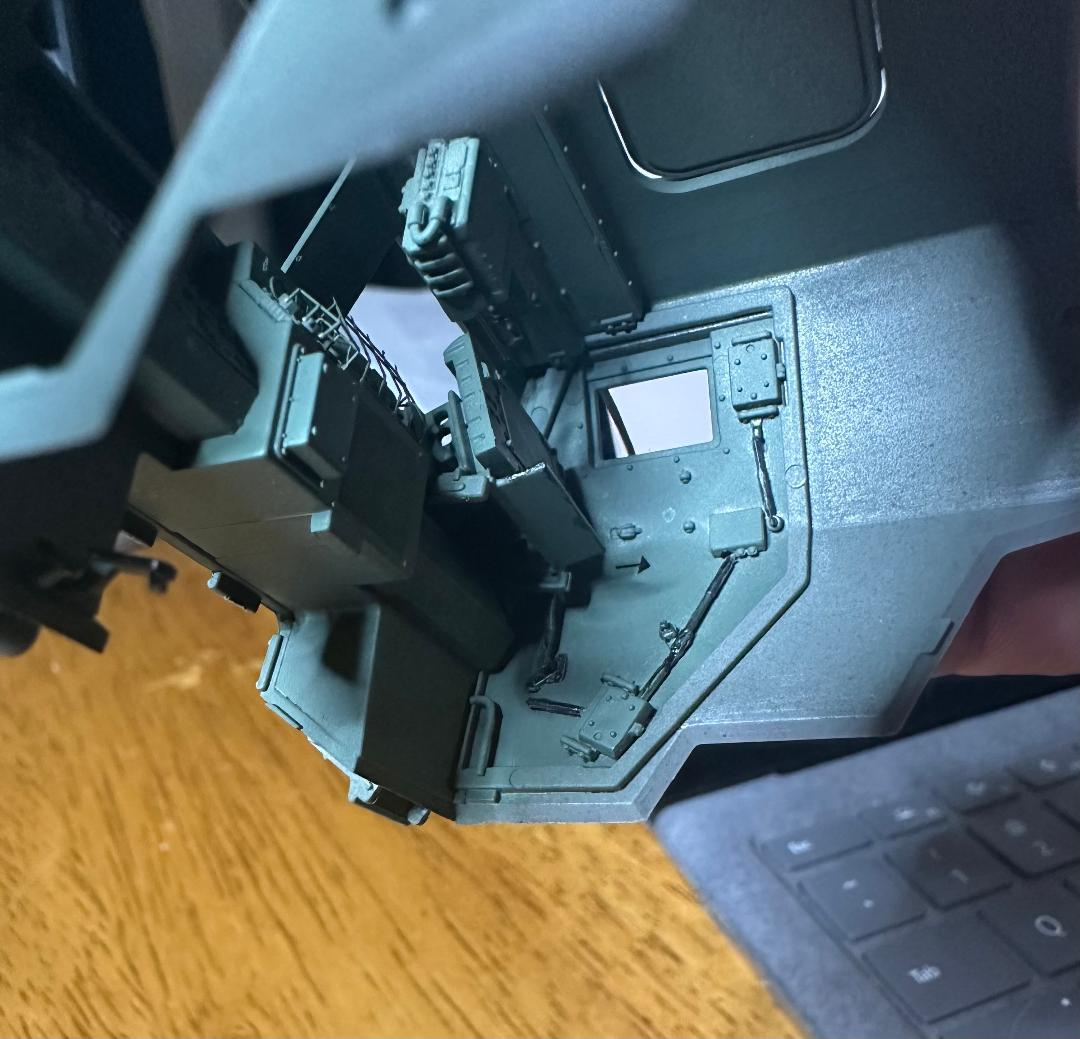
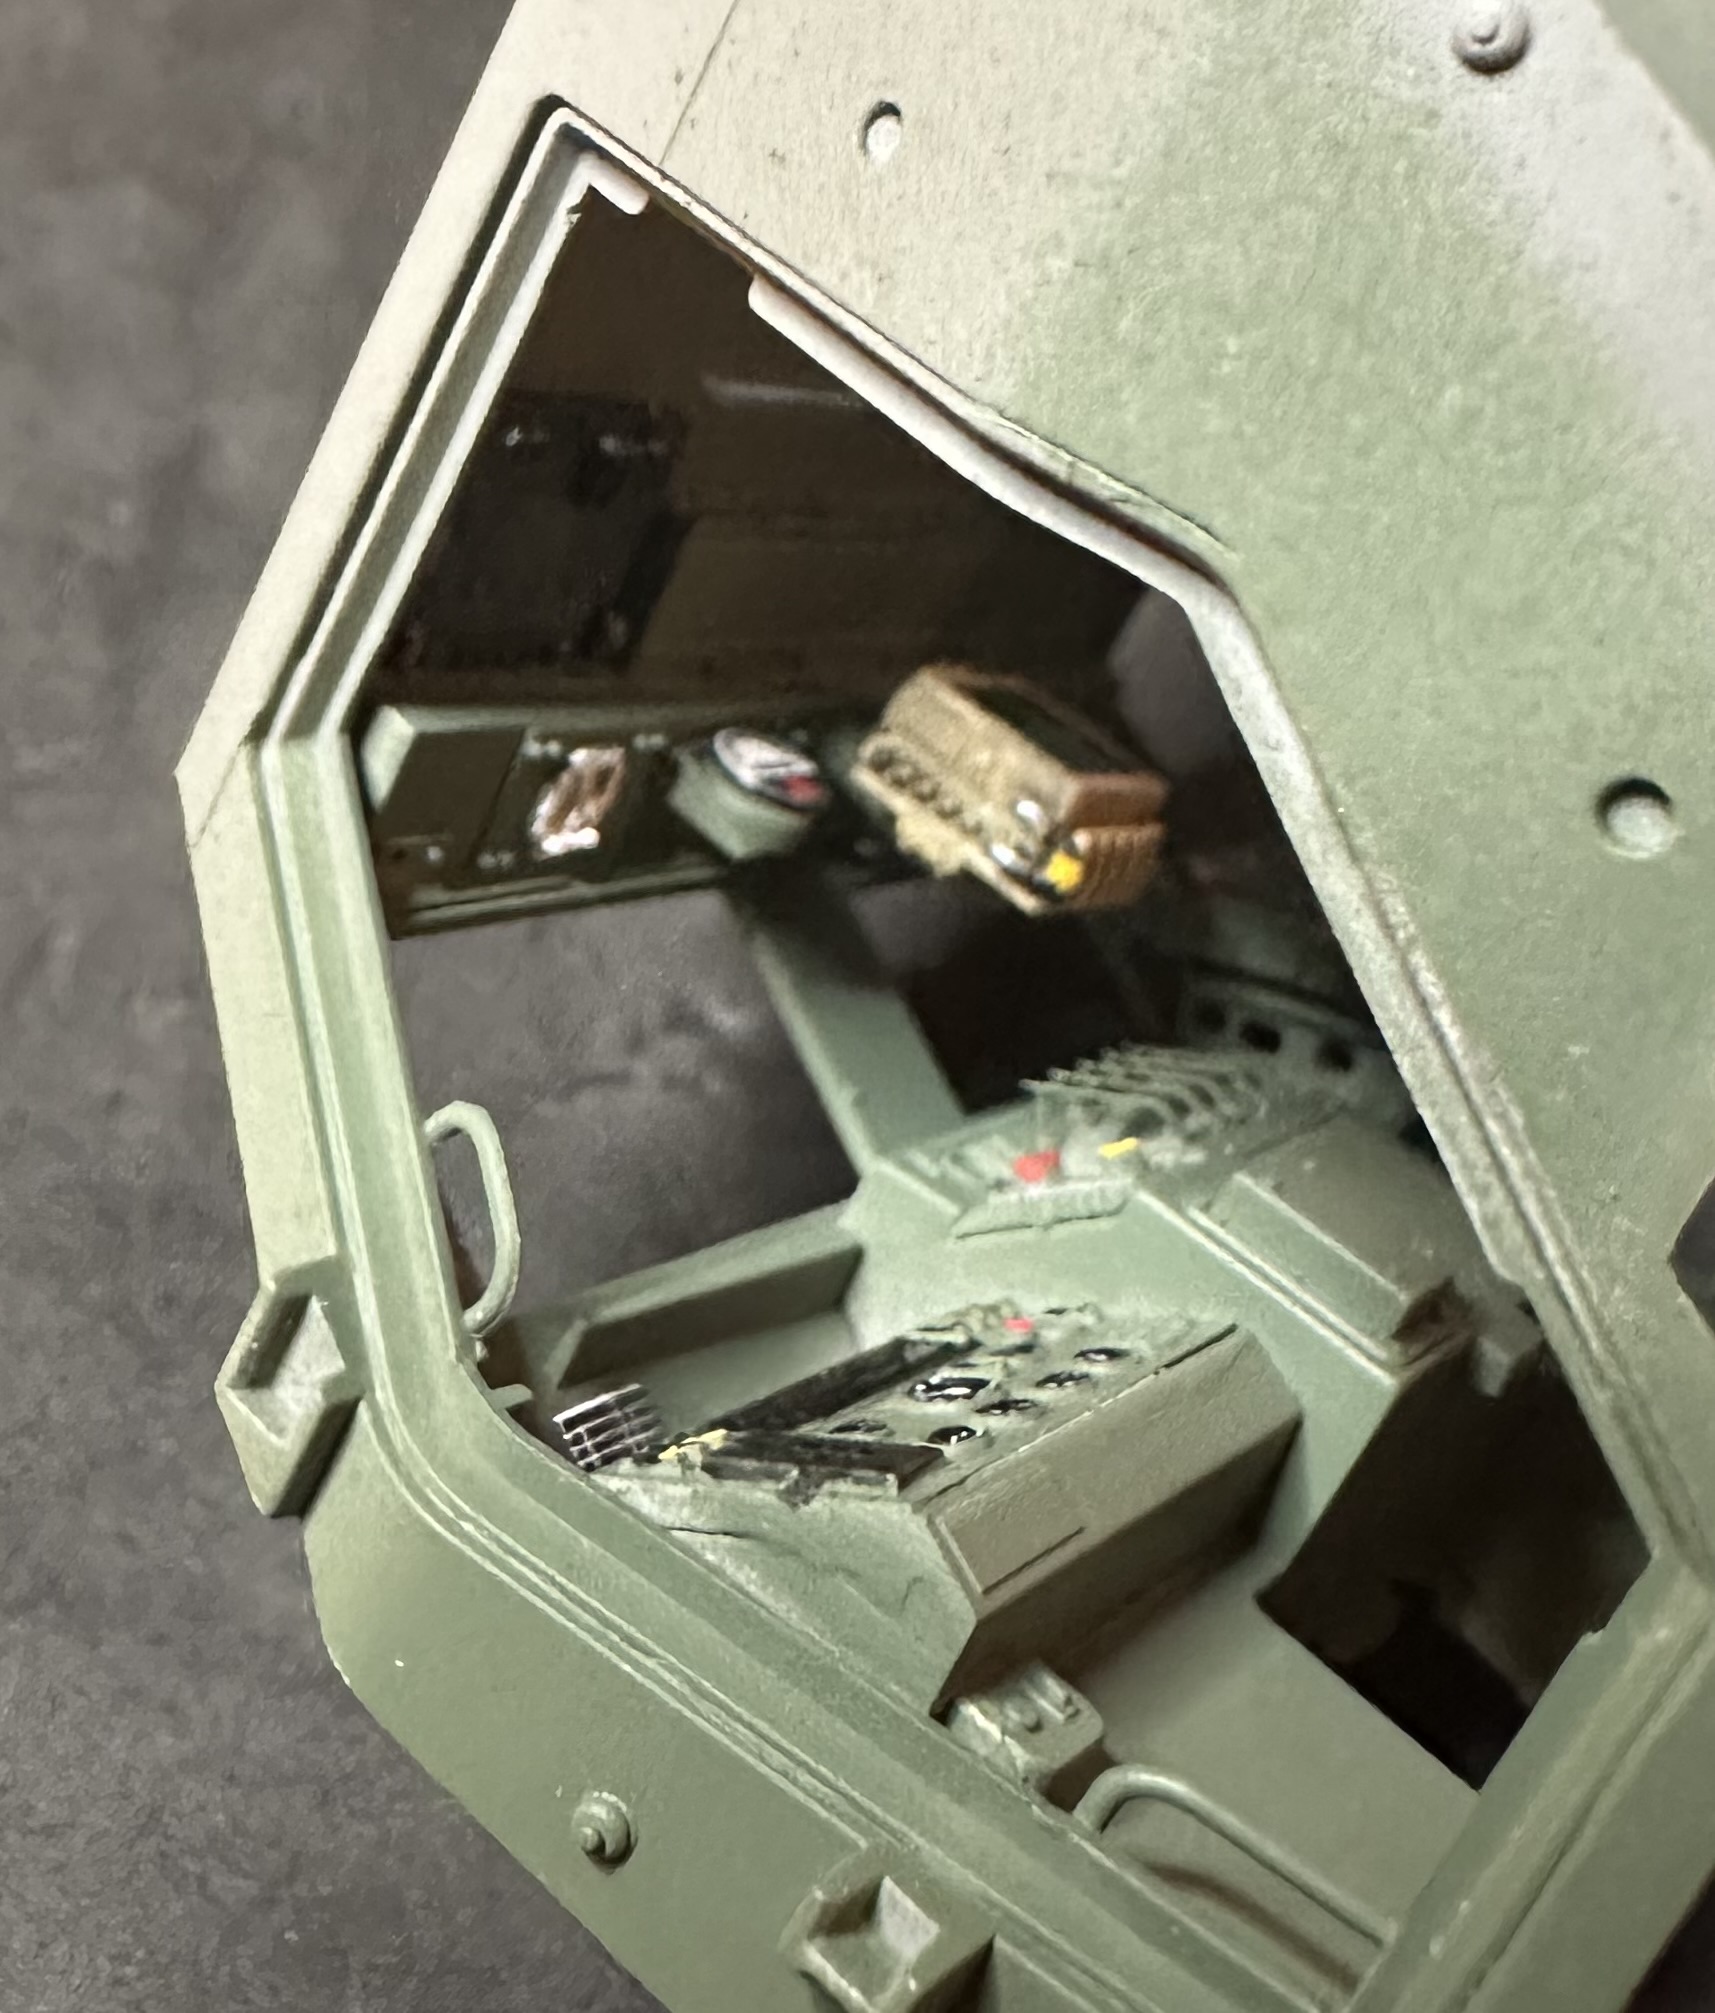
But no build log is valid without actual photos, so I decided to do the cab first. If I couldn’t reasonably paint it, there’s no point in showing it opened. For better or worse, here’s one of the doors. I’ve made a diagram of the stowage layout to tape to the inside, which my wife will reduce at work.
I’ll try not to include the dog hair in the build:

That’s not a good representation of the color - weird lighting.
That’s all for now.