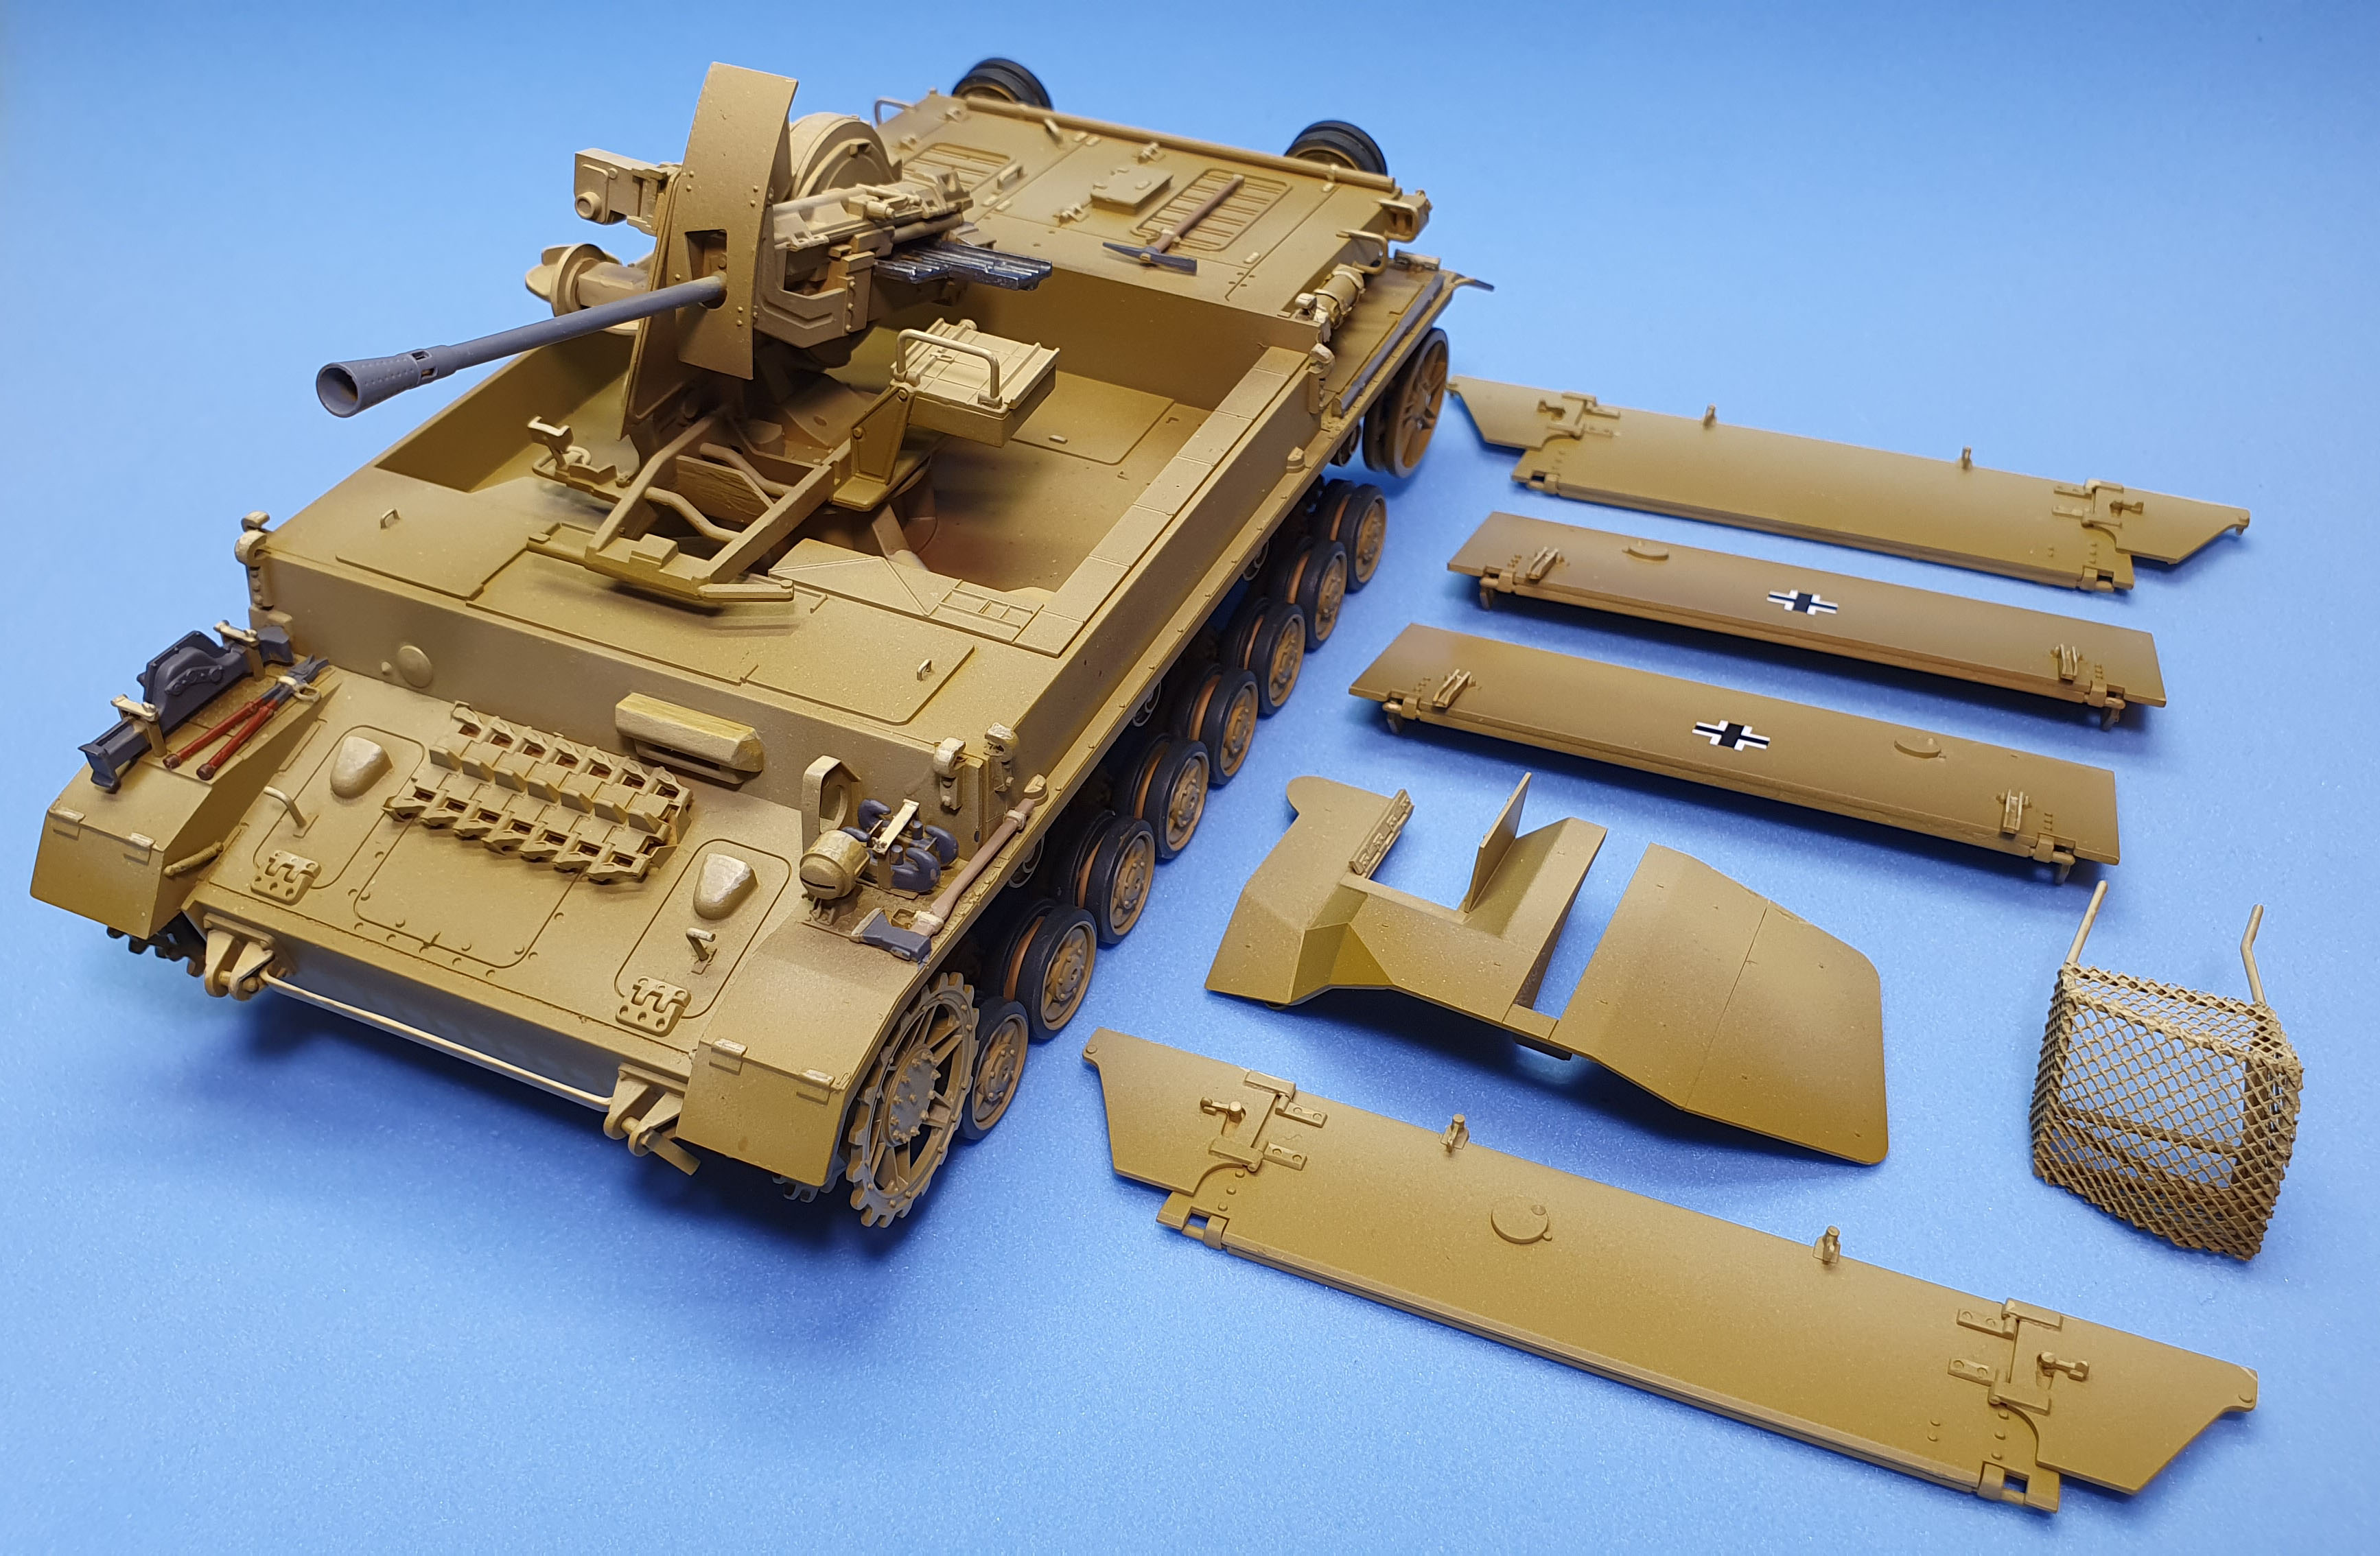
Basically the upper & lower hull are complete. Probably a few details to add but the major part of their construction is wrapped. Upgraded to a new phone and hopefully better pictures…
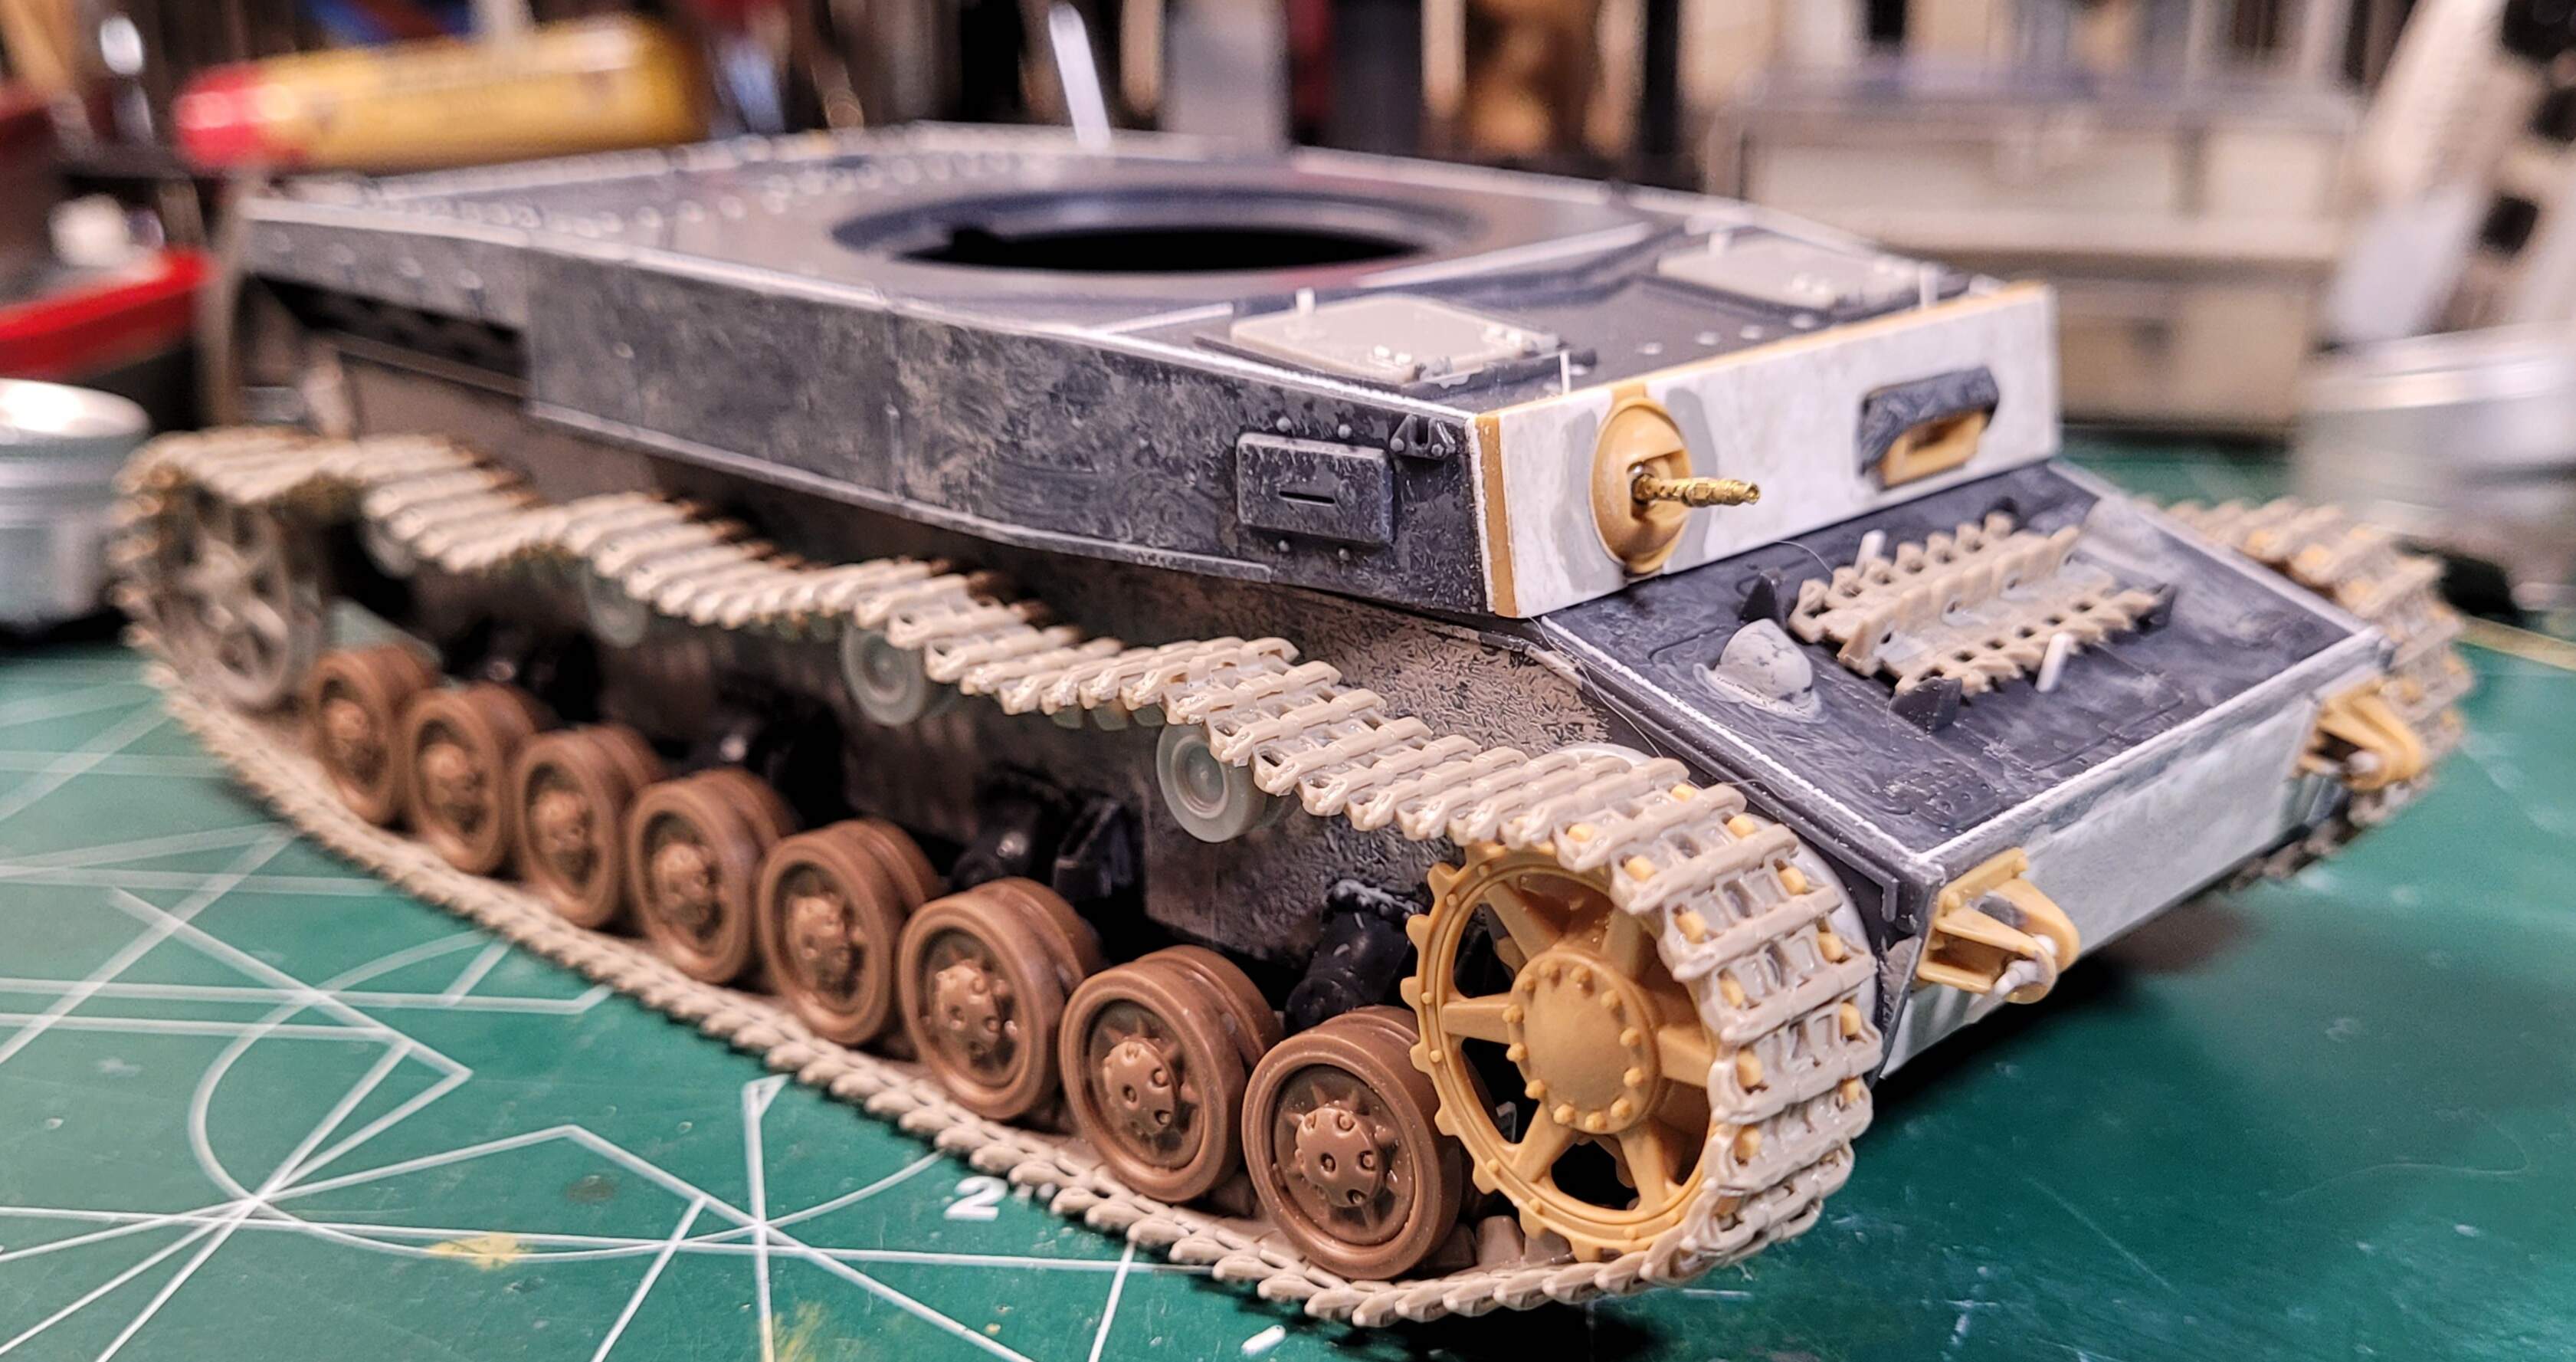

Next will work of the turret and do the fenders last.
Basically the upper & lower hull are complete. Probably a few details to add but the major part of their construction is wrapped. Upgraded to a new phone and hopefully better pictures…
Next will work of the turret and do the fenders last.
itgoes to show what some of these older kits can turn into with a bit of love and attention. The newer ones may be all bells and whistles but sometimes it’s more fun to bring an old one up to date (and sometimesmore frustrating)
fantastic work @Armor_Buff @RonW and thanks for the confirmation @petbat
![]()
You have certainly given the old boy a new lease of life there Wade @Armor_Buff. Its a really great overall finish with the lower hull … looking forward to more … john
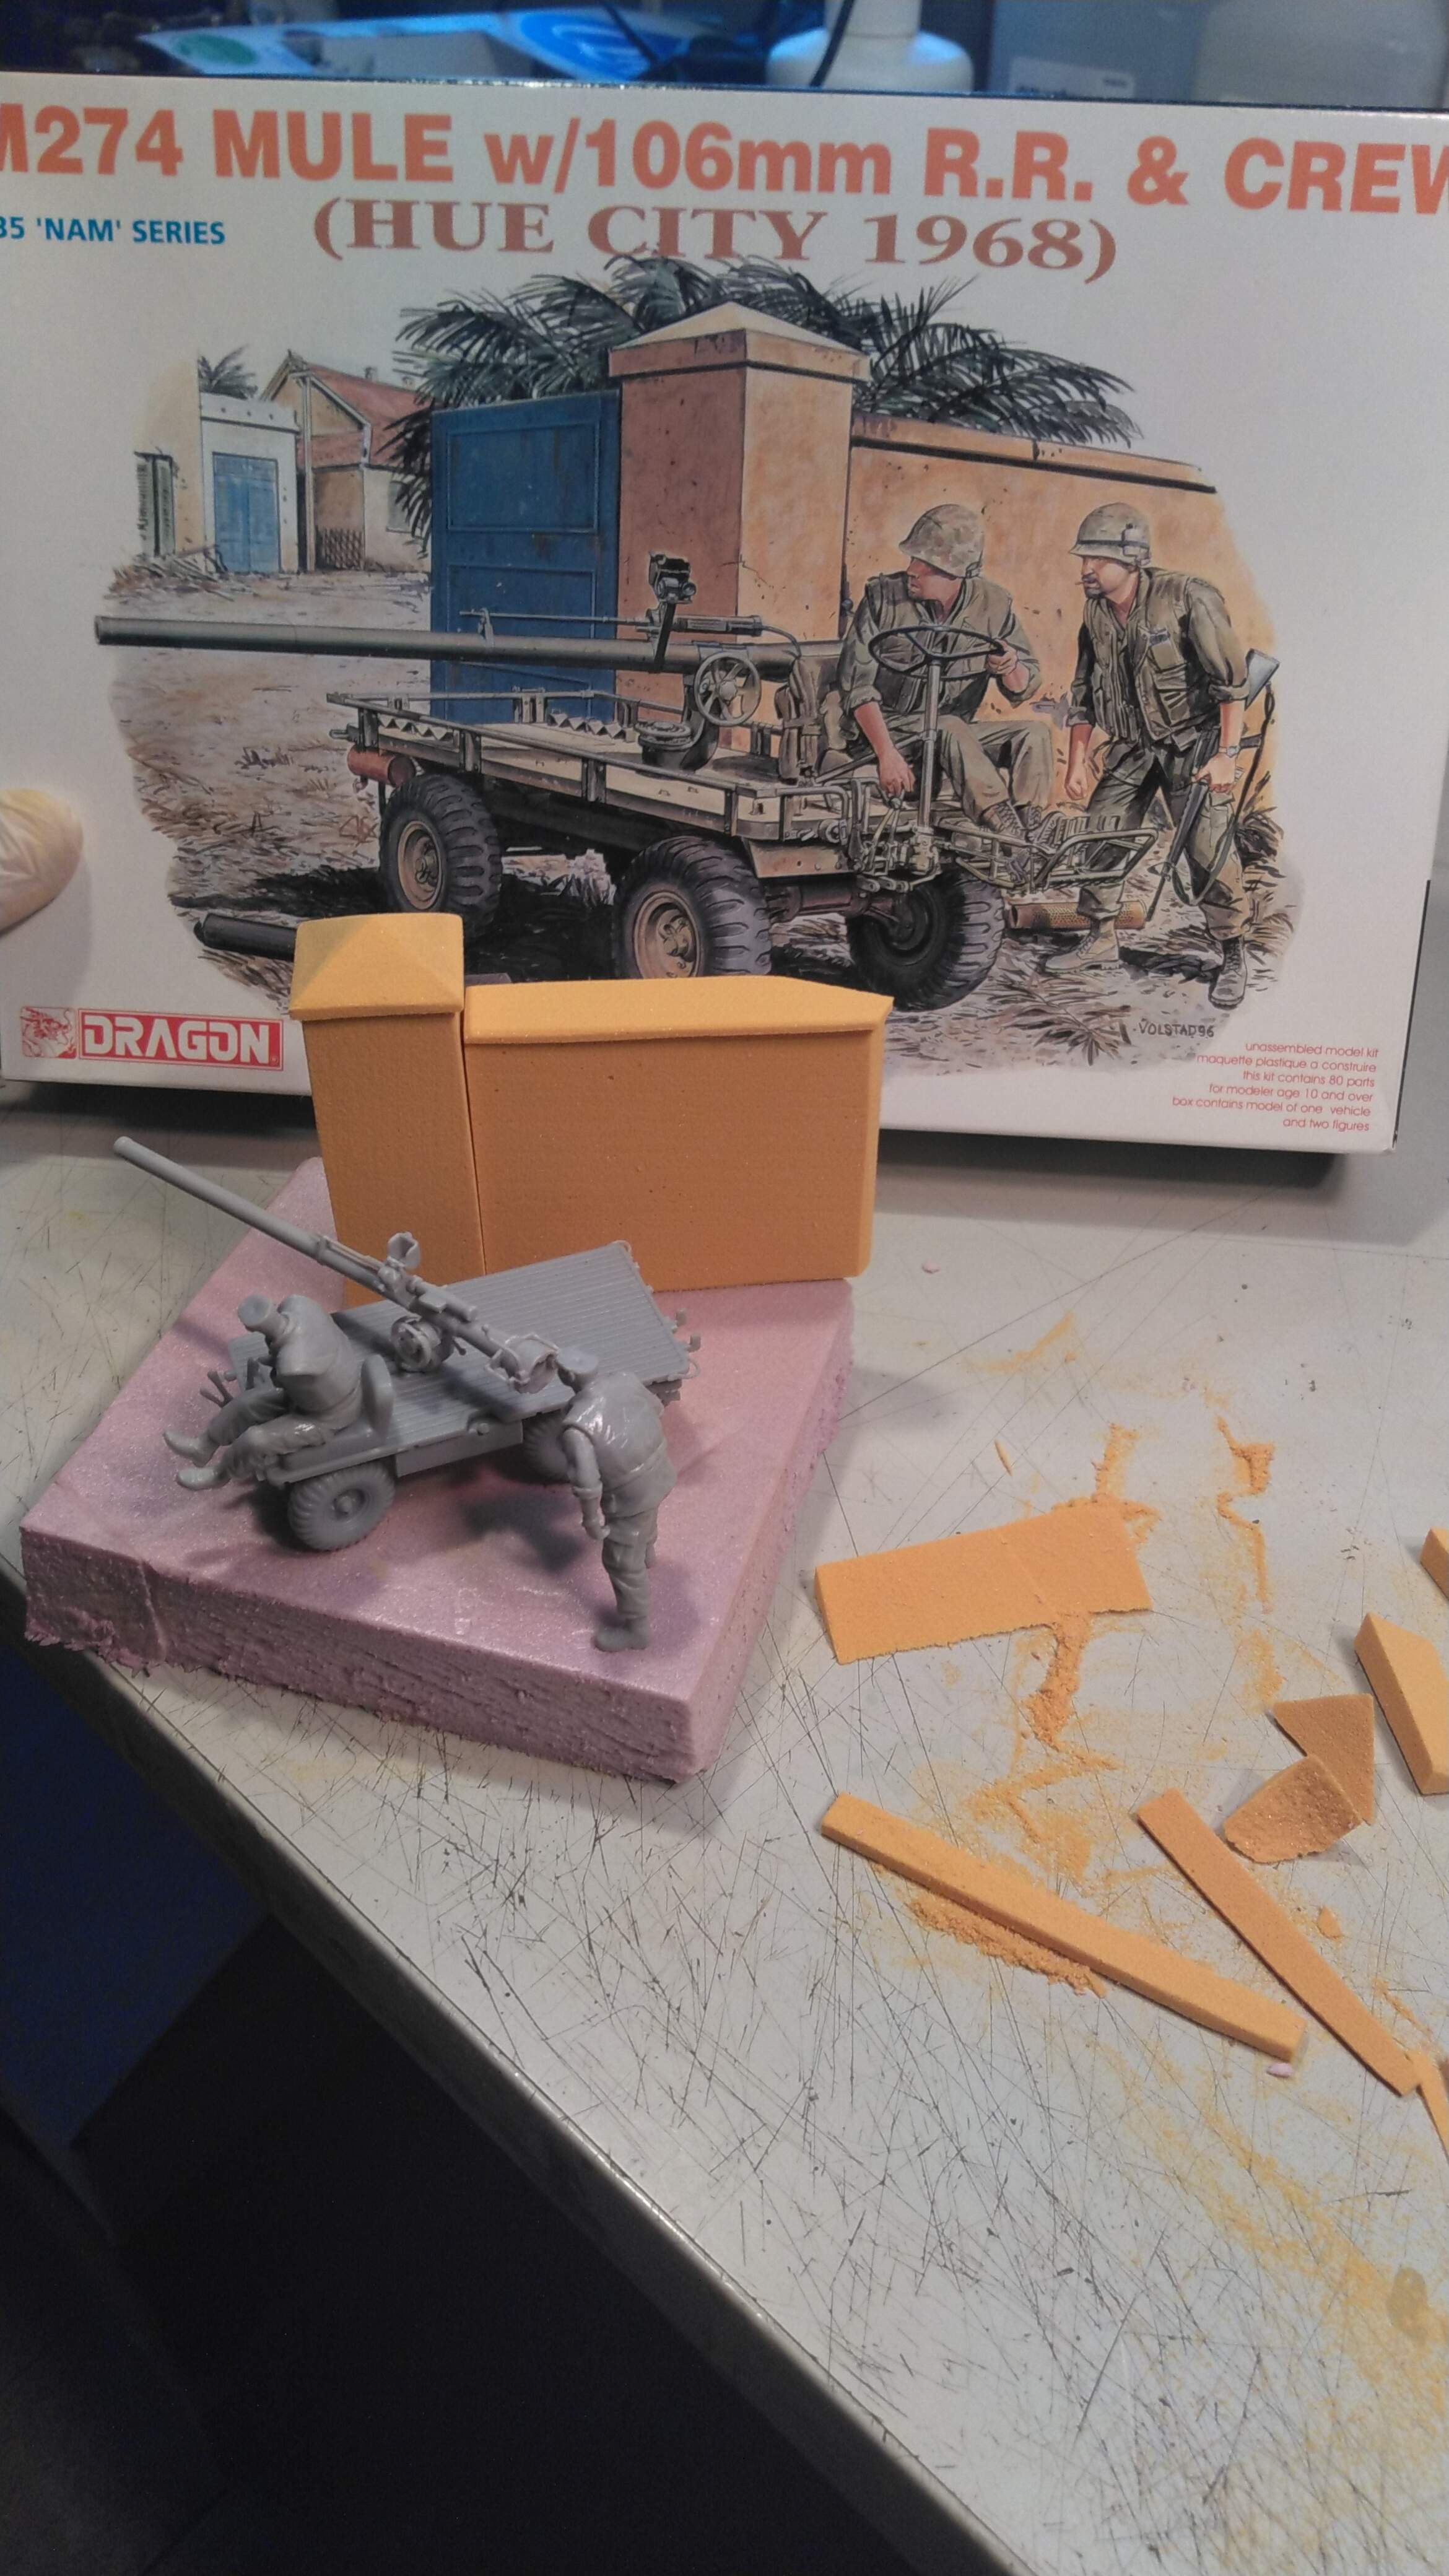
Ok…I just finished a different campaign that ends the 31st of December, which in turn, gets me back to this one. On/about the first of the year (2021), I’ll start tackling the M47 committed to this campaign. Haven’t quite decided if it will represent a Somalia or Pakistani M47. First thing…strip the chassis, and get repairs out of the way on the turret.
I’ve done little progress on my entry as the grandchildren are “time-consuming” 
However I managed to glue the last parts before starting the painting. I still have to fix the weird angle of the “low-vis” headlights. They should be horizontal and not angled as Verlinden depicted them. Unfortunately this is not the only mistake. Most of the kit is wrong and fixing all of the mistake was beyond my will.
Olivier
Most of the kit is wrong and fixing all of the mistake was beyond my will.
I hear you. It is a bit like the Hobby Boss Dana I have finally put paint on. I did a lot of scratch build work on that to improve it, but to correct everything properly would mean just about scratch building everything…
Hi all,
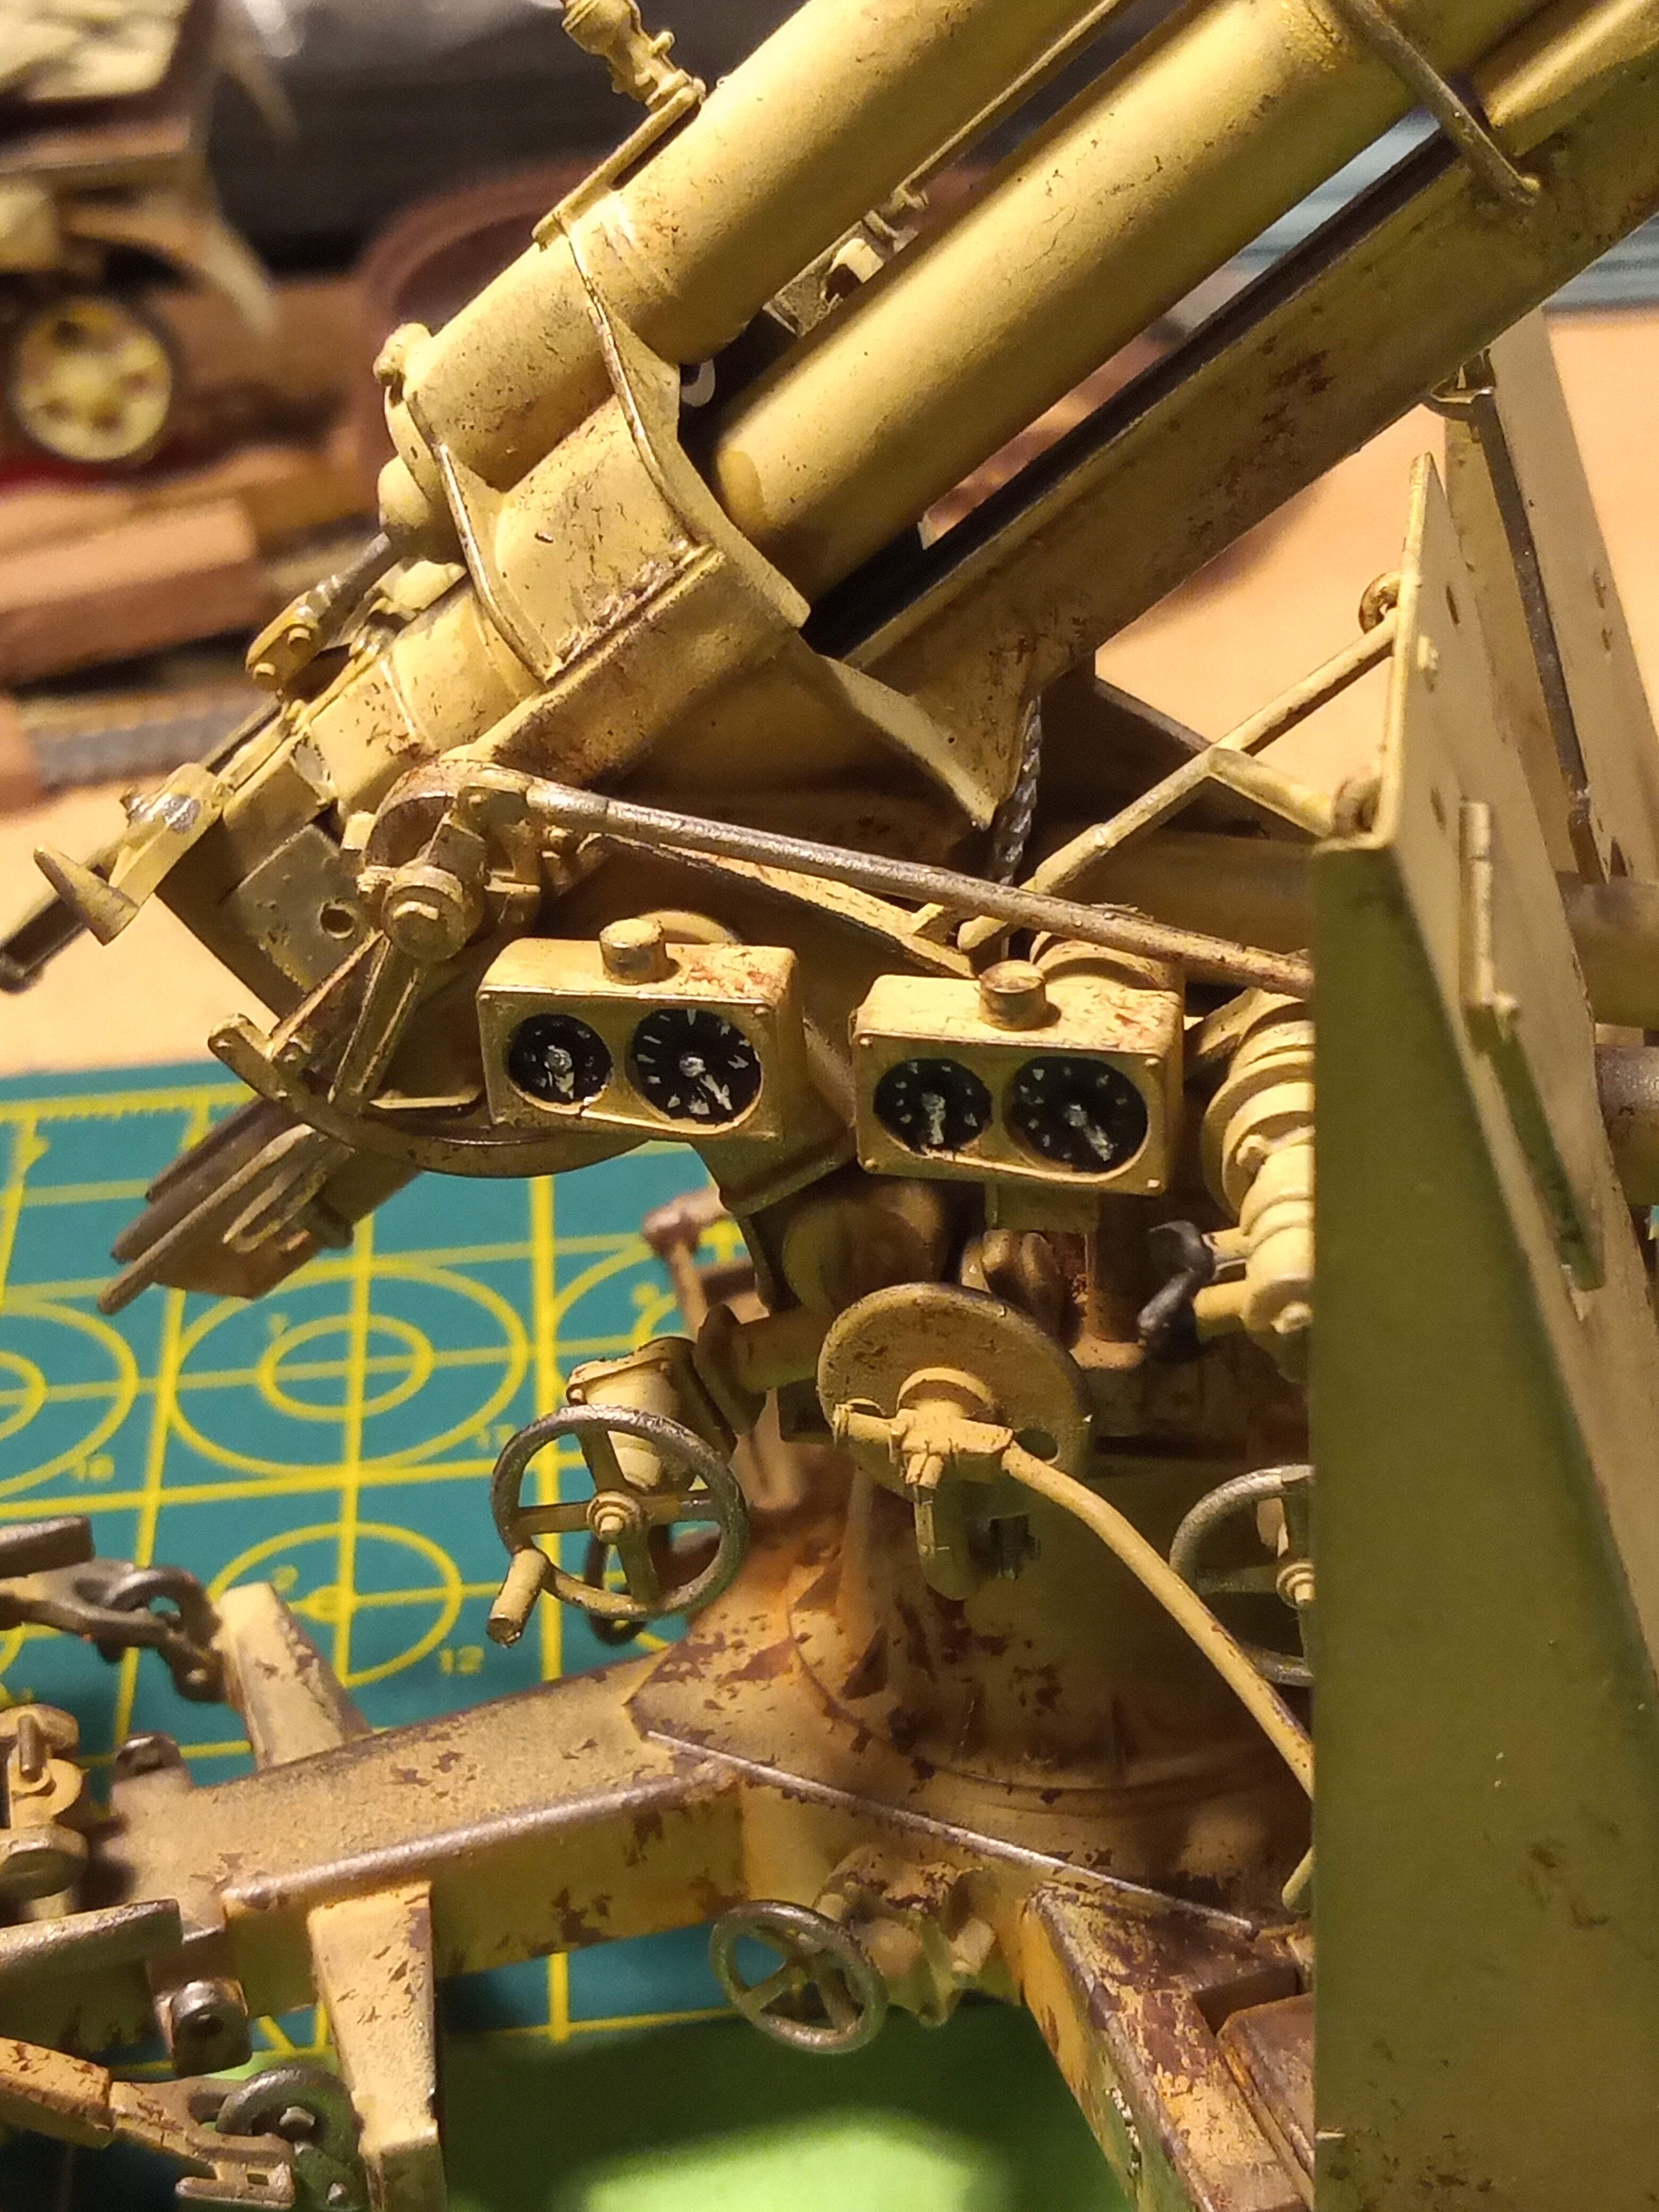
The base coat of color is done with some modulation effect. The Flak is not glued yet.
 Cheers!
Nice Raul, good clean base to start with. Should look great as you get stuck into it.
I agree with John that is looking nice. Look forward to seeing where you take it from here.
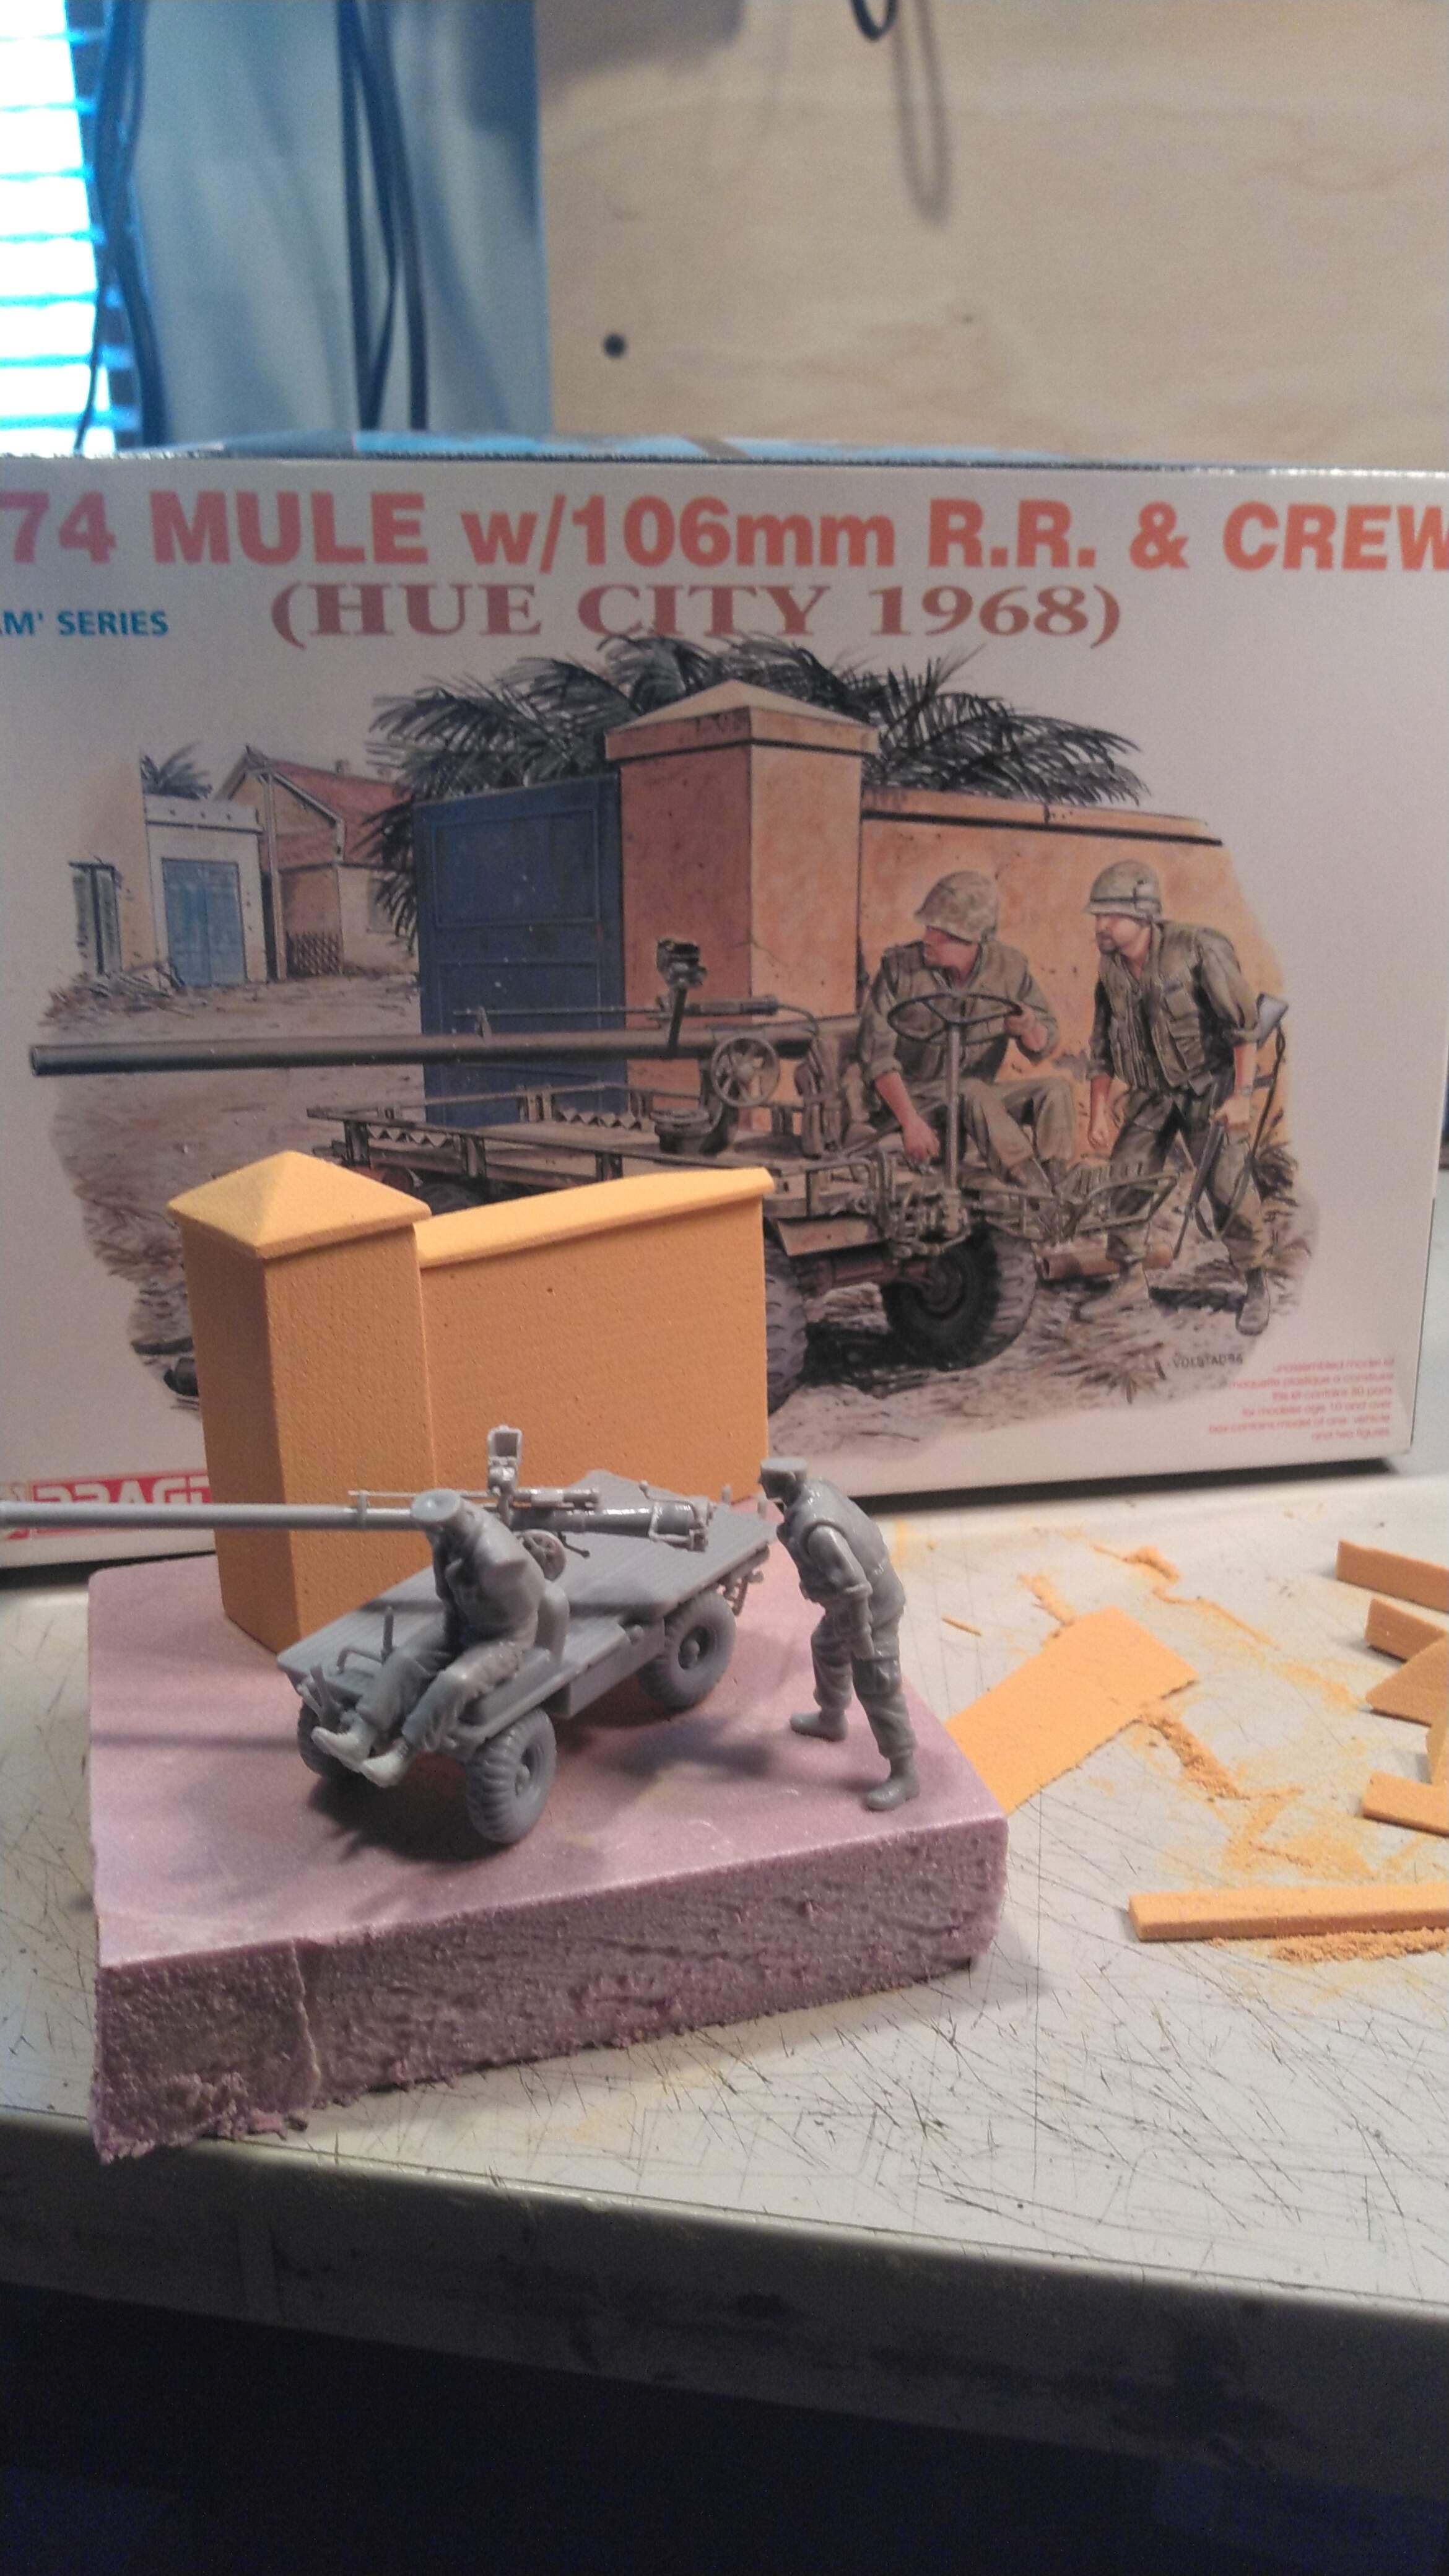
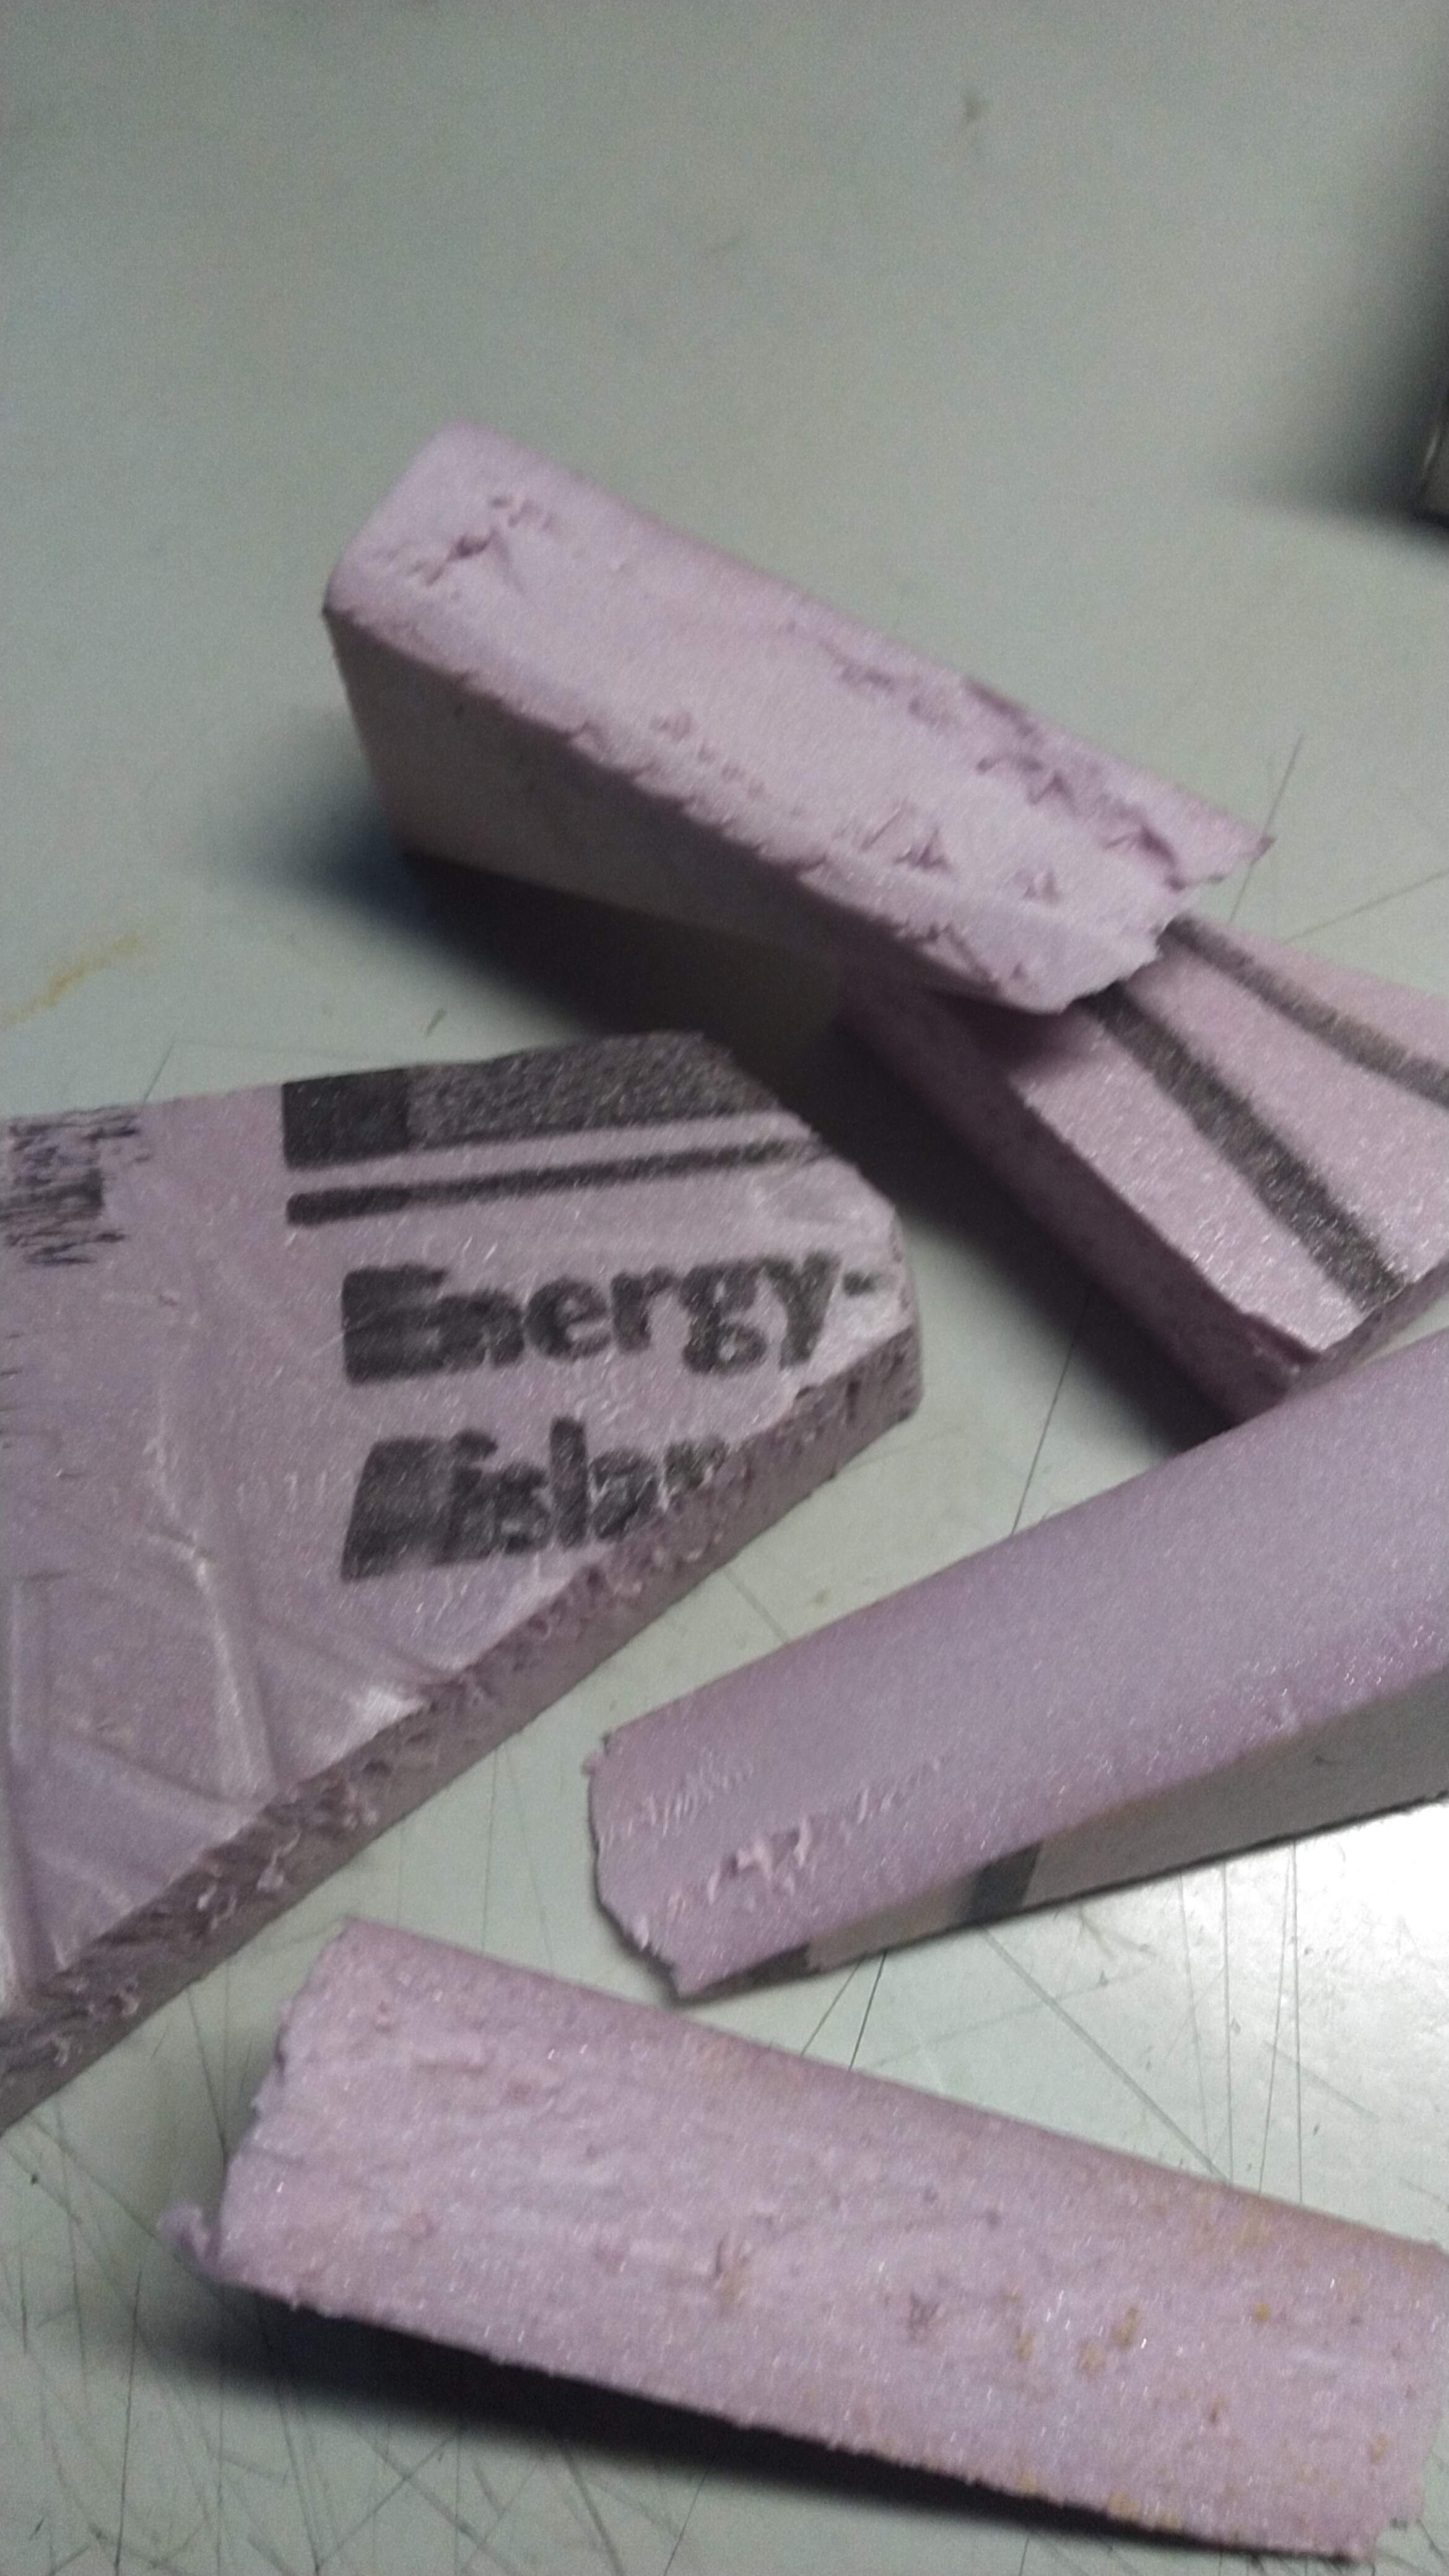
Spent a little time this morning with some balsa foam. The resin column in my earlier photo was just a stand in as it was too new. I decided to go with something similar to the box art and made up a few pieces to get the basic look. I’ll coat the surface later to get rid of seams and sanding marks.
That is sweet balsa foam work. Is the pink insulation foam?
Thanks.
Yes sir, 1 inch rigid insulation foam is my ‘go to’ for bases, it’s free on most of the job sites I’m on.
At worst, I’ll have to dig a piece out of the dumpster to a few odd looks from time to time but it beats buying a whole sheet.
Very nicely done… Looking great
Ditto, looking great
Looking good Wade, it’s some great attention to detail 
Thank you John:)
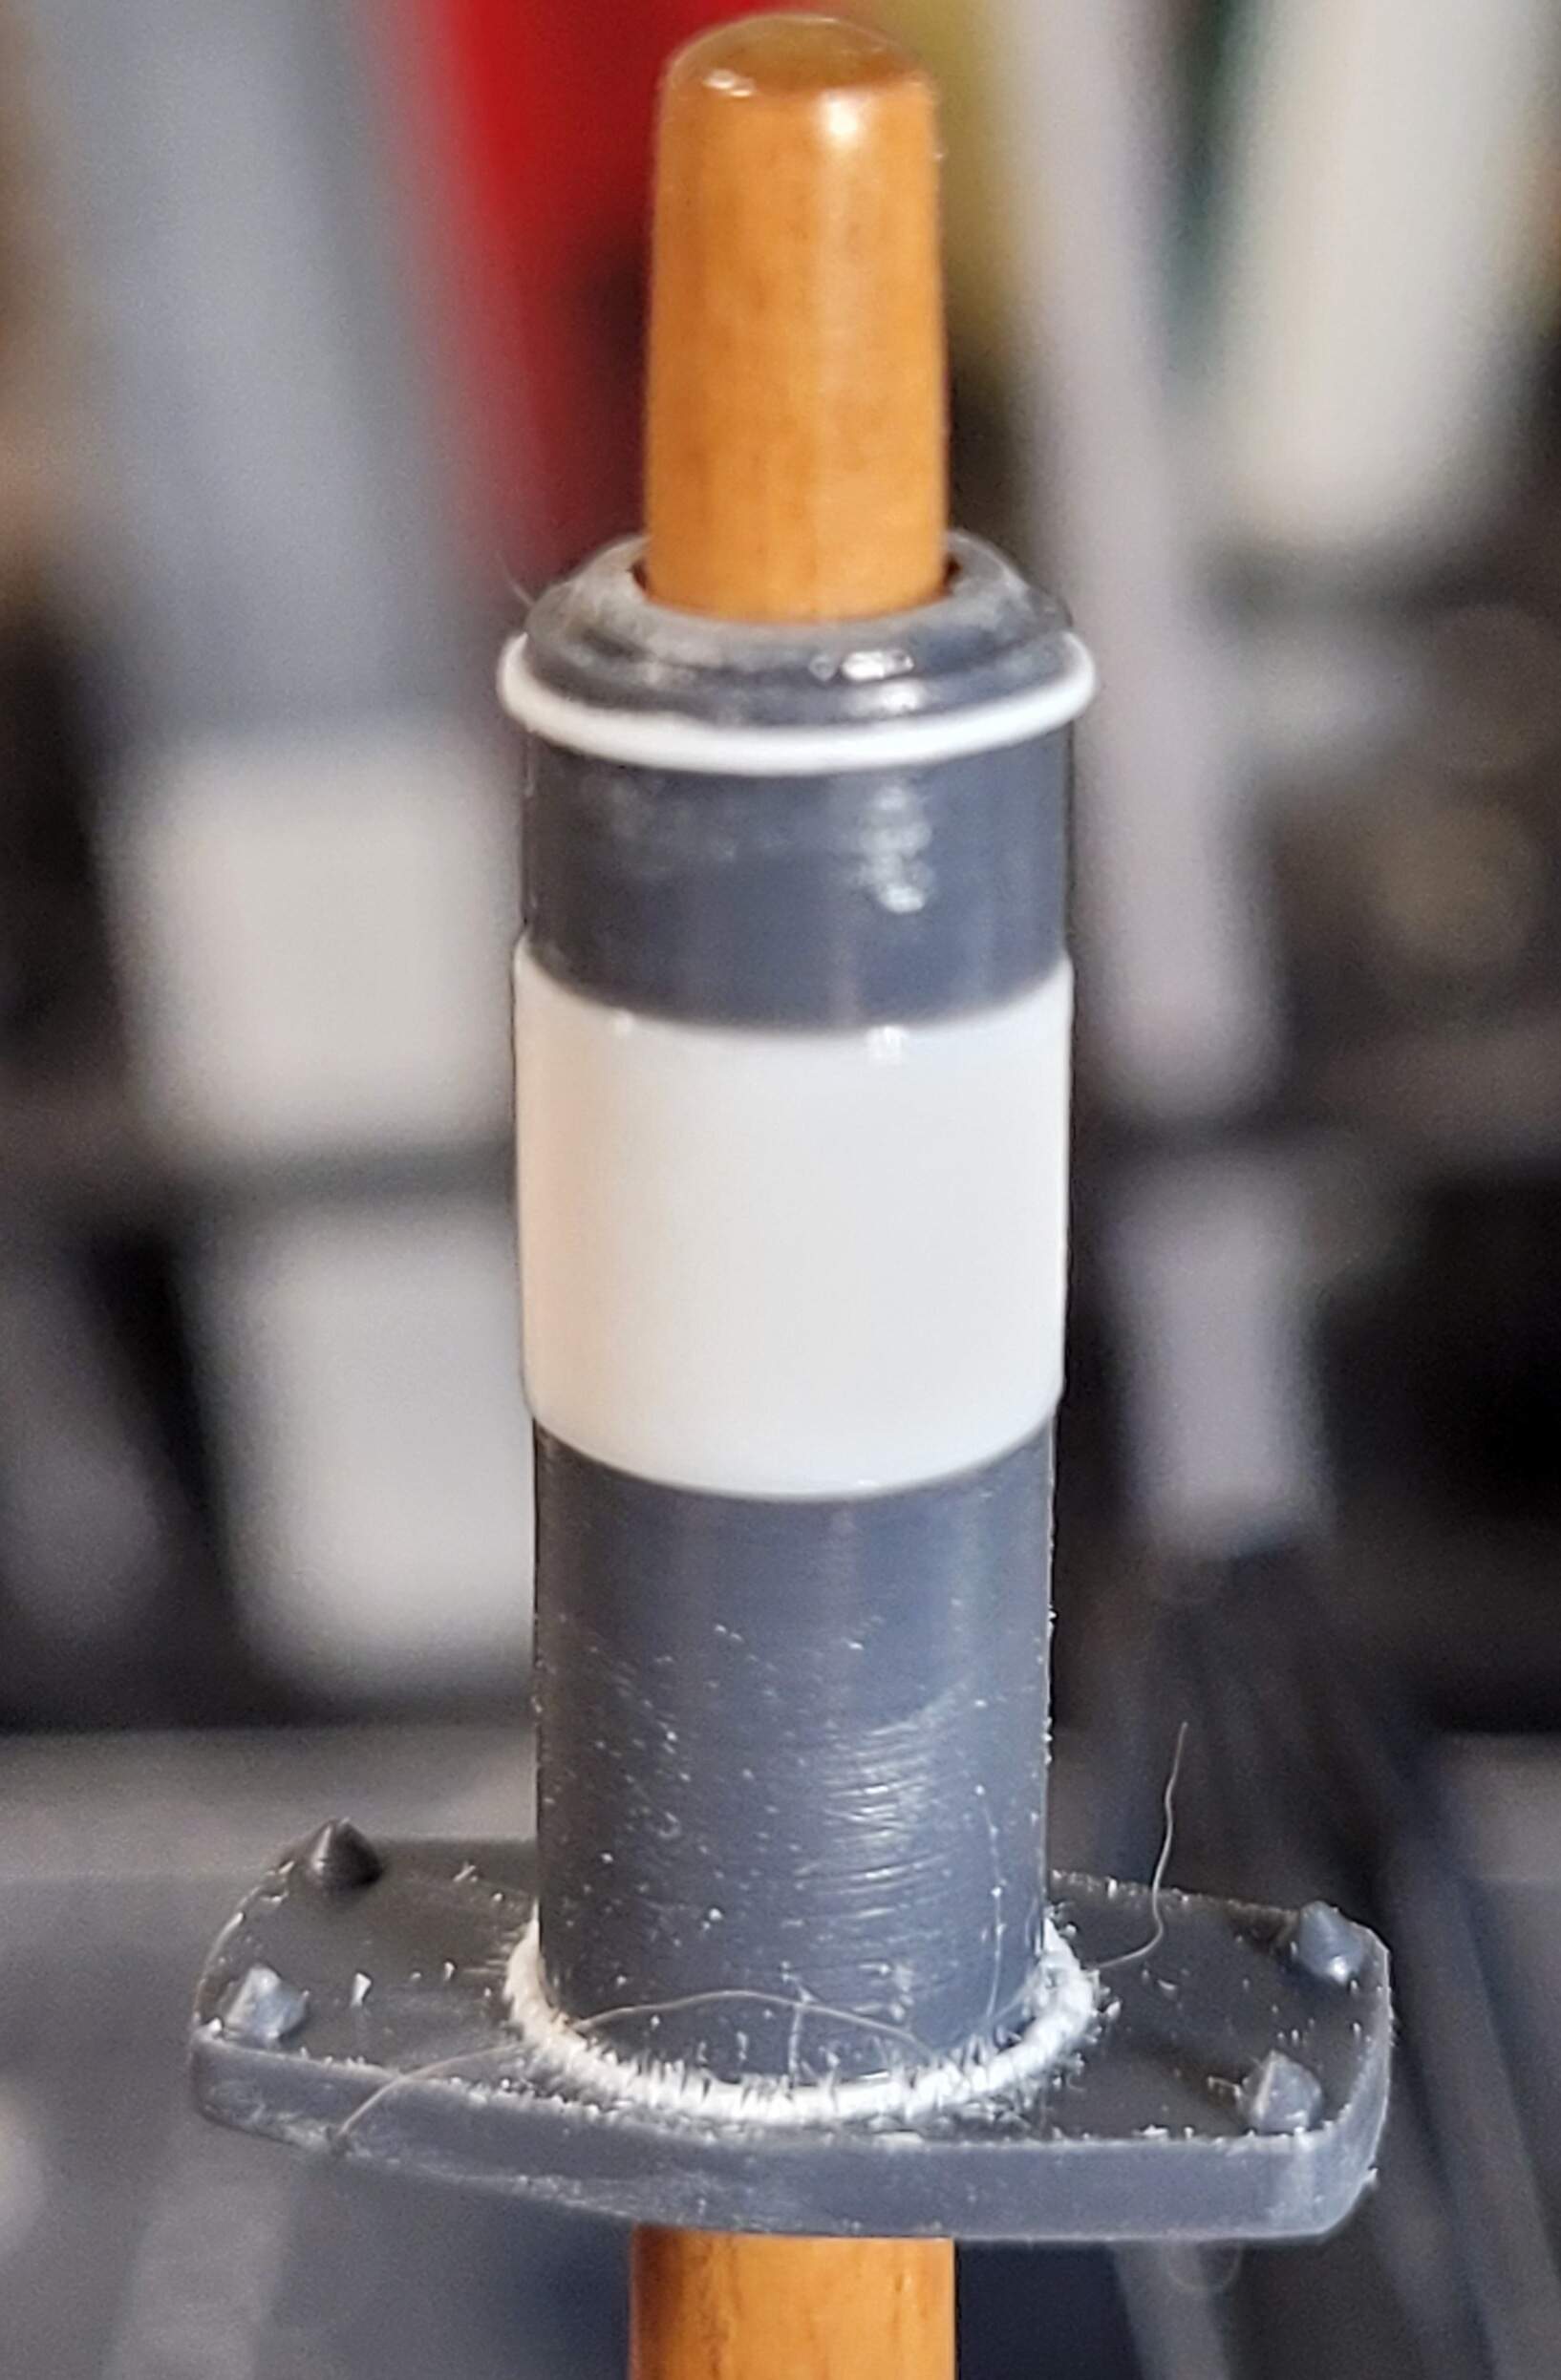
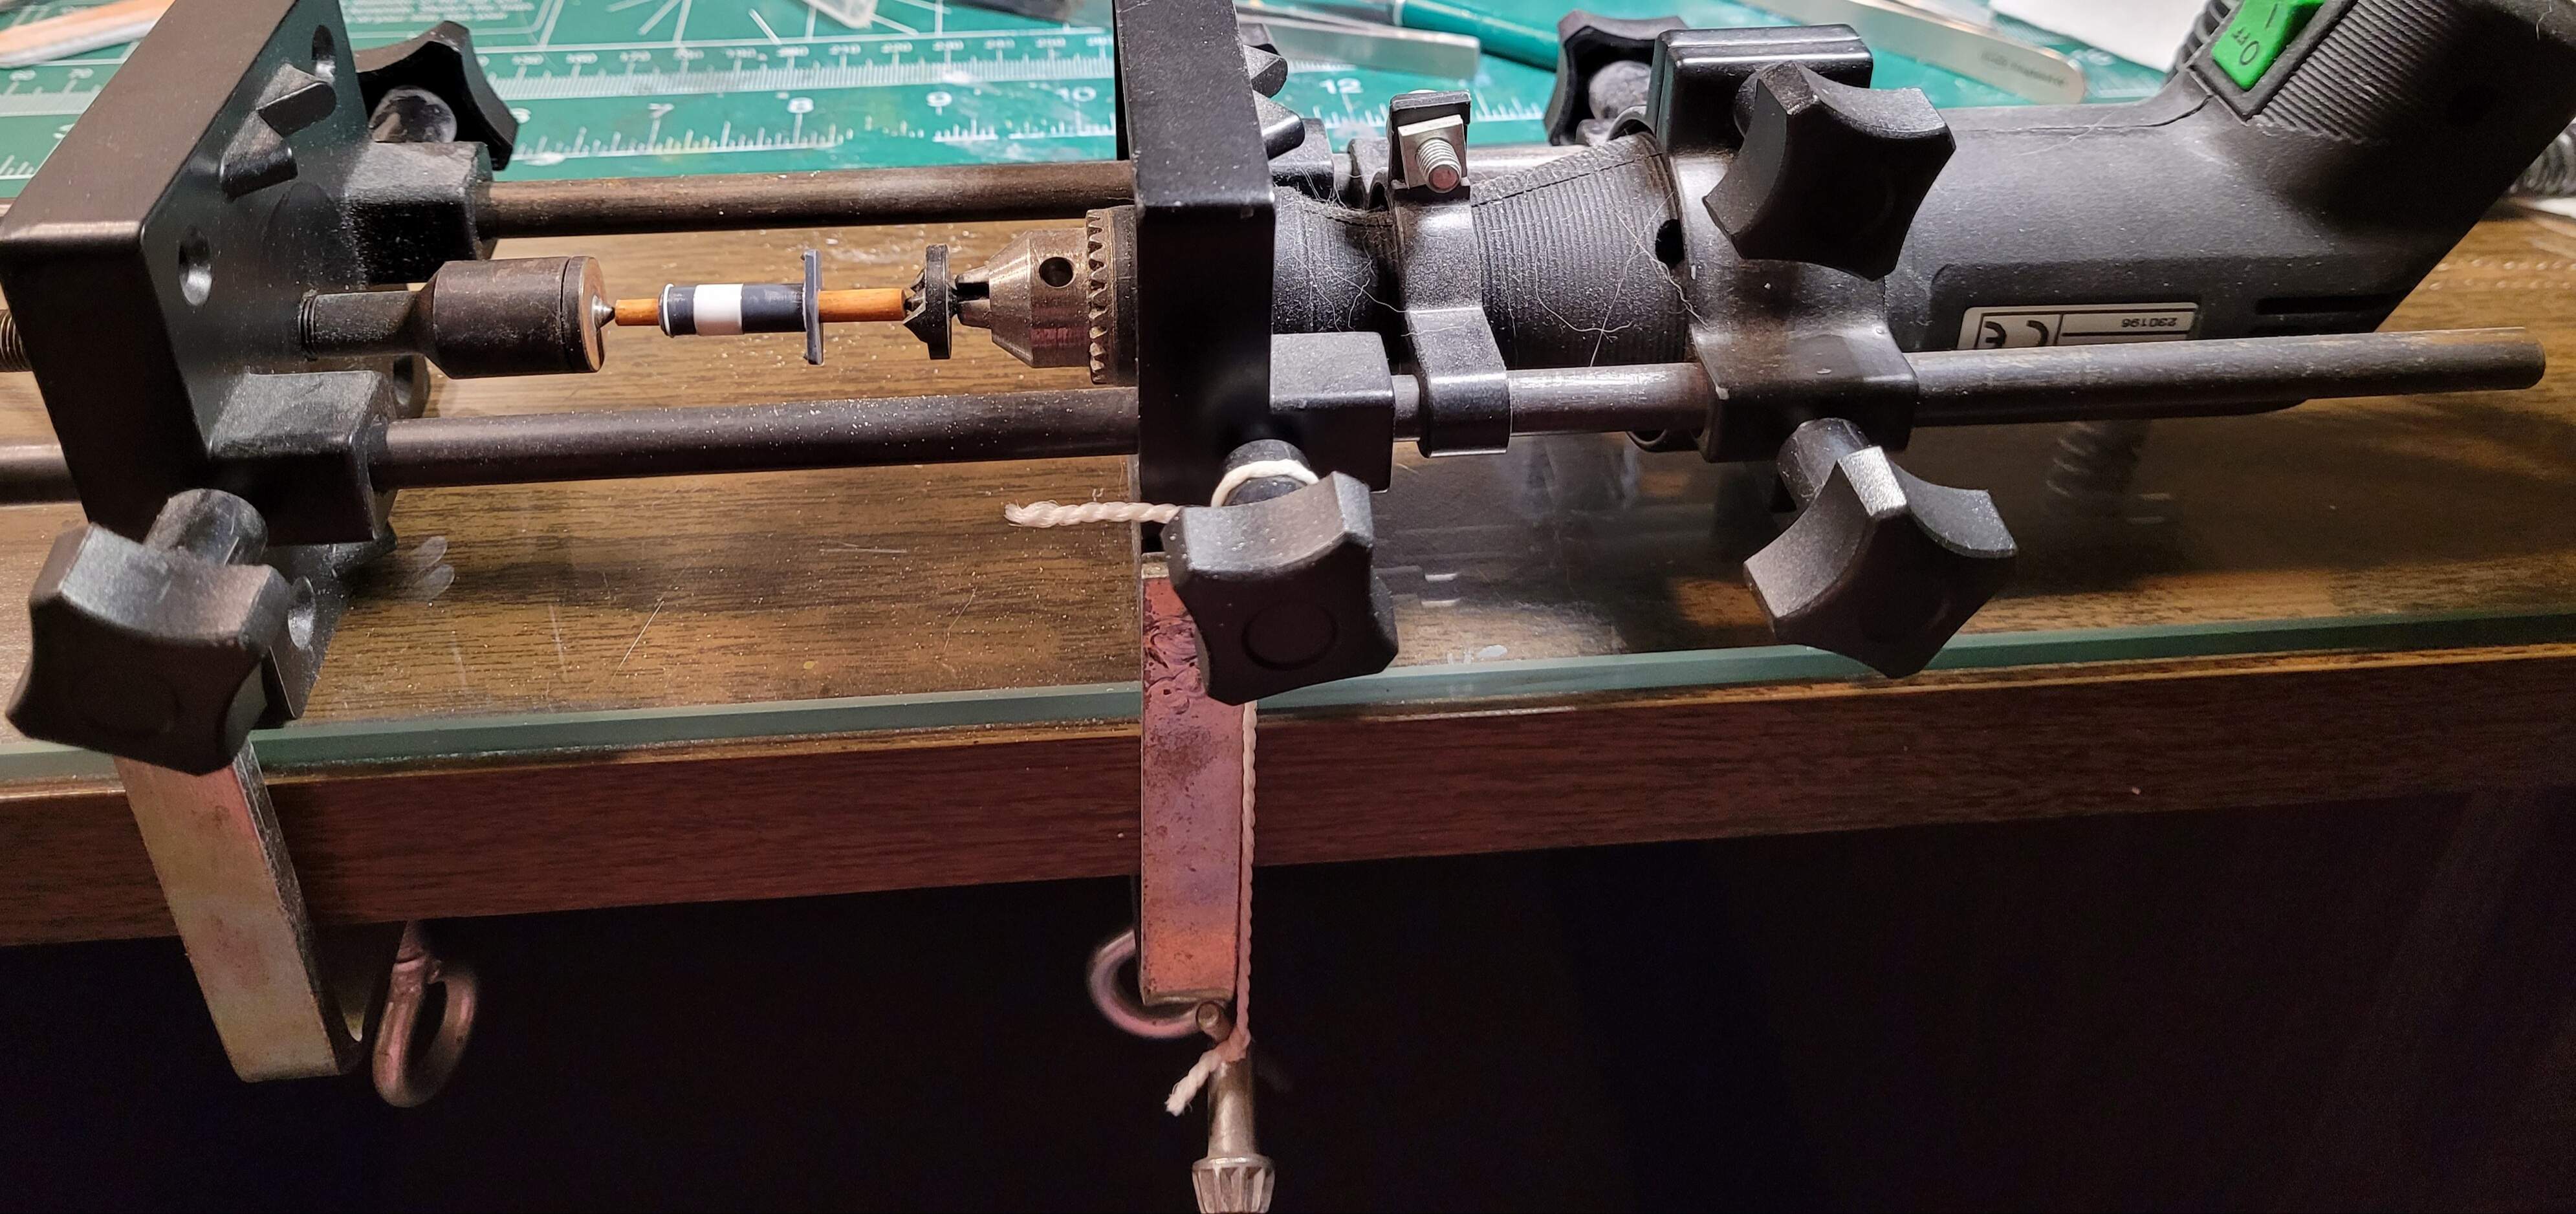
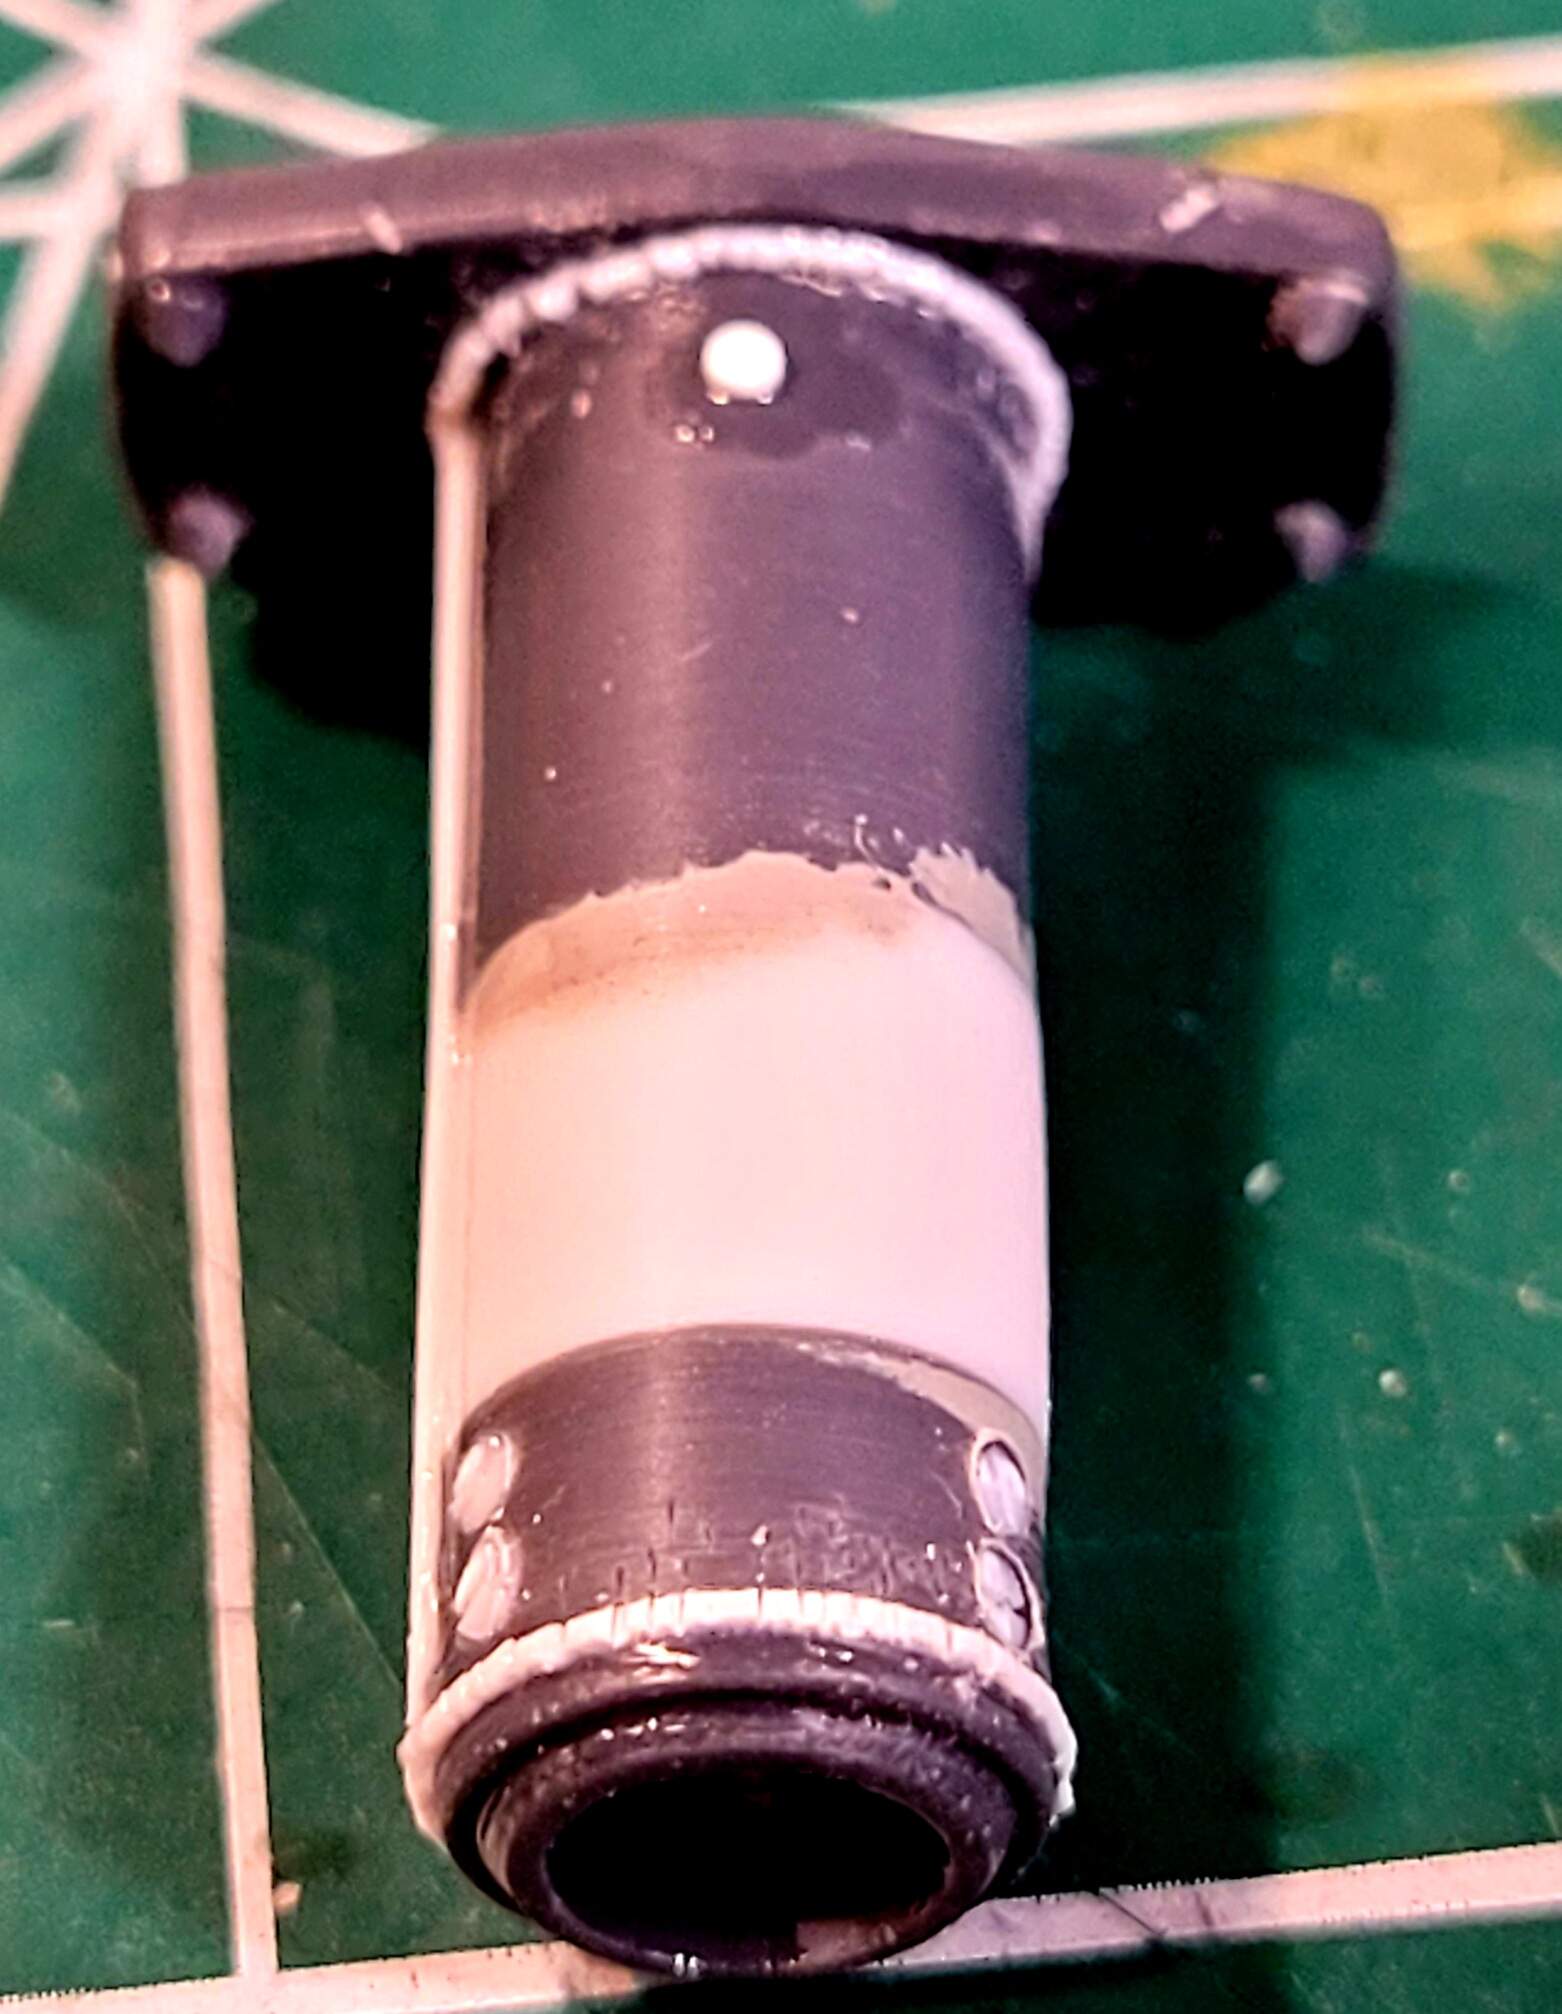
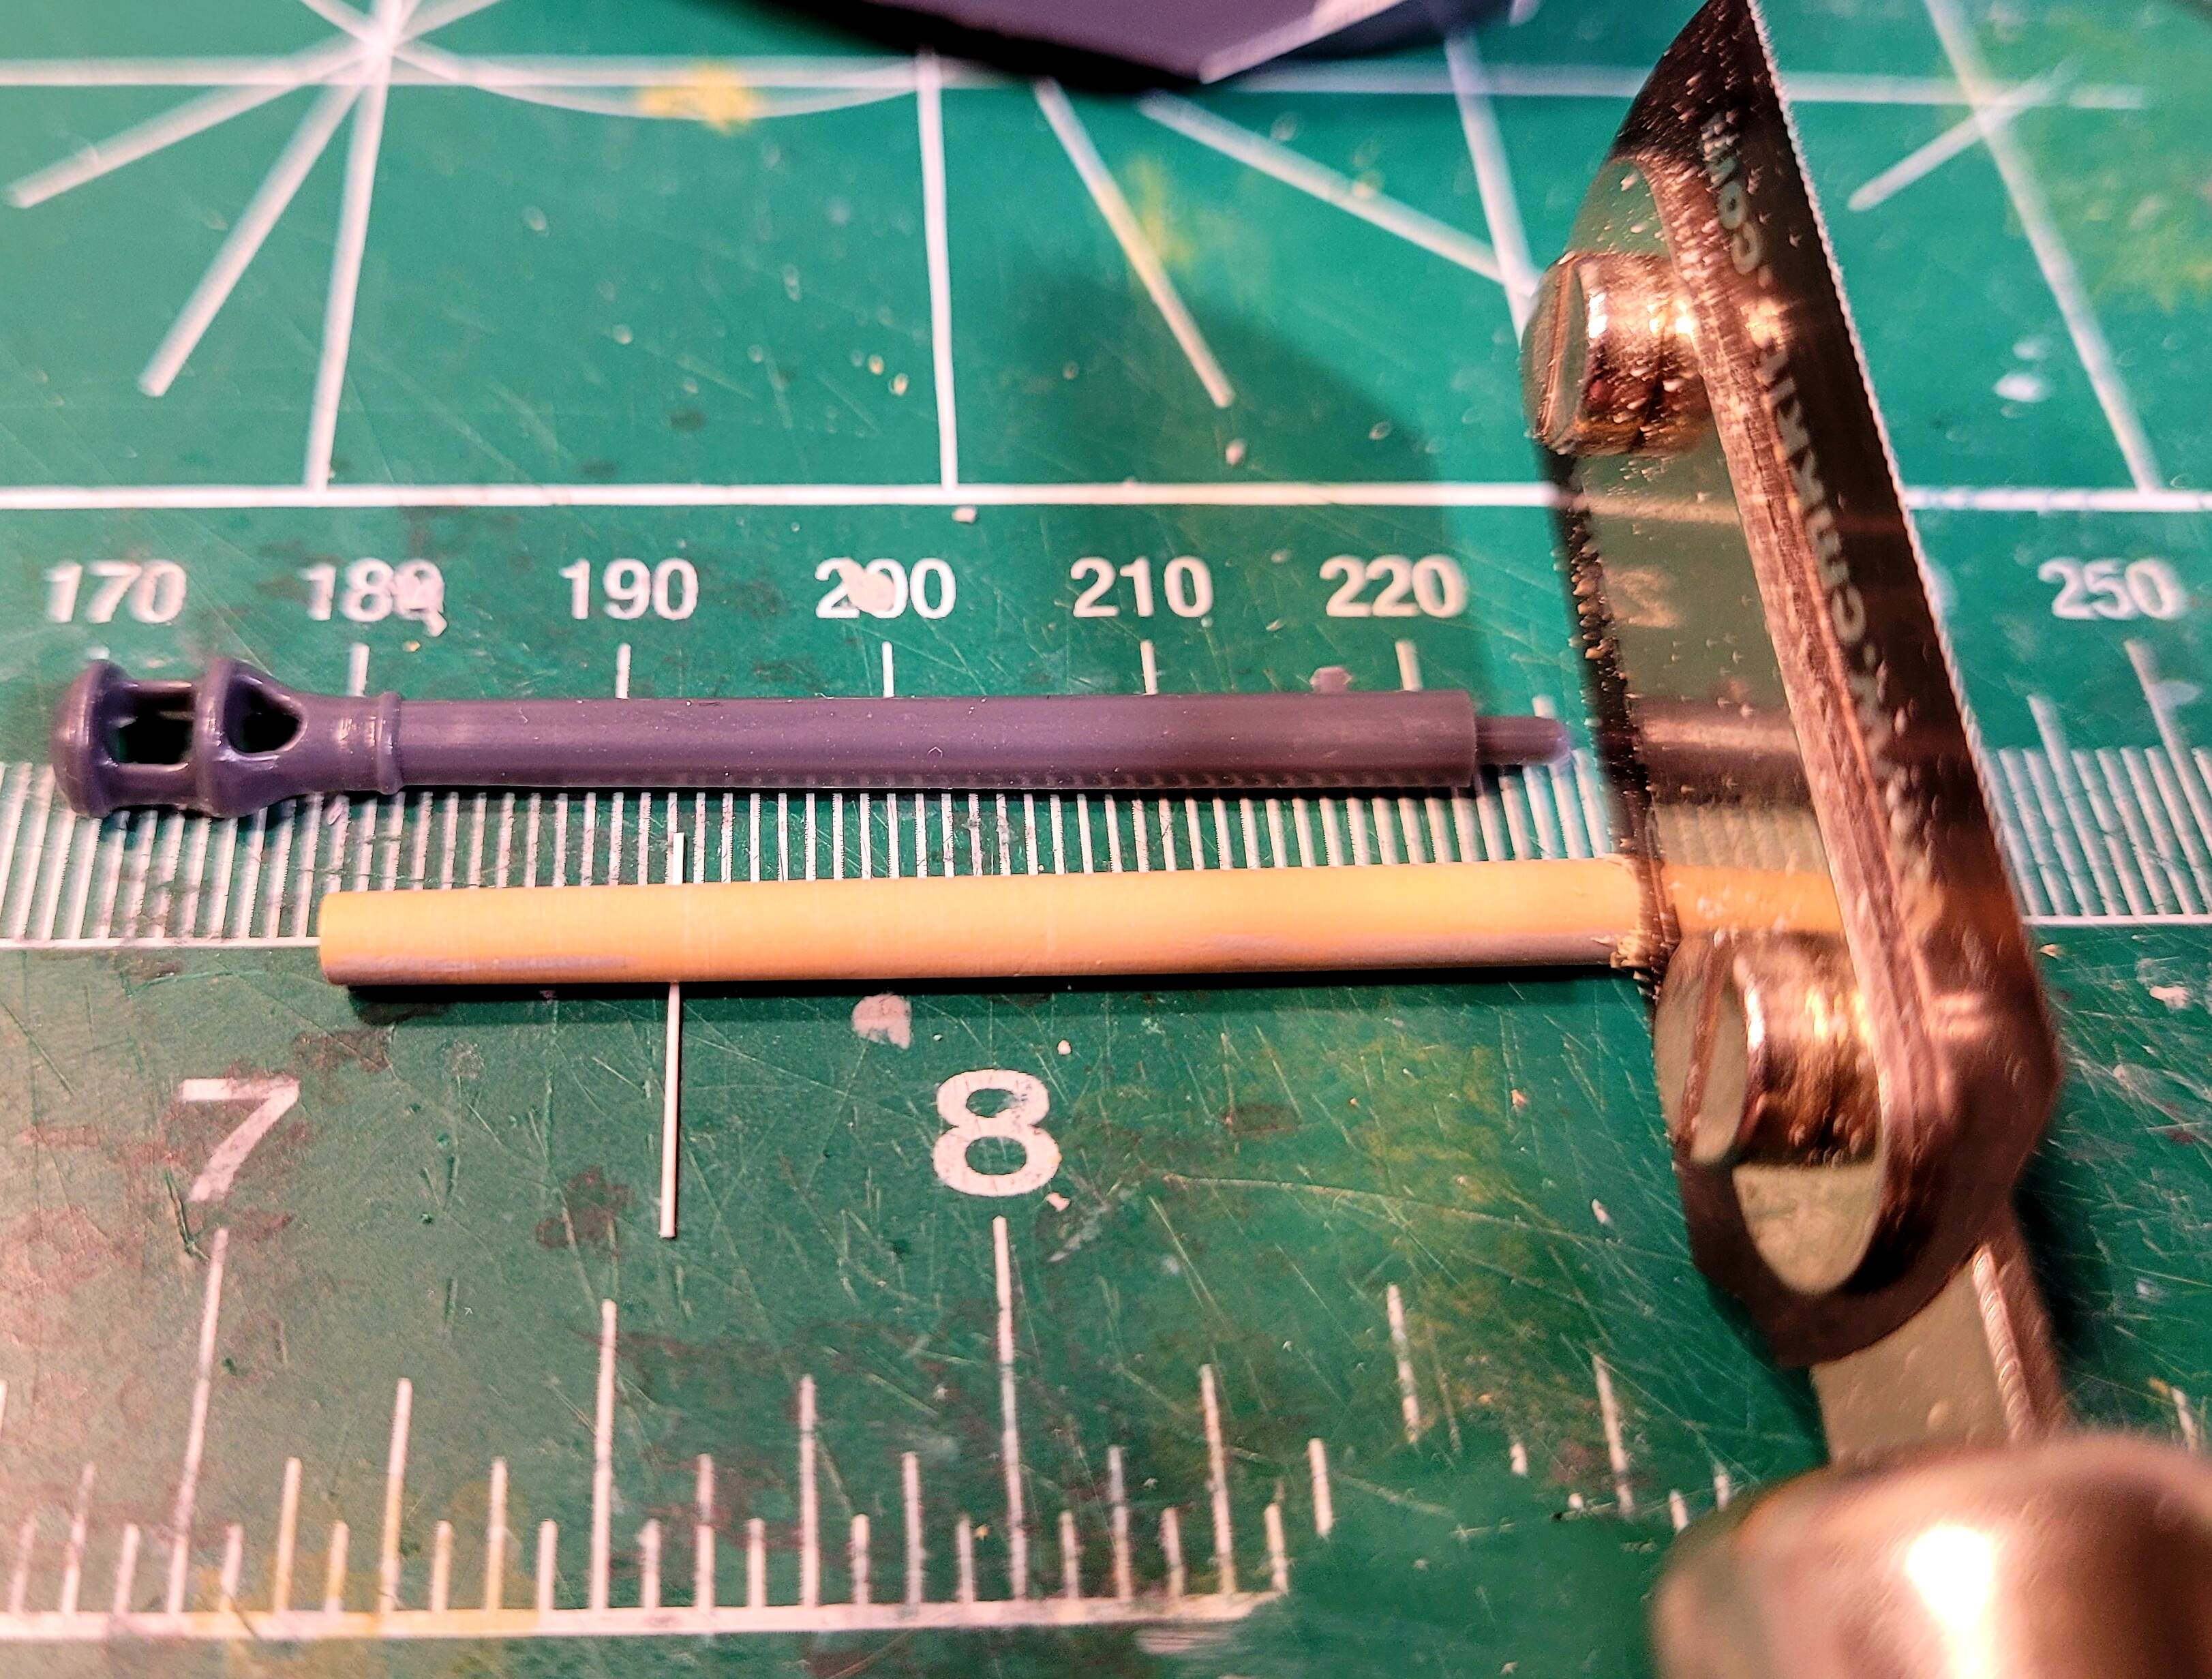
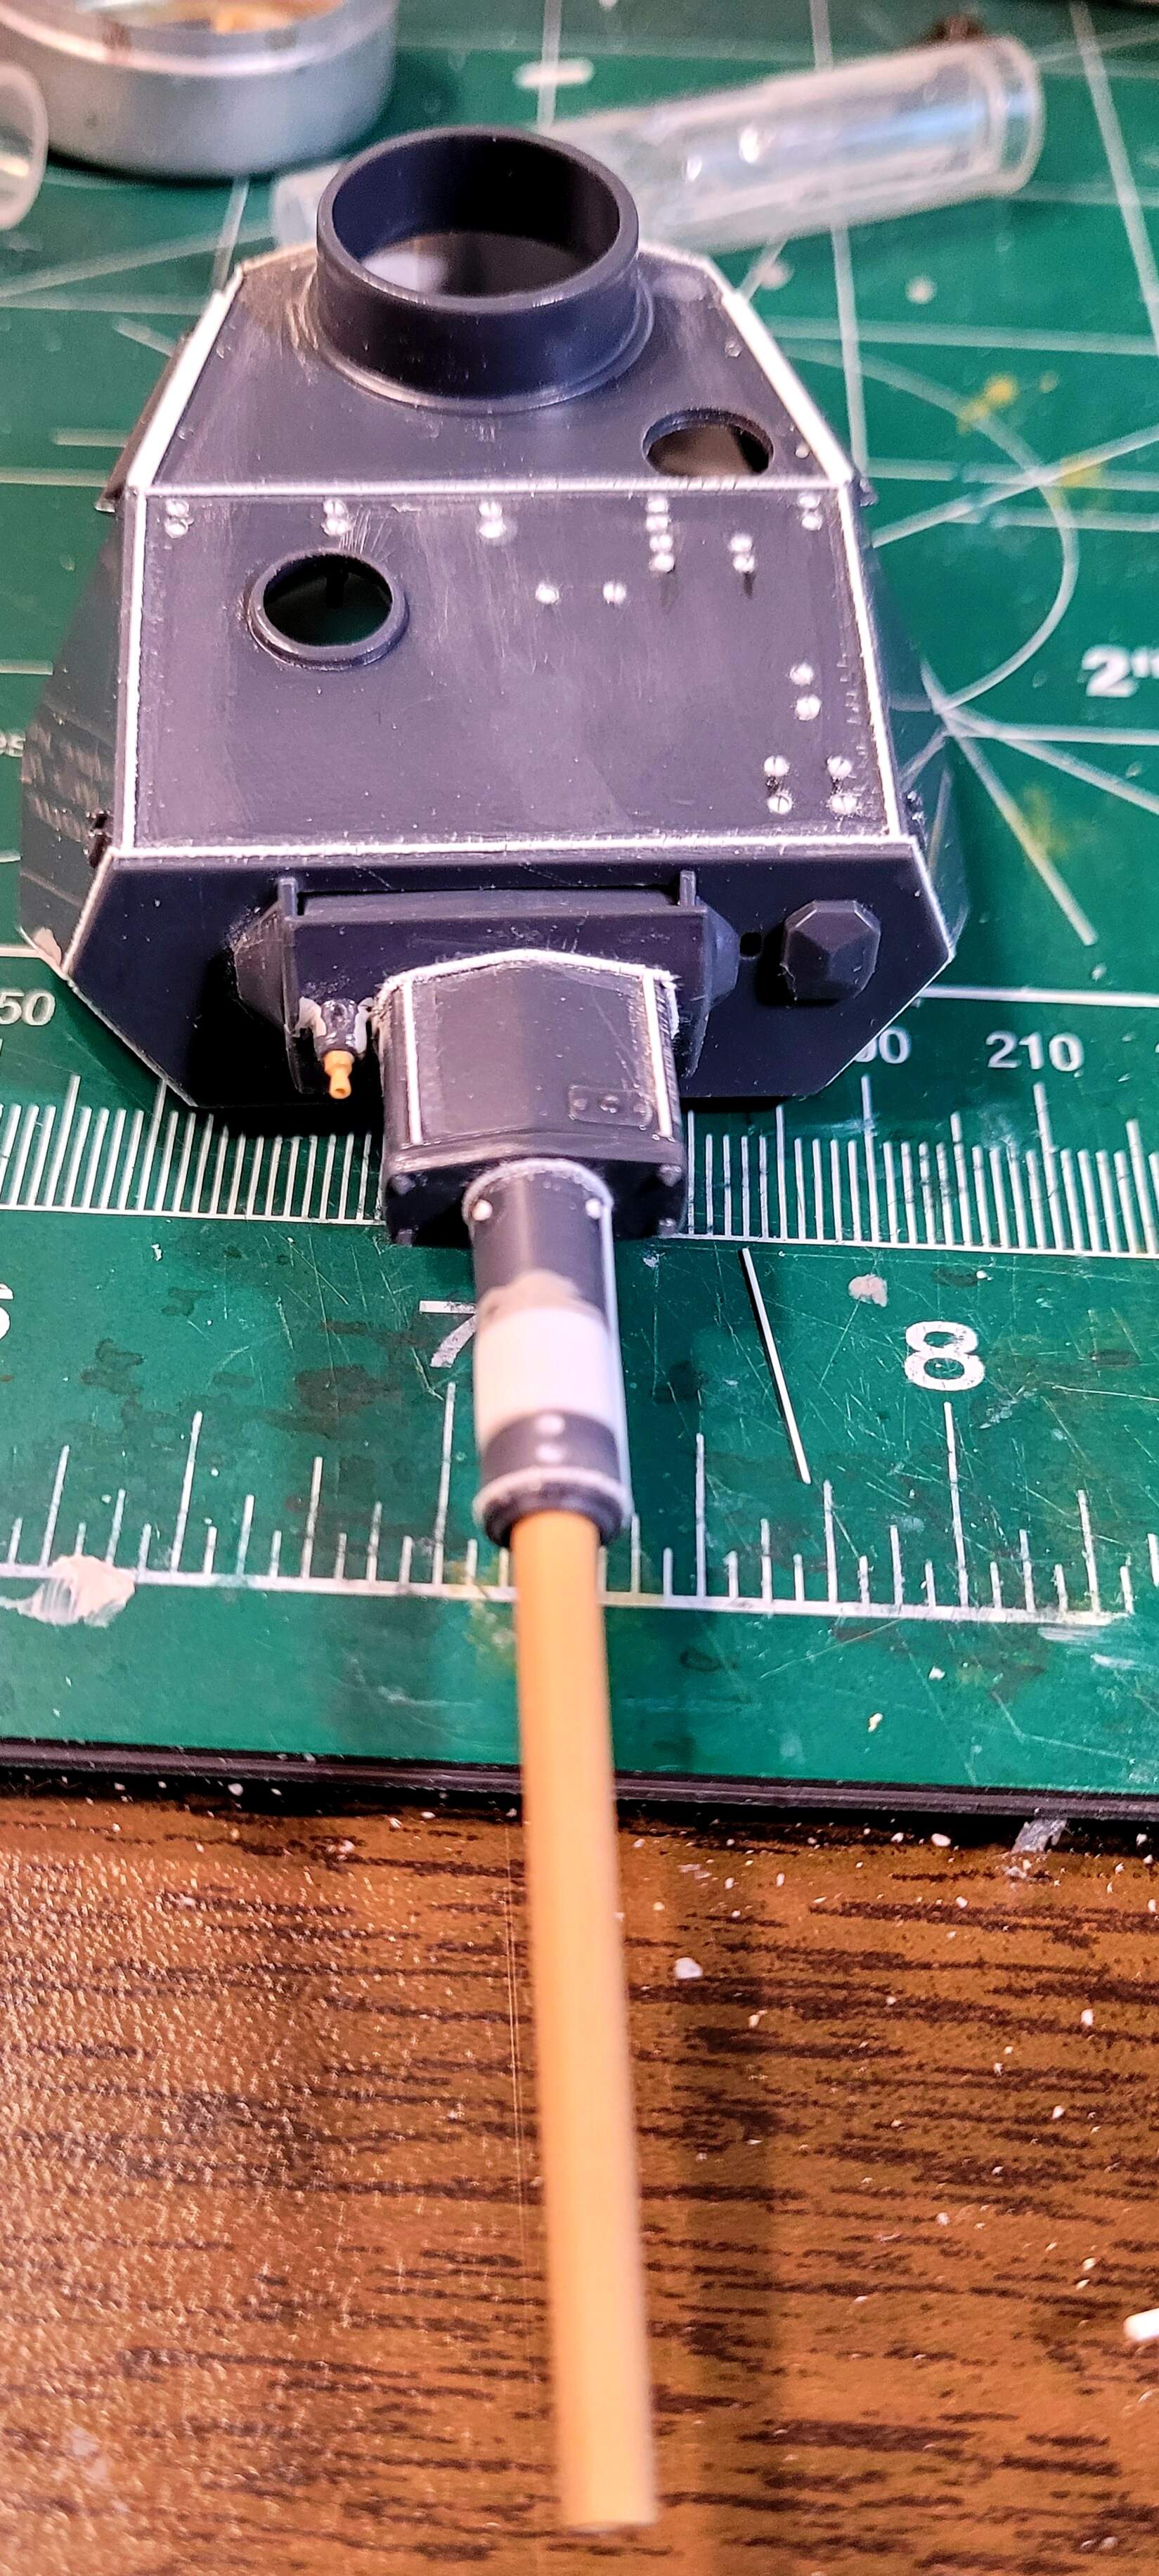
Hope to fix the housing the gun barrel goes in today. It’s 3.5mm short or 1/8 inch. Its glaringly obvious its too short. Probably the most fool hearty mod on this kit. Chop out 5mm of plastic tube allowing .5mm for the cuts. Chop the kit part in half so -.5mm and hope it all works out.
My measurements were slightly off…its now 1mm too long instead of 3.5mm too short.
Close enough for me.
Let dry overnight and to the lathe…
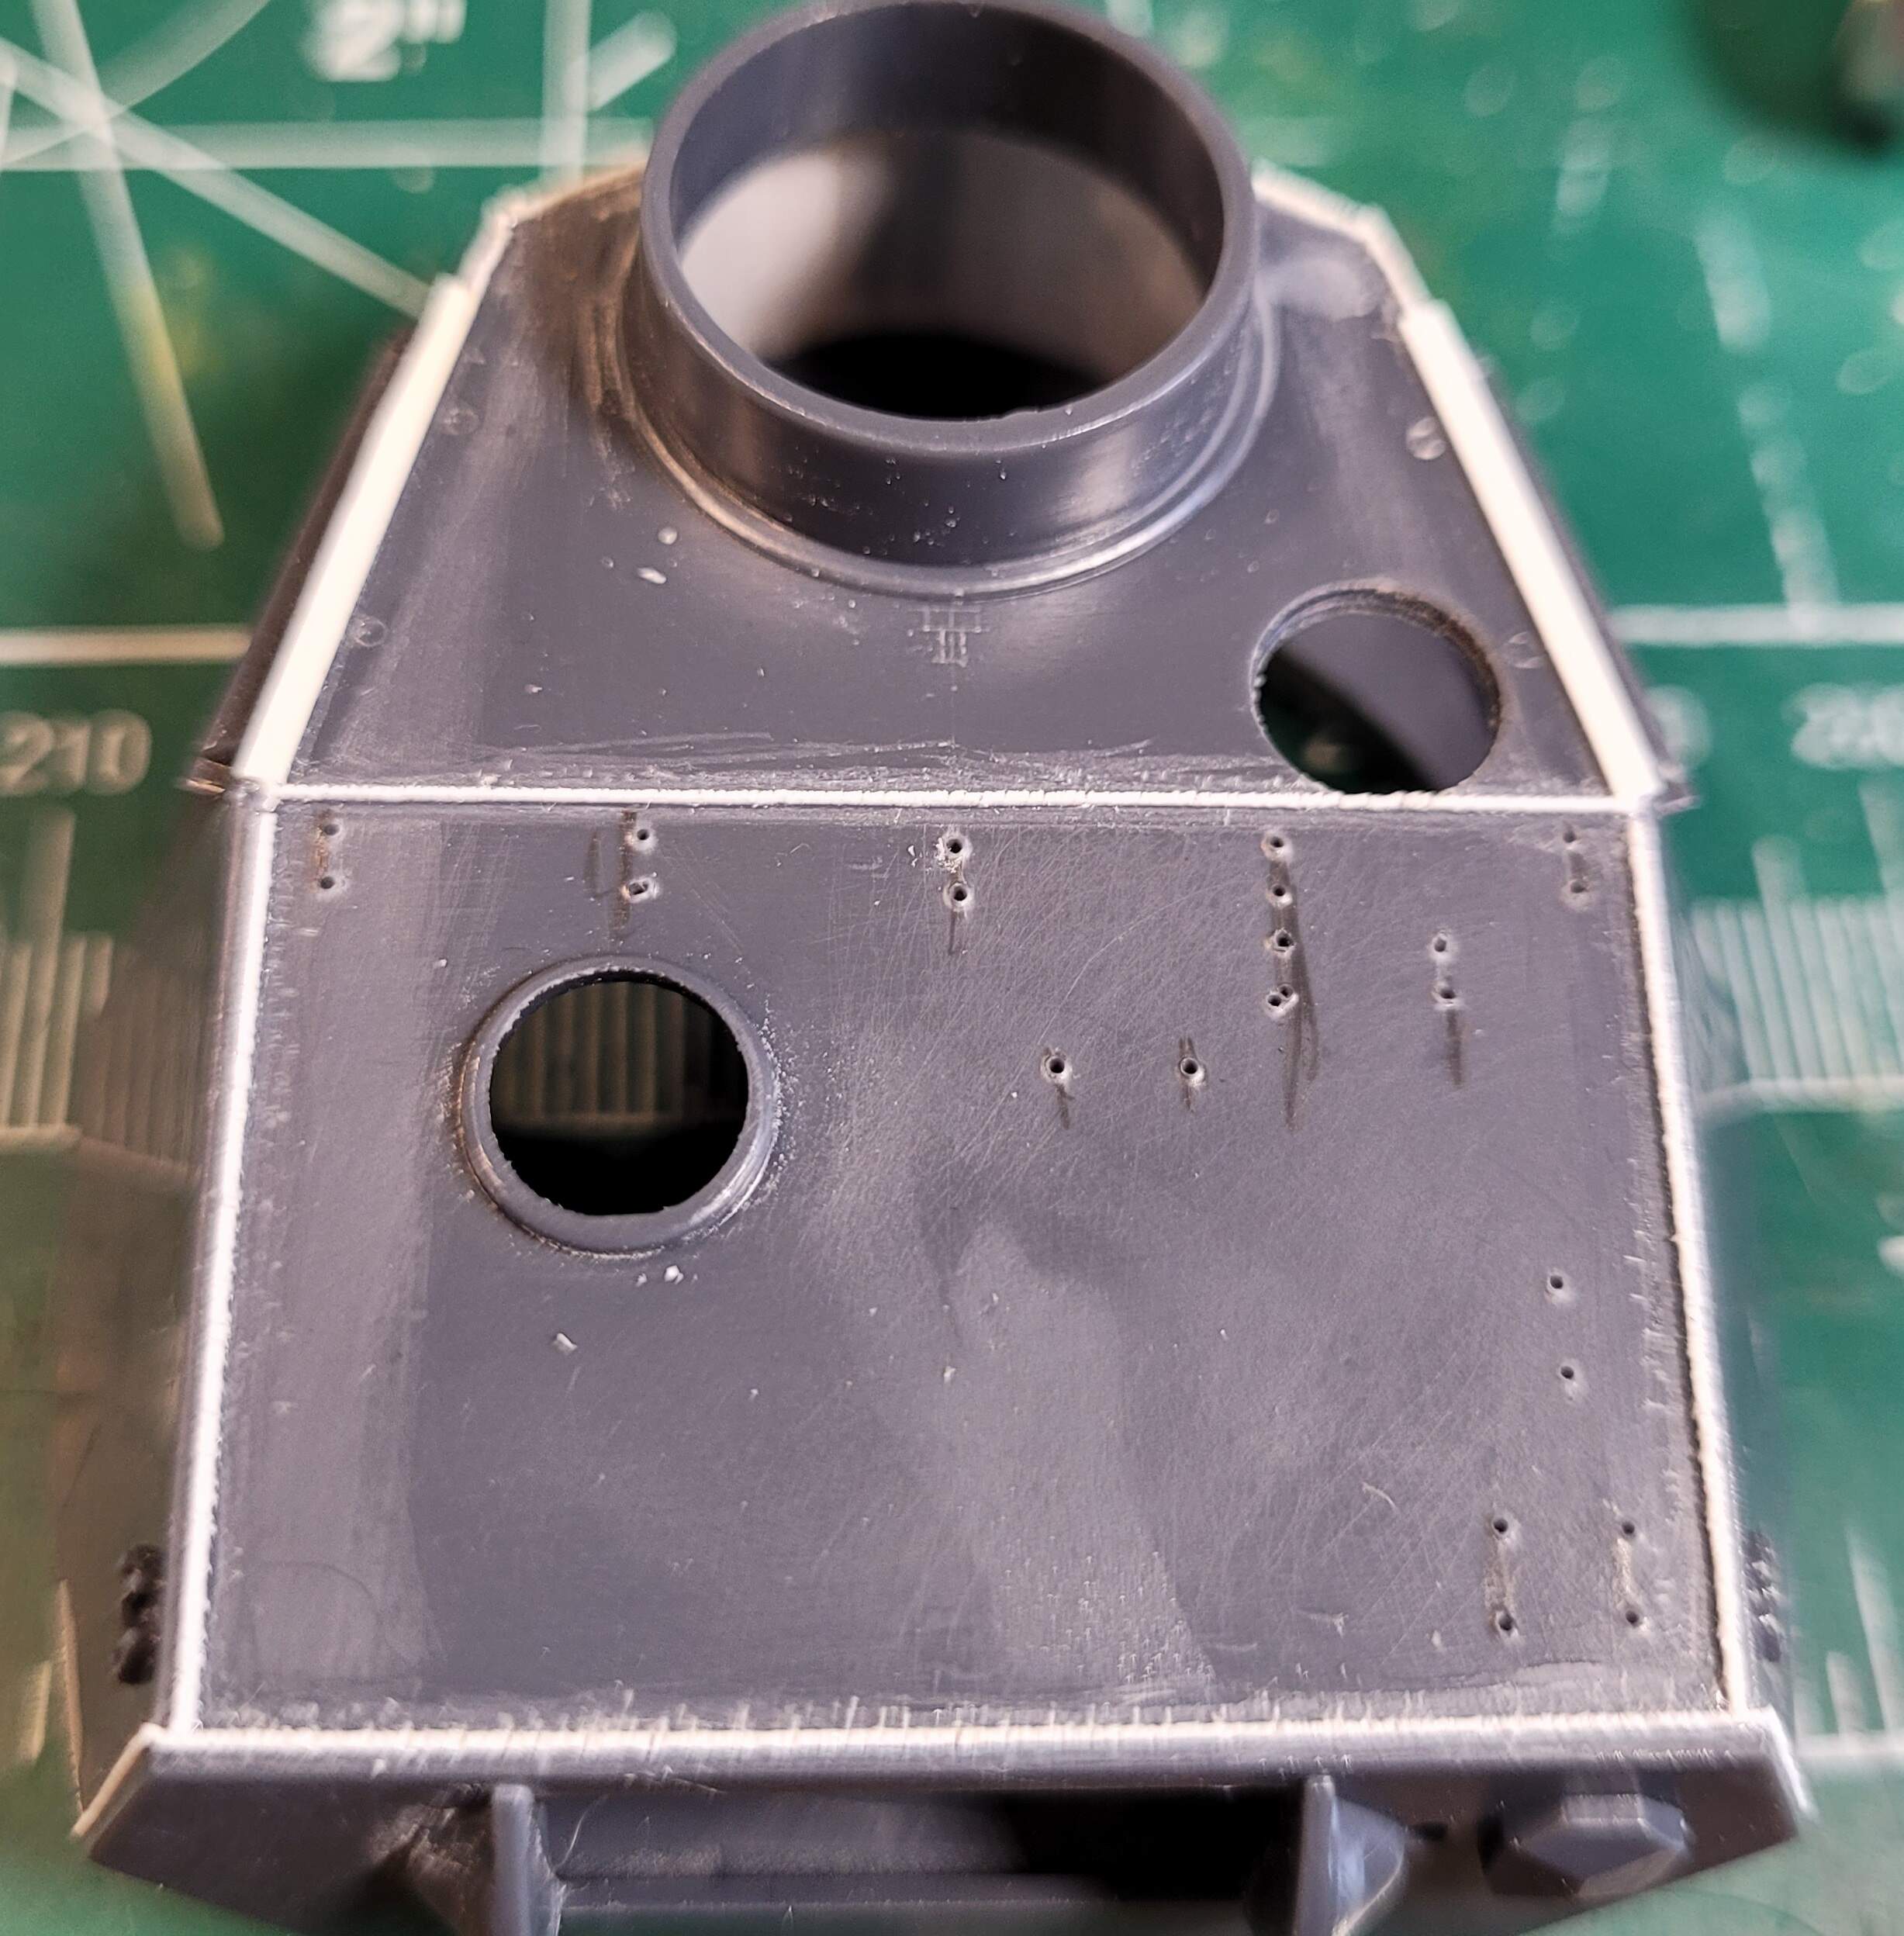
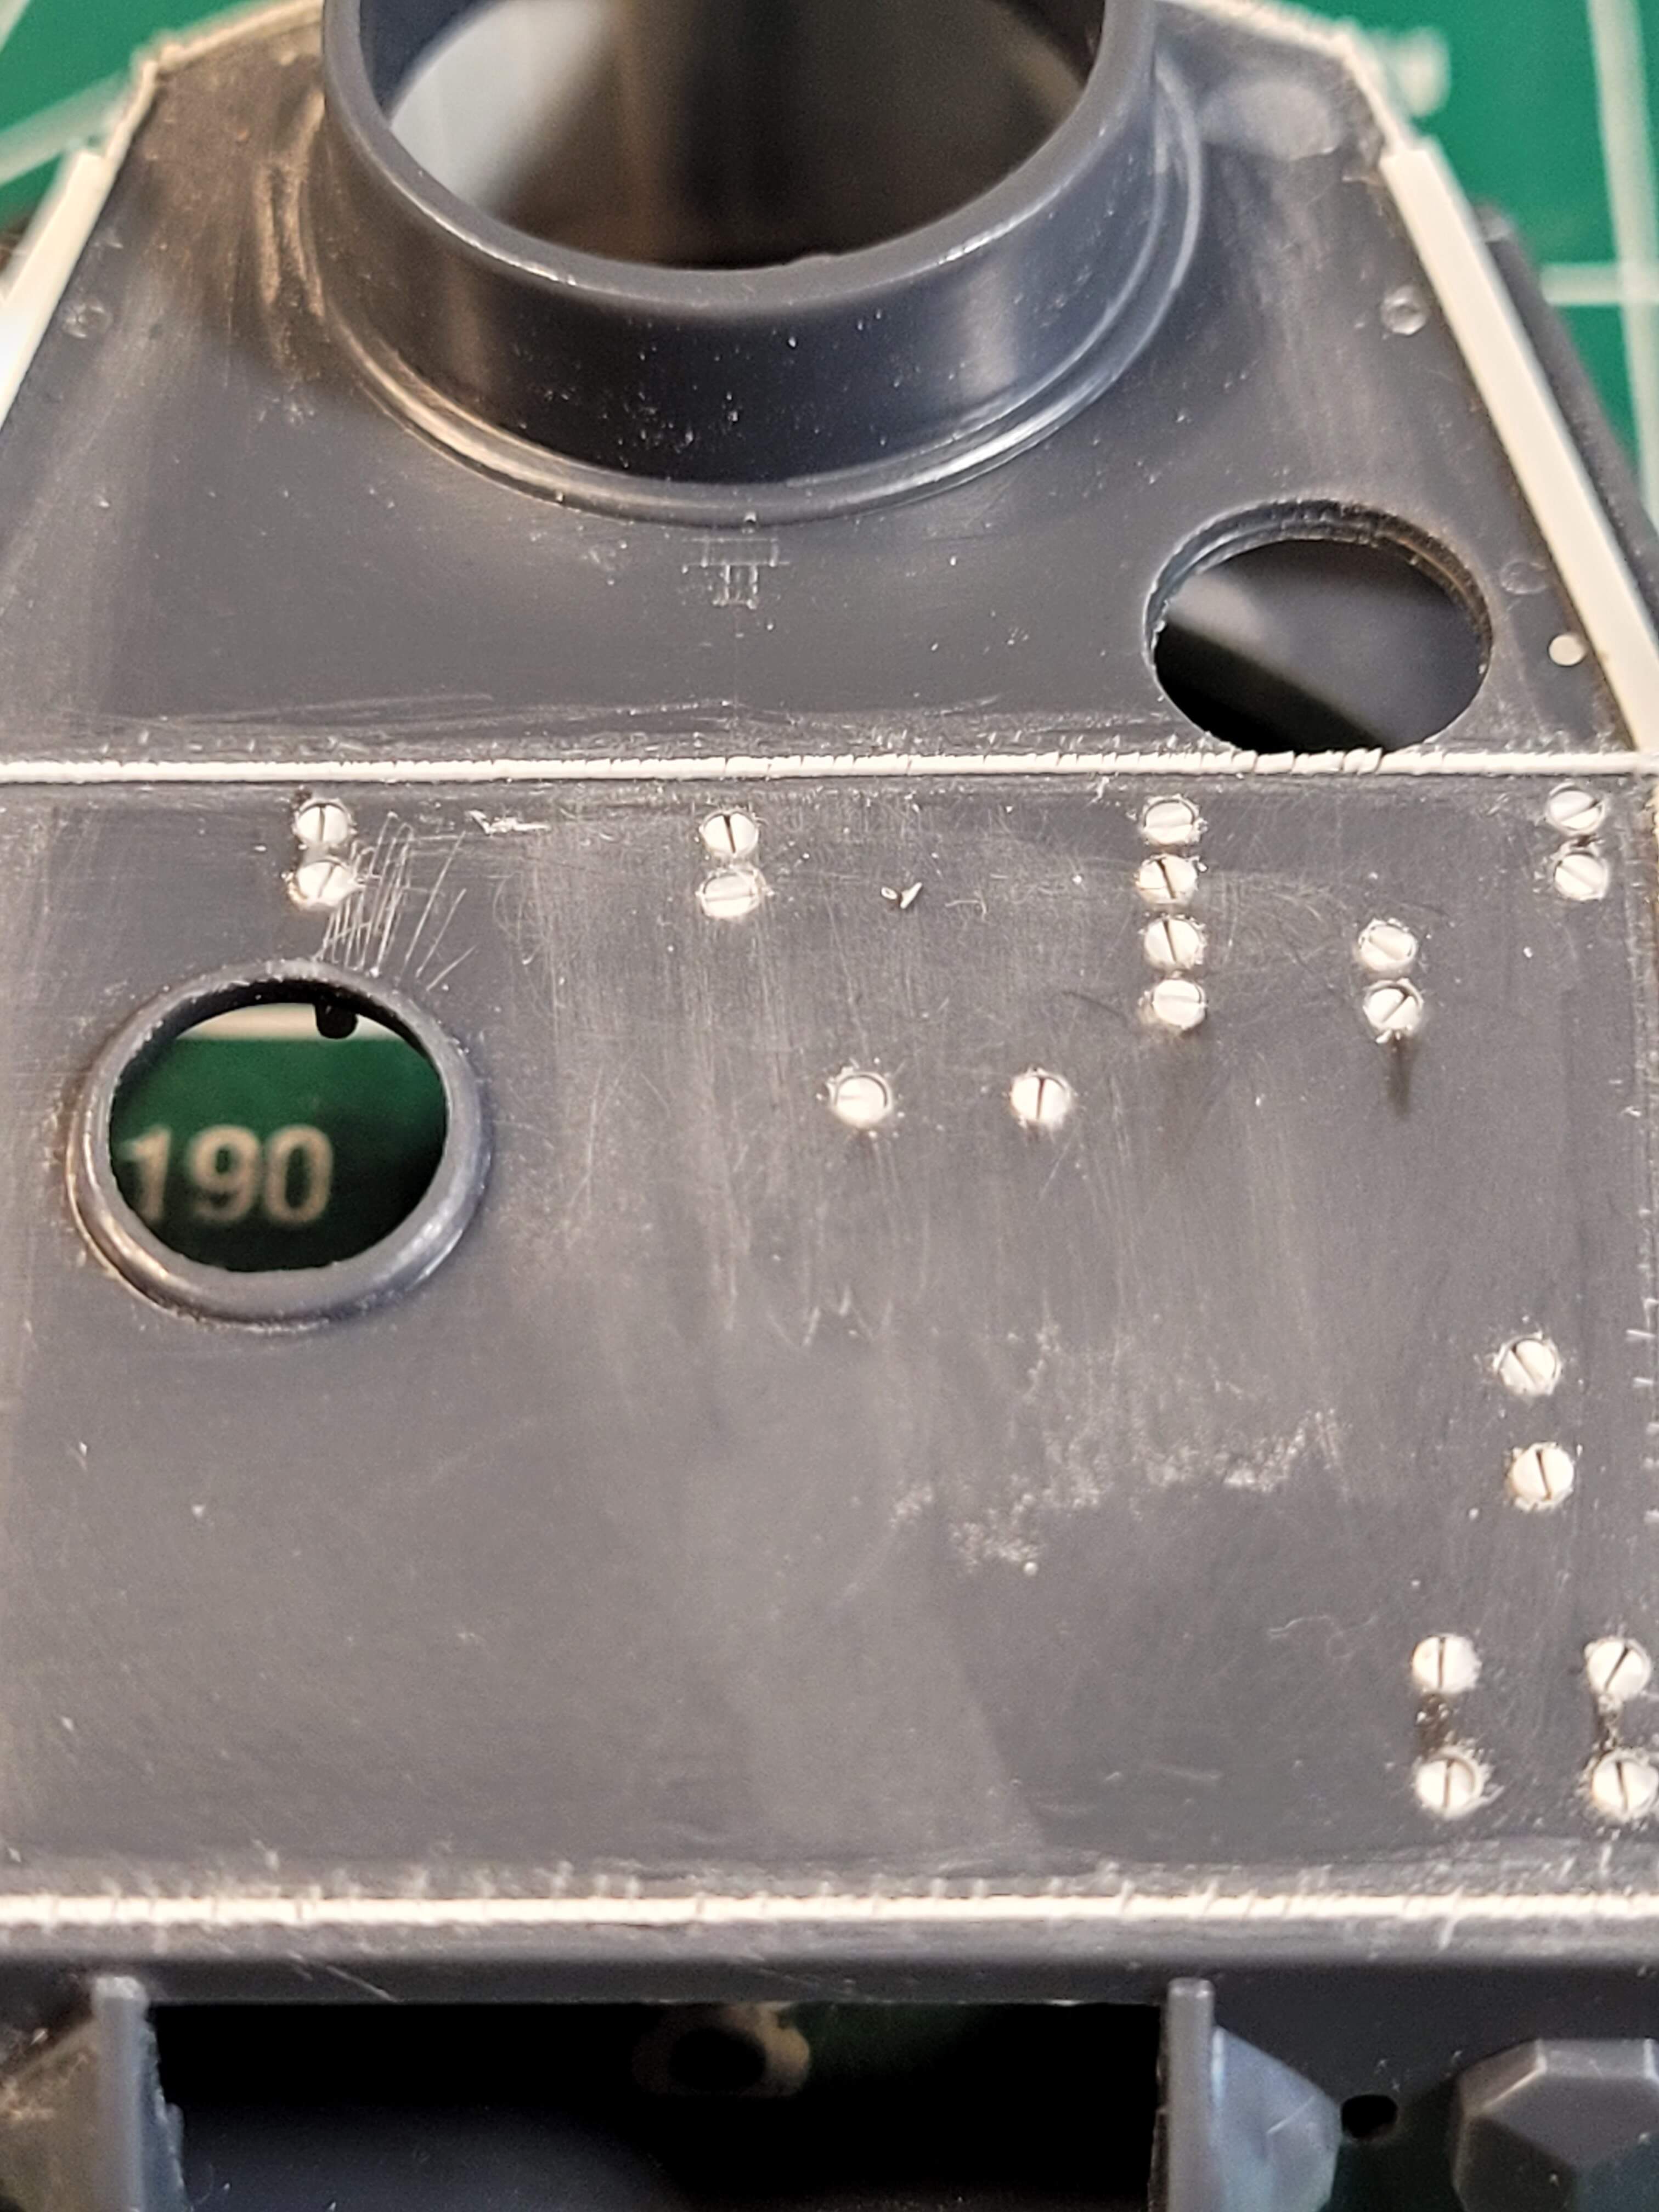
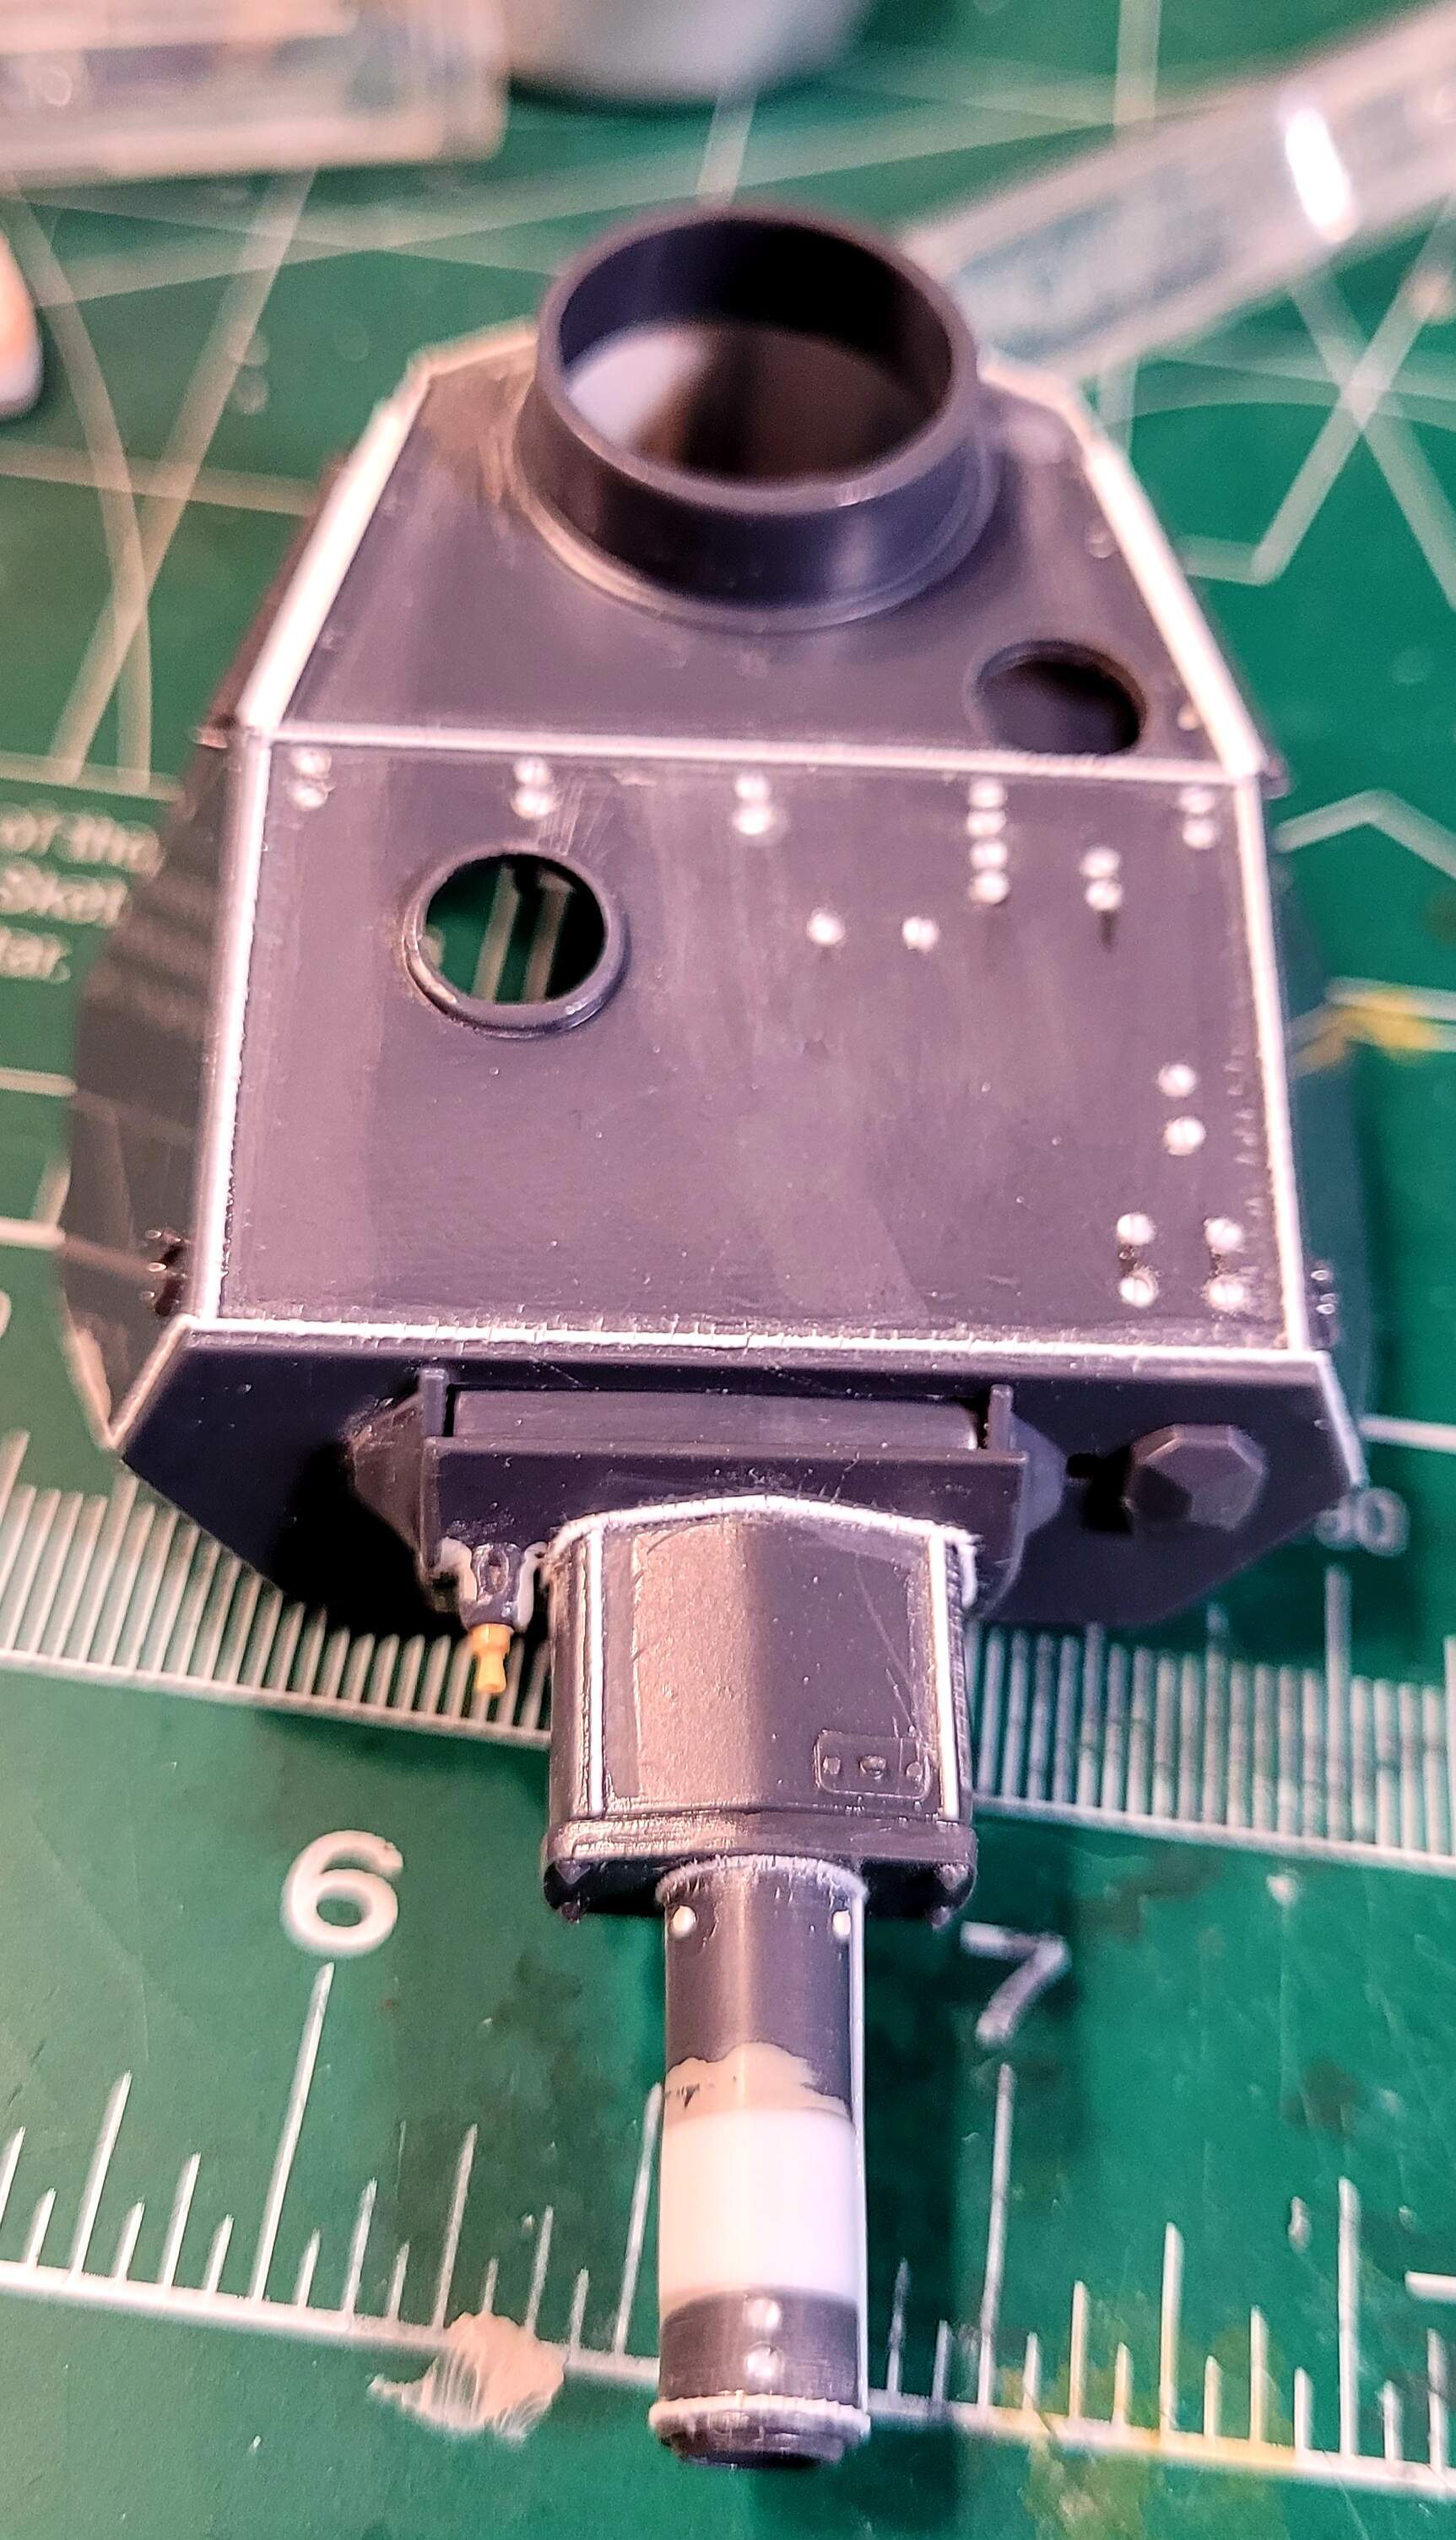
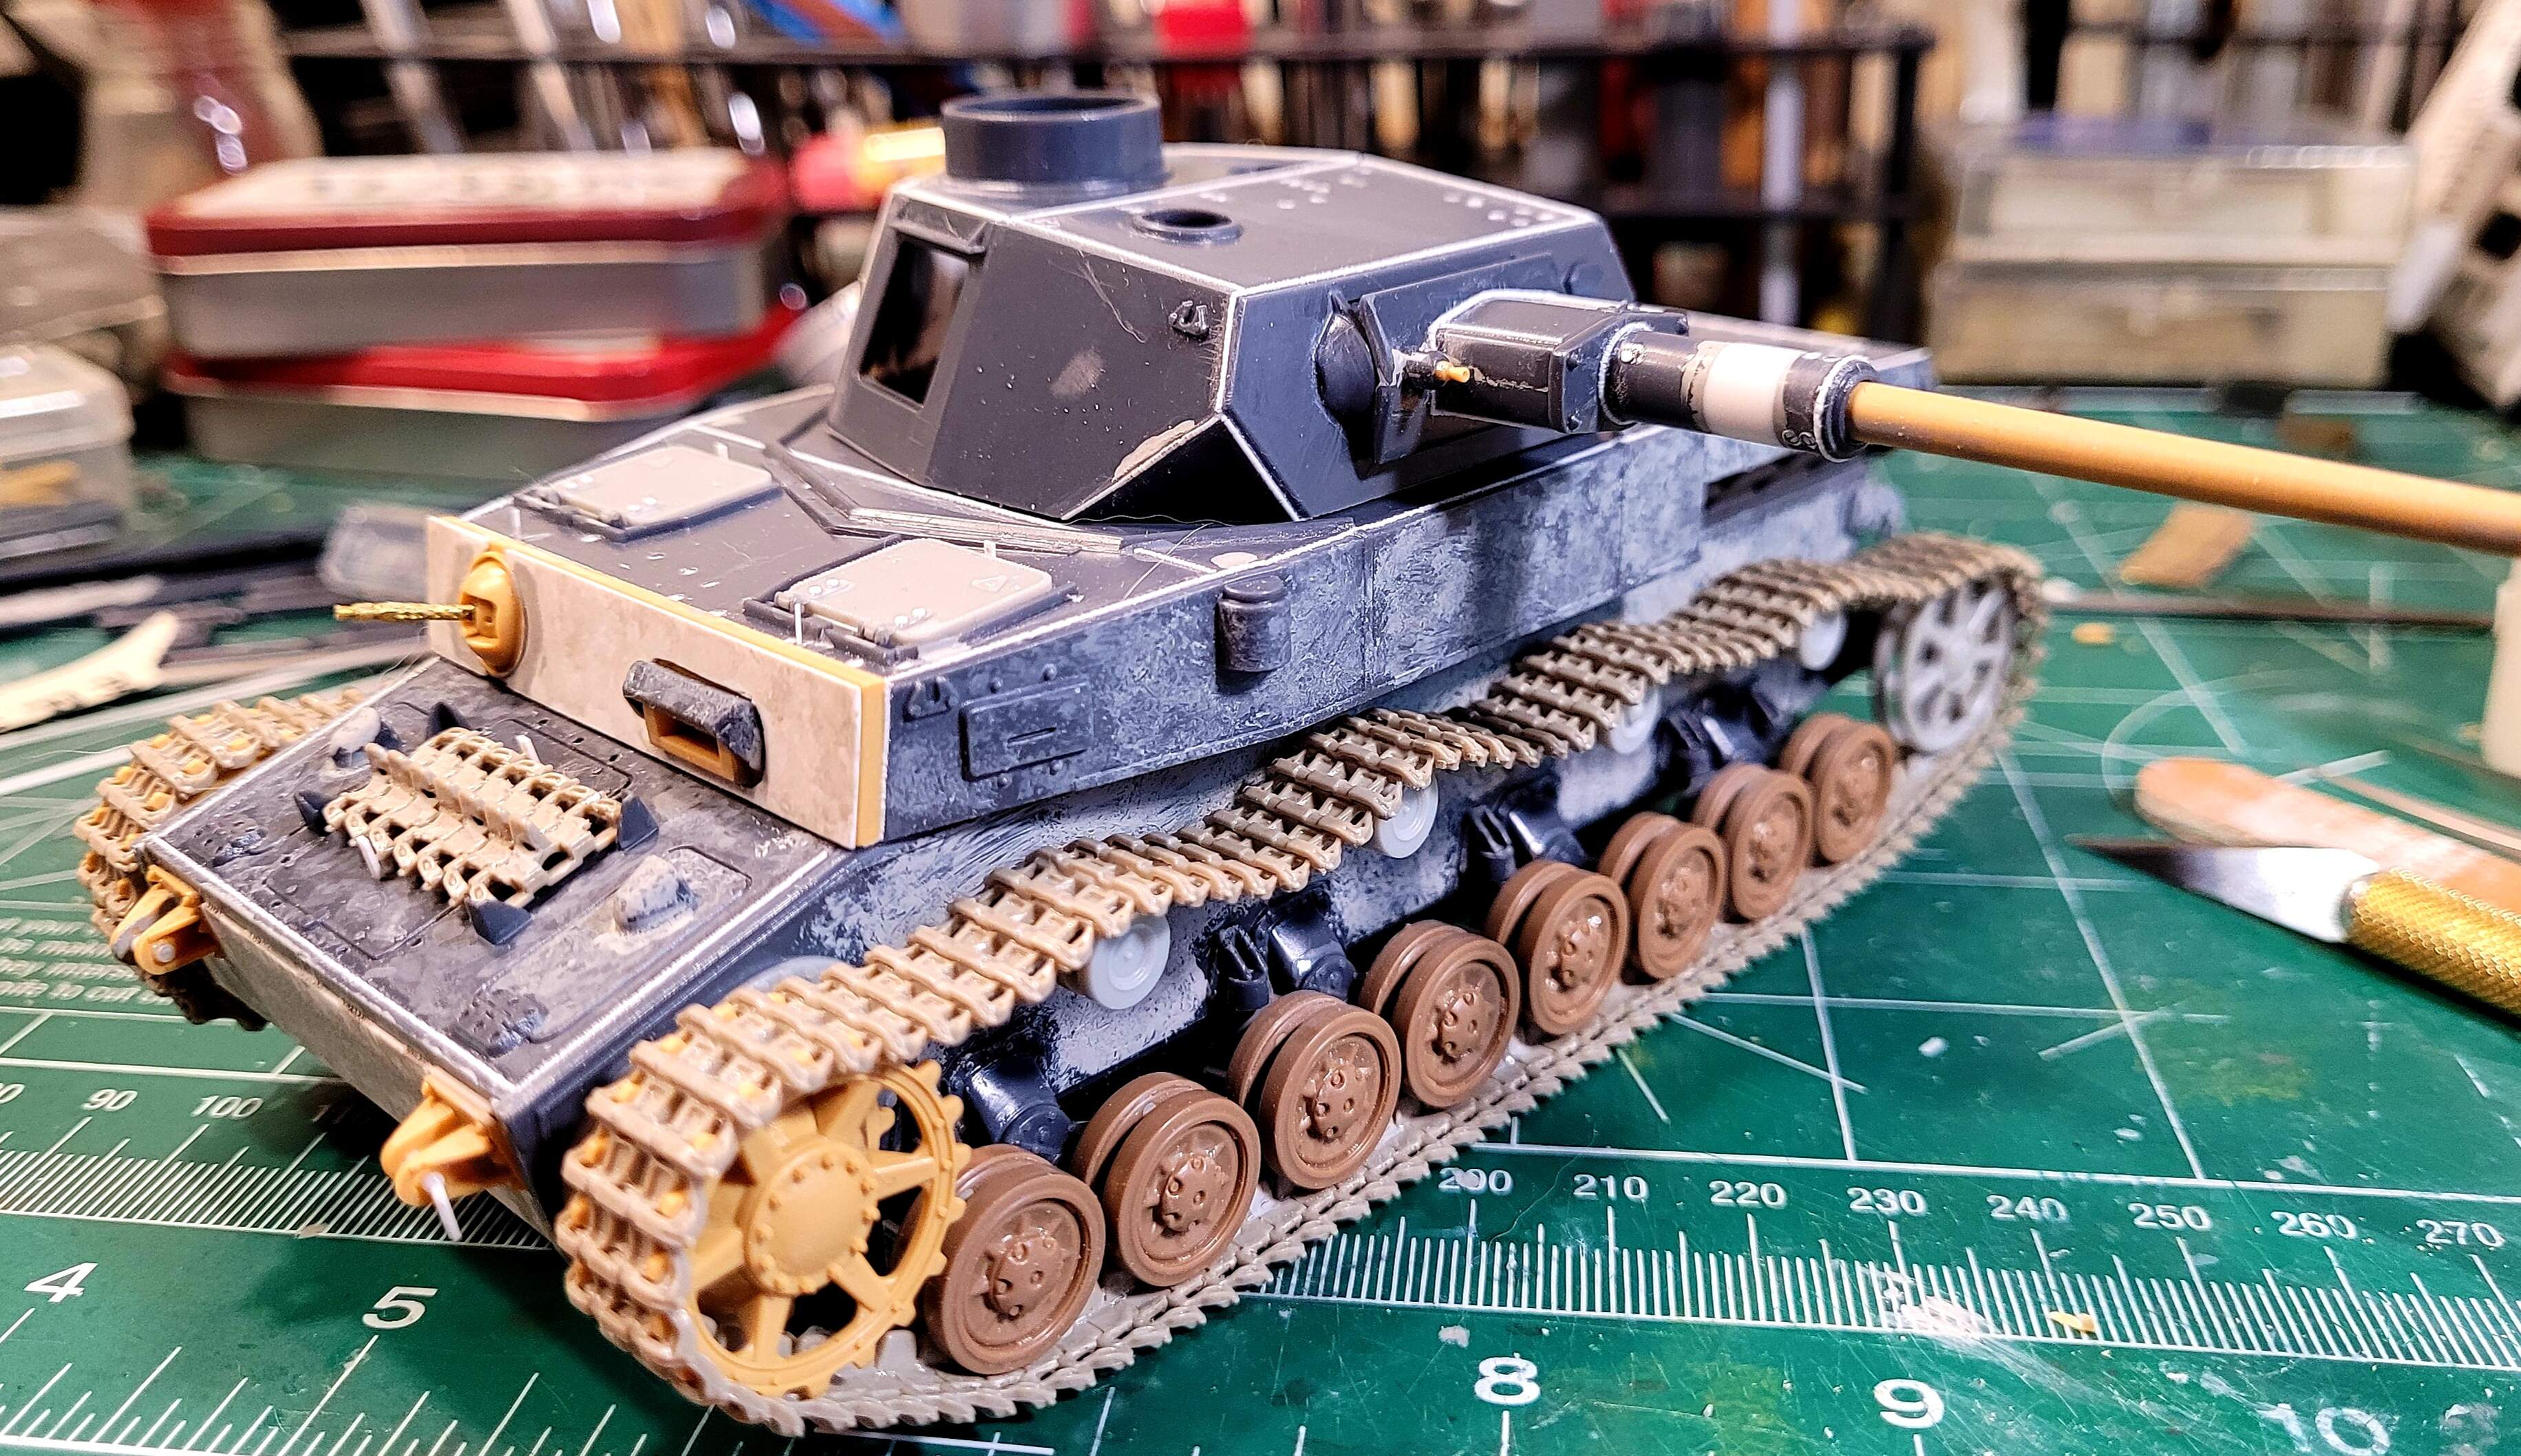
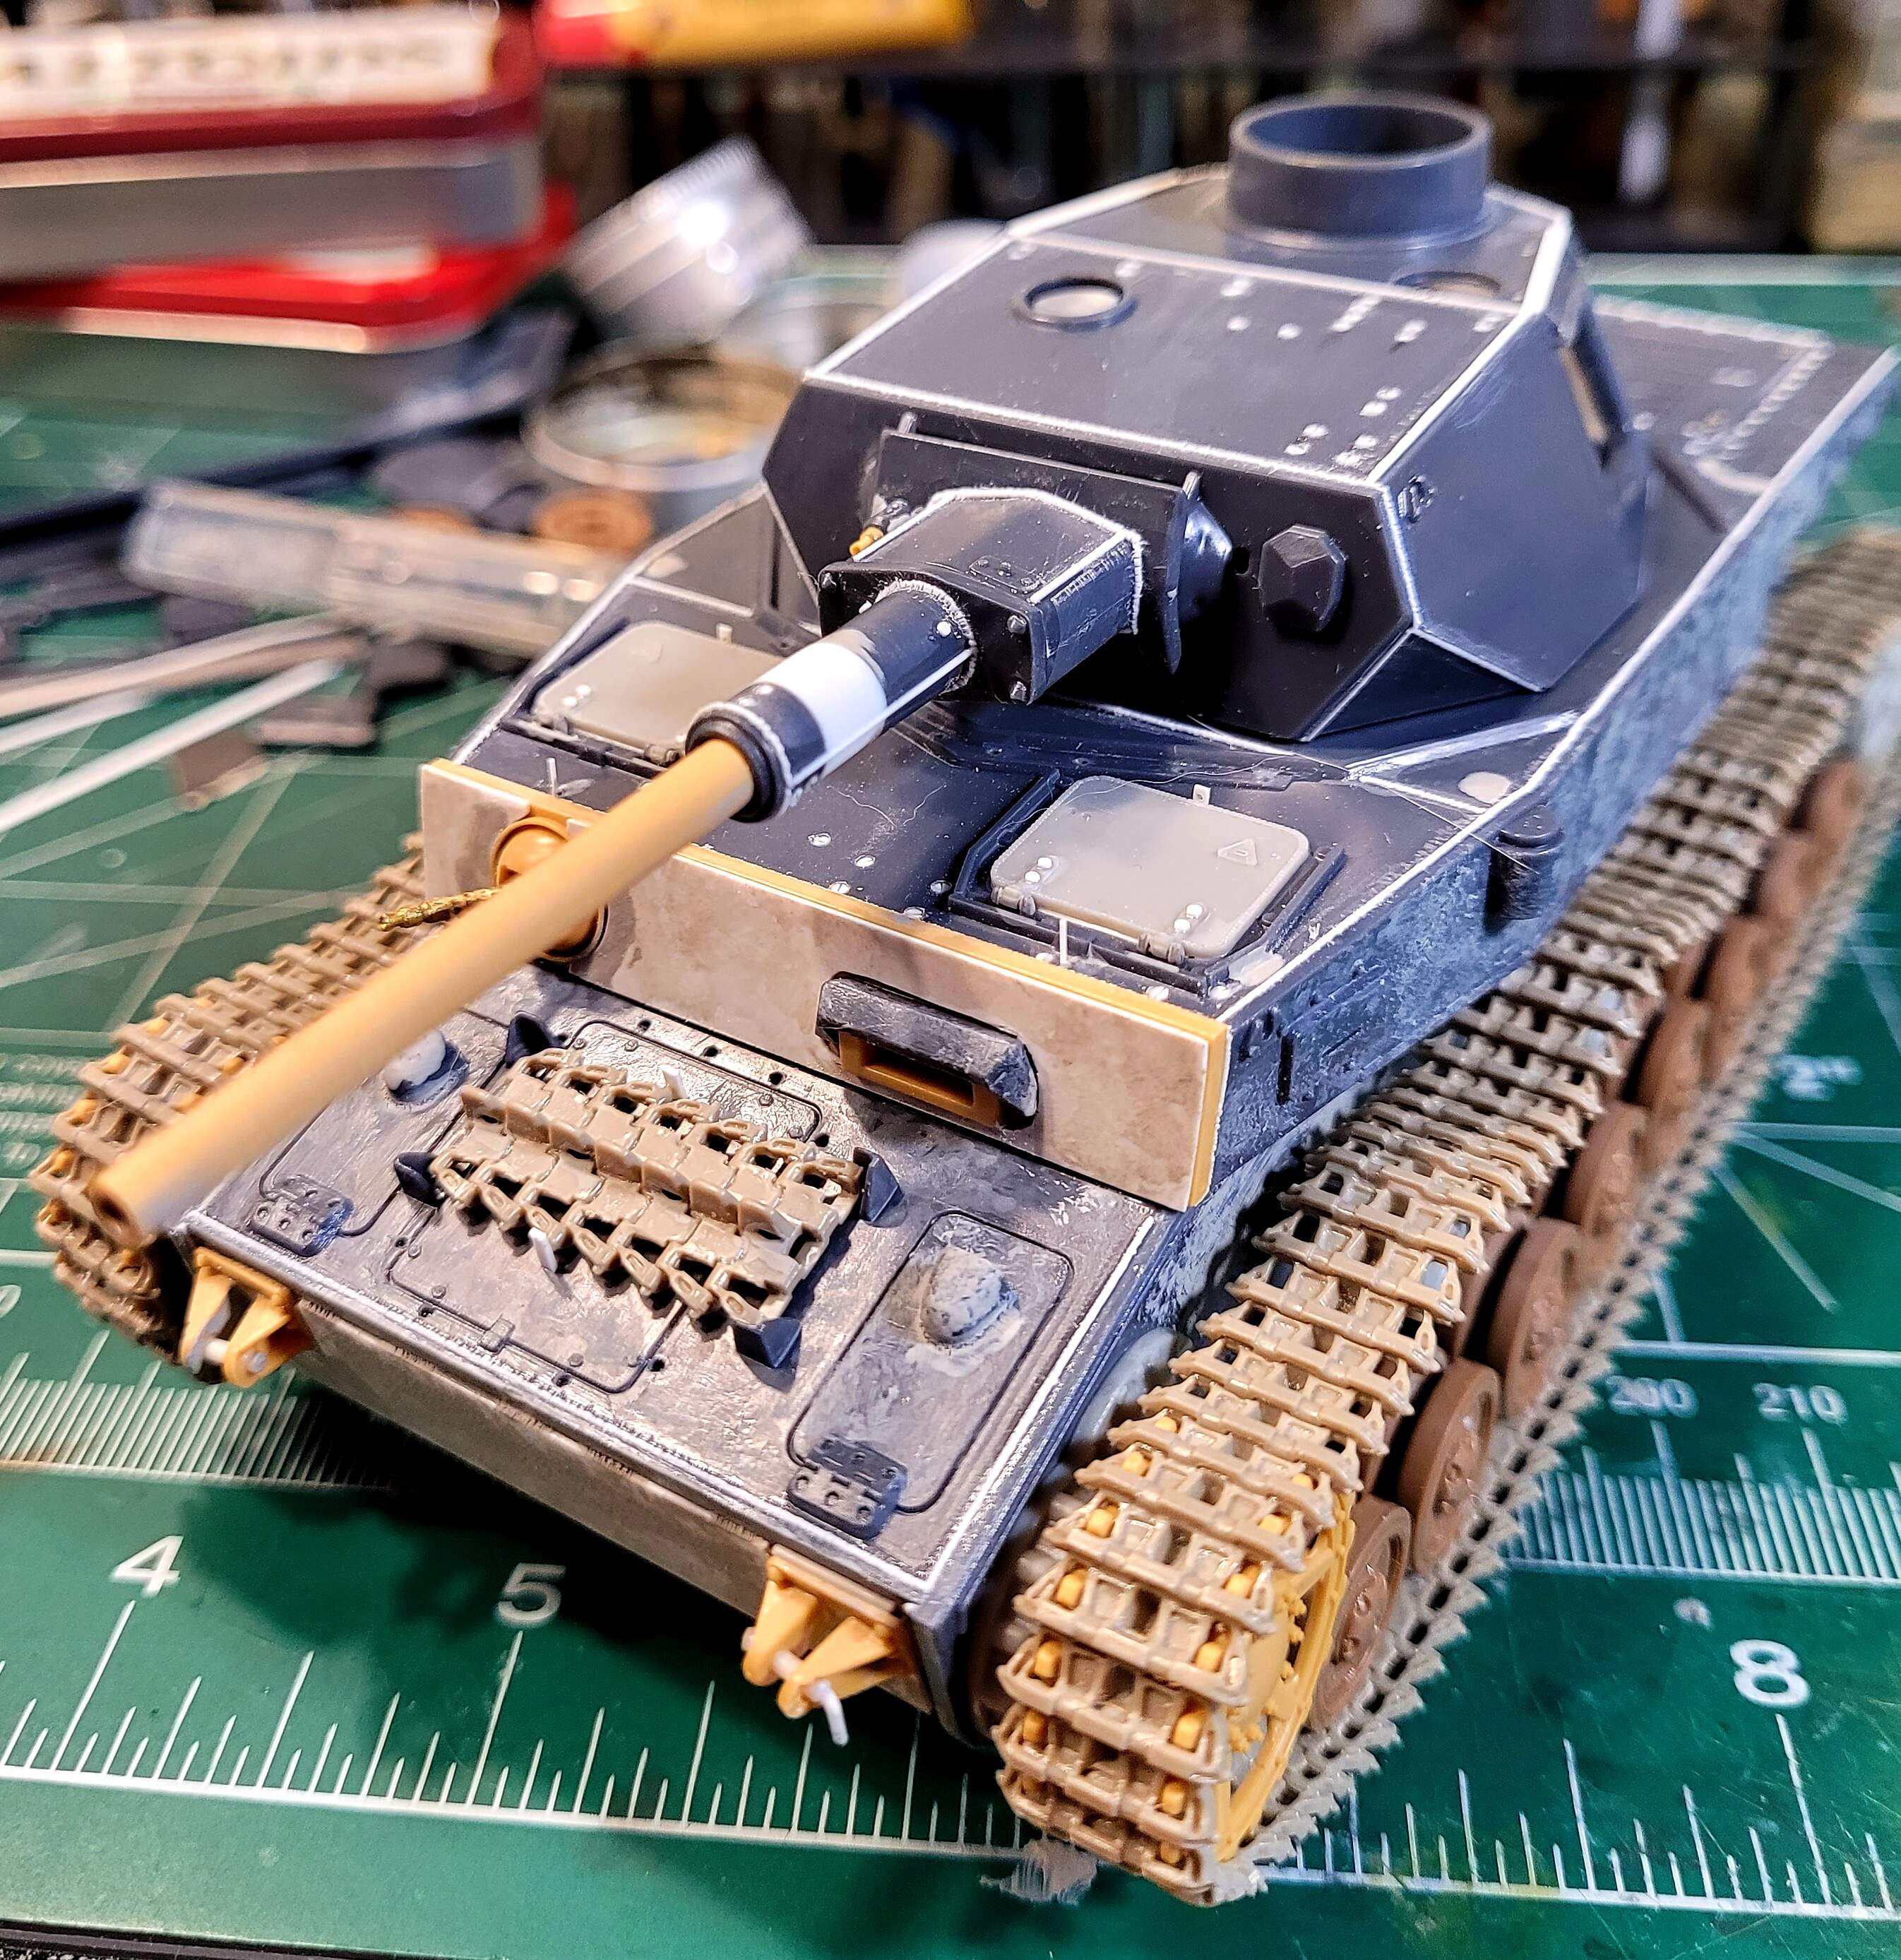
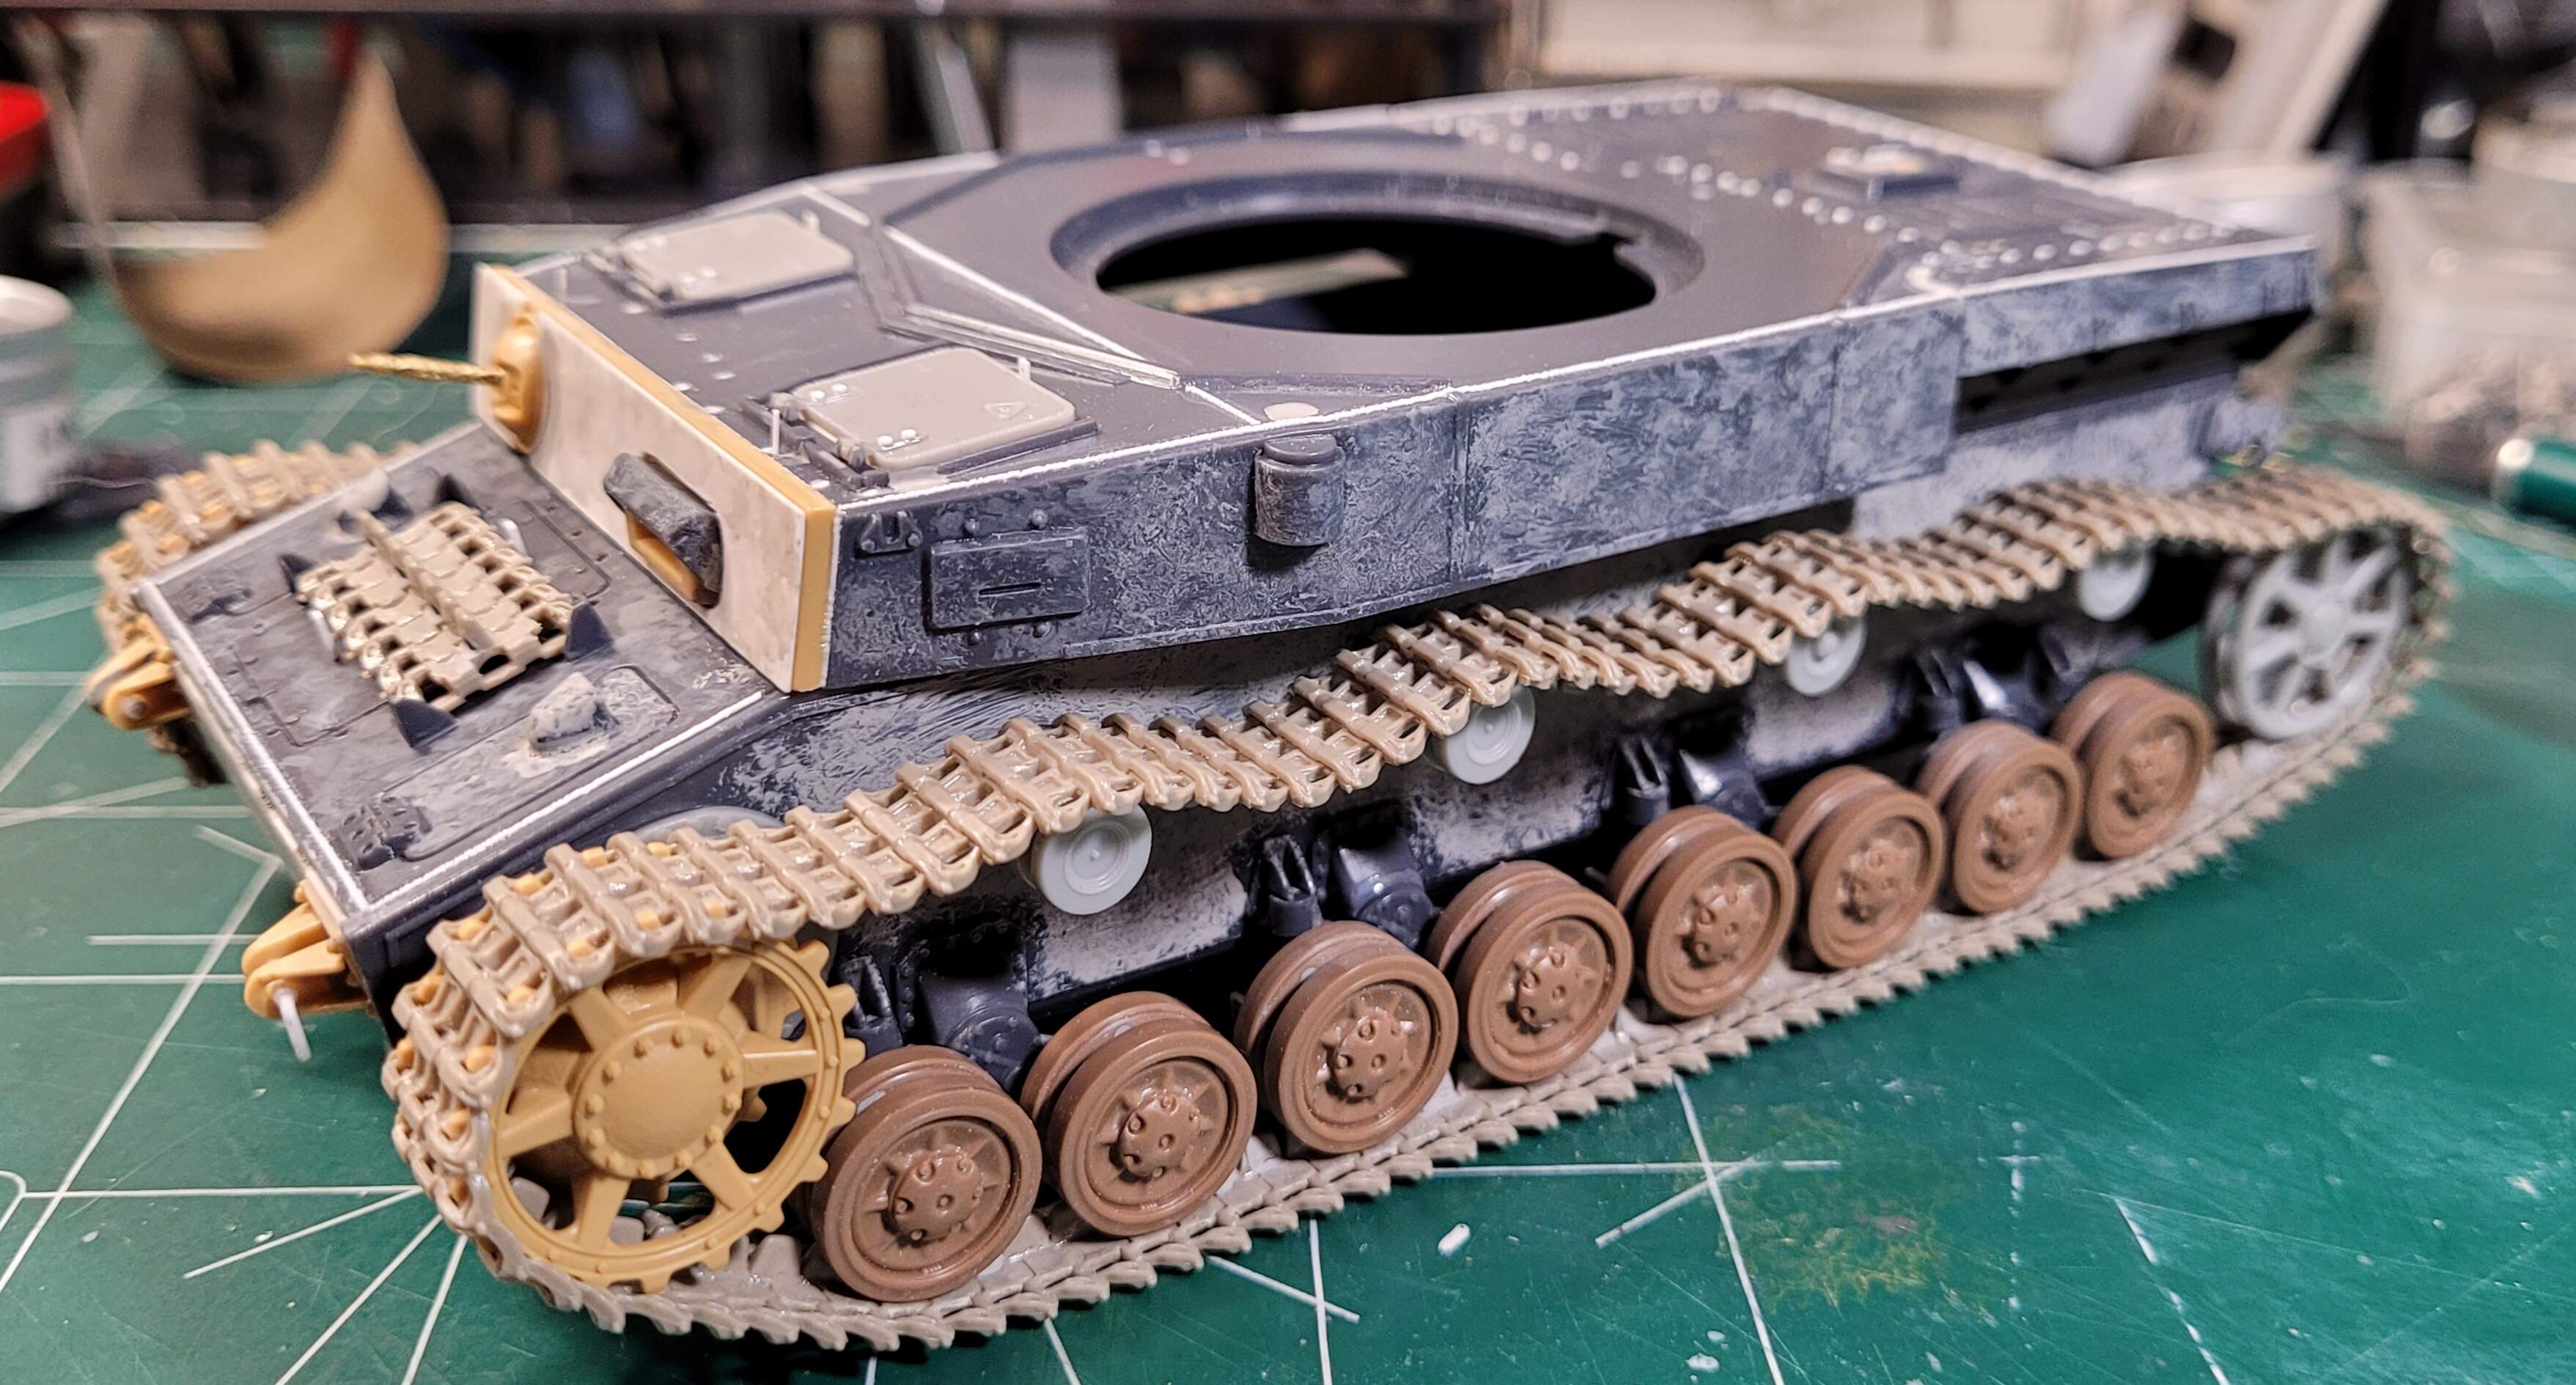
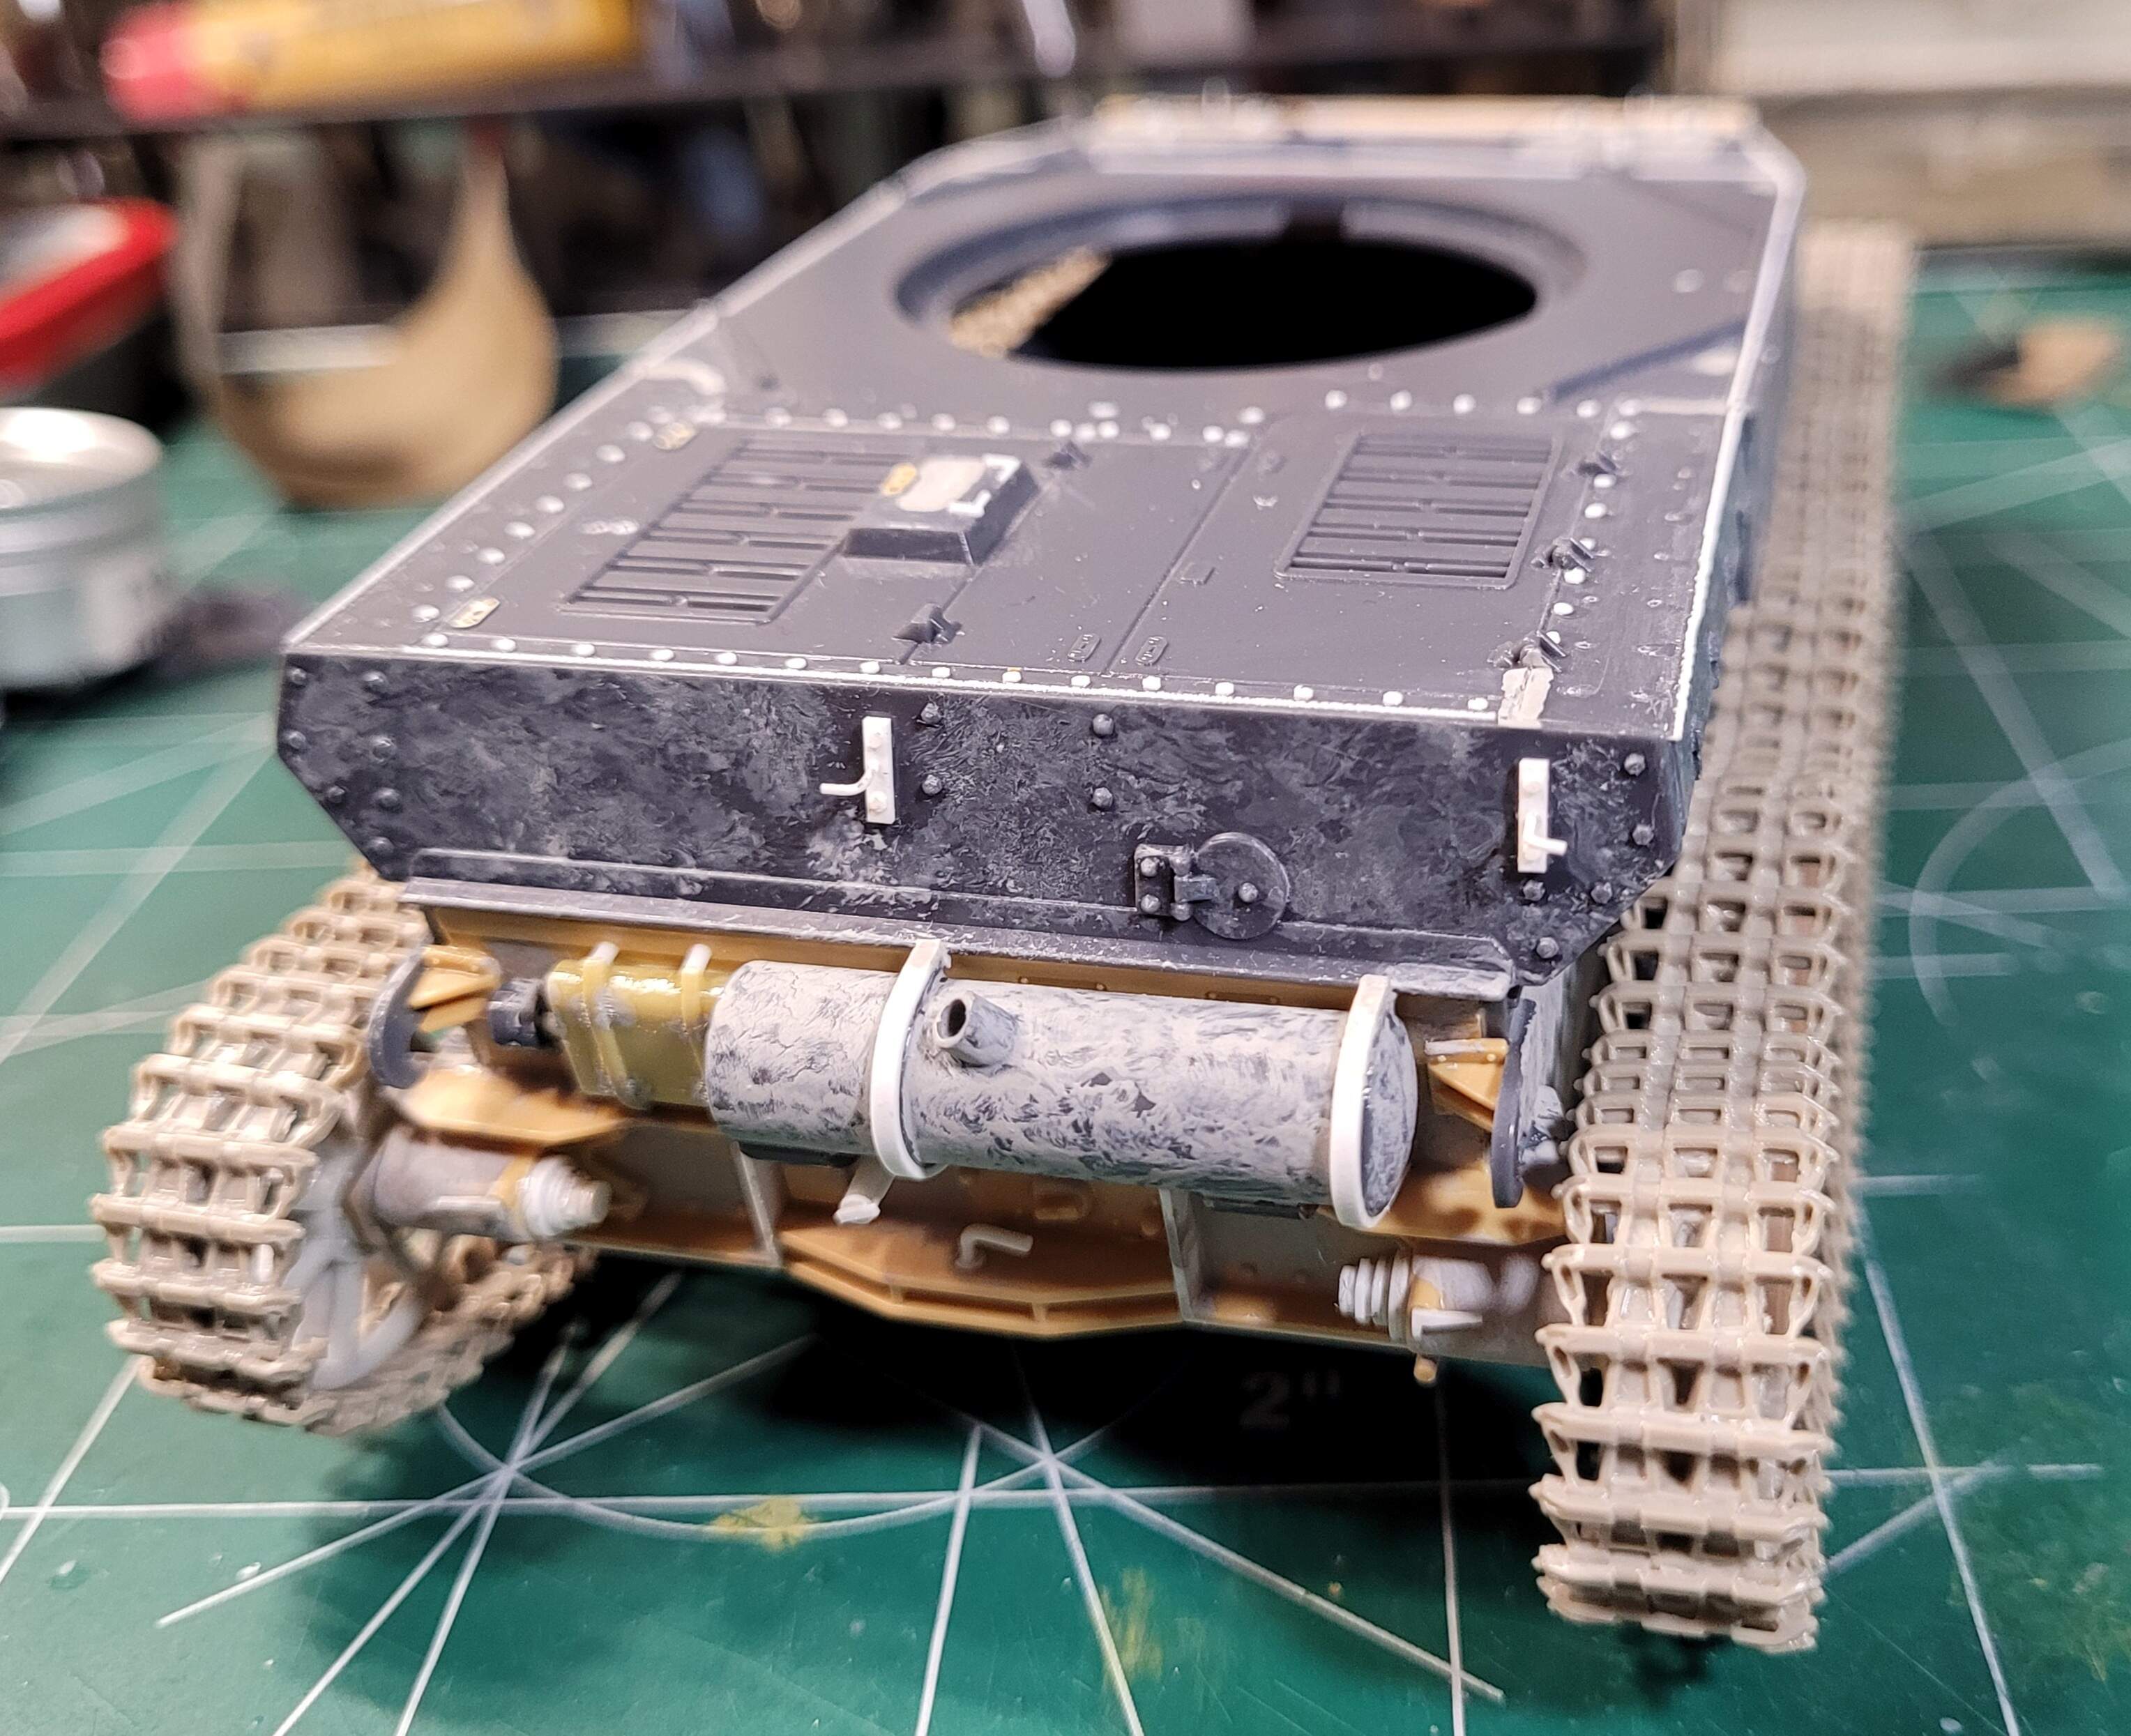
A good day for the old Italeri Pz IV G with the turret face going together and main gun being attached. My prior project a Tamiya Pz IV H donated the main gun barrel & mg. Welds and fiddly bits added etc.
Starting to look like a Pz IV 
Loving this!