Help/suggestions needed please.
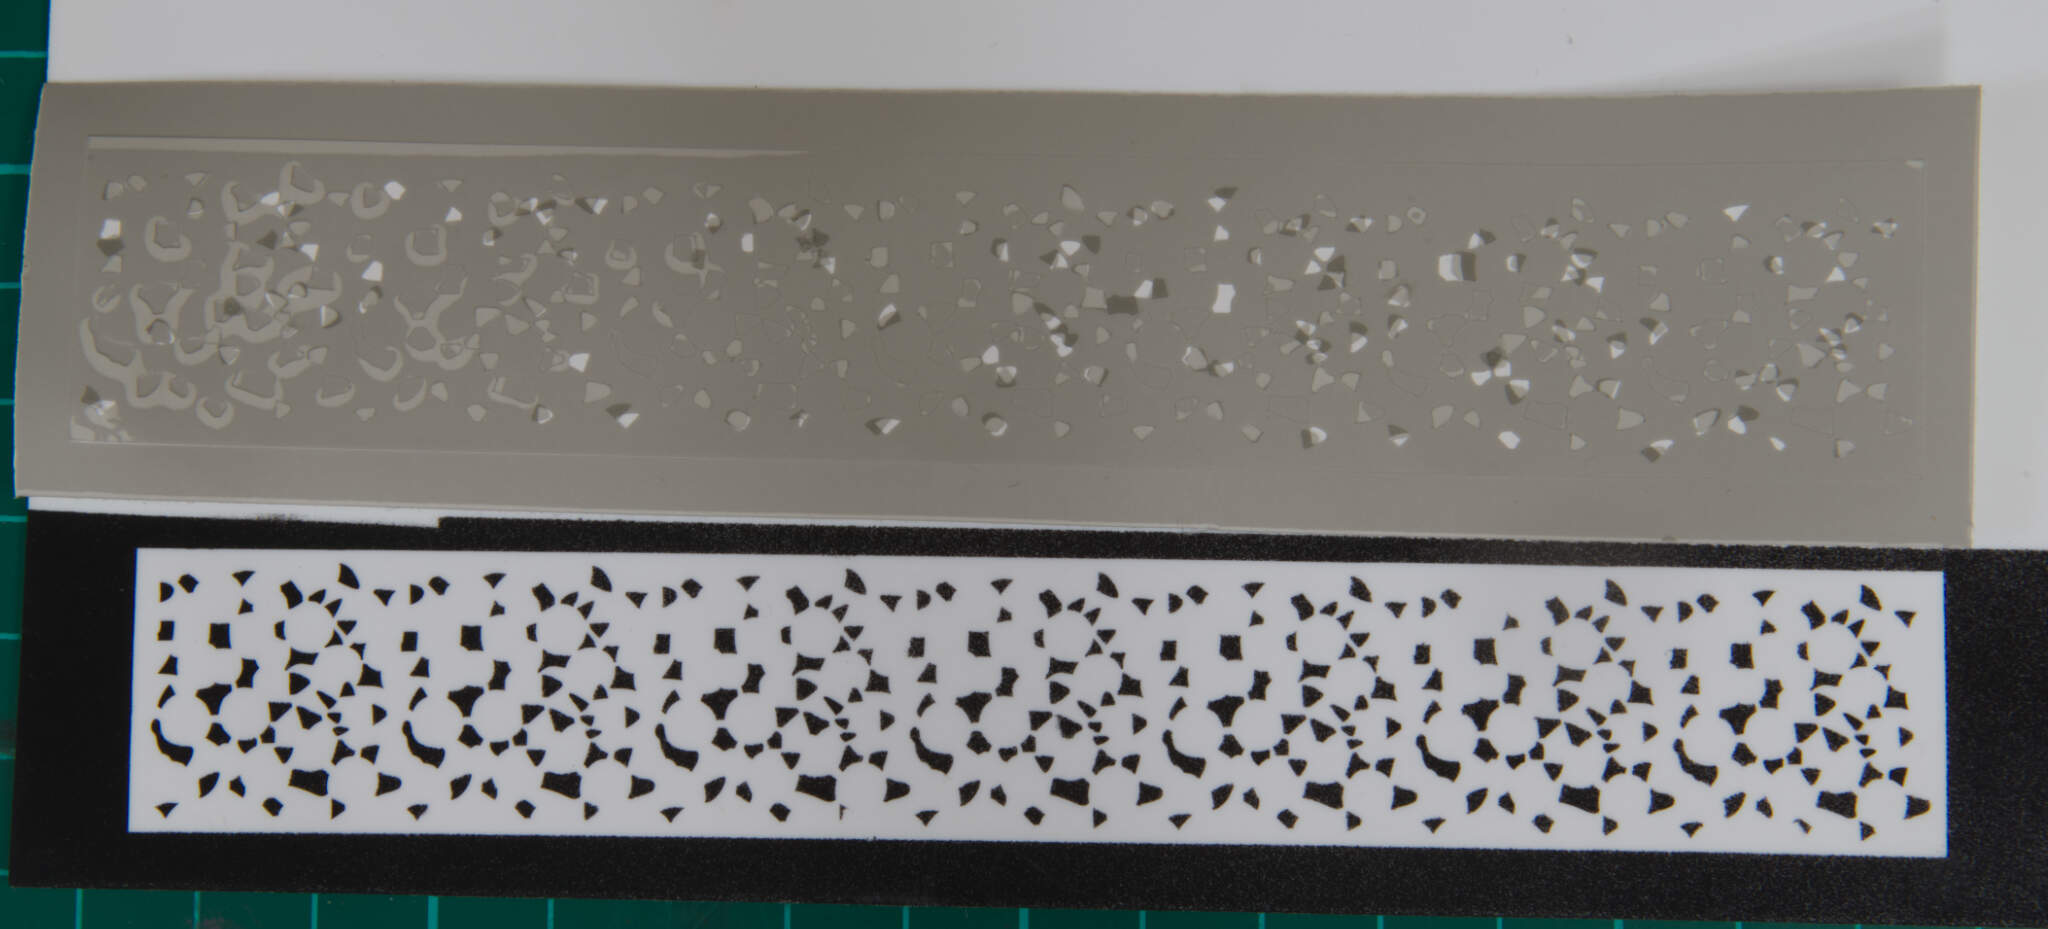
I am using a new Cricut maker to make tthe camouflage masks in the picture.
The divisions on the green background are 10mm.
I am using orafilm/oramask 810. The machine is having no problem with the cutting but as can be seen in the picture tiny bits are coming away and some are sticking to the blade and coming off later.
What can I try to get the cuts made without any material lifting?
I am using the default vinyl material setting and default settings.
Interestingly a commercially made mask I purchased of the same pattern is supplied on the same vinyl and has no material lifting.
Ha-ha. A local chopping channel regularly sells the Cricut cutter and I thought the same for cutting various masks, but it’s a bit expensive unless you cut masks commercially to defray the cost.

Someone on finescale had good success with a cricut and posted some tips. Sadly I can’t find that thread easily (finescale somehow forgets me periodically and it takes awhile to clear out before I can use it again). My wife let me try using her scan and cut for making larger masks. It worked pretty well for making large patterns - like luftwaffe mask patterns for 1/72 bf 109s - but it wouldn’t reproduce an accurate (enough) pattern for letters and numbers for 1/35 armor.
To use the cricut to cut masks , you can go into the menu and lighten the pressure and also change the type of material it thinks its cutting . I believe its a setting in the drop down menu for thin foil or something like that .
Also sometimes the small cuts will stick to the matt and can be lifted with the edge of a blade.
Also the standard cutting blade is for paper stock so it is set to cut deeper.
I cut those original ones, (For Uschi van der Rosten or someone has ripped them off!). You will need a Plotter cutter for £1500. and precision ground blades, £22 each. Pressure 50 grams, blade offset 0.43, speed 400m/sec. 
2 Likes