Some ‘progress’. I ALMOST pulled the pin and put it back in the box!
I’m not enjoying the build because a/ I didn’t do my research before I purchased the kit and b/ the kit isn’t the highest quality kit on the market. Well actually it’s a lemon IMHO. Way too much flash etc etc. And now a c/ My priming went down hill quickly. I used AK Primer. To start with it was brilliant. Then I got clogs and it started to spit. I cleaned the gun. Thinned the primer. Changed the psi. Nah nothing worked. So I persisted with an on and off gun. ARGGGGHHH. Don’t dare look close. It’s a fine example of orange peel! 
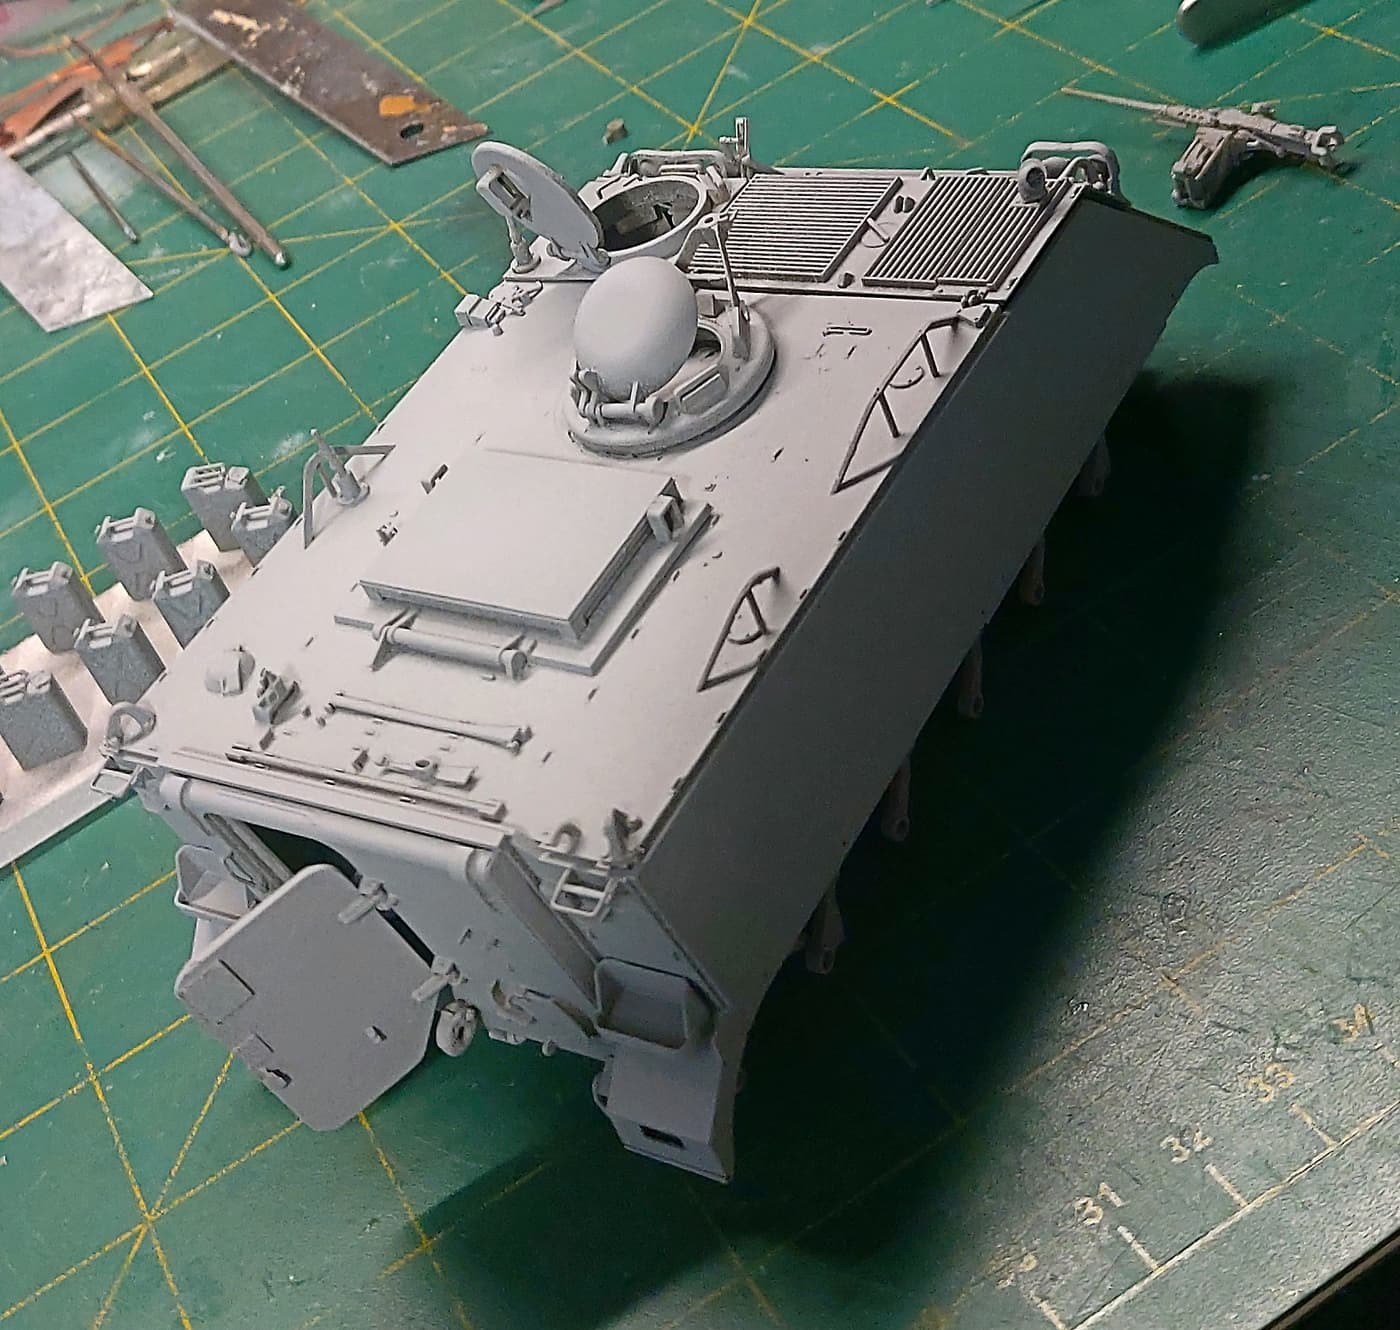
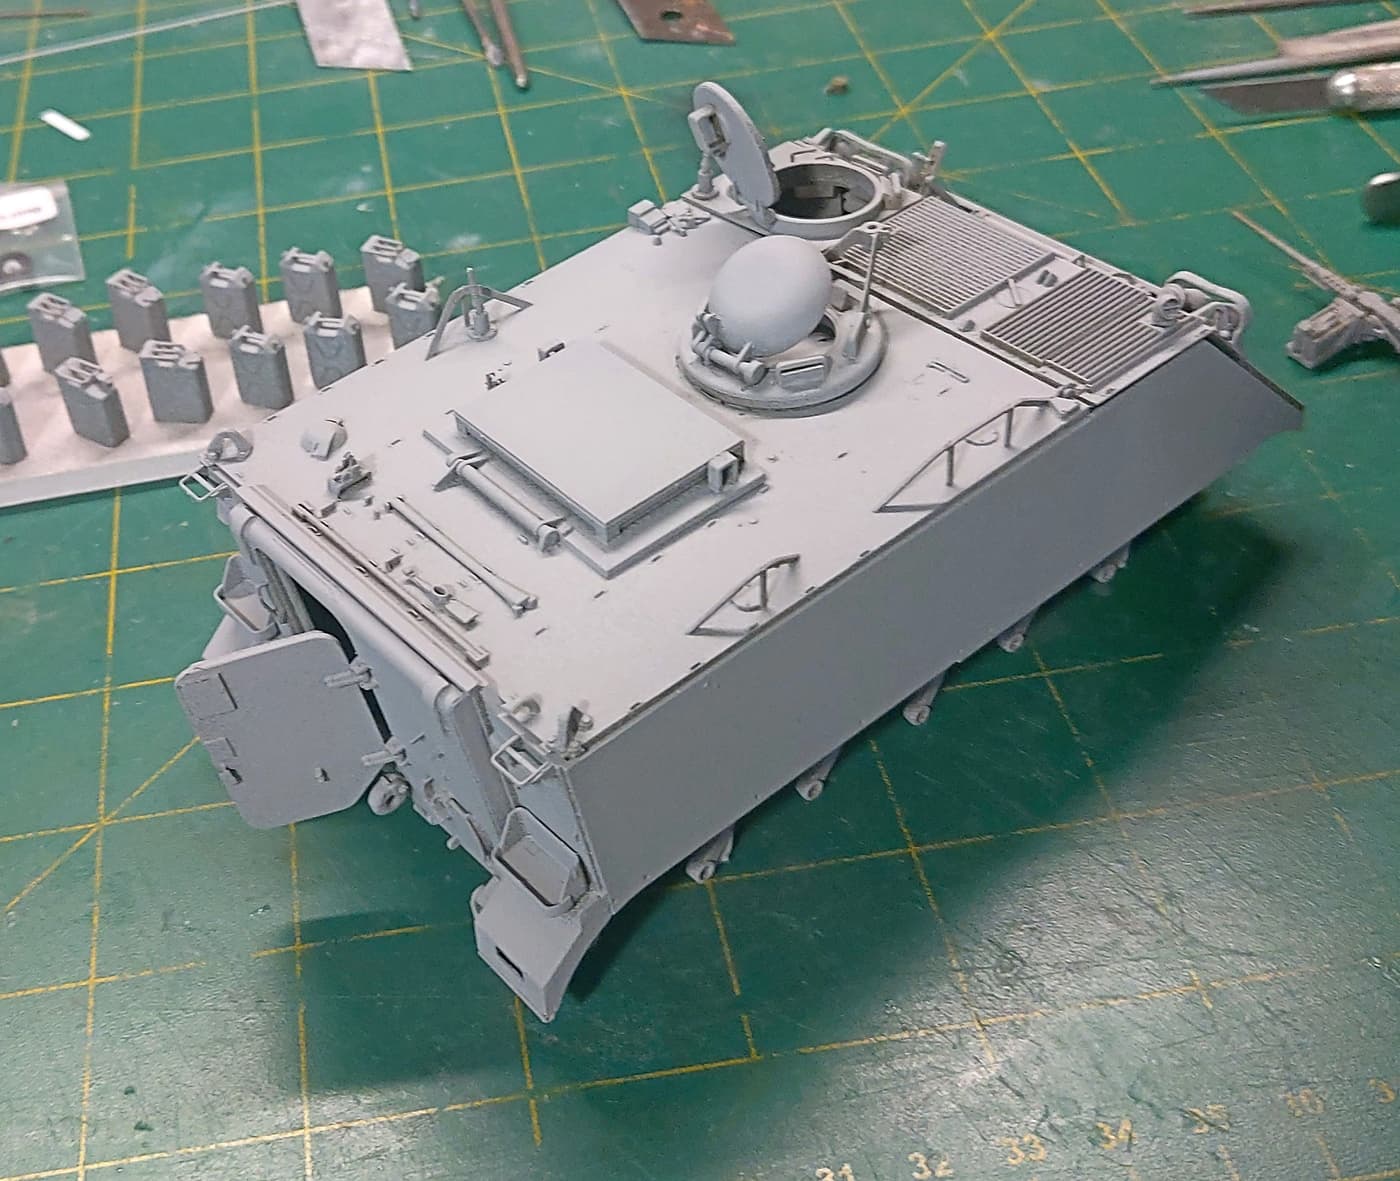
Anyway here it is primed and ready to be assembled and painted.
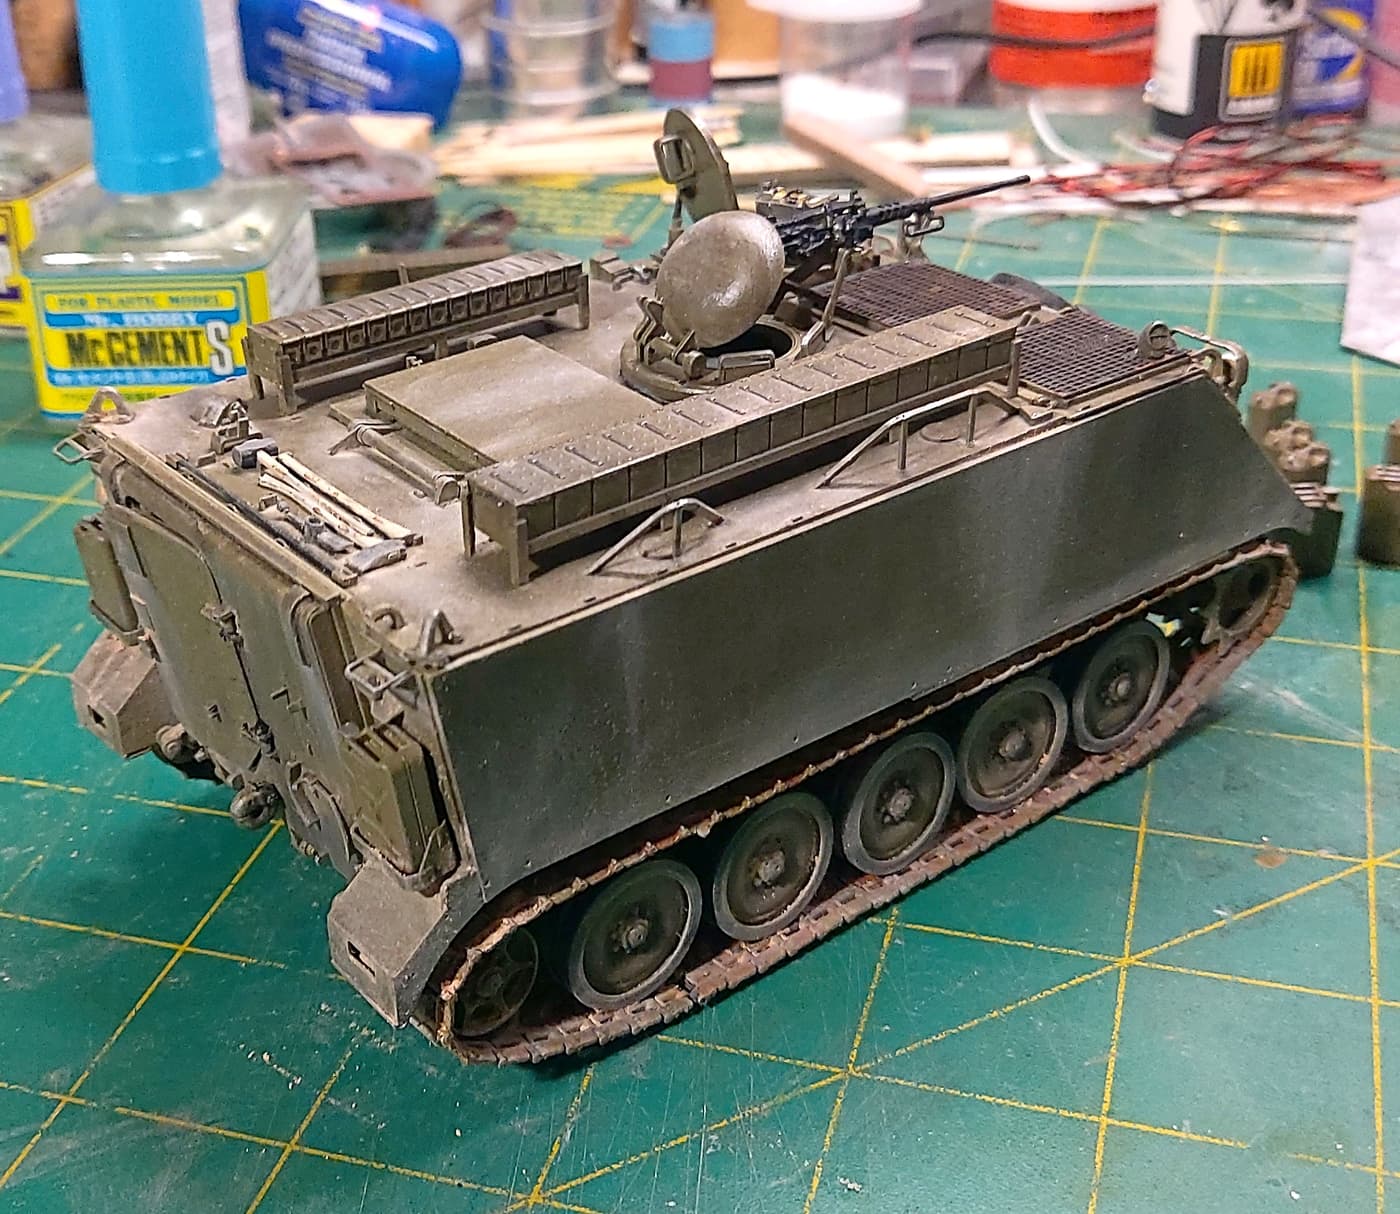
My Frankenstein M113 APC. Not original but near enough for me.
5 Likes
Coming along very nicely. 
Thanks guys. If only you could see the finish! I’m embarrassed to say it’s the worst paint job I’ve done since I was a teenager using a broom to paint my models.
I simply couldn’t get the paint to ‘flow’. It looks like it was painted in a sand storm.
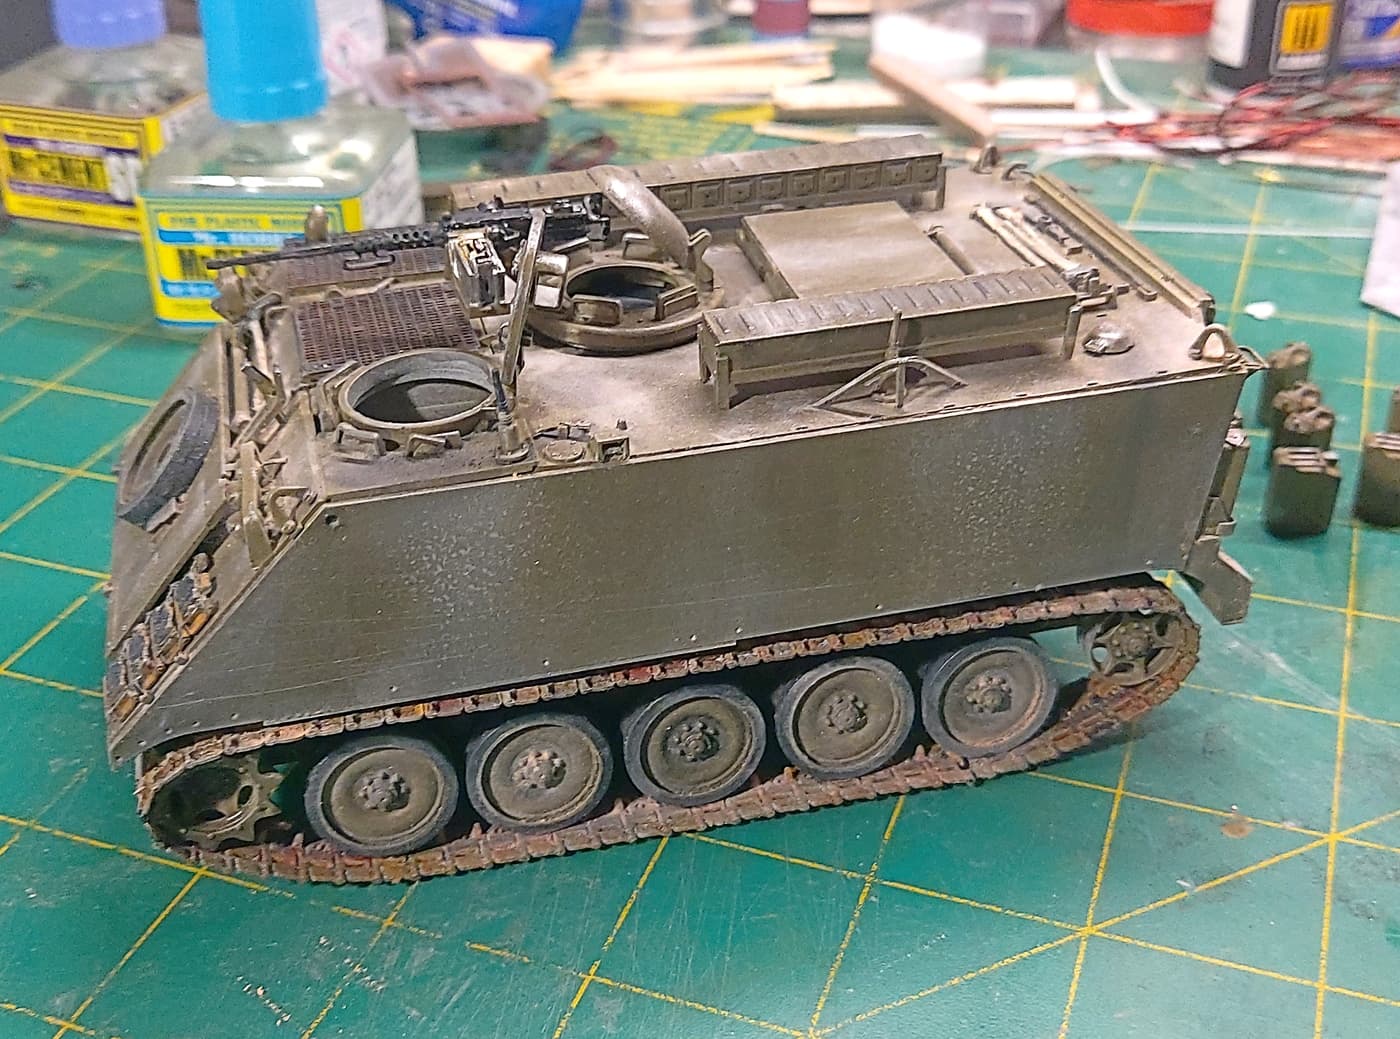
Lots of weathering coming up.
Advice needed. I purchased some Olive Green. I can’t find it. Maybe in one of my brain dead moments I threw it out with the rubbish. So question - will Australian Camouflage Green do the job? I’m not that fused and just want to see the end of this build. But I want it ‘sort of’ close.
EDIT - Oh dear. I found it. Hiding where I put it. So Olive Drab it will be. Olive Drab! Olive Green. No wonder I get confused. 
1 Like
Update -
Note to start with. - I’m not a happy camper with this kit. So I’m rushing to get it OFF my desk.
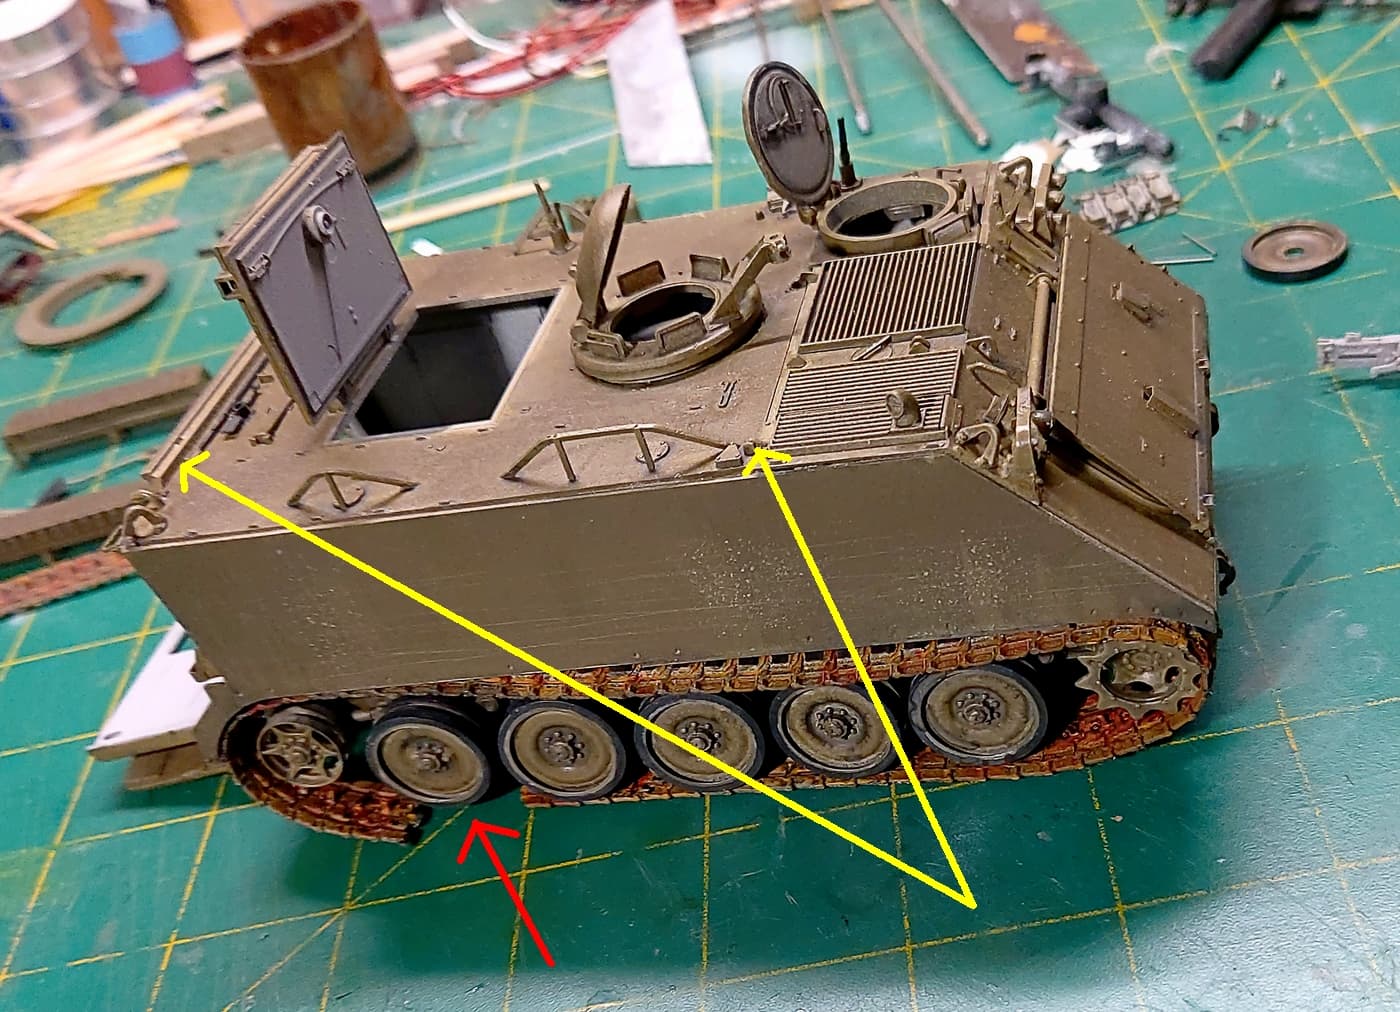
See red and yellow arrows on second image.
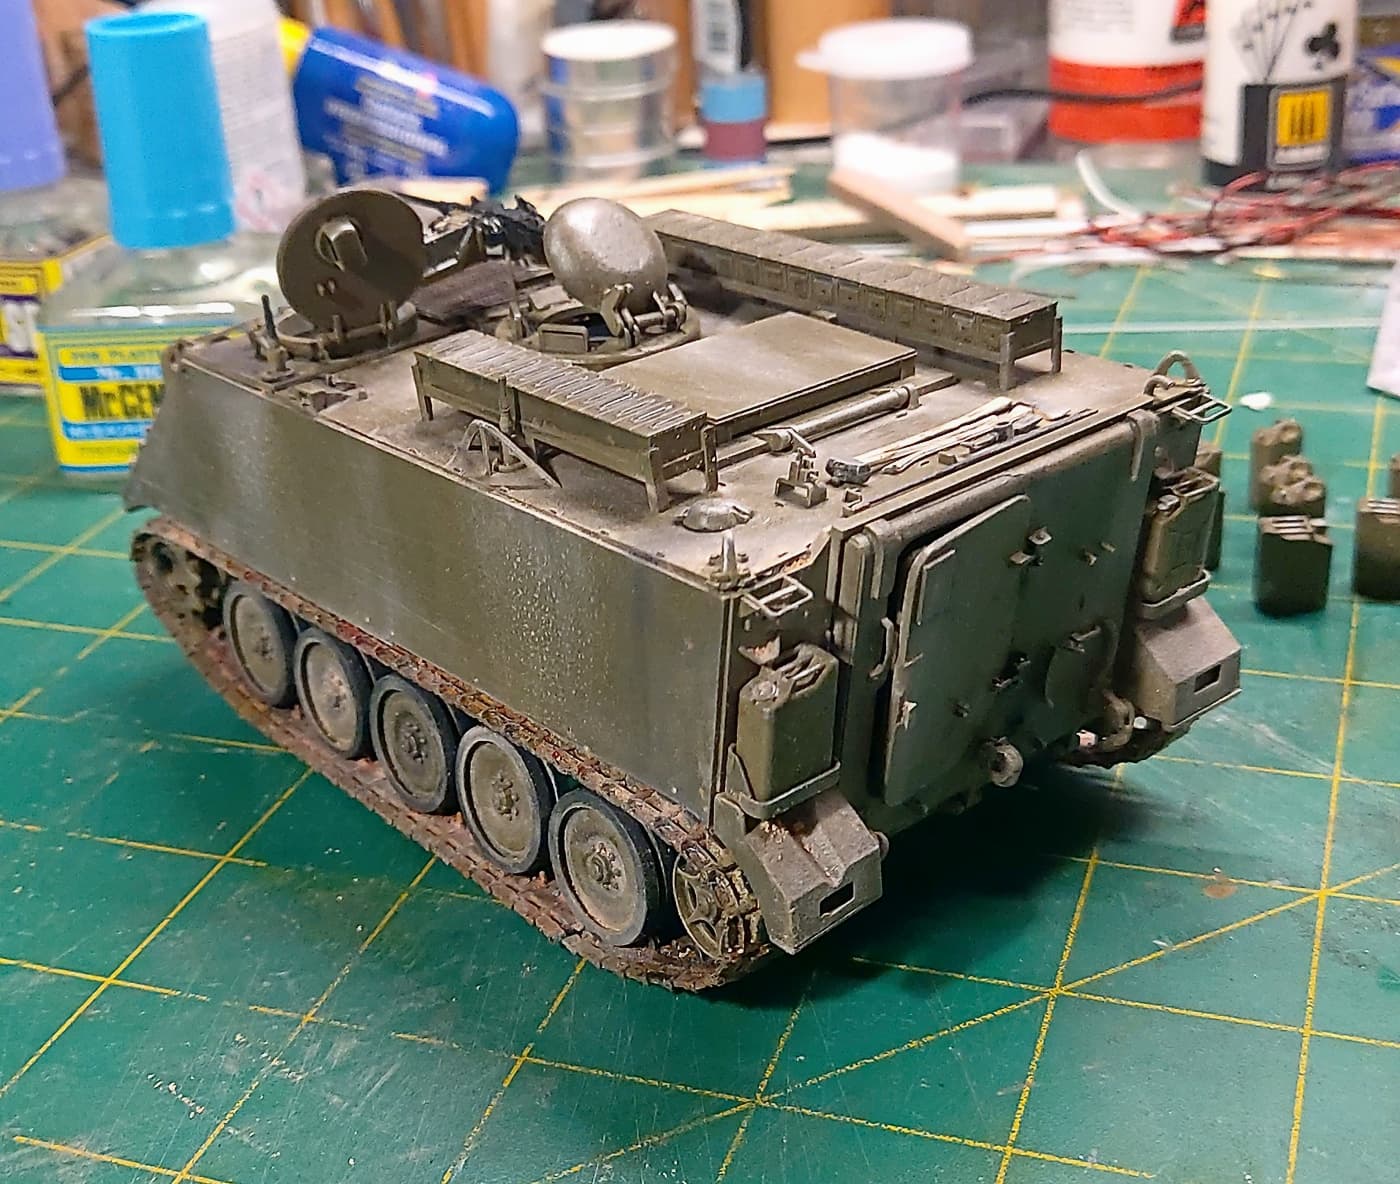
Red arrow shows the short tracks. Yes they are slack in the image. But if I pull them together in an attempt to join them there’s a chance the drive sprocket etc will break off. Tracks are 1 or 2 links short. Remember they are rubber band tracks. Also while attempting to get them on all the ‘bits’ are in danger of being broken off. If you’re building this kit I would suggest installing the tracks in step 4 when the wheels are installed. (Some of my wheels ‘melted’ off. My Mr Cement ate the small pins).
Yellow arrow - now this is some dumb arse that wrote the instructions. !!! In step 9 you put the front deck on. There are 2 hinge parts where the right yellow arrow indicates. In step 11 you are asked to install 2 parts D33 onto the main deck. In step 12 you install the main deck. But it’s impossible to get the deck on because of both the front hinge parts and rear D33 parts. My solution was to nip off the 2 parts D33. If I was to build another one, I wont be, I would install the main deck before the front parts.
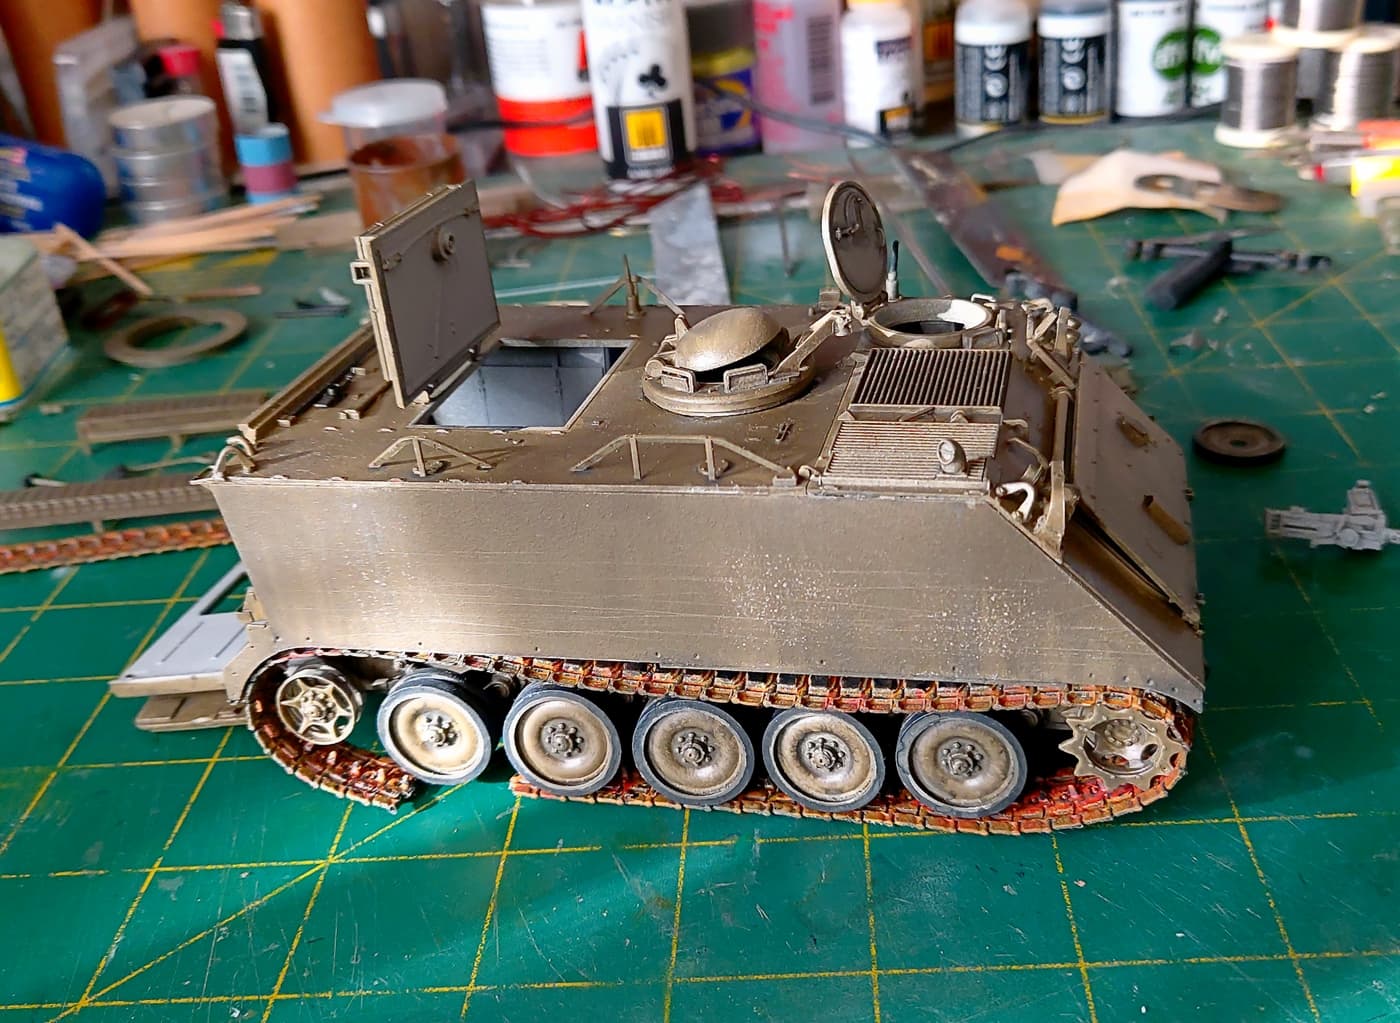
ps. my paint is crap because I stuffed up the primer which shows through the top coat. I’ve started to apply some weathering to ‘hide’ the crap paint work.
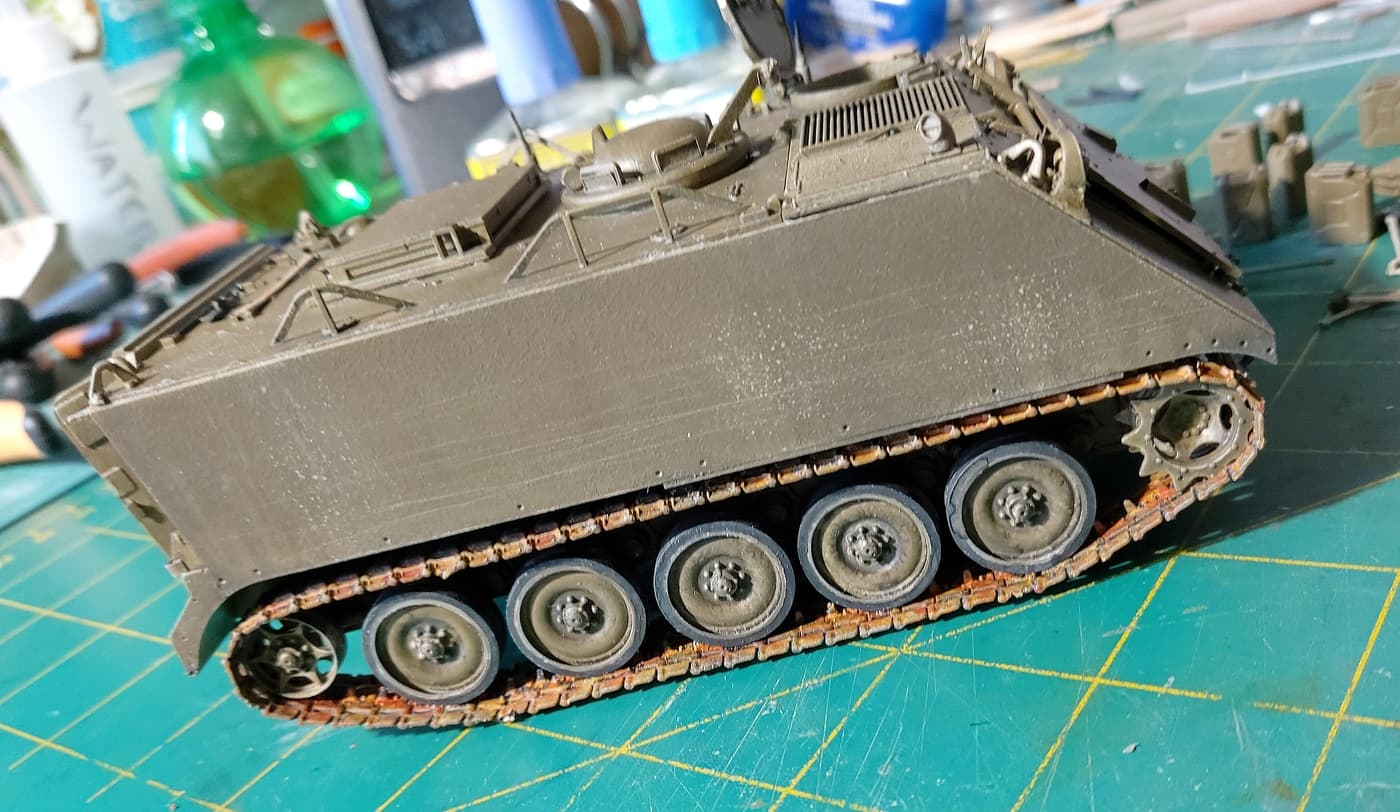
Tracks - Most of my images show tracks that touch the tops of the wheels. These tracks are so tight they never will. Another observation. The tracks on this kit look a lot narrower than all my images. I searched the web but couldn’t find any information about various widths being used. Did the width vary?
Keep in mind I’m now building a Frankenstein M113 so no rivet counting please.
3 Likes
Ouch Bruce you sure are suffering for your Art, I feel your pain. Maybe your thread-title was more apposite than could’ve been imagined, commemorating the start-date of a heroic defeat. I admire your perseverance, maybe there’s still hope it could proudly serve 95% submerged in a Long Tan swamp diorama?
1 Like
Or even just have the lower track run covered by a long muddy puddle and have the track ends just glued to the road wheels ? A lot of effort has gone into it to bring it up to this level…
2 Likes
My original intention was to park the M113 in a paddy field. That would fix the track issue. Cover the rest up with mud.
FWIW I have just been having a good tug.  Sheez, a tug on the rubber tracks. I have managed to stretch them just enough. So far they haven’t a memory and returned to their former length. I will have a quick measure again in the morning.
You’re doing it wrong if it doesn’t, unless your into that.
2 Likes
But it makes you go crosseyed! And that aint good when handling very small things.
2 Likes
Bruce … you are gift that keeps on giving lol …
You never ever admit to that lol 
2 Likes
I think he was referring to parts on the model!?
Ken
Sorry guys. No go. I tugged on it last night. I stretched it. Looked just fine to me! This morning it has shrunk back to its original size. It was a cold night so that may be why it had shrunk this morning.
So?
So I could cut 2 links out of one side and add them to the other side. That would make one side ok. The other side I could bury in the mud or something.
I wouldn’t dare think of stretching them and gluing them in place. I’ve already had one wheel break off.
So to anyone thinking of building this kit be prepared for a work around on the tracks.
At the moment I’m supergluing on the tracks 2 links at a time along the bottom. I started by gluing fast the drive sprocket. then working along the bottom. This should give me some slack at the top for some sag.
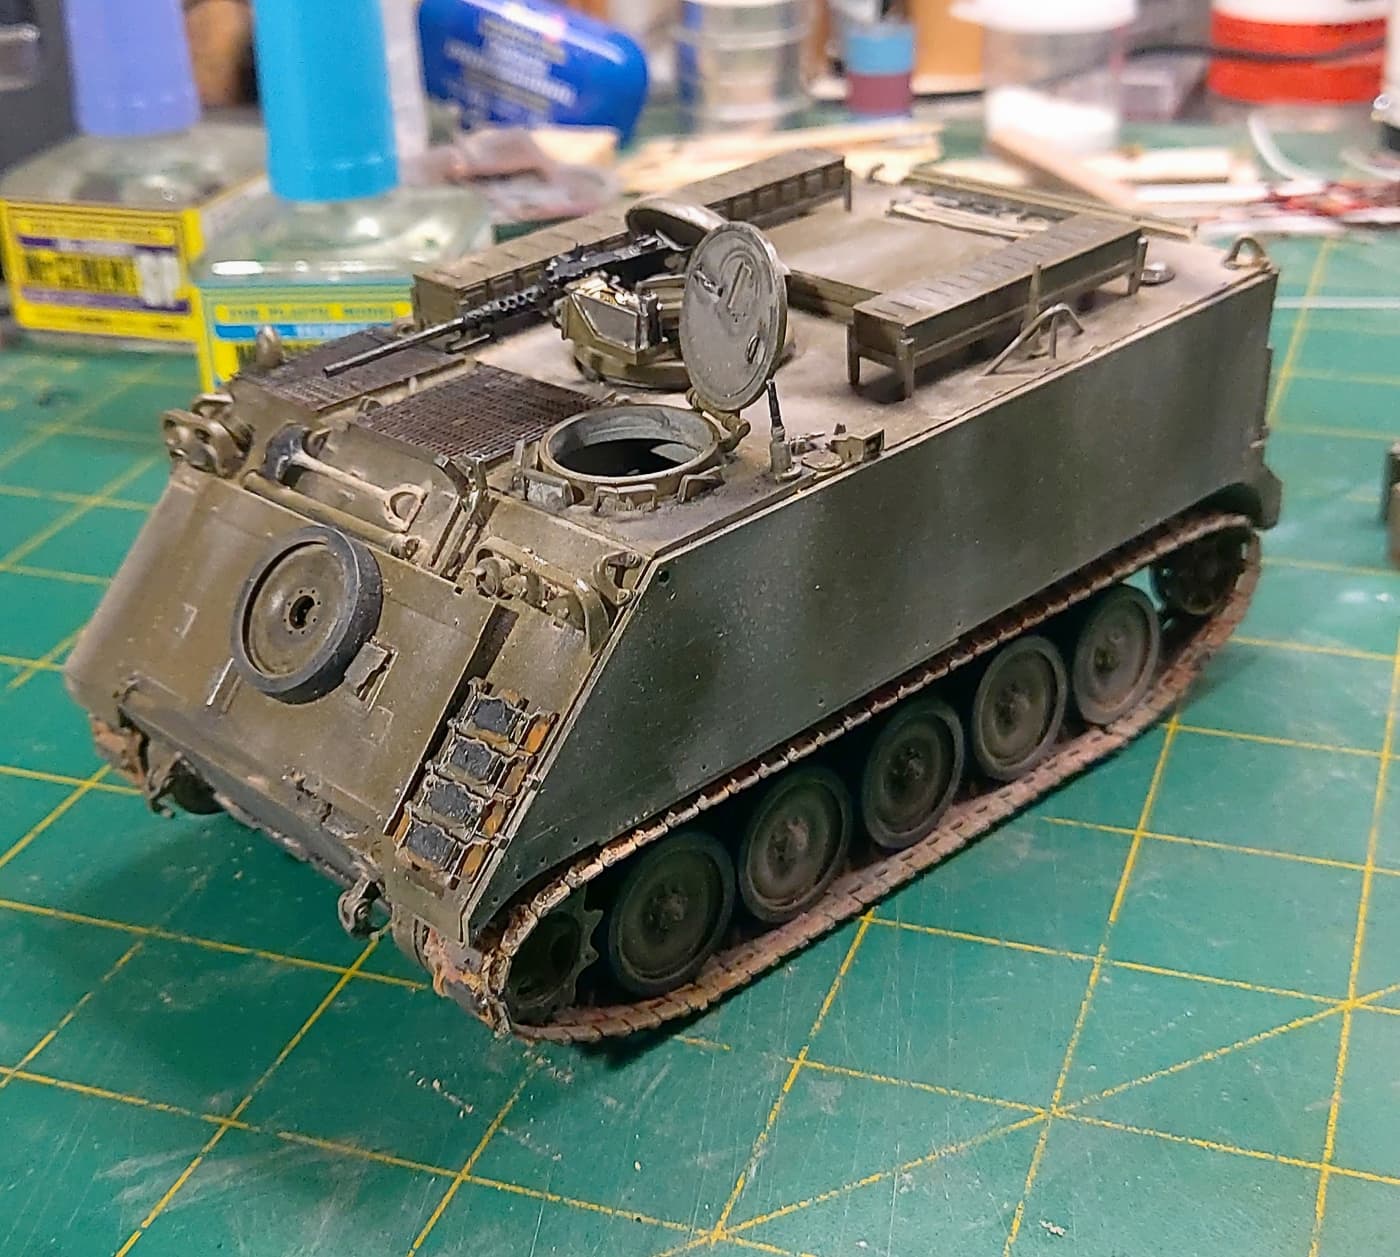
It’s a nice small build that has had way too many issues. I’m beginning to like the results. BUT!!! …
1 Like
OK. One side done.
This is a single rubber band track stretched to fit. I had to superglue the track to the wheels. It works. But I expect the tension to be too much and at sometime something will let go.
Note there is no sag at the top.
2 Likes
I would still go with the paddy field or deep long puddle scenario … you have it looking good though so well done on that as well.
3 Likes
I agree with John. Just cut the track, put the vehicle in the paddy and cover the gap with mud. it’ll save you the headache of having the track break under tension or the roadwheels drive sprocket bow and break.
1 Like
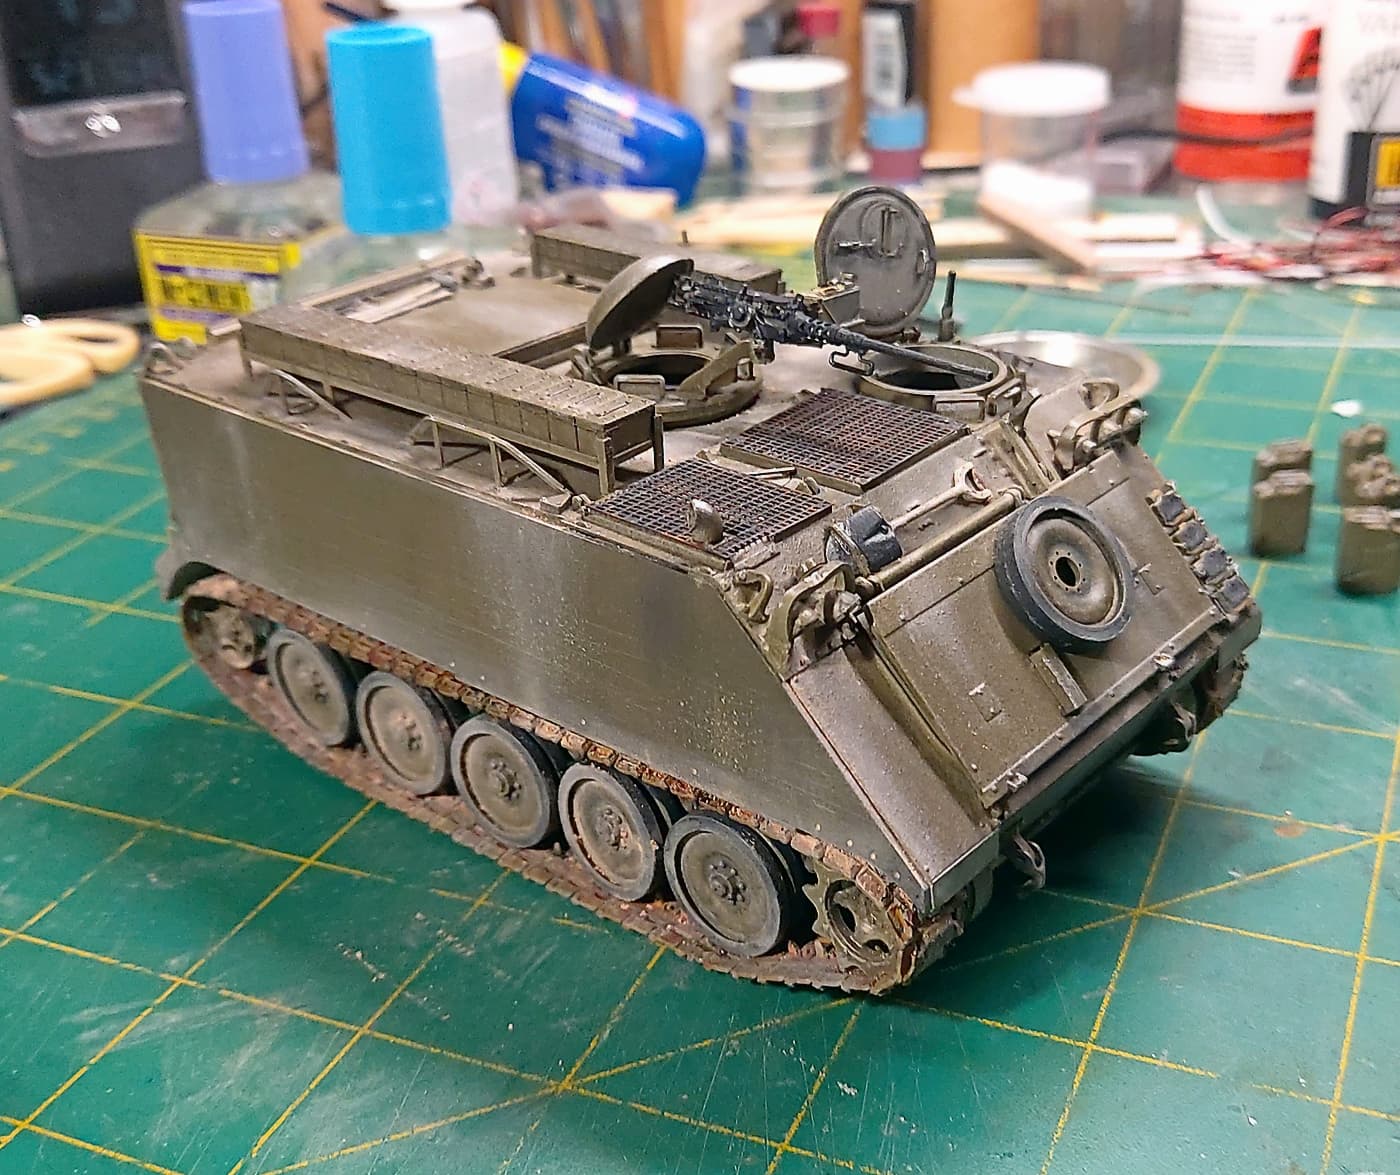
The END.
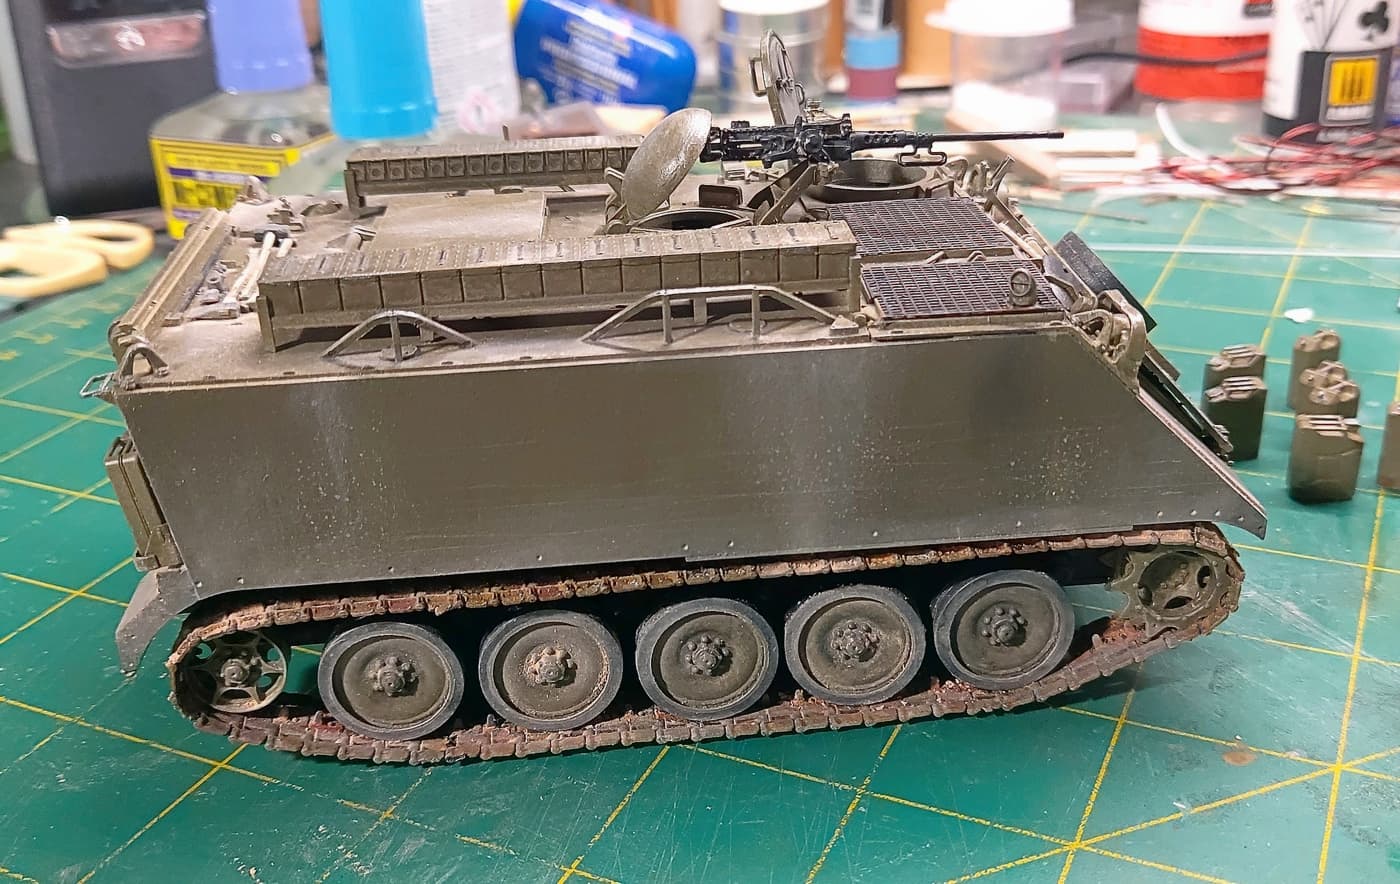
OK so just a few missing details to go. But I’m calling it done. I’m undecided if I’ll bother with a diorama.
I would like to add some more “junk” on top but …
Kit was a pain. Mix of push pins and lots of flash. Crazy instructions at times. (Mined you that’s not unheard of with any kit). I started out to build a Long Tan replica. My failure to do more research was the first big mistake. That mistake made the task a lot harder. So I gave up and built a generic M113. Hence no markings. Given some warnings the kit could make up to a nice build. The interior deserves way more attention than I gave it. Positives? Well all the doors and hatches work.
Not sure what my next build will be. But it will involve more planning! 
6 Likes
It certainly gave you a hard time, but you brought it back in line. Great finish even with the issues you had … Lovely work
2 Likes