Hi David,
Playing catch up, great stuff going on here, really liking the crew reloading the tubes, totally adds depth to the whole. also really like the weathering and all if it really.
Cheers
Si
Hi David,
Playing catch up, great stuff going on here, really liking the crew reloading the tubes, totally adds depth to the whole. also really like the weathering and all if it really.
Cheers
Si
Hi Dave,
very nice progress.
I’m looking forward to when your model of the Tama is finished, because I think it will be a masterpiece!
cheers, Daniel
She’s looking amazing, David 
Si - glad o see you back and thank you for the comments.
Daniel - thank you sir - I am looking forward to finishing it myself - I just need to inch past the scratch -building I have to do.
Russell - thank you!
For everyone - I will have an update this weekend - as I mentioned above progress has slowed as I am trying to scratch build some structures that Aoshima left off the kit - needless to say it is proving to be somewhat difficult. Hopefully I will get them done this weekend but…
Thanks for stopping in.
David
Hey everyone, well it has been some time since I have provided an update so here I go.
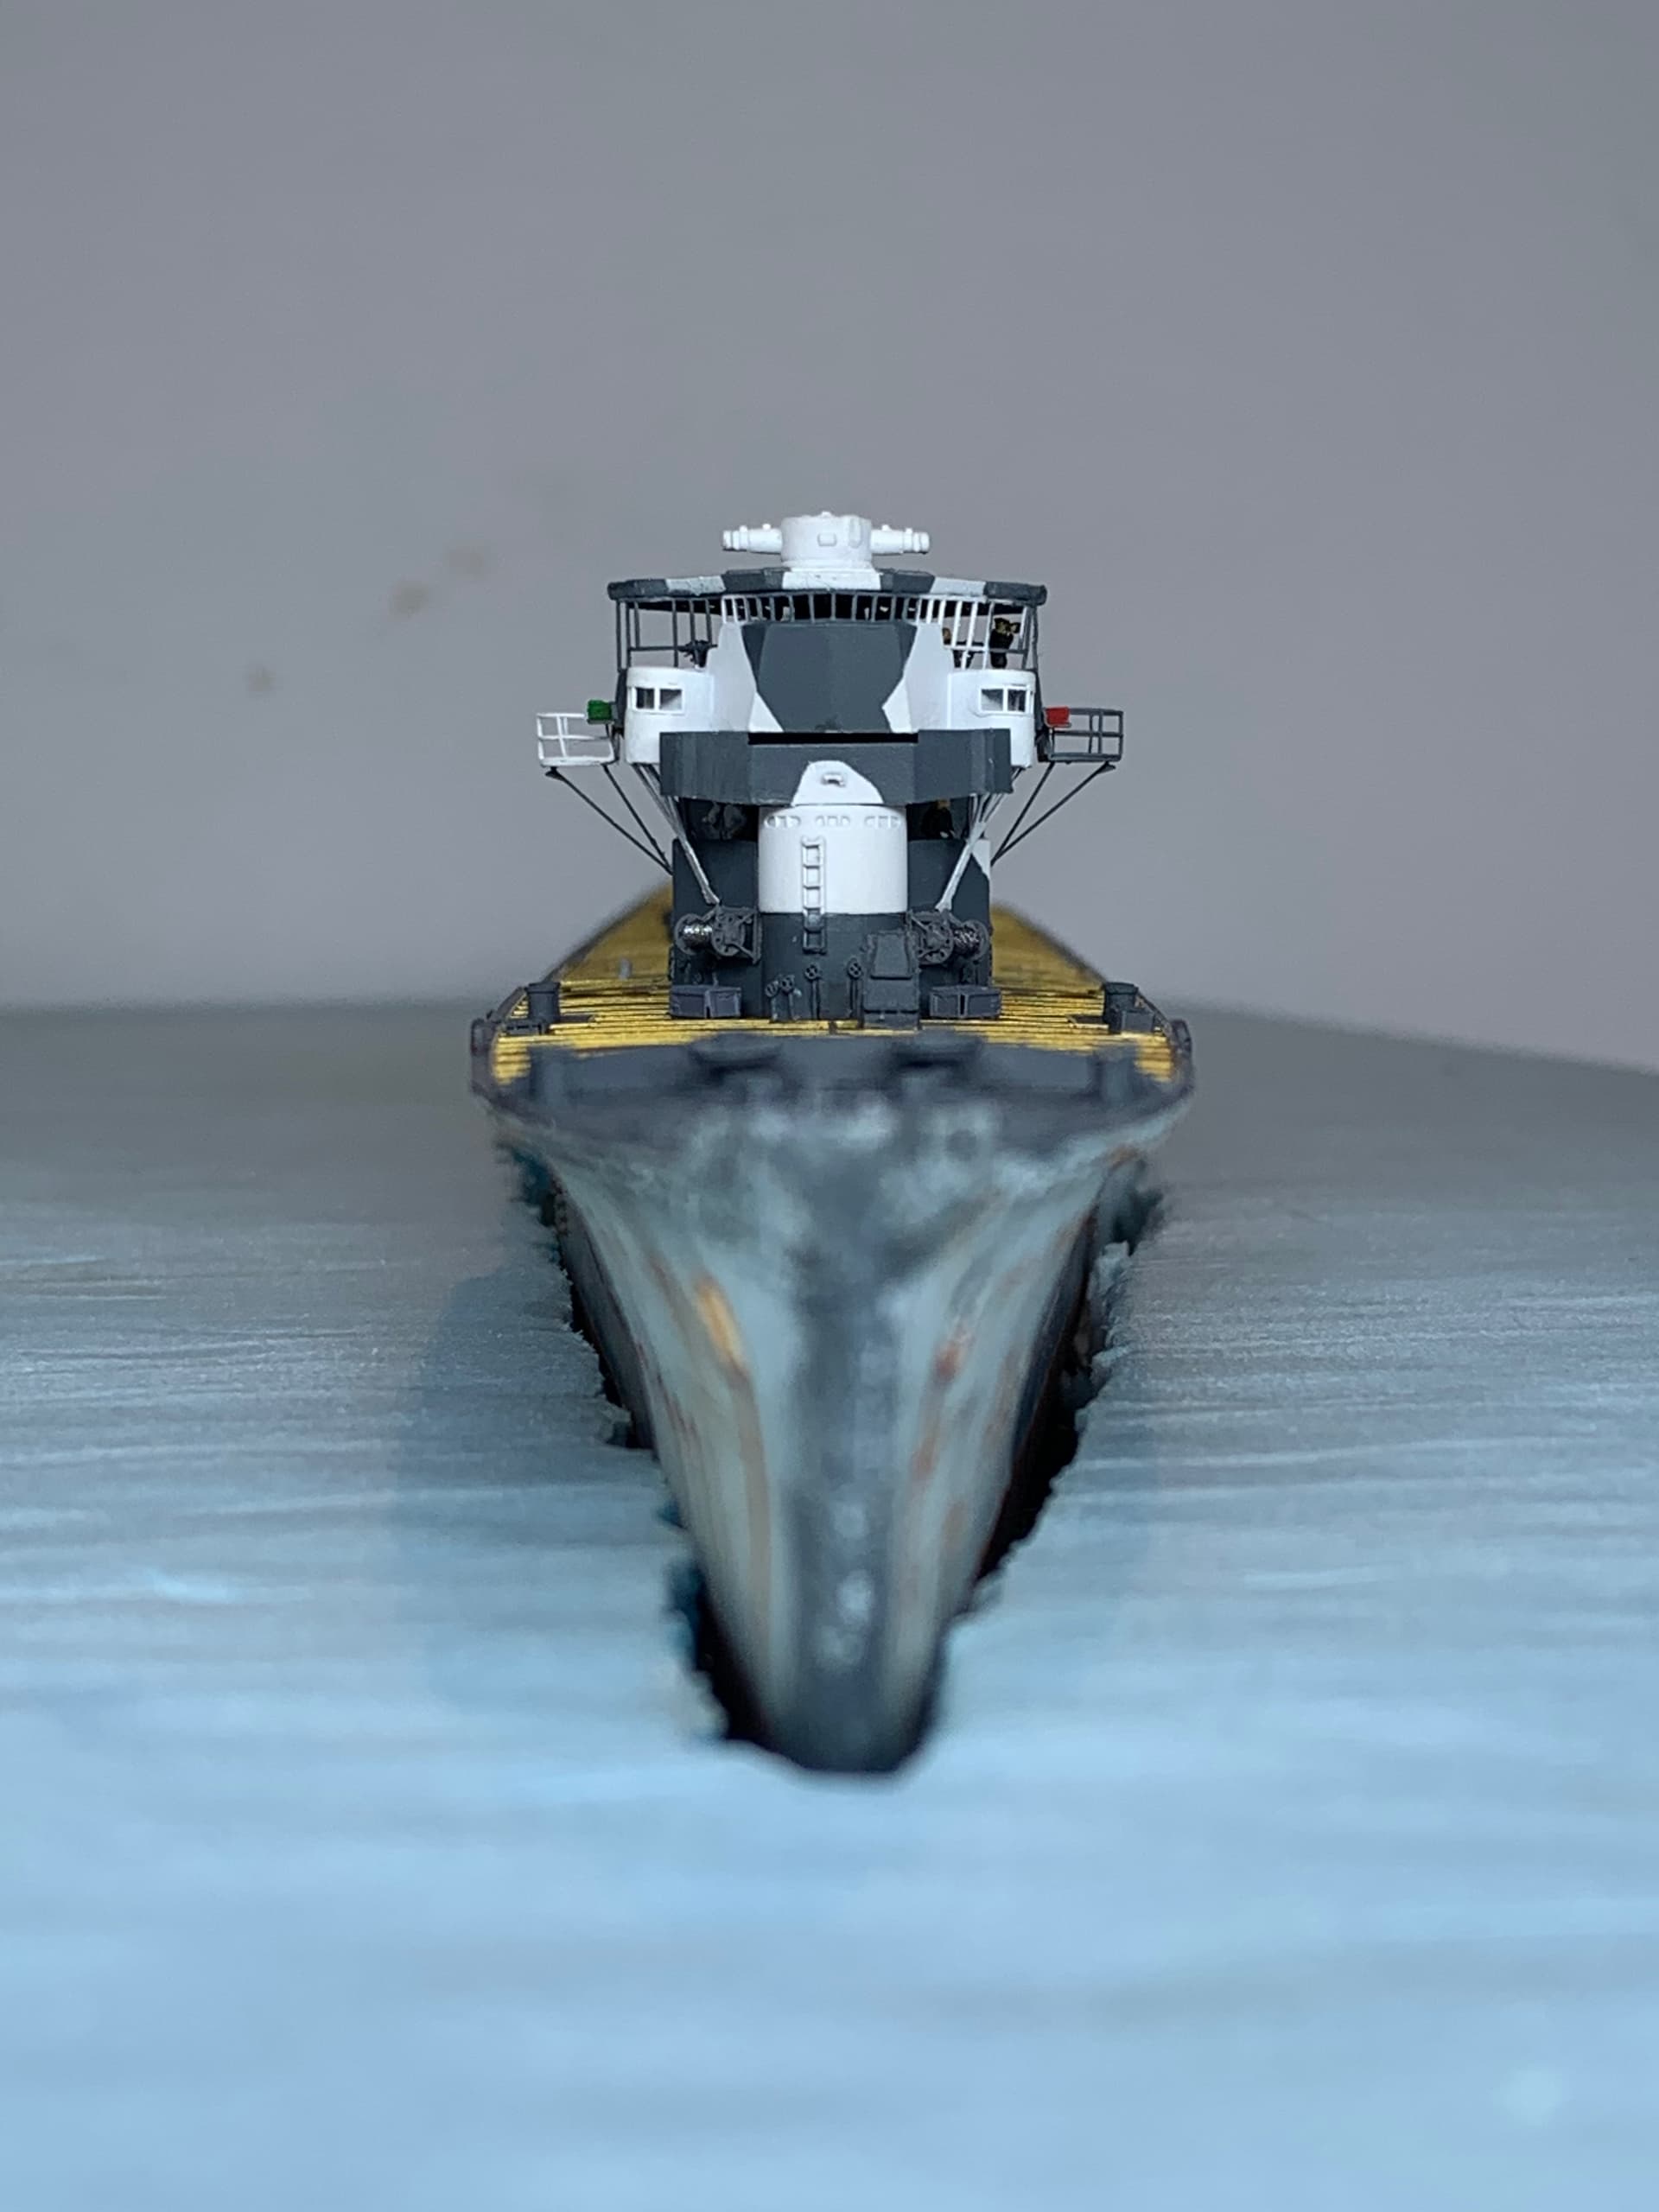
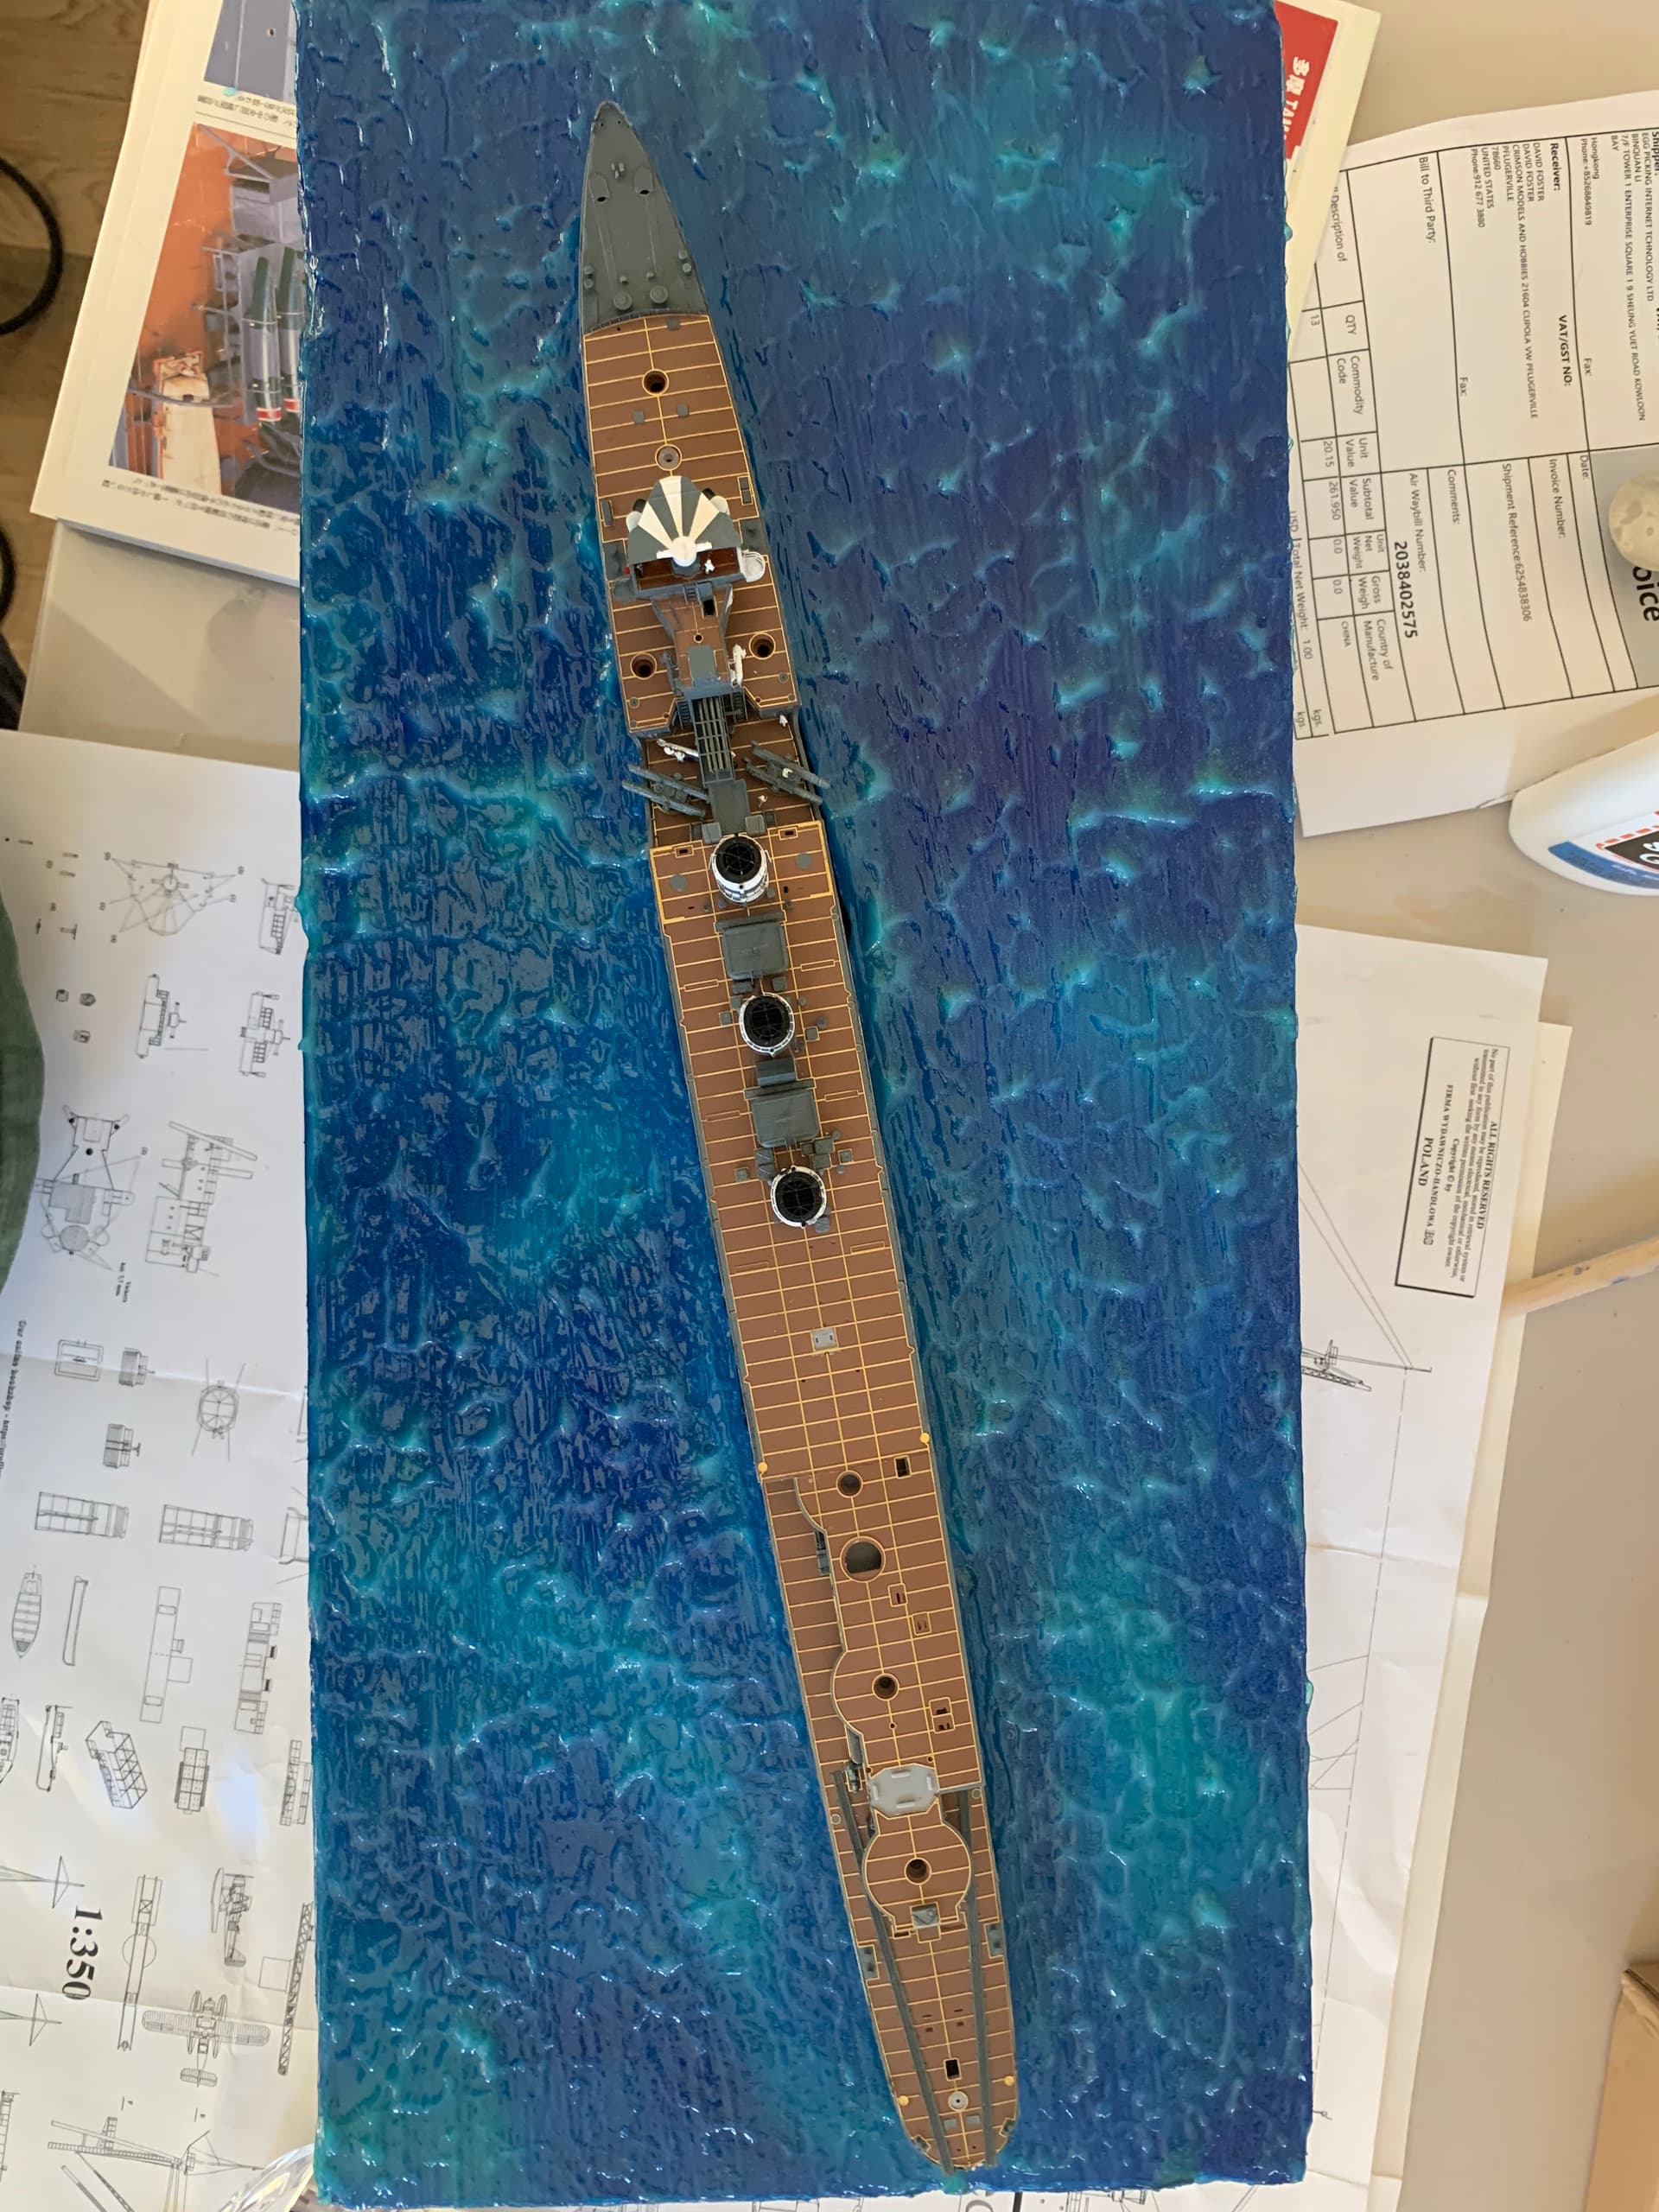
I have been trying to divide my time between building the Tama and developing the sea base she will sit in when done. I used my go to 2" insulation foam as the base, build a wooden frame and am working on the plexiglass cover. Since I need to know how tall the ship will be with the mast in order to complete the plexiglass cover I have suspended work on the scratch built parts to work on the mast.
I have to admit this is the most complicated mast I have worked on since starting ship building. I still have not figured out how I am going to complete the mast but here are some update shots.
Here is original foam insulation base using 1" insulation, however the painting and adding the Gel Medium did not work out so I tossed it.
This is after I changed to the 2" insulation, painted the water and added gel medium.
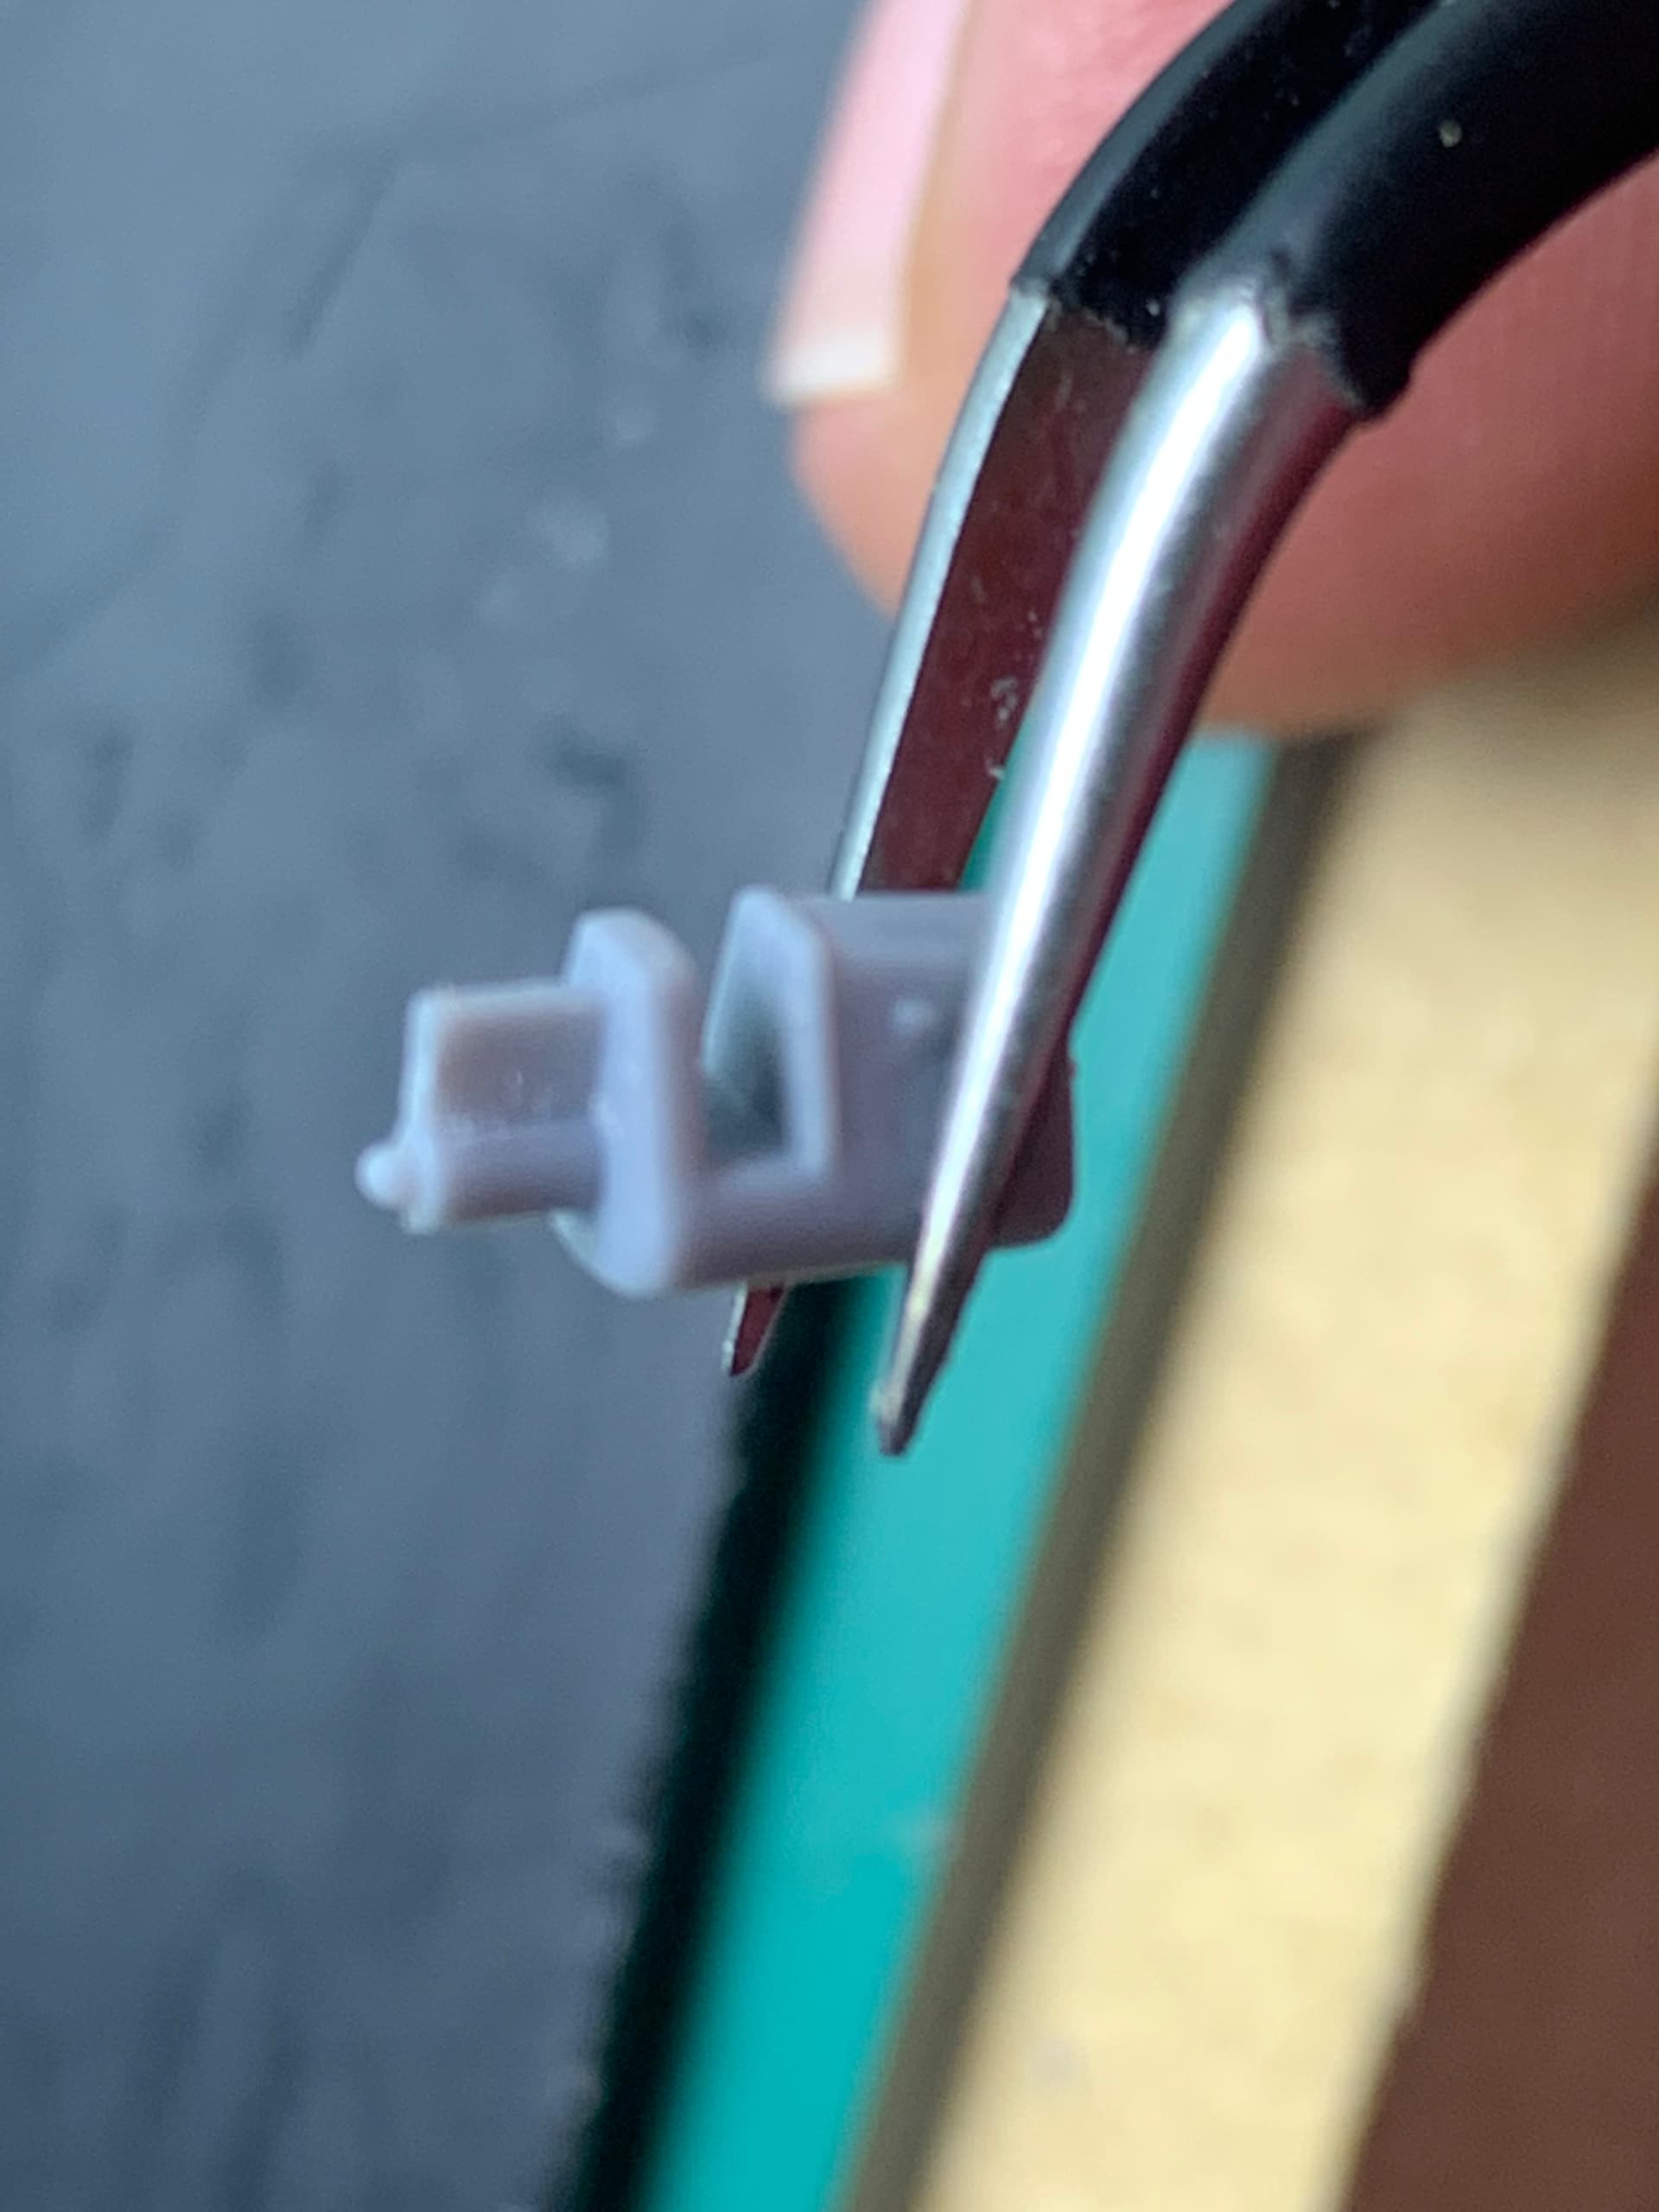
Now comes the parts for the mast. After cleaning off all the molded detail I began assembling the different parts and pieces.
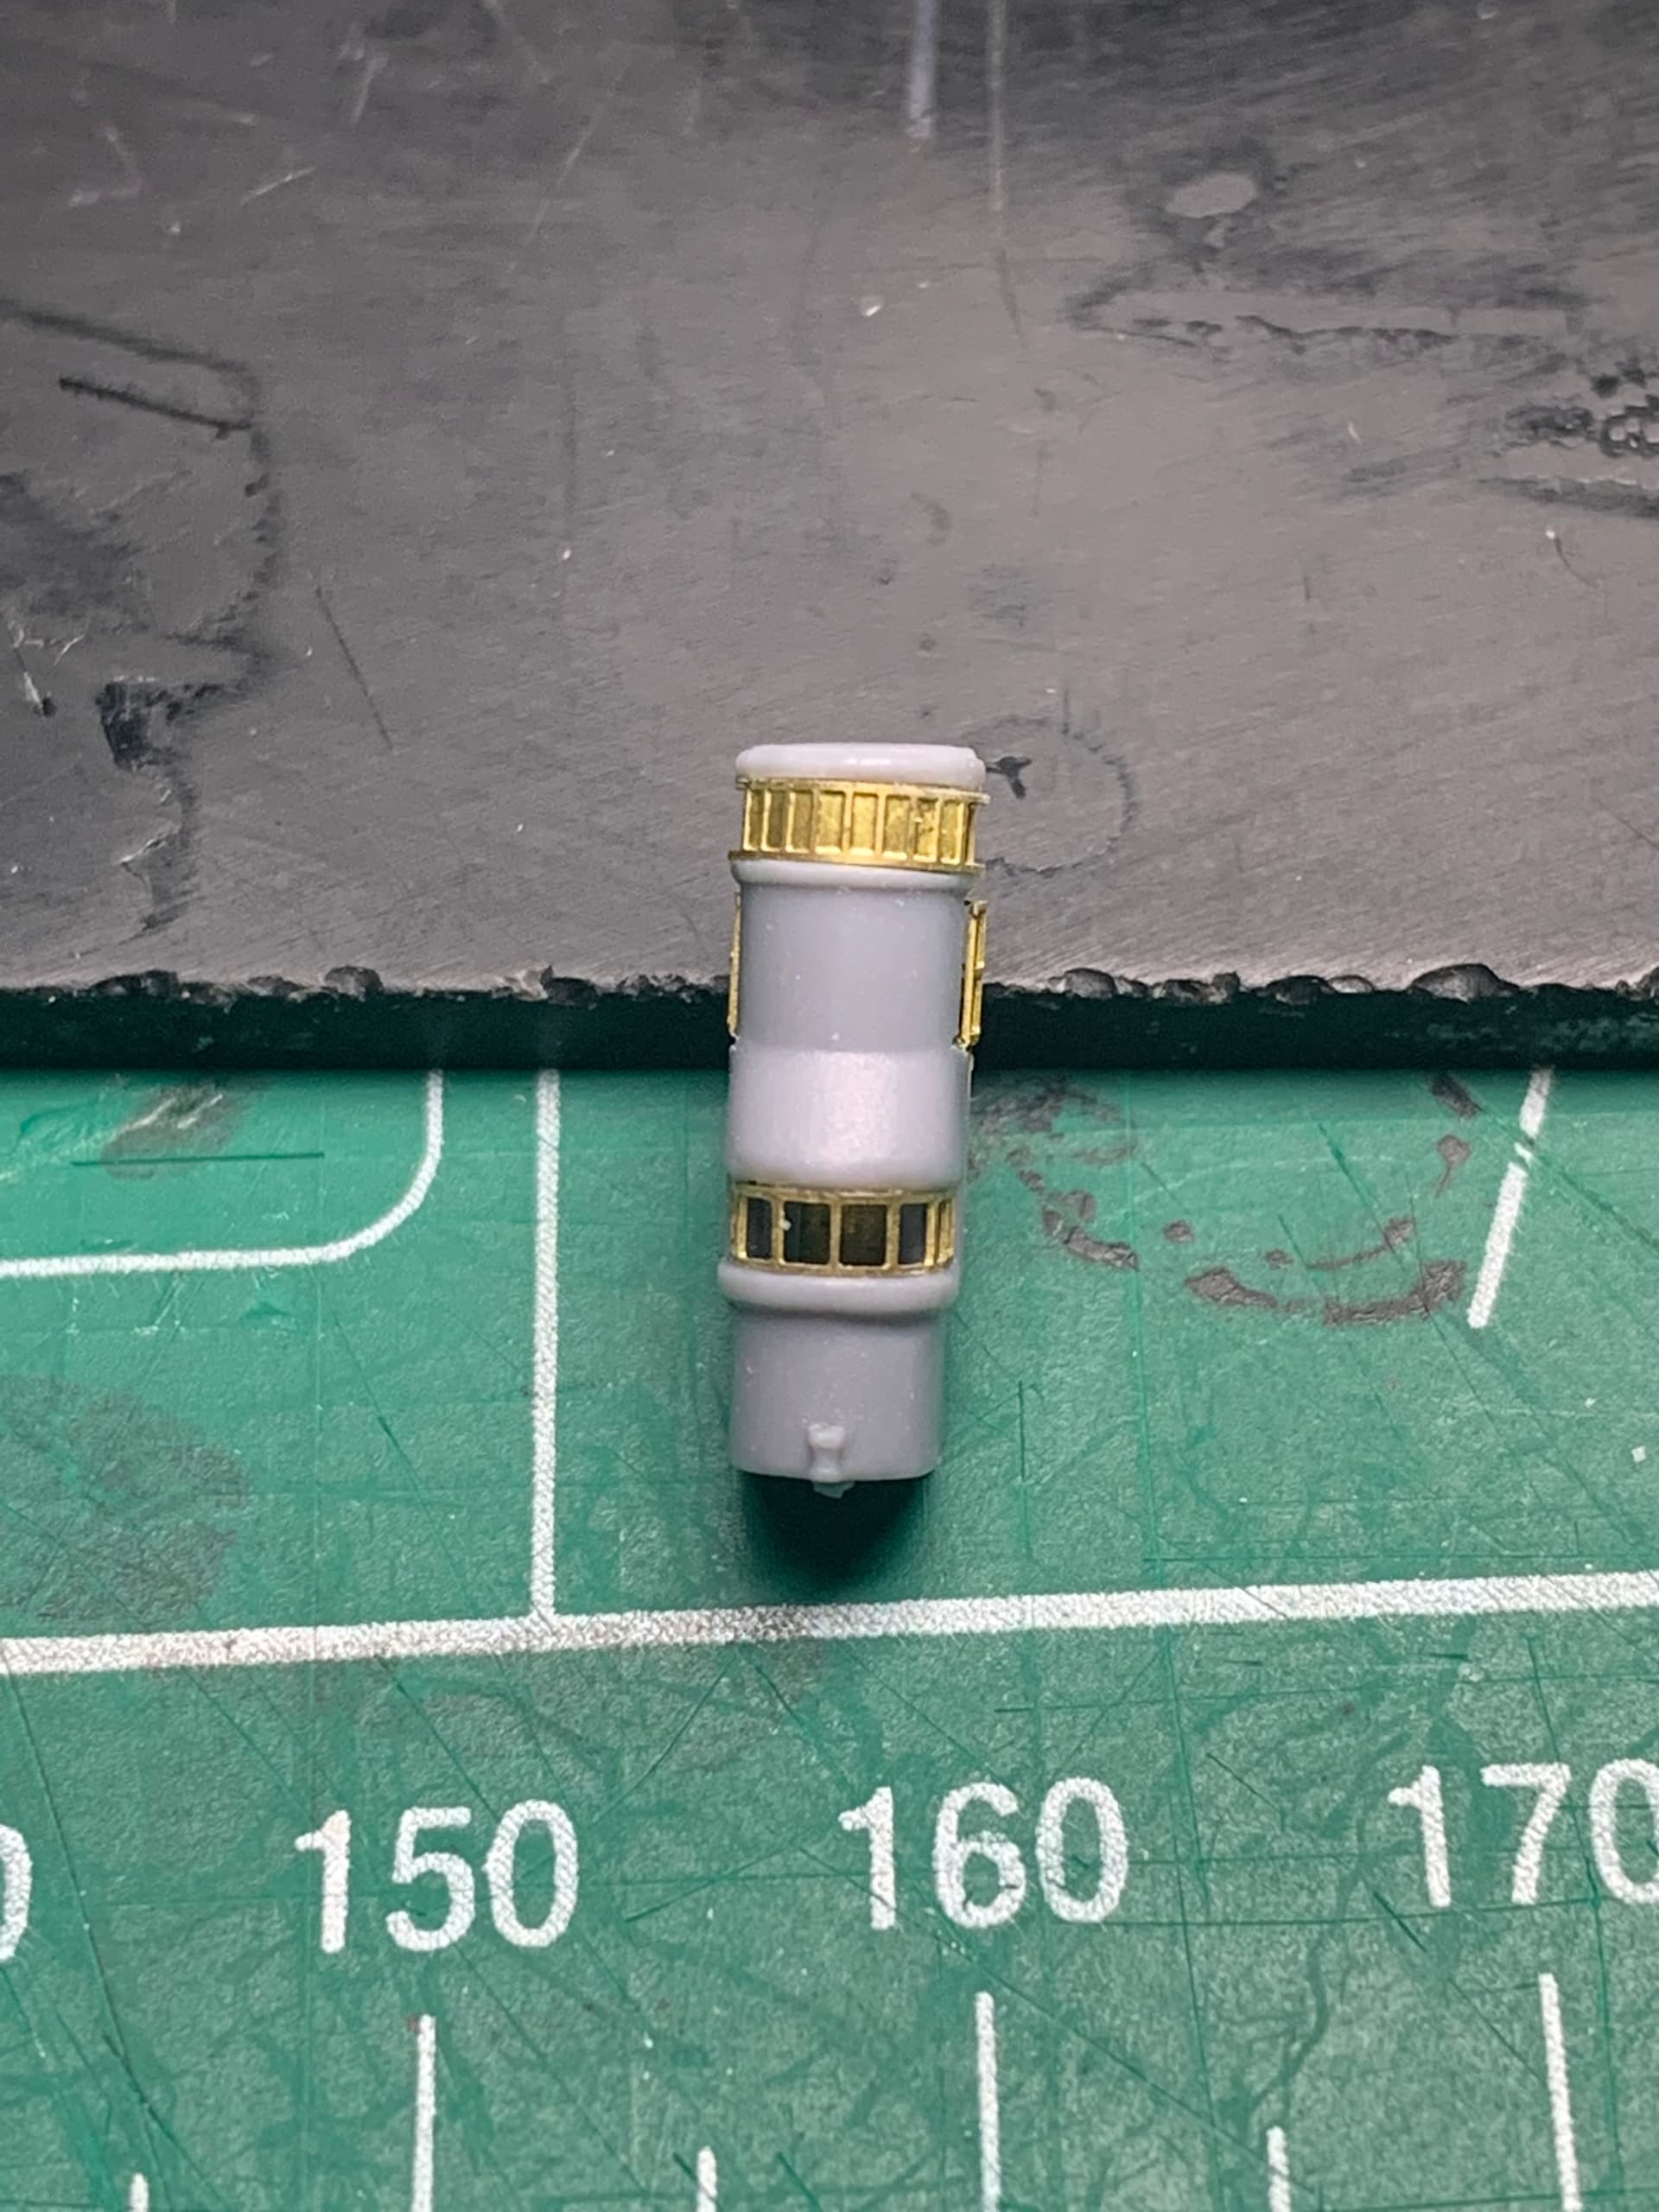
The mid-level crows nest was a solid piece of plastic so I used a low speed dremel to drill out the interior. Attacking it from the bottom worked out pretty well.
The upper crows nest had that solid plastic part that I was just supposed to wrap PE around, but since the backside is open I decided to remove the plastic.
Here it is with the plastic removed and the PE added, after looking at the photo I realized how crooked t was, so I removed i and reapplied so straighten everything out. These are photos from before the fix.
The upper mast is pretty dull and the Rainbow PE only provide what you see in the photos, so I used some Five Star rigging pullies and added them where appropriate.
Here it is with the pulley’s attached and the upper portions glued together.
According to the plans there were telescopes in this portion of the upper mast, so I took some binoculars and added them as I was having difficulty in making telescopes. I think it fits the need.
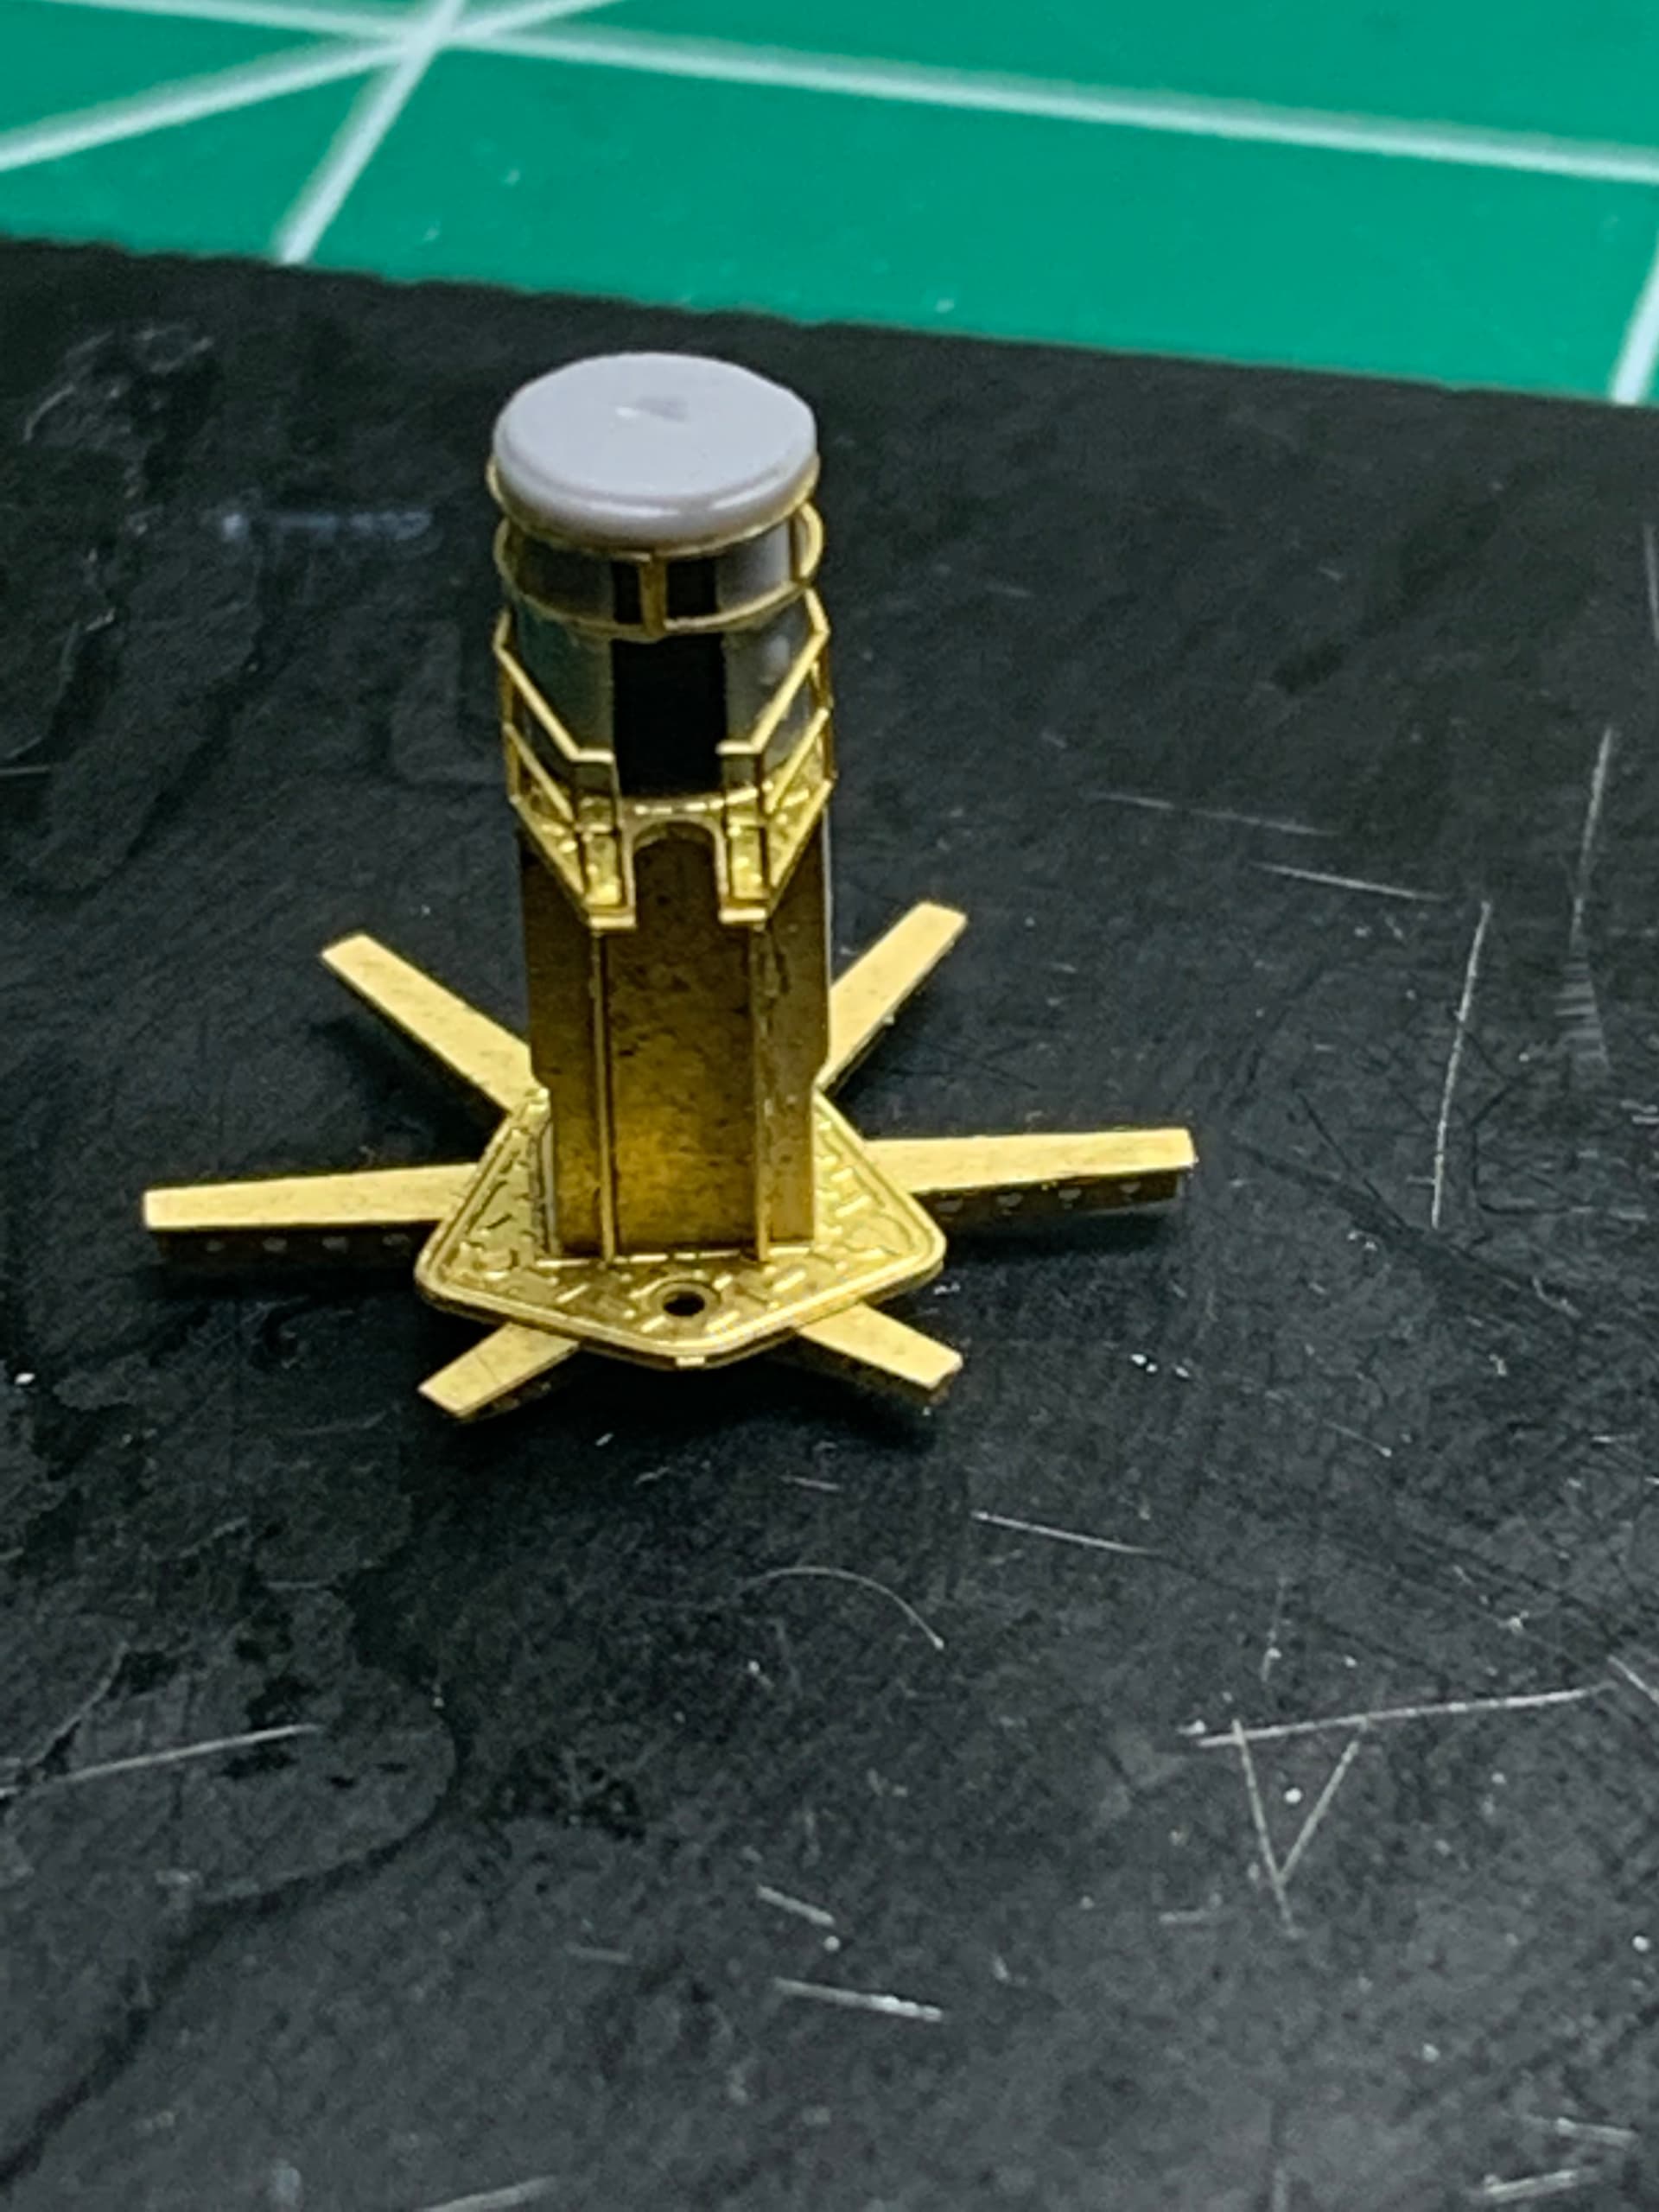
Here is the search light platform. the railing was a little difficult due to the multiple bends. After bending, straightening and bending again I finally got it to sit correctly.
Now to finish up the tiny details like the weather vane, paint it white, mask it and paint it grey before finally deciding how I am going to put this all together…
Well that’s a bit of an update, hopefully I will have some more in the near future.
Thanks for stopping in and as always comments, suggestions or criticism are always welcome and encouraged.
Happy building!!
David
David,
Very nice work on improving that crows nest, to take a solid piece of plastic and turn it into a nicely detail fixture is truely a skill.
Mark 

Hi David,
I wonder, how would the guys climbing up those ladders from the deck actually get onto the searchlight platforms? There don’t seem to be holes for them to climb through… 
Don’t worry, I’m just bustin’ your chops!  This is first rate work, and I continue to admire your skills as you bring this challenging build to life
  !
!
Mark, thank you sir - your words are too kind!
Tim - I have wondered the same thing. I have poured over the plans and just cannot see how they got from the ladders to the light platform. The only thin I can thin of is that they go through the crows nest onto the platform and the ladders underneath are just for reaching whatever power or control lines may have been accessible.
David
I think there were small hatches which are not actually depicted in the etch. It would make sense since uncovered openings in the platforms would have been a hazard for the searchlight crews working there at night!
Tim - I would agree but according to the plans there are no hatches. Also, that big open area in the middle is not blocked off by hand rails. I was thinking there were stairs leading to the lower deck but alas nothing.
I have reviewed all of the resource material I have on Kuma Class Light Cruisers and cannot find a good picture of that area. It has me stumped.
David
Coming on very well indeed David,
The contrast on the camo on the funnels and bridge makes a striking build, The etch work on the masts is very tidy indeed.
Great stuff.
Cheers
Si
Thanks Si, really appreciate the comments
Hey everyone
Sorry for the lack of updates, unfortunately time available has been limited so progress has been slow. Due to the Veteran’s day holiday yesterday I was able to spend some significant time at the bench - hence an update.
I have been lacking in my photo taking of progress so this will be a consolidation.
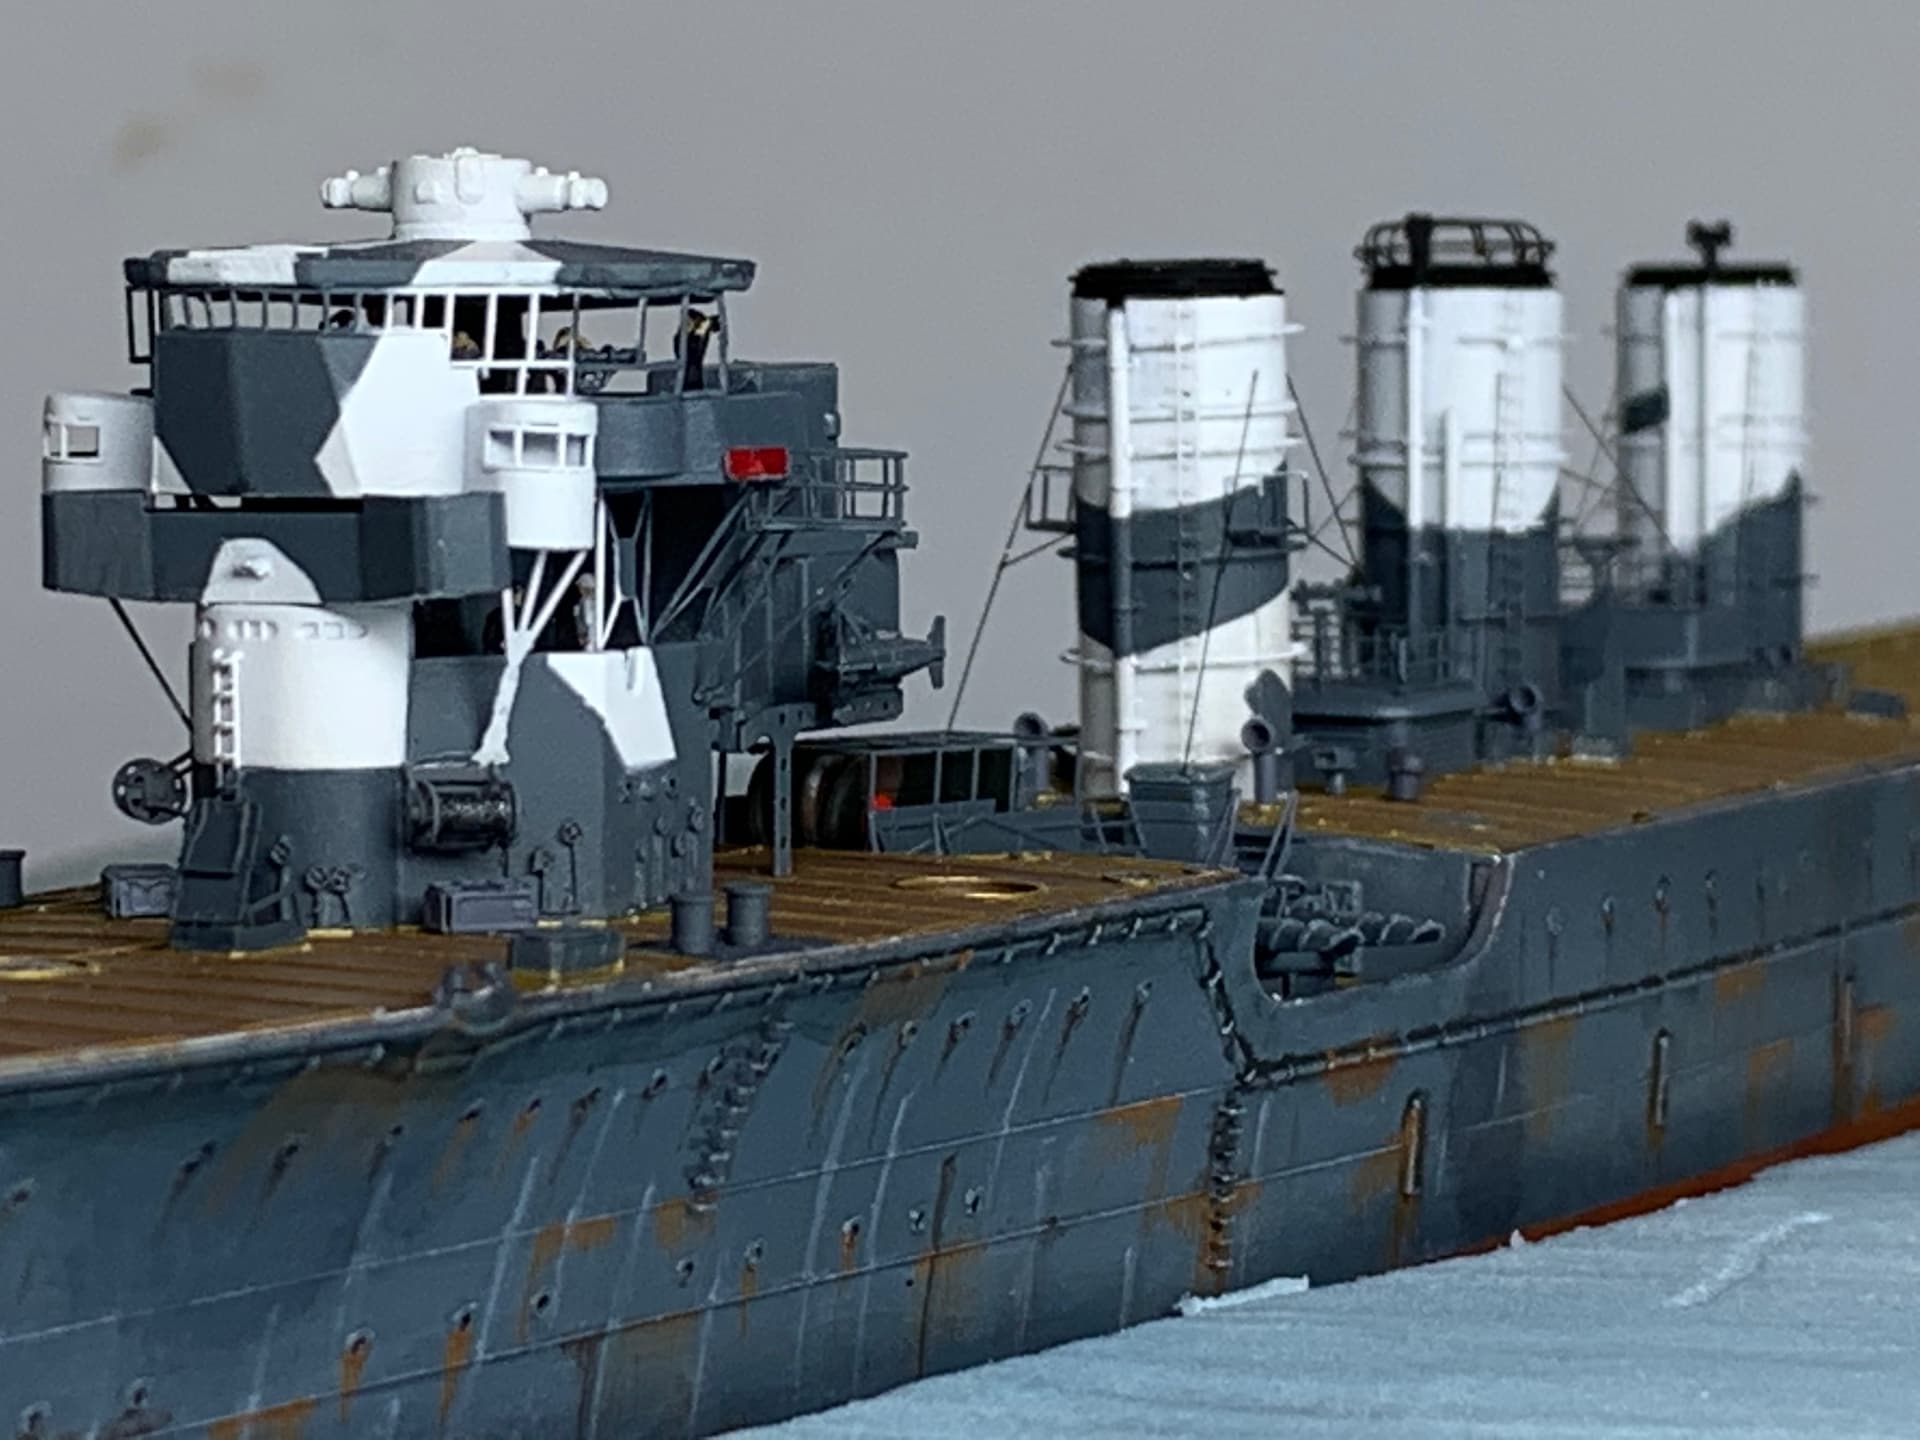
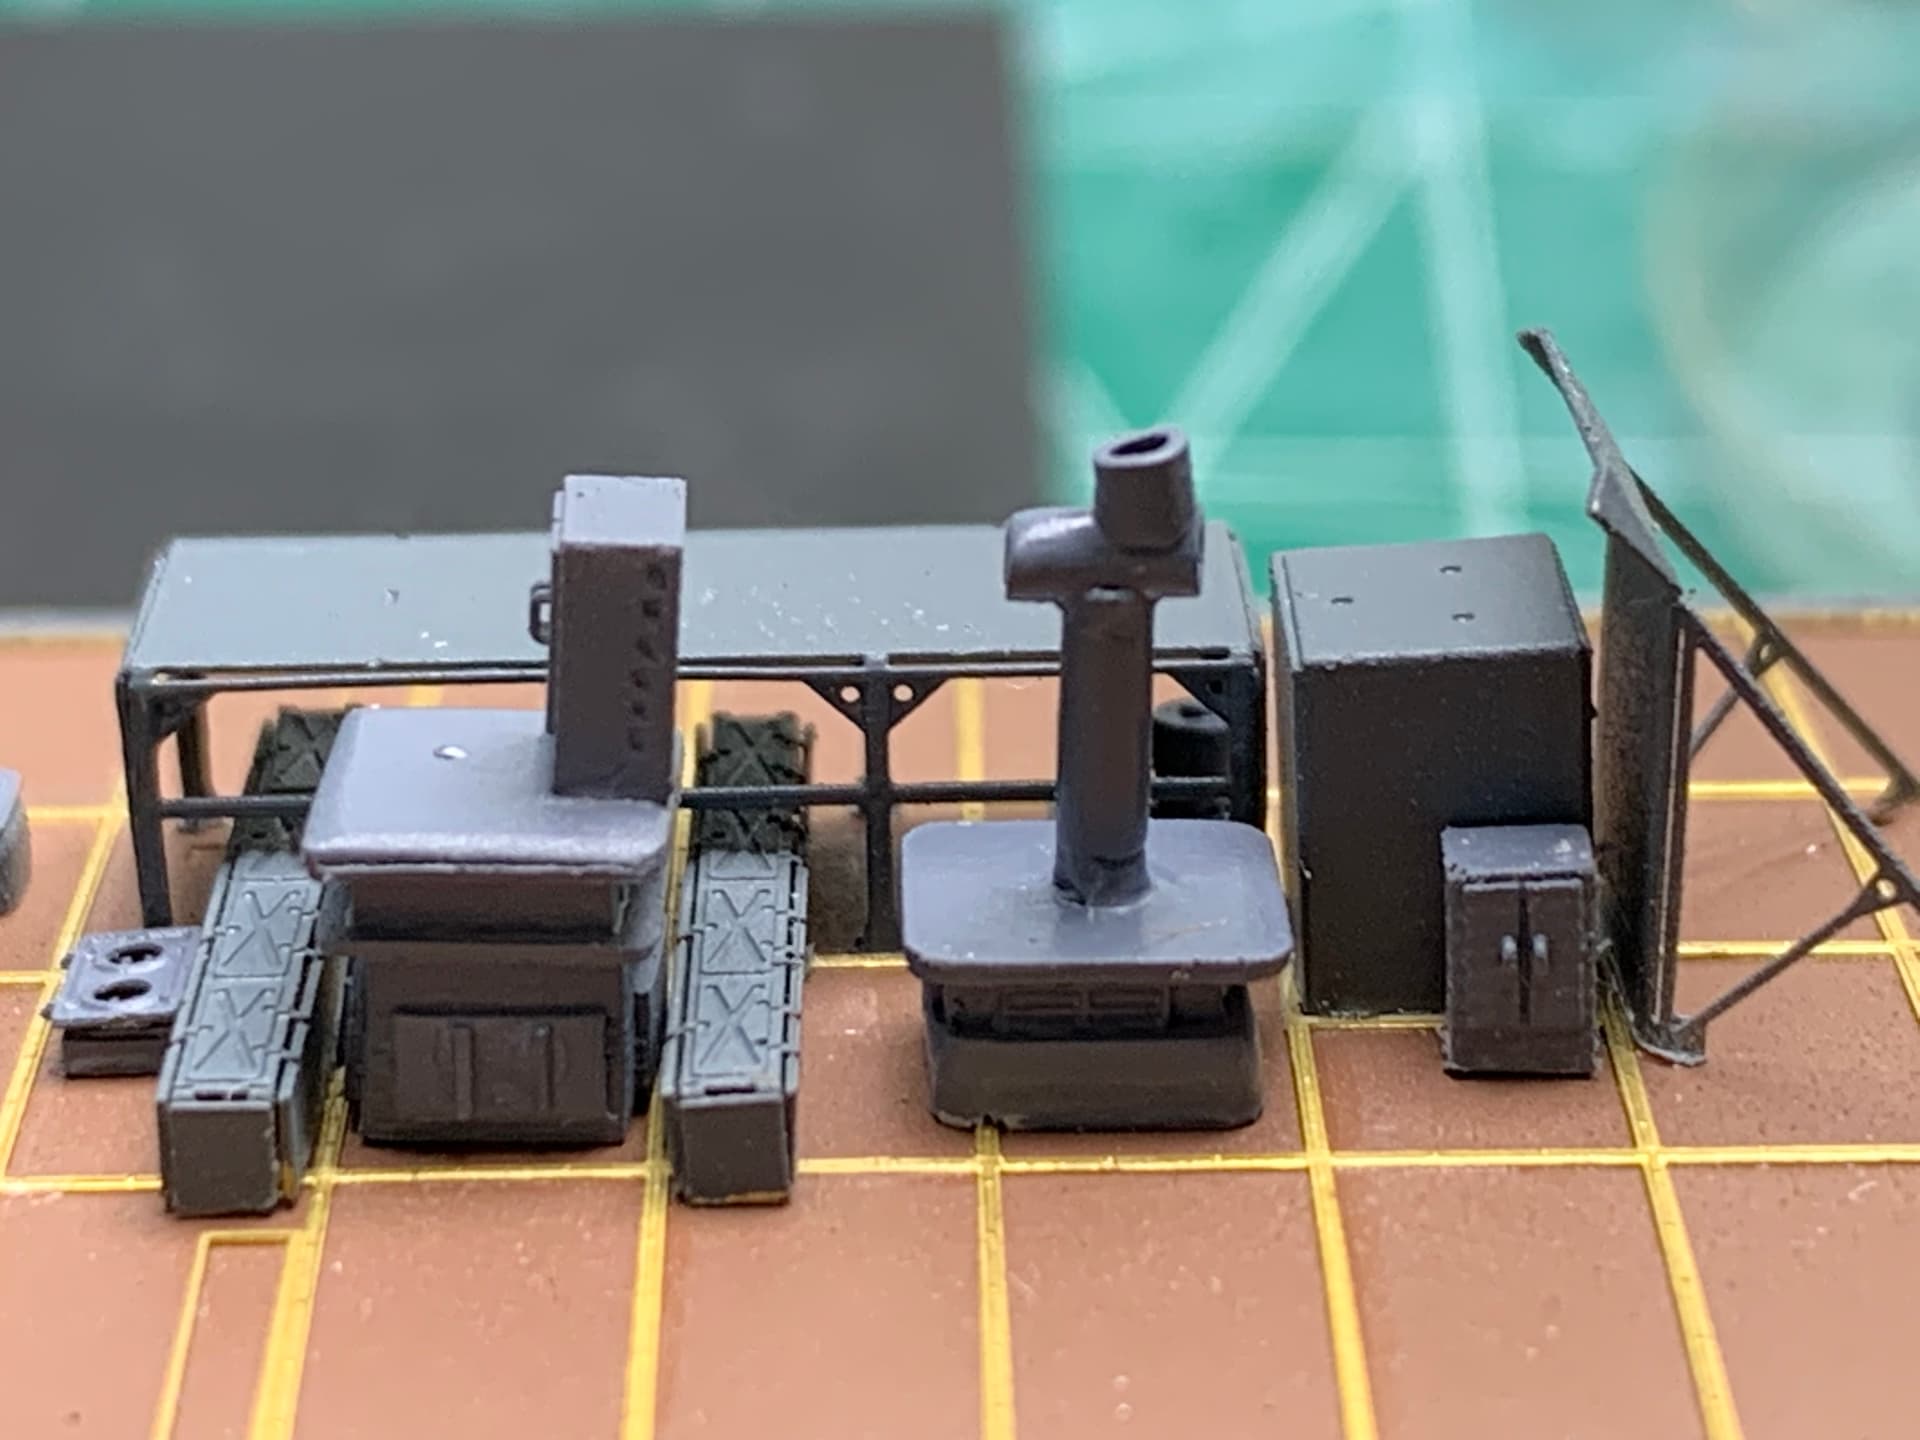
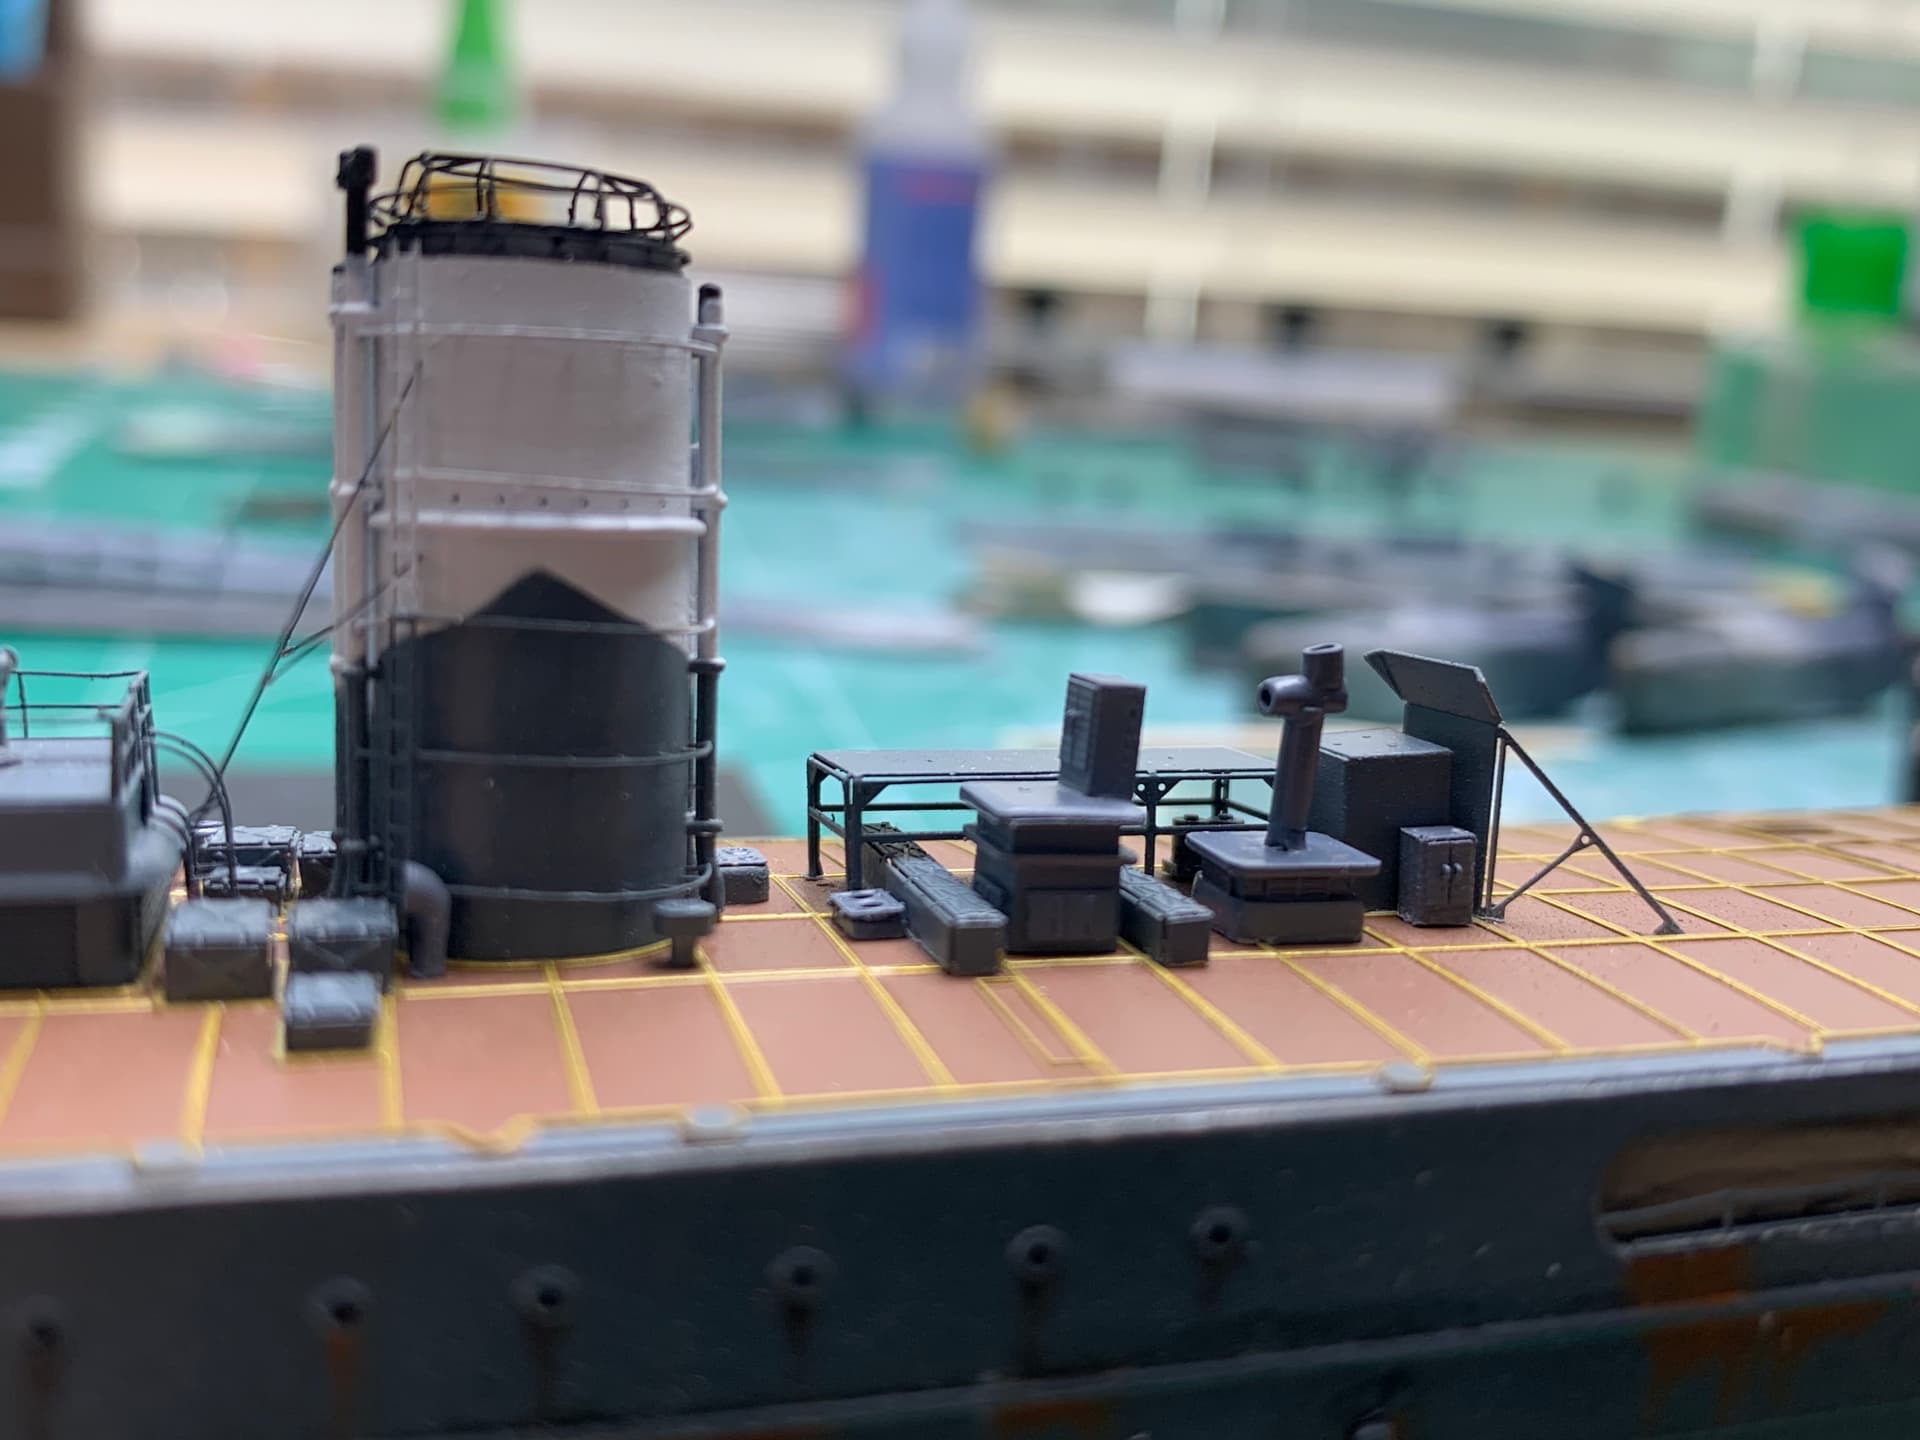
I finally pushed through a few of the scratch builds that I had to complete in the vicinity of the aft funnel. For whatever reason Aoshima neglected this area and left off some structures.
I also had to dive into another Tama Upgrade set to utilize some of the PE containers. Even though the scratch built structures are not the best I think they fit the need. Will need to work on my skills in this area.
After that I decided to work the main guns and give the Tama some teeth. The fit for the main gun shields is not great and required some adjustments but in the end I think they look good.
I still have not decided on fixing the recon plane to the catapult of display the ship retrieving it from the sea - will decide later but for now I just placed it in the water for a visual.
One disappointing feature is that the PE storage boxes and structures do not fit correctly within the outlines of the brass strip. Both products are made by Rainbow so you would expect that they would fit, unfortunately not so it required some fiddling and balance.
Well that is it for now, not a long update but something for the time being. I should have some significant time this weekend so we will see how much progression I make.
Thanks for stopping in and as always comments, suggestions and criticism are always welcome.
David
David,
Without thinking of the scale I at first thought you were installing an out-door kitchen and dining area, …LOL.
Nice work on adding those items, your Tama is shaping up nicely.
Mark
Very tidy work Dave,
Love the weathering, very nice touch, not too heavy and adds loads of depth.
Cheers
Si
Mark - thank you sir - my scratch building skills are severely lacking but I am happy with the way those parts turned out.
Si - thank you for the kind words
David
Hey everyone,
Well that time has finally come around that I can provide a small update. Since the major assemblies have ben completed it is time to move on the the fiddly parts.
The start was working the boat cradles. For anyone who will build the Tama or other Kuma Class Light Cruiser in the future, if you plan on using the Rainbow Upgrade set I highly recommend sourcing boat cradles from another company.
Rainbow did not make the effort to provide boat cradles specific to the boat, they are generic and do not conform to the hull of the boats. While disappointing there is not much I can do as I overlooked this until after the boat cradles where mounted…
The other word of caution is that the template provided, while nice, will not fit flush to the deck if you wait too long in the build. There are a couple of vents and deck boxes that will interfere and prvent you from seating the template flush.
Anyway - time to move on.
The next part was finally finishing the scratchbuild of the vegetable storage locker. Im am not 100% satisfied with how it turned out but I did what my scratchbulding skills allowed me to do. Now that I am done with that it is time to finish up this build and move a little faster.
It is a shame that Aoshima overlooked these parts…
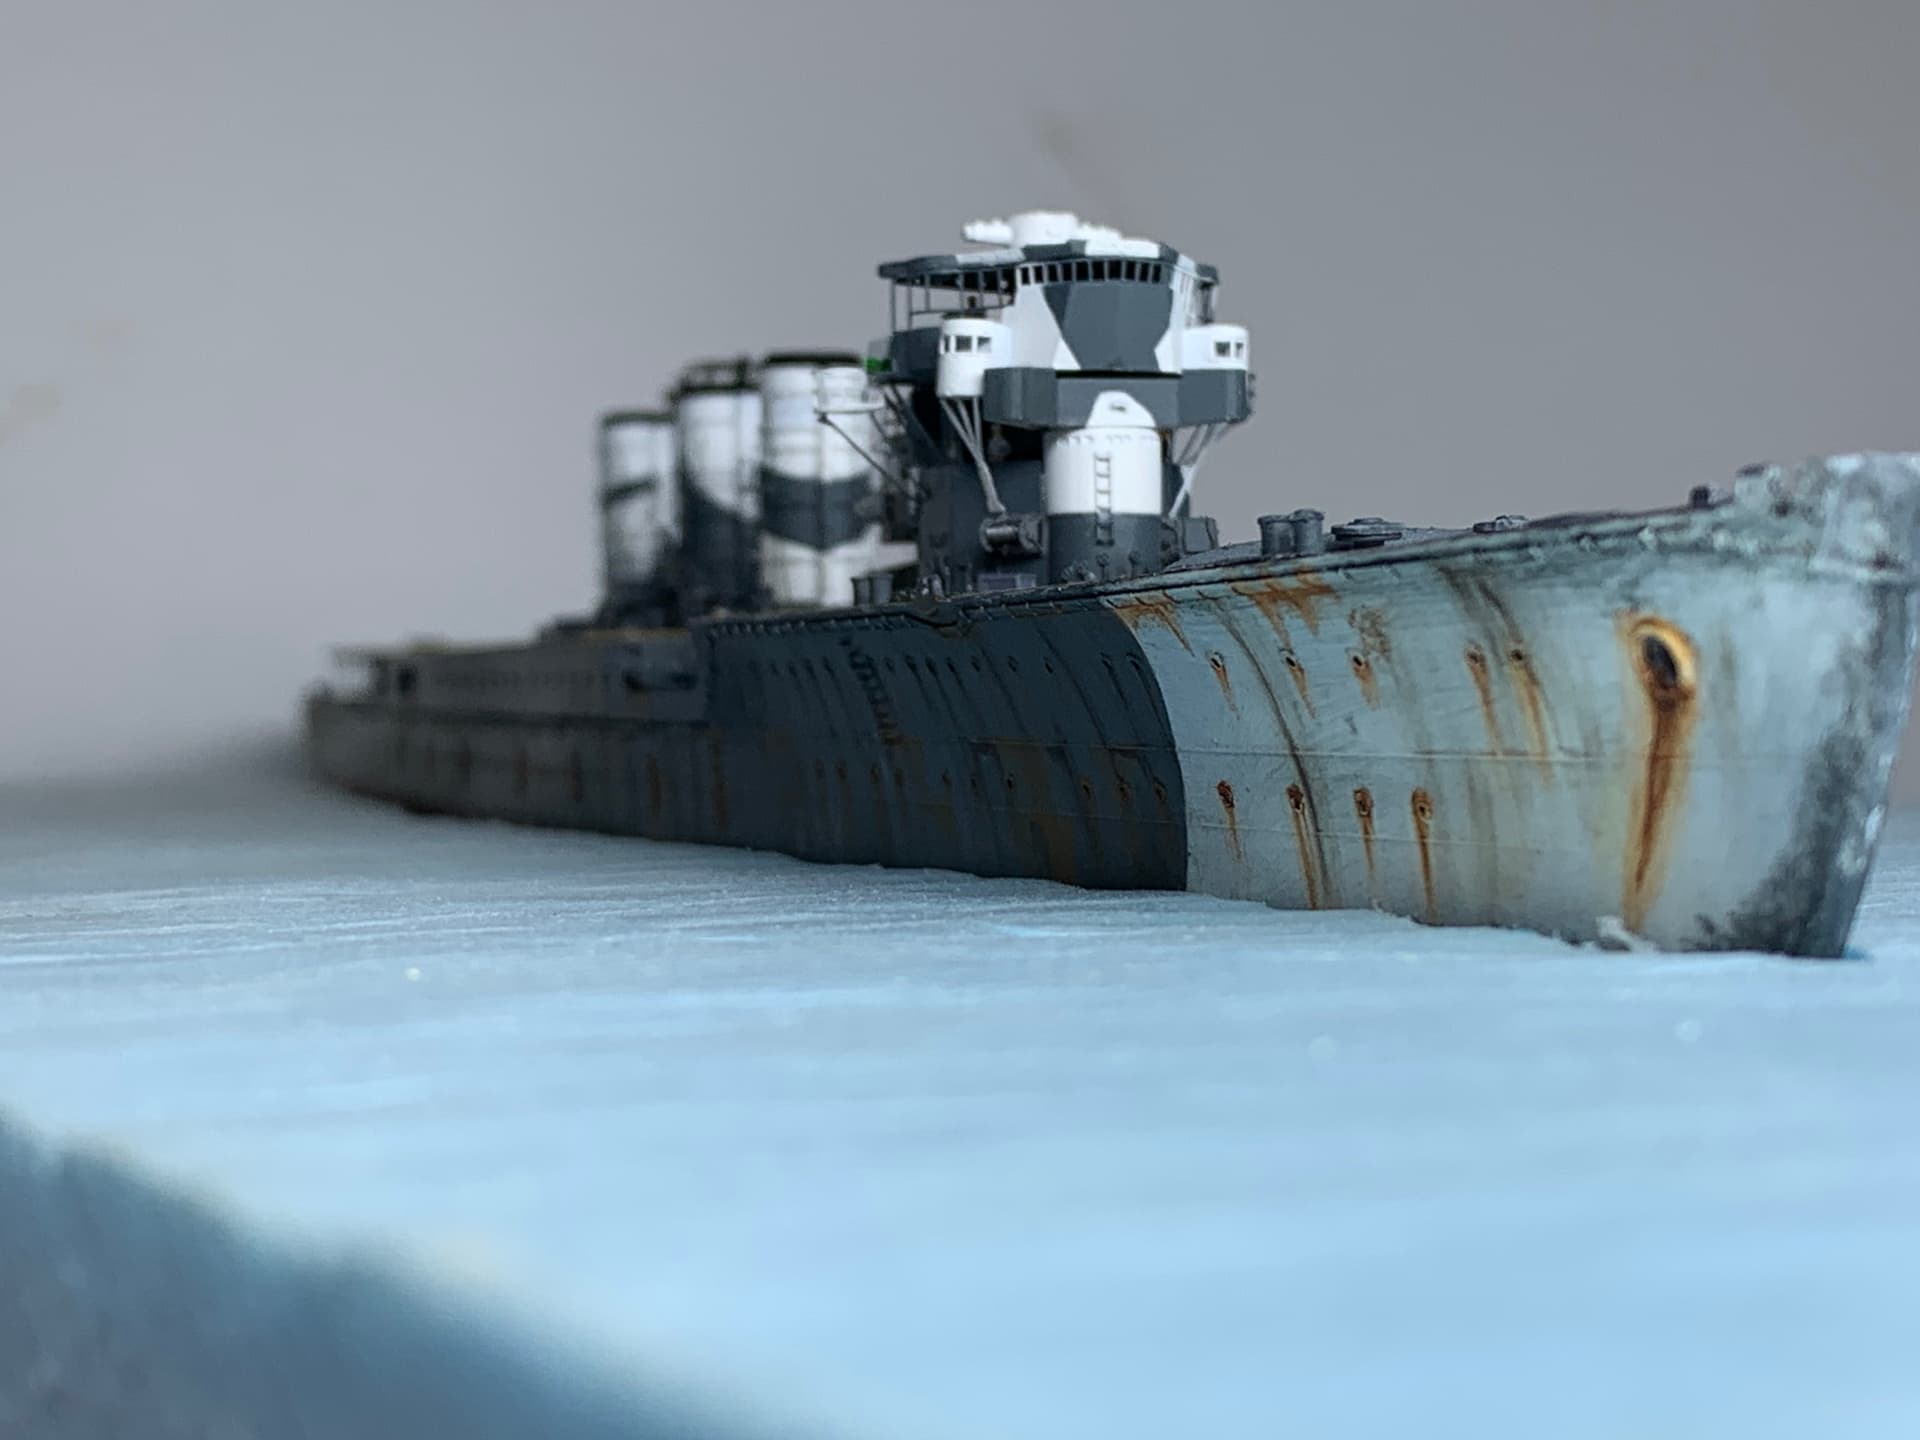
I finally added the lower half of the forward mast, once I get a bit further along I will go ahead and add the top portion. I am slight worried as I am unsure if I measured the distance right, if not it will leave a gap between the crows nest and the roof…time will tell I guess.
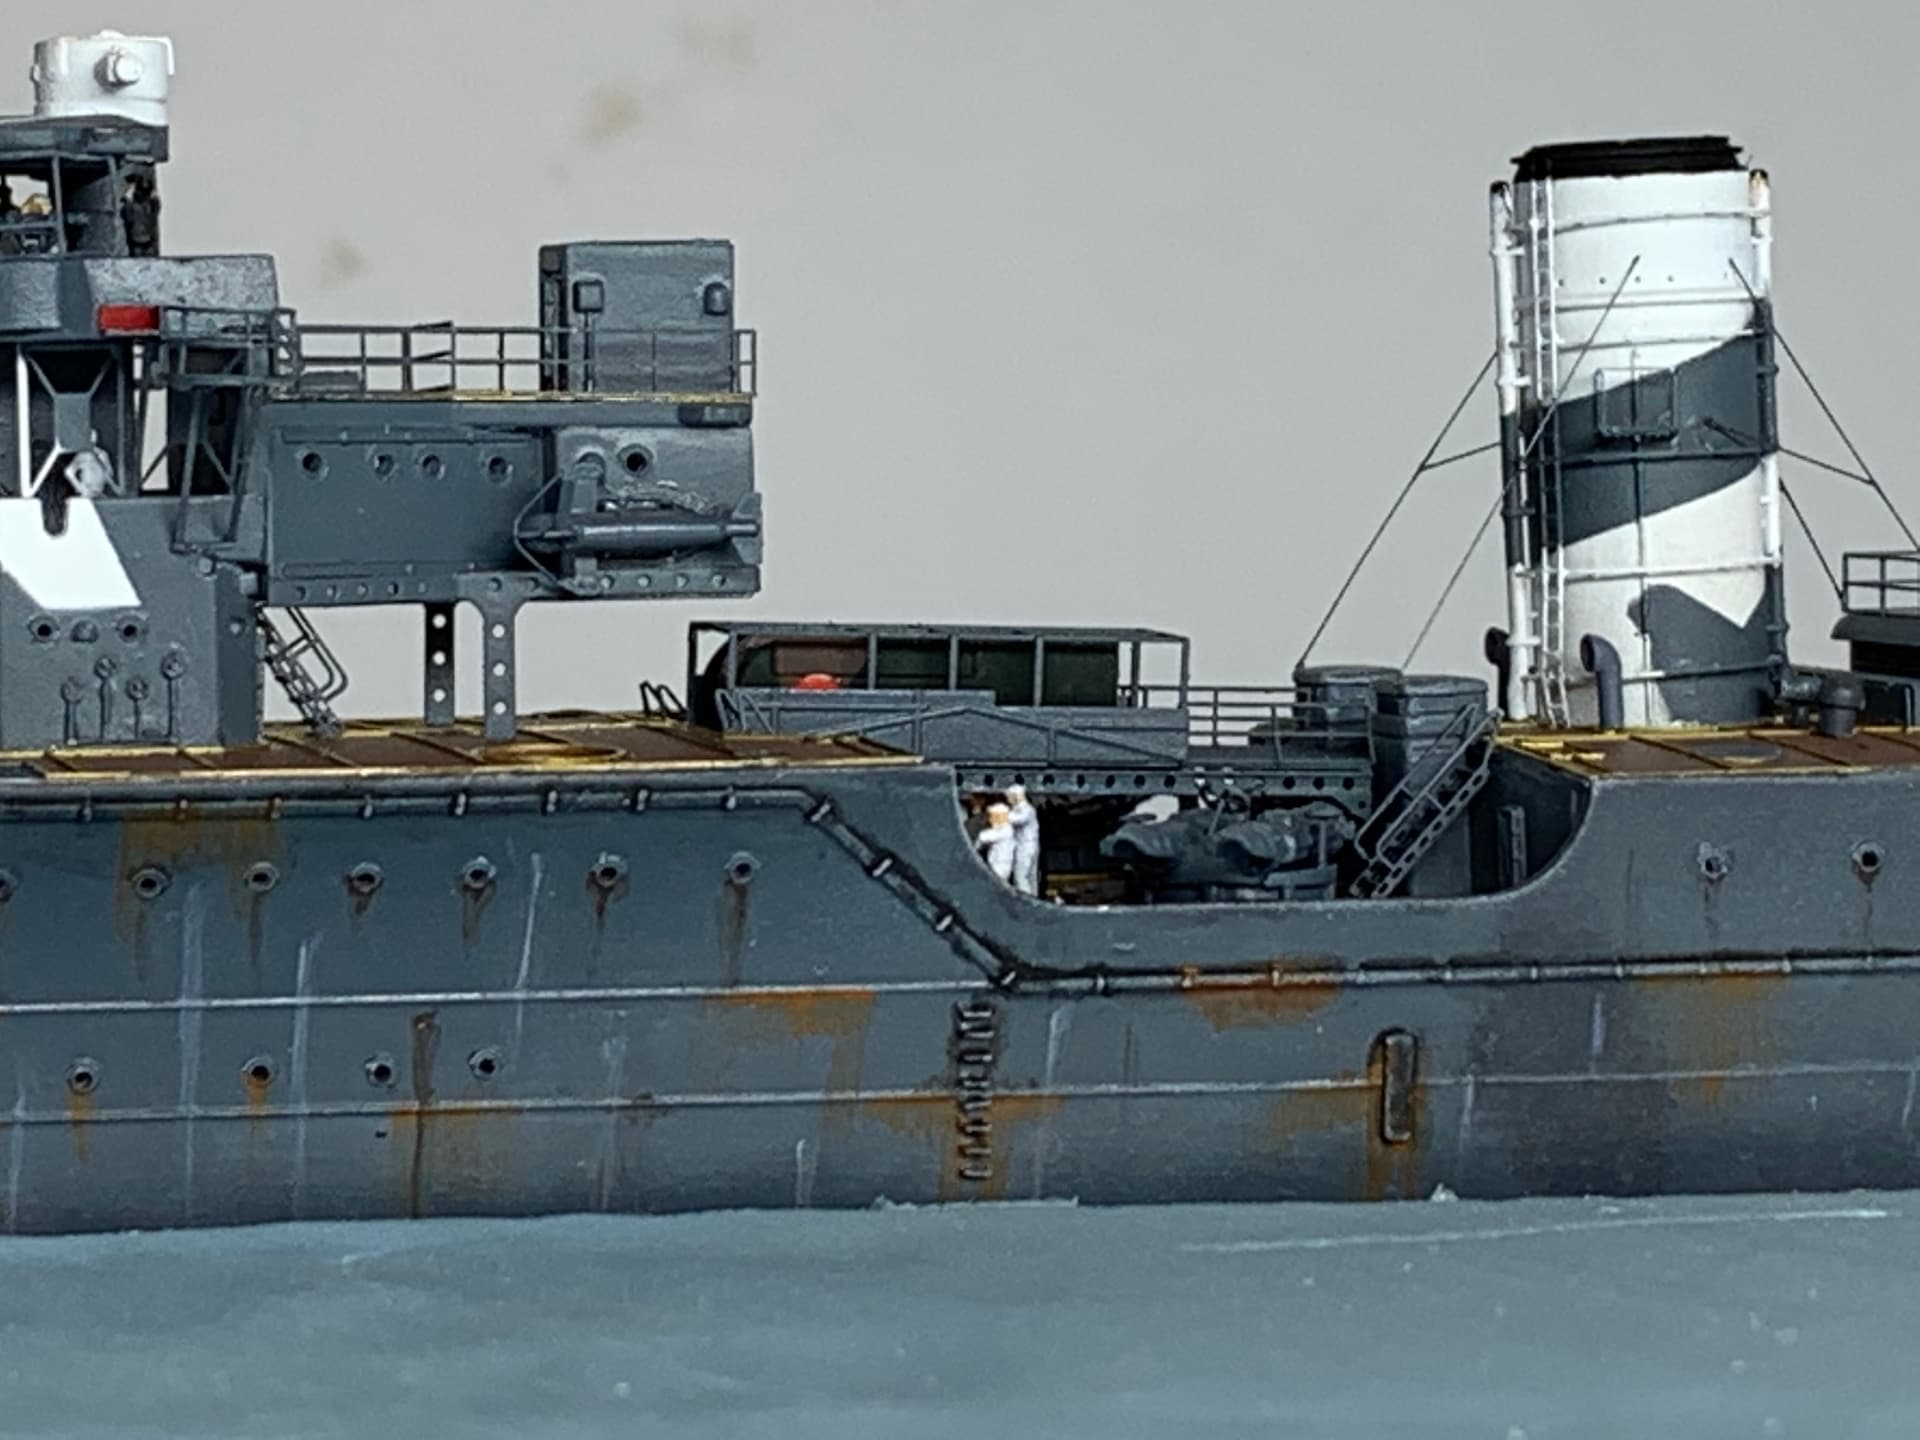
Another step I took was adding some figures into a 9m cutter. this cutter will be placed behind the scout plane that I plan on showing in the water. Still a rough draft in my head but moving in that direction non the less.
The figures are from the 1/350 Fujimi Figure set, not the greatest in the word but for now they fit the need. Hopefully ION will release some more figures that are in a seated position.
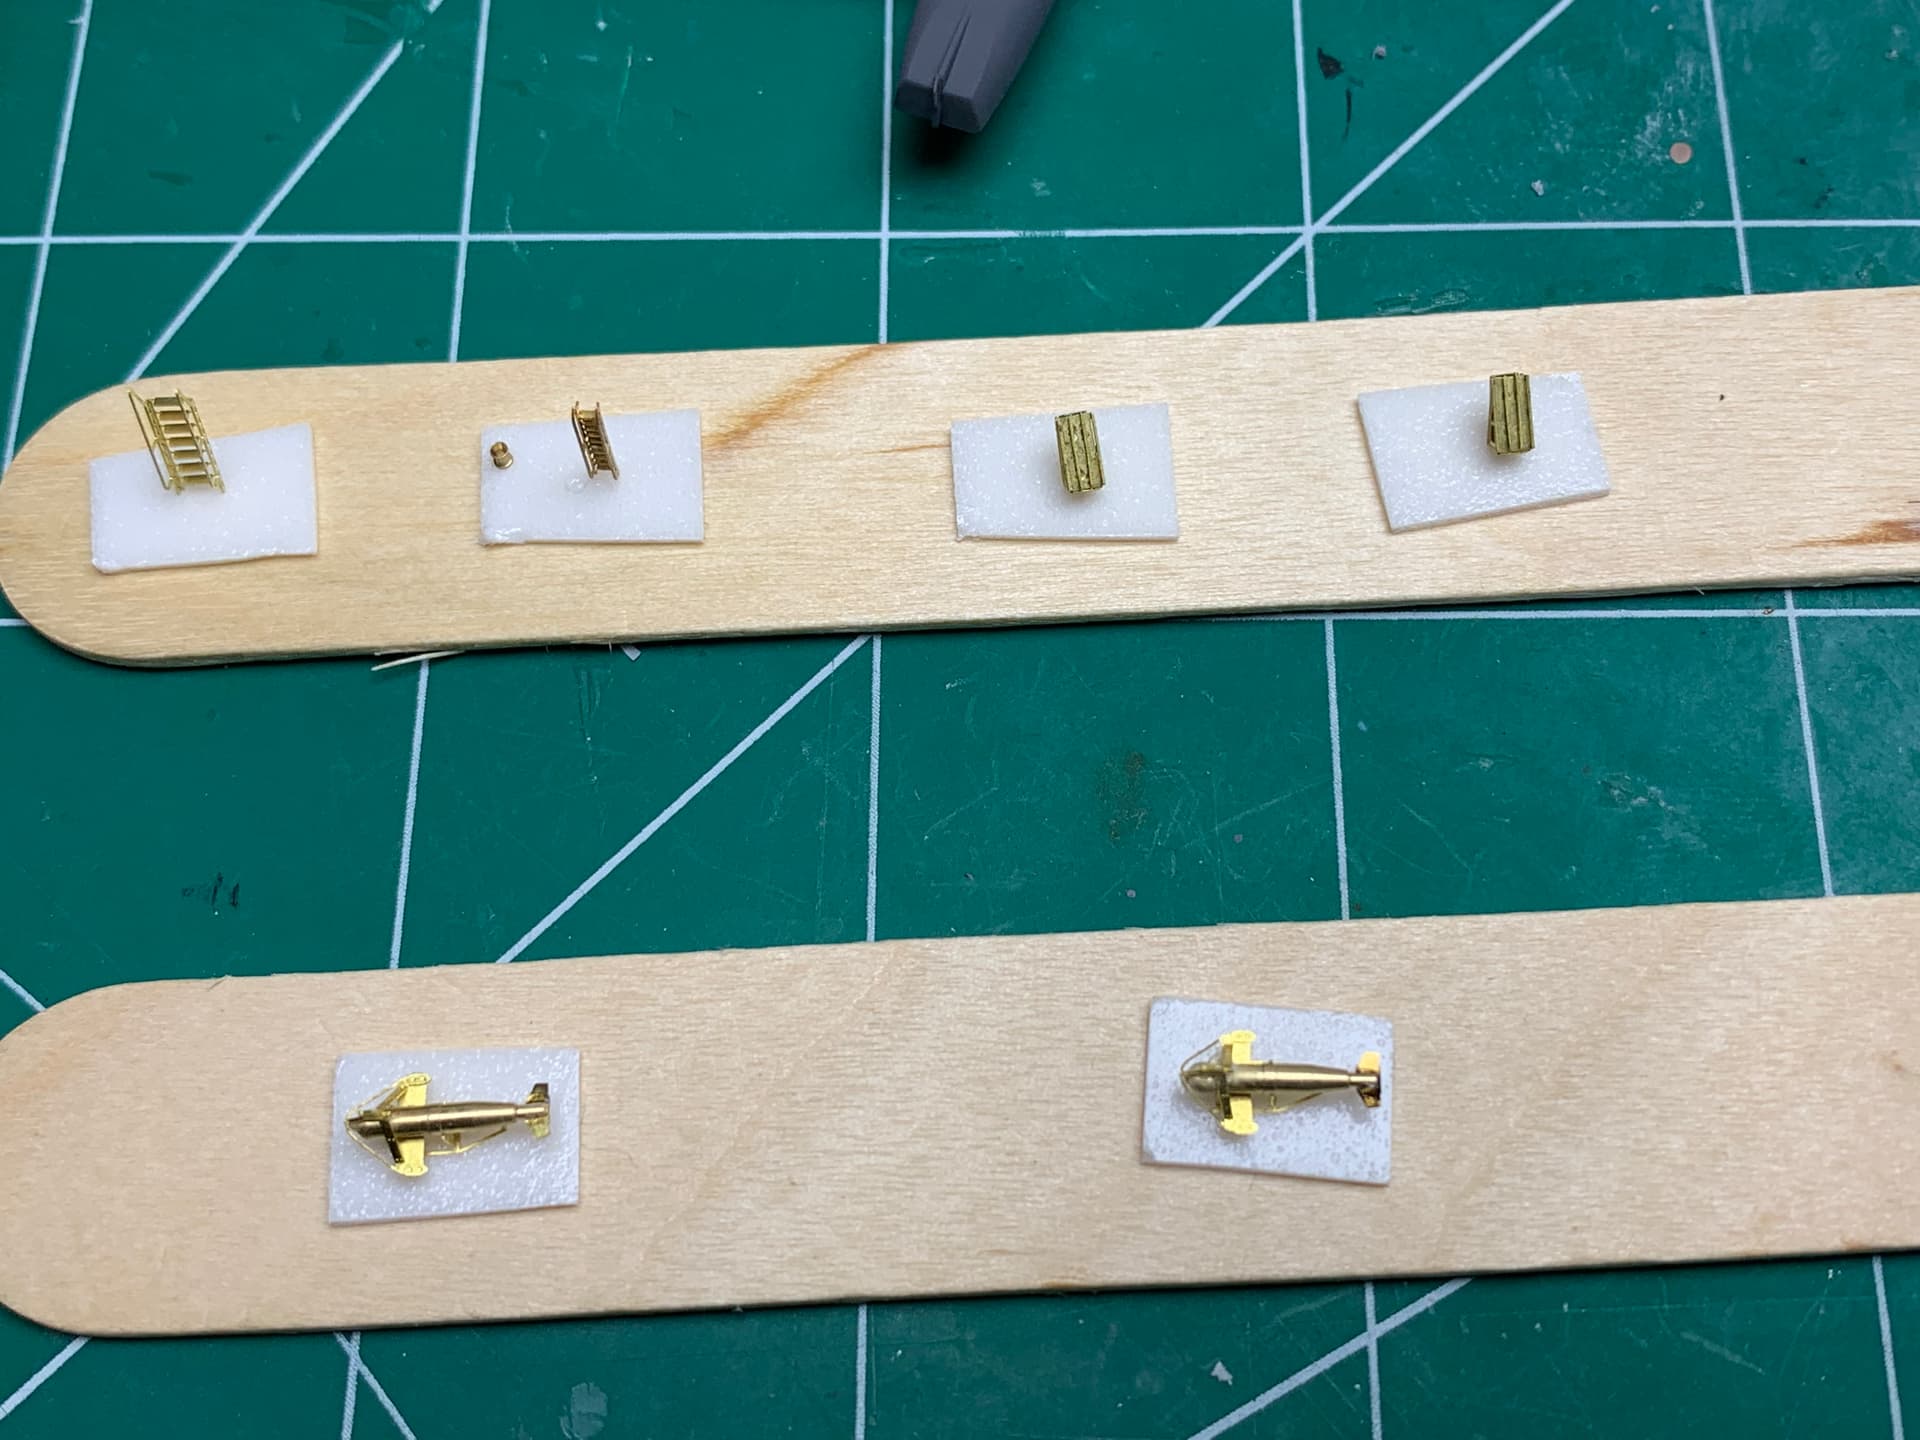
Last few words are about adding the twin 25mm AA guns which were source from Black Cat. Next nice but I am unsure at the moment if I prefer the Black Cat over the Infini PE 25mm’s. Ill make a comparison in the future. The next was adding the spare floats to the storage platform.
Last but not least was prepping more fiddly parts for priming with Mr. Surfacer 1200. I actually completed this and have actually added a layer of paint. More photos to follow after my day off tomorrow.
Thats it for now, thanks for stopping in and as always, comments, suggestions, and criticism are always welcome.
Just want to say thanks for all the effort… whoa!
David despite the issues or possibly because of them you have over come them and the beauty is progressing very well. Love the sailors in the boat, the spare floats, the veg locker and I must say the twin 25mm also looks great.
Oh don’t expect much but I recently picked up the old Tamiya 1/700 Tama, my first ship build after joining Kitmaker 15 (?) plus years ago. Unfortunately that build got damaged in a house move so I thought I’d have another go and put some of the lessons learned along the way into the new build. Got to search out any AM parts for it first though.
If this is being rowed shouldn’t the rowers have their backs to the pointy end and the guy up front be on the tiller at the back?
Cheers,
M