@Russelle - Unfortunately my skills with brass rod are not up to par, that being said this incident has solidified my resolve to dive into replacing plastic mast with brass in the future.
@RDT1953 - I considered this but after playing with things for a bit I realized that the fragility of the mast would prevent me from drilling into it without further damage - I have to admit that masts are definitely a weak point in my skill set
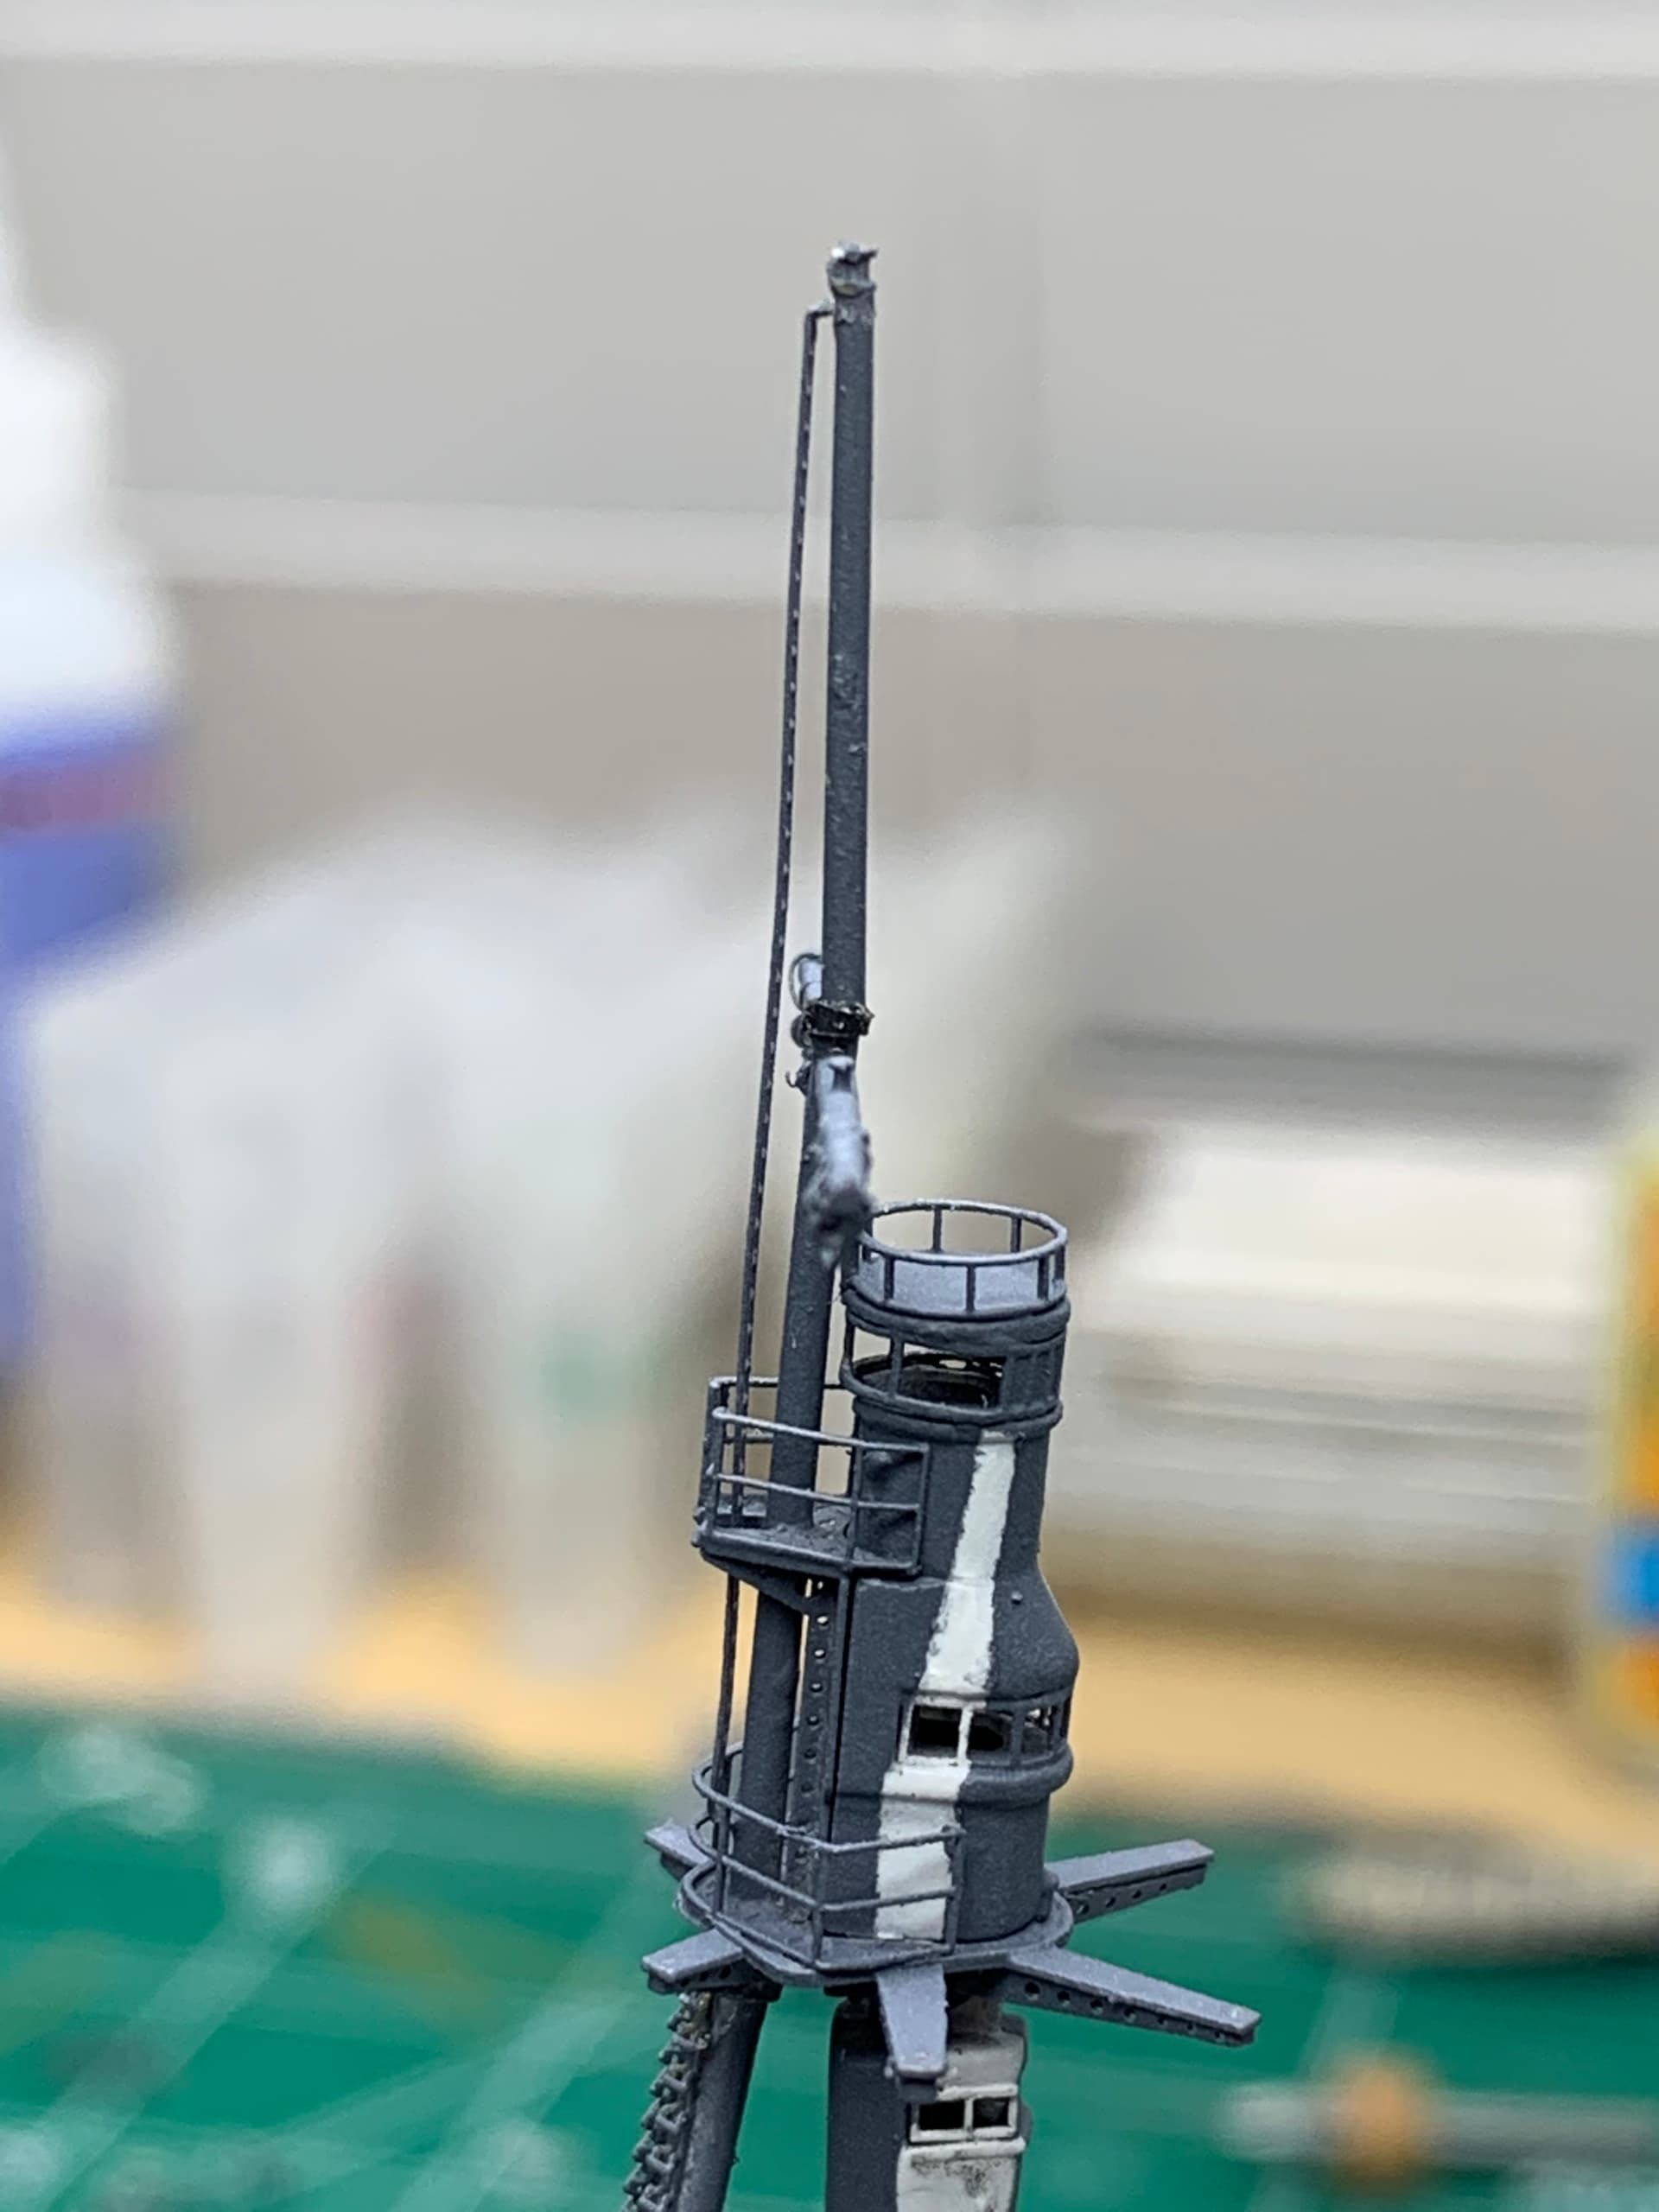
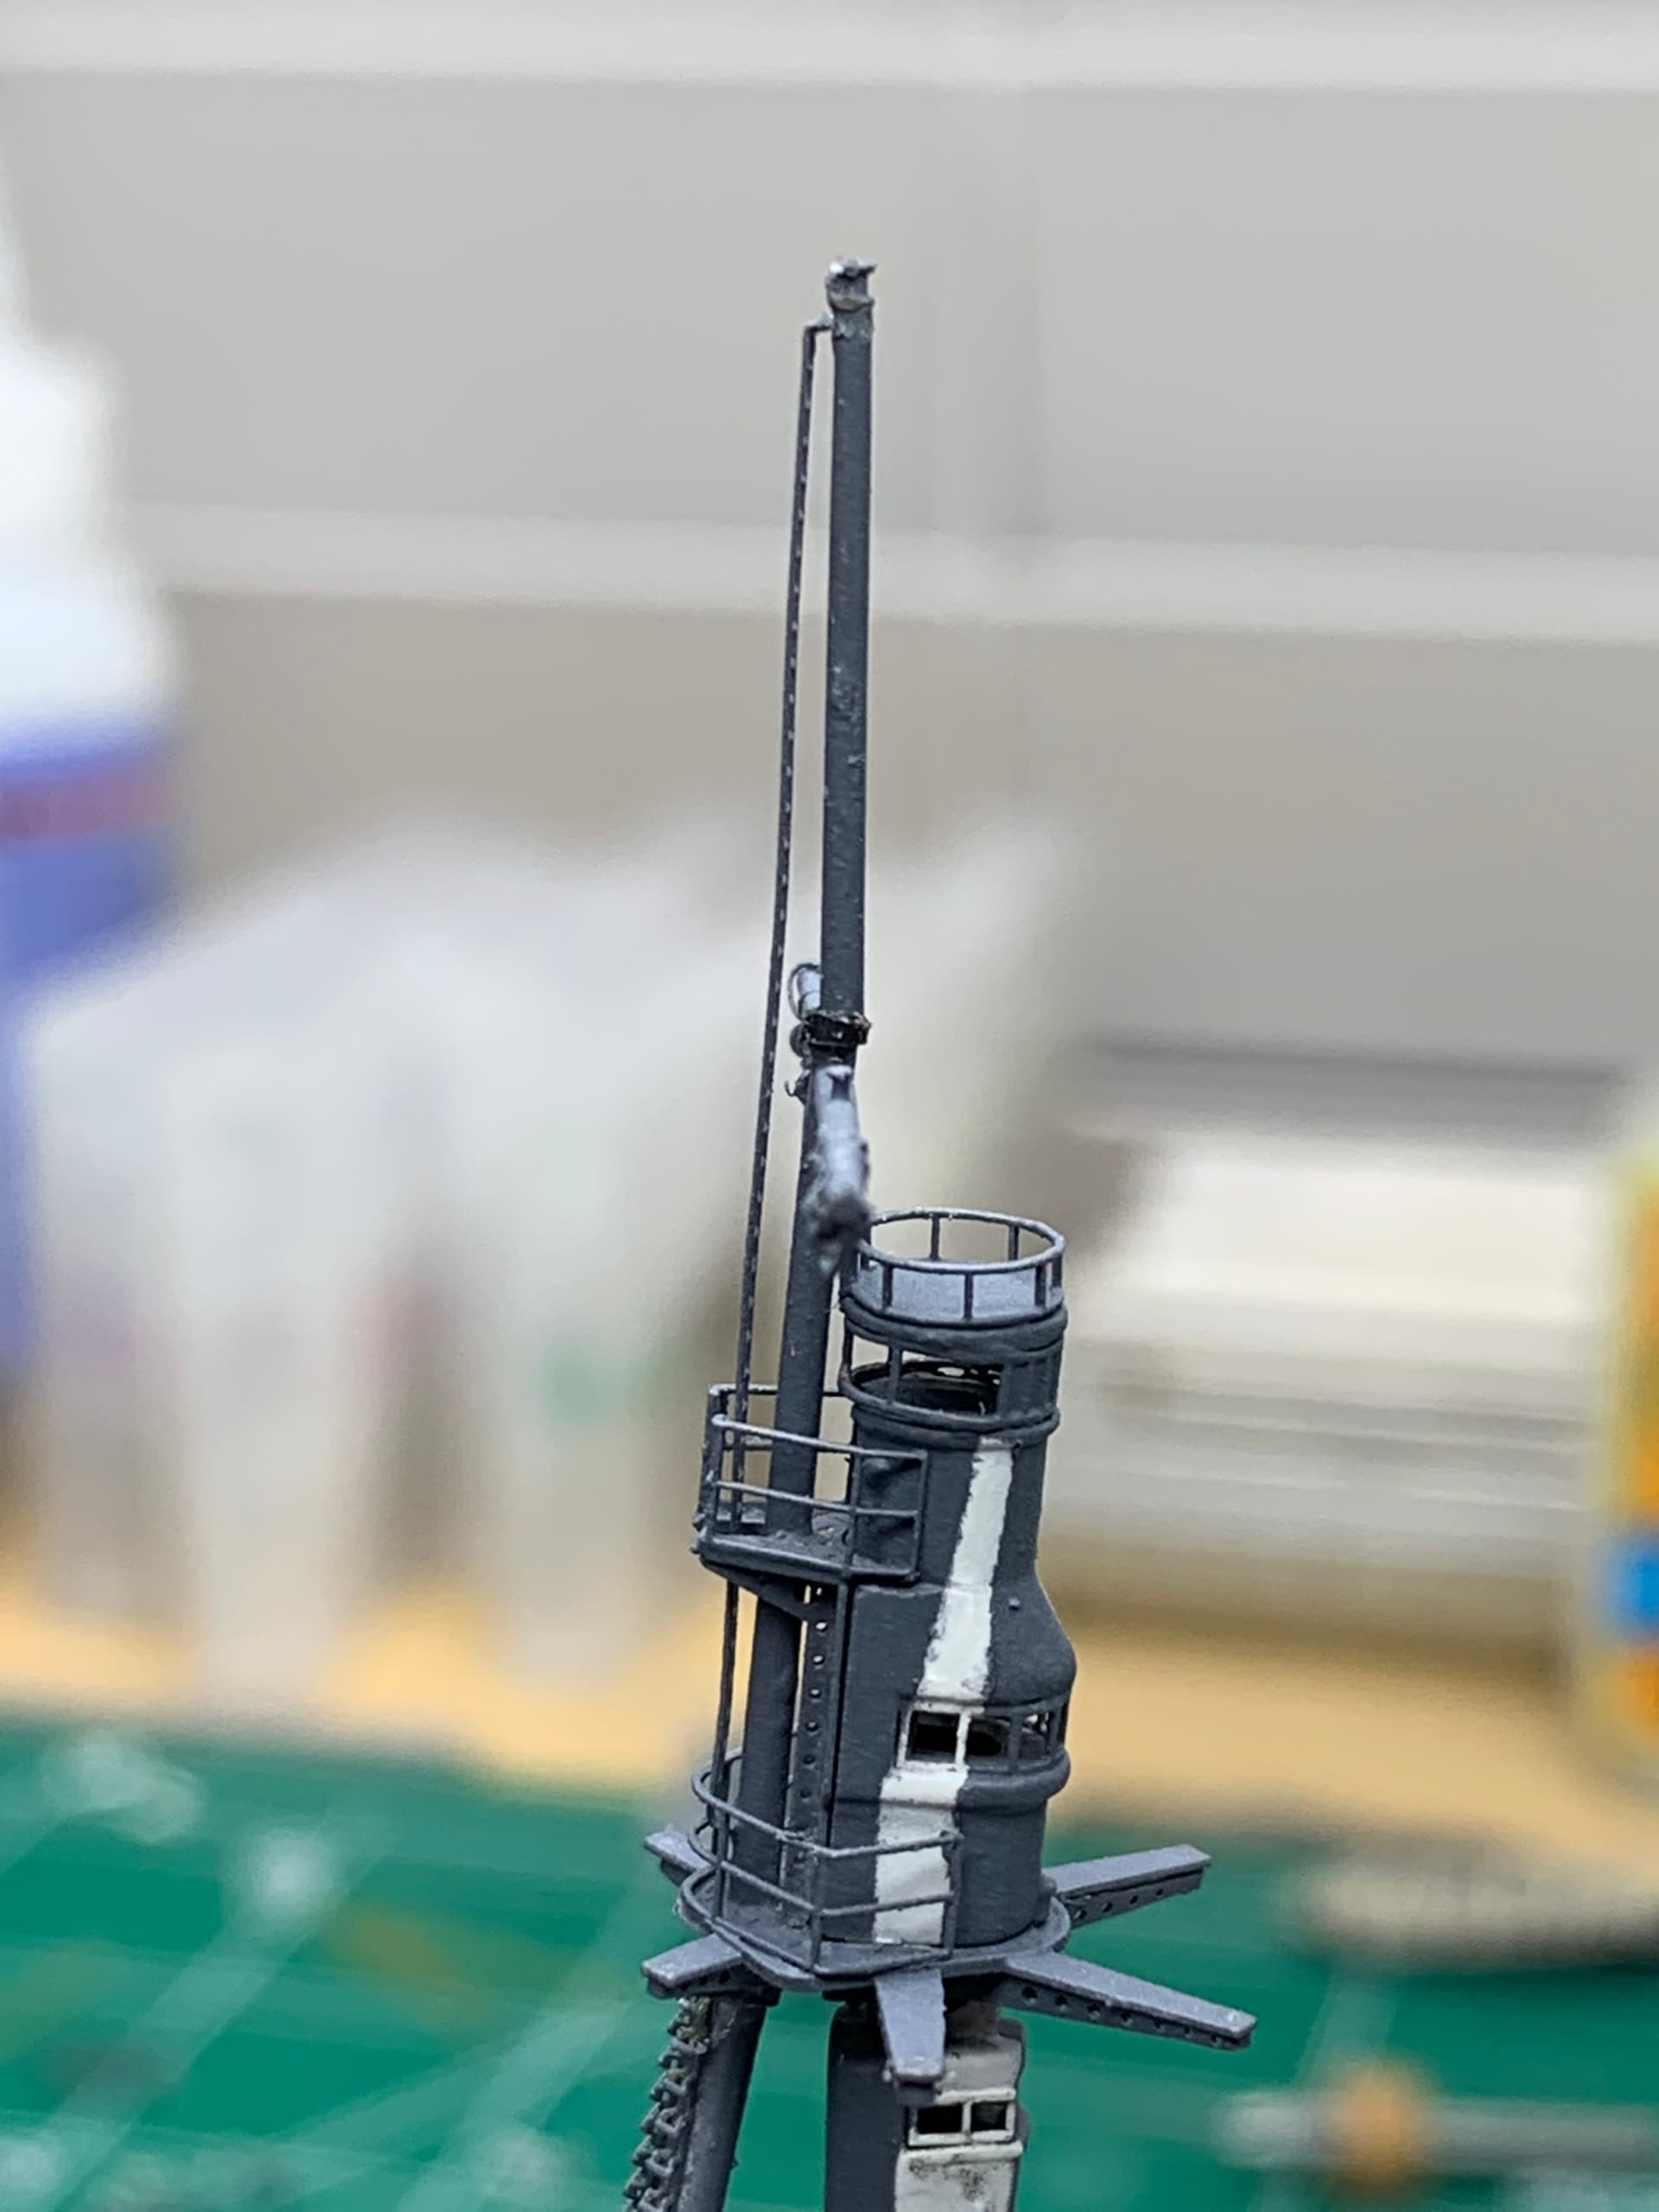
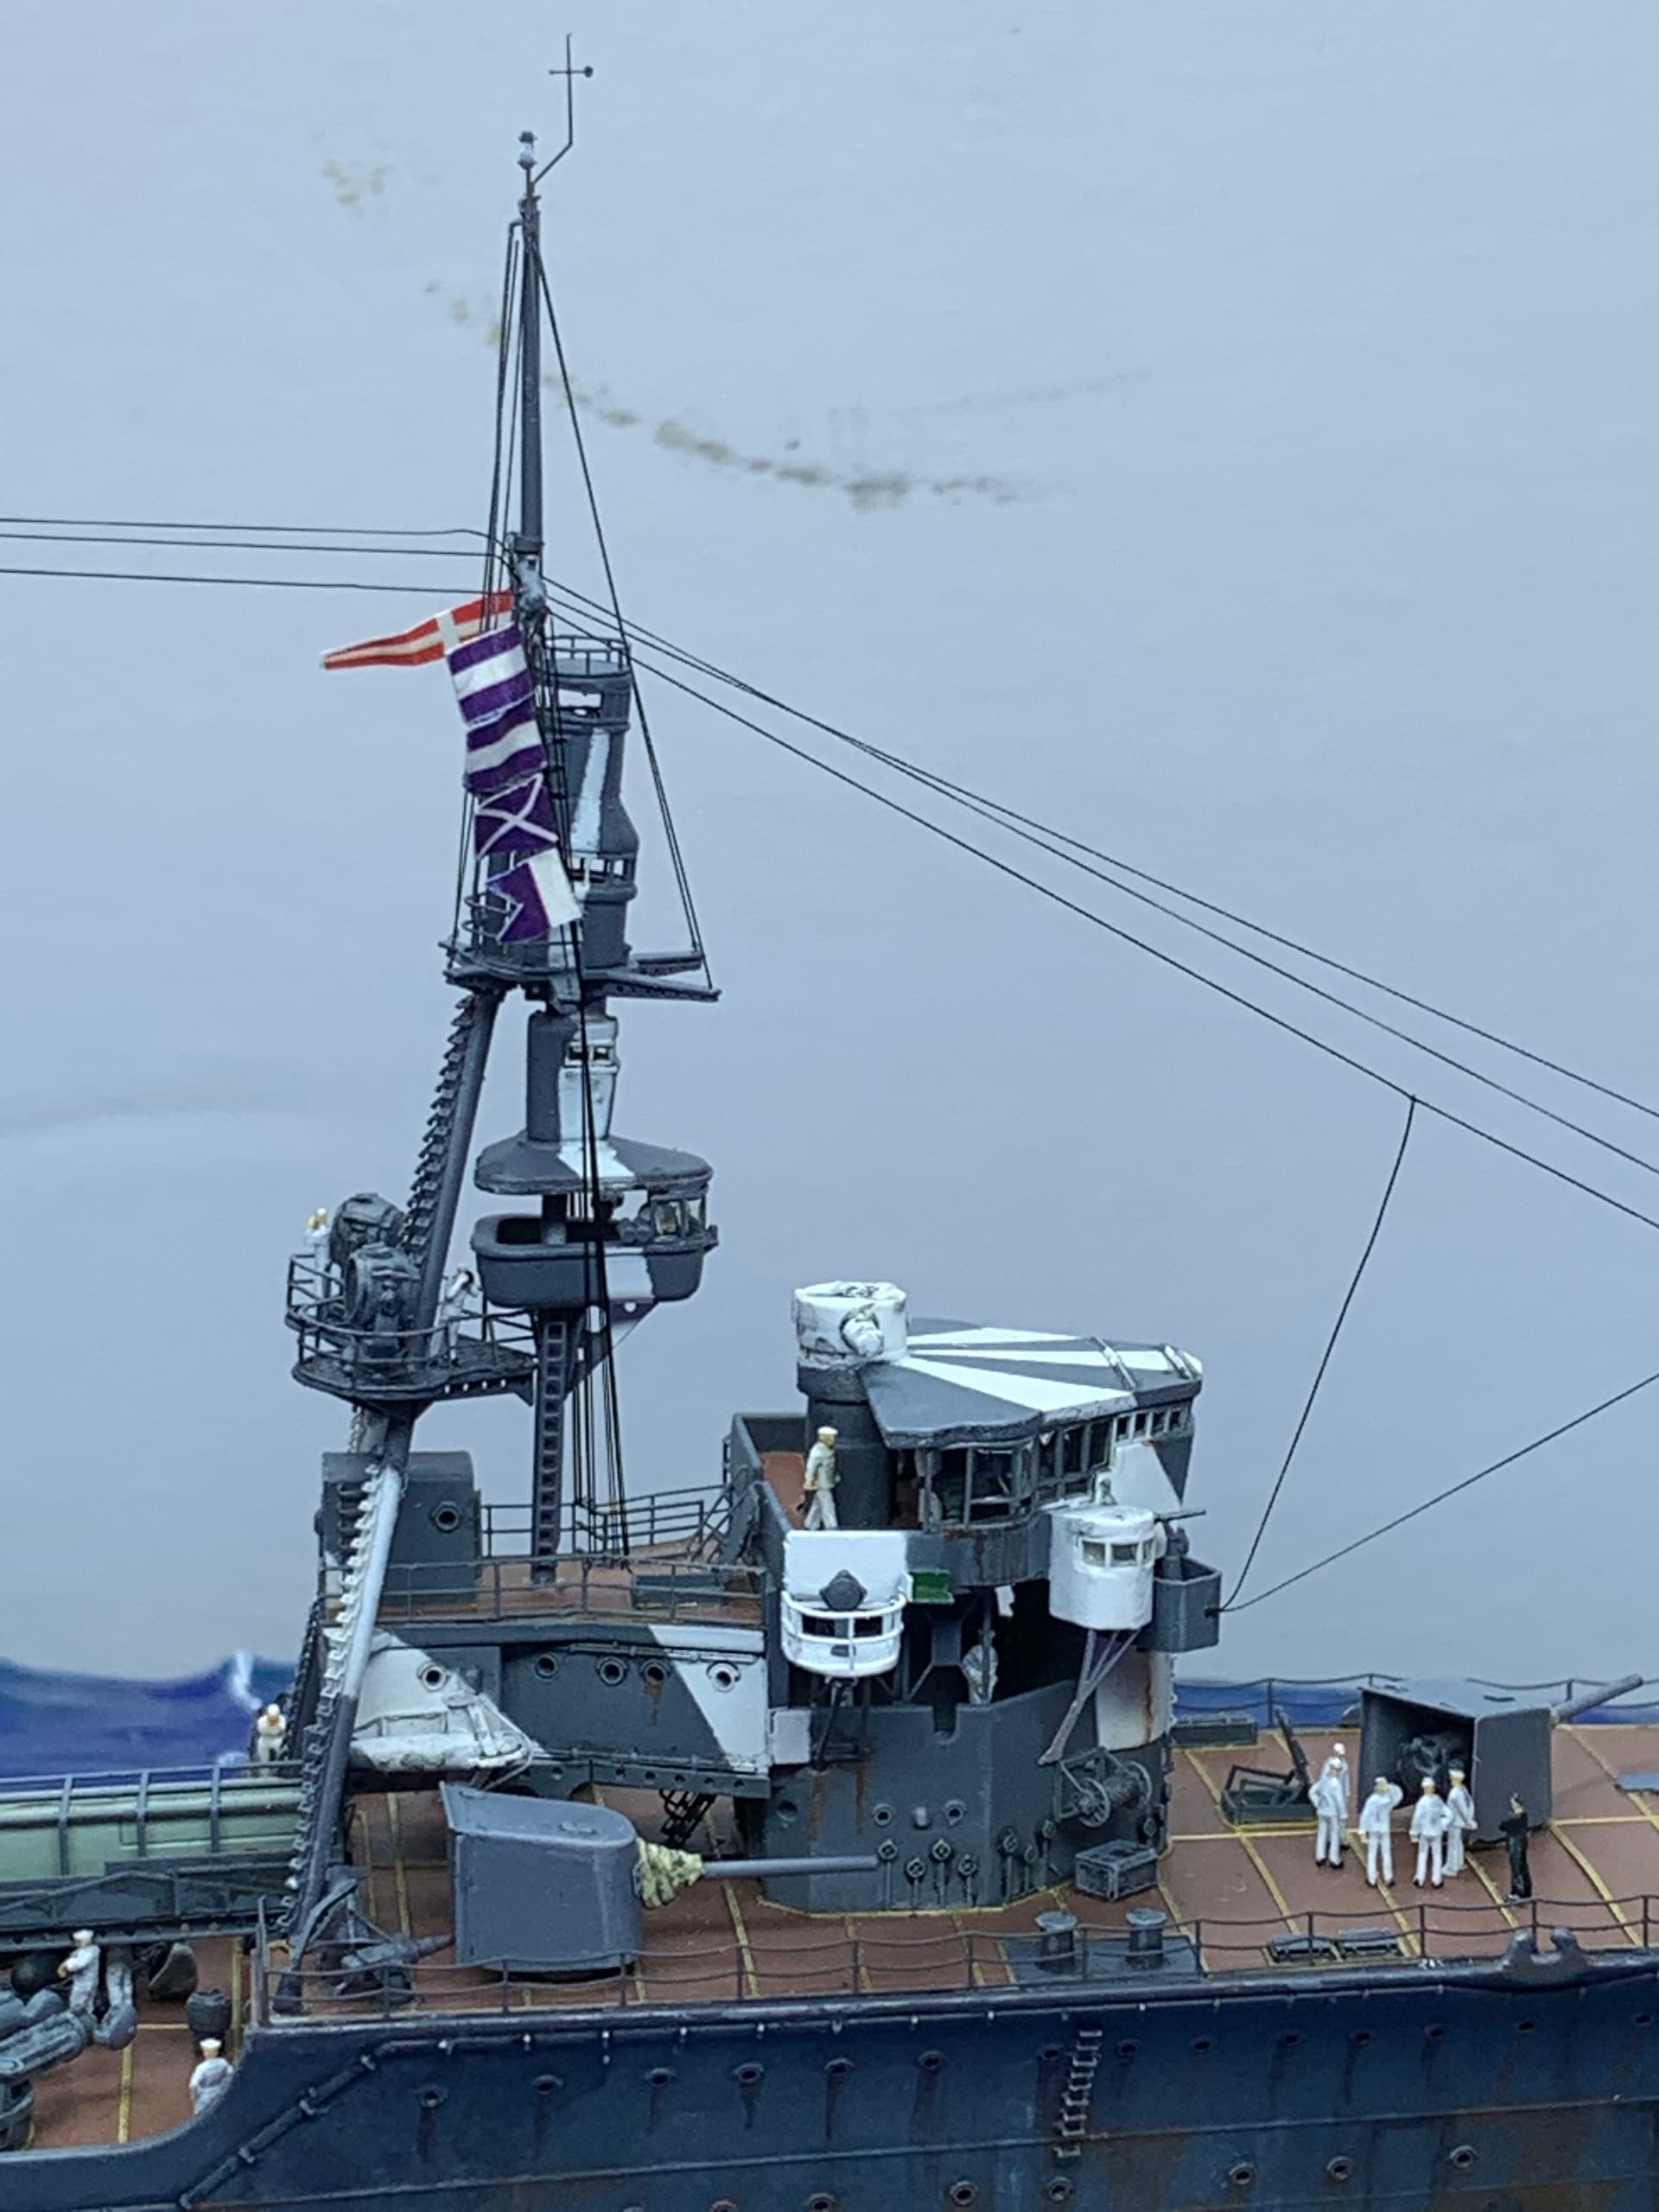
I ended up sawing off a small piece of plastic tubing in emplacing it on the lower portion of the mast, after that I glued the upper portion into the tubing then painted . I think it looks the part (picture in the update below)
thanks everyone for the suggestions and support…now to continue the build
Happy Monday everyone - or Tuesday if your across the international dateline!!
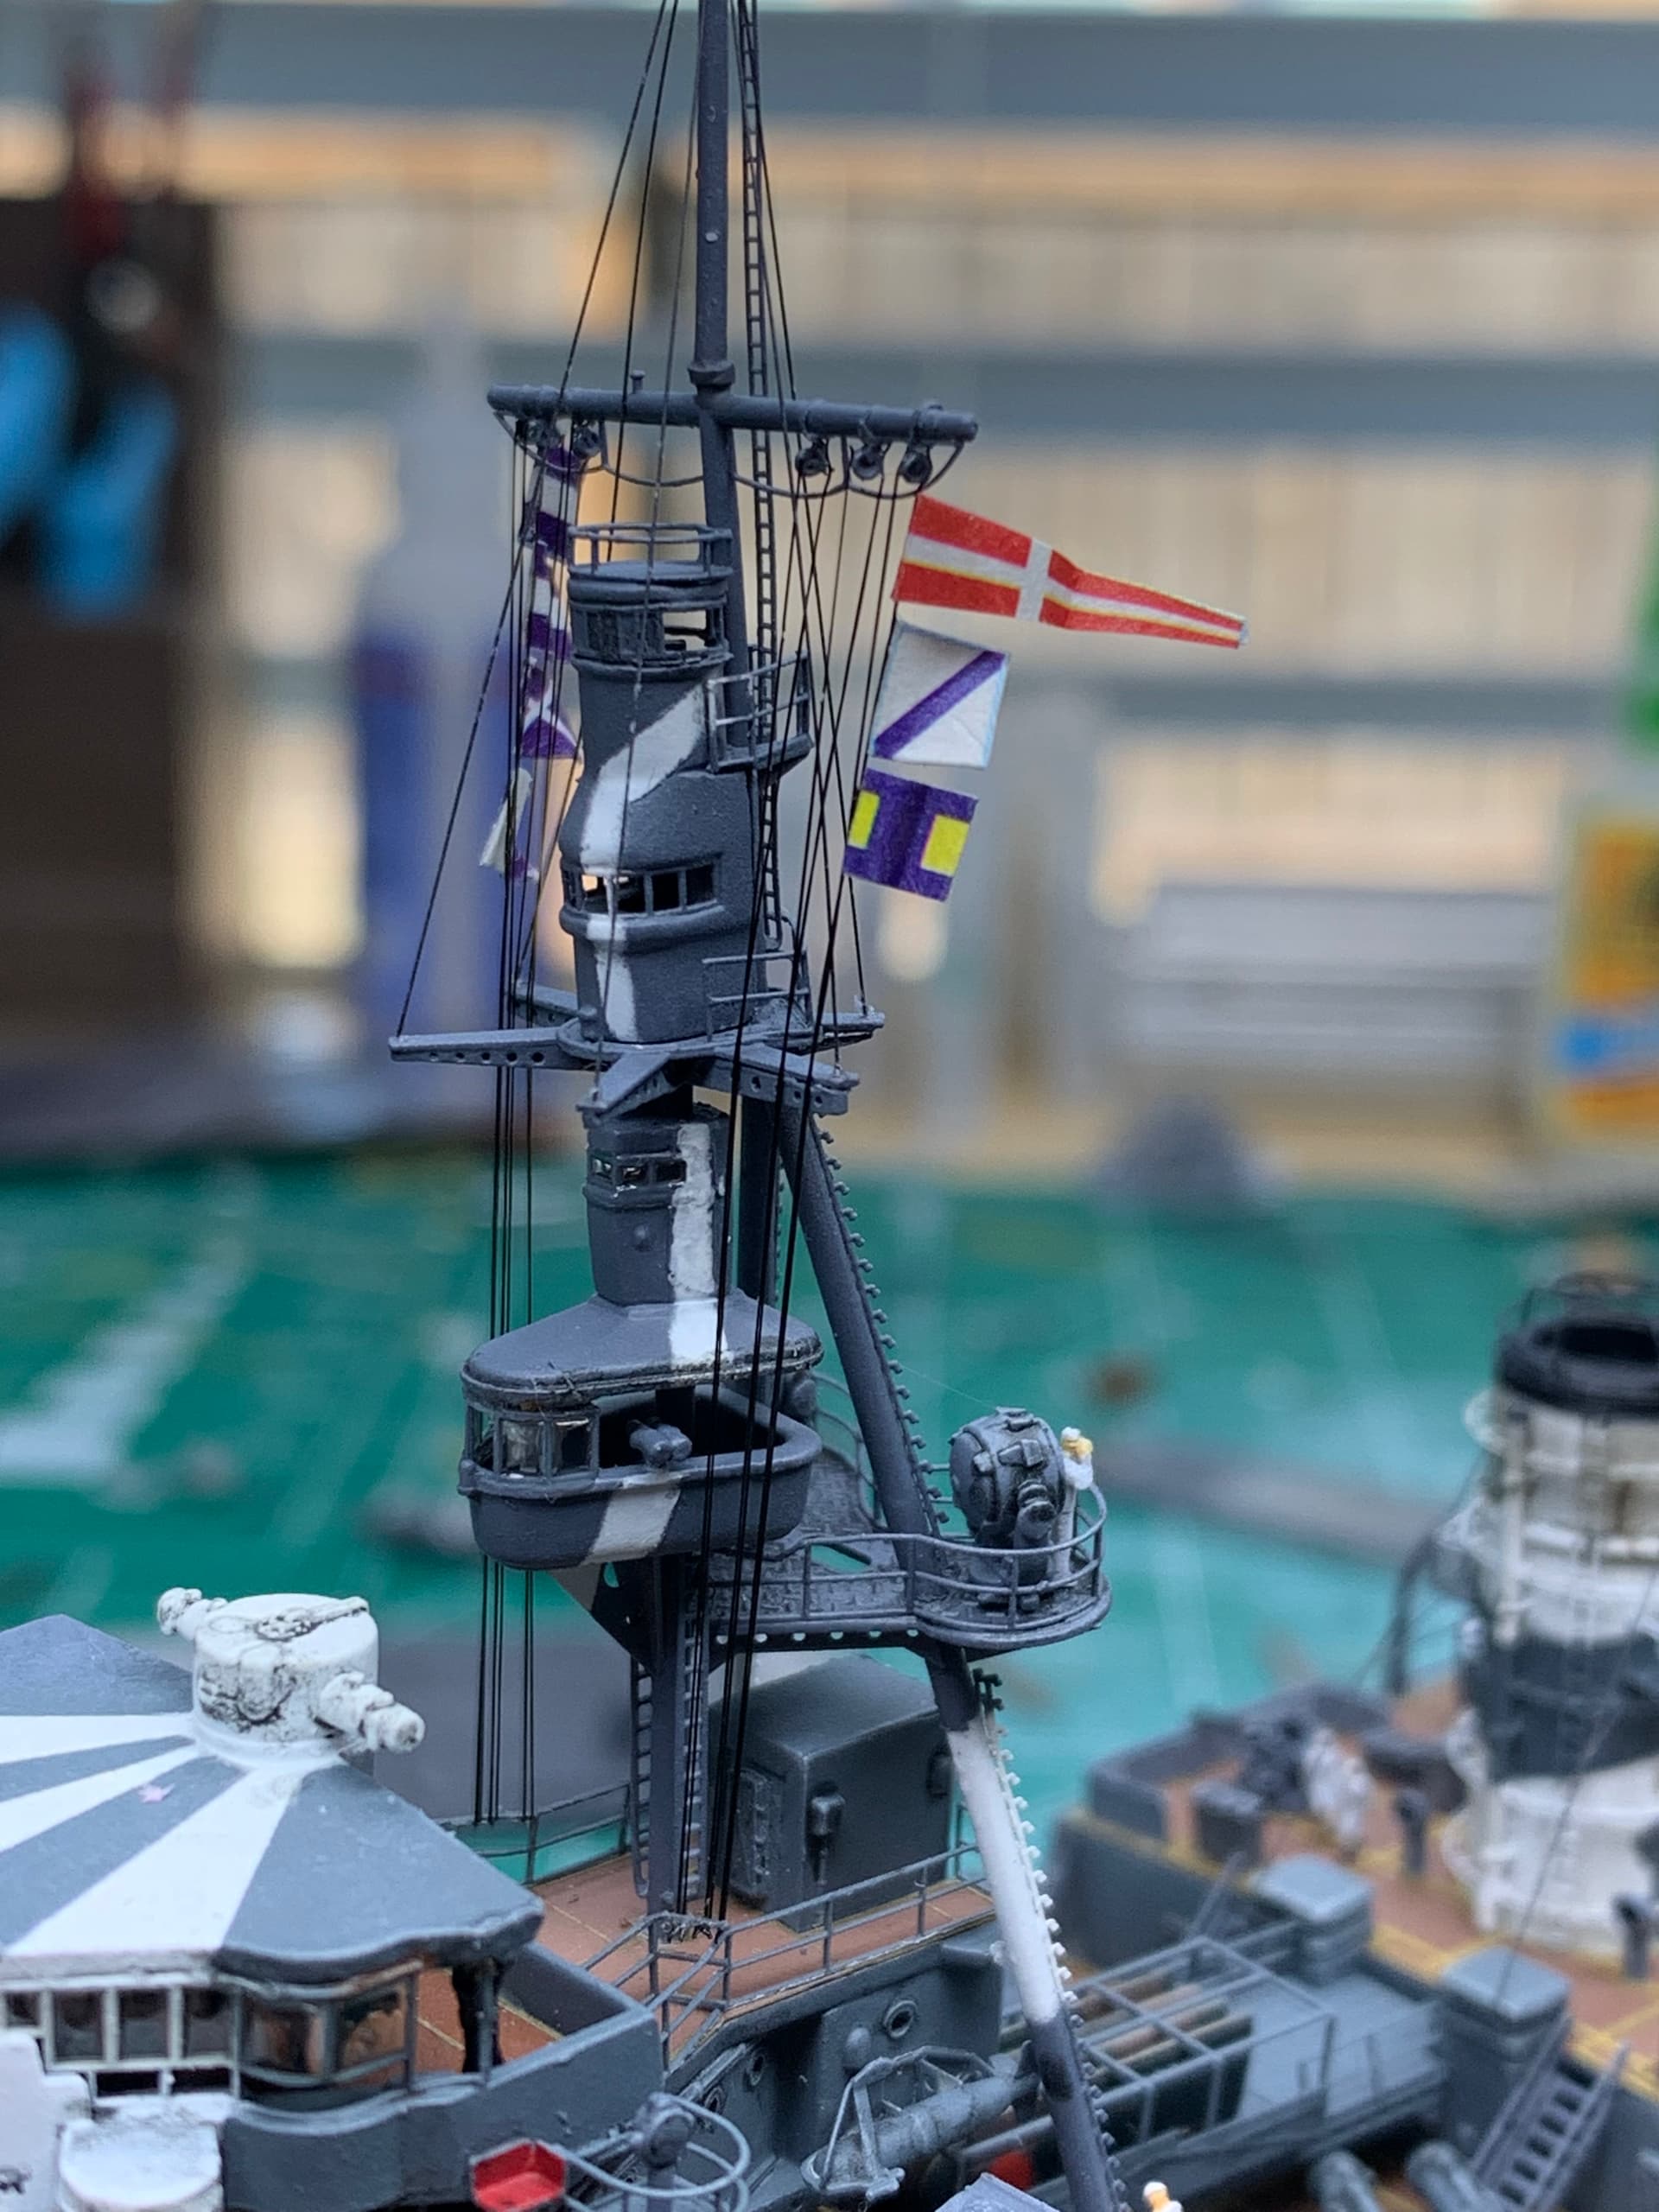
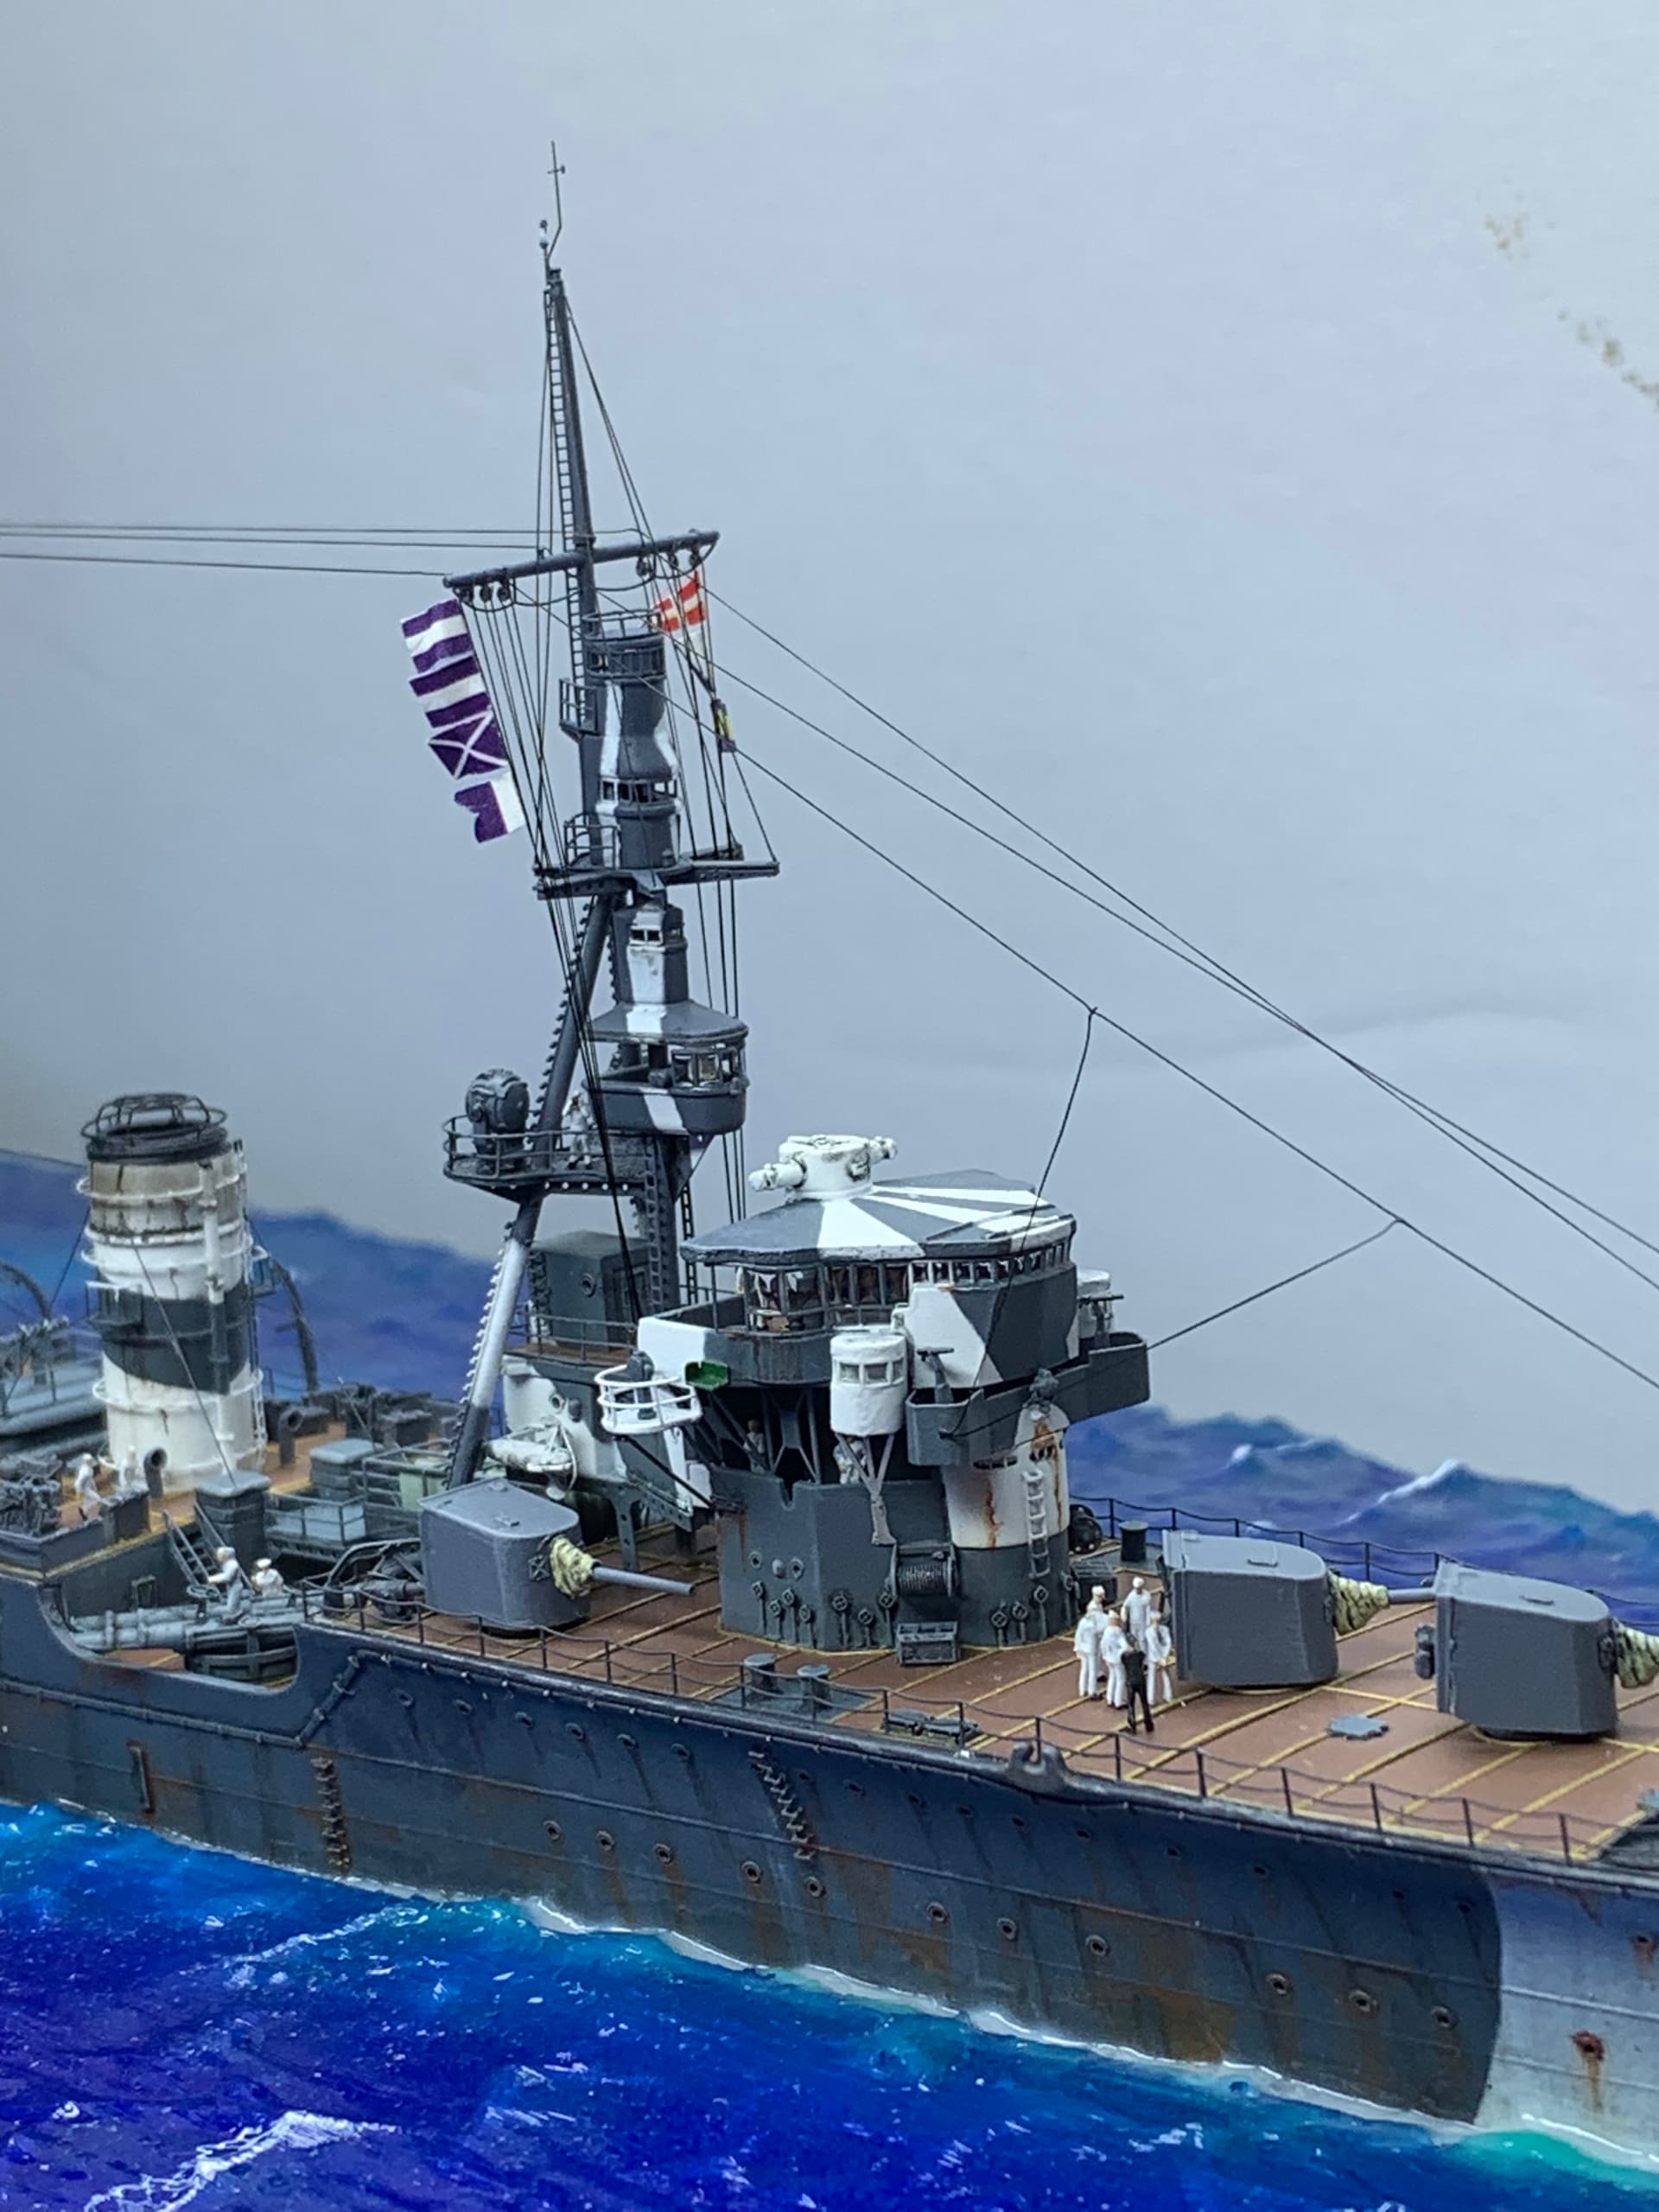
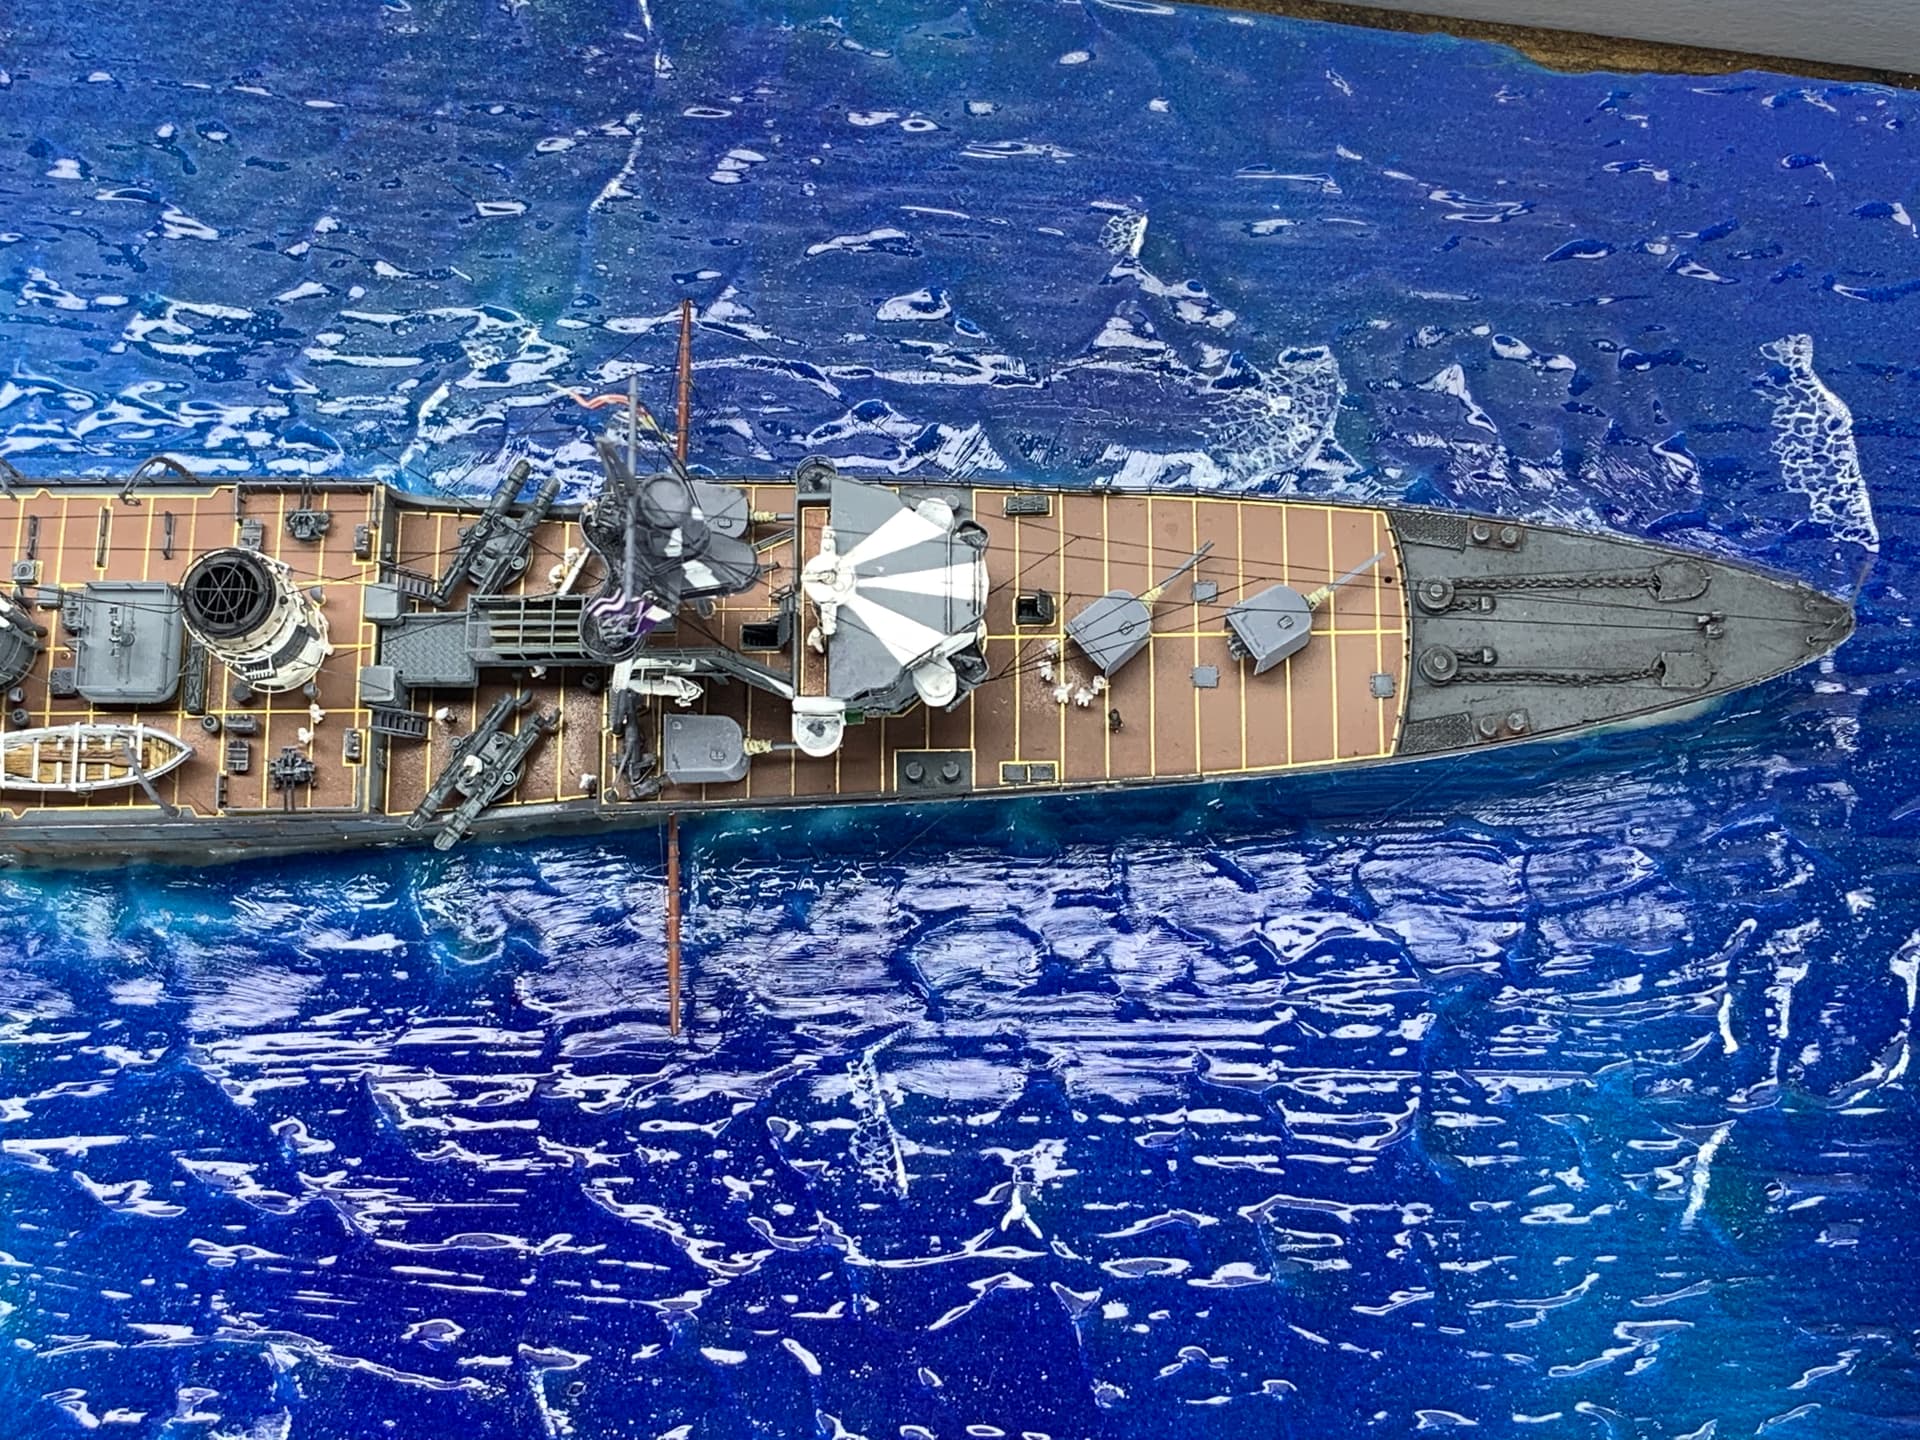
I got to spend a few hours on the bench yesterday, this provided me time to ponder how I was going to fix the upper forward mast. After looking at everyone’s suggestions and taking my skills into account I selected using a small piece of round tubing to not only align the mast but also to cover up the break.
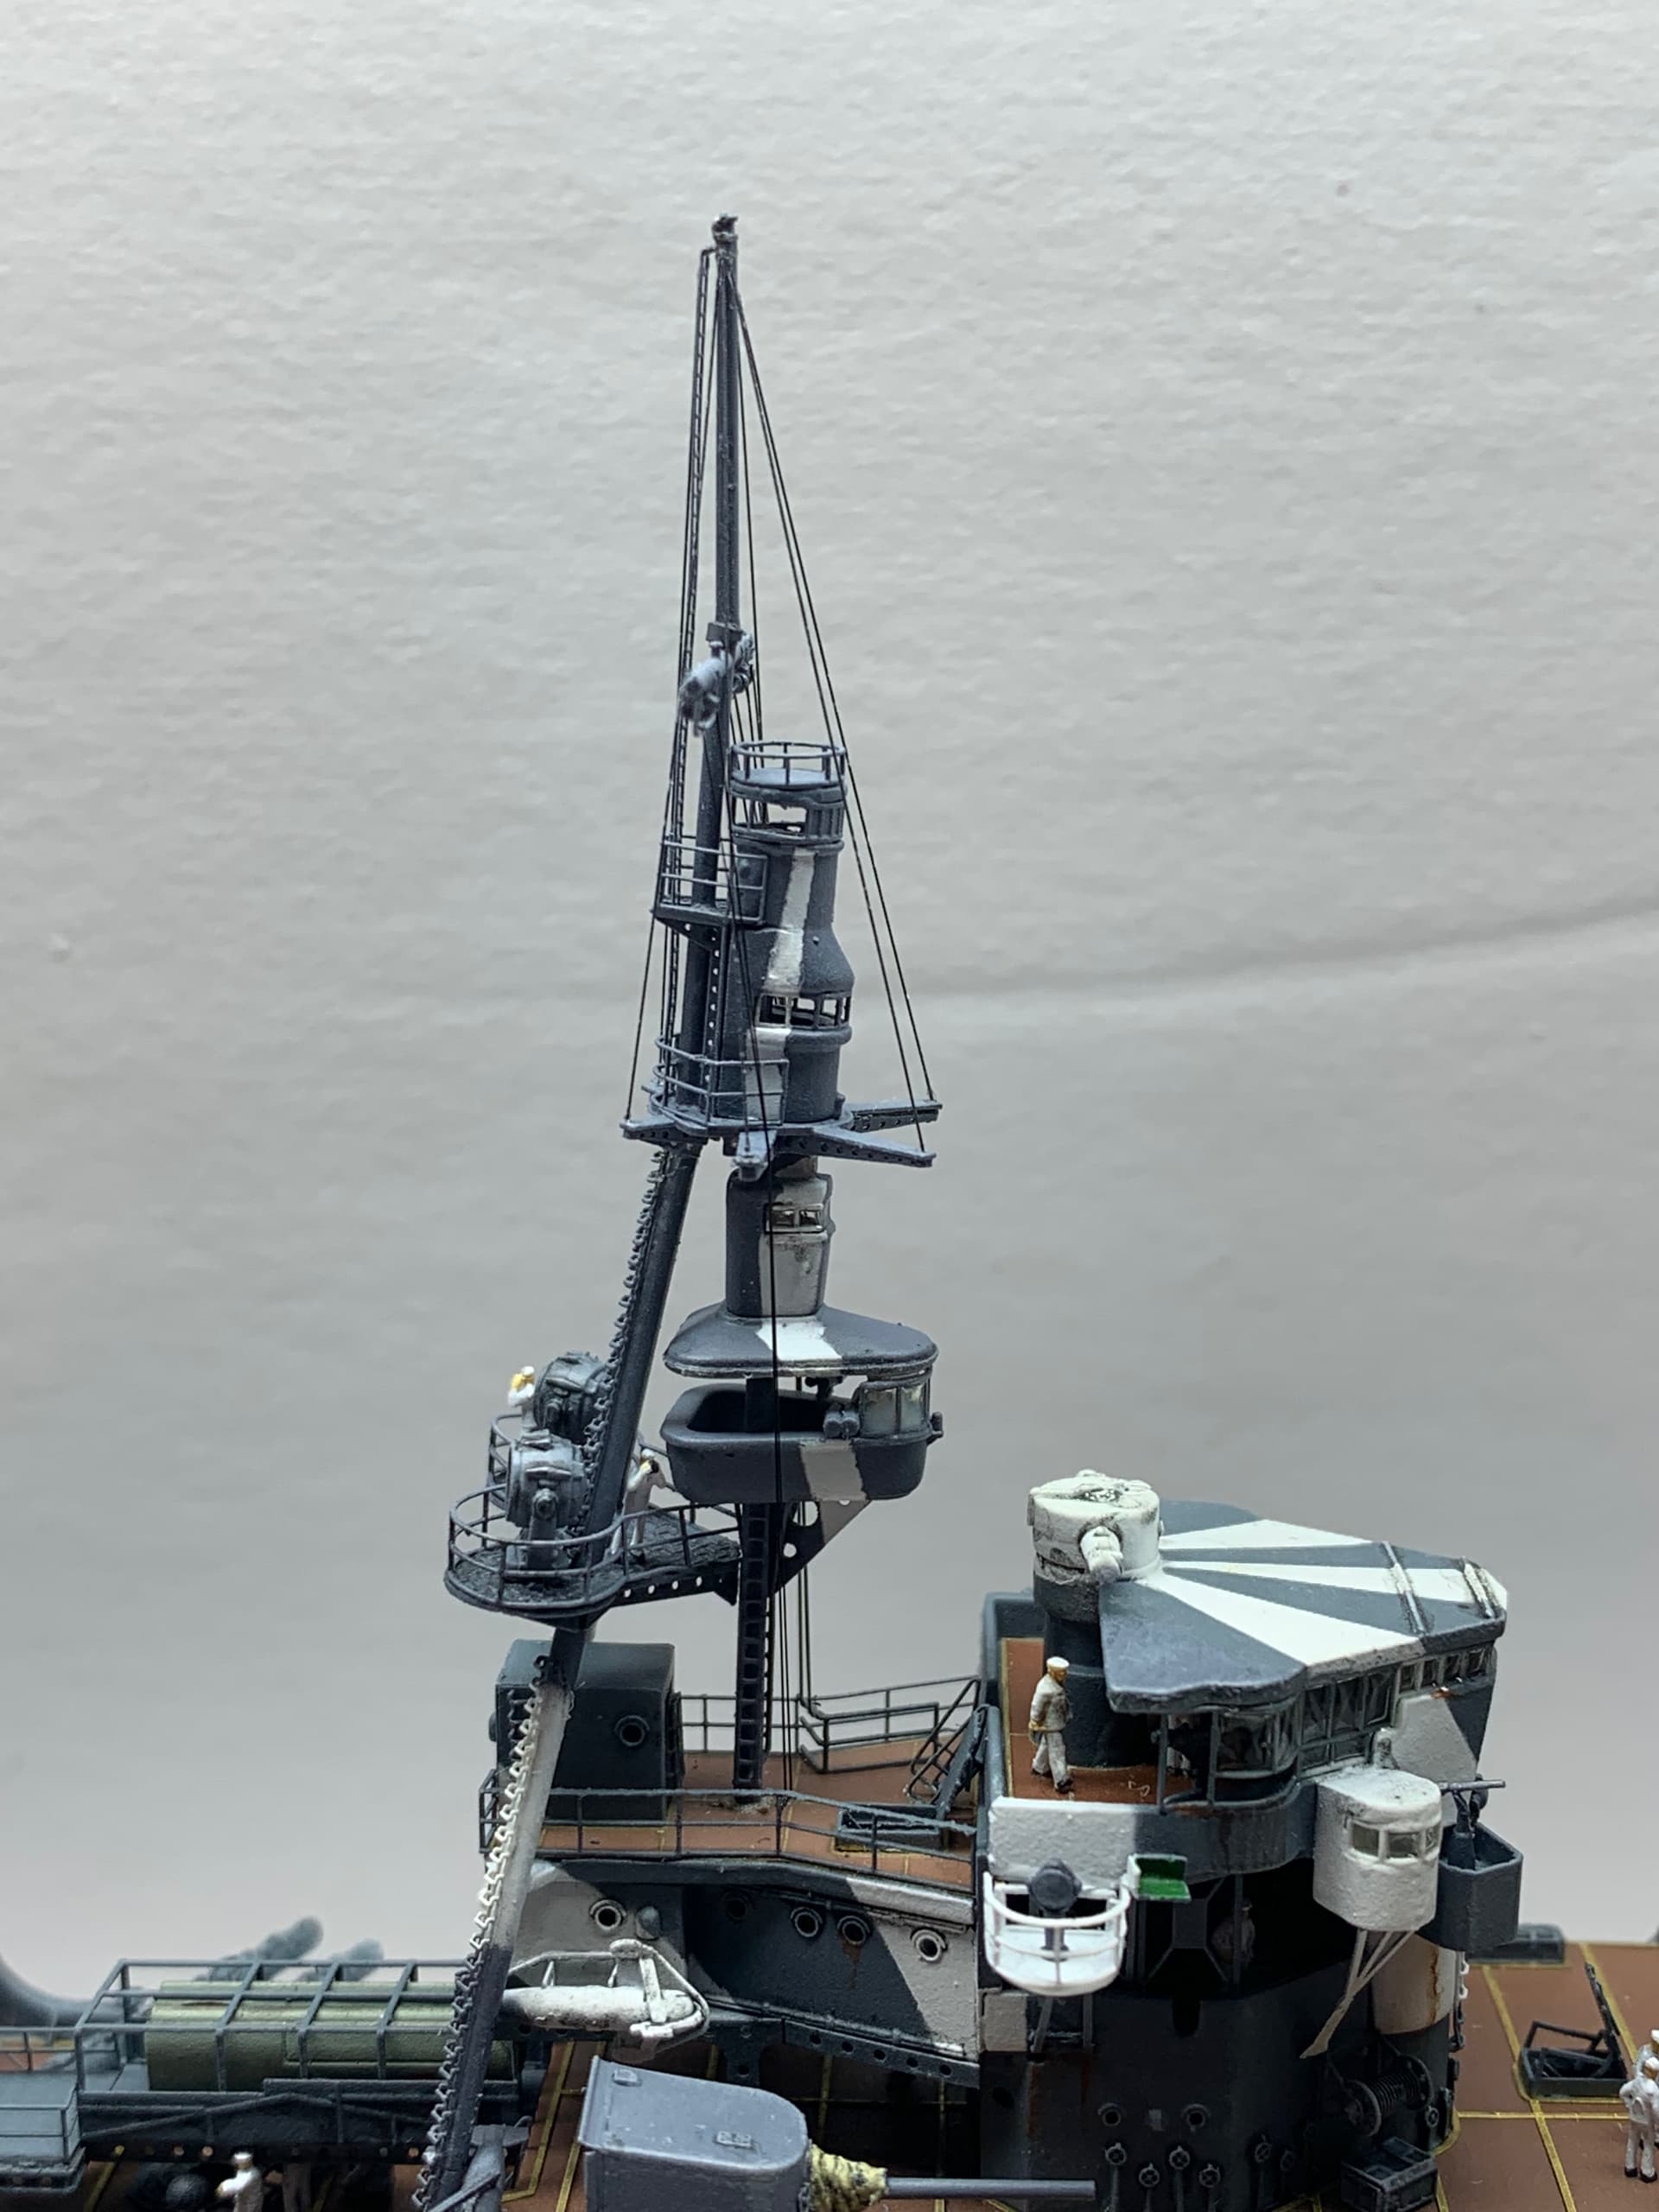
After that I applied a coat of Tamiya Sasebo Grey to blend it in. I probably should have added some black wash to further blend it into the kit but I got ahead of myself and replaced the mast stay wires.
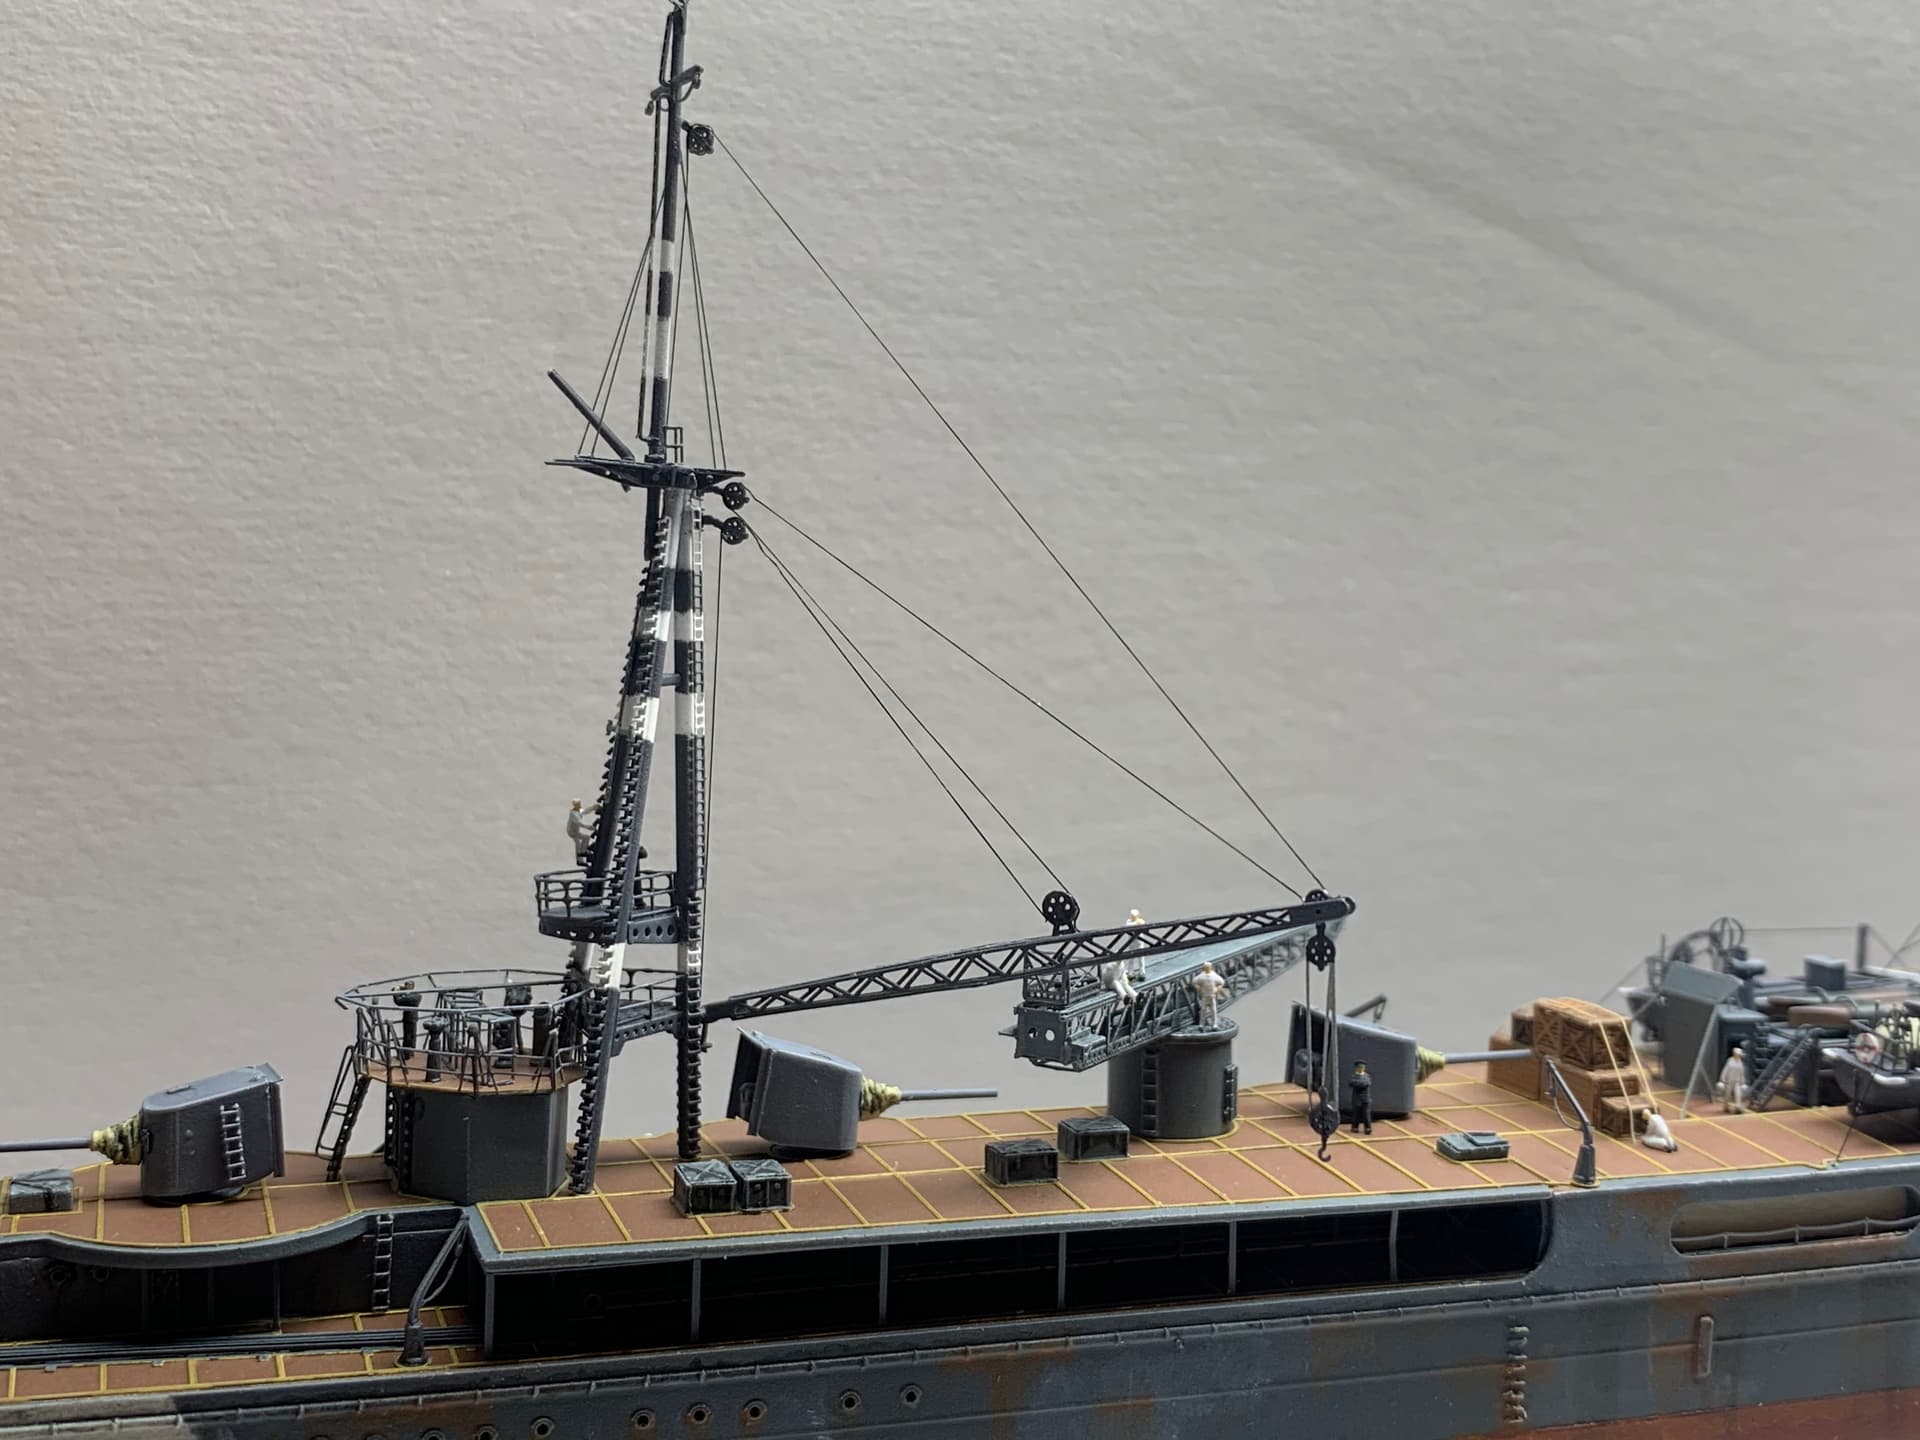
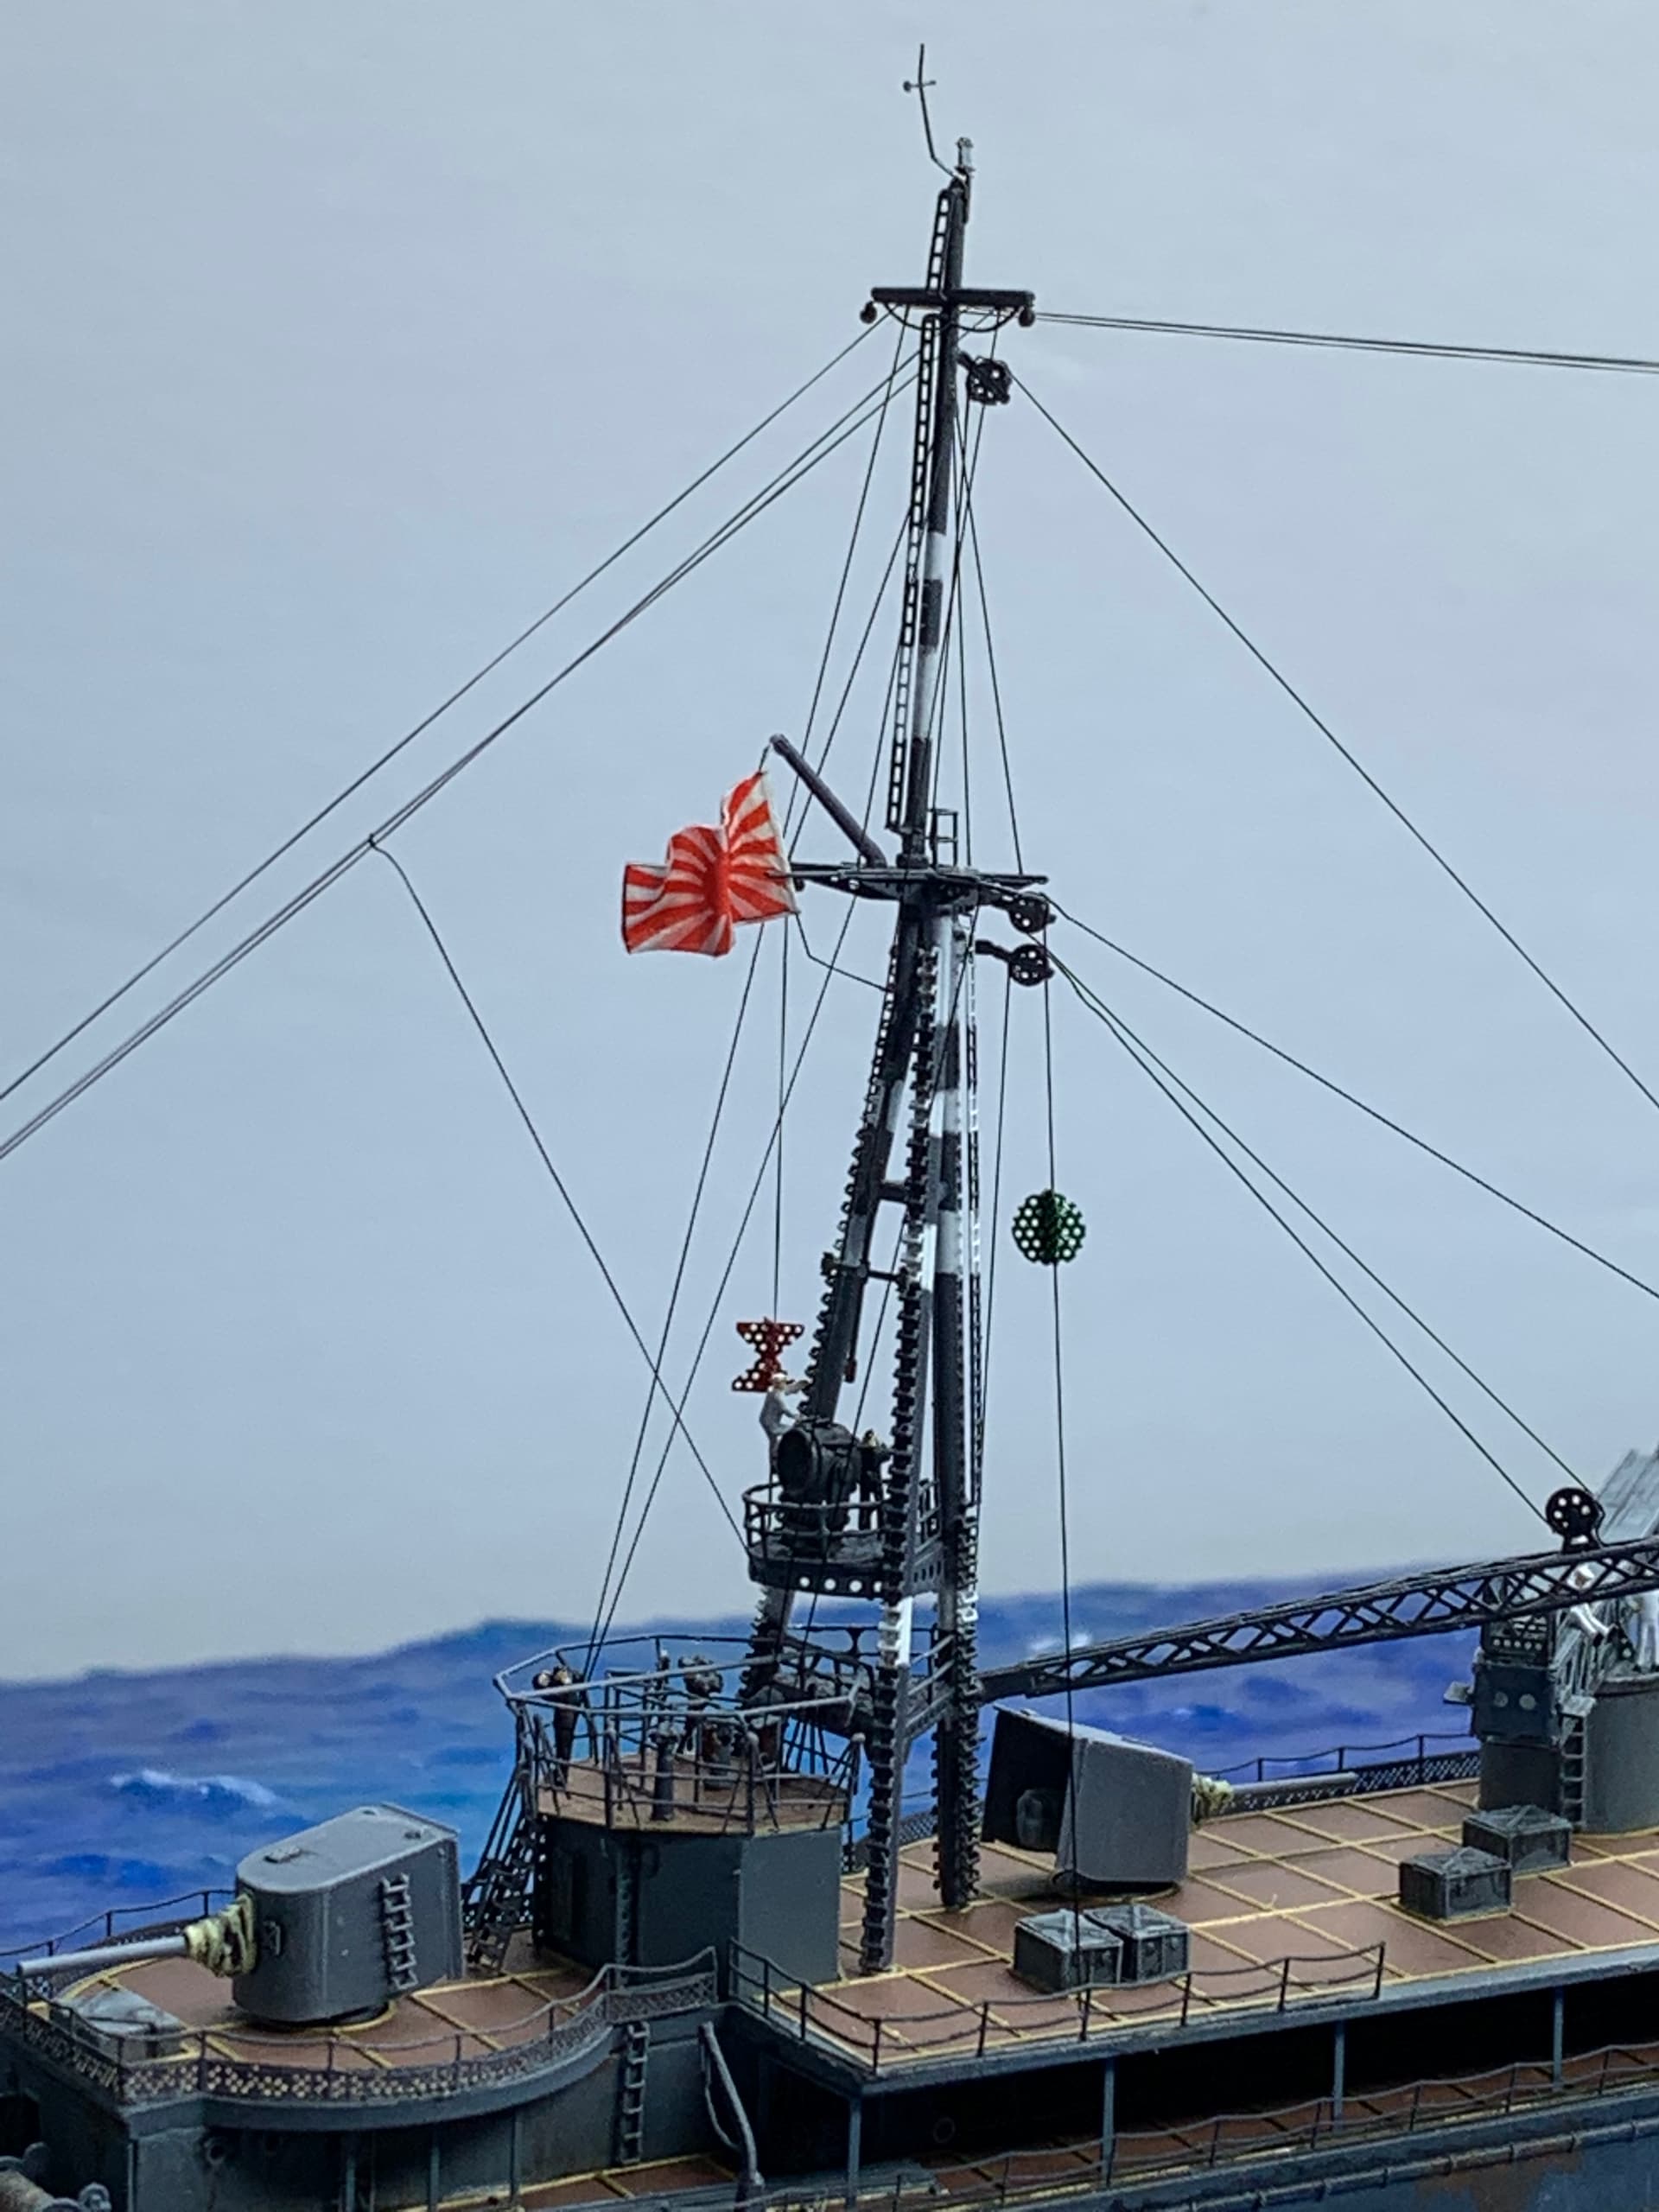
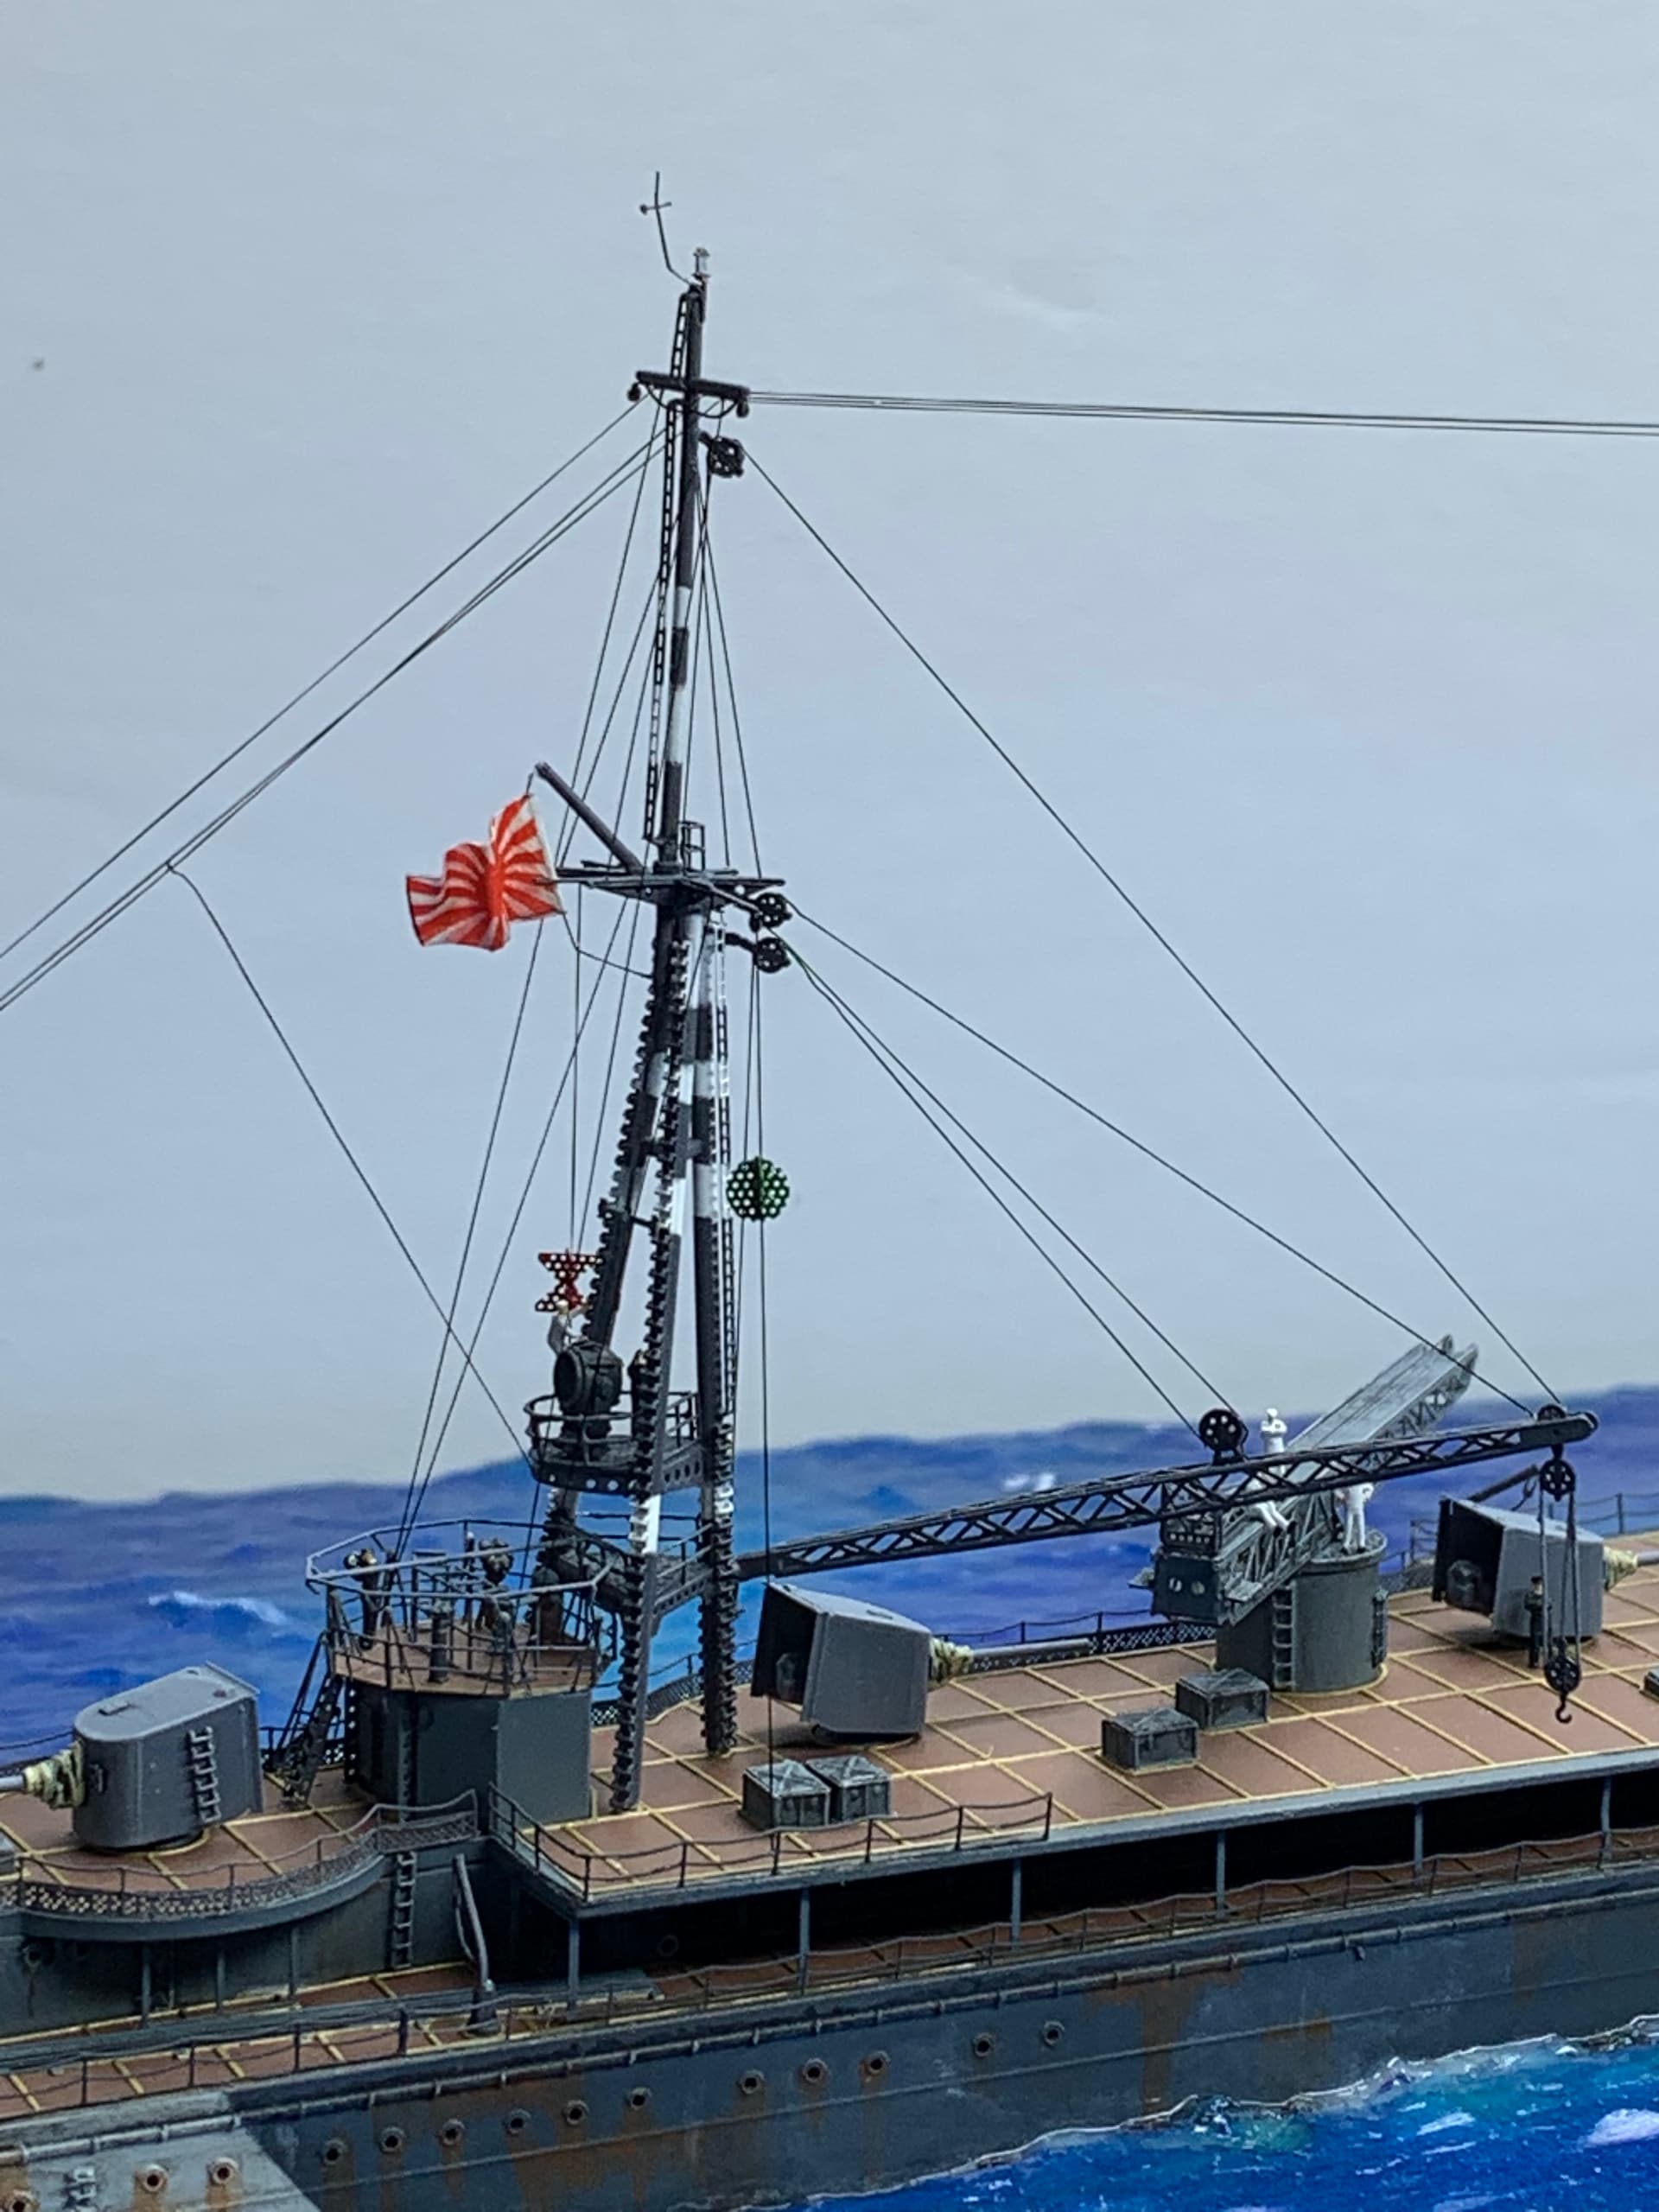
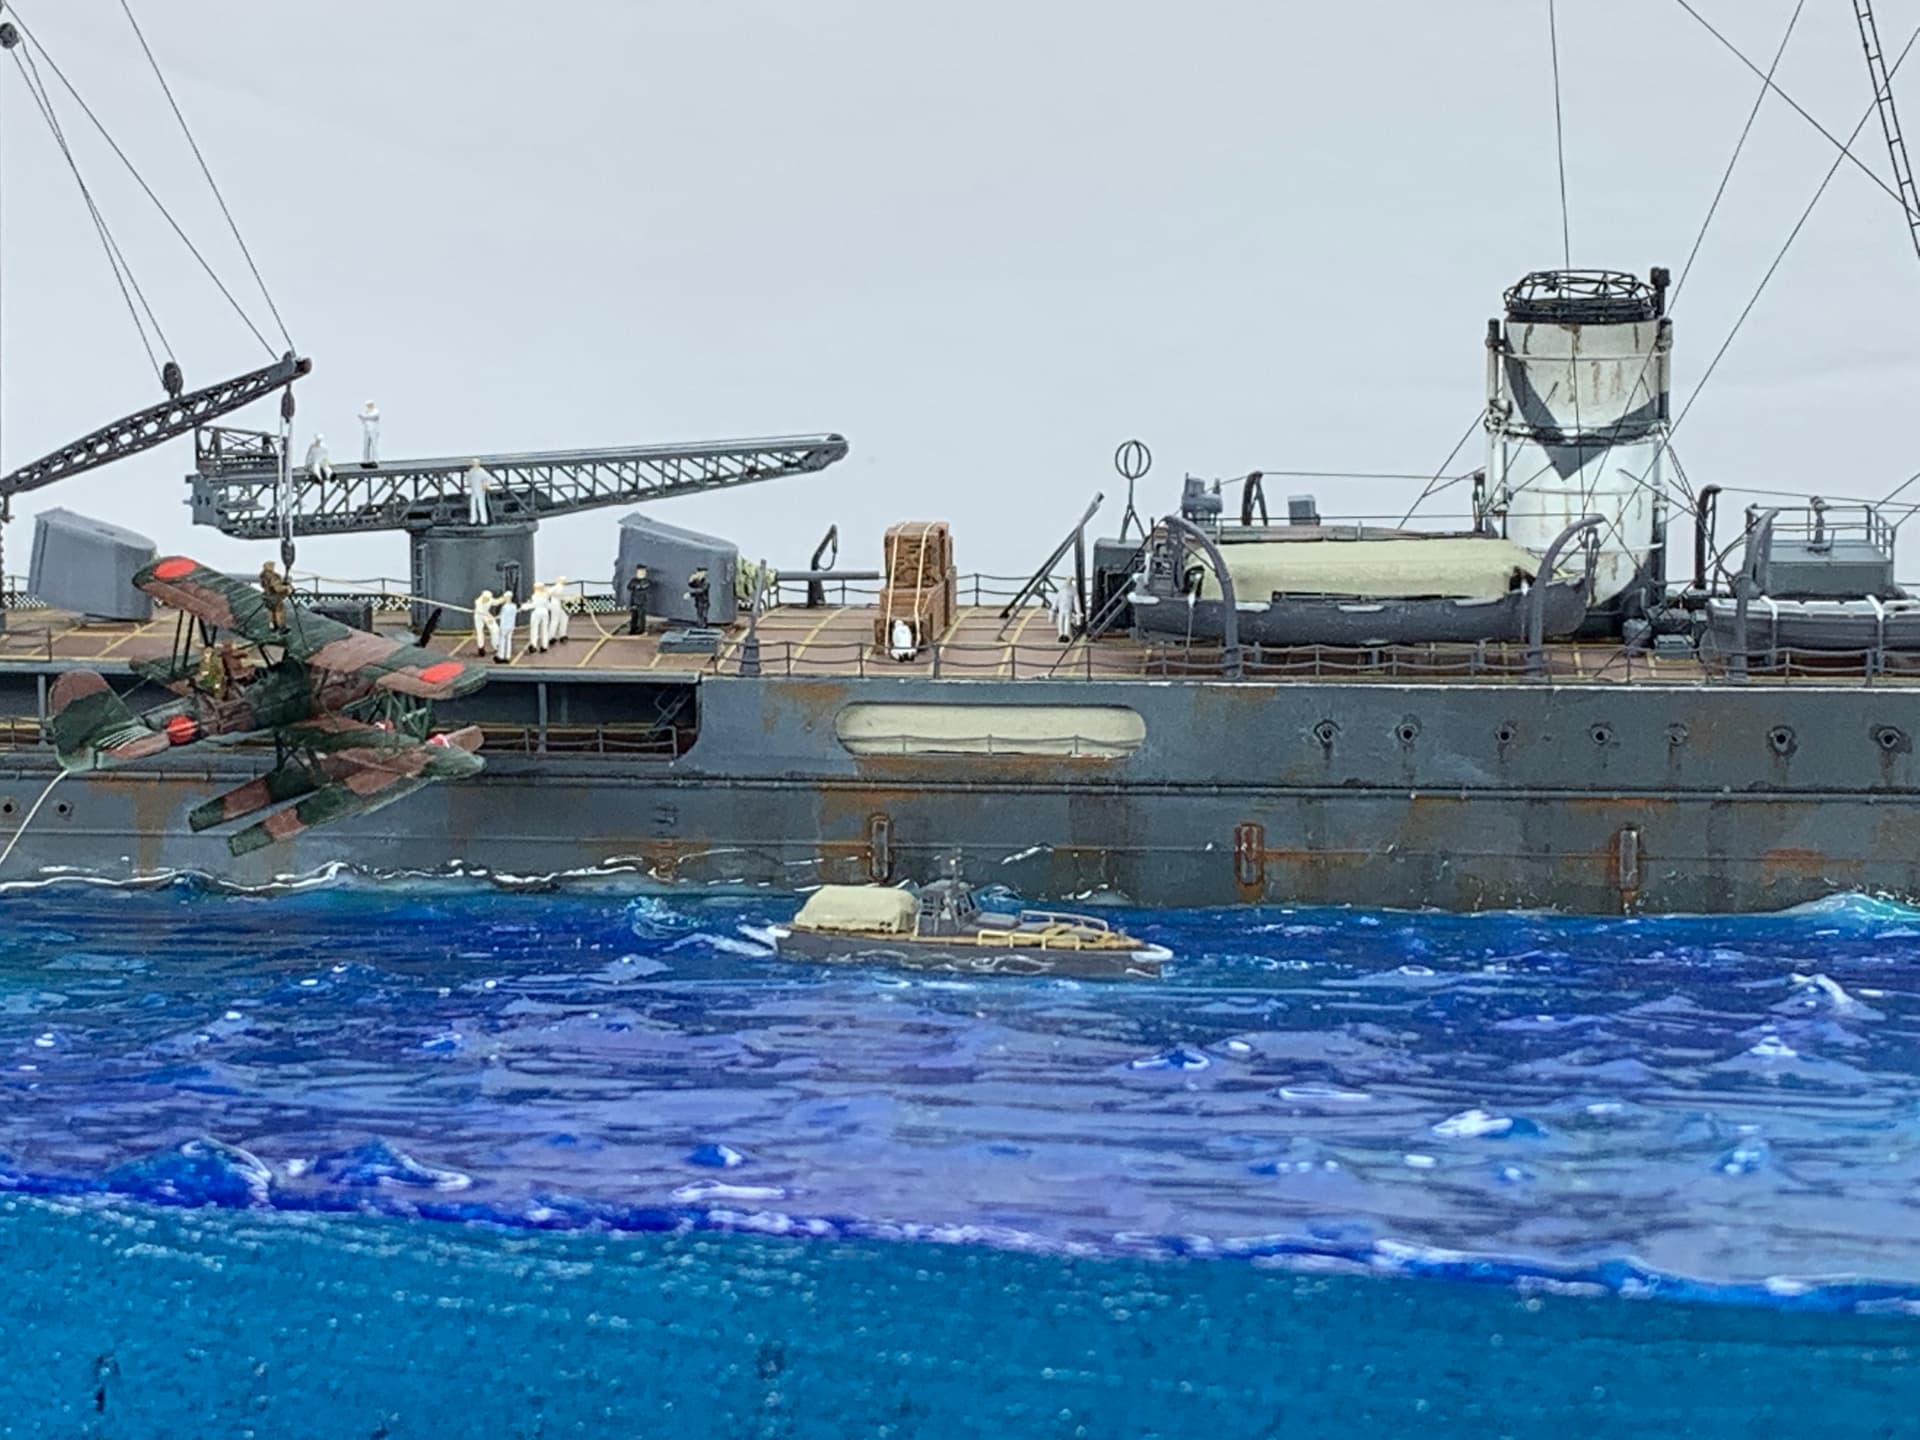
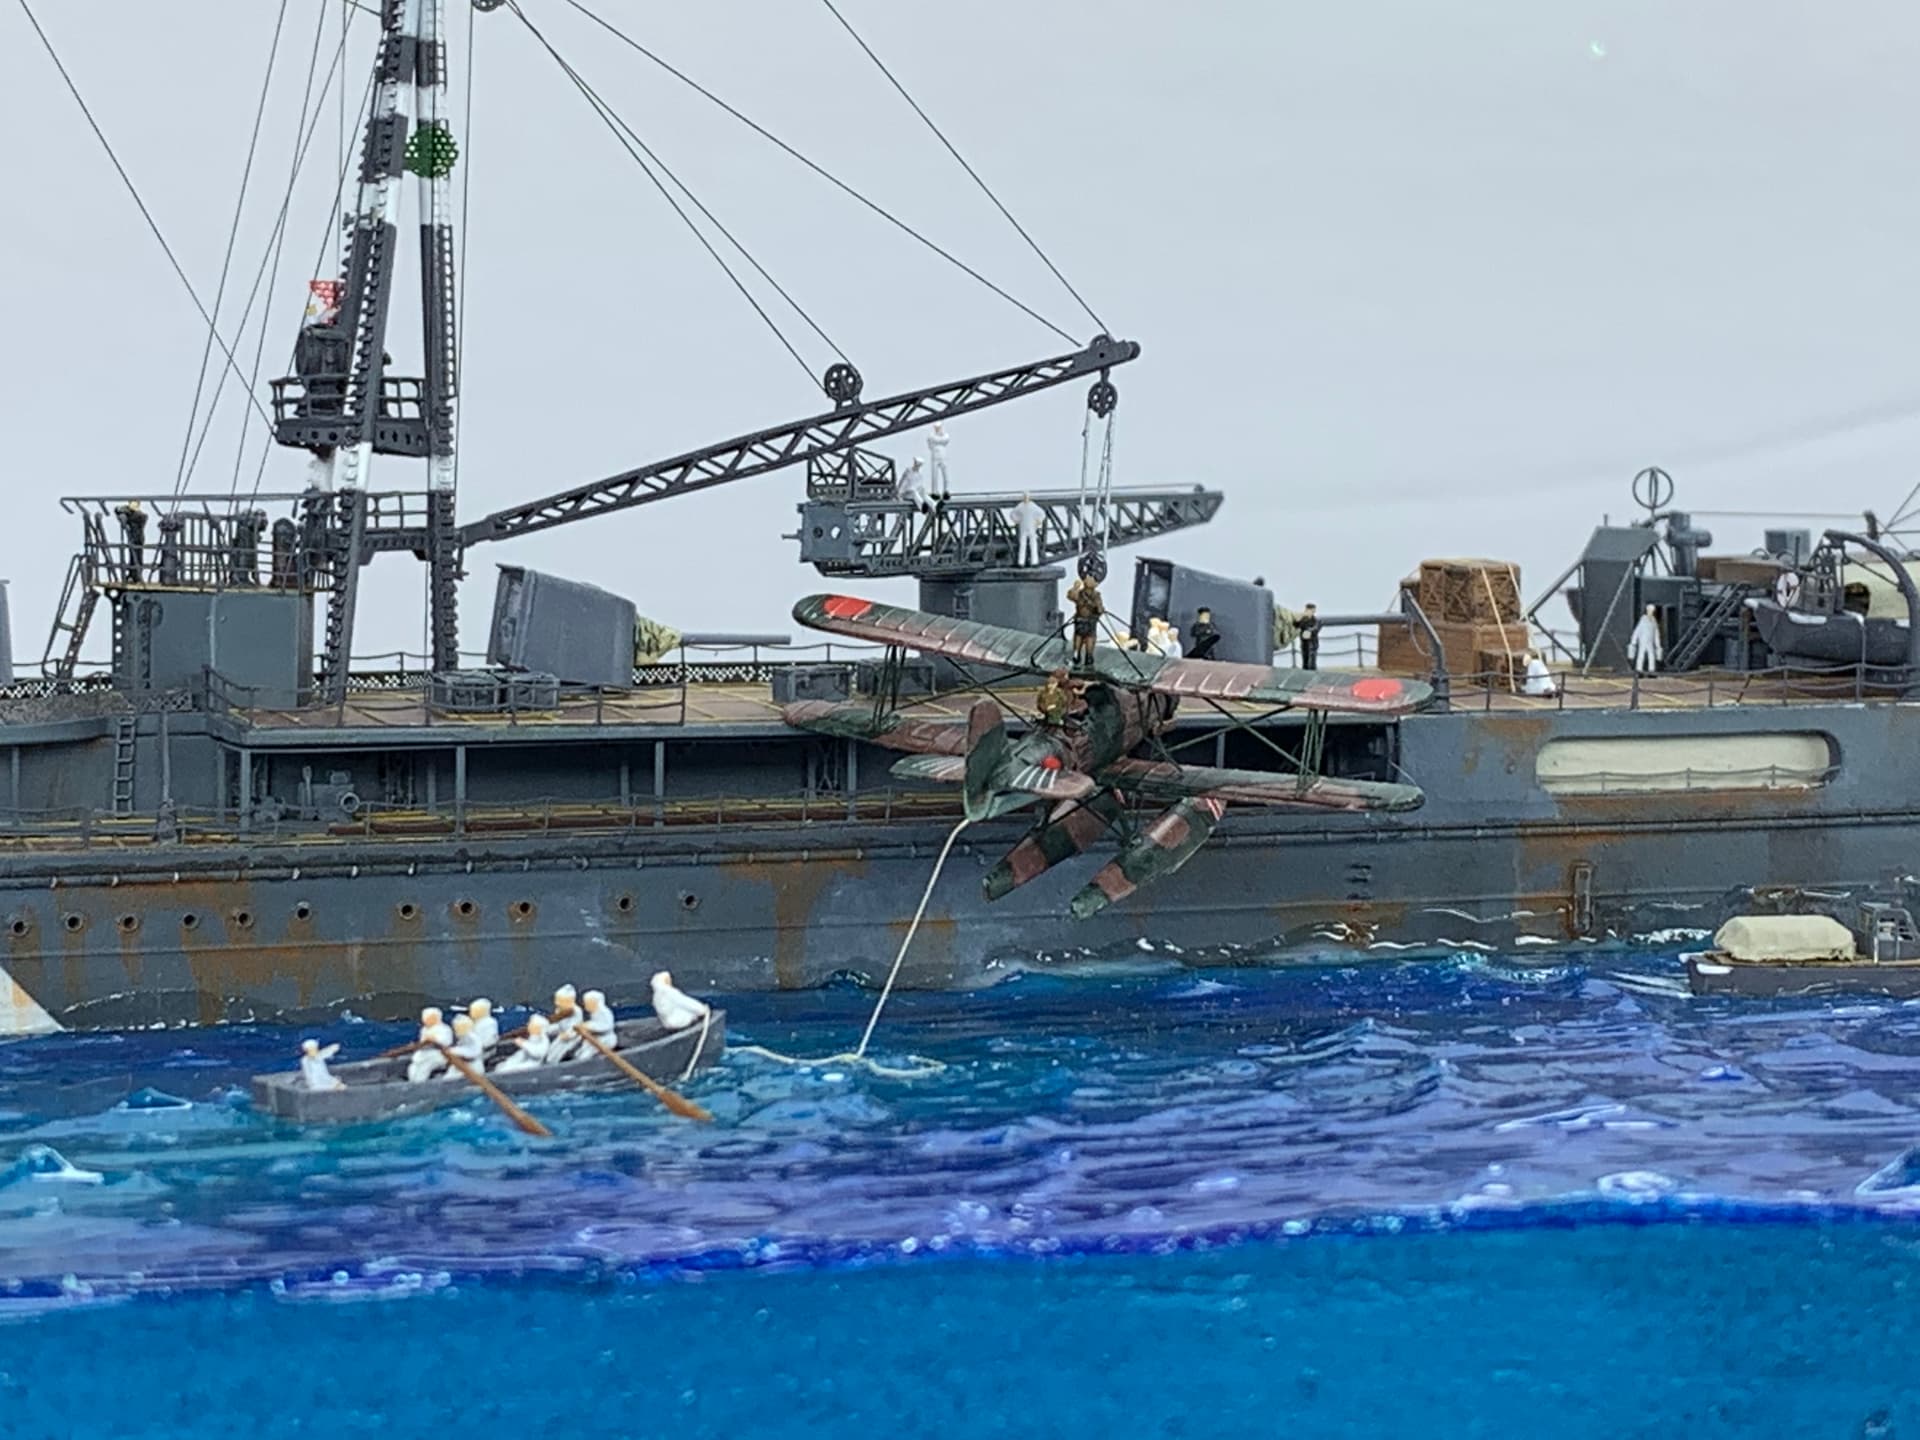
After that was done it was time to begin rigging the aft crane. While not perfect I think it looks the part. Pretty sure if a mechanical engineer looked at the rigging they would point out the error in my routing of the cable but I accept that.
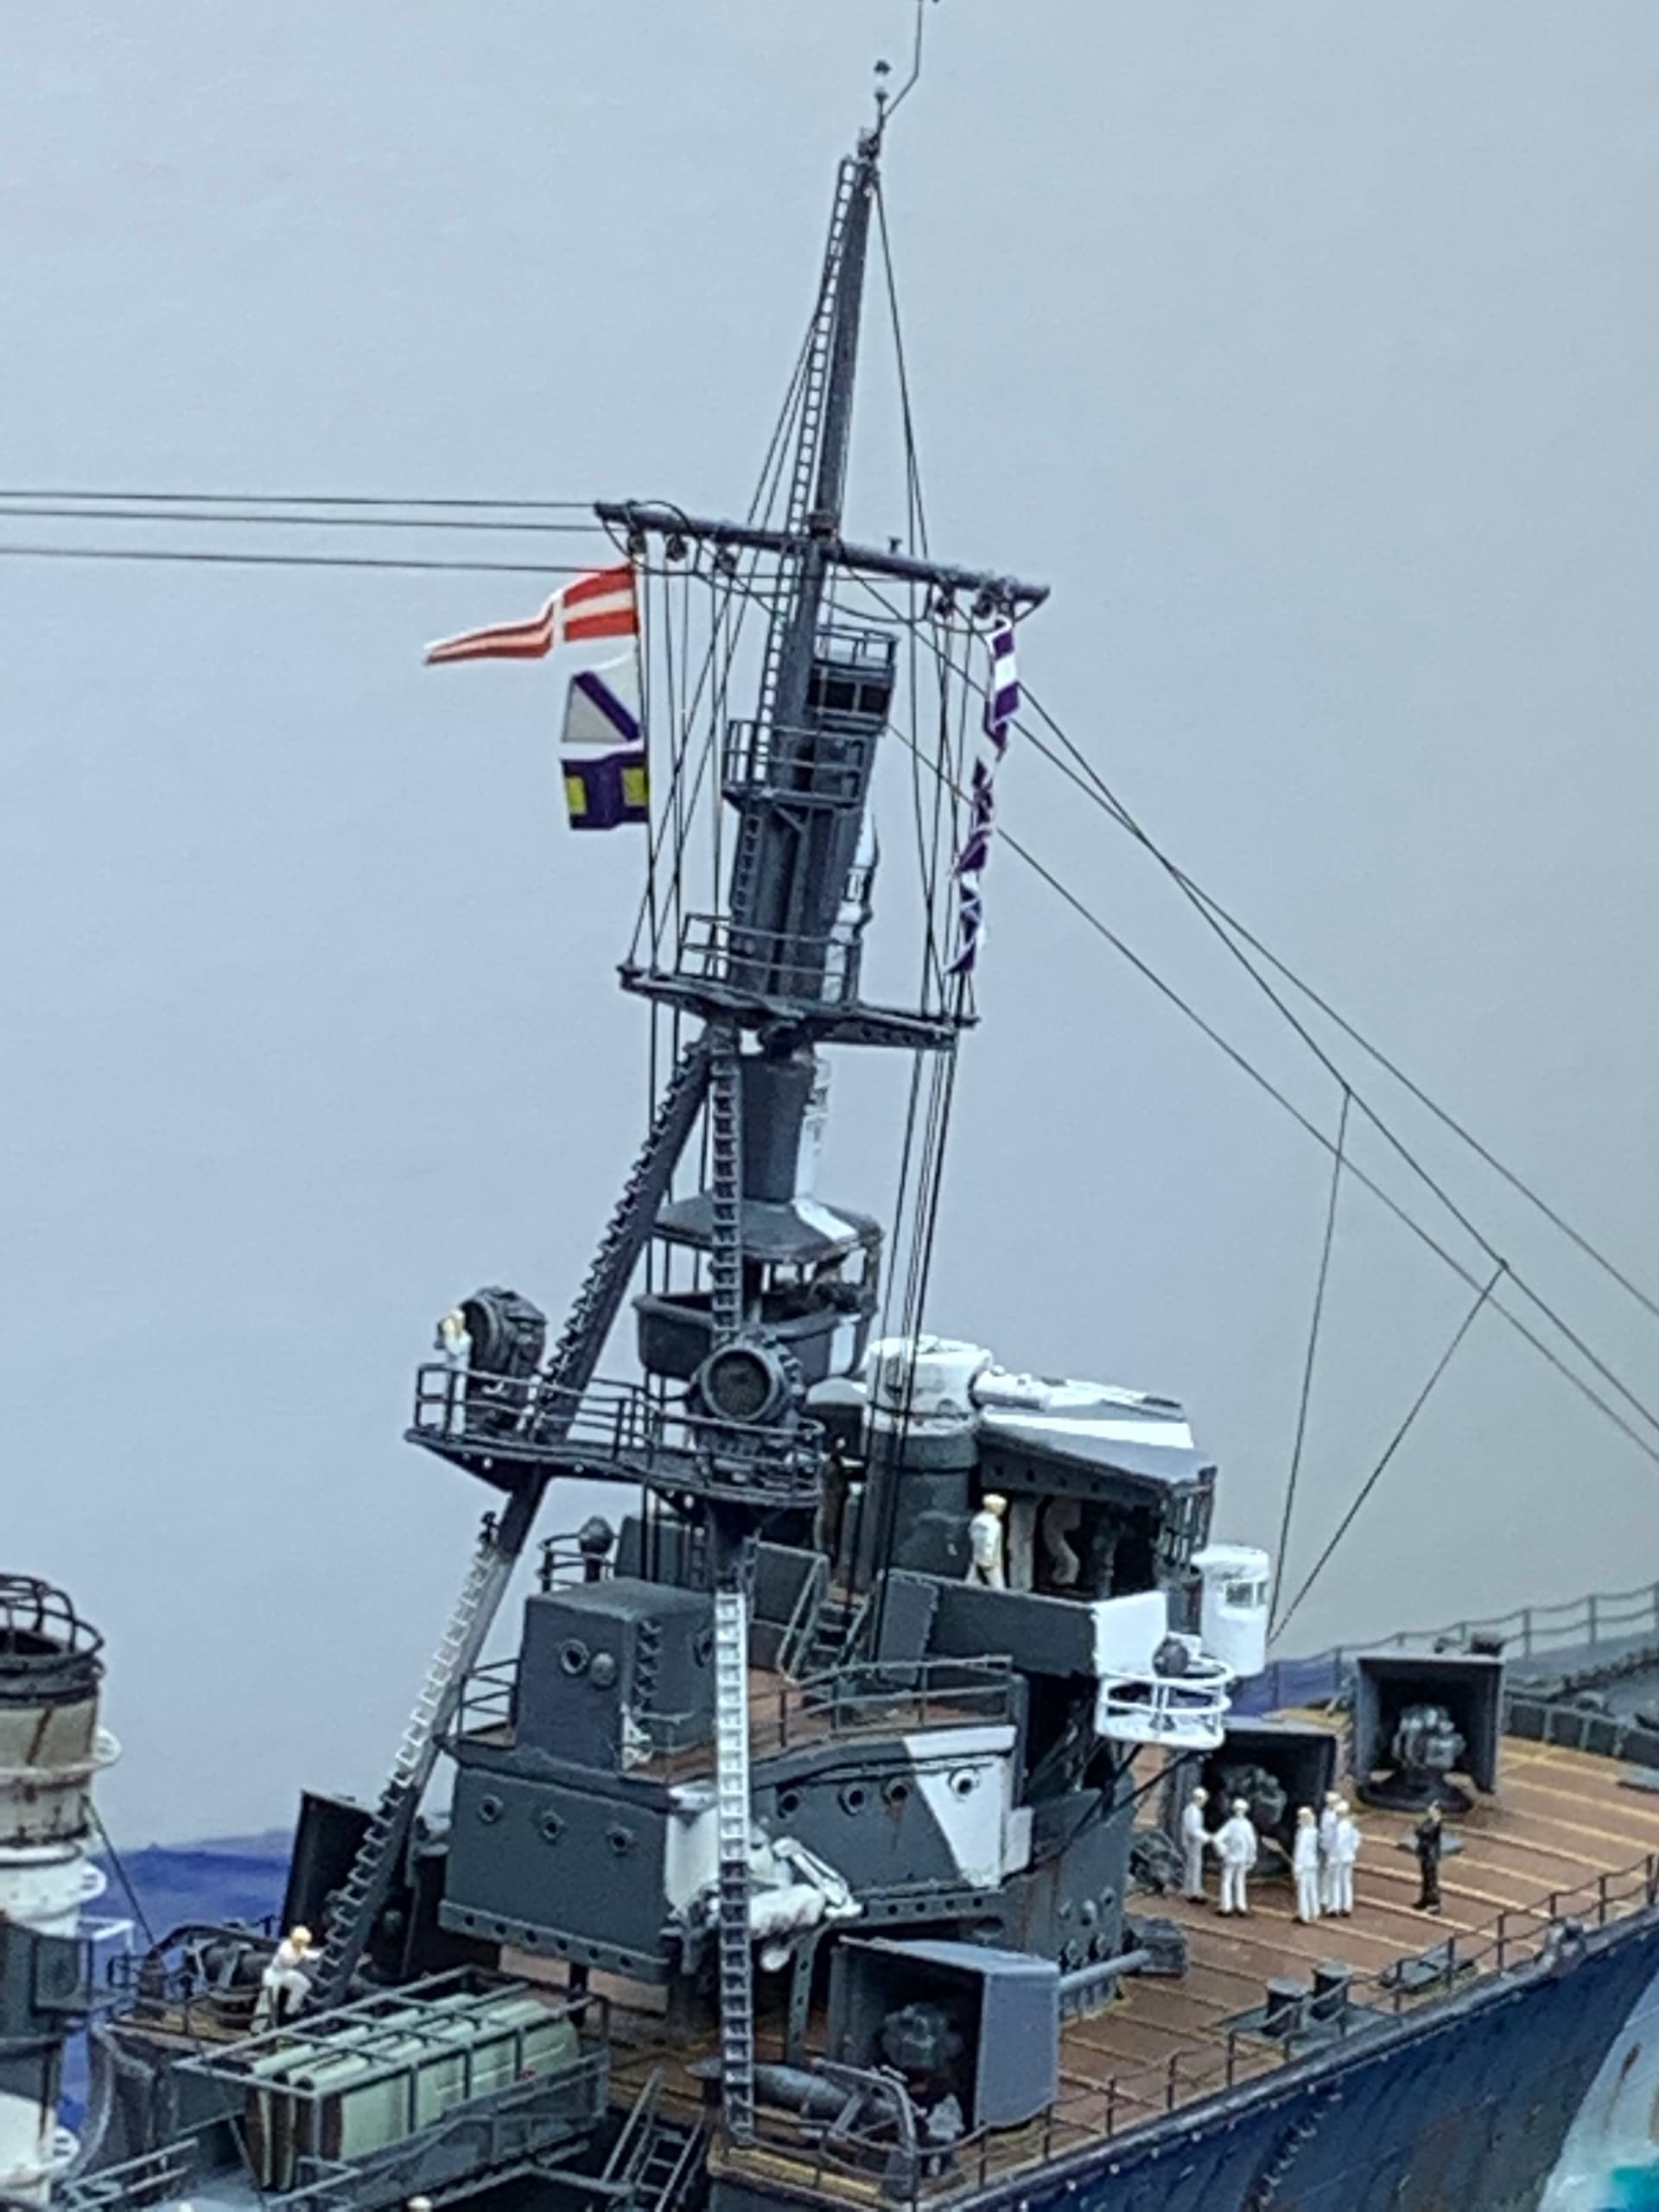
After the crane was rigged it was time to begin rigging the signal halyards. I worked from the inside out and left the most outer halyards unrigged at this time. I intend to add signal flags and will work through that next weekend.
Well that is it for now, based on my rigging speed and issues identified for the railing I estimate it will take me about another month to finally finish this build.
Thanks for stopping in, and as always comments, suggestions and criticism are always welcome.
I agree but prefer plastic rod to a metal pin. It comes from repairing the masts on white metal 1:1200th scale sailing ships used for wargaming. Where metal pins were used the inevitable next break came at the new weak point - one end or other of the metal pin. A steel pin cannot be drilled out of a white metal mast, plastic rod can be, but this is not always necessary. Often the re-break came at the original weak point but the plastic rod remained sufficiently intact that it would act as a flexible joint, the mast would simply spring back into position rather than remaining bent.
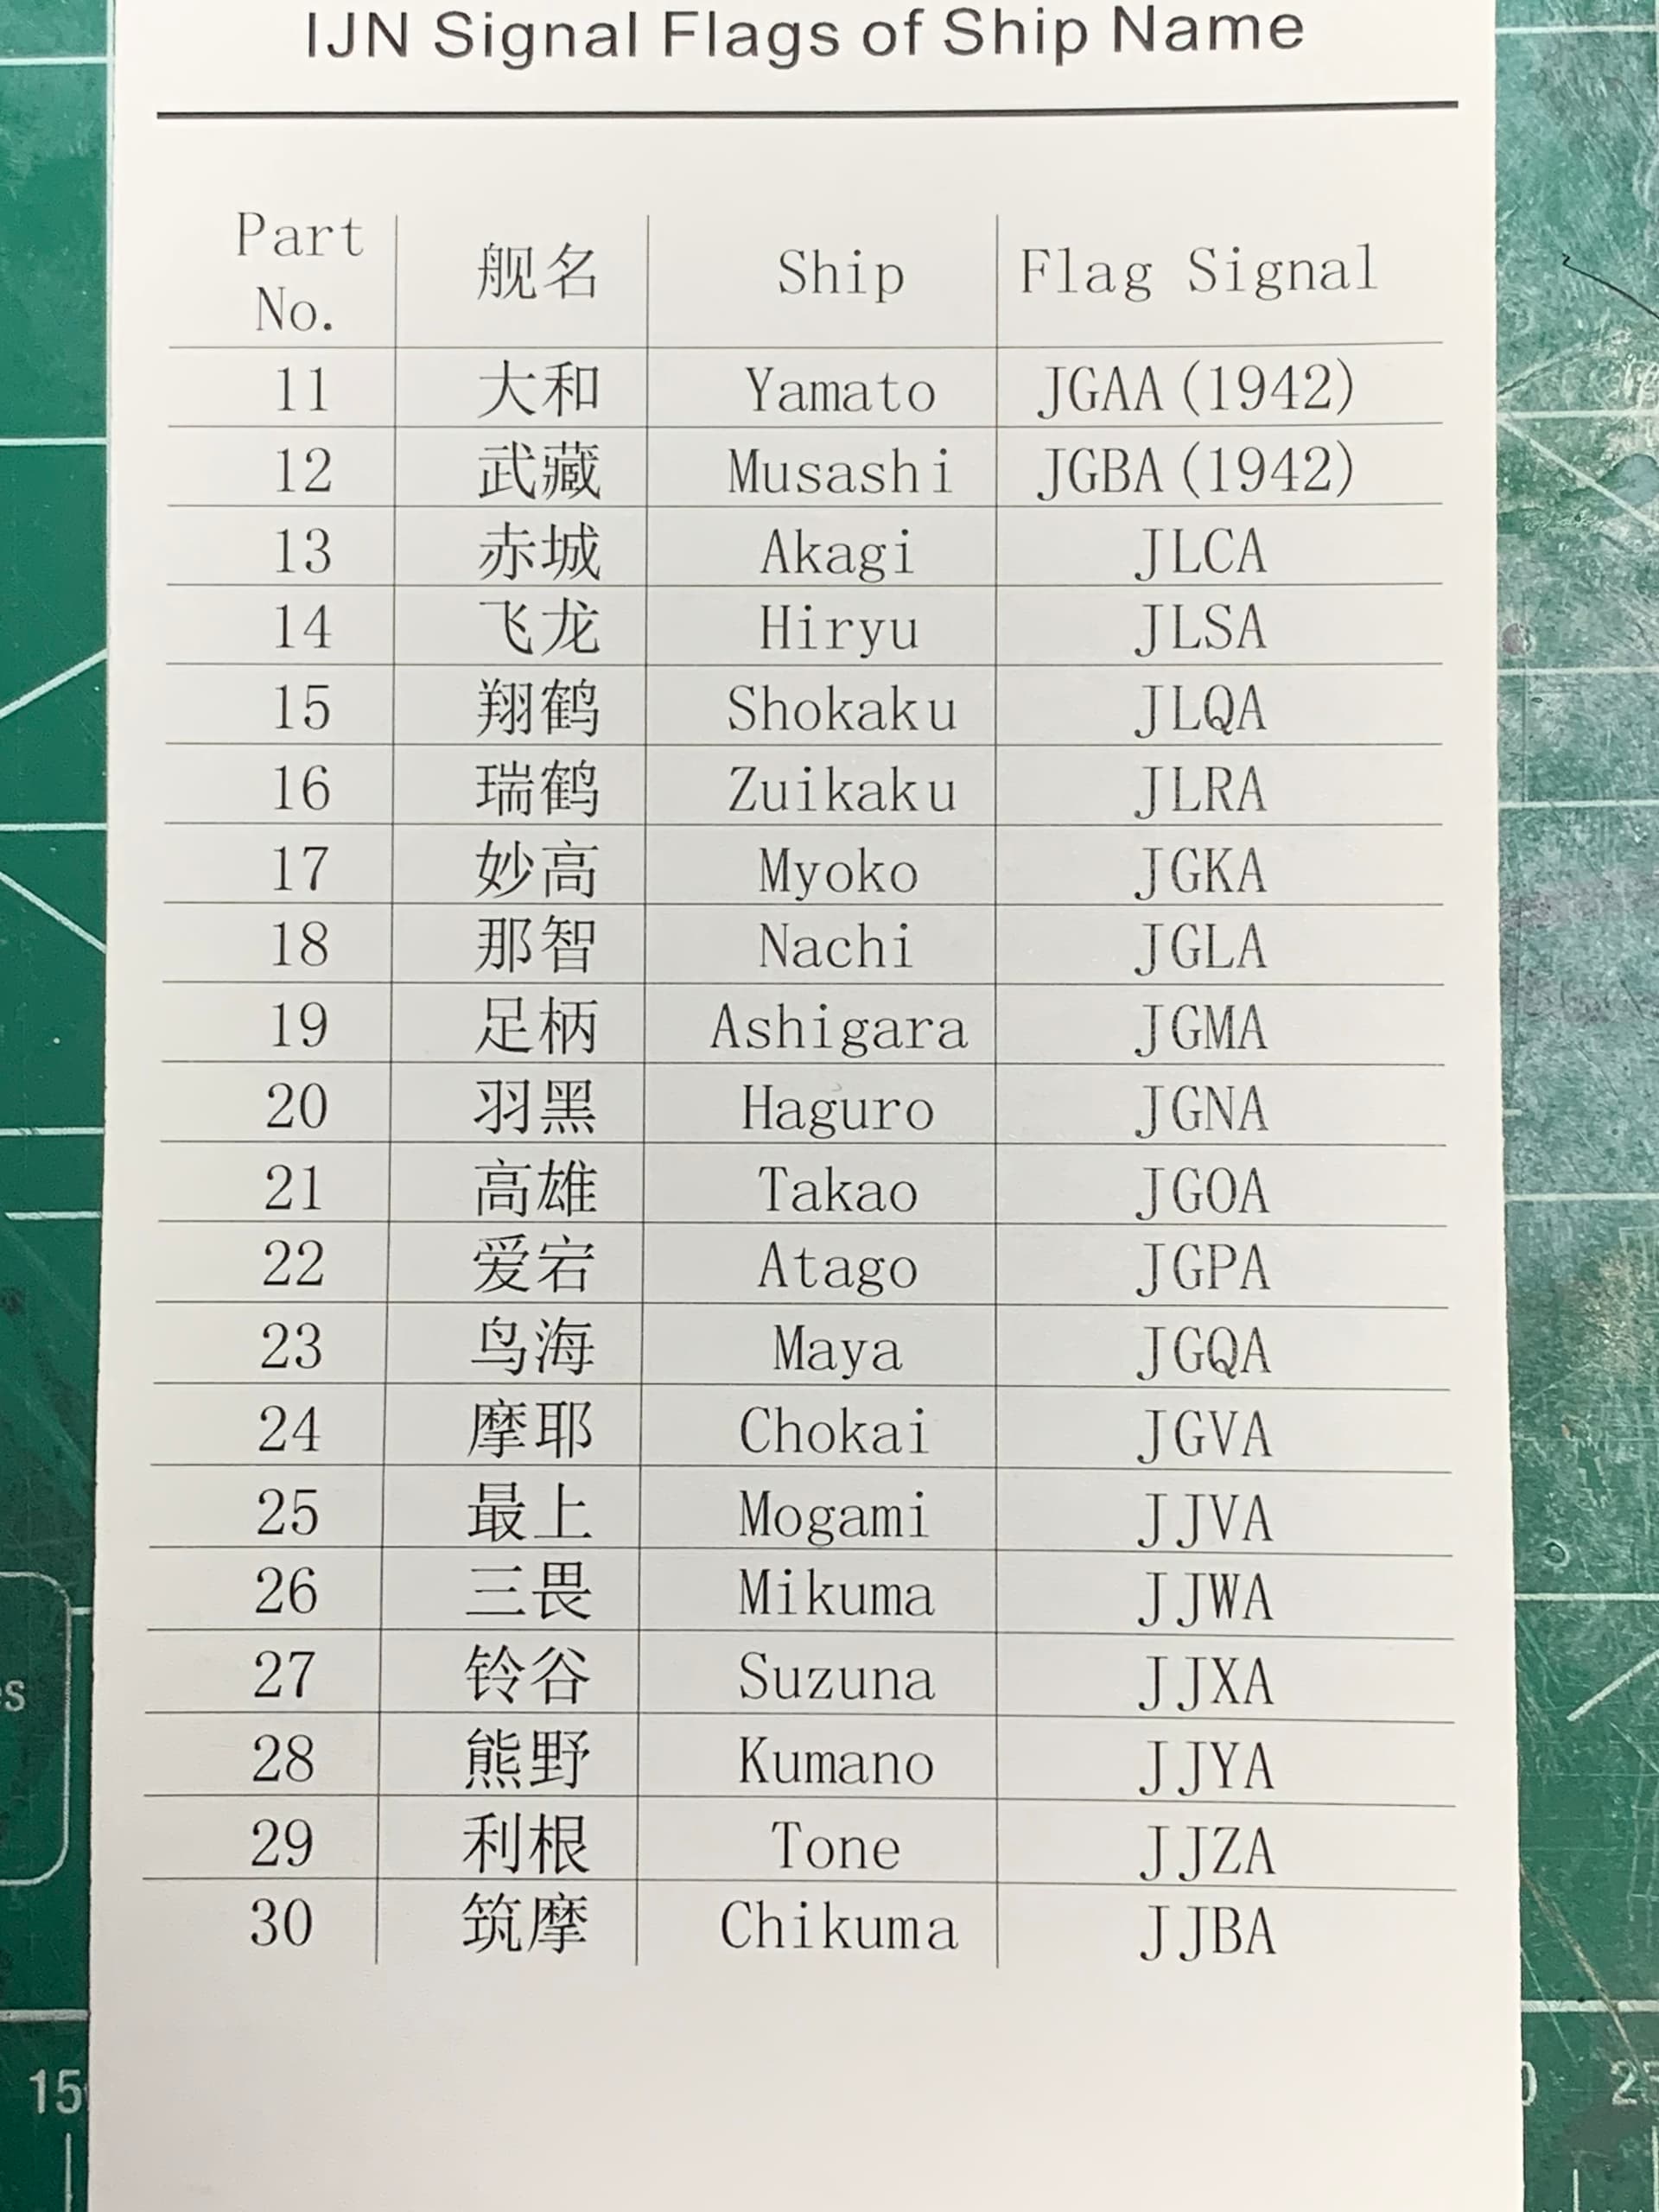
Hey all, so while waiting to get some time at the bench I was reviewing references and detail sets, specifically related to signal flags. While doing this I ran into contradicting information.
I have the Tamiya Japanese Warship Detail books which if you have not seen is a great set of reference material. So while looking at this reference it provides a list of common ships and their signal flag names.
Not sure which one is right and which one is wrong but for this build it is easy as the Five Star set does not include information for the Tama while the Tamiya reference does, so I am going with the Tamiya reference - however for any future builds it does pose a slight problem.
So for those that might use the Five Star Signal Flag set just be aware that there is conflicting information out there.
Does anyone know of any other reference material that outlines ship names via signal flags?
David I must admit to not even looking into this up to now, for US ships I refer to Navsource but so far not had the need to check for IJN ships. I’ll have a look see what I can find later when I have 5 minutes.
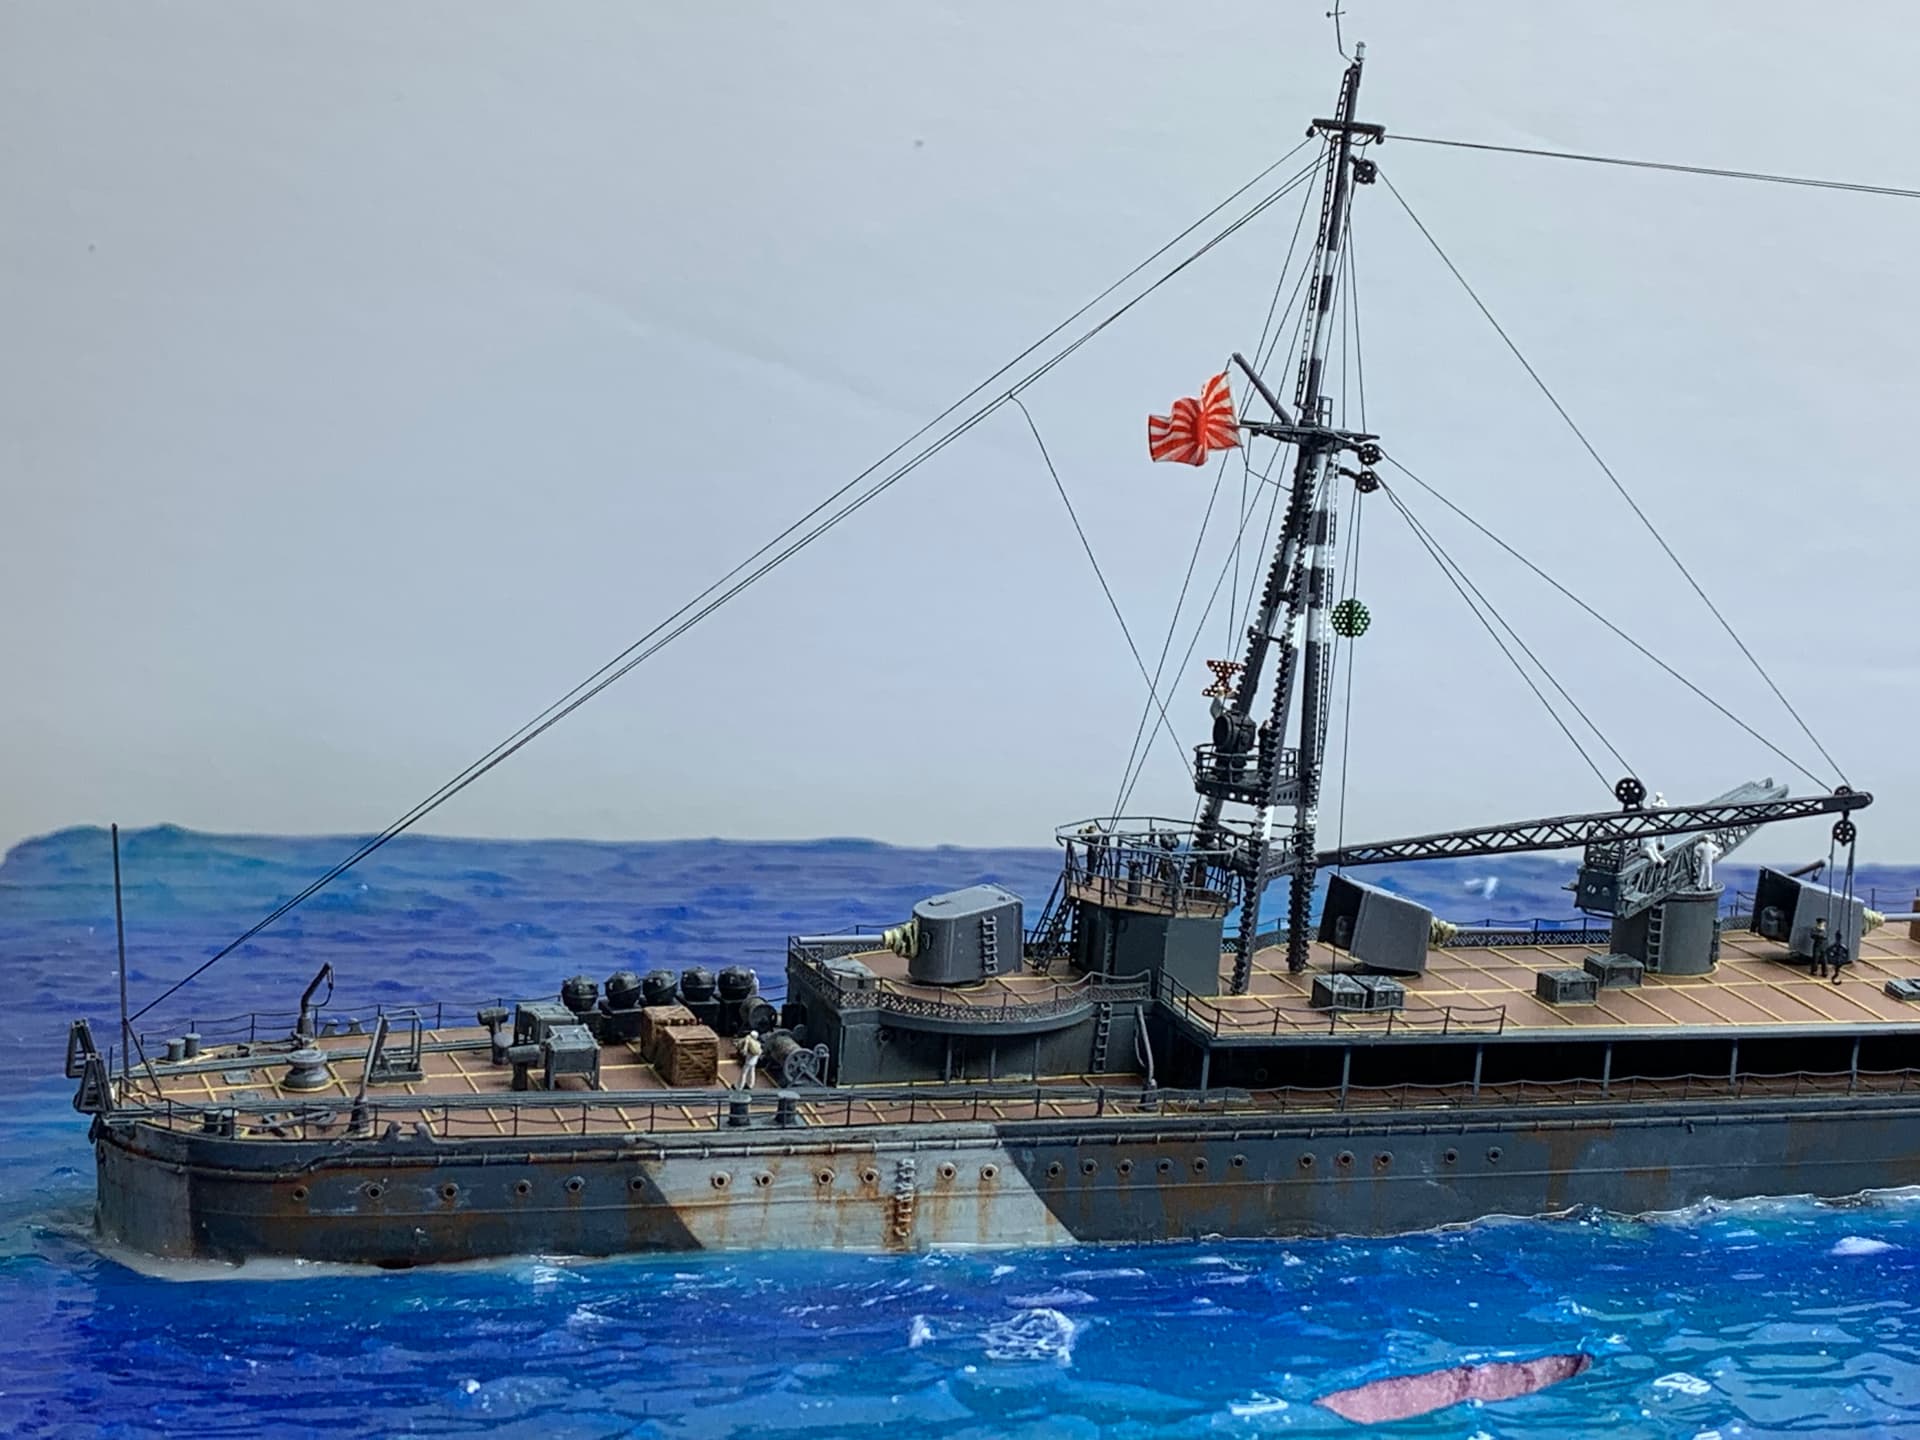
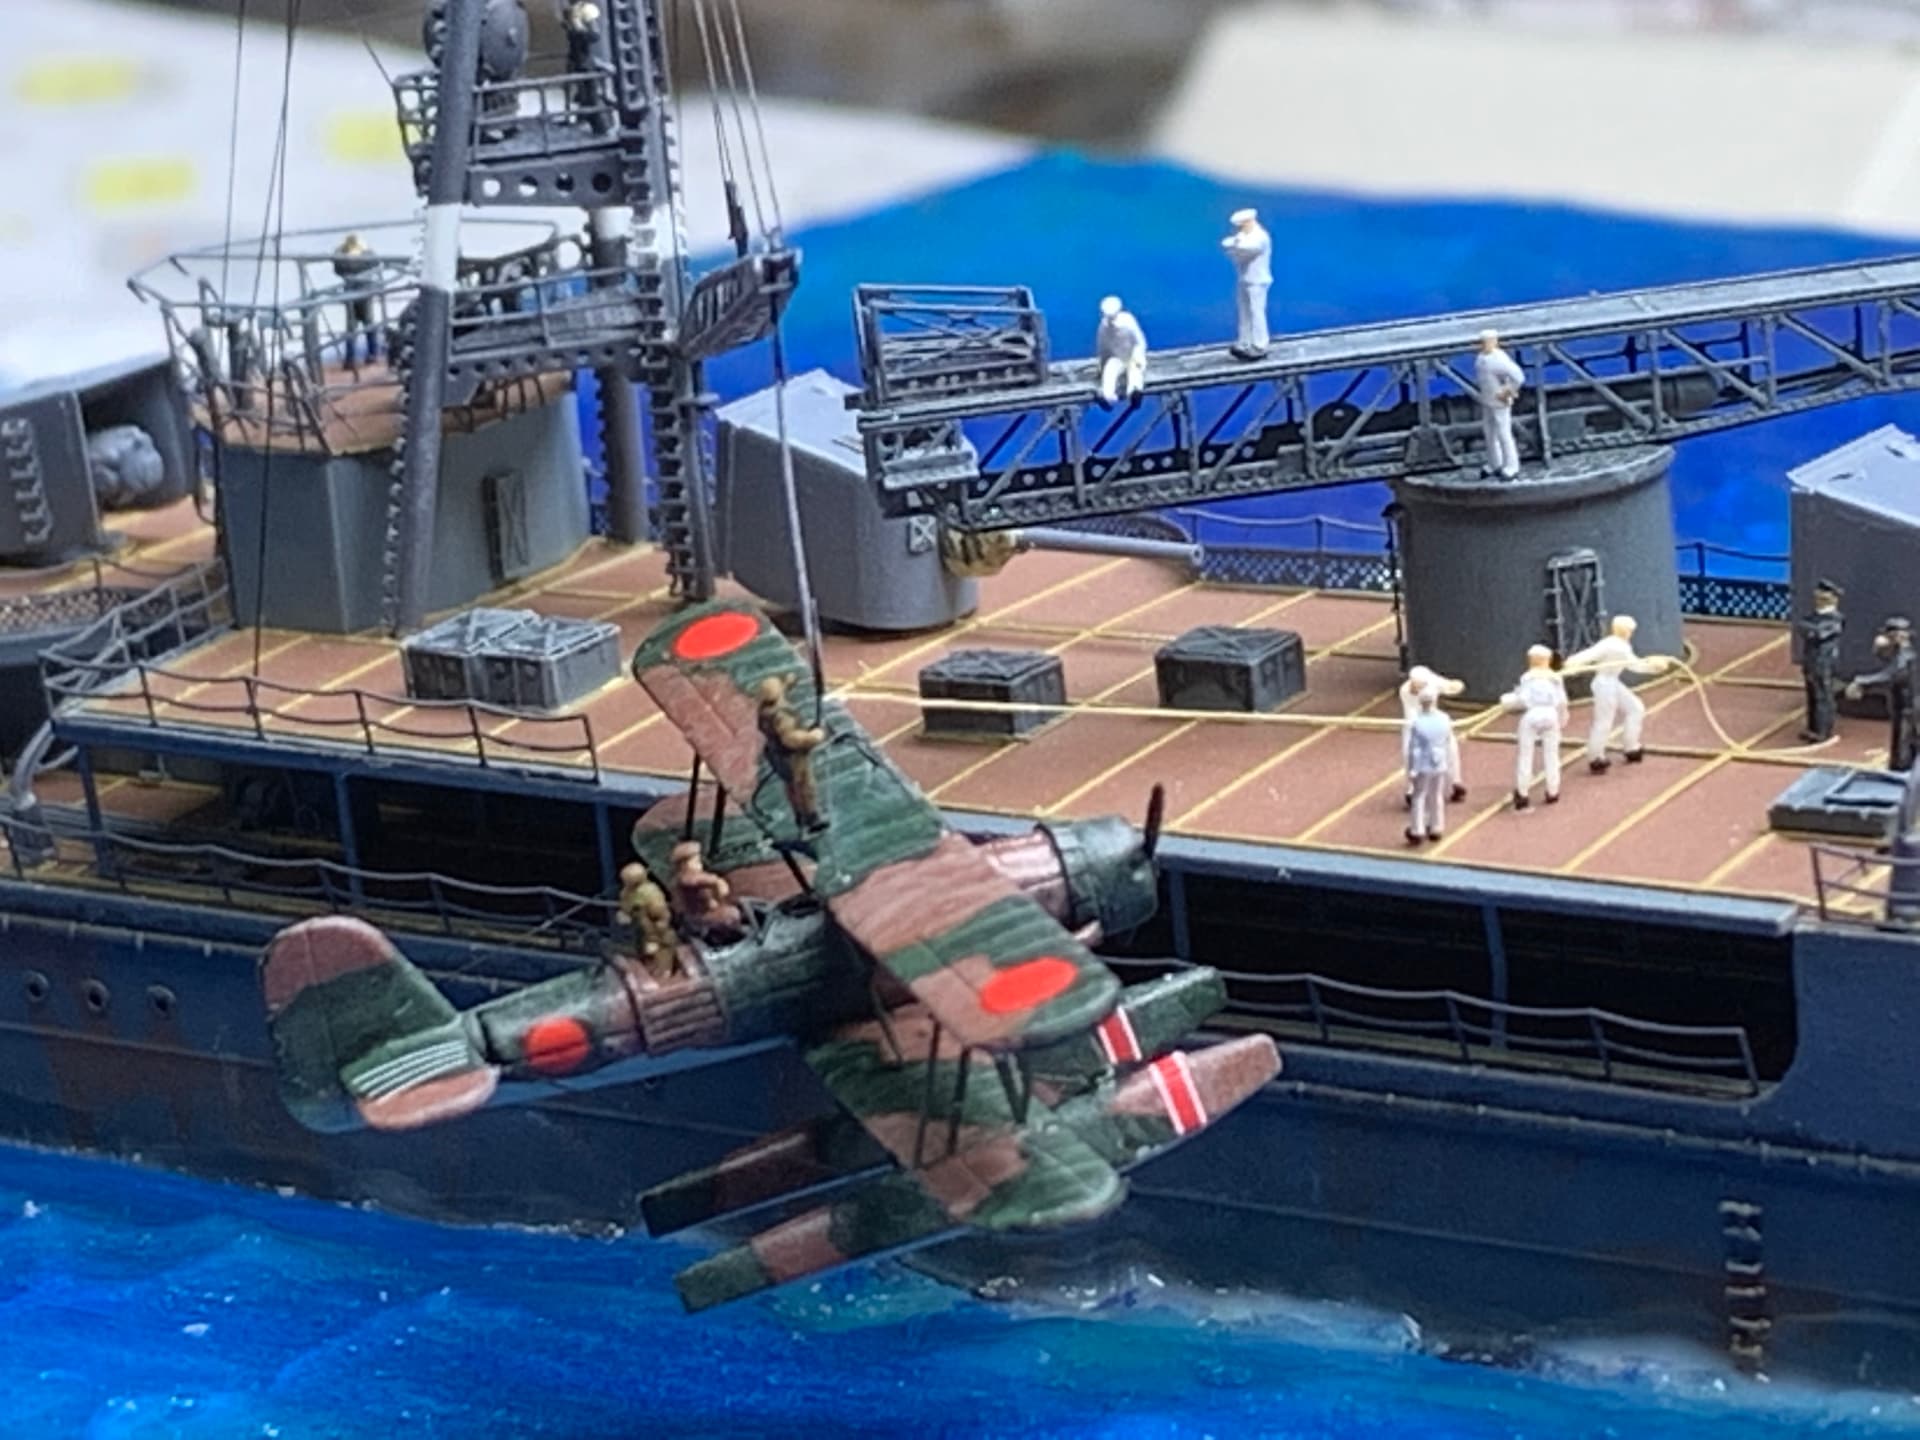
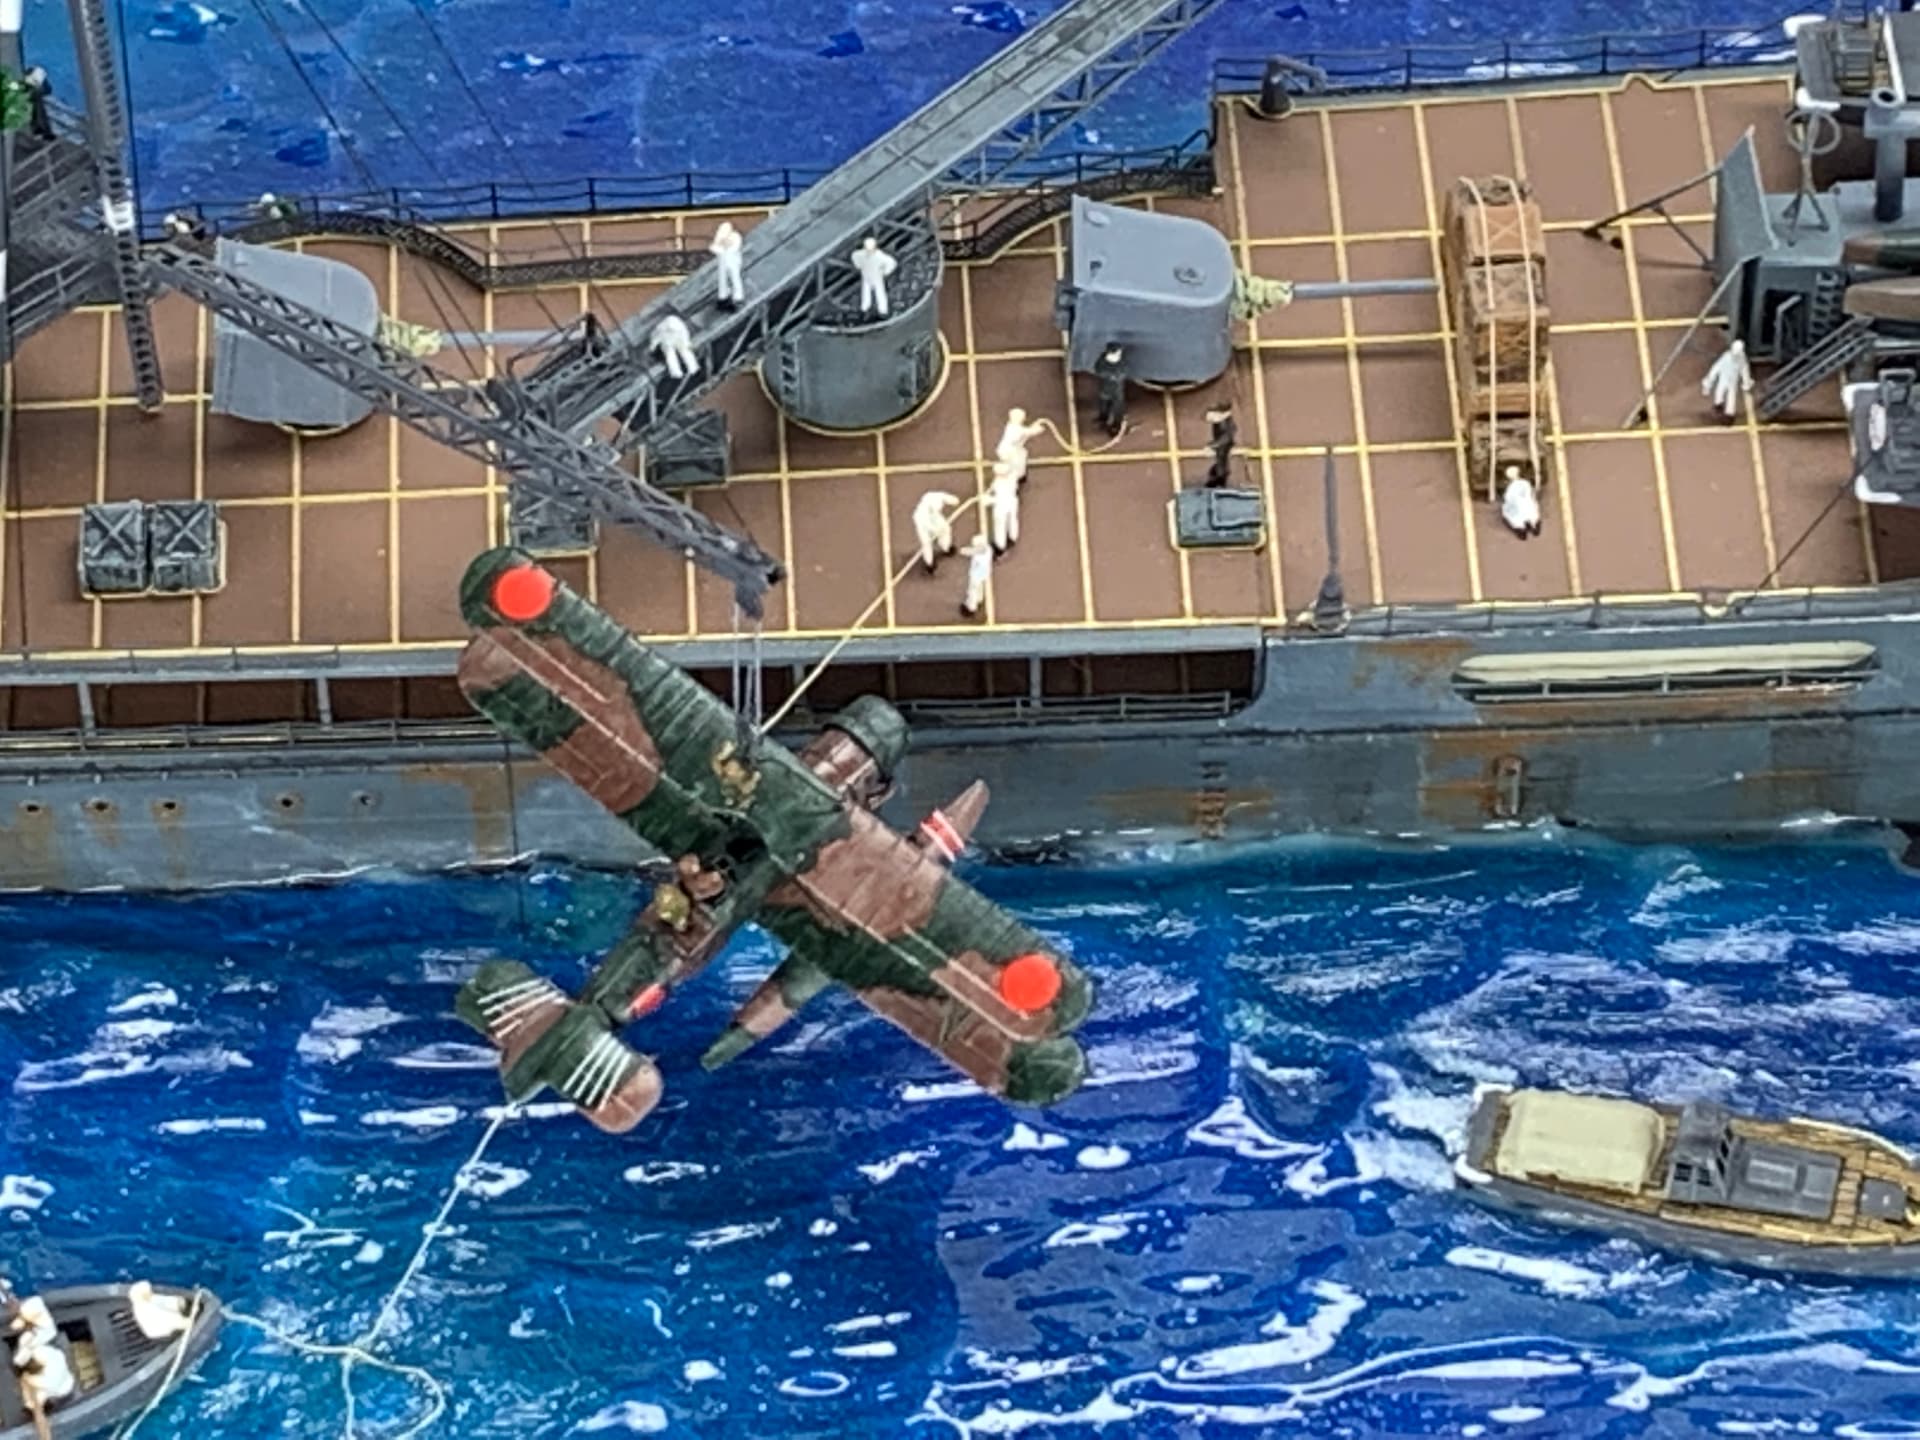
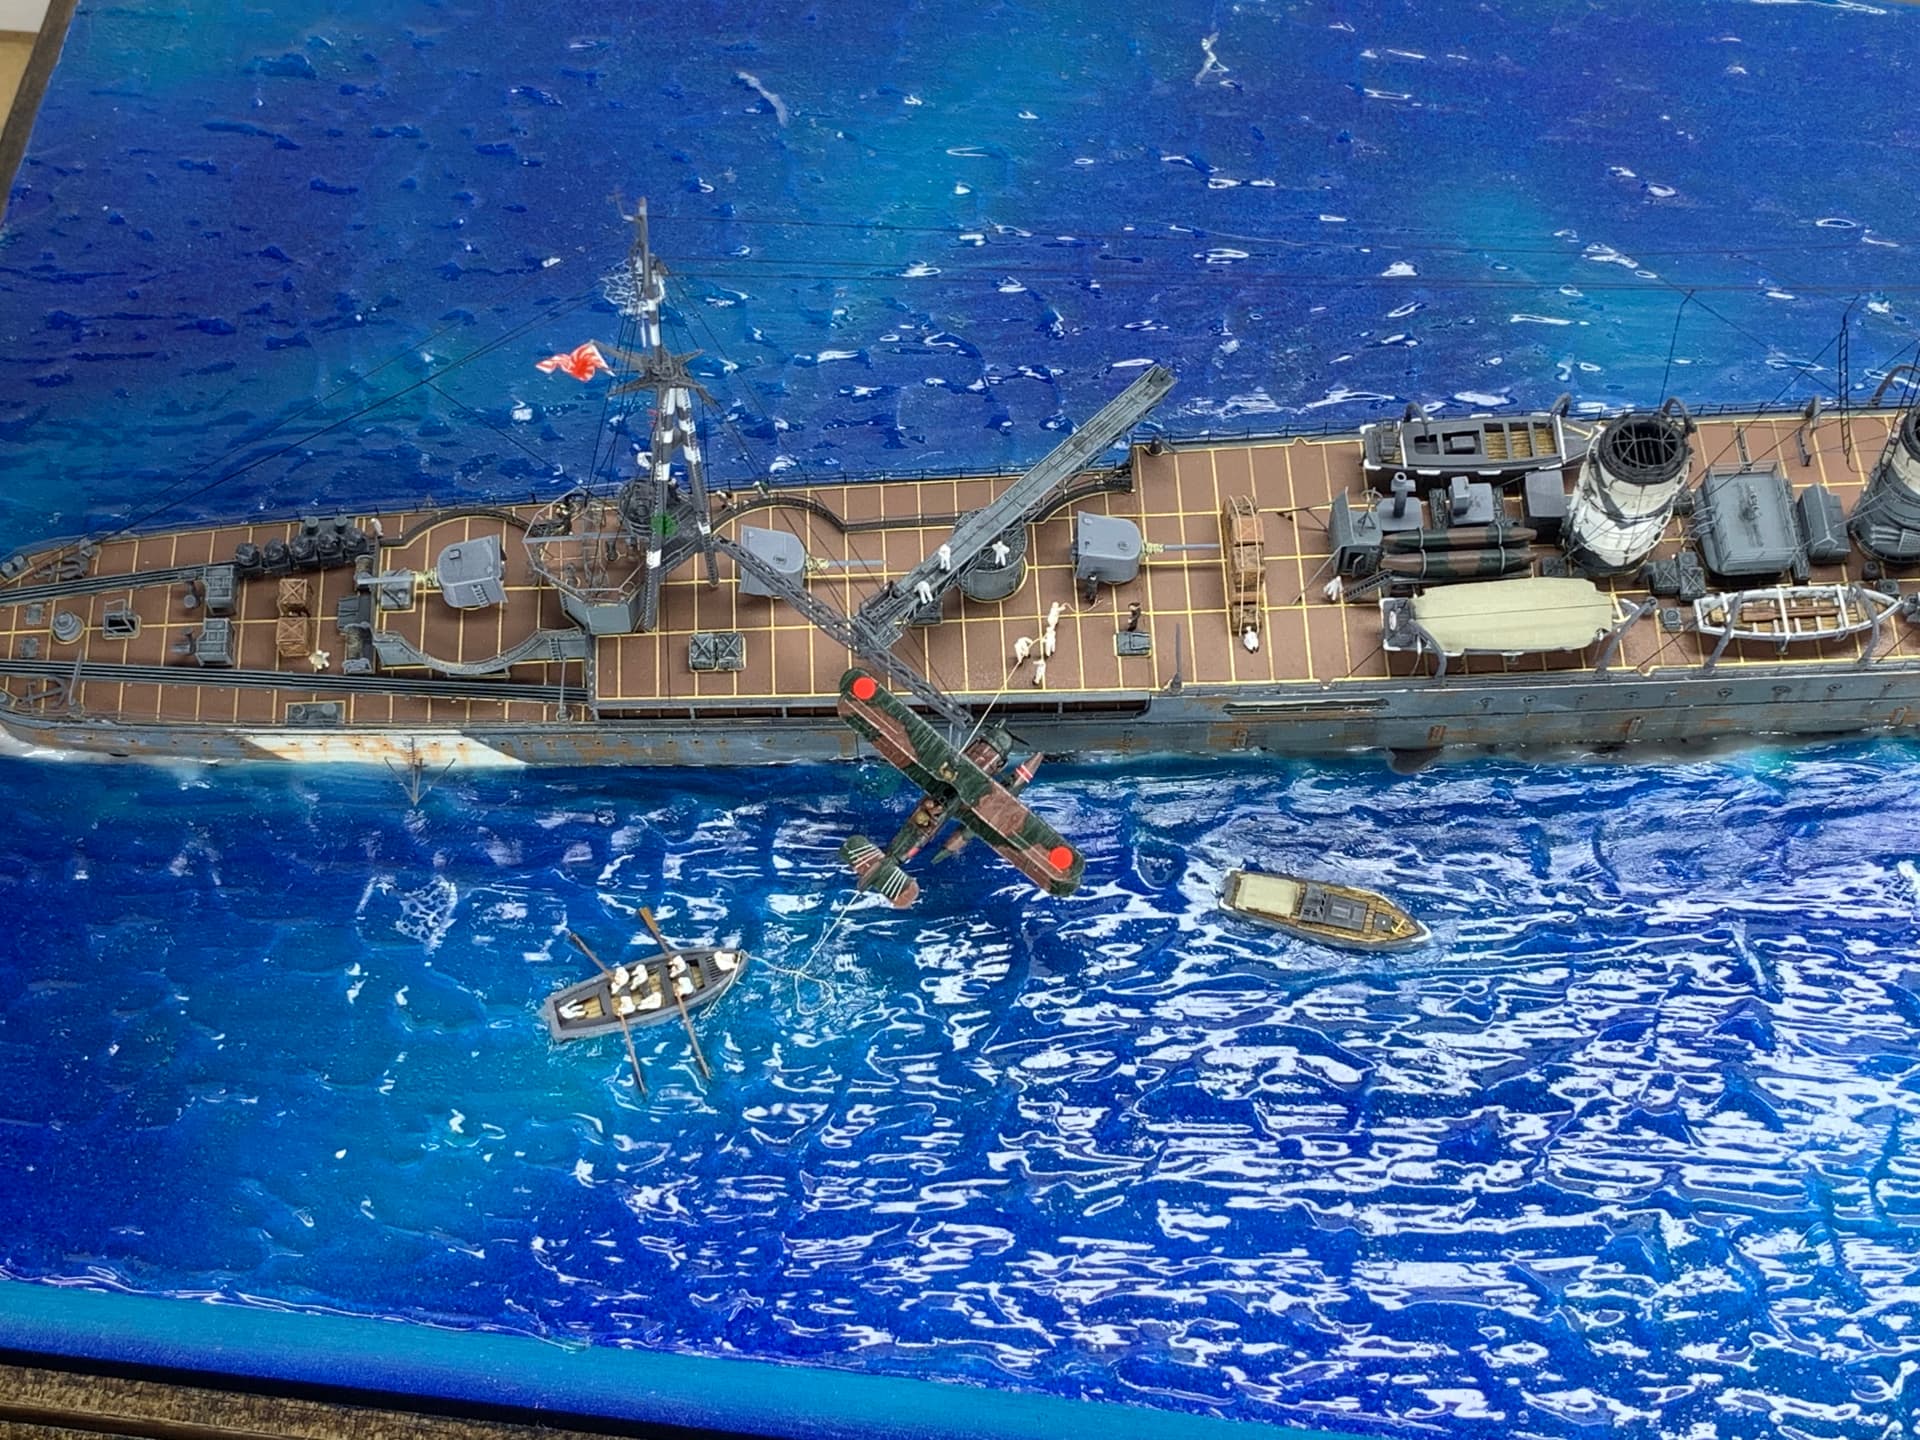
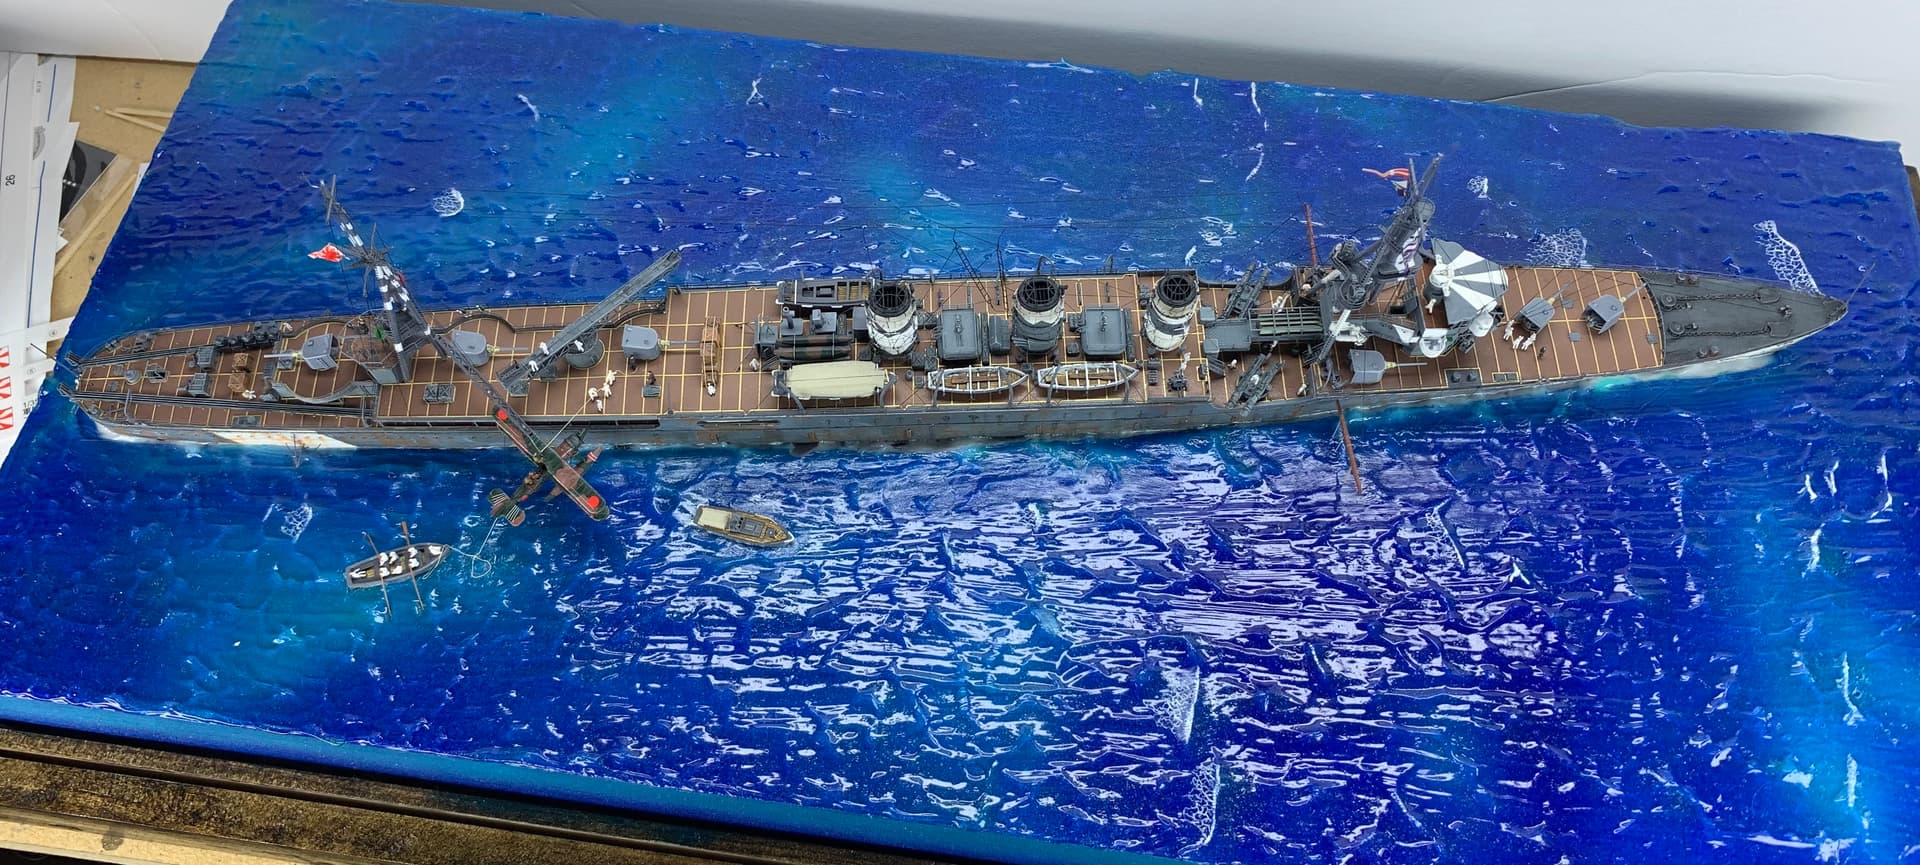
I hope to have the rigging done this up coming weekend - after that I will add the propeller guards, the Jacobs ladders and finally hang the recon plane from the crane.
Once that is done it will be on to finalizing the sea and time to add the Chrysanthemum to the bow for commissioning!!
Thanks for stopping in and as always comments, suggestion and criticism are always welcome.
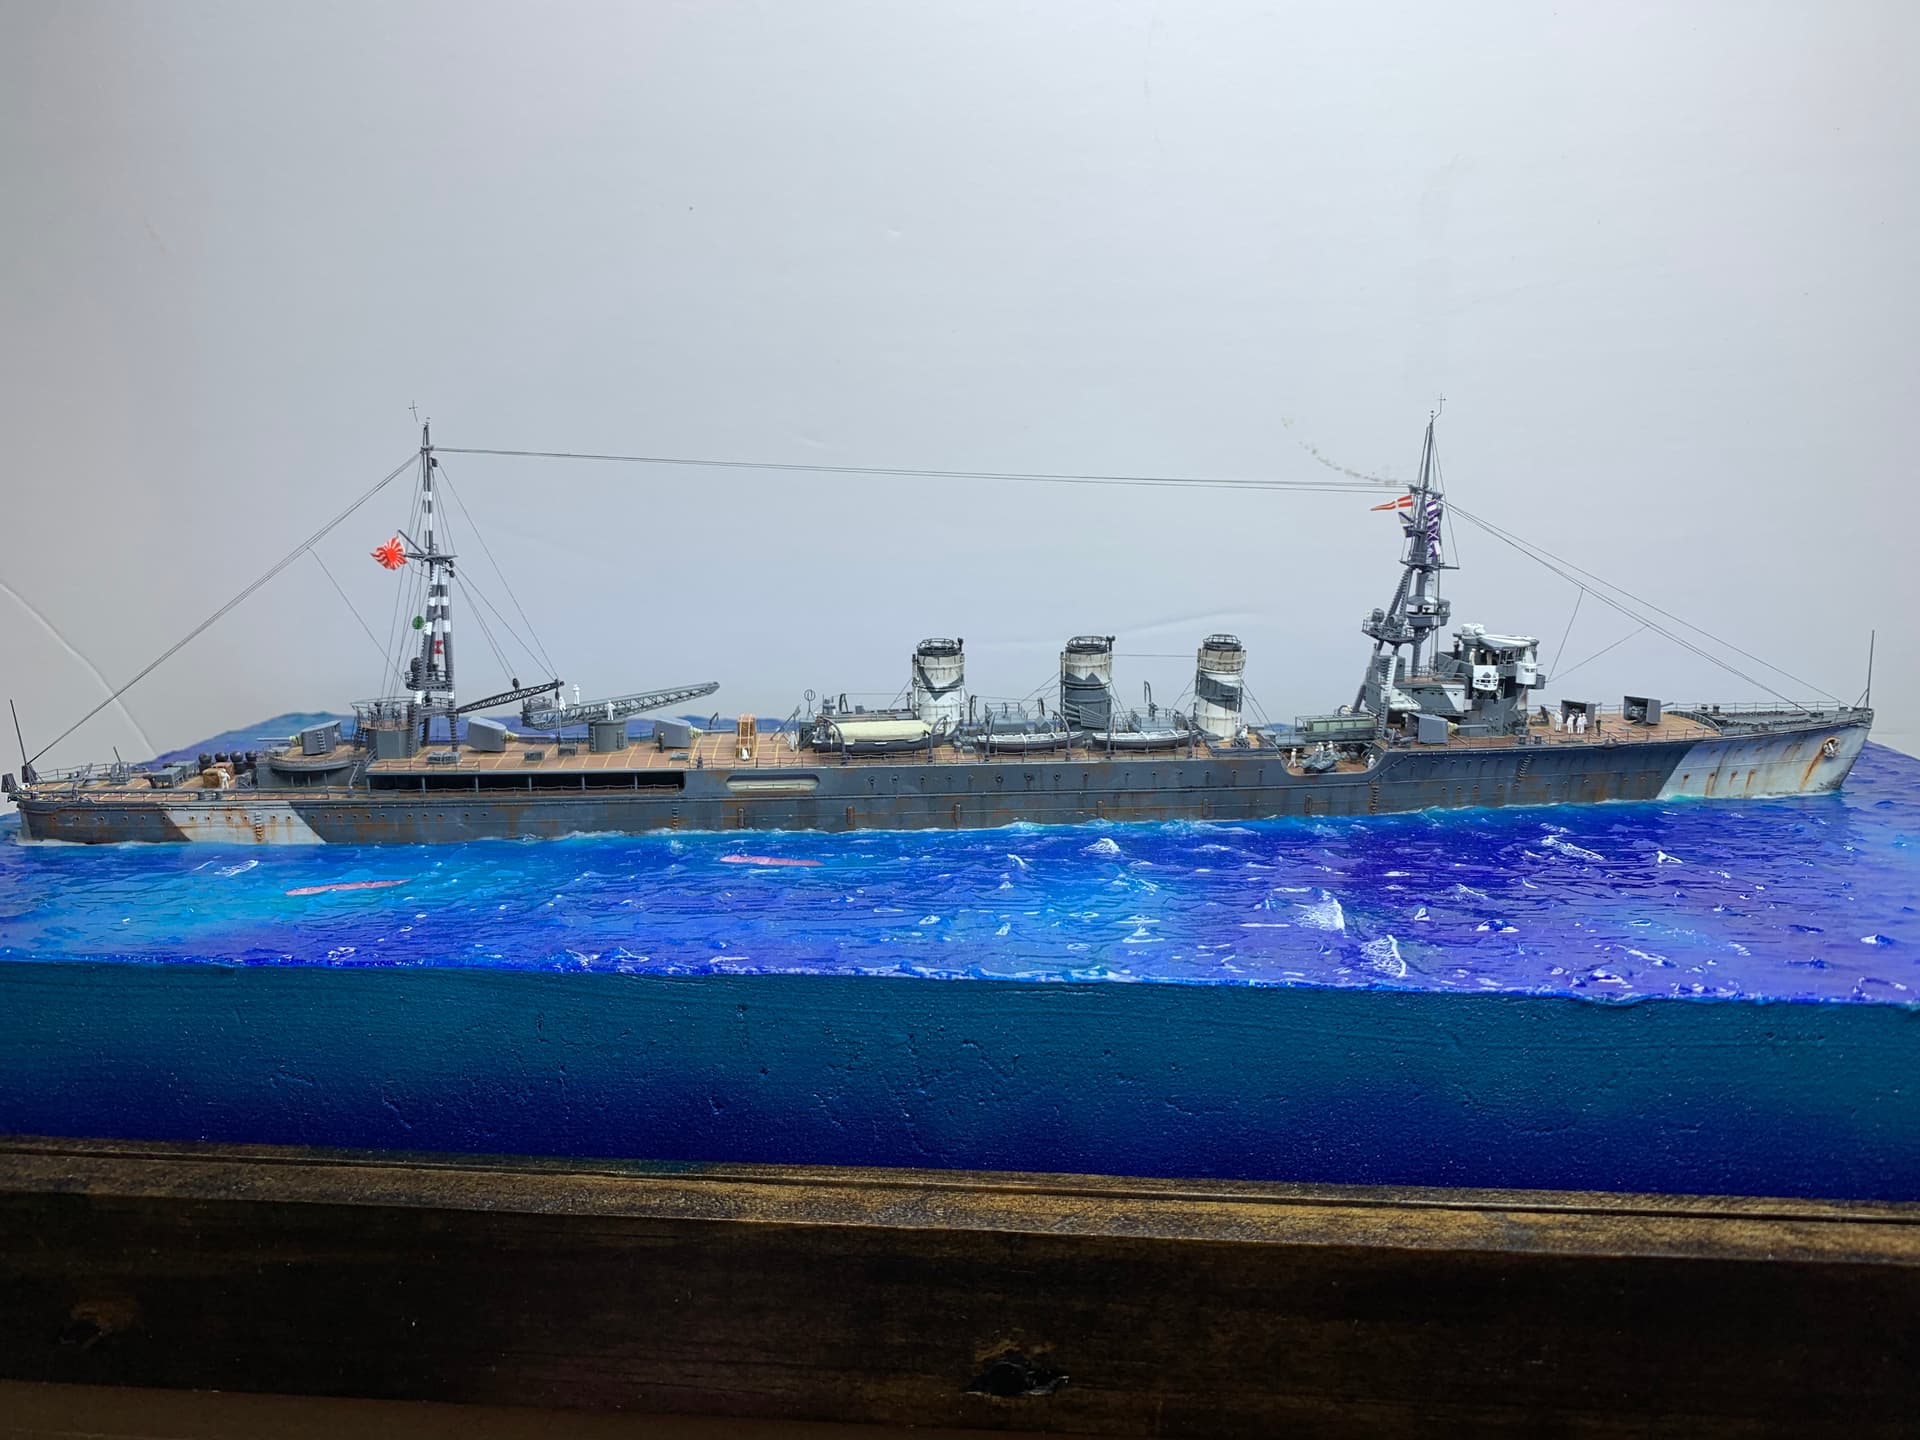
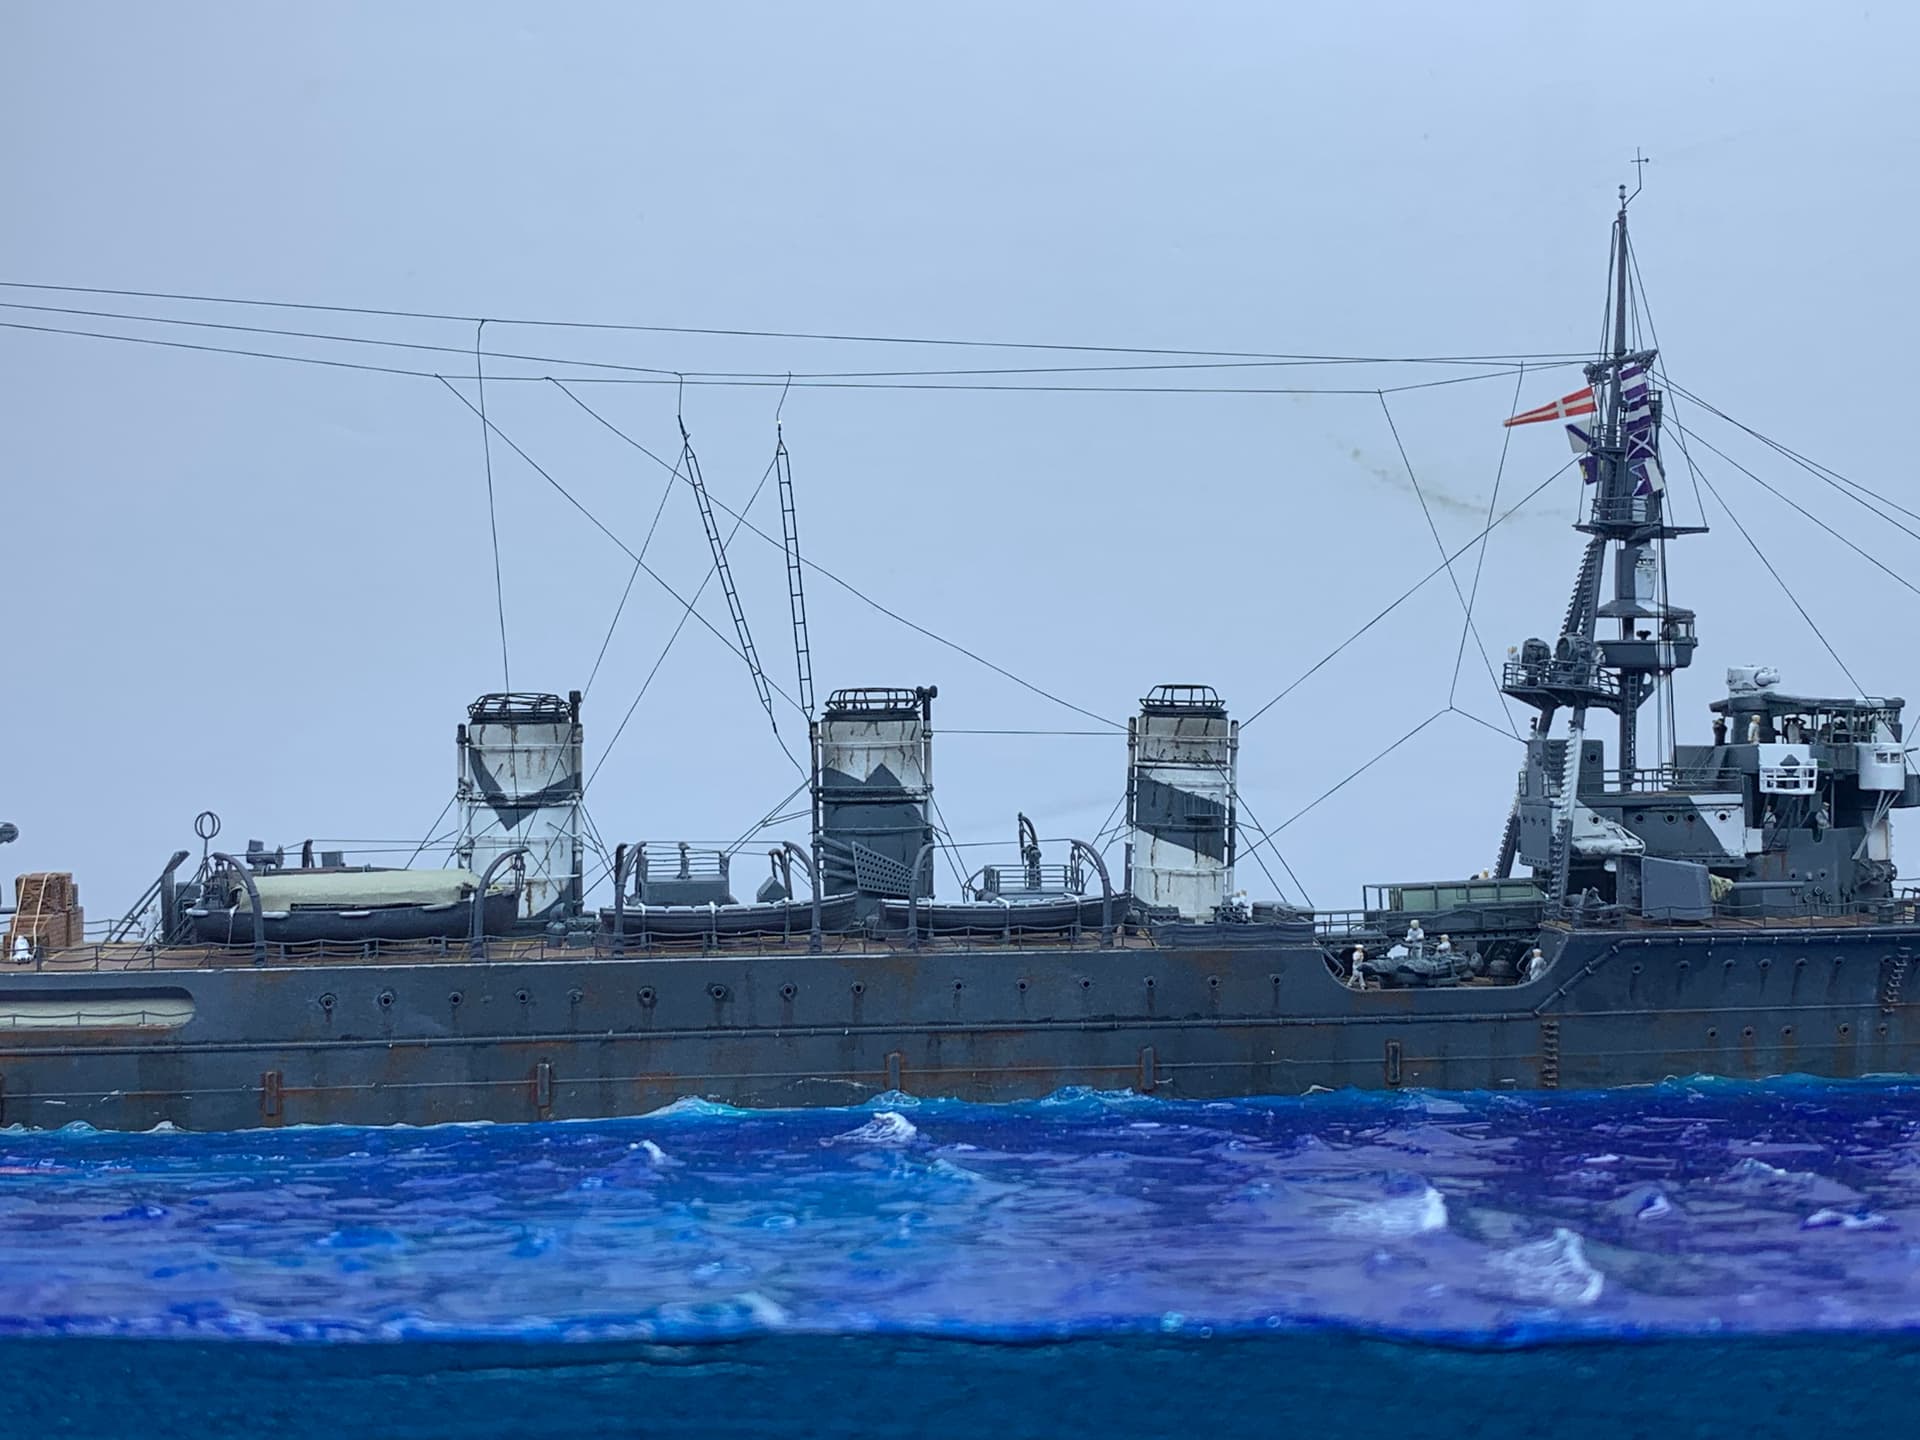
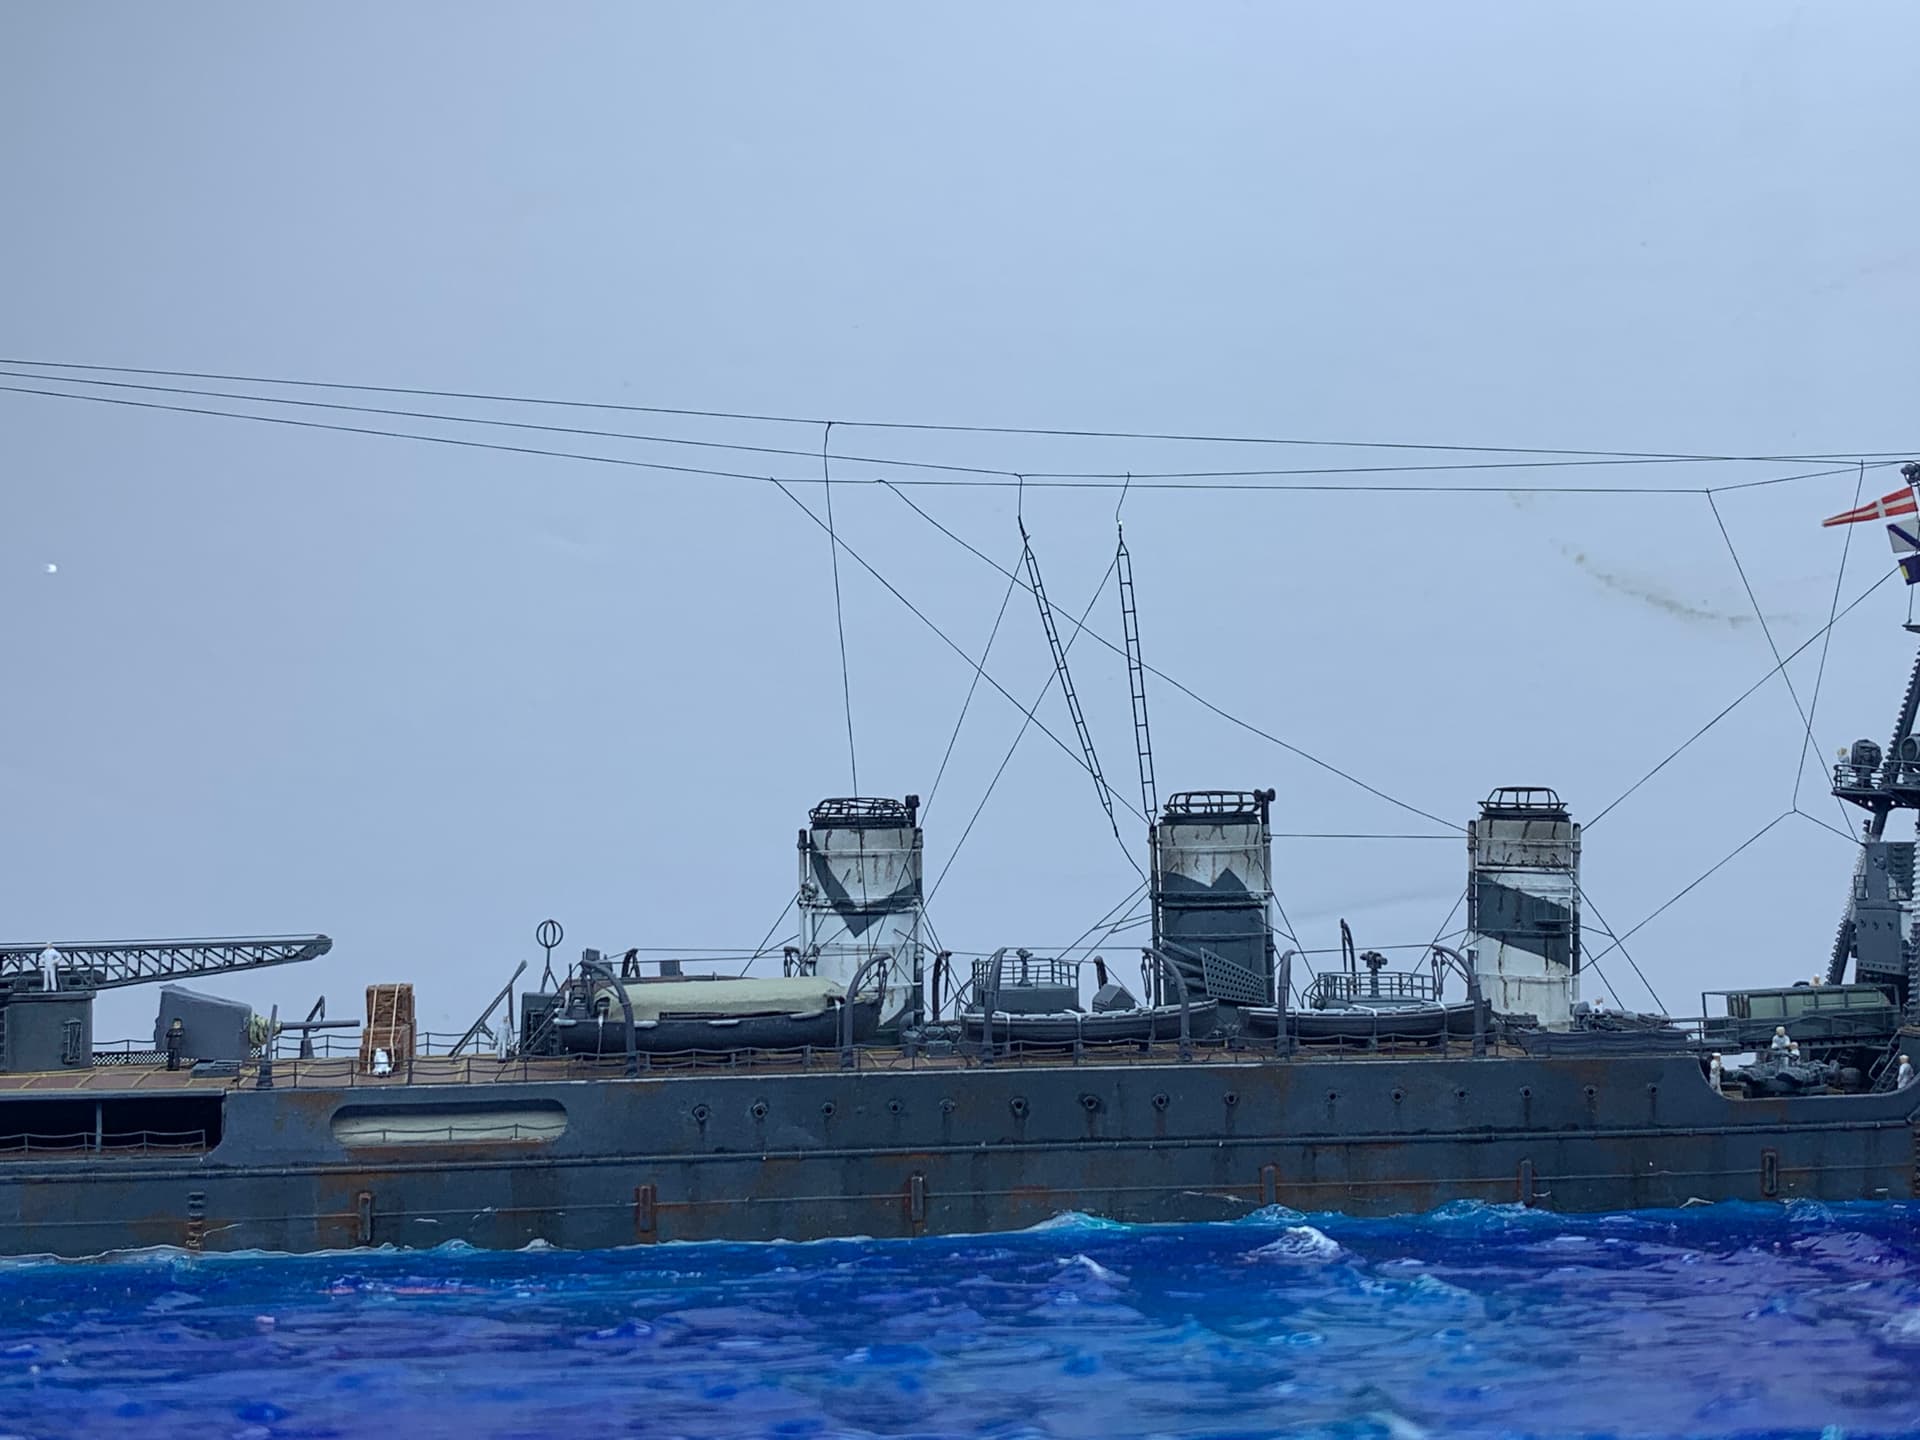
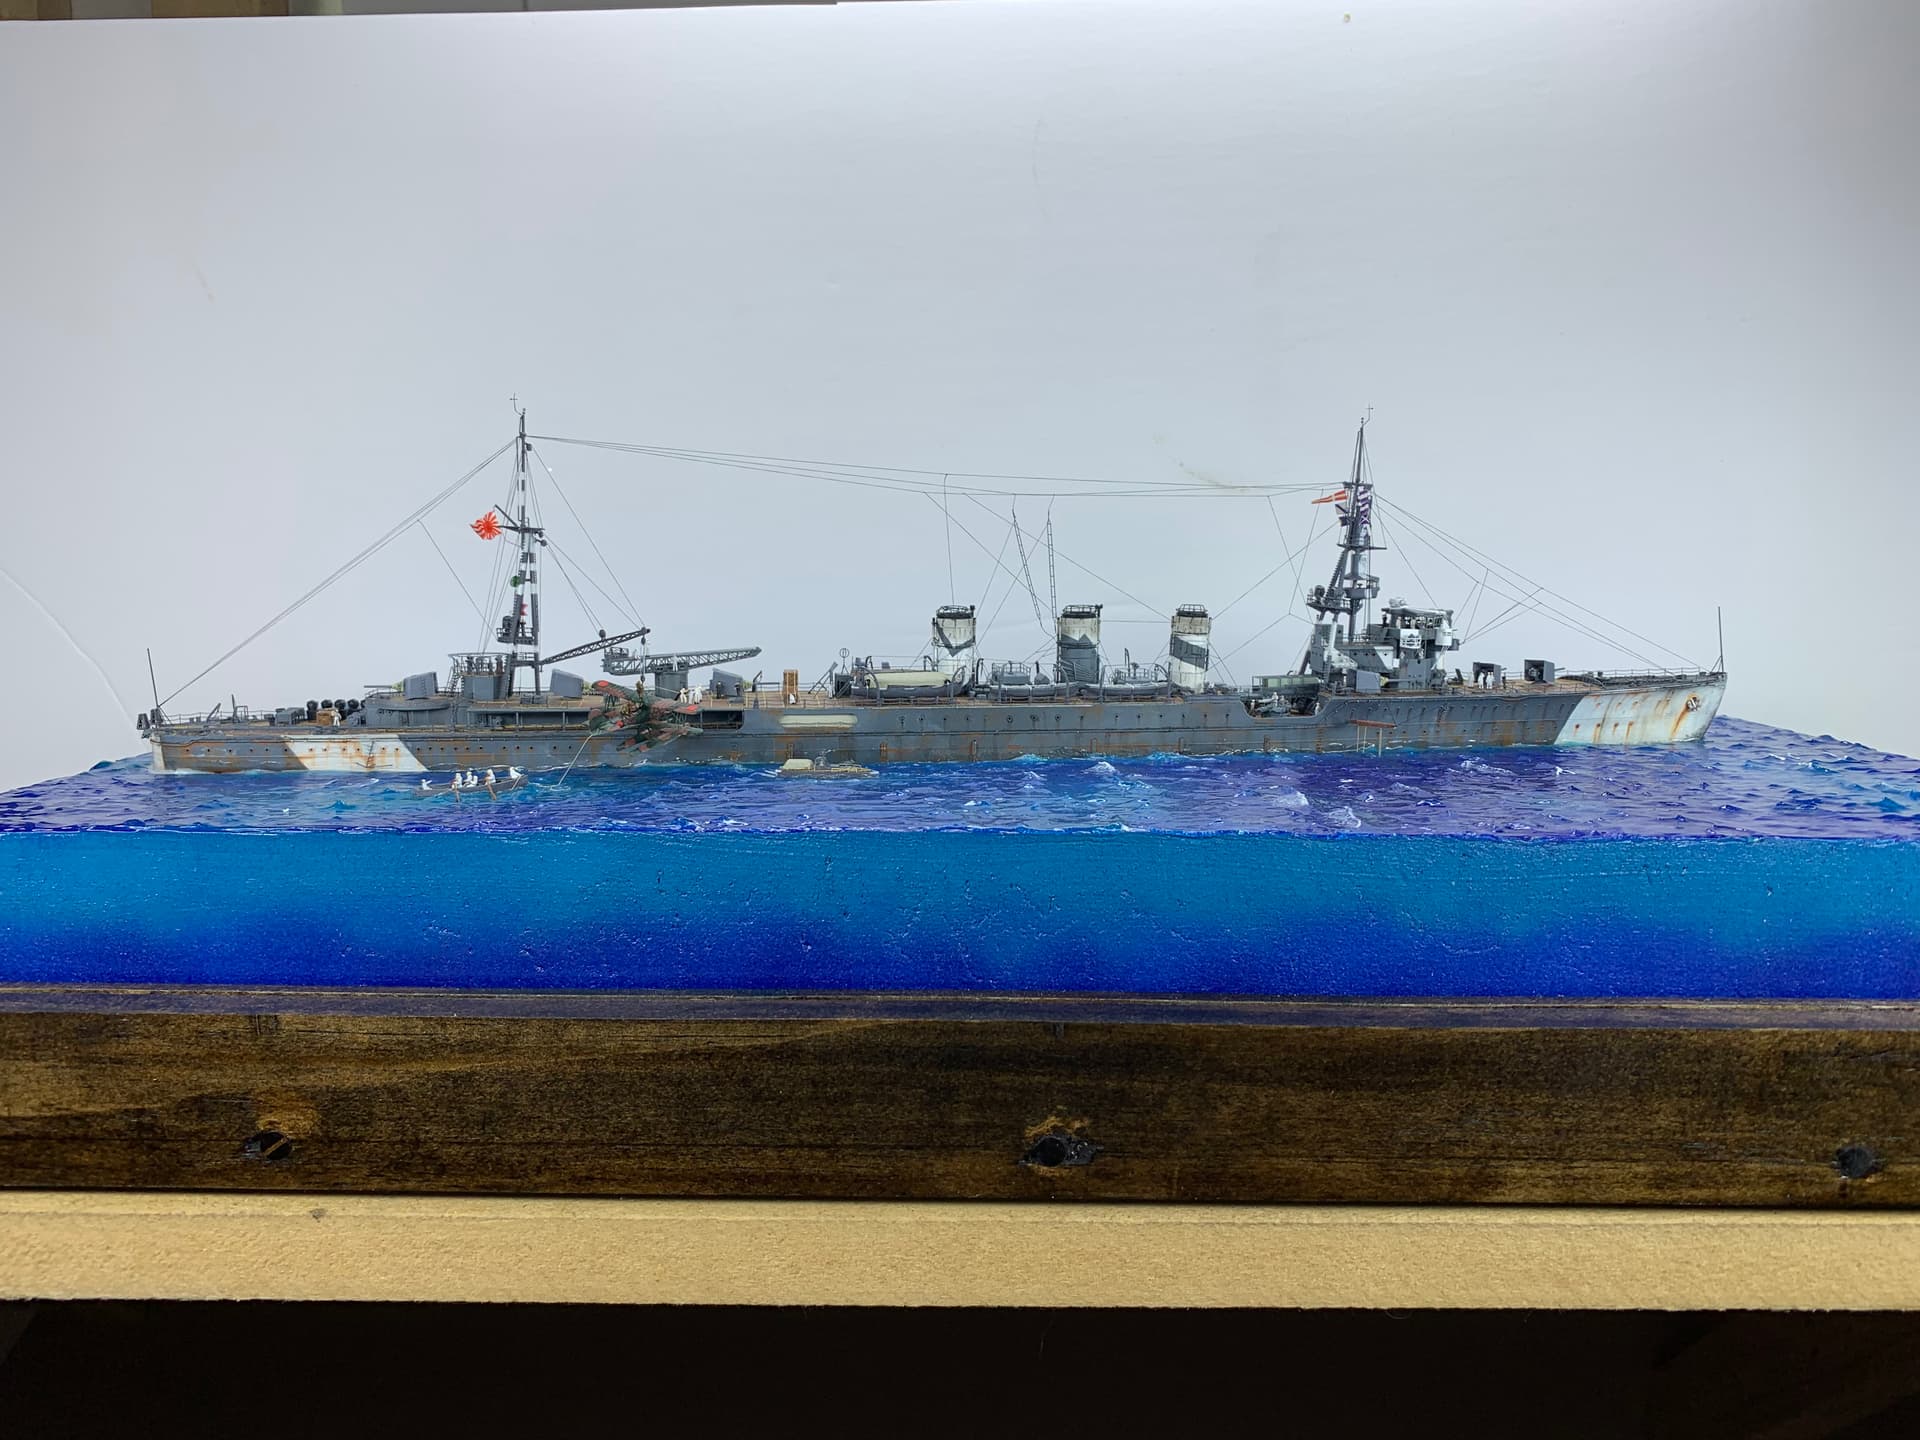
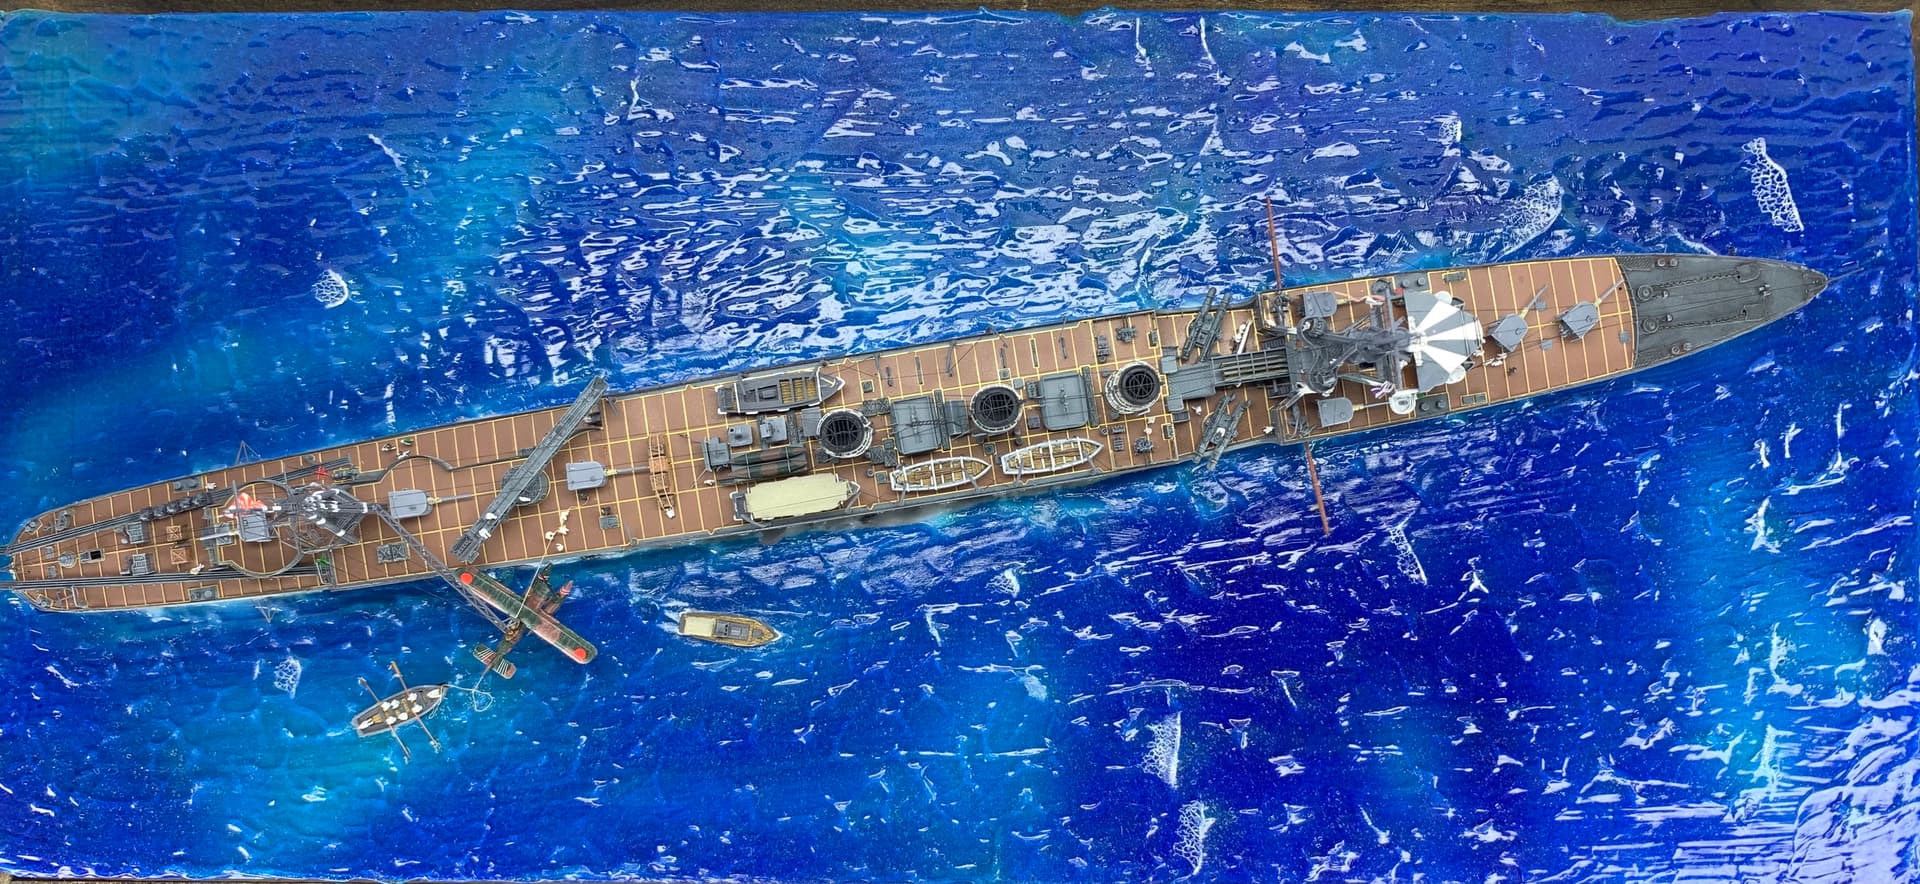
Hey all - so we had an unexpected day off yesterday which allowed me to continue the rigging. I can now say that rigging is complete.
That being said I was a little too aggressive with trying to maintain tension which cause unintended consequences. I am not 100% happy with the final result but unfortunately I will have to live with it. My skills do not rise to the level that would be needed to remove the rigging and start over.
That plus the fact that I am ready to be done with this build equates to settling.
Lessons were learned and I will take a softer approach in the future.
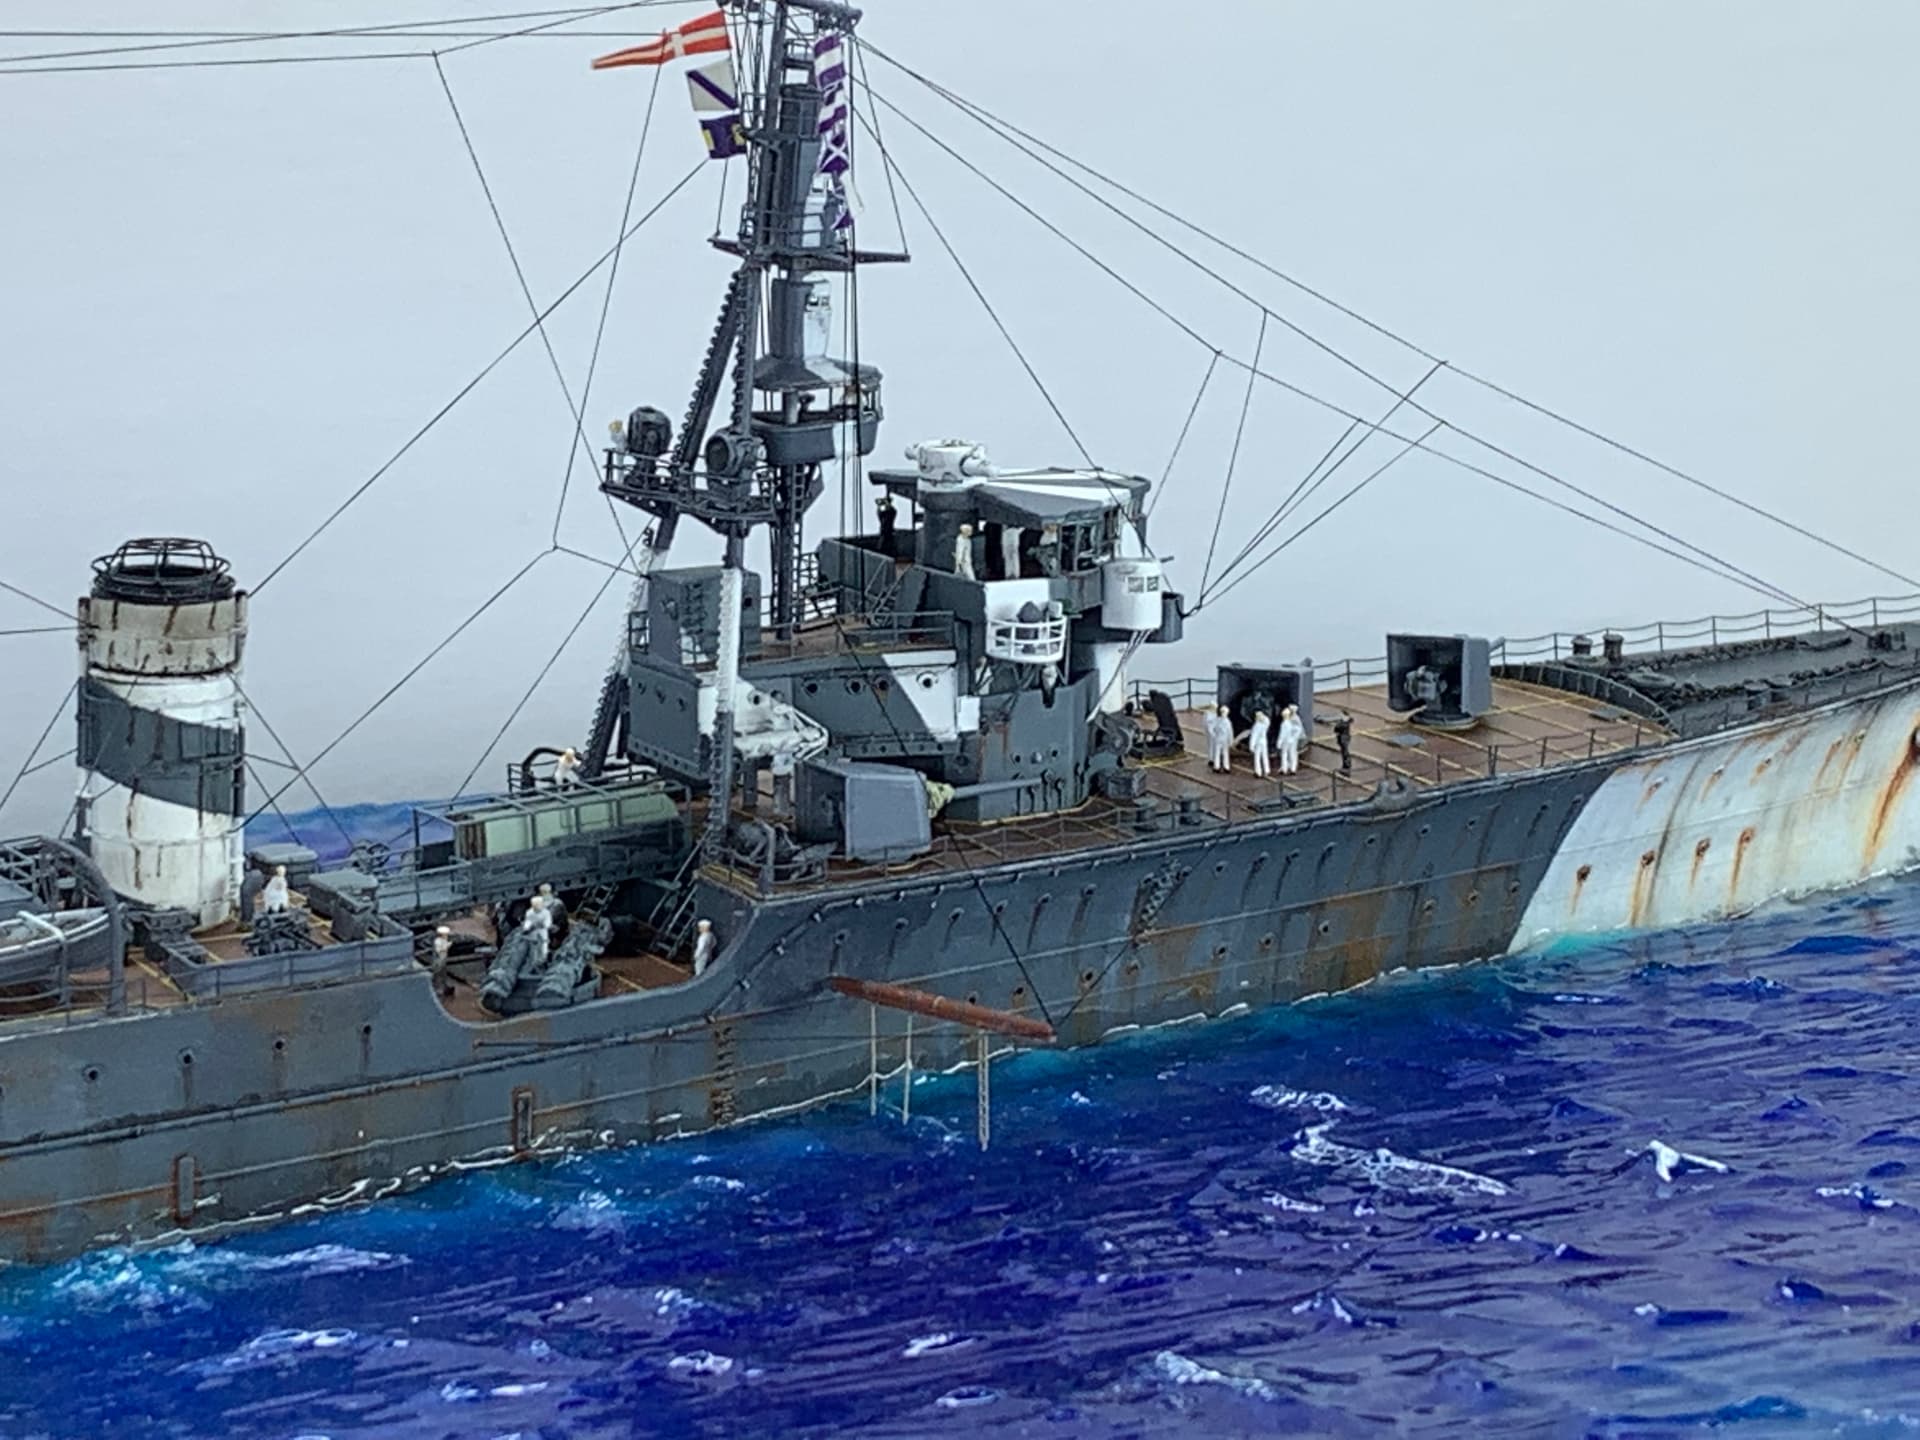
David, the rigging looks great and so much of it for such a small ship. Makes wonder if any of it could be shot away by the AA crews while under attack. Congratulations on a fine build and as Black_sheep says “all your efforts did paid off”.
@Black_sheep - Thank you sir, really appreciate the kind words. It has been a long journey and to be honest I am glad that it is about over.
@d6mst0 - I have to be honest in that I did not replicate all of the rigging, I tried to get as close to accurate as I could. It is an interesting question regarding the AA though, wonder if that was ever a problem on any ship with intricate rigging. Thanks again for the kind words.
Now to allow the medium gel to finally clear, work the water a bit more, add the national flag to the aft jackstaff and finally add the Chrysanthemum seal to the bow and the IJN Tama will be commissioned. Should happen this weekend - fingers crossed.
Thanks for stopping in, as always comments, suggestions and criticism are always welcome.