I am contemplating my next effort and it doesn’t seem to fit any existing categories.
I would like to scratch build a 3inch Ordnance rifle.
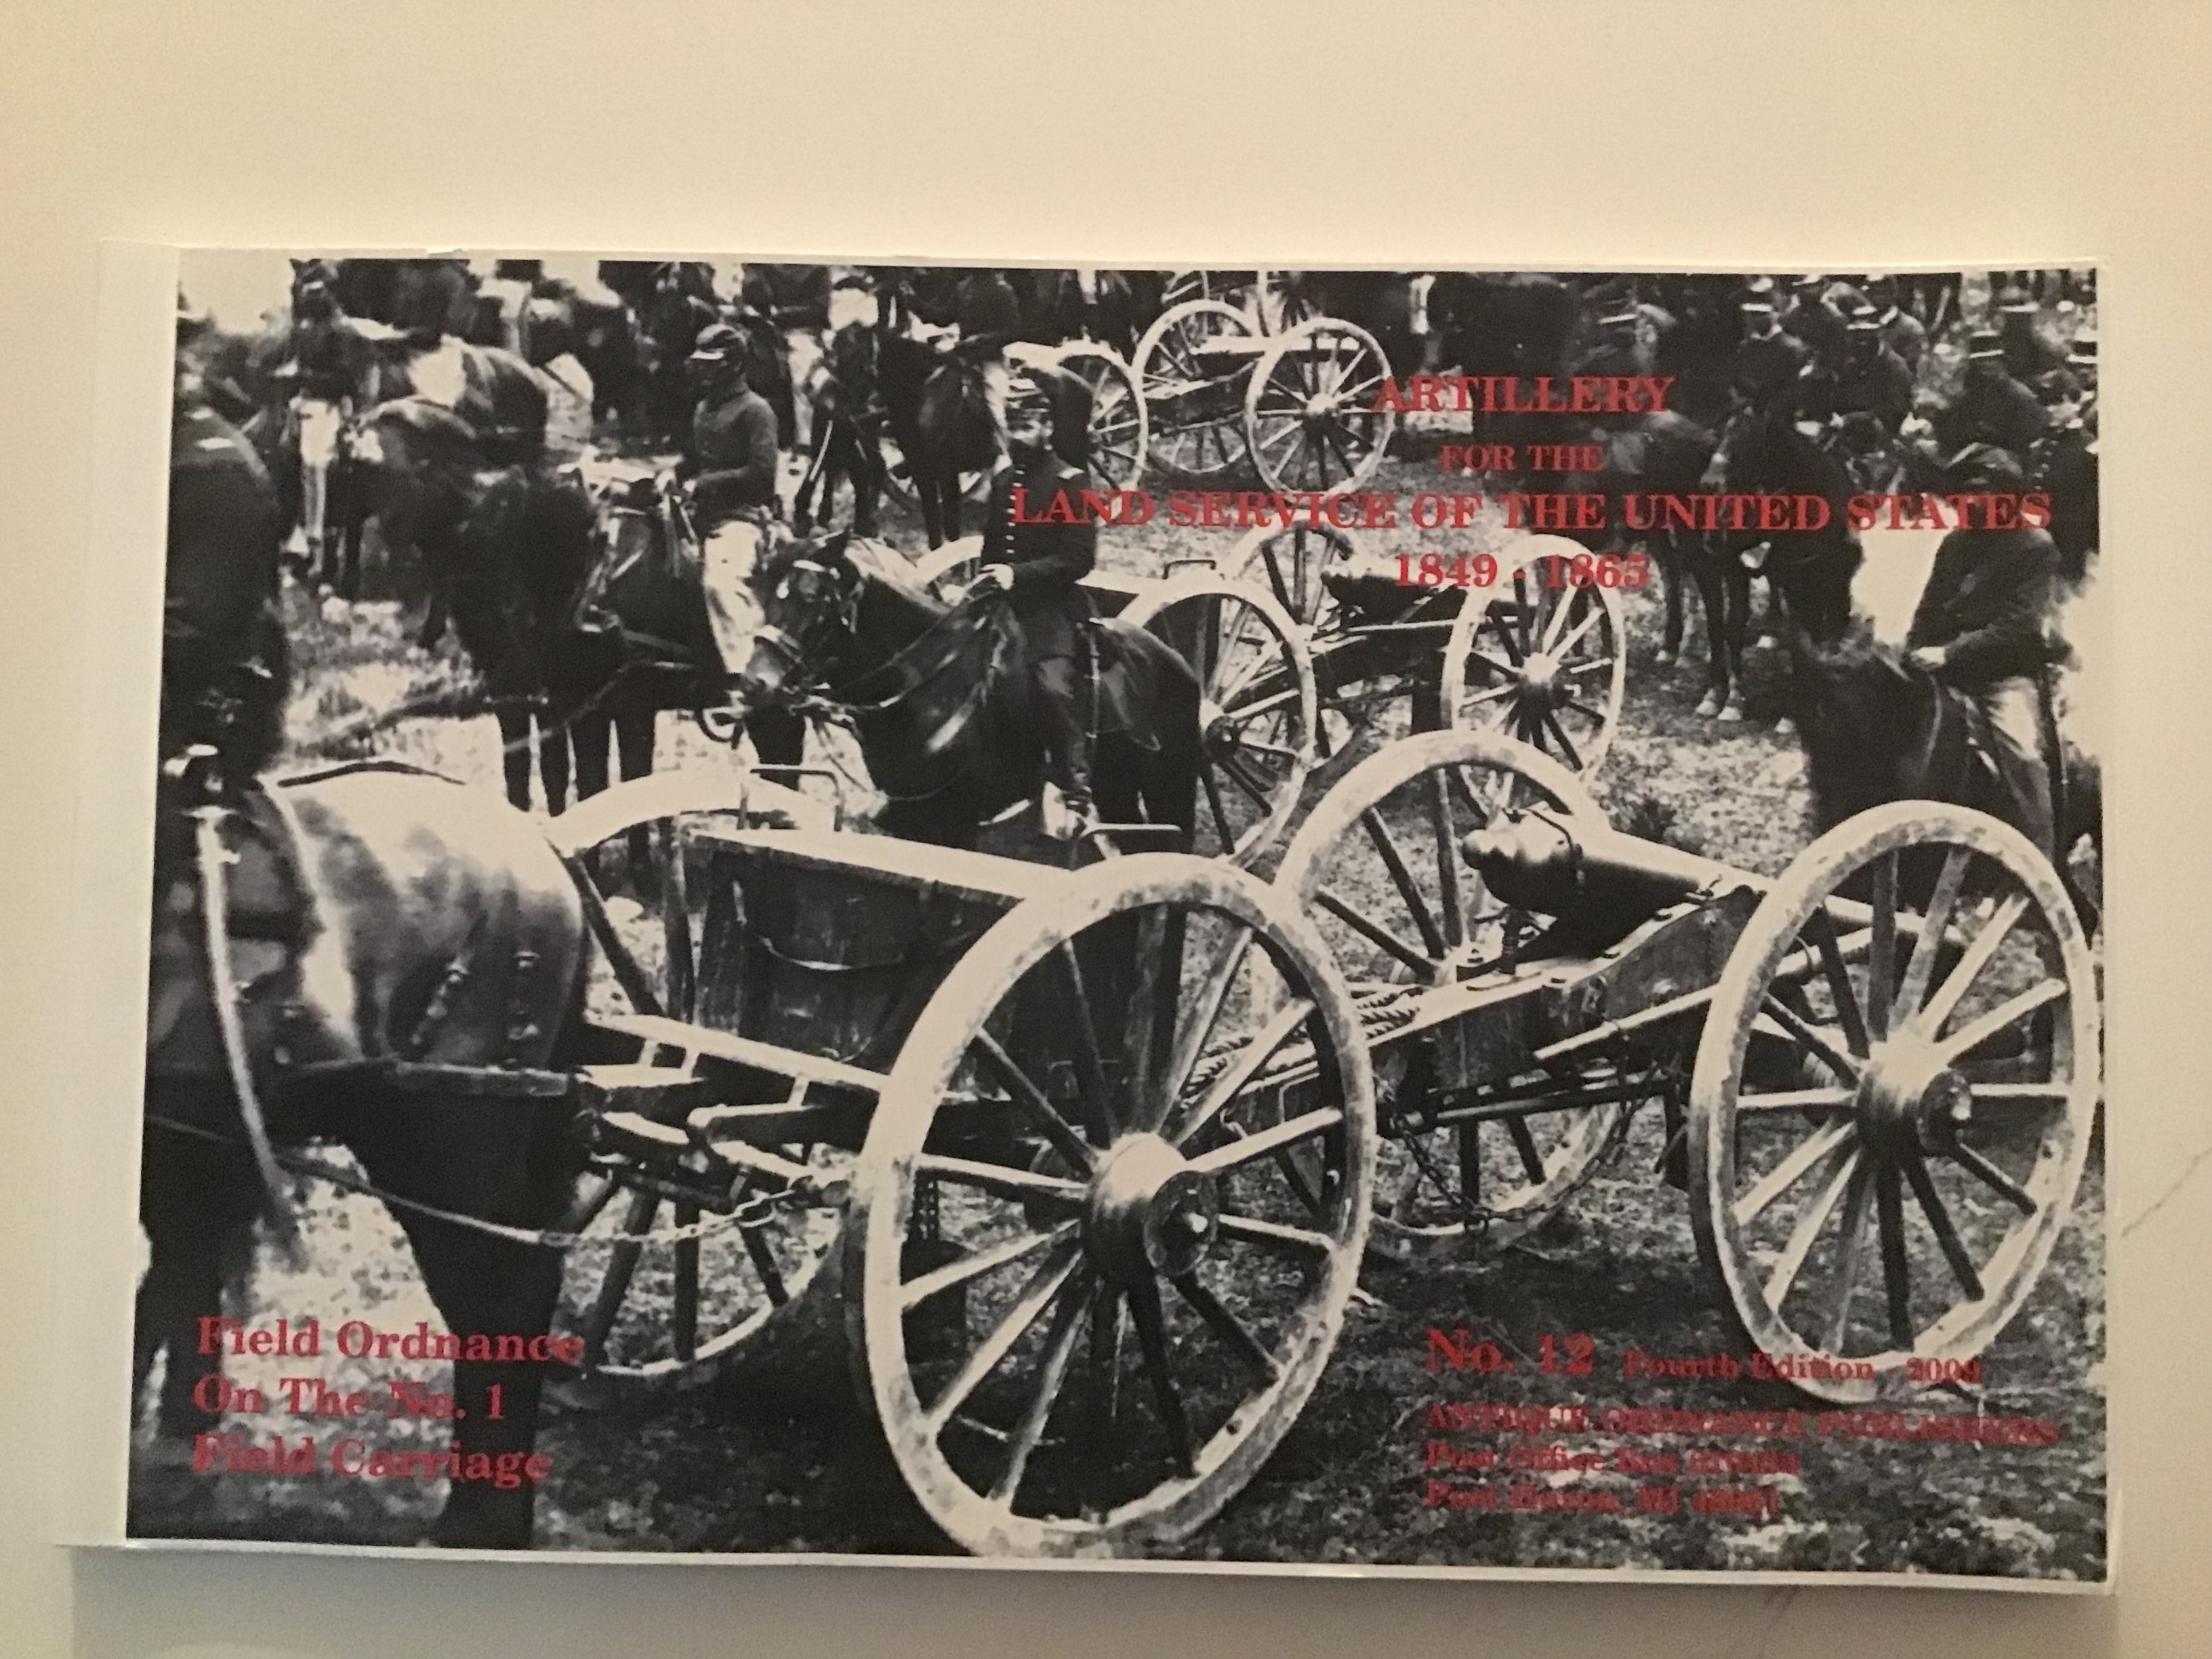
To that end I purchased this extraordinary book of drawings. Most are actual government drawings for the construction of the actual weapons and their carriages. They are complete down to the size , shape and count of the nails - not kidding.
Still studying the drawings and will be for some time yet - there is a lot to digest . First step will be to decide on the scale - I would like to go big .
a look inside…
I think the site would benefit from a category for artillery.
Cheers- Richard
6 Likes
As I see no specific catagory I thought I would begin by continuing this thread.
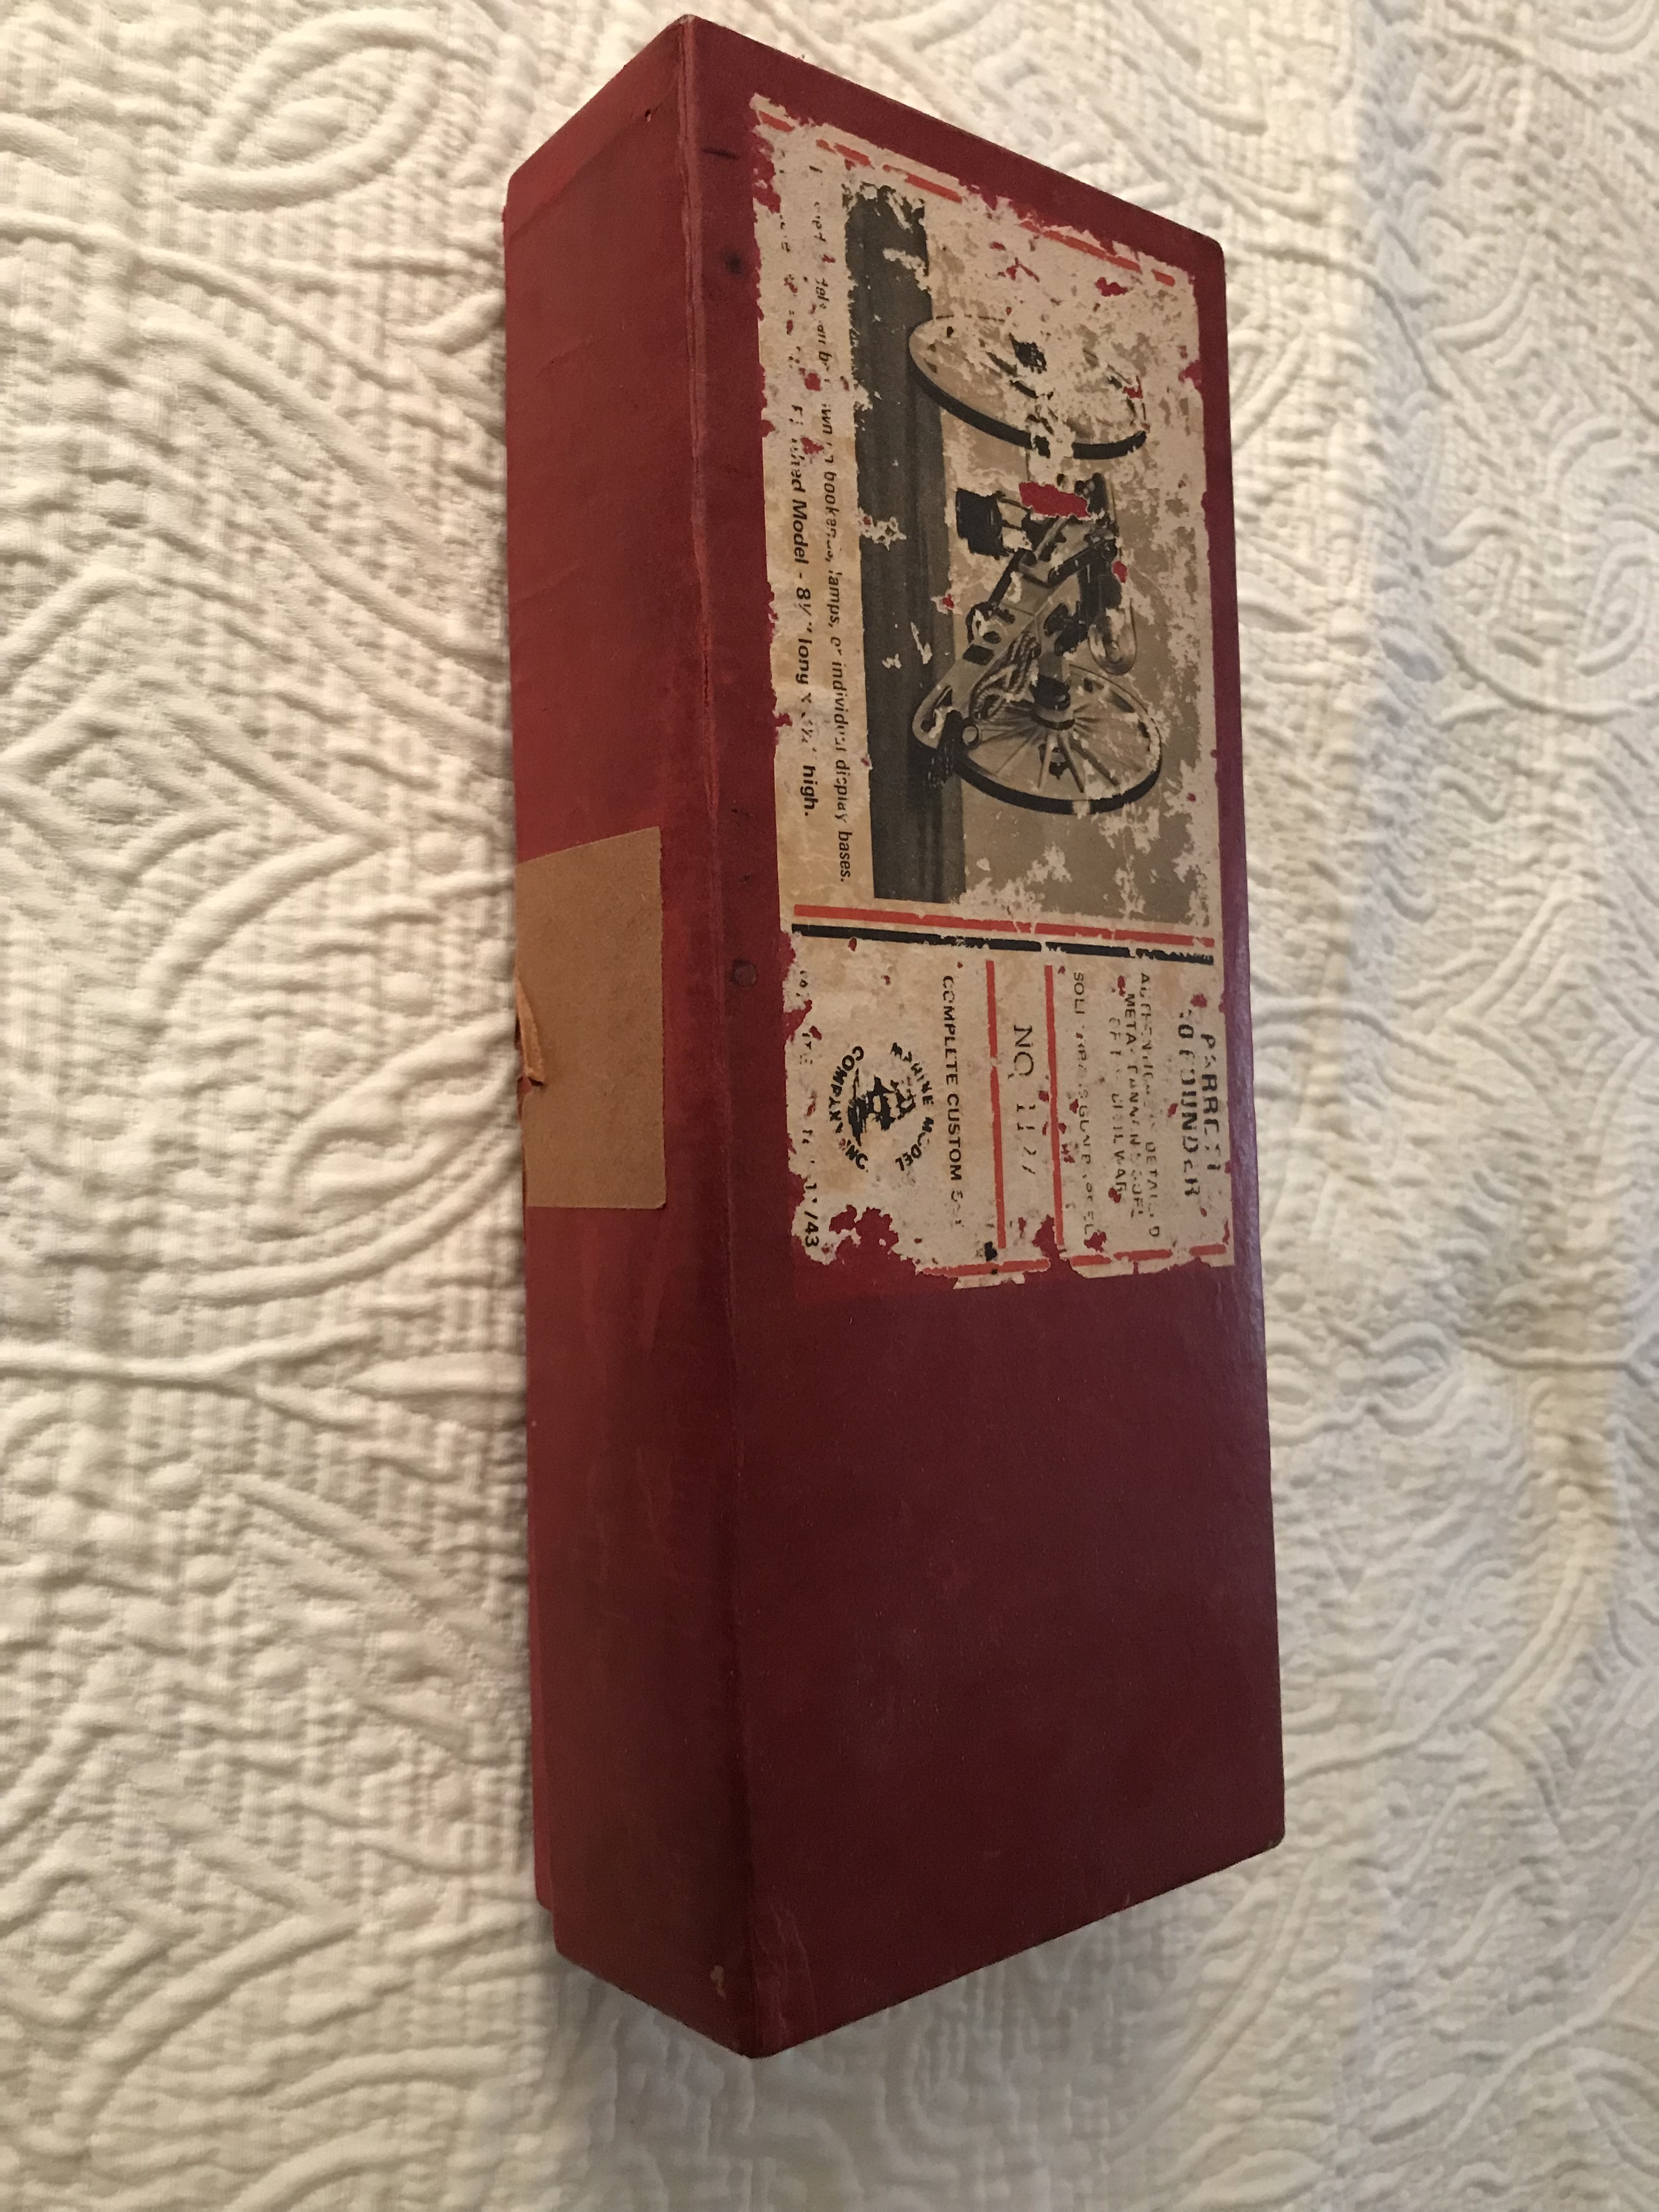
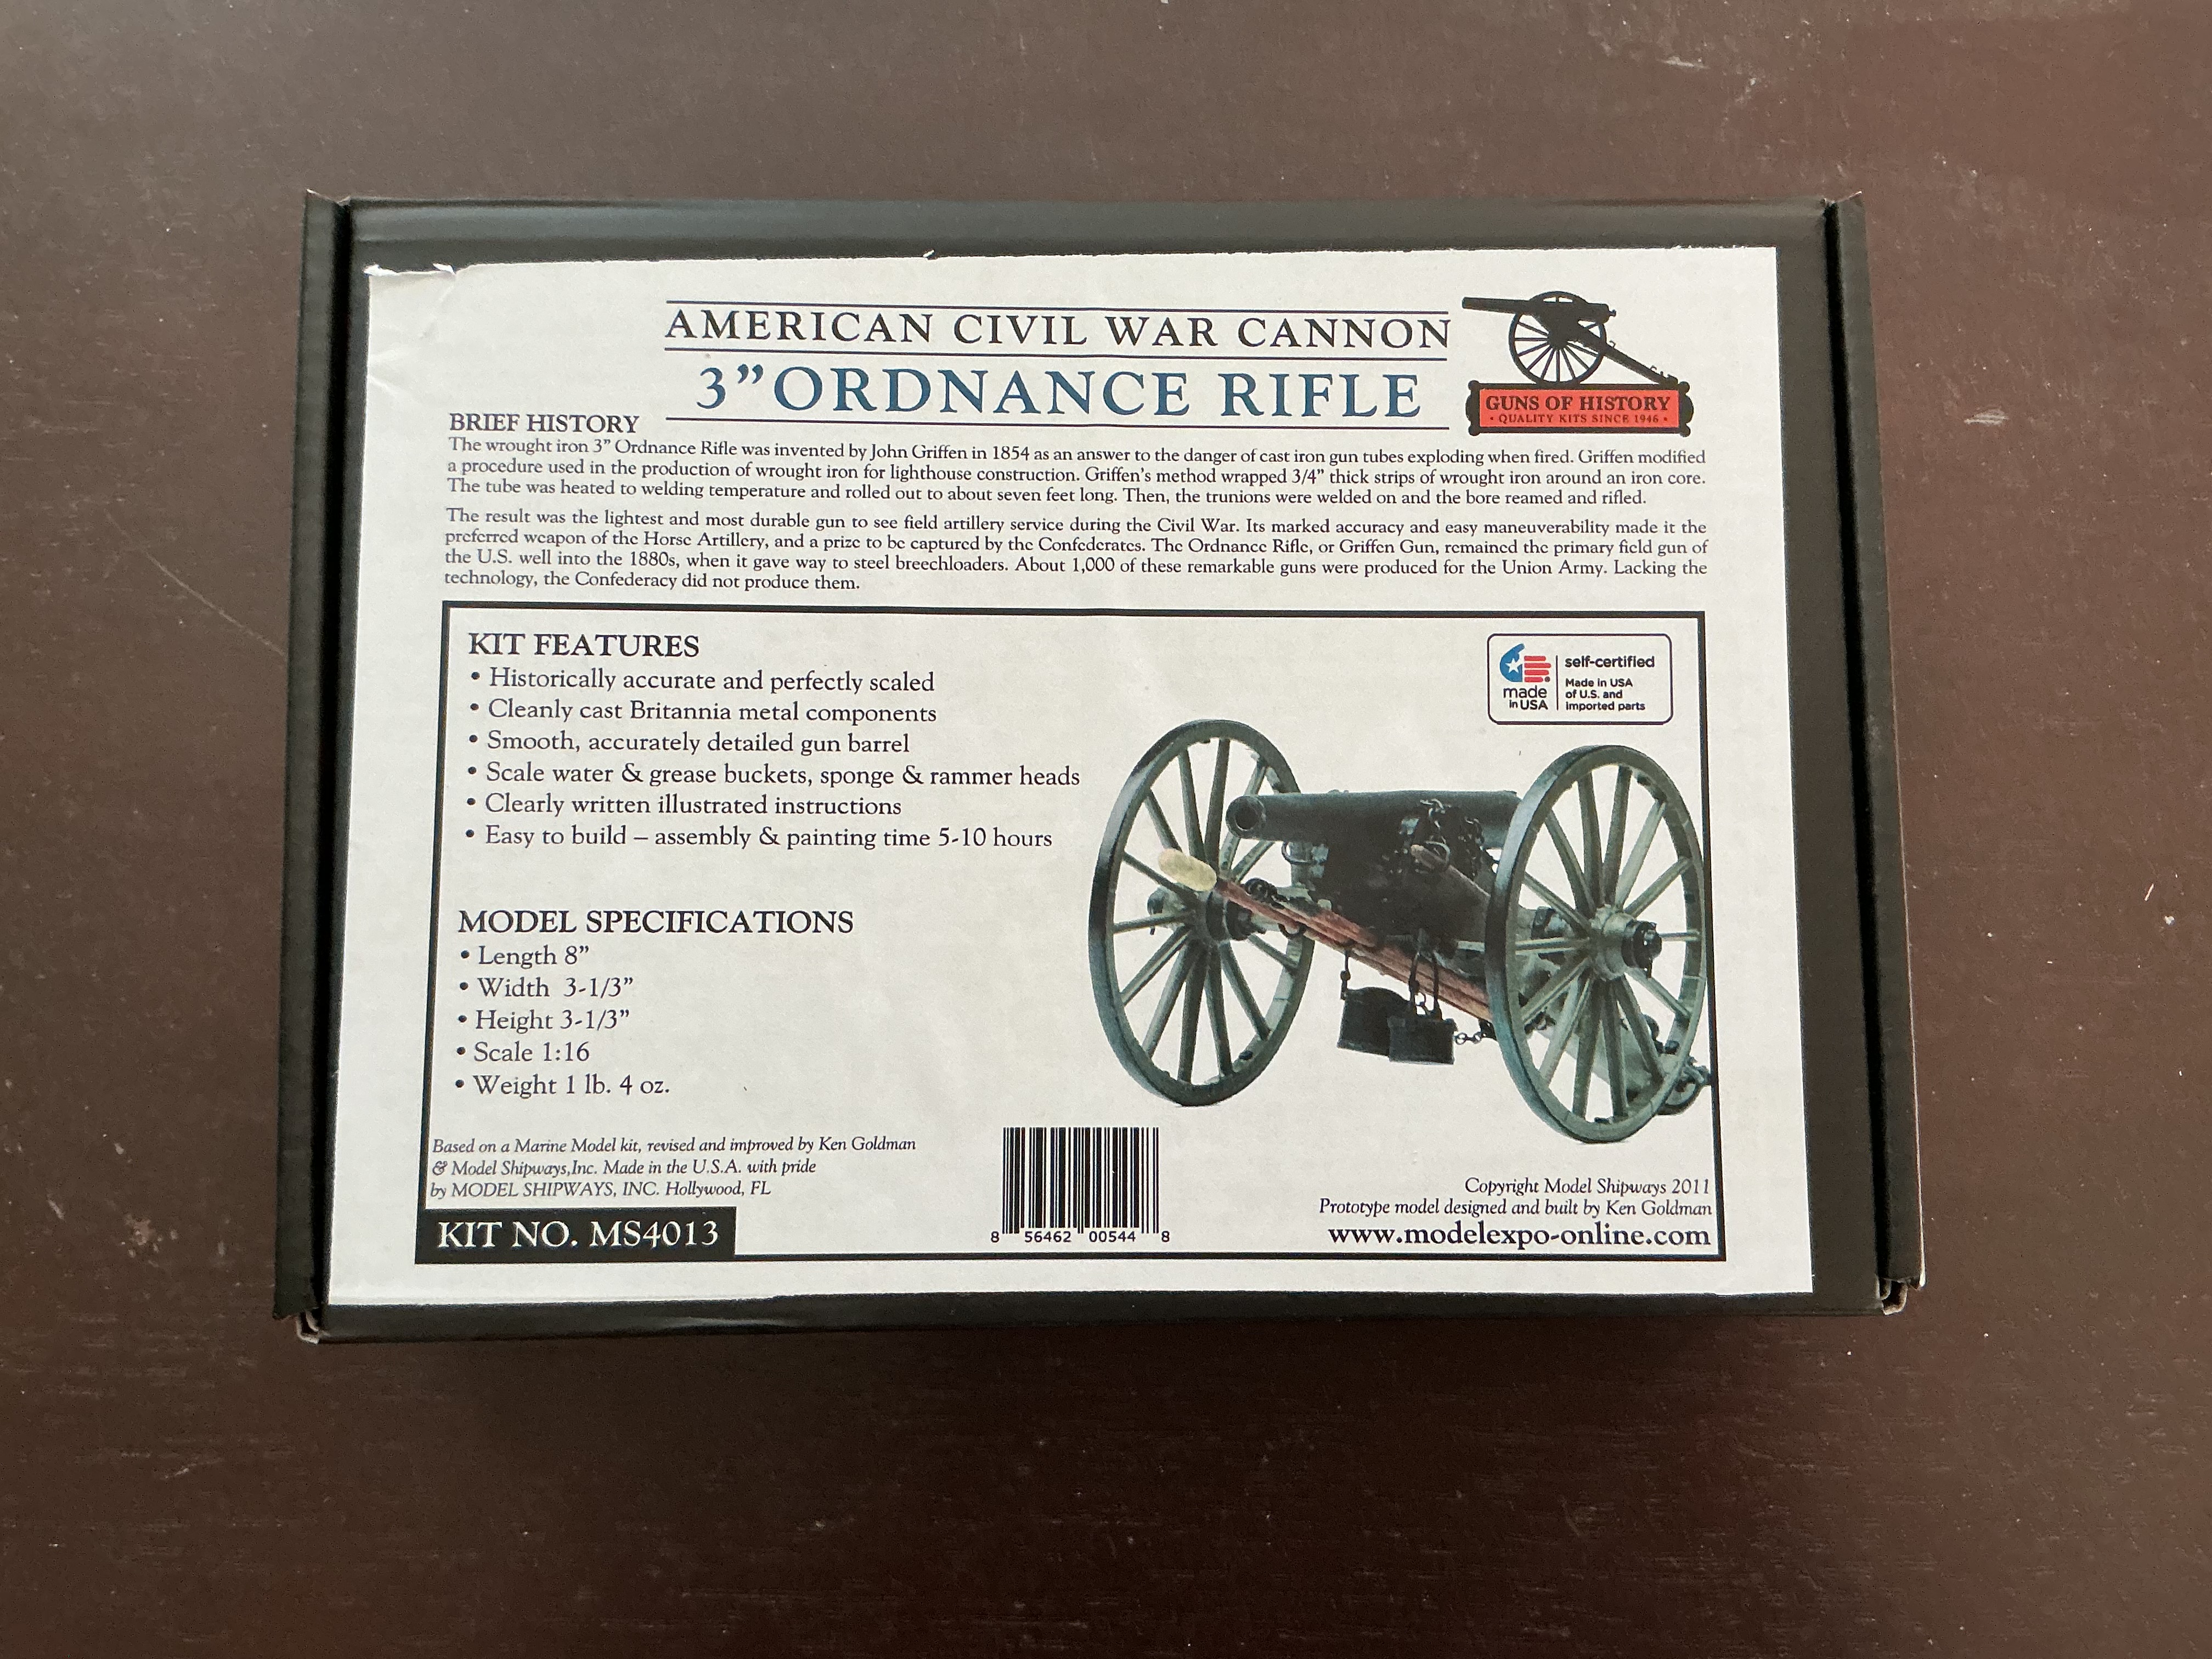
As a study for an upcoming scratch build I dug an old Marine Models white metal kit out of the stash - mid 1970’s IIRC
1/16 Parrot Rifle .
I want to build a 3” Ordnance Rifle and so I had hoped to modify or turn from scratch a barrel to install on the carriage.
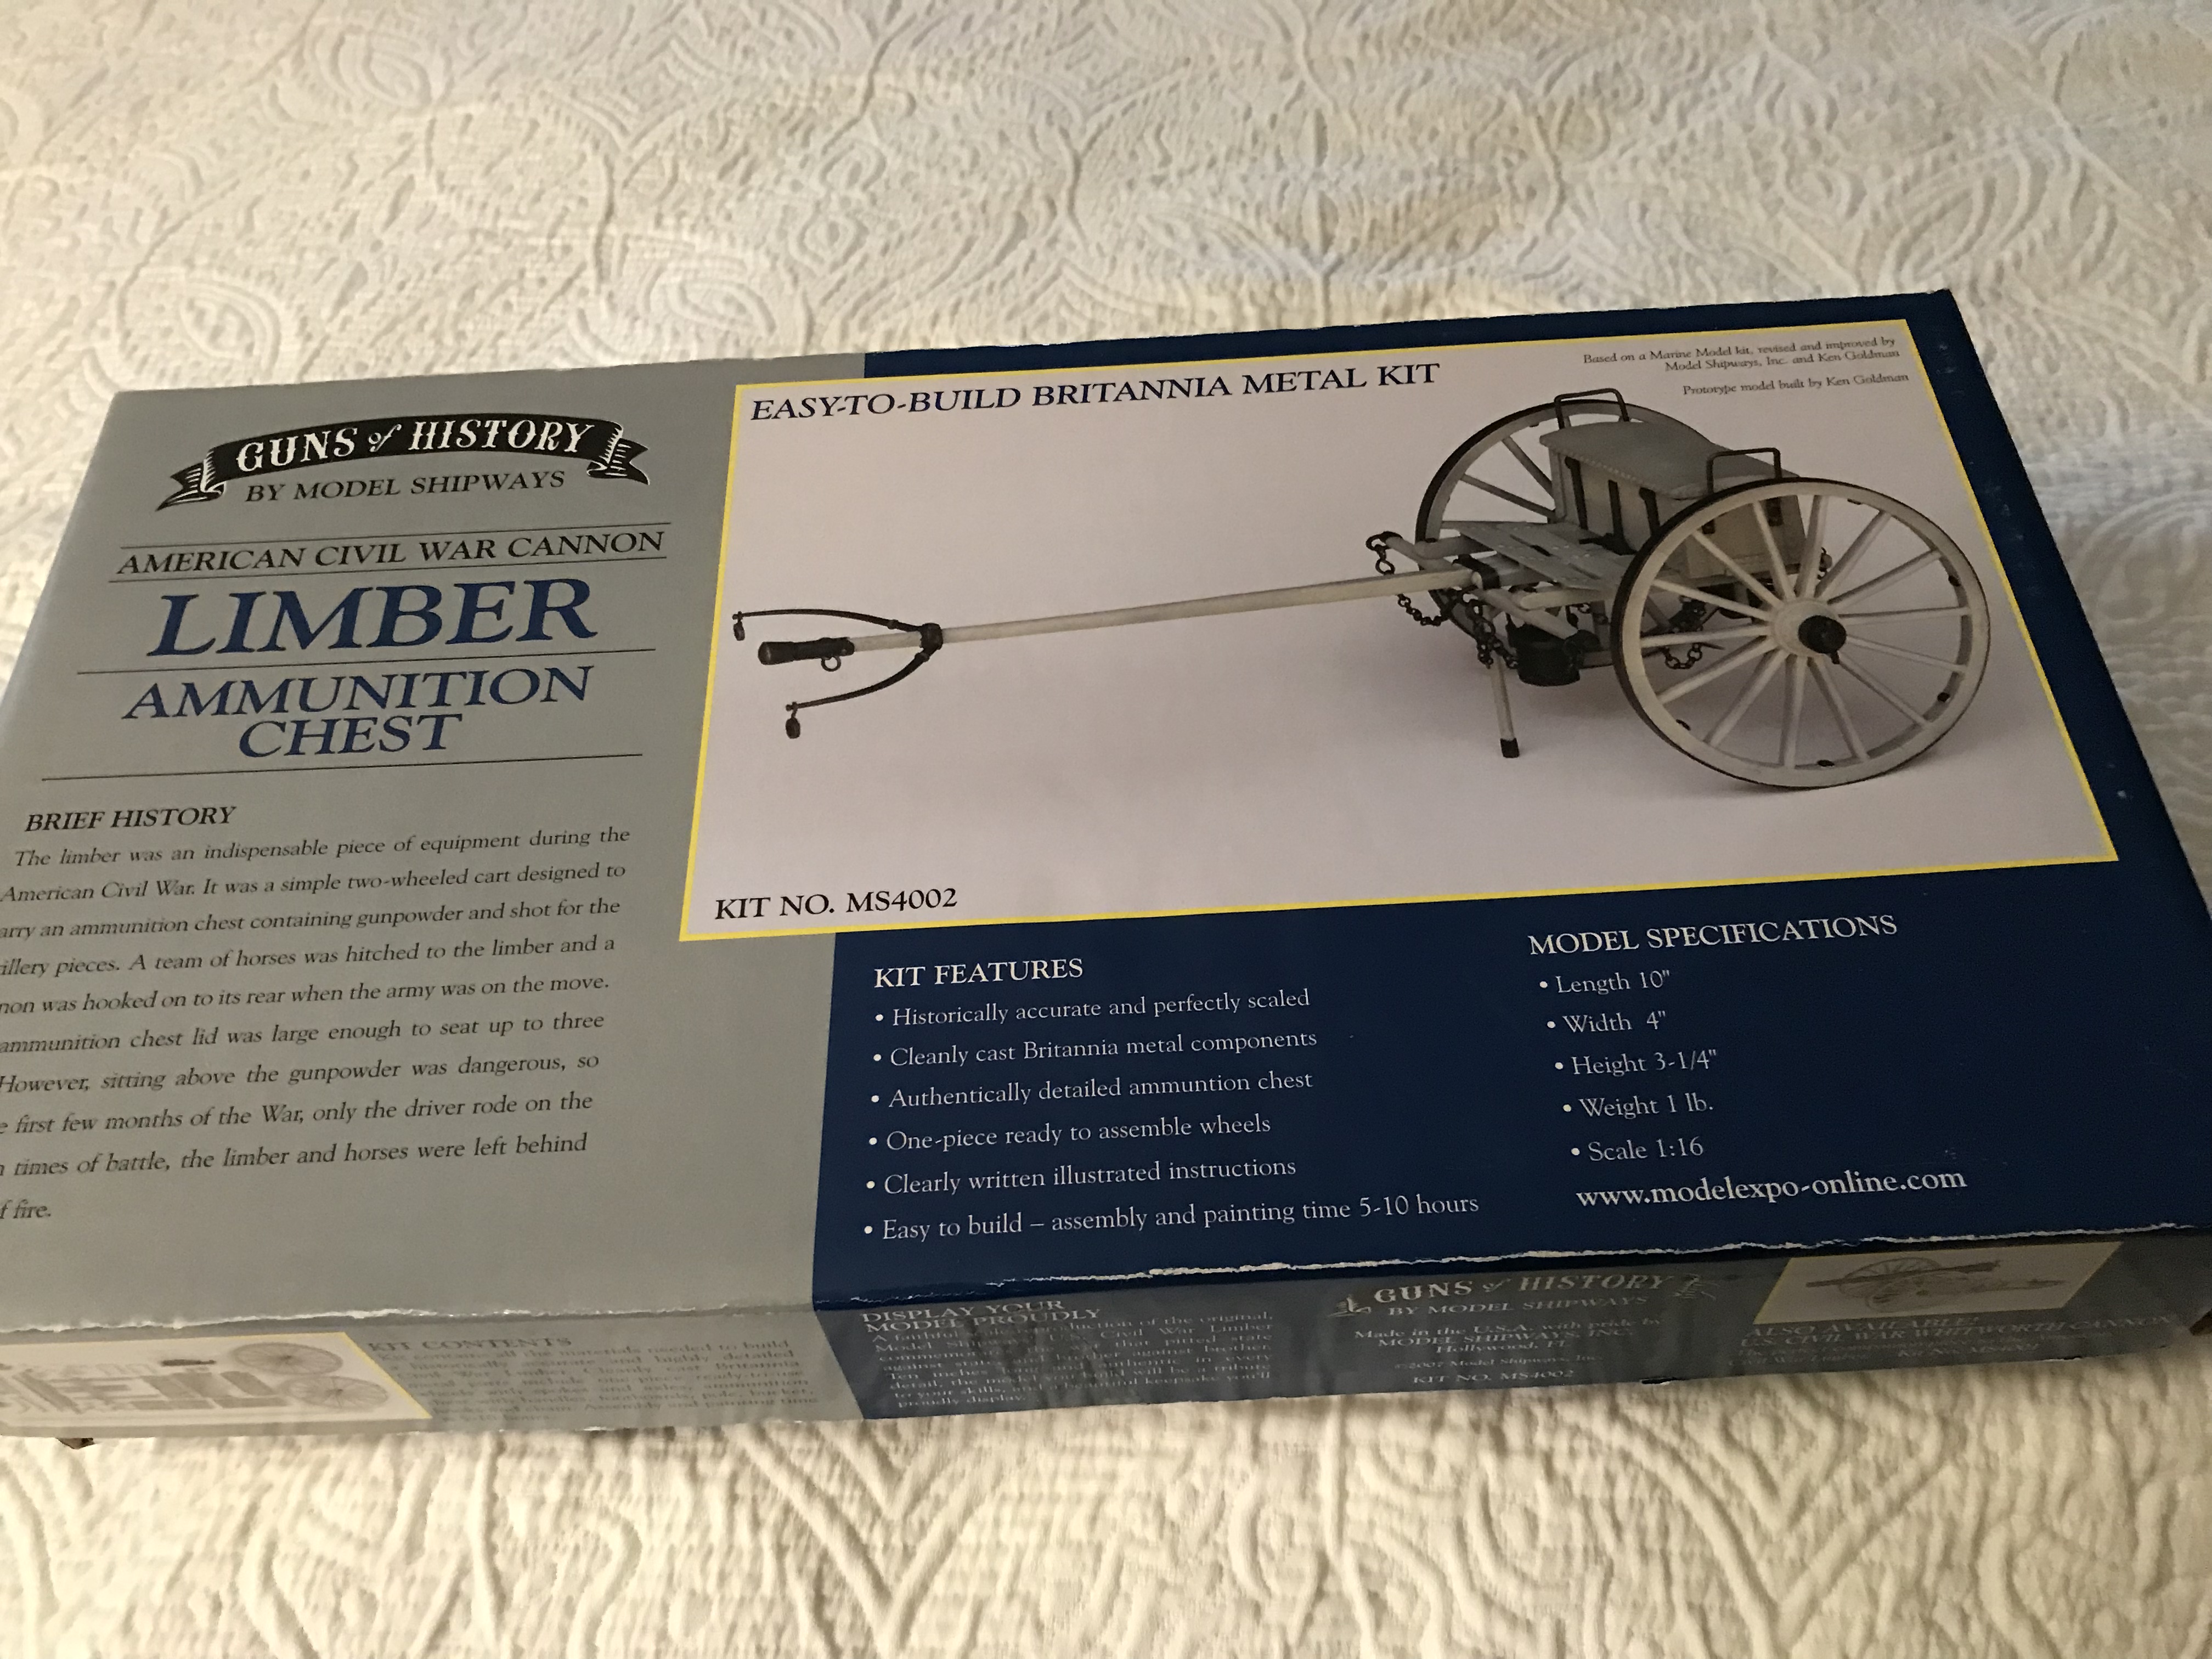
To compliment it I purchased a limber kit on eBay . The limber is one of Model Expo’s redo of Marine Models original kits . Much improved with Britannia metal and cleaned up molds .
Marine Models strangely never offered the 3” Ordnance rifle so I planned to modify the kit barrel or turn one from scratch. Model Expo does , however, offer one and they currently have one on deep sale for less than the cost of the material for a new barrel alone so I ordered one . I expect it this coming week.
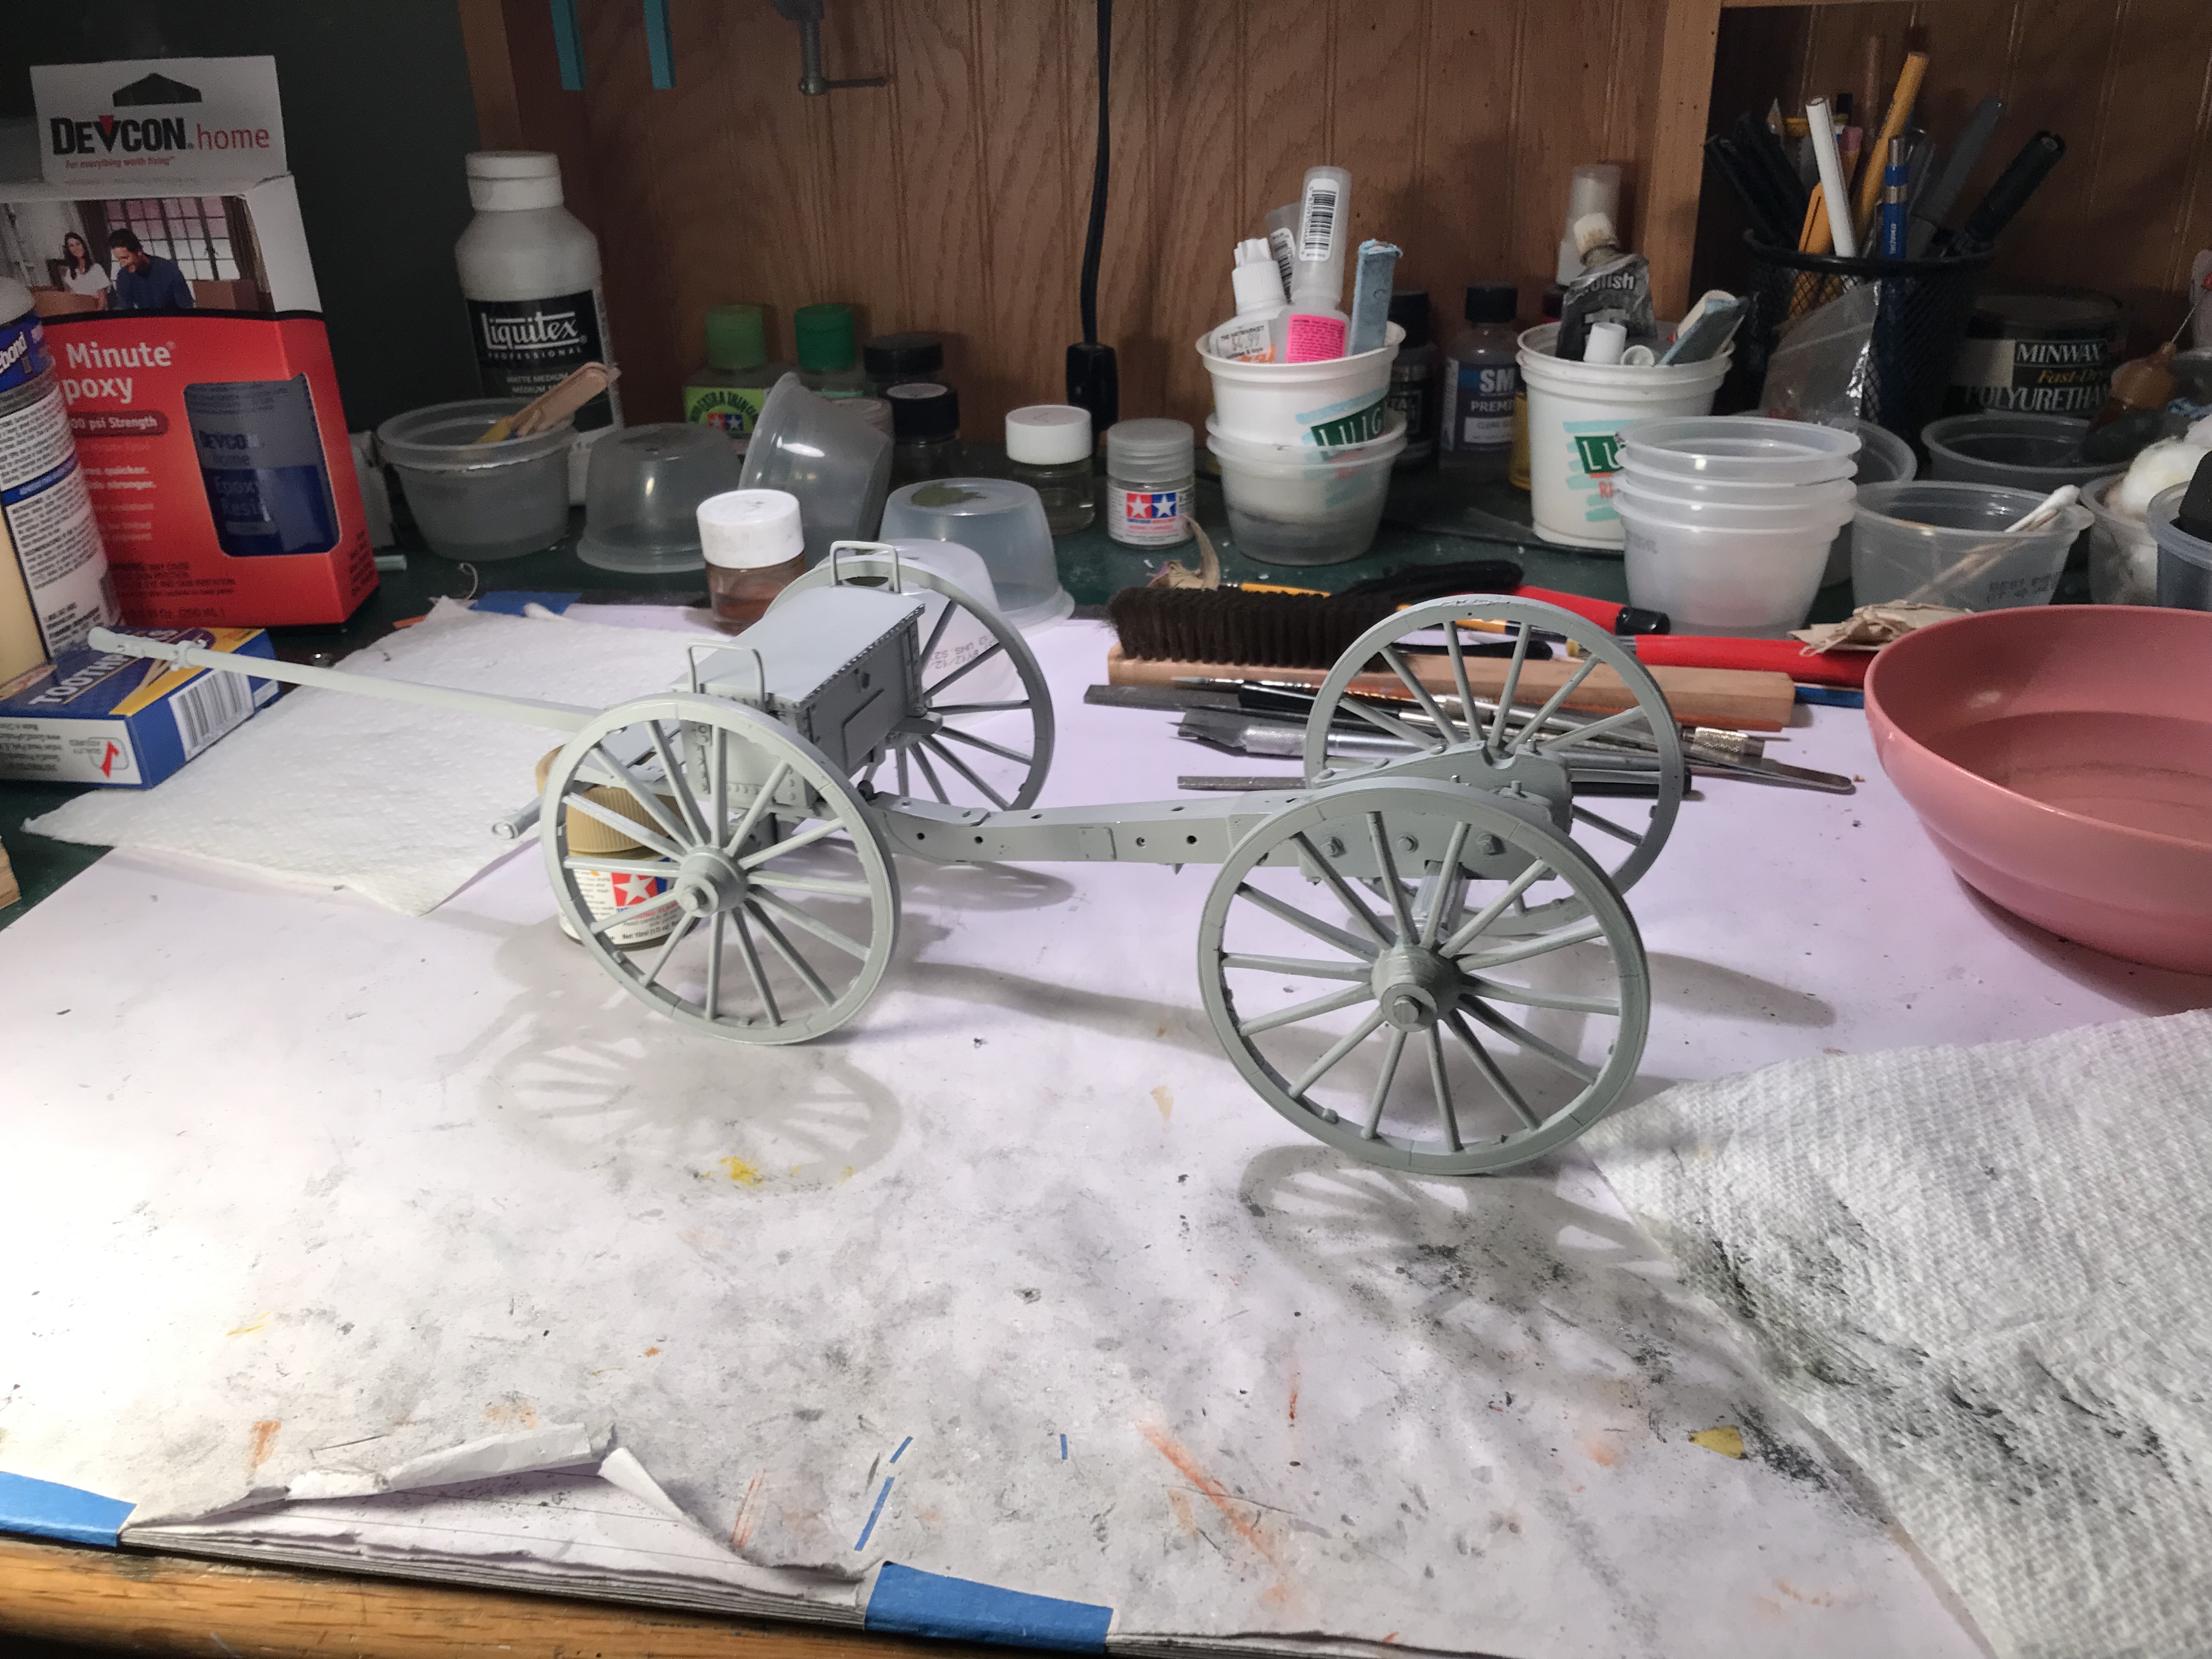
I have largely assembled the limber from the new kit and the gun carriage from the ancient and considerably poor quality Marine Model castings - flash , warpage , sprue gates everywhere. All you see here is now in Tamiya fine light grey primer . I will update when the new gun kit arrives.
9 Likes
I received the new gun kit from Model Expo today .
As previously mentioned it was on deep sale and cost less than the material with shipping to turn a barrel from scratch.
As in the limber , the quantity of the castings is greatly improved over the 1970’s era castings from the original kit - I will be using the new kit for the Ordnance rifle and complete the original kit as the Parrot rifle . Wrestling with olive drab paint colors right now .
It seemed there was a bit of variation ( no surprise there ) back in the day - I have shot the limber and gun carriage with Tamiya Olive Green as their Olive Drab seems too dark .I am playing with mixes now between the two .
The next issues is the barrel itself from the new kit .
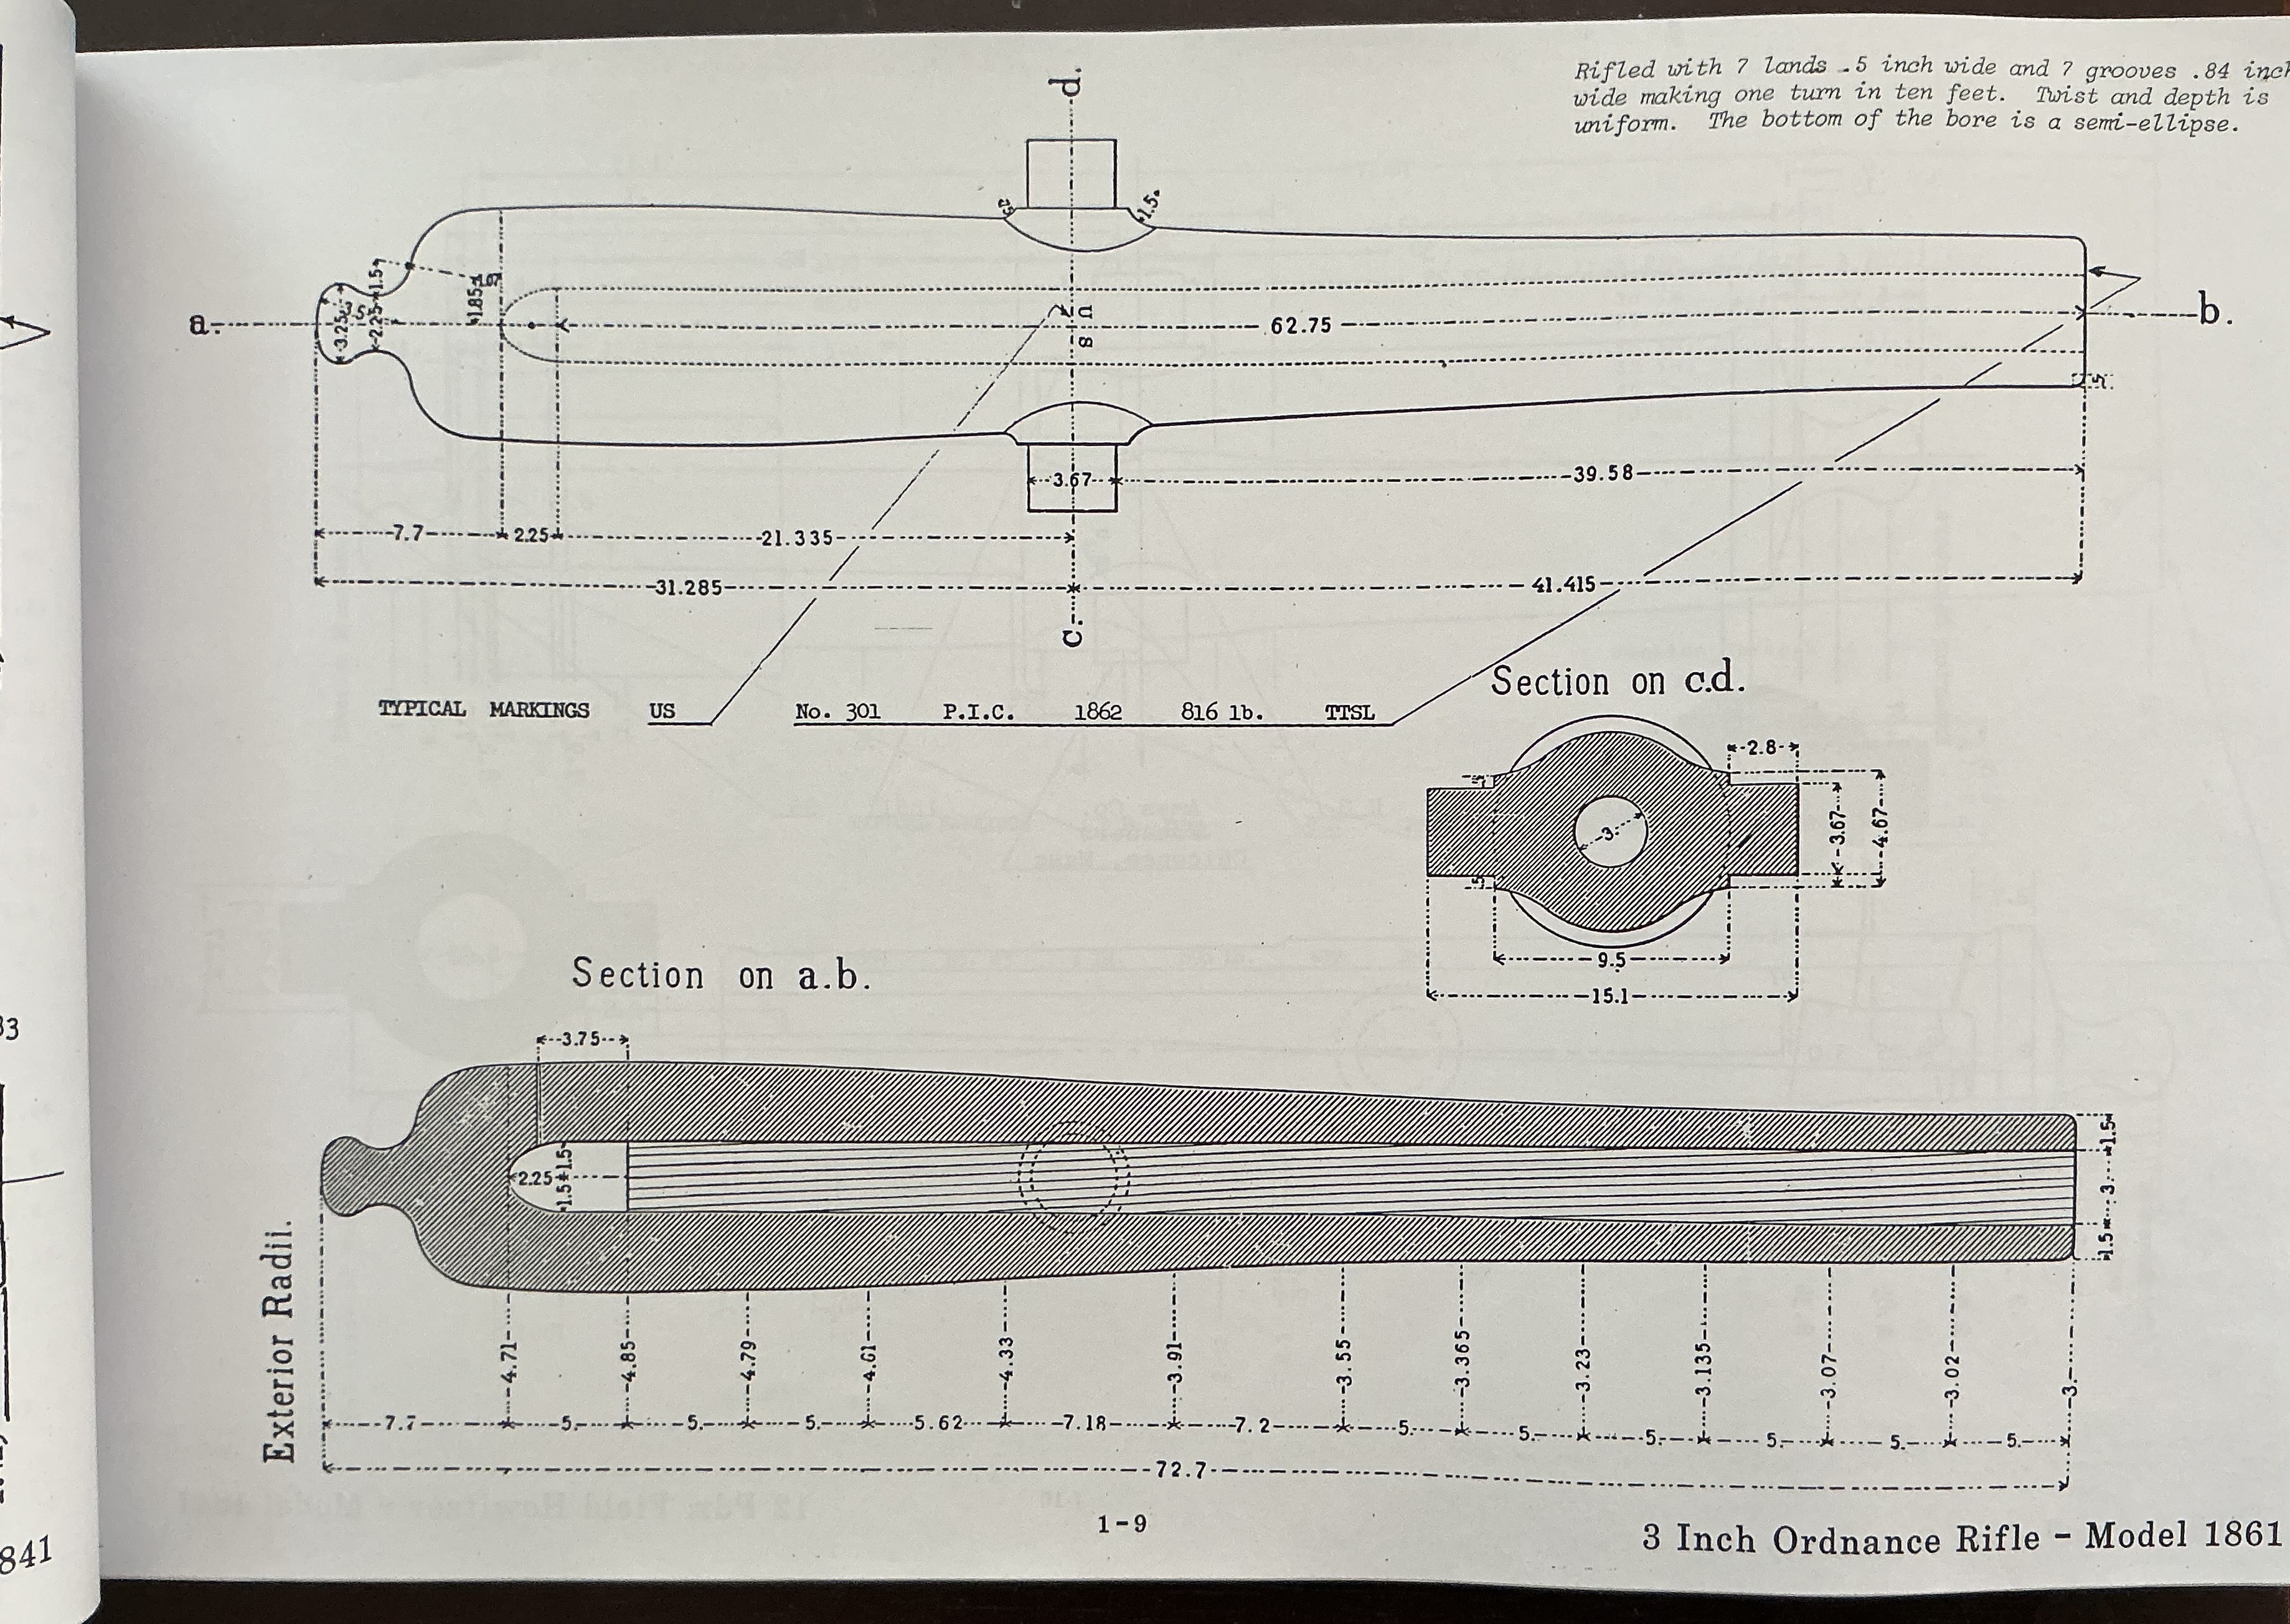
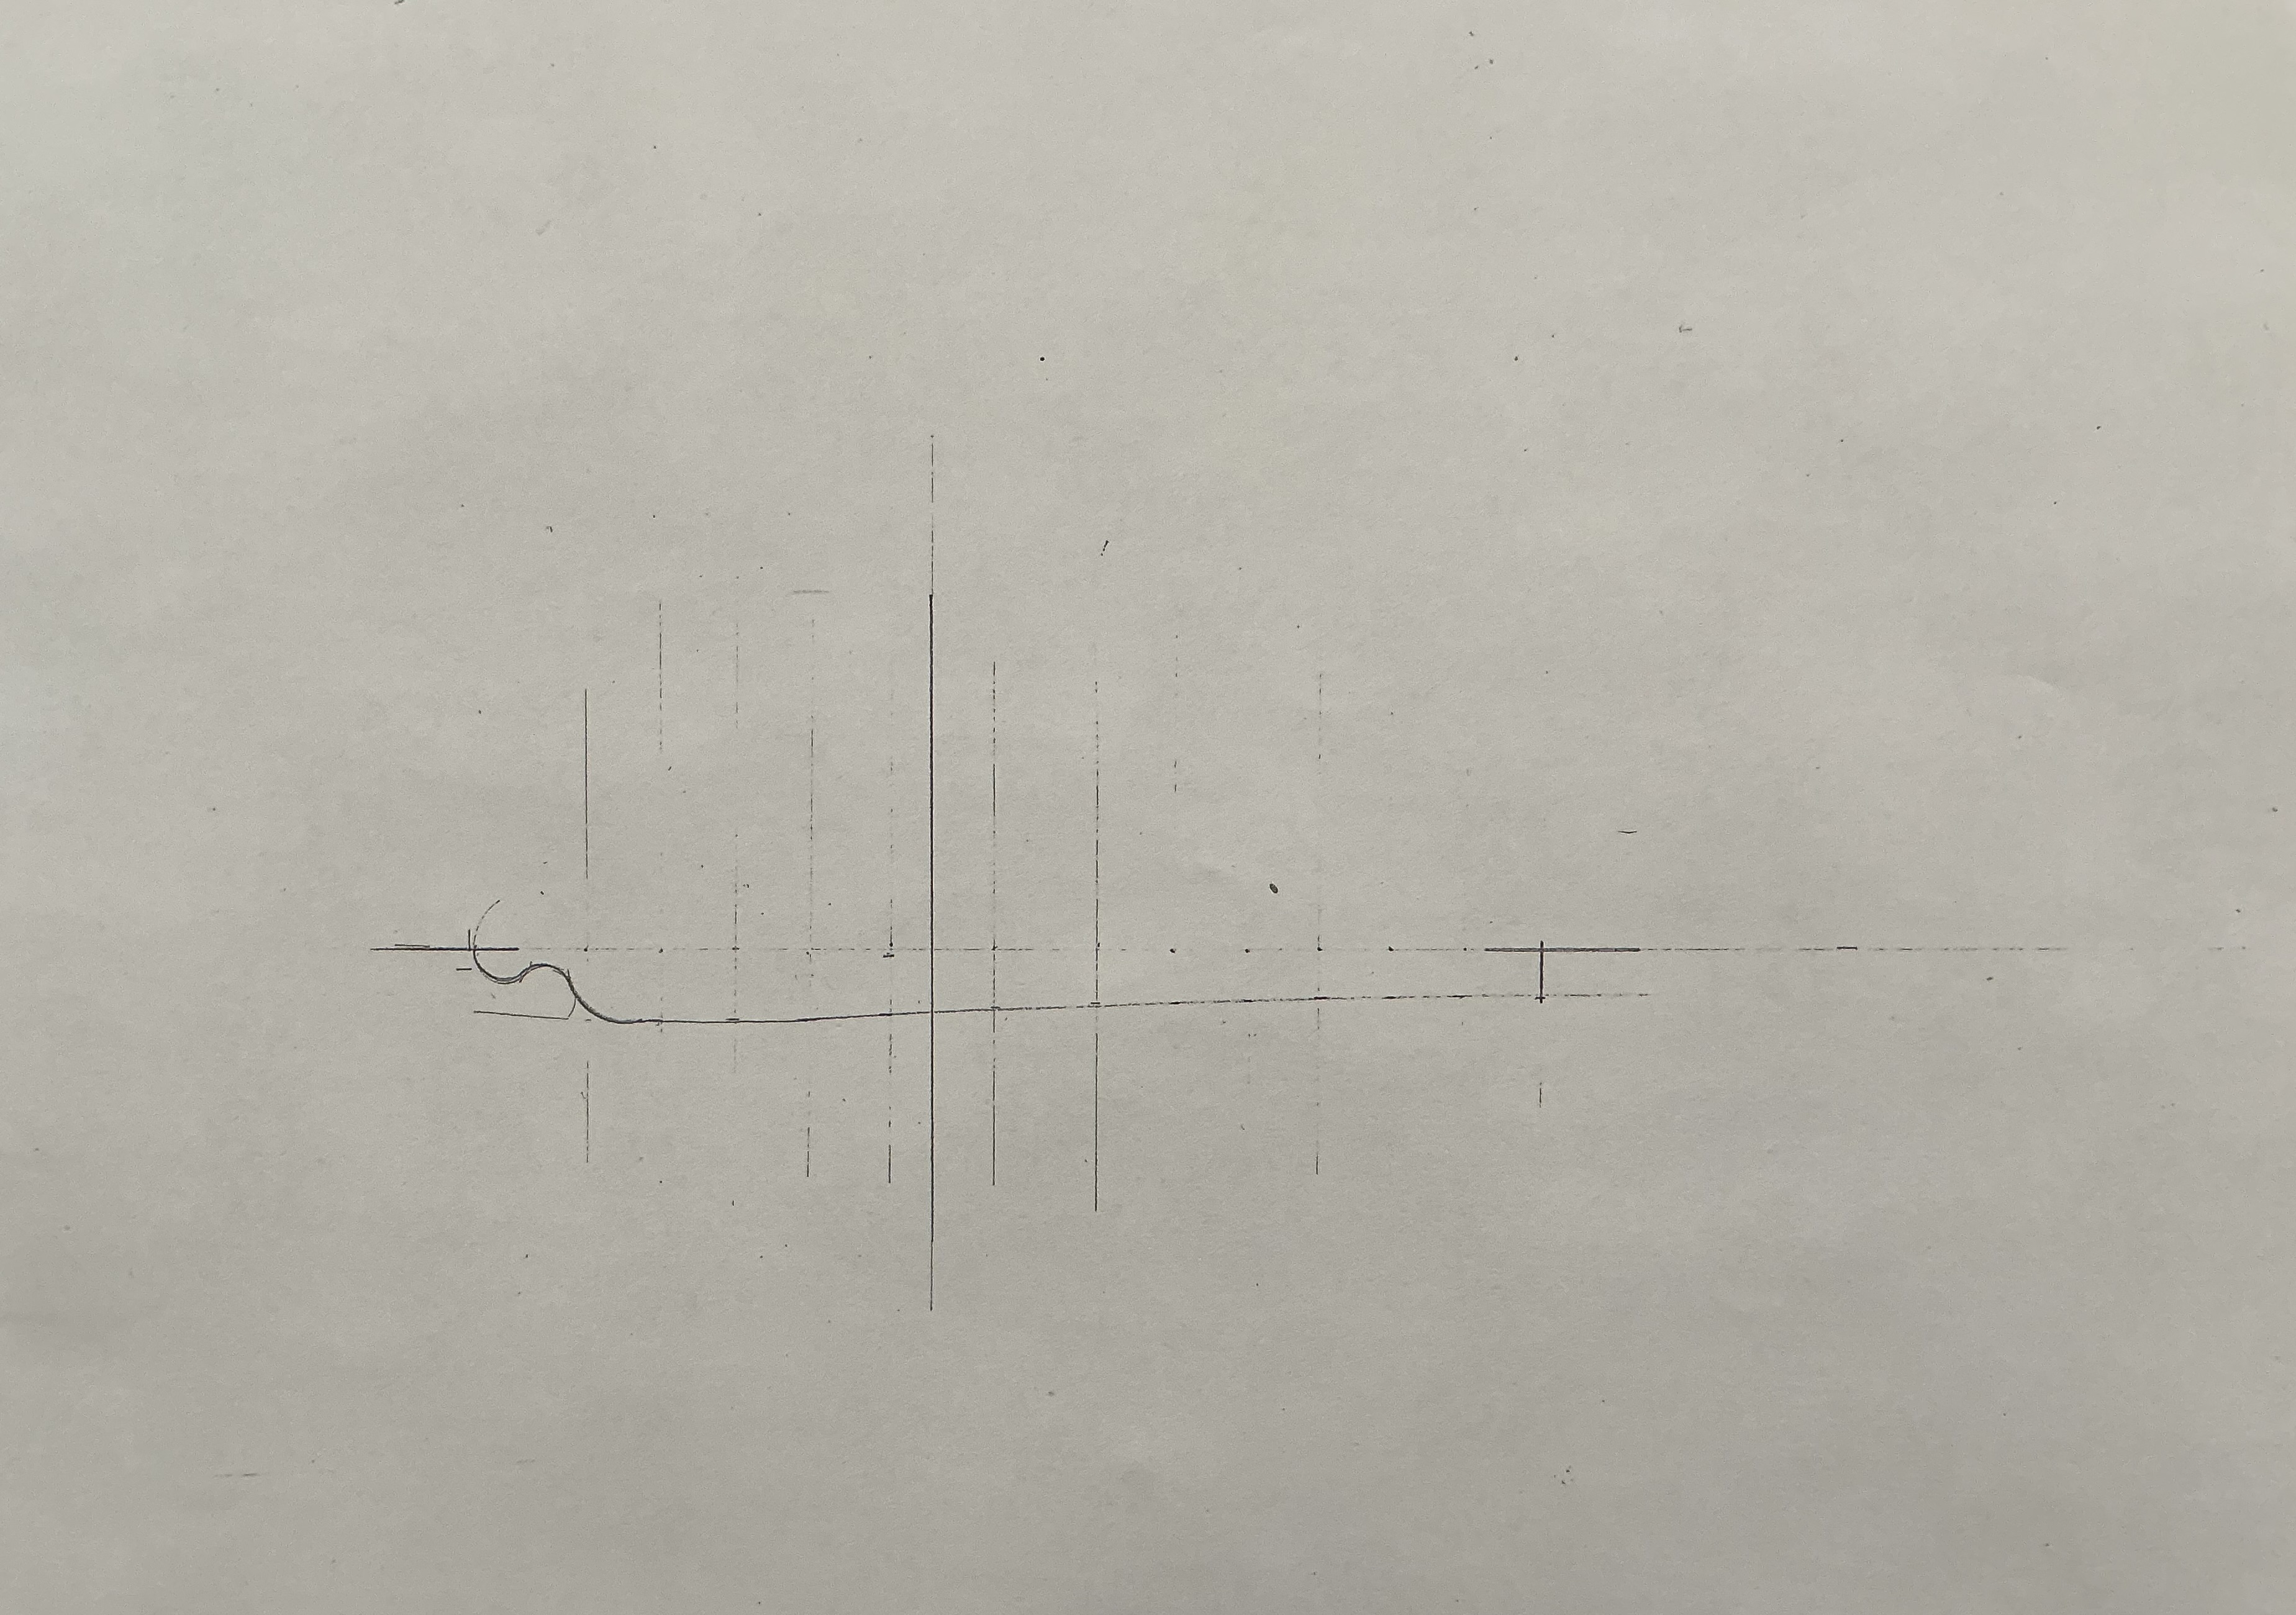
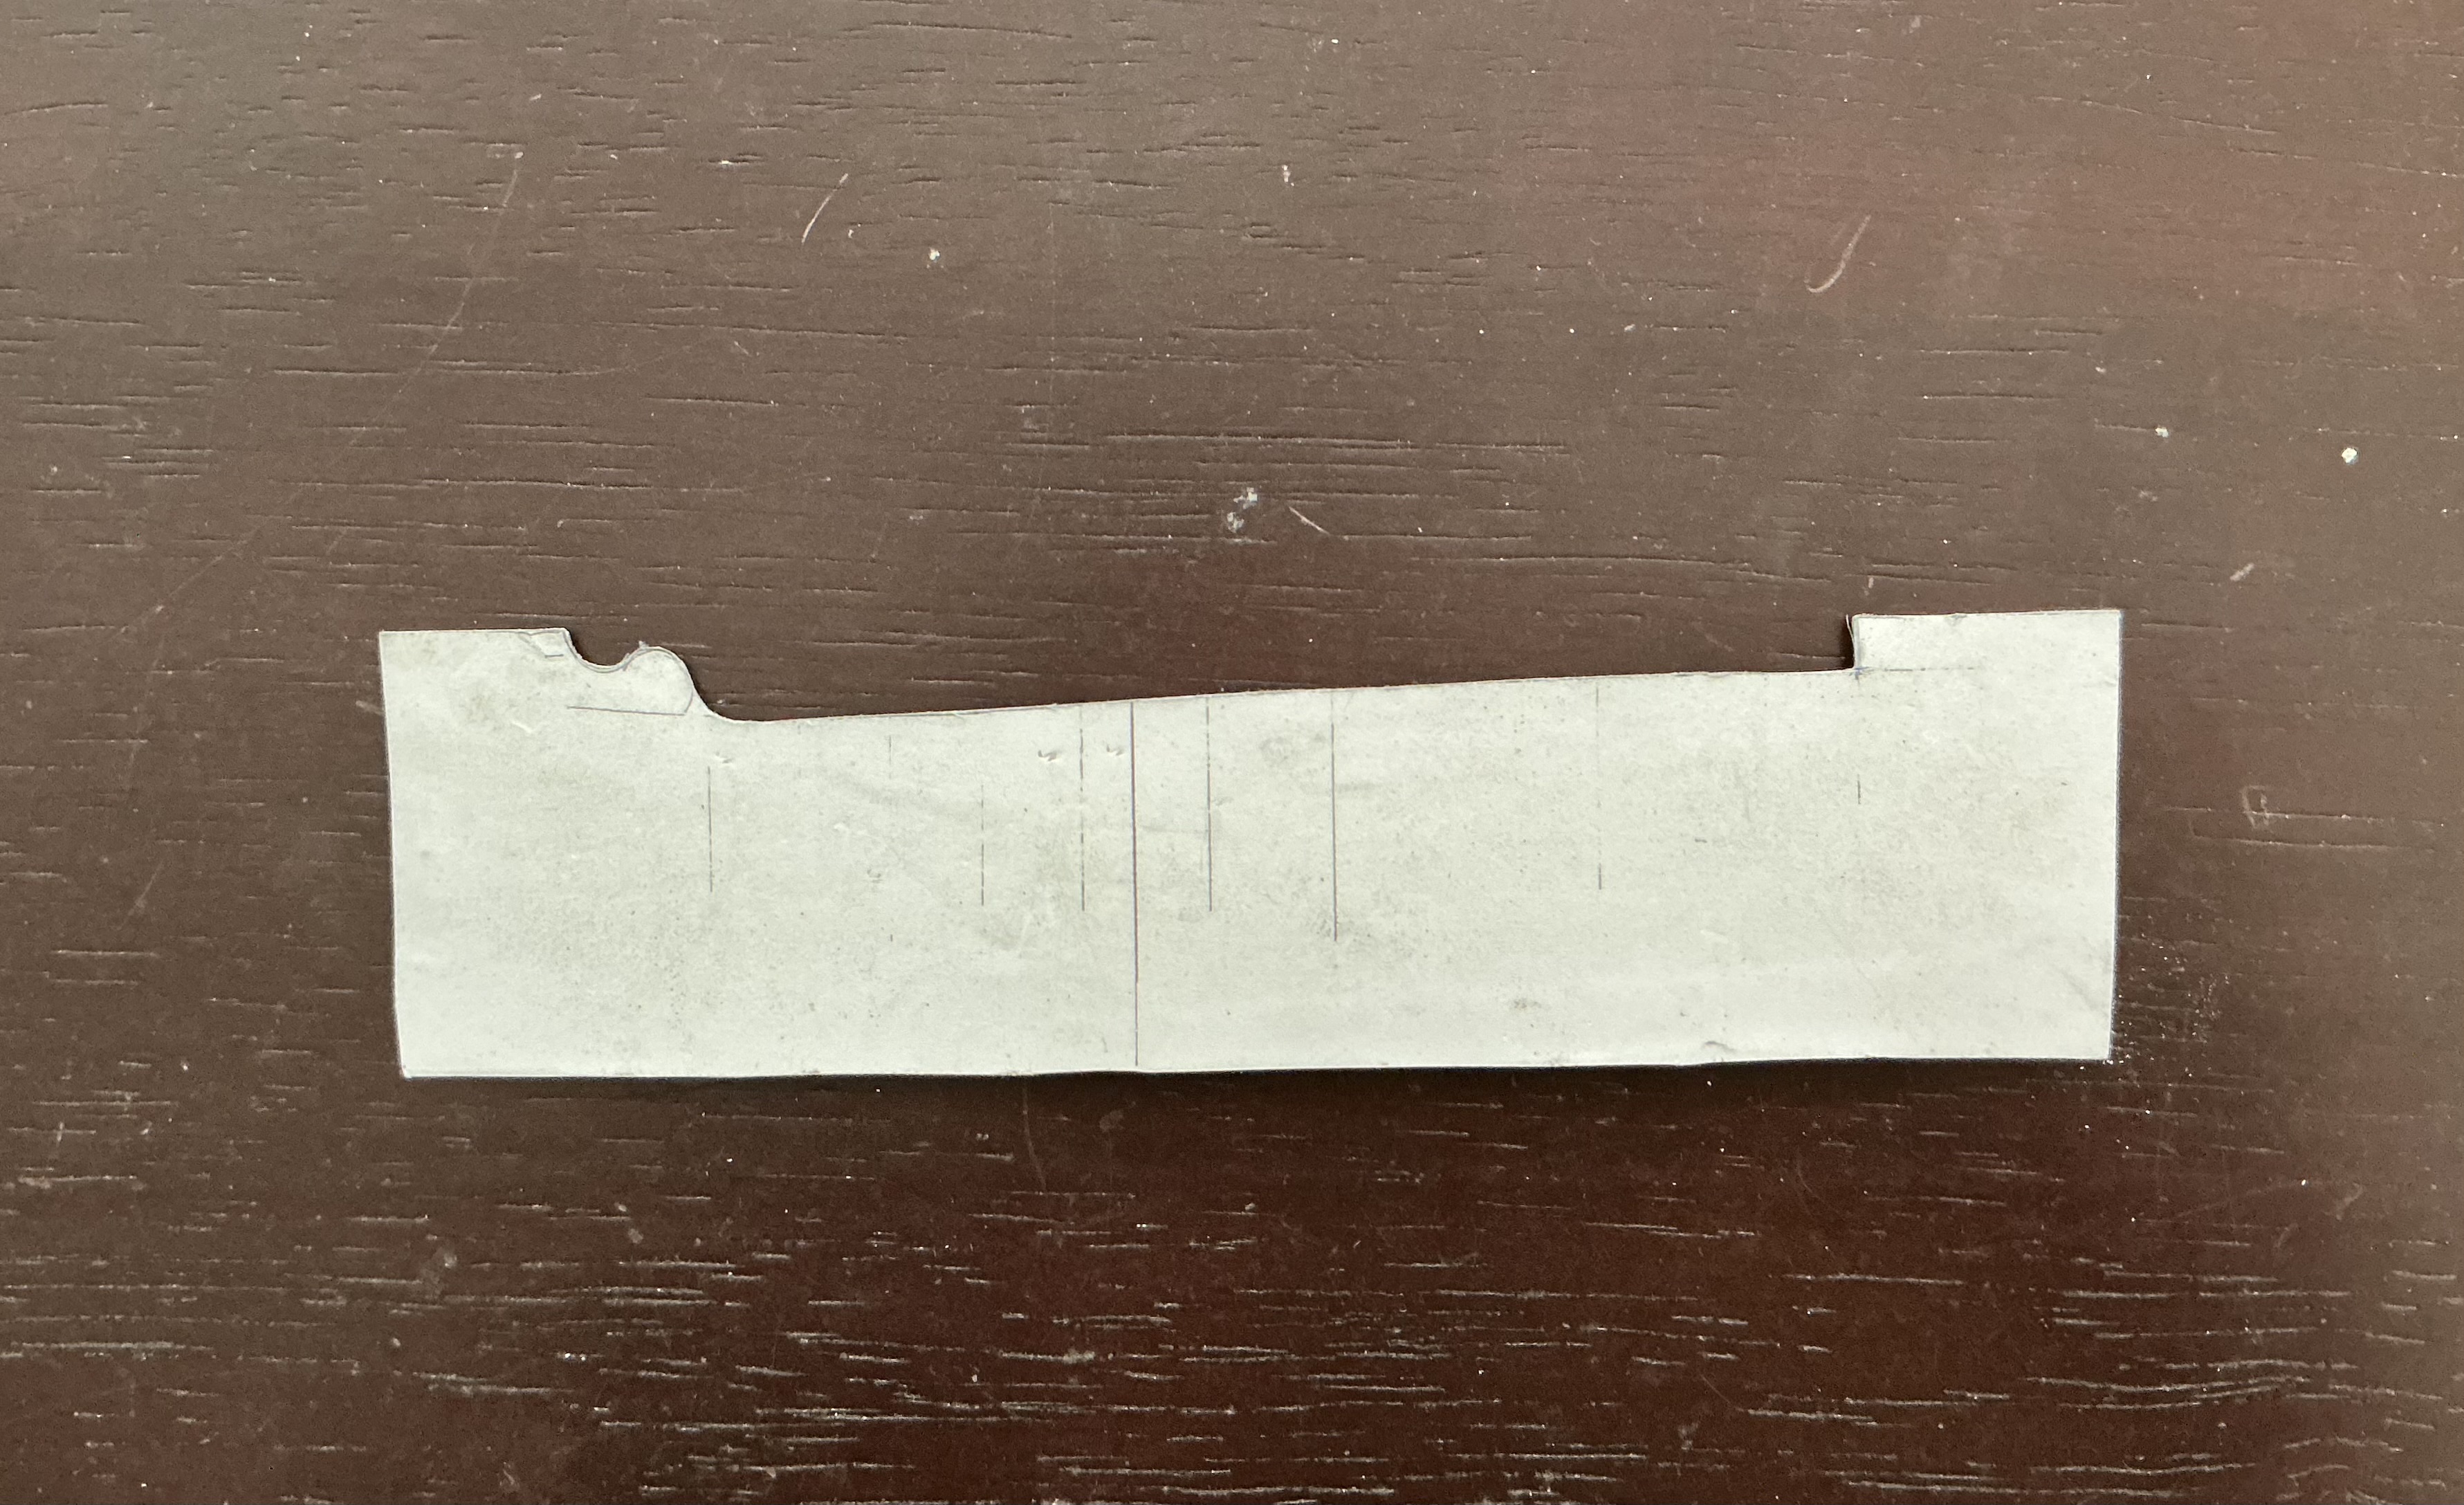
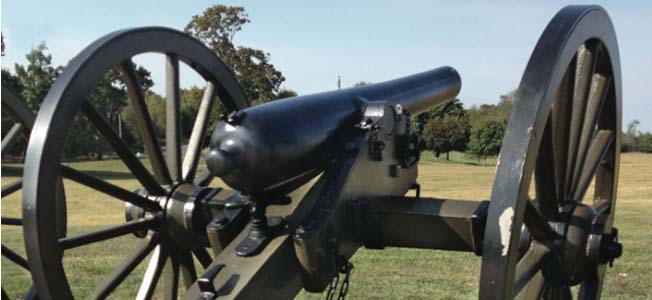
Here in the government drawings as well as photos it can clearly be seen that the profile of the barrel is concave.
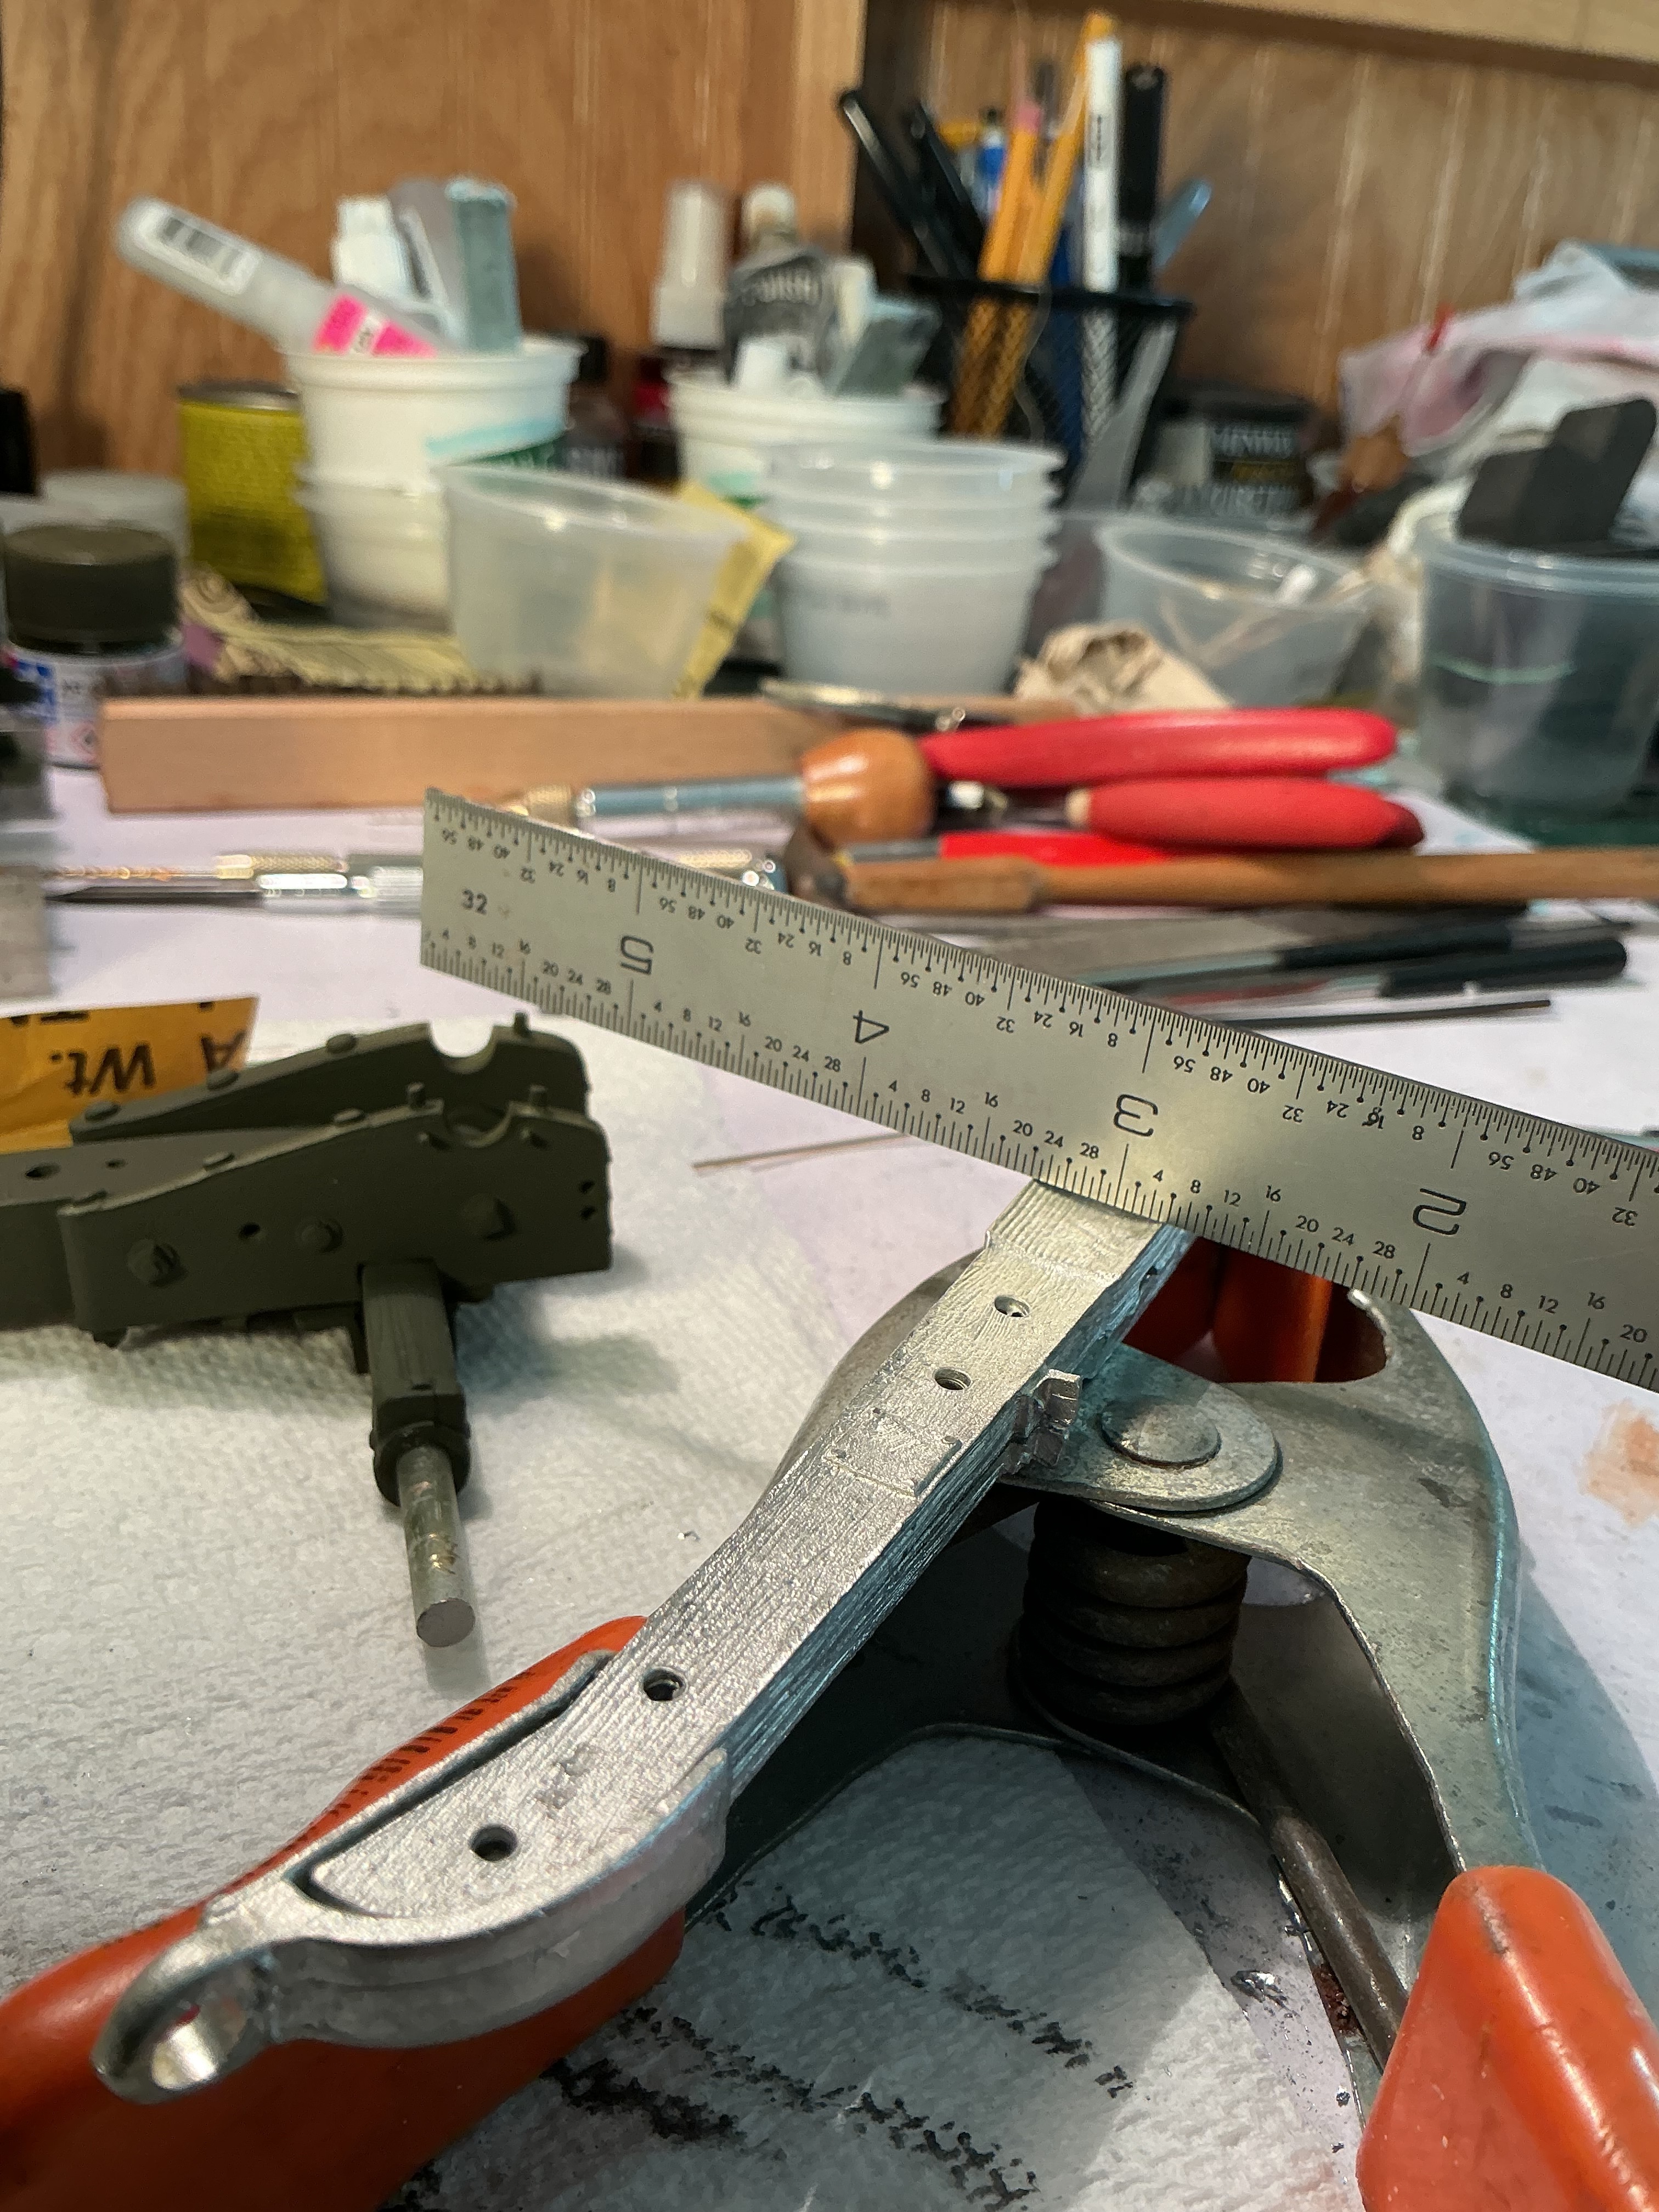
I made 1/16 scale drawings using the dimensions given and made a template , gluing the drawing to a piece of aluminum and cutting it out.
Here it can be seen that Model Expo has produced the barrel with a straight taper and also got the shape / size of the cascabel wrong .
Looks like a tune up is in order .
6 Likes
You’re right. I’ve long thought there should be an artillery category.
I’ll follow it this.
The straight taper is easier to do on a lathe, although refining it would have been a simple matter for them afterward.
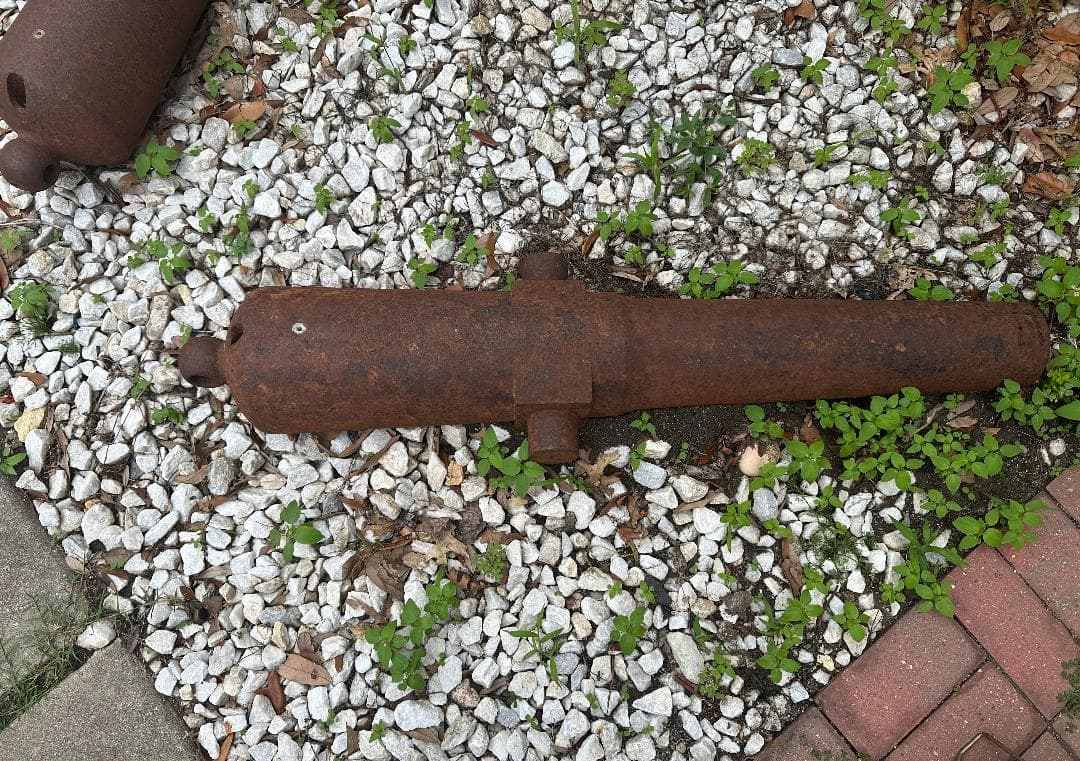
One would think 3 inch cannons would have roughly the same proportions. Mine are are only 41 inches in total length and have a step in the barrel.
1 Like
I am going to retract my previous statement regarding the quality of the casting in the new gun kit .
When I began assembling it I discovered the trails suffer from extreme shrinkage - too much material and / or too rapid cooling.
Here is the original 1970’s era Marine Models kit posed with straightedge…
And the new kit showing the concave sides …
I contacted Model Expo regarding this issue and the barrel shape and received a prompt and courteous reply thanking me for the information but essentially there is nothing they can do .
2 Likes
Carriage and limber largely done . Waiting for material to turn a new barrel as the kit supplied one has too many errors.
5 Likes
Hey Richard - saw Jim all weekend at AMPS! We had a stupendous time!
1 Like
Hi Matthew - Yes , I knew he was attending. Looks like he brought some iron home with him. Glad you had a good time. You just might see me at one of these events some day - Cheers.
2 Likes
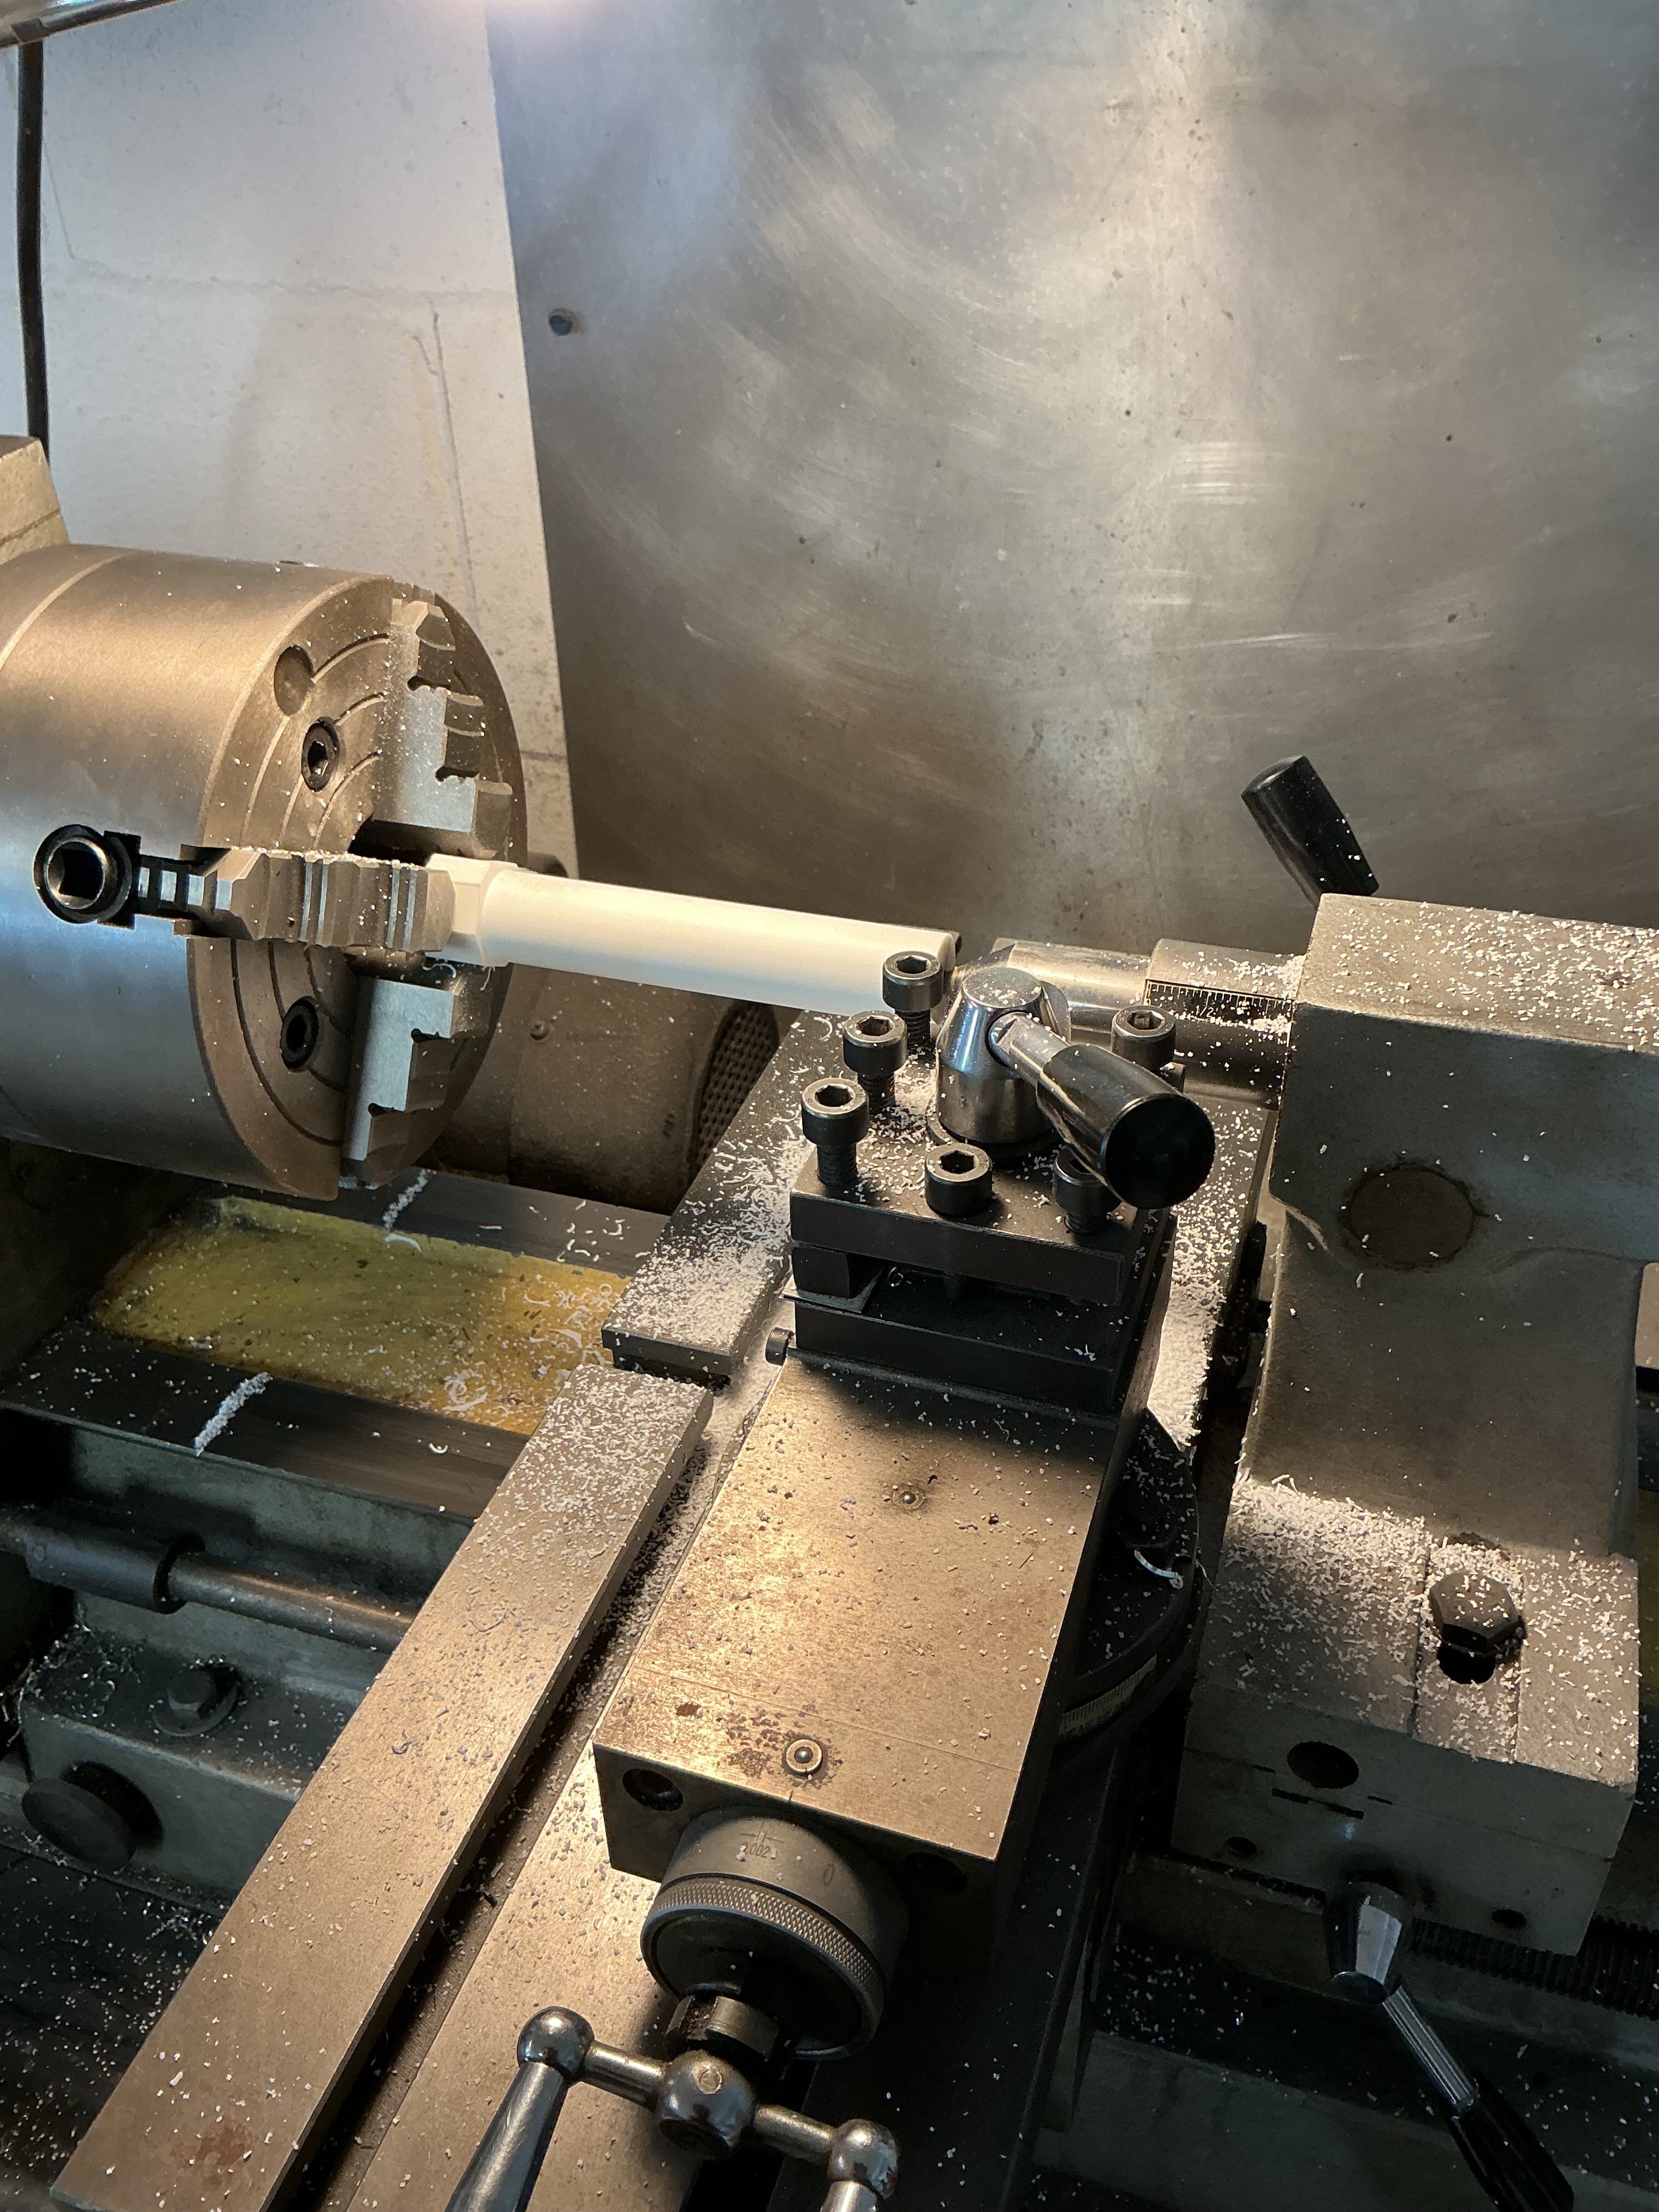
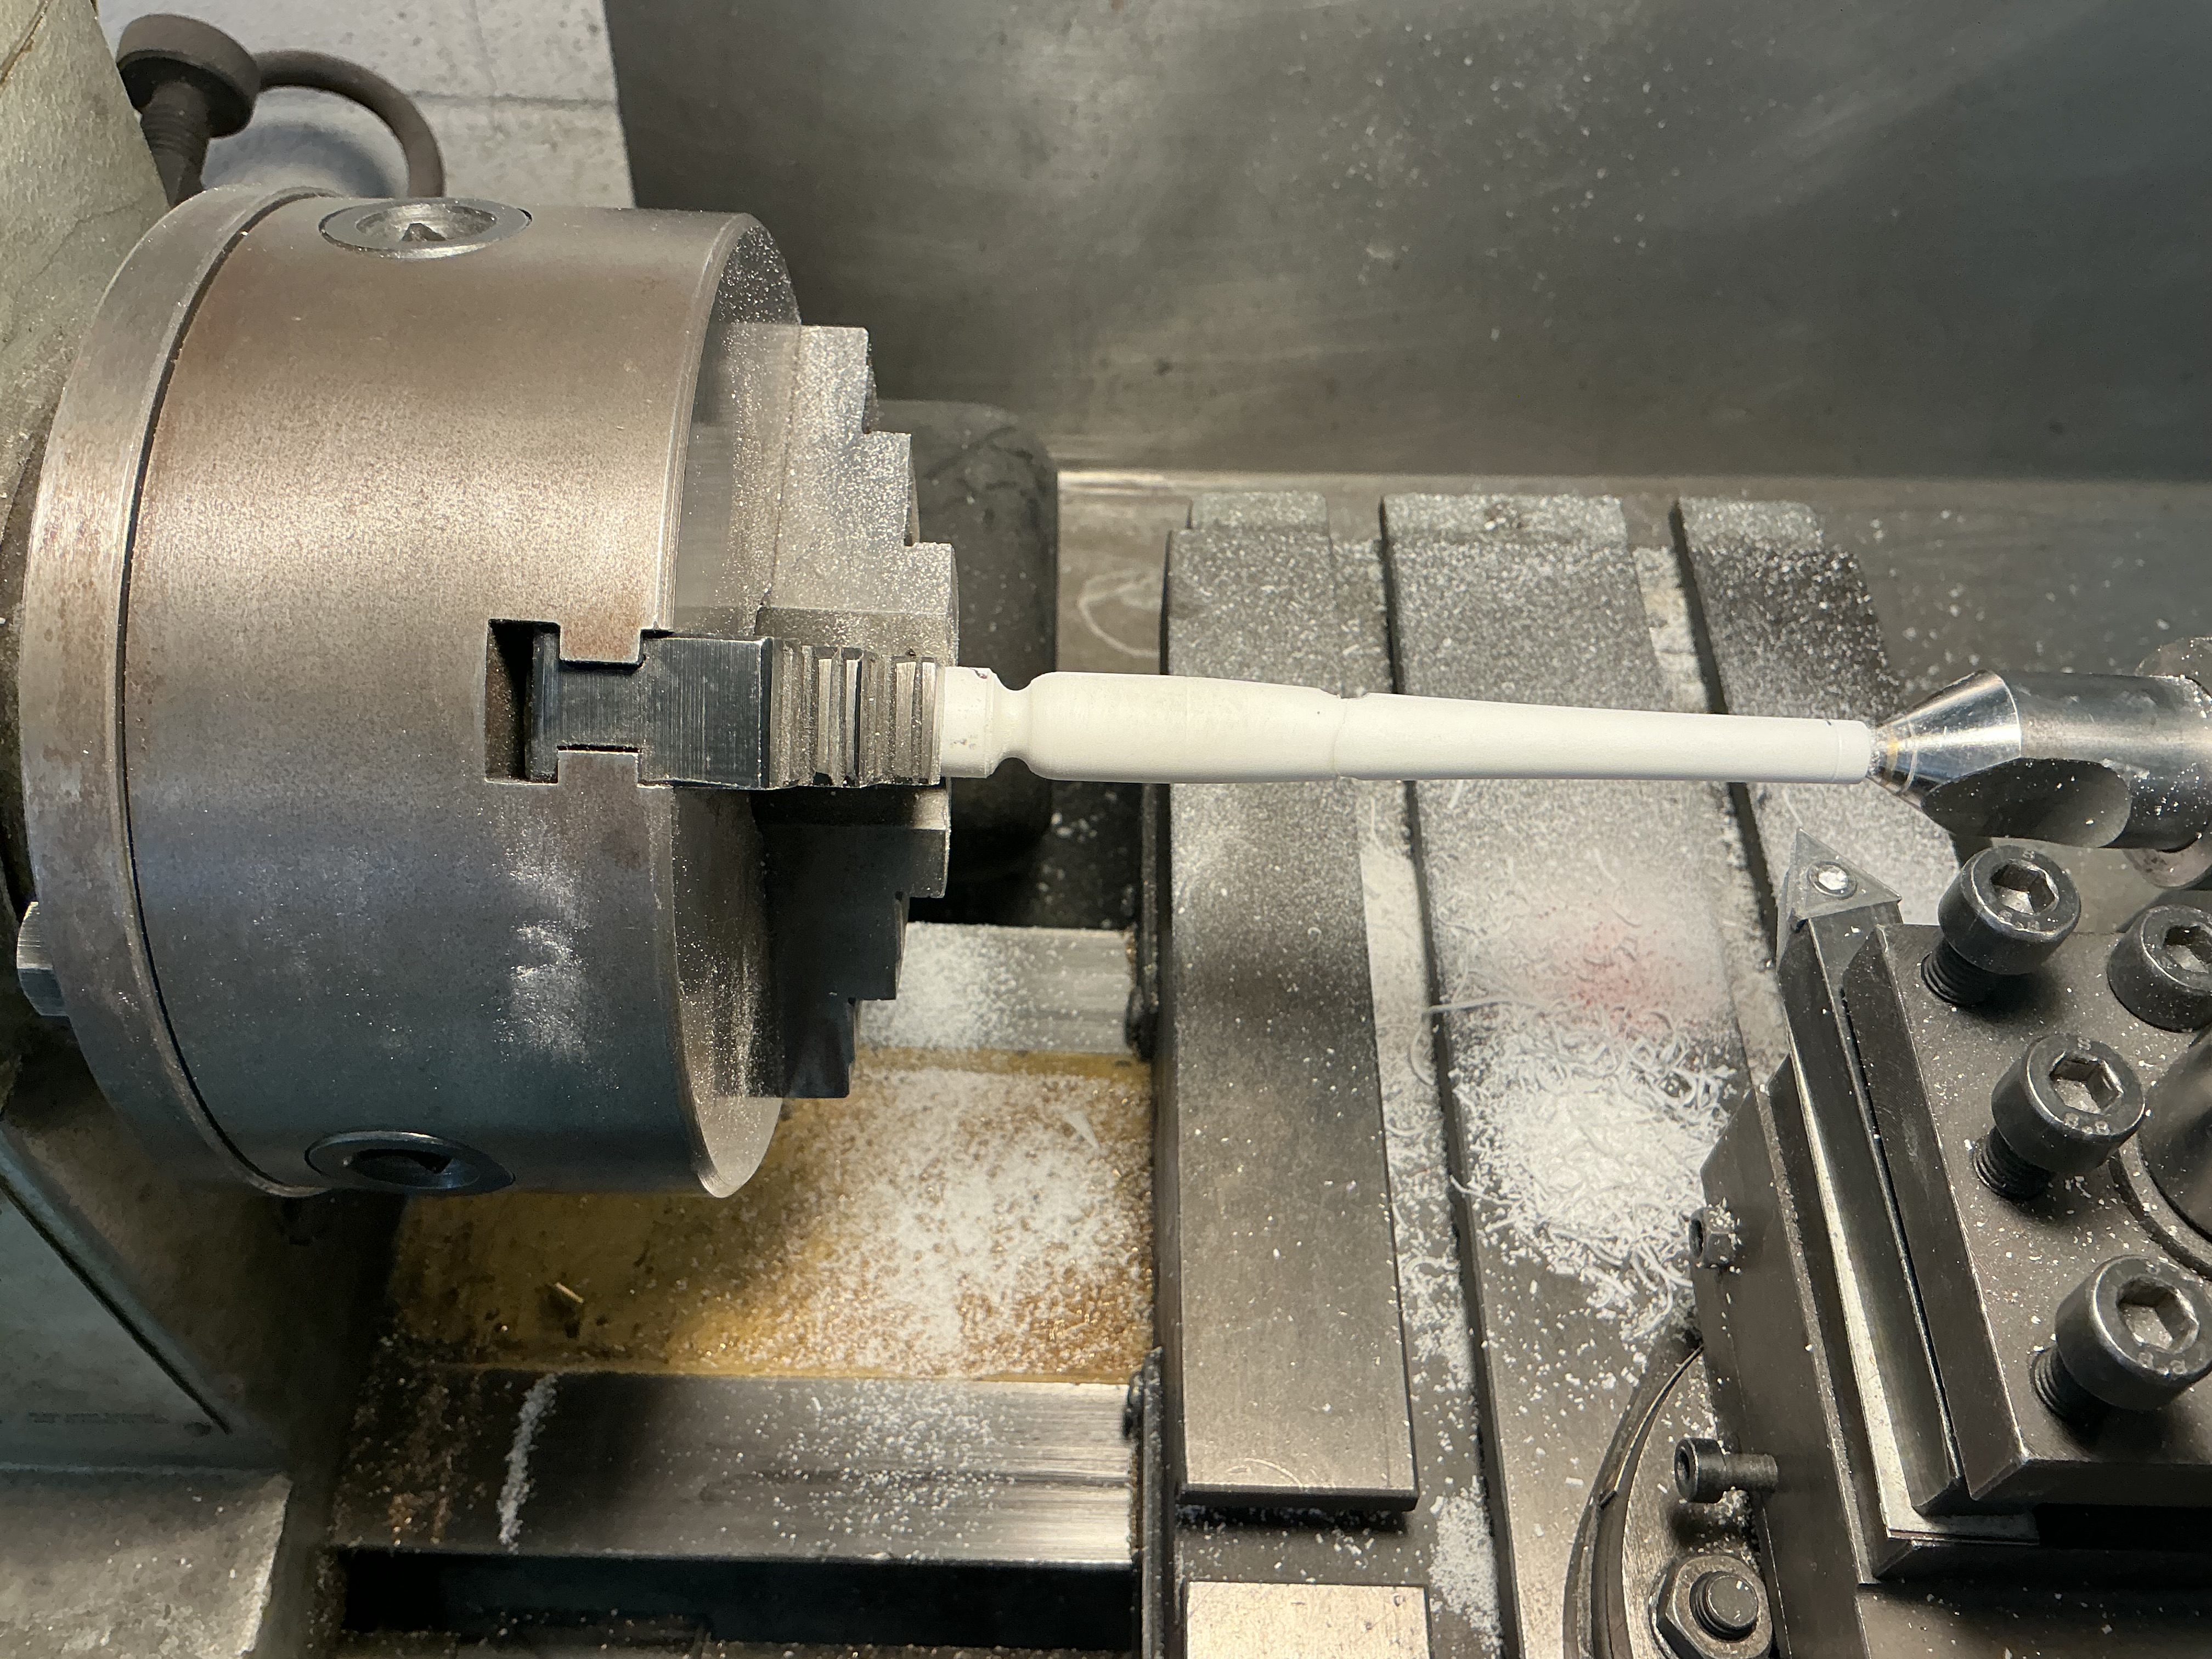
Started a new barrel from scratch. I glued up two pieces of 1/2 “ thick Corian acrylic plastic with West System epoxy. After curing it was sawn to octagon shape on the table saw then turned on the lathe to a fuzz greater than the major diameter. Muzzle bored to a scale 3” diameter , then bored for the trunnion when disaster struck - glue joints failed .
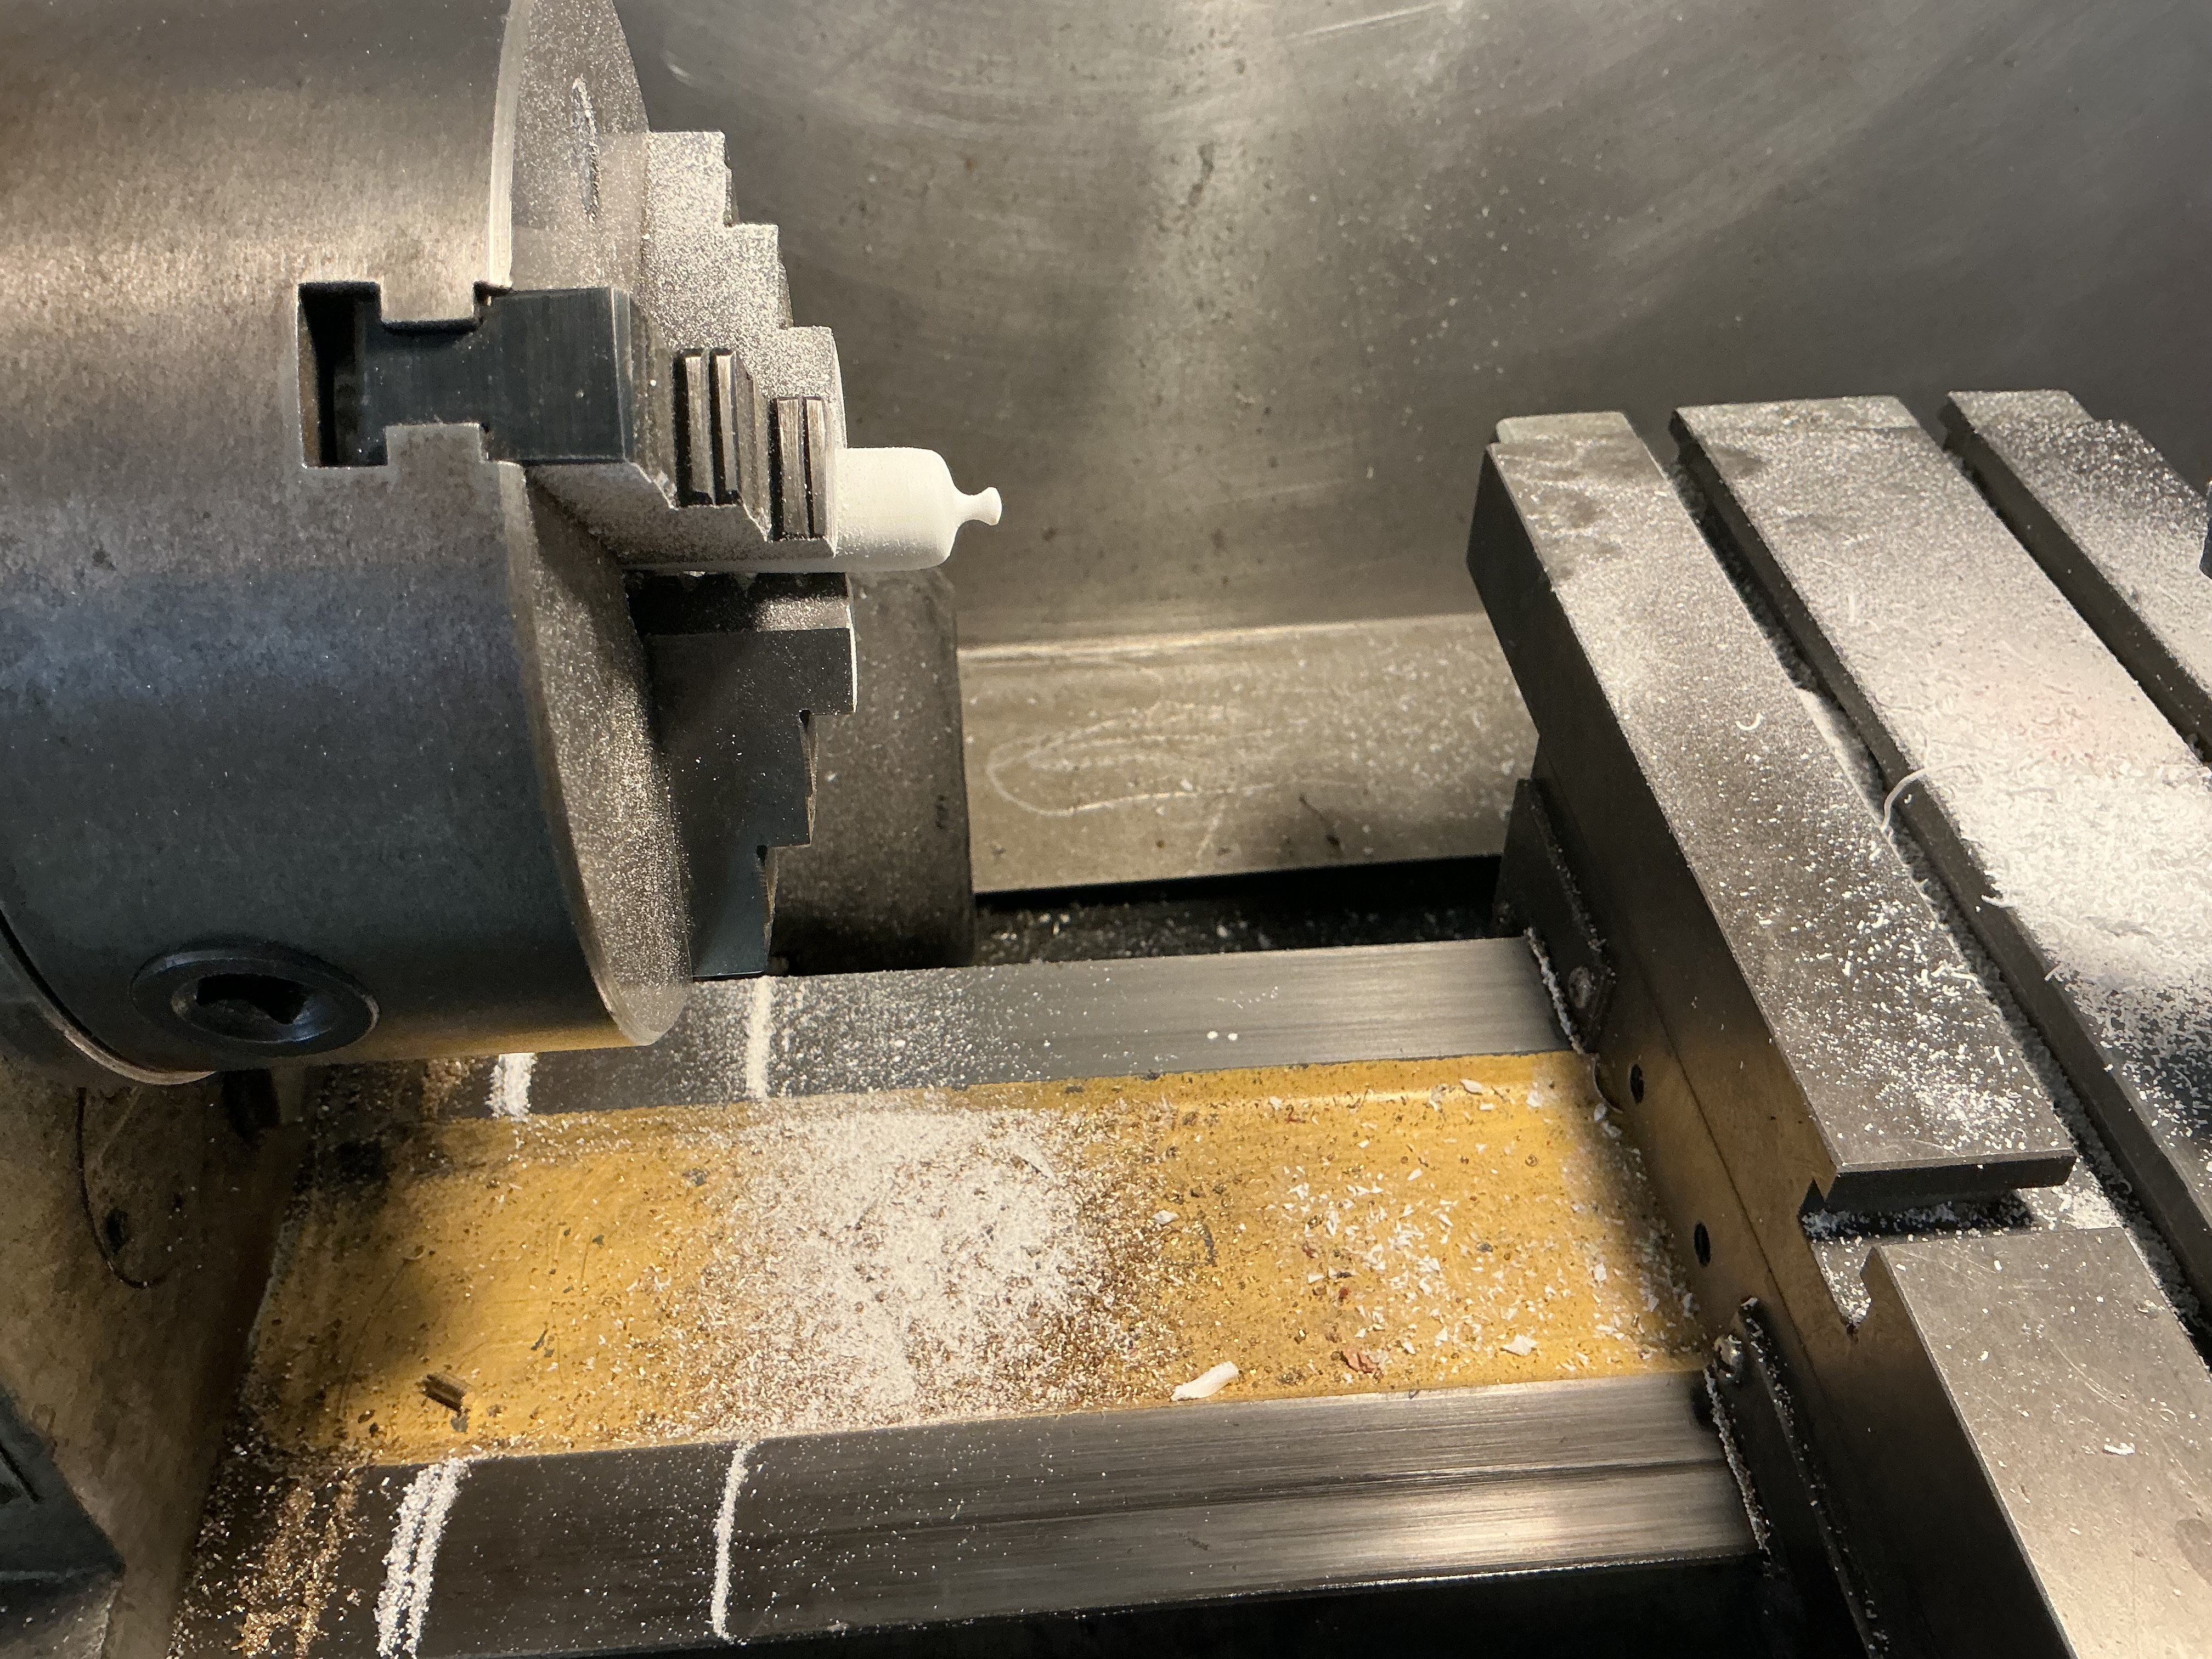
Octagonal stock in the 4 jaw chuck being rough turned to round -
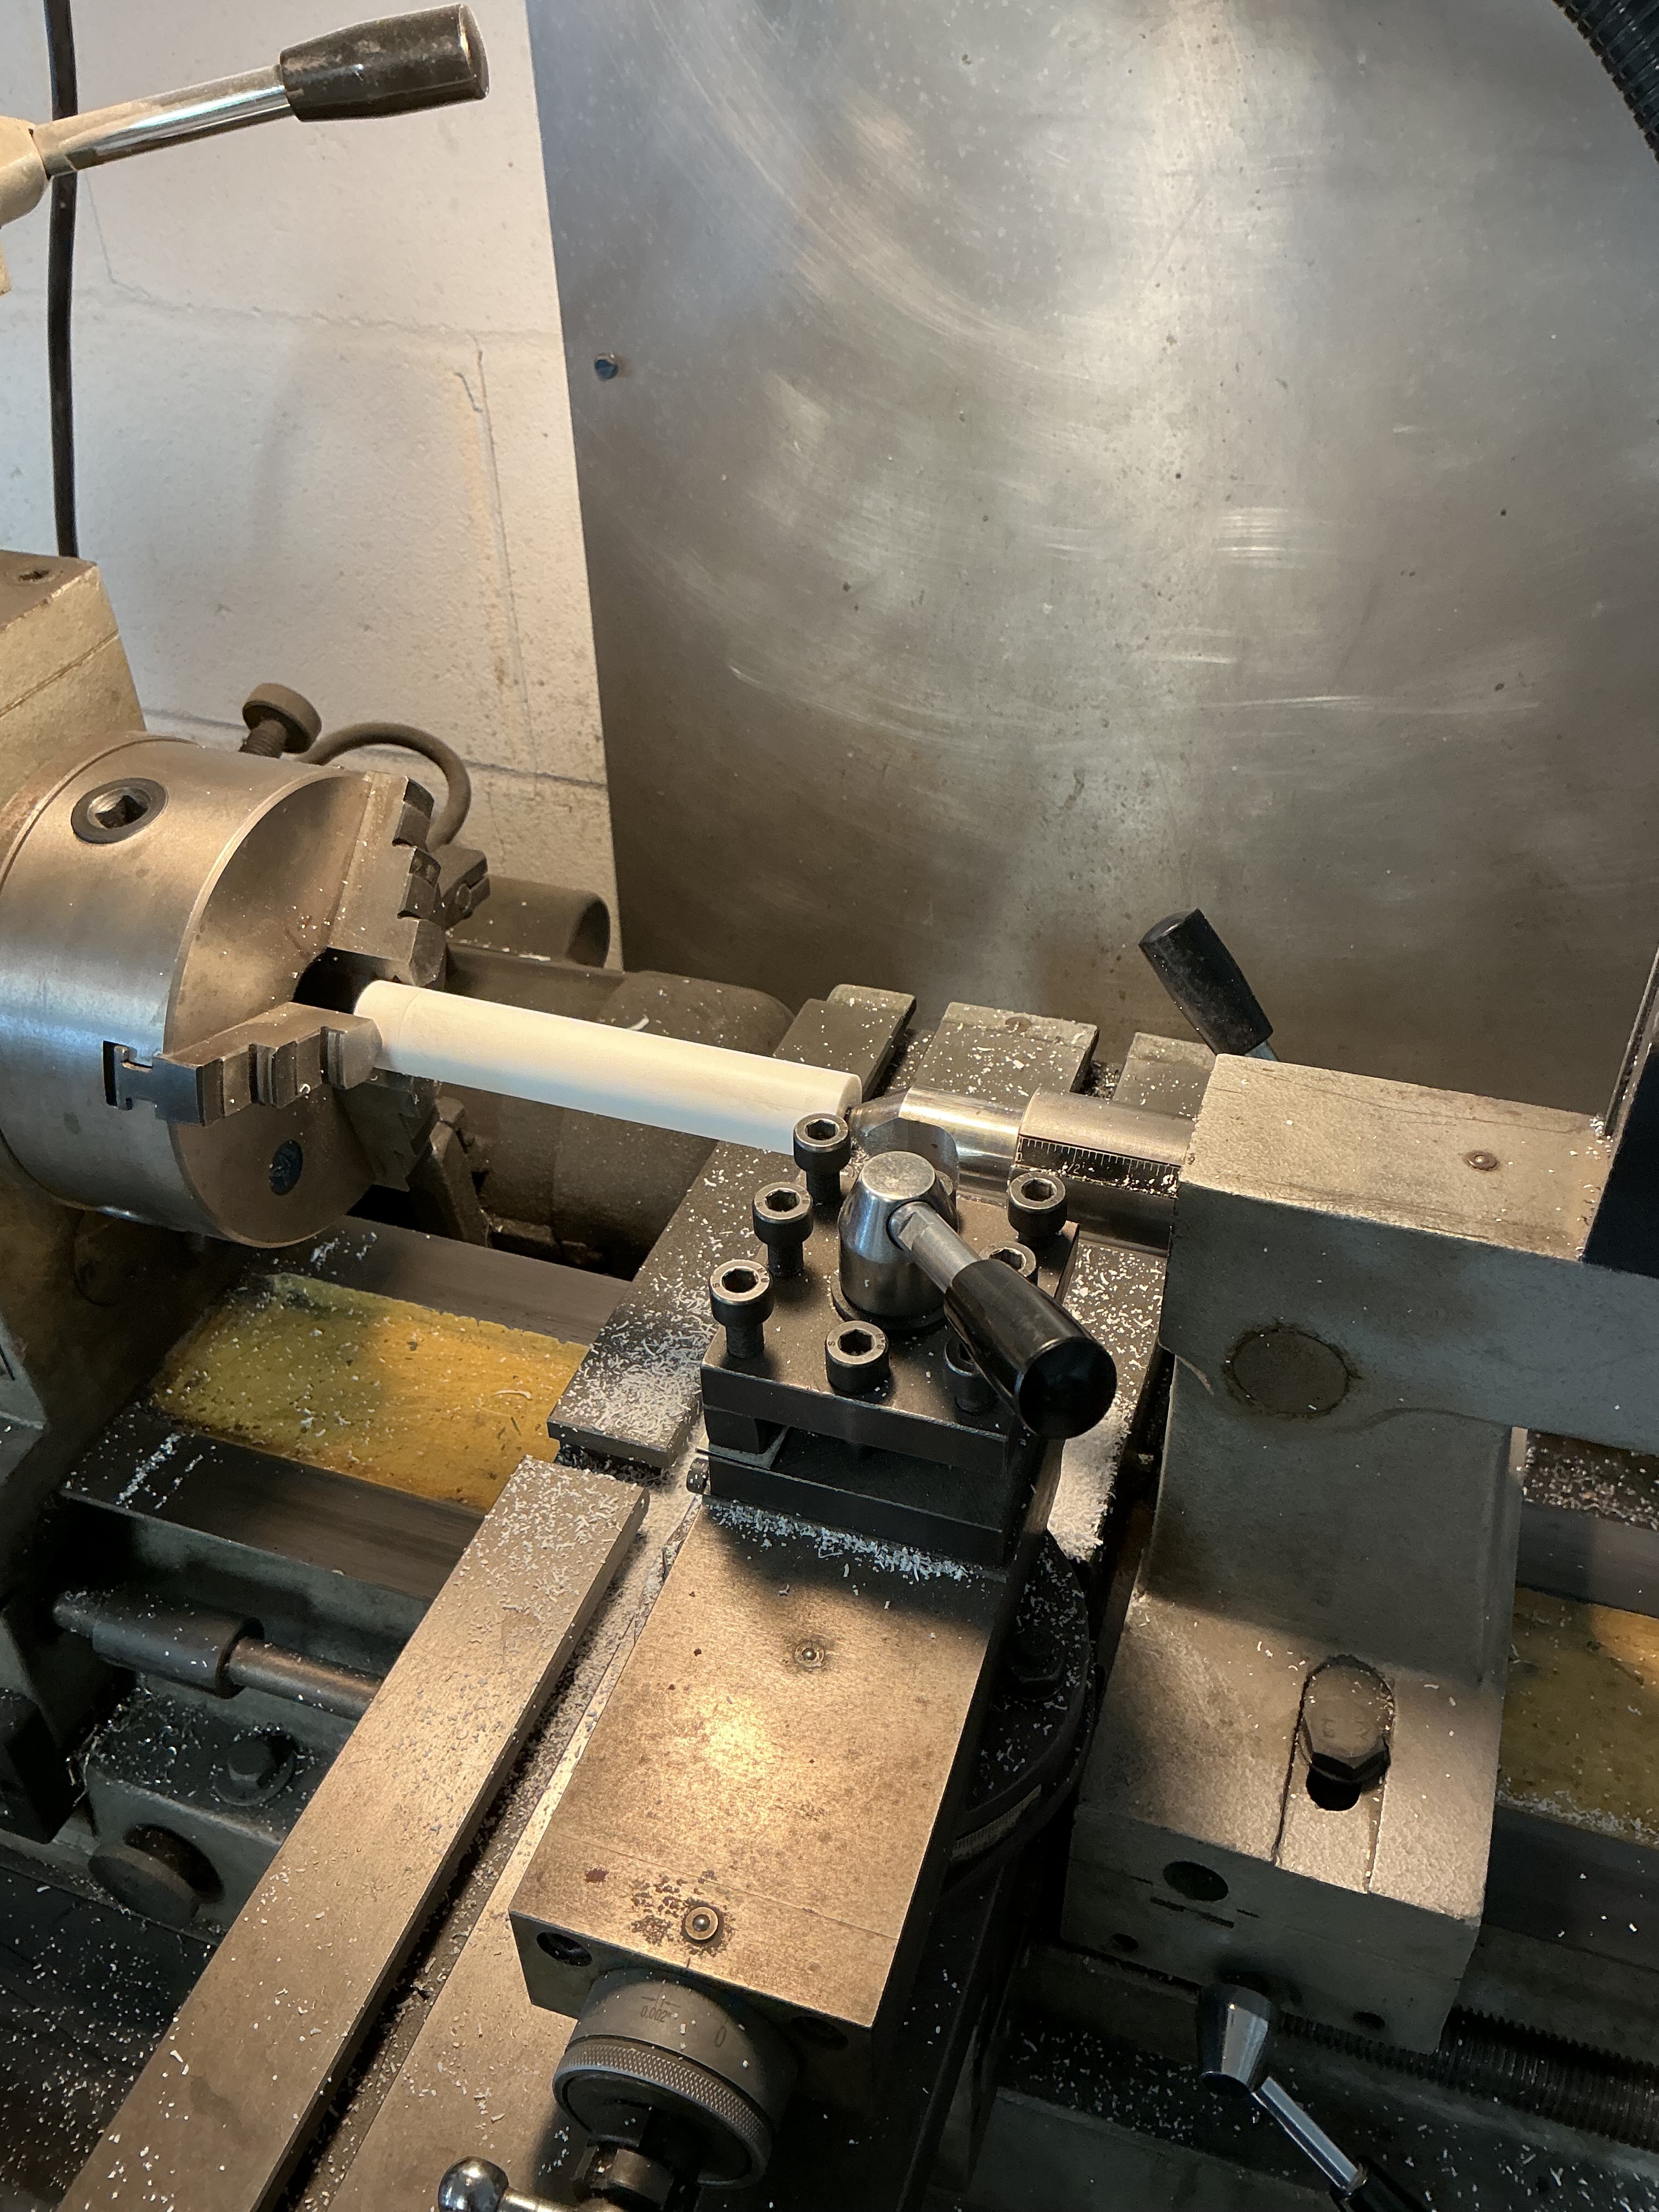
and now in 3 jaw for finish turning to major diameter.
And the sad result of boring for the trunnion.
Now going to order a one piece (no glue joint )
Acrylic rod and try again.
Yikes !
3 Likes
Sometimes life sucks,
sometimes it sucks even more …
I presume you were using gradually larger drills,
start small and step up slowly to larger diameter?
2 Likes
Hi Robin - In a way , yes . Center drill fed
SLOWLY ….
2 Likes
Man,
that sucks …
bigly …
1 Like
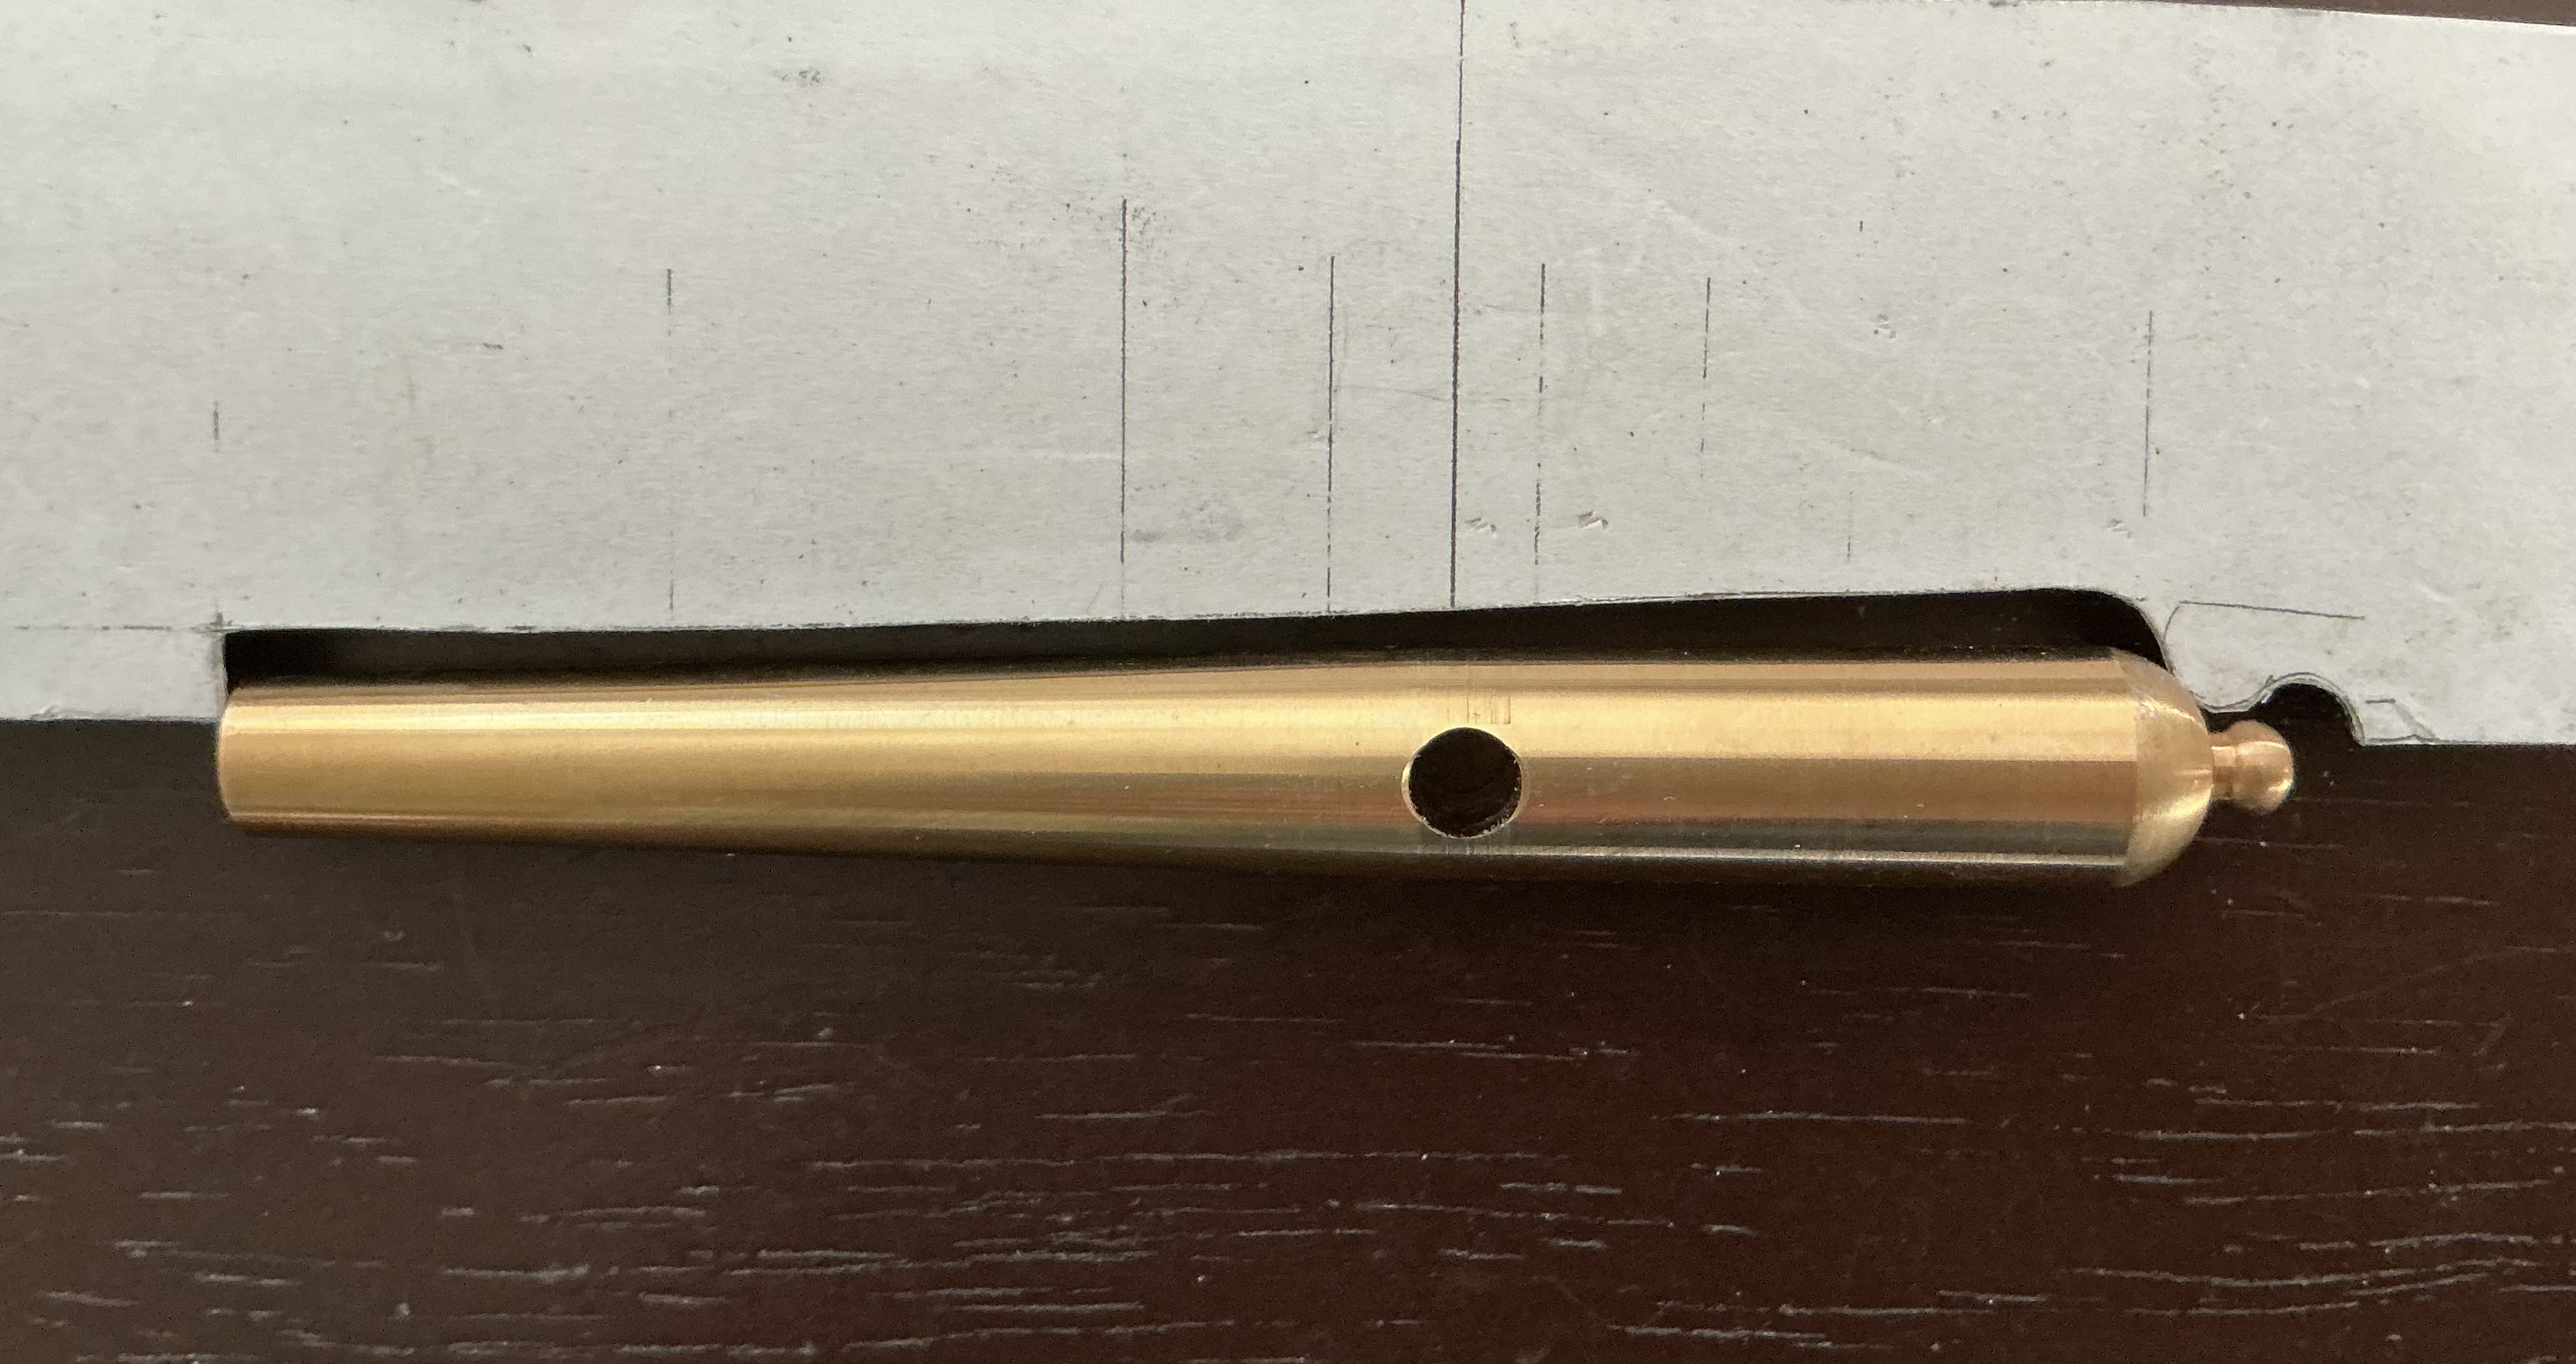
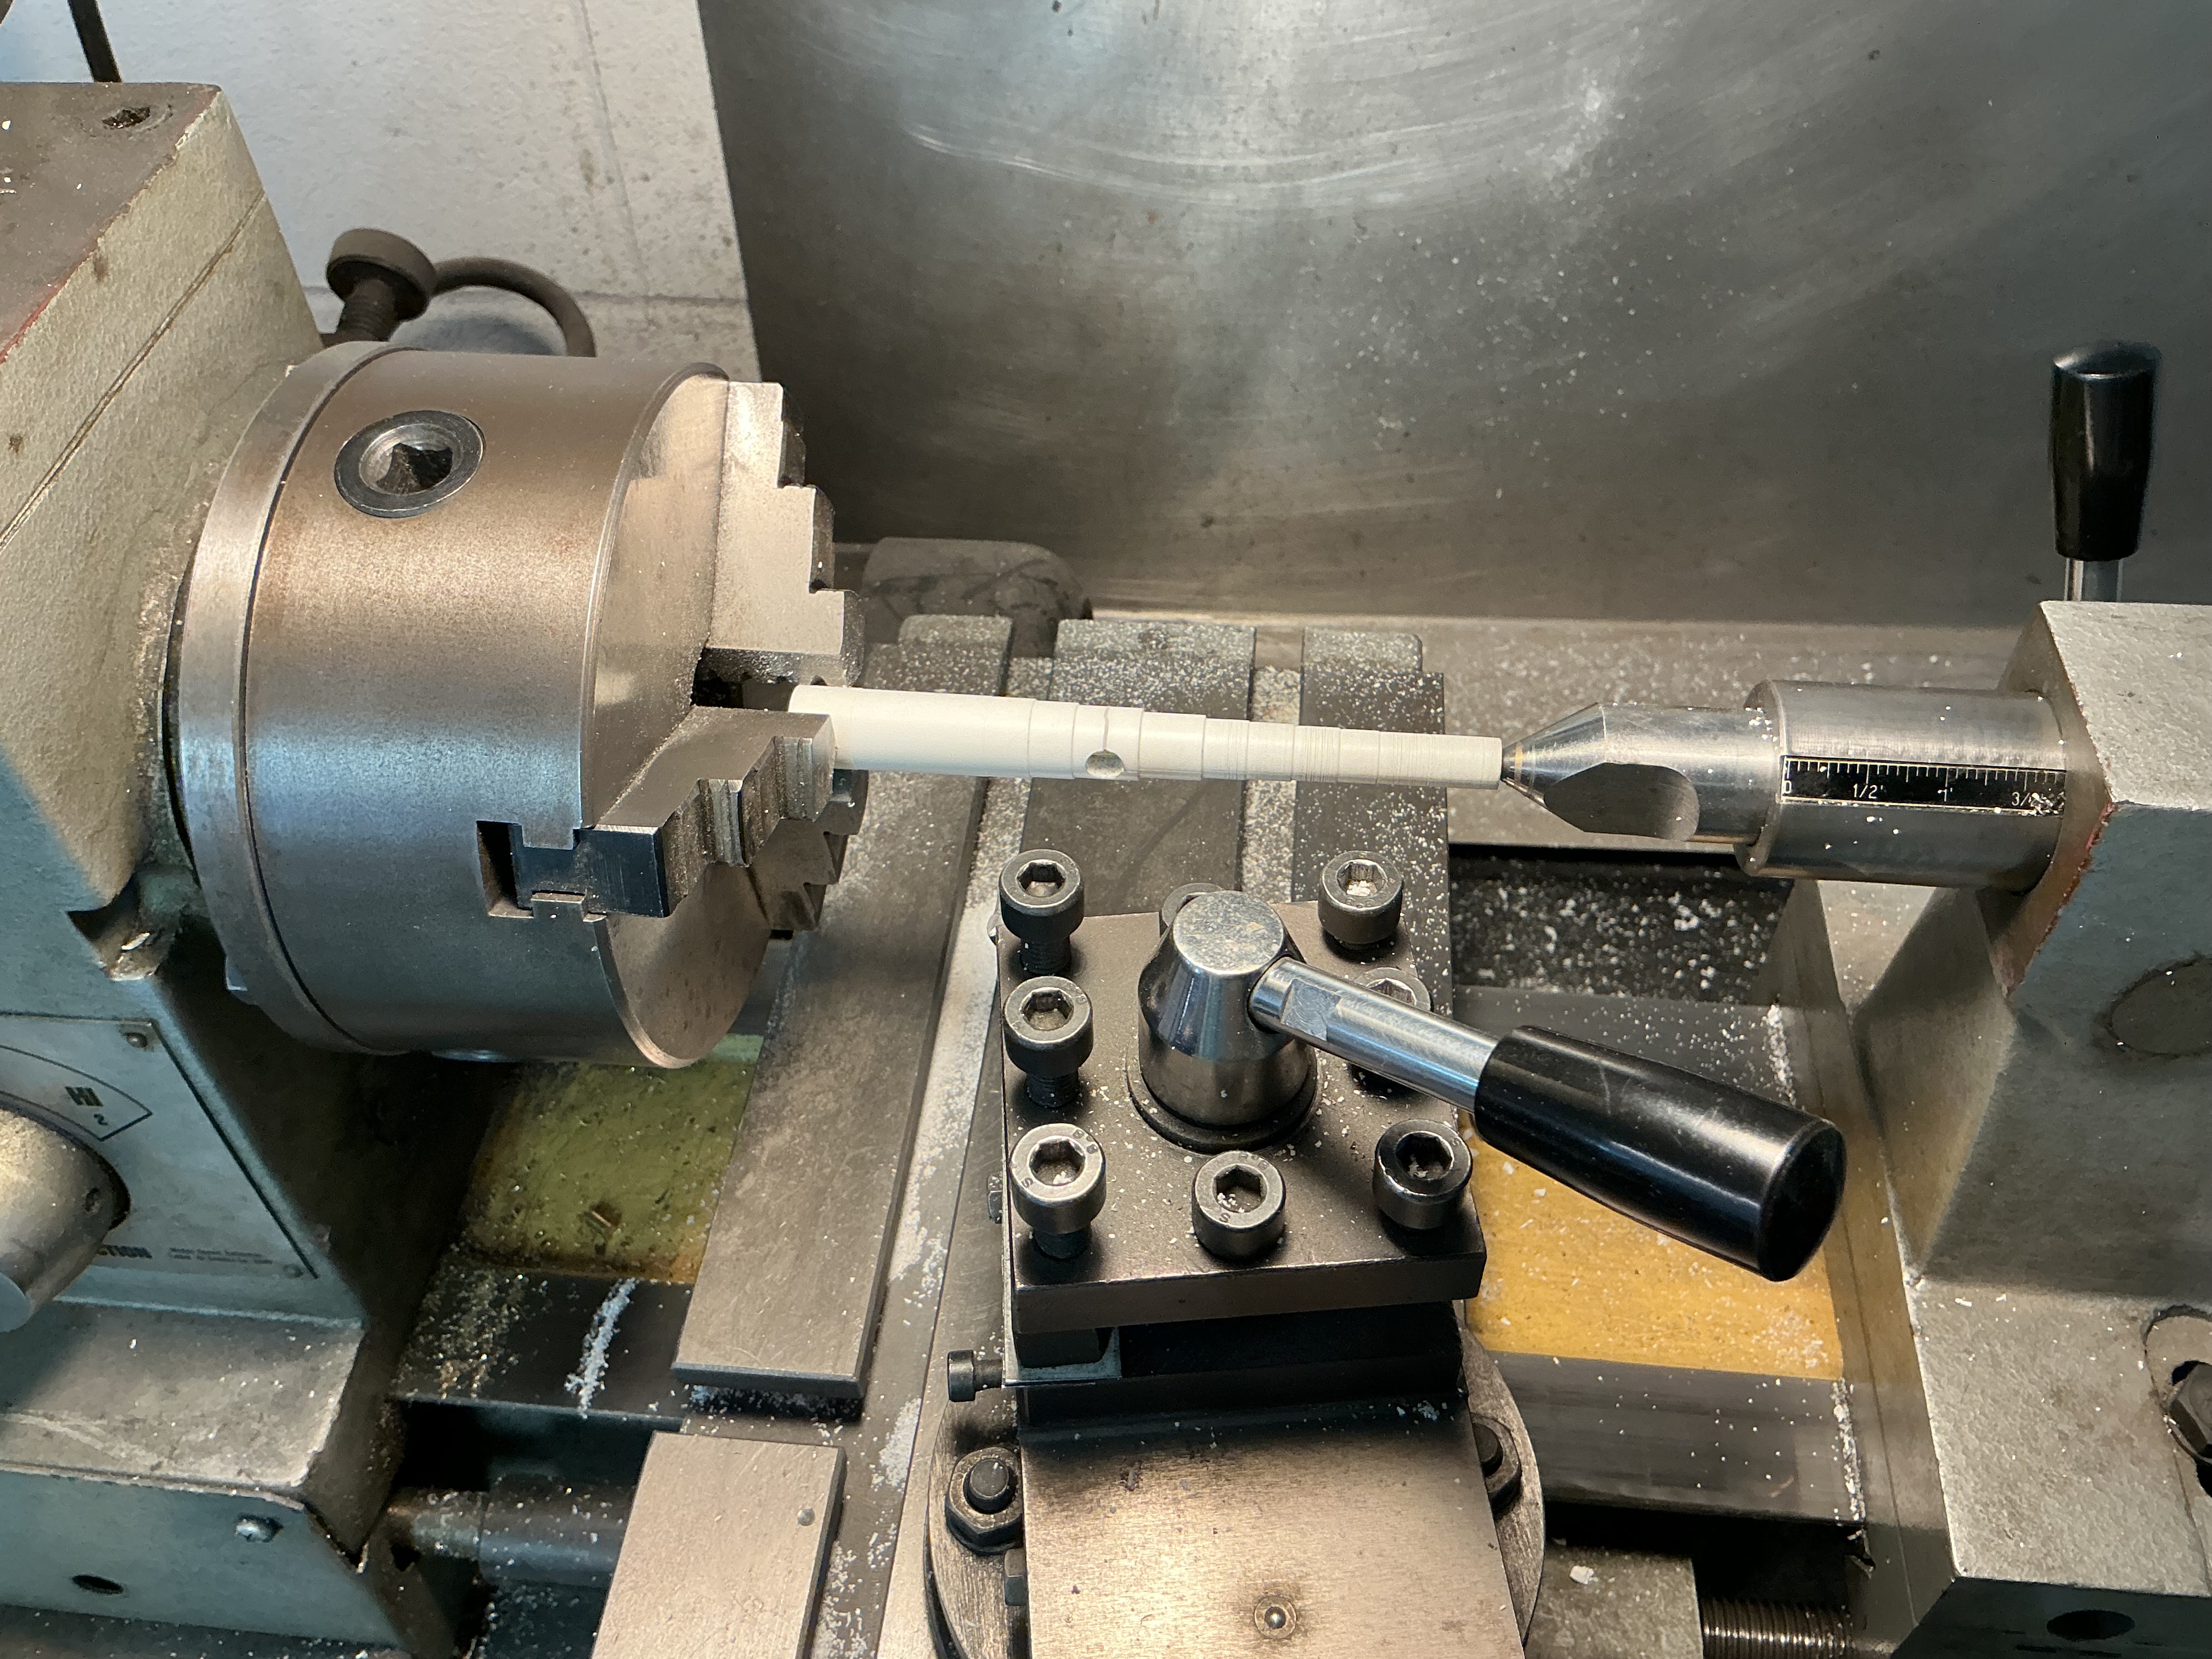
I have glued the broken pieces back together and bored for a 7/32” brass tube down the center.
The I.D. Of the tube is 3/16 “ so correct for the 3” bore diameter at this scale . Trued all up in the lathe and then turned down the barrel in steps to the dimensions given on the drawings. Note dimensions are given as radii so x 2 for diameter on prototype then divide by 16 for the model .
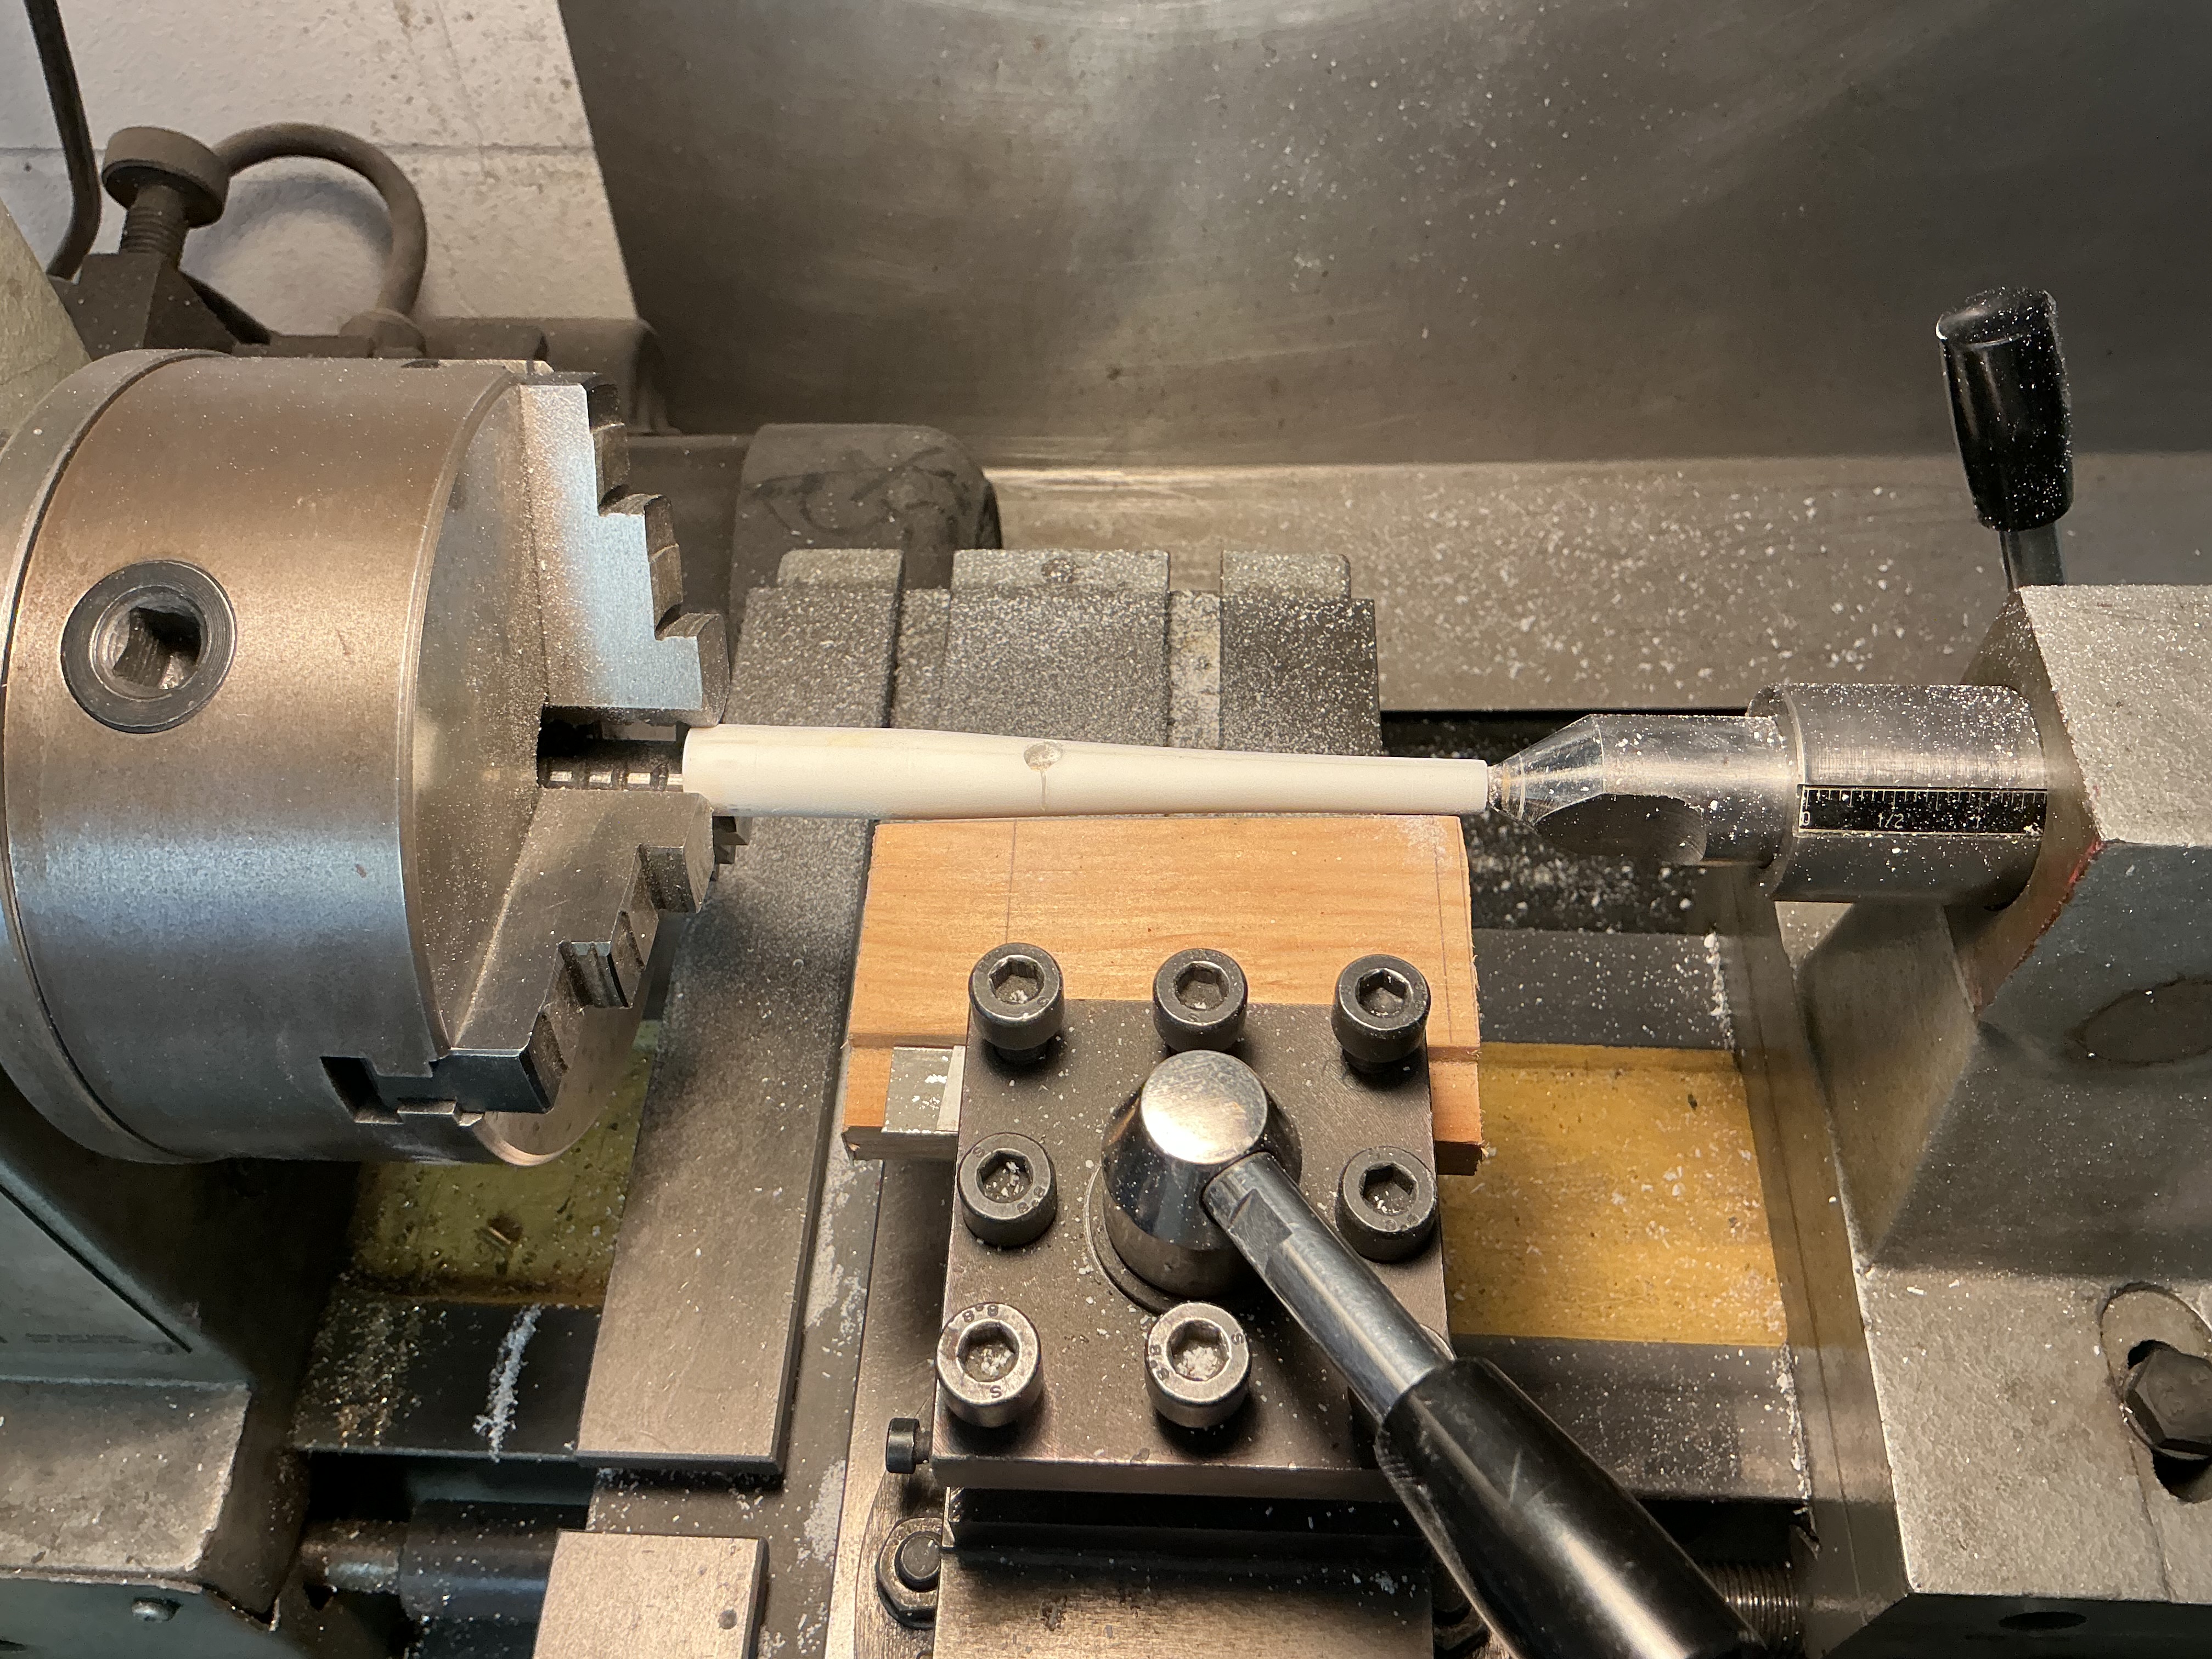
A block of wood shaped to the curve of the barrel and faced with a piece of 80 grit paper clamped in the tool post and brought to bear again the barrel then finished by hand with 220 grit.
Work begun on the breech end to produce the cascabel .
3 Likes
Great idea with the makeshift form tool !
2 Likes
Thanks ! It worked well enough but there was still some hand work necessary afterwards.
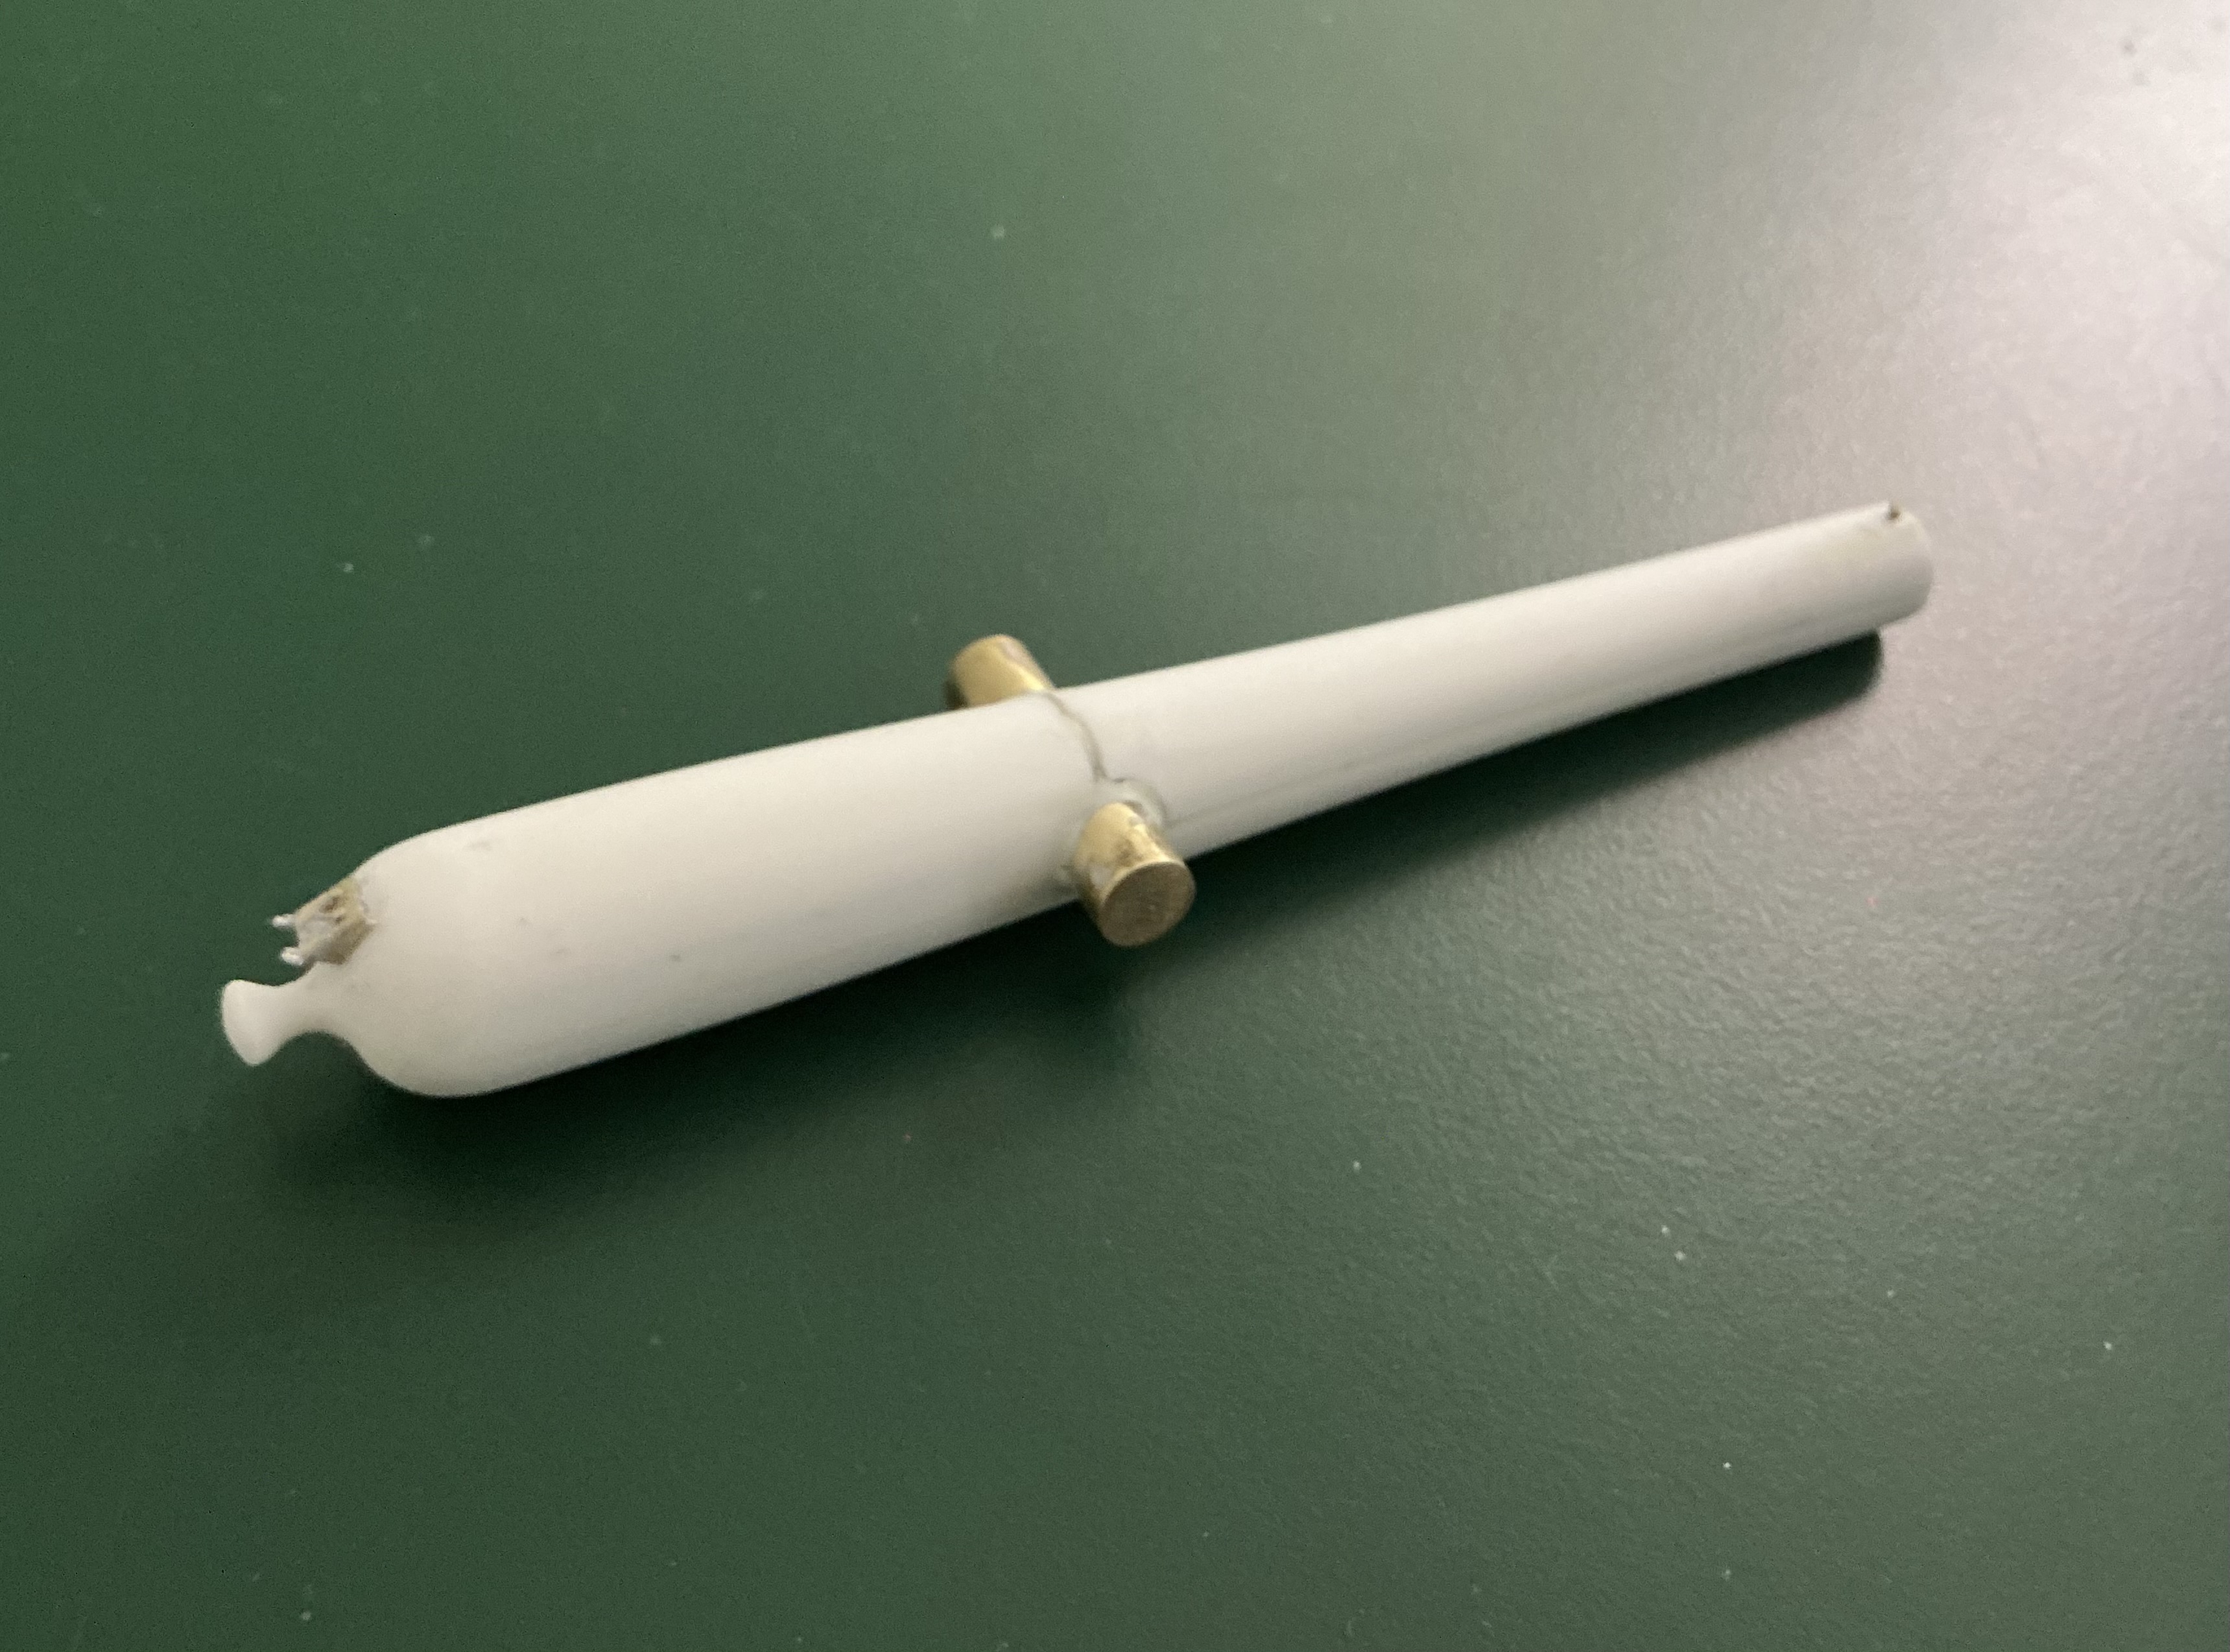
Here is the completed breech end with cascabel.
5 Likes
Missing from most of these kits is the front sight blade and the bracket on the breech for the pendulum sight -
Added to model barrel in brass -
6 Likes
This is a really neat project, both because of the machining process and subject.
Recently, when looking for information on a Hungarian tank, I bumped into a museum, I think it was is Sofia, Bulgaria, with a few dozen field guns lined up along a walkway leading to the entrance. I would really like to do something like that in miniature.
I also recently saw a really nice book on Artillery of the Napoleonic Wars. I should probably pick that up.
2 Likes
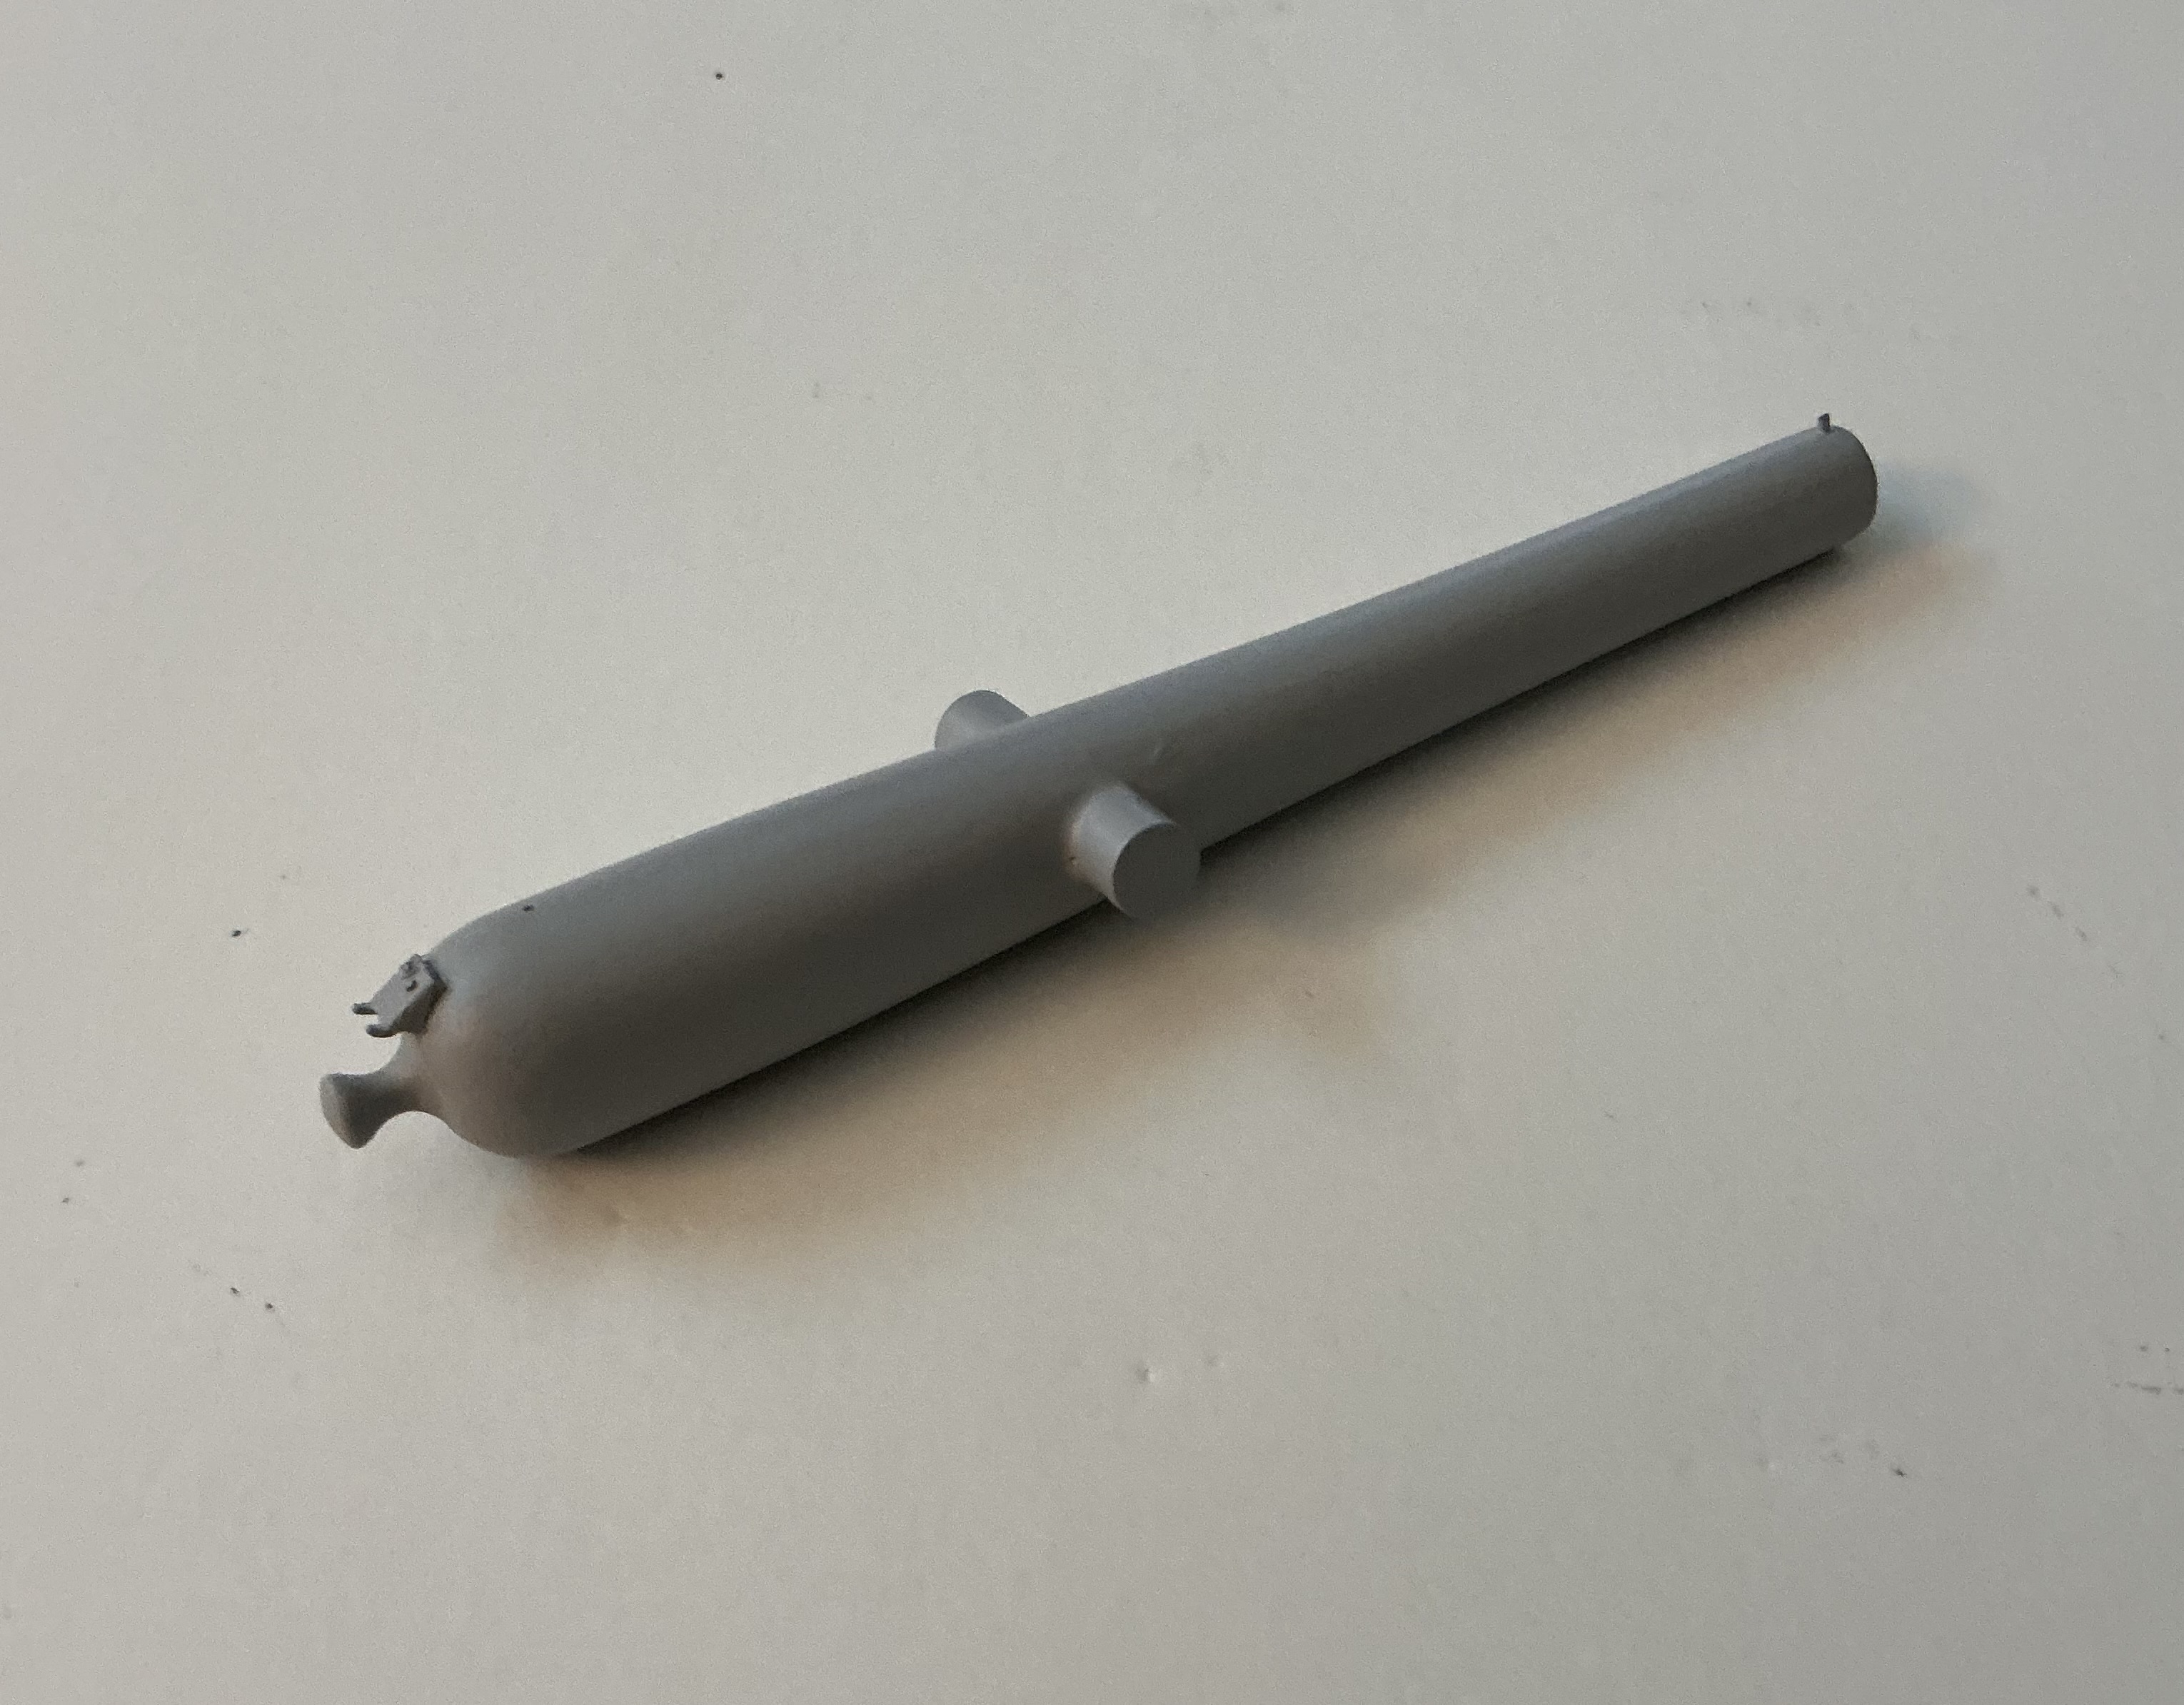
After much trial and multiple glue joint failures the scratch built corrected barrel is in primer and ready for final paint. What started as two pieces of 1/2”
Corian acrylic plastic glued together and rough sawn to octagonal shape …
…is now this …
The bond may have been better if I had used Corian adhesive instead of epoxy but I didn’t want to spend more money.
This project evolved as a study for a larger scale entirely scratch built model , probably 1/10 .
I am glad I did this first and now will use solid one piece stock for the bigger model.
As I see it the big challenge for the big scale barrel will be producing the rifling. I watched the gunsmith at Colonial Williamsburg do it and so have an idea as to how . I first need to decide the scale and then will proceed with experimenting with a rifling fixture.
I’ll post the process here or in a dedicated thread.
5 Likes
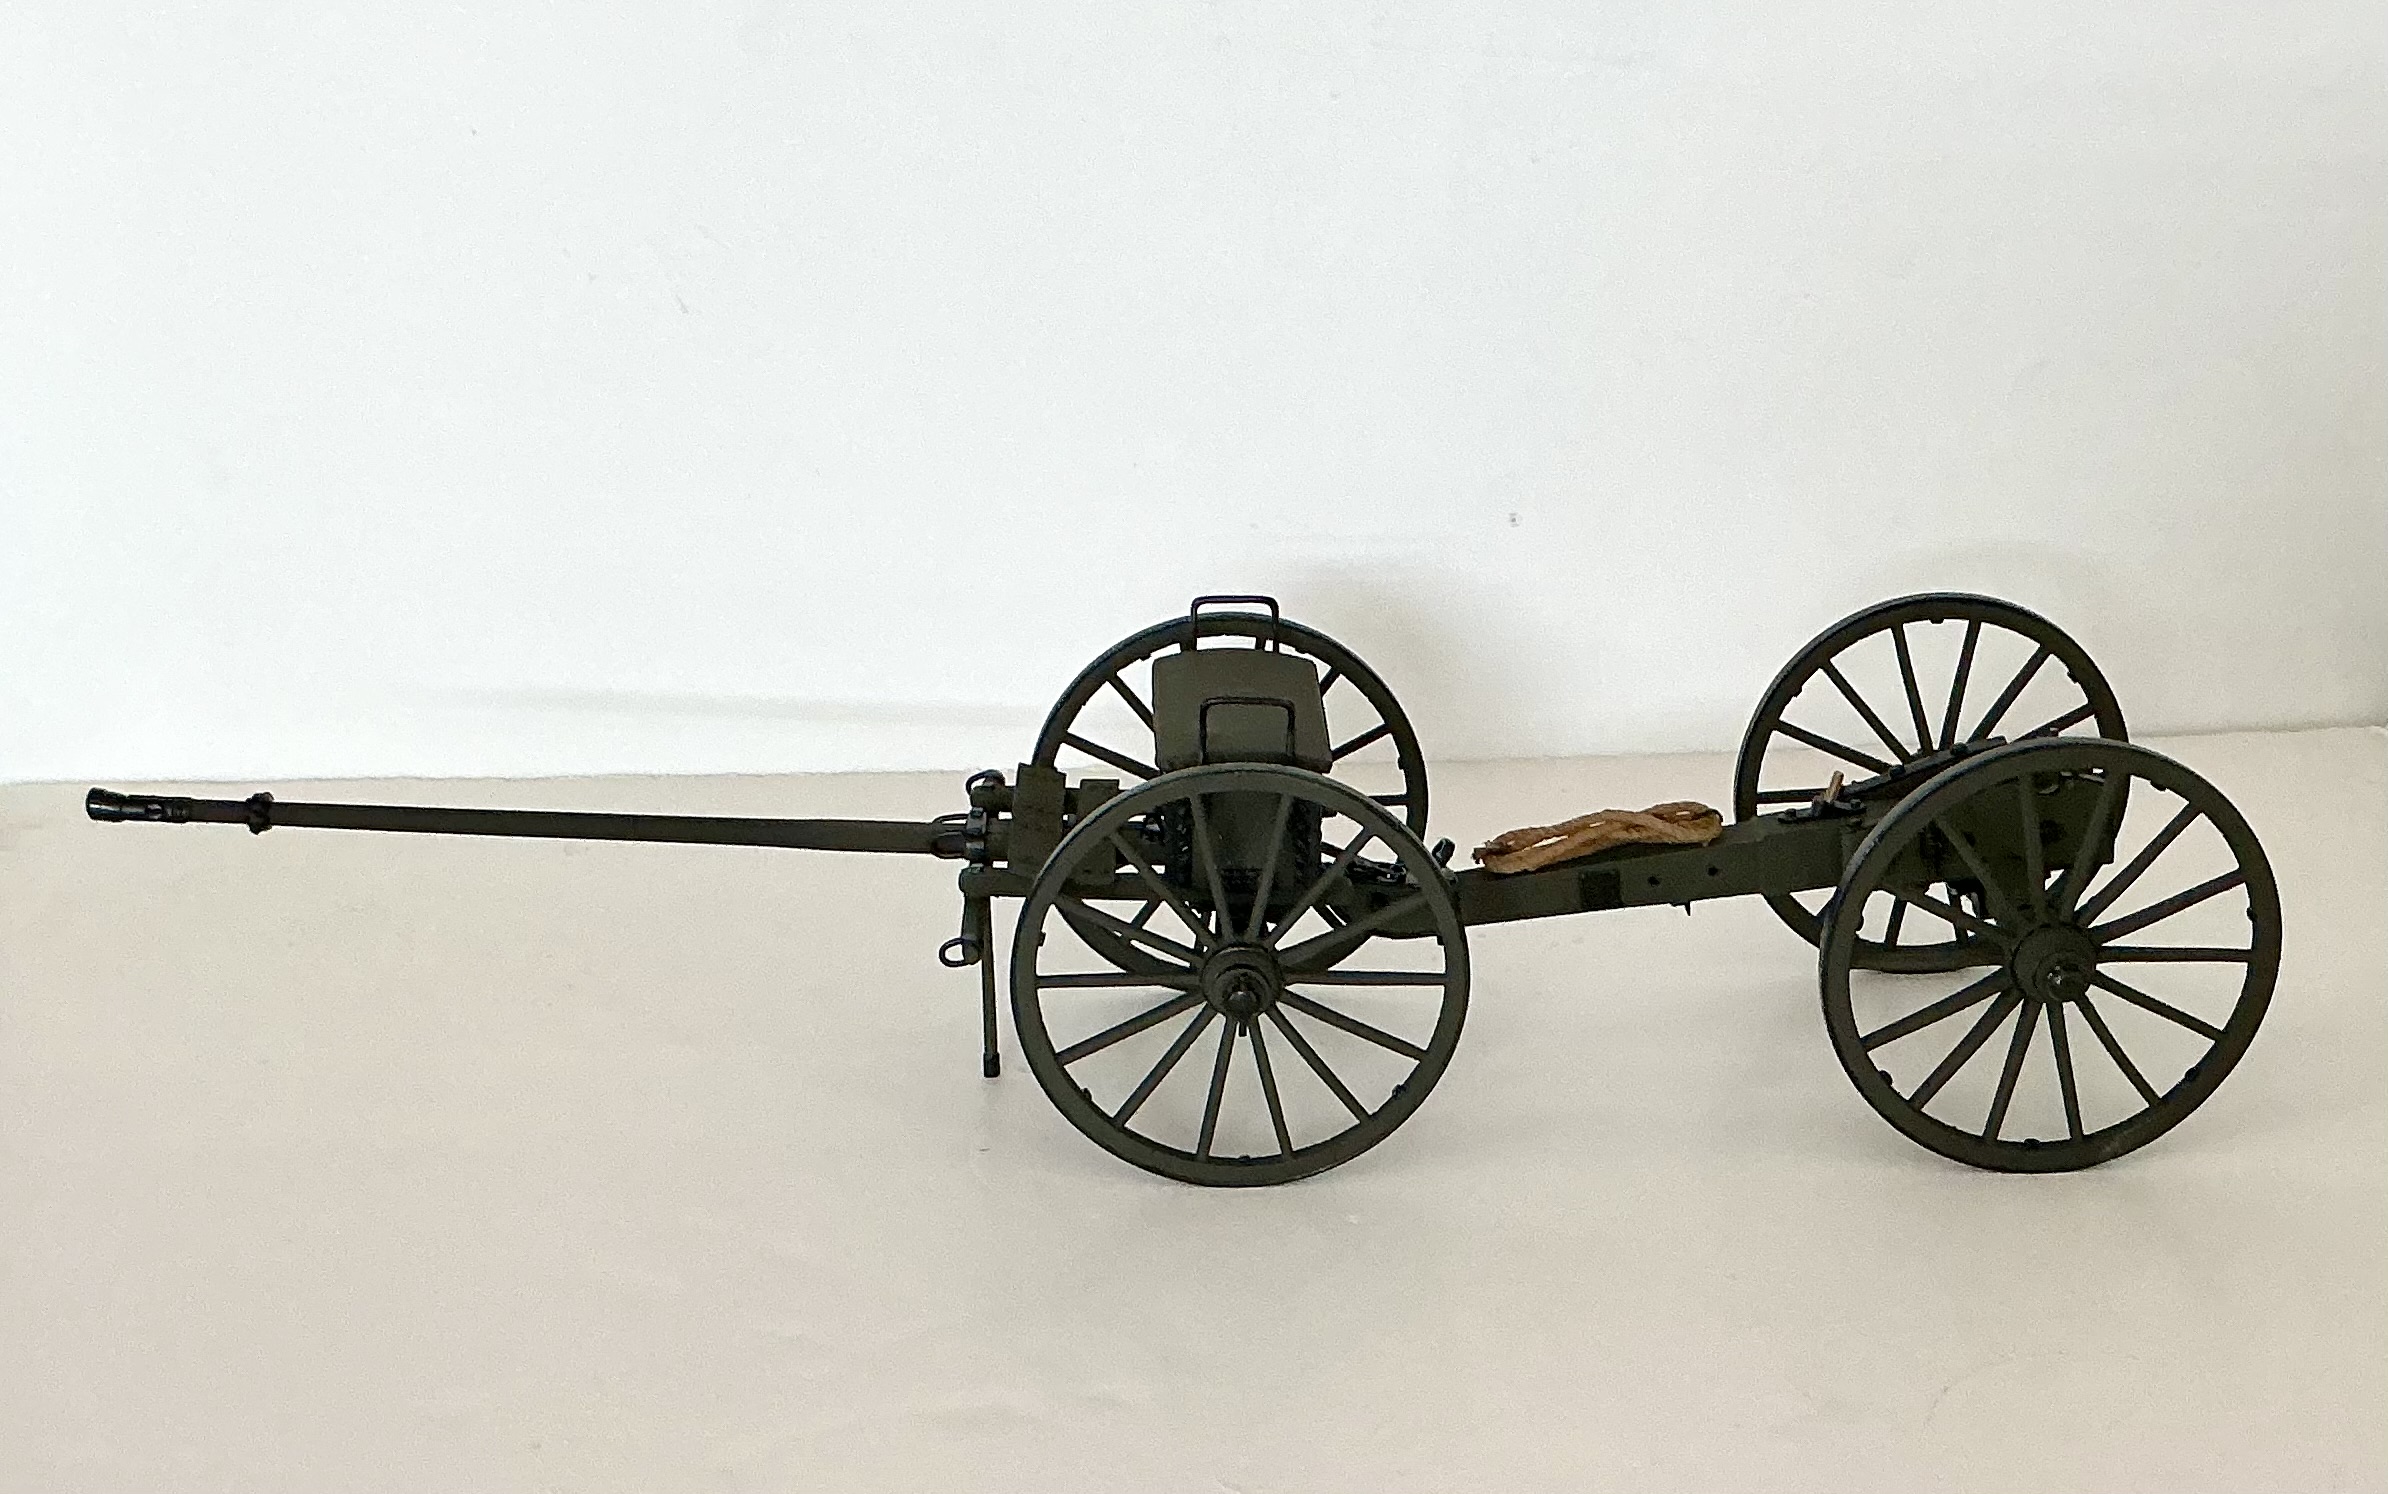
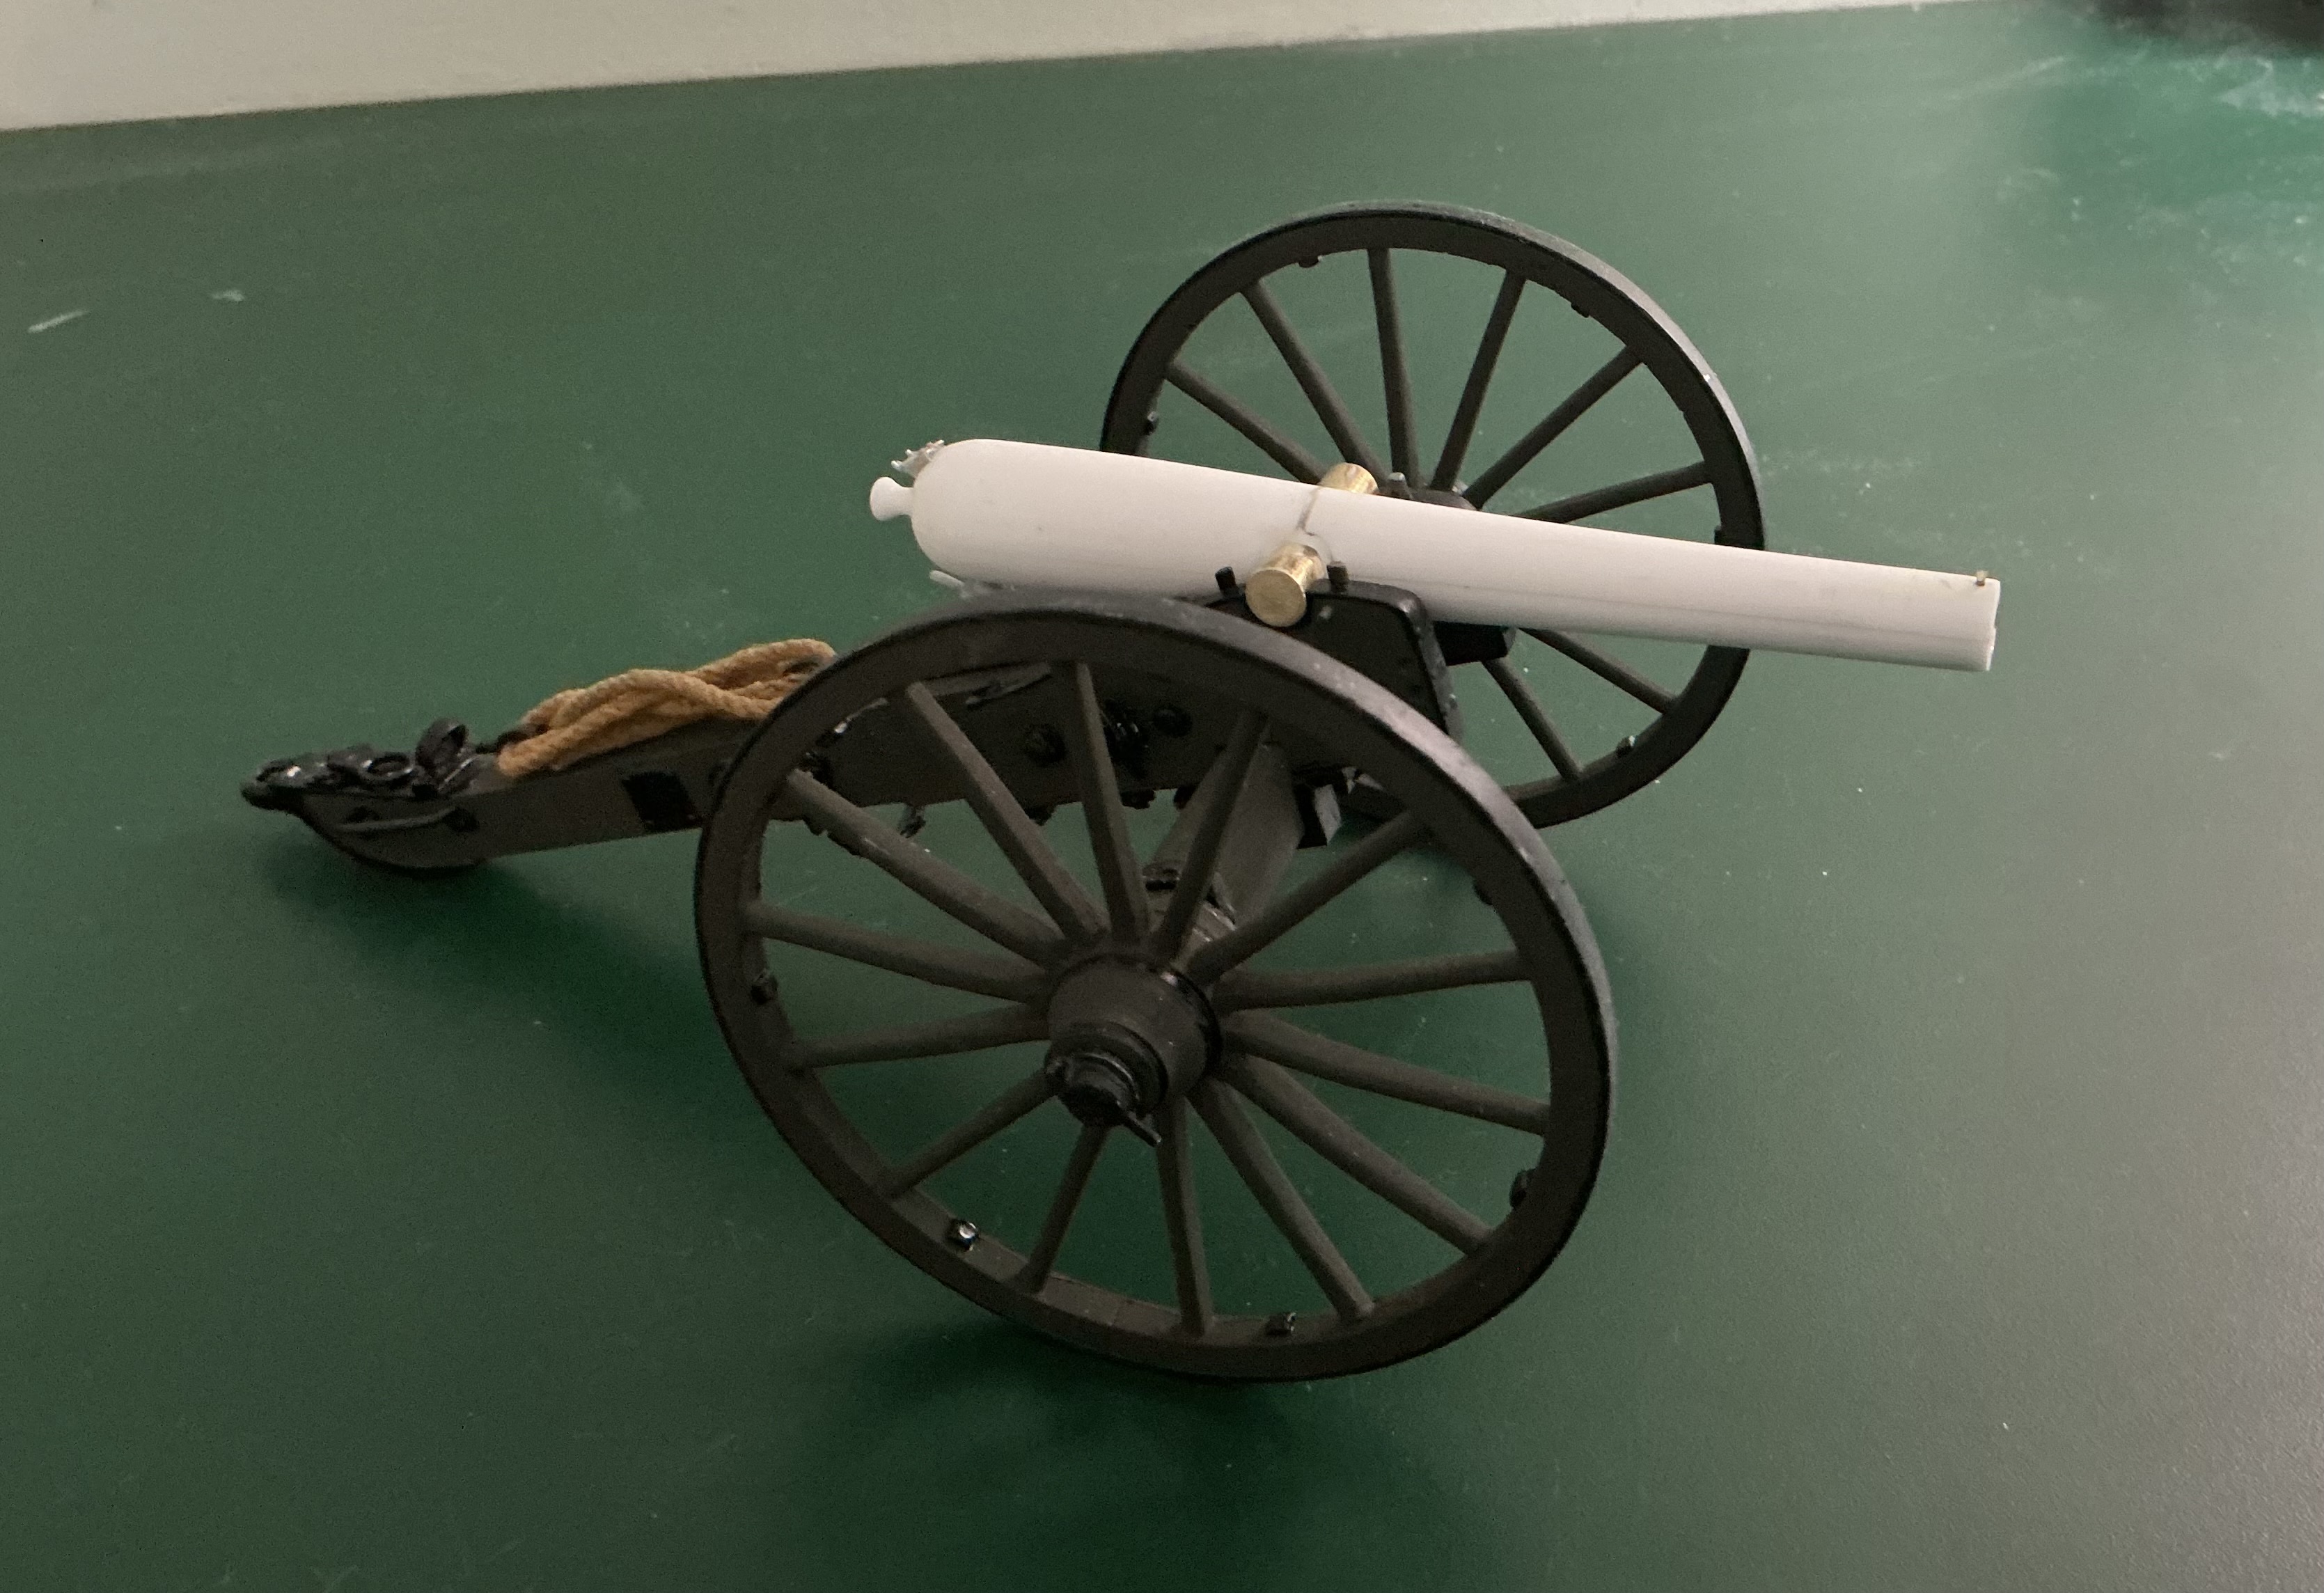
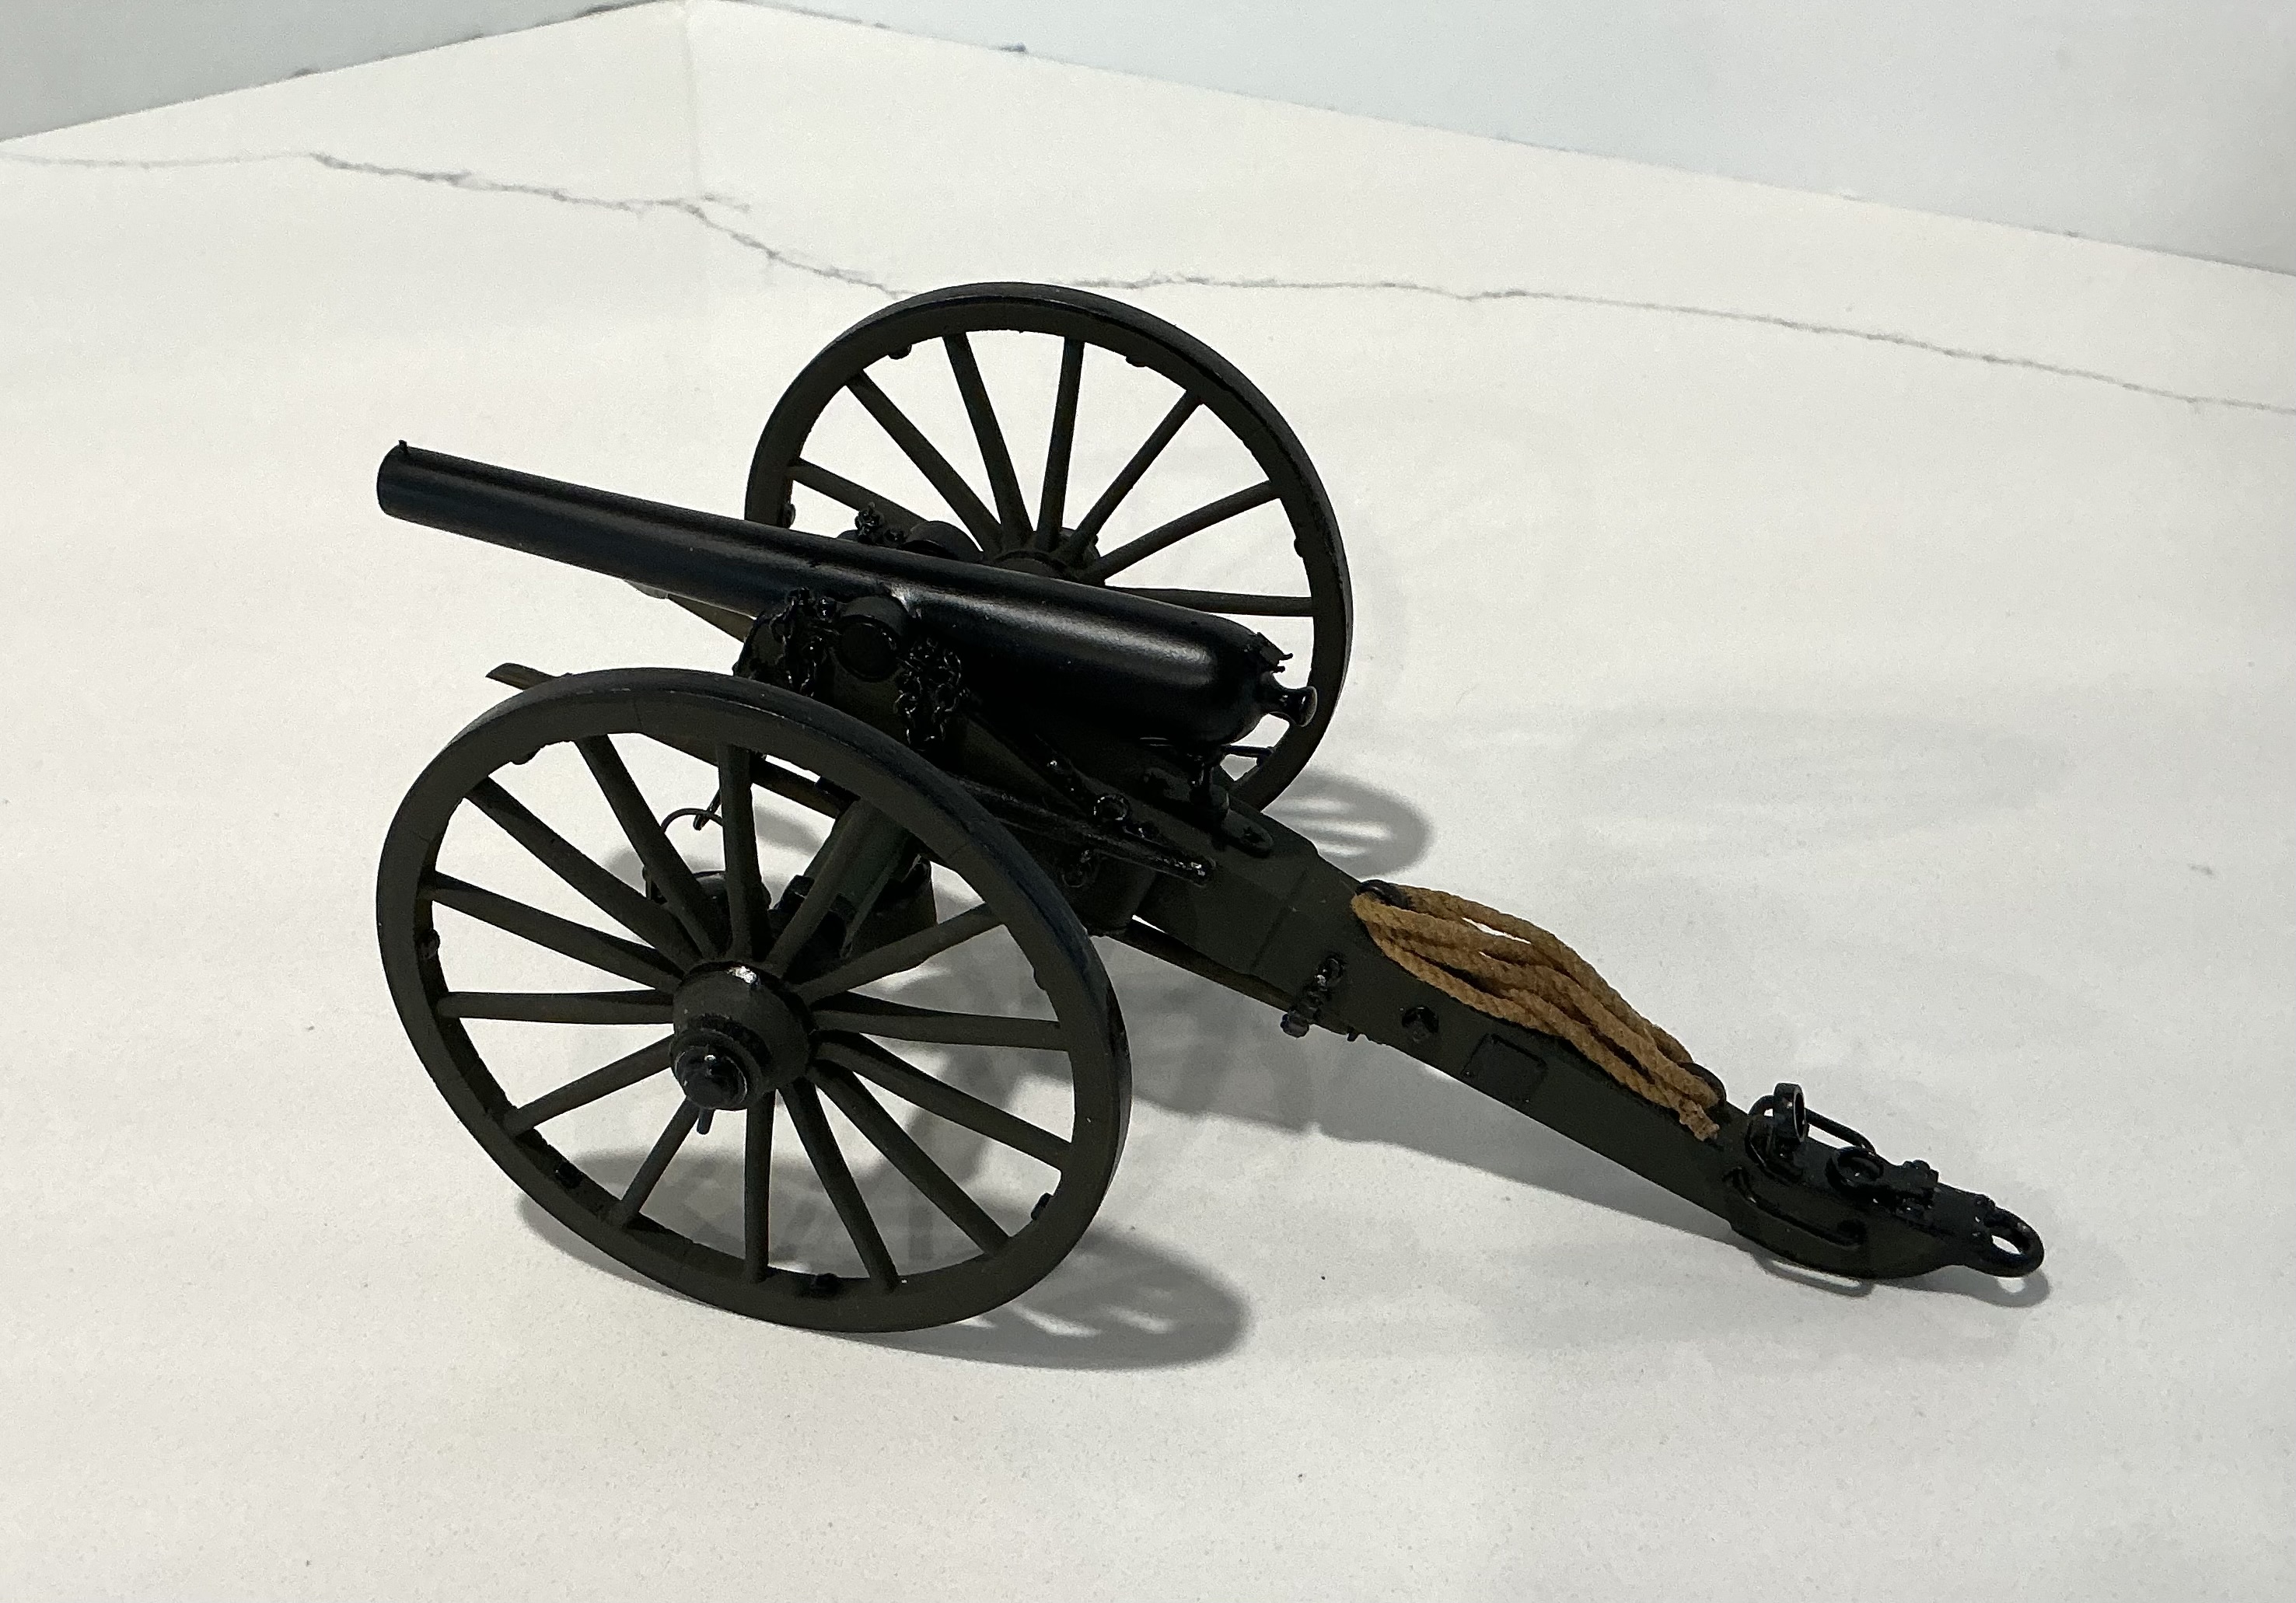
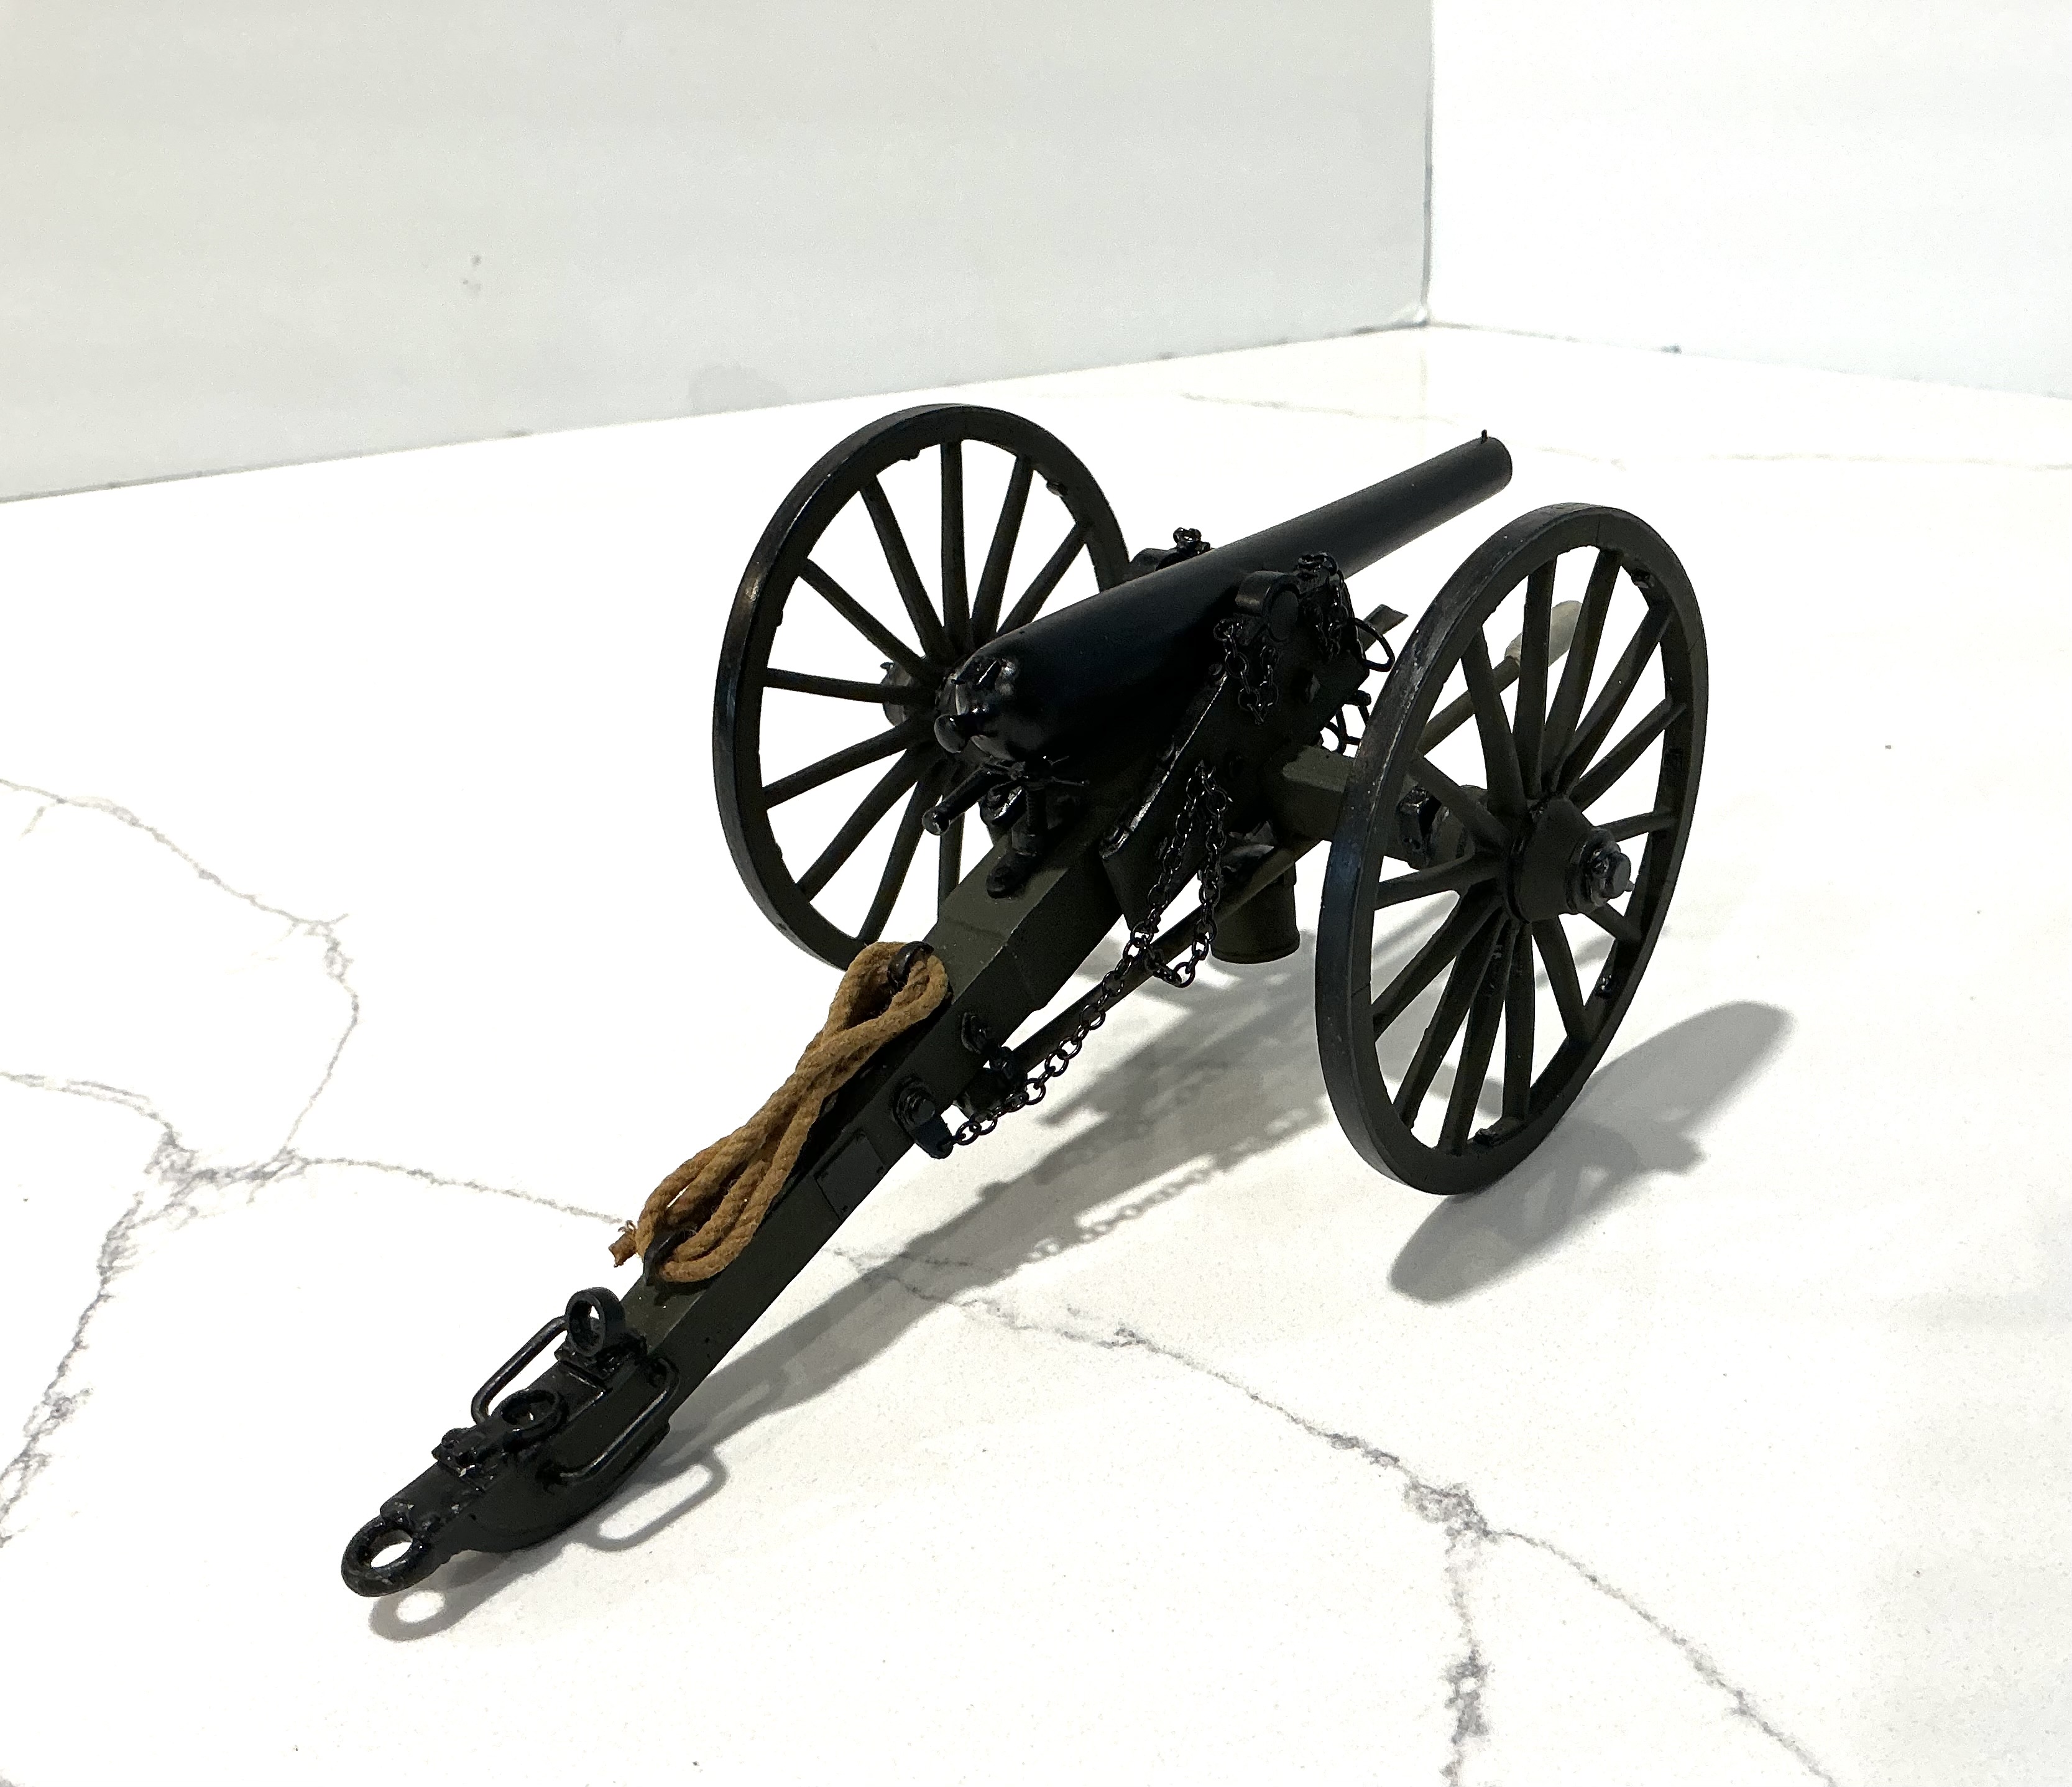
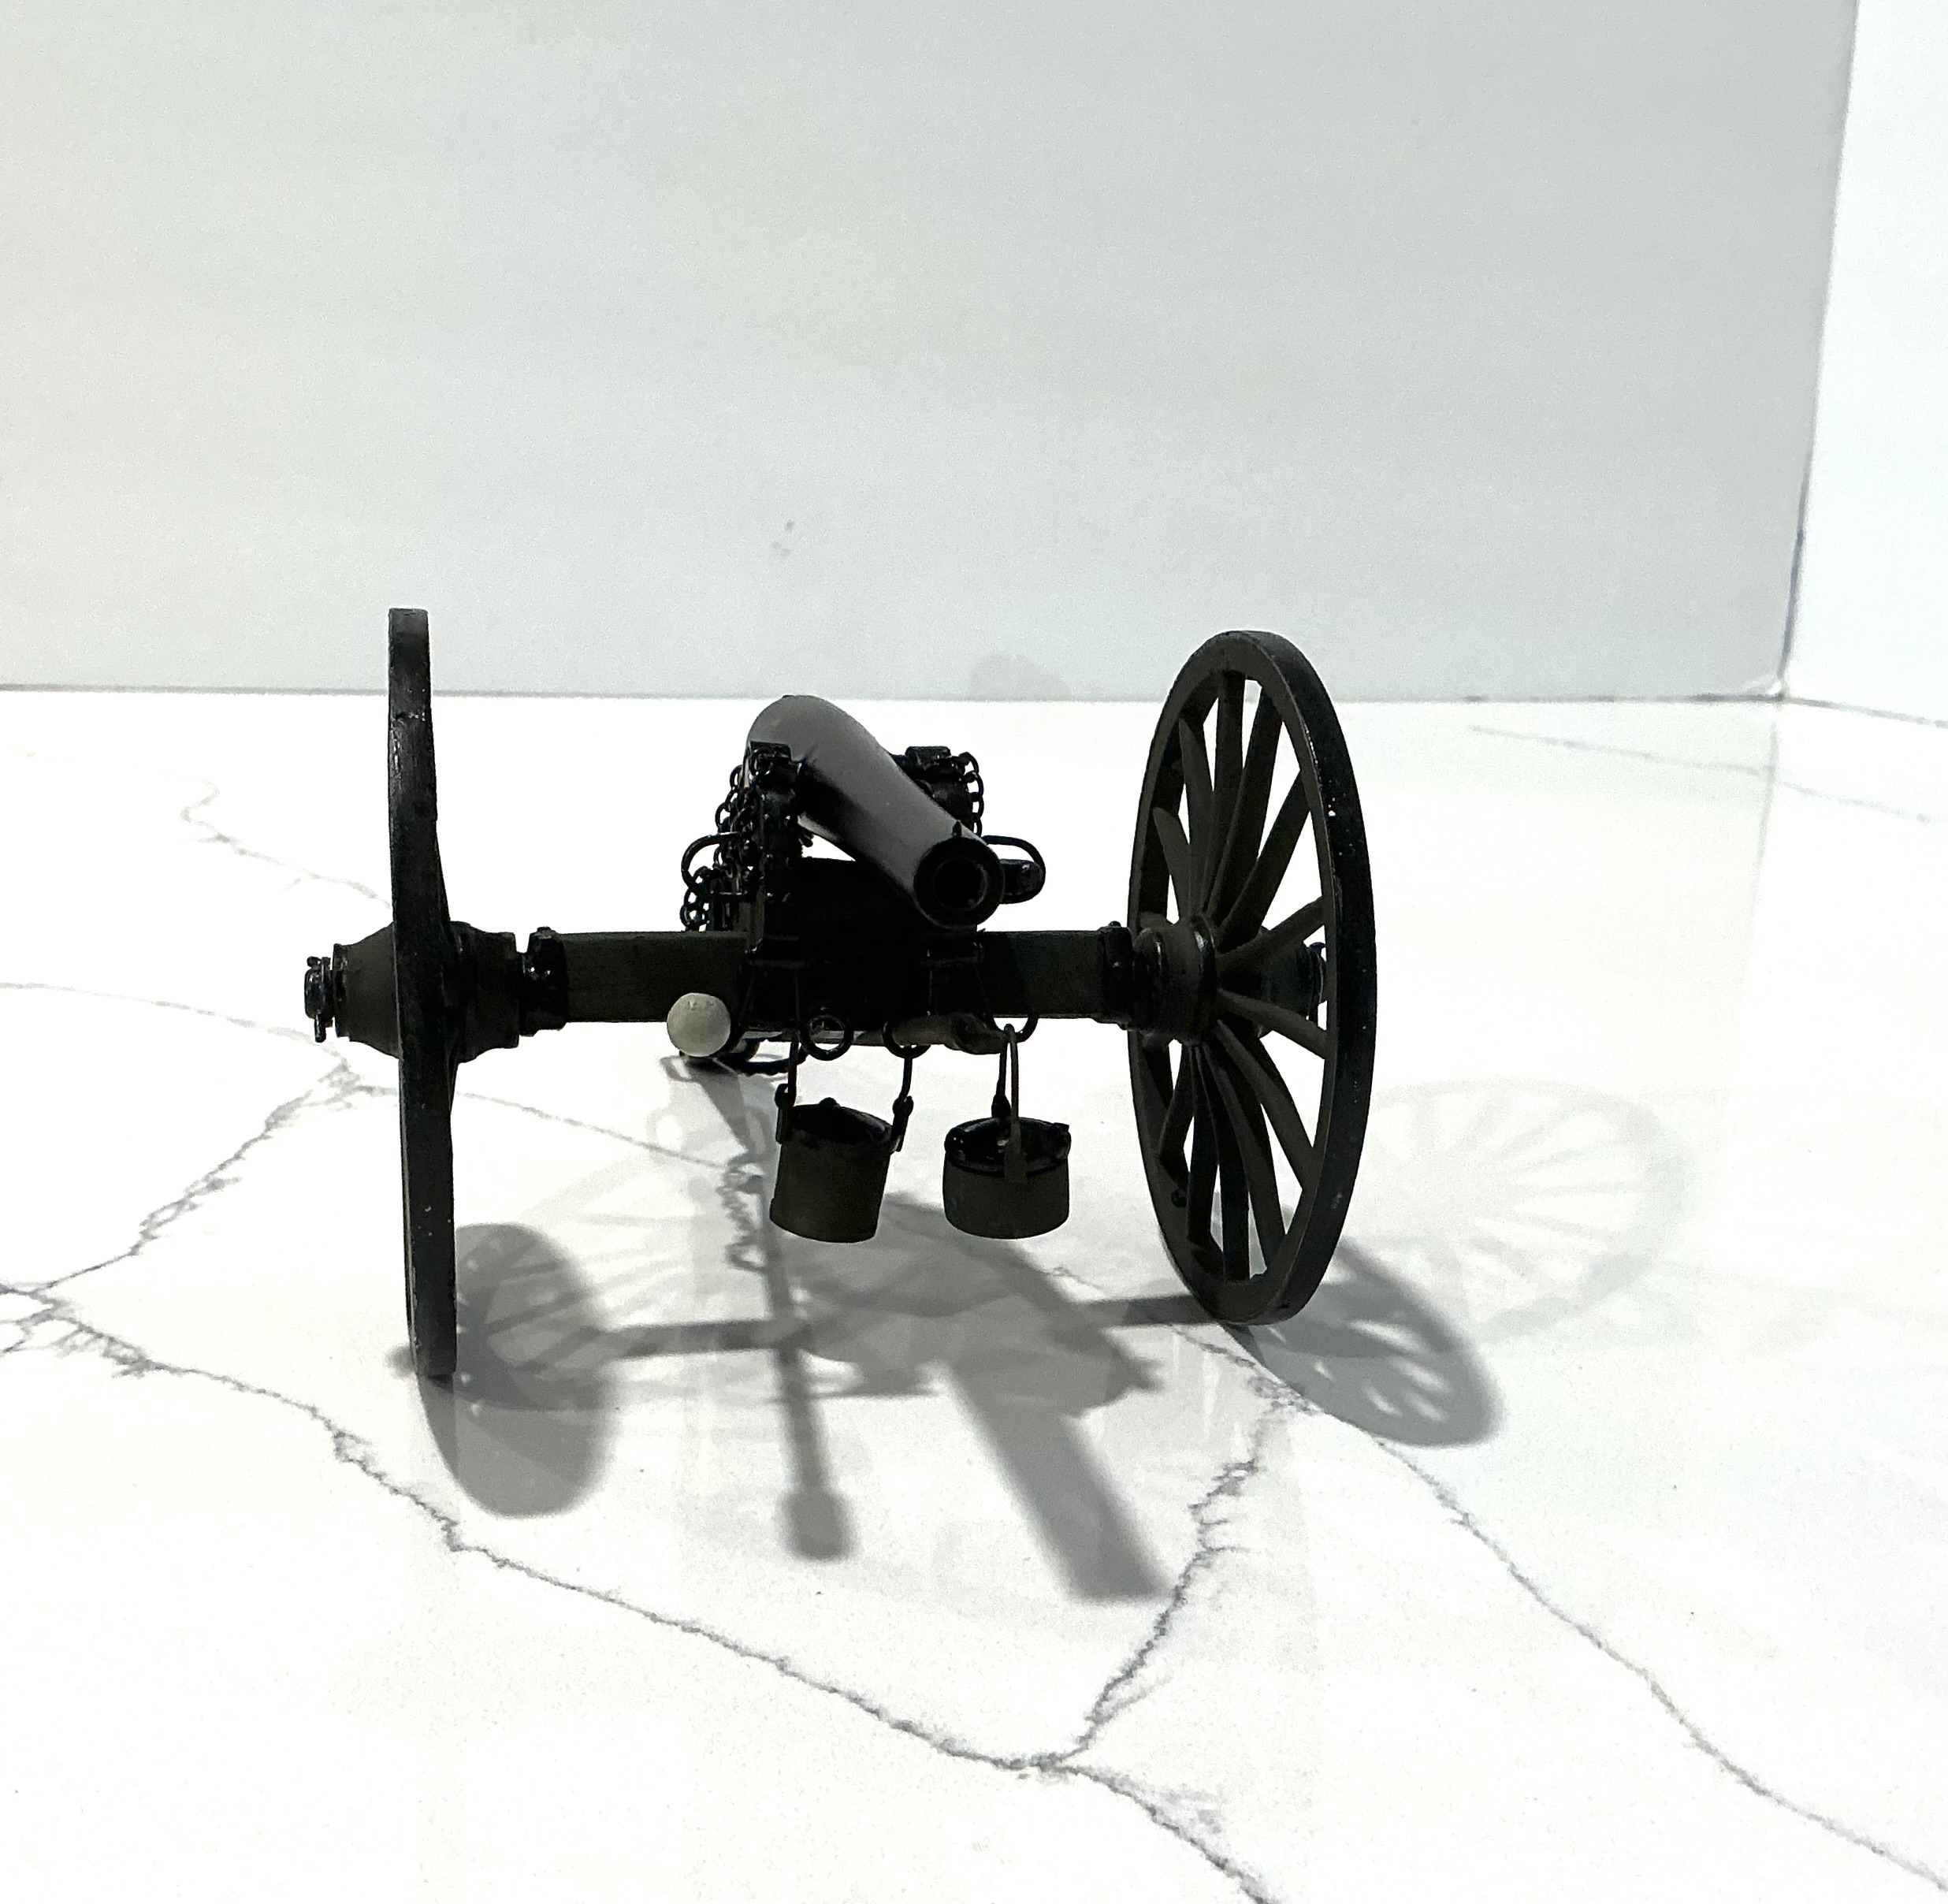
Calling the gun done -
Some paint touch up to do on the limber then I’ll post pics of it .
More to follow & thanks for looking.
6 Likes
Years ago before I moved to South Carolina, I would go to the Vicksburg National Military park and walk 3 miles after work. On one afternoon the park attendees were preparing for a special event and fired one of the Cannons (Rifle), you cannot imagine how freakin’ loud those things are, whew. Miss that park, one of the greatest for Civil War history.
Cajun 
5 Likes