Don’t worry about that. It is just a tarp after all. Some gaps or overlaps are realistic.
Olivier
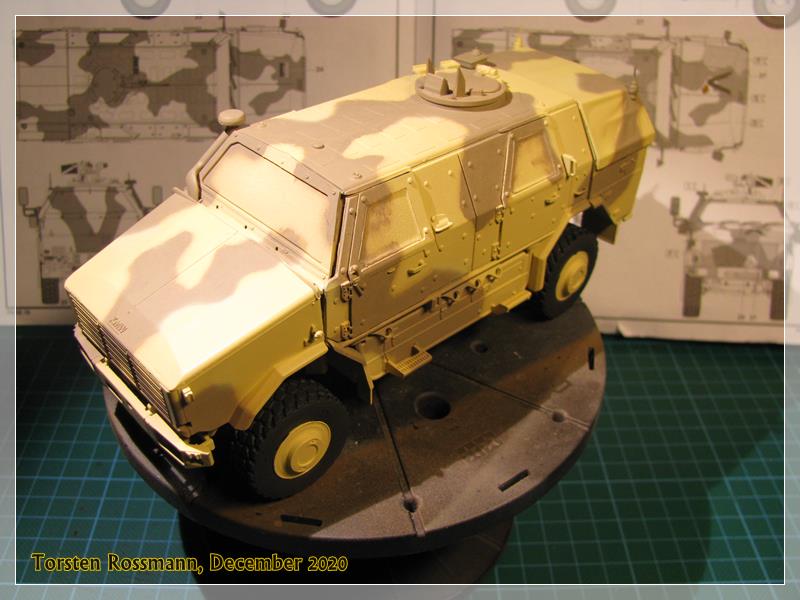
Just a small update from this morning. After white primer yesterday afternoon it was time for some camo paint today. Beige from Revell …

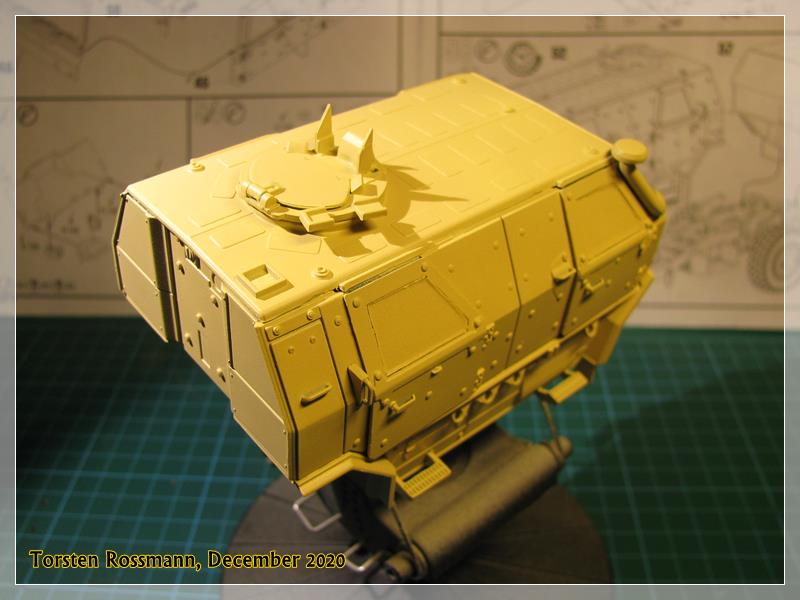

… I hope the masks will do their job …
 The other paint will be Sandbraun from Vallejo. But first I’ll assemble the engine hood today …
Torsten 
1 Like
There is no reason why they should fail. However when it happens you can remove the excess of paint with a wooden toothpick. It is hard enough to remove the paint and soft enough not to scratch the clear parts.
Olivier
Yes, right, Olivier. They should do their work. I have spent some time working on the masks. The last time I needed a wooden toothpick was with my latest build, a soviet P-39 Airacobra in 1/48. Some paint crawled under the canopy mask. Was work for a few minutes …
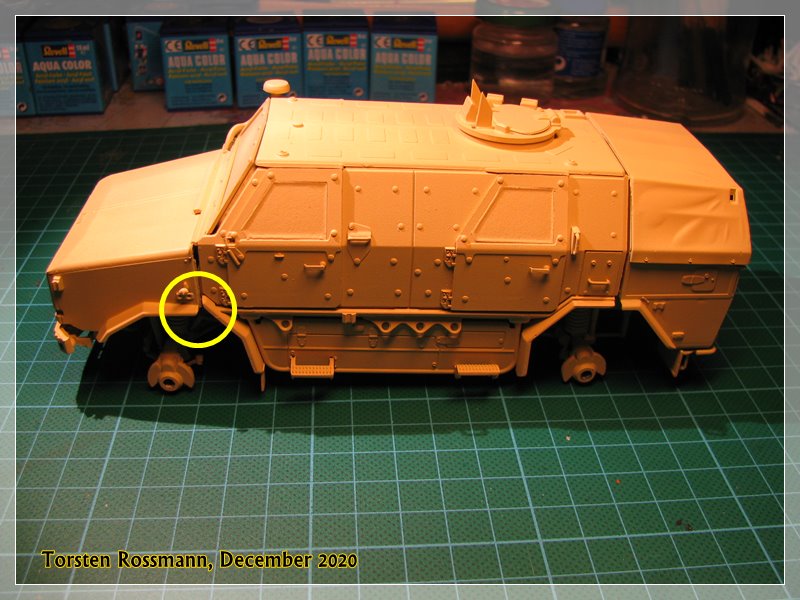
First test fitting and I’m not really happy with what I see in the yellow circles … 
I’ve checked that all parts are correct in place but there’s still a level difference at the fender on both sides and I don’t know, what I did wrong during assembly.
1 Like
Hi Torsten. Here is mine.

I guess you need to modify the angle of the hood. If you look at your model the hood is under a lip at the bottom of the windshield. The hood should rest on the lip.
Olivier
2 Likes
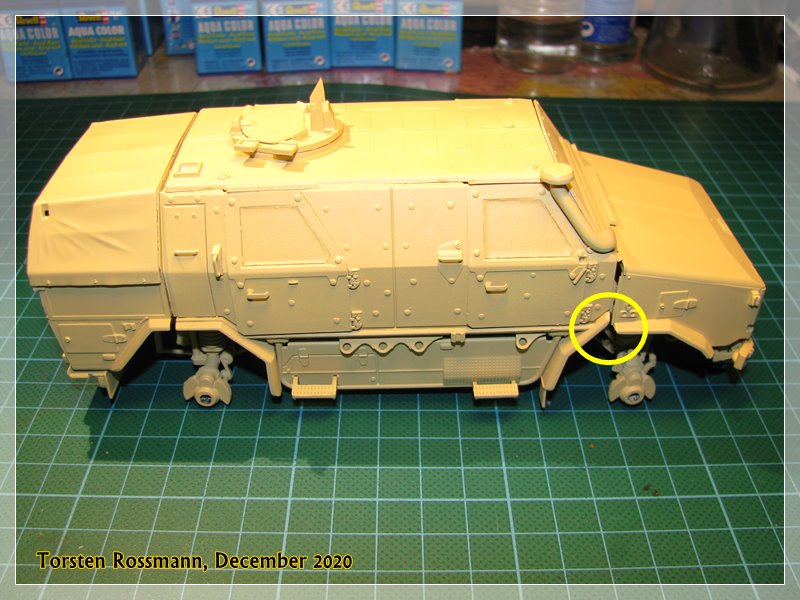
Yes, Olivier, I found the mistake after studying the instruction again and looking at original Dingos. Of course, the mistake was between my ears, as always … 
Before

After

I hope to get most of the painting done this weekend. Btw., all mirrors have been shot at, they have bullet holes in the middle. Blame the Taliban for that. I see, what I can do …
Torsten
2 Likes
I built that kit last year. Looking at it, I think I made the same mistake you made, but didn’t realize it until just now.
1 Like
Thanks for showing us your Dingo build, Bo! I have noticed that the hood surprisingly fits better when it’s under the lip in front of the wind shield. But that is wrong, as we see on Olivier’s Dingo. I further noticed that the instructions leads to some easy misunderstanding in some steps, especially the front suspension steps 16, 18 and 19. See posting 9 from the 20. November. I only noticed my mistake when I reached step 25. Oh well, no one is flawless …
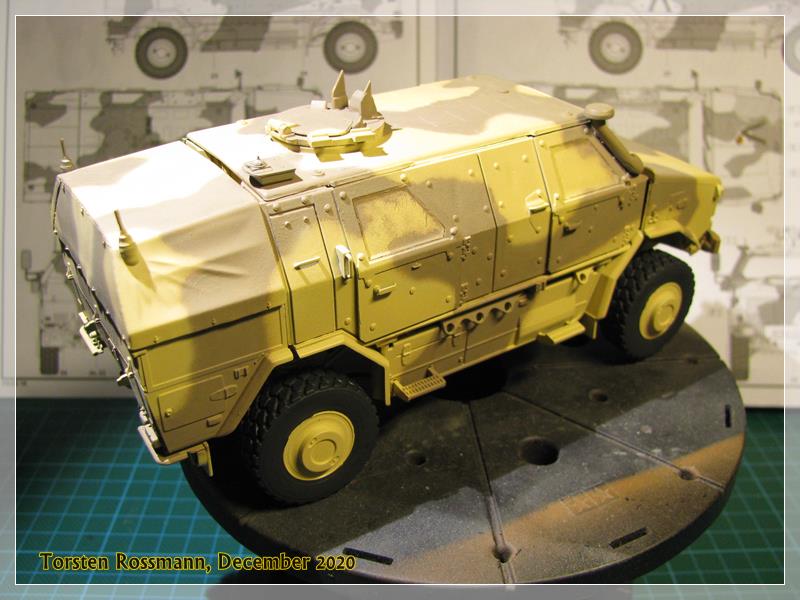
Anyway, on the weekend I airbruhed the 2nd camo Sandbraun RAL 8031 (Vallejo 71246) in two sessions. After some minor touch ups against overspray I’m quite satisfied with the painting. Will show you new photos in the next days. Main painting is done now and I hope that most of the work is done by next weekend.
Torsten 
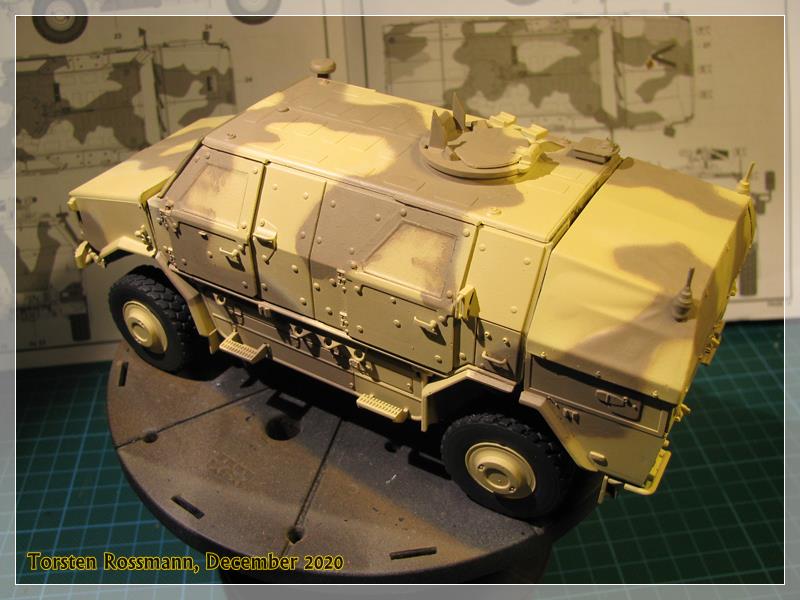
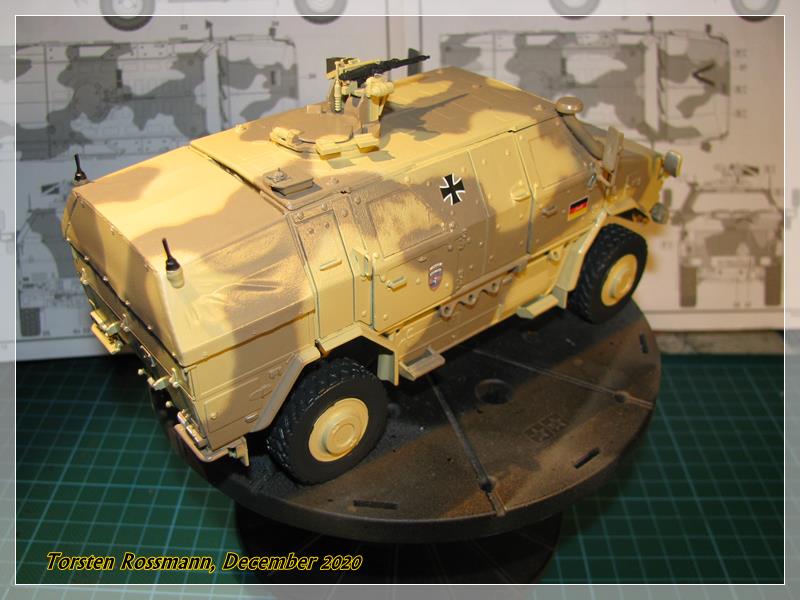
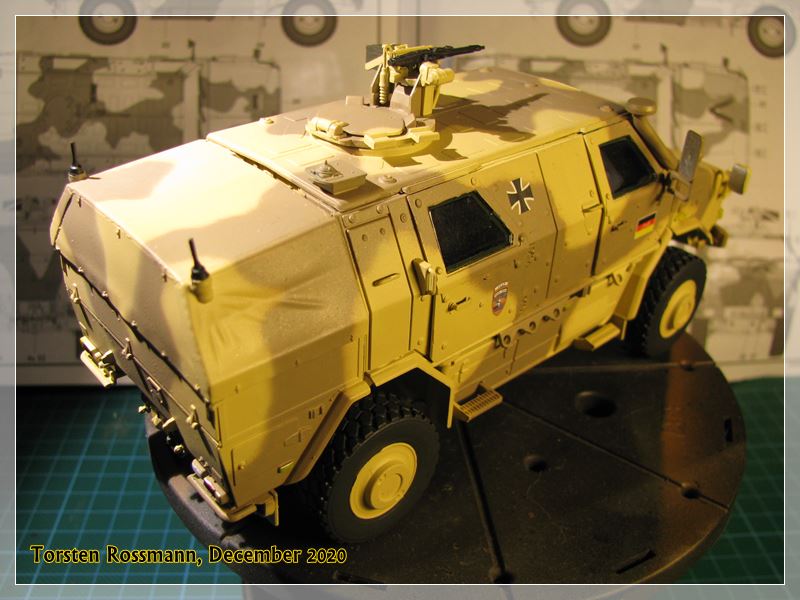
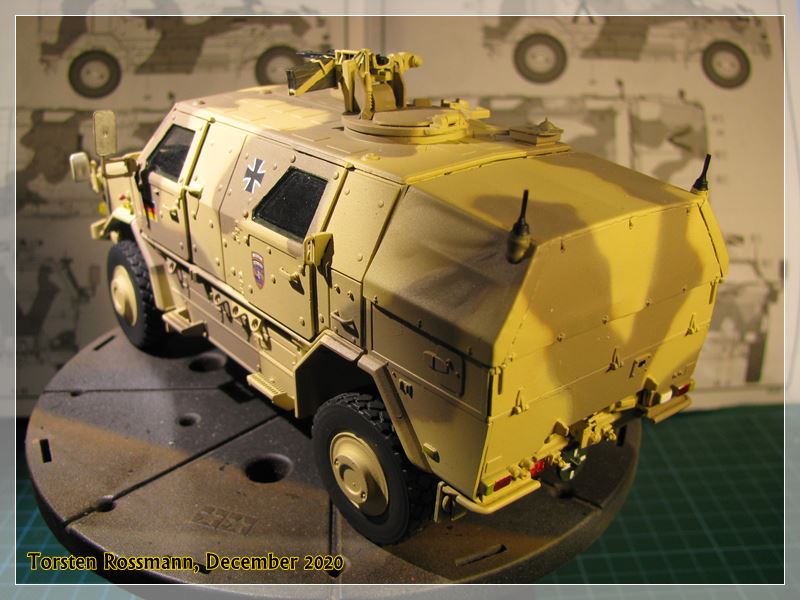
Most of the painting is done now. The components are not yet glued to the chassis. There are not many parts missing now. In the next days I will paint some details and add the weapon station with the MG 3 … 

2 Likes
Nice camo Torsten. You’re good for a an extensive weathering session.
Olivier
Cool camo! Looking forward to the next steps.
1 Like
Ditto that!
Thanks guys! Much appreciated!
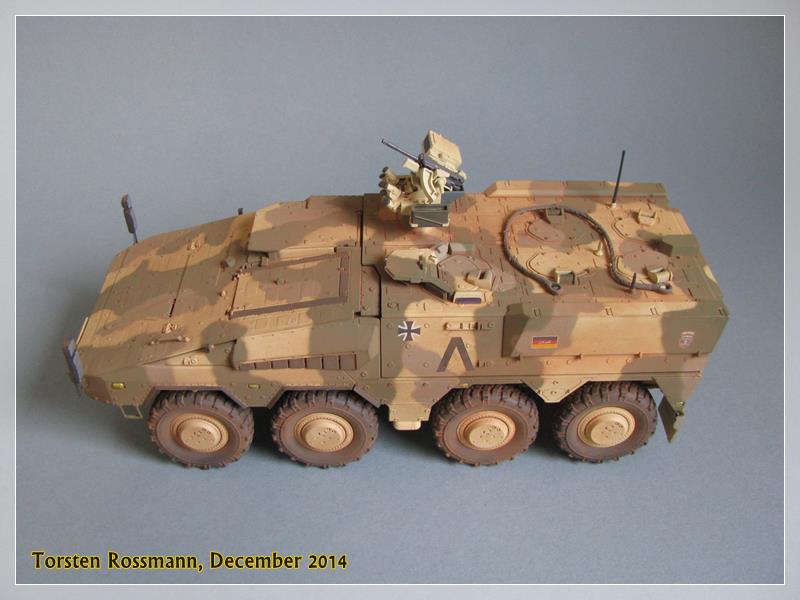
Olivier, as you may already know, I’m not a big fan of weathering (my aircraft models get none) and so the Dingo will get only a bit of a dusty look, just like my Boxer a few years ago …
3 Likes
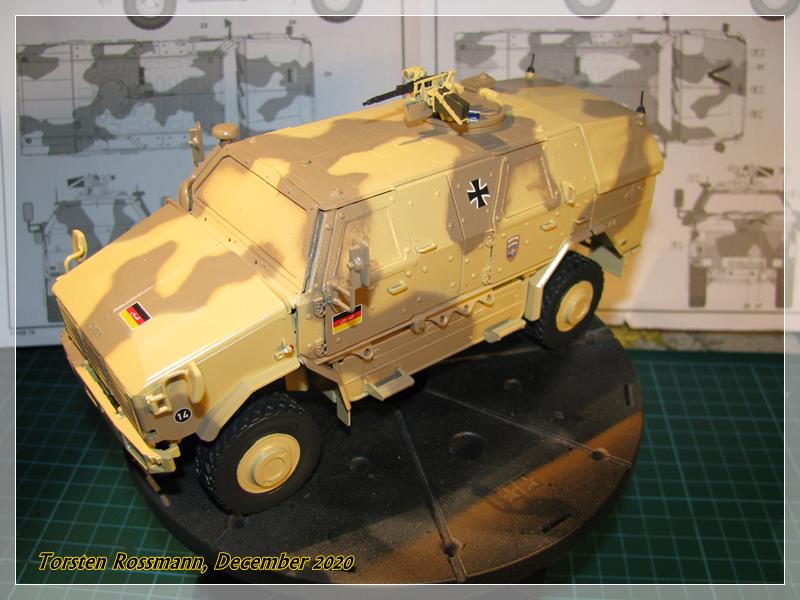
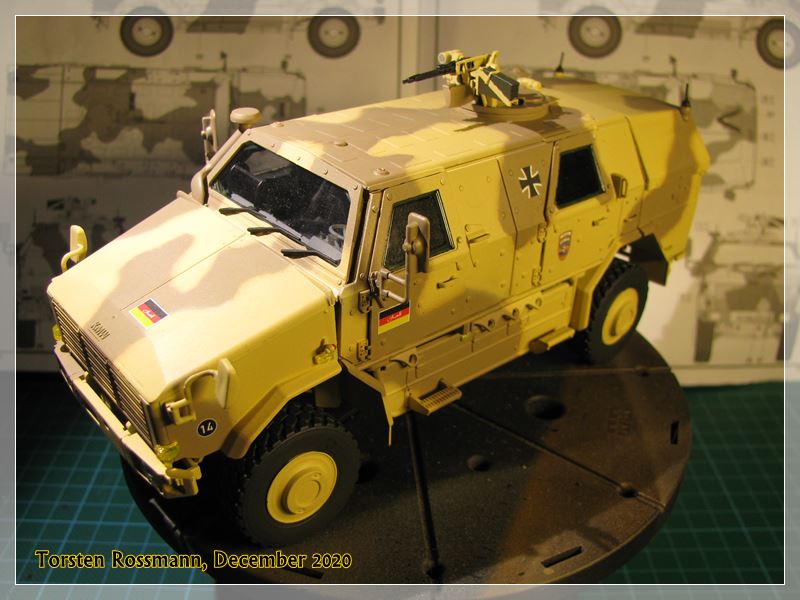
So, the Dingo is at the final lap. A total of 9 decals is nothing compared to my aircraft builds …  Only parts that are missing now are the clear parts and the wipers. After my christmas break I’ll give it a dull coat with Marabu Matt Varnish and some weathering with pastel chalks. That’s all then …
This is my final update before the festive days, so I wish everyone here a Merry Christmas - Frohe Weihnachten - Joyeux Noel - Feliz Navidad - с Рождеством !

See you all after christmas again!
Torsten 
1 Like
Enjoy your Xmas time with the family. Hopefully Santa will be bring some more modelkits if you have been a good boy this year 
Olivier
1 Like
Thanks, Olivier, same to you! Yes, it’s a 600 km one way ride tomorrow to my parents home. But I believe there won’t be any new kits waiting for me this time. Got some this year round and I have so many in my stash already, it’s enough for 2 lifes. Not so many AFV but more airplanes, lots more … 
Happy modelling!
Torsten
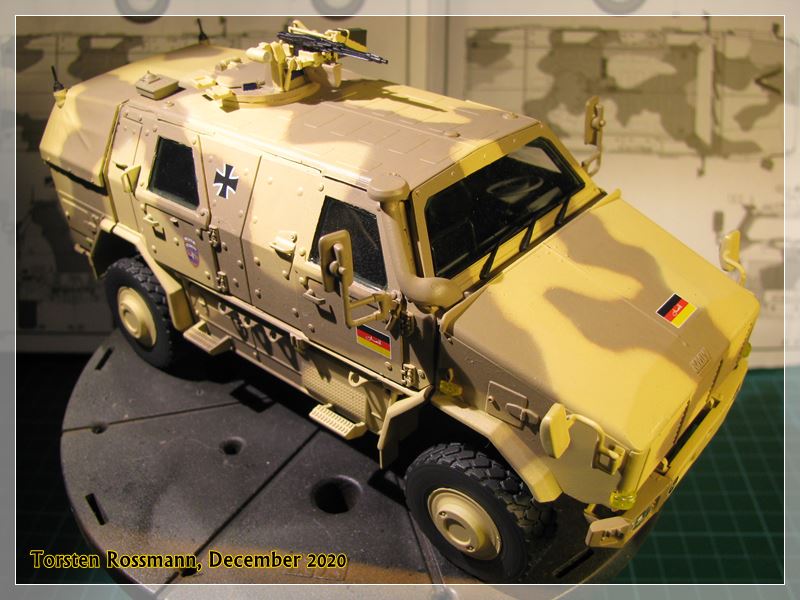
I hope everyone had a nice and safe christmas time. 
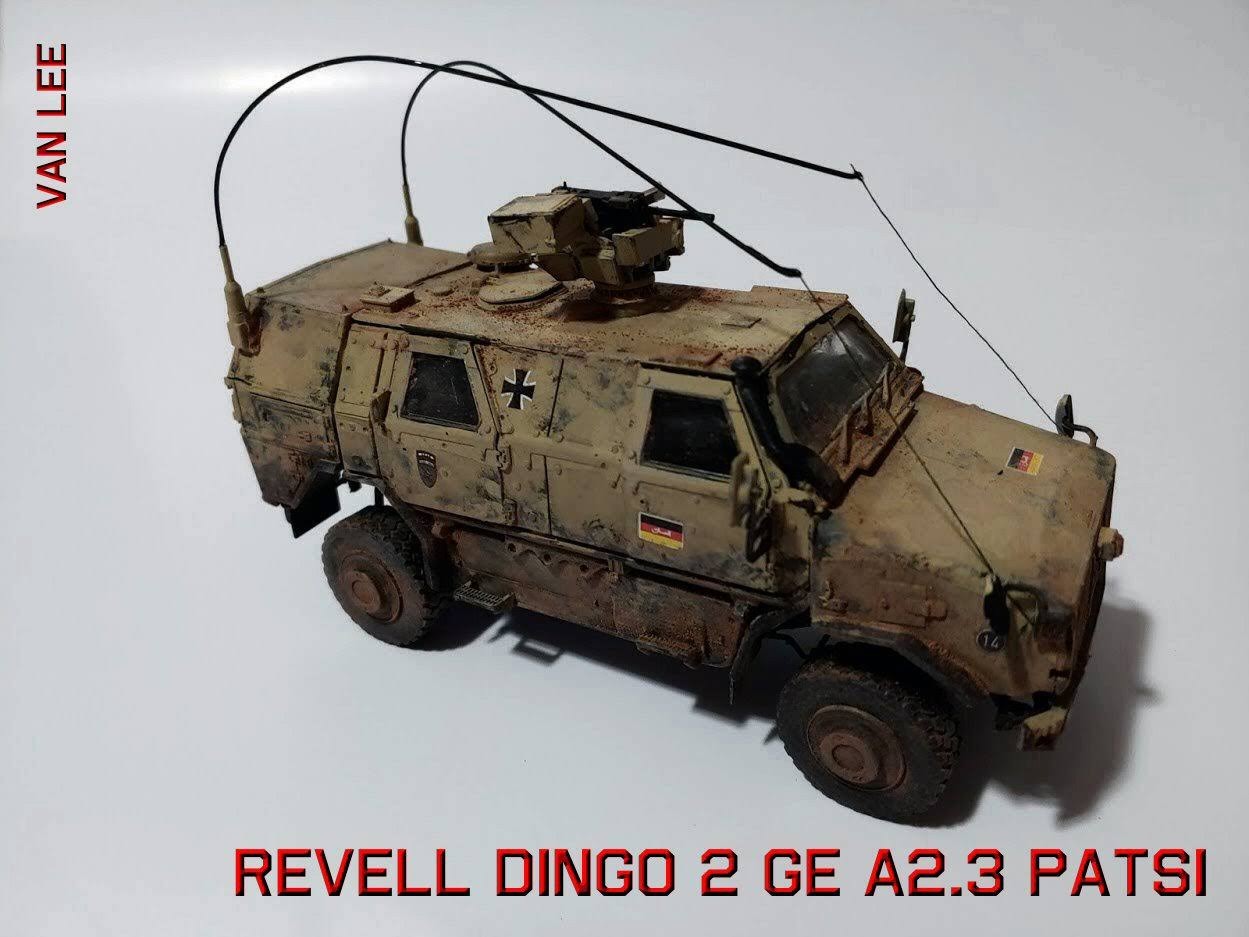
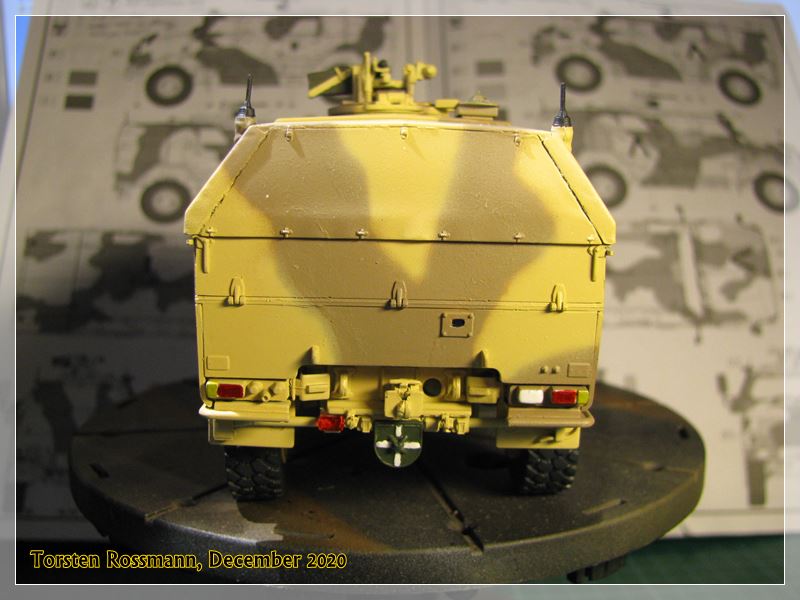
Have given my Dingo a dull coat yesterday and done the last bits on it, removing the masks, attaching the wipers and painting the rear- and blinking lights. Will do some weathering later to give the Dingo a dusty look but for now I call this build done. It was a build full of hurdles, some made by myself, some because of the mistakable instruction in some steps. Sure no easy assembly kit. But I have 2 more Dingos and hope to avoid the mistakes on them that I made here. I will take better photos in January and add the build to my “Leopard and other animals” Theme. Thanks for all your support along the way, especially to Olivier.
Happy modelling!
Torsten
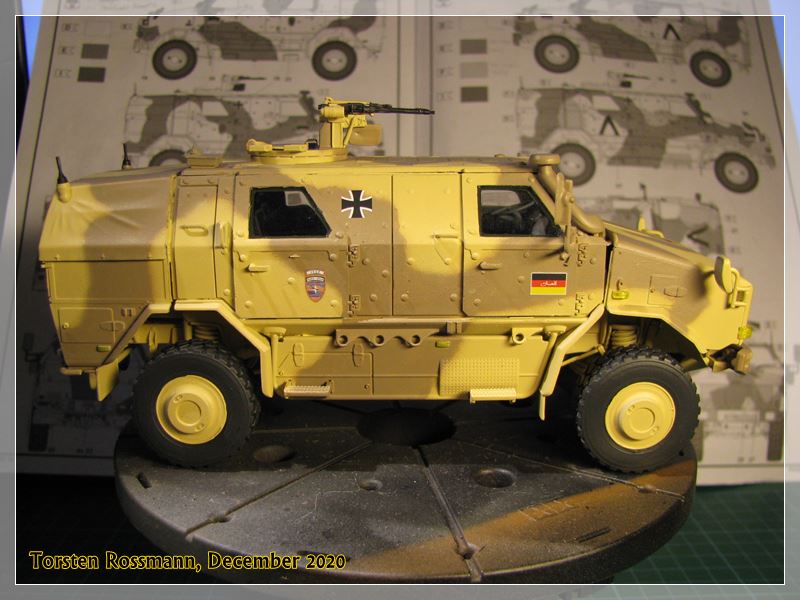
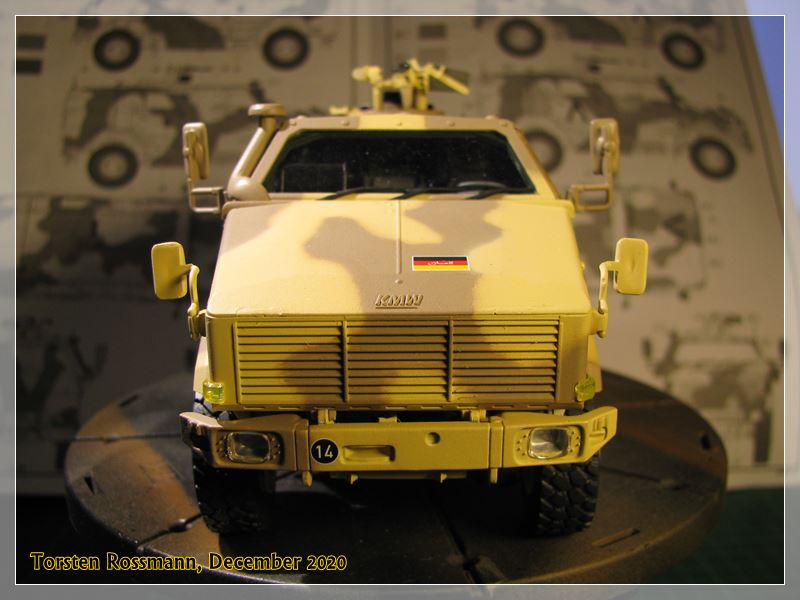
ATF Dingo 2 GE A2 PatSi, GECON ISAF, Schutzkompanie PRT Kunduz, Afghanistan 2011

6 Likes
It is looking good without dust. I’m sure it will look even better after you apply the dust. Your efforts have paid Torsten. Congrats.
Olivier
2 Likes
Ditto that!
1 Like