Hi folks!
Now that my current build, a Bell P-39 Airacobra for the Land-Lease Campaign is done and the US-Cobra is close to the finish line, it’s time for another project.
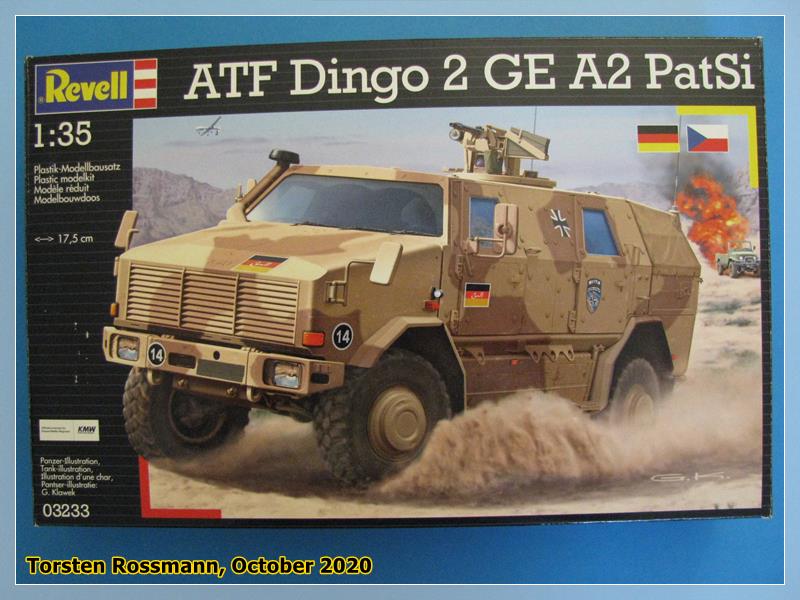
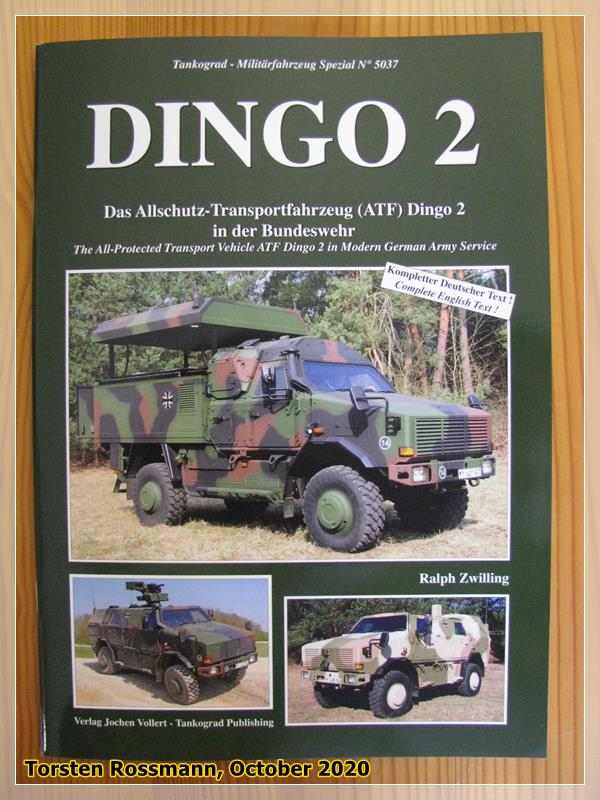
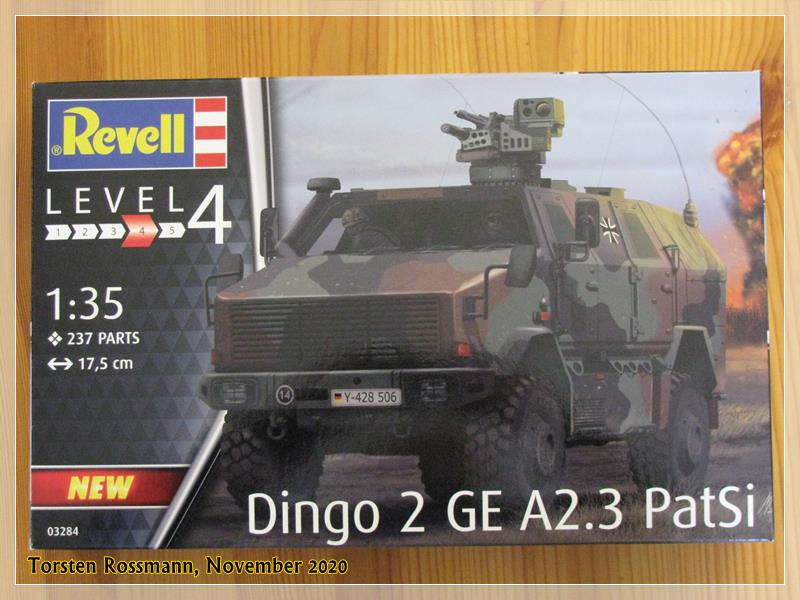
My choice is the Allschutz Transport Fahrzeug Dingo 2 GE A2 PatSi from Revell Germany in 1/35. The kit came out in 2013 and was the first Dingo from Revell. Meanwhile they have the third version in their program …
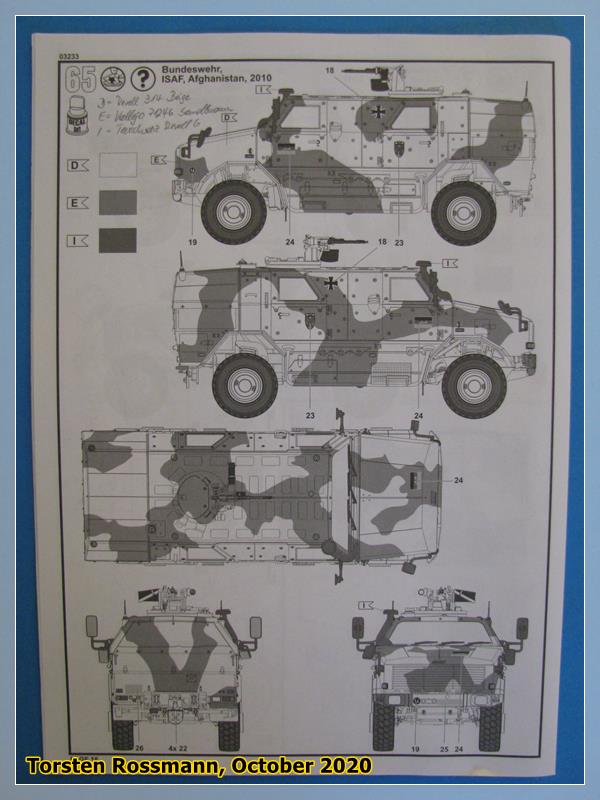
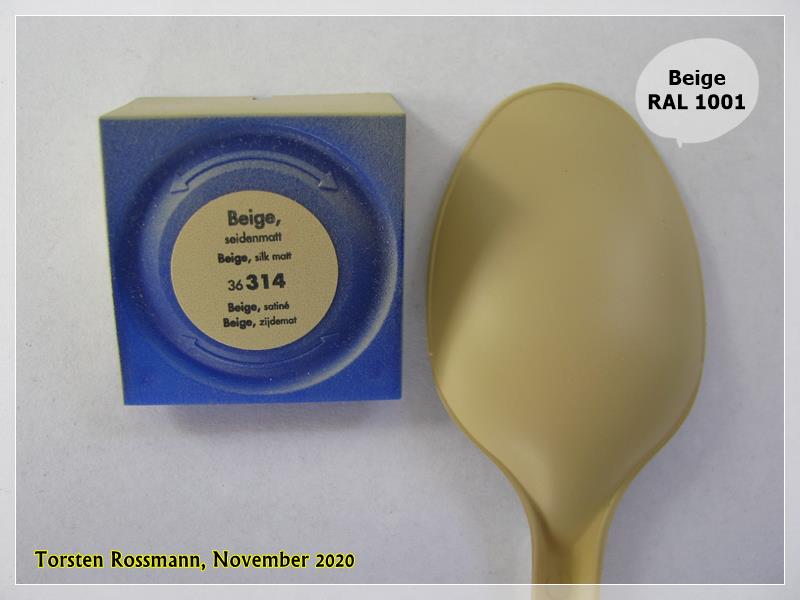
… Revell offers 4 options for this kit (3 x Bundeswehr and 1 x Czech Forces) and I have decided for this ISAF vehicle in 2 tone Umtarnfarben Sandbeige RAL 1039 and Sandbraun RAL 8031. As you can see, I have already made some remarks about the paints to use …
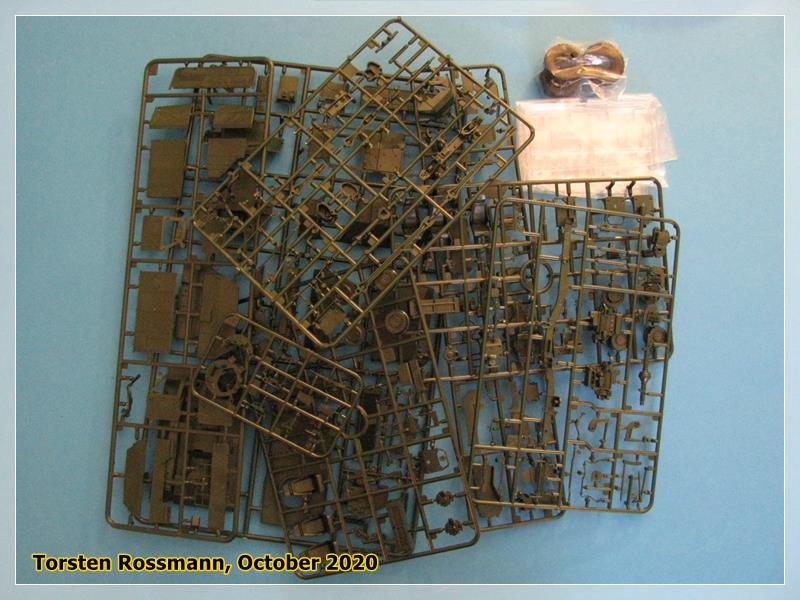
… the Dingo will be build strait oob and I think I can start with it next week. Maybe some of you guys will accompany along the way. Would appreciate it and hope to show some progress as soon as possible.
For sure I’ll accompany you
I’ve built mine some years ago. I only detailed a bit more the weapon station. I remember having some issue with the warped front doors.
Enjoy your build!
Thanks guys! Good to have you on board. Though I haven’t started the build. Will let you know, when there’s something to show.
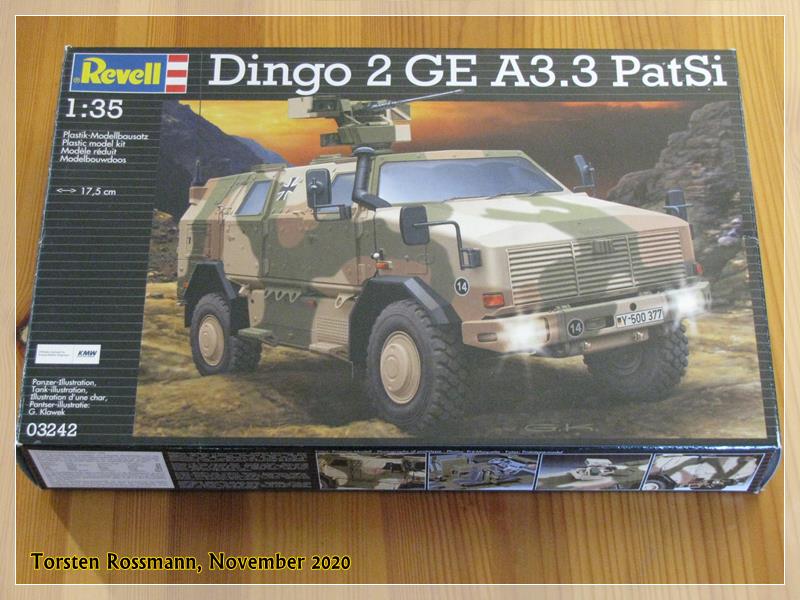
At our last club meeting I have ordered another Dingo (A2.3), which I hopefully get in November, that’s if we are allowed to meet in these troubled times …
I suggest you get an AM weapon station for your Dingo A2.3. This often is the area in which Revell are not good with soft detail.
I used a Live Resin FLW 200 on my Boxer and it made the difference.
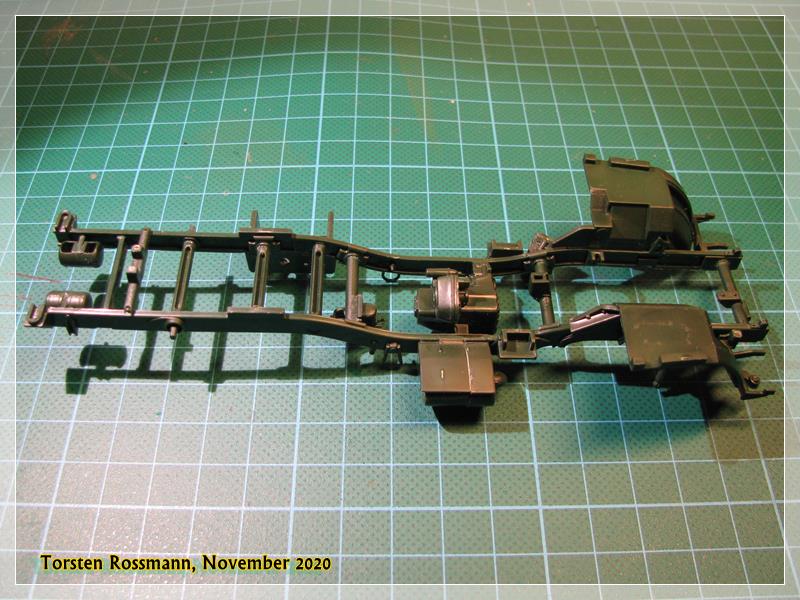
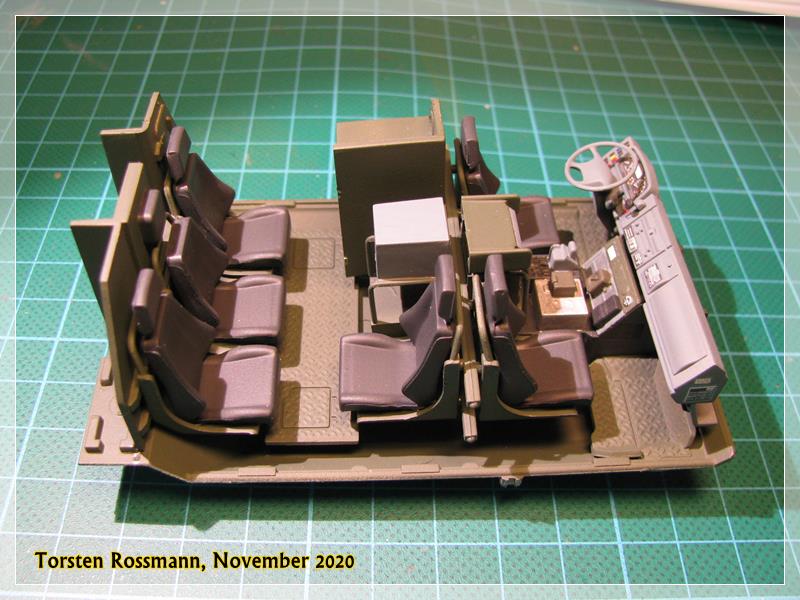
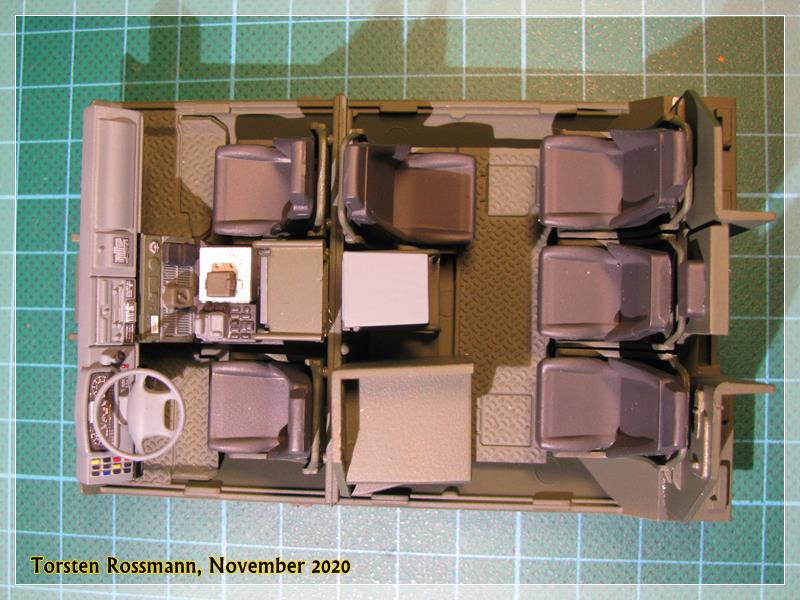
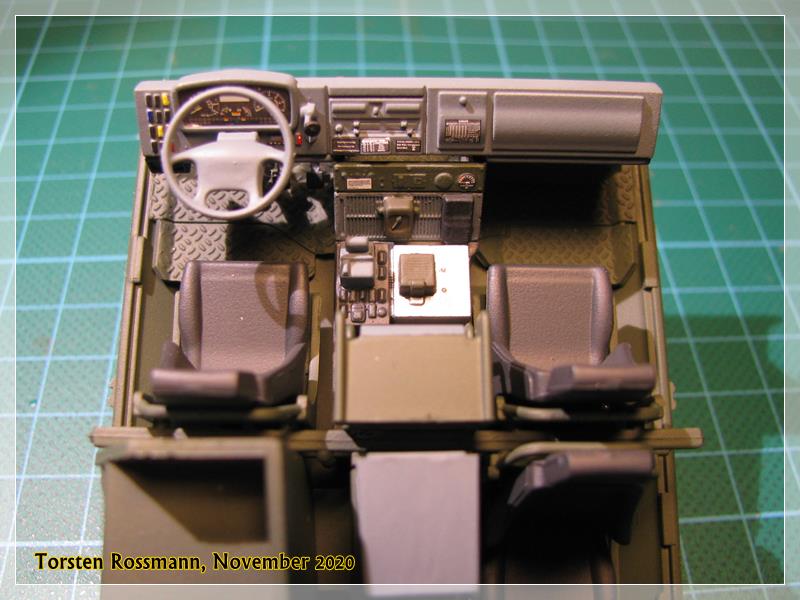
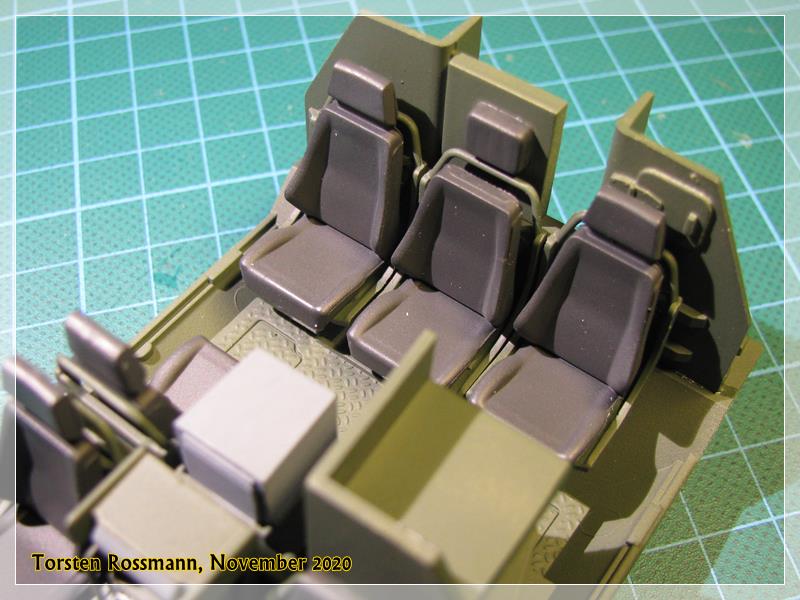
It took me longer than I thought to begin with this build but at least finally I can show you some progress. The first 9 of 63 assembly steps are made. Not much to see yet but it’s a start …
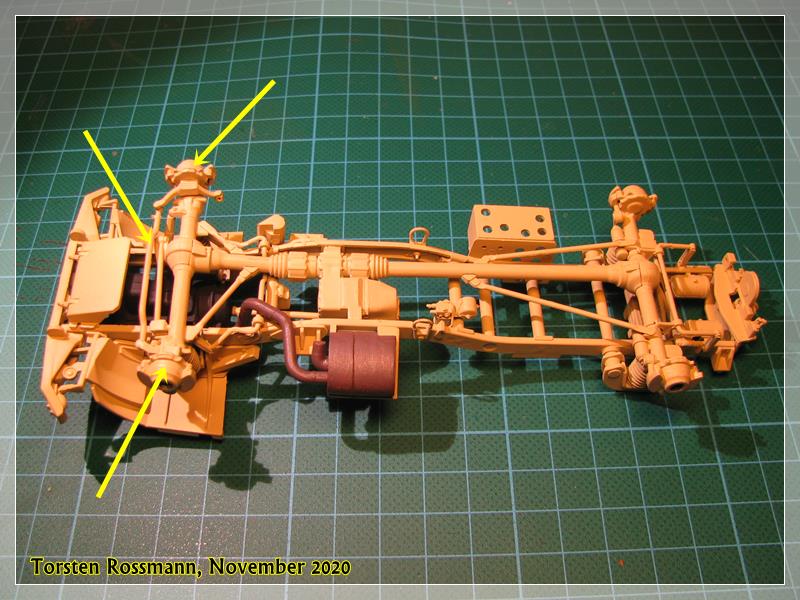
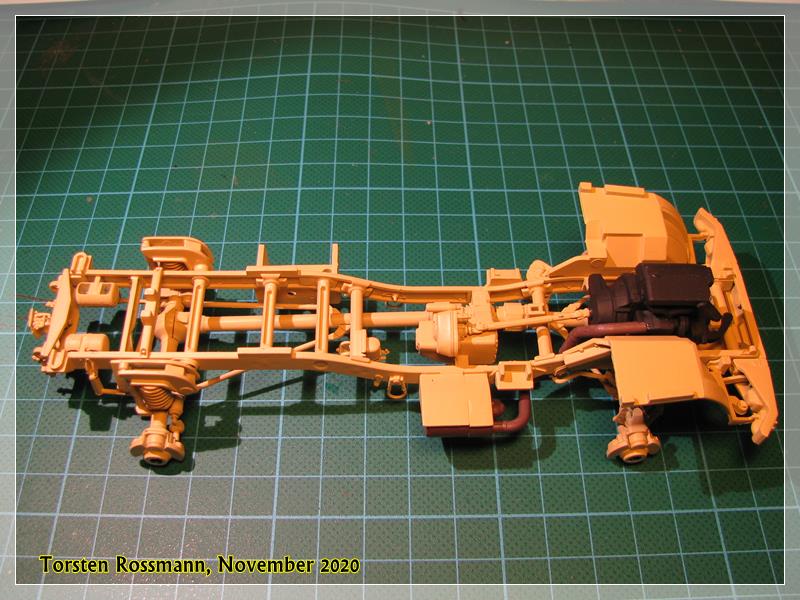
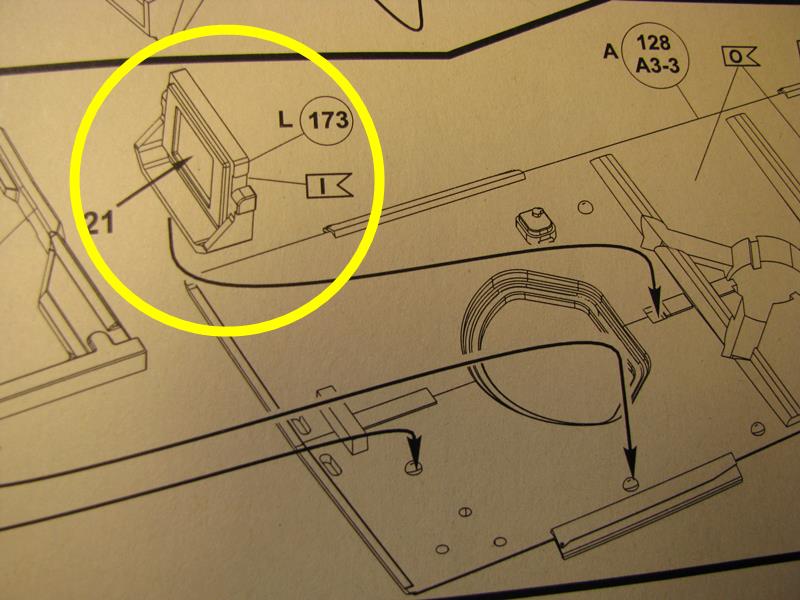
Sorry for the long delay in my progress postings, guys, but I had some problems with building the undercarriage of my Dingo. The instruction seems to be capable of being misunderstood in some steps and so I made a mistake with the front wheel suspension. I noticed that only when it was nearly too late to correct …
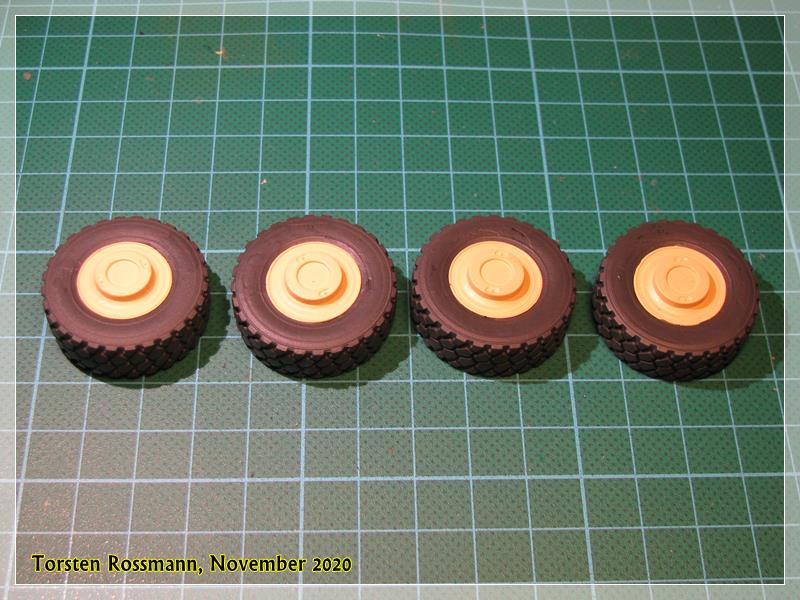
… some more problems with the wheels. I airbrushed the tyres with Revell Anthracite but the paint crumbled off the rubber. So I had to brush paint it. It won’t be seen after I weather them a bit in the end …
I never paint the rubber tires in the box. I prefer rubbing them with some steel wool to remove the shiny look and weather them with pigments. I found that doing this if you apply some paint later on it better sticks to the tires.
If I remember well the tarp over the rear compartment can be tricky to attach. Some dry fit tests can prove useful in order to determine the best sequence.
Thanks for the hint, Olivier! I will try to remember that with my next wheeled AFV. Never had problems painting rubber tyres before though, neither with the Luchs, nor the Fuchs or my MAN 5 to truck. I will seal the wheels with Bodenglänzer (german equivalent for Future) and see how they come out. Another chance could be to mask the wheel covers and airbrush the tyres again. I’ll see …
… as for the weapons you can choose between a 12,7 mm MG and a 40 mm Granatmaschinenwaffe. As I have a GMW on my GTK Boxer, I’ll probably go with the Browning when it’s time for this kit to hit the work bench …
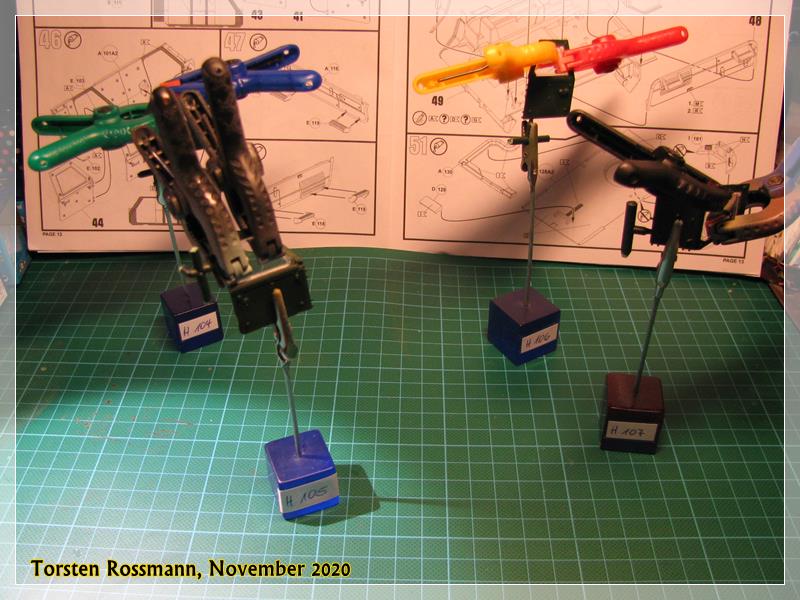
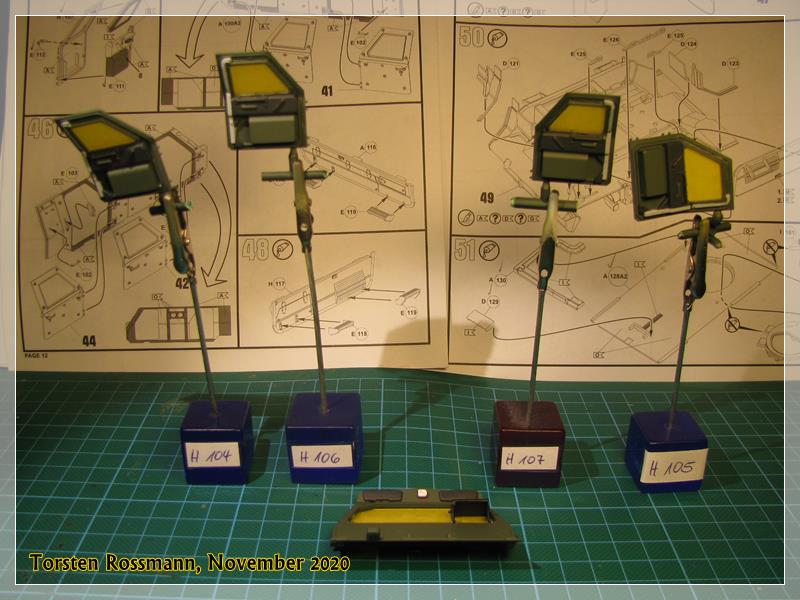
Thank you. So the joystick is present. Is the monitor in the box too? I remember that I needed to scratch build a lot to have a decent rendition of the gunner’s control for the Dingo 2A2 weapon station.
Thanks Olivier! I found a good photo of the control lamps in that Dingo 2 magazine from Tankograd. Lots of informations about the different variants and good inside photos. A valuable reference.
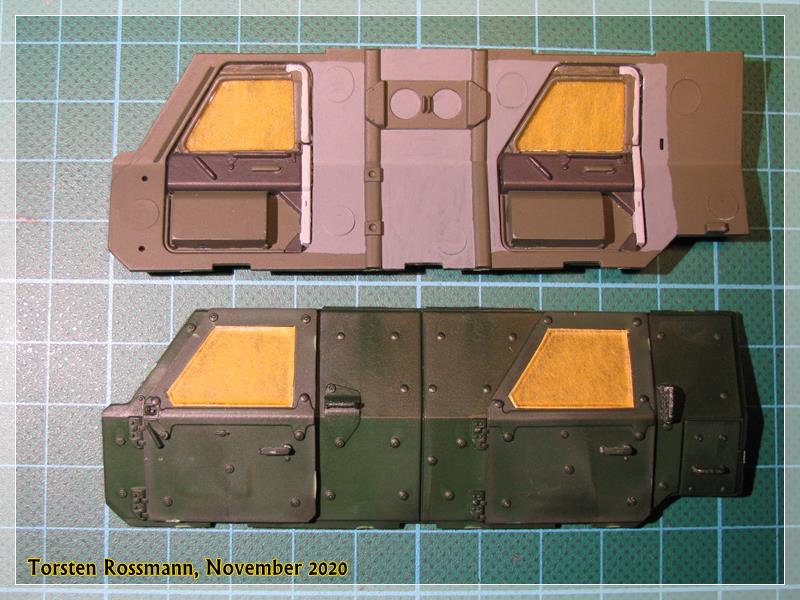
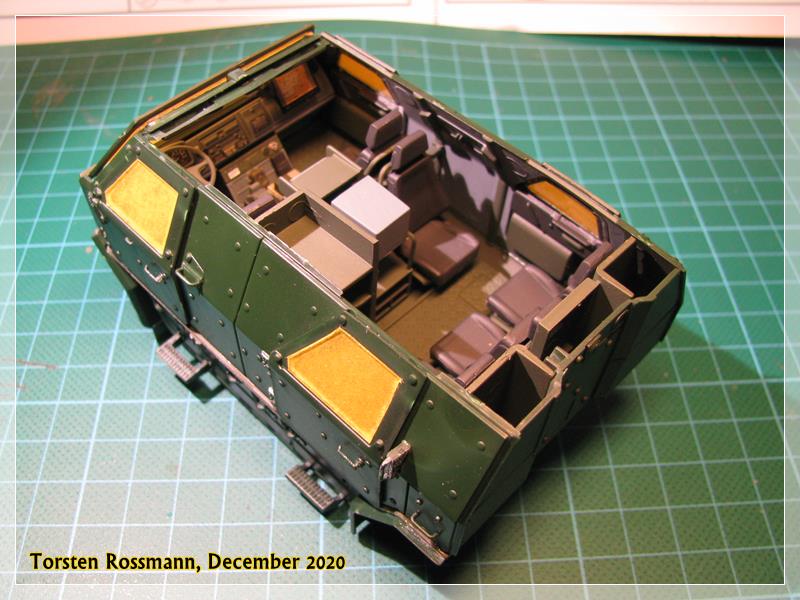
After a few days I can show you some smaller progress. Have finished the doors and I also noticed what Olivier already pointed out. The rear doors are both a little warped at their window section. So I needed to persuade them when I glued the clear parts in with Micro Kristal Klear …
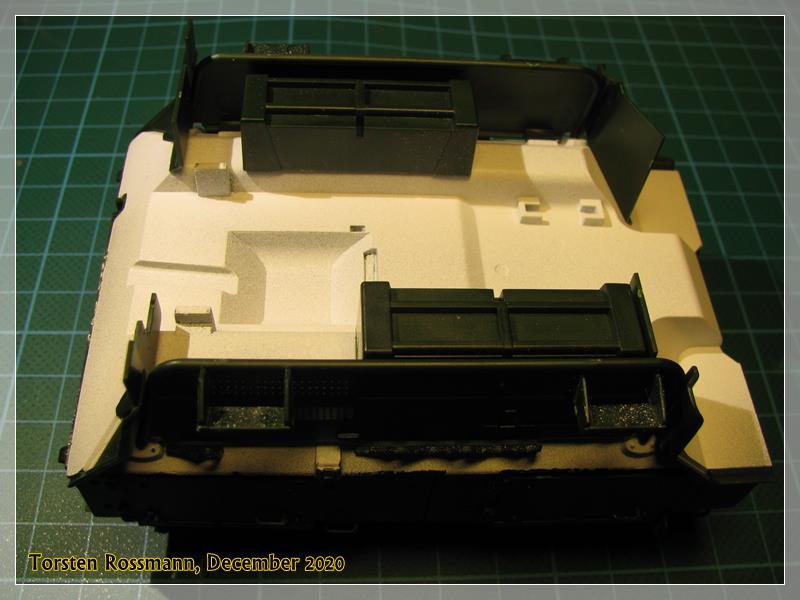
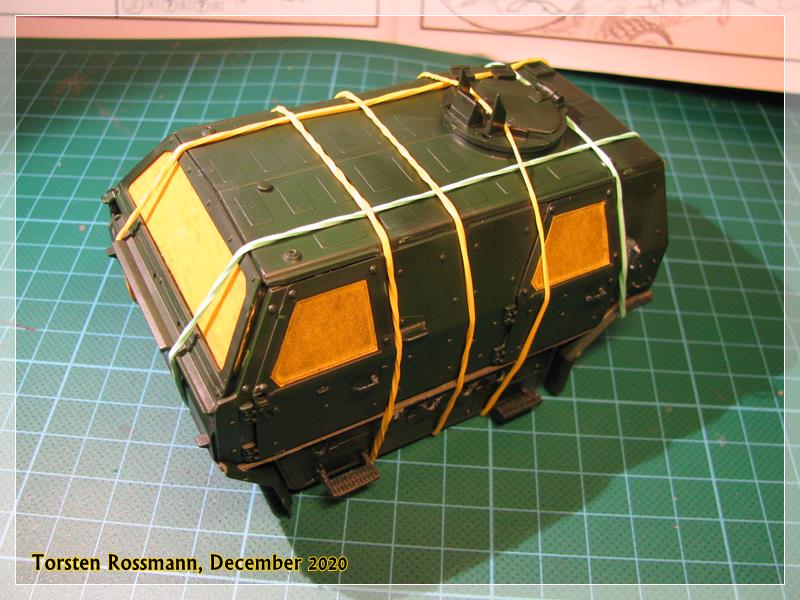
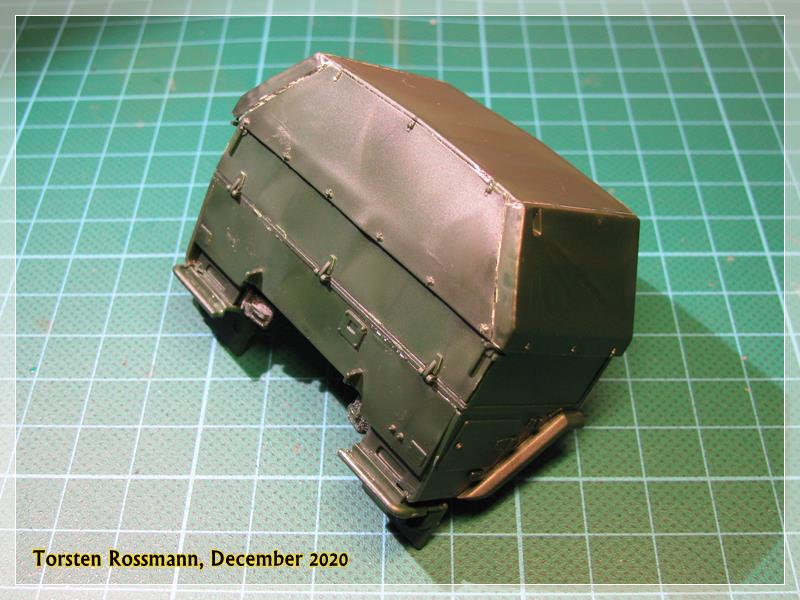
… and the rear storage compartment. The fitting of the rear tarp is not good but this is the best result I can achieve. I hope it looks better when the paint is on …