The kit has just arrived. Now off to wash the plastic and start cockpit detail painting.

7 Likes
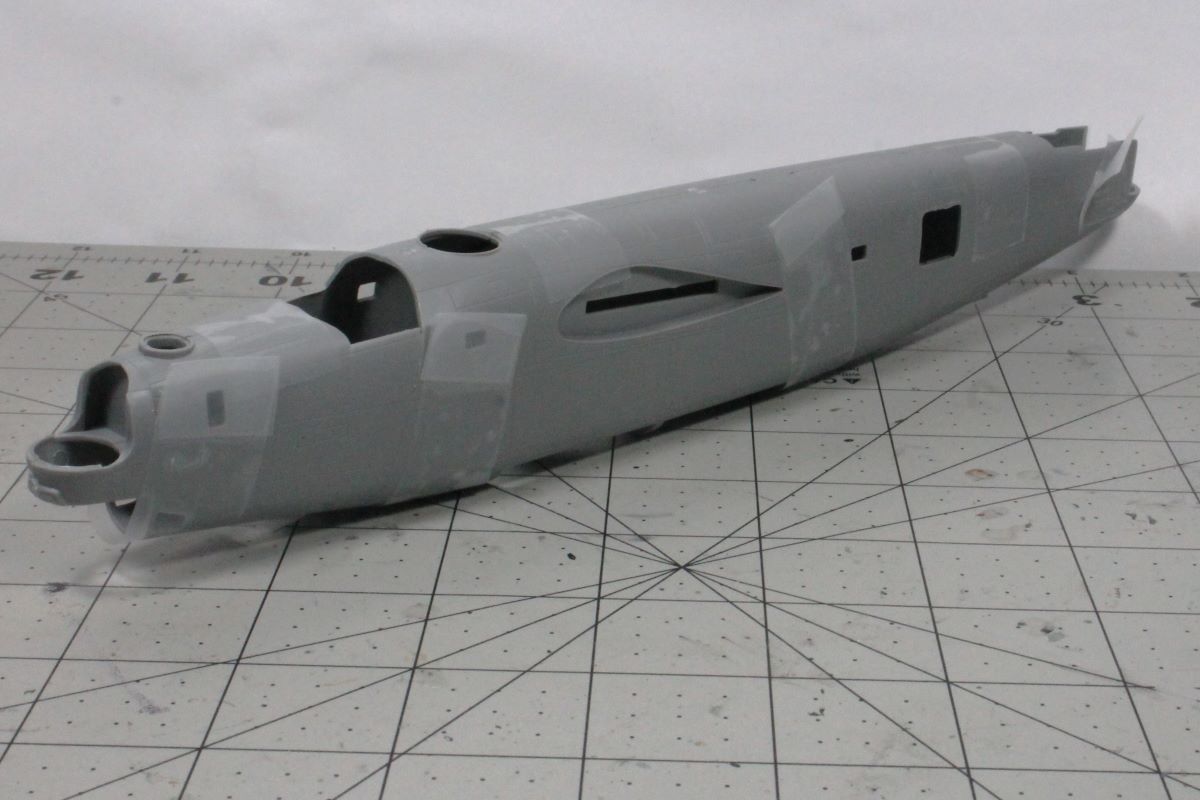
I washed the plastic then cut the fuselage nose section from the sprue and then the fuselage main sections. I attached each nose to main section then taped the left and right assemblies together to dry so they match. When they are dry I can take the right and left sections apart and paint the insides of each their respective colors. I believe it will be dark dull green for the nose and cockpit, aluminum for the bomb bay, yellow chromate for the waist gunners area and dark dull green for th tail gunners area. I still have to do more research on these colors.
6 Likes
I have several B-24s in 1/48 scale that I have yet to start. Will follow with interest have thought about a 1/72 scale, look forward to following your progress.
TinyDog01
2 Likes
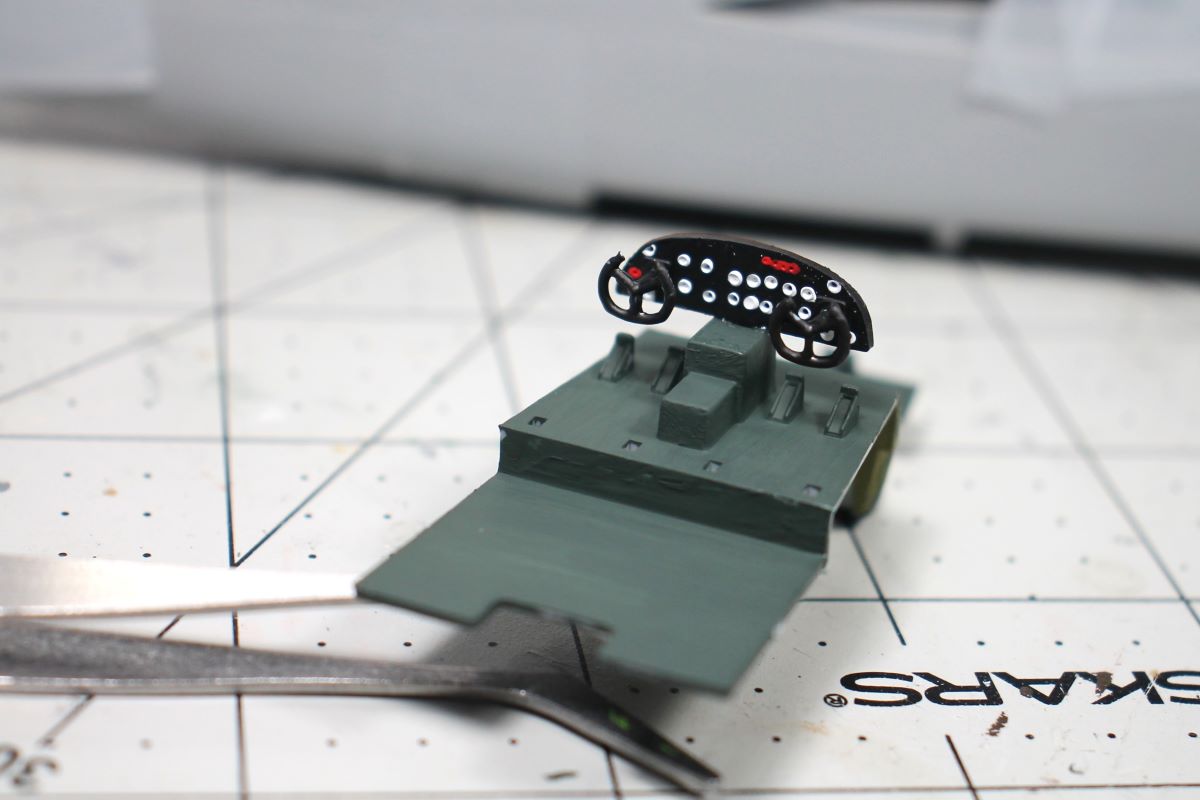
I started some cockpit work, dark dull green flight deck with black IP and yokes. I hand painted the dials and lights on the IP.
8 Likes
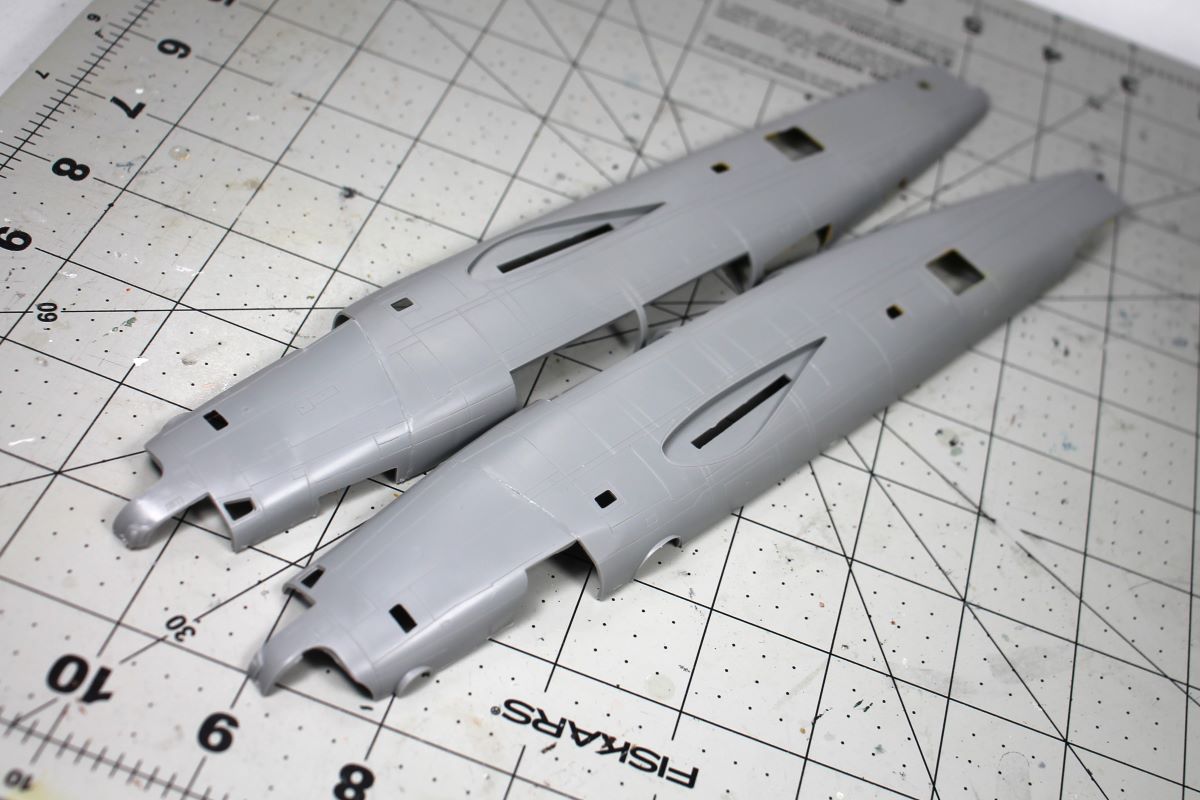
I took the tape off the fuselage and separated them, the individual halves look pretty straight but will need some putty on the outside seam.
4 Likes
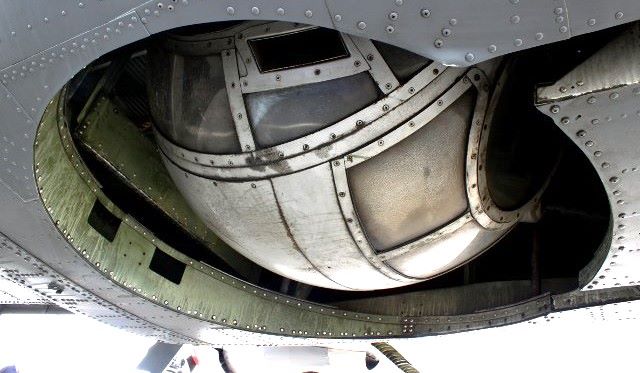
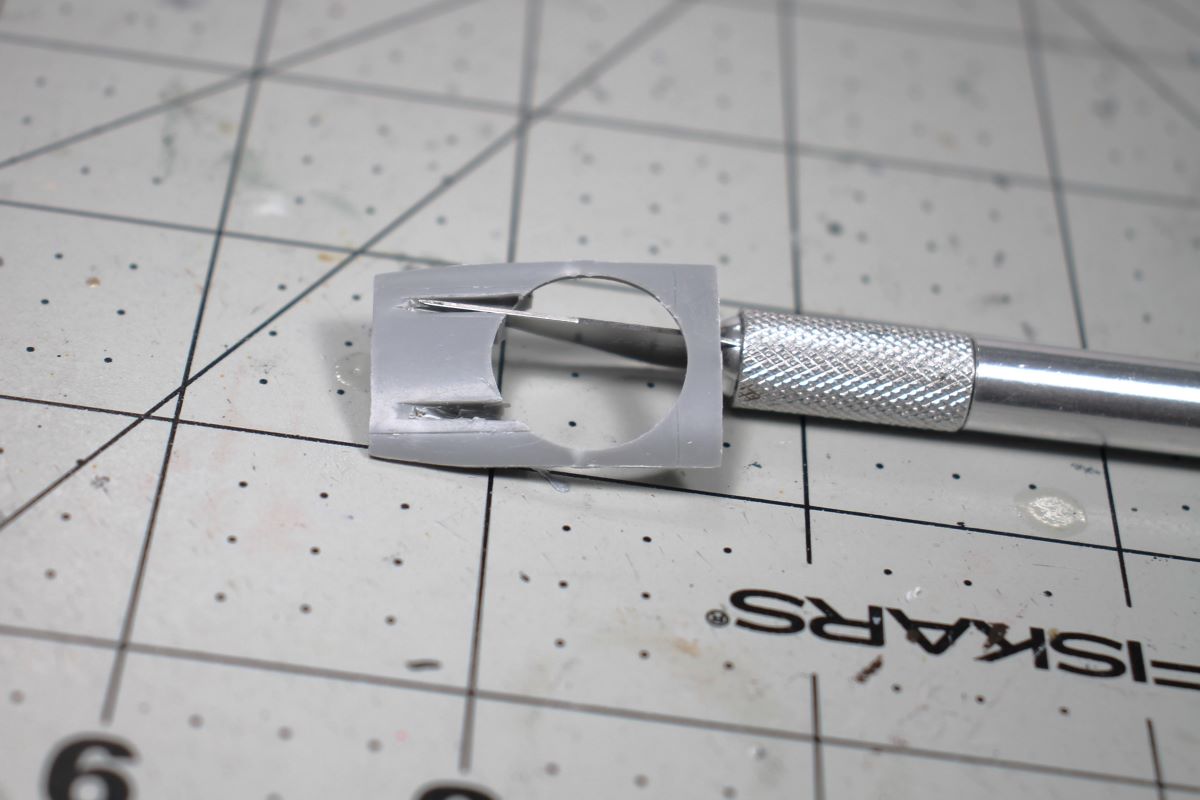
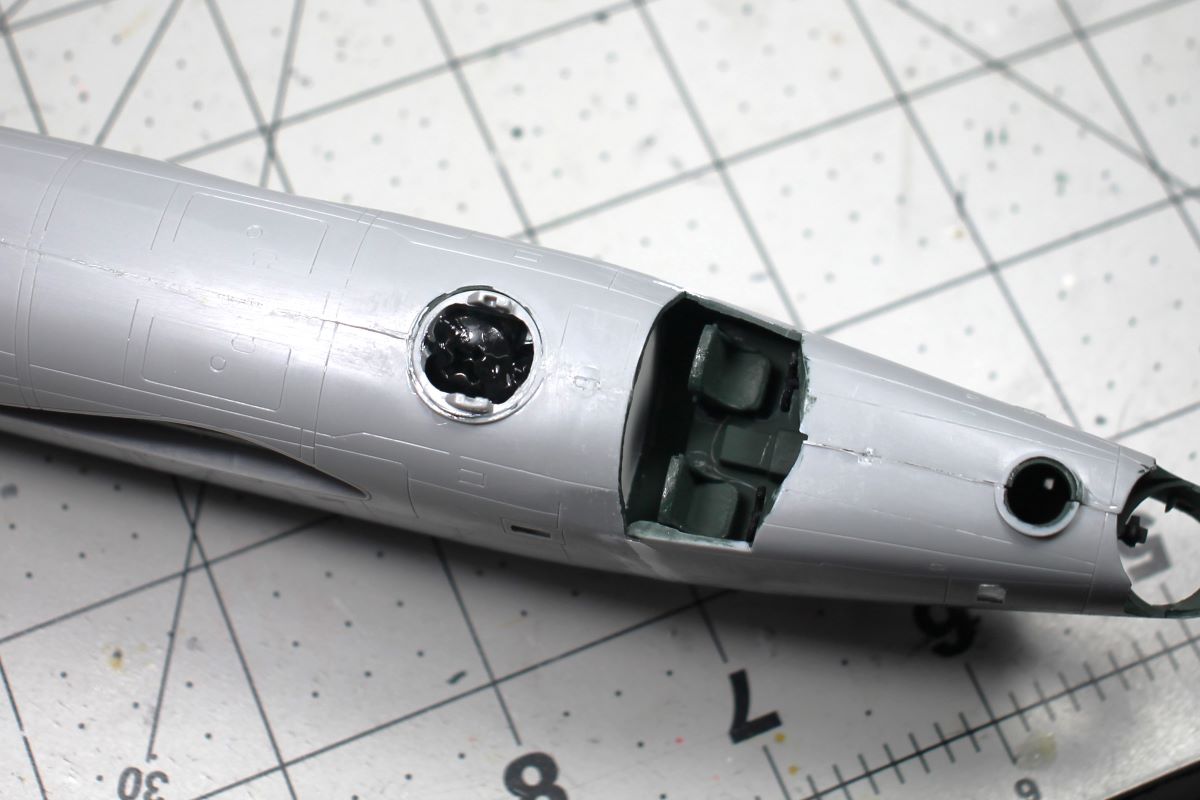
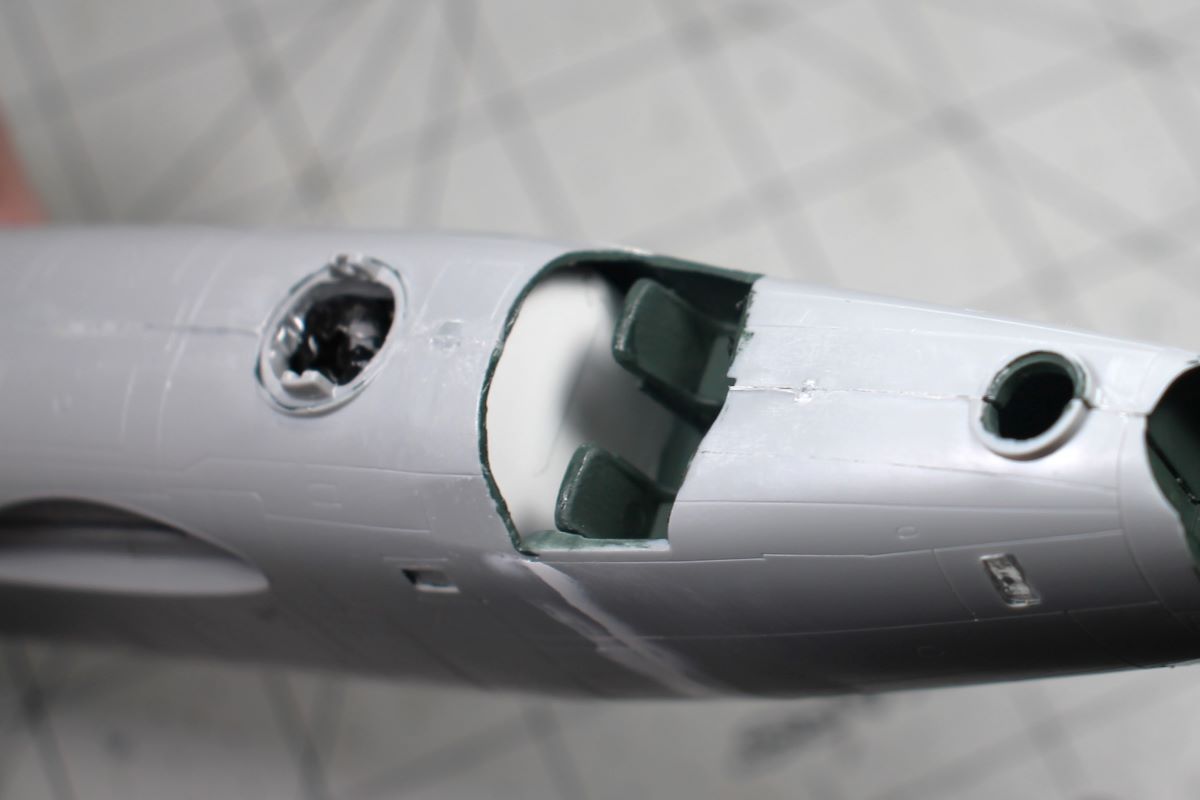
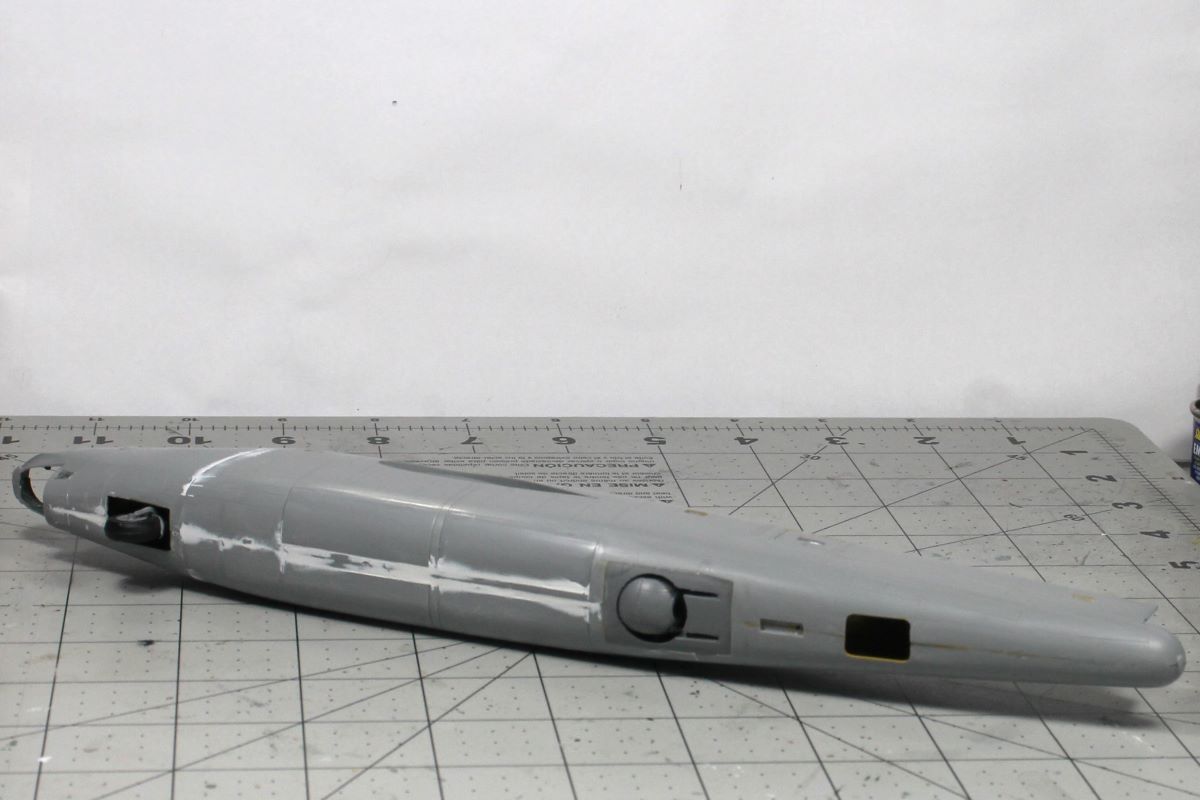
I also started cleaning out the gun troughs for the ball turret. As they are now the troughs are solid and if you put the turret in the gun barrels angel up. I want them inside the troughs as in the photograph below.
5 Likes
#Following with intrest, the kit seems to be very decent priced getting on the shelfs here in Europe
1 Like

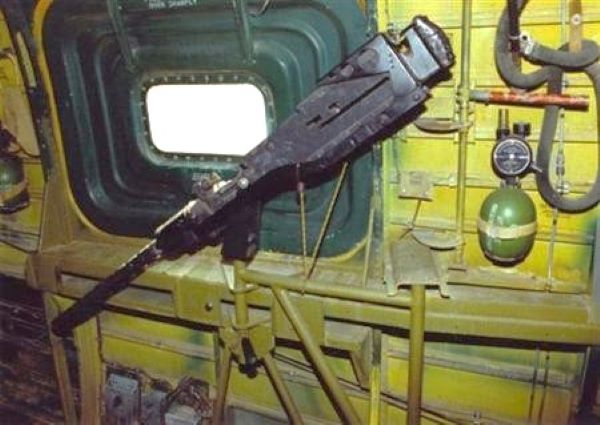
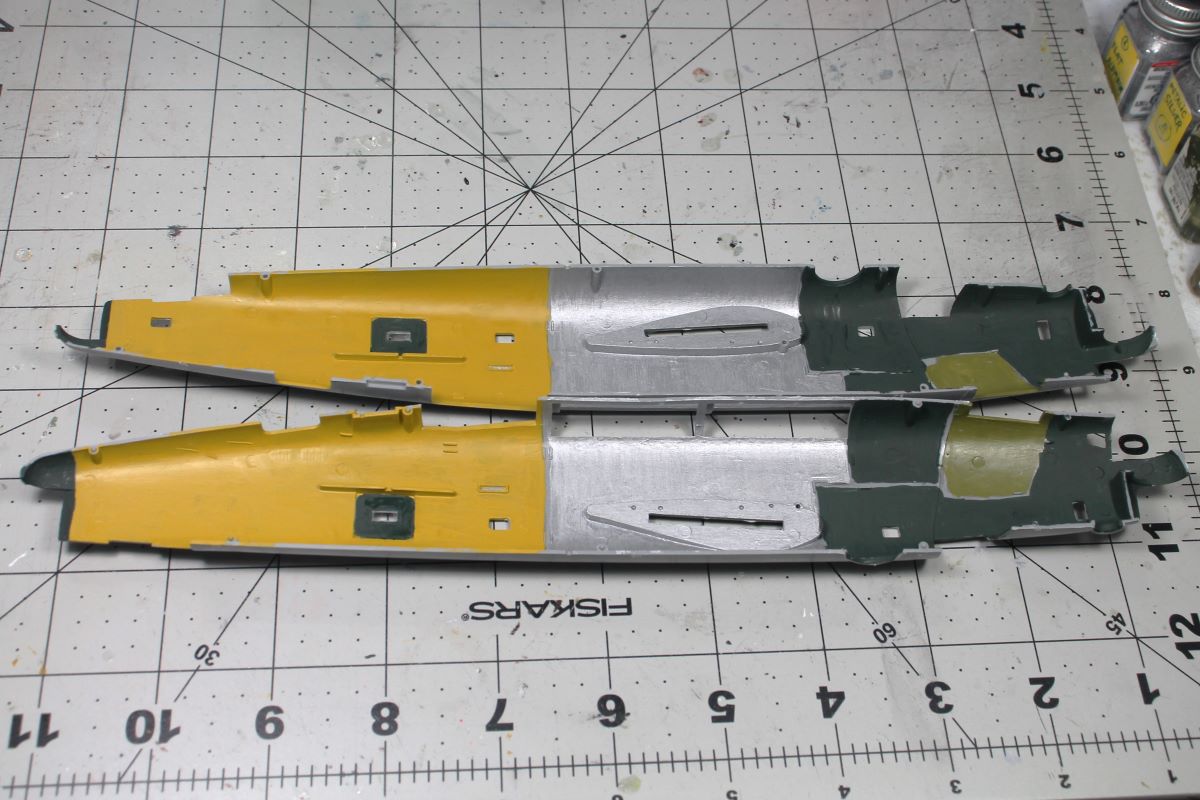
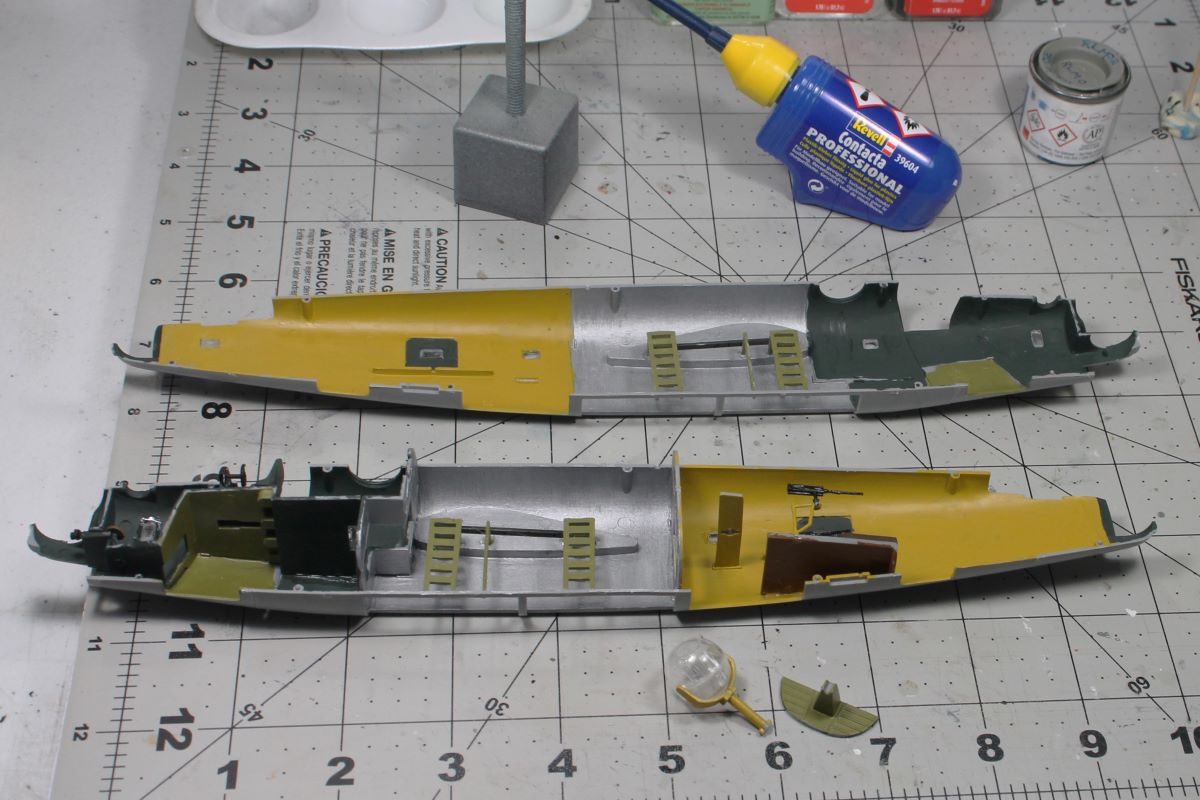
I have the interior of the fuselage halves done. In closed the waist gunners hatch and window and painted the inside of the hatch dark dull green as shown in this reference picture.
8 Likes
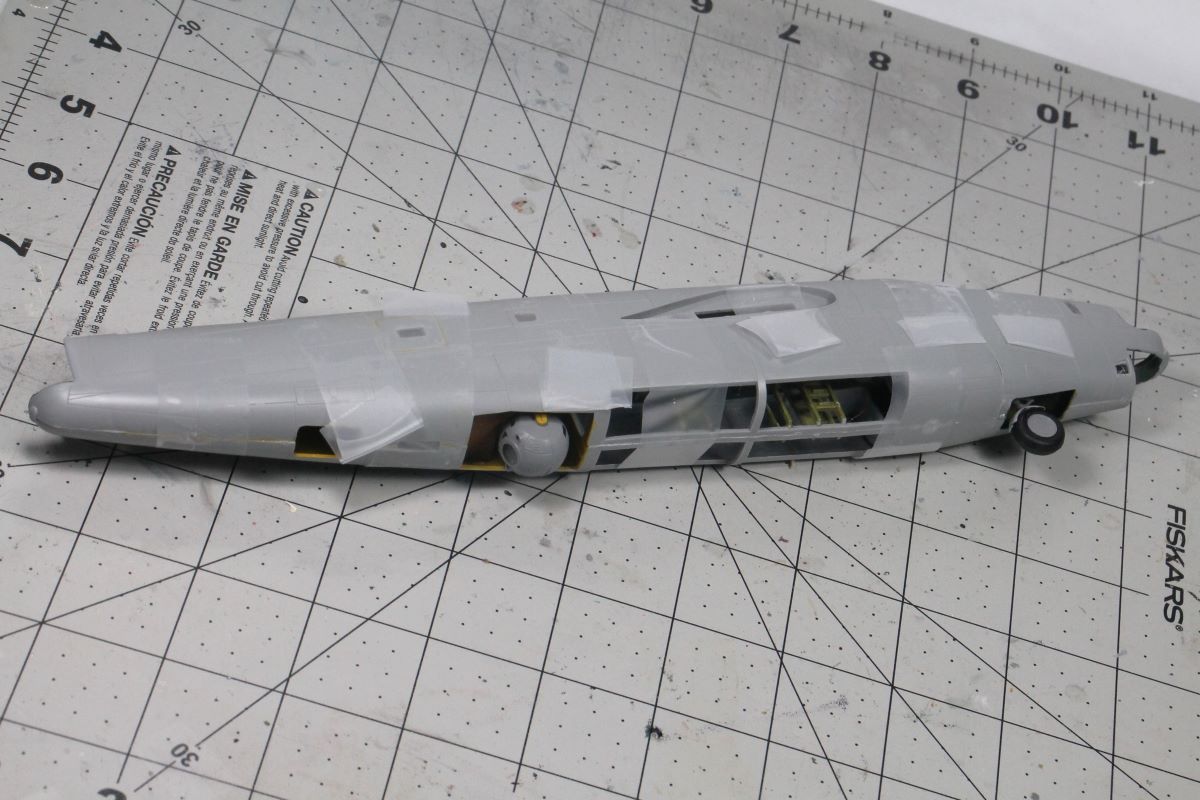
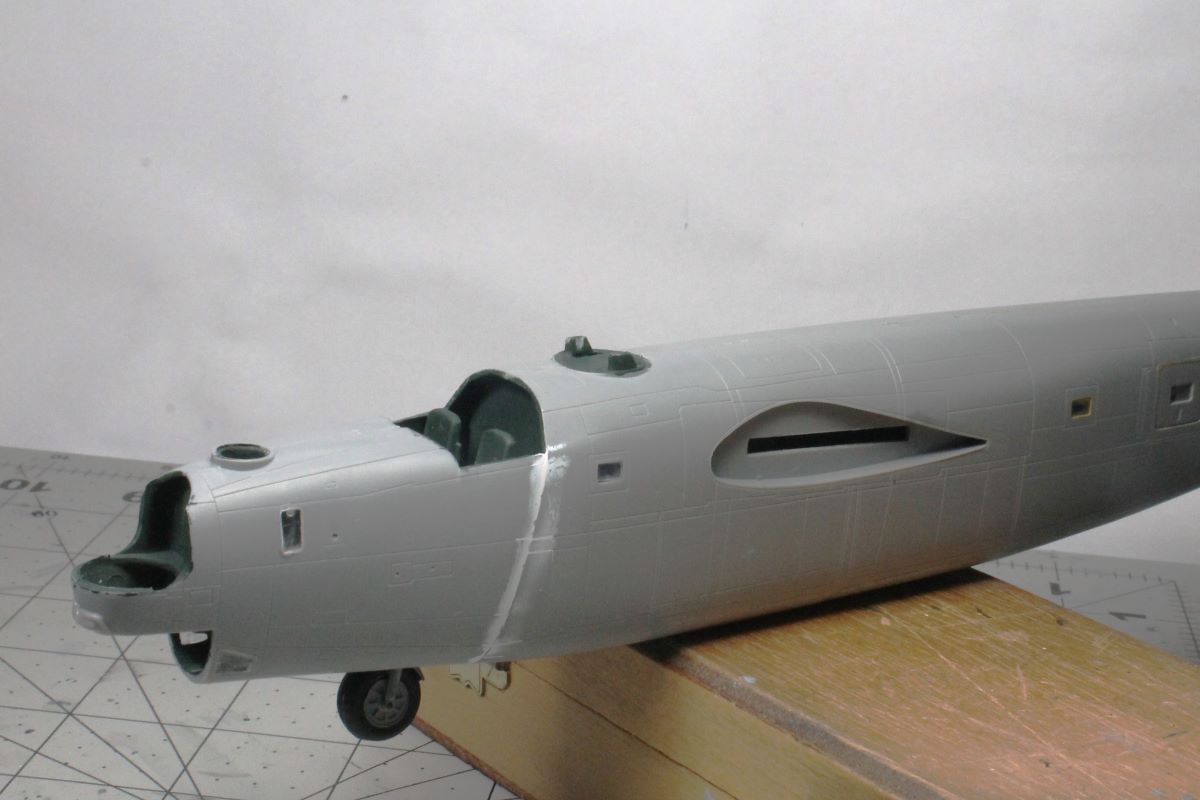
Almost ready to close up, needs ball turret, nose wheel well bulkhead, upper turret ring and some nose weight.
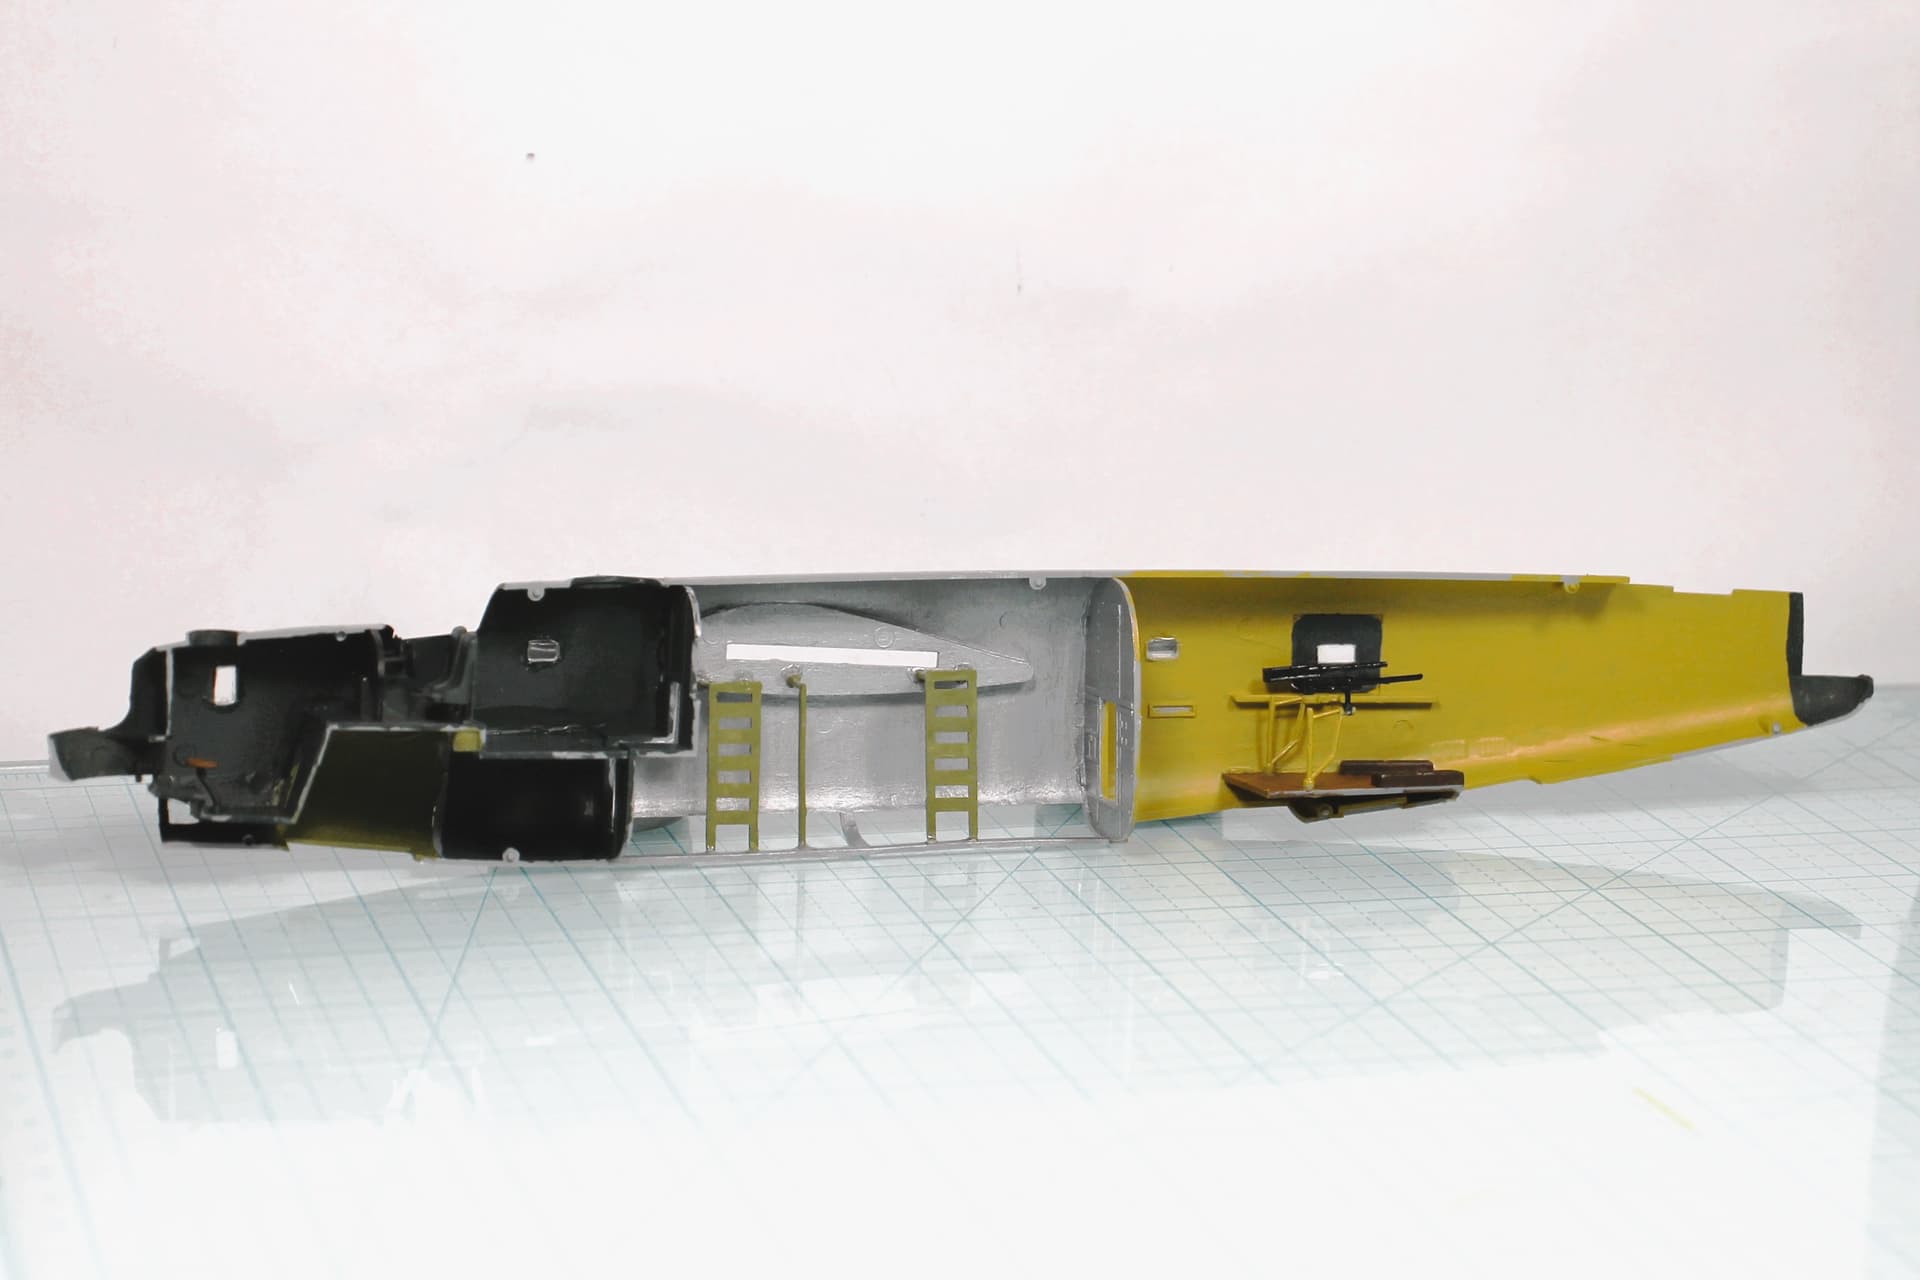
6 Likes
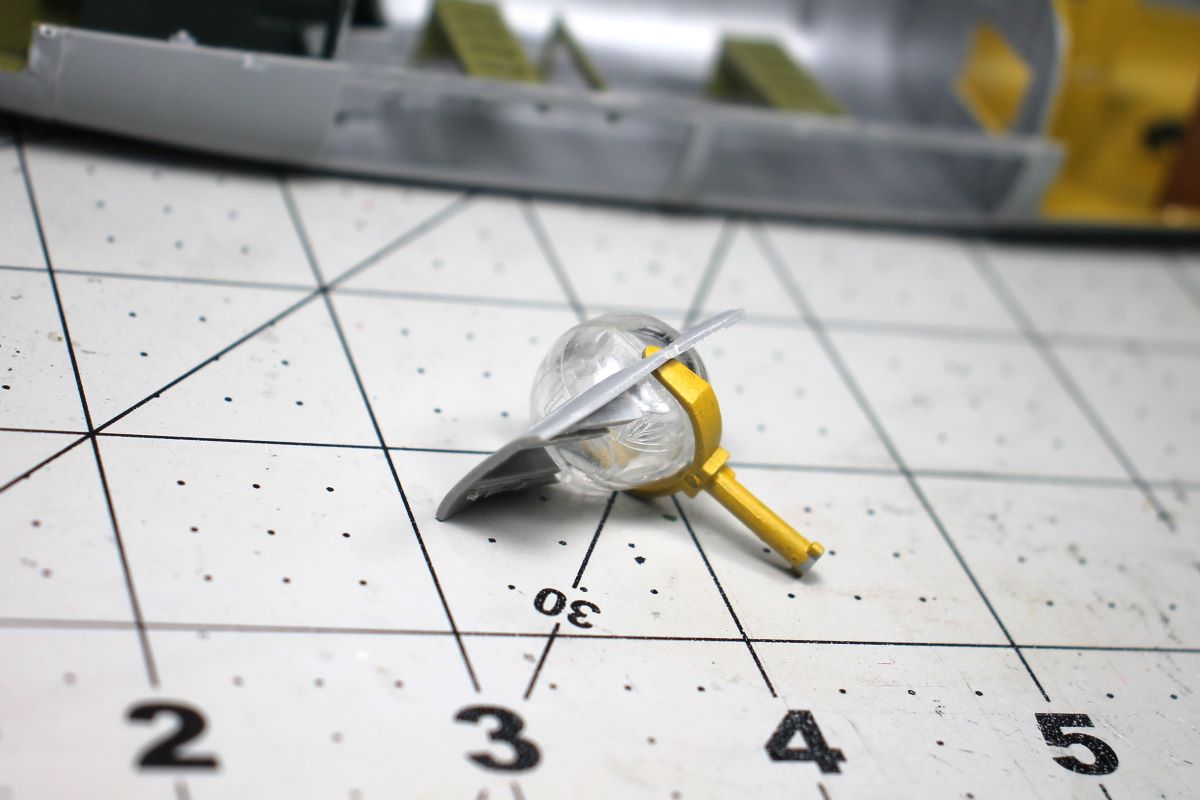
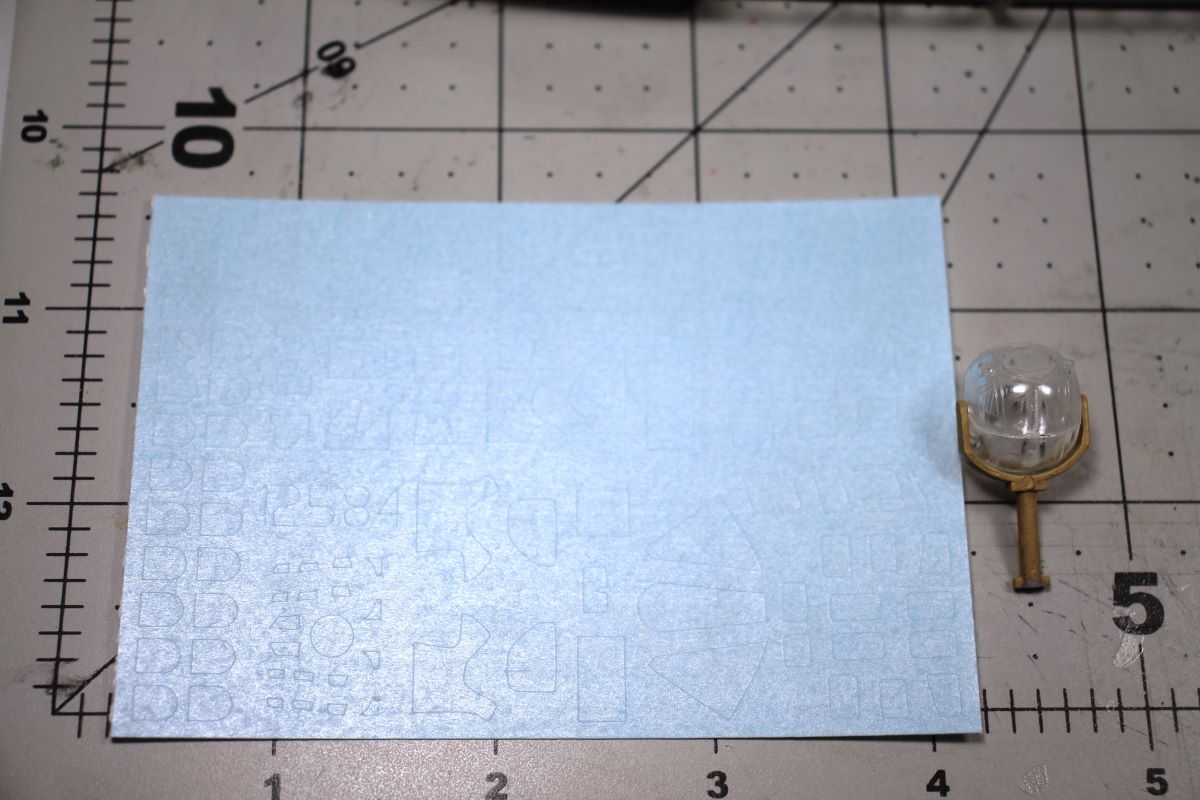
I have to add the ball turret guns and mask and paint it,then add the nose wheel and bulk head. The kit has a set of masks that are shown in the instructions as to what goes where. Then it’s time to close it up.
5 Likes
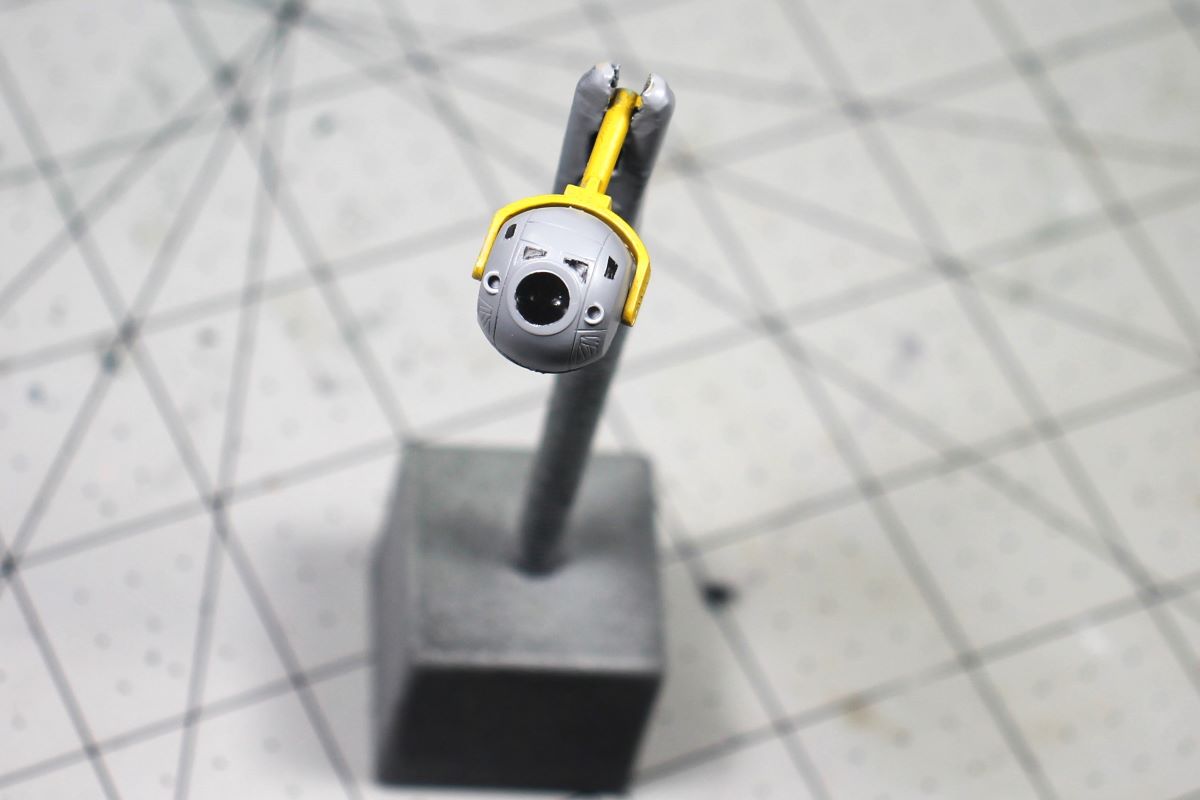
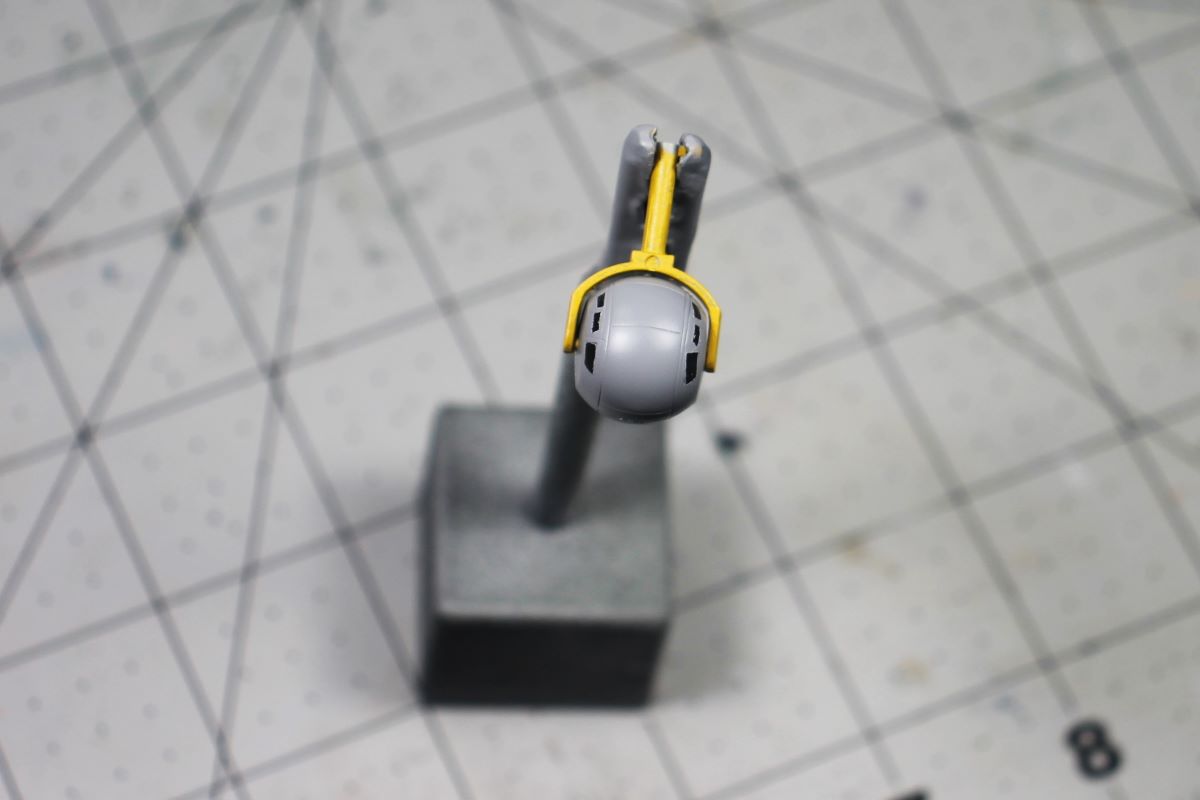
I painted up the ball turret gun barrels and installed them, positioned the turret in the stored position and added the bottom plate that surrounds the turret area. After gluing the turret into position I did some puttying on some offensive seams.

8 Likes
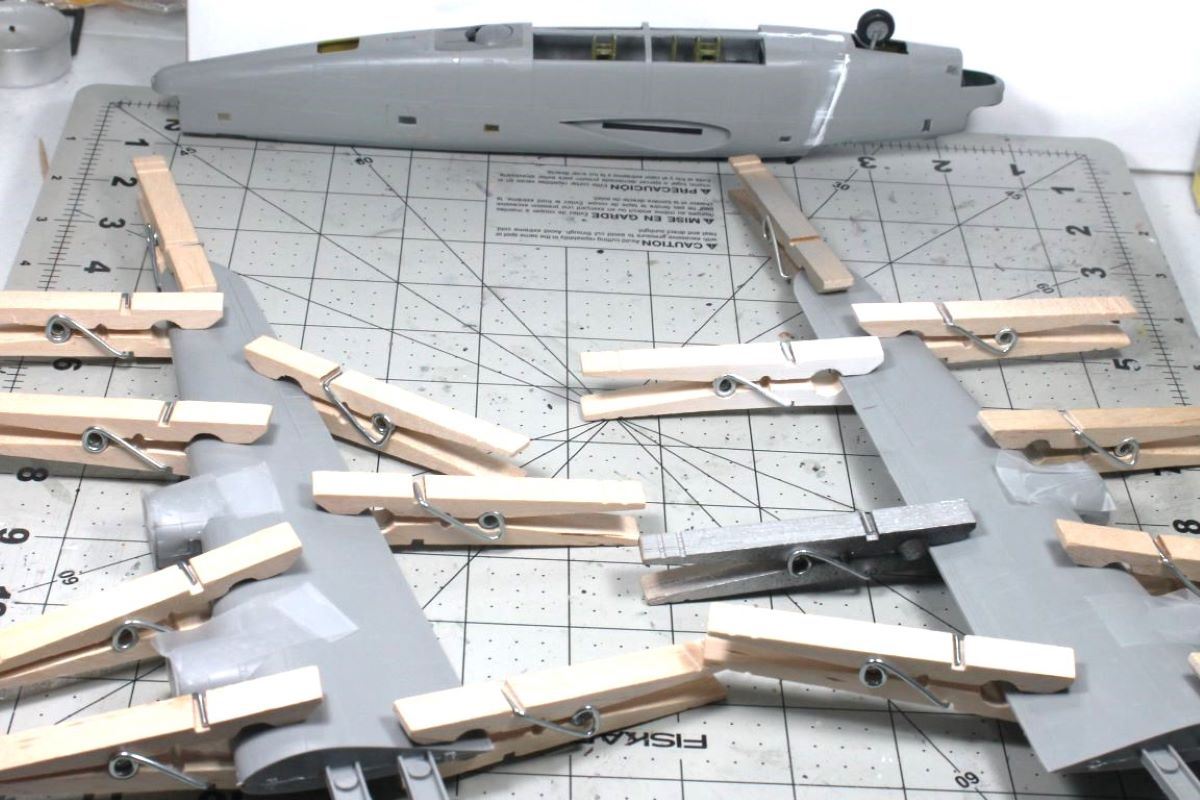
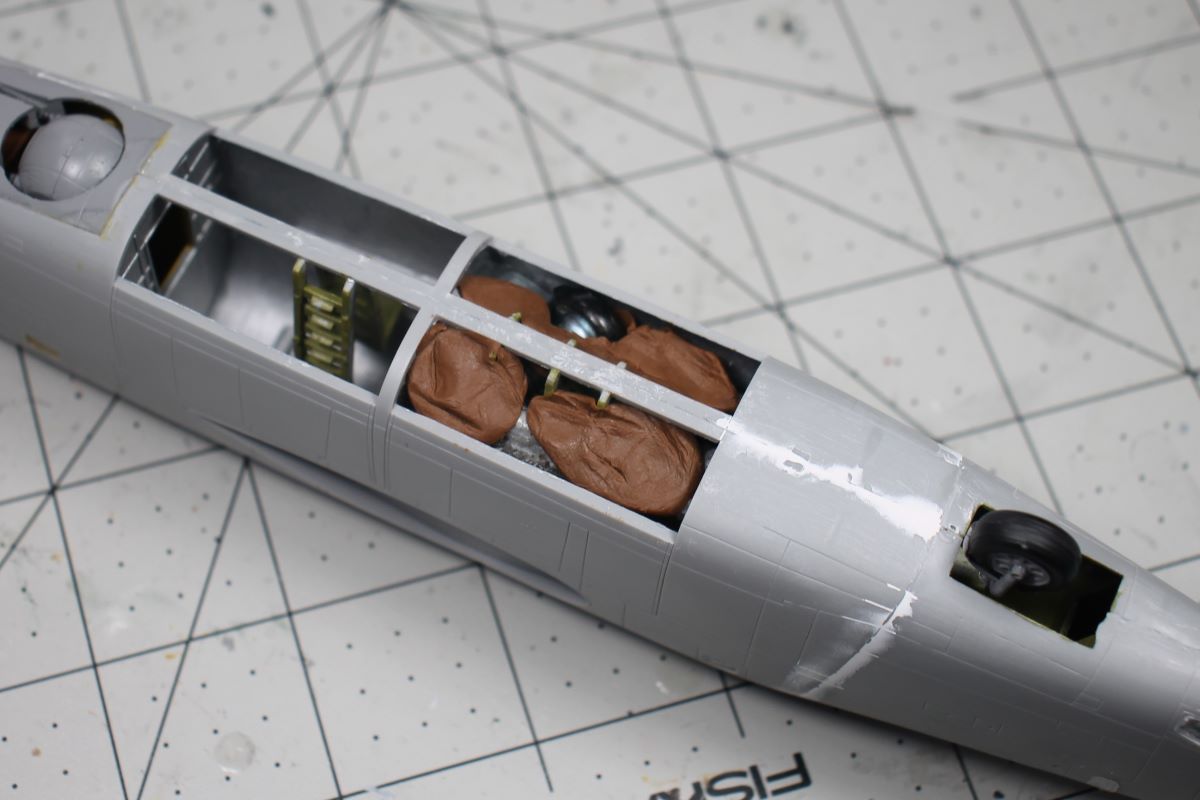
I added some weight to the forward fuselage. Nuts, bolts, fishing weights and clay to the tune of approximately 96 grams. I also made a plastic card bulkhead which I will paint dark dull green in back of the pilots seats to hide my “scrap iron” weight collection.
4 Likes
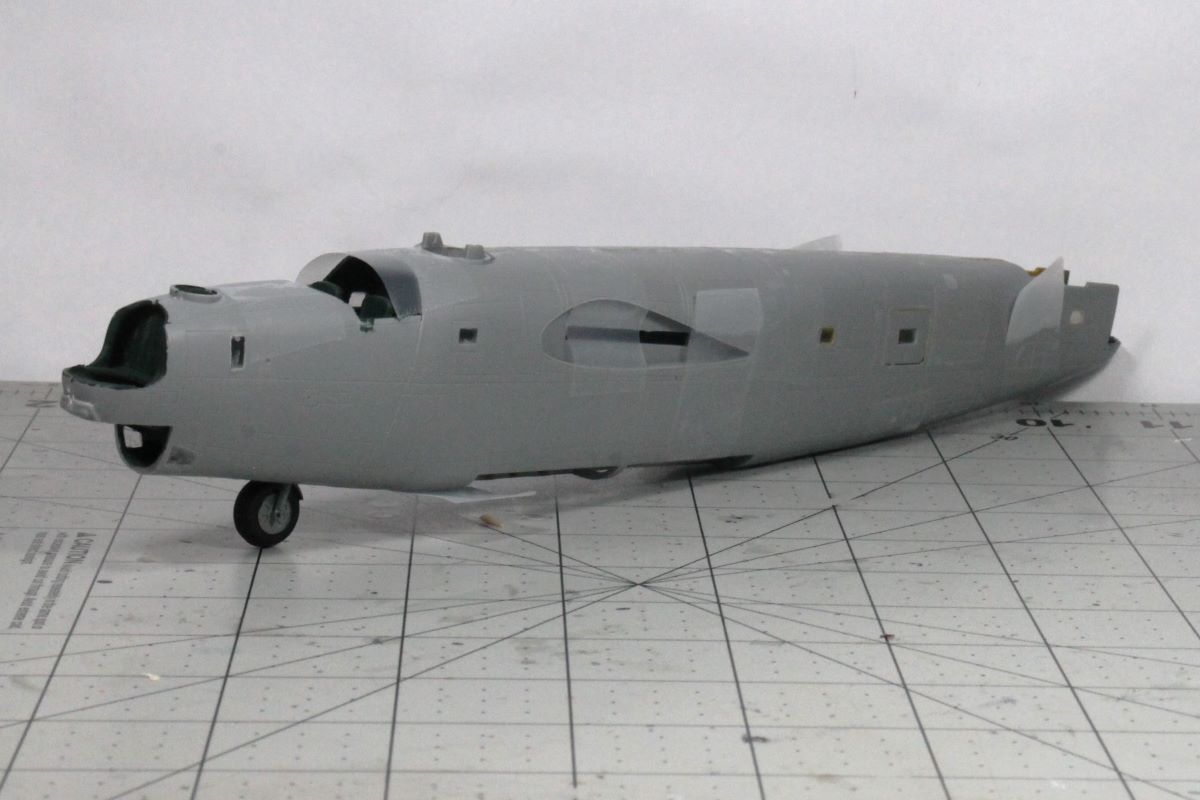
I have the bomb bay doors closed and sanded up, the bulkhead behind the pilots seats painted and a blanking plate added to the “floor” of the top turret added and painted dark dull green also to hide the weight in the radio room. After I add the exit door to the rear bottom fuselage I will putty that gap and then gap behind it near the tail.
6 Likes
Building up nicely … I always thought the B24 is a bit of a forgotten about bird …
2 Likes
It is, Jimmy Stewart isn’t.
1 Like
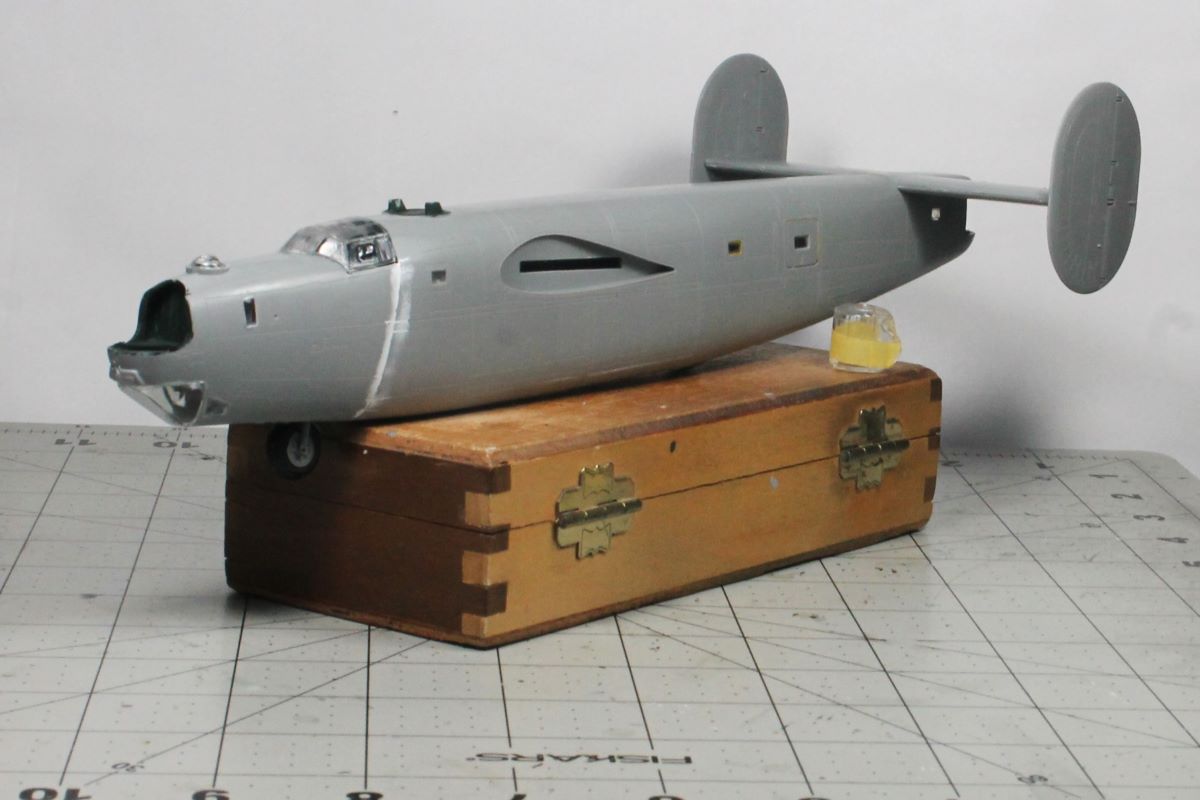
I added the glass in the cockpit area and forward fuselage then assembled and added the stabs and tails. The glass fit is horrible and will need some “white glue” as gap filler. I taped the tail turret together and it will fit in nicely after the tail and fuselage have been glued together. I want to paint the wings and fuselage separately then join them after paint.
7 Likes