You can mix the putty with a little water to get a good working
consistency and apply it with this type of syringe…it will flow
precisely in the joint and then wipe with a Qtip.
Cheers,
You can mix the putty with a little water to get a good working
consistency and apply it with this type of syringe…it will flow
precisely in the joint and then wipe with a Qtip.
Cheers,
Nice.
The force is strong in you.

Mmmmm … I hadn’t thought about the syringe, good idea, I have several in the toolbox I have to find only the most suitable … thank you all!.. 
Thankyou master…the force may be with you!.. 
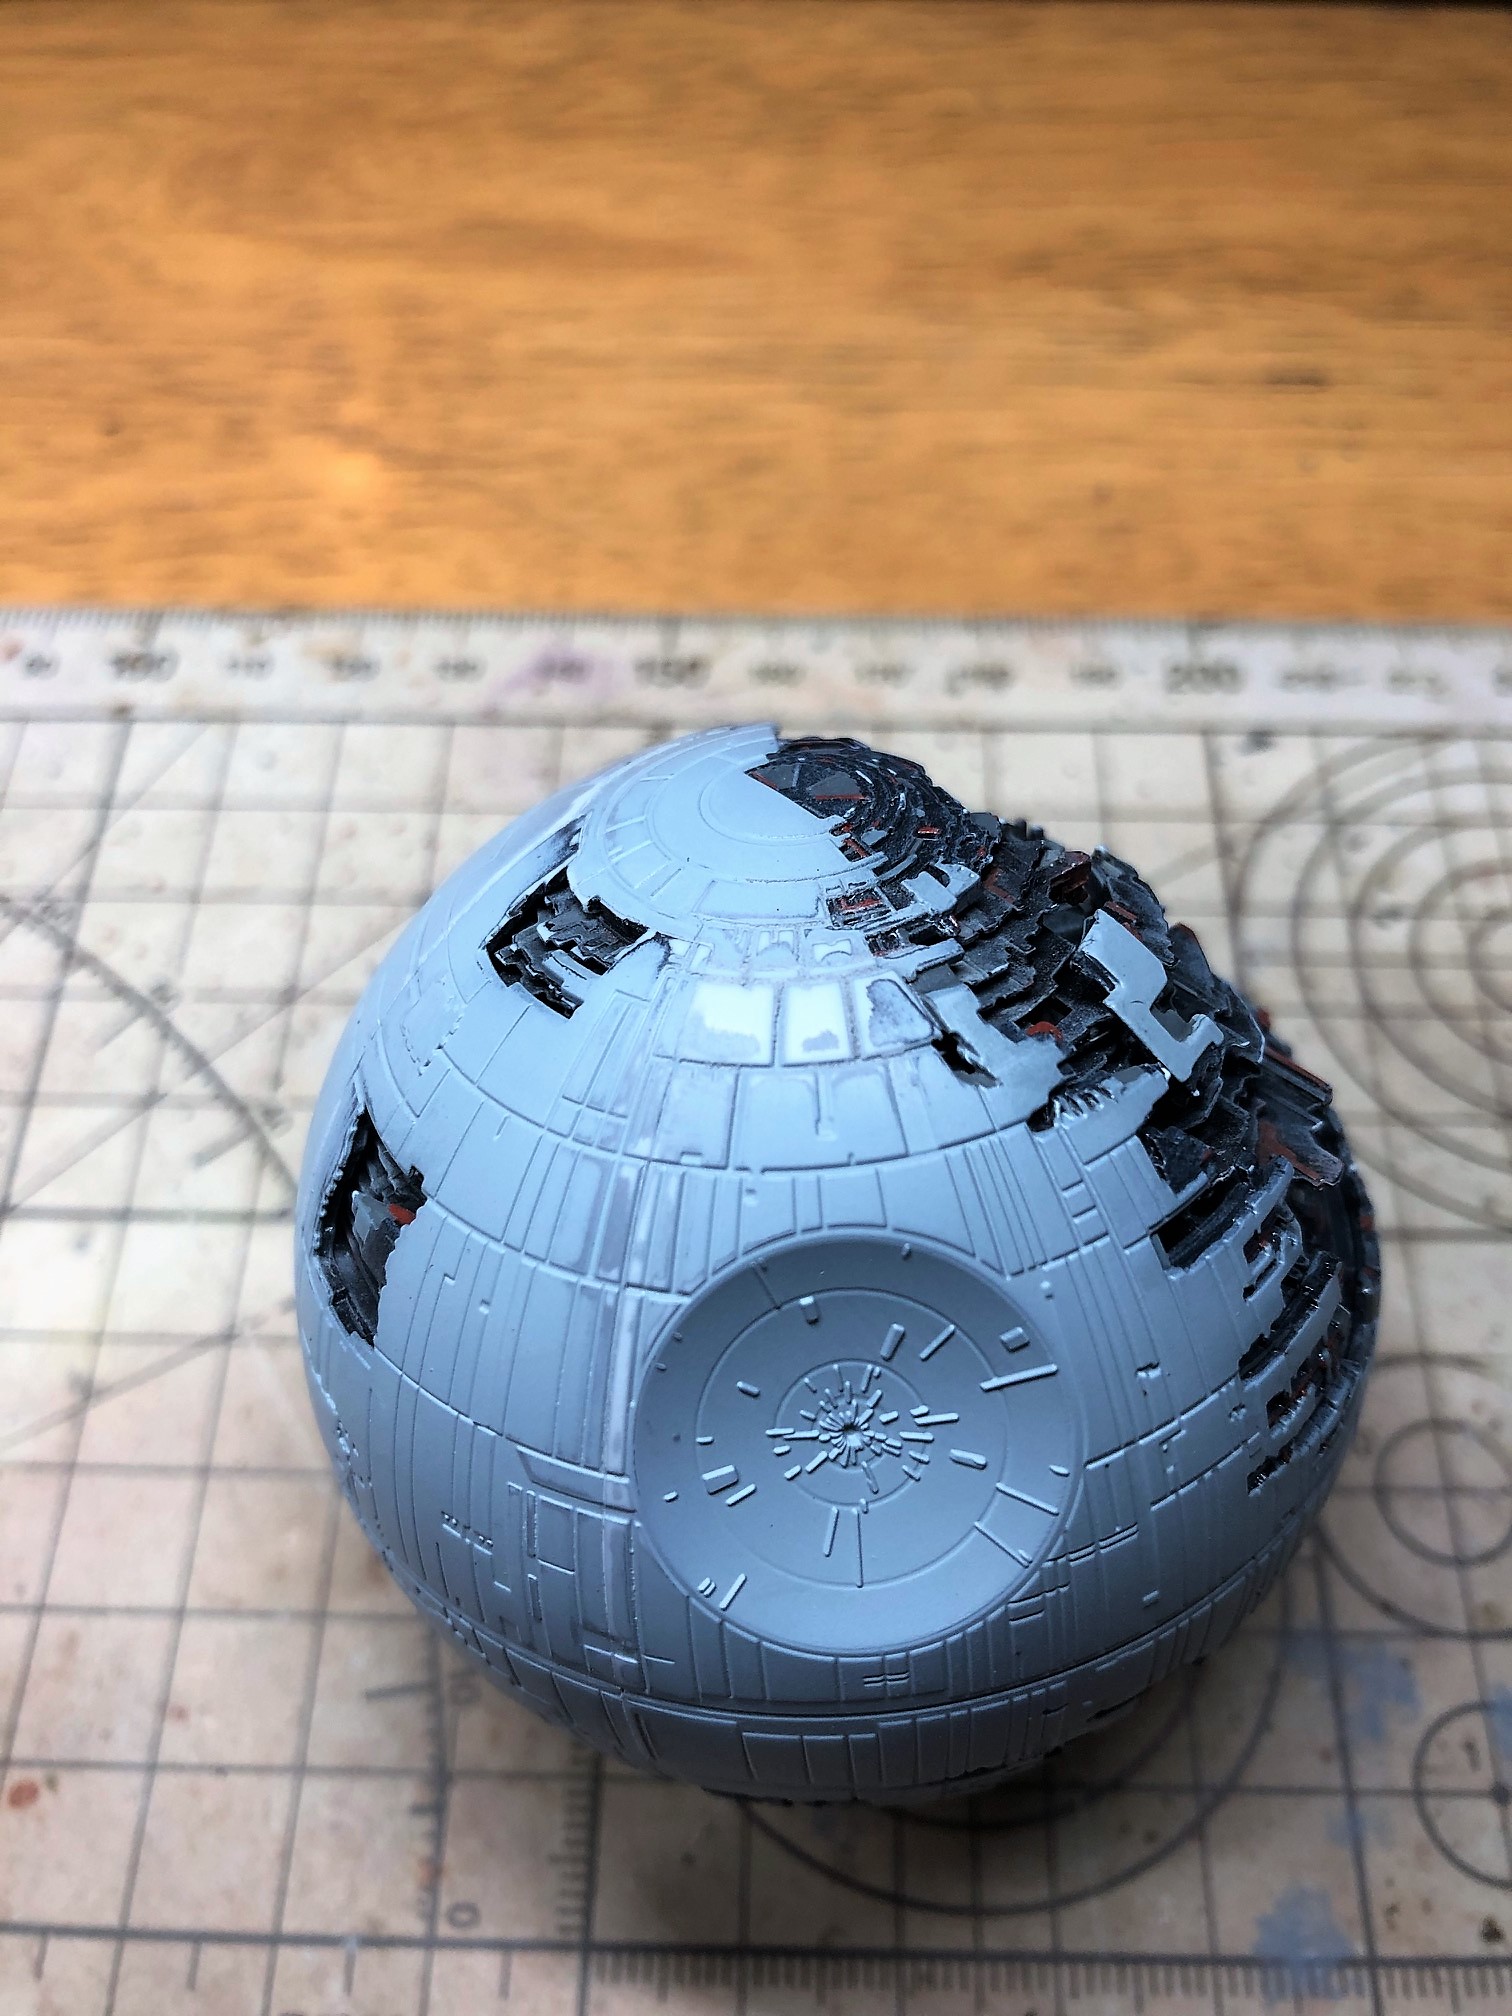
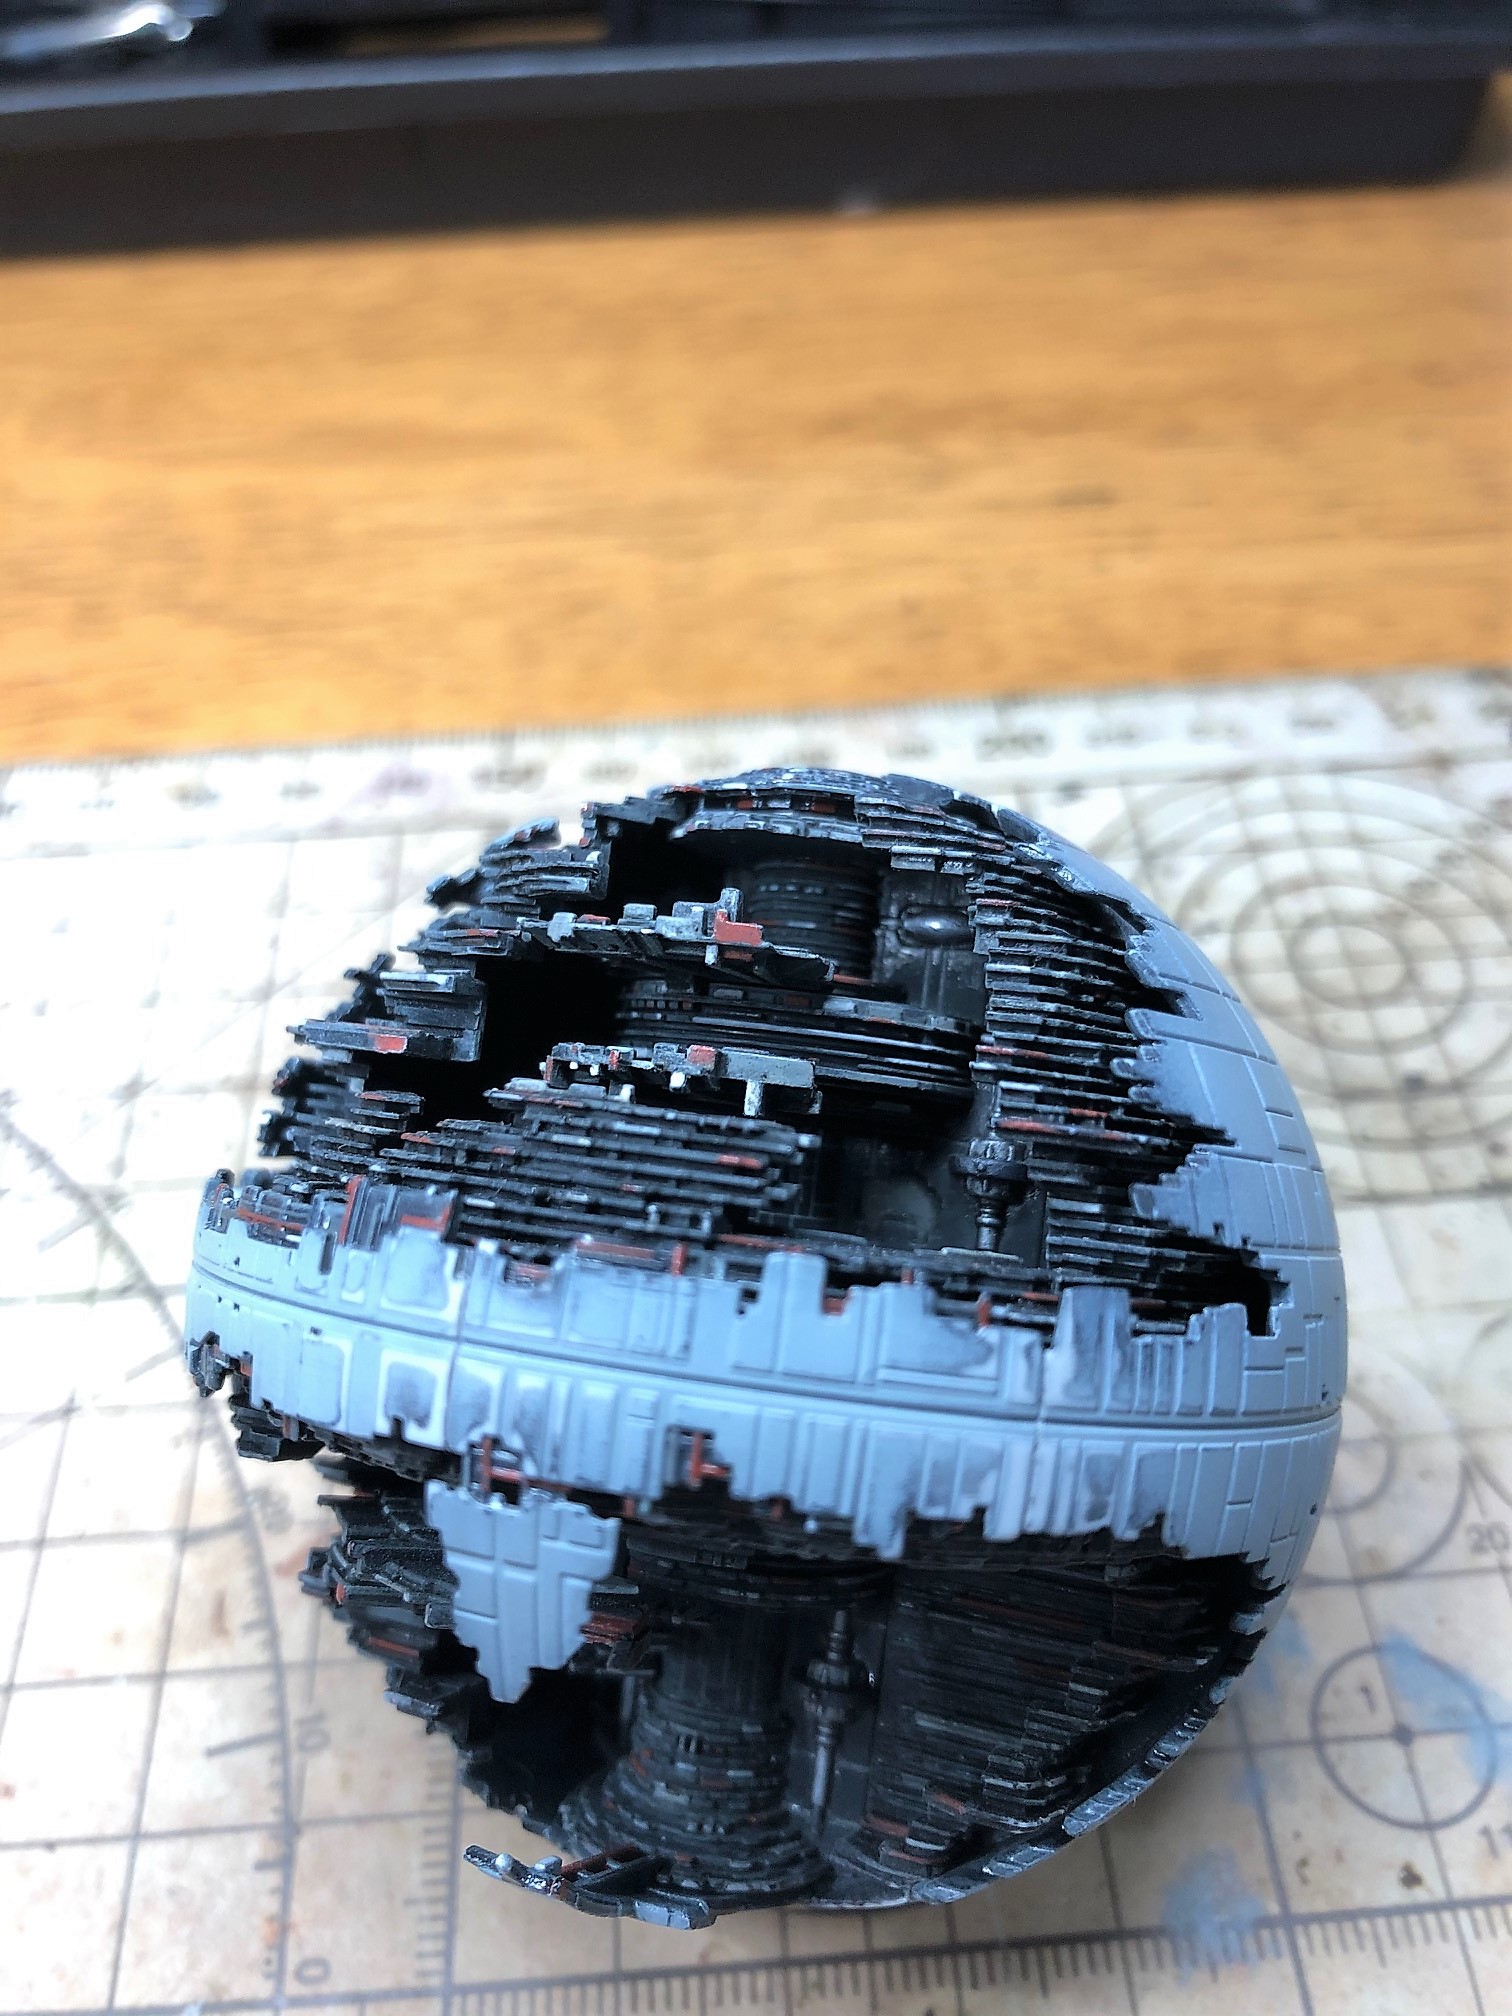
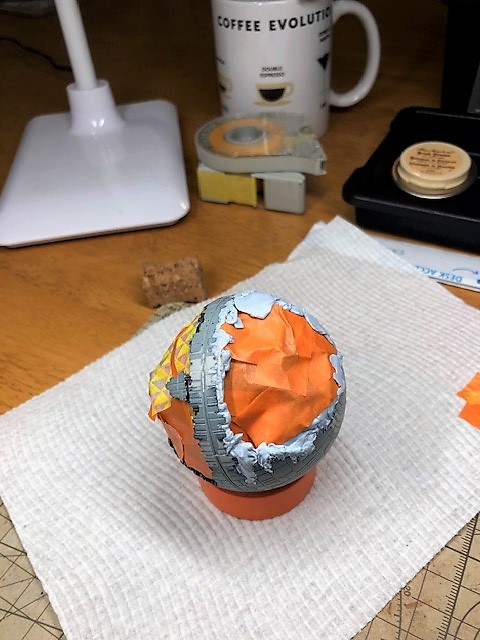
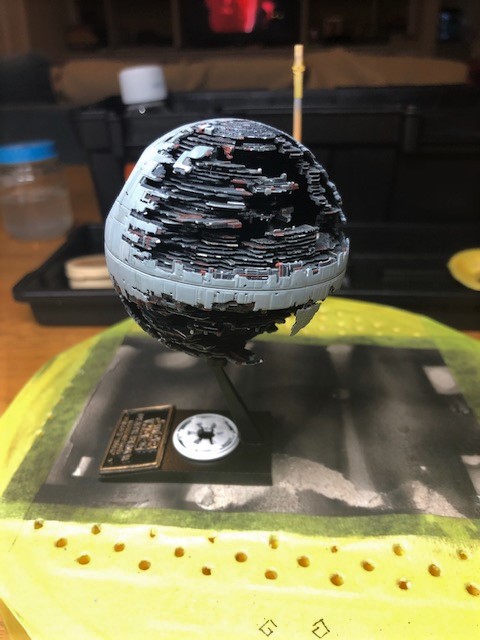
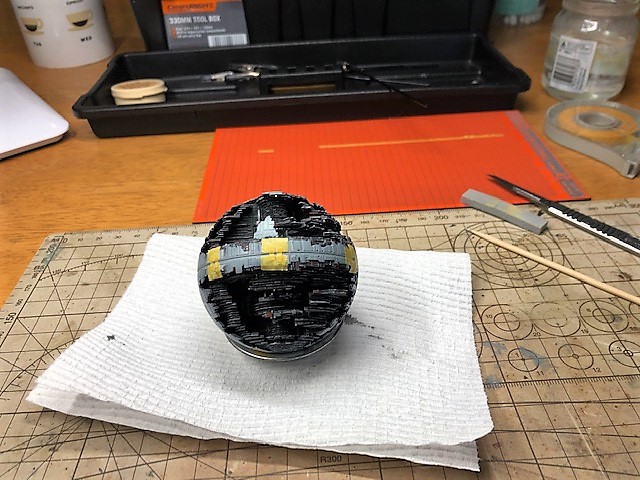
Last night I gave a couple of coats to the areas still under construction of the outer shell, one more coat and then drybrush to bring out some details and then some highlights etc … as in the interior
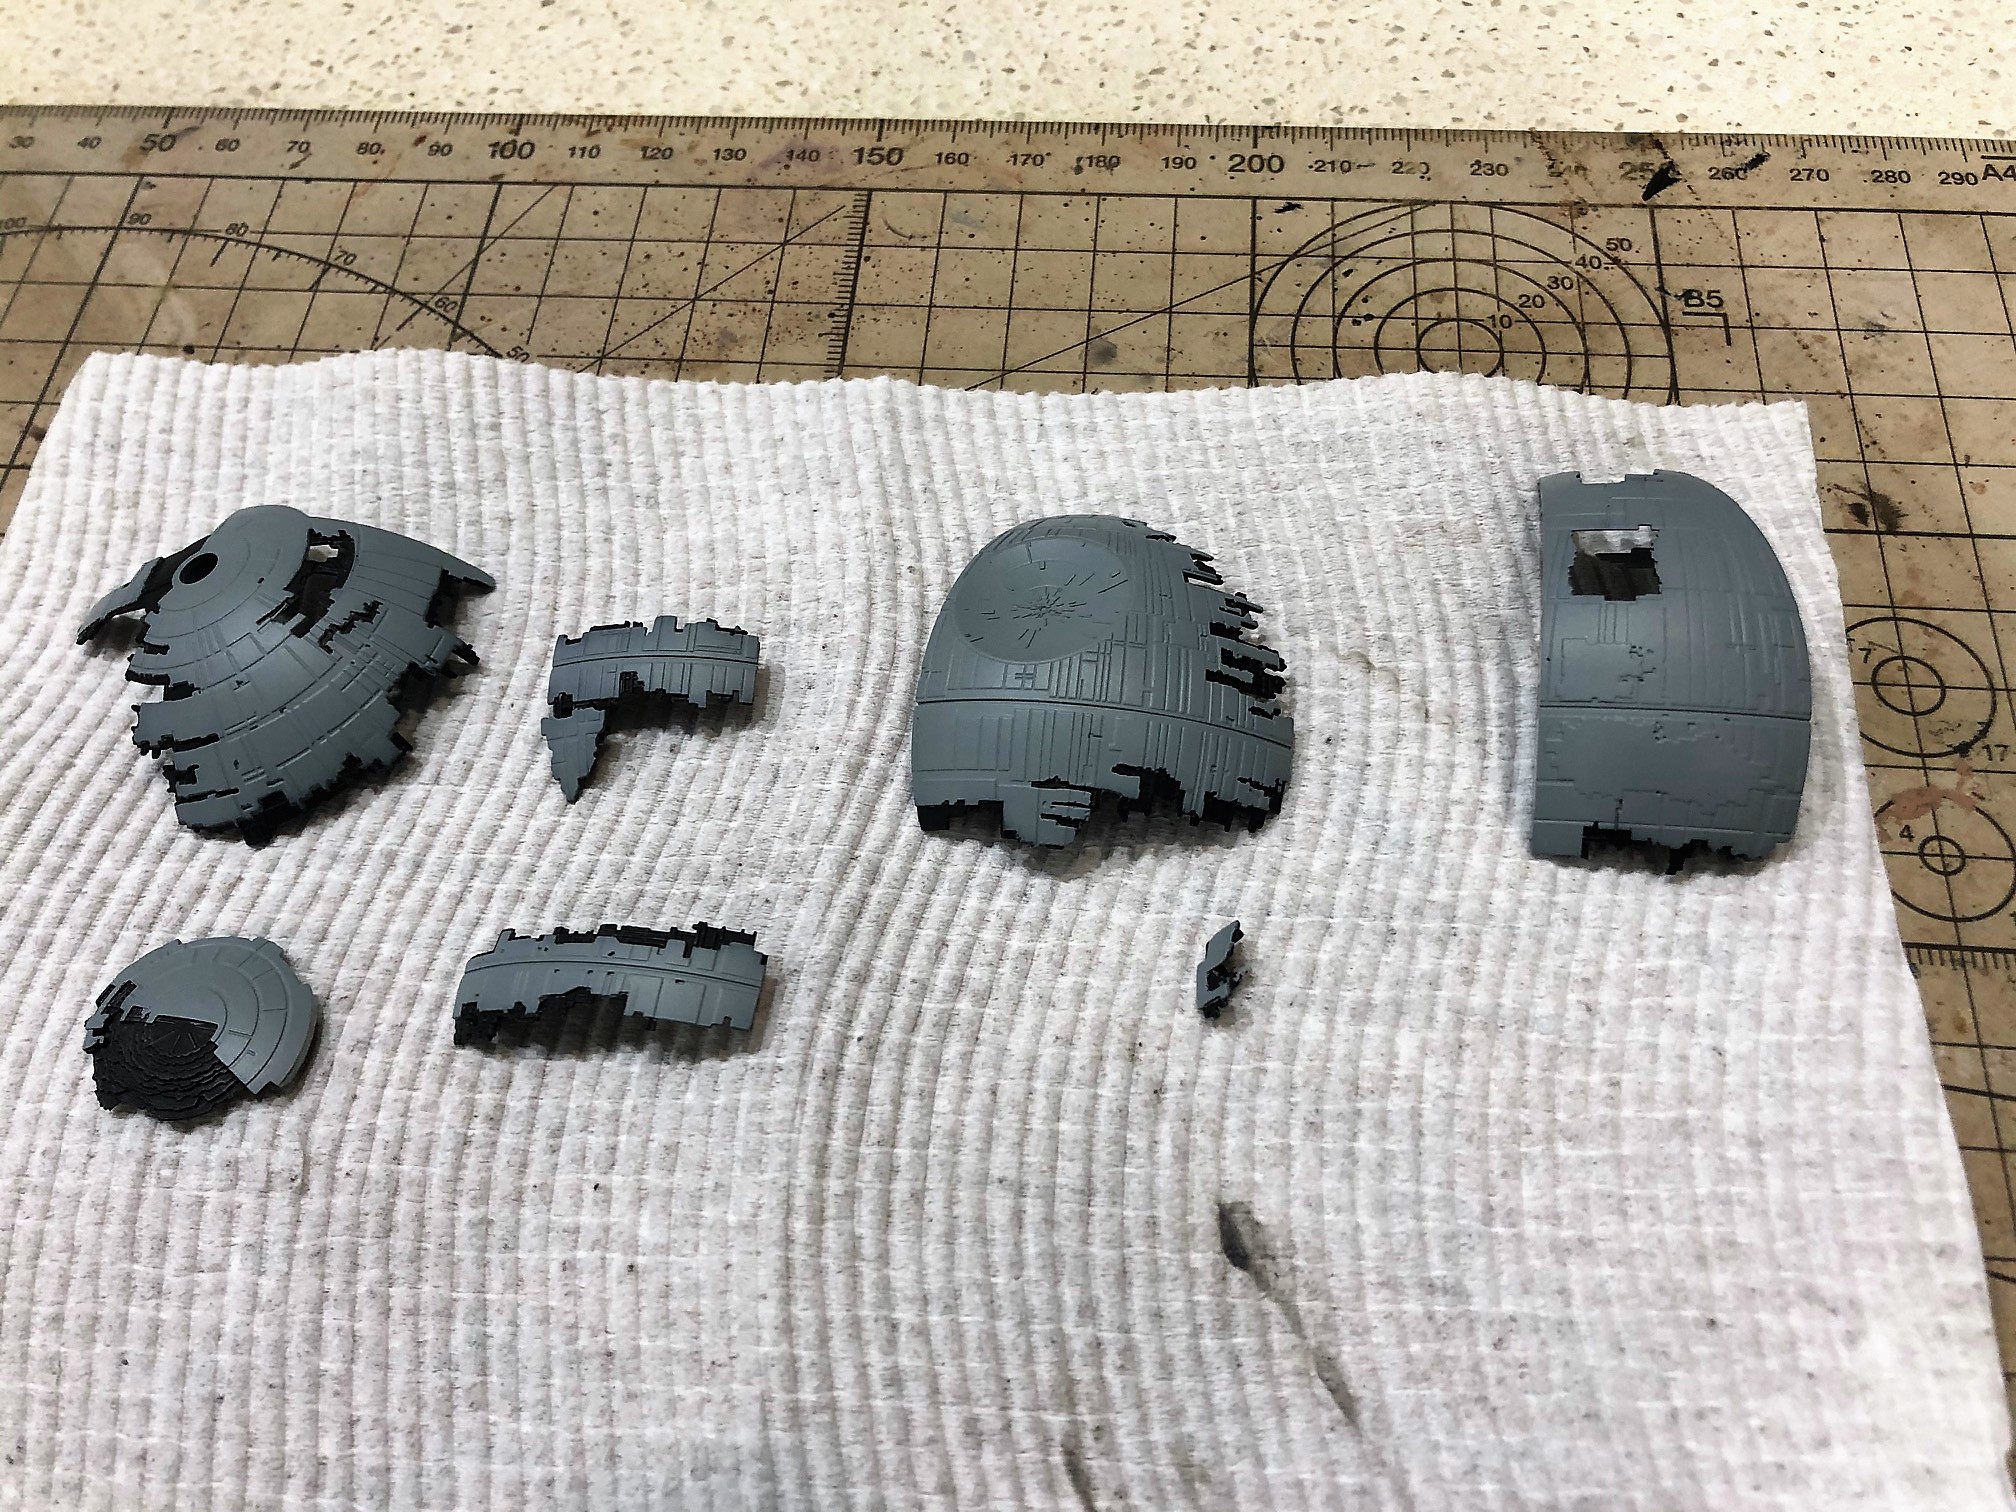
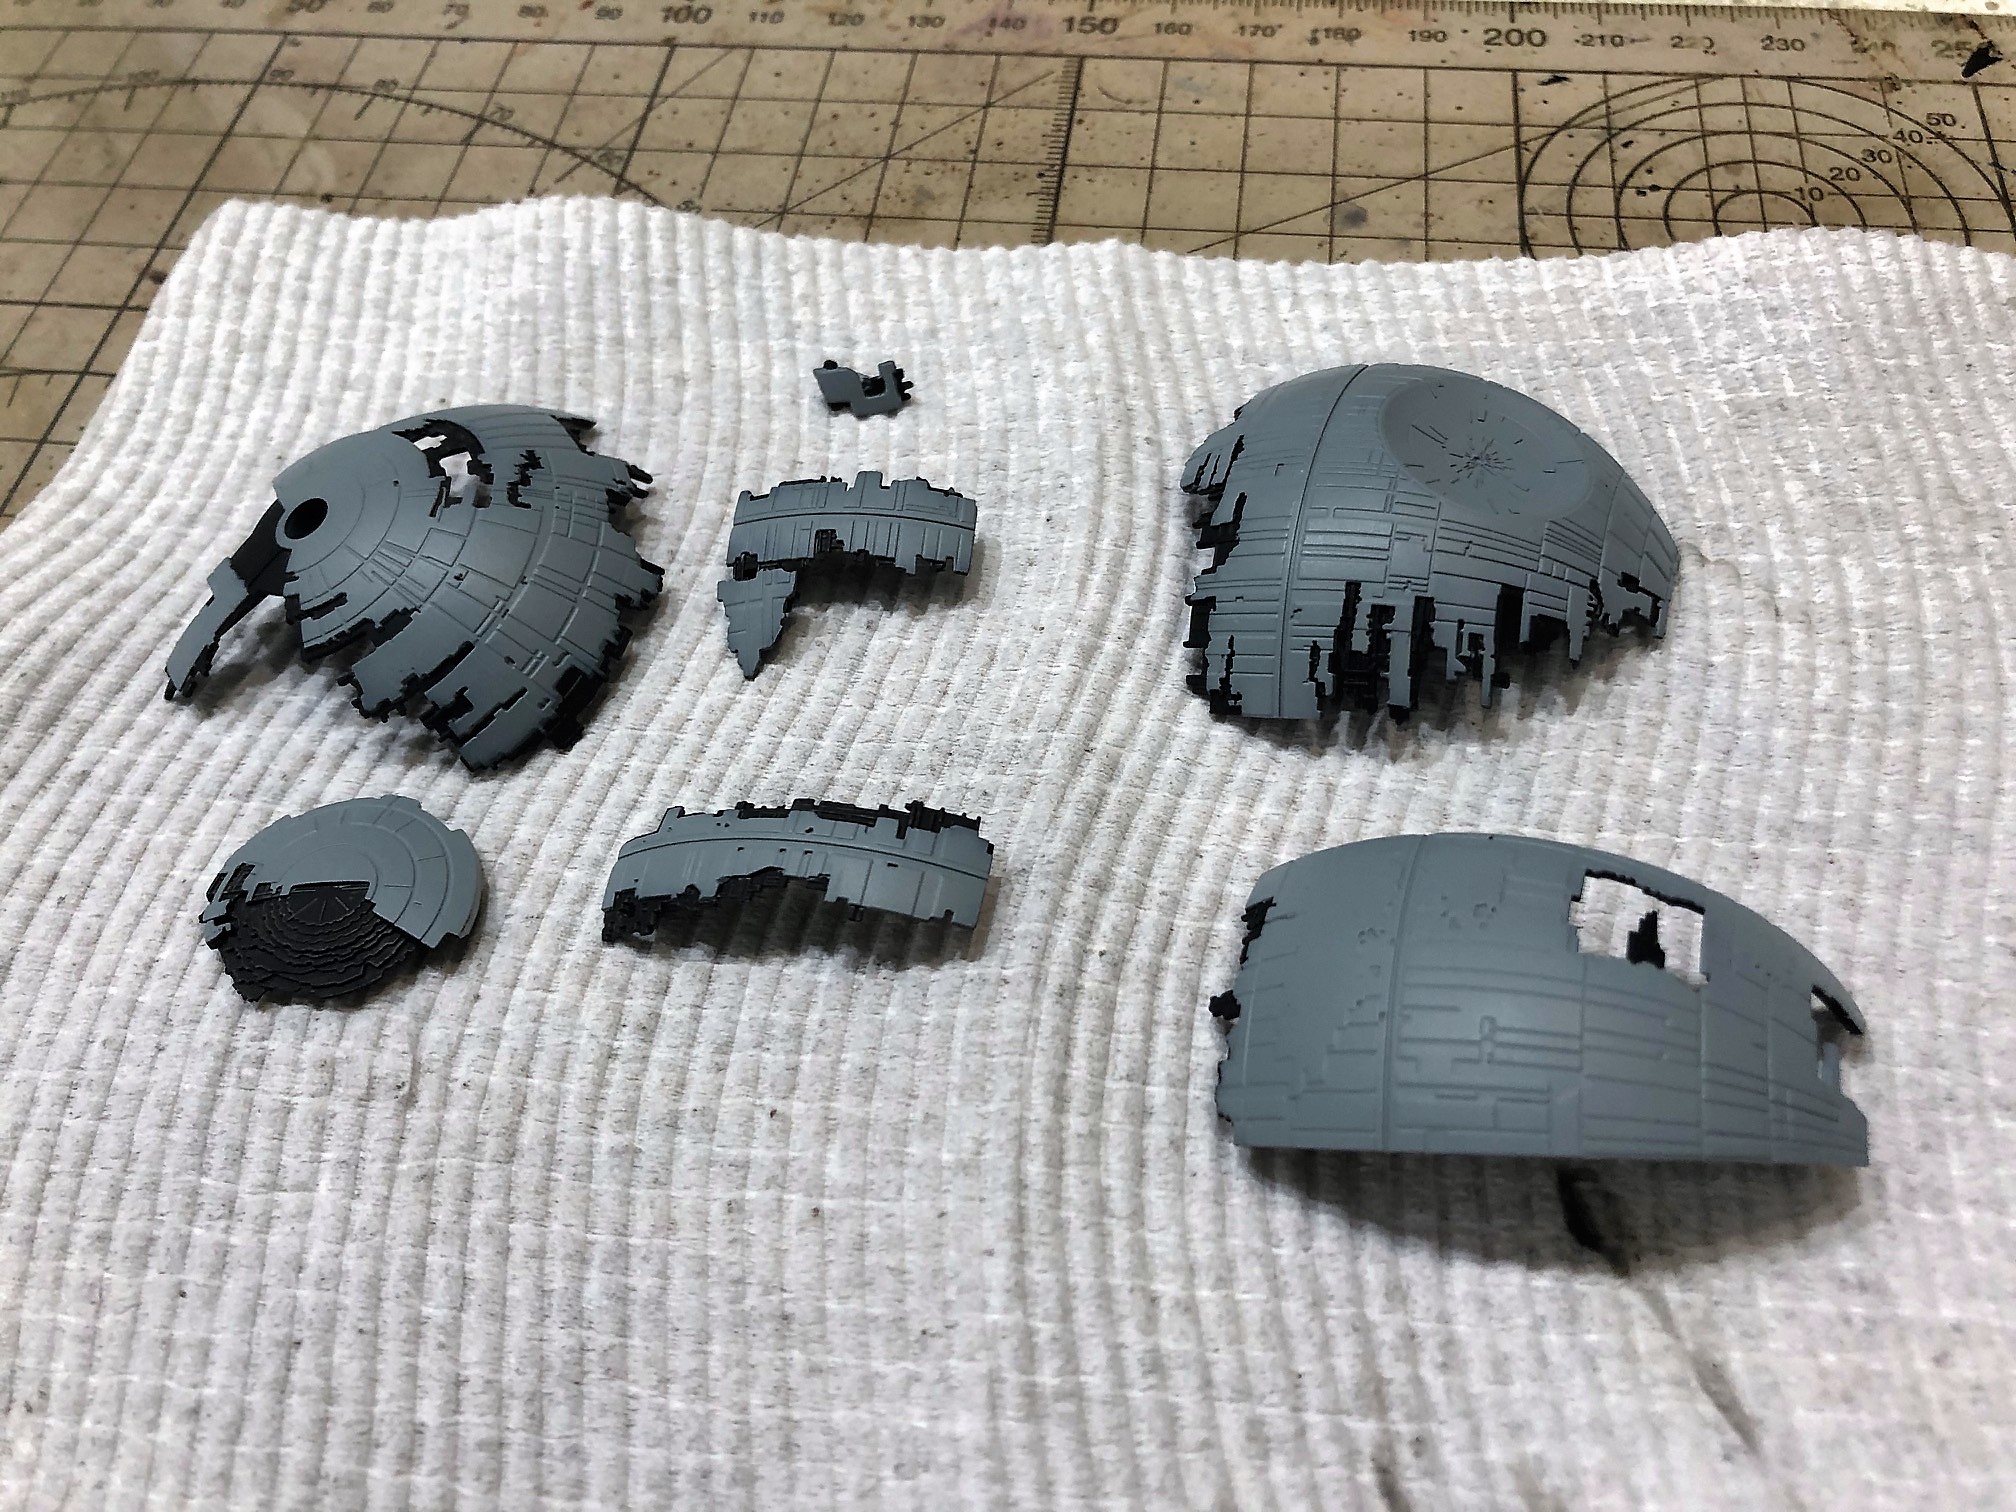
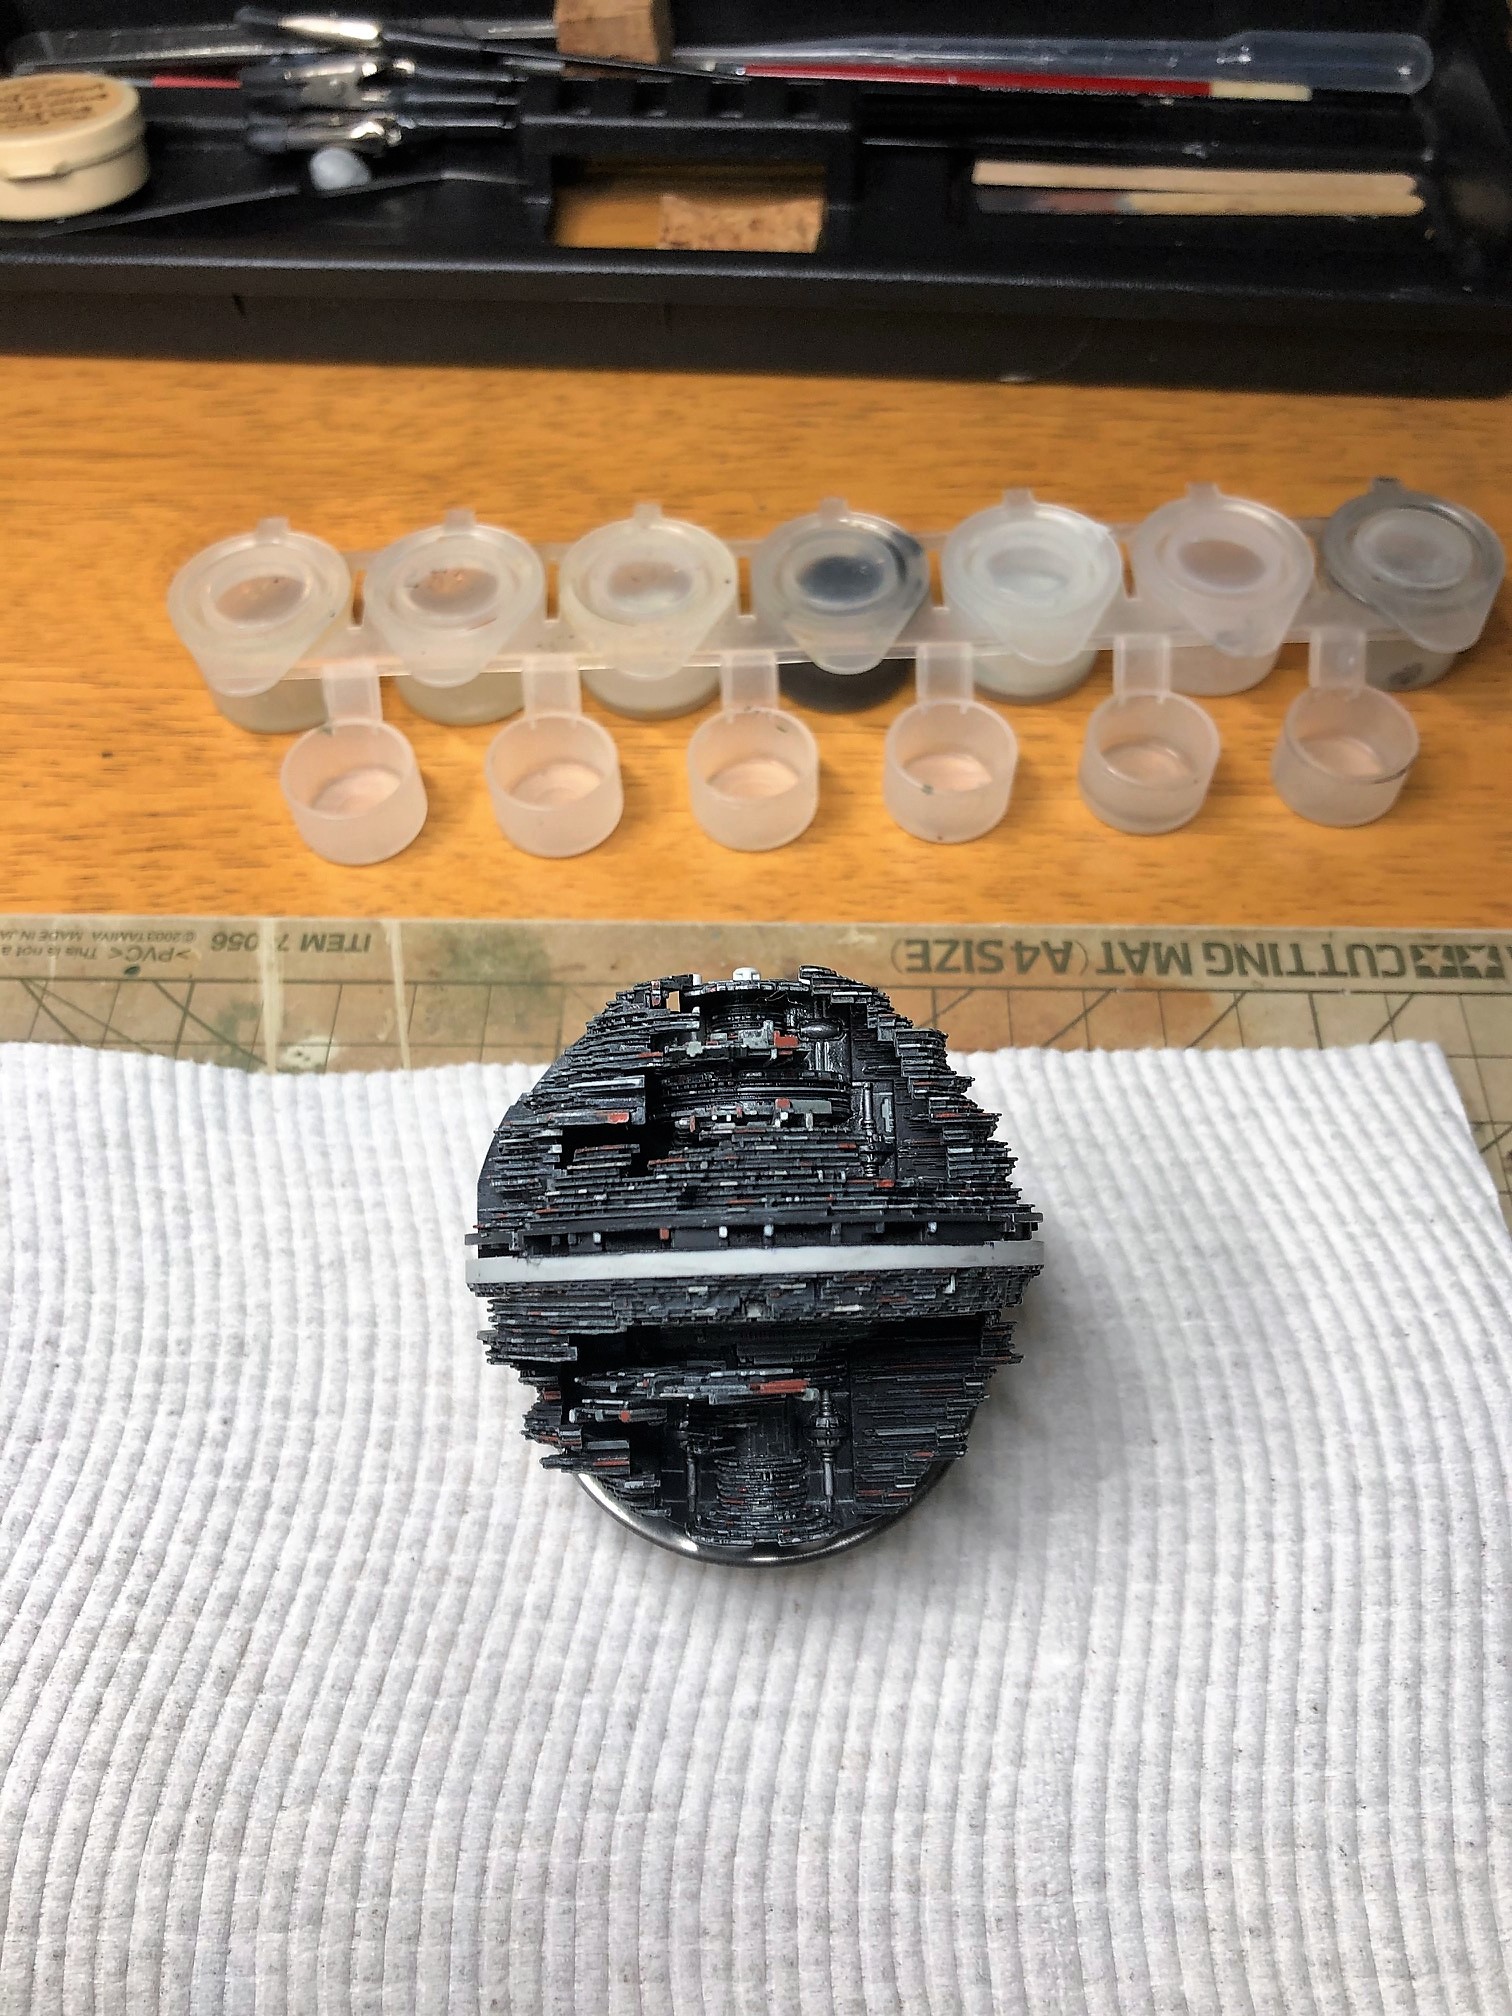
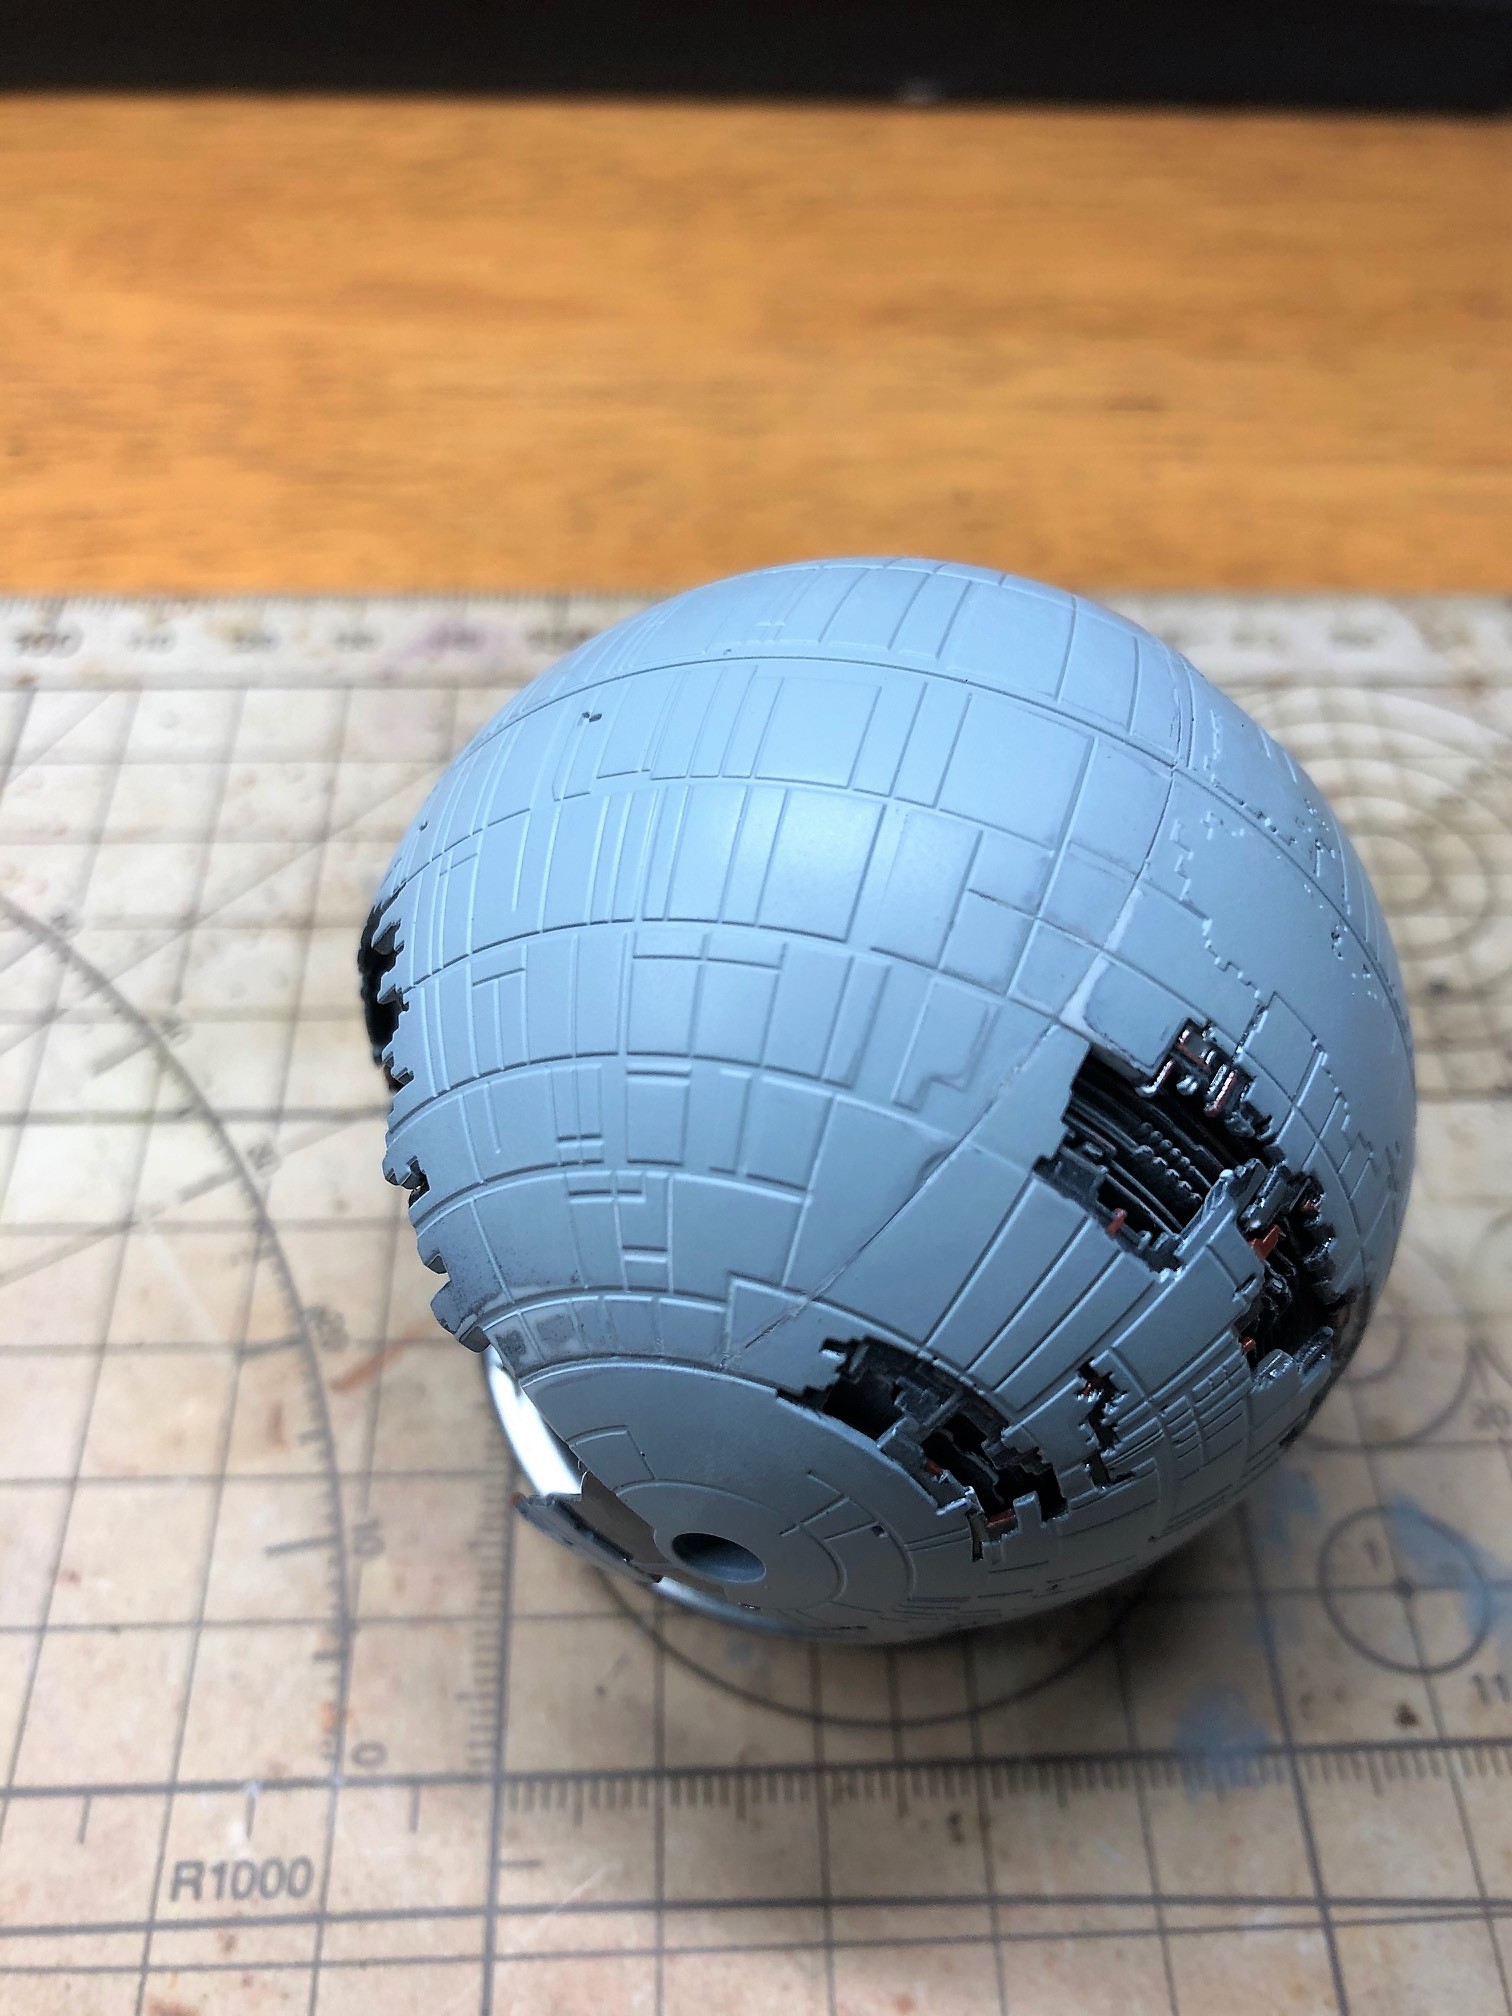
I have finally finished the inside,with a few washes of black and light gray in certain points and painted the the reactors in metal to make the interior a little less monotonous, there are a couple of seams lines inside that should be fixed a bit but there is no space to work and it still are difficult to see, anyway a tip for the parts A2-12 and A2-13 (the 2 inserts) put them at the end so you have the space to go inside with the brush, because inevitably there will be a couple of points that will need a retouch or parts that you thought were hidden that instead remain visible
The model like all Bandai can be built without glue but I recommend the use of glue to minimize the seams line and if the inside is not very tight then the problems multiply later with the external shell.
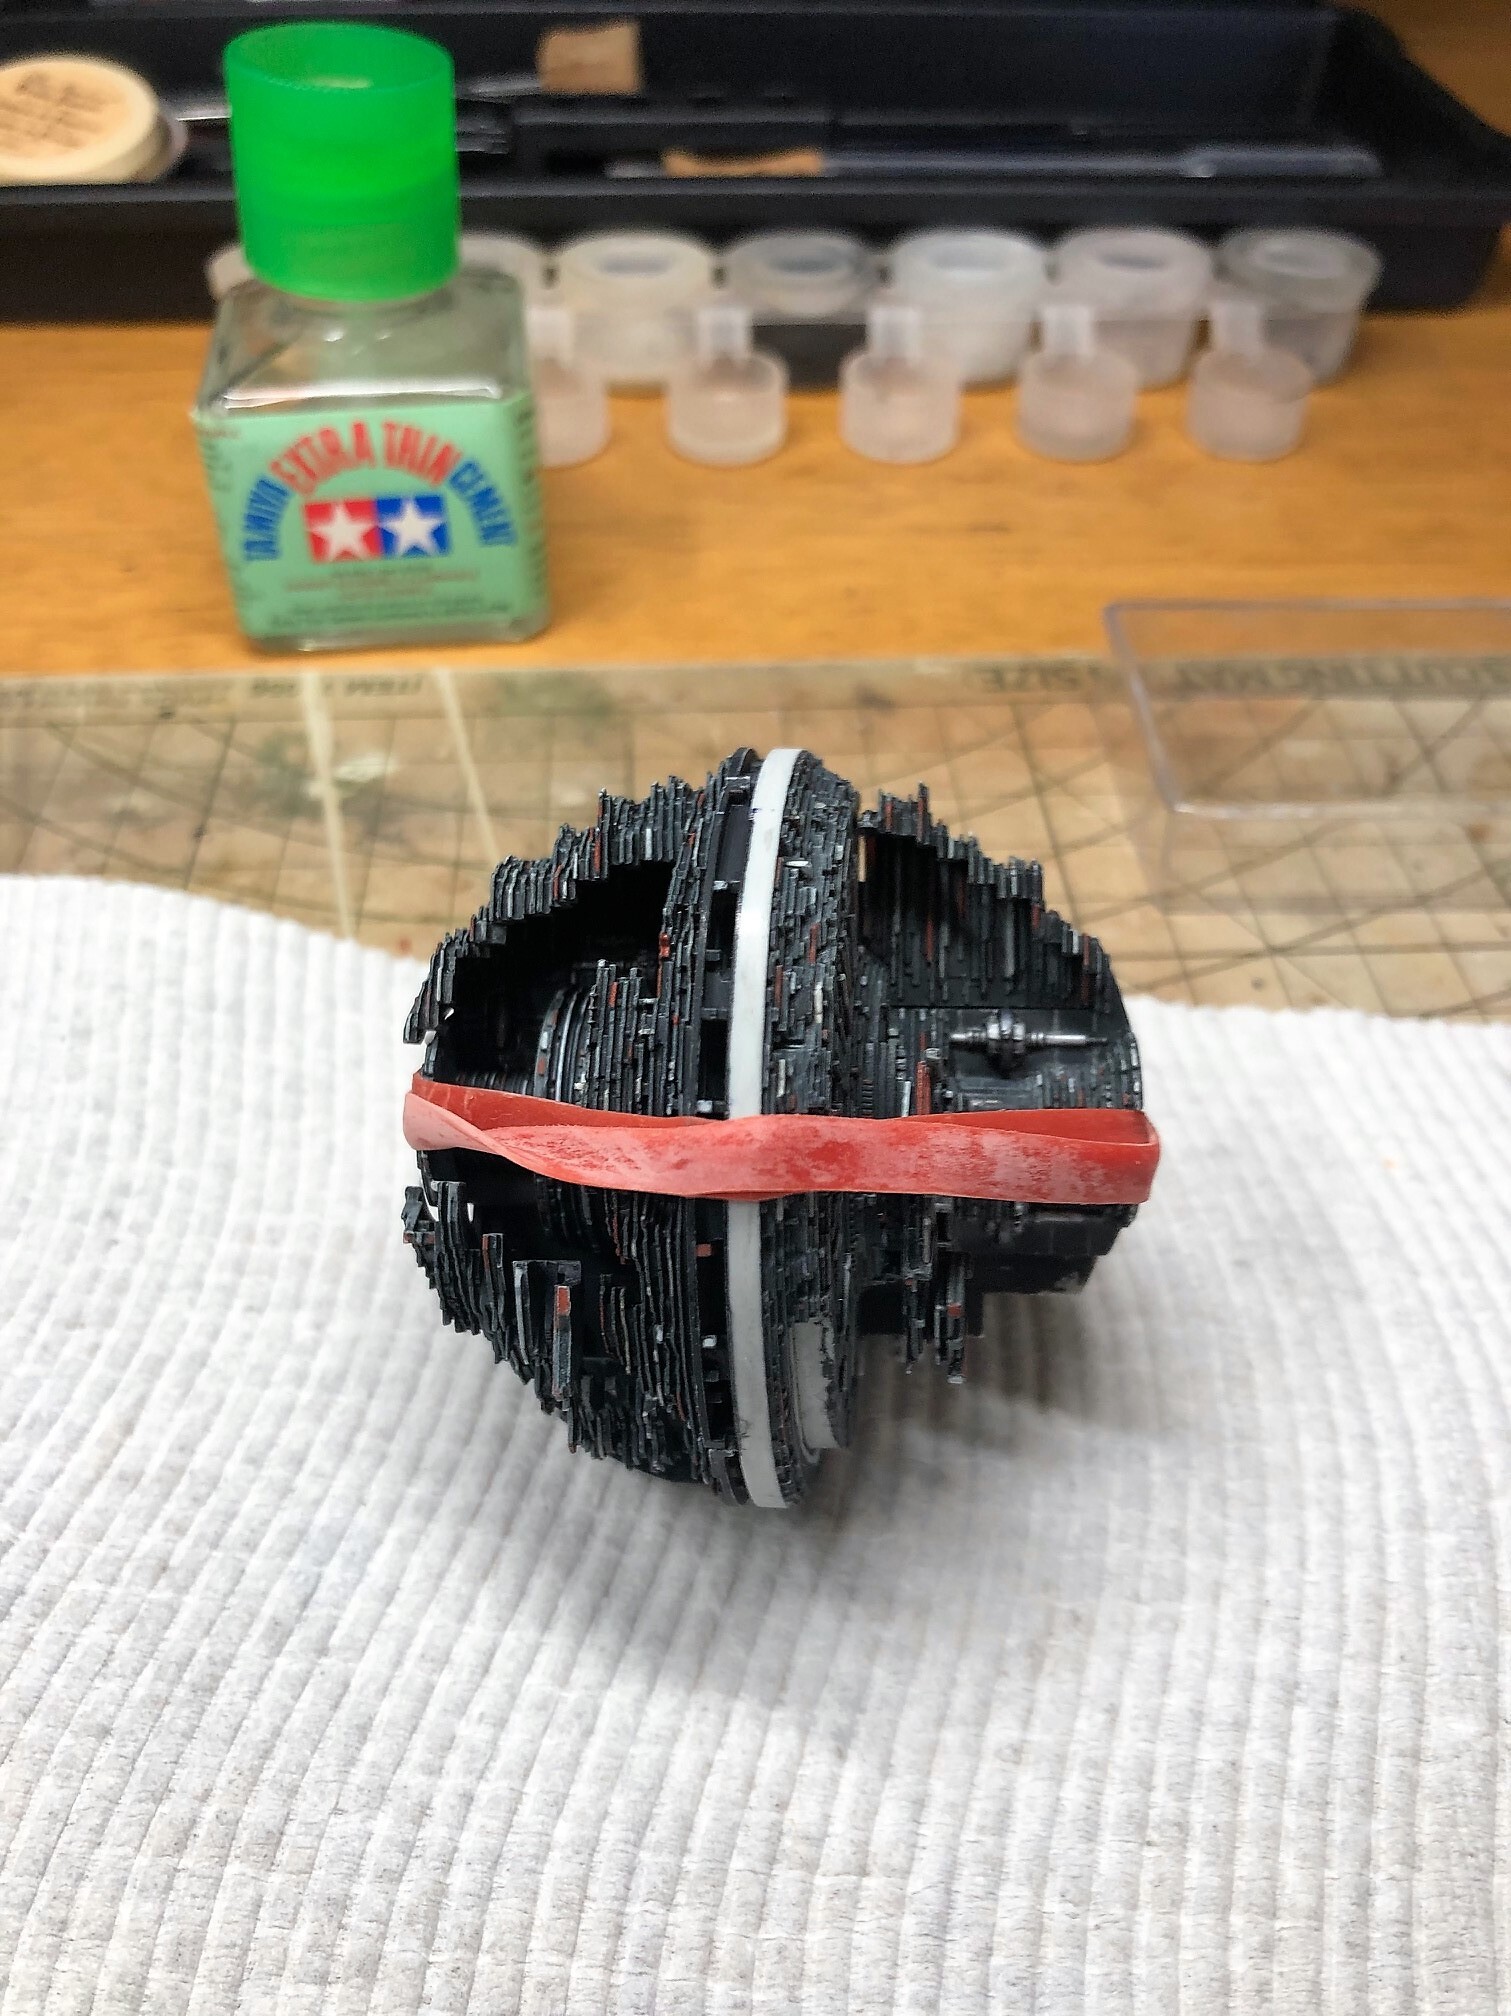
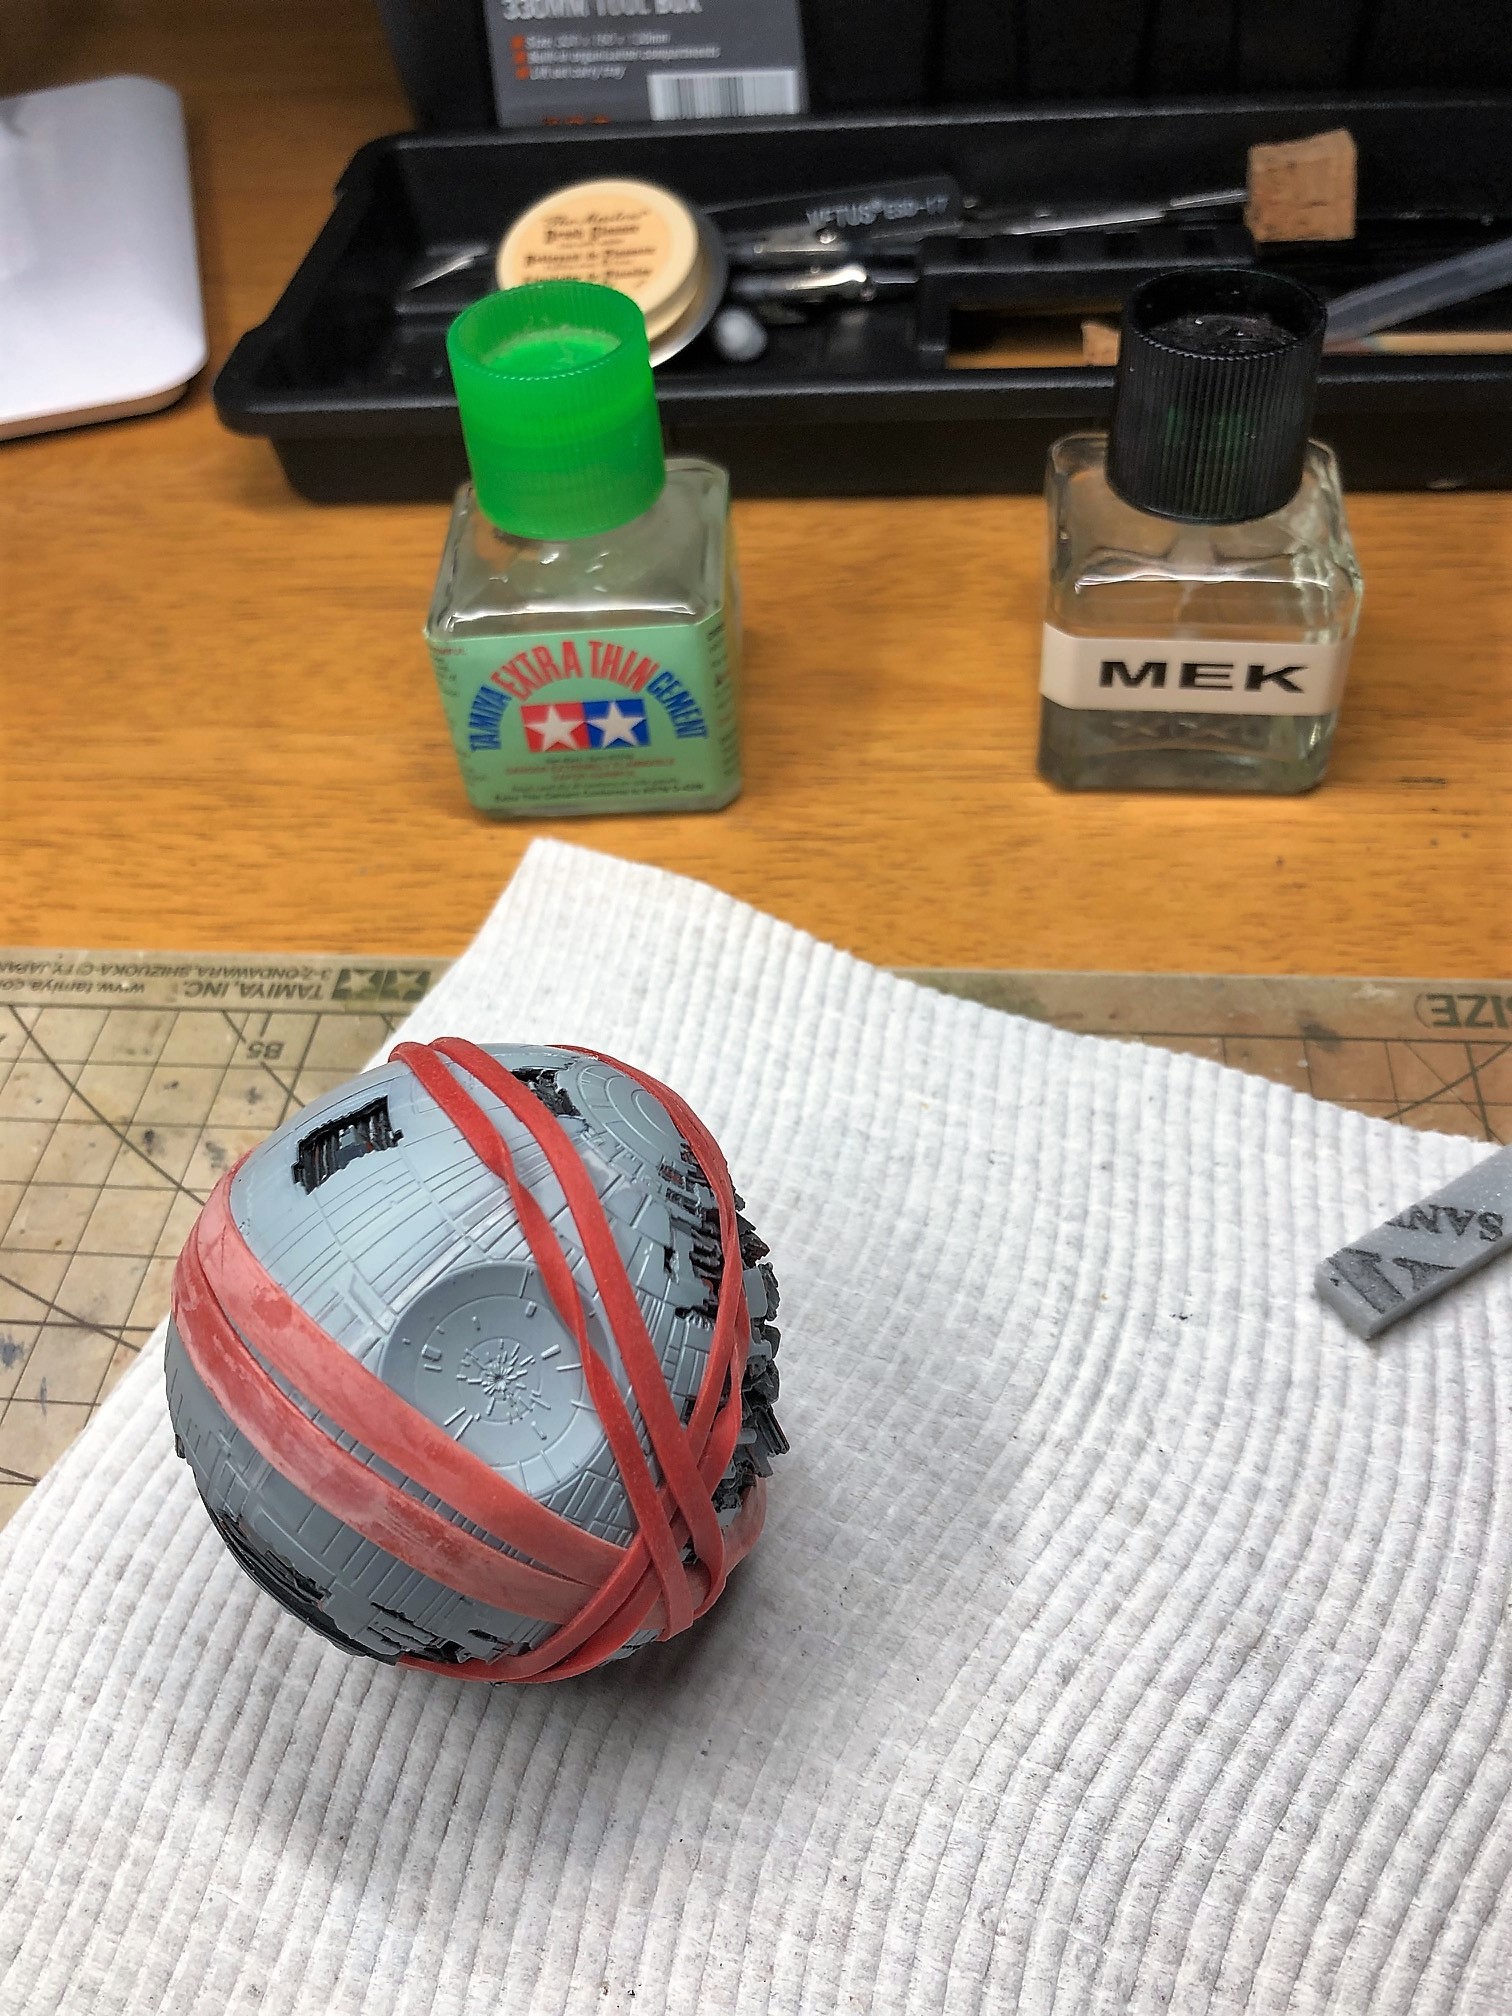
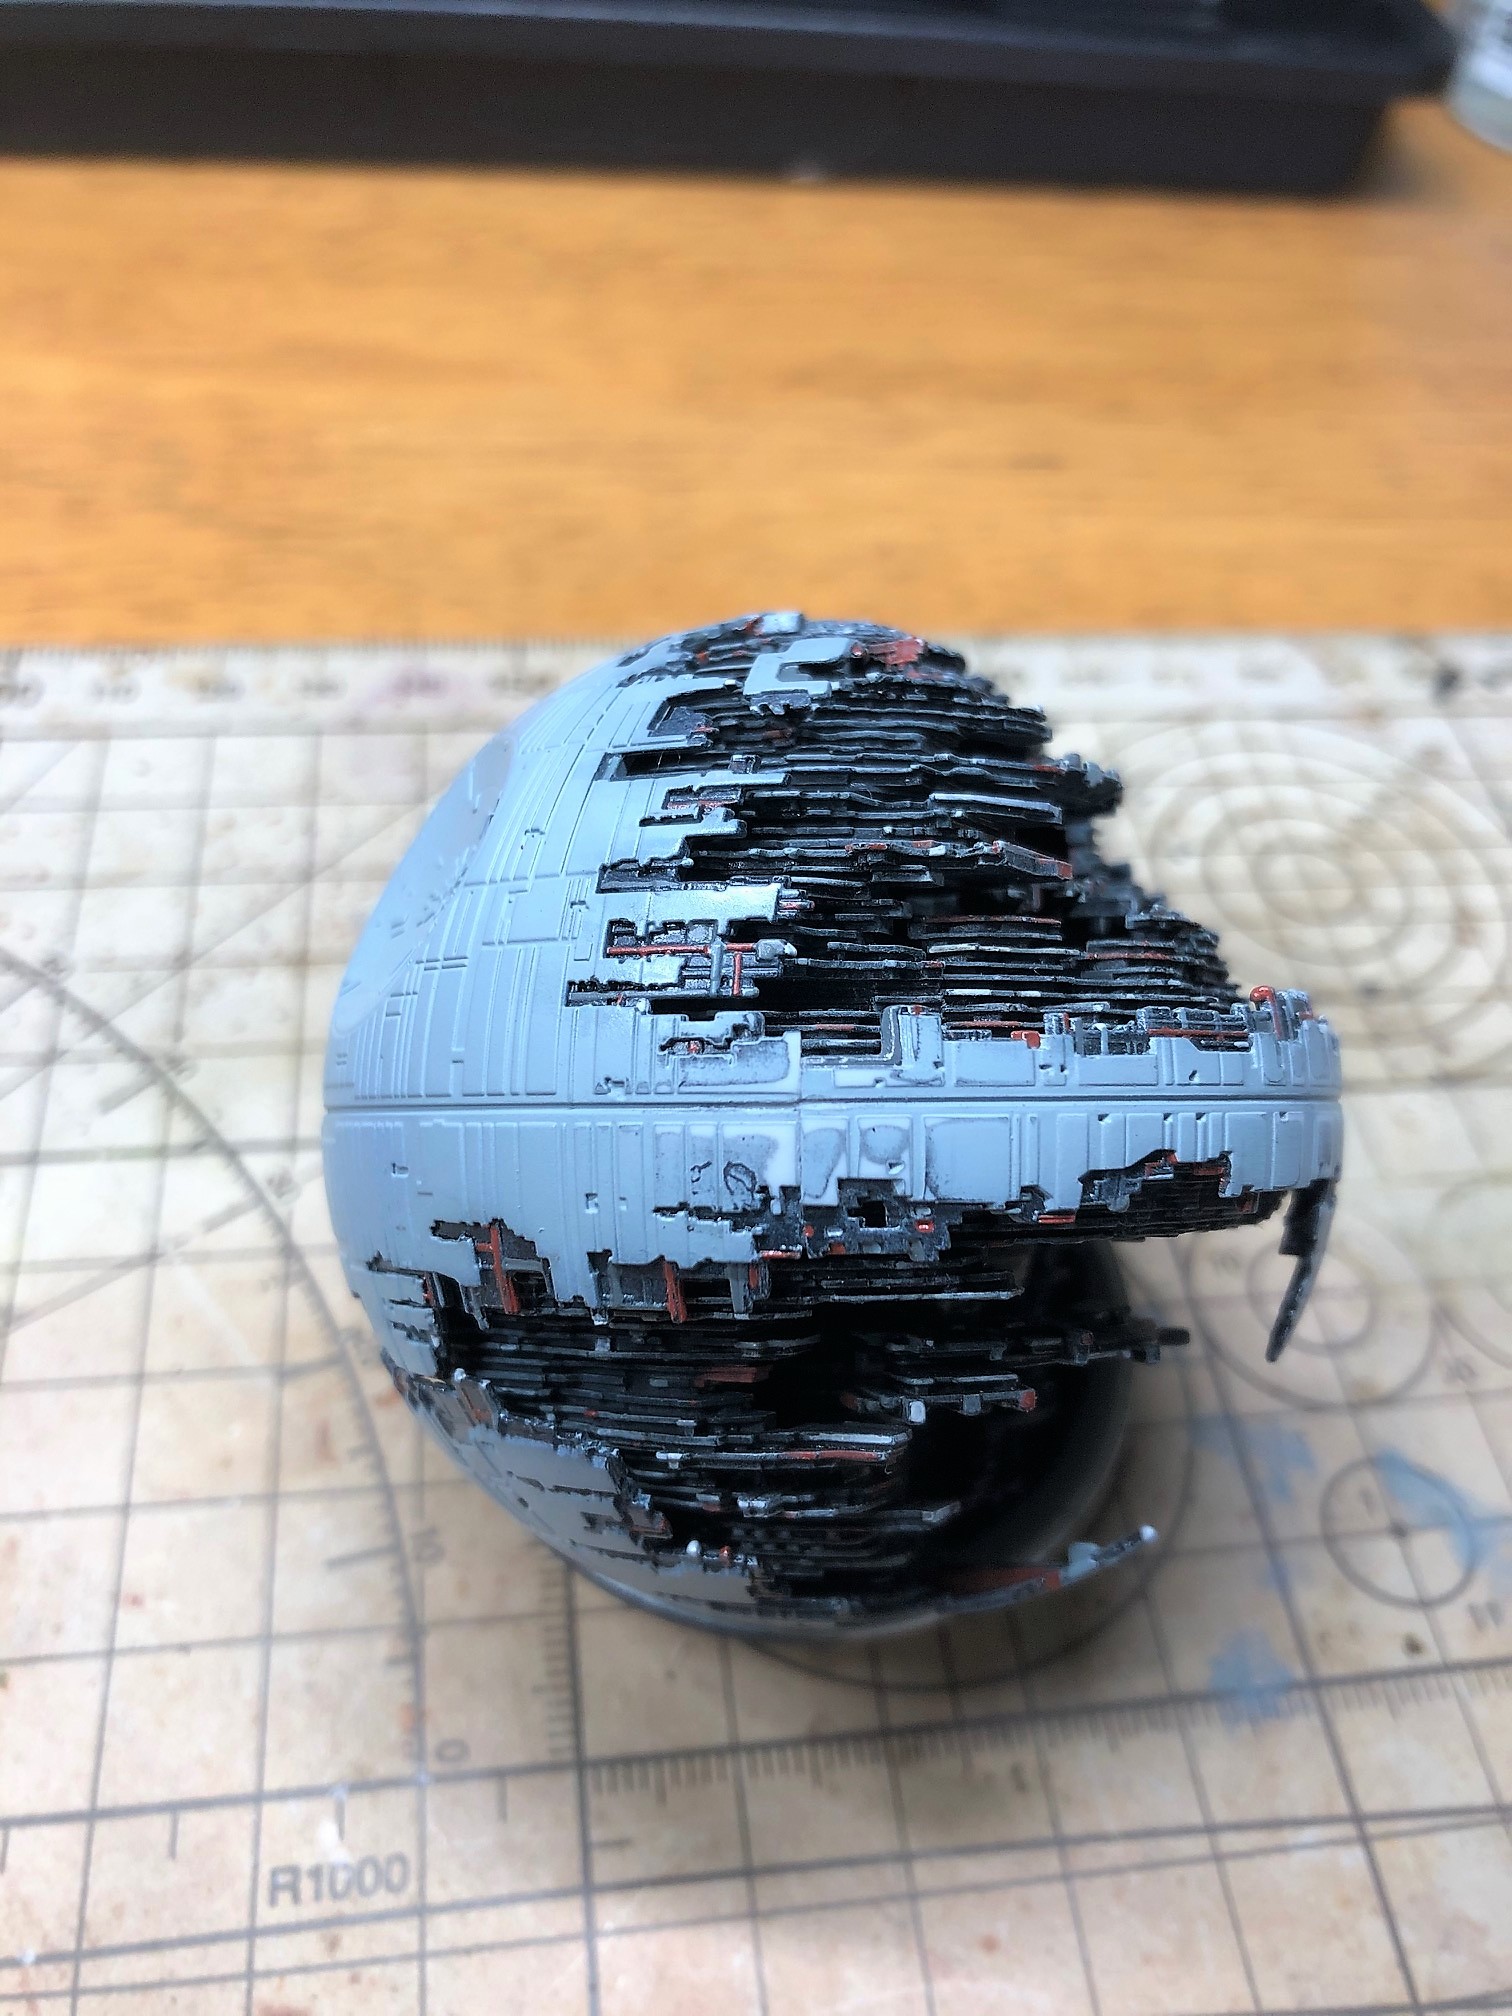
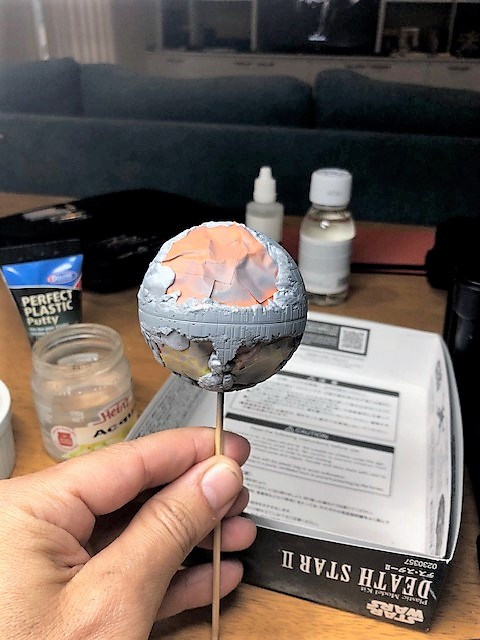
For the outer shell I used a good dose of Tamiya green cap,MEK and some rubber bands, and to my surprise the seams lines are much better than what I expected, in fact in the glue-free tests the seams lines are much more 'wide, because without glue the outer shell is very springy.
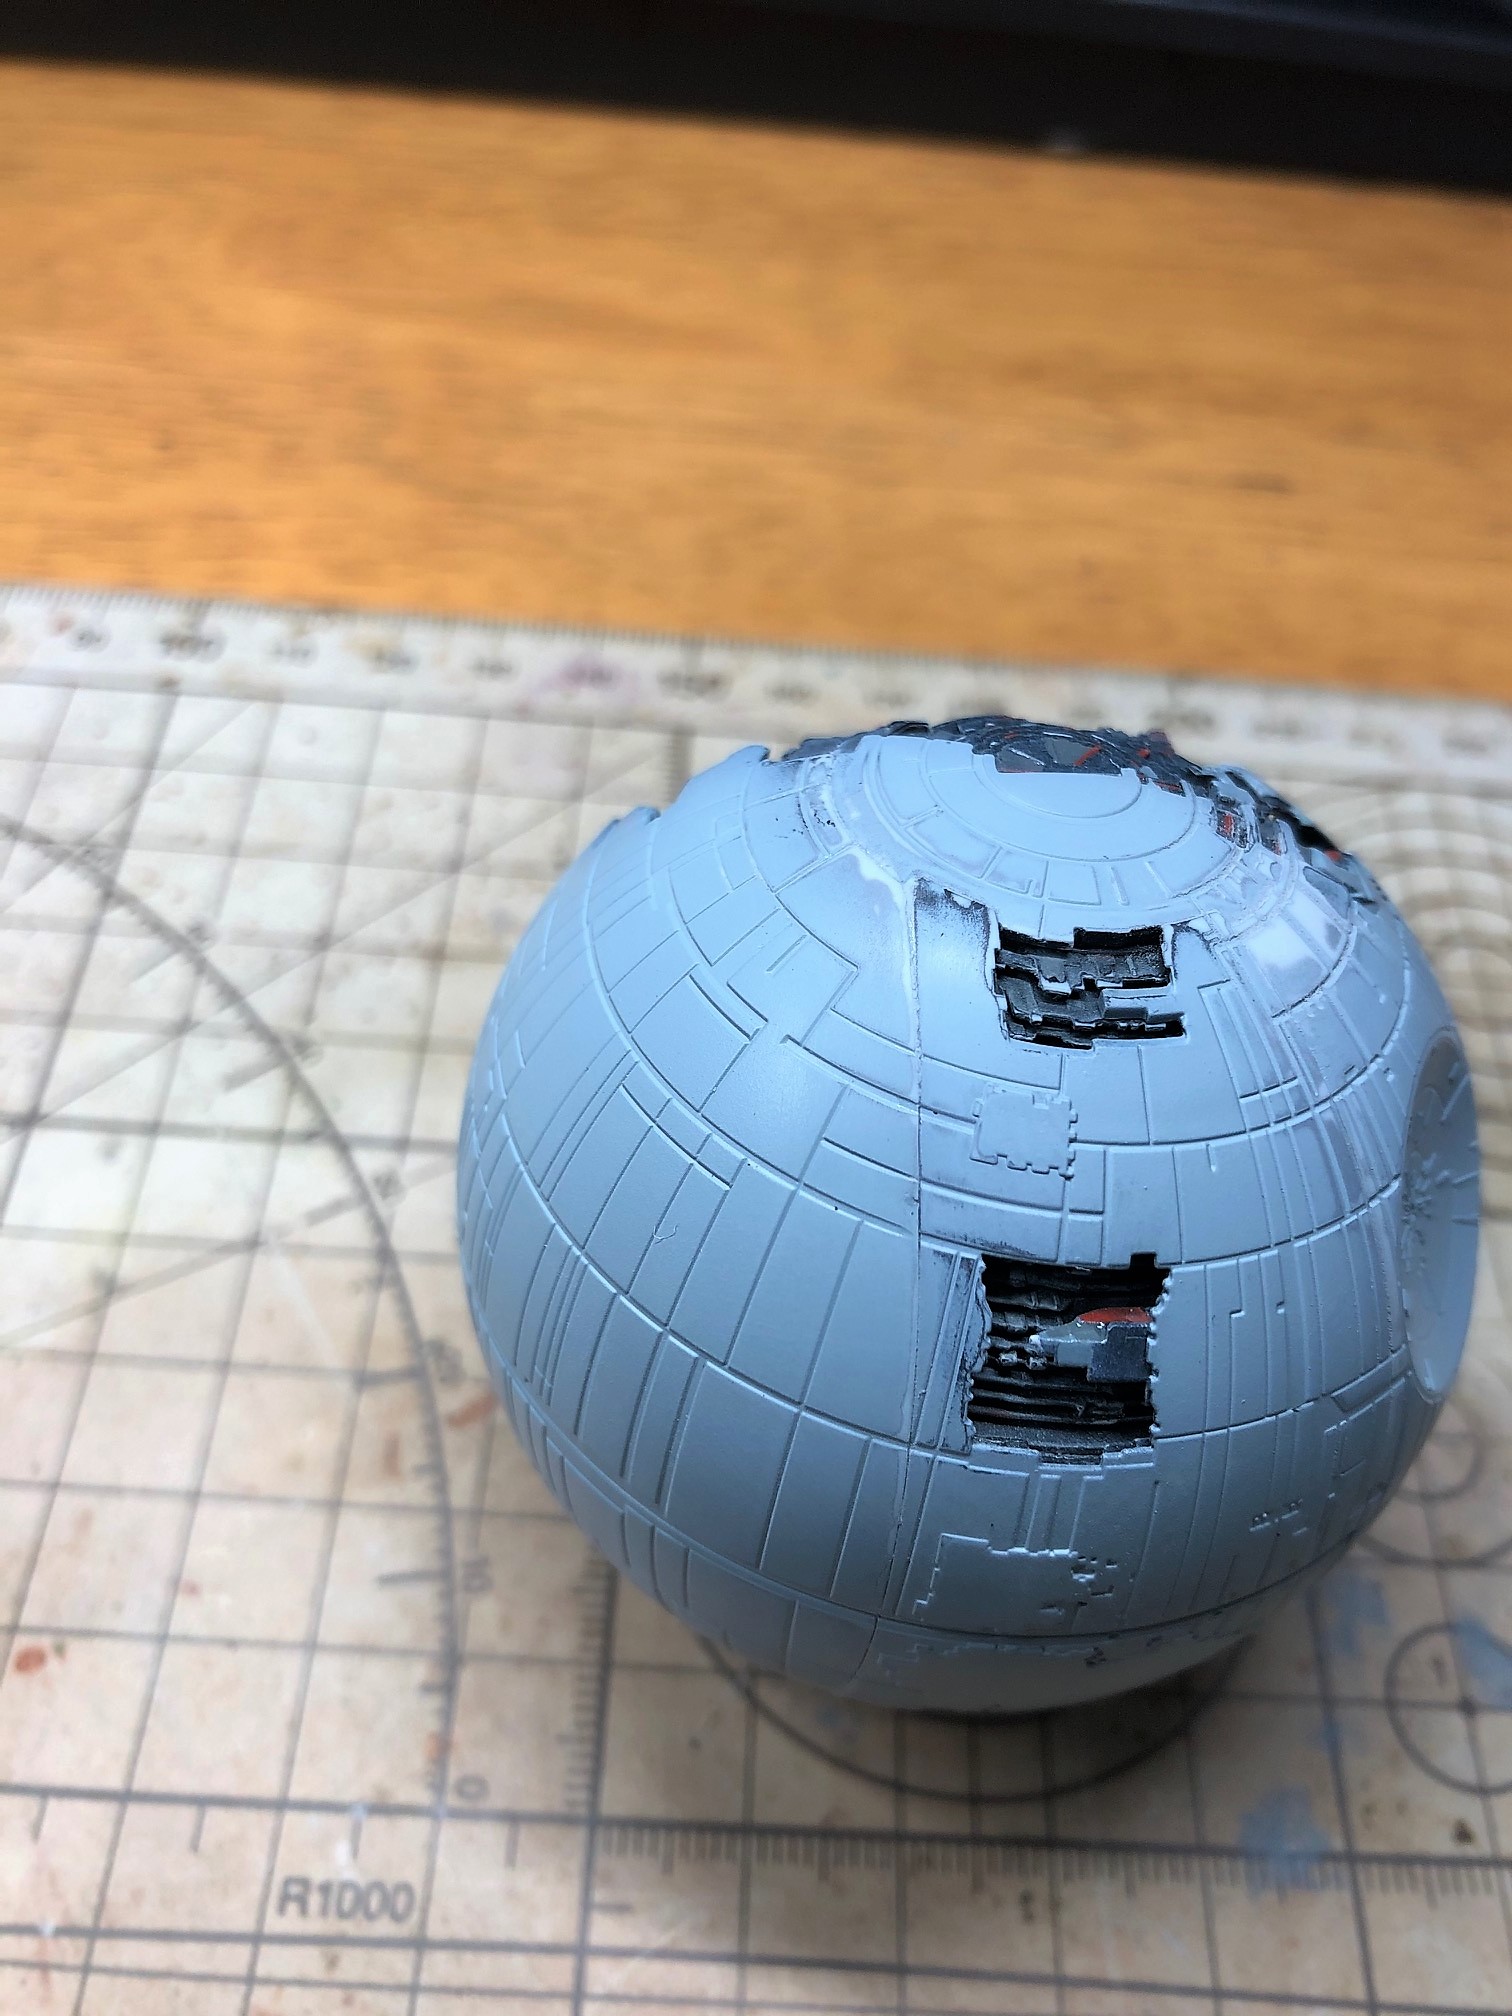
I should have primed the outside of the shell and painted it after but it will be for when I do the 2nd Death Star as this is for a gift
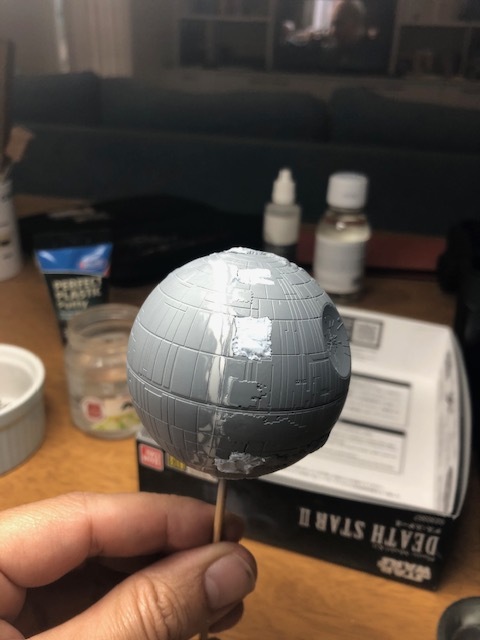
I forgot to post the last steps … removing the seam lines on the shell was not easy but not terrible, I used “Perfect plastic putty” and many Q-tips, unfortunately I have a small imperfection left in the center trench which I could not completely remove but I am quite satisfied…
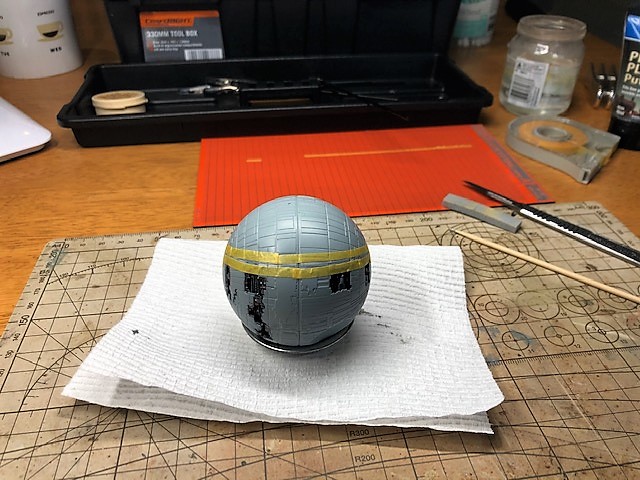
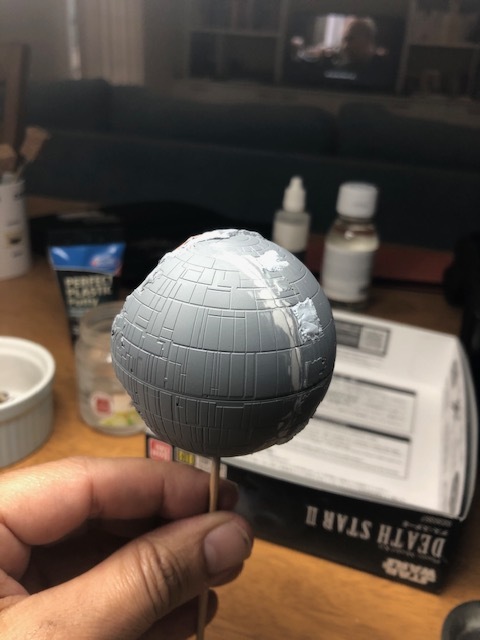
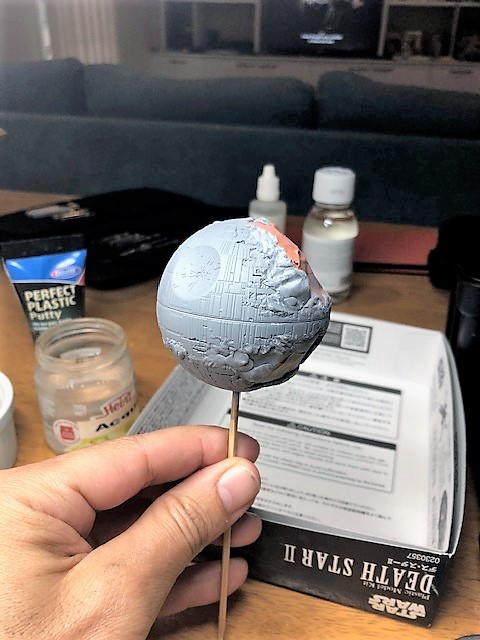
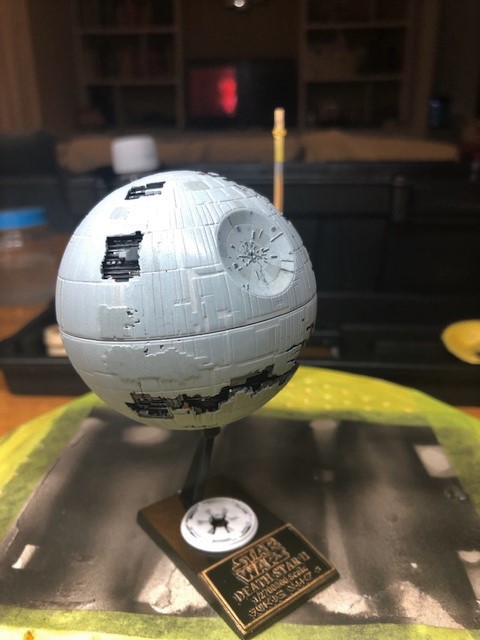
Then I masked everything with masking tape and blue-tak and gave the primer again, gray stynylrez,
then as the base color, a neutral light gray and with 2 other darker grays I painted various panels a bit randomly and the details of the death ray, then a light gray filter to blend the various panels together.
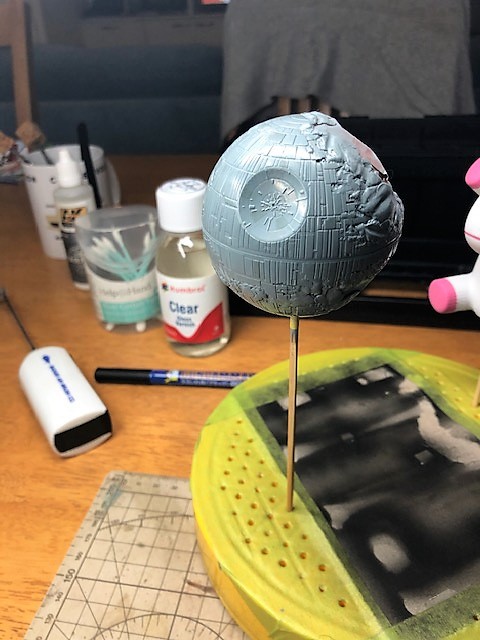
Time for the fun part, clear cote and pin wash of each gap between the panels and the trench, the Death Star is made with the recessed parts between the panels lighter than the panels instead of dark, so I did multiple passes with a very light gray pin wash, almost white,removed the masking tape and the blu-tack, a hard job especially for the putty, than a black wash in all the points where there are parts still under construction that border or are on the outer shell, and when I was satisfied with the result the last layer of Matt Clear and “That’s no Moon” it’s done!
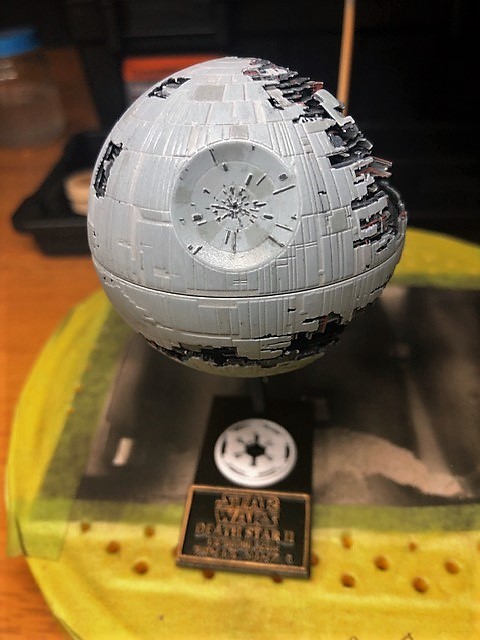
Unfortunately I took some picture a bit quickly when the model was finished with the idea of making a couple well done later … yep … I remembered the pictures with the model packed and ready to ship!..the color is a little darker than the picture ,and also the difference between the panels can be seen much better than in the photo
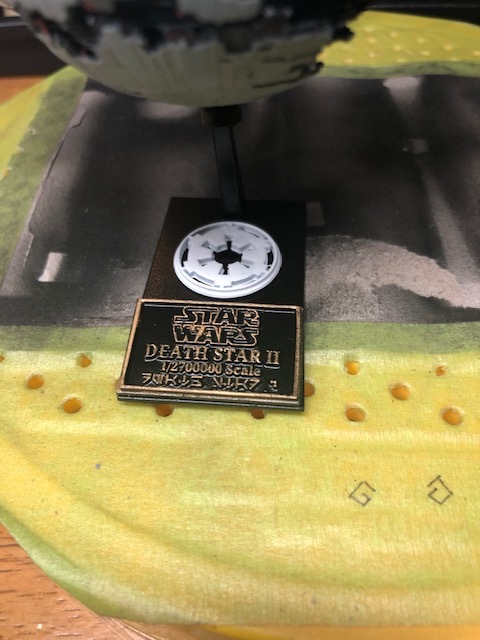
For the base since Bandai give you only the base with the sticker that seems too much toy I printed in resin 3D the Imperial coat of arms which was originally a coaster reduced in size, and I made the tag from scratch with ThinkerCad and printed.
Hope you like it!
you’ve done a great job with that kit, well done indeed.
Thank you very much!….I am not totally satisfied about the external shell but in the next future I want to do a second one for me