Hi all,
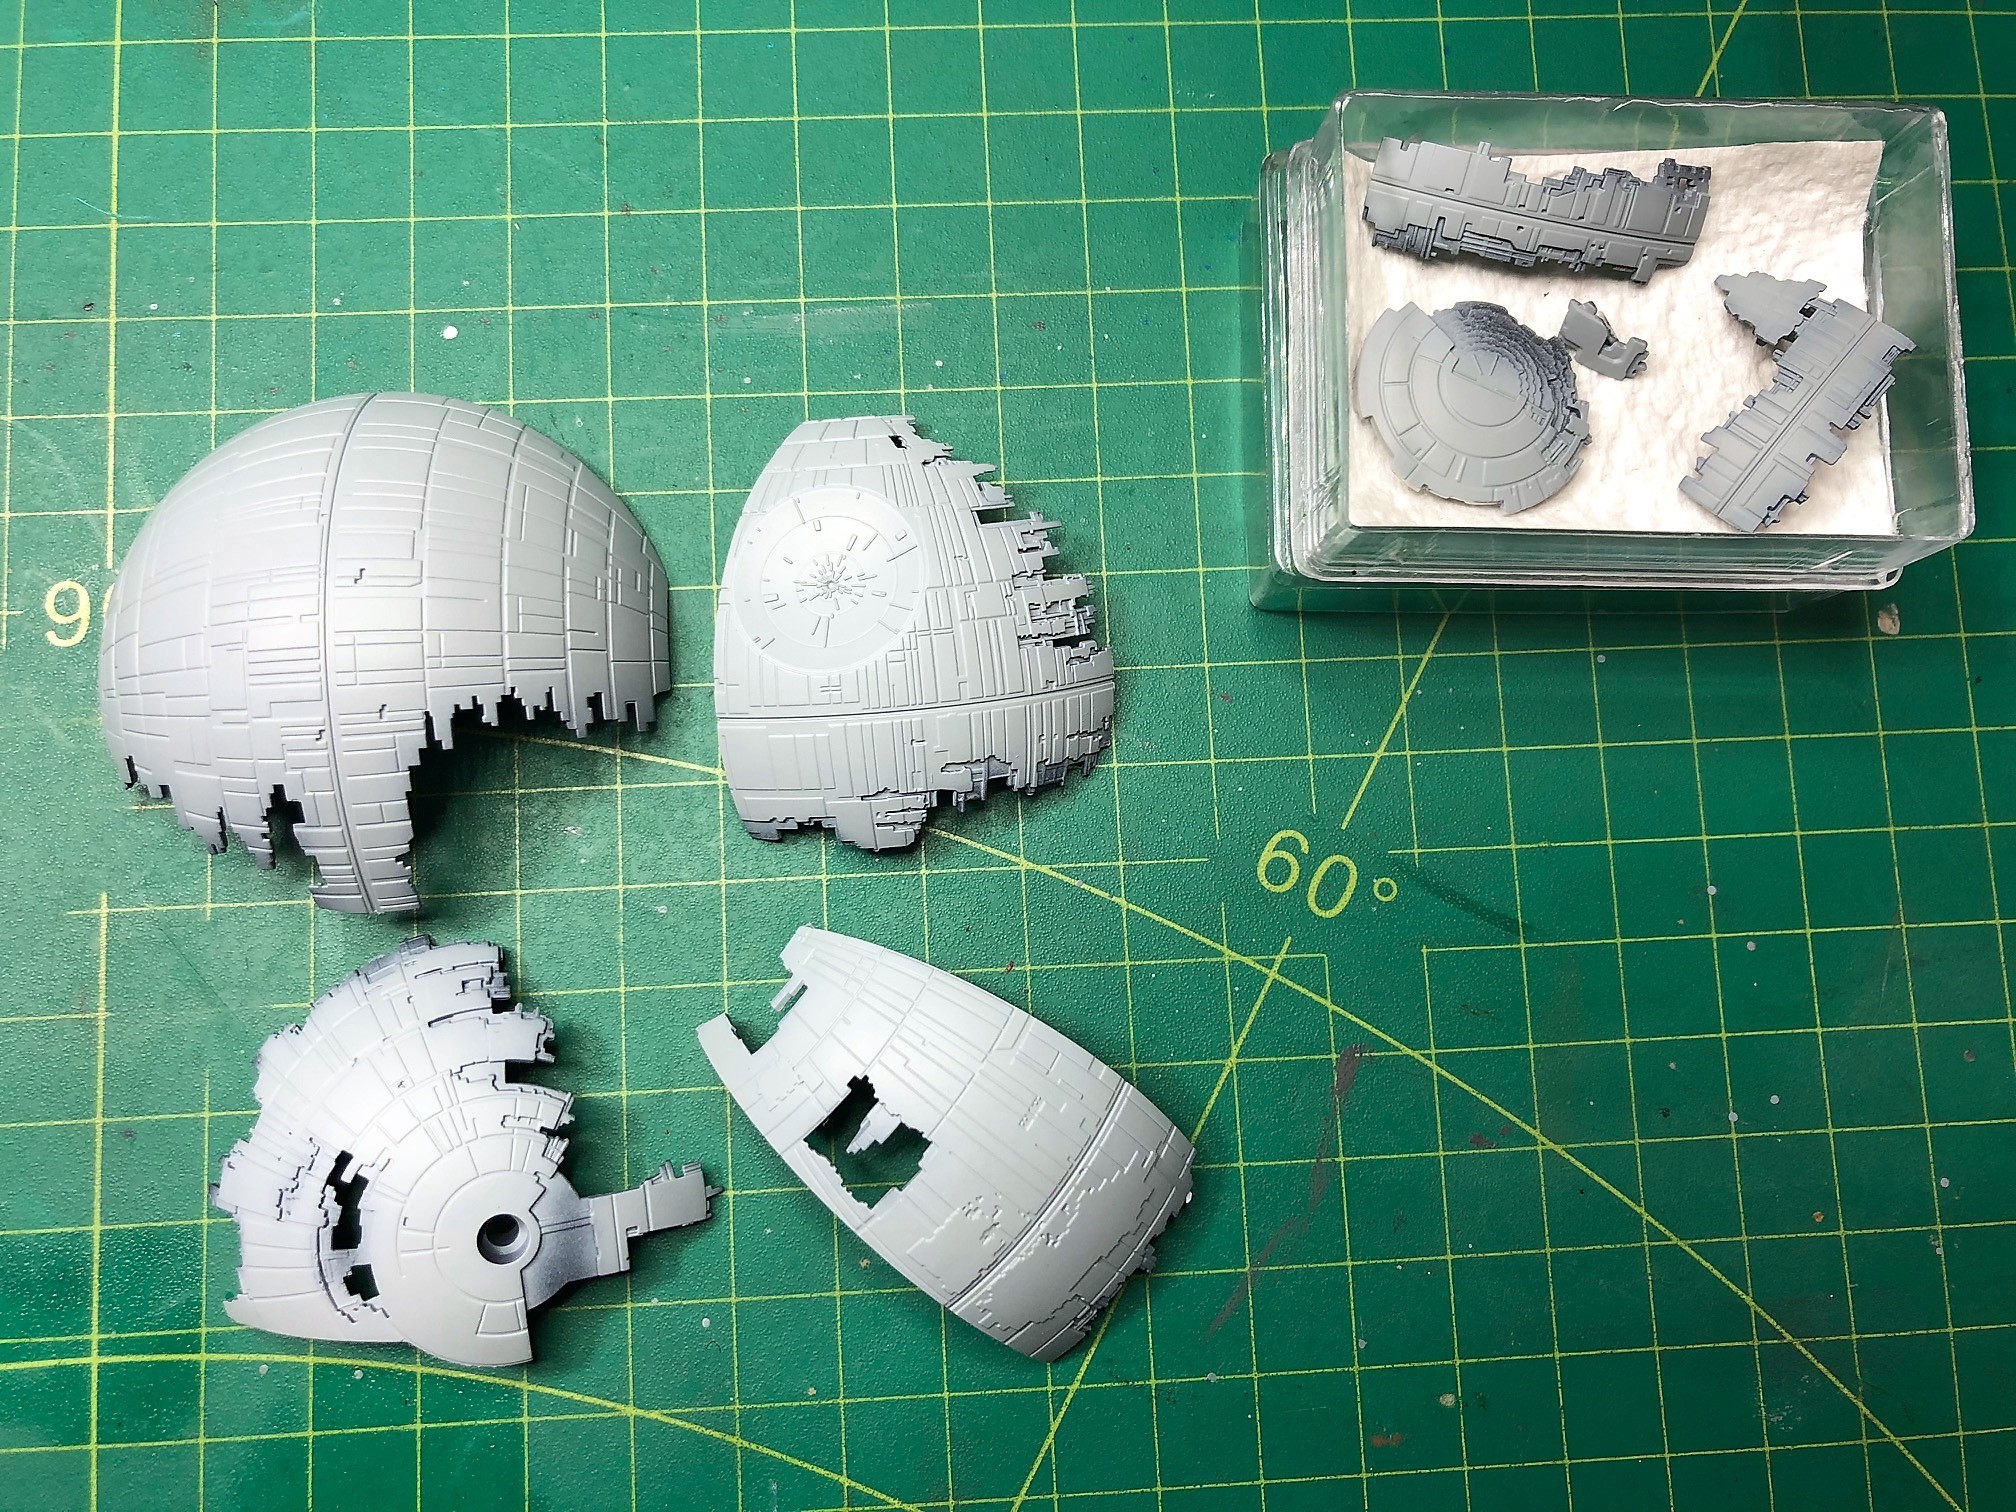
A month ago I started the coolest weapon of mass destruction ever imagined by the human mind … The Death star, the kit is from Bandai, the scale is absurd … 1/2’700’000… 
The Mold is well made, little to nothing to sand, but to do it well you need to fix a few really visible seams lines … too visible, but nothing that a little glue and some putty cant fix.
First the Primer, Badger Stynylrez, black for the interior and preshading ,for the exterior a mix 2/3 gray and 1/3 white
The model it’s pretty much the size of a Cricket ball… 
2 Likes
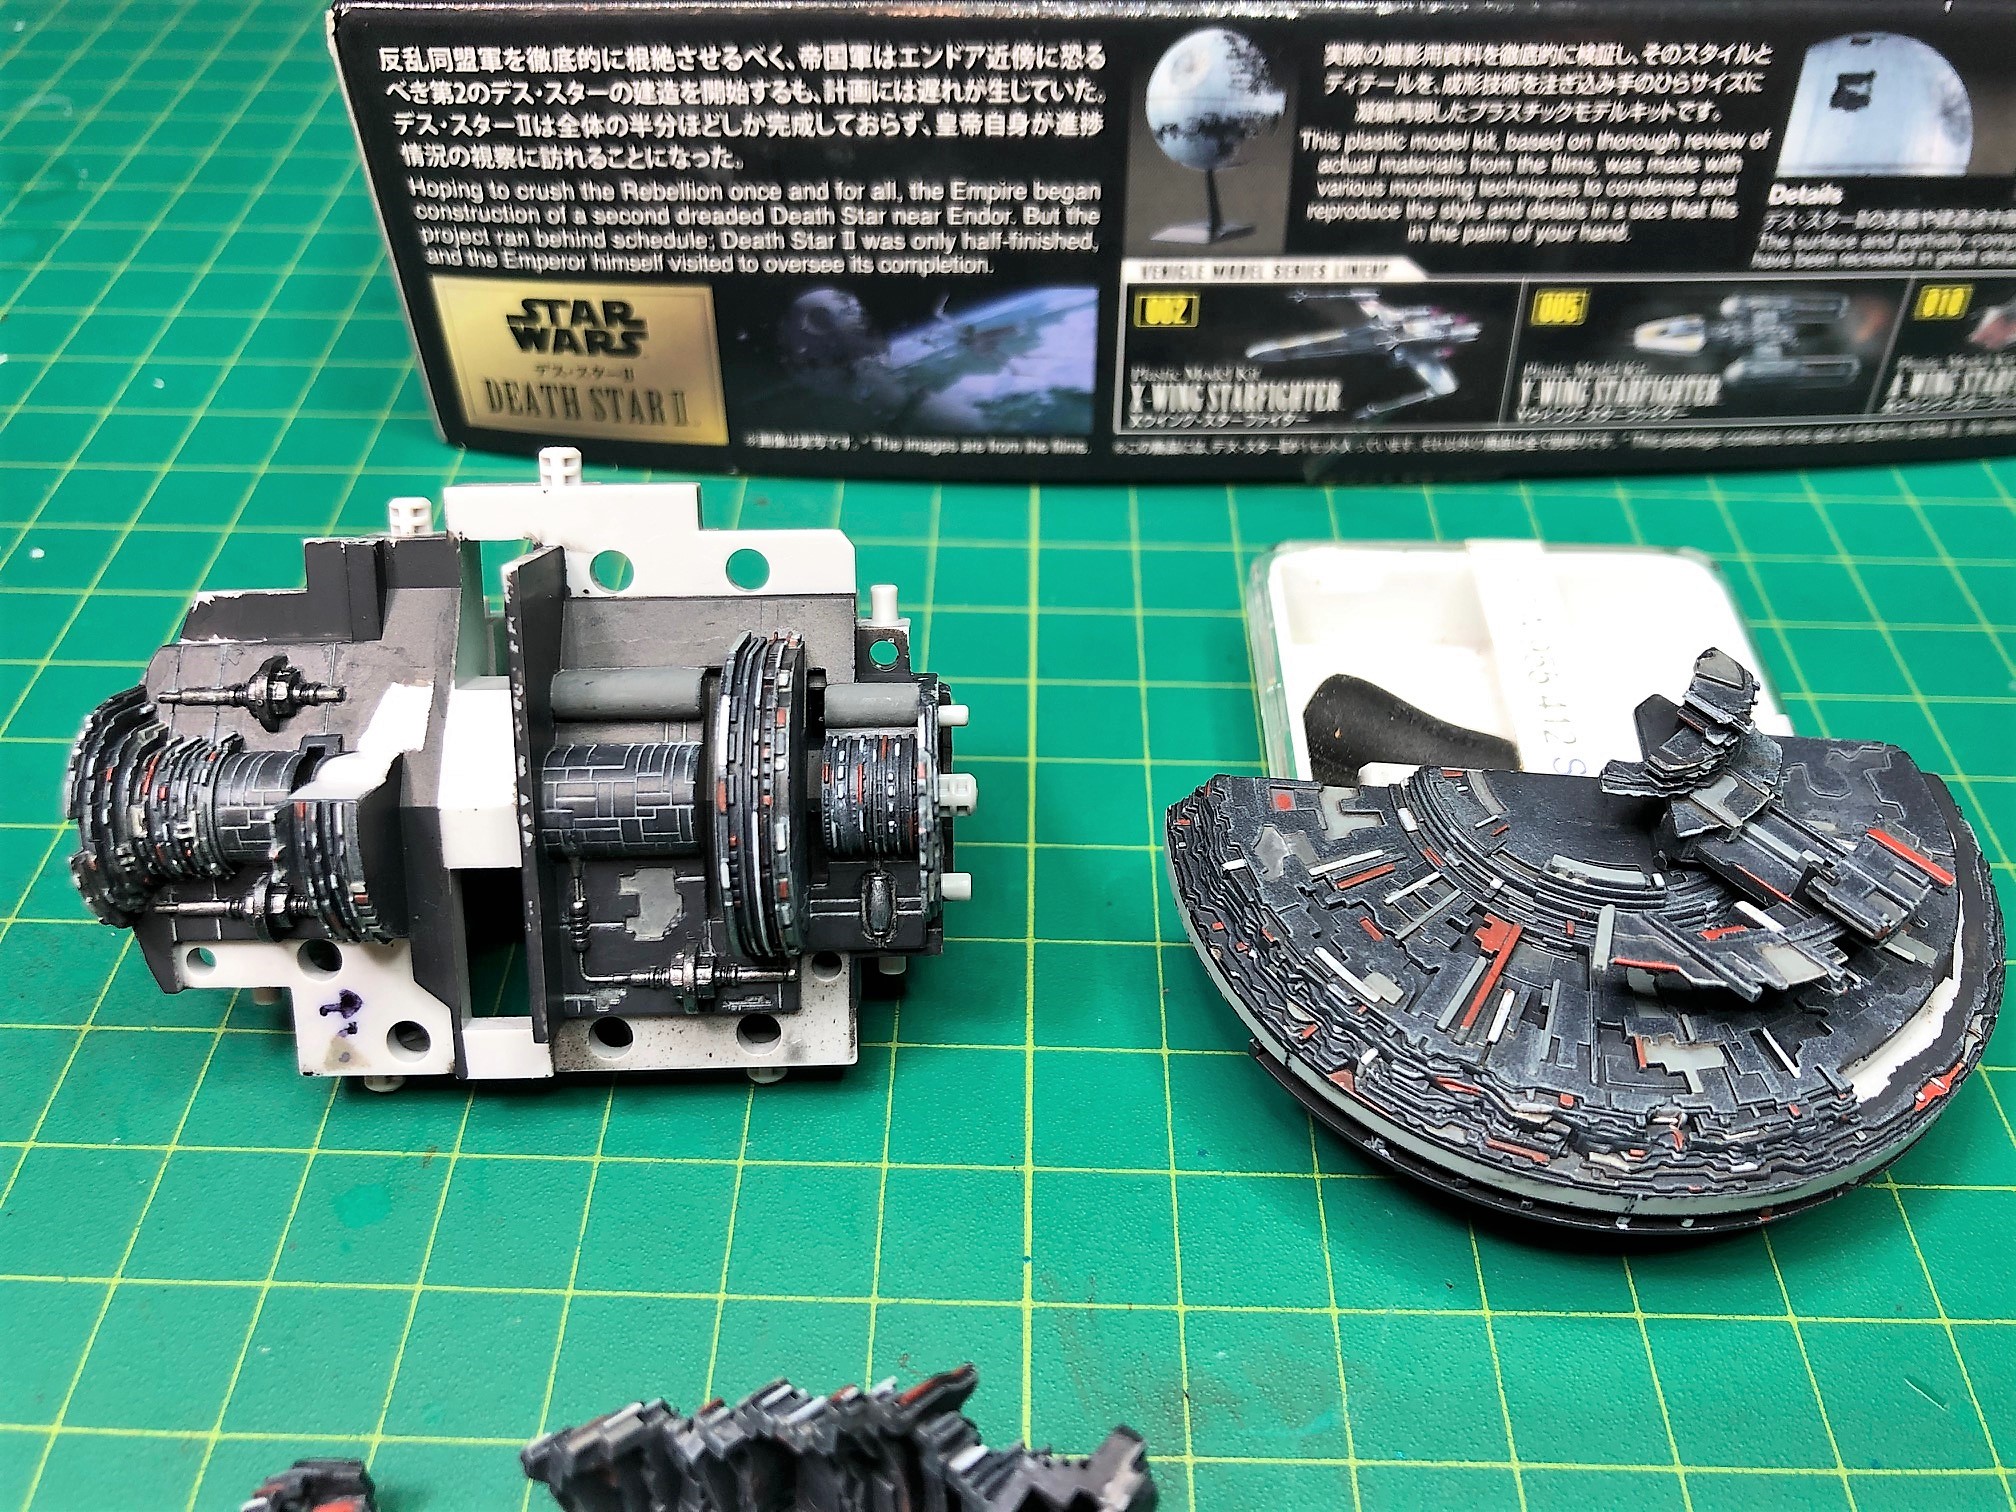
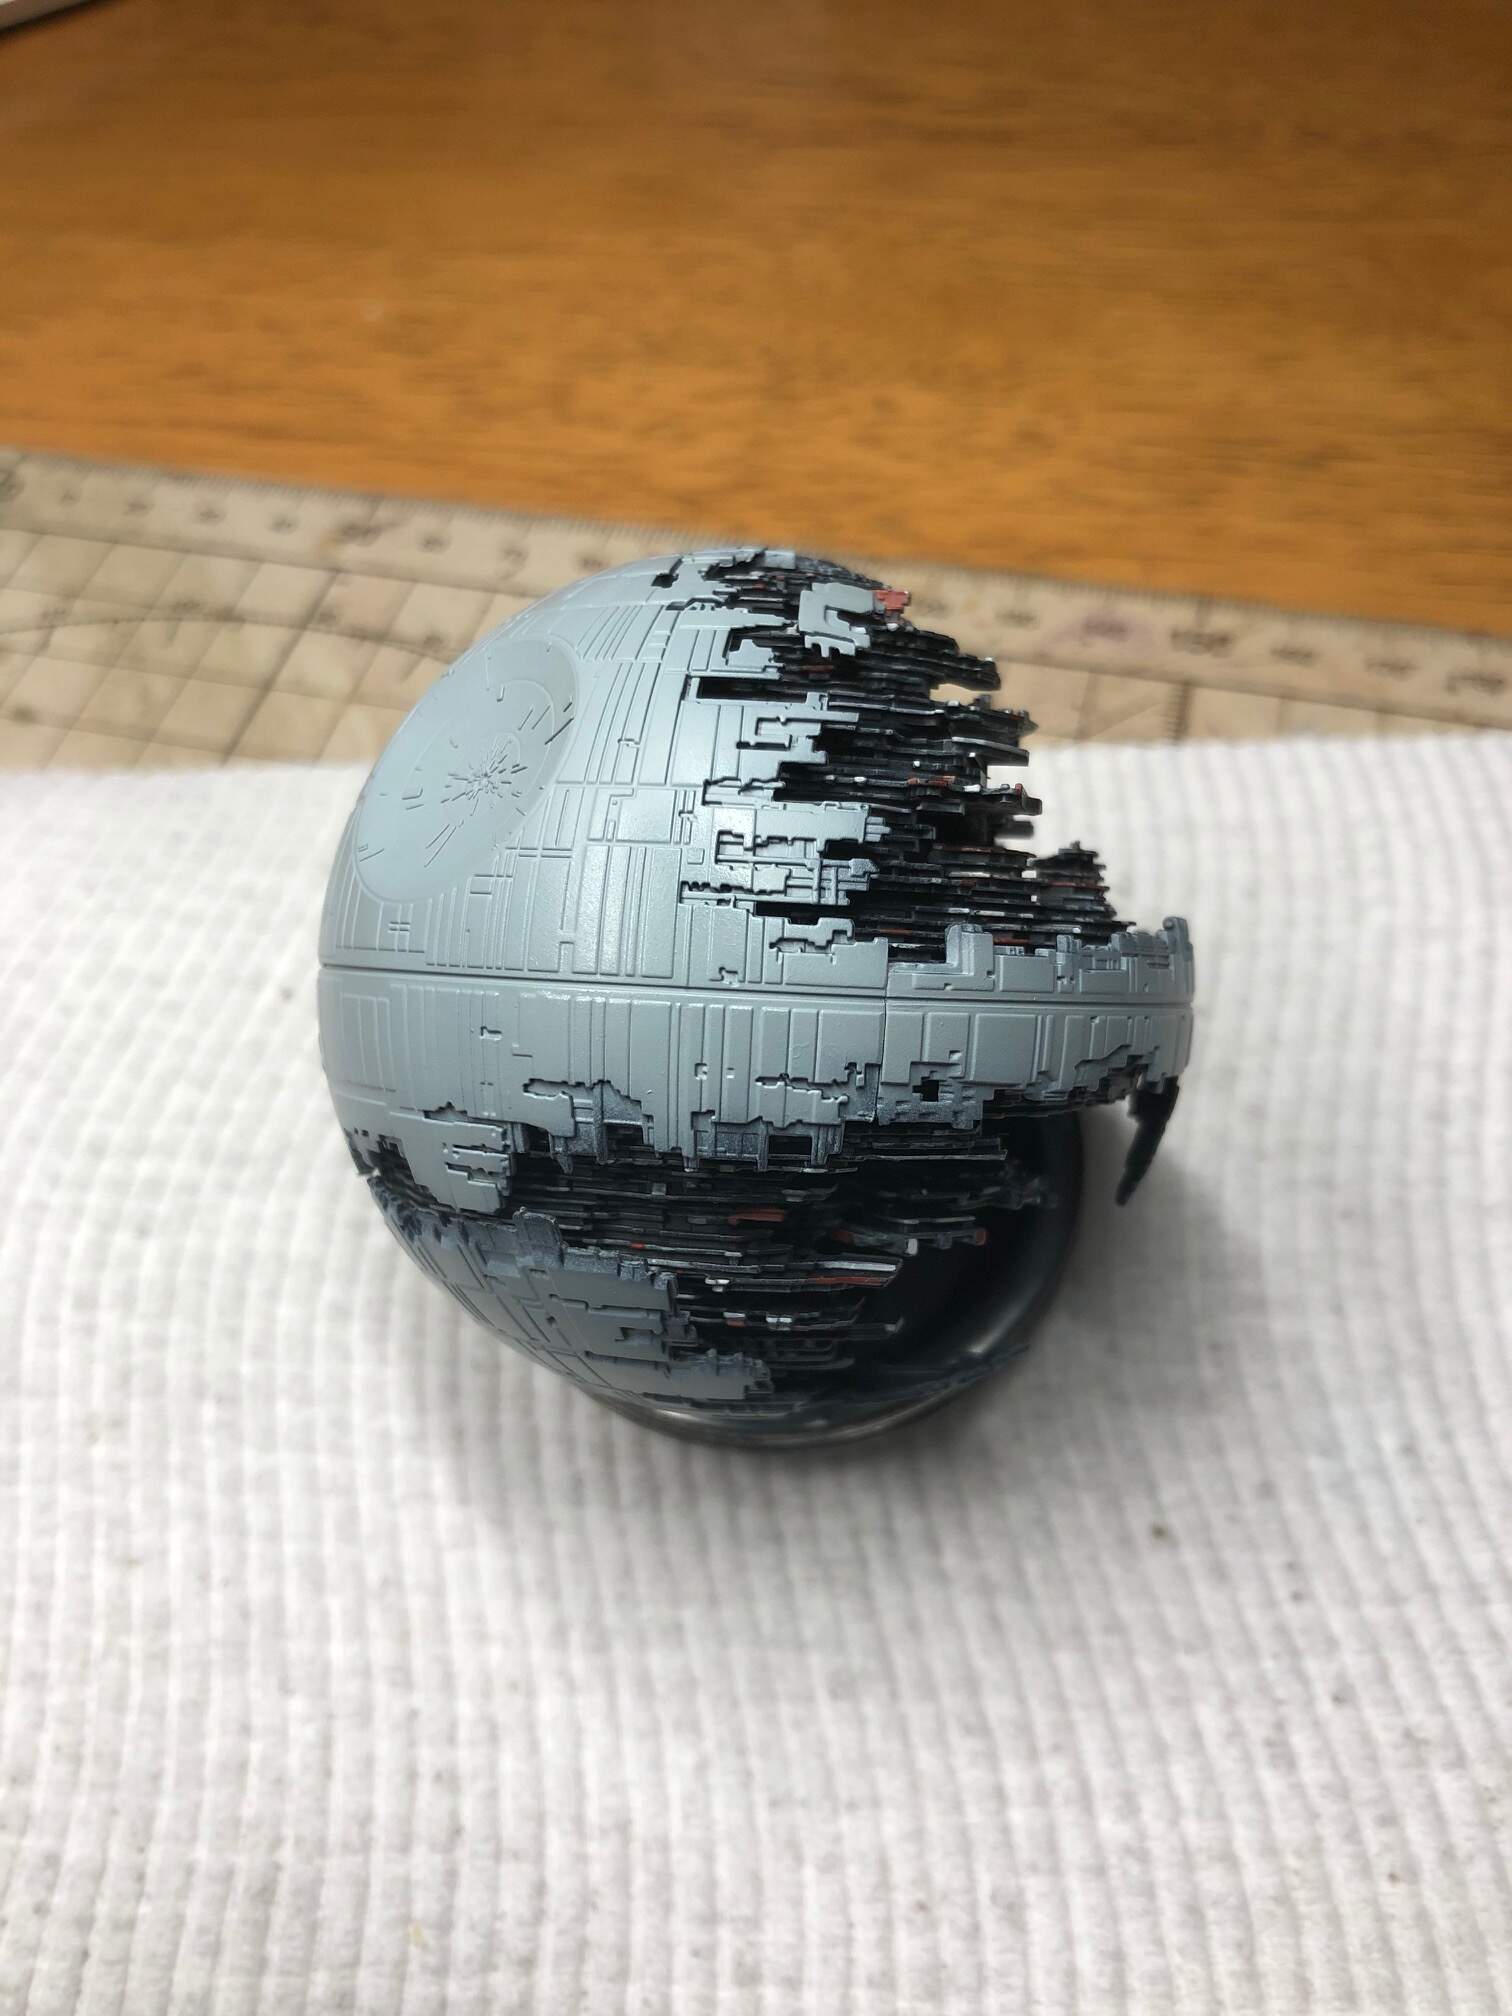
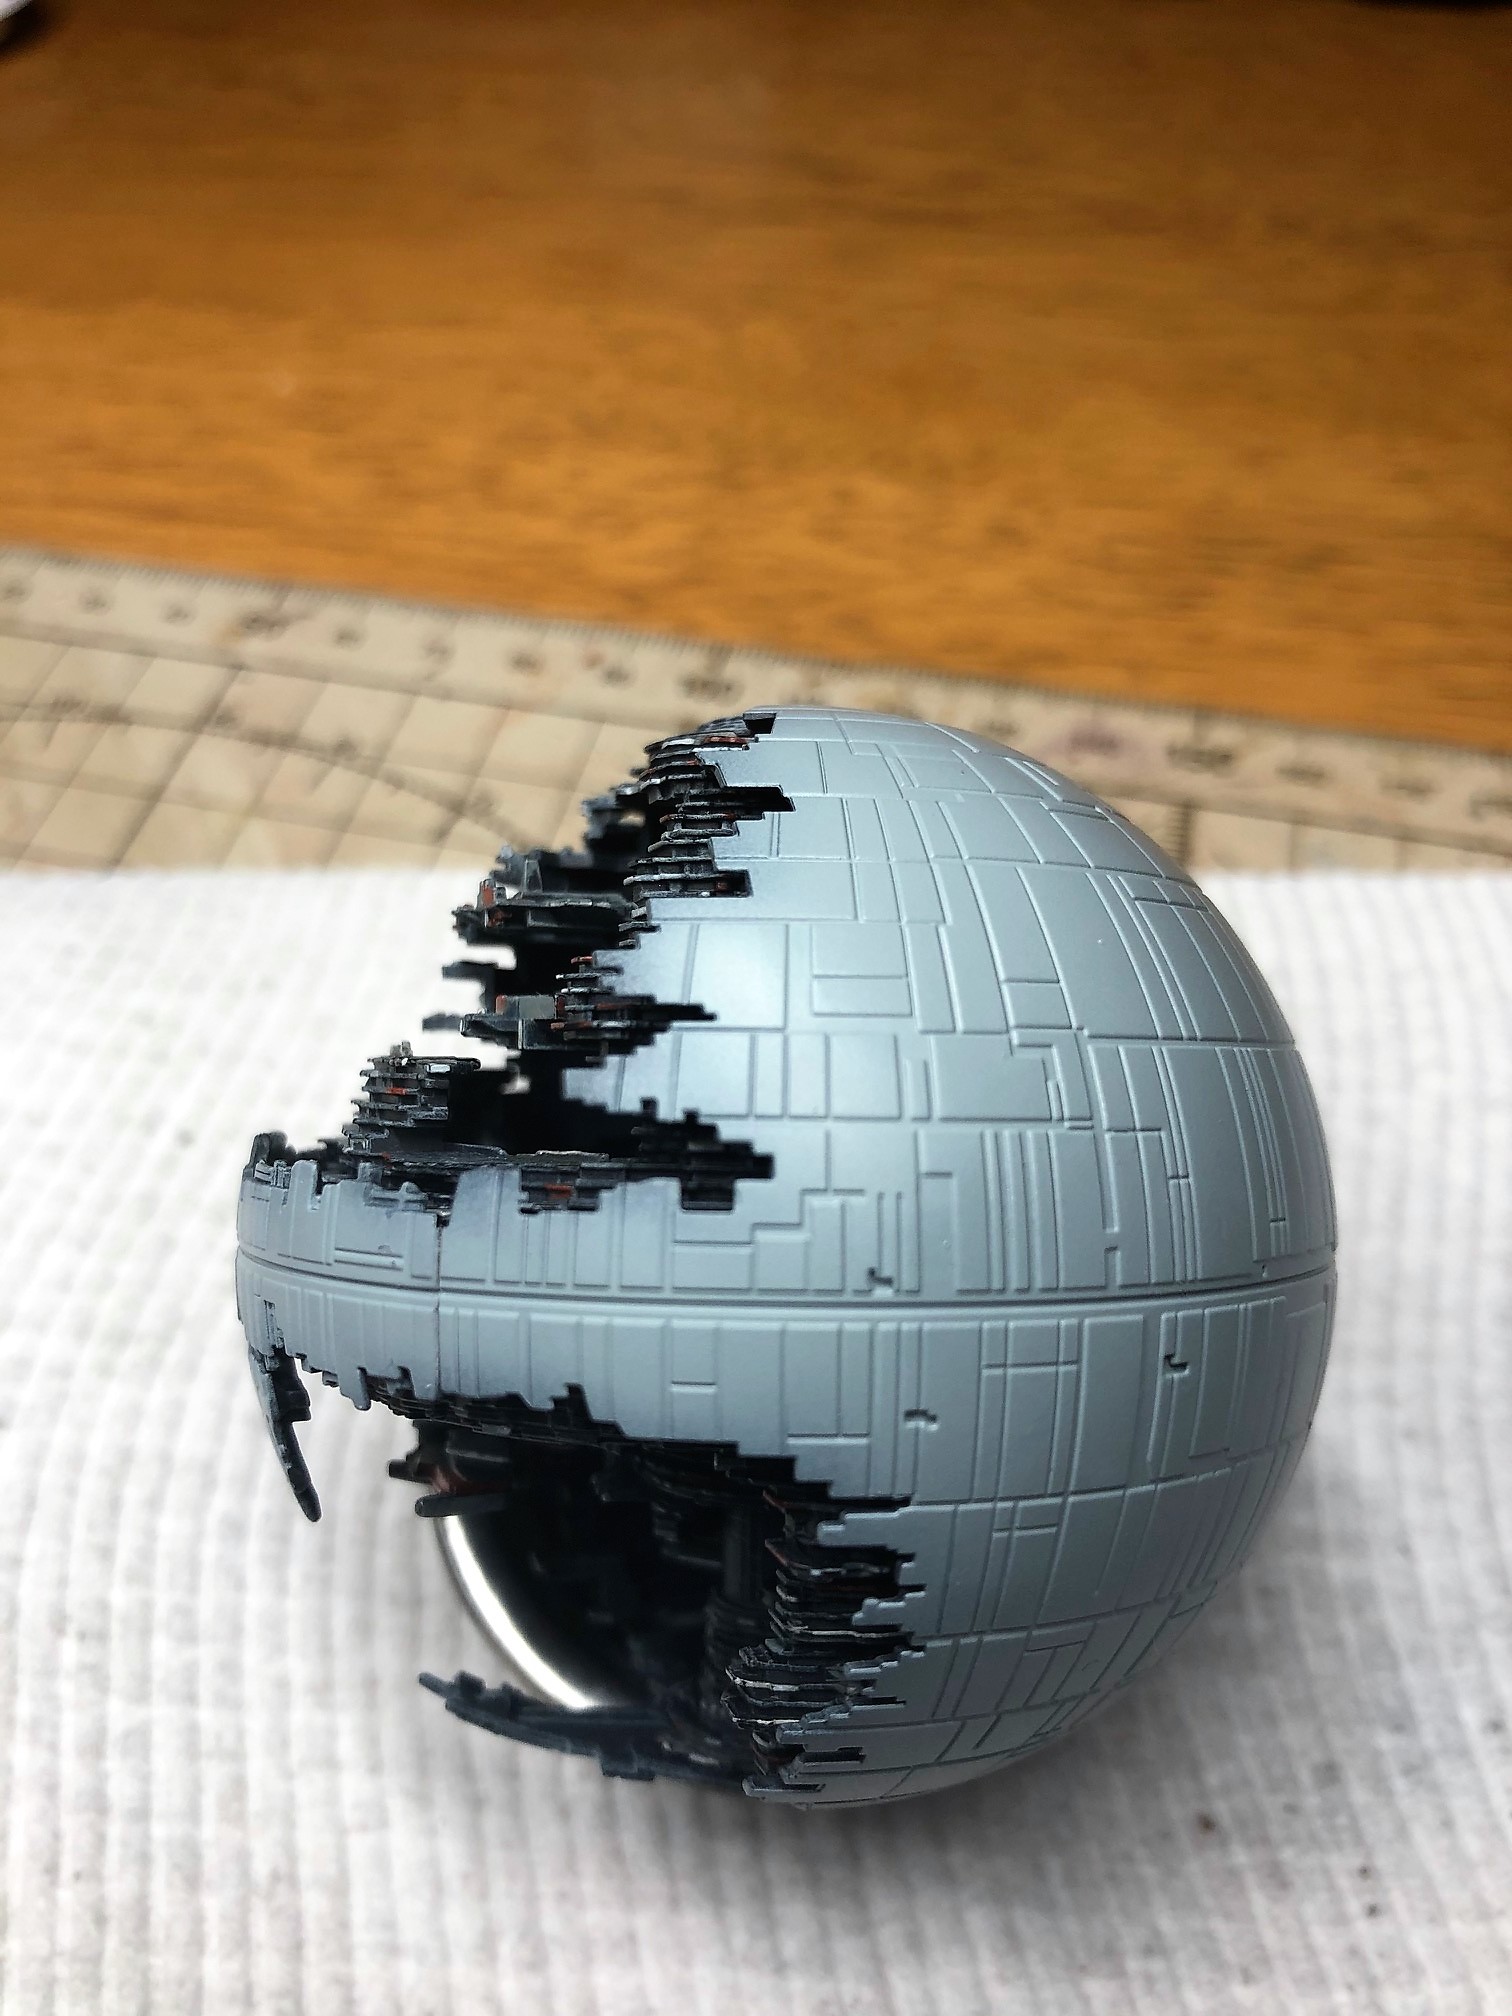
2° step, base color for the dark side…but …“That’s no moon…”  ,I use Mission Models Paint,Tyre Black 9 drops + 1 drop Black,for the part still under construction and for the inside of some parts of the outer shell,you have to be careful because there are many internal parts that you think are not visible but they are… dry fit the parts and check well because then it is a mess to fix
3 Likes
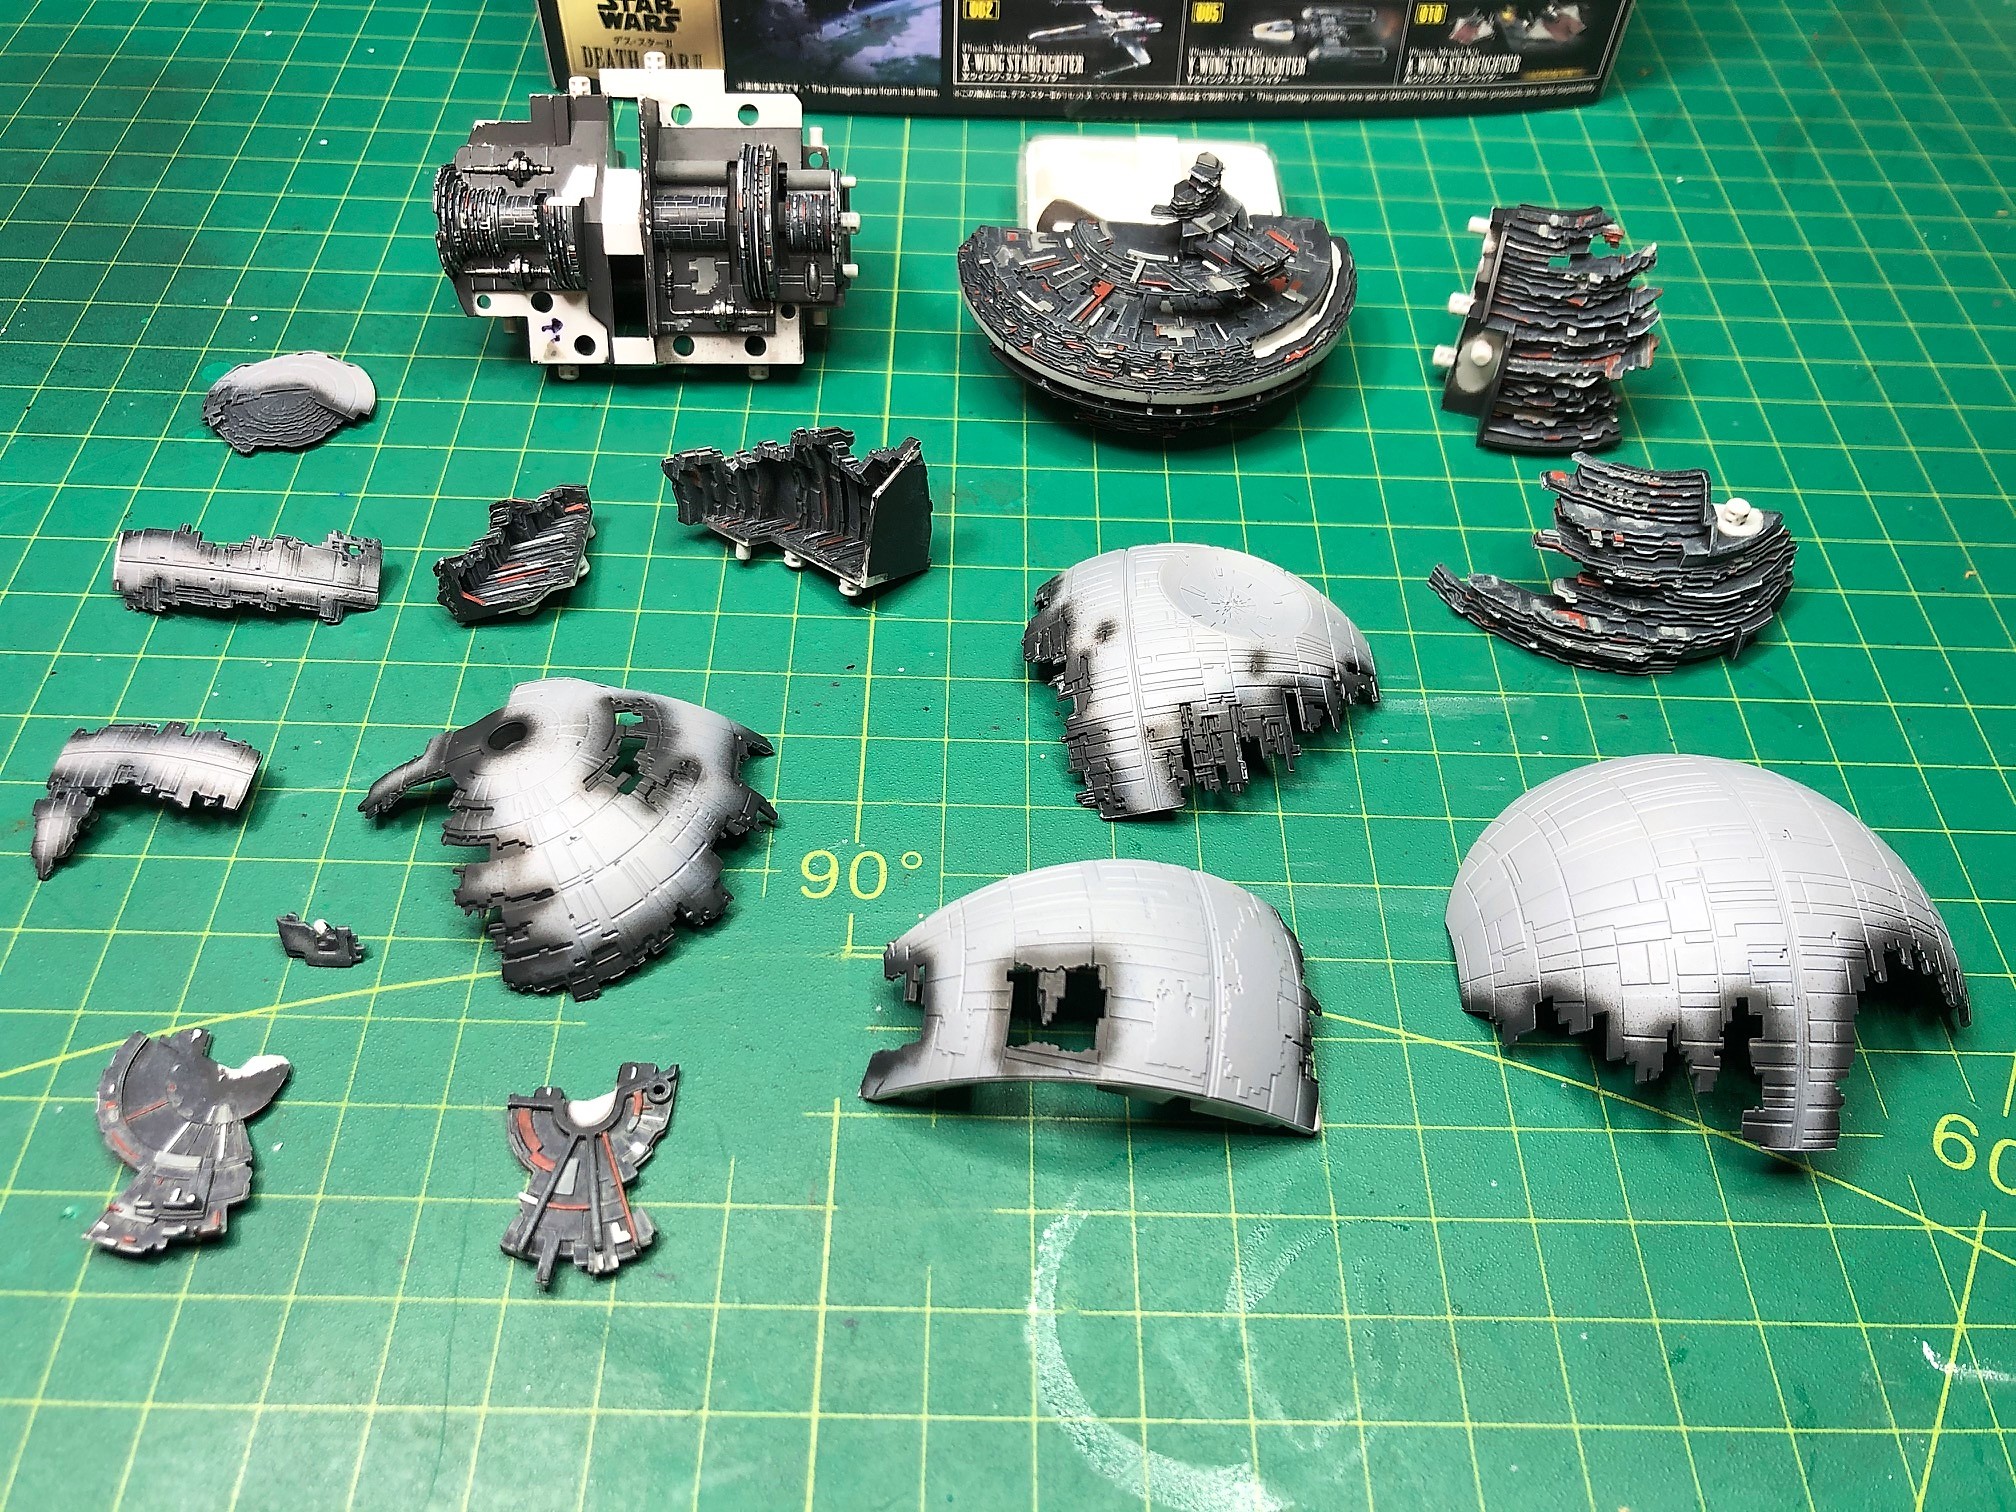
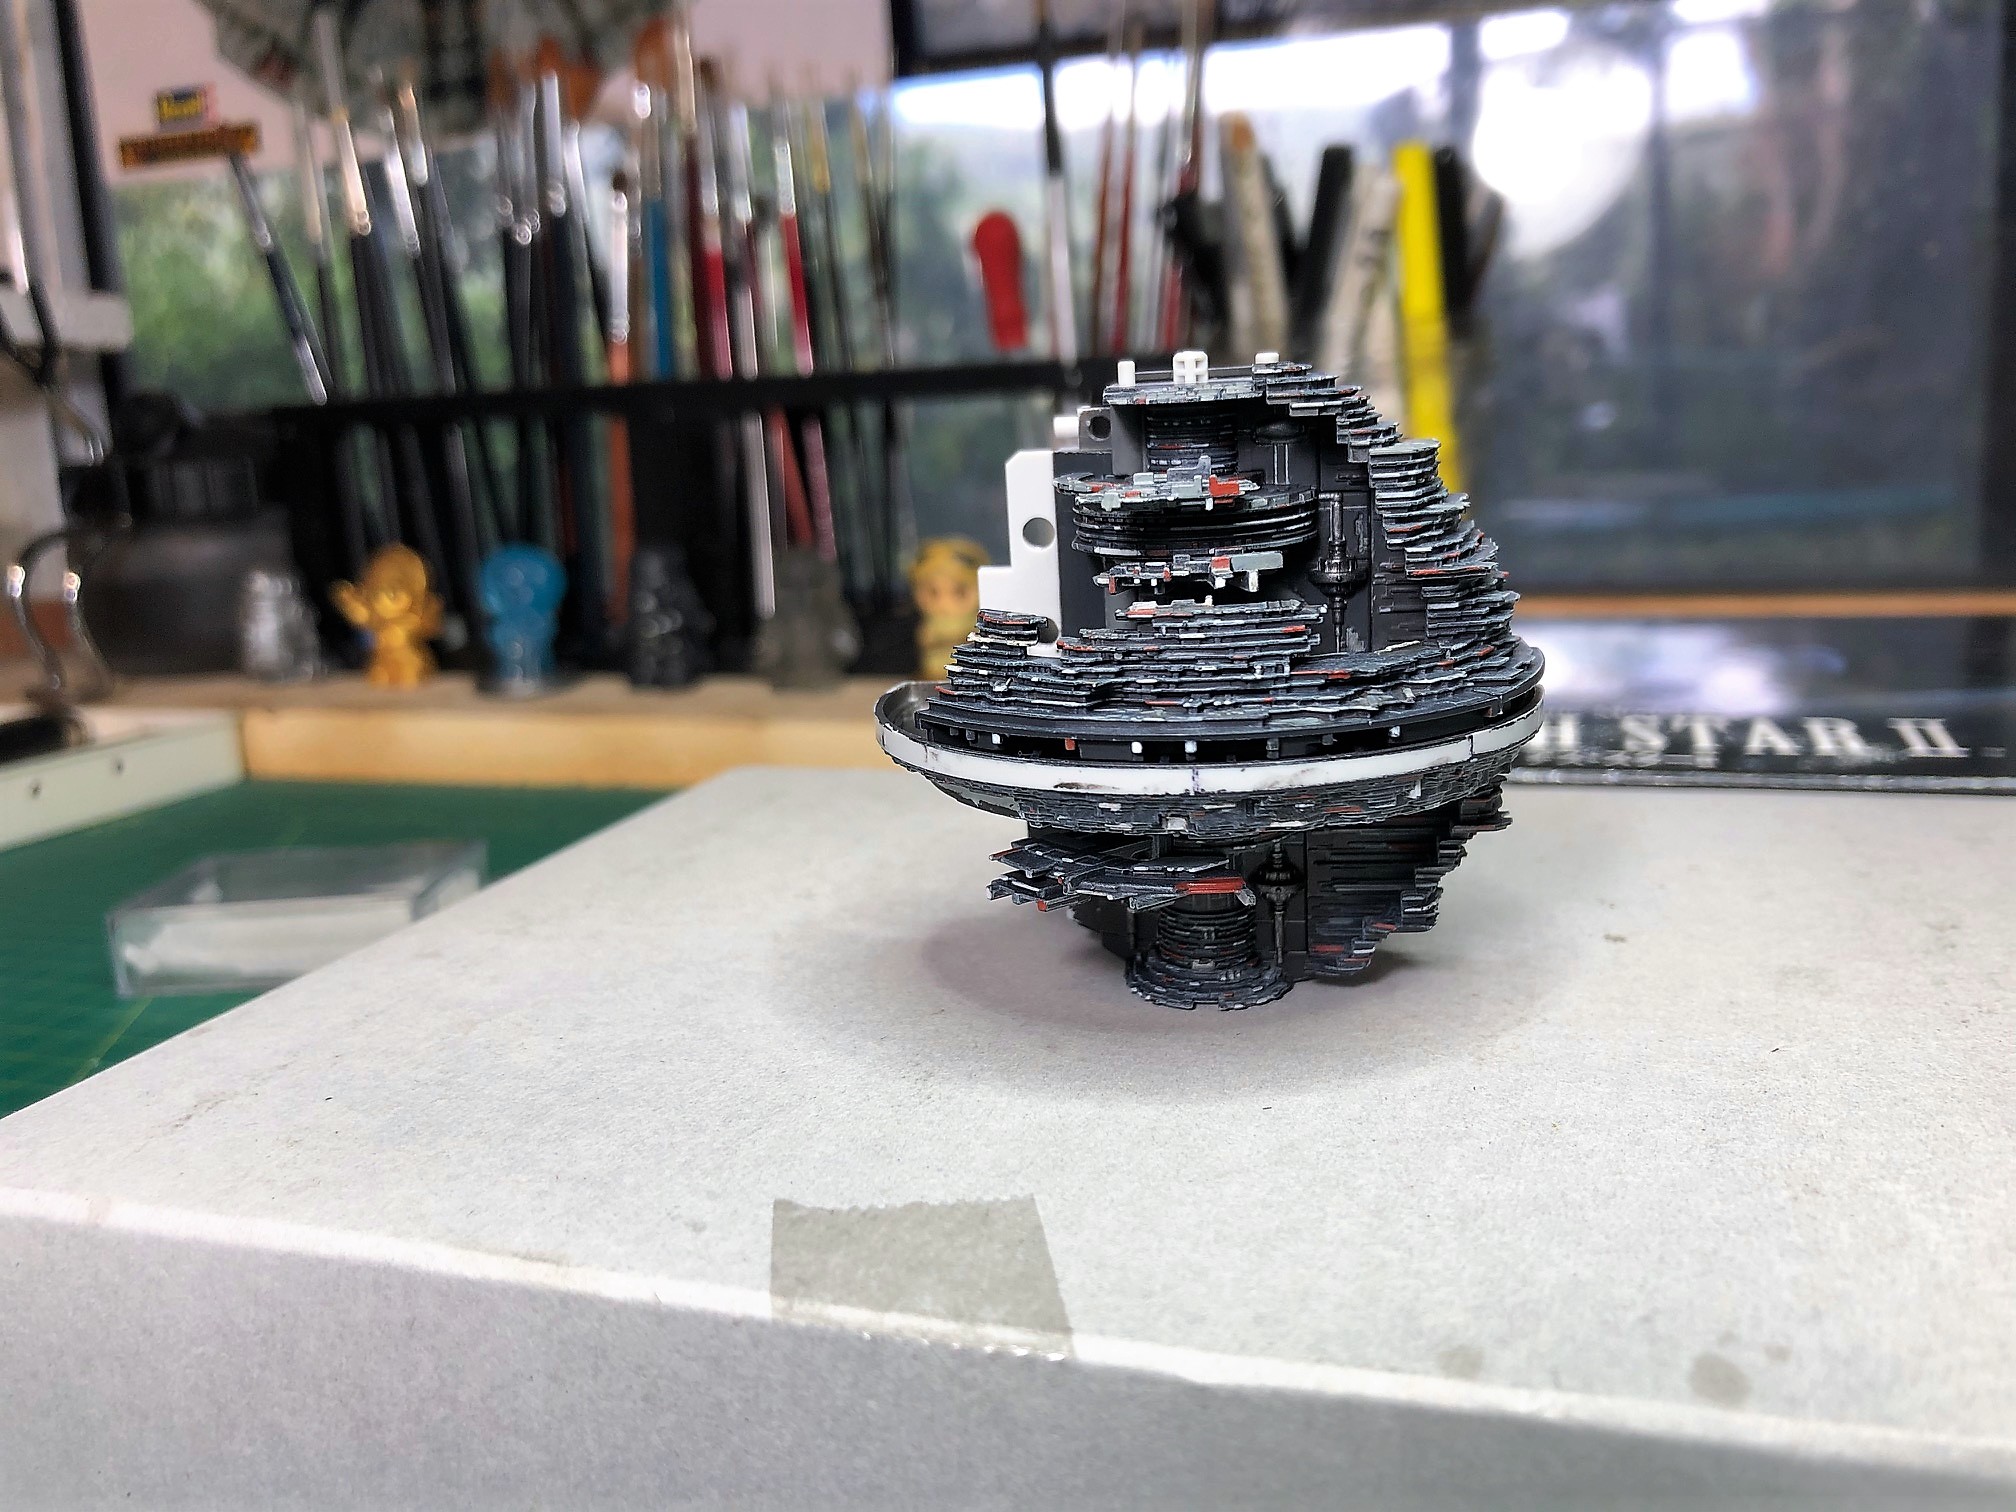
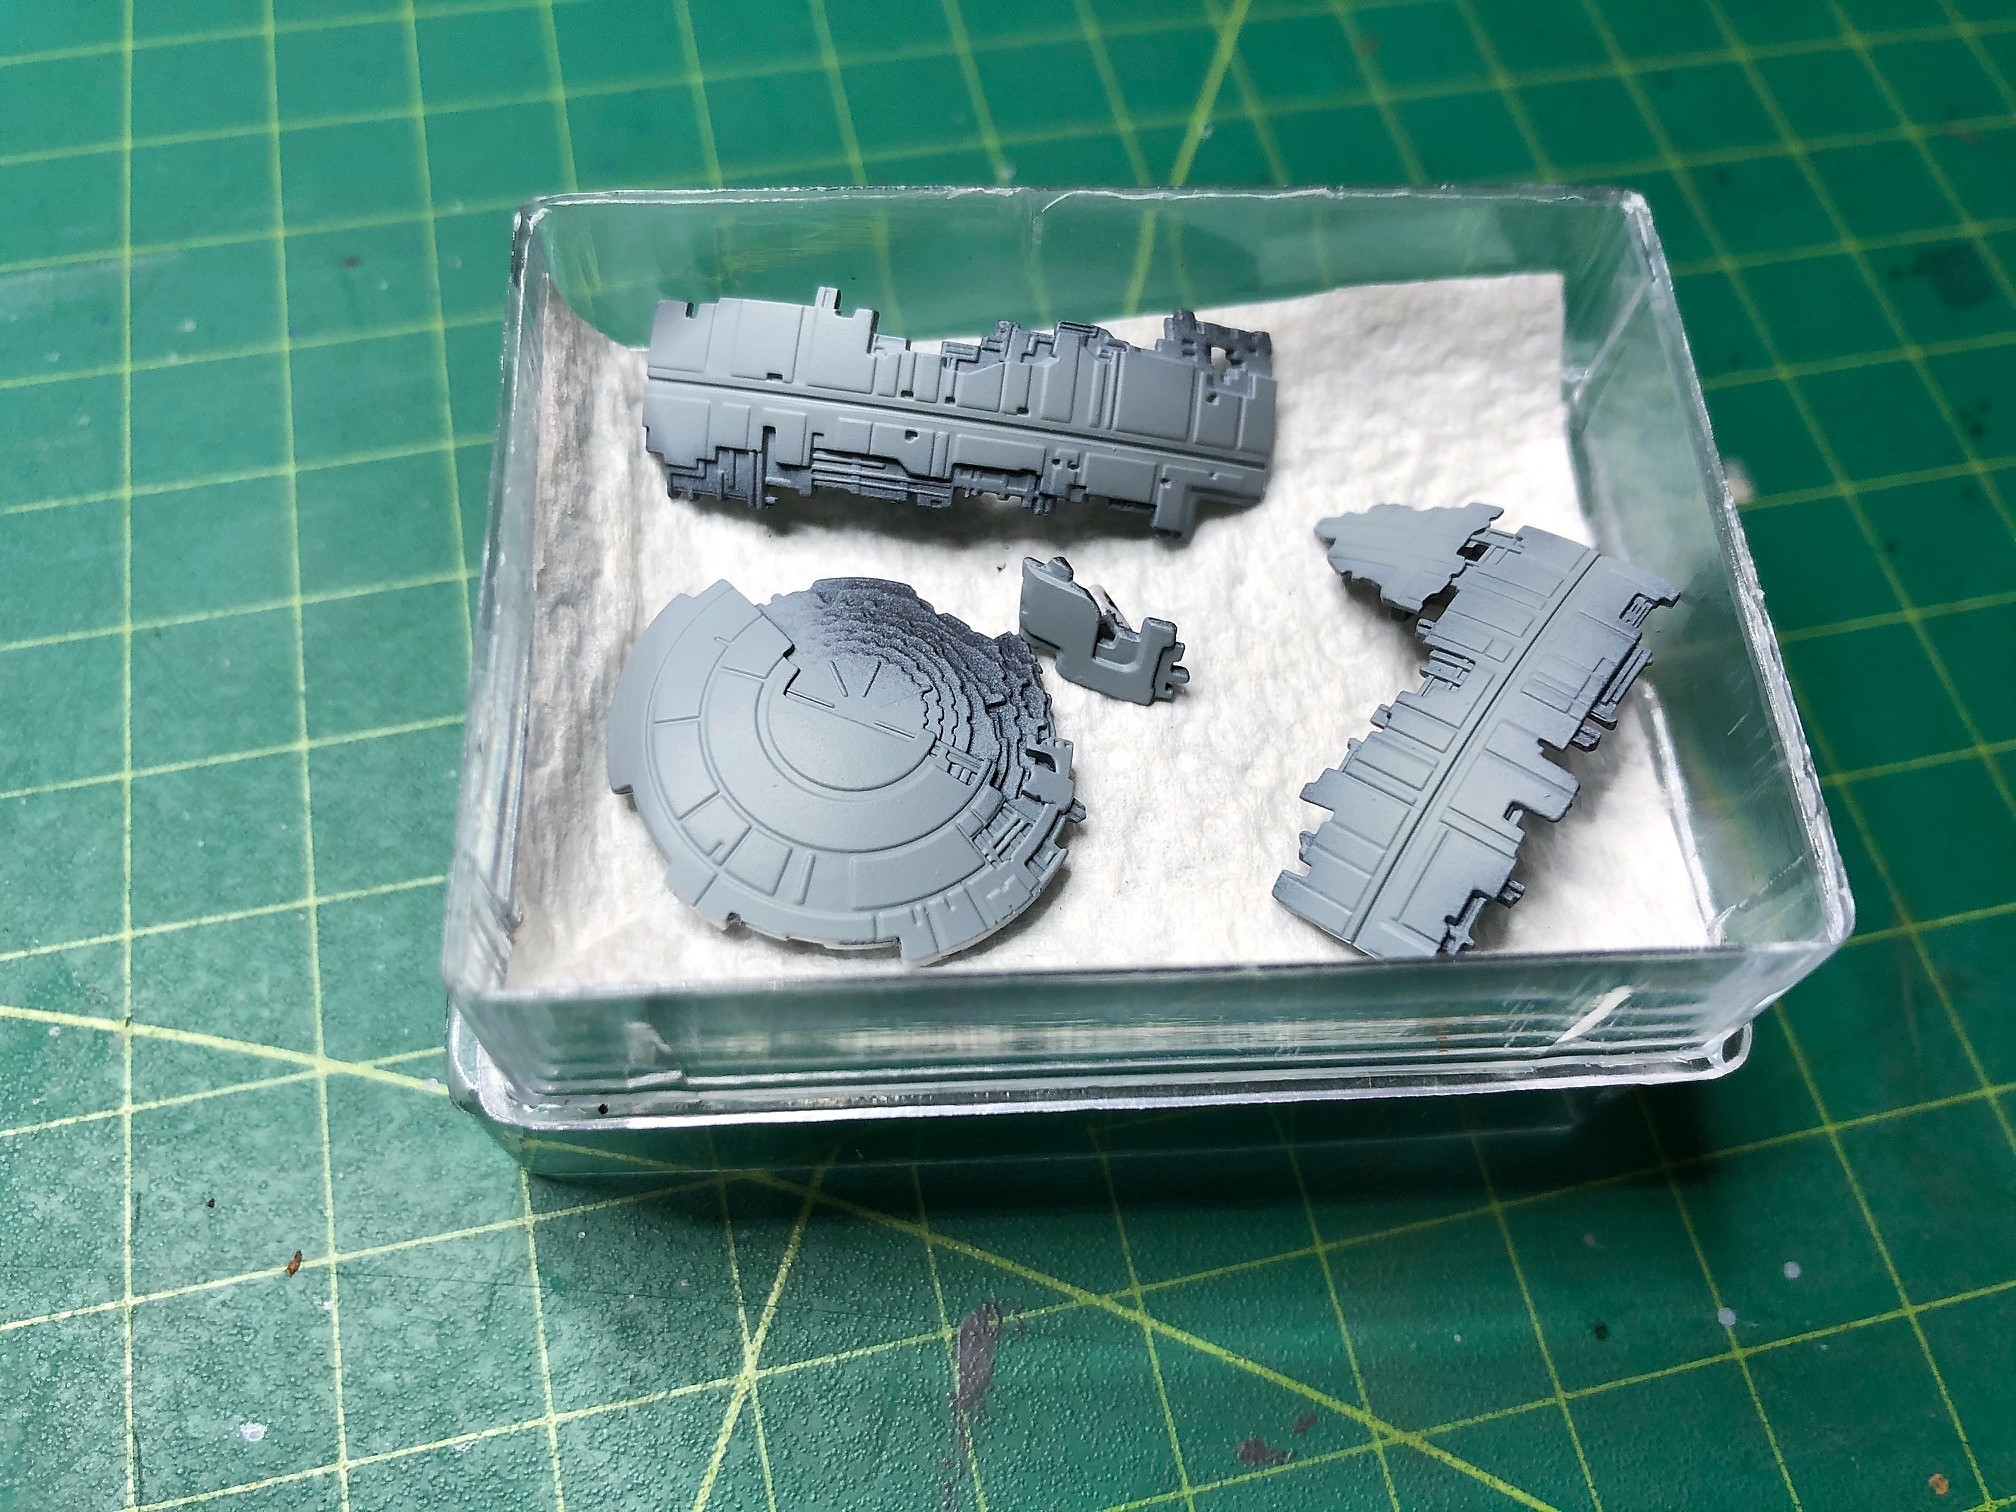
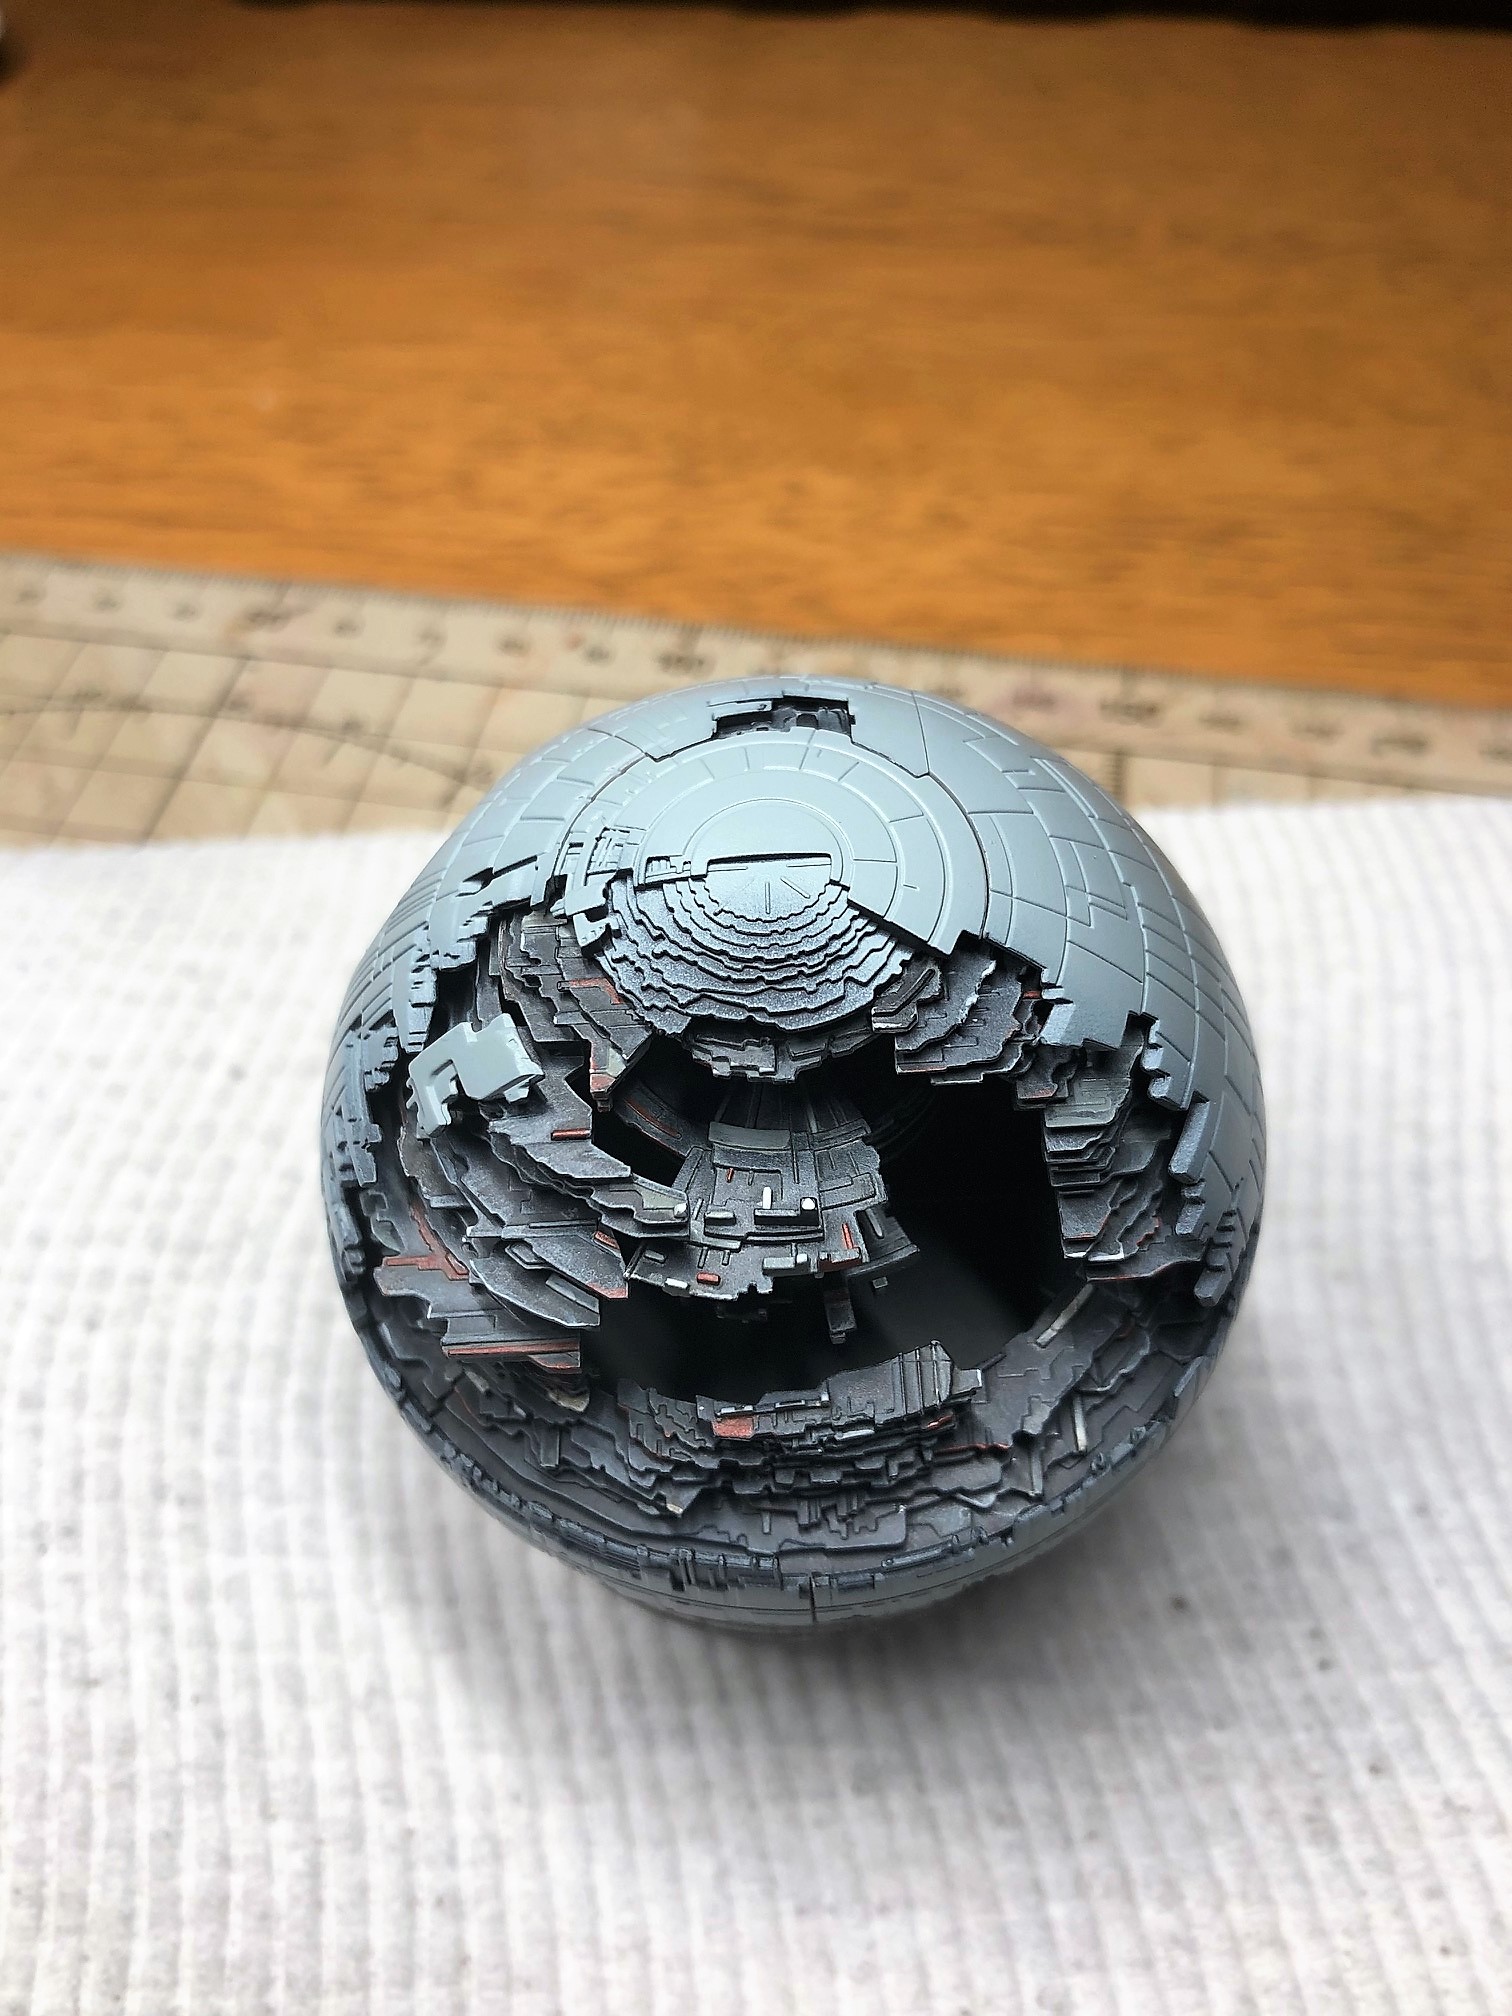
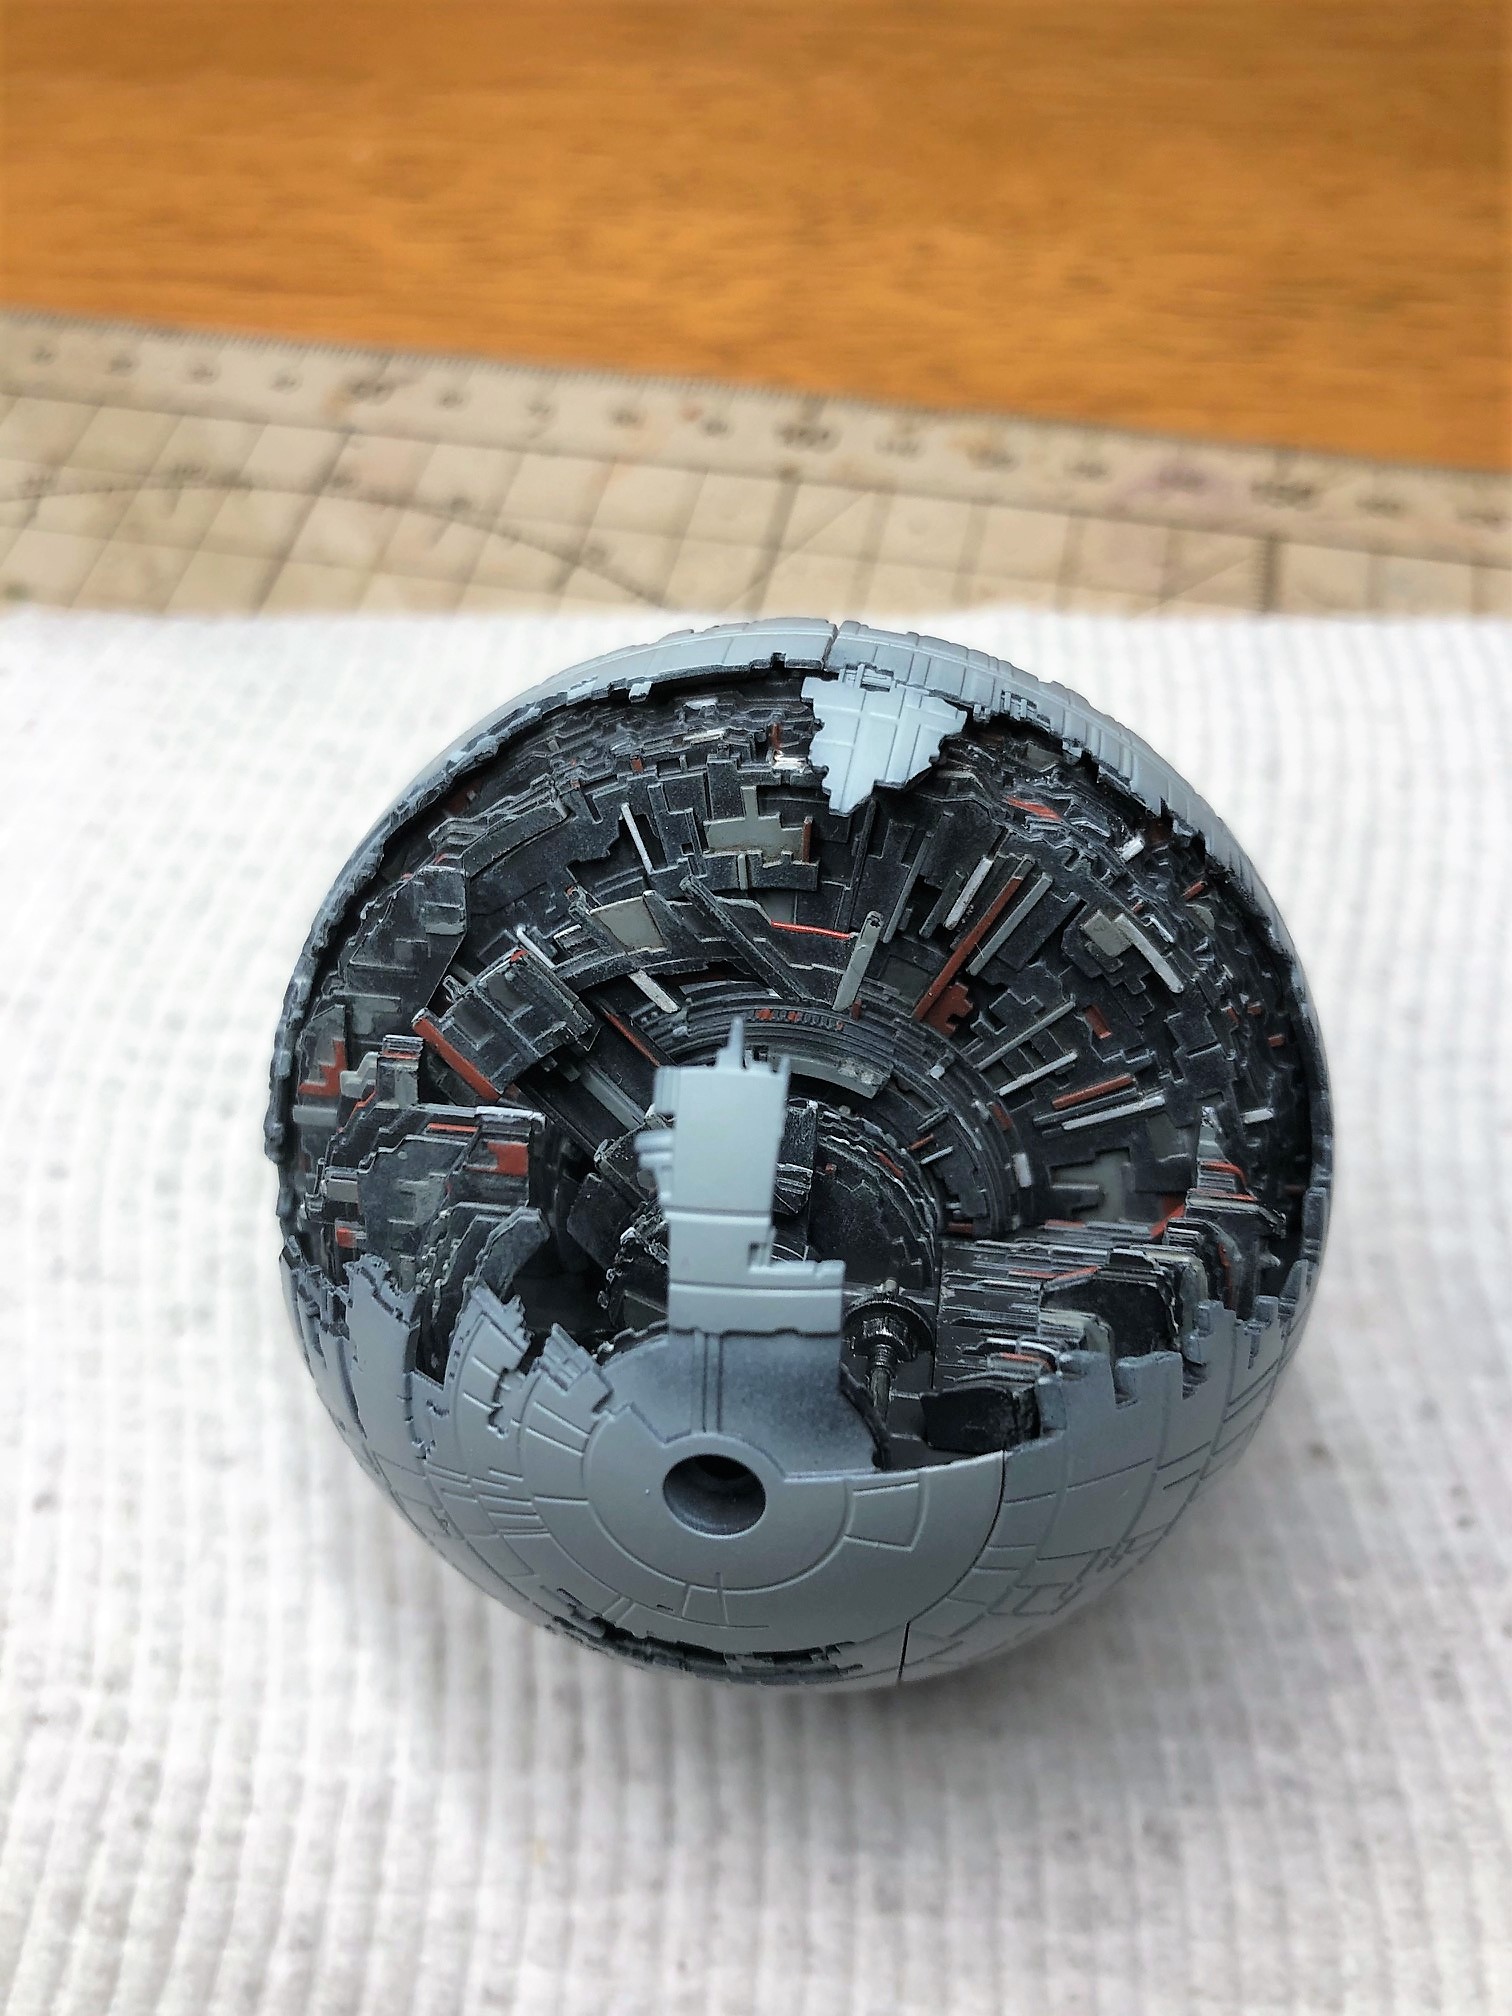
3° step,in this step I used various mediums, Humbrol Enamel, Agama Metal paste (kind of wax),Ammo Wash and acrylic MMPs, first drybrush with enamel H.145, then highlights and various details are a mix between MMP and Humbrol, the area of those that are part of the reactor system I painted them with the Agama’s and a little Ammo wash.
Because Bandai kit’s can be assembled without glue with a little attention it is easy to assemble and disassemble it to check the whole look.
8 Likes
Looks really good… I can almost feel the dark side oozing out from it 
1 Like
Cool! Looking really nice. Now you just need a 1/2’700’000 Darth Vader -or zoom in the photos, as I have not been able to find it 
3 Likes
Looking really good!
Will be interested to see how you deal with the seams. I have it in my stash and wondered about how to sort those out without losing details.
1 Like
Great paint job, especially given the miniscule size,  .
.
G
1 Like
Thank you all!.. 
for the seams lines I thought of gluing it with the classic tamiya green cap with the help of rubber bands to keep everything nice and tight, then the idea was to use the Perfect Plastic Putty that is easily smoothed with a wet Q-tips or finger, the less I have to sand the better is … then for sure the plan will go wrong as usual… 
i am open to any suggestion !
2 Likes
Yep …it’s on his way from Shapeway,now I just wait for the answer from NASA if I can borrow the Hubble telescope  to help me paint it!
2 Likes
@Vicious, at what point did you go blind painting that imperial golf ball?
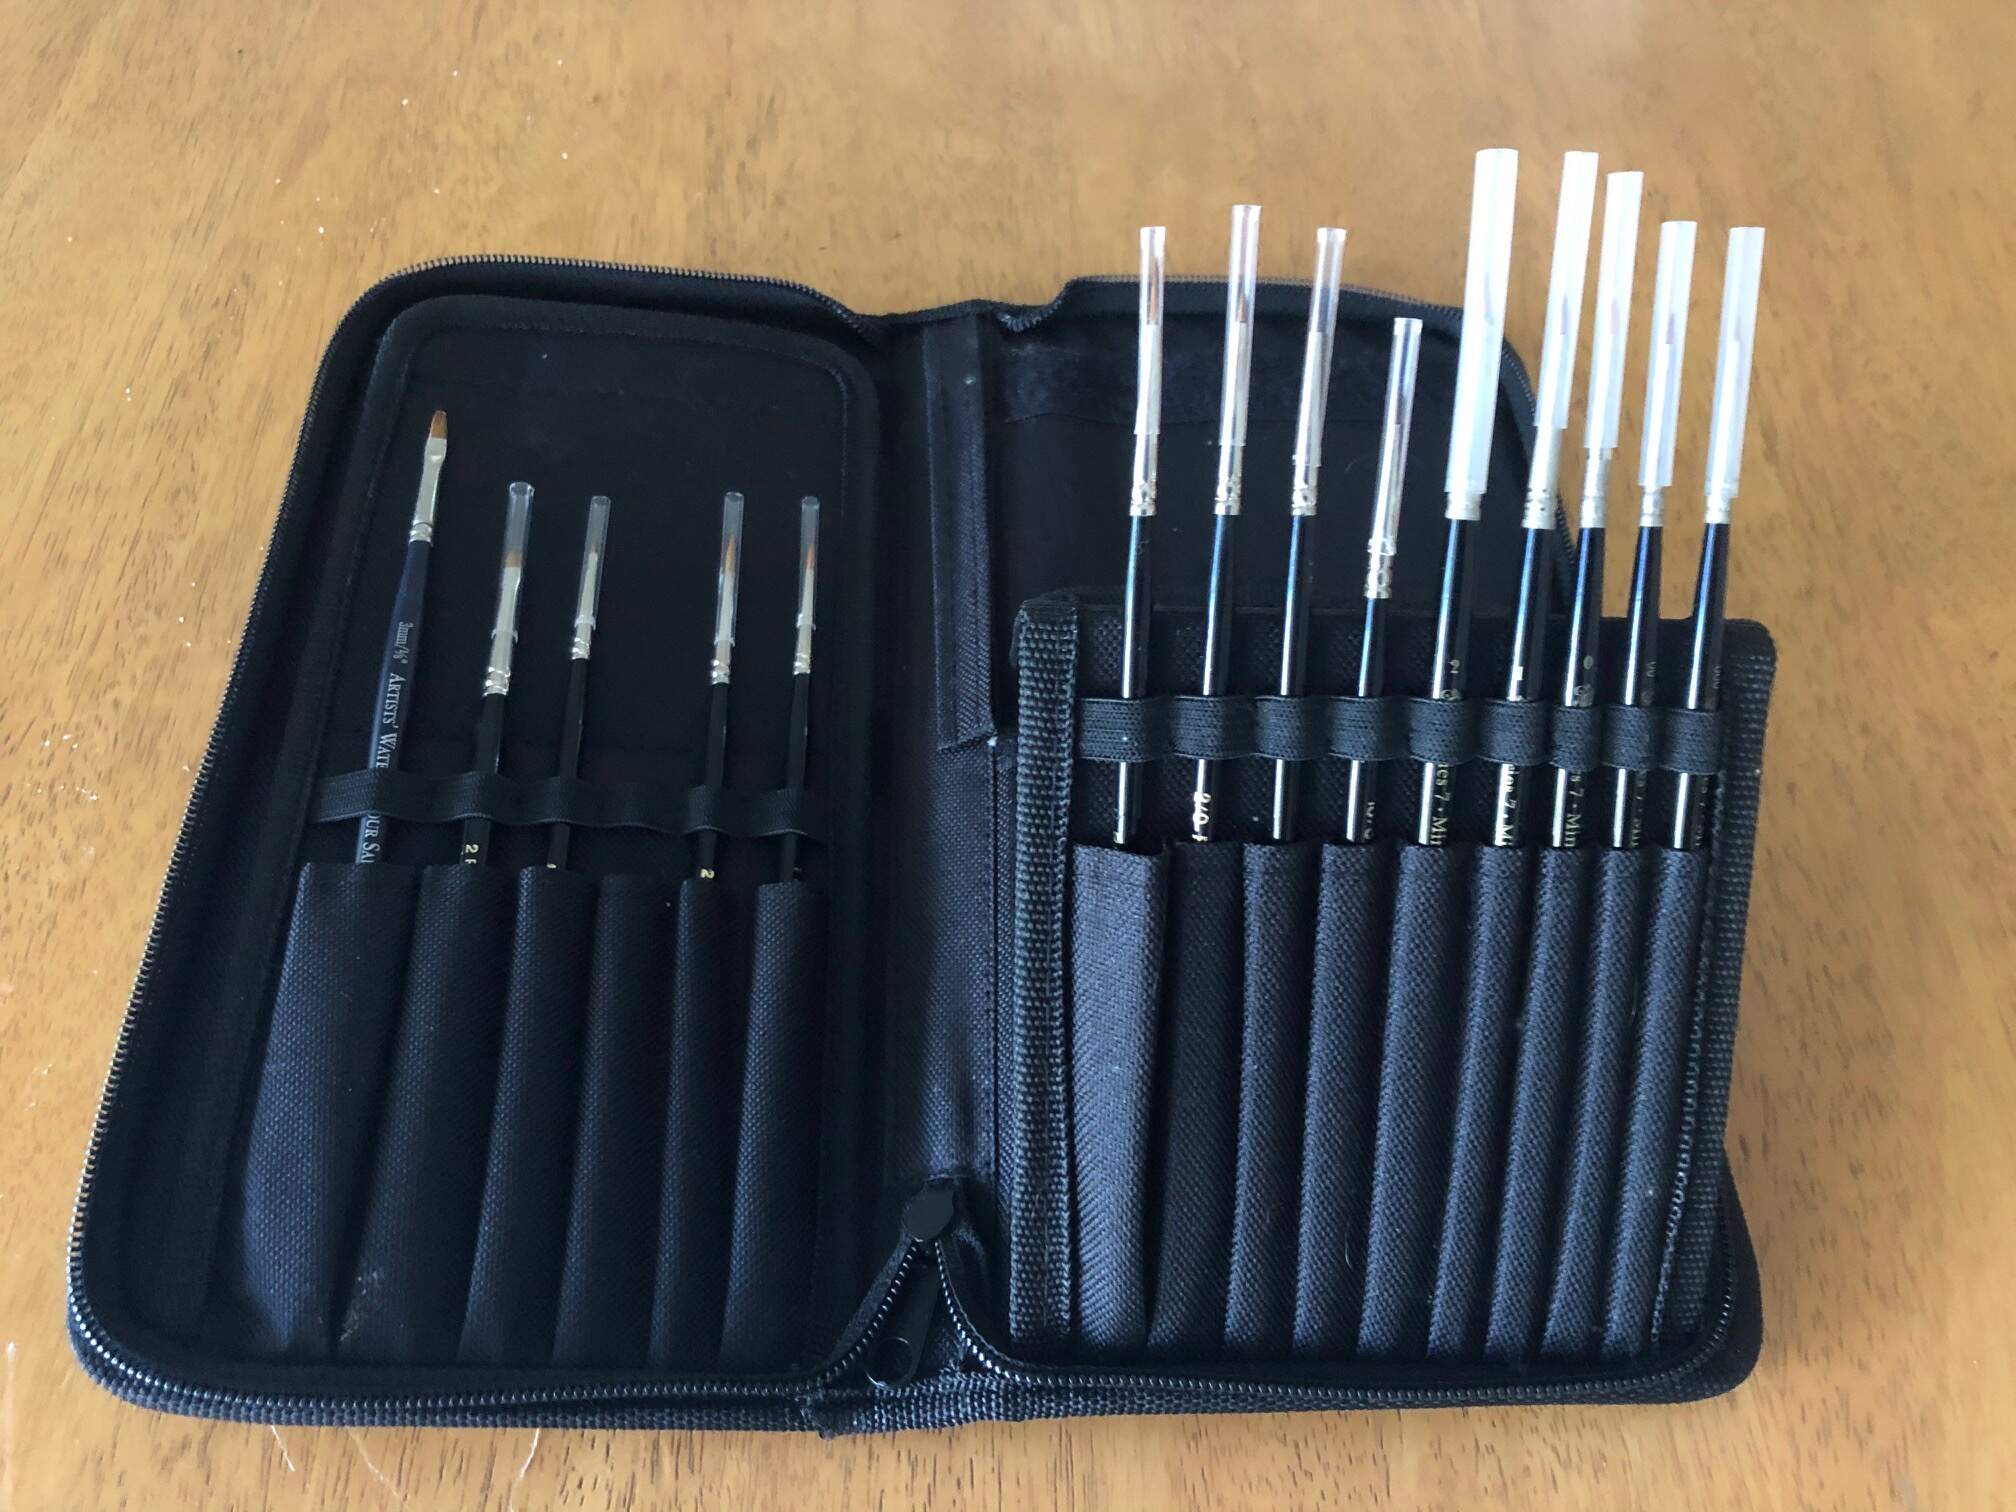
what size of brushes are you using?
1 Like
The ball is a little bigger than a golf ball,more like a cricket or baseball for those over the pond.
I dont use so much “micro-brushes”, I used a “0” for almost everything, in the end, more than the size I find the quality is more important, a nice tip,a good belly and a soft but springy hair, when they are too small you have a nice tip but you have to continue to dip the brush because the belly does not hold a lot of paint, and so I lose focus, I find that for me the 0 is a good compromise between the 2
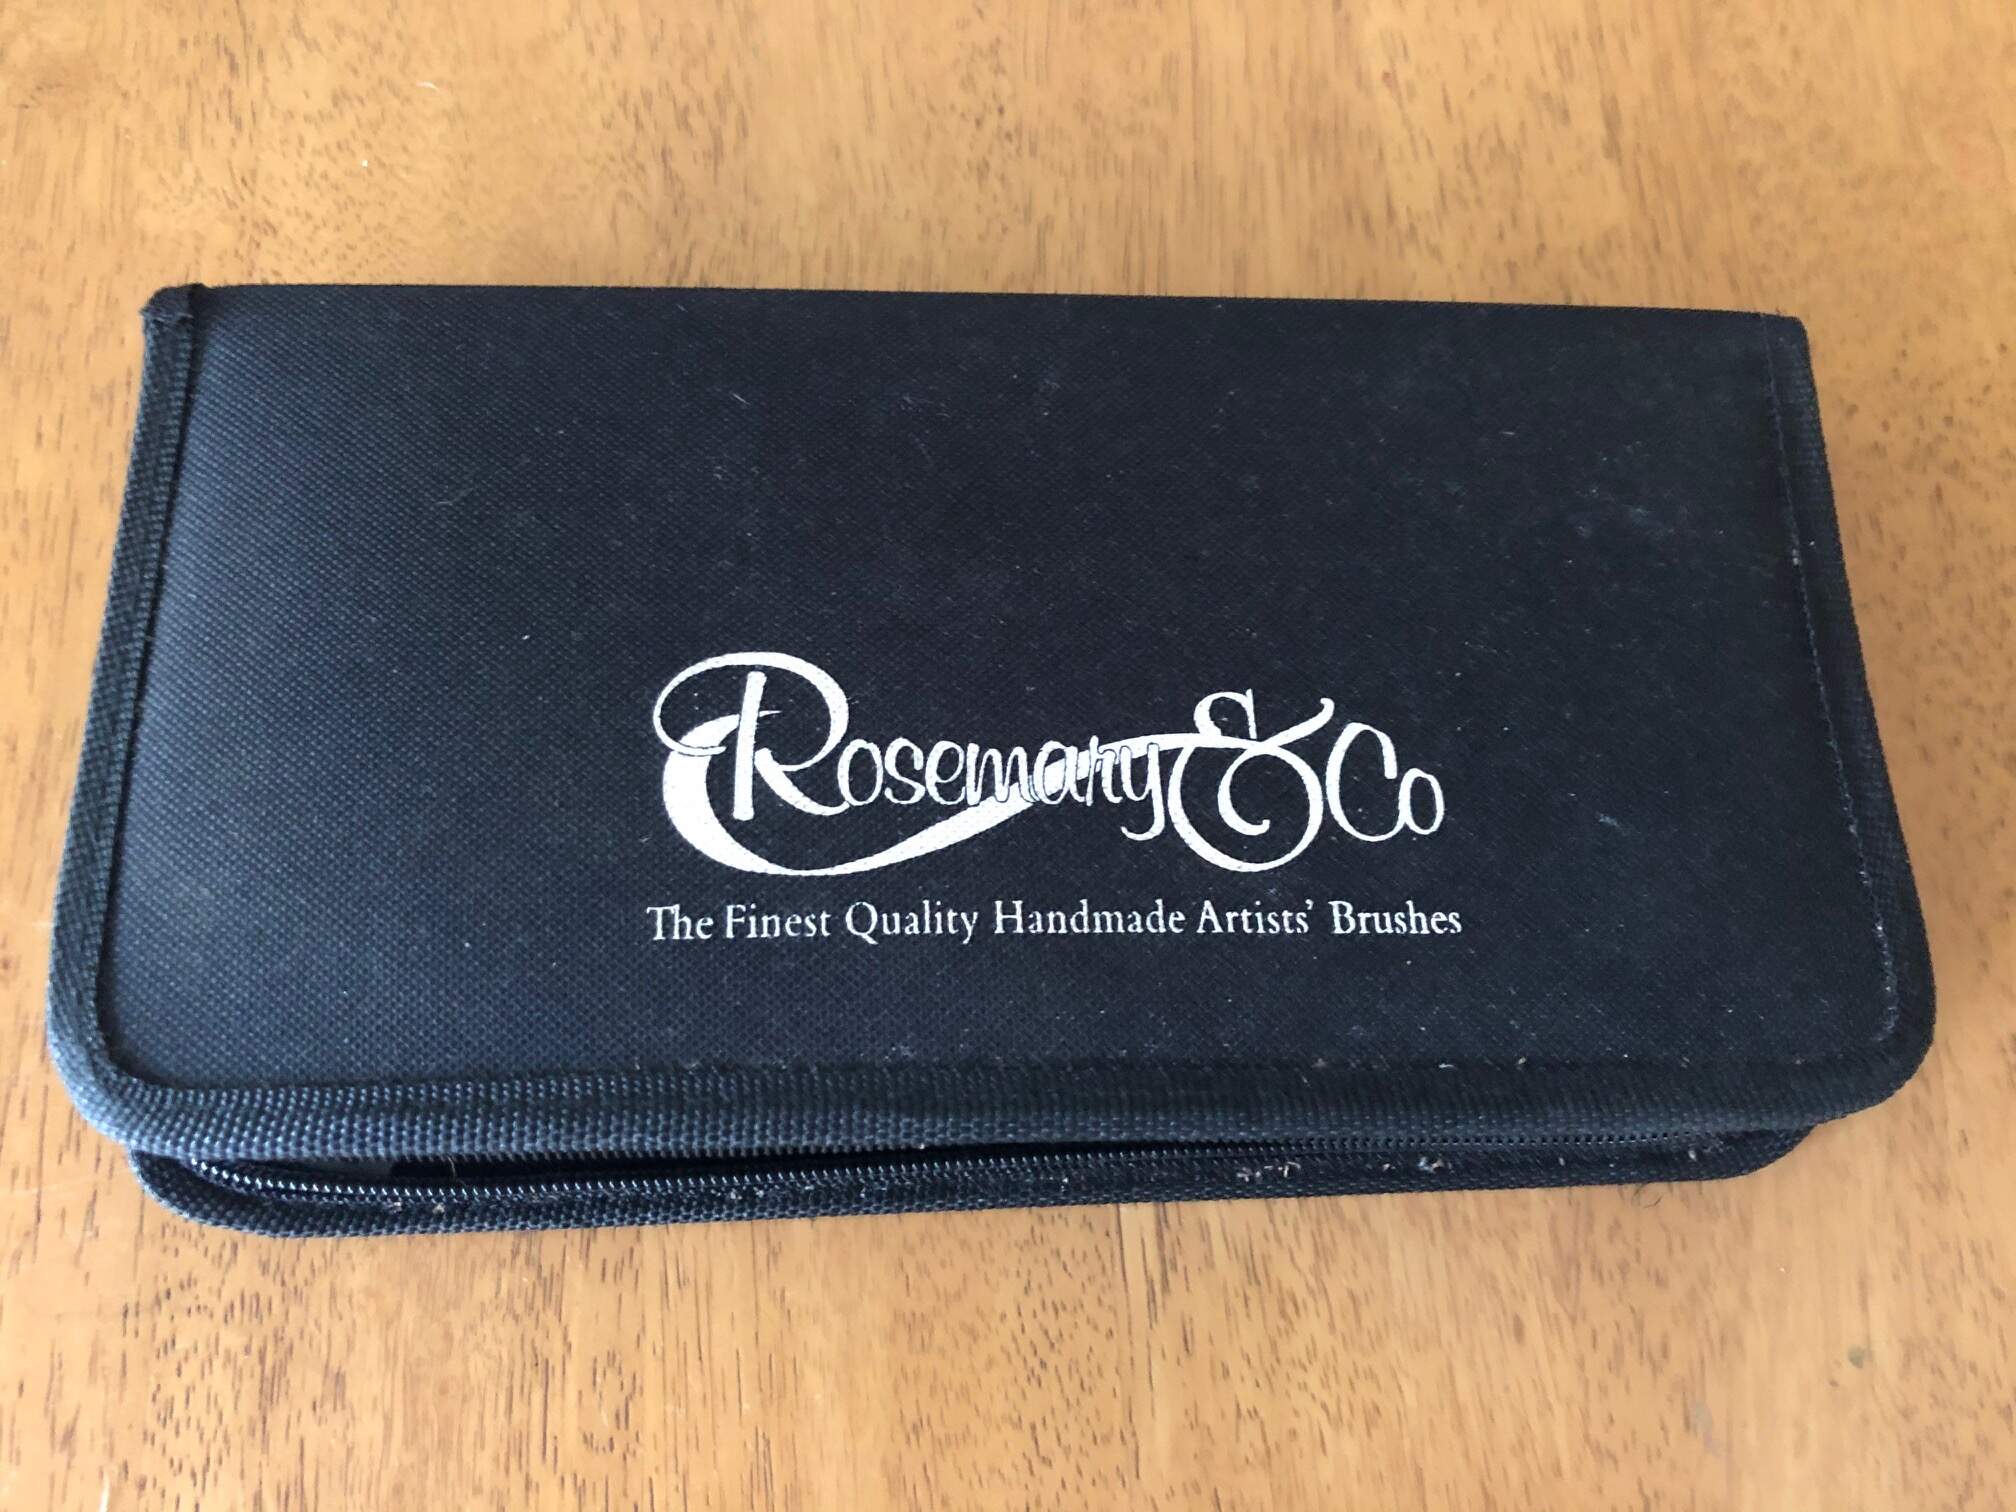
My good Brushes are a mix of W&N serie 7 short and Rosemary&Co serie 33,both Kolinsky
These are my precision weapons… 
To give you an example, I bought a series of synthetic brushes that hold the tips perfectly, like a needle, but have the same absorbency as tempered glass so they are basically useless to paint,I use them to clean when I do pin washes or job like that
4 Likes
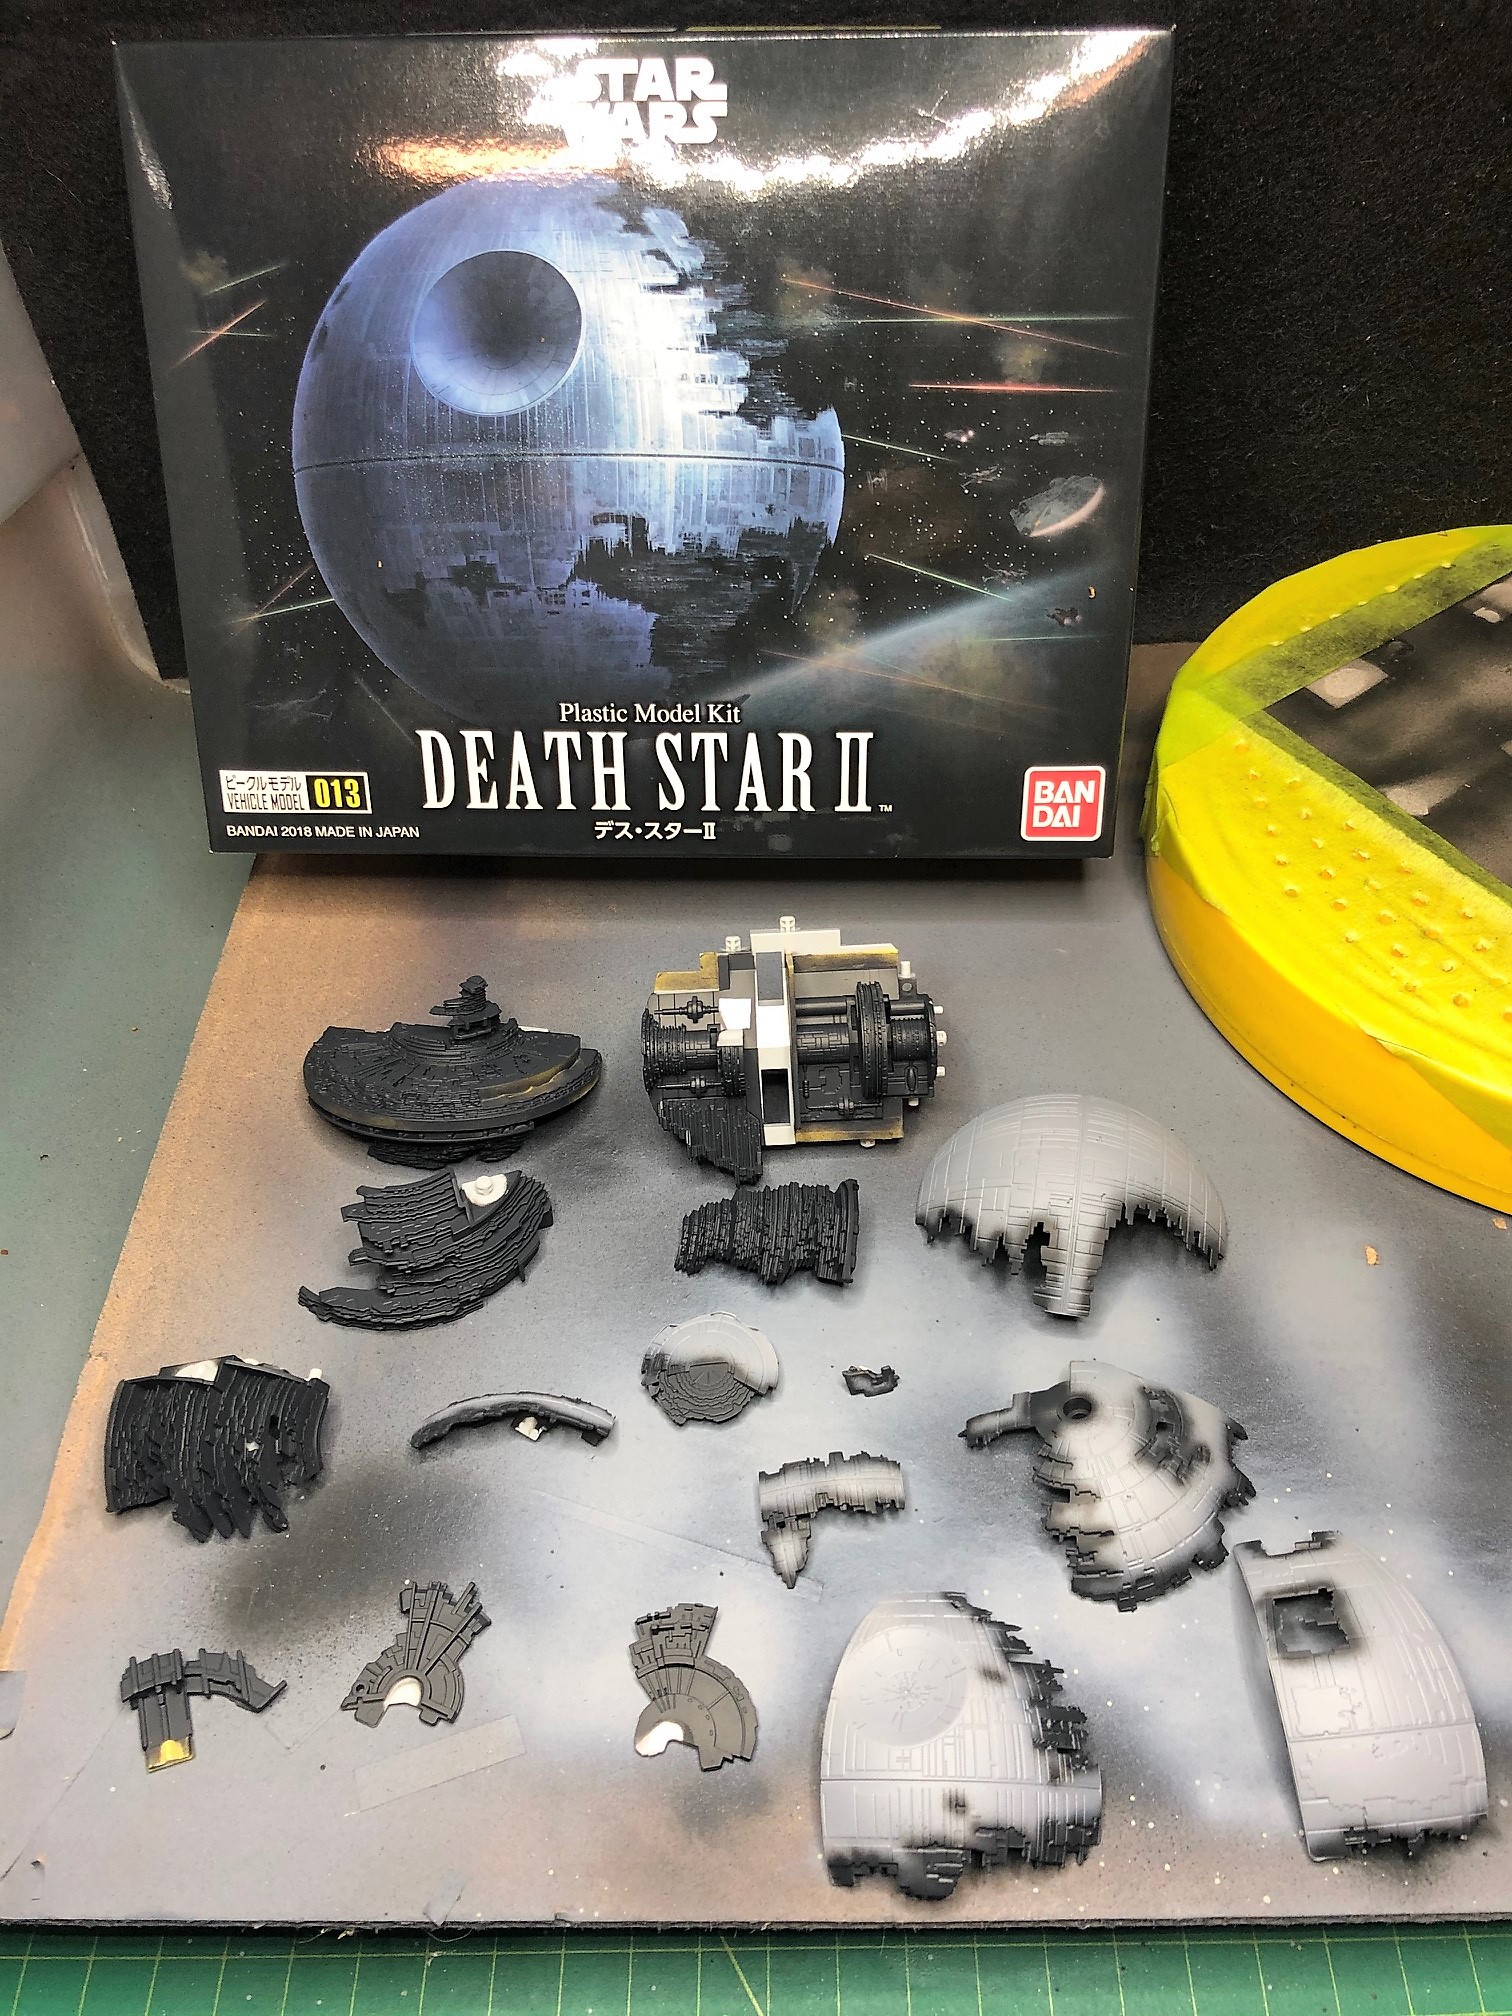
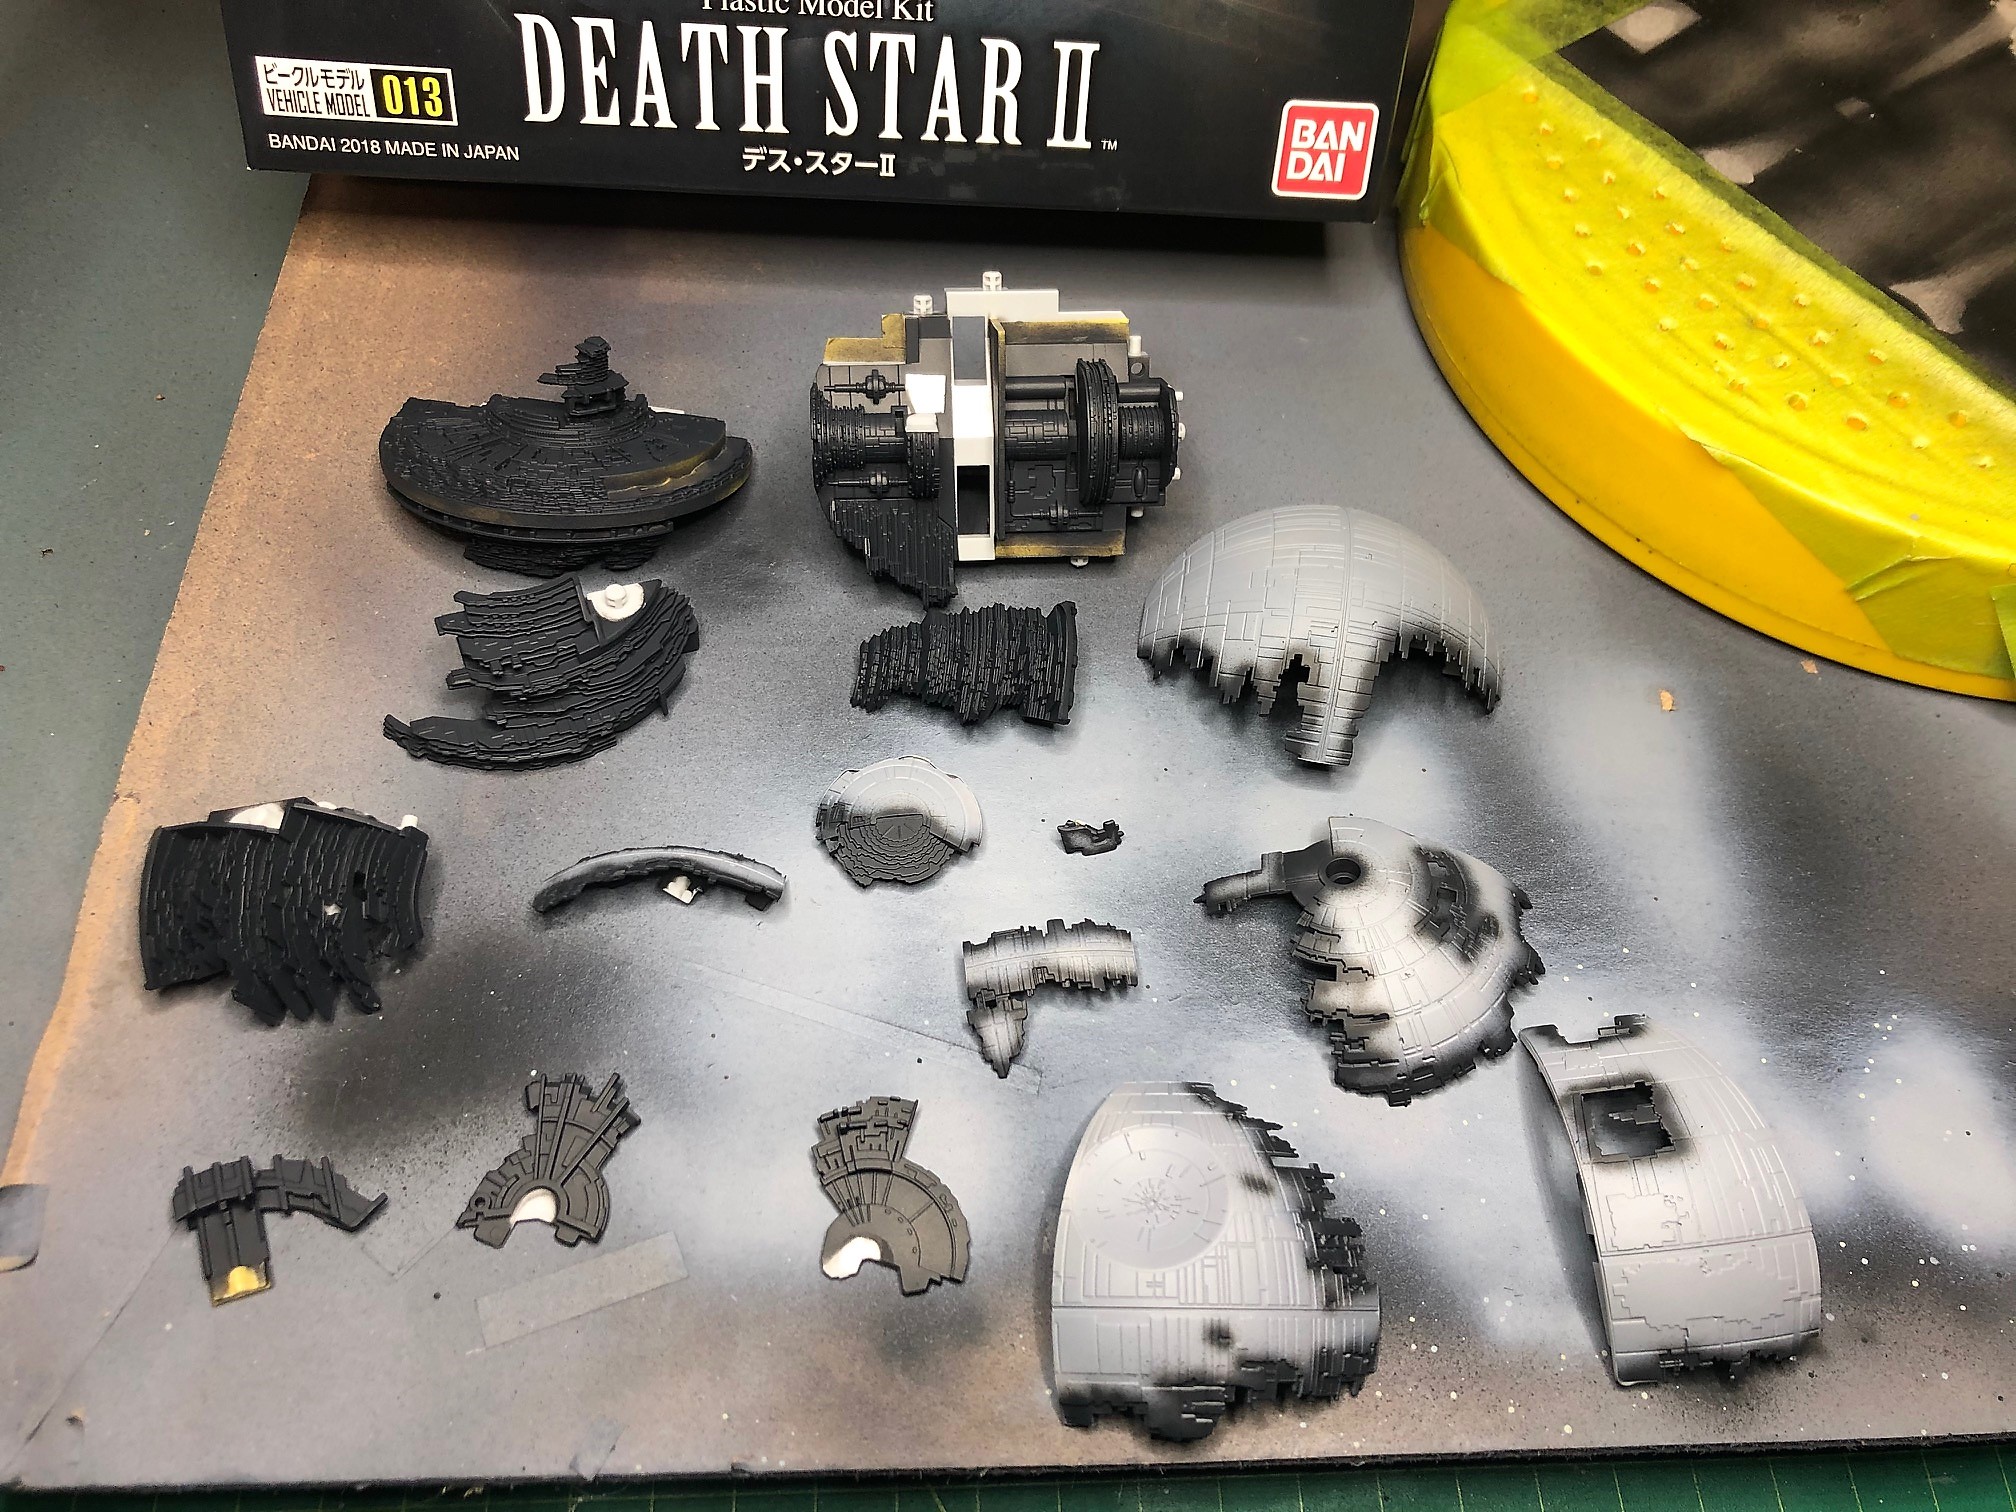
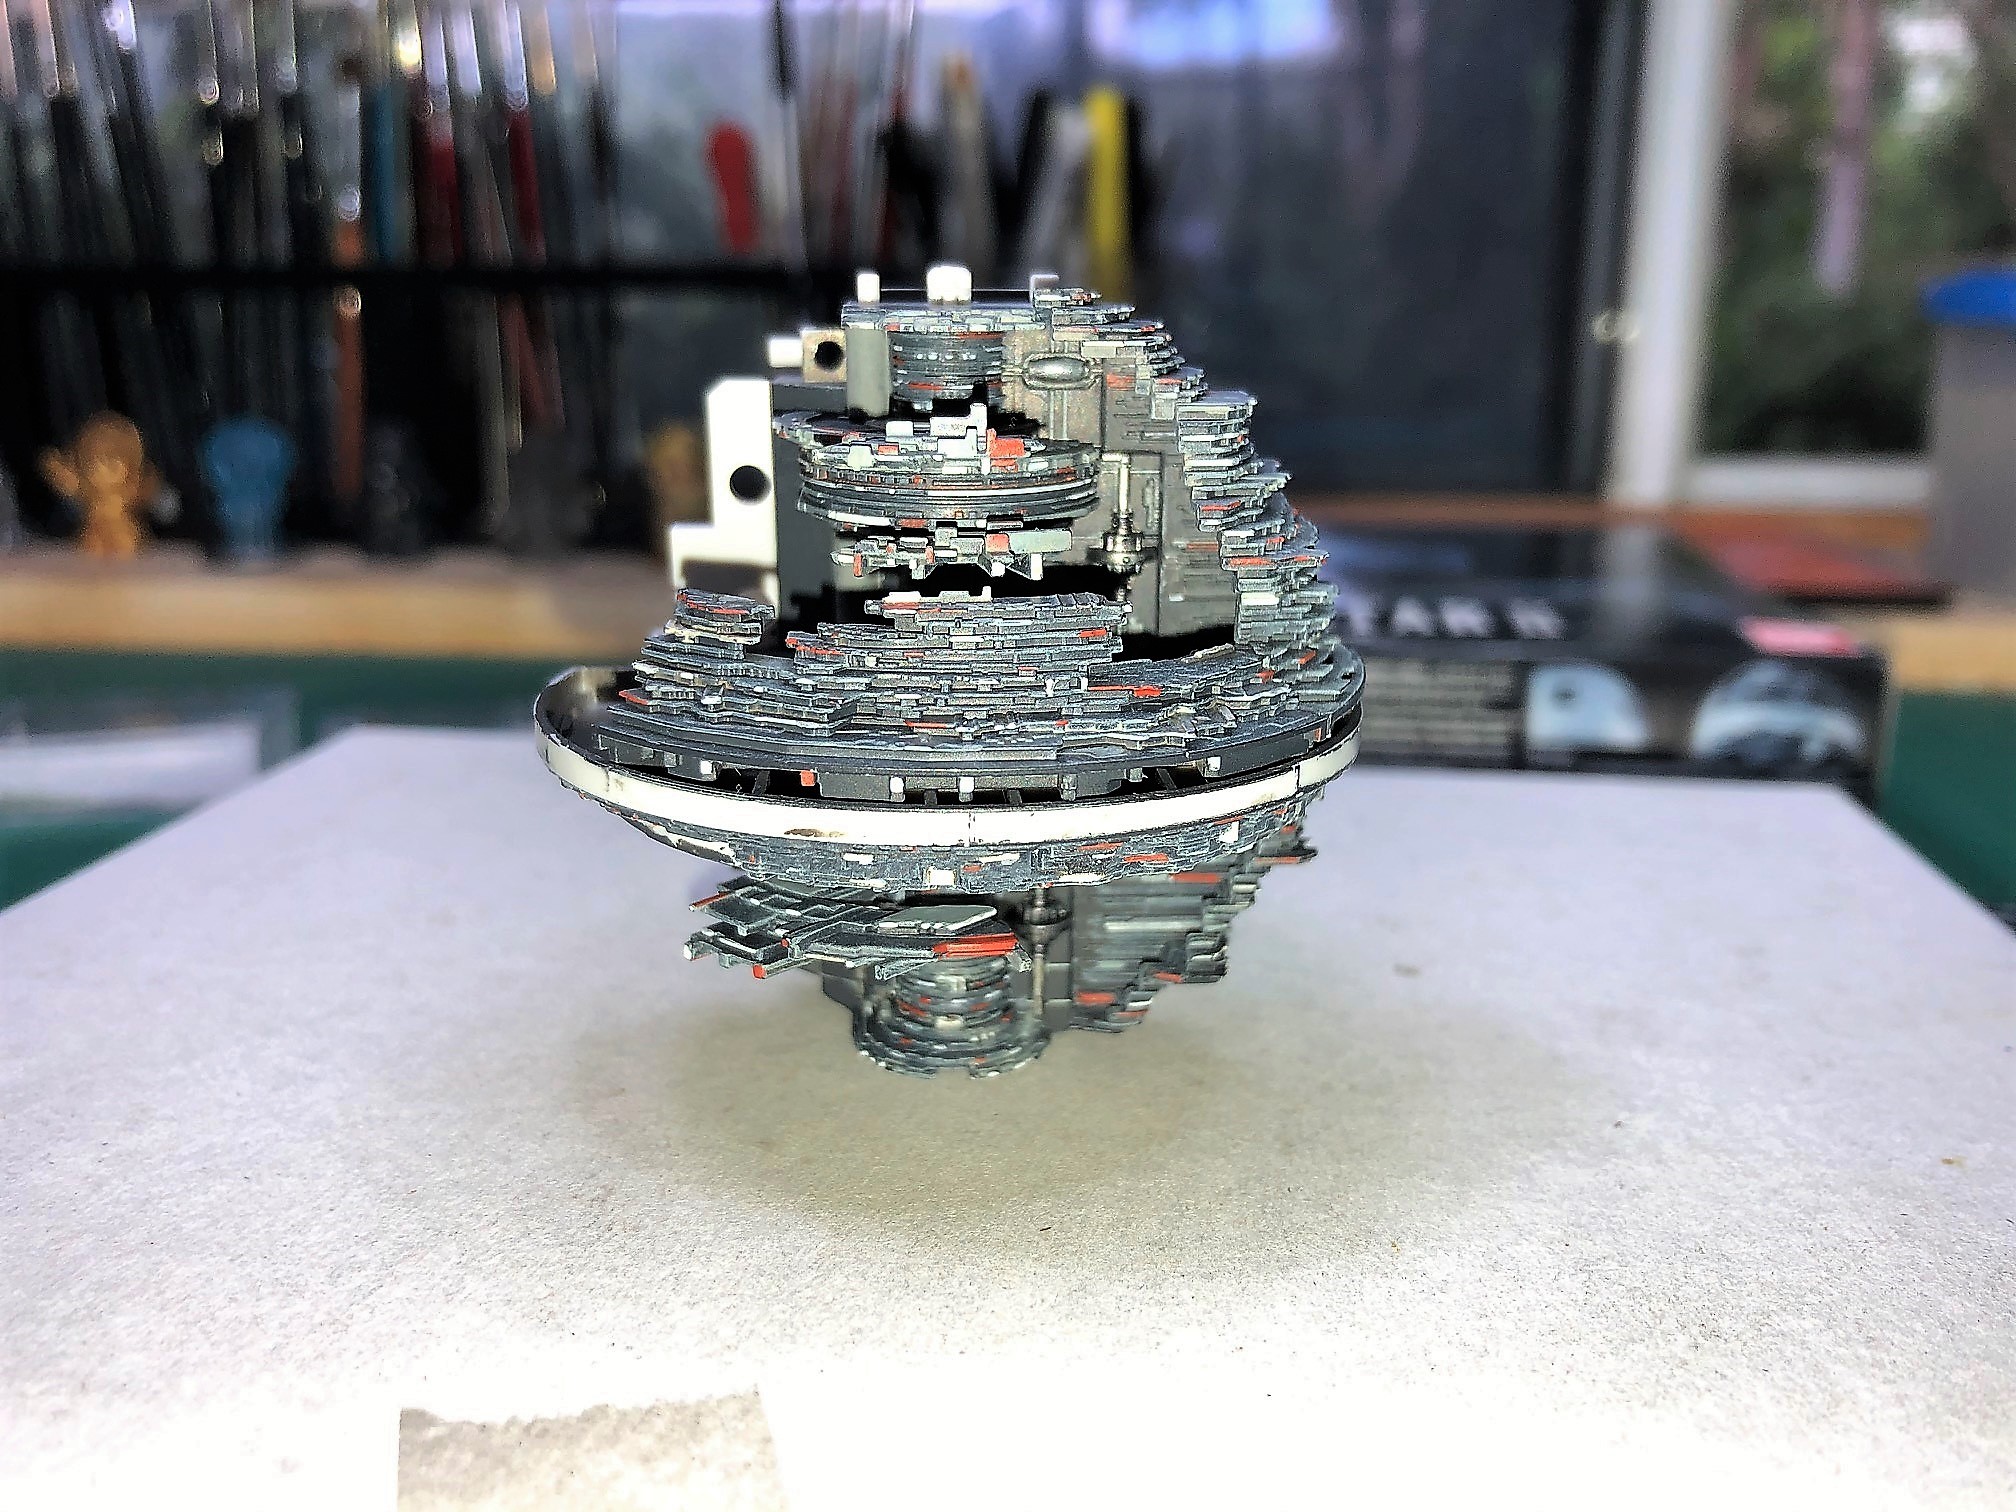
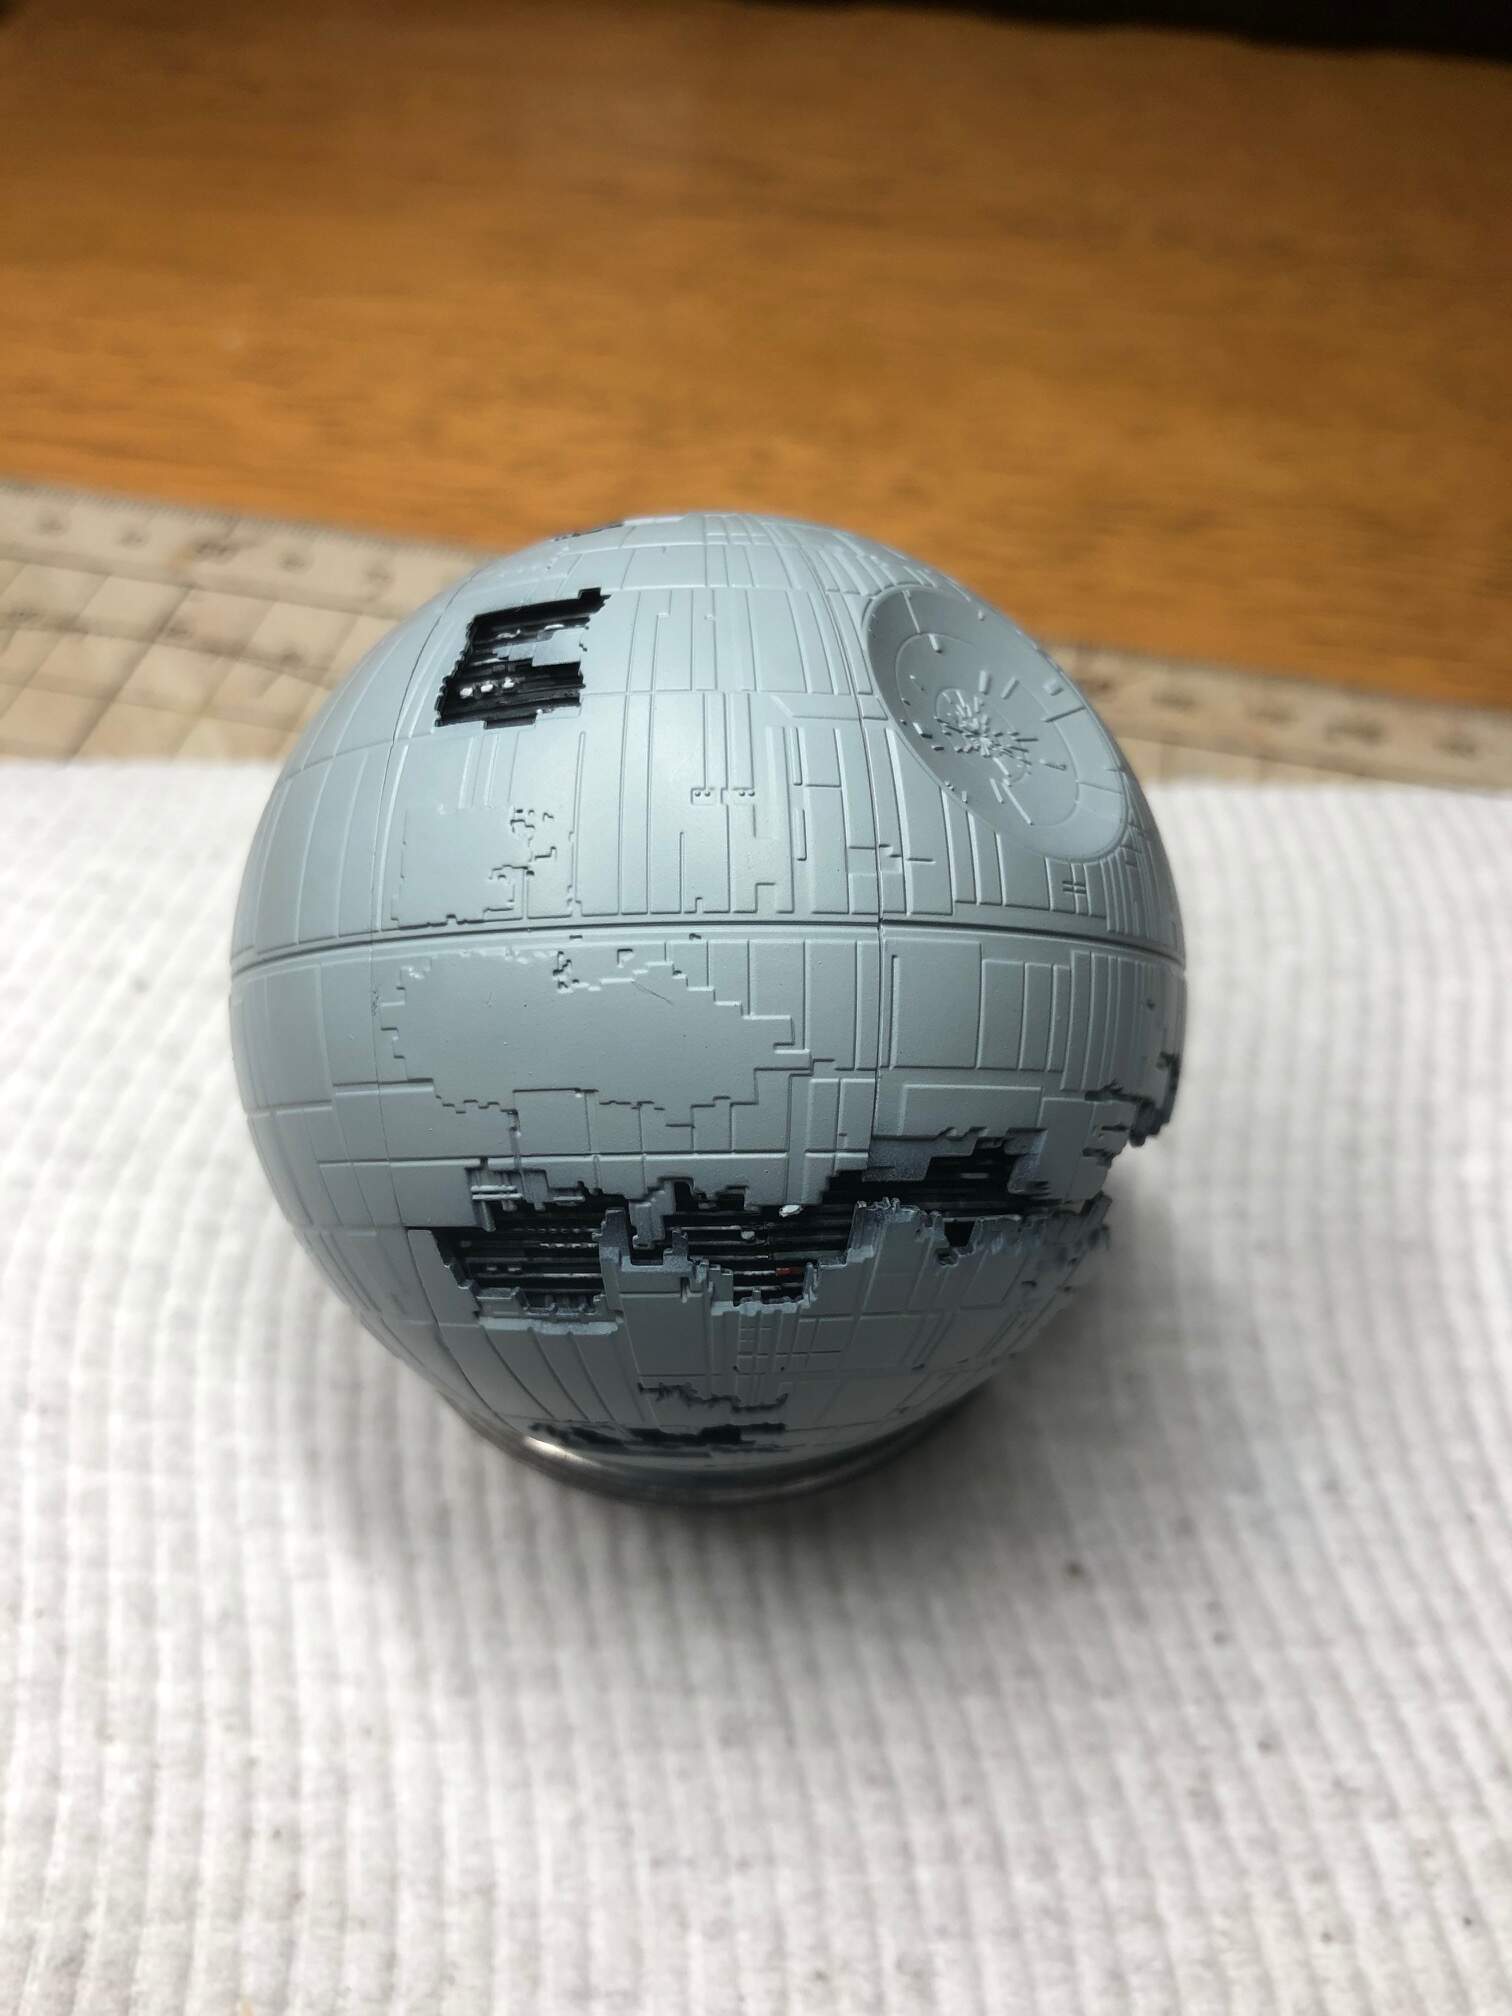
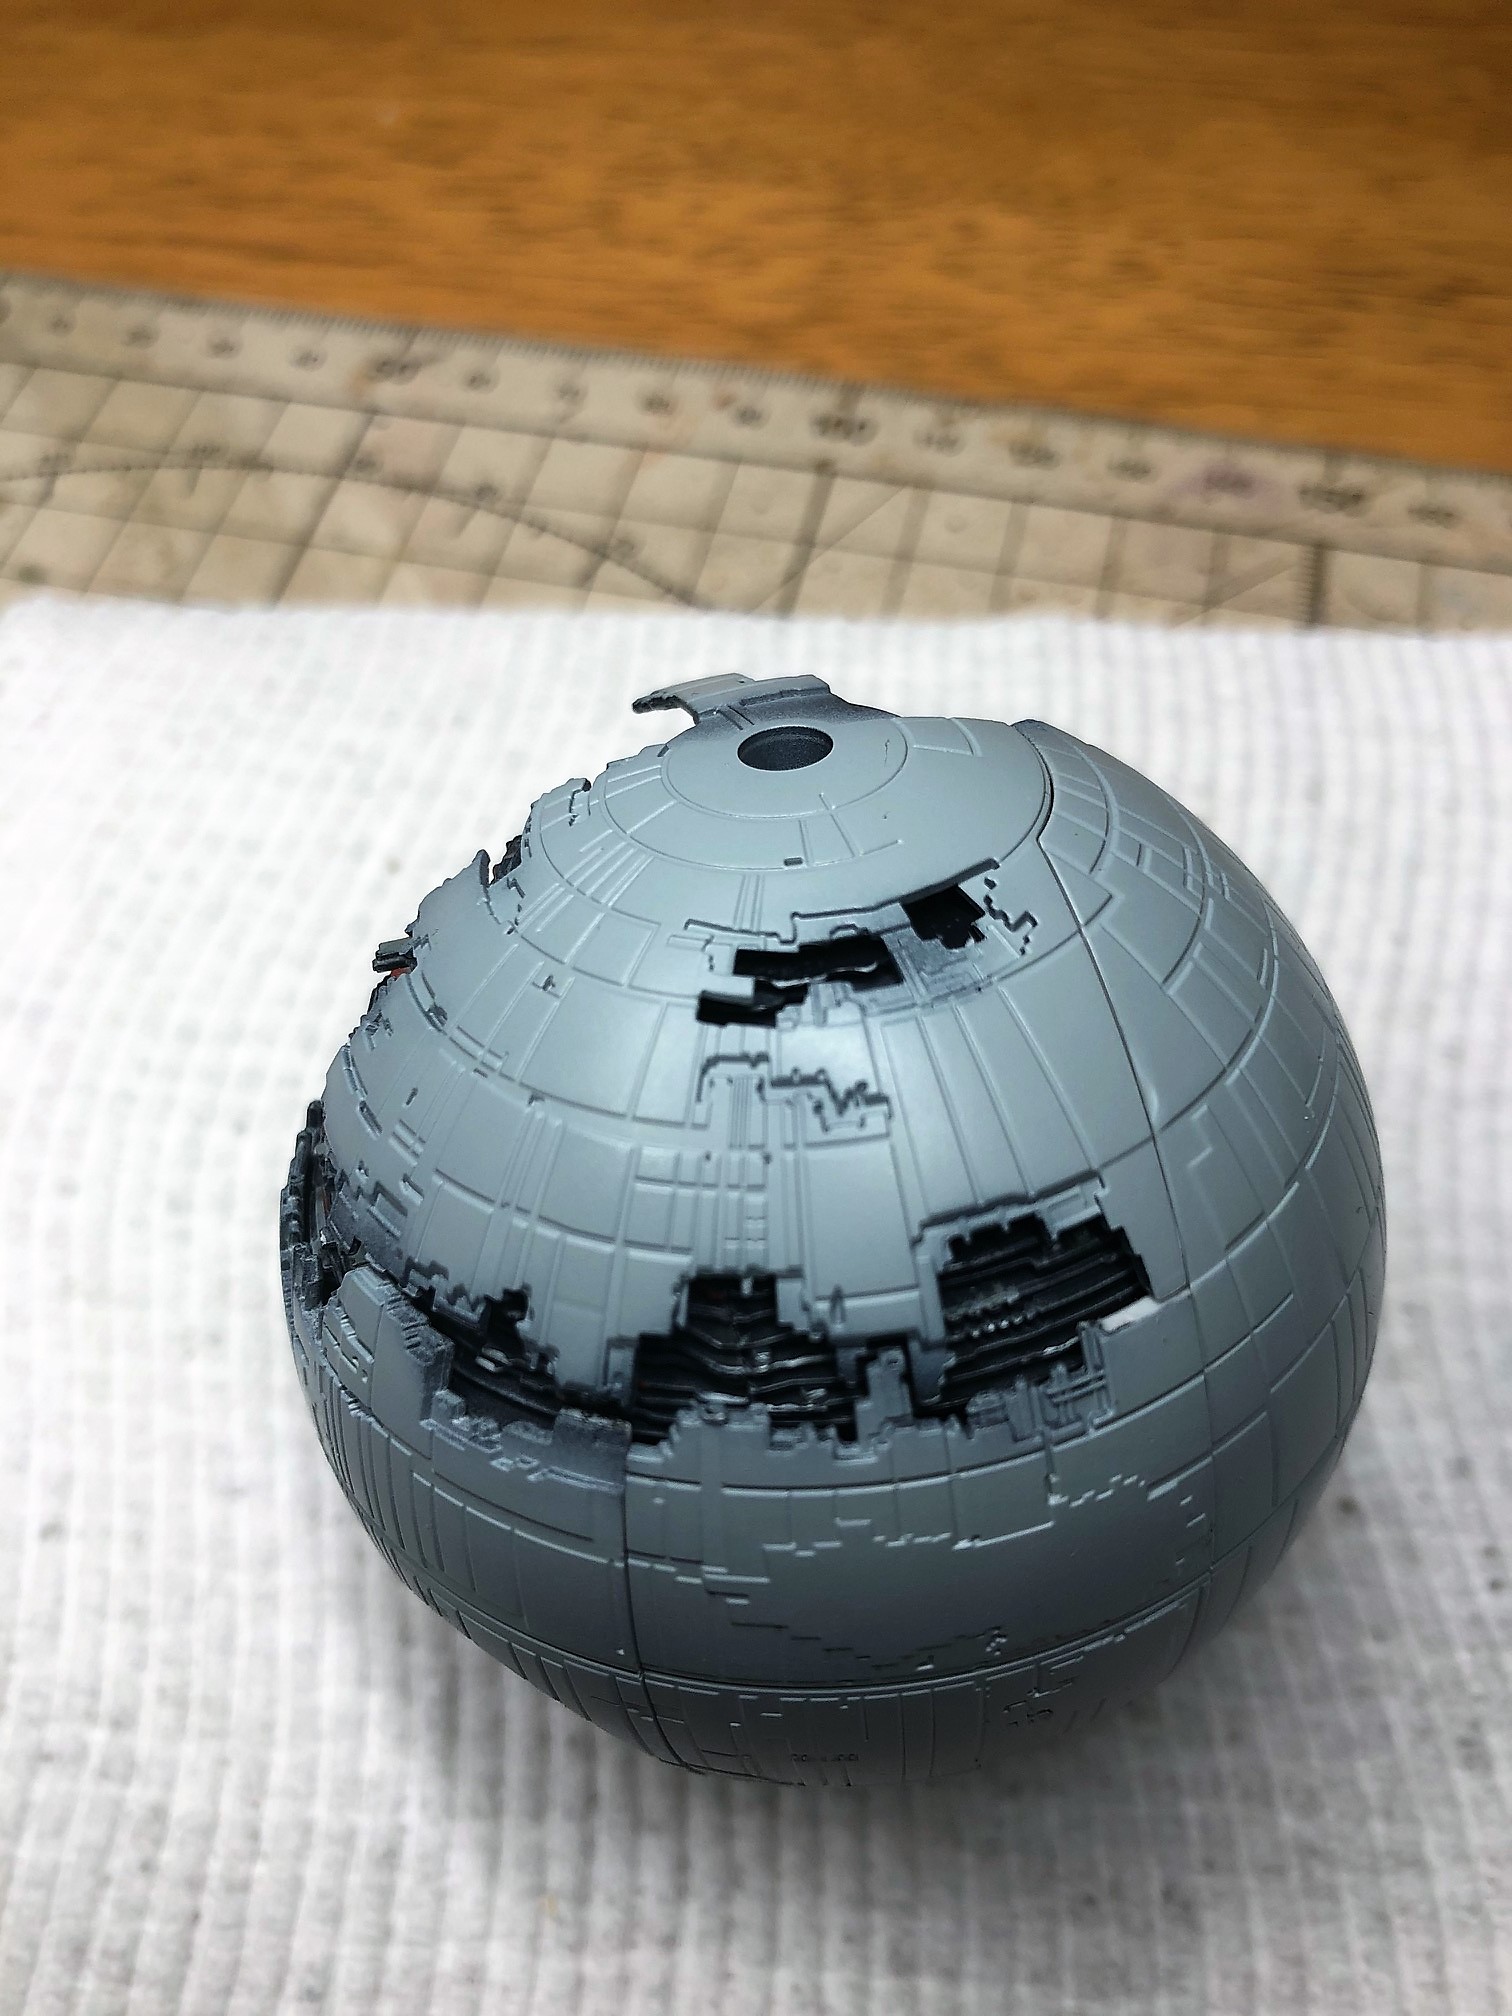
I’m a bit still because I’m waiting for a package with a couple of colors etc …, but today I was bored so I gave the base color to the outer shell, a mix of MMP light gray and medium gray, unfortunately I think I gave a coat too much and covered the pre-shading… 
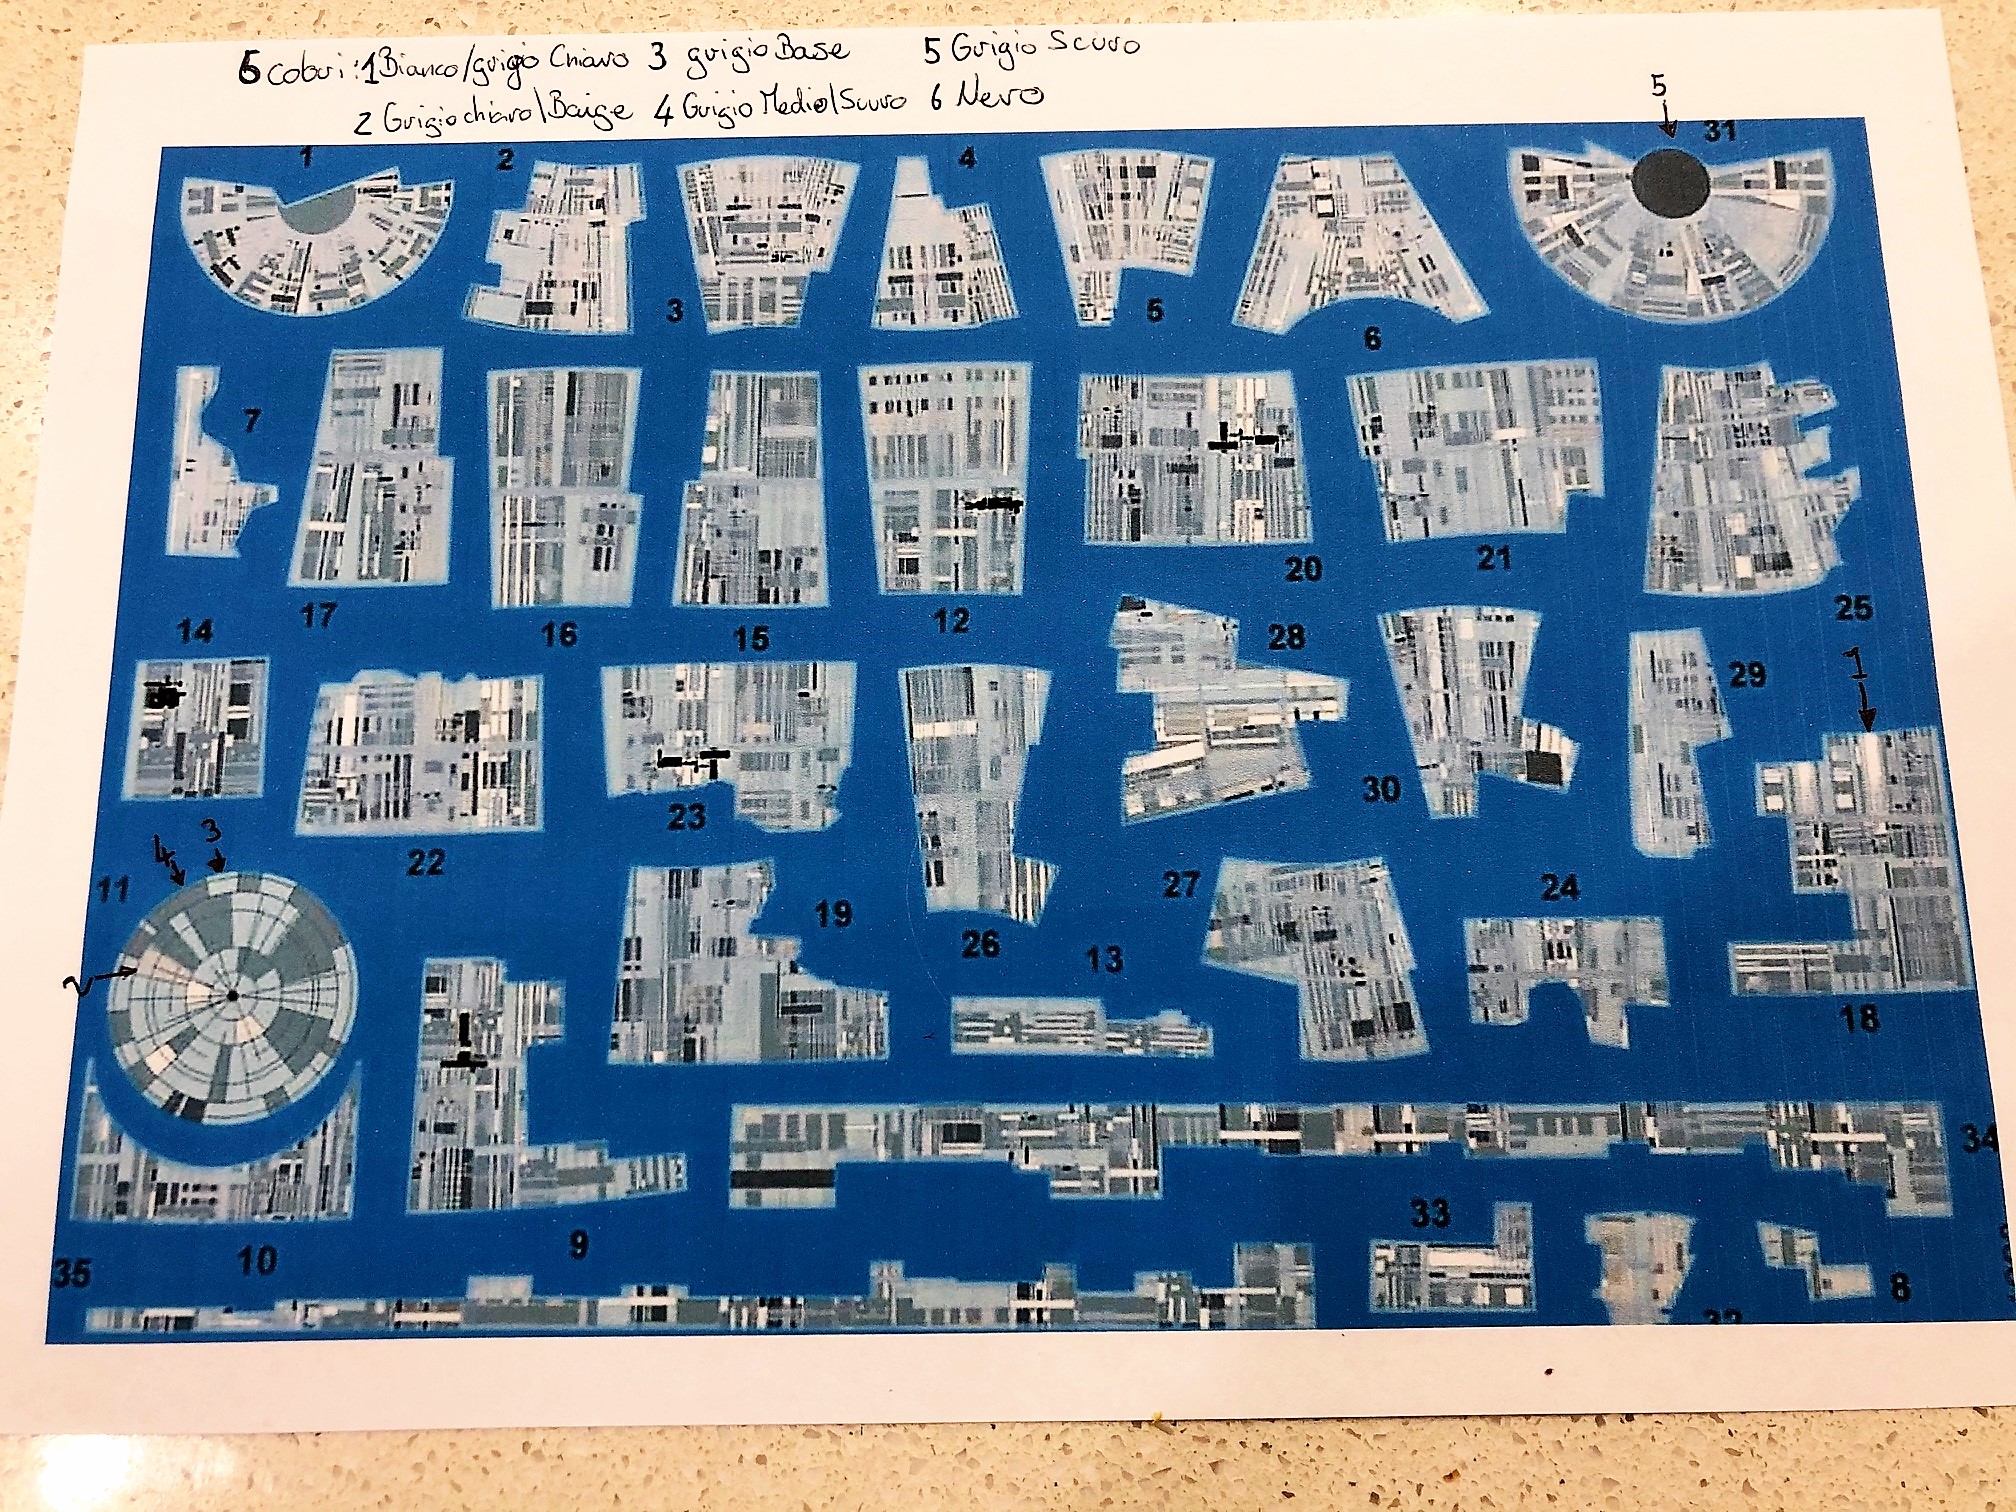
Did some tests to see what colors to choose for part of the panels…the number 1 does not convince me
I found wandering on the web that GreenStrawberry makes a set of decals, the price is more than what the model itself costs and also the fact of covering everything with decals does not convince me very much even if they look nice,but I downloaded the instructions in PDF to use a bit as a reference … clearly I don’t try to copy the position and color of each panel otherwise they take me away in a straitjacket and put me in a small padded room all by myself… 
4 Likes
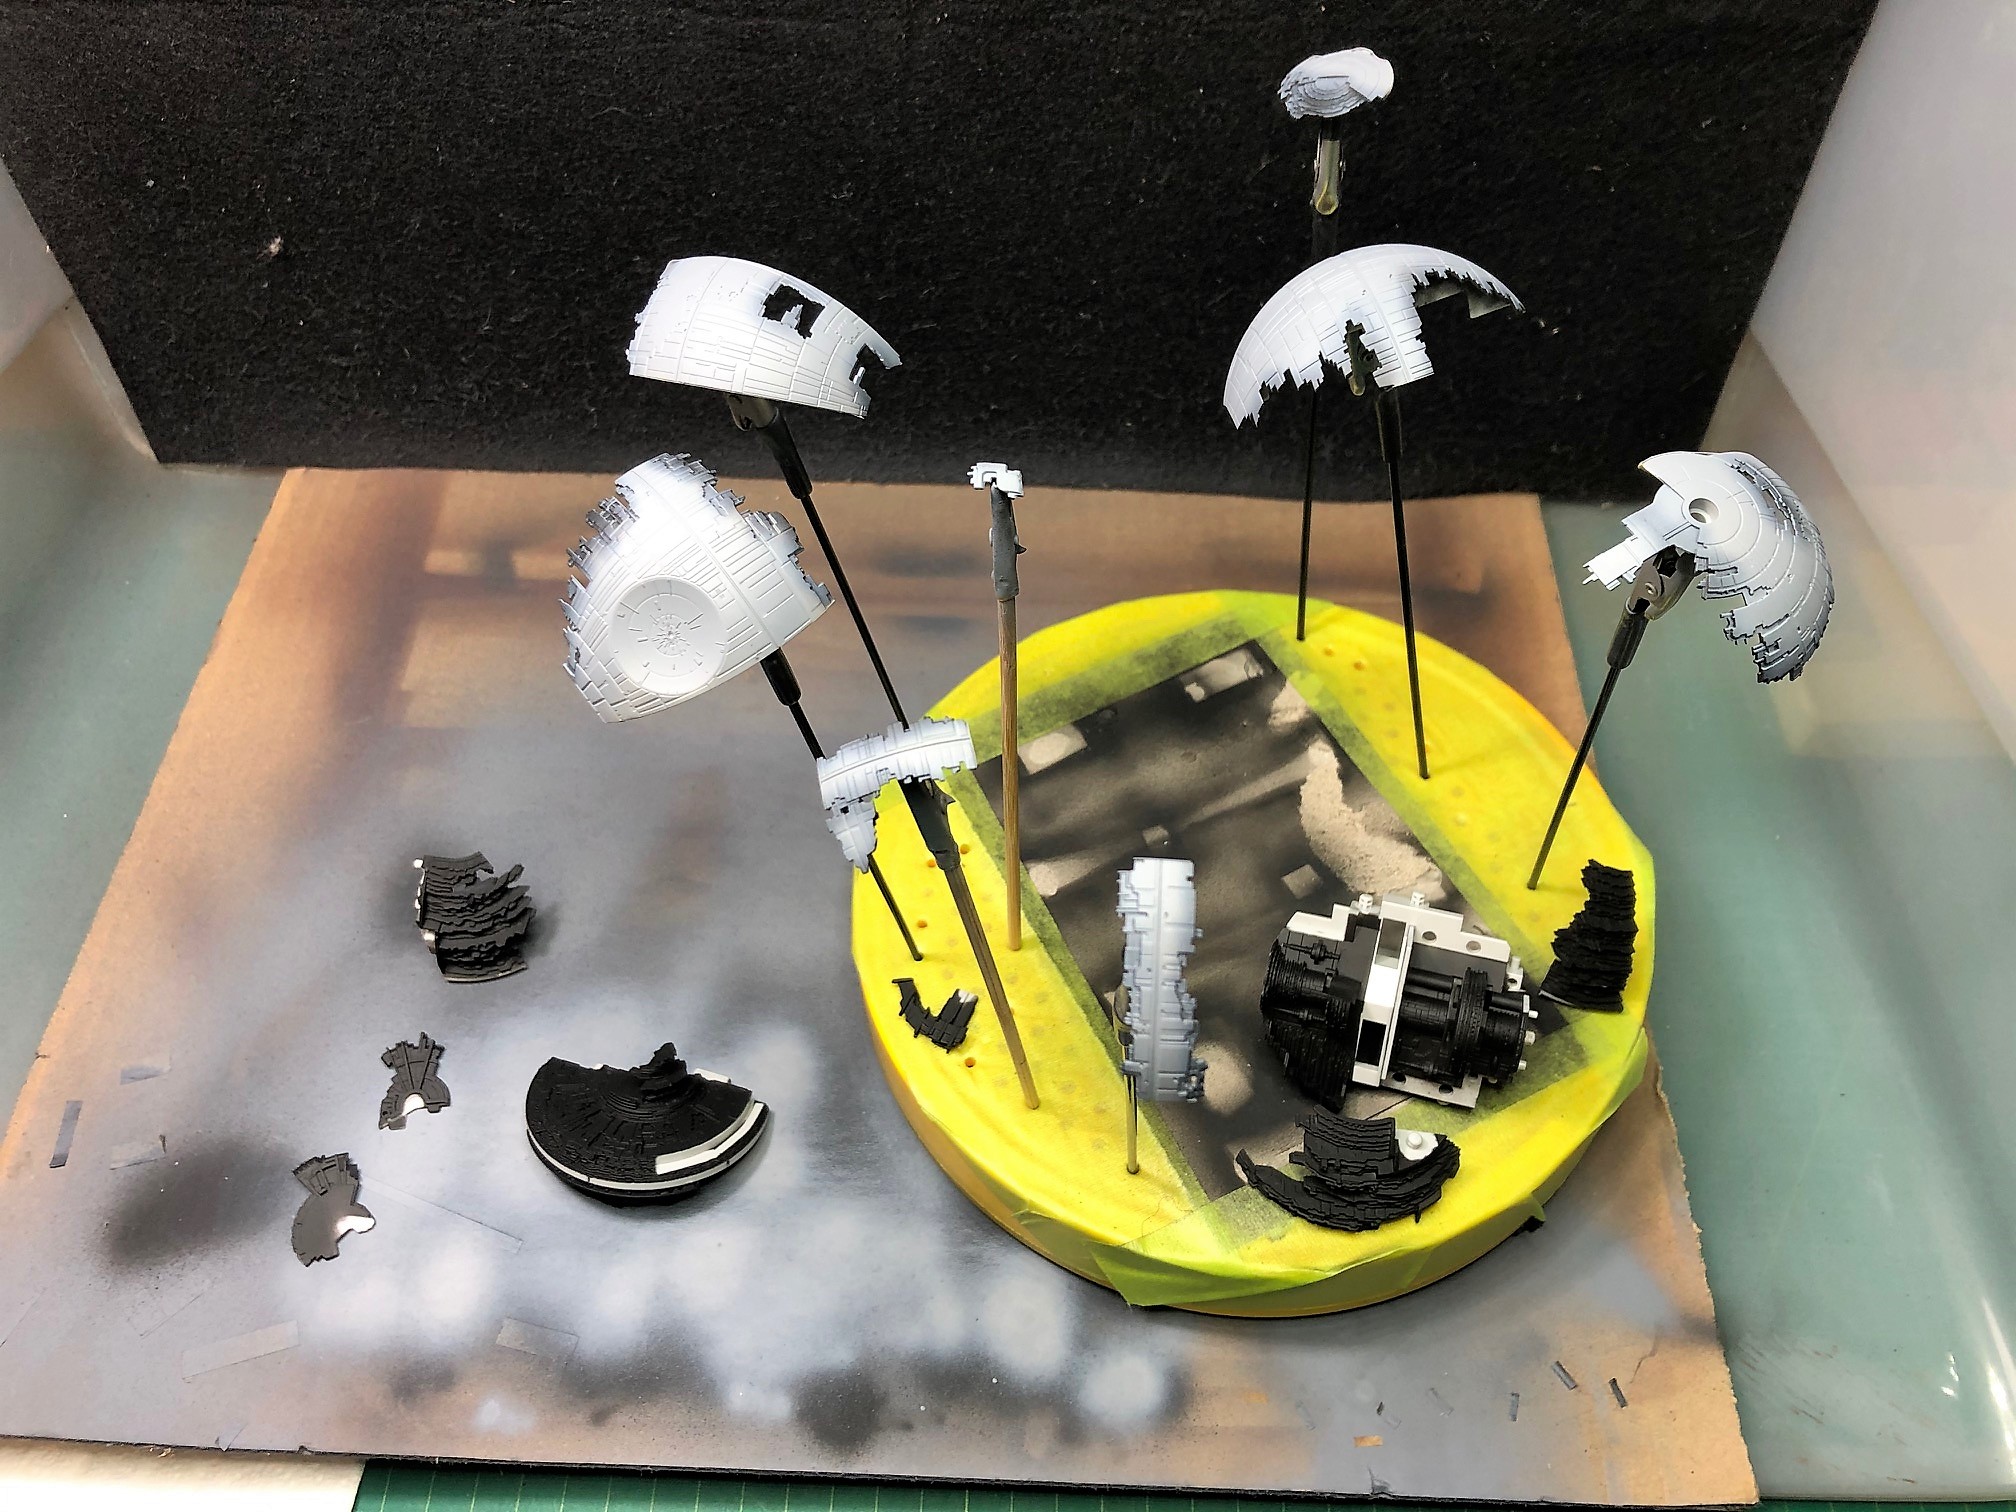
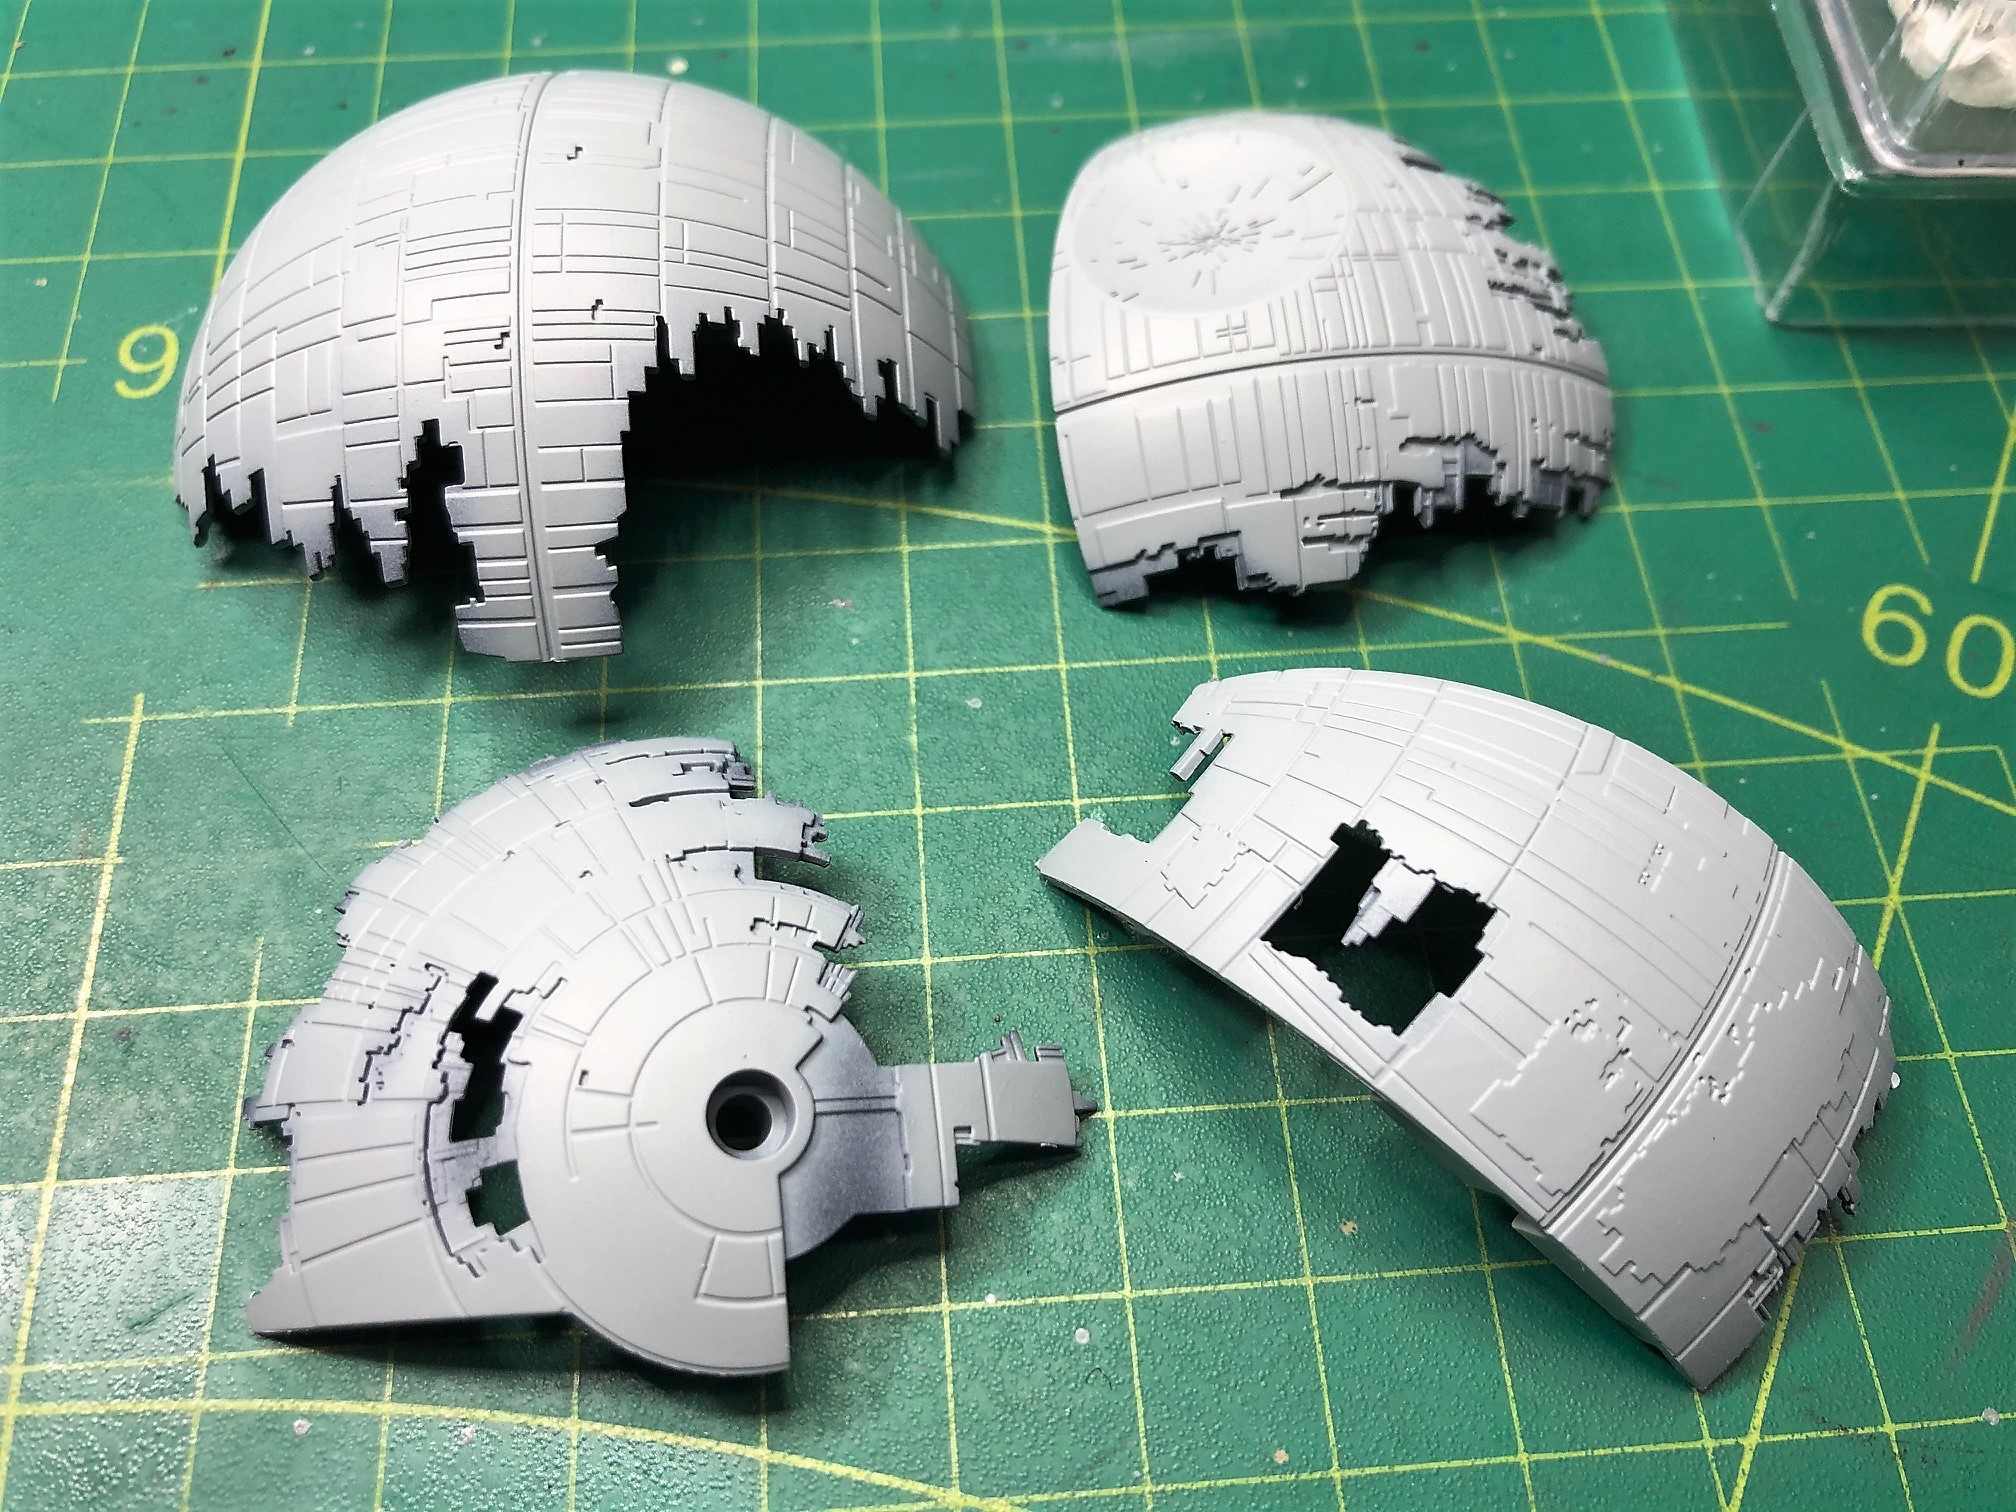
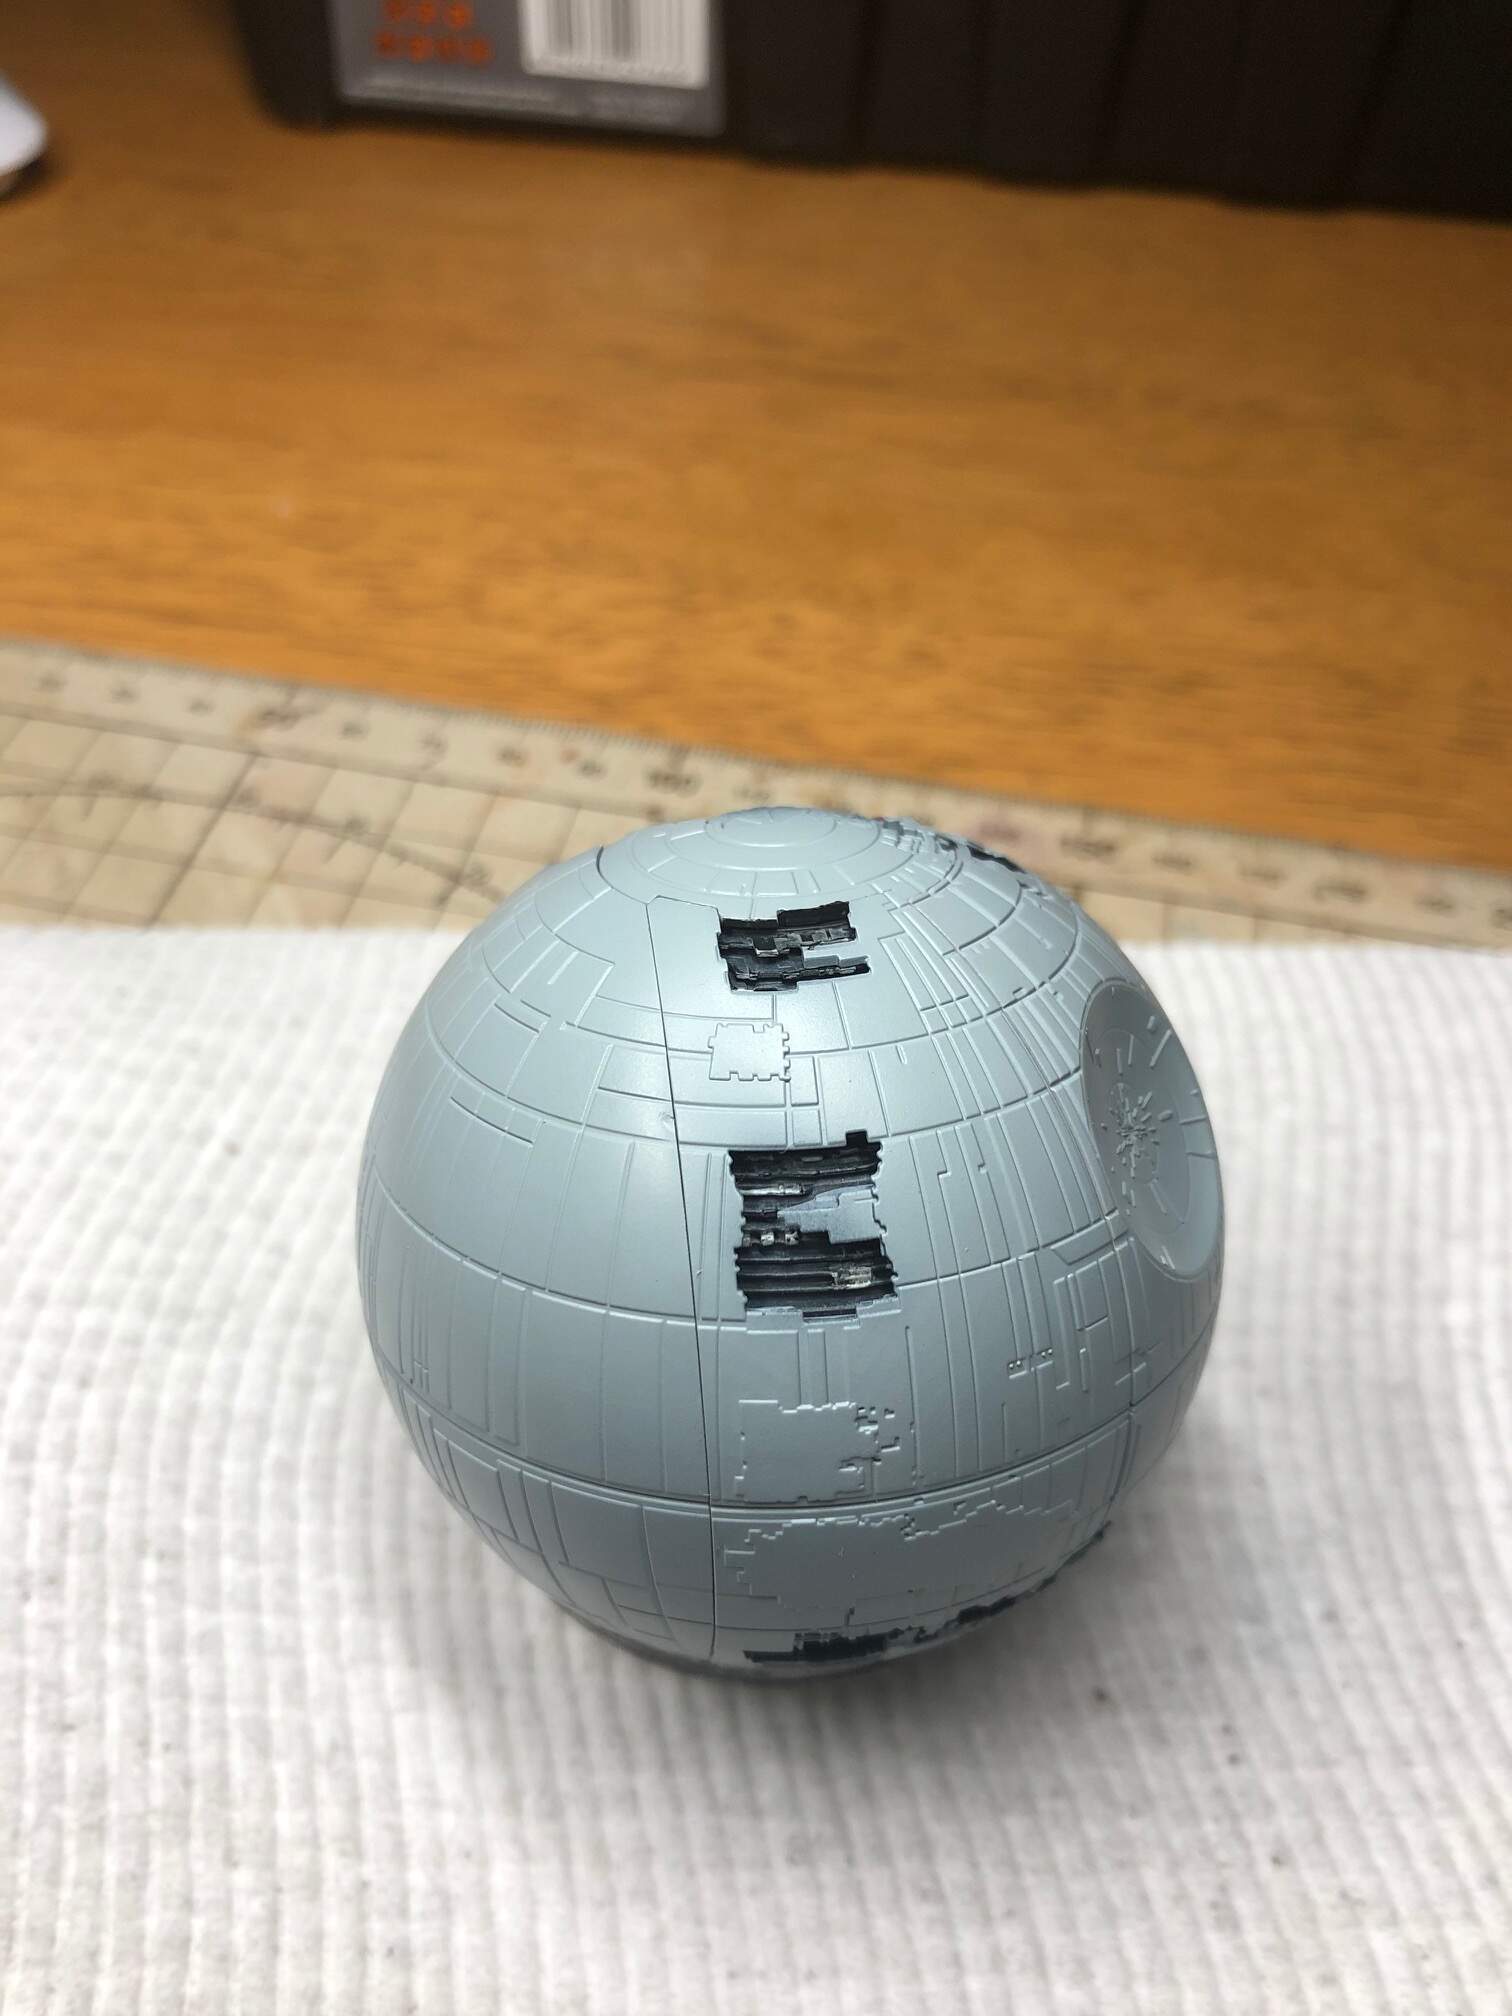
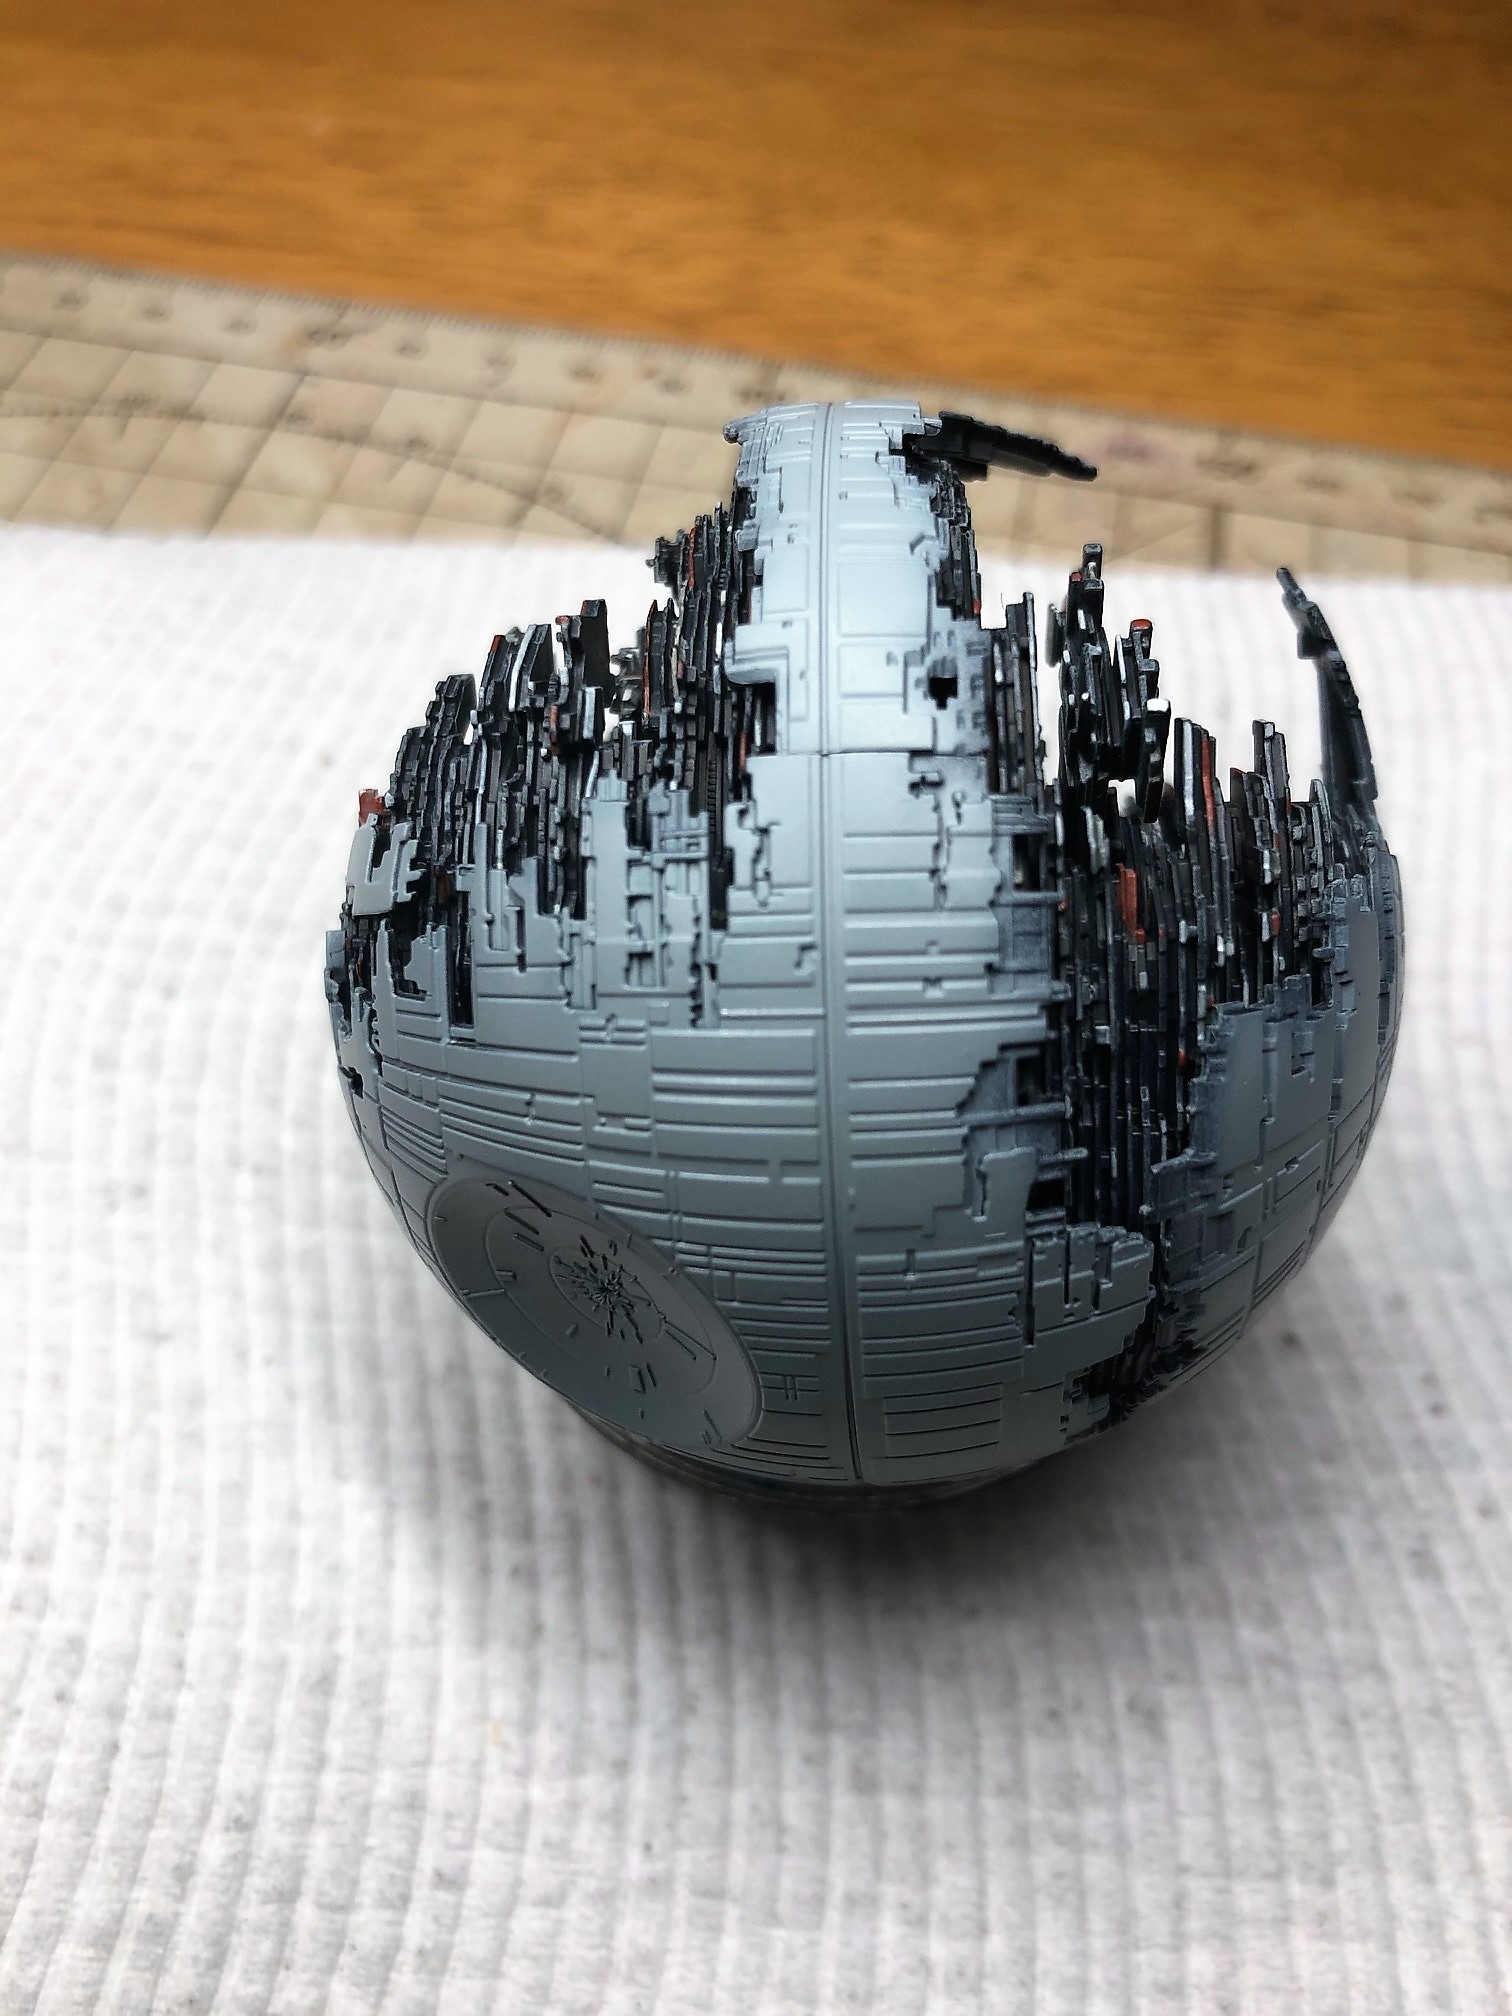
Small test fitting, mostly to see if I notice unpainted areas when all together, especially on the inside because then when everything is glued going inside with the brush could be something between difficult and impossible…
Looking at it, fix the seams could be quite a challenge… 
Advice and criticisms ?? … always welcome 
8 Likes
@Vicious try using Perfect Putty, it’s water based putty and yo can wipe away the excess with a cotton swab soaked in water.
1 Like
Yep I was just thinking that but I hope the Q-tip can reach between the panels…so odd usually Bandai is so good to put the seams in the right place
Use an old/primer only paint brush it hit the hard to reach spots.
2 Likes
Can you thin the perfect plastic putty with water?..I never tried
@Vicious yes it can be thinned using water and I would suggest using a paint brush to clean out any clogged up panel lines.
1 Like