I picked up this kit earlier this week and am planning on just a rapid OOB build.
This afternoon I started the building process. I gotta say that the molding alone is quite impressive. In the sprue of black parts, Bandai managed to mold the eye lens part of the helmet as a clear green
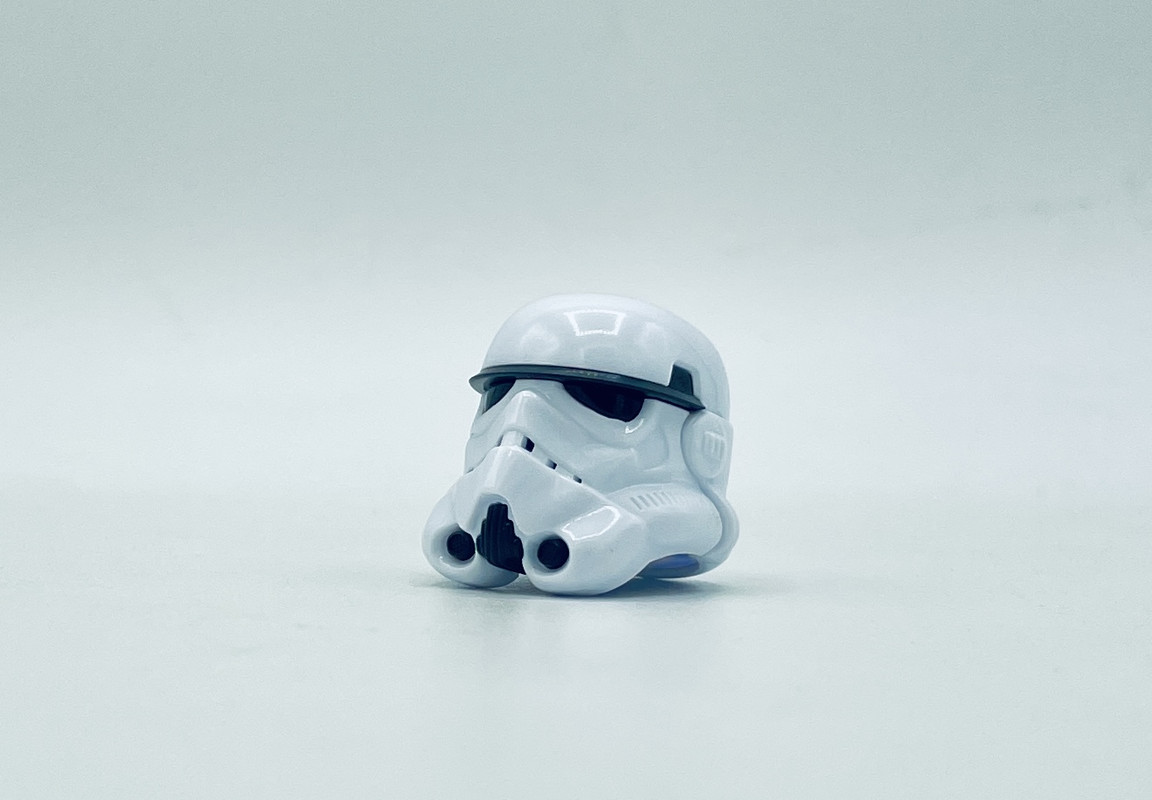
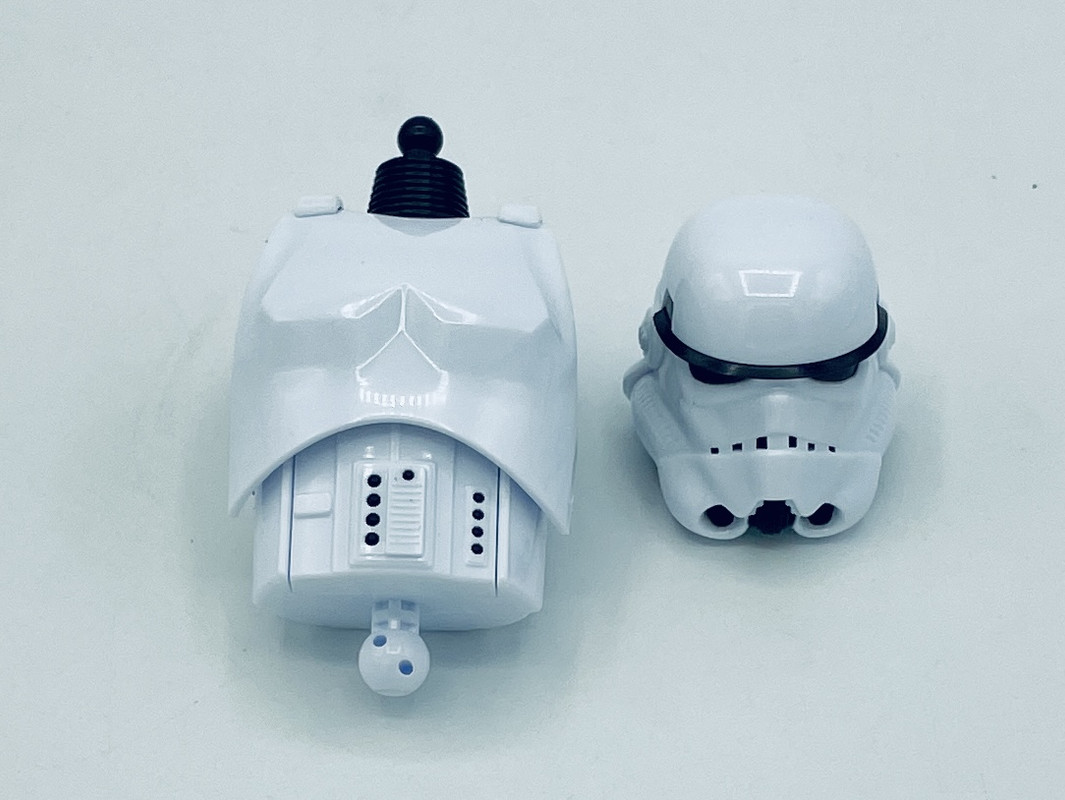
Step 1 was assemble the helmet
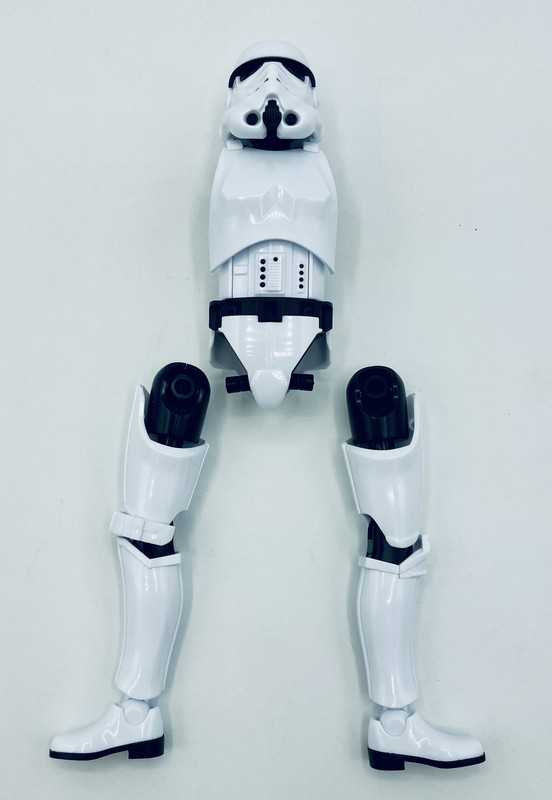
Step 2 was assemble the torso
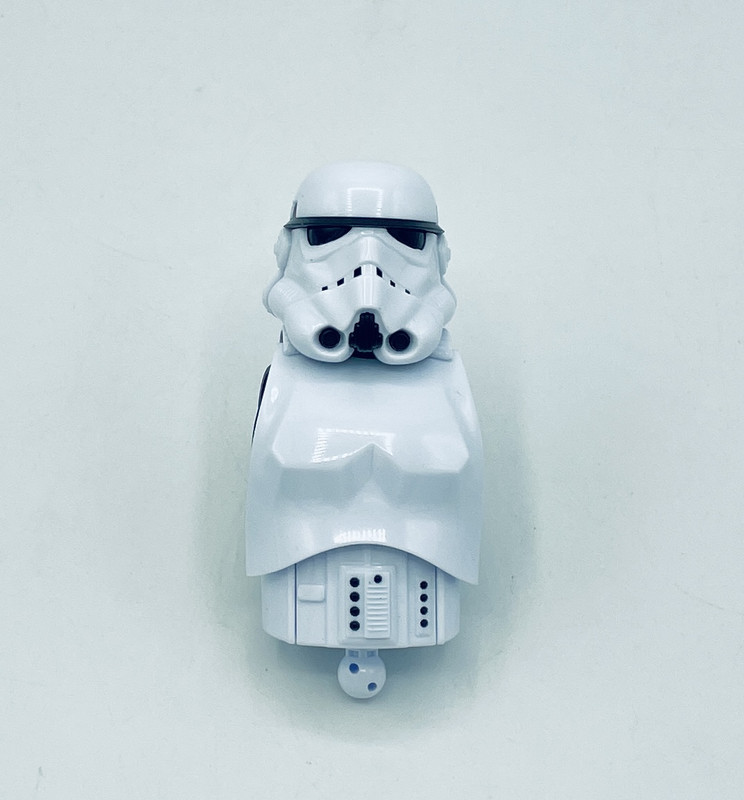
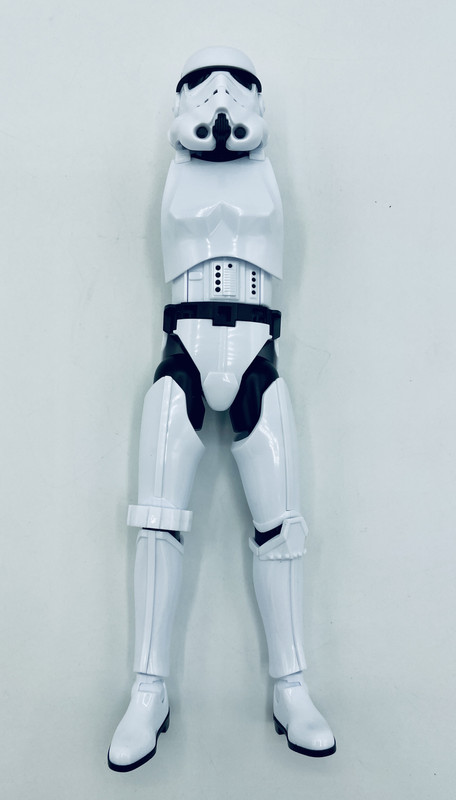
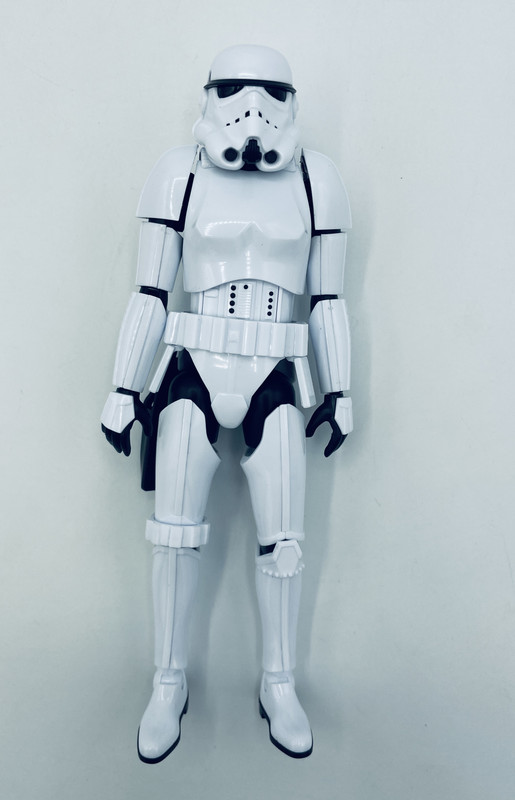
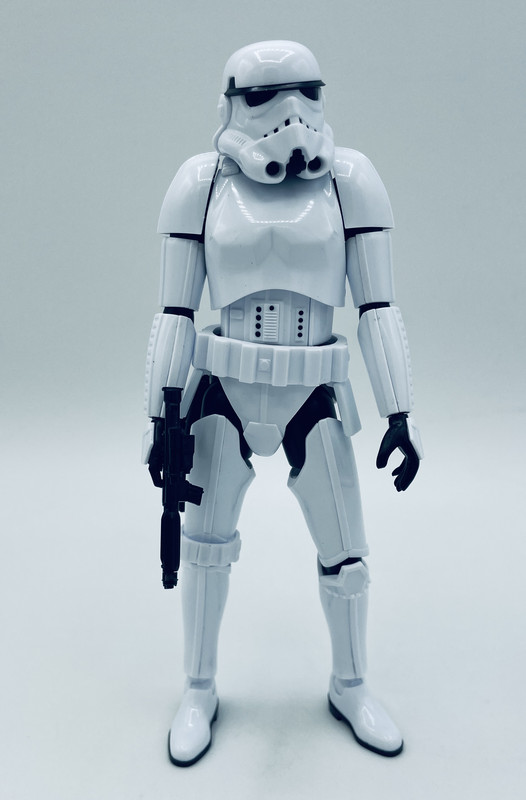
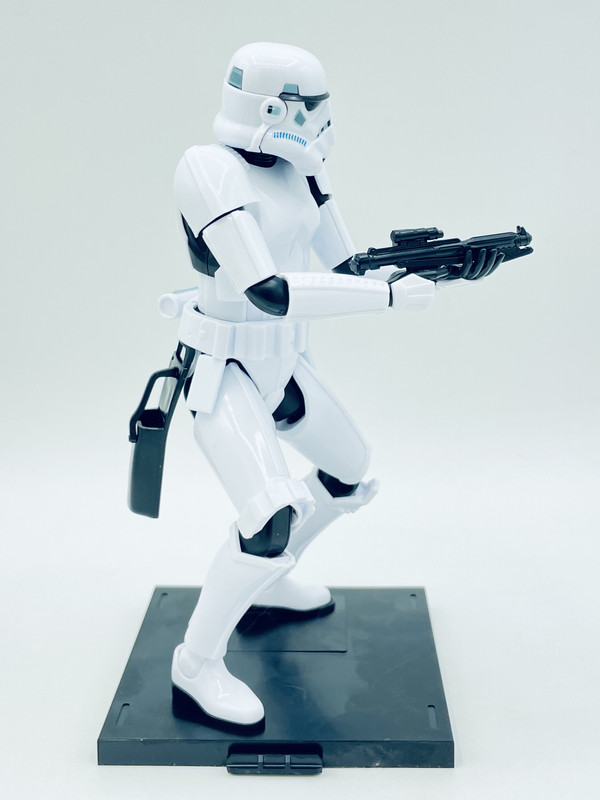
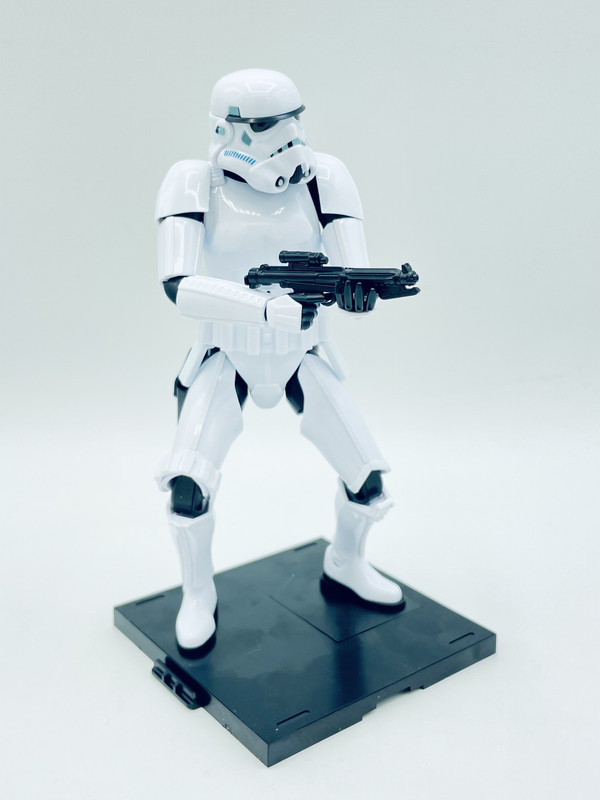
Step 3 was just putting them together…
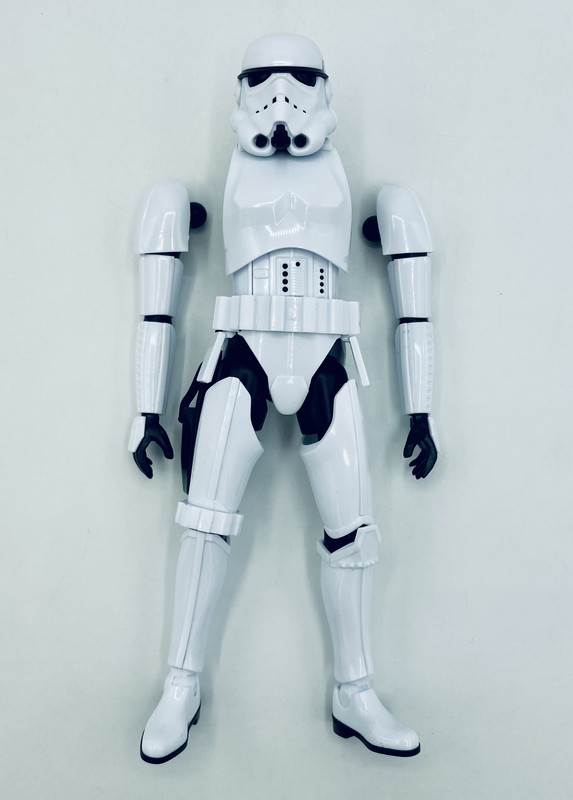
All this was about 90 minutes work. My only gripe so far is that on the back side of the lower portion of the helmet is an assembly seam. More to follow soon…
Be advised that if you plan to weather the figure, be careful what you use. Many of the popular enamel type weathering products will have a nasty effect on the plastic.
you should glue the parts even though they don’t need it, especially if you’re gonna paint it, using thinners like turpentine etc makes the plastic very brittle and it starts to crumble…speaking from experience here.
All the ones I painted I first paint a coat of Vallejo acrylic varnish on, then the paint the varnish puts a barrier between the plastic and ‘harmful’ paints, or just use acrylic paints.
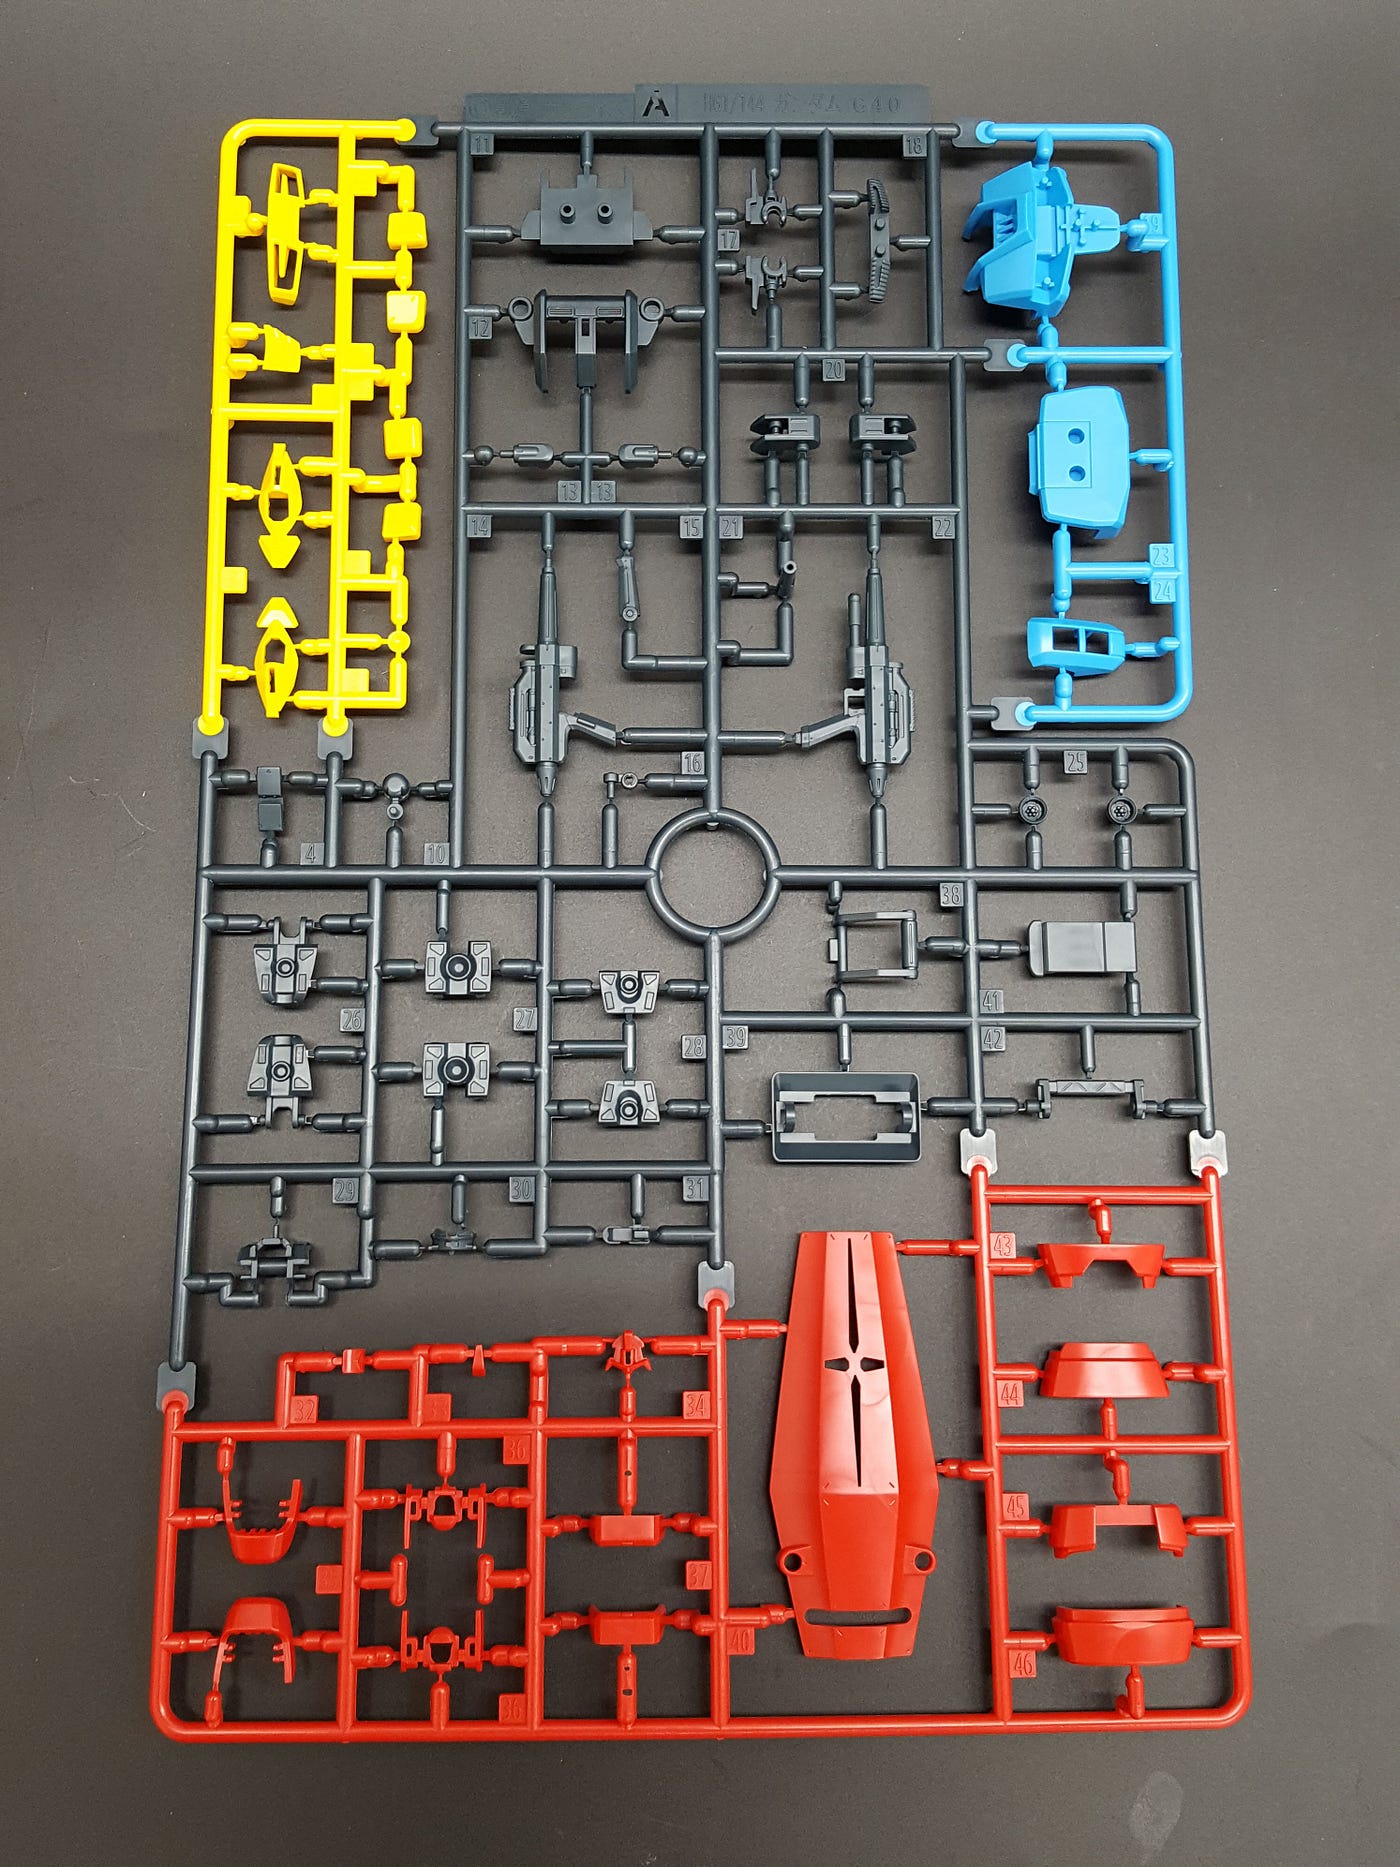
To the best of my knowledge, Bandai has kept their multi-color molding system proprietary, and have even carried it a step further with multi-shot injection molding to produce parts that are multi-colored on the sprue:
And I’ve seen in recent postings on the net that they’ve taken it a step further, with sprues that contain, say, mecha hands that are not only multi-colored but articulated on the sprue.
@Tank_1812, @Klaus-Adler, @Littorio
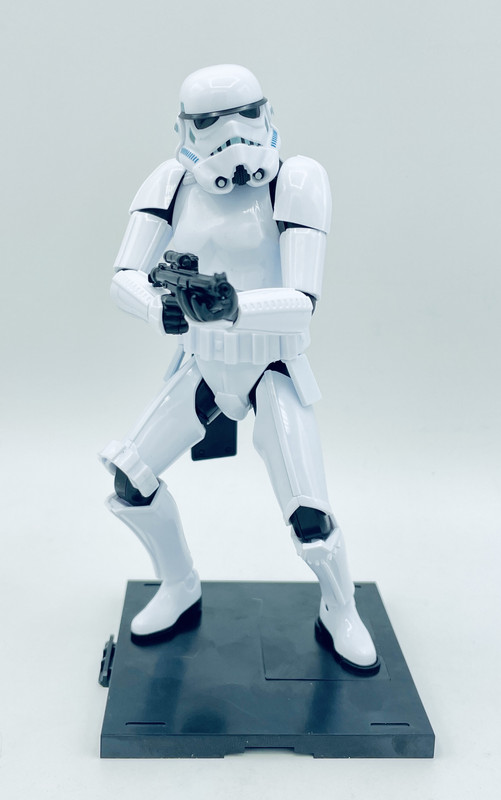
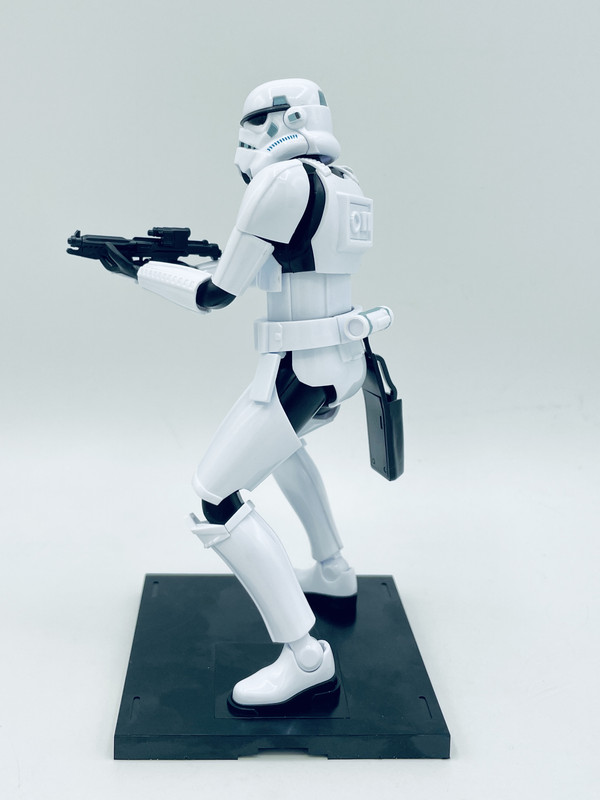
Thanks for the heads up on weathering advice. I had heard of problems with Bandai plastic and solvent type paints. I’m actually planning this guy to be quite clean like the typical “fleet” based troopers. He is my crash test dummy, so to speak.
@srmalloy, My son builds Gundams and has for many years. I had seen the multi color single sprues on his kits before. I just had not come across a clear tinted color before on his kits.
So a question for any of you who have built this kit before… how did you deal with the seam on the back of the lower portion of the helmet?
I don’t think I did I just made sure the parts were clicked as tight together as I could which does almost remove the seam.
Oh if you like the Gundam hands wait until you try the Star Wars B-1 battle droid with arms that articulate straight off the sprue, and Dragon have the nerve to harp on about slide moulding!
When Trumpeter put out their first 1/350 aircraft kits, they had multicolor sprues just like Bandai; typically clear canopies, black landing gear and jet exhaust or props, and everything else gray. I don’t believe they were injecting different colors in the same molds; rather they had connector points on each sub sprue that clicked together. It might’ve been more expensive; their aircraft recently seen to be all gray or all clear.
Thanks! I have the Sandtrooper kit to do, but I want to weather that one to match what movie stills show. This guy is my test run.
I was thinking of using Tamiya White Putty to hide the seam, then polish it out.
That might be another good option. Vallejo putty might stand up to that kind of abuse. I was thinking of doing similar to my Meng Whippet and hoping the white colored putty was close enough. Some research online said Tamiya flat white was a close match. Not sure about that.
I saw one of these at a show once. Nice clean, white, plastic armor, well-built, looked just like the movie. And then I overheard the judges talking about how there was no painting or shading on it.
Yeah, that’s a conundrum with building these. Most are seen in immaculate looking armor. But there are a few that are more weathered in more “austere” locations from the films or shows.
Use graded polishing/sanding cloths such as car modelers use. Bringing it down to the finest grade (12,000, I believe) will leave the surface as polished as the rest of the kit.