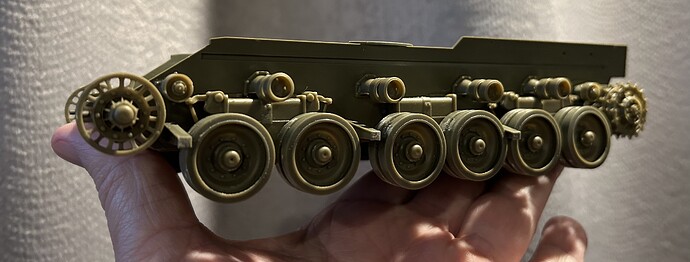
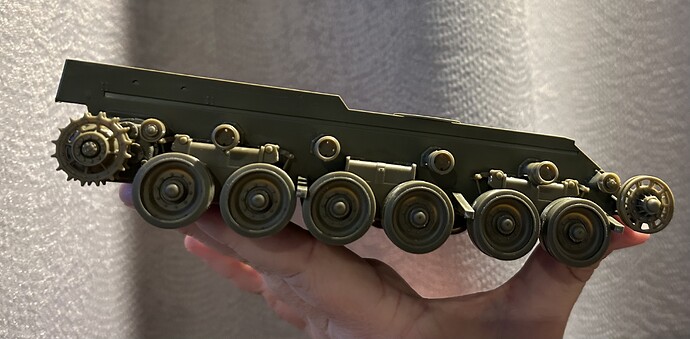
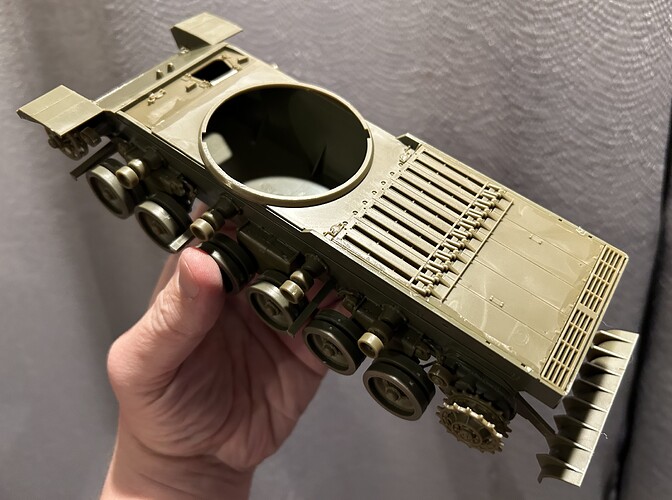
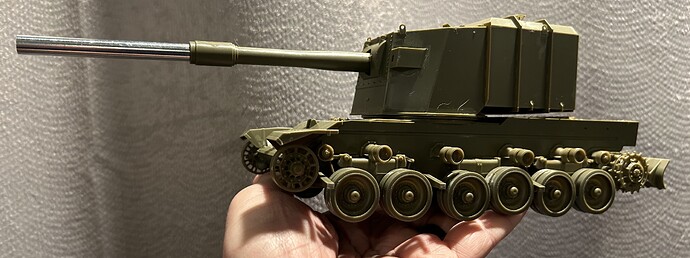
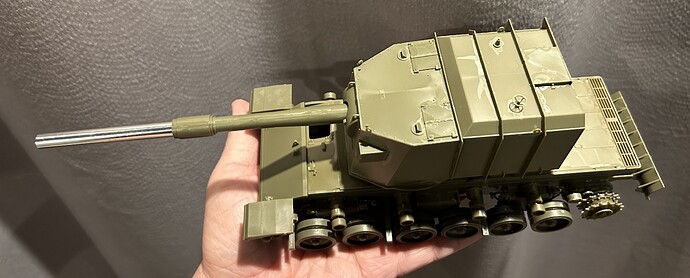
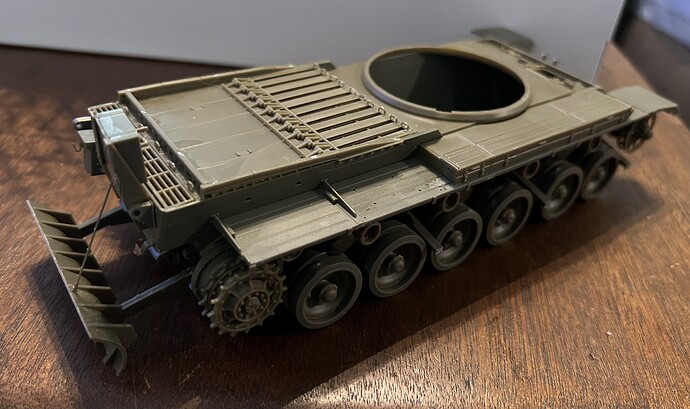
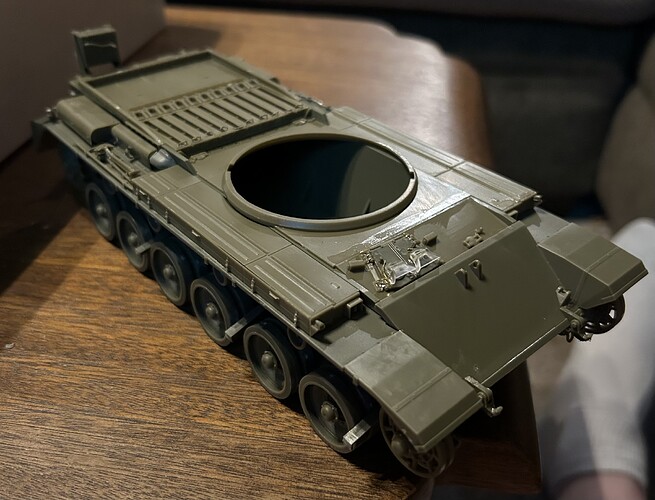
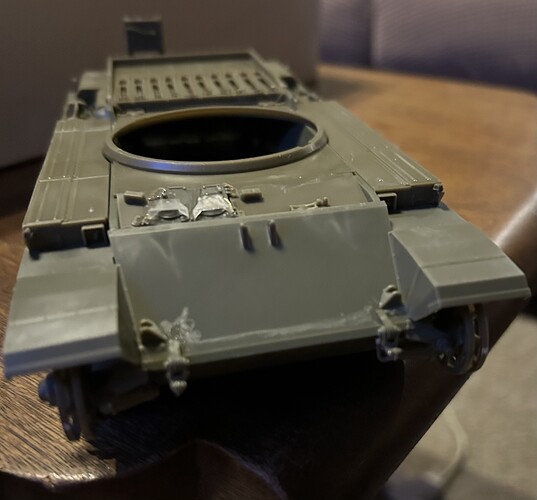
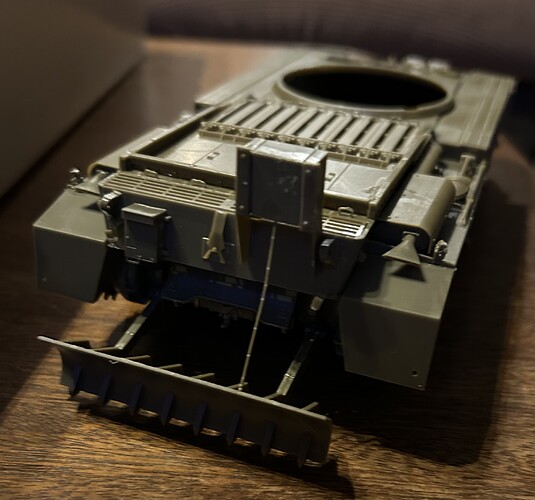
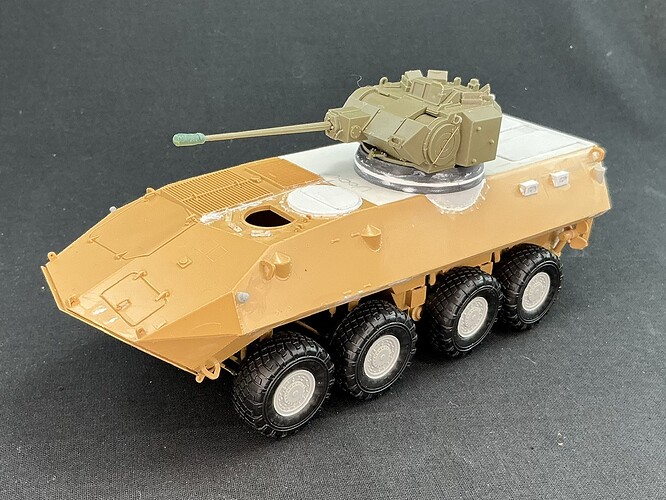
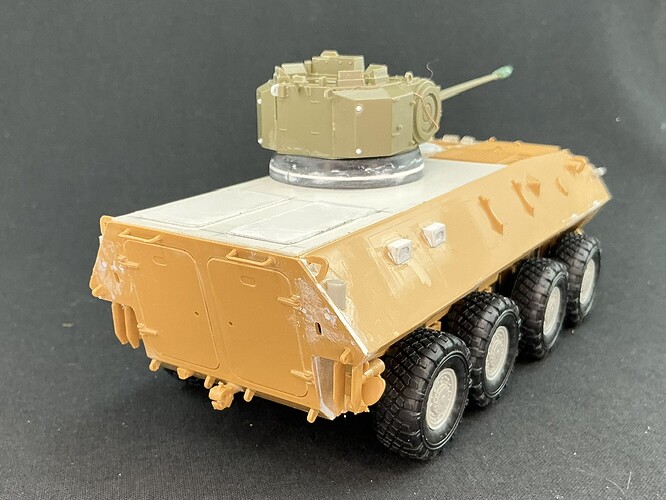
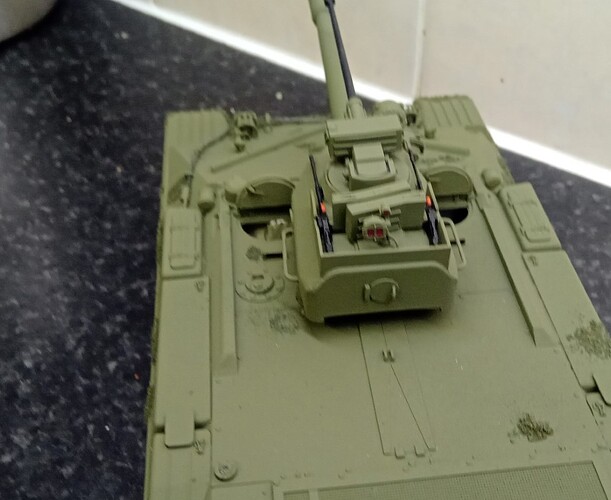
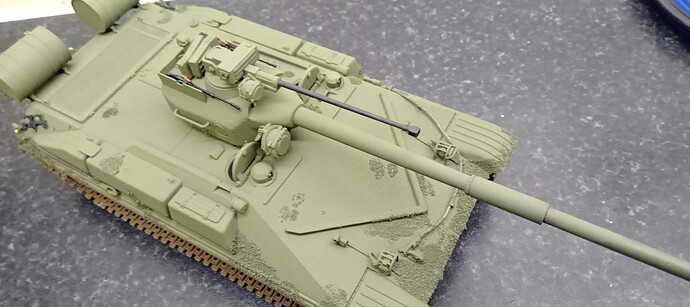
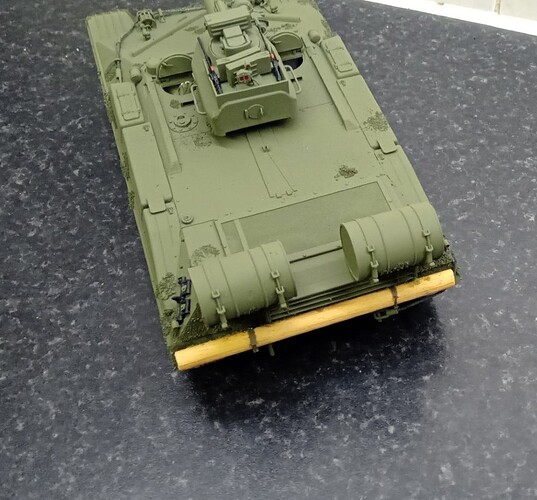
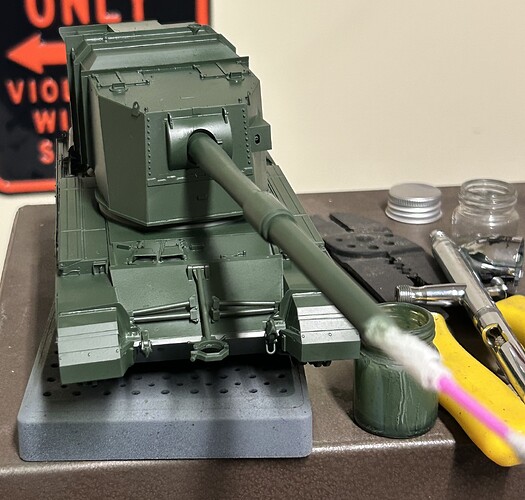
Suspension and running gear are complete.
The basic shape of the commander’s hatch is now on too, made from two discs of 0.5 mm plastic card, 20 mm and 18 mm in diameter. Of course, it still need lots of details added. Also the basic shapes of the passenger vision blocks, made from 2 × 2 mm square rod which I filed to an angle on one side to fit the hull, but this also still needs the actual vision blocks added. I found out that the vision blocks on Piranhas are in different locations than on the LAV-25, BTW: the rear edges on the left are at 21 and 36 mm from the rear plate (at the level of the tops of the blocks), on the right at 27 and 42 mm. Now I need to figure out a way to make six discs of 7 mm diameter for the lids for the firing ports. Oh, and I sanded and scraped away all the moulded-on lines for locating parts, as well as the hatch lid that’s on the left side of the LAV-25. I don’t really know if Piranha 8×8s all have that lid, but the Dutch production version for sure didn’t ![]()
To the turret, I added the lifting eyes, including a scratchbuilt one because one was missing from the sprue. I also made the bolts at the back myself because two of the four had been moulded short on the sprue — they’re just a 1 mm hex of 0.5 mm card with an 0.5 mm disc of 0.25 mm card on top, which are the same dimensions as the ones moulded onto the sides. I also put a cover over the muzzle of the 25 mm gun from Green Stuff, which fits nicely with the covers I installed on the sides of the turret. (On the real vehicle, those concentric rings towards the front of the turret are removable black plastic covers that protect the ejection ports outside of combat. They’re often seen on photos of YPR 765s on exercise.)
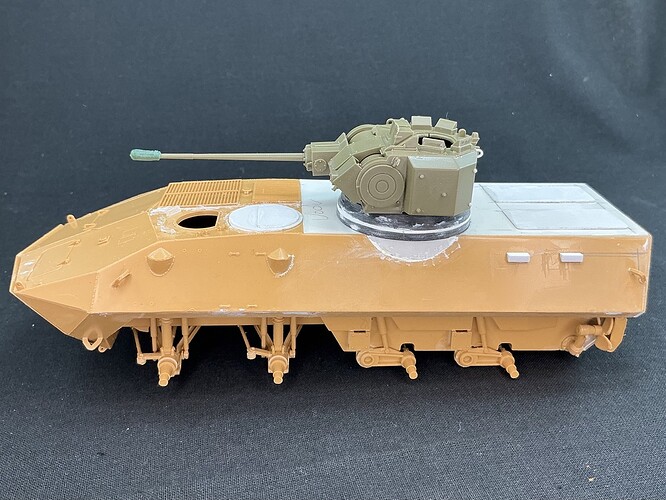
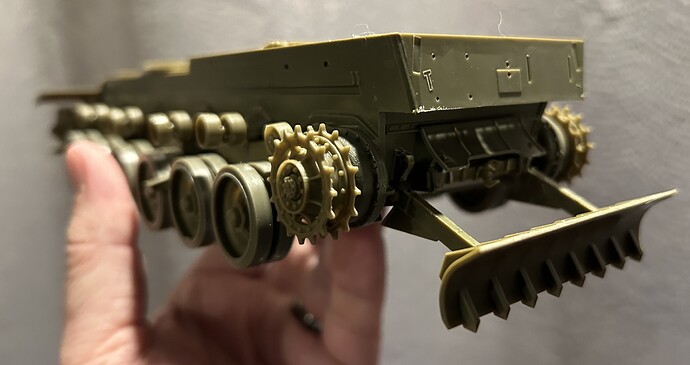
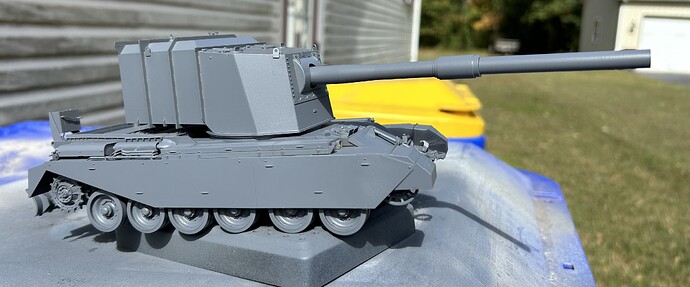
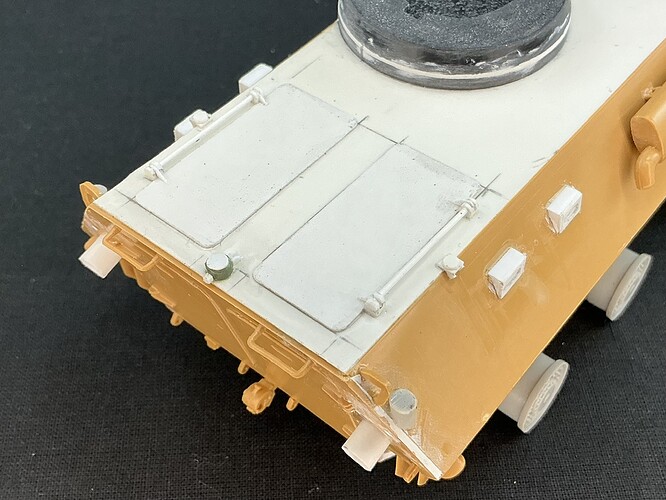
Started to add the rear recoil blade, added the top of the hull and some pics with the turret on.
When time comes to paint, it’ll get painted in the Bronze green, however all the prototype pictures show no markings whatsoever.
If you paint it as the prototype, it’s not a “Tank that Never Was” is it? ![]()
I take the spirit of the build as failed prototypes or prototypes that never made it to production, not what ifs.
I just knew somebody would get clever with the title! ![]()
The idea was anything that never made series production or issue to real troops, so prototypes are good, especially if they turned out to be turkeys once tested…
The Piranha PWI is starting to look like something now:
The tyres are on, but only temporarily to see what it looks like with them, but I did glue the wheels to the axles. I don’t normally do it like that, but because the tyres can be put on and taken off easily anyway, I figure it will be easier this way after all. I did have to remove the moulded-on, hollow axle stubs from the backs of the wheels and drill them out to 3 mm so they fit over the Italeri axles.
The periscopes for the passengers are finished, I moved the lifting eyes (they’re in different places on the LAV than on the Piranha I and II), added front turn signals from the Dragon MBT 70 kit, and also fitted more details like grab handles, hatch handles, the supports for the antennas, etc. The main things still left to do are to finish the hatches, finding something to use for the firing ports (or to make them from), add a cover over the exhaust, fit the actual antenna bases as well as smoke grenade launchers, and figure out something for the front and tail lights. I’ll probably also add pioneer tools, but I think I’ll have to look a bit more closely at the YP 408 first, to see what was carried on that, and how.
That’s some nice work there, and it looks very different from just about any other APC.
Thanks, and I take it you mean “more top-heavy”? ![]()
Sharp right-hand turns look a bit scary!
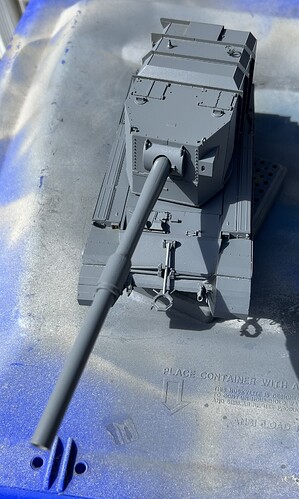
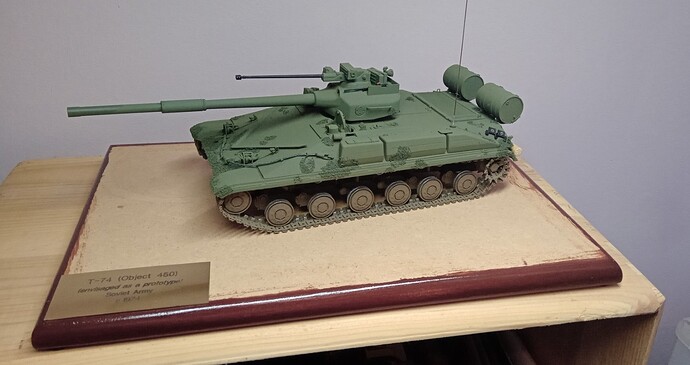
Detail painting is in fact, limited - though I still have the road-wheel rims to do in polished metal (T-64 type wheels lacking rubber rims just in case anyone wondered):
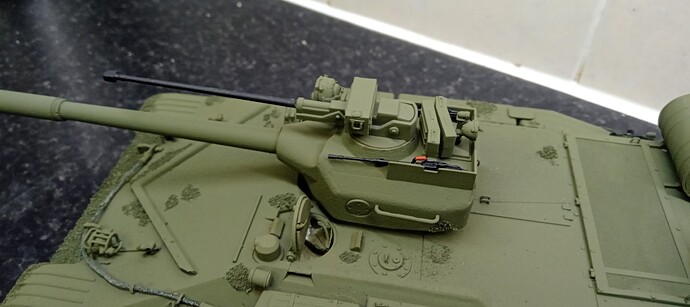
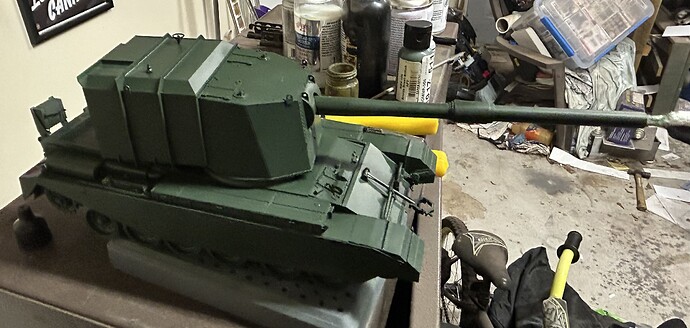
Bronze green applied. I’ll add another coat tomorrow.
Then paint the tools and do a small bit of weathering.
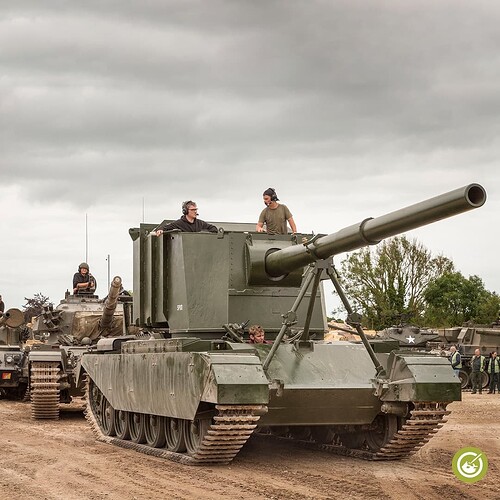
Well, that’s a beast - and all because of the Soviet heavy tank threat - which is understandable I hasten to add.
What I had not realised until quite recently is that the real thing has been completely refurbished and is now a “runner”. Bravo to the Tank Museum at Bovington.
https://youtube.com/shorts/Uf89q8F8rpE?si=lPFOvz8e0vQlBWaI
A link to part of the build.
Impressive! And not remotely off thread I understand that Object 279 is also a runner! We live in interesting times.
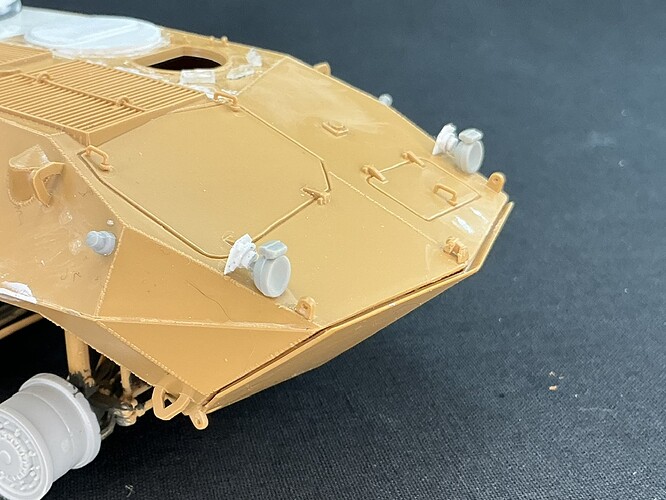
For the Piranha PWI’s headlights, I took a look at the Canadian Piranha, the AVGP. I had some lights left from a Hobby Boss Leopard 2, and scratchbuilt the mounting from some plastic card and punched discs:
They’re not 100% accurate, but they look good enough, if you ask me. Maybe I’ll add more detail later, we’ll see. The lights should actually “float” above the armour, but because I made the backing plate from 0.25 mm plastic card, I doubt they would survive for very long if I had replicated that, so I glued them to the armour instead.
On the back, I added the hinges for the hatches:
I wanted to make the hinges from plastic strip at first, but eventually went for sawing a slot in a piece of 2 mm square rod, using a small hacksaw because the blade of those is much wider than of modelling saws. I then filed the top to be half-round and sawed off the finished hinge. After glueing them in place, all it took was adding a piece of rod between them and some strip cut at an angle for the part of the hinge attached to the hatch.
The filler cap is just some scrap of plastic that happened to be 3.5 mm diameter with a 3 mm disc on top, and some more strip etc. for the hinge and lock. The pieces of tube on the rear plate are for the lights, but those aren’t in them yet.
