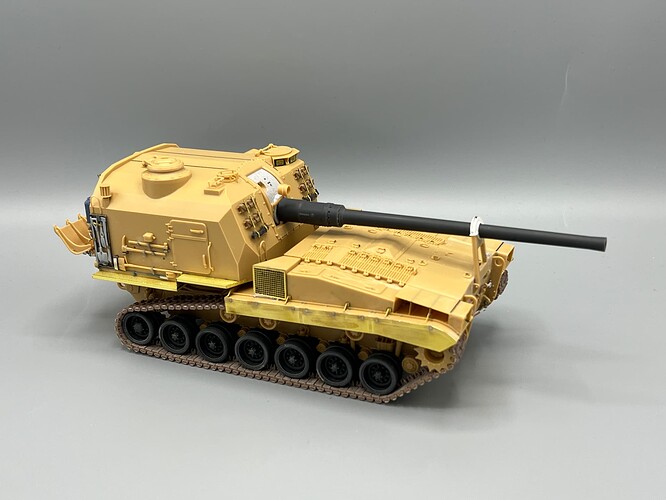
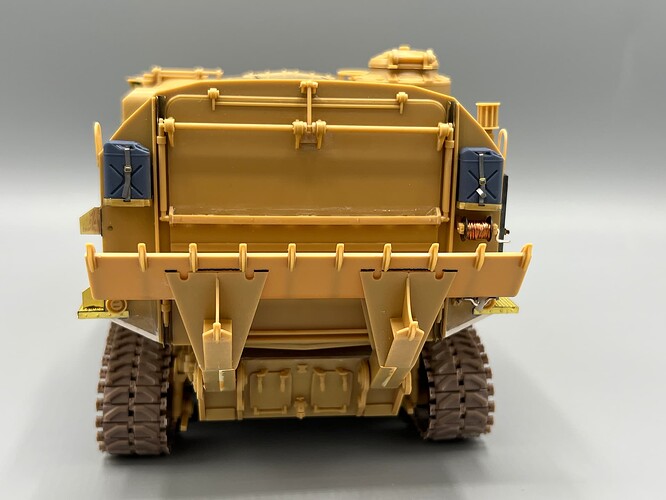
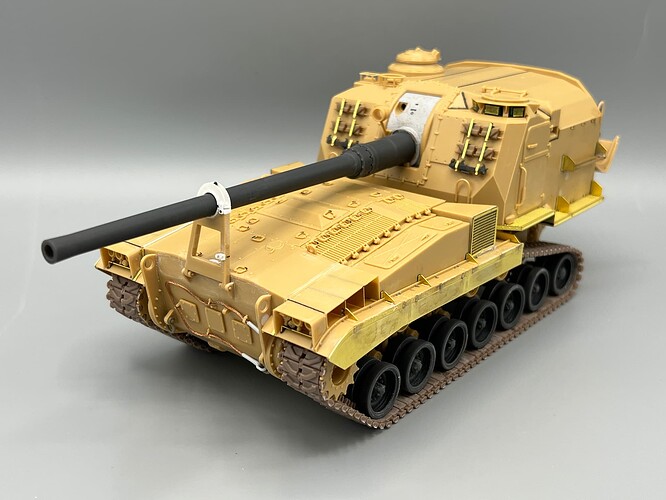
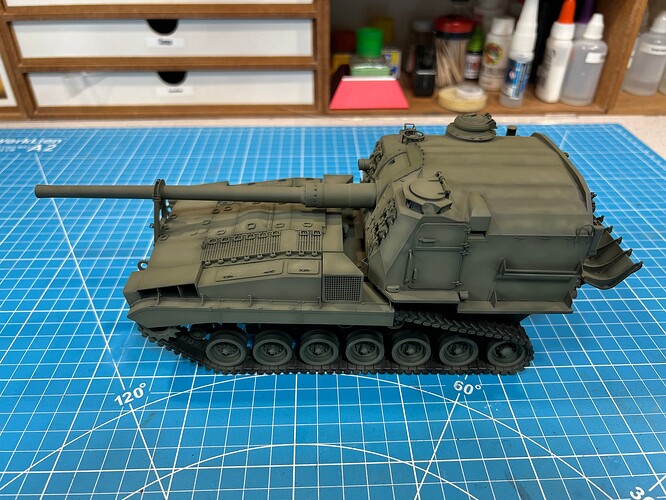
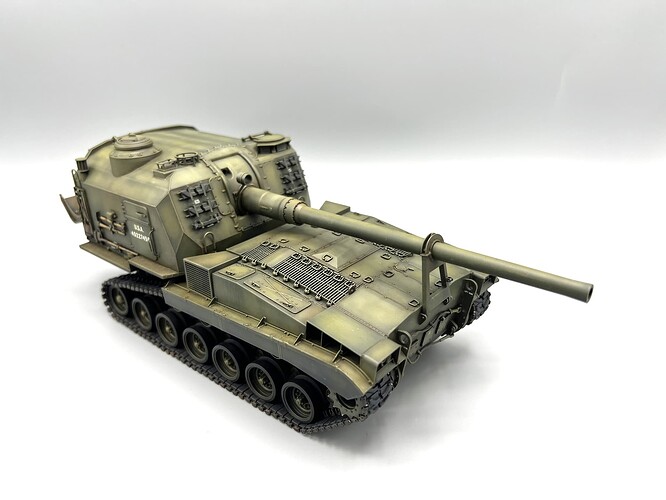
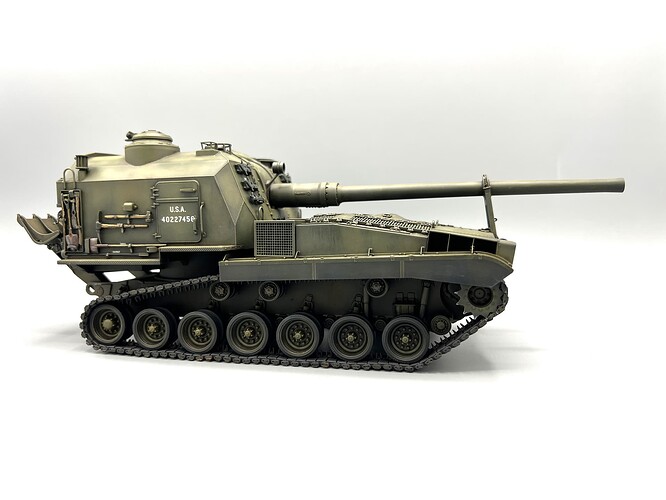
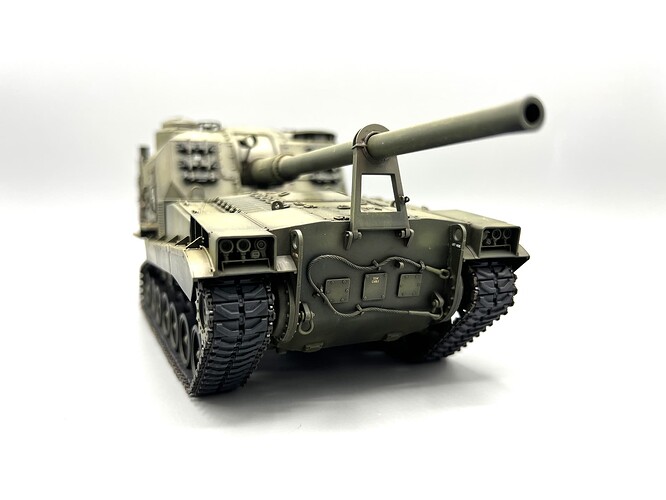
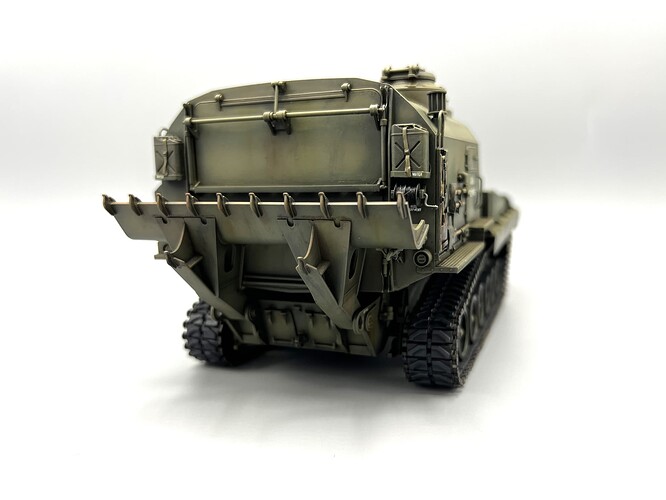
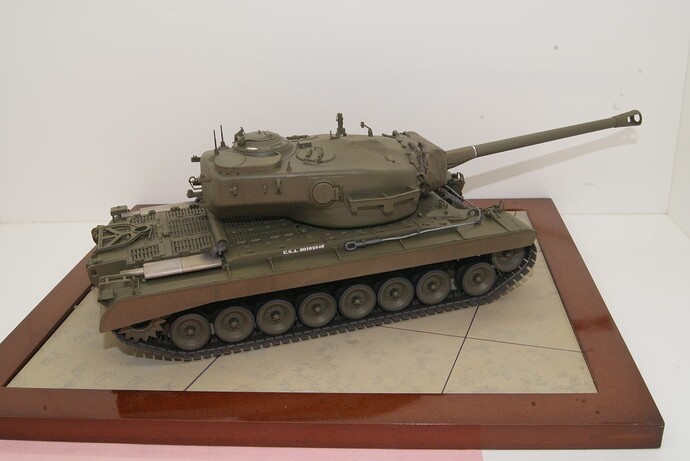
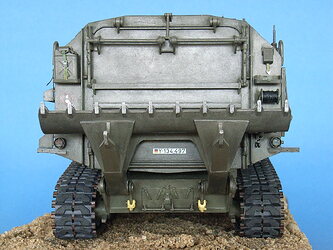
I’m still catching up on posting builds from this year.
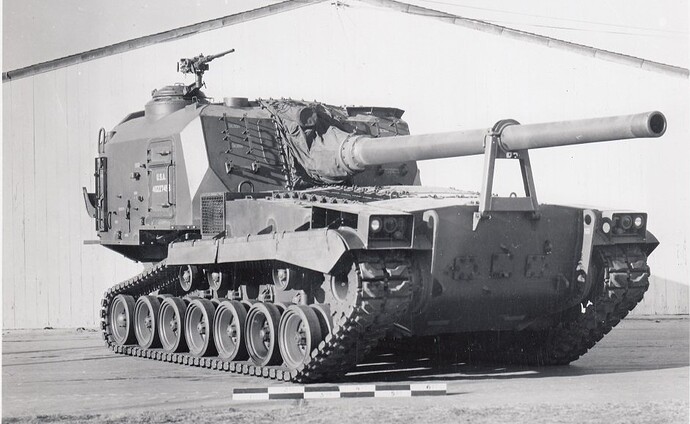
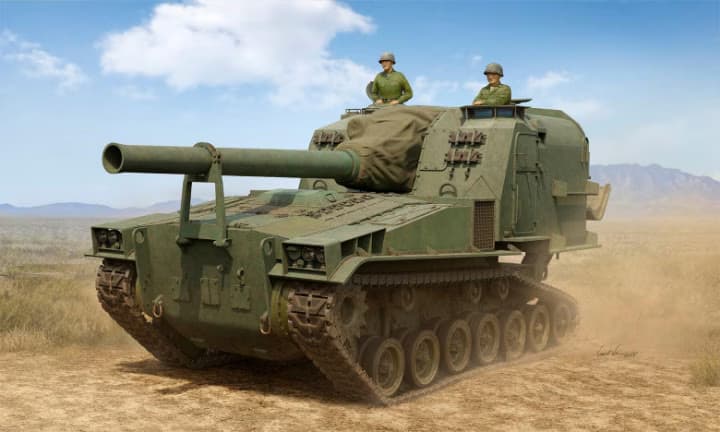
Through the Korean War, all self-propelled artillery featured open top fighting compartments. As the US Army contemplated fighting and winning on a nuclear battlefield, they realized that open-top half-tracks and artillery were not survivable. The M53 and M55 were designed for that nuclear battlefield with a fully enclosed turret. It leveraged the automotives from the M46 and M47 tanks. Pacific Car and Foundry began producing the M53 in late 1952. However, testing revealed many problems that required rework in 1955. The US Marines fielded the M53 and used it early in the Vietnam War. However, the US Army does not appear to have fielded it and converted all of its M53’s to 8-inch M55’s in 1956 by swapping the barrels and ammunition racks. In the end, the Army viewed the M53 as too big and heavy for its caliber.
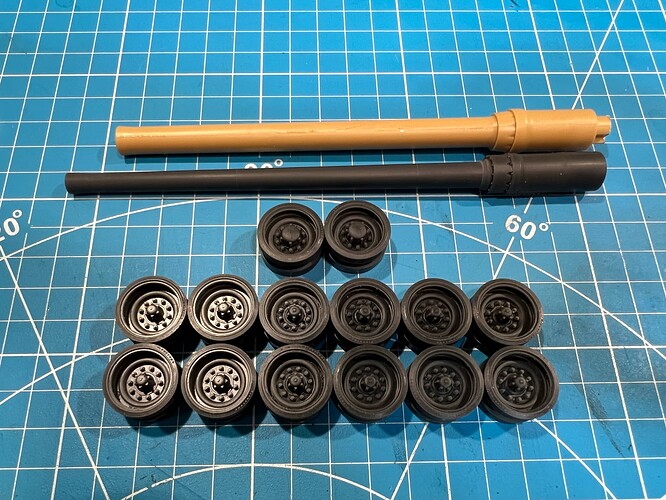
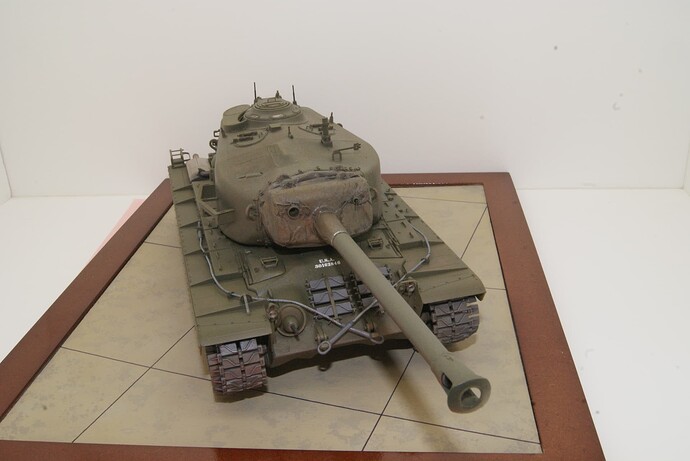
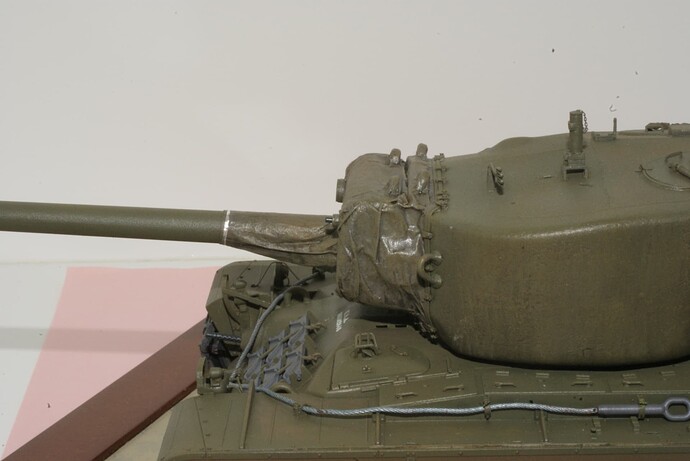
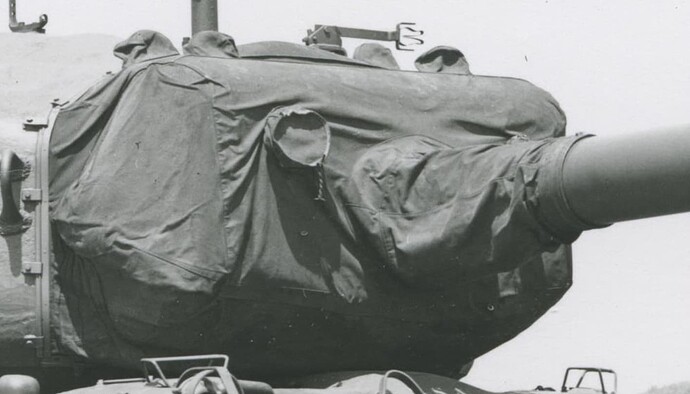
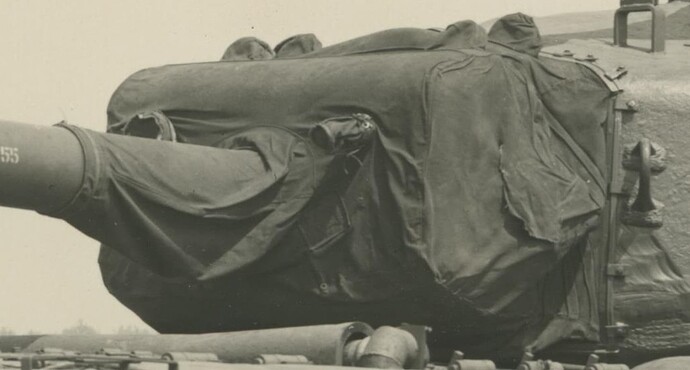
Until recently, anyone wanting an M53 in 1:35 either had to deal with the old challenging Elite Models resin kit; or convert the even older Renwal 1:32 scale M55. The 2023 I ![]() Kit M53 delivers a decent model with much less work. Upon opening the box and examining the parts, a couple of issues immediately presented themselves: On an artillery piece the eye is drawn to the barrel. Unfortunately, the kit barrel is far too large in diameter, it measures out to be an 8-inch bore vs. 155mm, and it is 13mm too short. The canvas mantel cover is molded in vinyl and is lacking the many folds shown in pictures. And rather unbelievingly, 4 of the roadwheels are lacking the molded in hubs… Fortunately, a corrected barrel and roadwheels were CADed and 3D printed for me by James Lee (@Petition2God).
Kit M53 delivers a decent model with much less work. Upon opening the box and examining the parts, a couple of issues immediately presented themselves: On an artillery piece the eye is drawn to the barrel. Unfortunately, the kit barrel is far too large in diameter, it measures out to be an 8-inch bore vs. 155mm, and it is 13mm too short. The canvas mantel cover is molded in vinyl and is lacking the many folds shown in pictures. And rather unbelievingly, 4 of the roadwheels are lacking the molded in hubs… Fortunately, a corrected barrel and roadwheels were CADed and 3D printed for me by James Lee (@Petition2God).
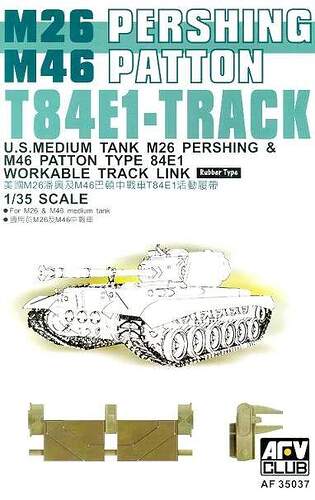
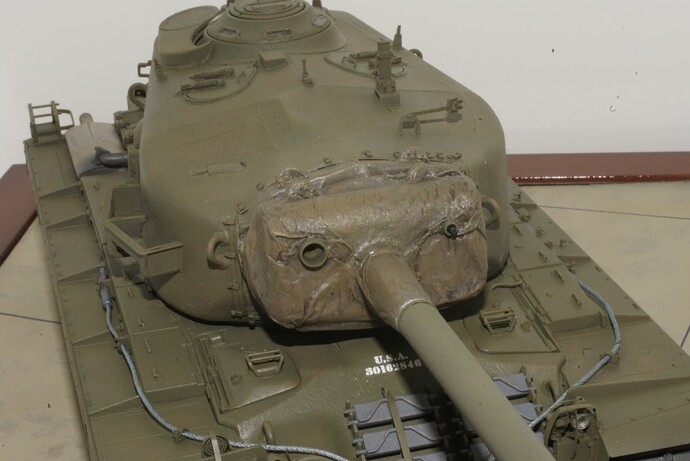
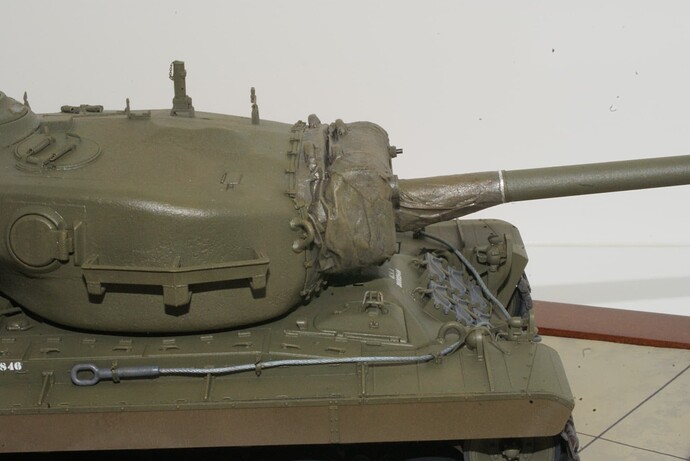
I played with sculpting a replacement mantlet cover with Milliput but decided my sculpting skills were no better than ILoveKit’s. This is an opportunity for anyone who is good at sculpting… In the end I built the model without the canvas cover. The kit comes with individual link tracks; but I was not satisfied with the detail and the mold seam on the end connectors; so, opted for AFV Club T84E1 Track for M26 Pershing and M46 Patton.
Other than the above issues, the kit is not bad. The detail is acceptable. The fit is good. There were a couple of ejector pin marks that had to addressed. The kit includes PE for the exhaust grills, mudflaps, etc. The decals only depict US Marine vehicles.
I ended up with a fairly long list of improvements / additions to the kit:
• Replaced barrel and road wheels with 3D printed corrected versions
• Replaced kit tracks with AFV Club individual link tracks
• Scratched the travel lock to fit the corrected barrel
• Added weld beads to the turret top and spade
• Textured the mantlet with Mr. Surfacer 500 and added foundry marks
• Replaced kit gas cans with PE water can holders and resin water cans
• Added towing shackles from the spares box
• Fitted a tow cable from Eureka XXL
• Filled all of the pioneer/OVM tool mounting holes with stretch sprue.
• Replaced kit tool rack with PE from the spares box
• Replaced kit pioneer tools with resin aftermarket ones
• Added pioneer tool / OVM retaining straps from lead strips with PE buckles and PE footman loops
• Added 3D printed track jacks to the front of the turret
• Added DR-8 commo wire spool from PE spares and fine copper wire
• Scratch built the pully system/locking mechanism for raising and lowering the spade
• Soldered brass rod to the PE equipment stowage racks vs the kit styrene rods
• Designed custom decals and had them printed
As I could find no evidence of this weapon being issued to US Army artillery units, I opted to finish it as one of the Army test and evaluation units. I primed it with Mr. Surfacer 1500 black from a rattle can. I preshaded with Tamiya XF-2 White. The base paint job started with a light coat of Tamiya XF-62 Olive Drab allowing the black and white to show through. I then switched to a lightened mix of 3 parts XF-62 OD and 1 part SF-60 Dark Yellow for the centers of the panels. I highlighted with 50-50 XF-62 and XF-60. I applied a dot filter of various Winsor & Newton oil paints.
After applying my custom decals, I sealed them in with VMS Satin Varnish. That stuff is great for making the decals disappear into the paint. As I am depicting a test and eval unit, it was only very lightly weathered.
This kit was a lot more work than I envisioned - 117 hours. But I am happy with the results, and it looks great in the display case. Although I am representing a test and eval unit, I wonder if I should weather it a bit more. What do you guys think?
Rick
