First issue was in 1995. This upgraded version came out in early 2000.
Time for a quick update!
First off let me say this kit has been a dream kit so far! One of the most enjoyable kits I’ve put together in recent memory! Why can’t they all be this good?  Kudos to Airfix!
Pics will tell the story of how she’s nearly ready to head to the paint shop…
ETA for completion just prior to Christmas!!! 
2 Likes
Thanks for the addition. Here’s my entry. First thing with wings since I was a kid!

No idea why the photo keeps posting upside down.

4 Likes
Must be maneuvering.
Michael 
1 Like
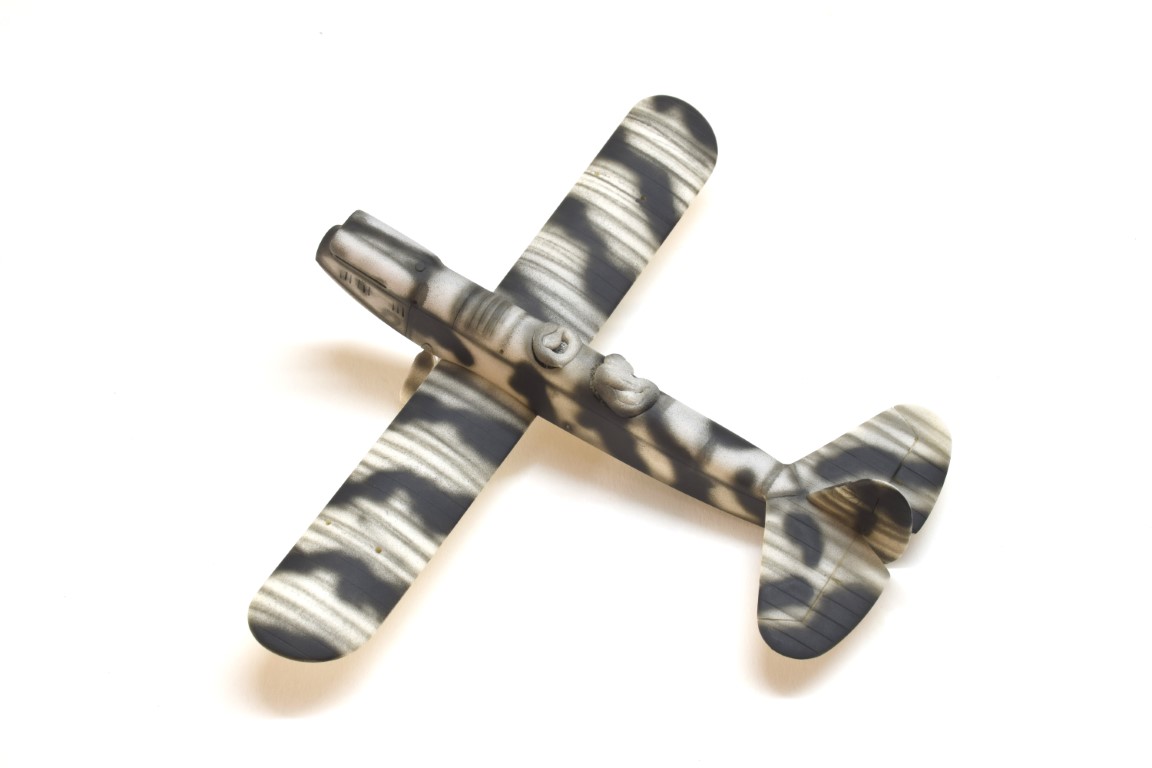
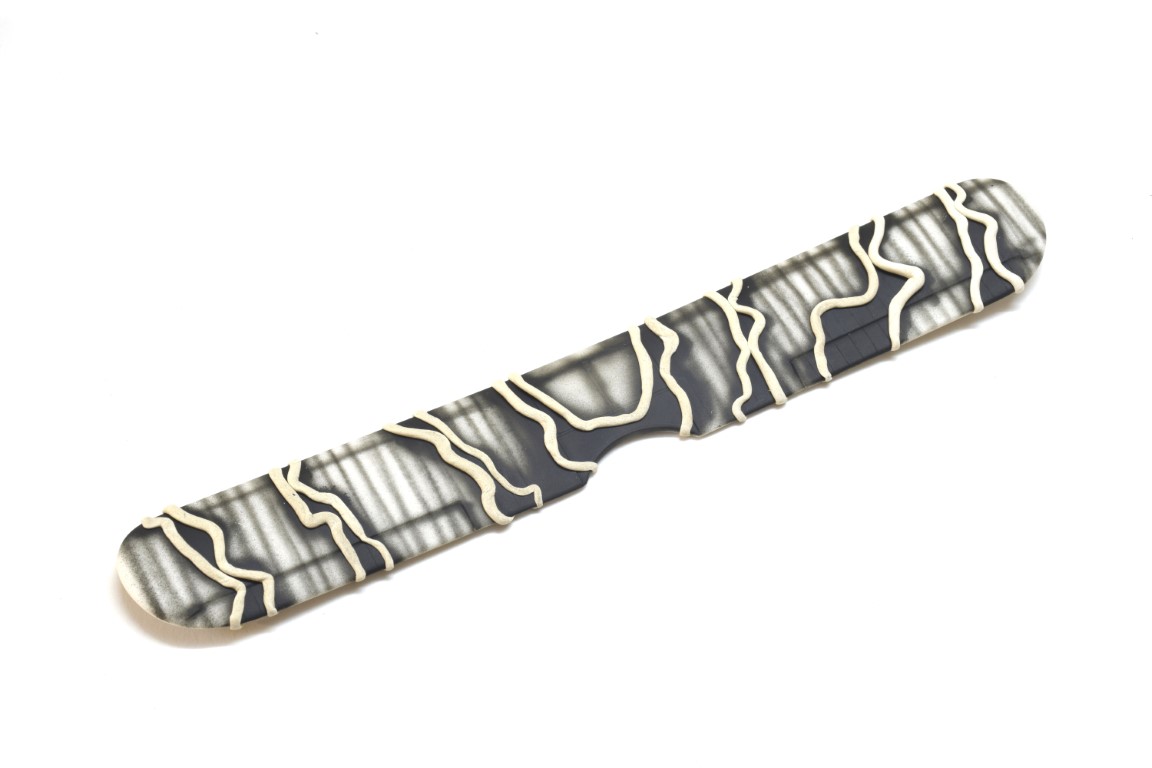
managed to get a bit of paint on today… some pre-shading and the silver for the underside of the top wing and the ailerons… (also managed to knock the tail rudder off  )
)
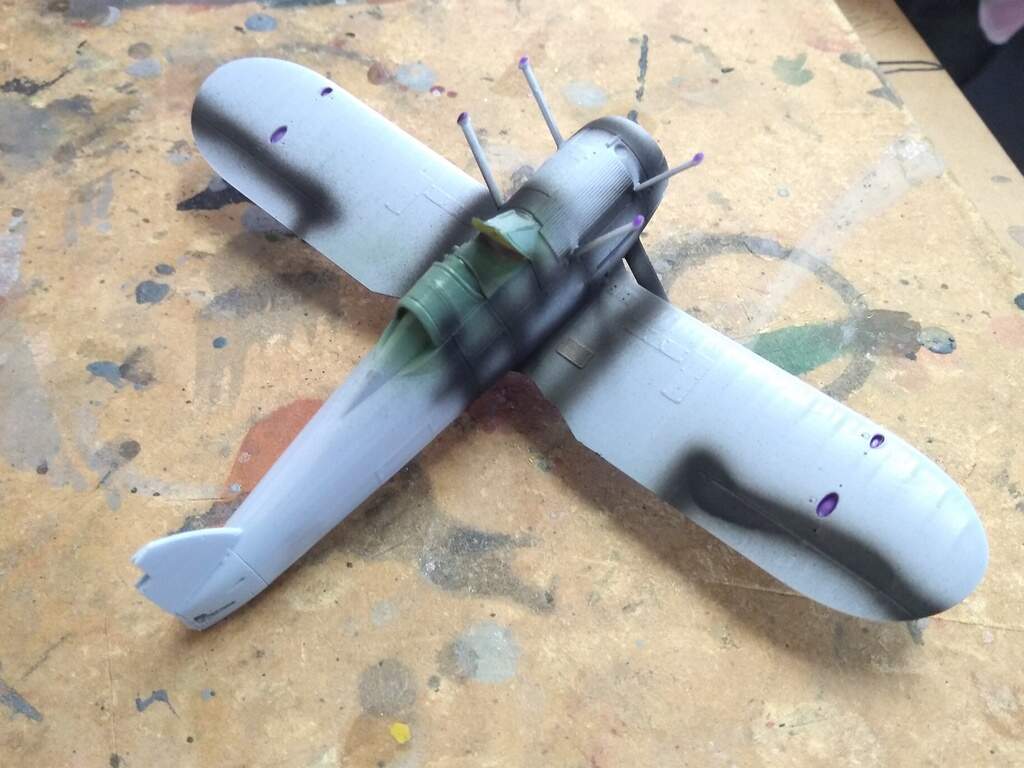

You can’t really tell from this shot but the undersides were pre-shaded before the silver went on
3 Likes
hi
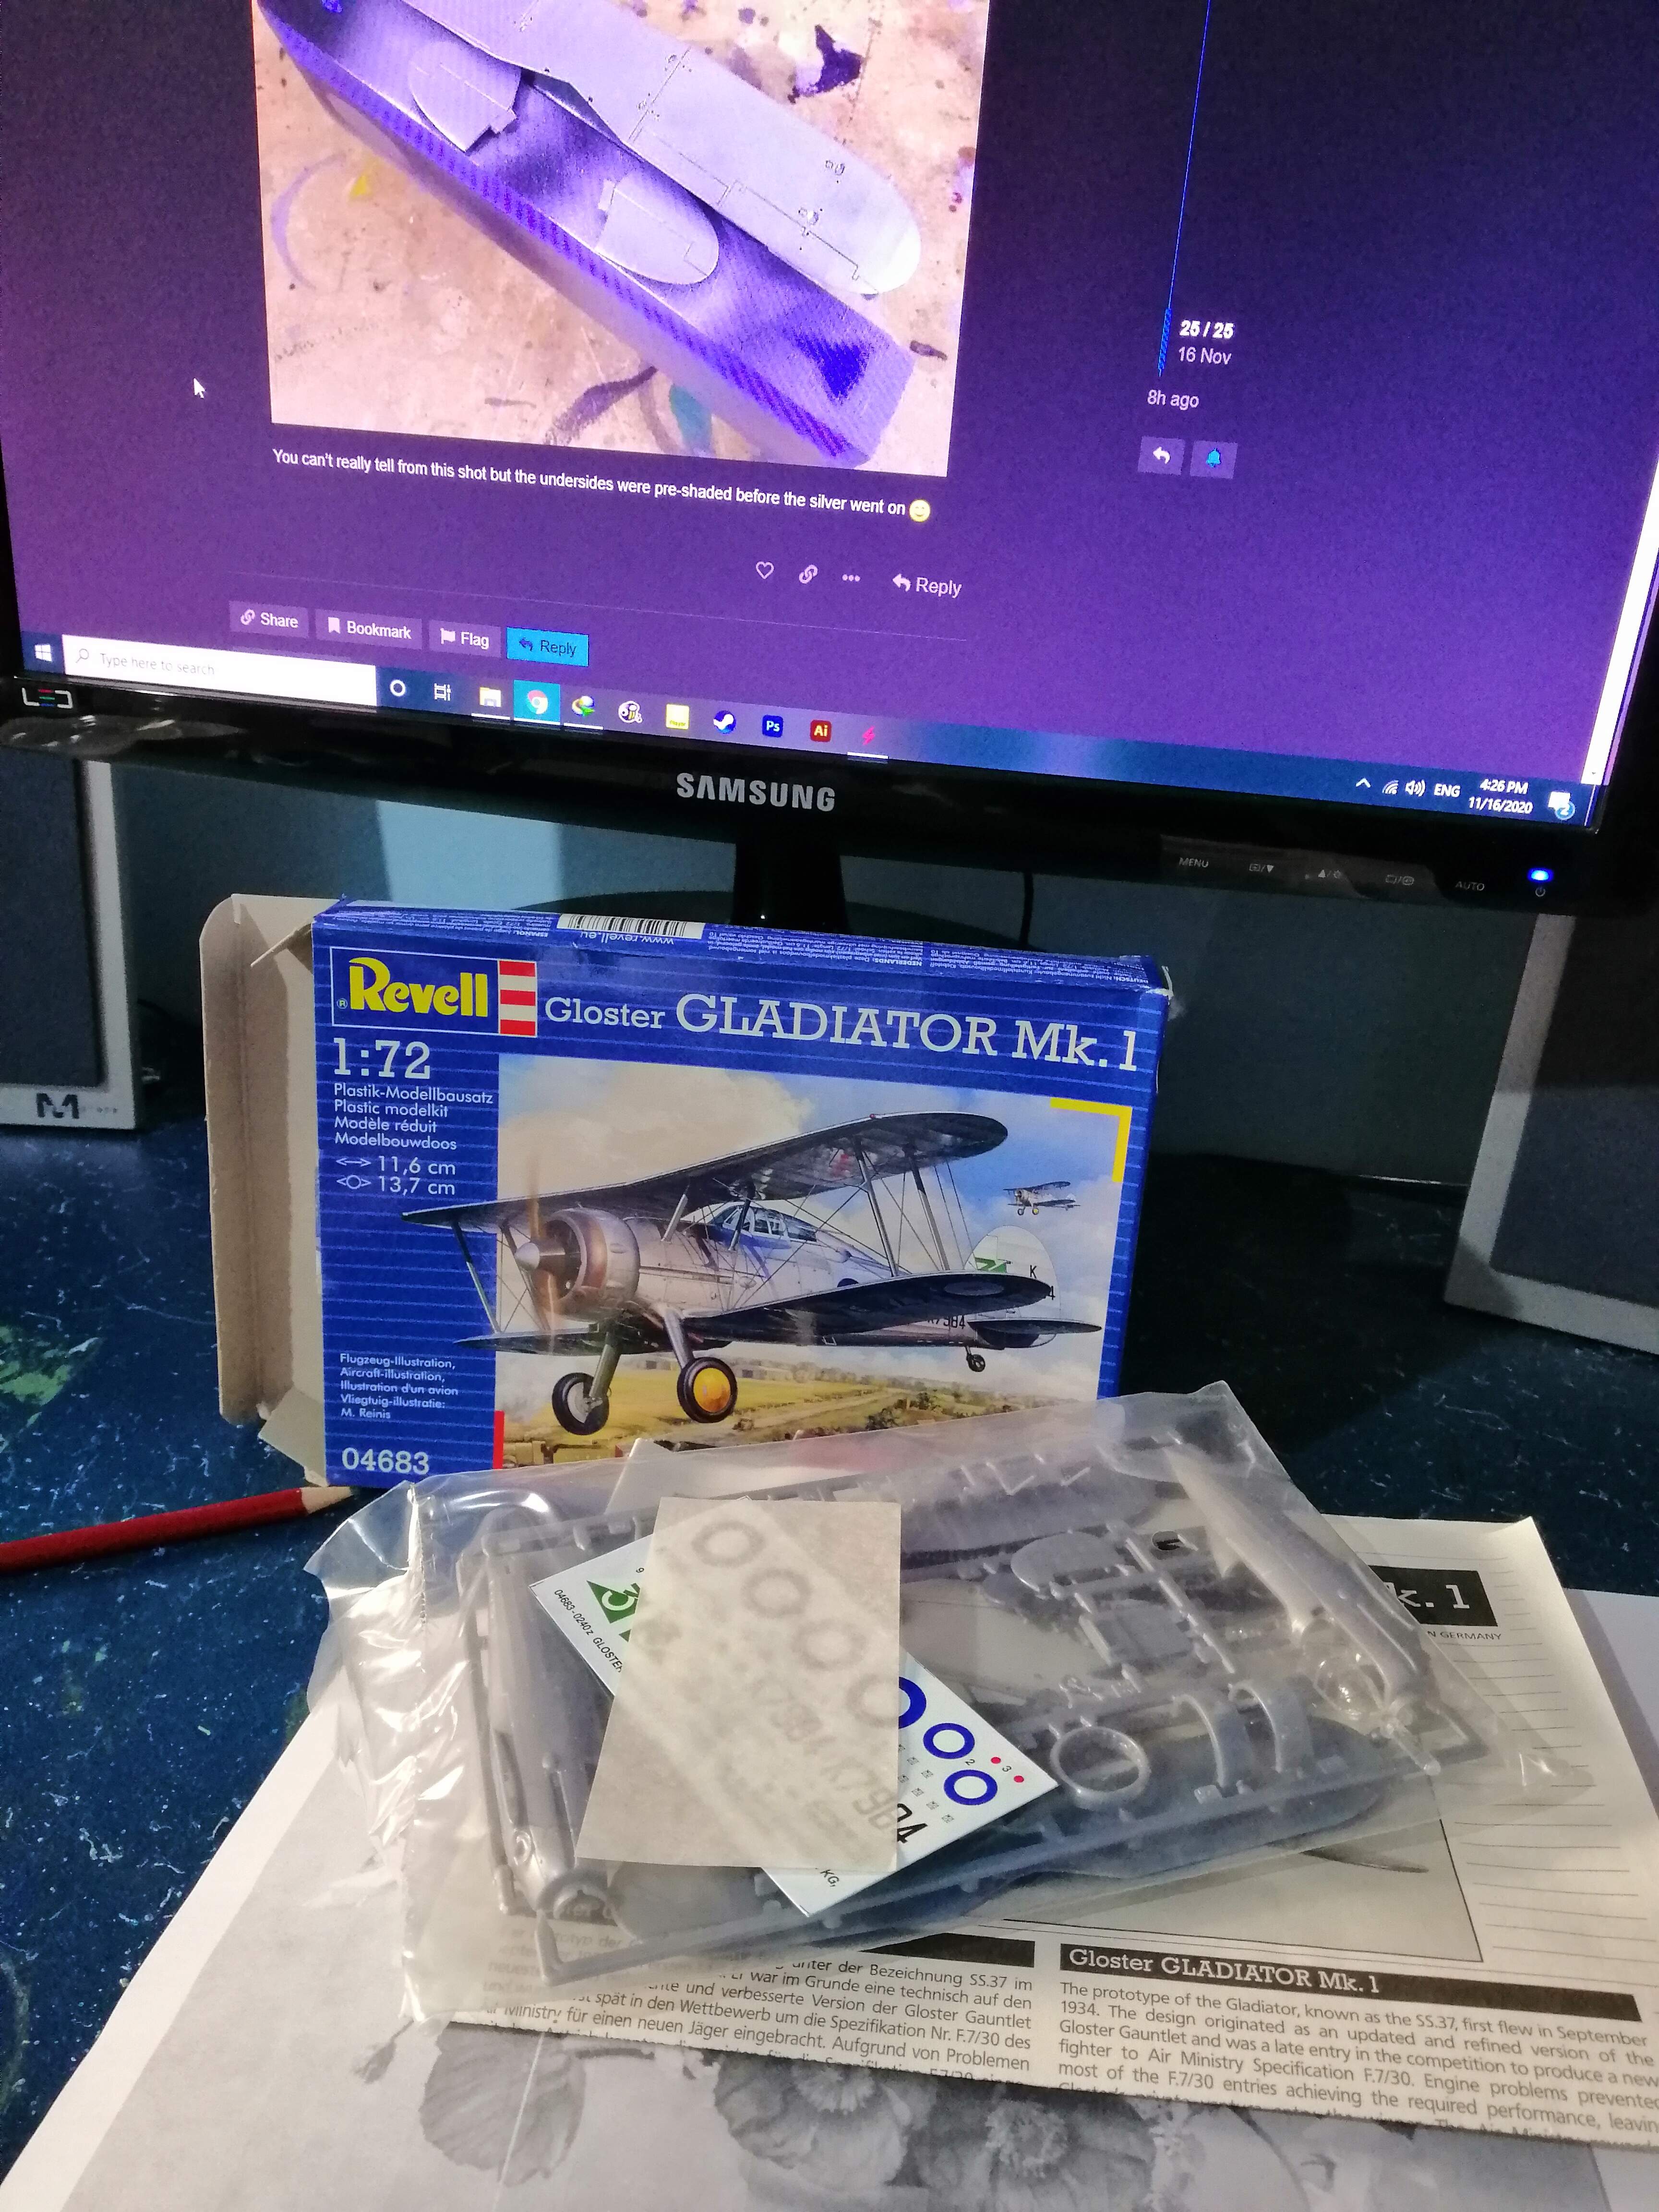
this is my first post on new site 
great work everyone
here is my entry
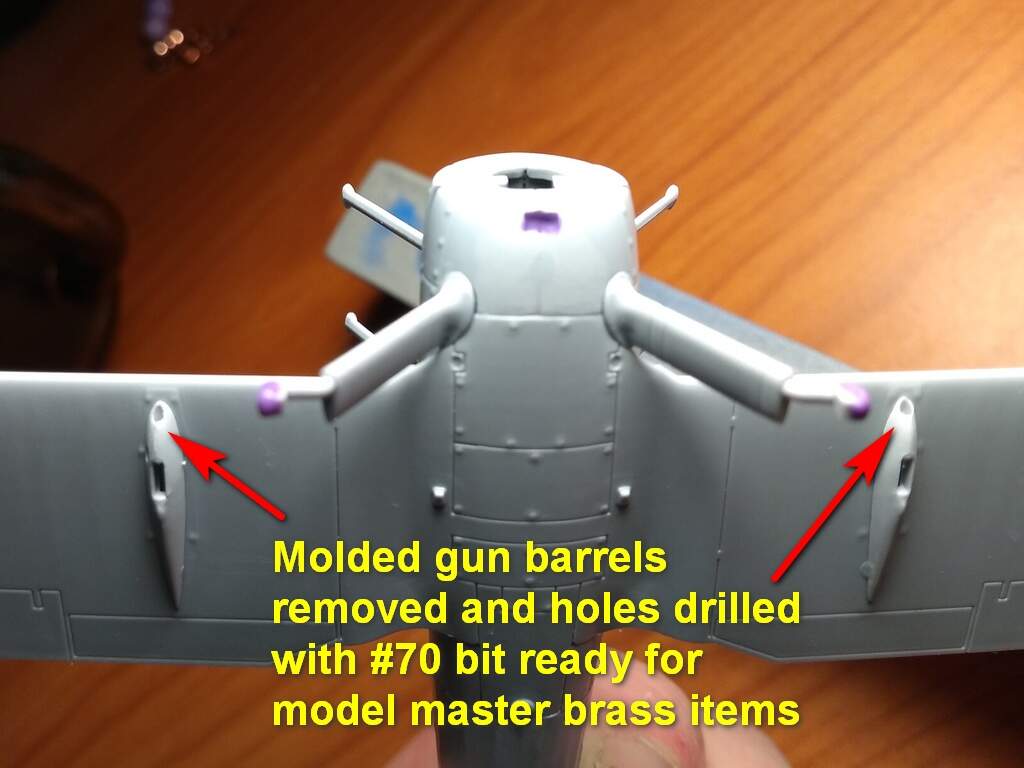
this is revell 1/72 gloster gladiator
1 Like
Welcome aboard Majid 
It’ll be interesting to see the Revell kit build up compared to the Airfix
1 Like
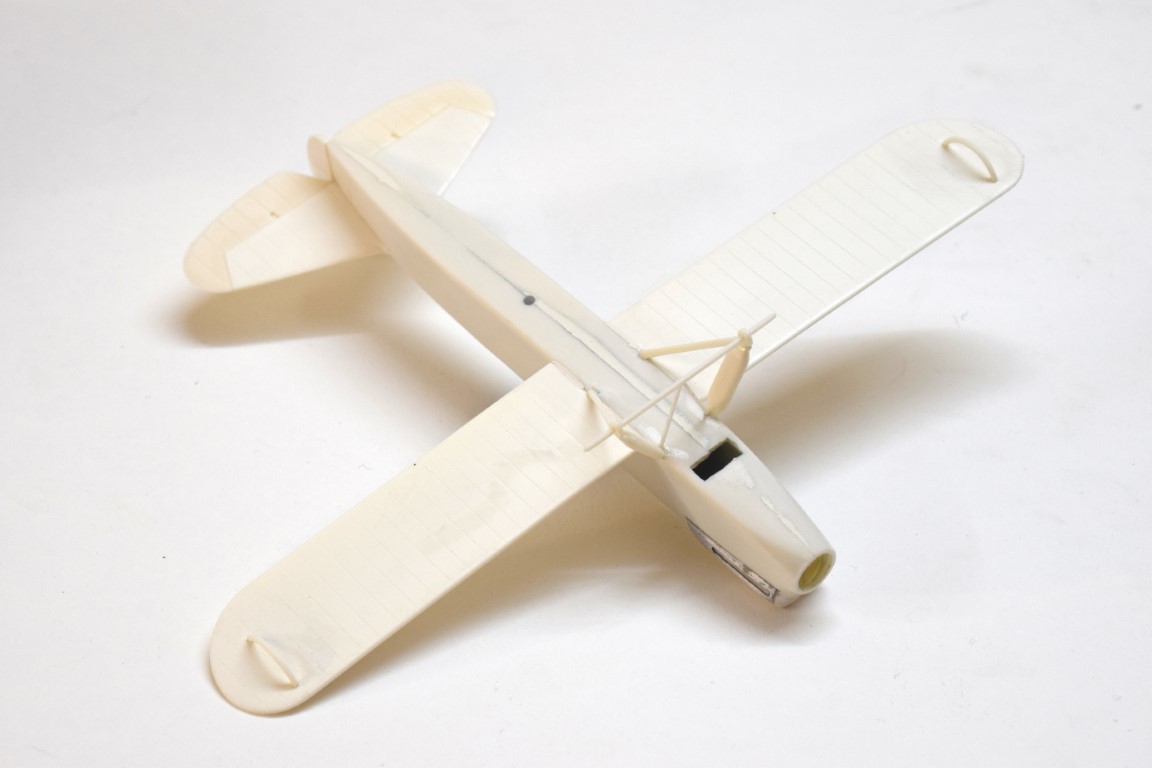
R-5 is on the way to the painting. I glued tail and legs.
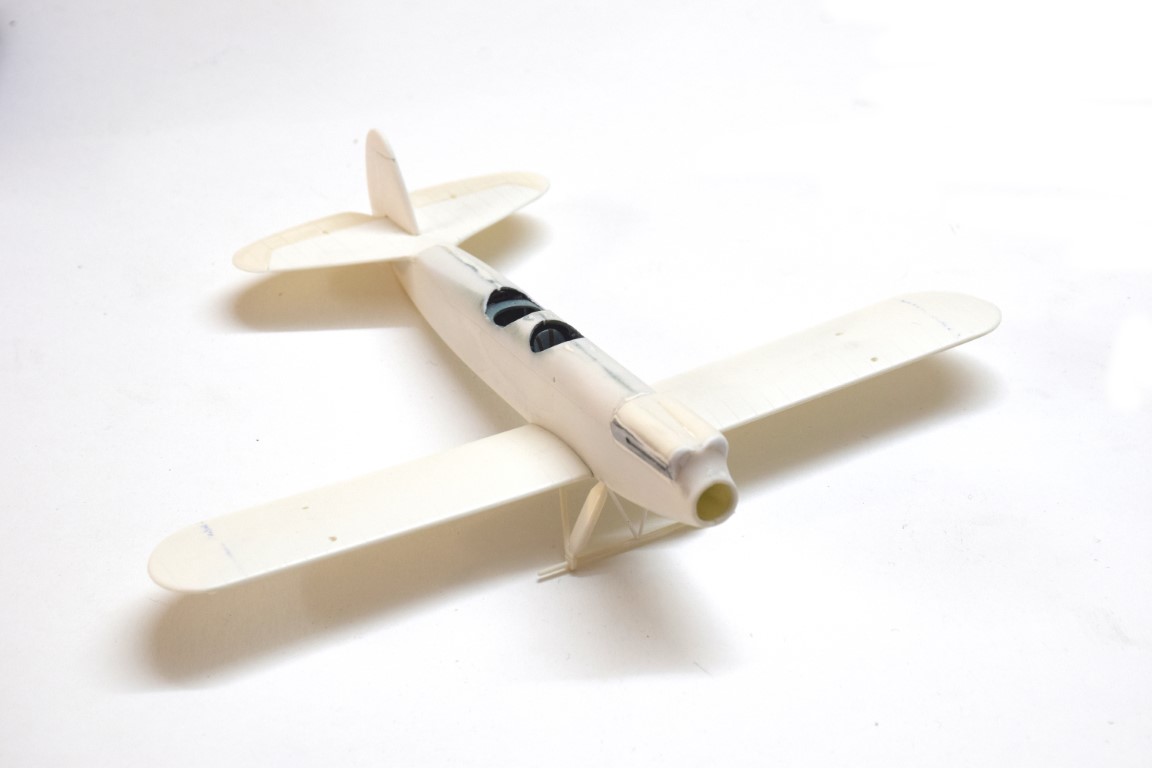
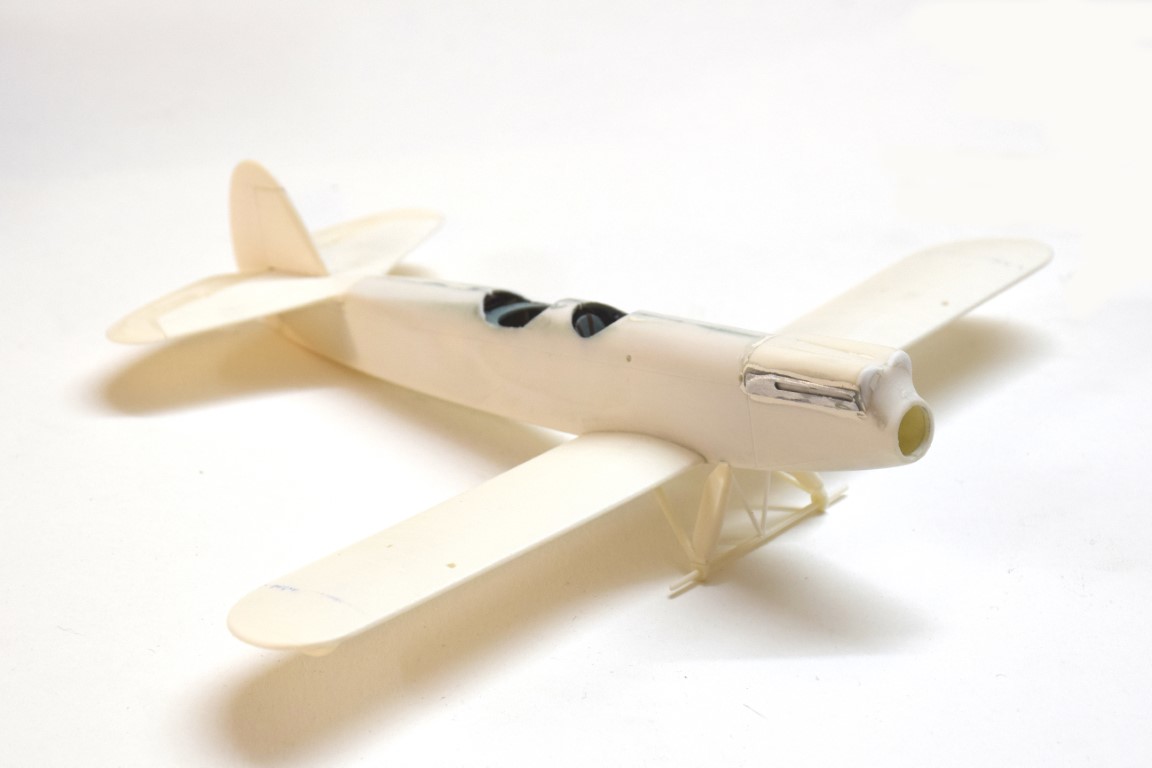
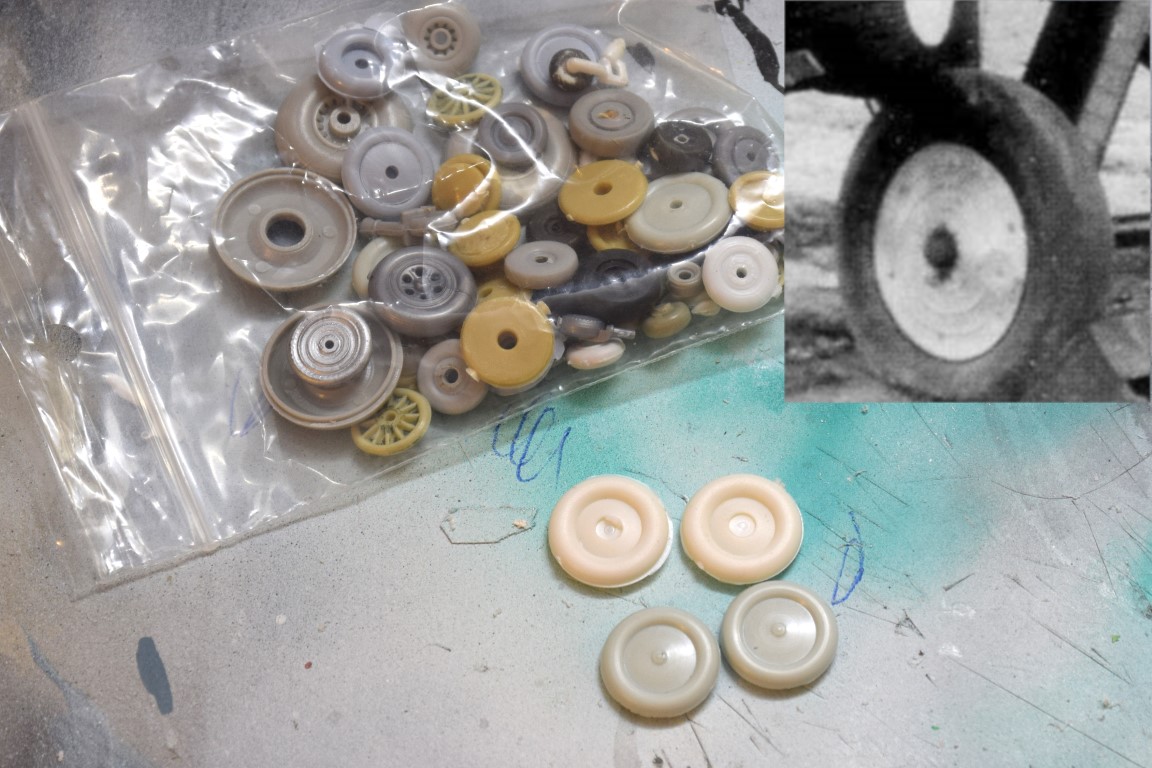
Wheels from the box were rubbish so I found two new ones from my stash of spare wheel parts.
Cheers!
Primož
1 Like
Hey guys, so this is like my second rigged bipe since high school (@#$%^ years ago), well actually since ever. So I’m looking to see all of your tricks for getting it done. Seems like getting that bottom wing on first is one of the keys. 
Primož, looking forward to seeing the paint go on
The kit/model looks very delicate 
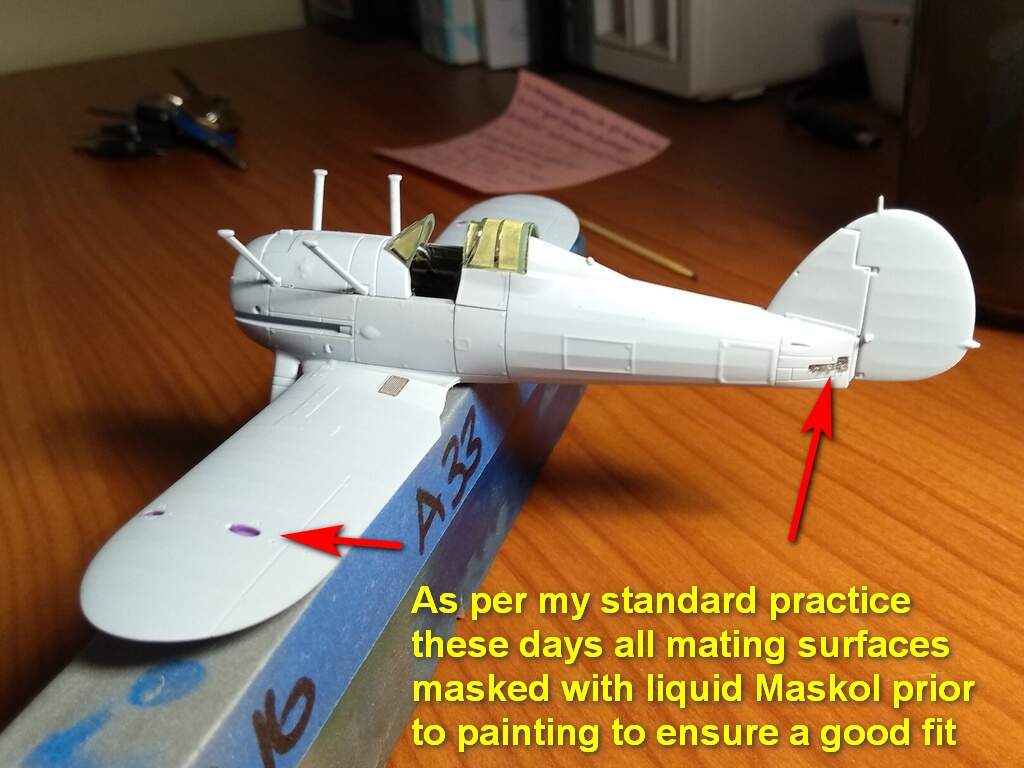
Hi Mark! Yep, most definitely! Build the plane as if it were a monoplane and the top wing seperate. This includes all paints and finishes being done prior to assembly. I even pre drill all the holes required to attach the rigging as well.
Then, just before assembly I attach the rigging to the lower wing leaving the other end of the strands loose… Make sure they’re long enough to attach to the upper wing.
Then, when you’ve got everything ready, attach the upper wing.
Then, the final trimming to length and attachment of the rigging to the upper wing can commence…
Of course small details like guns, aerials etc can be left off until after the upper wing is attached and rigging completed
1 Like
OK, that’s different advice. I did my Strarman just the opposite. Drilled the through holes in the fuselage and the wings and blind holes in the top wing.

The glued very long pieces of invisible thread into the top wing.

Maybe you can see them here,
Once I had the top wing set I started from the center and worked my way out threading the ‘wires’ through the correct holes and supergluing them in place. fortunately the cockpit was simple and I could install it after I pulled and glued all the wires.

The big trick I learned, too late, was to pull the thread through the tip of a silver sharpie before I glued them in place.
3 Likes
I don’t think there’s a right or wrong way, Mark, just whatever works, at that particular time, for that particular model and that particular builder, as we say at work: if it’s not dimensioned, it can’t be won’t 
I use Ezyline to do my rigging, which is a very forgiving medium…
I bought the E-Z line for this project, but I didn’t like working with it. It was too flexible and pulled itself out of the superglue when I was trying to glue it to the top wing holes.
I agree.
Depending on the kit, I have seen guy do what you suggested but if the top wing is two parts they do things a little different. They will drill holes in the bottom of the top wing, attach that part to the model. Fish the lines through so you glue the lines inside the wing. Then add the top of the wing.
Another technique we filmed at a club meeting class.

HTH
of course there are so many ways to skin a cat (not that I’m advocating that )
All of this reminded me that I needed to dredge this article back up. It’s a jig whipped up from odds and ends around the house for aligning biplane wings.
Biplane jig
1 Like
Funny thing is, if we have this much effort required at our scale to align the wings correctly, makes me wonder how much fun the original builders had with the 1:1 
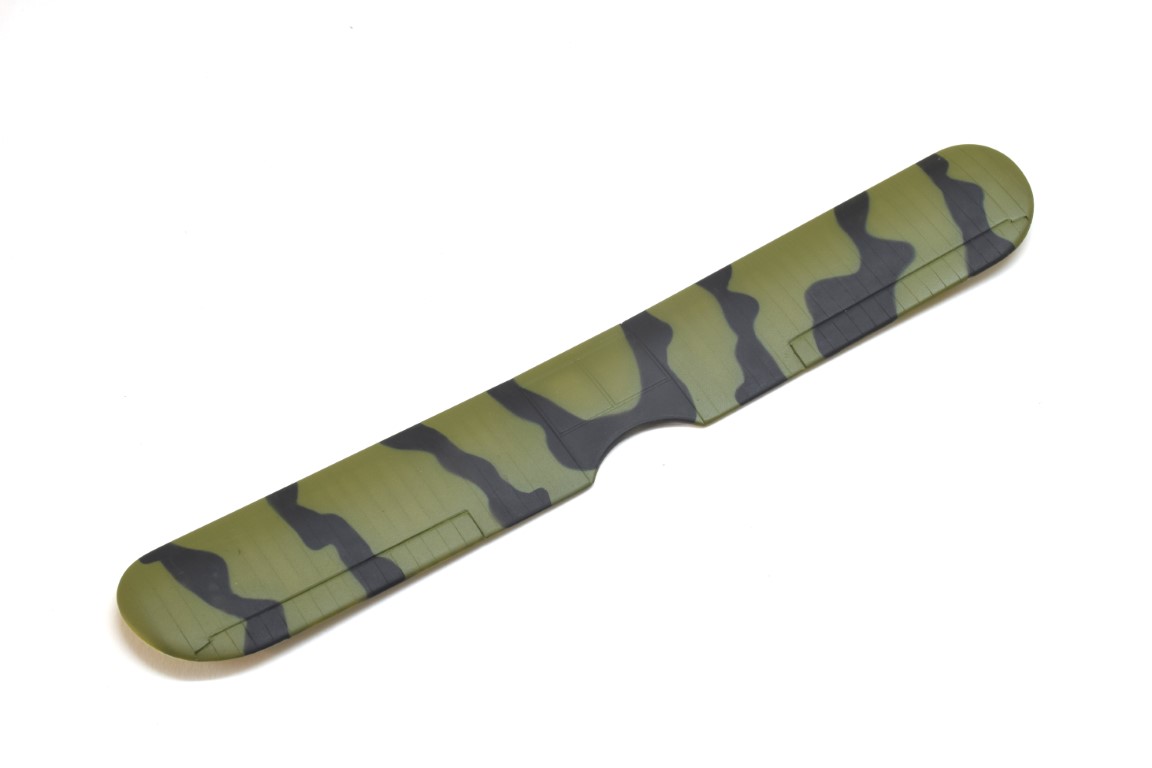
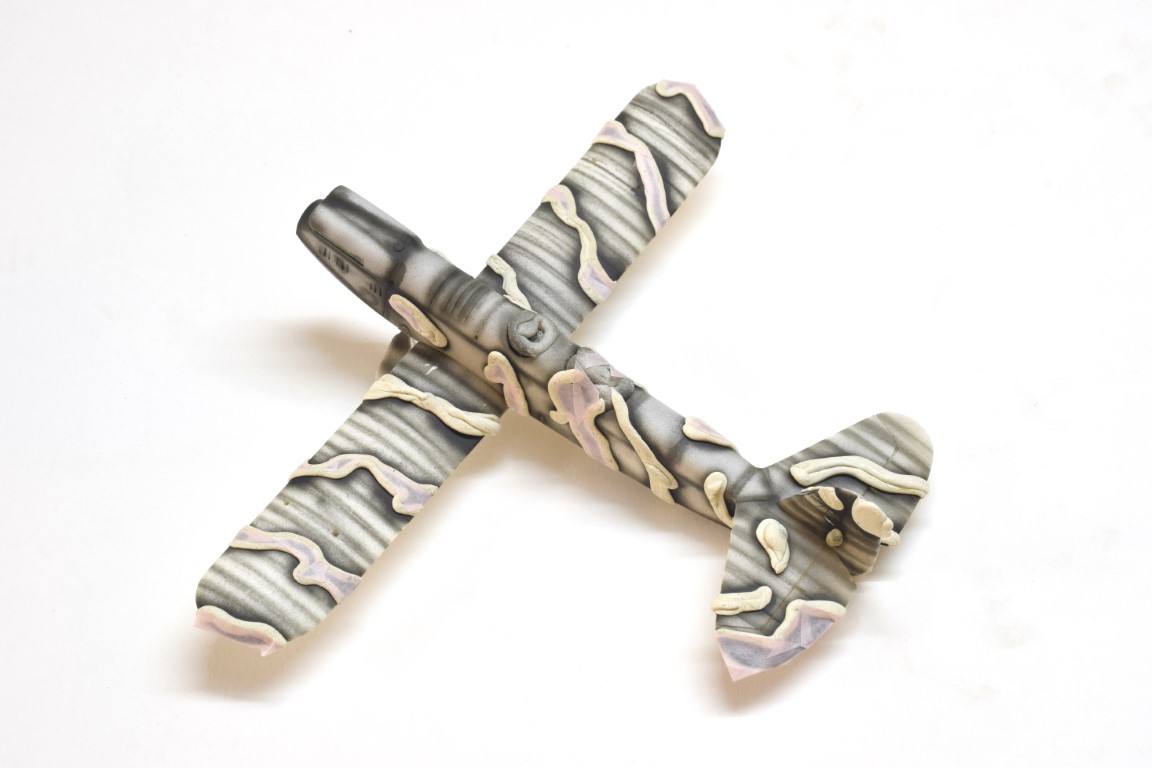
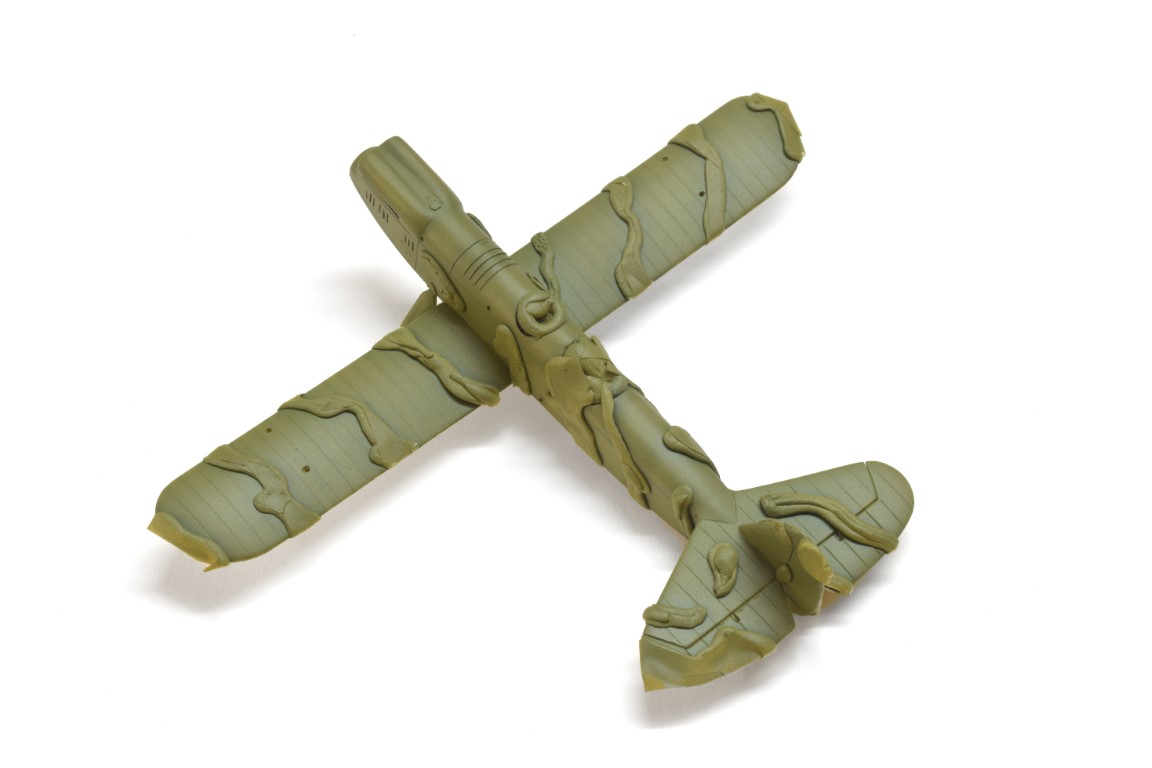
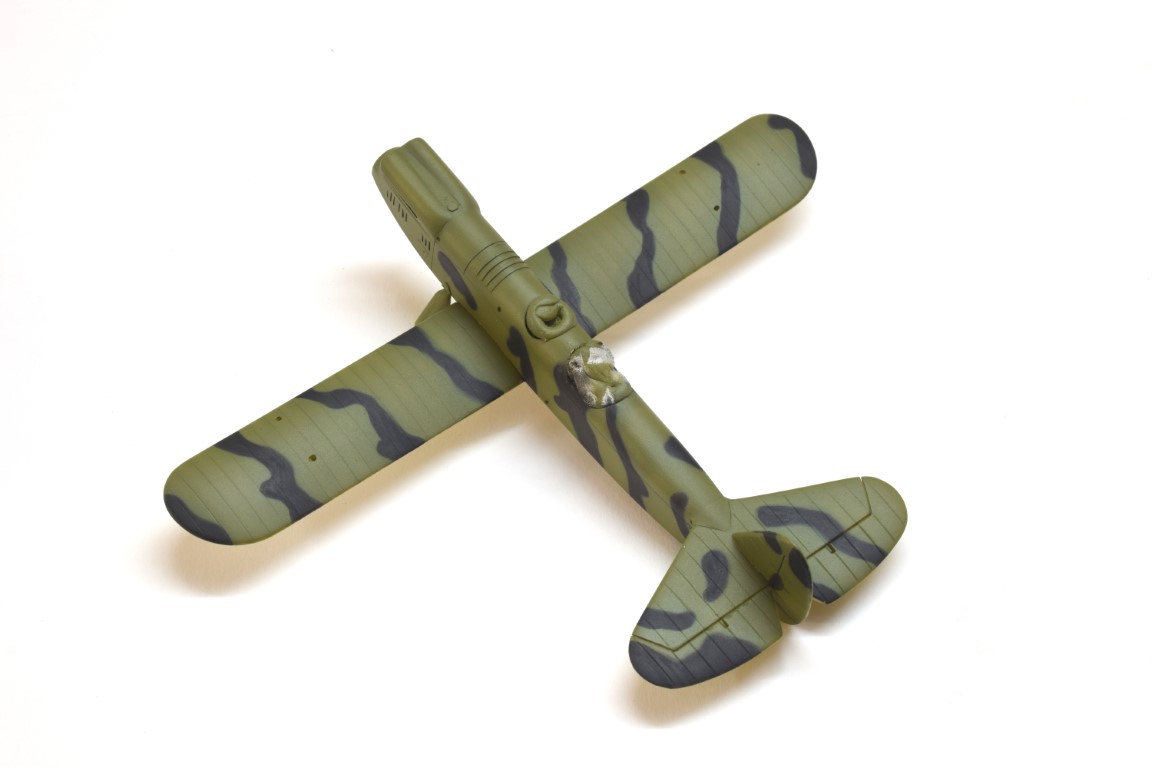
Polikarpov R-5 needed some more detaila on the cowling. I know it’s not perfect but when painted and weathererd it’ll look just fine.

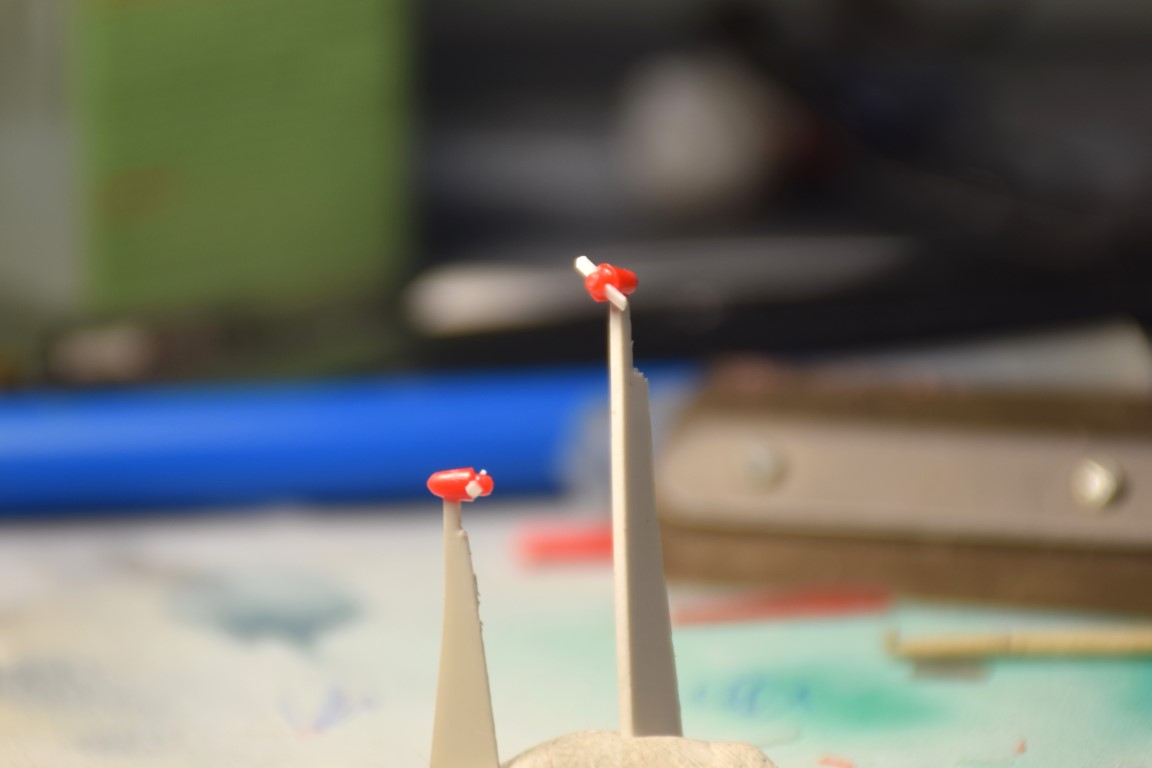
Two wing prop/ventialtors were not moulded in the box so I scratch them.
From this point on the model was ready for painting it. I choose comouflaged transport version reasearched on this link: R-5 camouflaged transport plane. For painting I used Valleyo 71056 for black and mix (Akan AMT-4, Valleyo MC 70942 and white ) for green color.


That’s all for now.
Cheers!
Primož
3 Likes
Primož, your attention to details is superb!
Coming along very nicely
1 Like