Biplanes of WWII Campaign

Thanks Ruselle!

Decals for this project are from stash of old decal sheets. I only needed six red stars for the job.


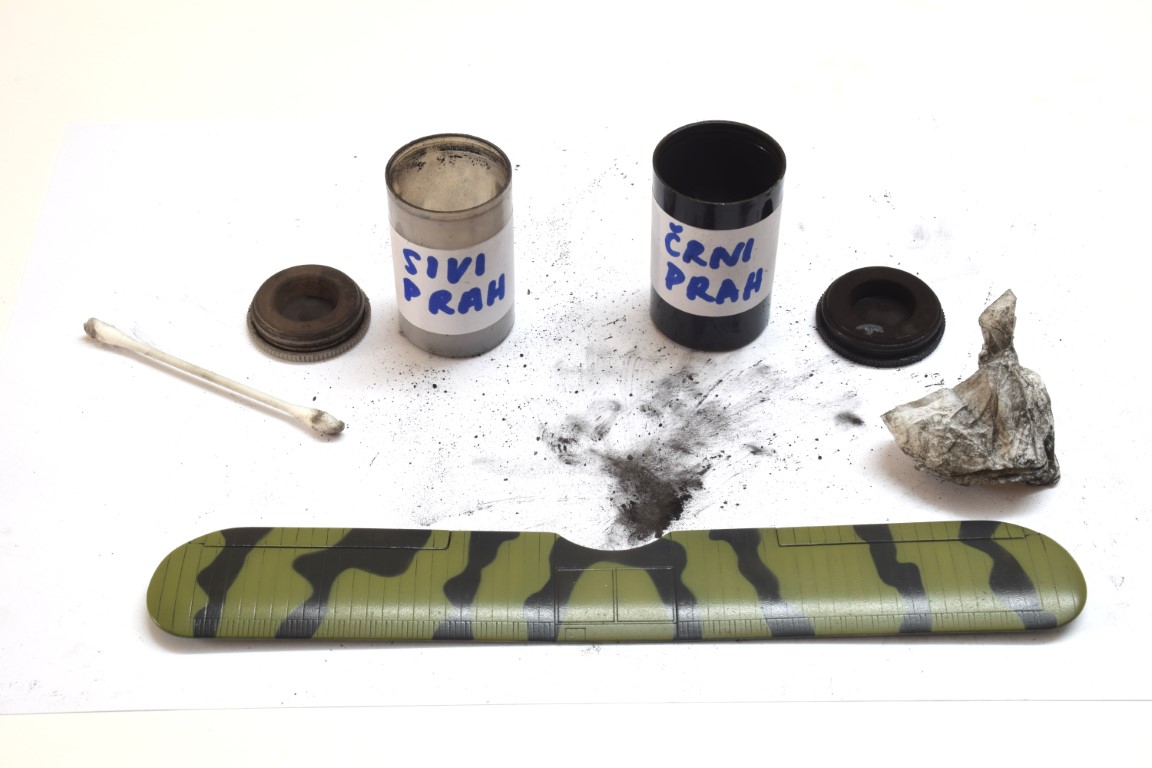
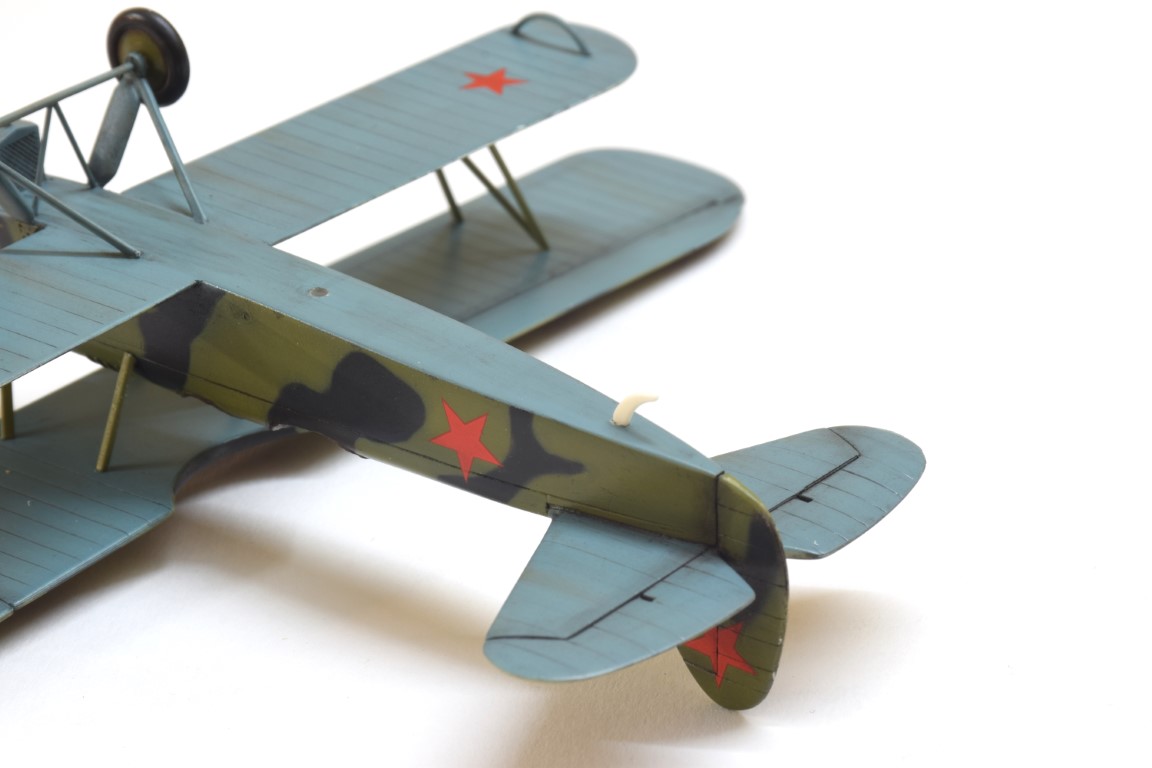
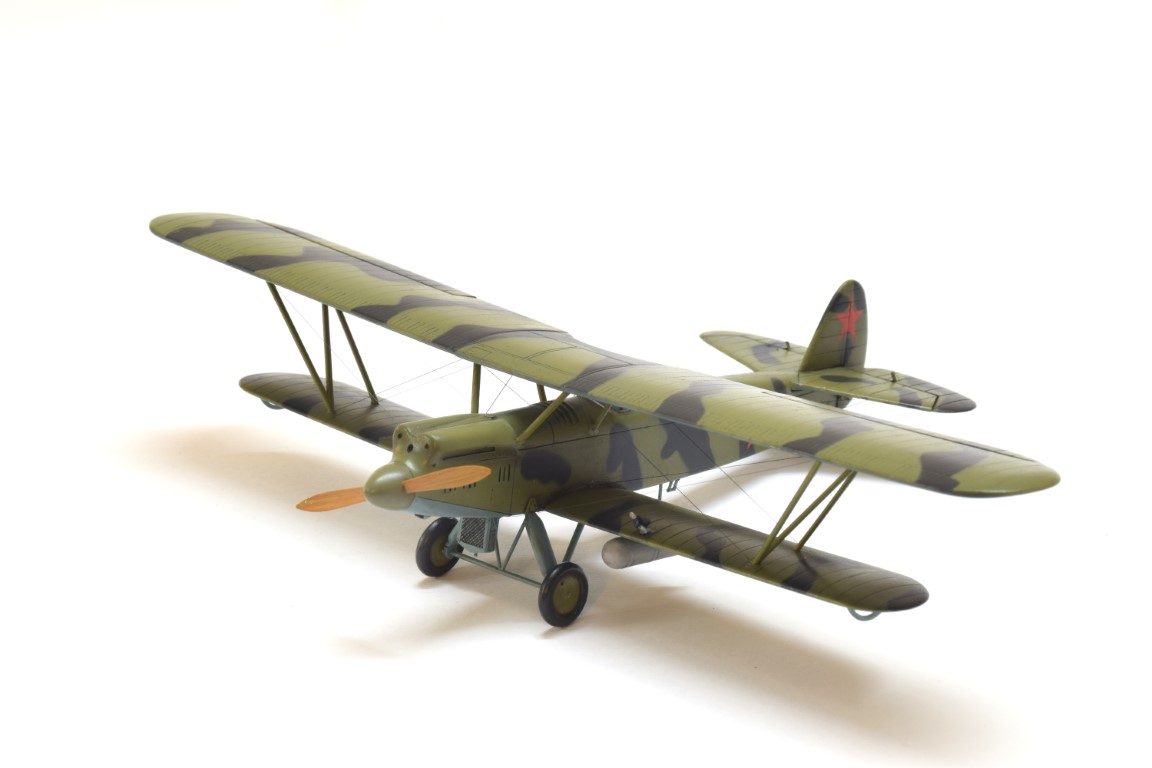
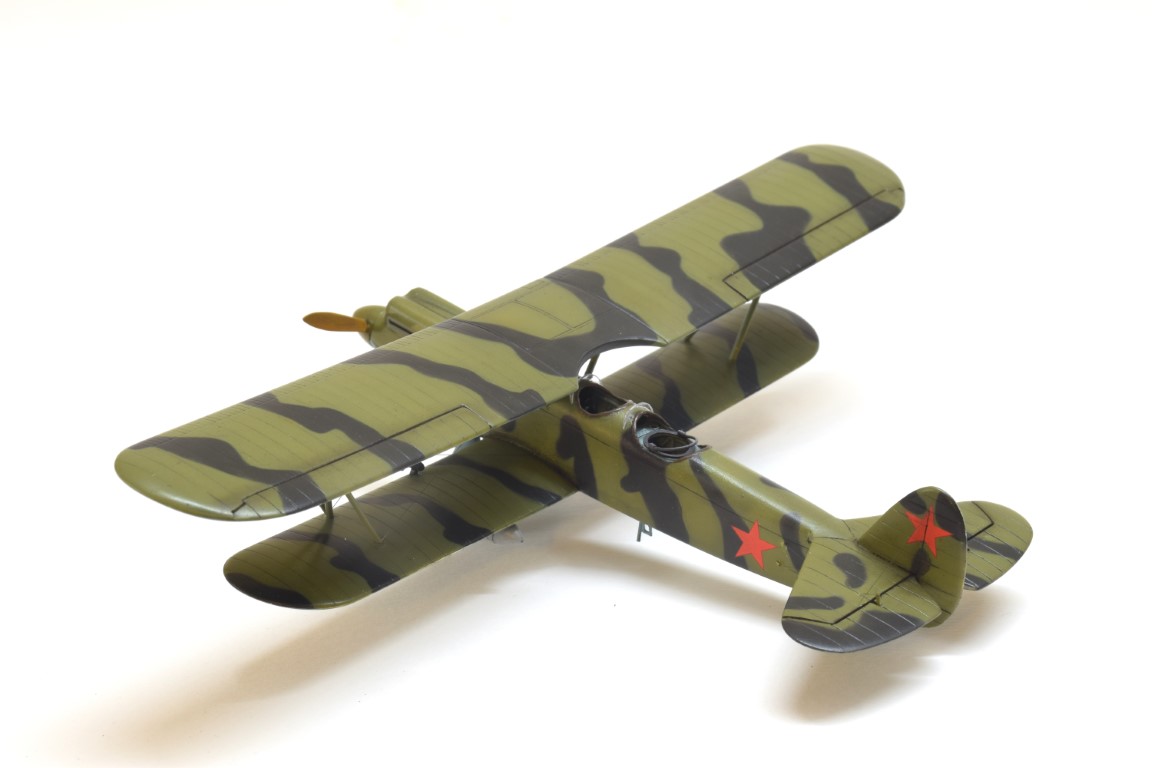
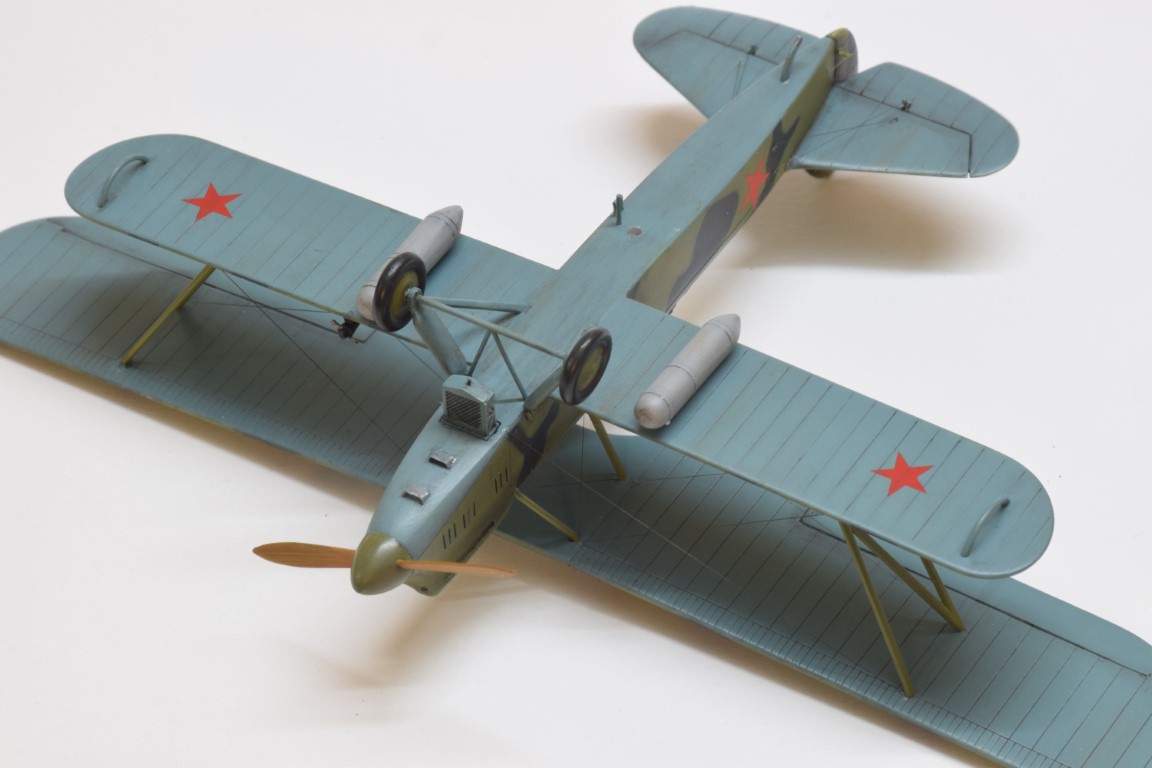
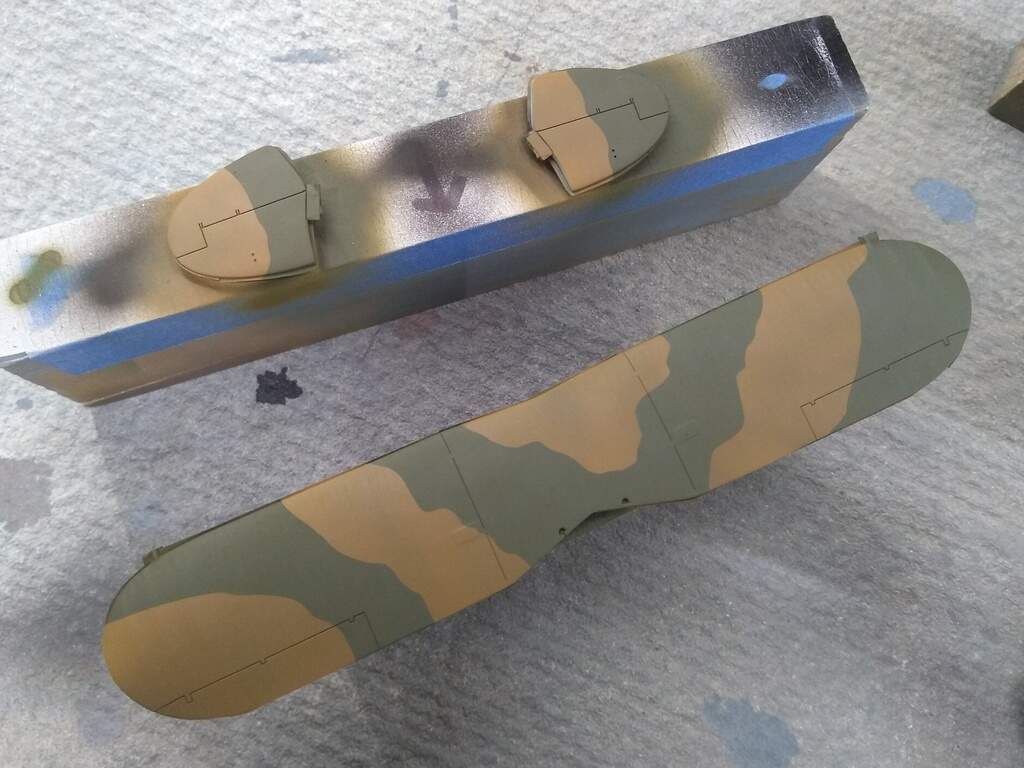
After few coats of clear laquer weathering begun. I ussualy do the panel lines with grinded dry pastel dust. For upper surfaces I used black pastel dust and for lower surfaces grey one.

Upper wing was then glued in palce. After that I also added prop and back leg.


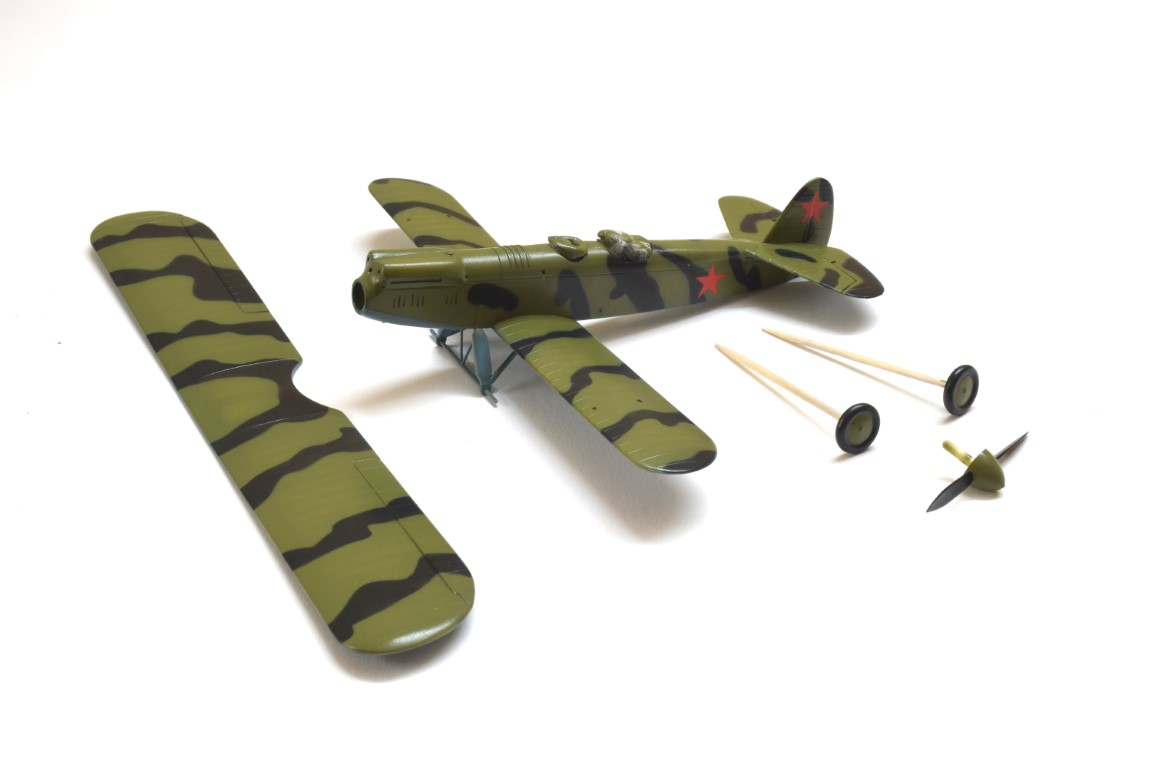
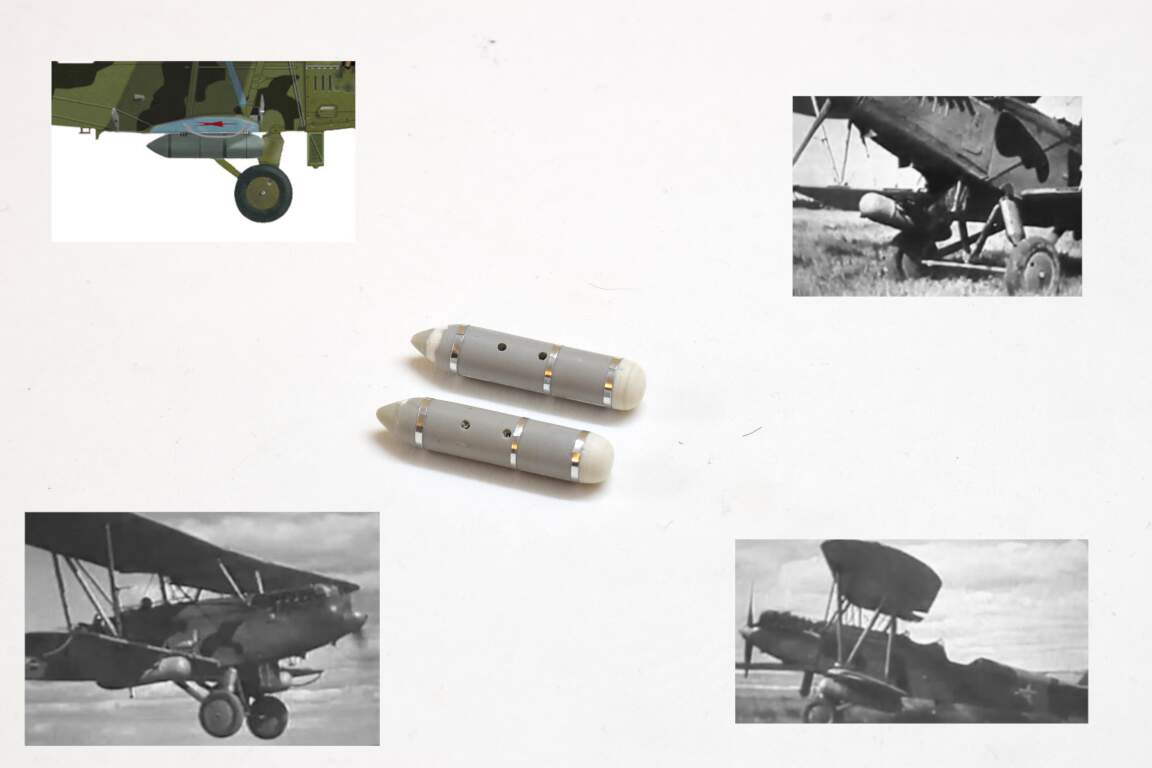
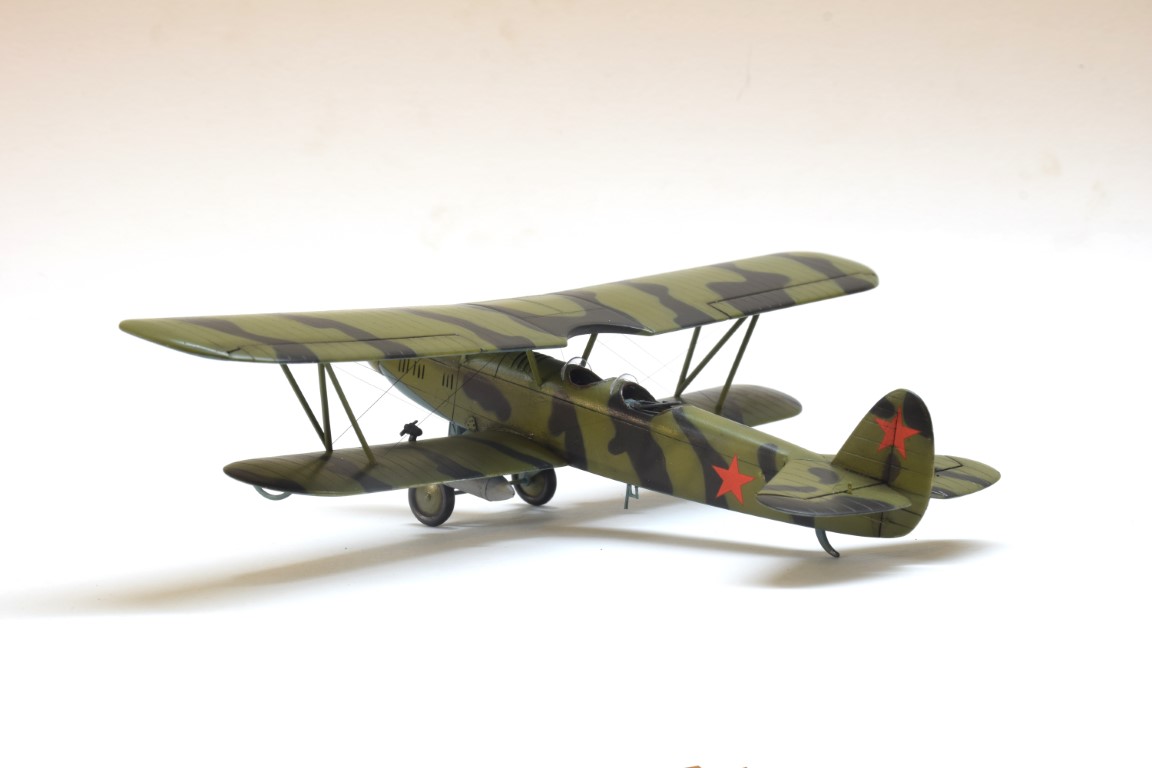
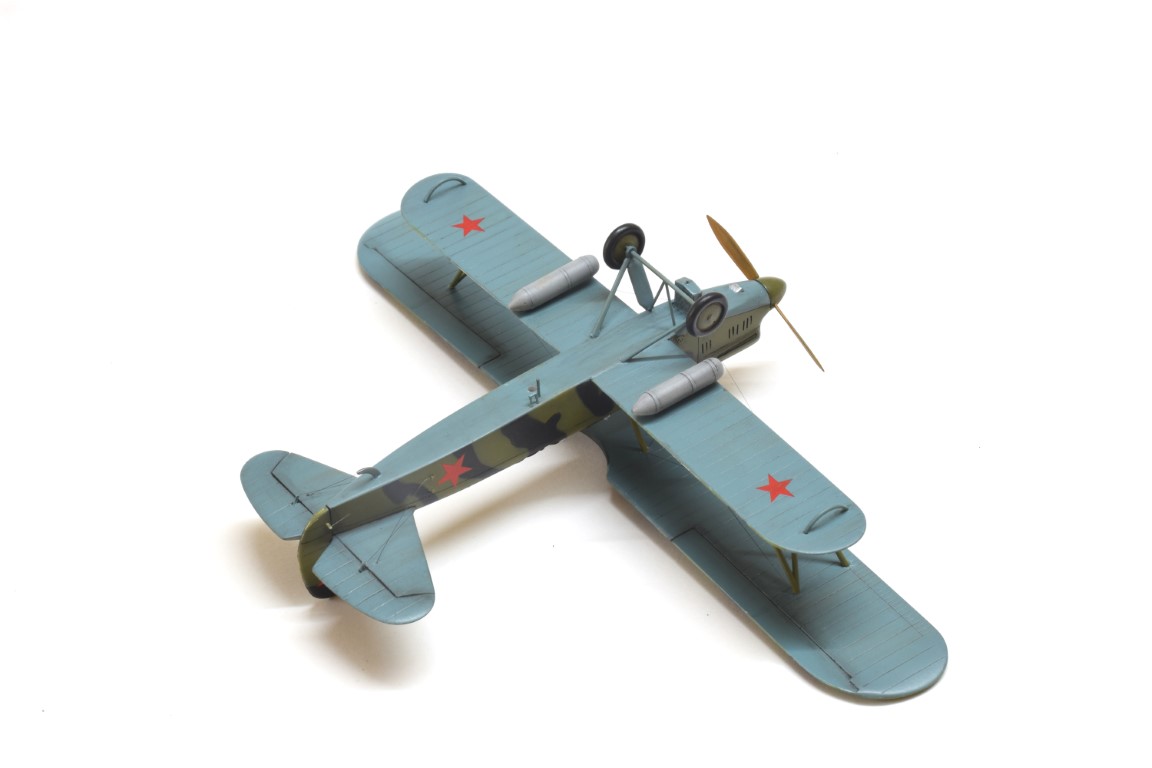
The plane that I’m trying to build had underwing transport containers so I decided to include them in my model. They were scratched from old parts 1mm styreen sheet and aluminium self adhesive strip.

That’s all!
Kind regards!

Primož

4 Likes

Great progress Primož :slightly_smiling_face:

Very close to that finish line now :blush:

1 Like

Looking good, Primoz. Excellent work!:+1:t2:

1 Like

Excellent work folks. Hope I do 1/4 as well.
Noob question, where do you find reliable rigging plans for your birds? For the F3F, my kit instructions cover the antenna kind of well by leave the inter wing lines to the imagination. I did find the instructions from Revell’s 1/32 F3F, they’re very helpful, but the have the inboard lines entering the lower wing between the 1st and 2nd rib. Other photo’s show them entering the fuselage just above the lower wing root fairing. Any clues out there? :wave:

Thank you all.

The russian beast needed some glass parts.


And finally the model is finished.


The rigging made me a lot of problems, but now It is done!
Cheers!
Primož

5 Likes

Great work Primoz!

1 Like

Neat windscreens. What was the donor plastic? I’m guessing that you just heated it up and pulled it over the kofe handle while it cooled.

1 Like

Primož, congratulations on a fine build!
Really nice! :+1::blush:
That’s some great work on the glass too!

Just finished up masking the Gladiator ready for Camo paint… :wink:

When I was outside gardening today a biplane flew over head: not sure what type, but sure was good to see :cowboy_hat_face:

Very nice, Primoz!

Now that I’ve finished my Hurricane, maybe I’ll pick back up on the Glad.

Michael :stuck_out_tongue:

Yes I reused plastic from wacuform wraping of products. The windscreens are realy small, so you just need to find the object with corect curvature.

Thank you all for your kind words!

Primož

1 Like

A little update on the Airfix Gladiator

undersides done


and now the dark earth ready for masking for dark green

More soon :crossed_fingers: :grin:

4 Likes

Looking Great, Russell! Looking forward to see more.

Primoz, how did you do the rigging? I have tried different methods in the past, but never really found the perfect approach.

1 Like

Thanks Jesper: trying out a new masking method at the moment, so fingers crossed, pics soon :cowboy_hat_face:

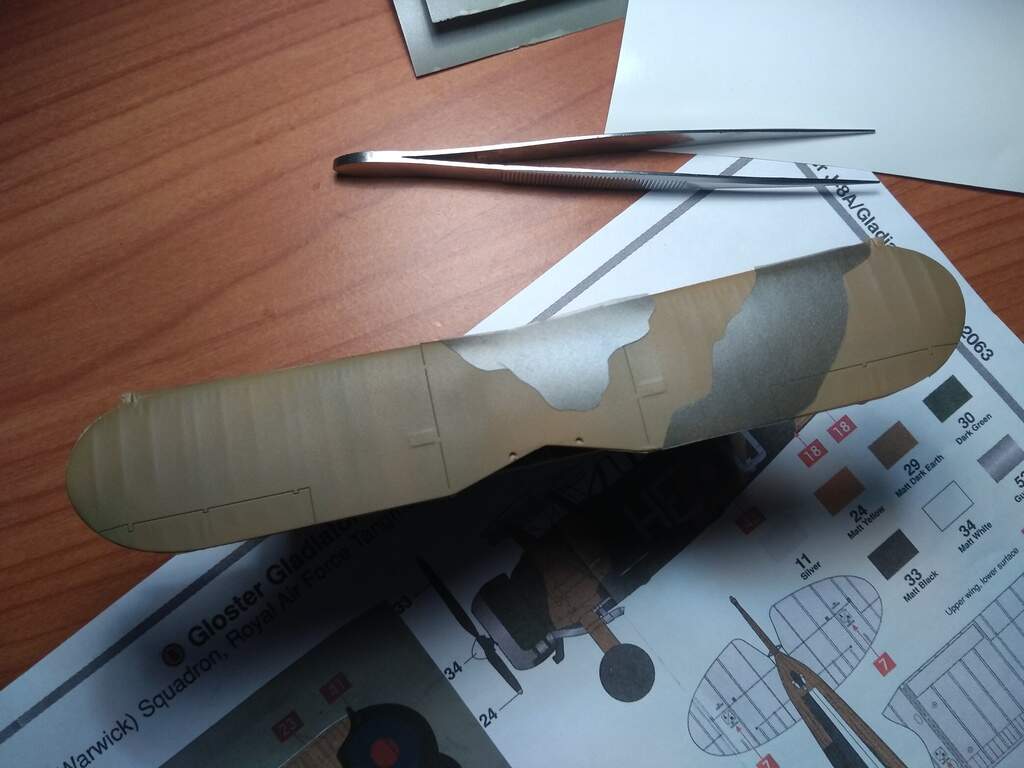
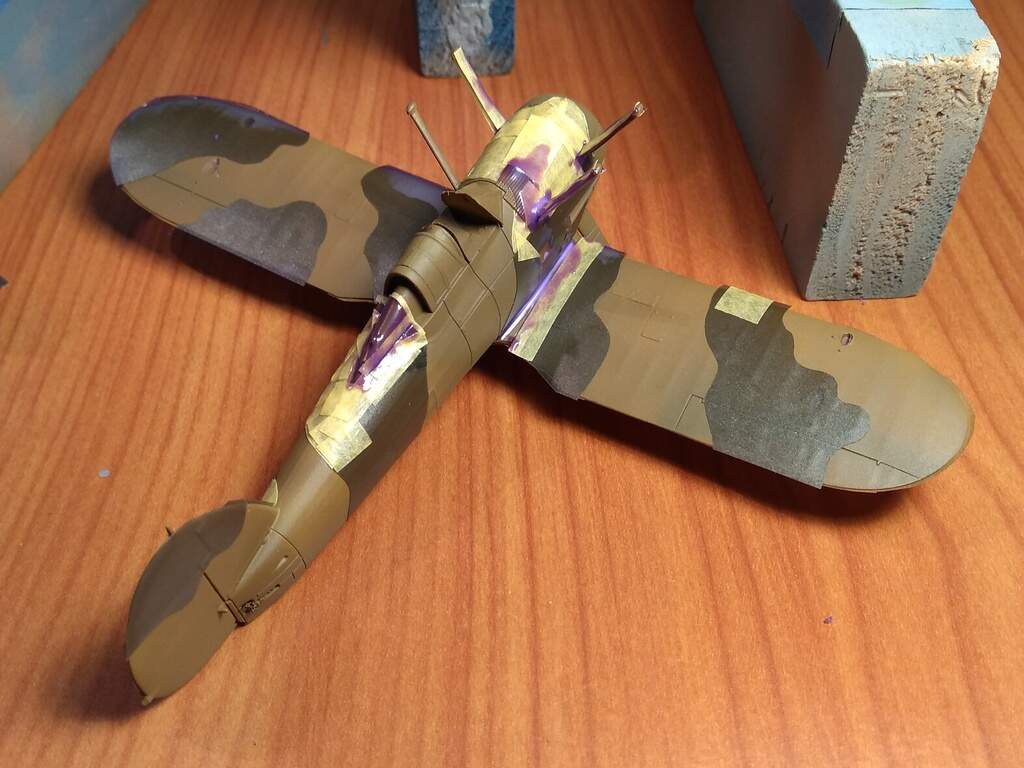
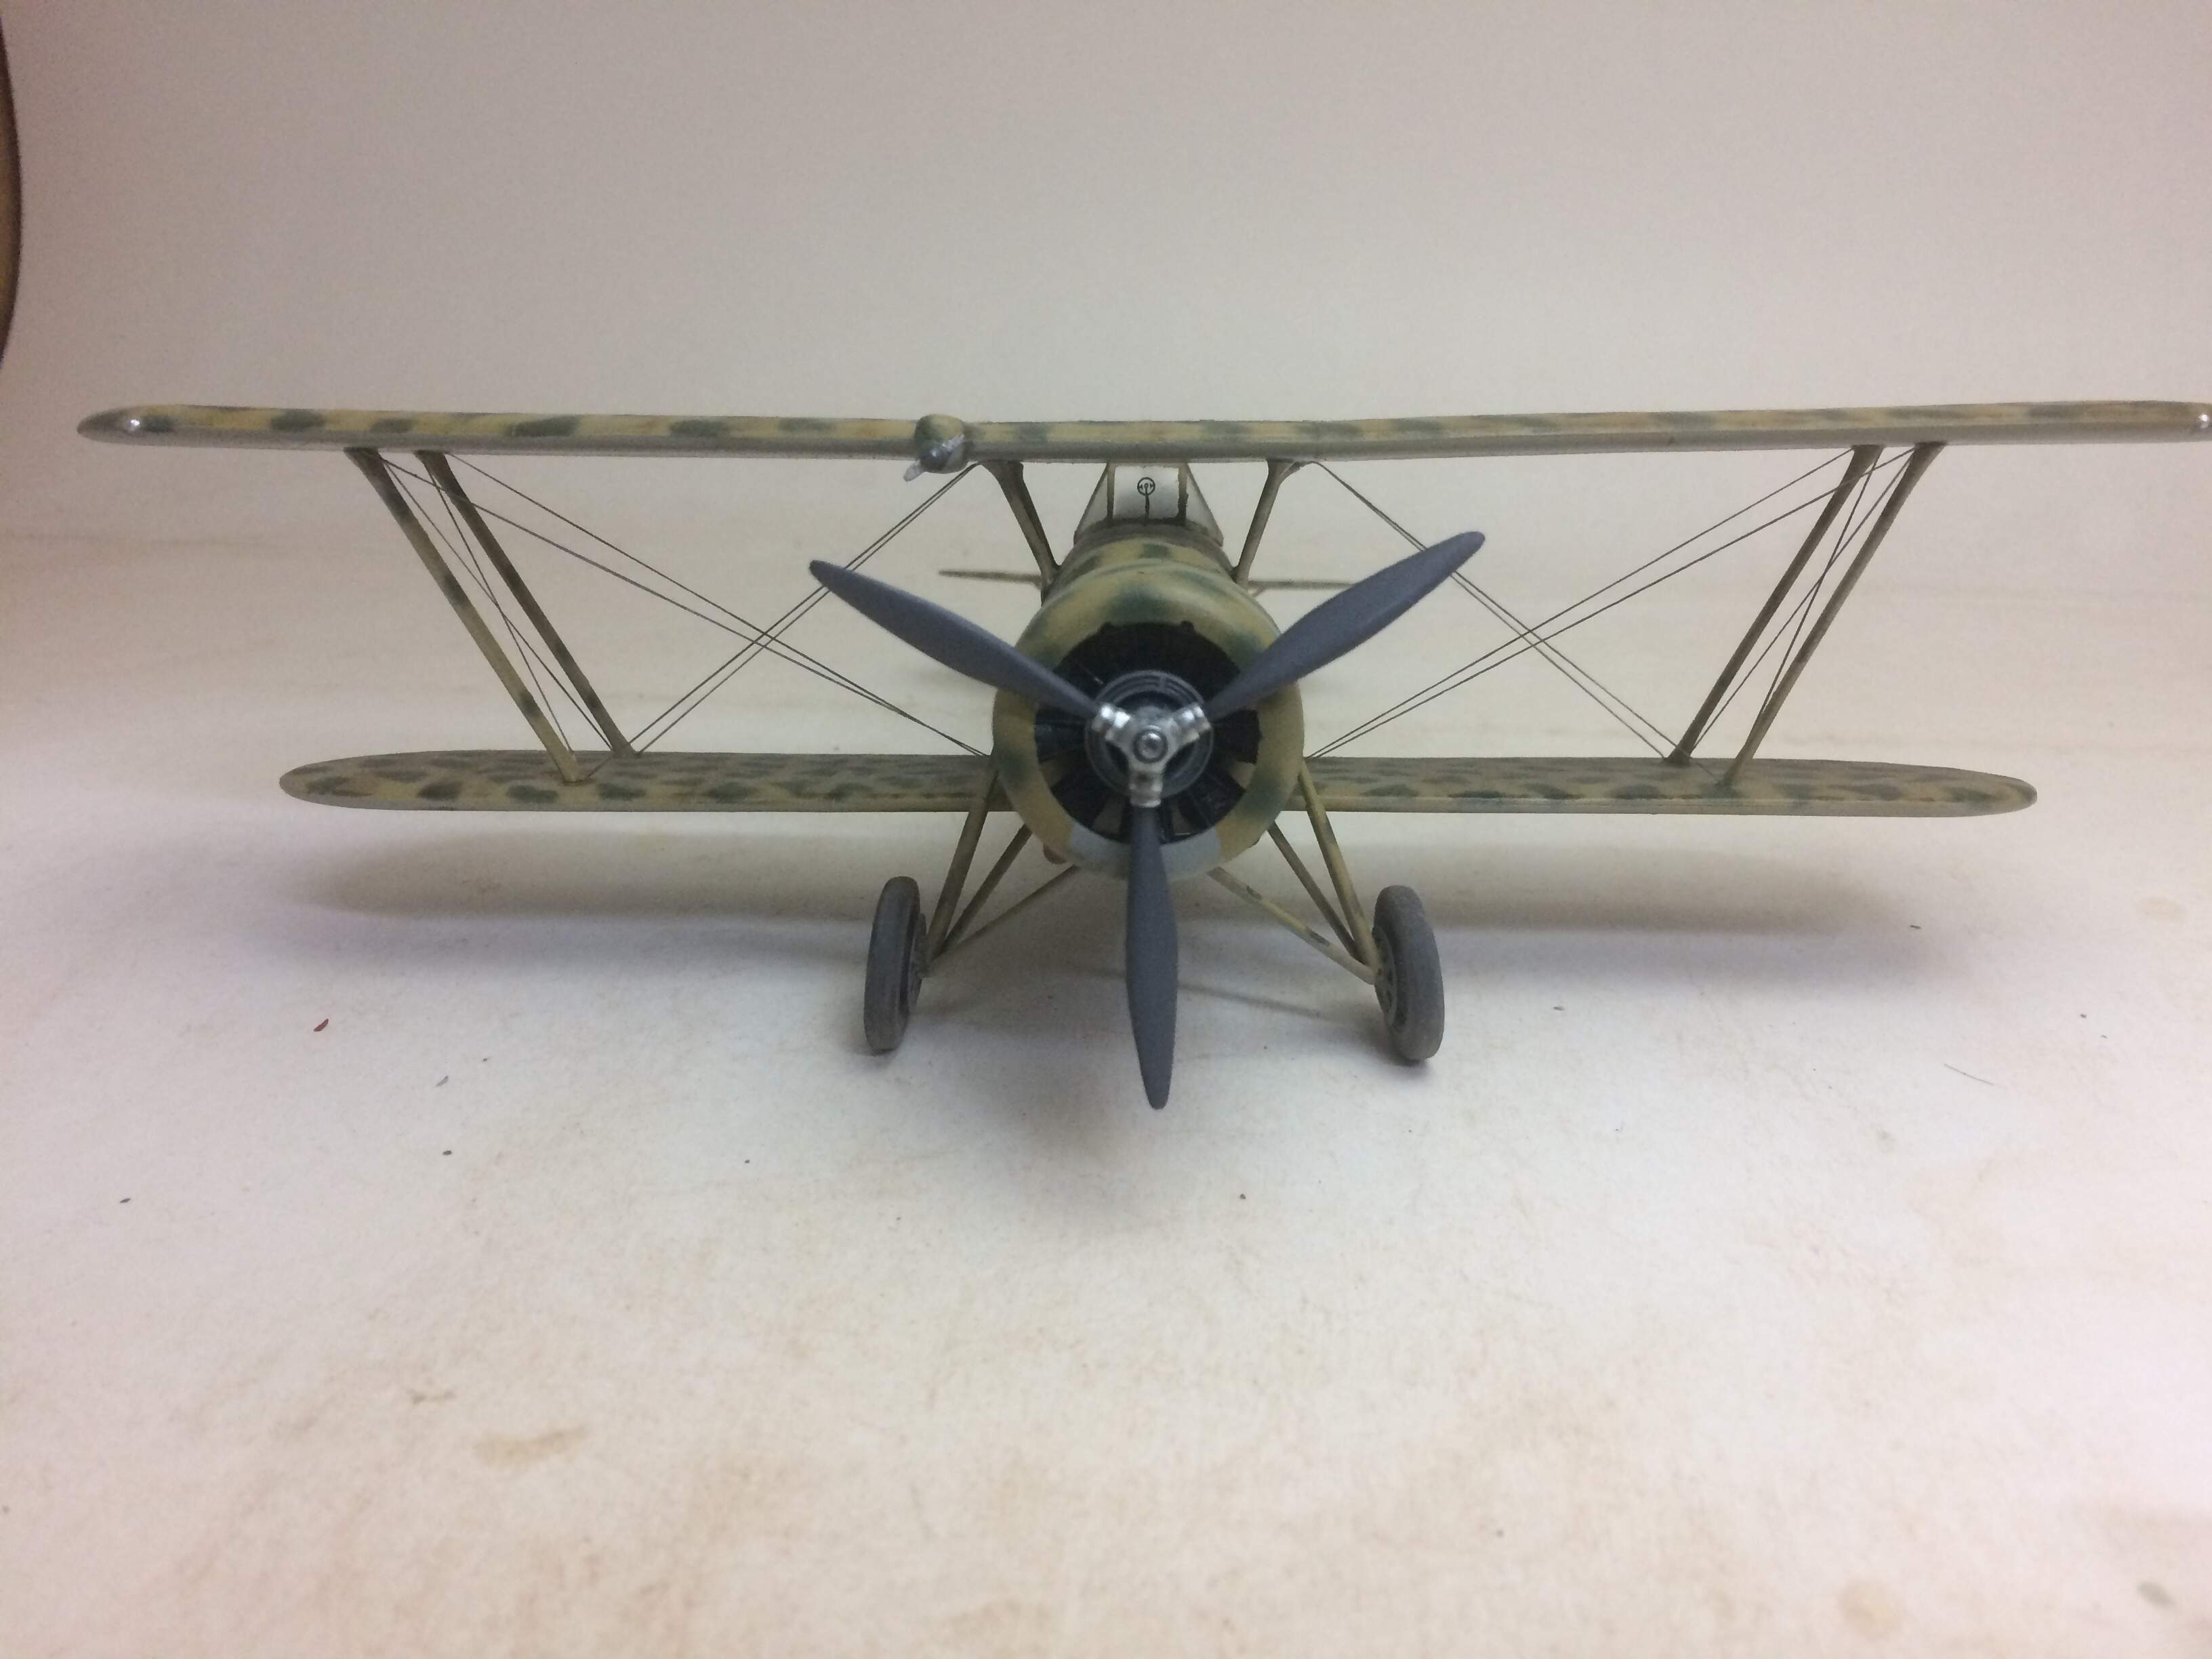
Having used some of Mal Mayfield’s (Holdfast) Miracle Masks some years back on a BP Defiant build, I was really impressed with the idea of using a masking film to create camouflage patterns.

To that end, after a bit of help from Mal in choosing a suitable film, I decided that the Gladiator was the perfect candidate to try out a new (to me) method of masking for painting the camo scheme.

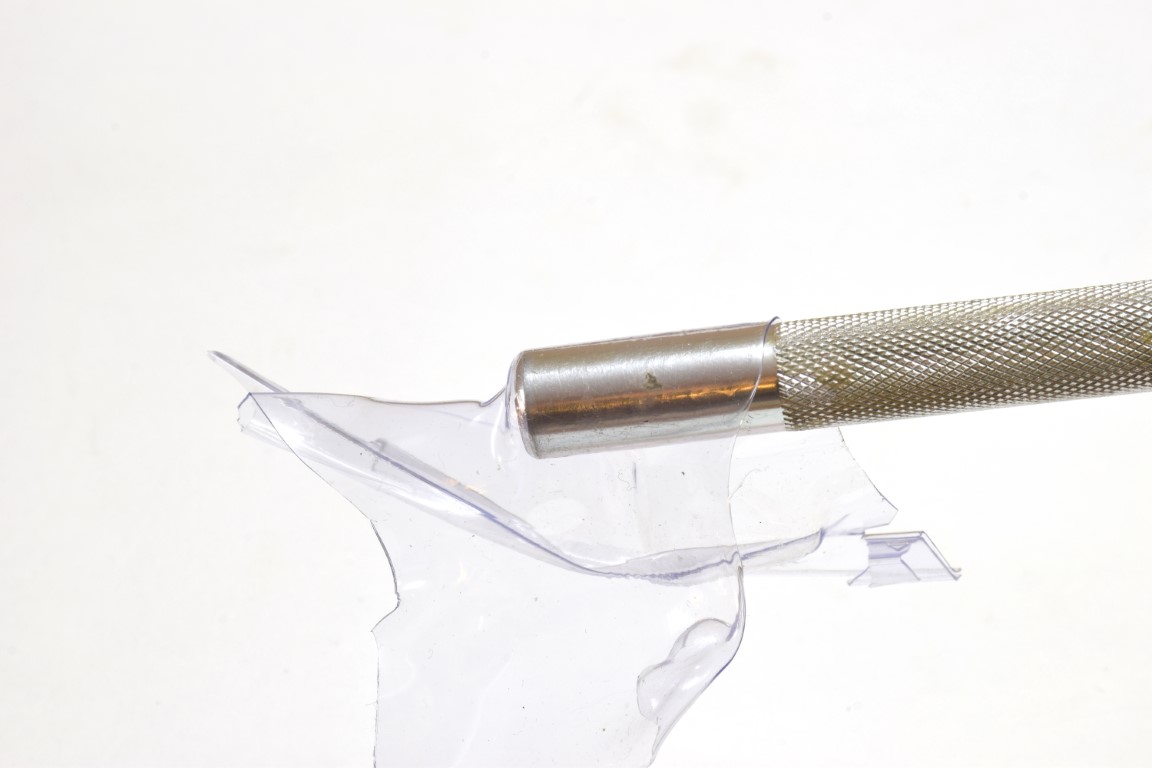
So, first up, I made a copy of Airfix’s painting guide which I can over lay the film and then using a sharp scalpel, I cut out the pattern on the film


Then, I can start position the masks on the aircraft

Once the basics are filled in, I used tape to infill the more difficult parts

and then liquid mask to fill any remaining gaps and tricky areas

Applied dark green (Sovereign Hobbies, Colourcoats)

and the first masks removed

This is one of my favorite parts of the build… the big reveal after the masks have been removed


Hopefully I’ll do a little more assembly and then I can start adding clear coats and decals… :grin:

4 Likes

That turned out great Russell.

1 Like

OK, sounds convincing. What did you use for a masking material?

1 Like

Mark, I used a product called Aslan S79 paint mask… I had to find a product available locally, but Aslan’s made in Germany so you may find a local distributor…
I’m toying with the idea of trying their S41 for rough surfaces next time as it may conform better to the curved surfaces of aircraft… :thinking:

Thanks, I never heard of it before, have to see if I can scrounge one up. I failed miserably using paper cutout and blu-tack worms on my Hurricane. Want to try something that doesn’t have me slicing and dicing on top of the plane. Frisket paper is more available over here, have you ever tried it? :wave:

Went back and rigged my Imam, fully completed now.

4 Likes

I am familiar with frisket film from 2d work I’ve done in the past… But from what Mal told me it’s quite a bit thicker than Aslan and won’t be as pliable when conforming to the shape of your aircraft…
Mal uses Ultra Mask for his masks so you should be able find either that or Aslan locally…
Don’t bother with hobby shops though: the seller of Aslan here is a specialist supplier to the graphic arts industry that applies commercial designs to trucks and work vehicles etc… :wink:

1 Like